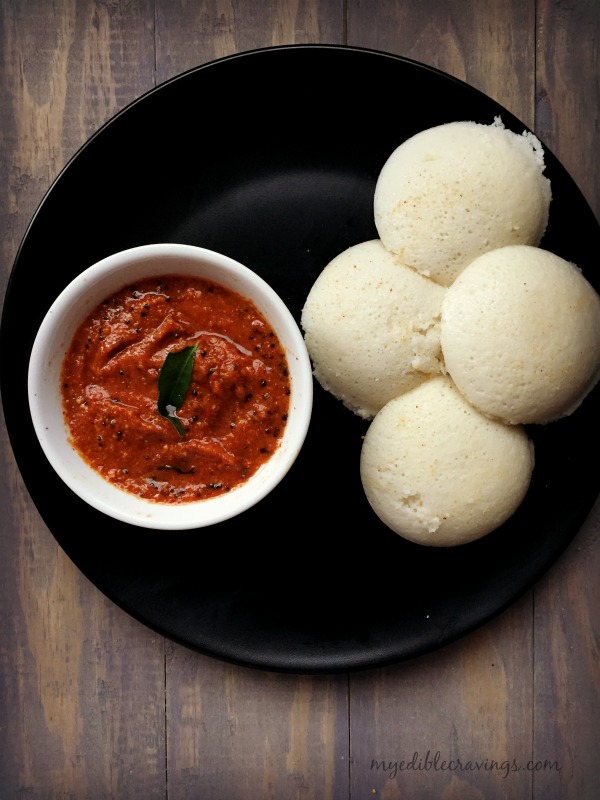
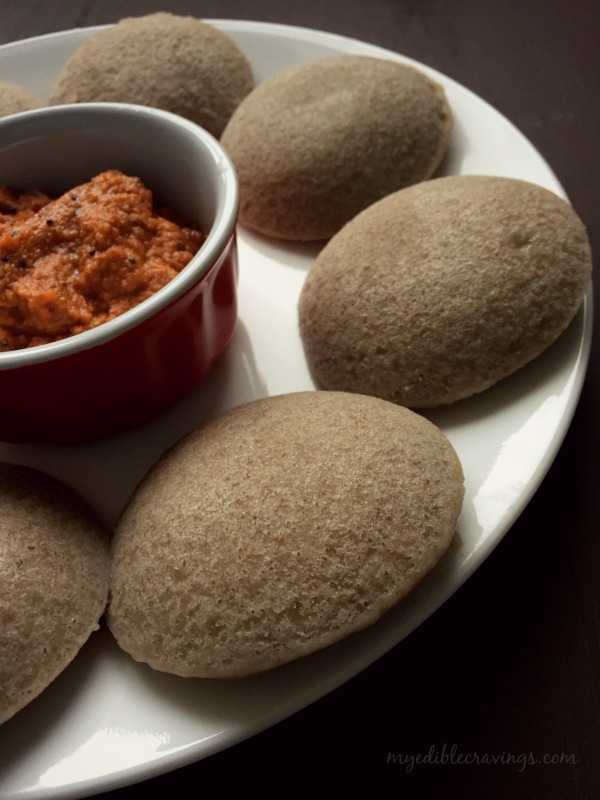
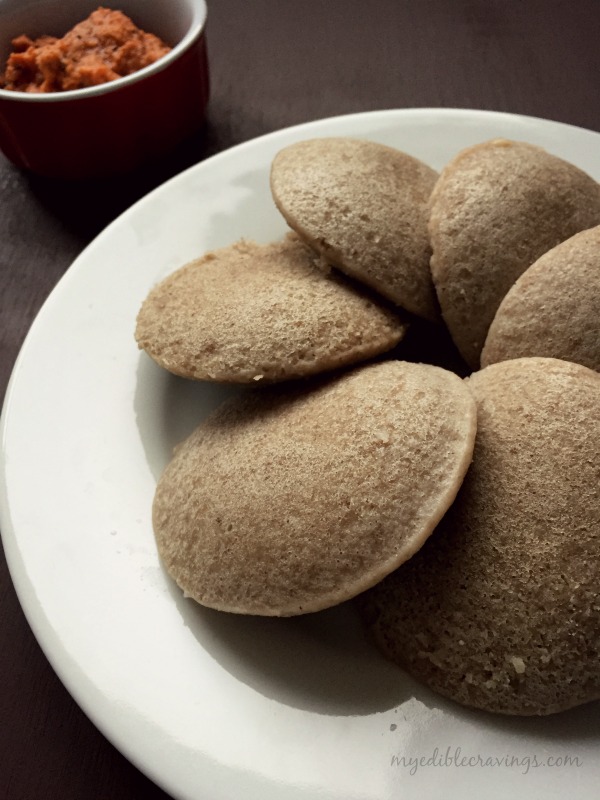
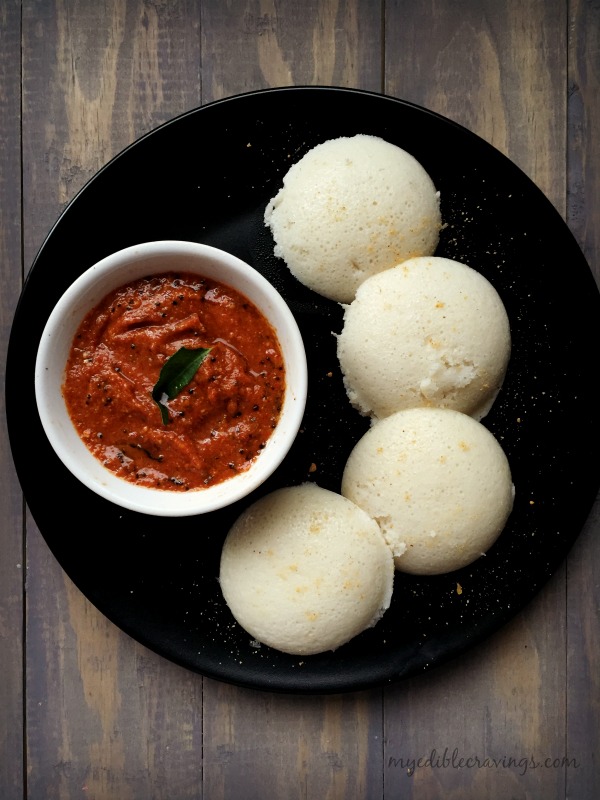
 As most of you know, Idli is one of the most popular breakfast dishes in South India, especially Tamilnadu. It is the staple breakfast food in most south Indian homes. A dish as popular as Idli should have countless accompaniments, right? Yep, these accompaniments or chutneys, as locally known, come in all varieties and made from different ingredients. Here I have posted the recipe of one such chutney called the Milagai Chutney, as learnt from my mom.
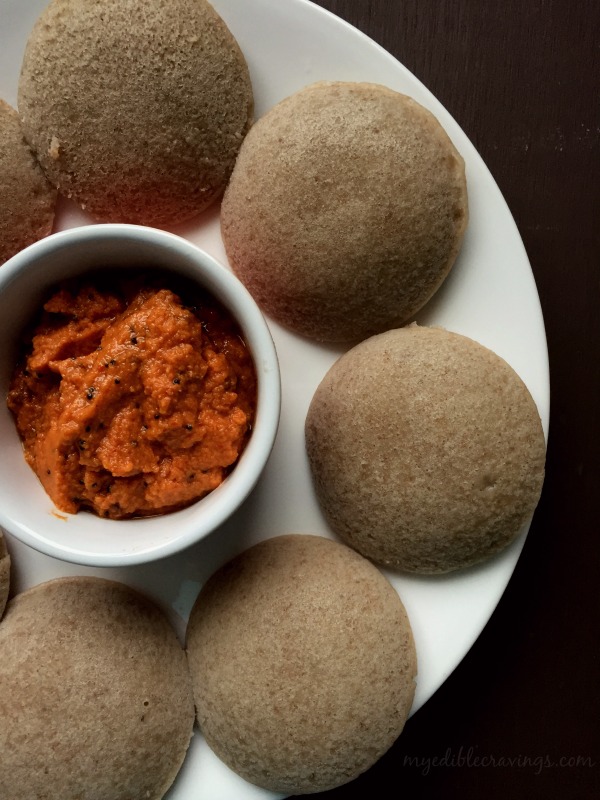
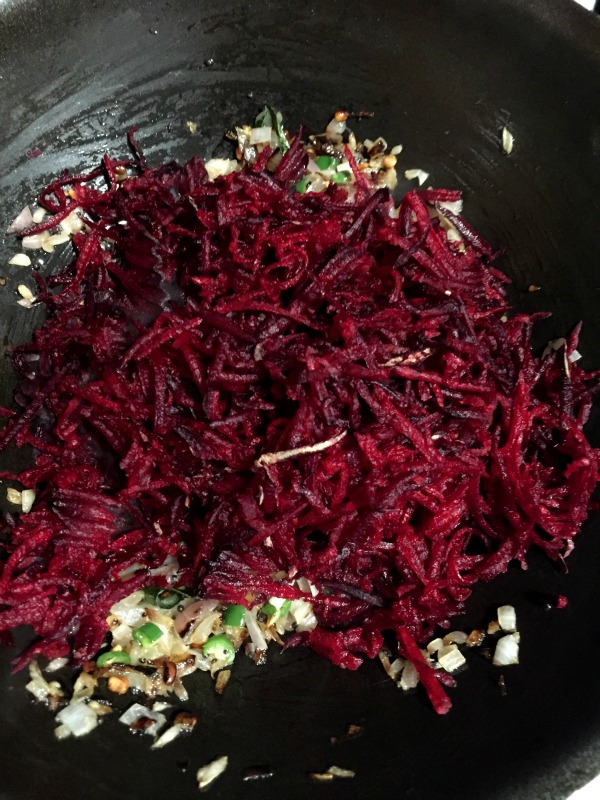
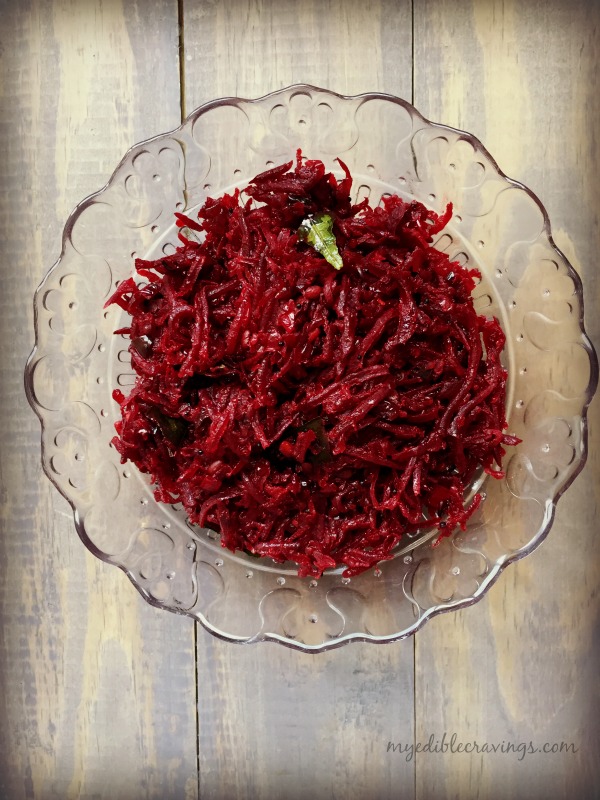
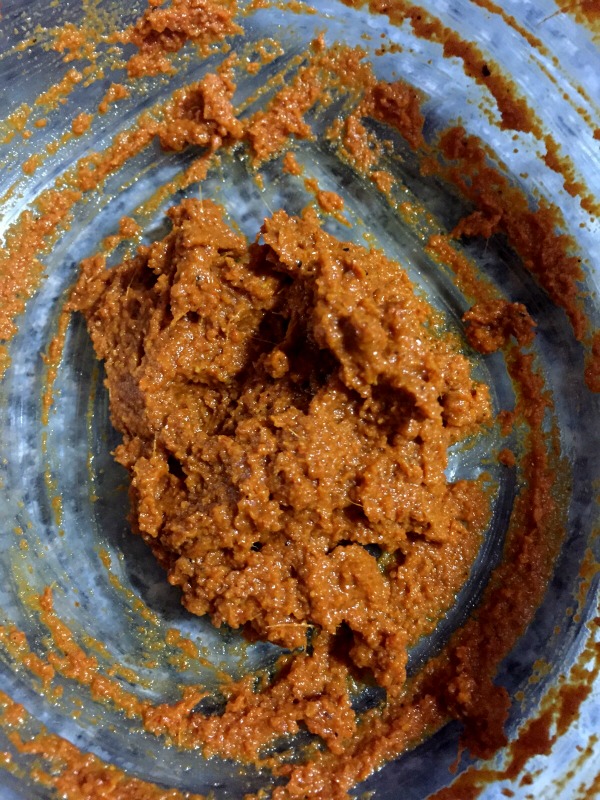
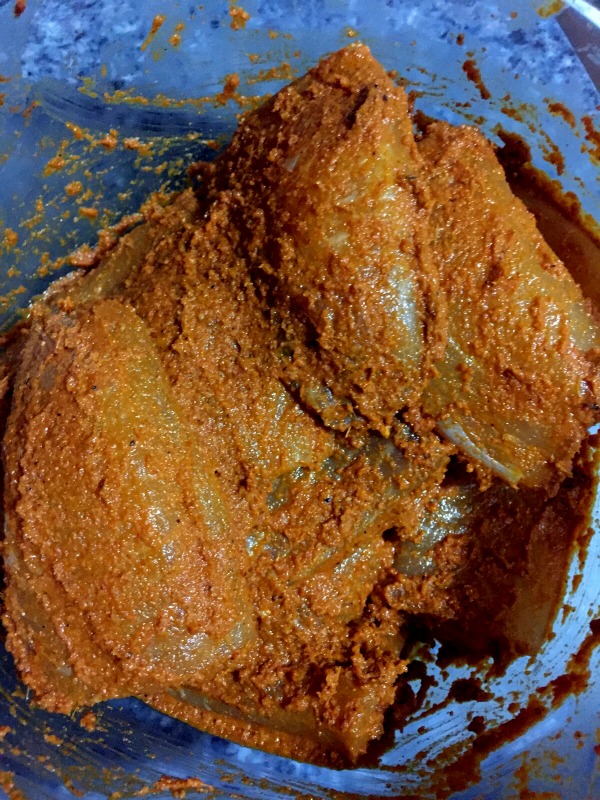
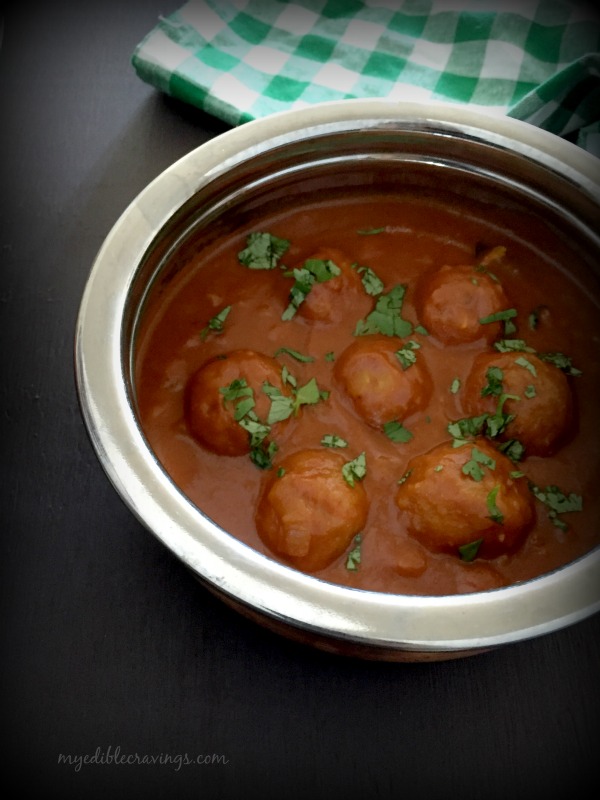
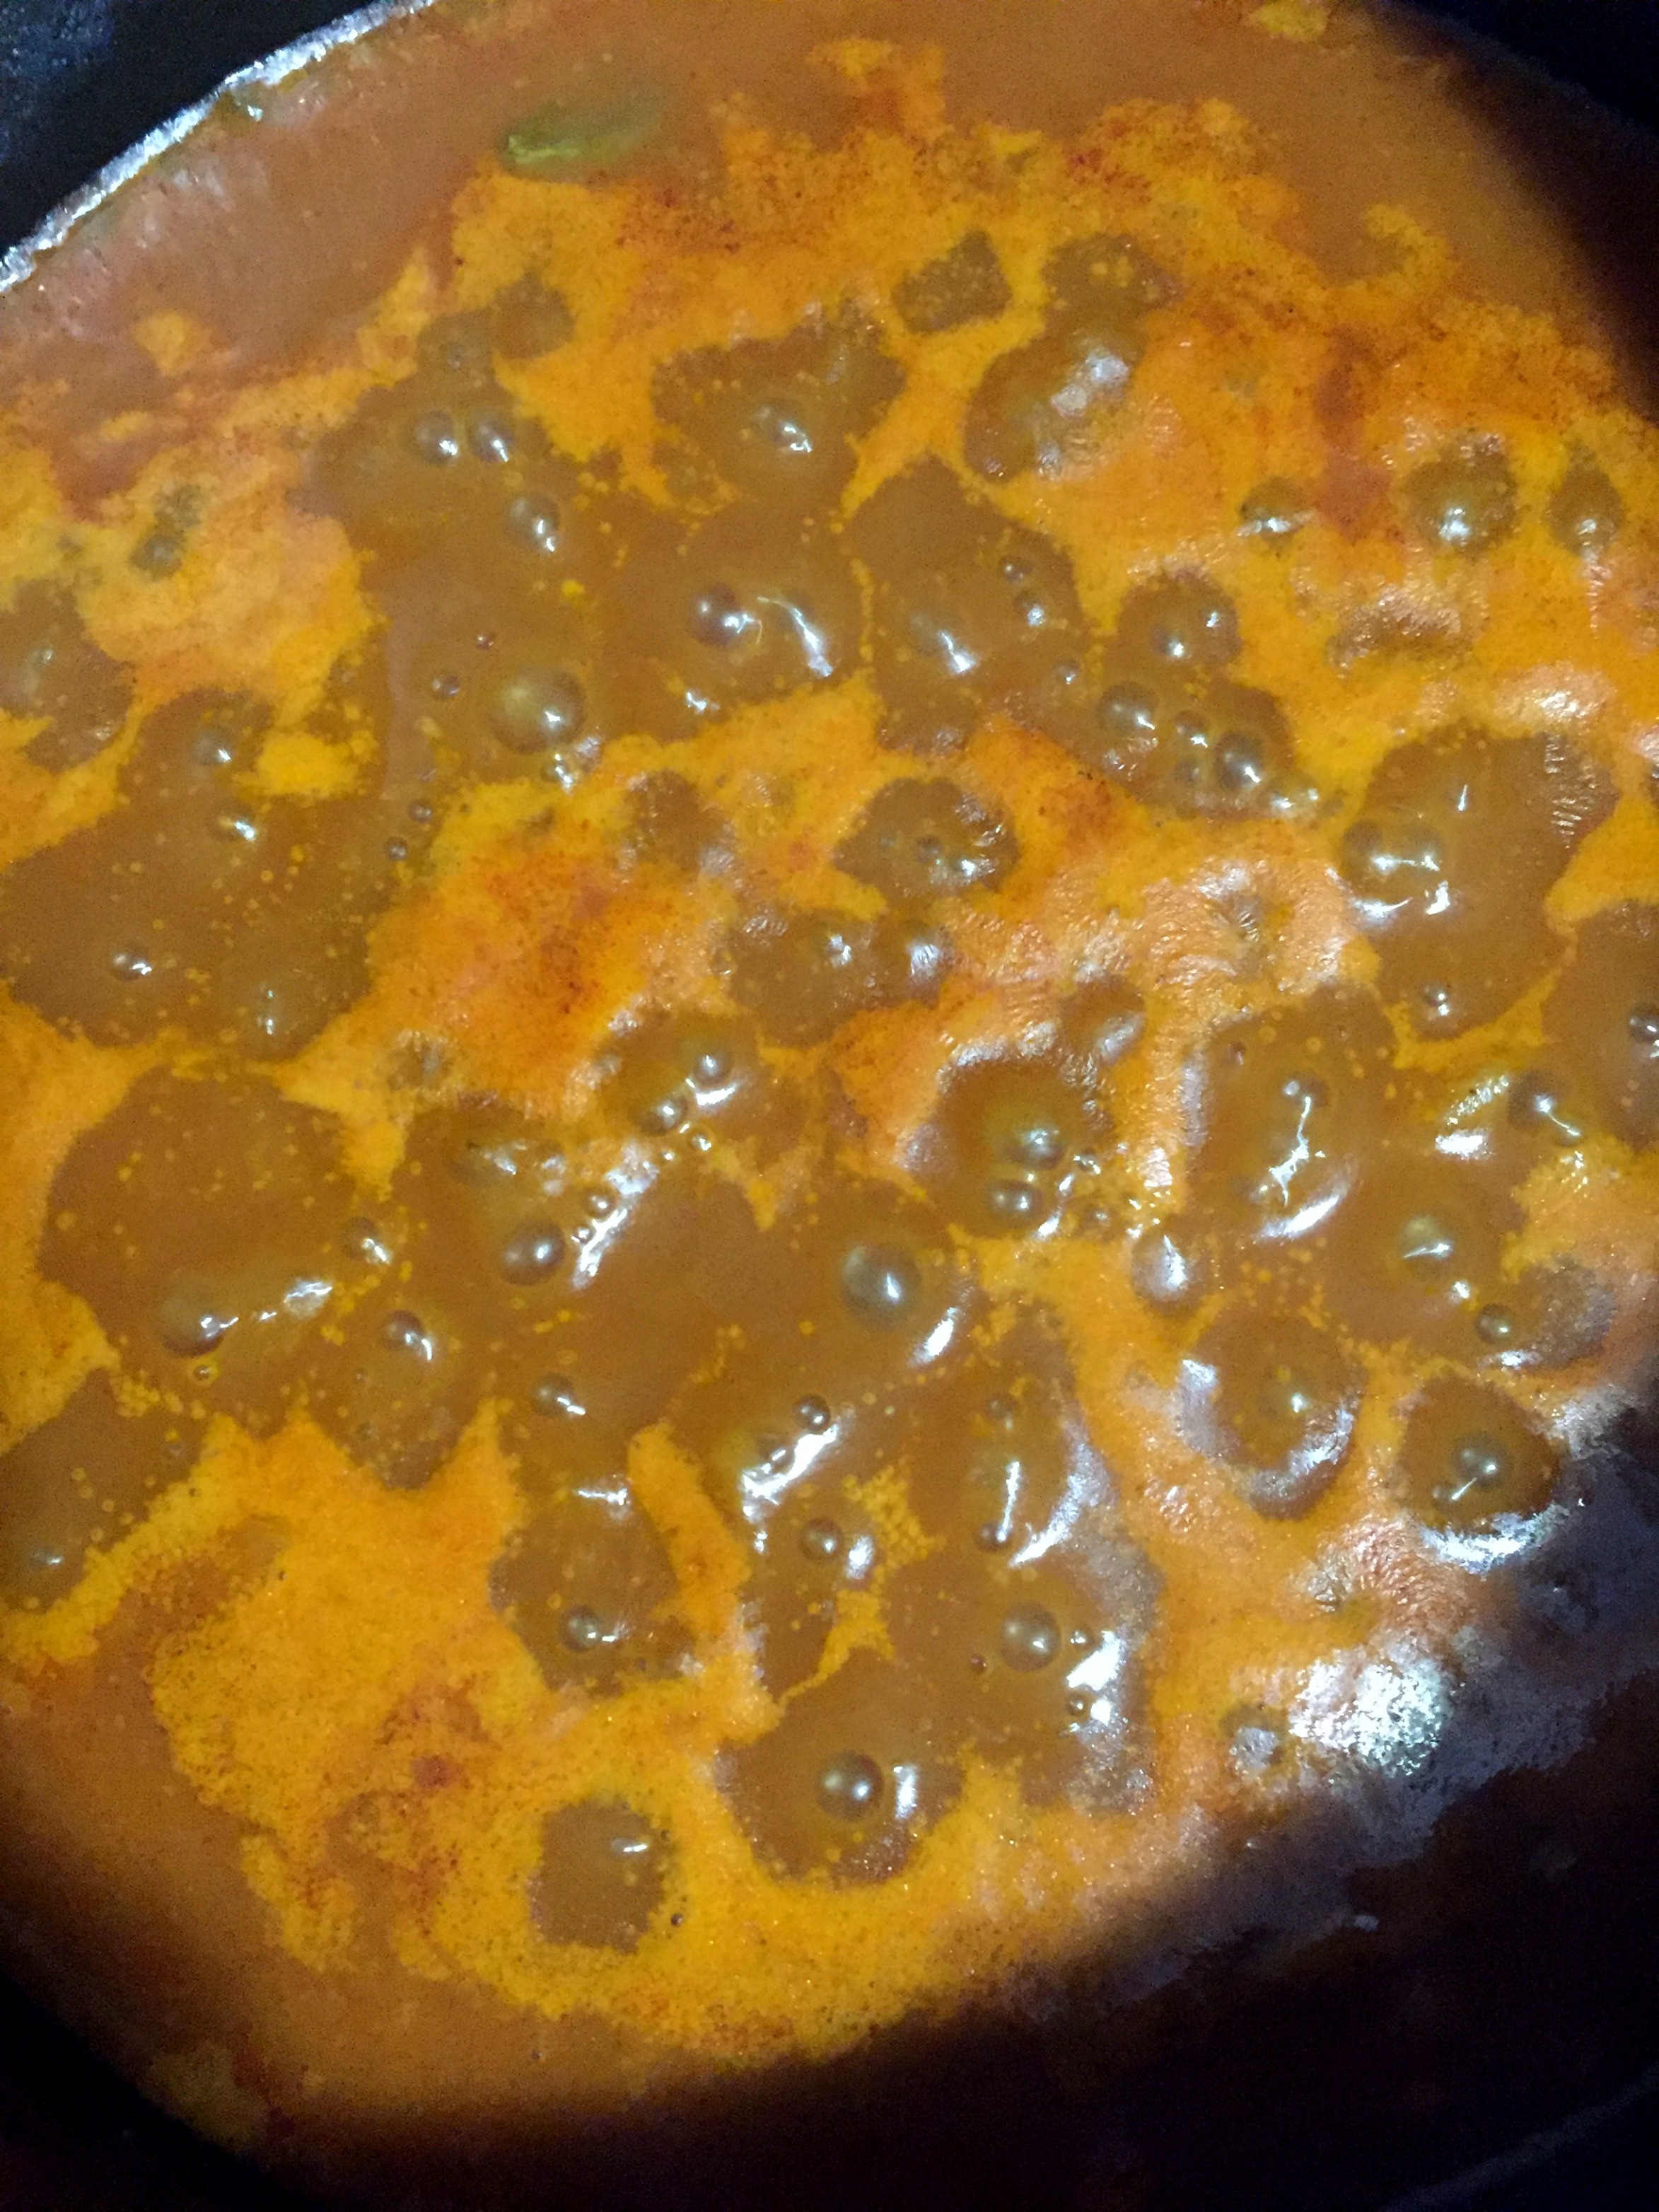
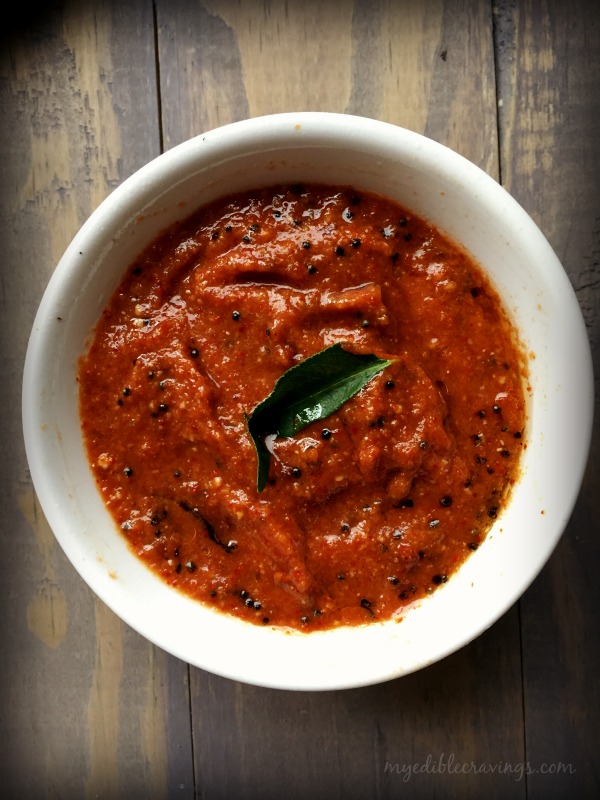 Milagai Chutney, as the name suggests, is a very simple but tasty chutney made from chillies. Milagai is the tamil word for chilli. And Milagai chutney is made from dried red chilli, also known as Vaththal in Tamil. I know, making a chutney from just dried red chilli sounds ludicrous but trust me, it tastes heavenly with hot idlis. The first time I had Milagai Chutney was in Madurai back when I was a kid. Our neighbor aunty used to make tasty Milagai Chutney and I always pestered my mom to make it exactly the same as the neighbor aunty did.
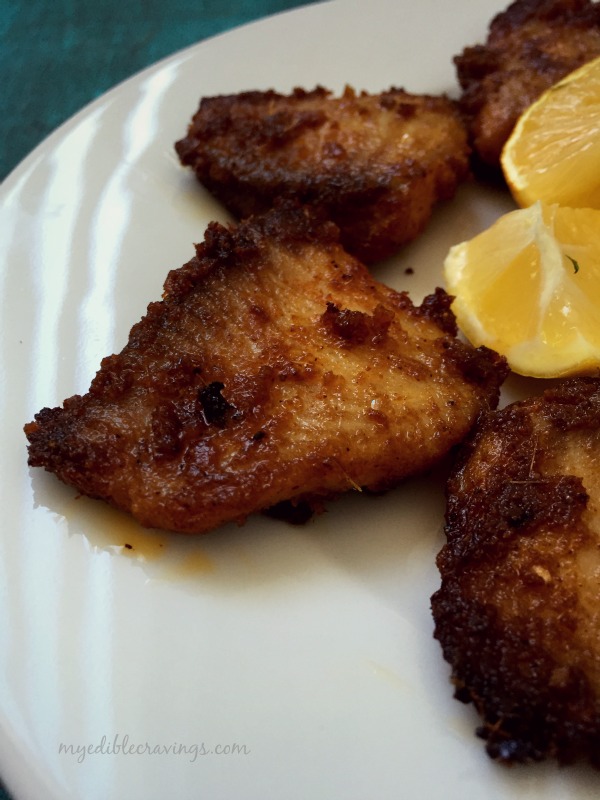
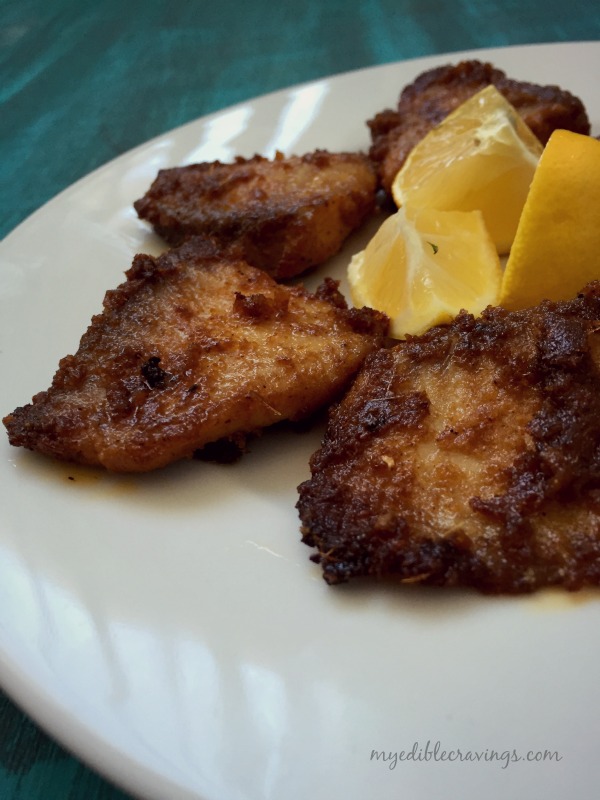
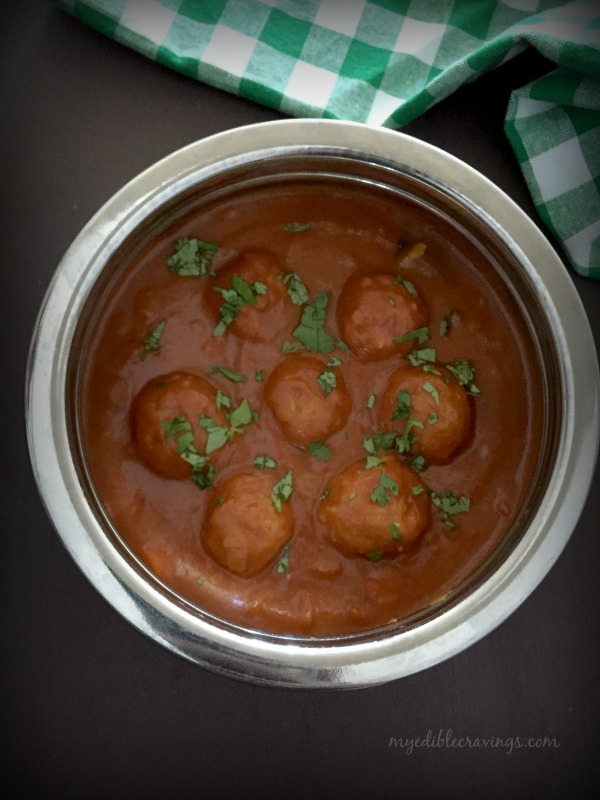
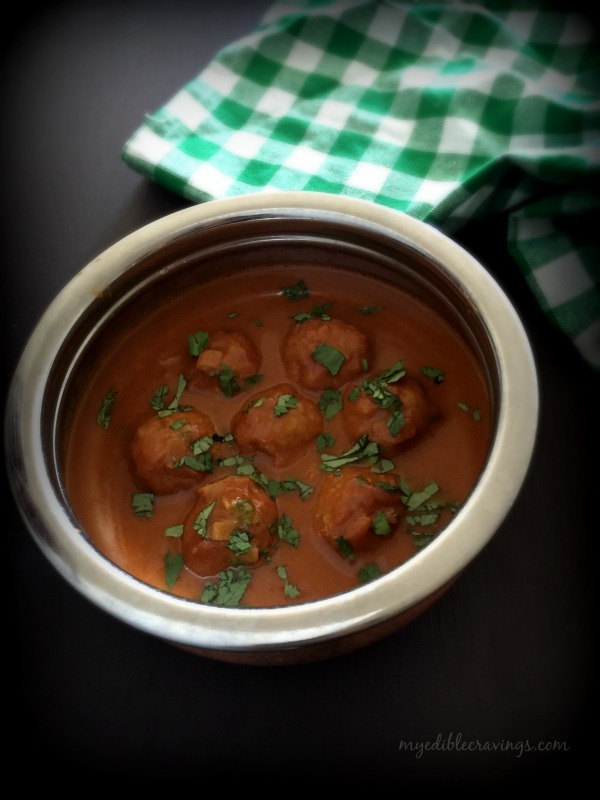
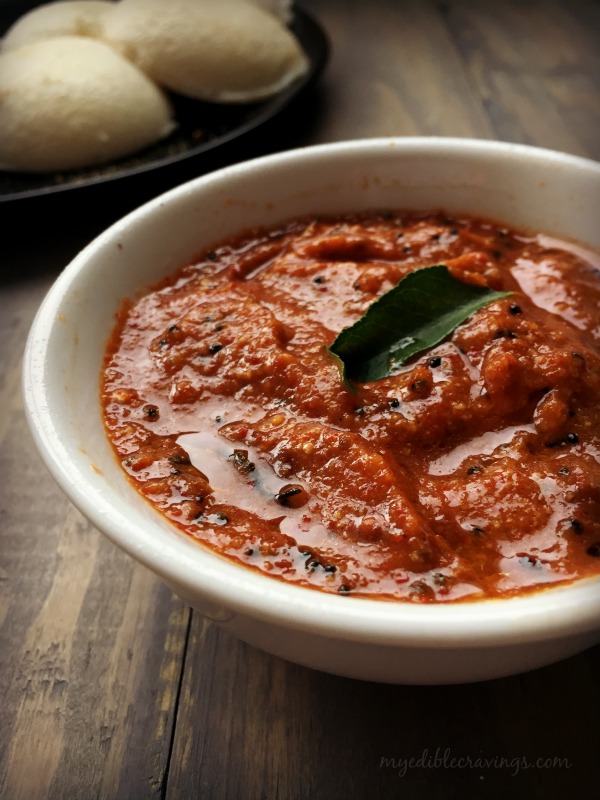 Milagai Chutney is my favorite chutney, hands down. After several attempts, I think I have perfected my mother’s recipe. The best kept secret of this recipe is the correct balance maintained between red chilli and tamarind. A slight variation might change the taste completely. Though Milagai Chutney pairs well with idli, it can also be had with Dosa, chapati etc. Try this spicy and tasty recipe at home and let me know if it is indeed the best chutney to go along with hot idlis 🙂
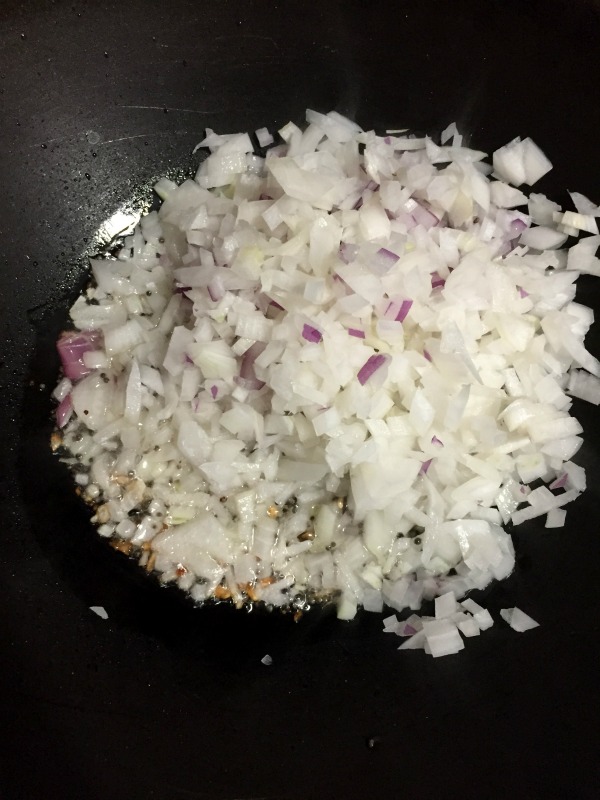
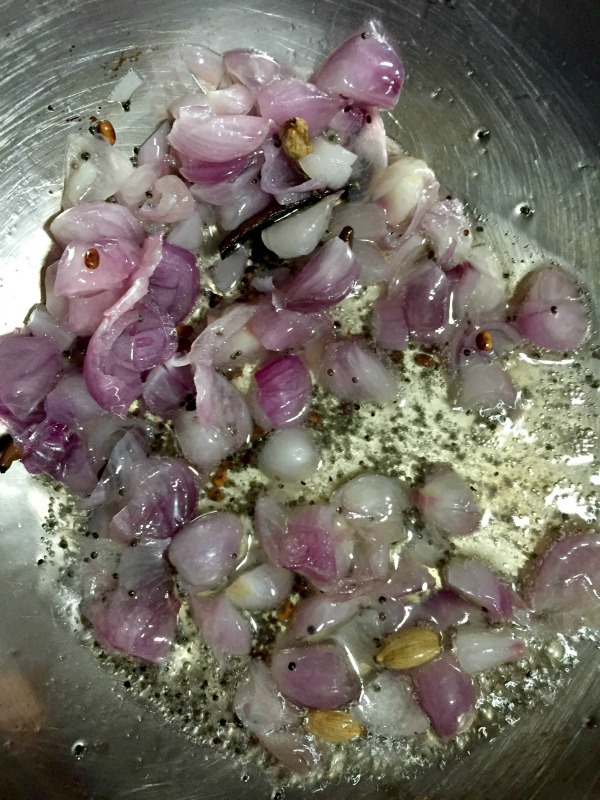
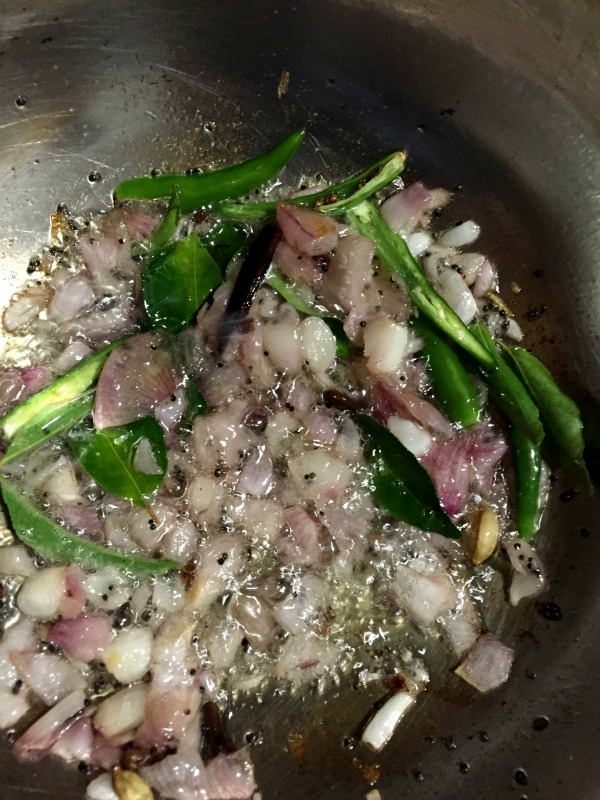
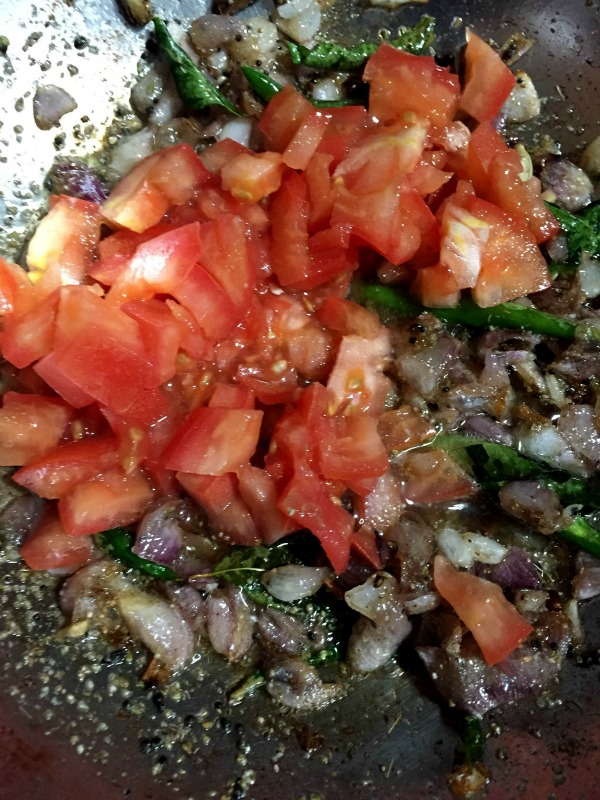
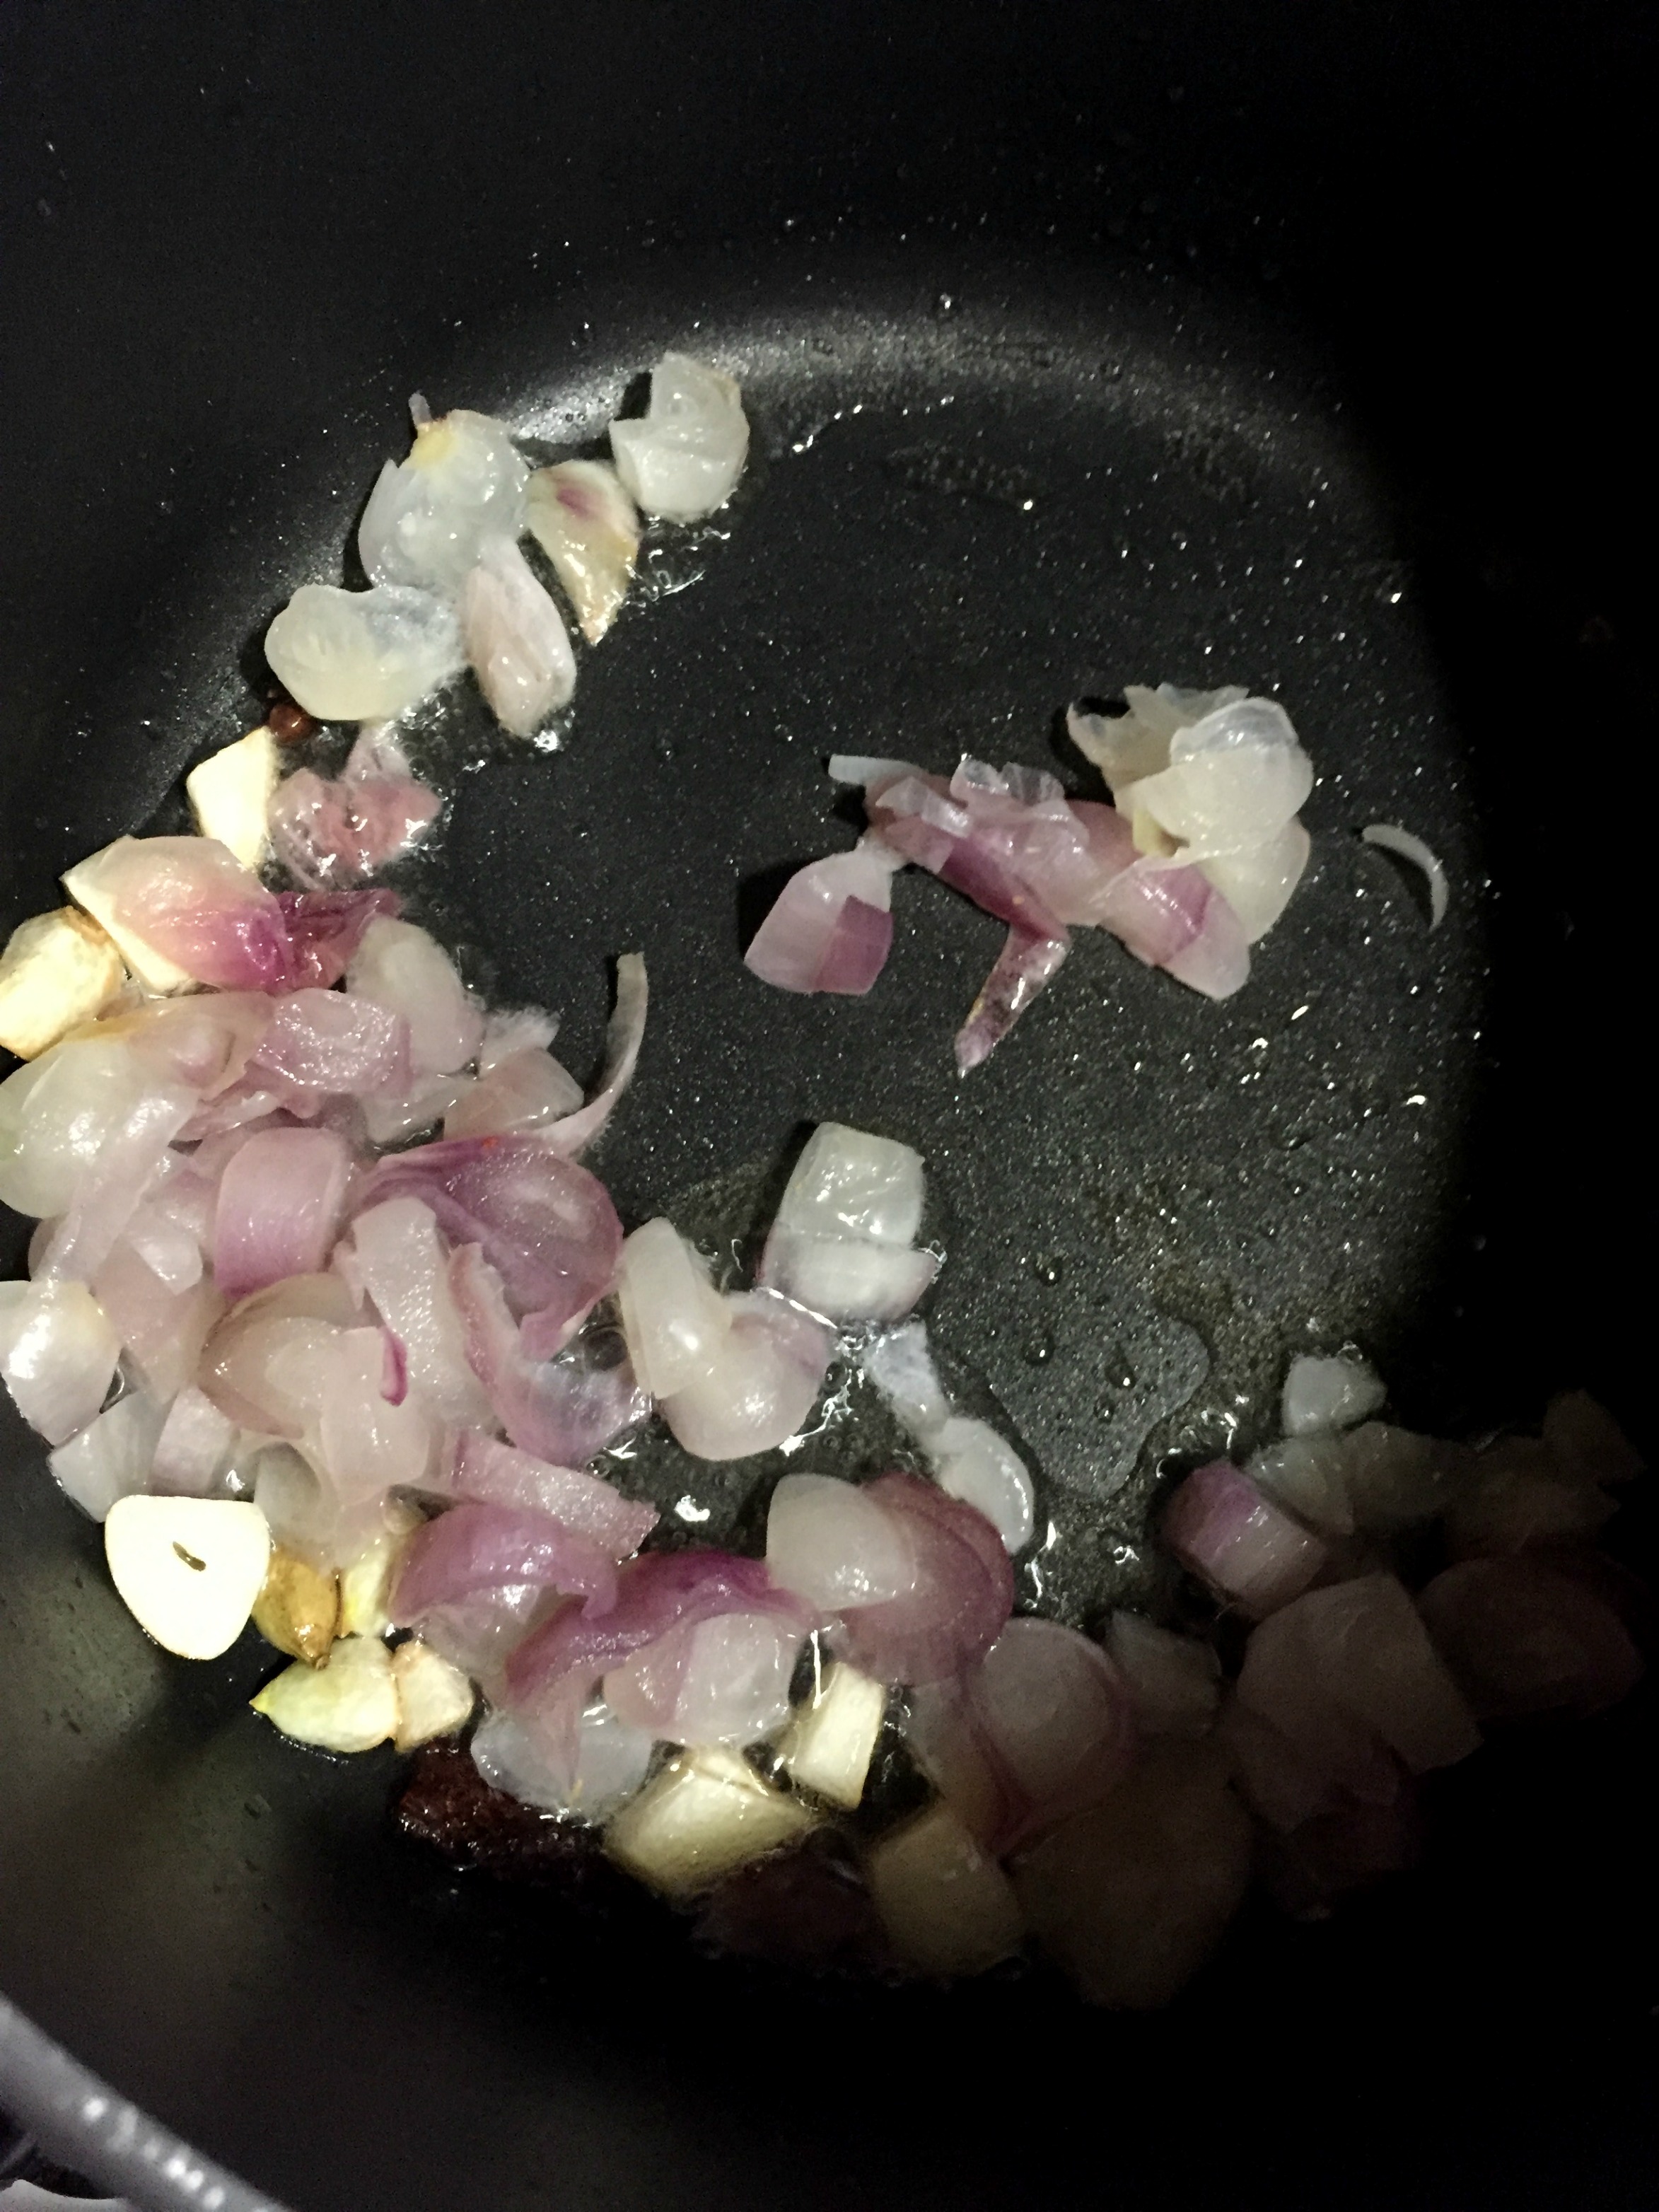
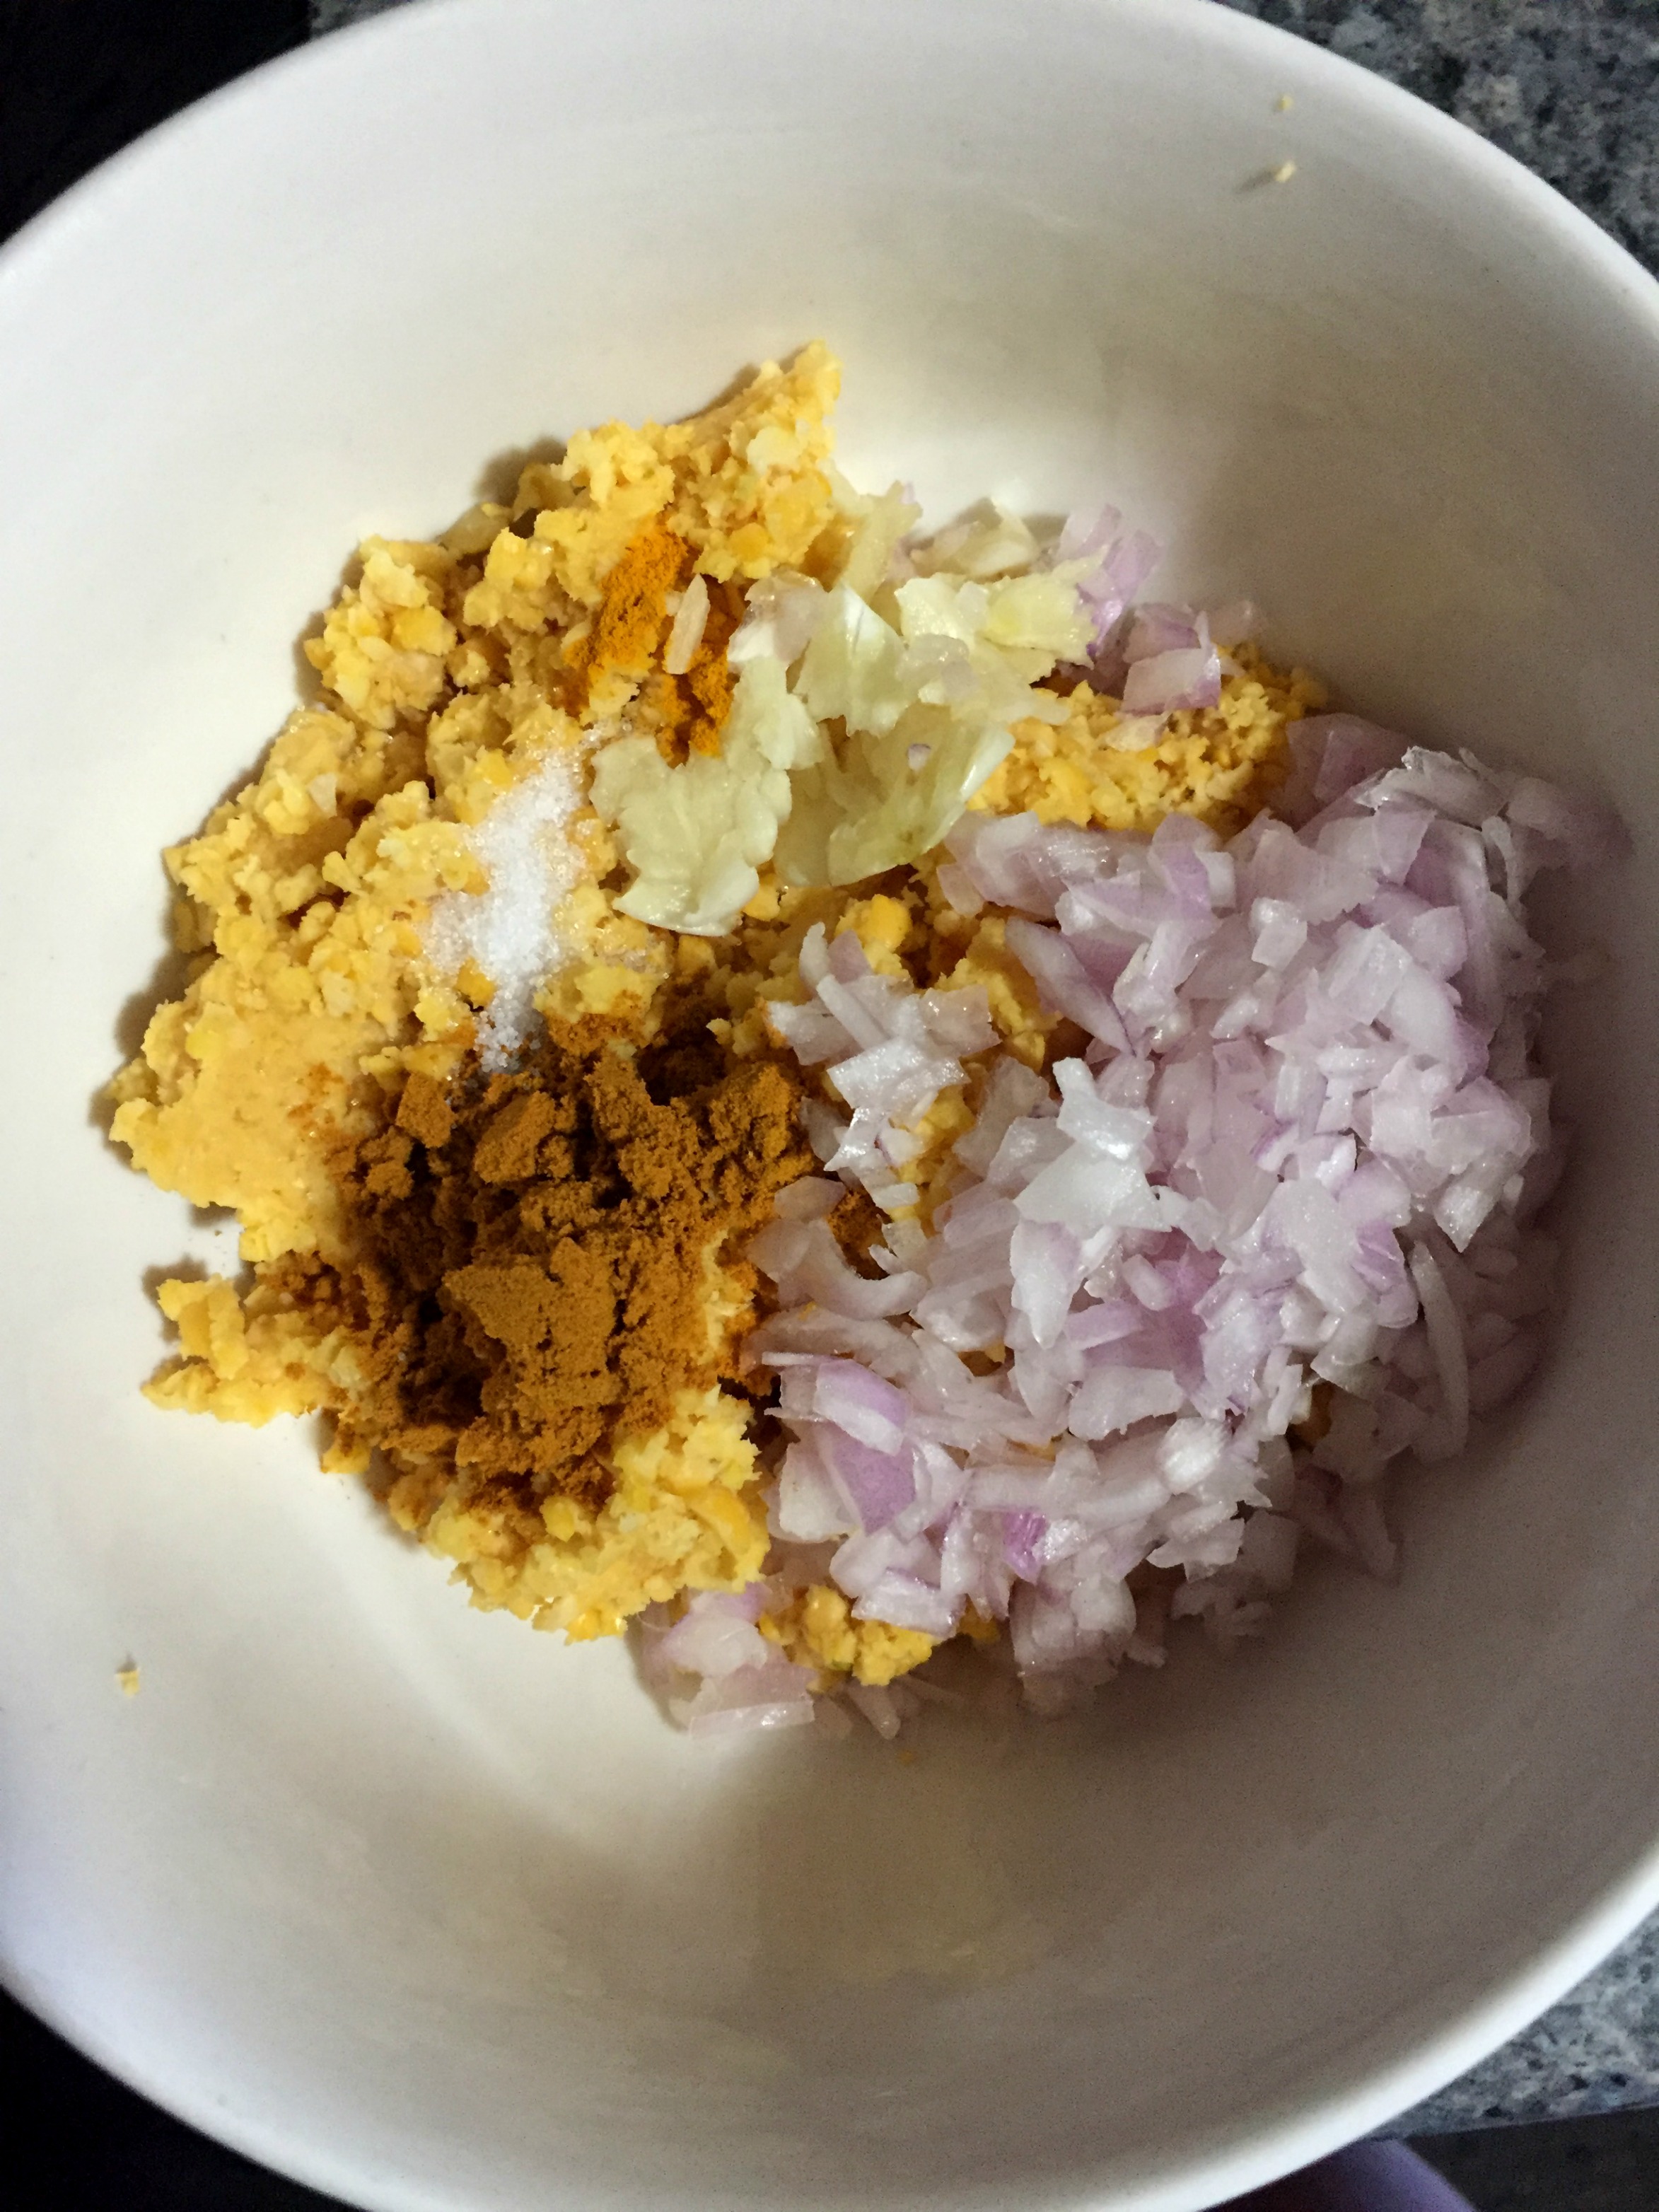
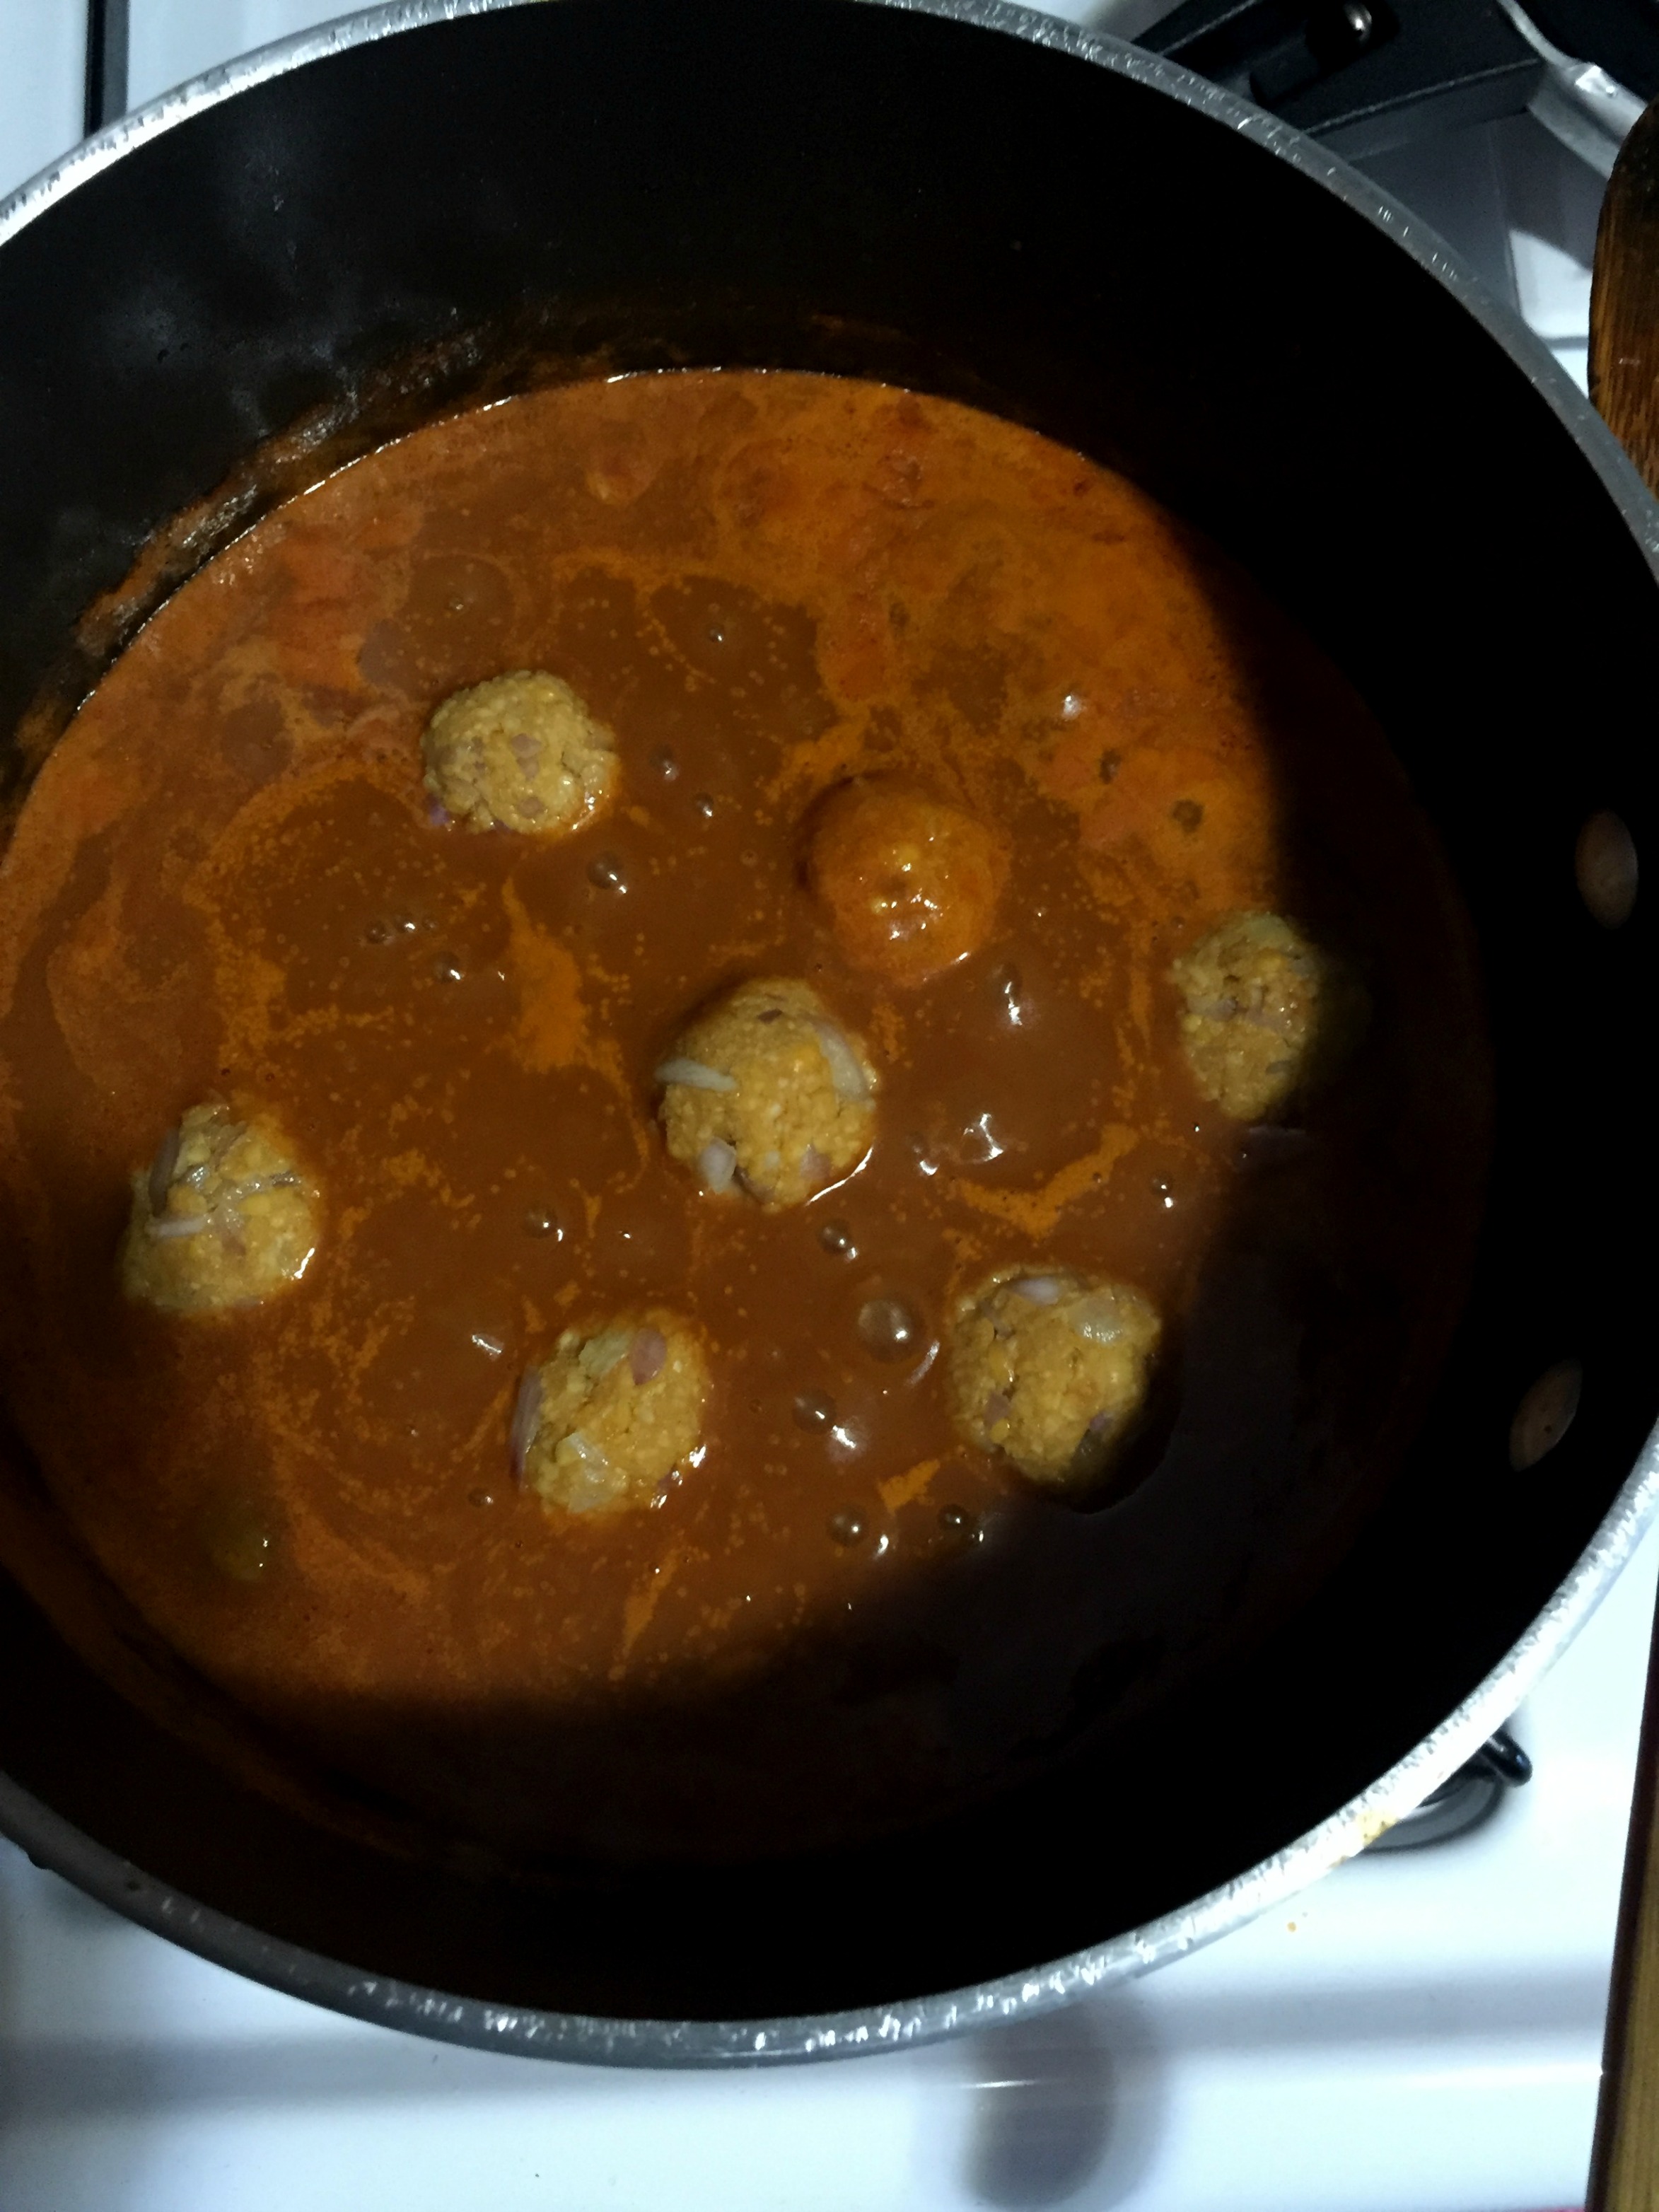
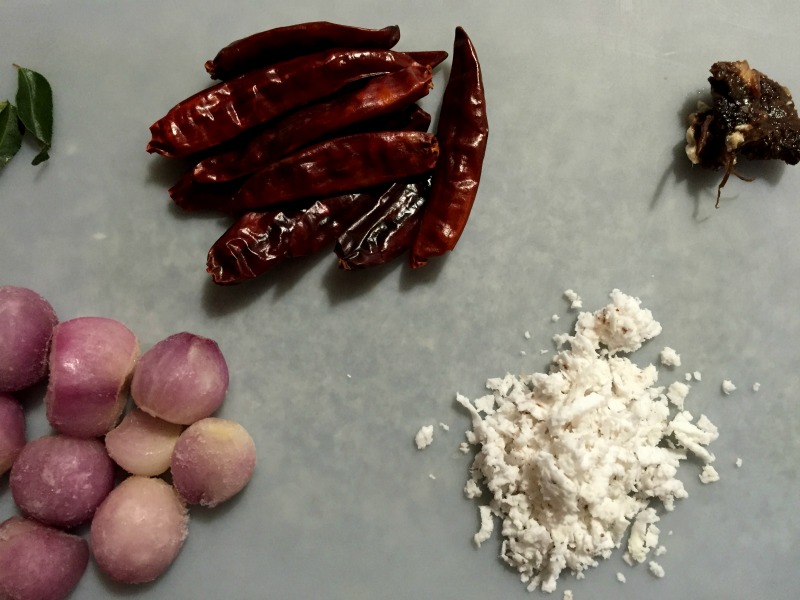
- Shallots – 8 to 10 nos
- Red chilli – 10 to 12 nos
- Tamarind –1/4 lime size
- Grated coconut – ½ tbsp
- Salt as required
- Gingely oil – 1 ½ tbsp
- Mustard seeds- 1 tsp
- Urad dal – 1 tsp
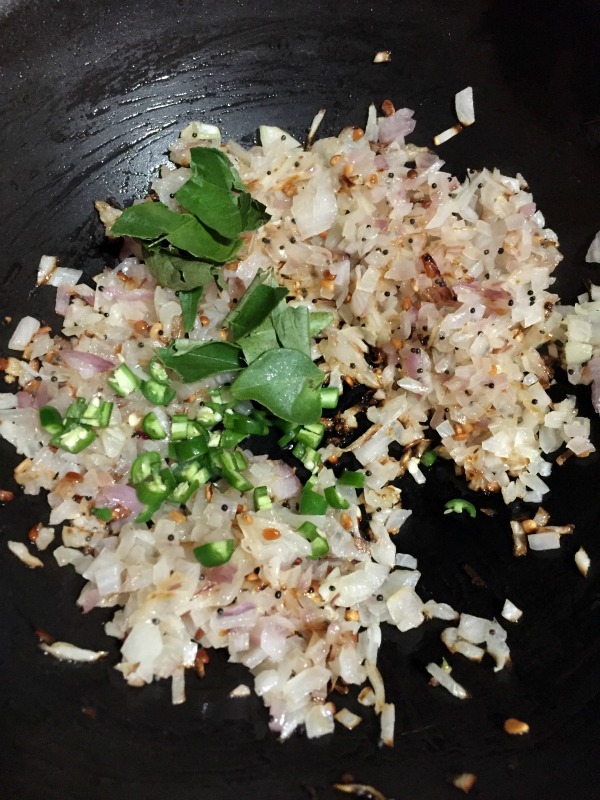
- Curry leaves – a sprig
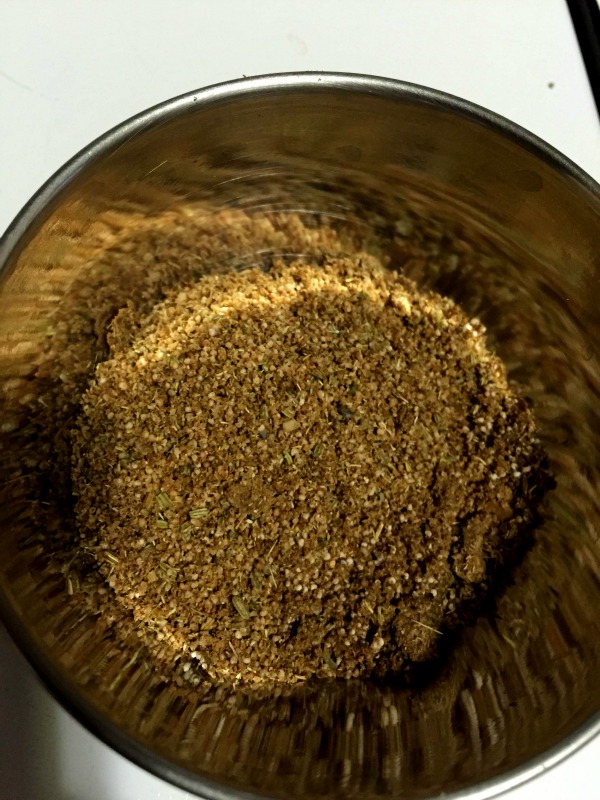
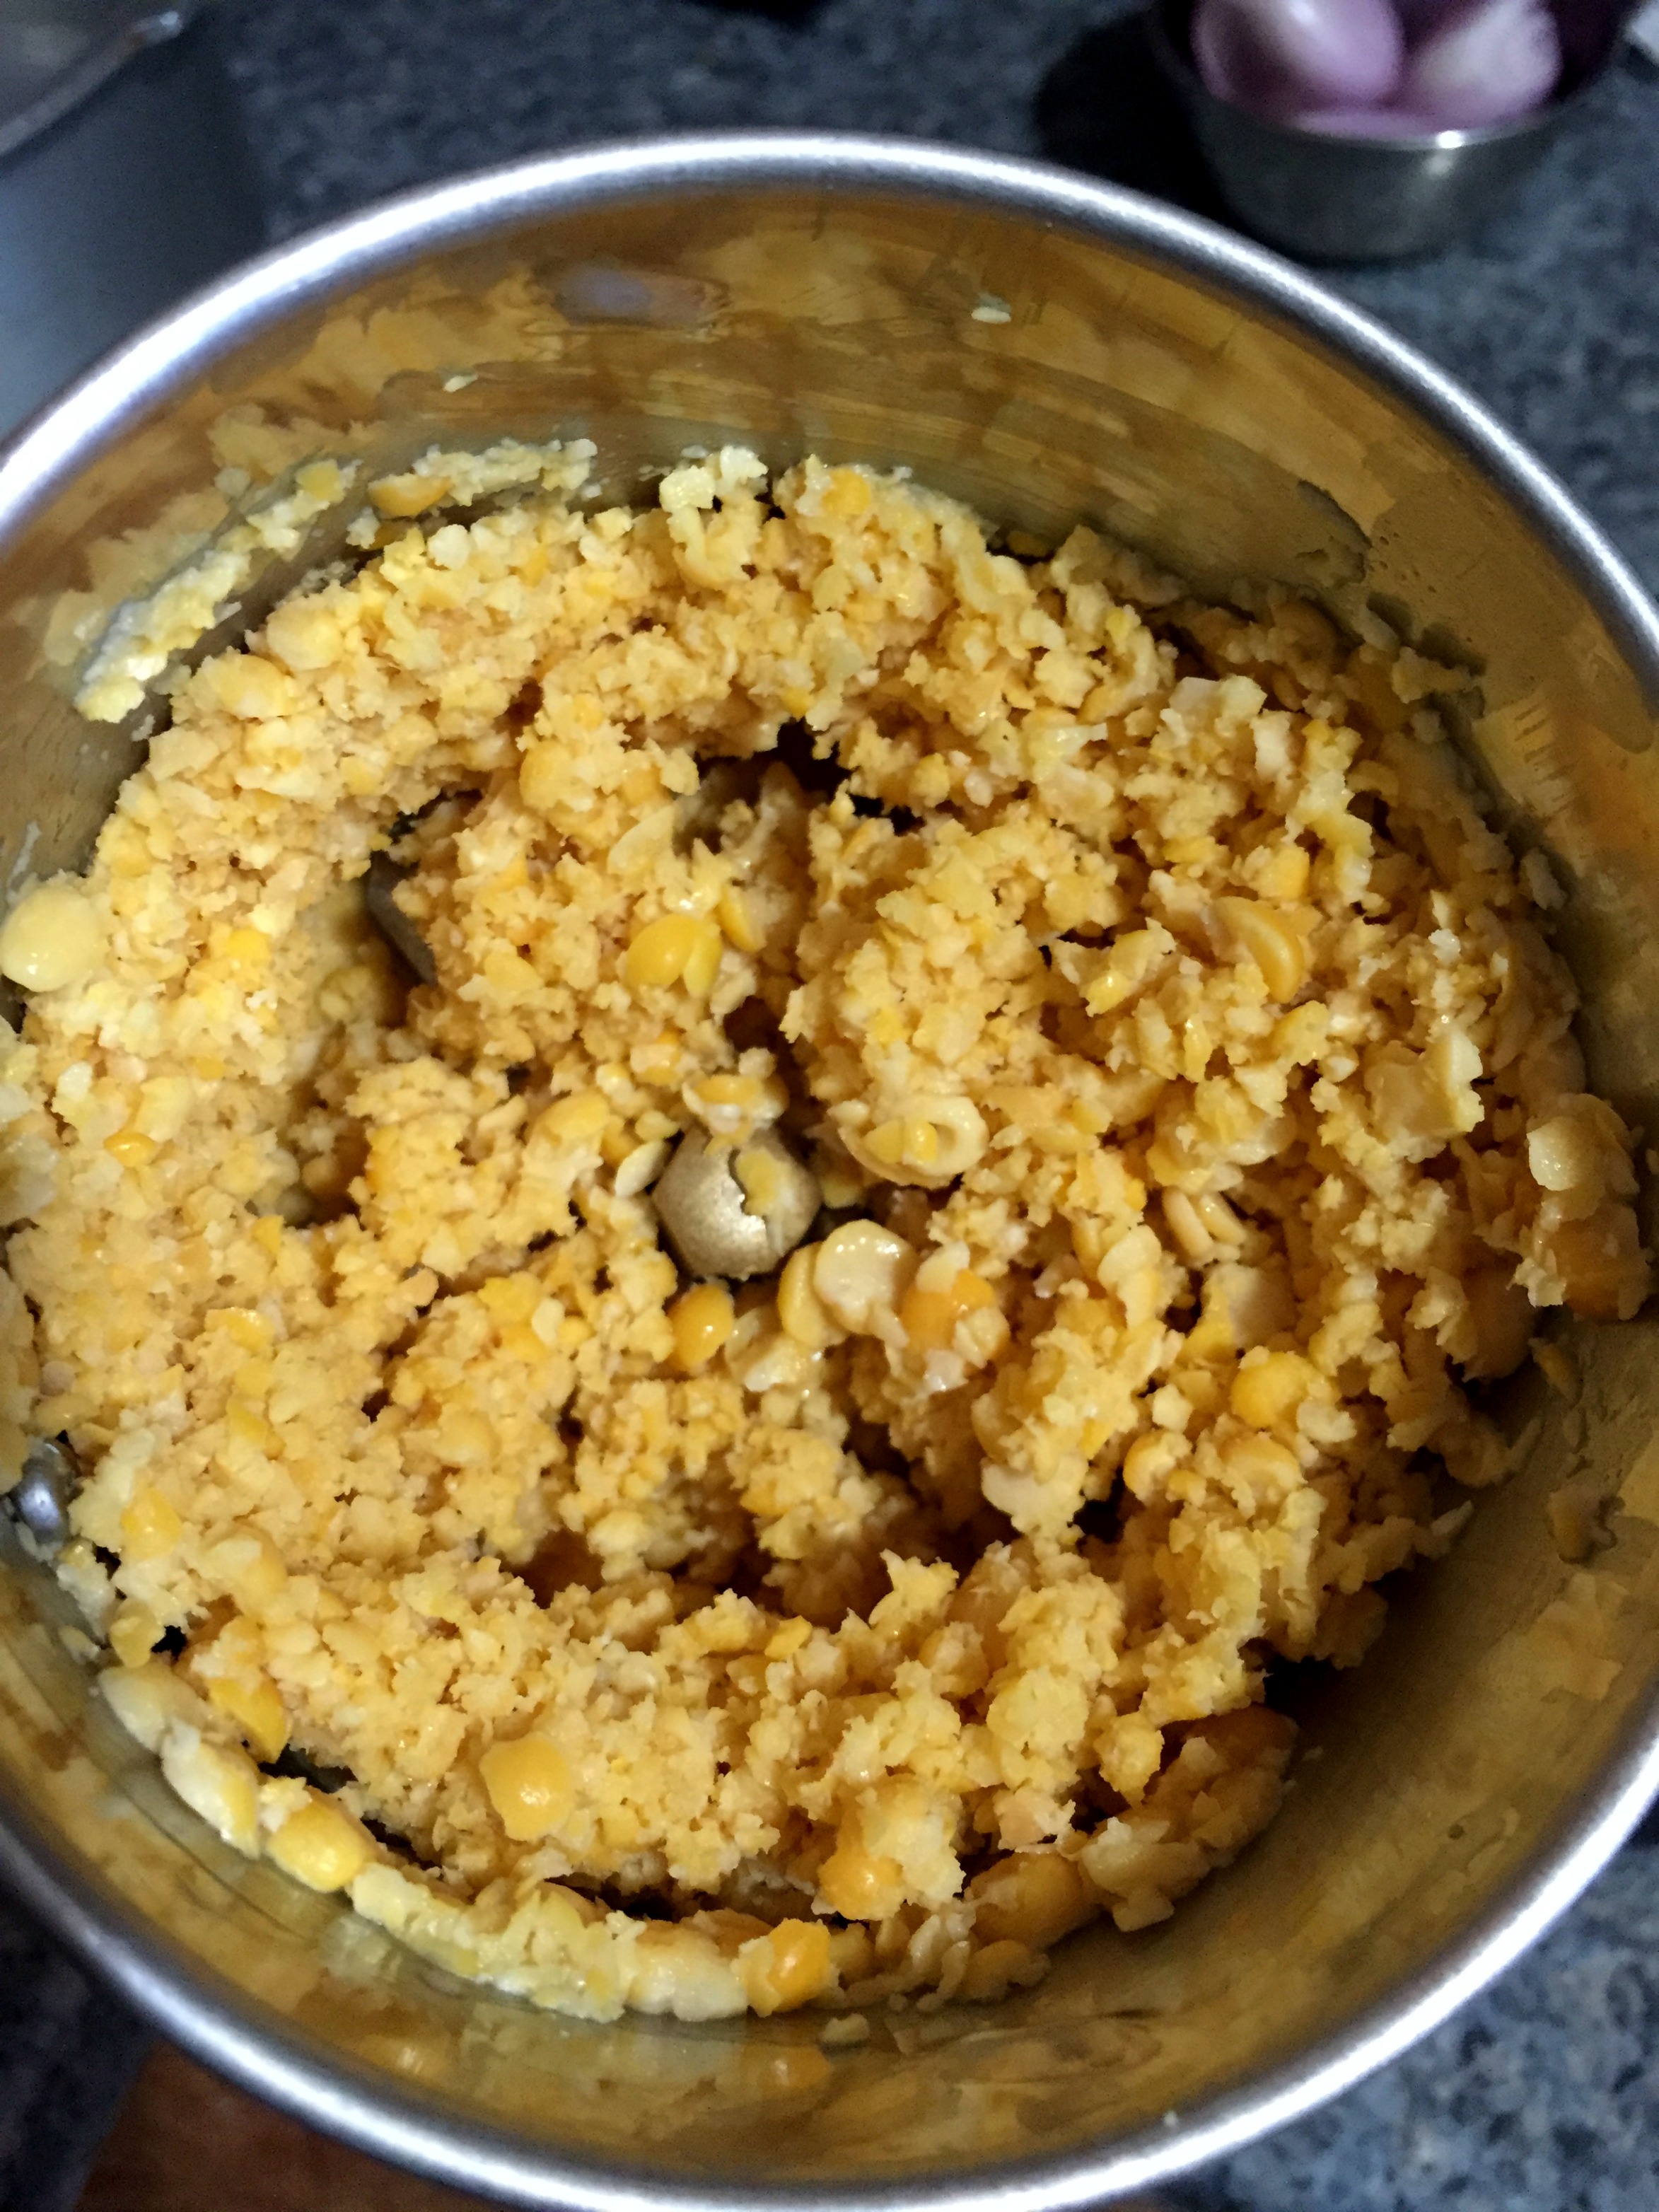
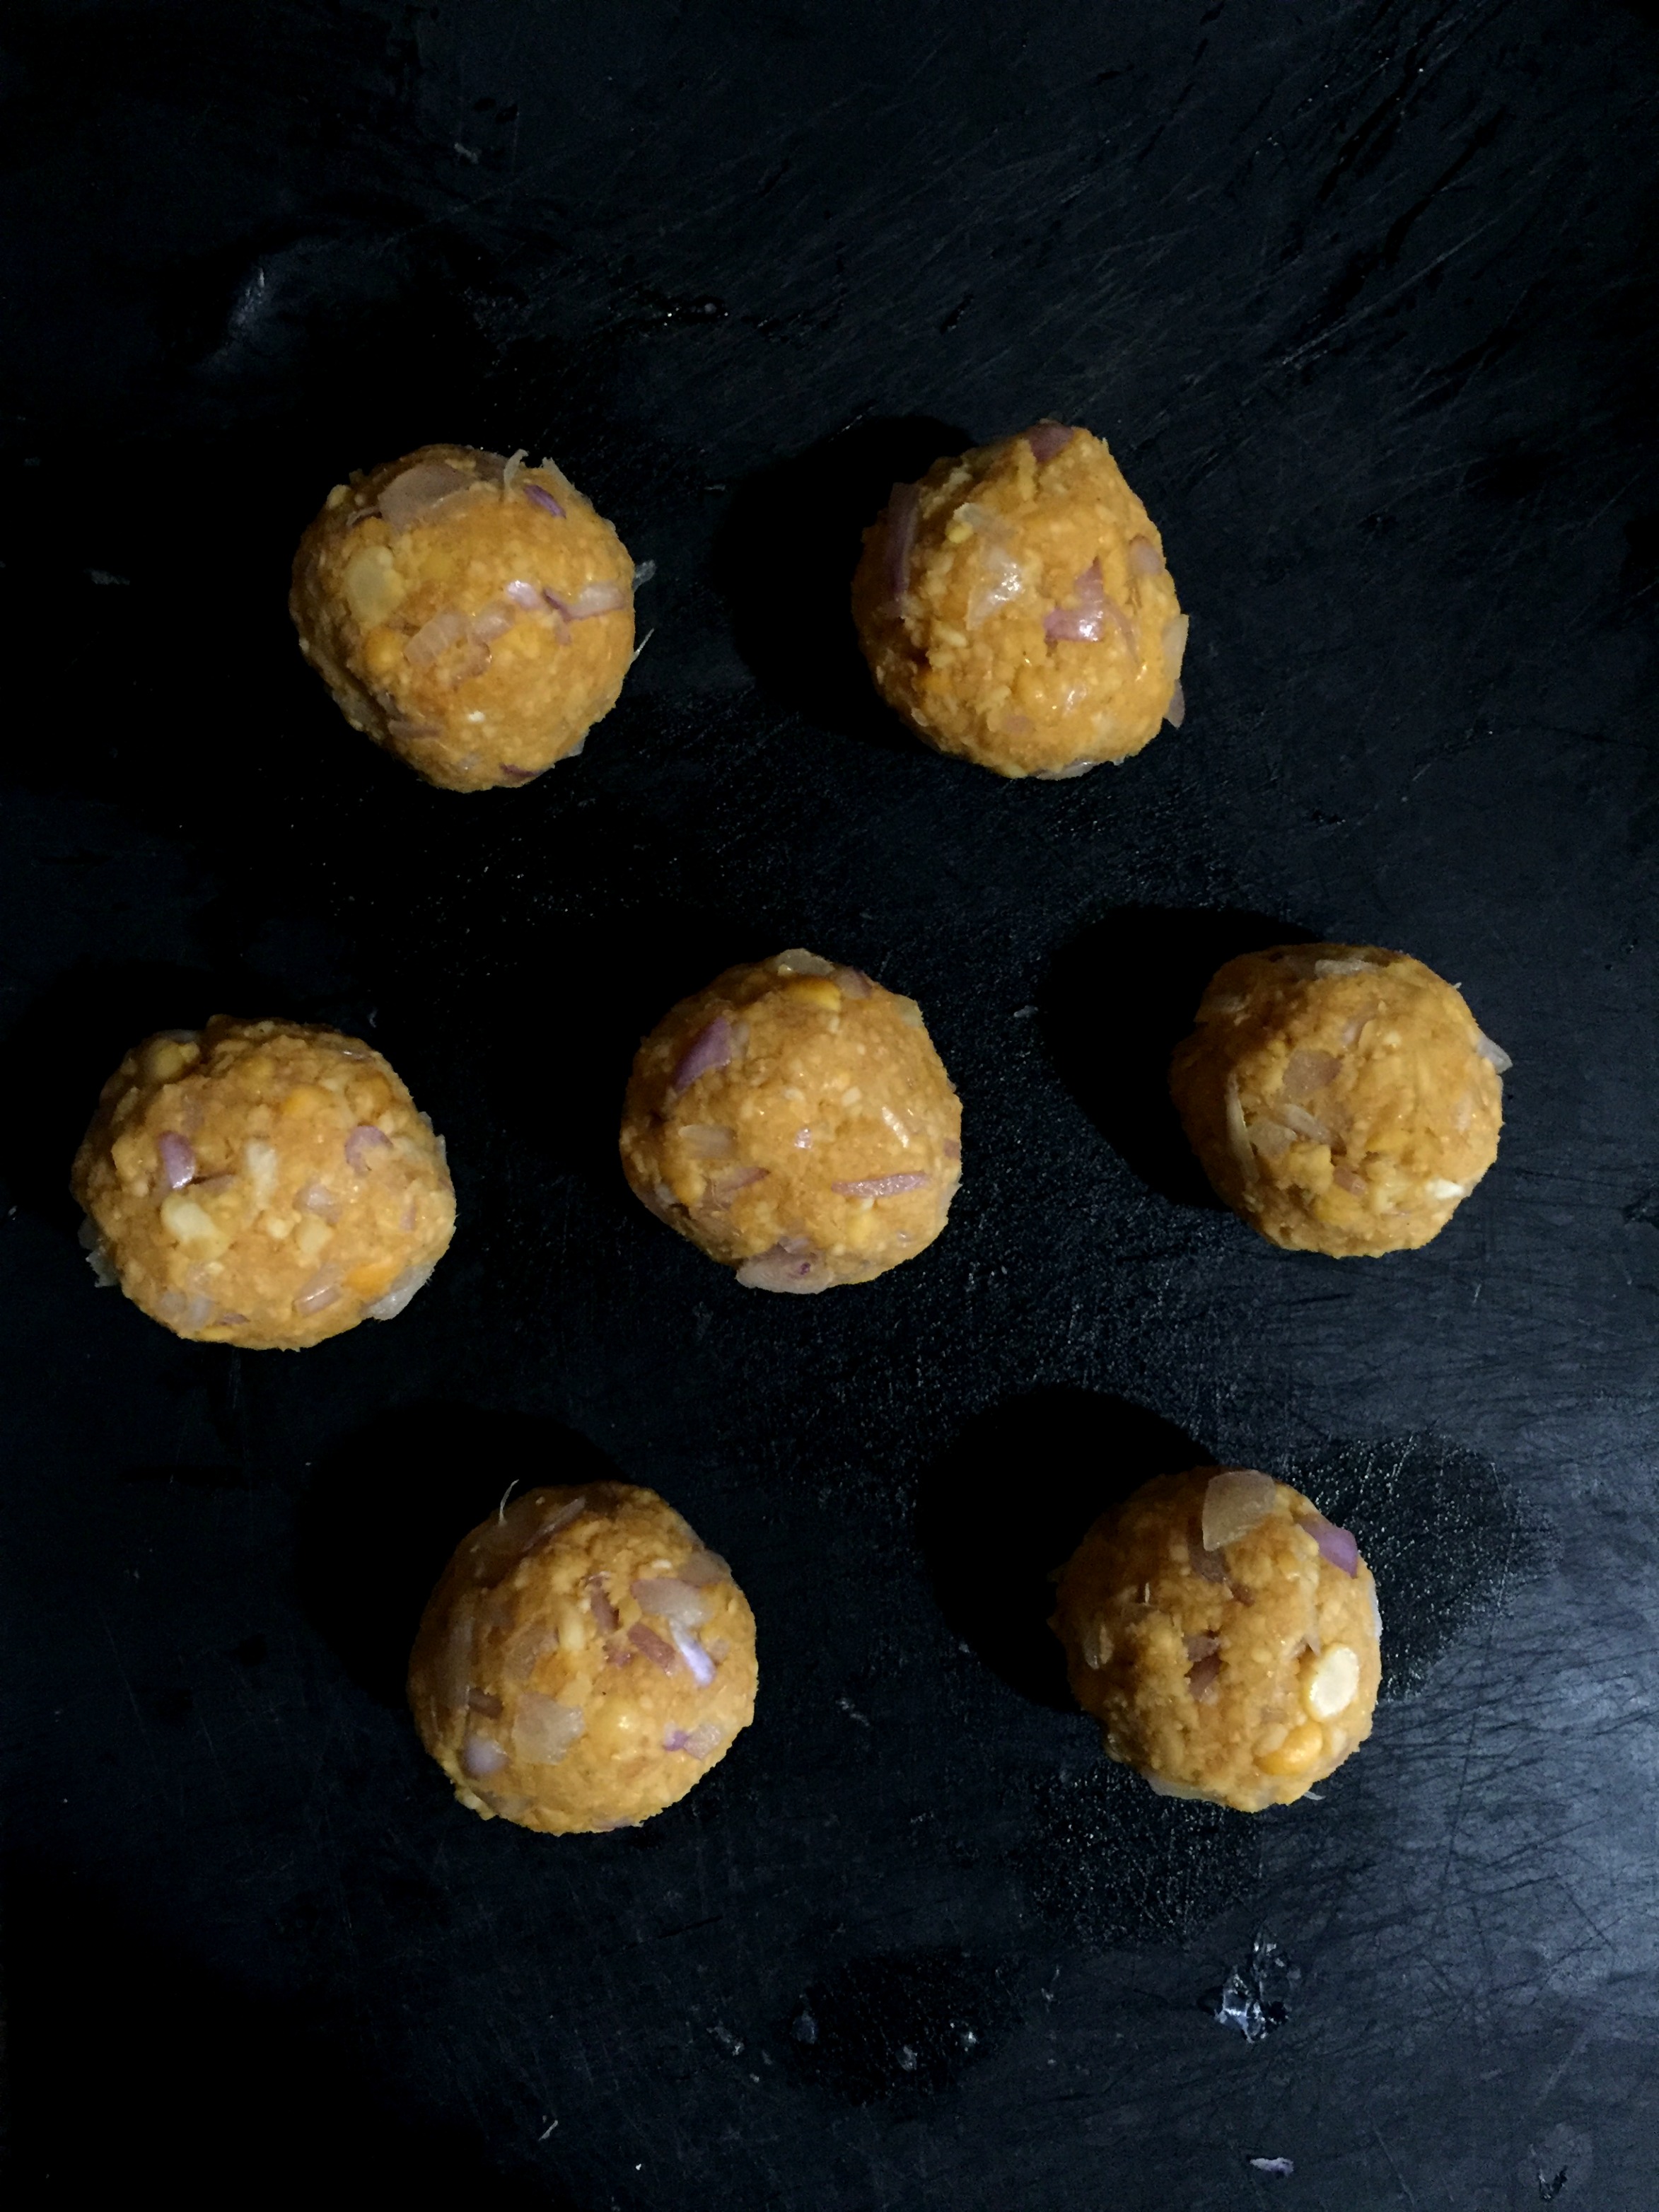
- Grind all the above ingredients in a blender without adding water.
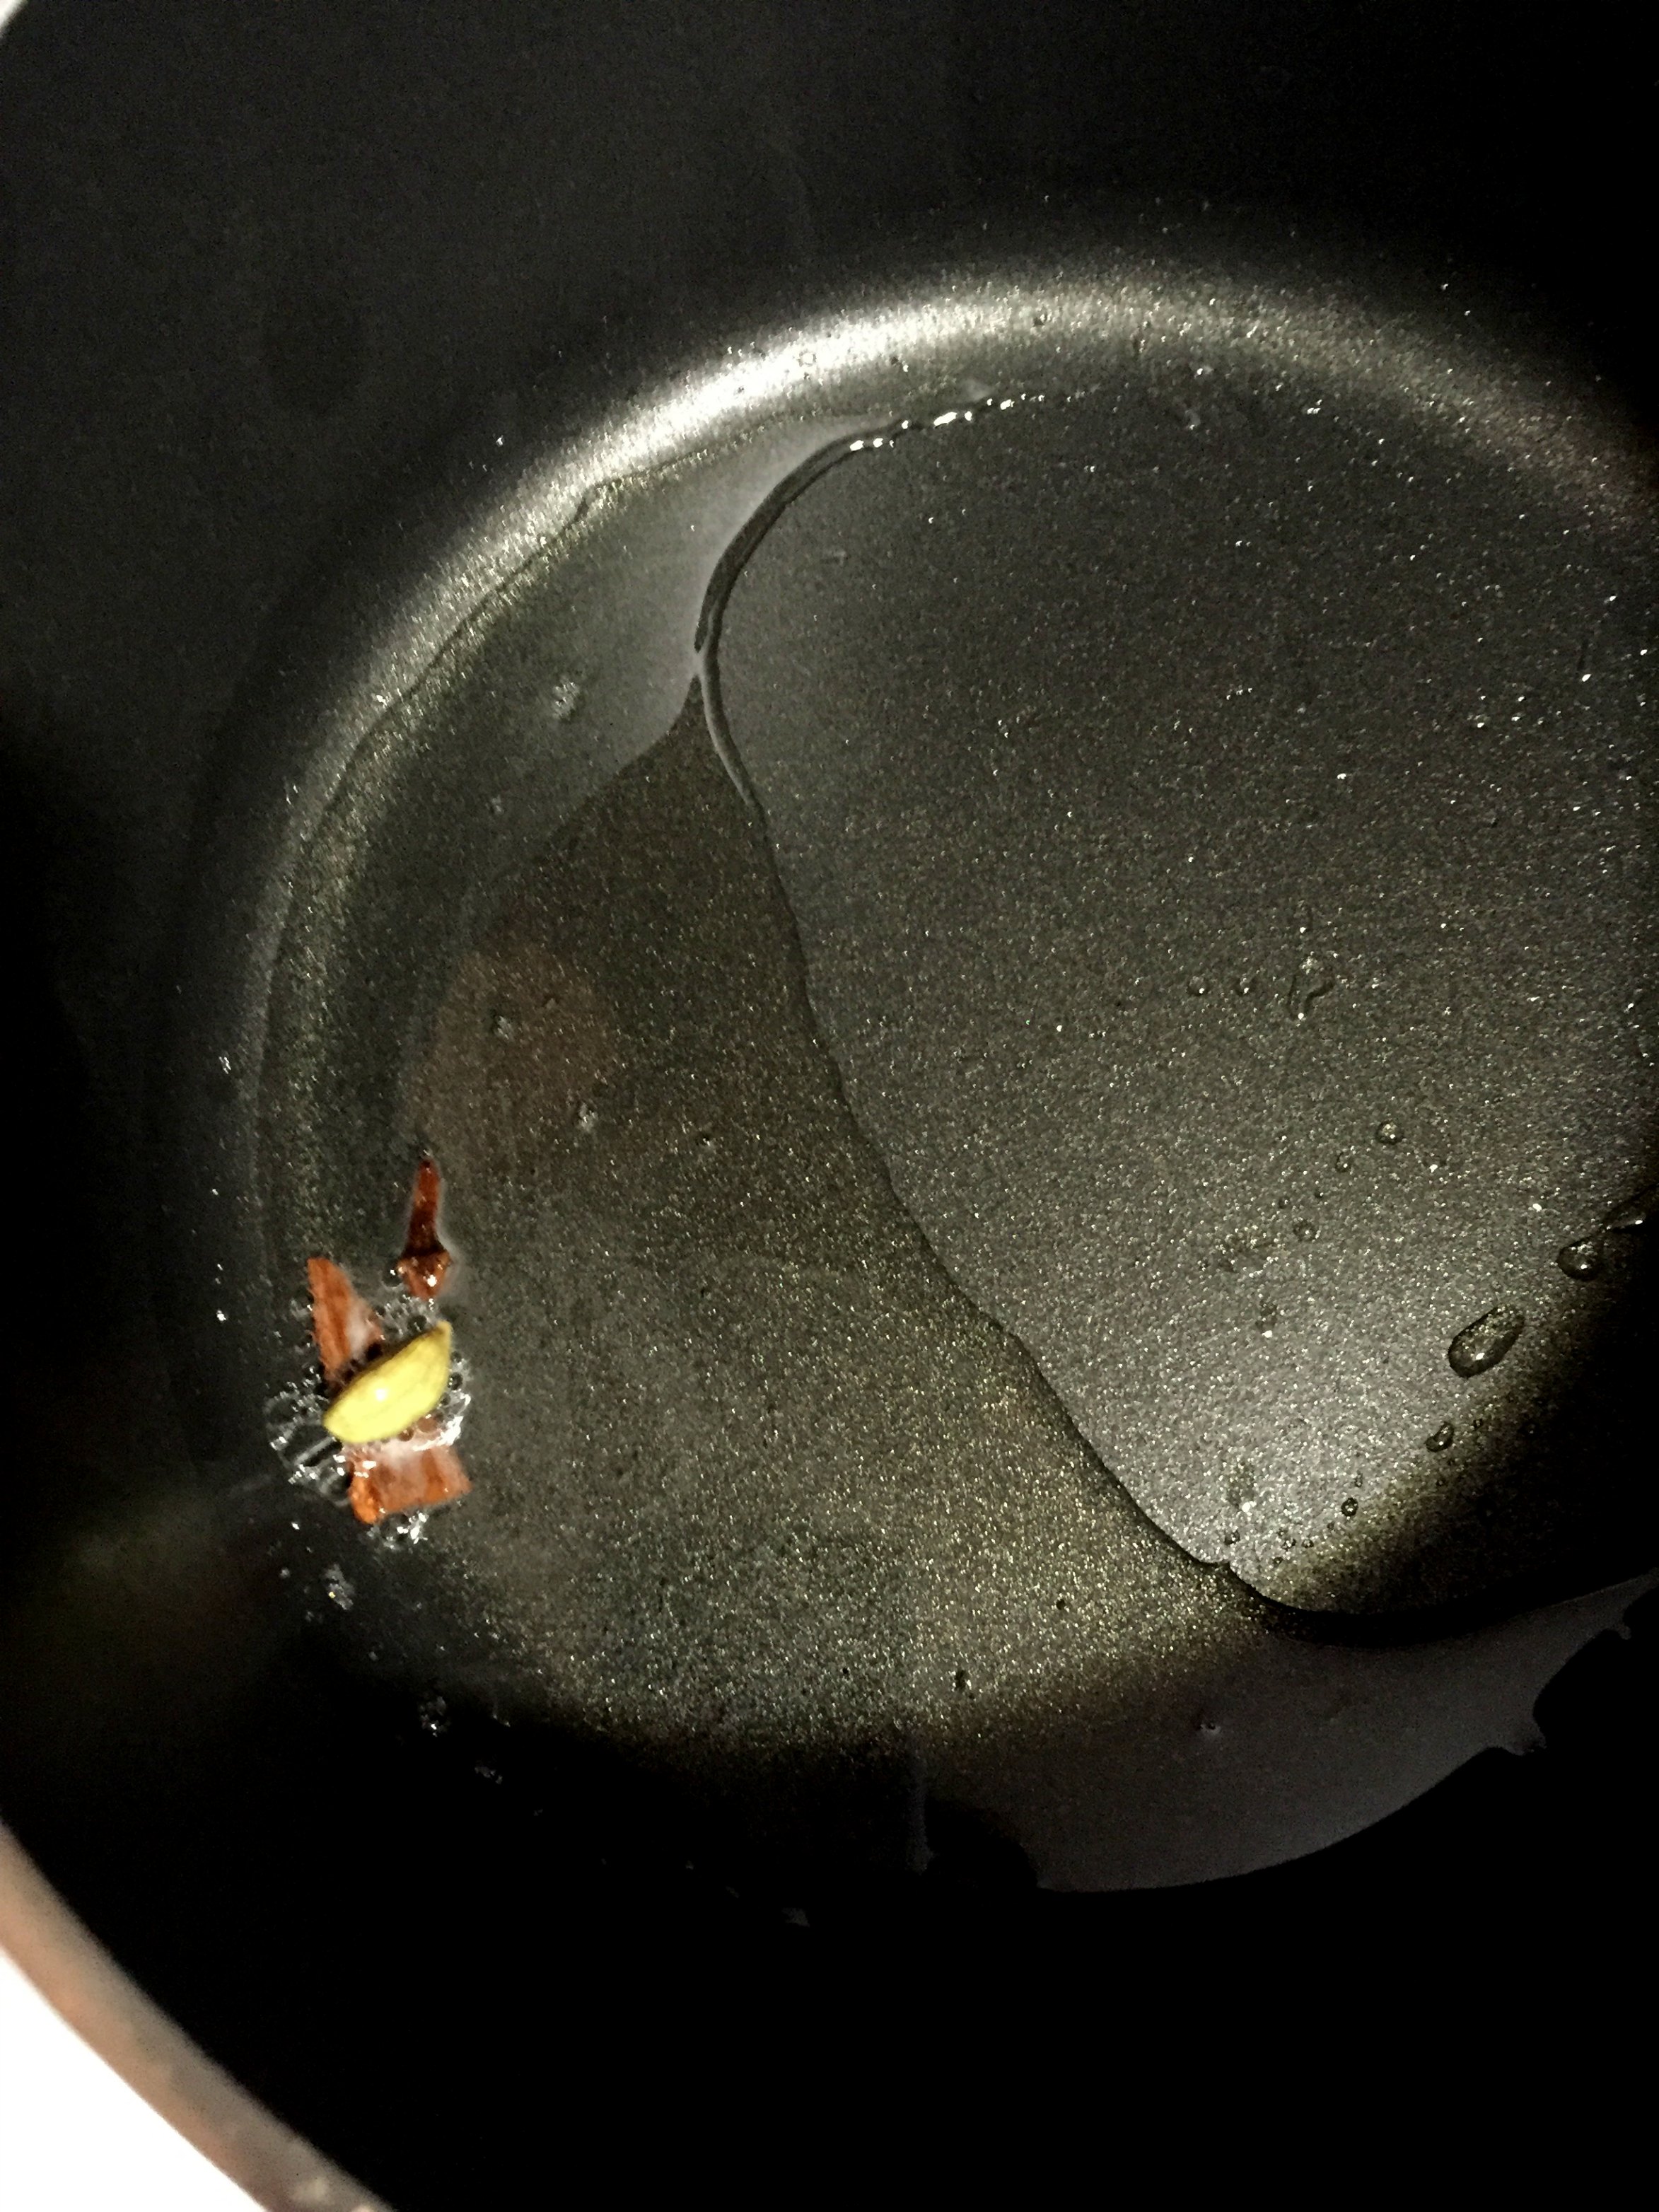
- Season with mustard, urad dal and curry leaves.
- Have the spicy and tasty milagai chutney with hot idlis or dosas. Enjoy!
2. You don’t have to sauté the ingredients before or after grinding them. Just add the seasoning on top.
3. This milagai chutney is super spicy and so I would recommend adding a tsp of gingely oil on top before serving.