Mooli Ka Paratha

Mooli Ka Paratha
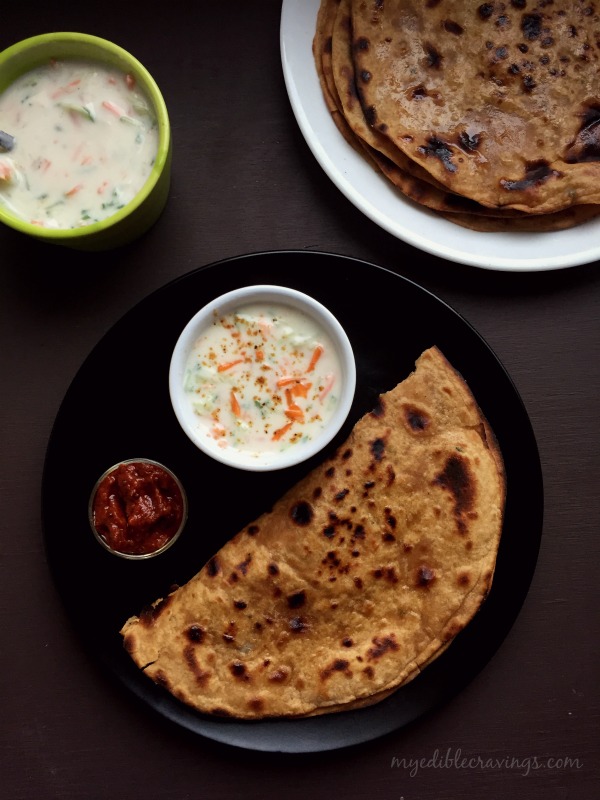
Paratha is a bread variety made from leavened wheat flour and is the staple food in northern parts of India. There are so many varieties of parathas like Aloo paratha, Kashmiri paratha, Paneer paratha etc. Today’s recipe is one such variety called the Mooli Ka Paratha, a stuffed paratha variety made from Mooli. Mooli is the hindi word for radish. I have heard about Mooli ka paratha before but have never tried it until recently. Thanks to my dear friend for introducing me to this dish.

Mooli Ka ParathaMooli Ka Paratha
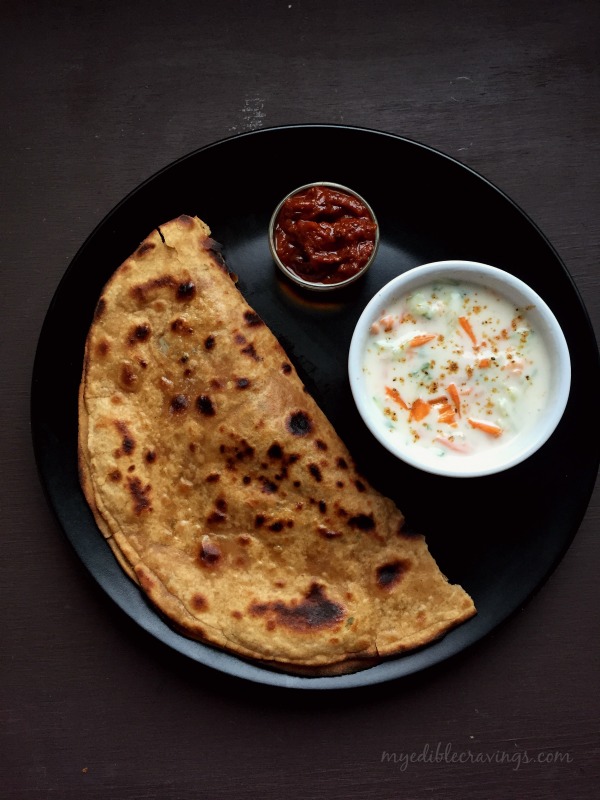
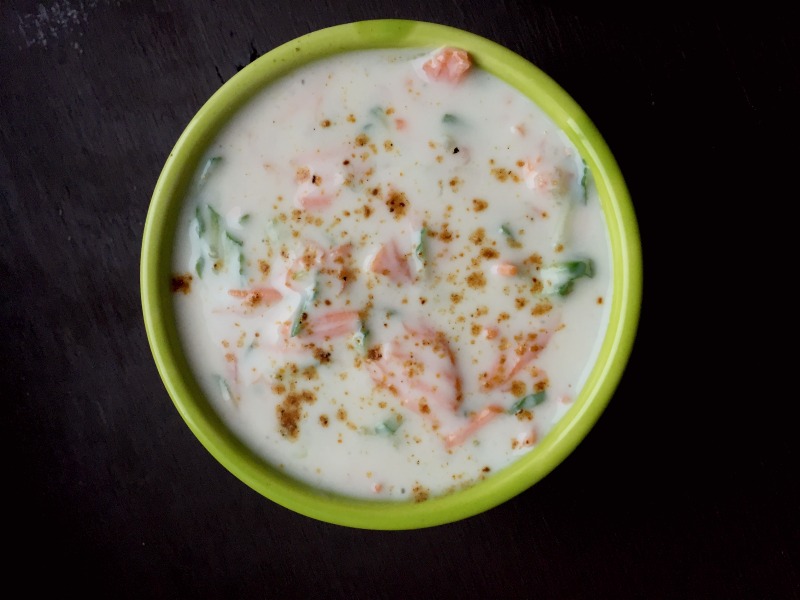
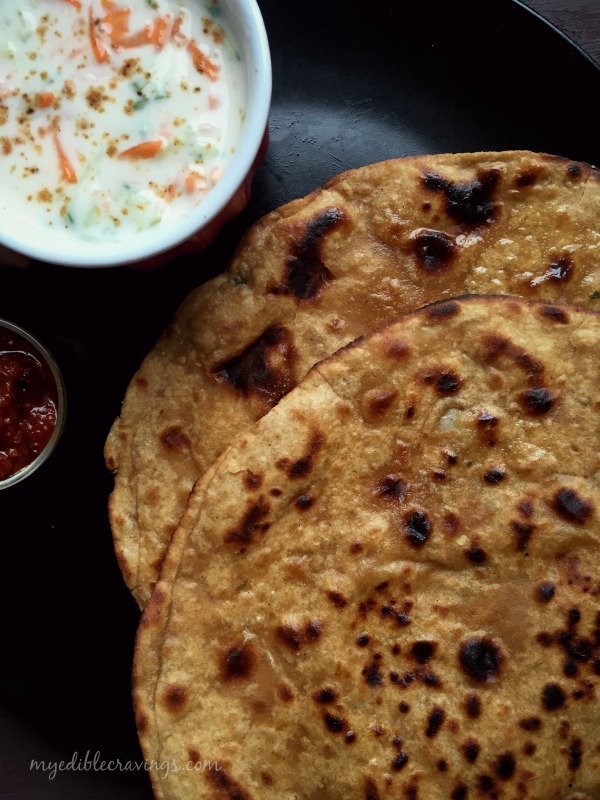
Radish or Mooli is a root vegetable and you must have seen it as an ingredient in another south Indian culinary delight called as the Sambar. Mooli ka paratha, though is a common dish prepared at homes, it is rarely seen in a restaurant menu. As with other stuffed parathas that I had mentioned above, Mooli ka paratha too can be had as is without a side dish and if you really must have something with it then Raita is the one to go for, especially cucumber raita. I have provided the recipe for that as well here 🙂Mooli Ka Paratha

Mooli Ka Paratha
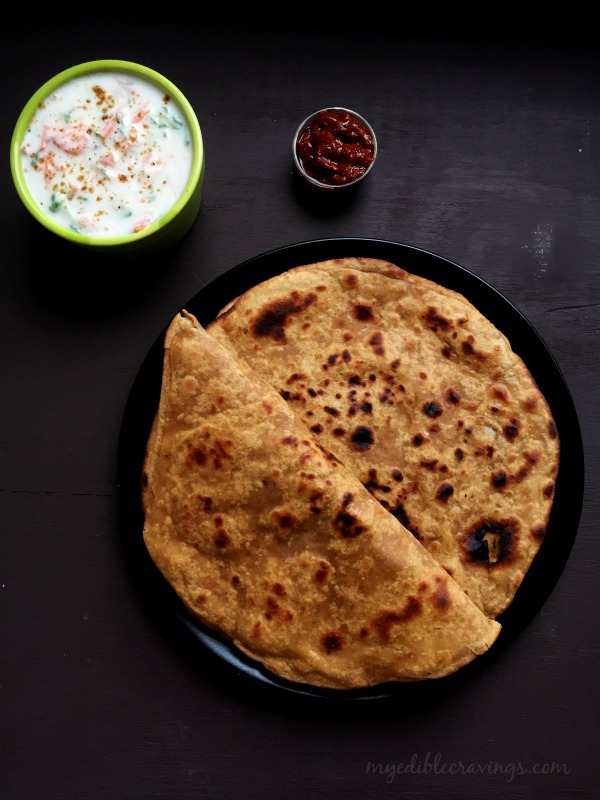
Mooli ka Paratha is a summertime dish because of the rich water content in radish and is healthy as well. For the stuffing, you can either use the radish as is or sauté them and then use it. Either way, it tastes good. The next time you want to have paratha for lunch or dinner, do try this variety and I promise that you will not be disappointed 🙂

Mooli Ka Paratha
Recipe type: Main
Cuisine: Indian
Prep time: 
Cook time: 
Total time: 
Serves: 6 parathas
 
Ingredients
for the stuffing:
  • Radish, grated – 4 cups
  • Ajwain – ¼ tsp
  • Green chilli, finely chopped – 3 nos
  • Cilantro, finely chopped – 3 nos
  • Cumin powder – ½ tsp
  • Red chilli powder – ½ to ¾ tsp
  • Garama masala – ¼ tsp
  • Chat masala – ¼ tsp
  • Salt
for the dough
  • Wheat flour – 2 cups
  • Salt as required
  • Oil – 2 tsp
for raitha:
  • Grated persian cucumber, small – 1 no
  • Grated carrot, small – 1 no
  • Green chili, finely chopped – 1 no
  • Salt as required
  • Yogurt – ½ cup
  • Chat masala – a generous pinch
Instructions
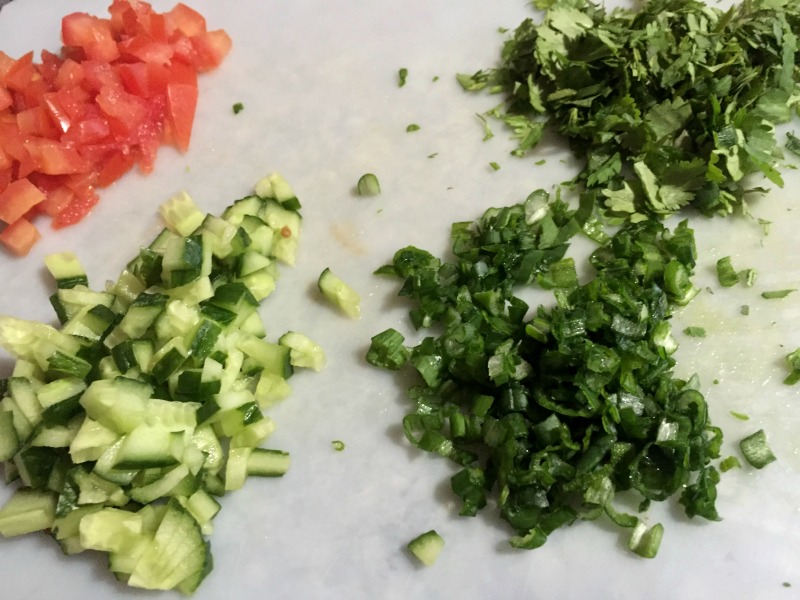
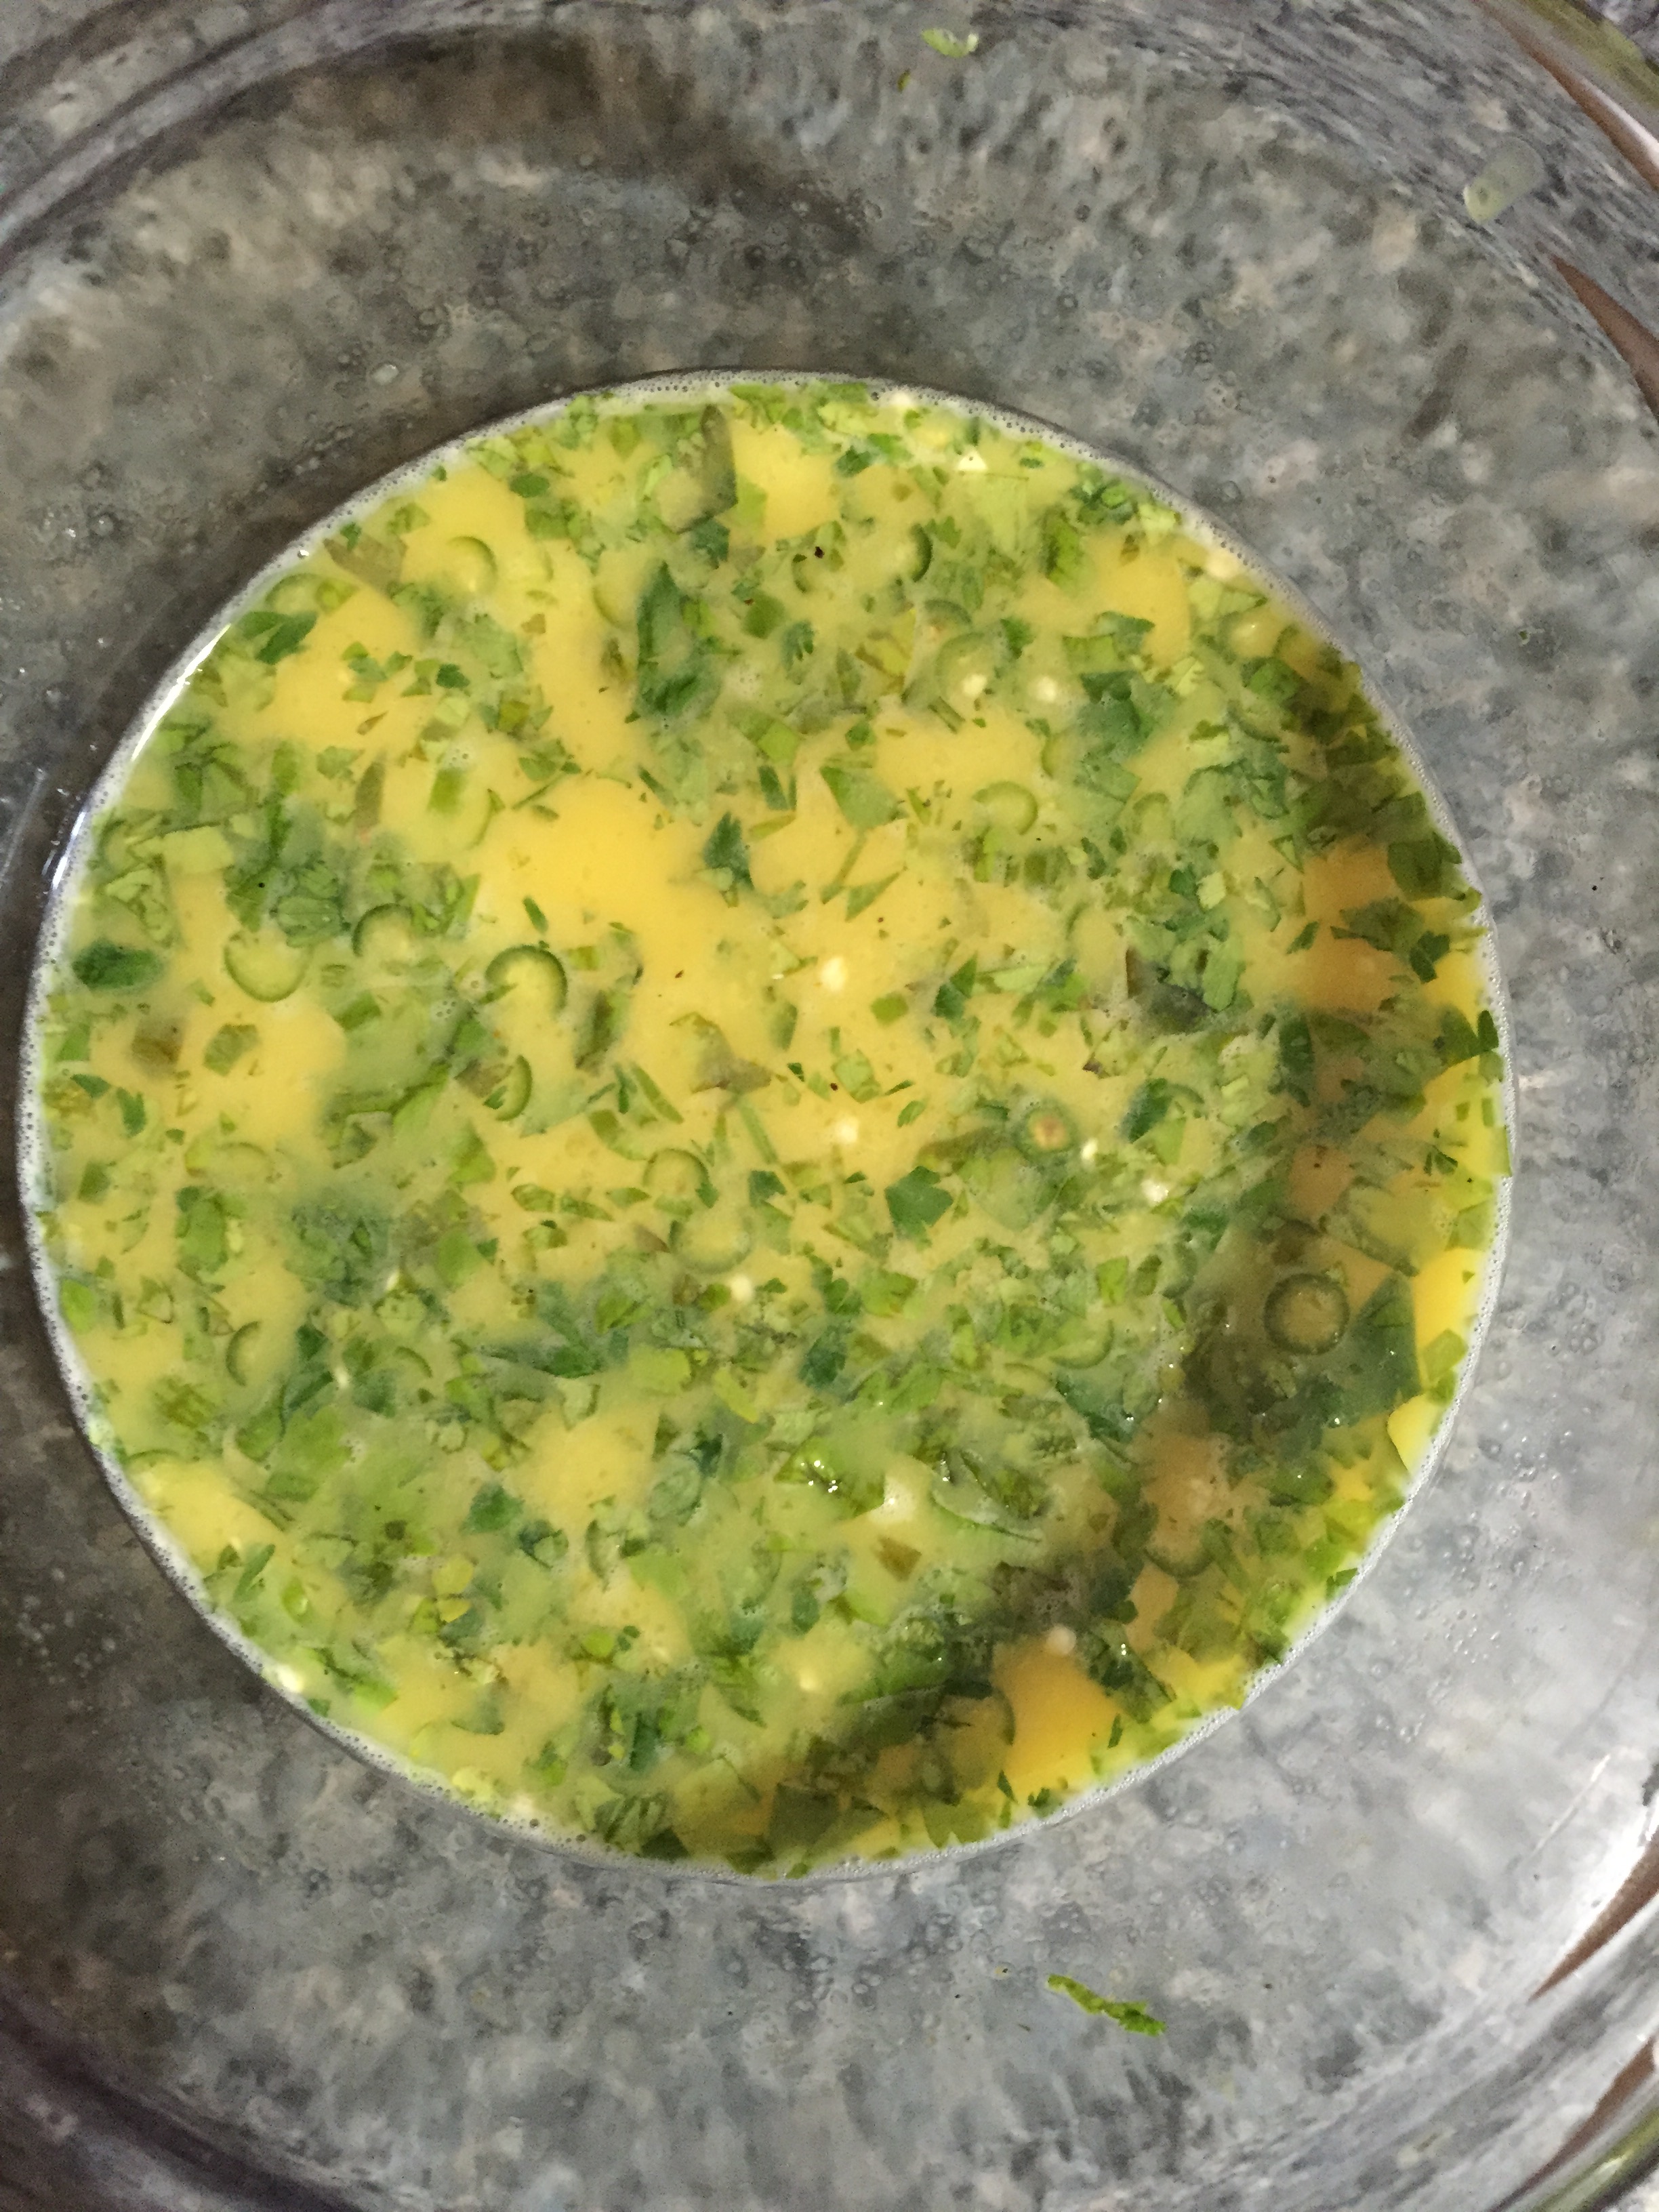
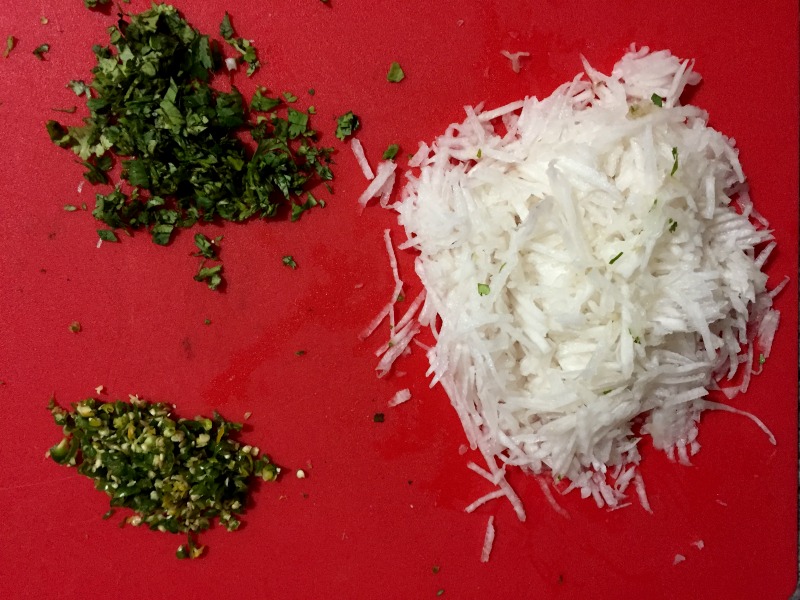
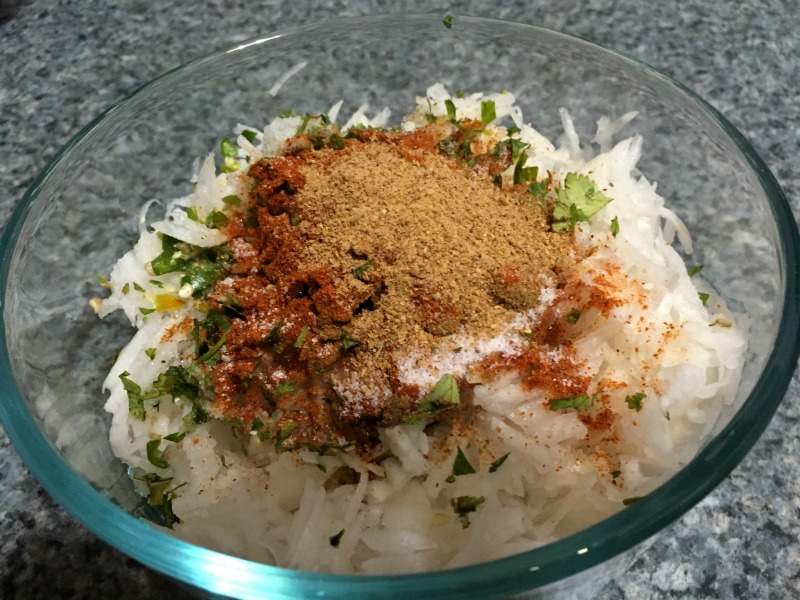
  1. Grate the radish and transfer to a bowl. Set aside for 30 minutes and squeeze all the juice completely. Finely chop green chilli and cilantro.
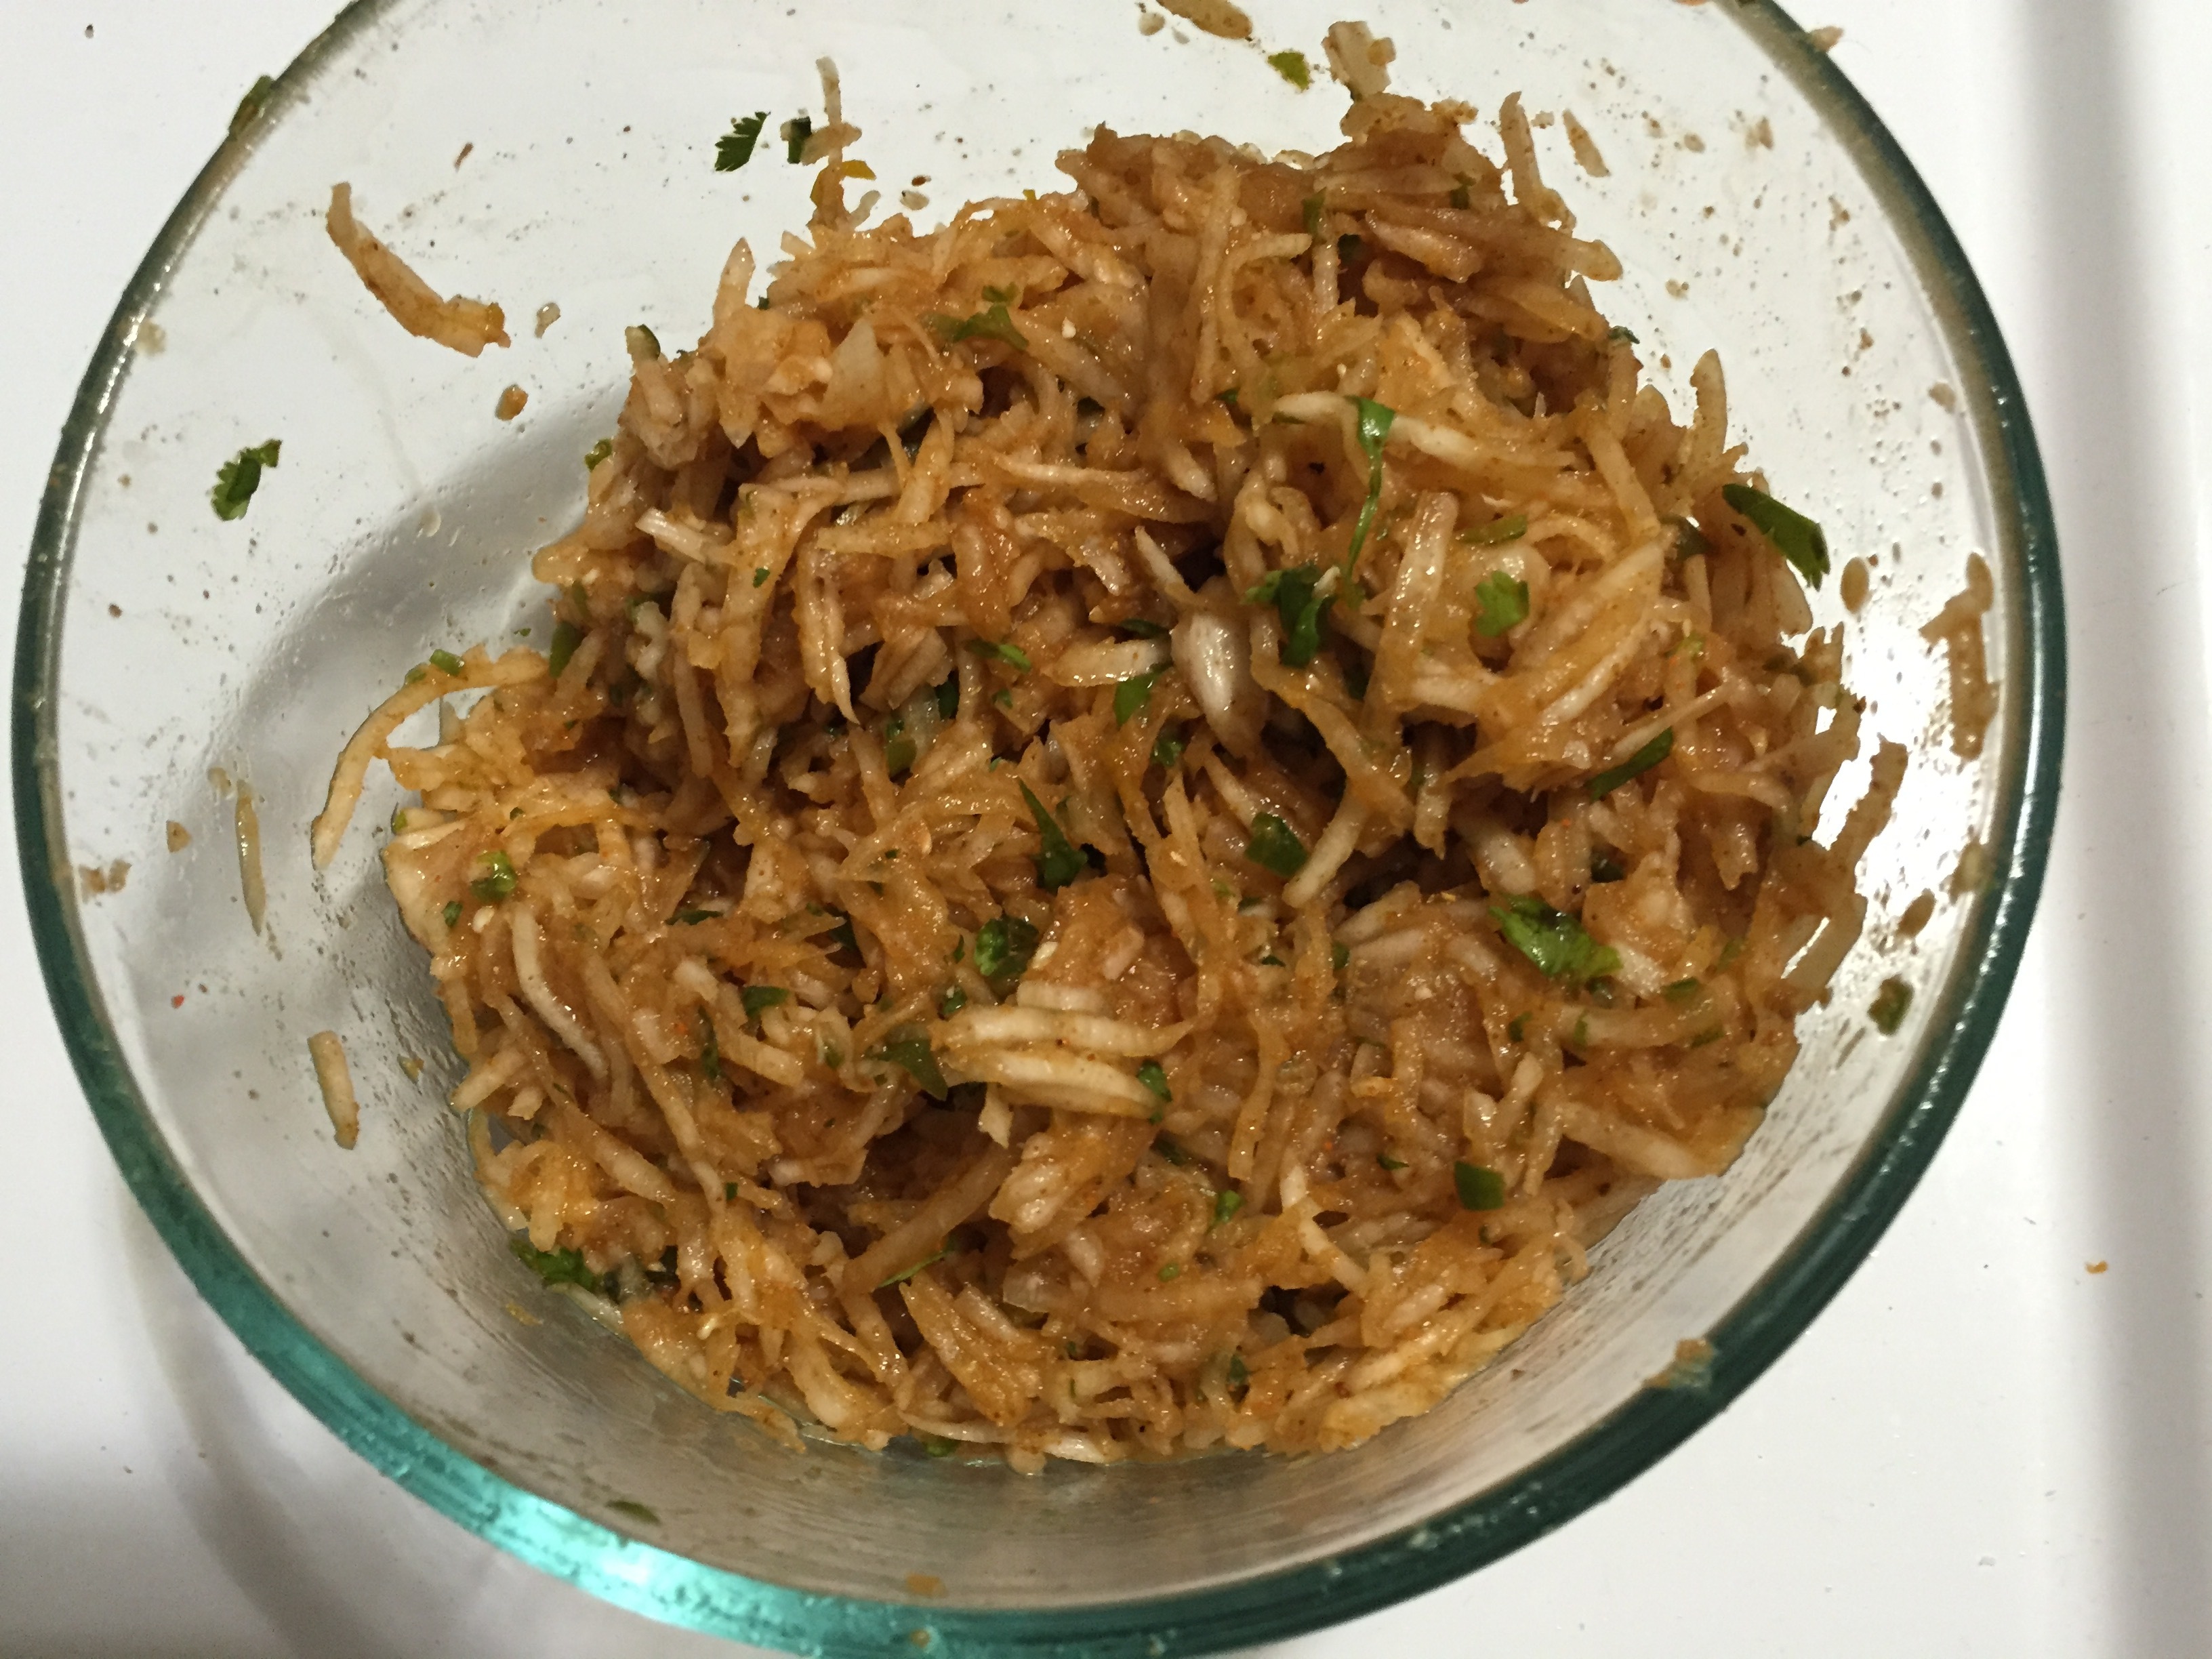
  2. Add all the above ingredients to the grated radish and mix well. You can use this as a stuffing.
  3. Or saute them without squeezing the radish juice until raw smell disappears and all the water dries out and use that as a stuffing.
  4. Add oil, salt and squeezed radish juice with enough water (if needed) to the flour and make a dough. Leave it for 15 to 30 minutes.
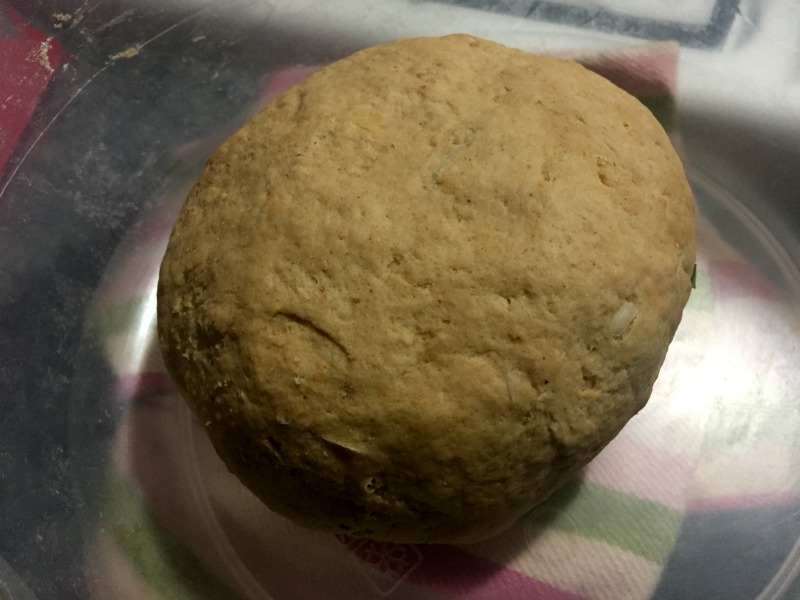
  5. Divide the dough to equal sized balls.Heat the flat pan to make parathas.
  6. Dust a ball into the dry flour and roll them to circle. Repeat the same and make a equal sized circle.
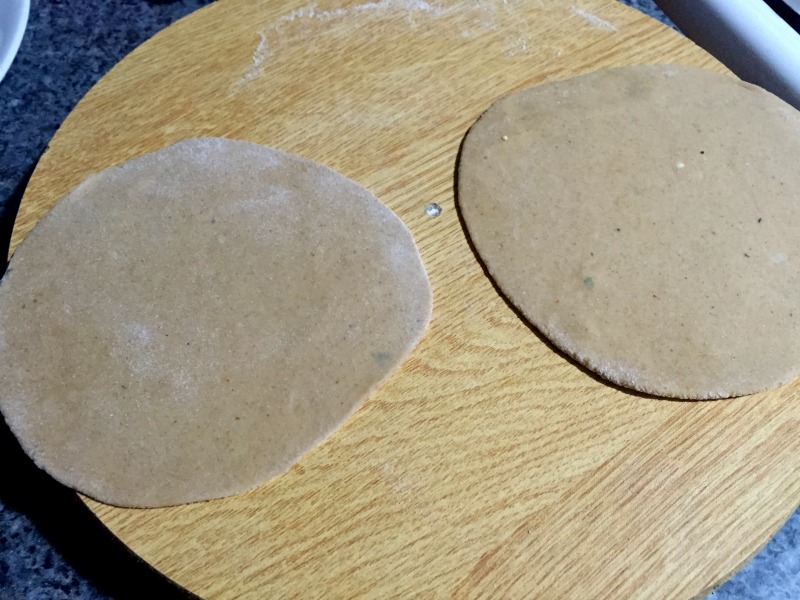
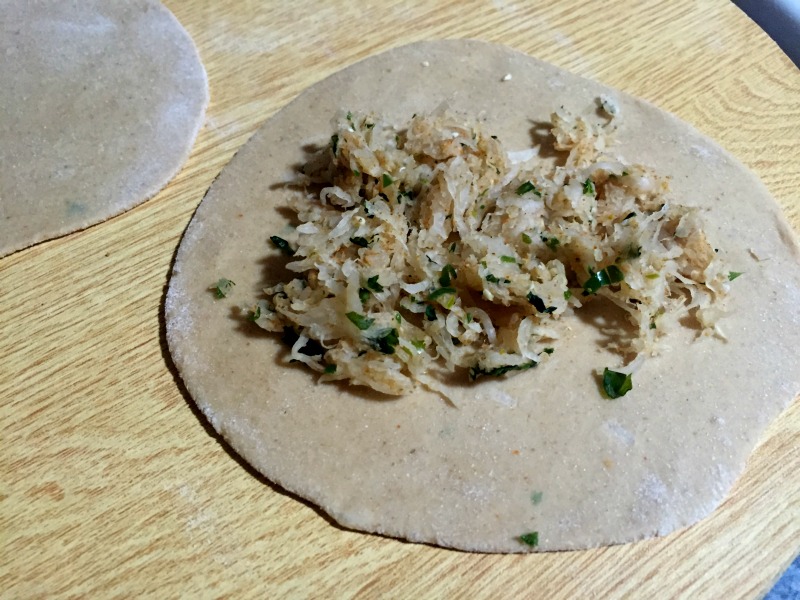
  7. Place the stuffing in the middle of a rolled dough.
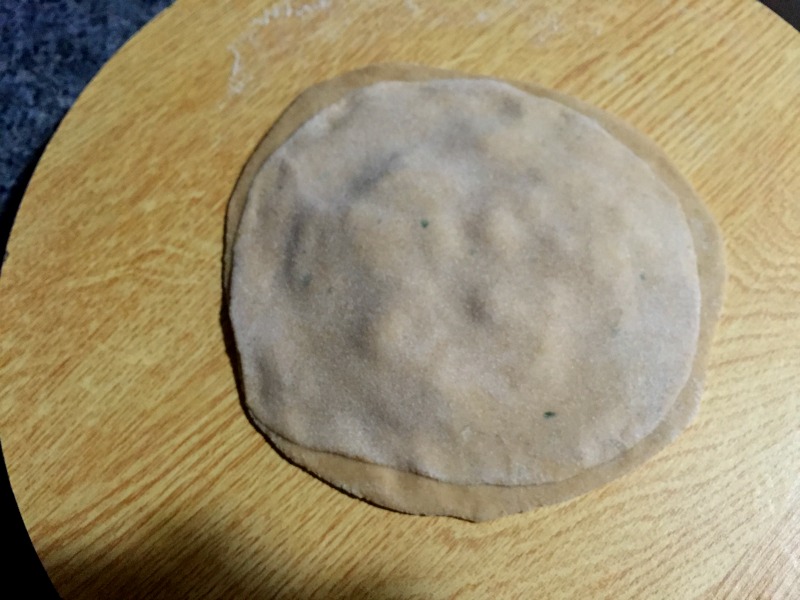
  8. Cover with the another rolled circle.
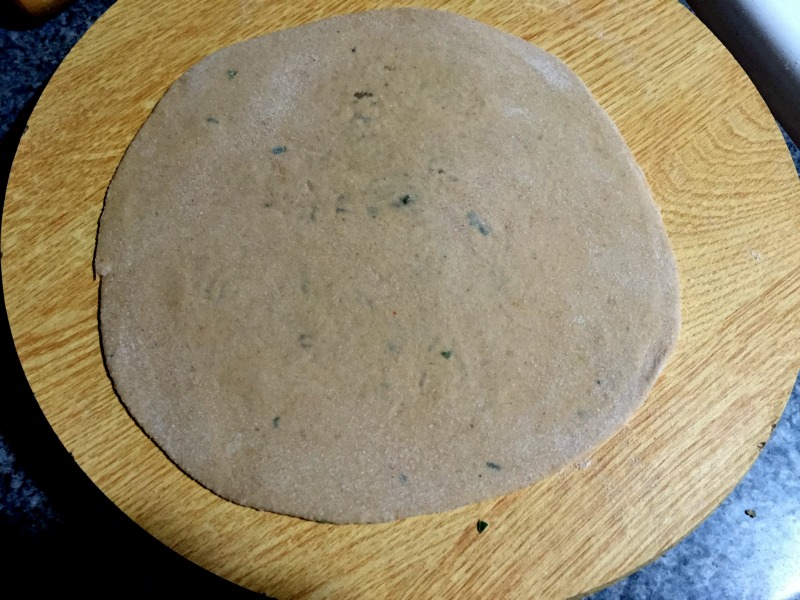
  9. Now carefully roll the paratha to desired size and repeat the same for the remaining dough.
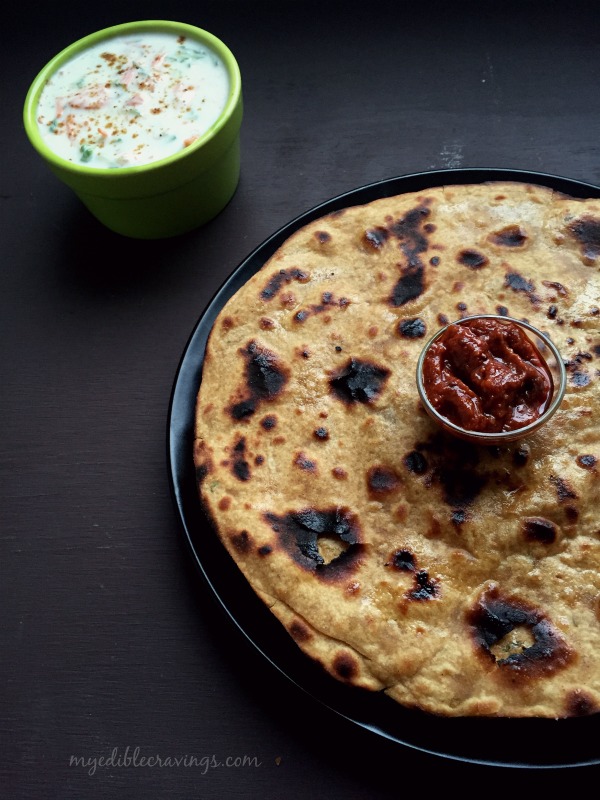
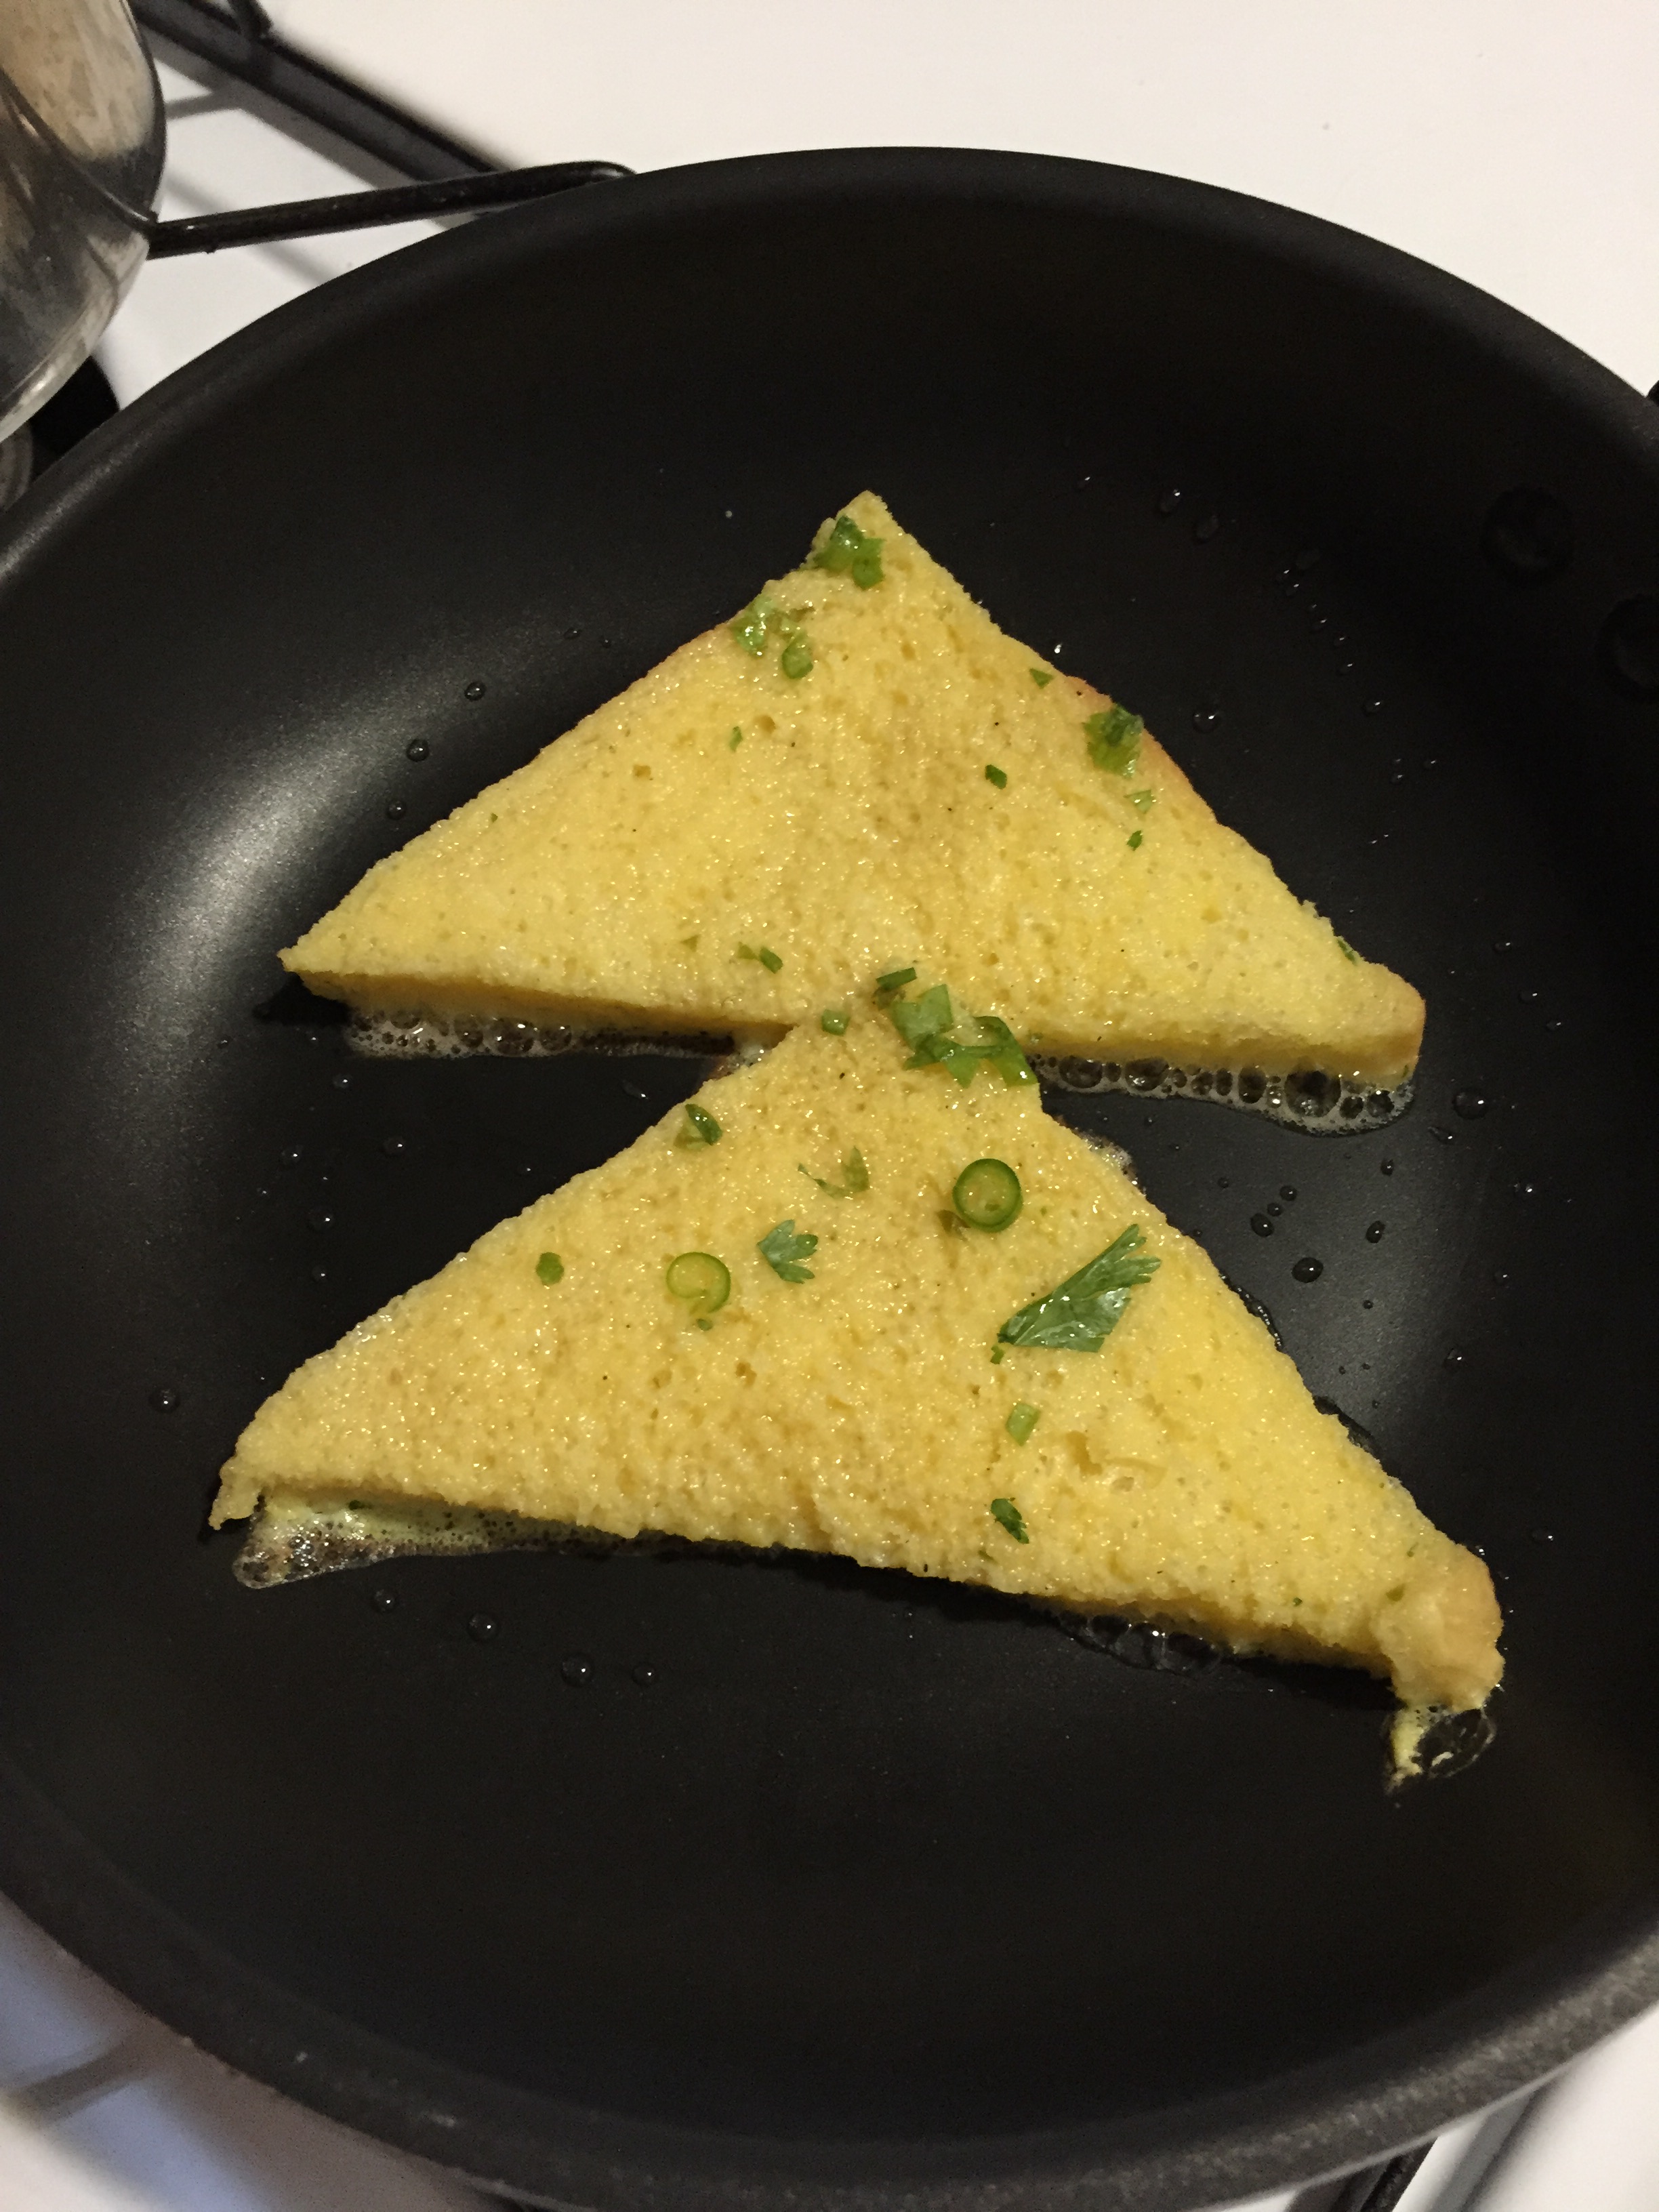
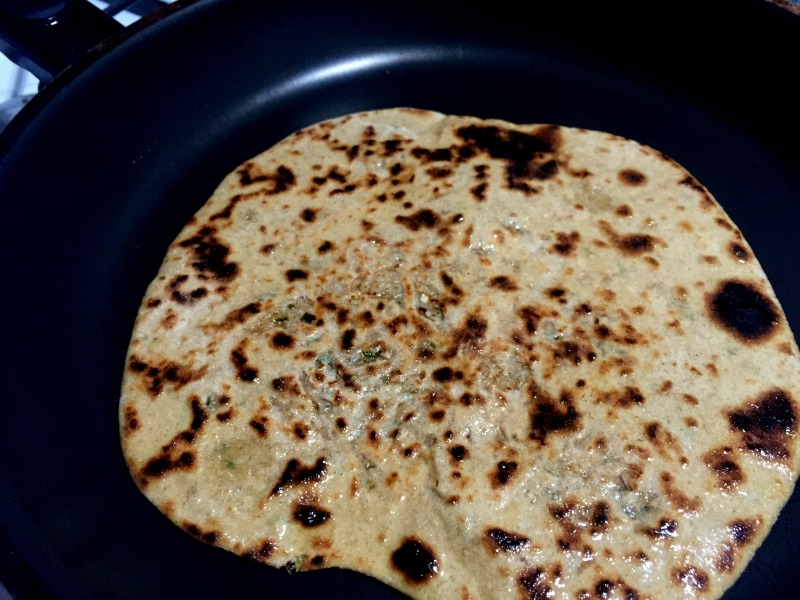
  10. Cook the paratha on a hot tawa for couple of minutes on one side until brown spots appear.
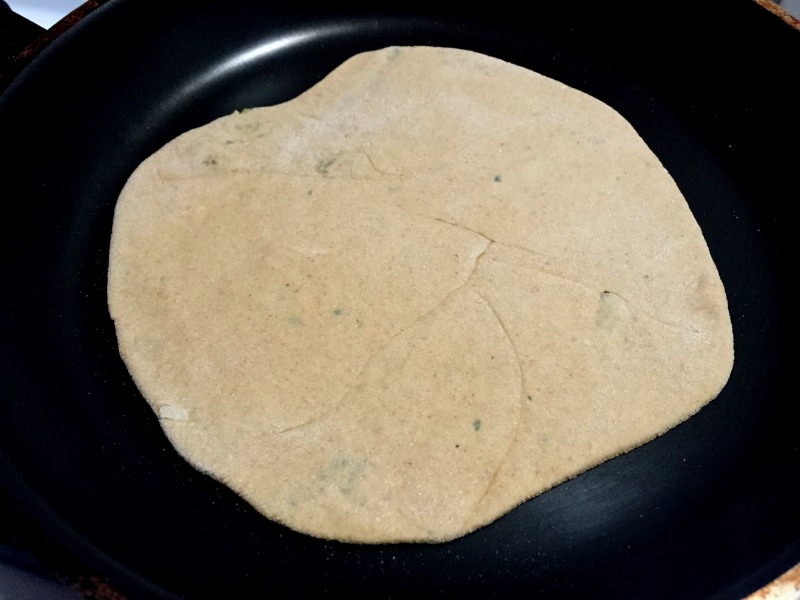
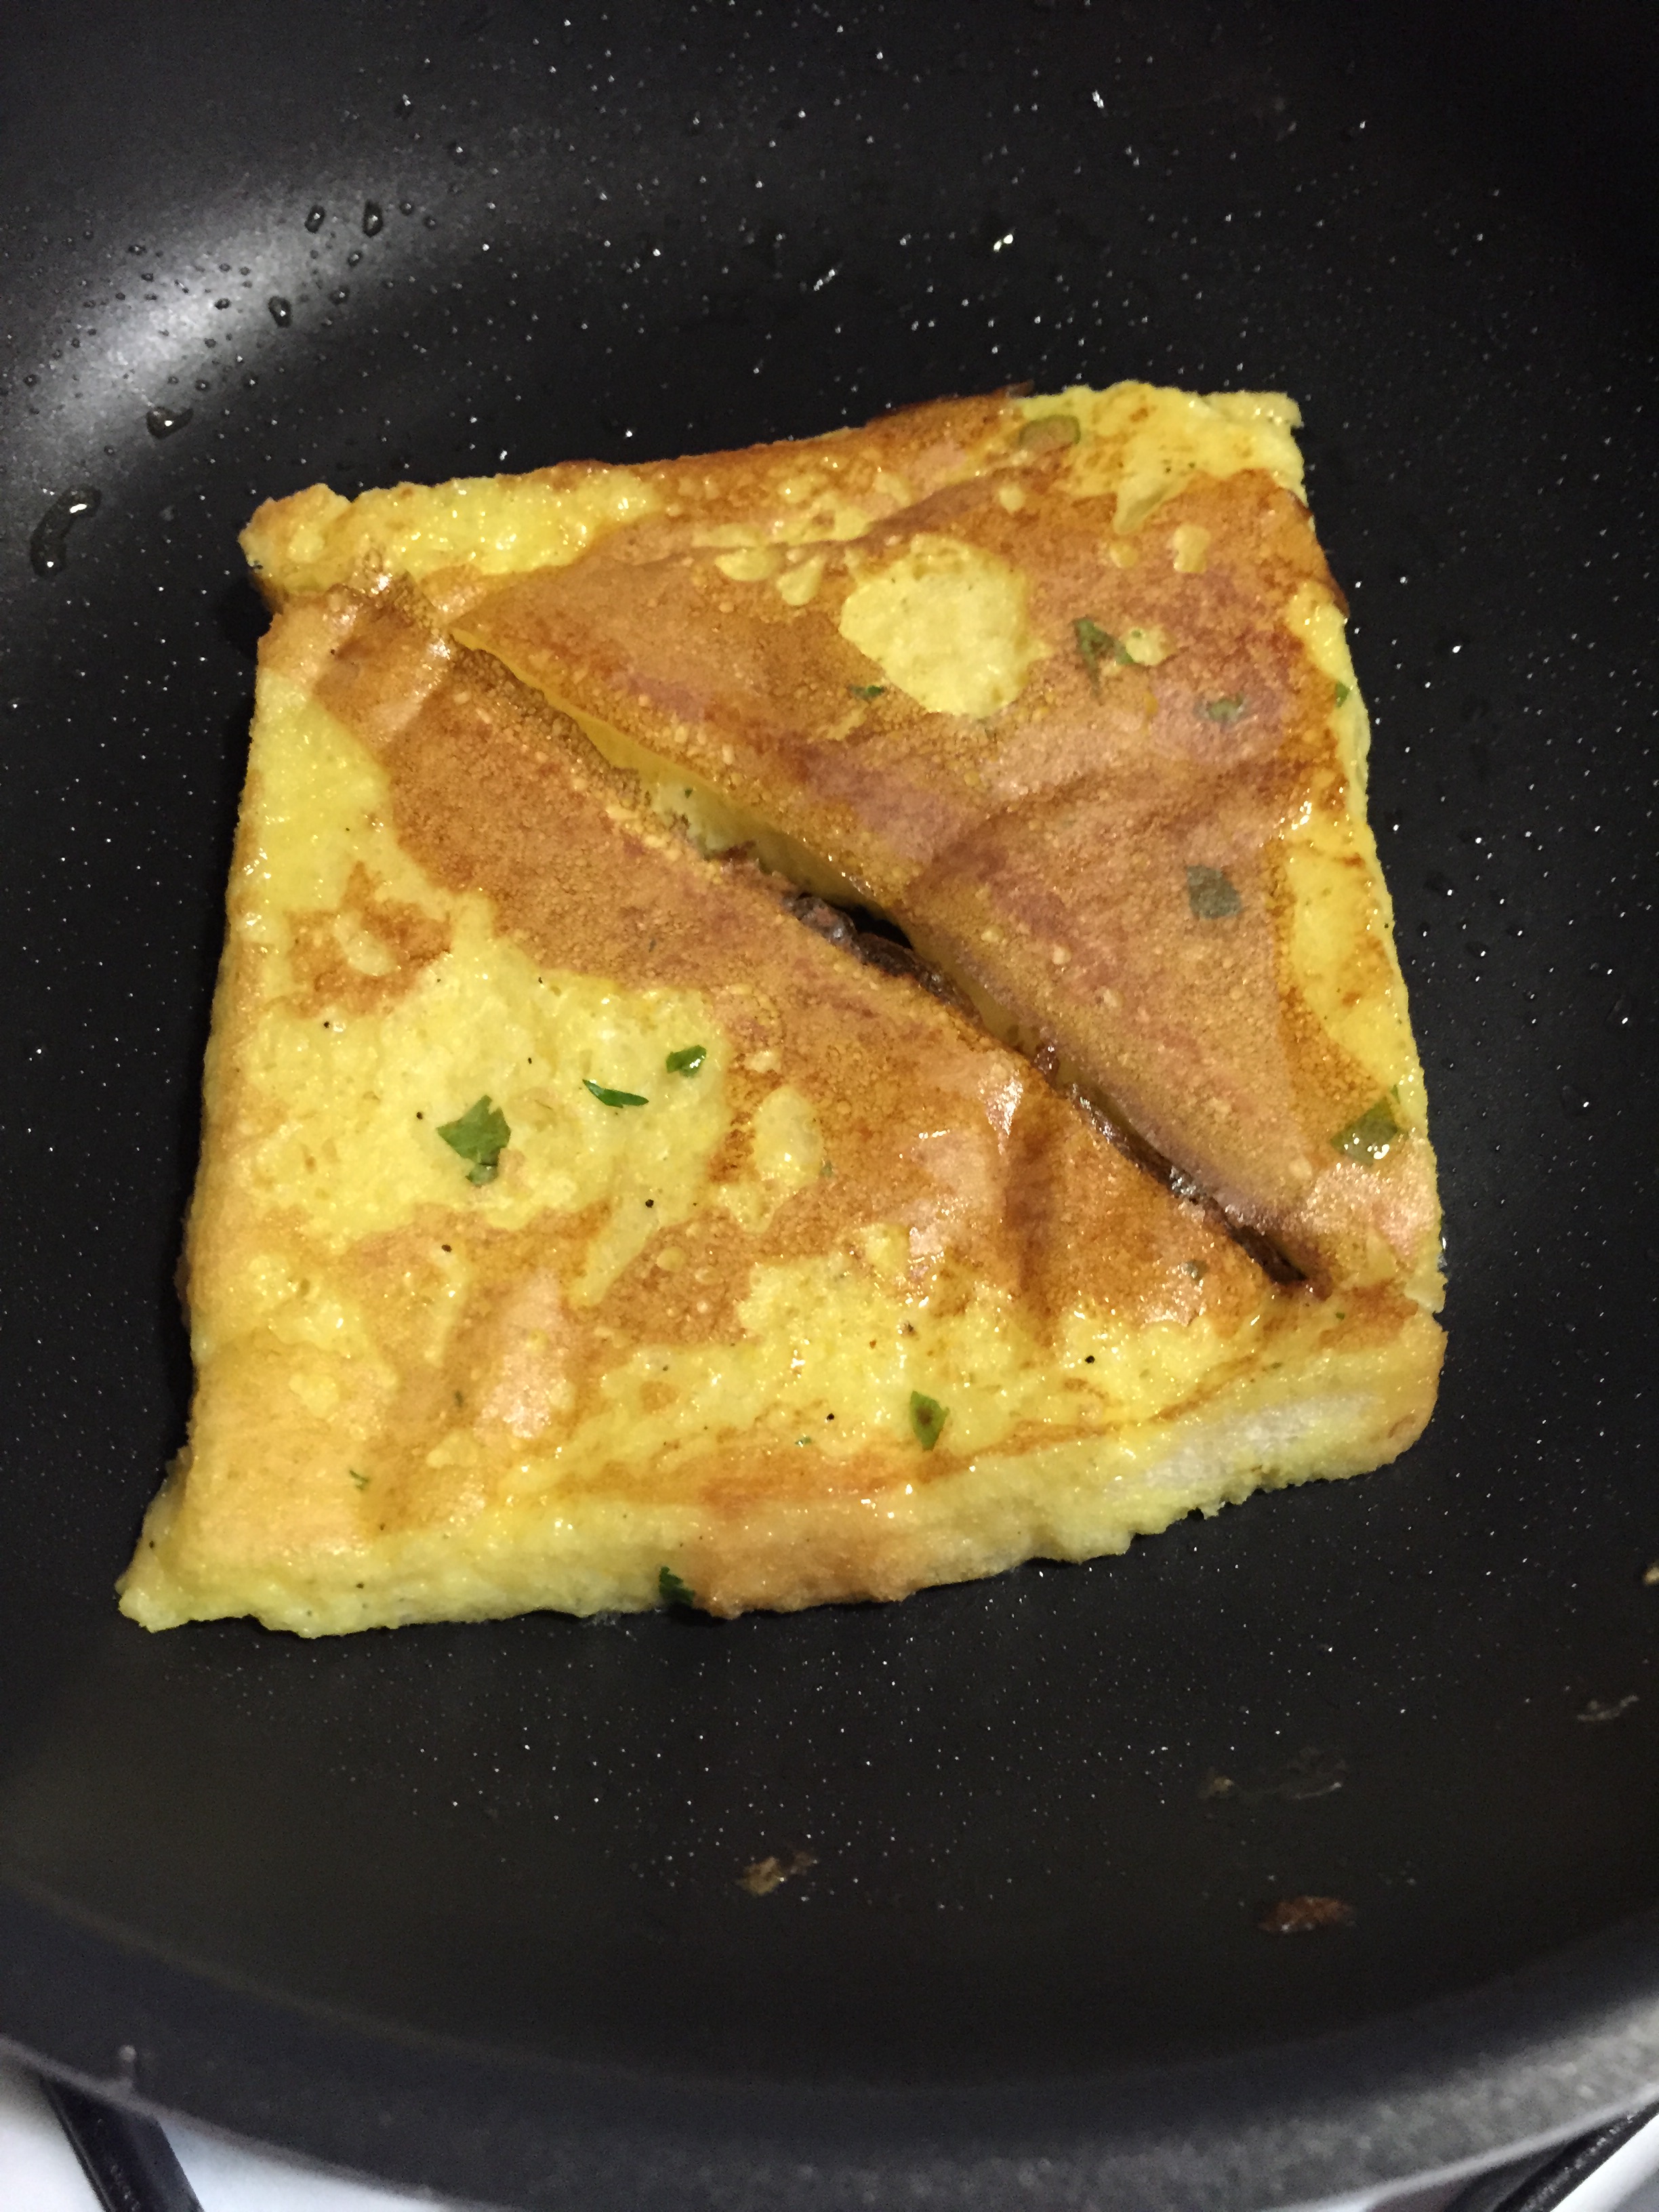
  11. Flip the paratha, spread ghee on top of cooked side and cook for another couple of minutes until the dark spots appear on other side. Smear enough ghee if needed.
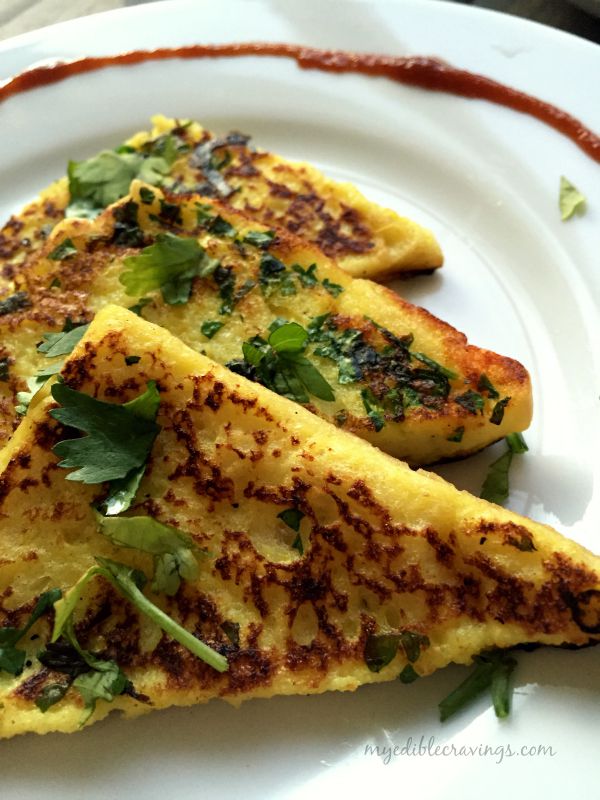
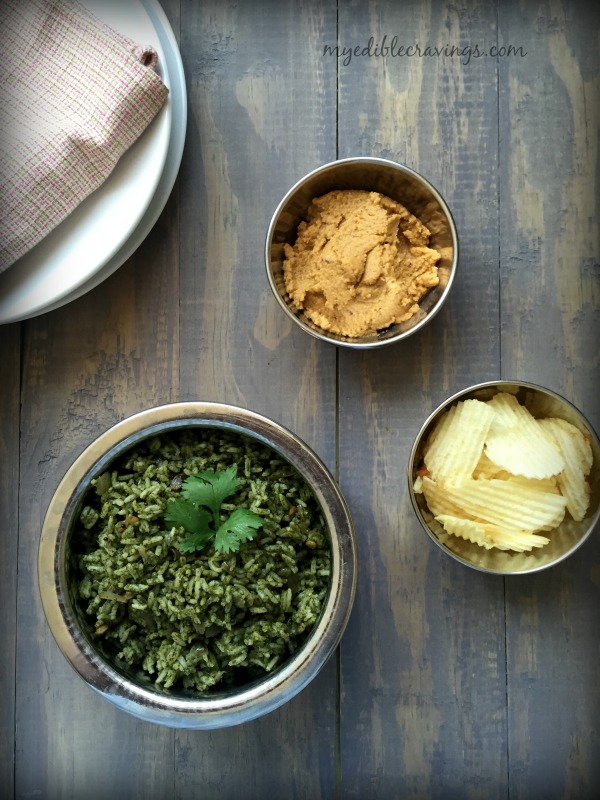
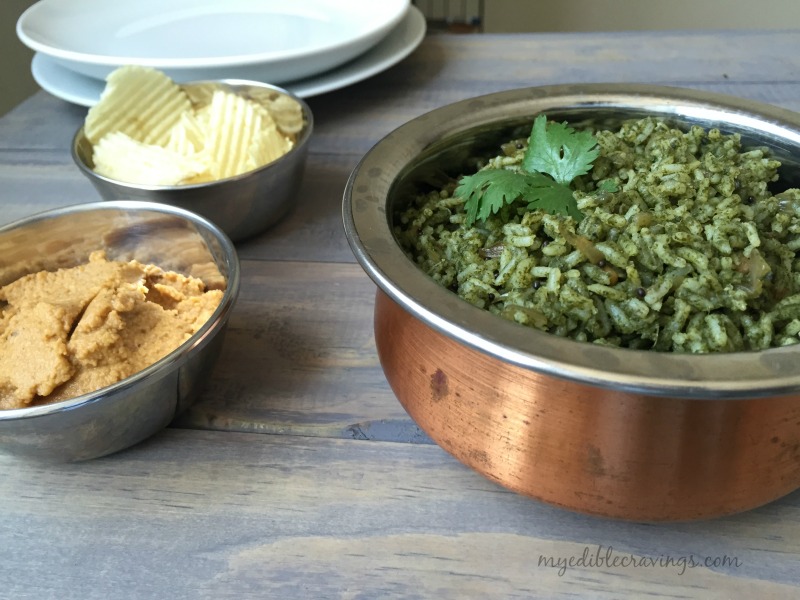
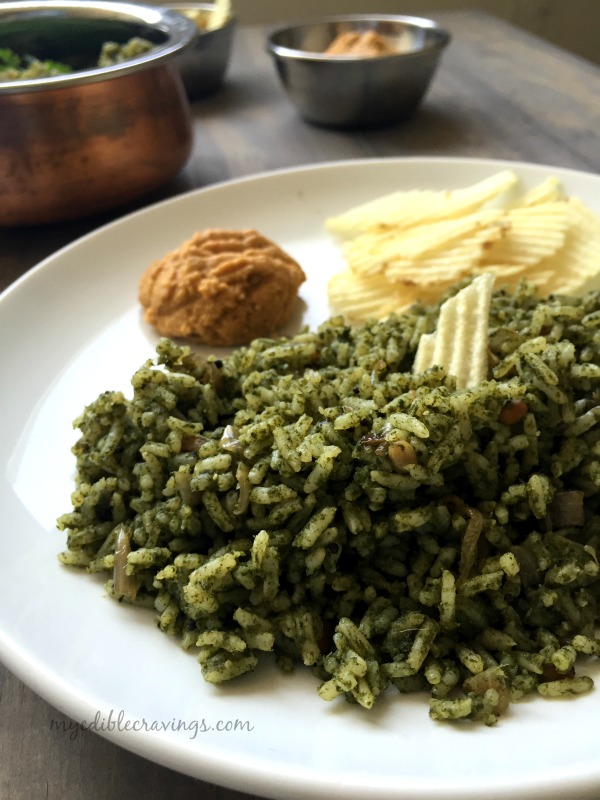
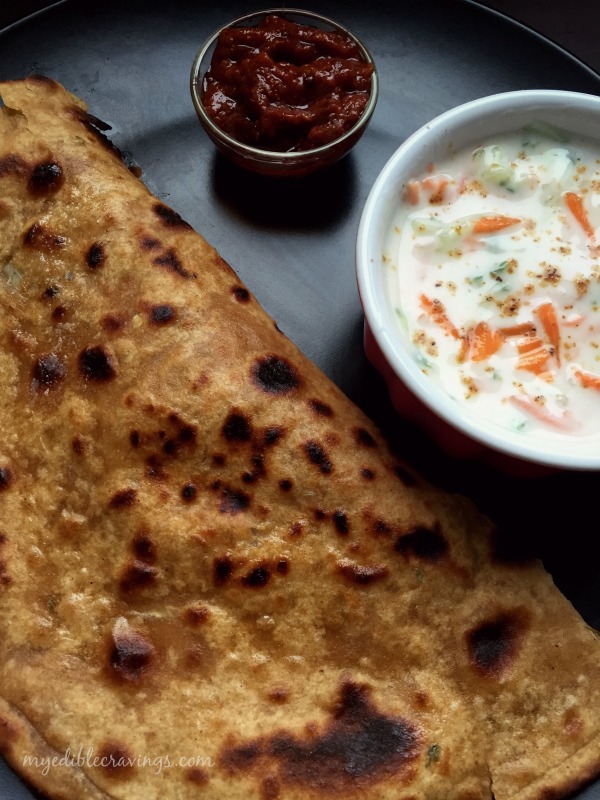
  12. Serve the hot moolika paratha with cucumber raitha and pickle. Enjoy! 🙂
To make cucumber raitha:
  1. Add little water and salt to the yogurt and mix well.
  2. Add the grated cucumber, carrot and green chilli. Mix well and sprinkle chat masala on top before serving.

Mooli Ka Paratha

Quinoa Tabbouleh

031Today’s recipe is another entry to my healthy eats category. We have been having Quinoa for quite some time now, probably for a year or so, and I am on the lookout for any new recipe that has Quinoa as an ingredient.

023Recently, we went to a mediterranean restaurant and I came across a new type of salad made with Quinoa. I got hooked to it and was eager to try it out myself. The name of the salad is Quinoa Tabbouleh salad and that is the recipe I have posted here.

024Quinoa Tabbouleh salad is very easy to make and very healthy as well. On days when you don’t feel like cooking or doing a take out, Quinoa Tabbouleh salad is the one to go for. Very few ingredients are needed to make this salad. Also, there is an accompaniment to the Tabbouleh salad called the Zough. It is a condiment relish made from green chili. The mild taste of Quinoa Tabbouleh and the spiciness of Zough make the perfect pair.

030Quinoa Tabbouleh salad can be had as a light dinner or for lunch. Quinoa in general is rich in calories and having it as a salad will not get you full or bloated. Try this wonderful mediterranean salad in your home and let me know your comments 🙂


Tabbouleh
Recipe type: Salad
Cuisine: Mediterranean
Prep time: 
Cook time: 
Total time: 
Serves: 2
 
Ingredients
Tabbouleh:
  • Red quinoa – 1 cup
  • Chick pea or garbonza beans or sundal – ½ cup
  • Olive oil – 3 tbsp
  • Lemon juice – 3 tbsp
  • Cucumber, finely chopped – 1 no (I used Persian Cucumber)
  • Tomato, medium, finely chopped – ½ no (2 tbsp)
  • Green onions, finely chopped – 2 tbsp
  • Carrot, finely grated – 2 tbsp (optional)
  • Cilantro, finely chopped – 2 to 3 tbsp
  • Salt as required
Zough – green chilli sauce
  • Cilantro – small bunch
  • Garlic cloves, small to medium – 3 nos
  • Lemon juice – 1 ½ tbsp
  • Olive oil – 1 ½ tbsp
  • Cayenne pepper – ½ tbsp
  • Pepper – ¼ tsp
  • Cumin powder –a generous pinch
  • Green chilli – 4 nos
  • Salt as required
Instructions
  1. Soak chick pea overnight and pressure cook for 6 whistles adding enough water and salt. Drain the excess water and set aside.
  2. Wash the quinoa thoroughly and drain them using strainer, pressure cook adding enough salt and 1½ cup water (not more than that) for 3 whistles. Or you could parboil them adding the same amount of water in a sauce pan, covered for 15 minutes. Drain the excess water if any.
  3. Finely chop all the above given ingredients and keep them ready.
  4. In a large mixing bowl, add olive oil, lemon juice and salt. Mix well.
  5. Add cucumber, tomato, carrot, green onion and cilantro. Mix well.
  6. Finally add quinoa and chick pea. Mix them well until well combined.
  7. Have it right away or Cover and leave it at least for ½ an hour in the refrigerator and serve chill for better taste.
For making zough
  1. Blend all the above given ingredients to a fine sauce without adding any water.
  2. Have zough sauce as a side for yummy quinoa tabbouleh. Enjoy! :)

028

Spicy Bread Toast

Spicy Bread Toast

Bread is a staple food for most of the population in the world. It is one of those food items that you can find anywhere. Irrespective of the country, people or its culture. Also, there are hundreds of varieties to it, from normal white bread to rye, sesame, cauliflower etc. There are countless varieties of dishes that you can prepare from bread. One such variety is the Spicy Bread toast. It is a very simple and tasty dish made from a minimum number of ingredients.

Spicy Bread ToastSpicy Bread ToastSpicy bread toast is made from egg, cilantro, turmeric, pepper, green chillies and ginger garlic paste. It literally takes 15 minutes to prepare this dish, right from preparing the egg mixture to toasting the bread dipped in that mixture. Spicy bread toast is an excellent dish for kids and it’s healthy as well, with the absence of jam or spread to have it being the main reason. It is a pretty heavy (I know, it doesn’t look like it but trust me 🙂 ) dish and breakfast is the right time to have calorie rich food to get you through the day!

Spicy Bread ToastI must give a special shout out to my HB here because he is the one who prepared Spicy bread toast the first time we tried (but I was the one who found the recipe 🙂 ) and it turned out to be excellent. Try this simple and tasty dish and enjoy it for breakfast or dinner.

Spicy Bread Toast
Recipe type: Breakfast
Prep time: 
Cook time: 
Total time: 
Serves: 10 bread slices
 
Ingredients
  • Eggs – 2
  • Milk – ½ cup
  • Salt – ½ tsp or as required
  • Black pepper powder – ¼ tsp
  • Turmeric powder – ¼ tsp
  • Ginger garlic paste – ½ tsp
  • Green chilli, finely chopped – 2 nos
  • Cilantro, finely chopped – 1 tbsp
  • Breads – 10 slices
Instructions
  1. Beat all the above ingredients except bread in a medium bowl and leave it for 30 minutes.
  2. After 30 minutes, cut the edges of the bread slices and cut the breads diagonally.
  3. Heat a flat pan, dip a bread piece into the beaten egg mixture and toast them. Smear very few drops of oil around the toast. Flip them and toast the other side of the bread until golden brown.
  4. Repeat the above step for the rest of the bread pieces. Enjoy the hot and spicy bread toast along with tomato chilli sauce as a snack or breakfast or dinner. 
Notes
1.Leave the beaten egg mixture to rest for at least 20 minutes before making the toast. So that all the ingredients are well set and combined.
2.Carefully cut the sides of the bread without pressing the breads too hard at the center.
3.Dip the bread just for a second and tost them on the pan. Do not dip the bread slices too much or your toast becomes soggy.
4.Same way smear few drops of oil while toasting the bread to avoid sogginess.

Spicy Bread Toast

Coriander Rice


Coriander RiceIt has been quite a while since I had posted a recipe for a rice variety. The recipe that I have posted today is a specialty of my MIL. It is called as the Coriander/Cilantro rice. As the name suggests, the main ingredient here is coriander. It is a very simple and tasty dish.

Coriander RiceCoriander in general has many medicinal properties. It is used for obesity treatment, skin care and is also recommended for diabetic people. So Coriander rice is a healthy dish but you normally don’t find them in restaurant menus (maybe because it is healthy :)).

Coriander RiceOn days when you don’t feel like cooking but still want to have something healthy, Coriander rice is an apt choice. Try this simple and tasty variety rice in your kitchen and let me know what side dish you would prefer with it (I like it with simple potato chips and kadalaiparuppu thogaiyal 🙂 )

Coriander Rice
Prep time: 
Cook time: 
Total time: 
Serves: 2
 
Ingredients
  • Oil – 1 tsp
  • Mustard seeds – ½ tsp
  • Urad dal – ½ tsp
  • Onion, medium, finely chopped – 1 no
  • Ginger garlic paste – 1 tbsp
  • Raw rice – ¾ cup
  • Salt as required
  • Ghee – 1 tsp
to Grind:
  • Coriander leaves or cilantro – a bunch (1 ½ cups tightly packed)
  • Green chillies – 5 nos
  • Chutney:
  • Oil – ½ tsp
  • Asafetida, solid – 1 “
  • Red chilli – 1 no
  • Garlic clove – 1 no
  • Gram dal – 2 tbsp
  • Curry leaves – 4 nos
  • Grated coconut – 1 tsp
  • Salt as required
Instructions
  1. Wash and grind cilantro and green chillies to a fine paste.
  2. Wash and cook the rice adding enough salt to it and set aside.
  3. Heat a pan with little oil and season with mustard and urad dal.
  4. When they start to sizzle add in finely chopped onions. Sauté onions until they turn translucent.
  5. Add in ginger garlic paste and sauté until the raw smell disappears.
  6. Add the ground cilantro paste and stir until the raw smell disappears. Add enough salt and switch off the flame.
  7. Now add the cooked rice to the coriander paste and mix well until all the rice are well coated with the paste.
  8. Drizzle a few drops of ghee and serve hot with kadalai paruppu thogaiyal on the side.
  9. Kadalaparuppu thogaiyal-
  10. Heat a pan and dry roast asafetida for just few seconds. Transfer it to a plate.
  11. Heat the same pan with oil and add red chilli. Sauté until it changes color and transfer it as well to the plate.
  12. Add garlic clove and sauté until it turns translucent and transfer it to the plate.
  13. Add gram dal and sauté until the aroma spreads or until they turn golden brown.
  14. Switch off the flame and add grated coconut, curry leaves and salt.
  15. Grind everything together to a coarse paste by adding very little water.

025

Dum ka chicken

Dum ka chcikenDum Ka Chicken is the latest dish that I came across, courtesy from one of our friends. It is a very tasty and sumptuous dish made using chicken. As the name suggests, the chicken is dum cooked (cooked in a sealed pot) which I have explained in the cooking instructions below. Dum Ka Chicken is one of the easiest dishes that I have ever cooked and it is one of the many reasons for it to be my most favorite dish in recent memory.
Dum ka chcikenDum Ka chicken is a Hyderabadi nawab dish meaning it’s a royal dish :). As I had mentioned above, it is very easy to make. All you need to do is marinate the chicken overnight and then cook it using dum method the next day. Also, it is, as I would like to say, an one pot dish, meaning, you just need to use one utensil during the entire preparation i.e., you use the same pot in which the chicken is marinated to cook as well. You can also prepare Dum Ka Chicken using a conventional oven.
Dum ka chcikenDum Ka Chicken is very rich in flavor and goes well with almost any entree items like rice, chapati, paratha, naan etc. Do try this royal, very tasty, simple (I am running out of adjectives :)) dish and post your wonderful comments!

Dum ka chicken
Recipe type: Main
Cuisine: Indian
Prep time: 
Cook time: 
Total time: 
Serves: 4
 
Ingredients
To make a paste:
  • Chironji or charoli- 1 tbsp
  • Cashews– 1 tbsp
  • Green chilli – 4 nos
Other ingredients:
  • Cinnamon stick – 1”
  • Green cardamom – 3 nos
  • Cloves – 3 nos
  • Shahi jeera – ½ tsp
  • Ginger garlic paste – 1 tbsp
  • Lemon juice – from half a lemon
  • Yogurt – ½ cup (2 tbsp)
  • Turmeric powder – ½ tsp
  • Chilli powder – 1 tbsp
  • Coriander powder – 1 ½ tbsp
  • Garam masala – ½ tsp
  • Cumin powder – ½ tsp
  • Mint, finely chopped – ½ cup
  • Cilantro, finely chopped – ½ cup
  • Onion , big, sliced – 1 to 2 nos
  • Olive Oil – 2 tbsp
  • Salt
  • Chicken – 750 grams
  • Water – 1 ½ cup
Instructions
Step 1: Marination
  1. Add all the above given ingredients in a deep thick bottomed sauce pan.
  2. Make a paste of the above given ingredients and add it to the pan.
  3. Heat oil and deep fry the onions to golden brown. Add them to the marinade.
  4. Mix everything together and check for salt and spices.
  5. Add the chicken to the marinade and mix well.
  6. Finally add water and mix well. Cover the lid and refrigerate it overnight.
Step 2:
Dum cooking – Stove top method
  1. Next day seal the lid with dough or aluminium foil and tightly close the pan (This method is called dumming). Cook in medium to medium low flame for 10 minutes.
  2. Meanwhile heat a dosa pan in another burner. After ten minutes transfer the sauce pan on to the dosa pan and reduce the flame. Cook in low flame for 40 minutes.
  3. Switch off the flame and leave it for another 20 minutes.
  4. After 20 minutes open the lid and check if the chicken is well cooked. By this time chicken should be juicy and cooked well.
  5. Enjoy dum ka chicken with white rice and egg on the side! 
Dum cooking – Conventional oven method
  1. Marinate the chicken in any oven safe pan.
  2. Preheat the oven to 180 degrees F.
  3. Cover the pan with aluminum foil and then close the lid.
  4. Cook on the stove top for 20 minutes in low flame. And then place it in the oven and cook for 2 hours and 30 minutes. Enjoy! 
Notes
1.Use the same oil you used to fry the onions. It enhances the taste of the gravy.
2.And I recommend to always use freshly fried onions and not the store bought.
3.If you are calorie conscious then you can shallow fry the onions with olive oil or vegetable oil and add it to the marinade.
4.Mint and cilantro quantity is equal to one handful amount.
5.Chironji or charoli is a nut that can be found in any Indian grocery store.

Dum ka chciken

DINDIGUL THALAPAKATTI MUTTON BIRIYANI|LAMB BIRIYANI

Thalapakatti mutton biriyani is a delicious and very popular biriyani in dindigul. The speciality of thalapakatti biriyani is to blend all the ingredients.IMG_2821Biriyani is a rice-based dish known for its distinct aroma and flavor. It is made with spices, rice, chicken, mutton or vegetables. There are different varieties of biriyani, in Tamilnadu, mostly differentiated based on geographical location. Spices are the key ingredients in this dish. I am positive that at least one in every 5 people in Tamilnadu would have tried this wonderful dish at least once in their life time (and the population of Tamilnadu is 7.2 million, so figure!)IMG_2811Briyani for me, always reminds my mom and I m a very big fan of her Chicken Biriyani which is very popular among my friends and relatives.  Also biriyani is my HB’s favorite dish. So I started to learn many varieties and Dindigul Thalapakatti Biriyani is one among them.IMG_2812 (1)The recipe for this biriyani is different in the sense that here we blend all the ingredients to a fine paste unlike other varieties. This gives it a unique taste and the reason for its wide popularity.  You could also try this recipe using chicken (But mutton seems more tastier. 😉  )Here are few tips

  • I used store bought coconut milk which is very thick so I just used couple of spoons. If you are using homemade coconut milk, then add 2 cups of coconut milk and 2 cups of water.
  • If you are using chicken, extend the marination time to an hour and simply add the marinated chicken directly to the masalas without      pre cooking it.
  • Avoid adding lots of mint and cilantro to this recipe, as it might make the dish green color. We don’t want our biriyani turn into mint rice. 😉

DINDIGUL THALAPAKATTI MUTTON BIRIYANI|LAMB BIRIYANI
Recipe type: Lunch
Cuisine: Indian
Prep time: 
Cook time: 
Total time: 
Serves: 4
 
Thalapakatti mutton biriyani is a delicious and very popular biriyani in dindigul. The speciality of thalapakatti biriyani is to blend all the ingredients.
Ingredients
To marinate
  • Mutton /Lamb – ¾ kg
  • Chilli powder – 1 tsp
  • Ginger garlic paste – 1 tsp
  • Salt – a pinch
For boiling mutton
  • Marinated Mutton - ¾ kg
  • Ginger – an inch (crushed)
  • Water – 4 cups
For the Masala Paste
  • Shallots – 4 (if small use 6 nos)
  • Mint Leaves – handful
  • Cilantro – handful.
  • Green chillies – 3, long
Other ingredients:
  • Cloves – 3 nos
  • Cinnamon - 2"
  • Cardamom – 2 nos
  • Bay Leaf - 1 long
  • Samba Rice – 2 cups
  • Onion – ½ medium
  • Tomato - 1 big
  • Ginger & Garlic paste - 1 tsp
  • Green Chillies - 2
  • Oil – 1 tbs
  • Ghee – 1 tbs
  • Coconut Milk, thick – 2 spoons (I use store bought which is very thick)
  • Salt – as required
  • Lemon Juice - 1 tsp
Instructions
  1. Wash the mutton pieces in running water. Marinate for 10 minutes and pressure cook it with ginger and water for three to four whistles. Once done, allow the pressure to be released. Drain the mutton / lamb pieces and save the stock (later we are going to substitute this stock for water while making biriyani).
  2. Blend cilantro, mint leaves and green chillies together and shallots separately into a fine paste.
  3. In a pressure cooker, heat oil, add all the wholes spices. When the aroma spreads, add in ground shallot and sauté until the raw smell goes. Now add the ginger-garlic paste and do the same.
  4. Then add the onion and green chillies, sauté until onion turns translucent. Add chopped tomatoes and sauté well. Once the tomatoes get soft, add the ground mint masala to it and cook well till the oil comes out.
  5. Now add the drained mutton pieces and sauté well to make sure the pieces are well coated with masala. Add coconut milk, water (mutton stock) and adjust salt.
  6. Add rice, stir well and bring it to boil. Close the lid and pressure cook for three whistles.
  7. Wait for the pressure to be released, add a tbs of ghee, stir the rice carefully without breaking the grains, cover the lid and dum for 15 mins.
  8. Serve hot with Onion raitha and any chicken / mutton gravy of your choice.

 
IMG_2812
Tempting isn’t it?!?! 😉
Hope everyone gets to try this recipe at least once and enjoy the same!!!