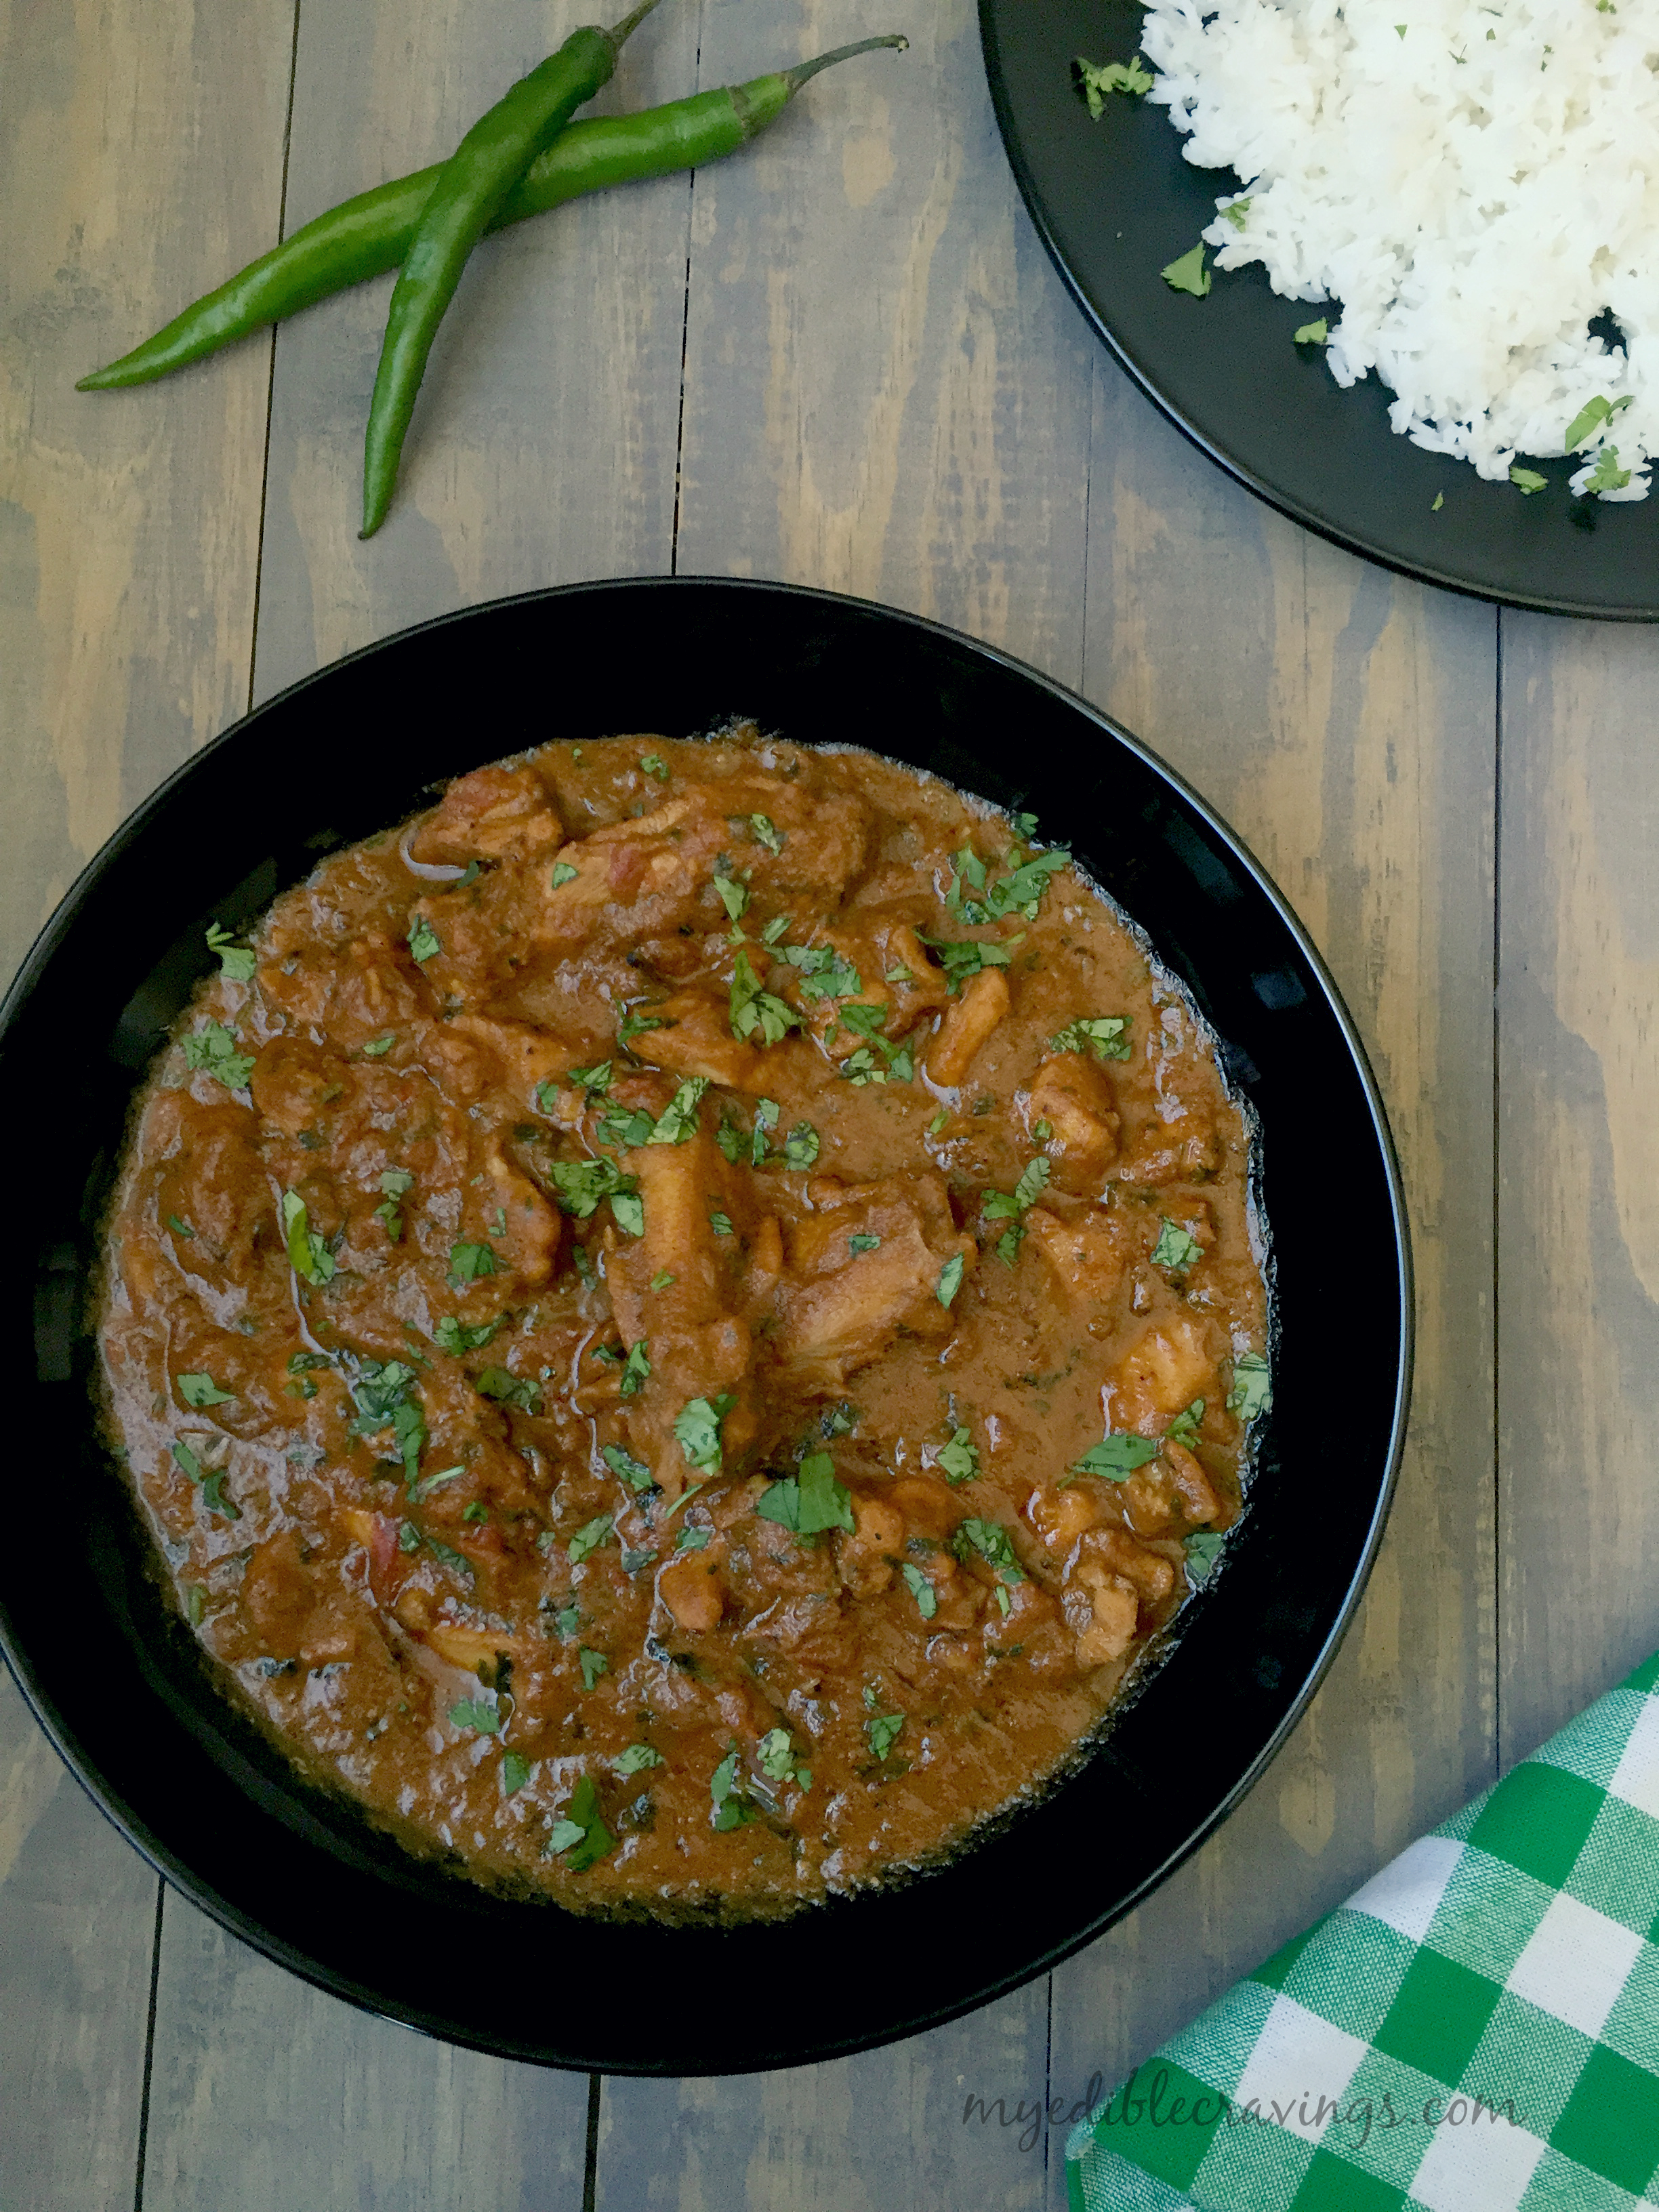
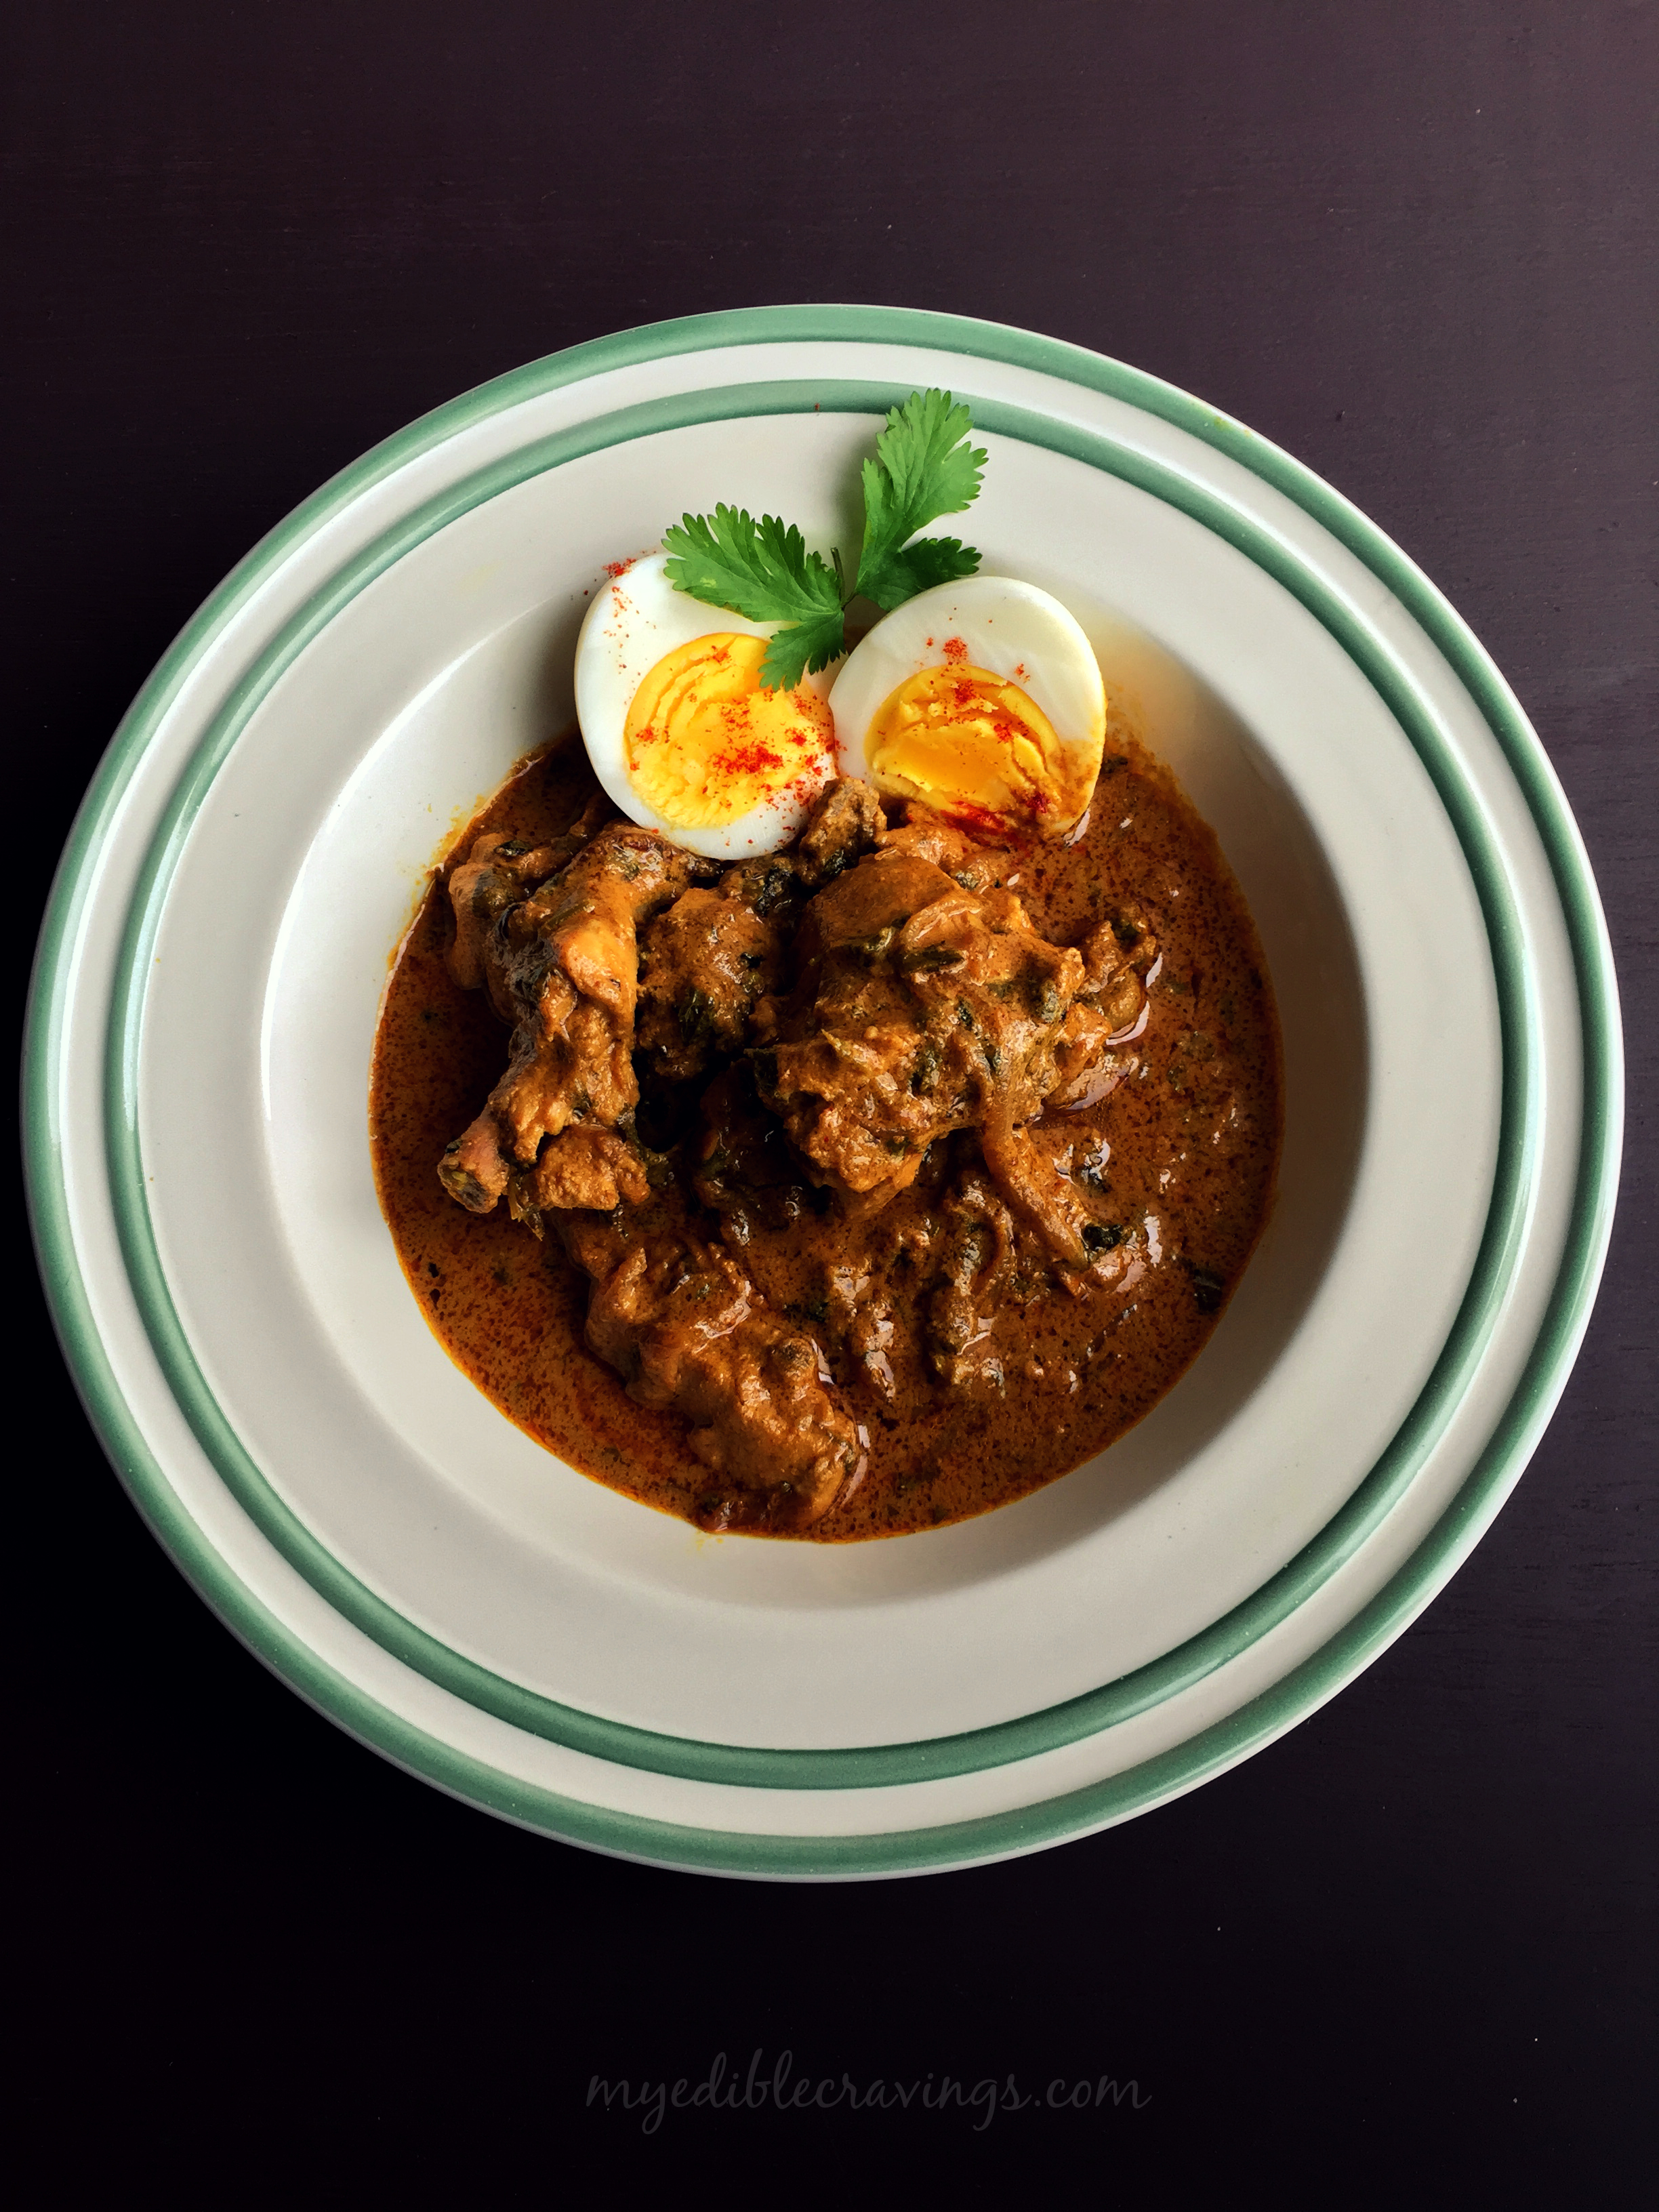
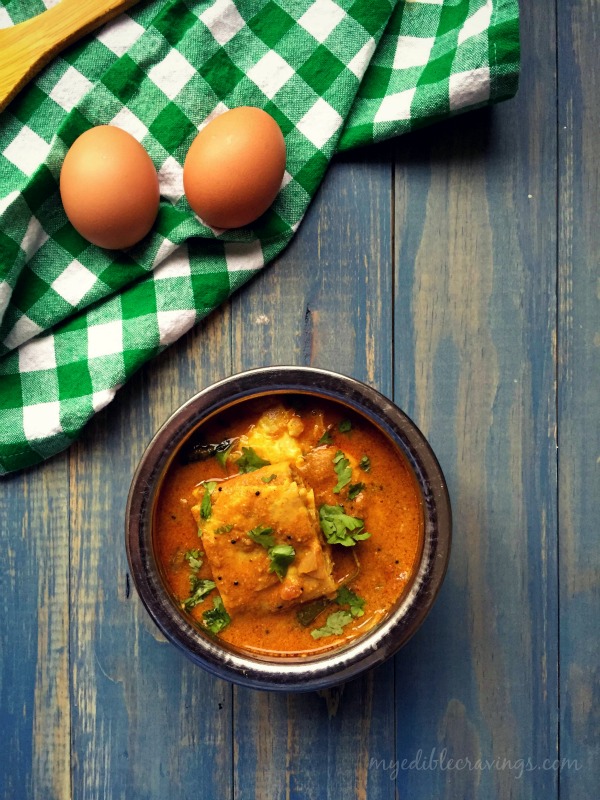
 There are times when you want to make a dish that you don’t normally give much thought about but kind of crave for it once in a while. Today I have posted one such dish that is a staple in almost all Indian homes. It is the Egg curry. Egg curry is a simple dish that consists of gravy and eggs, usually boiled. Variations are usually done with the gravy but here I have given a slight variation with the egg 🙂
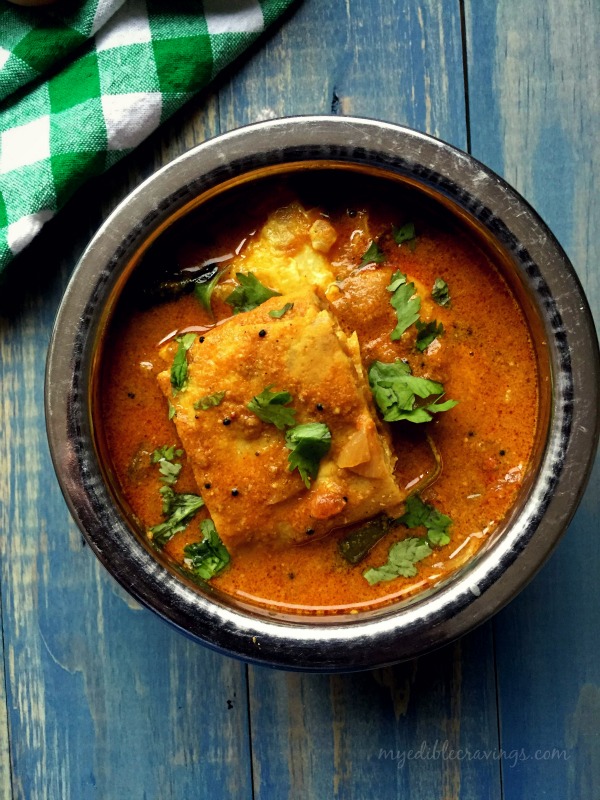
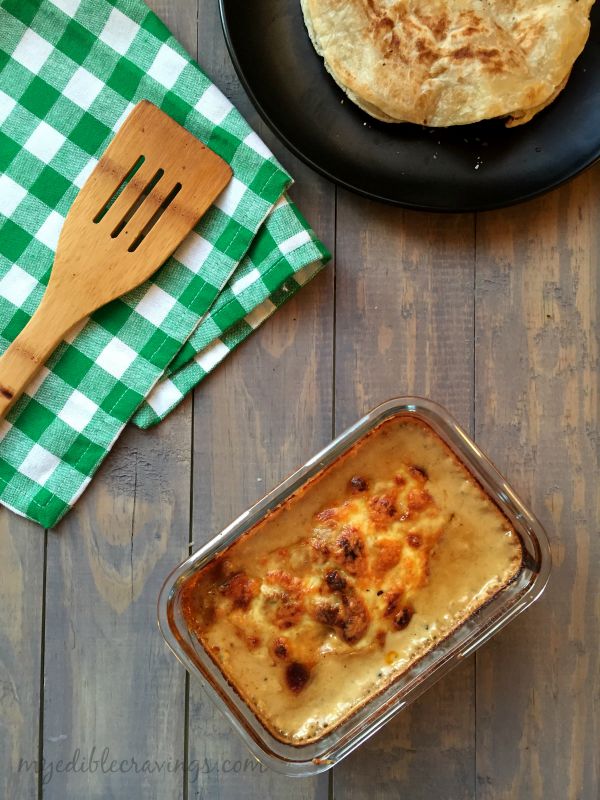
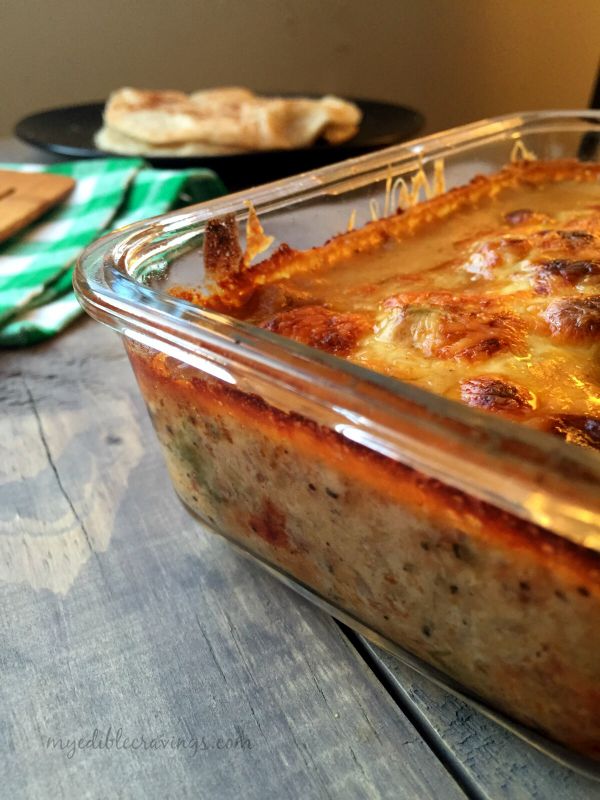
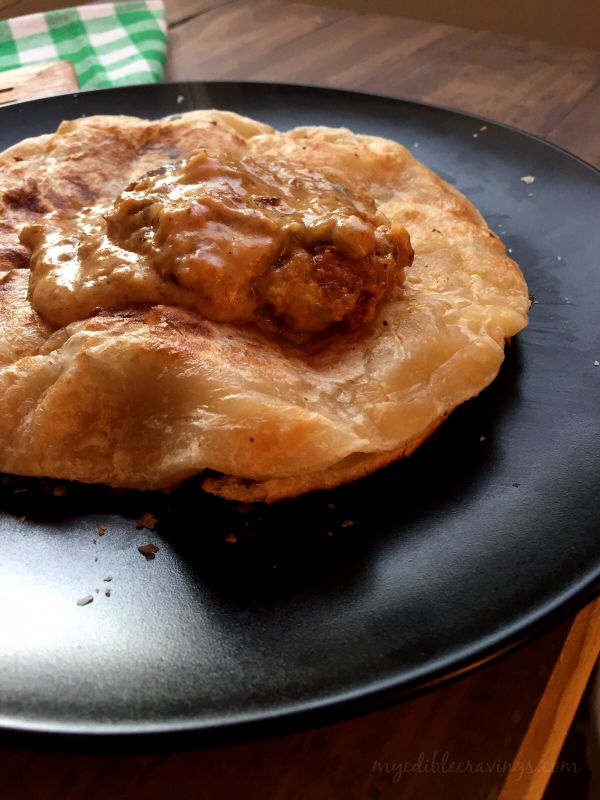
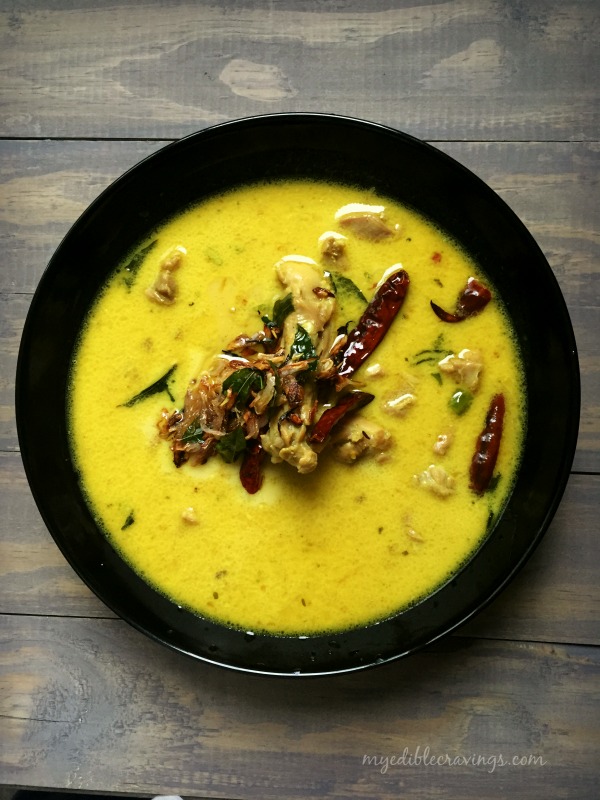
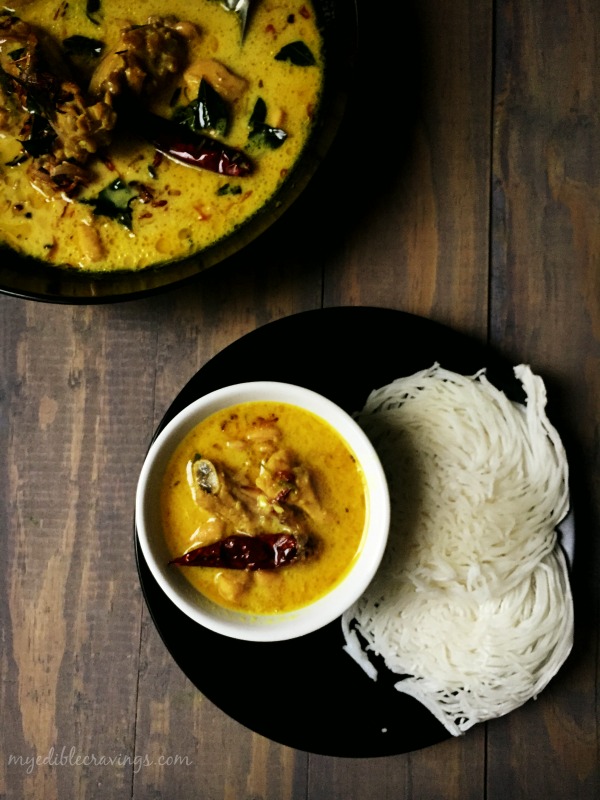
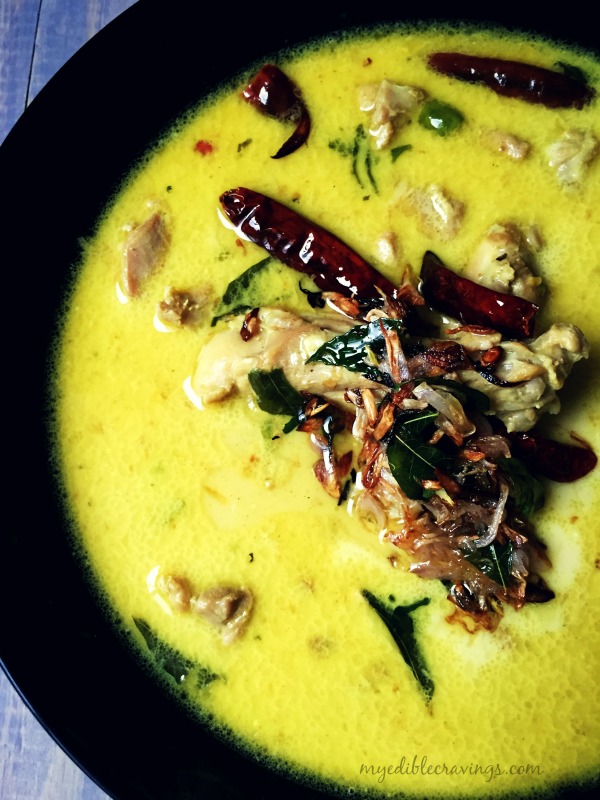
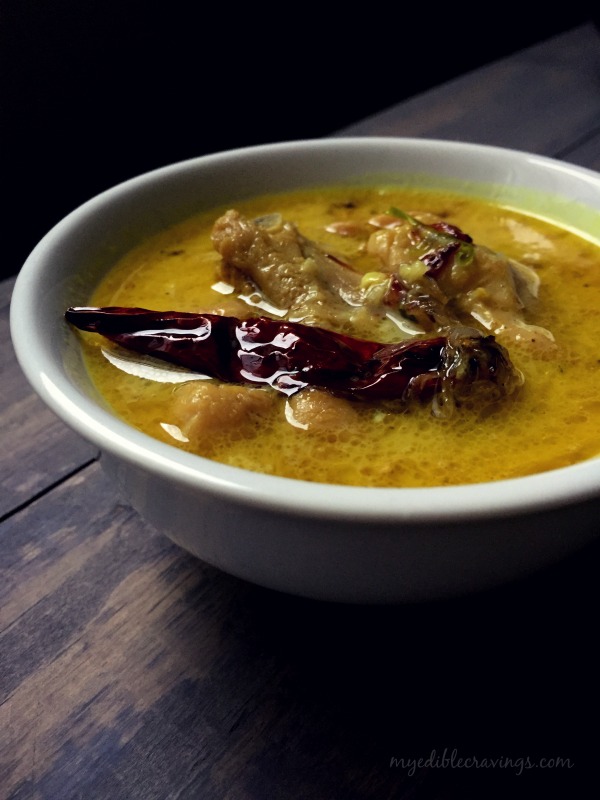
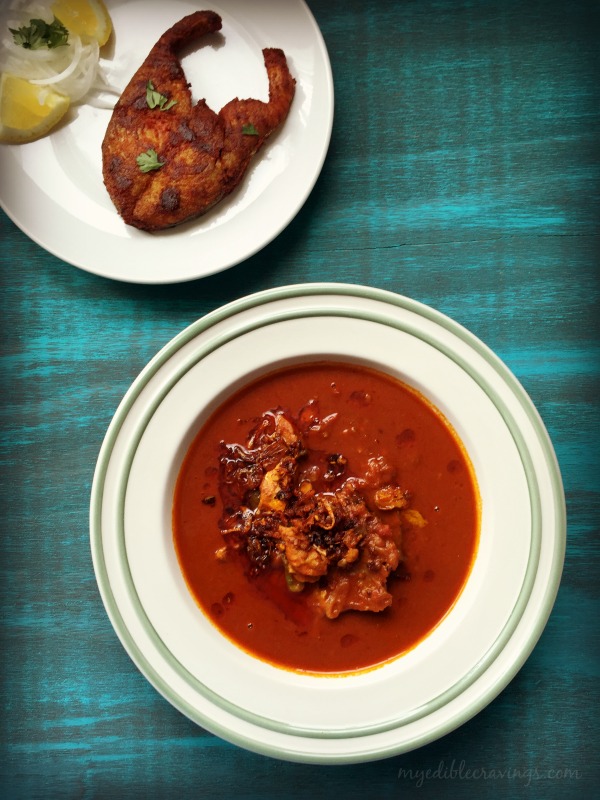
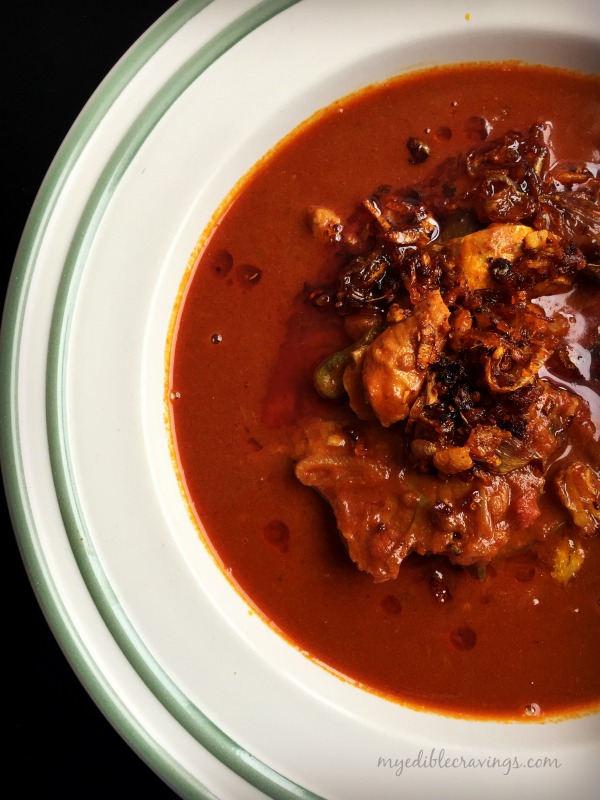
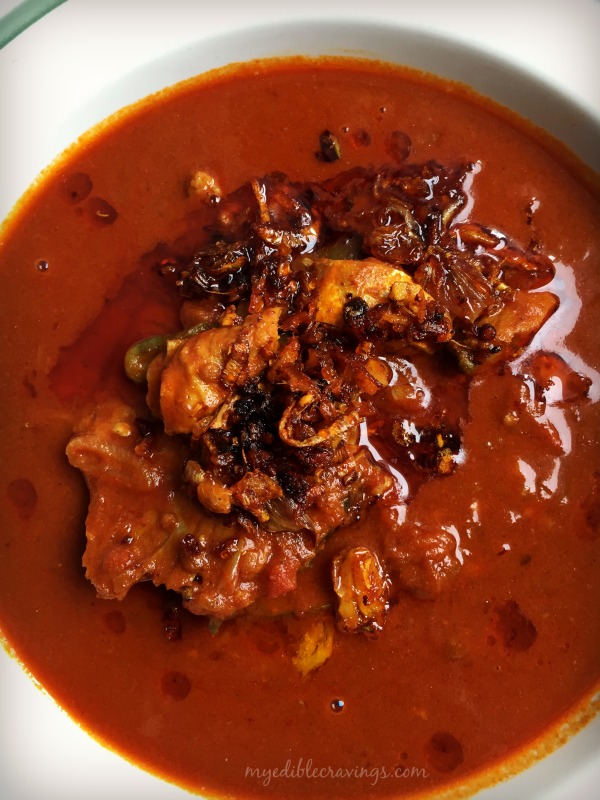
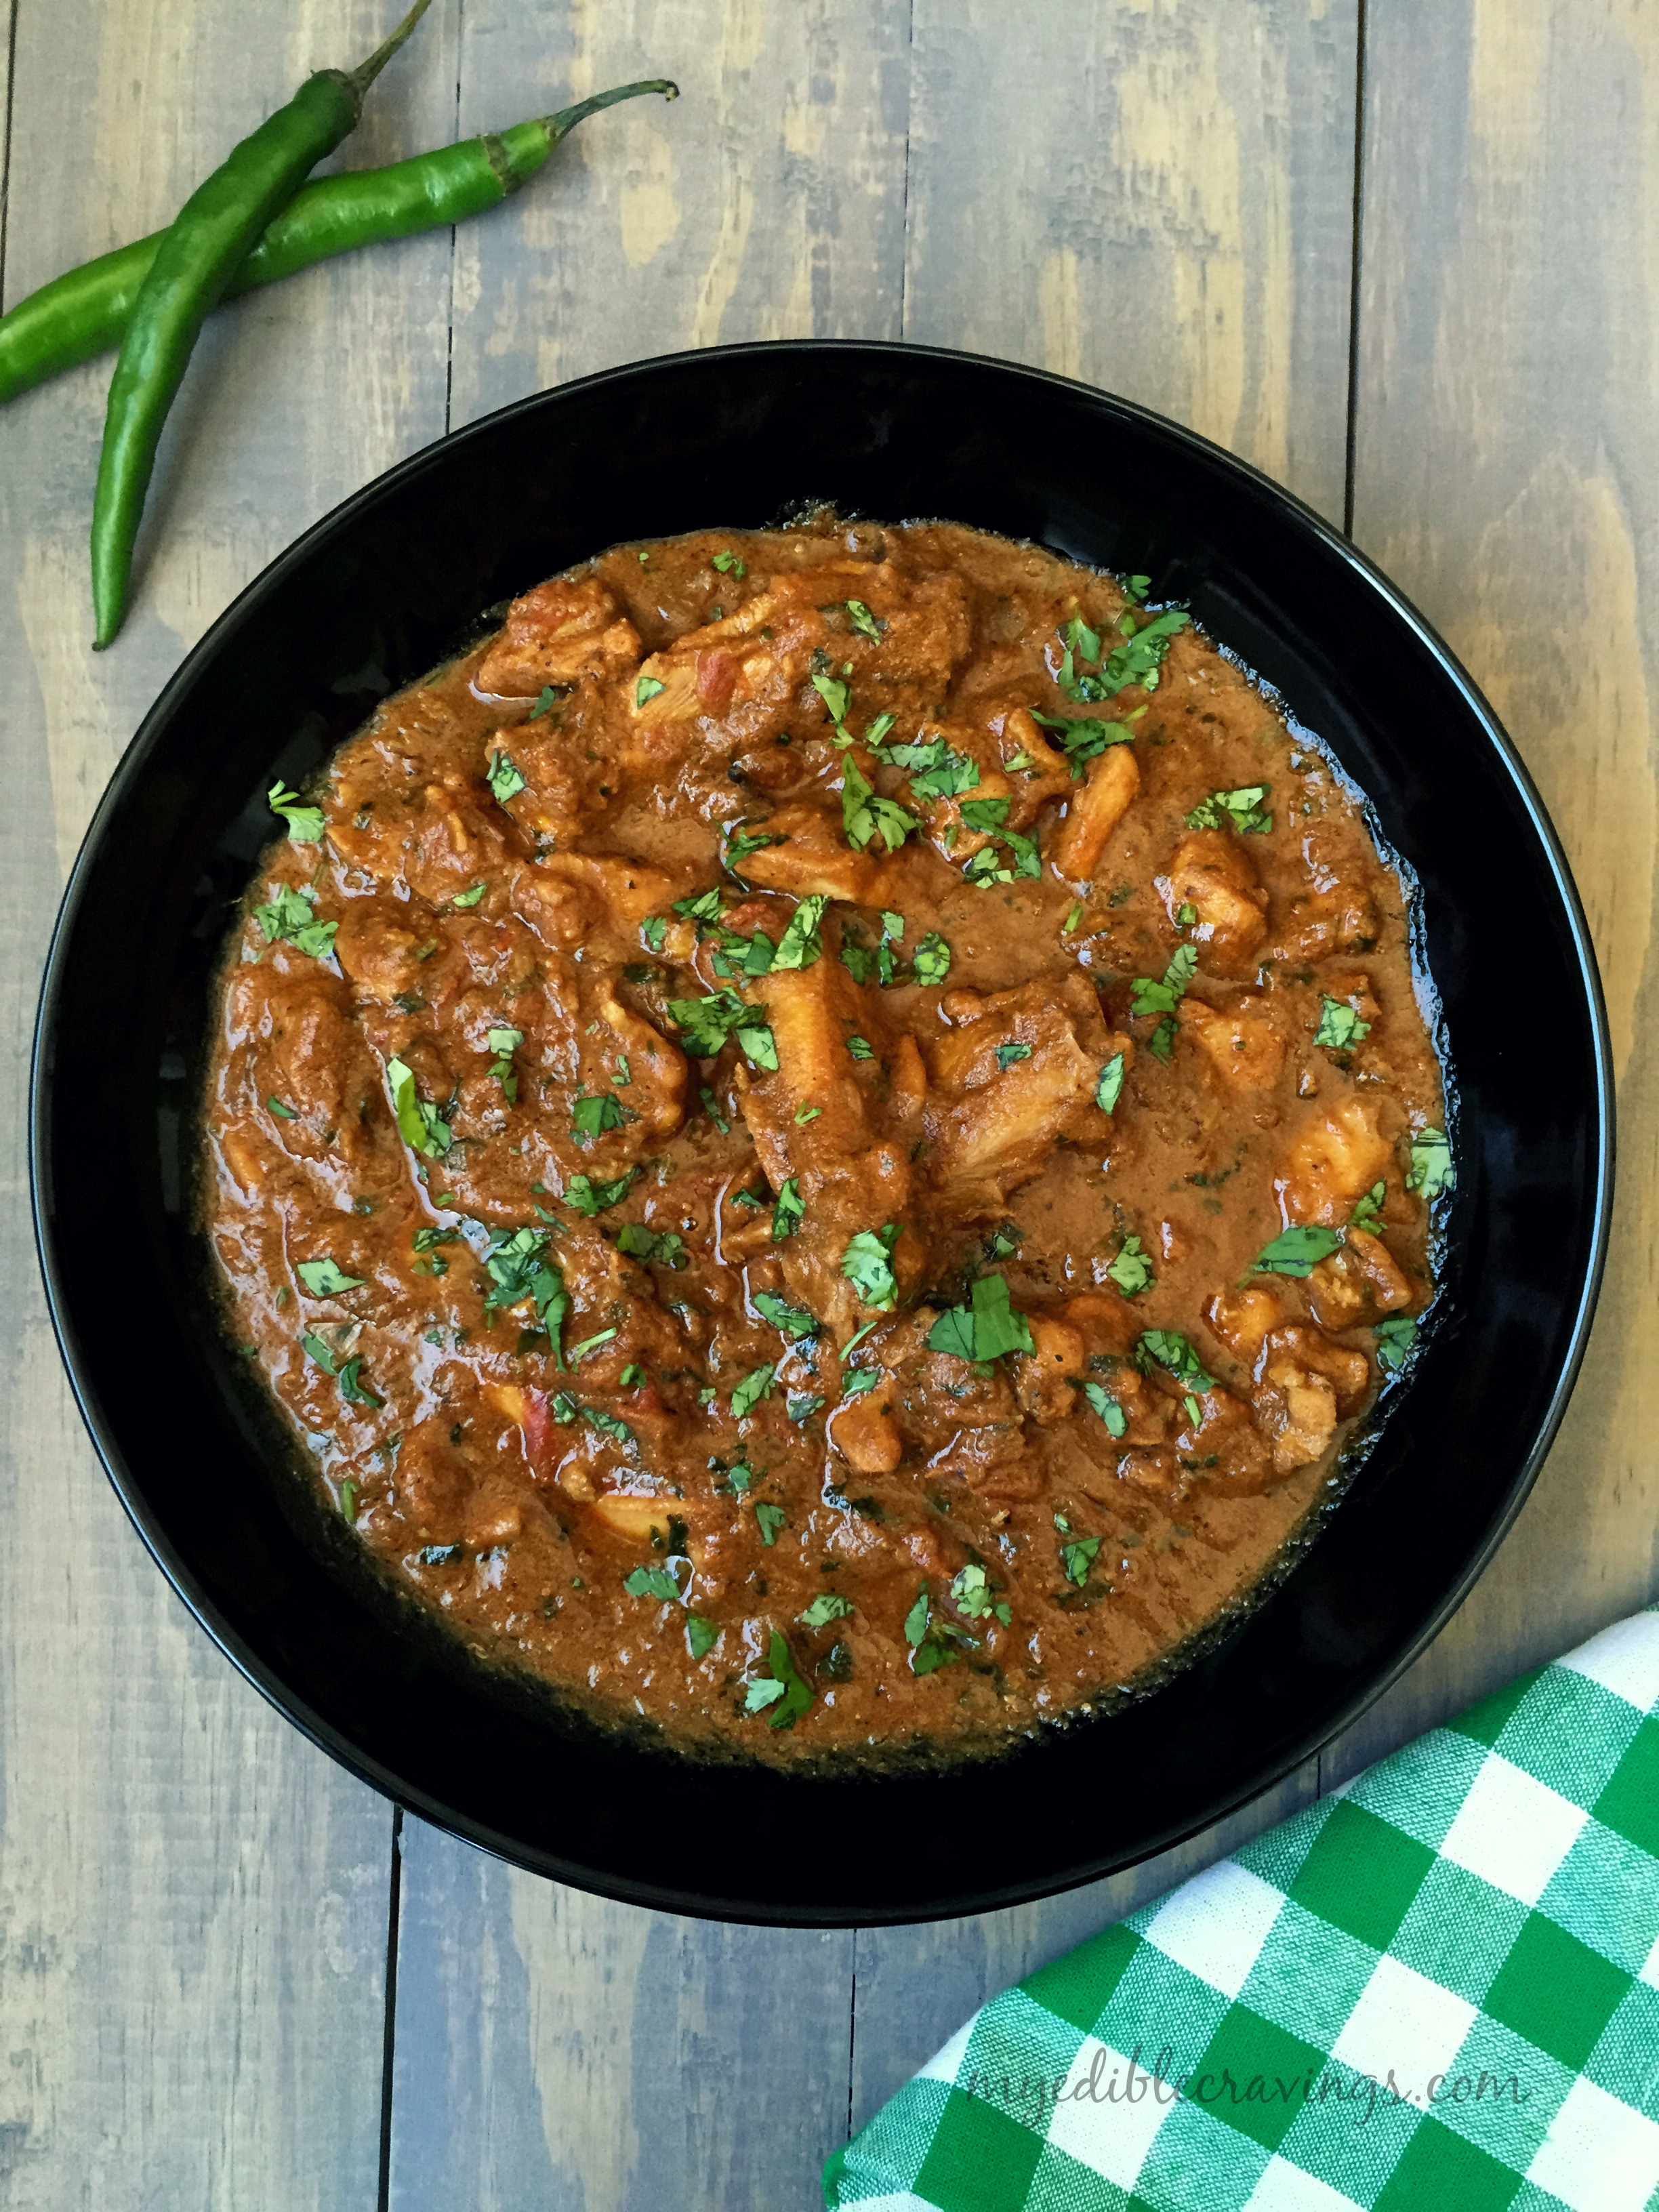
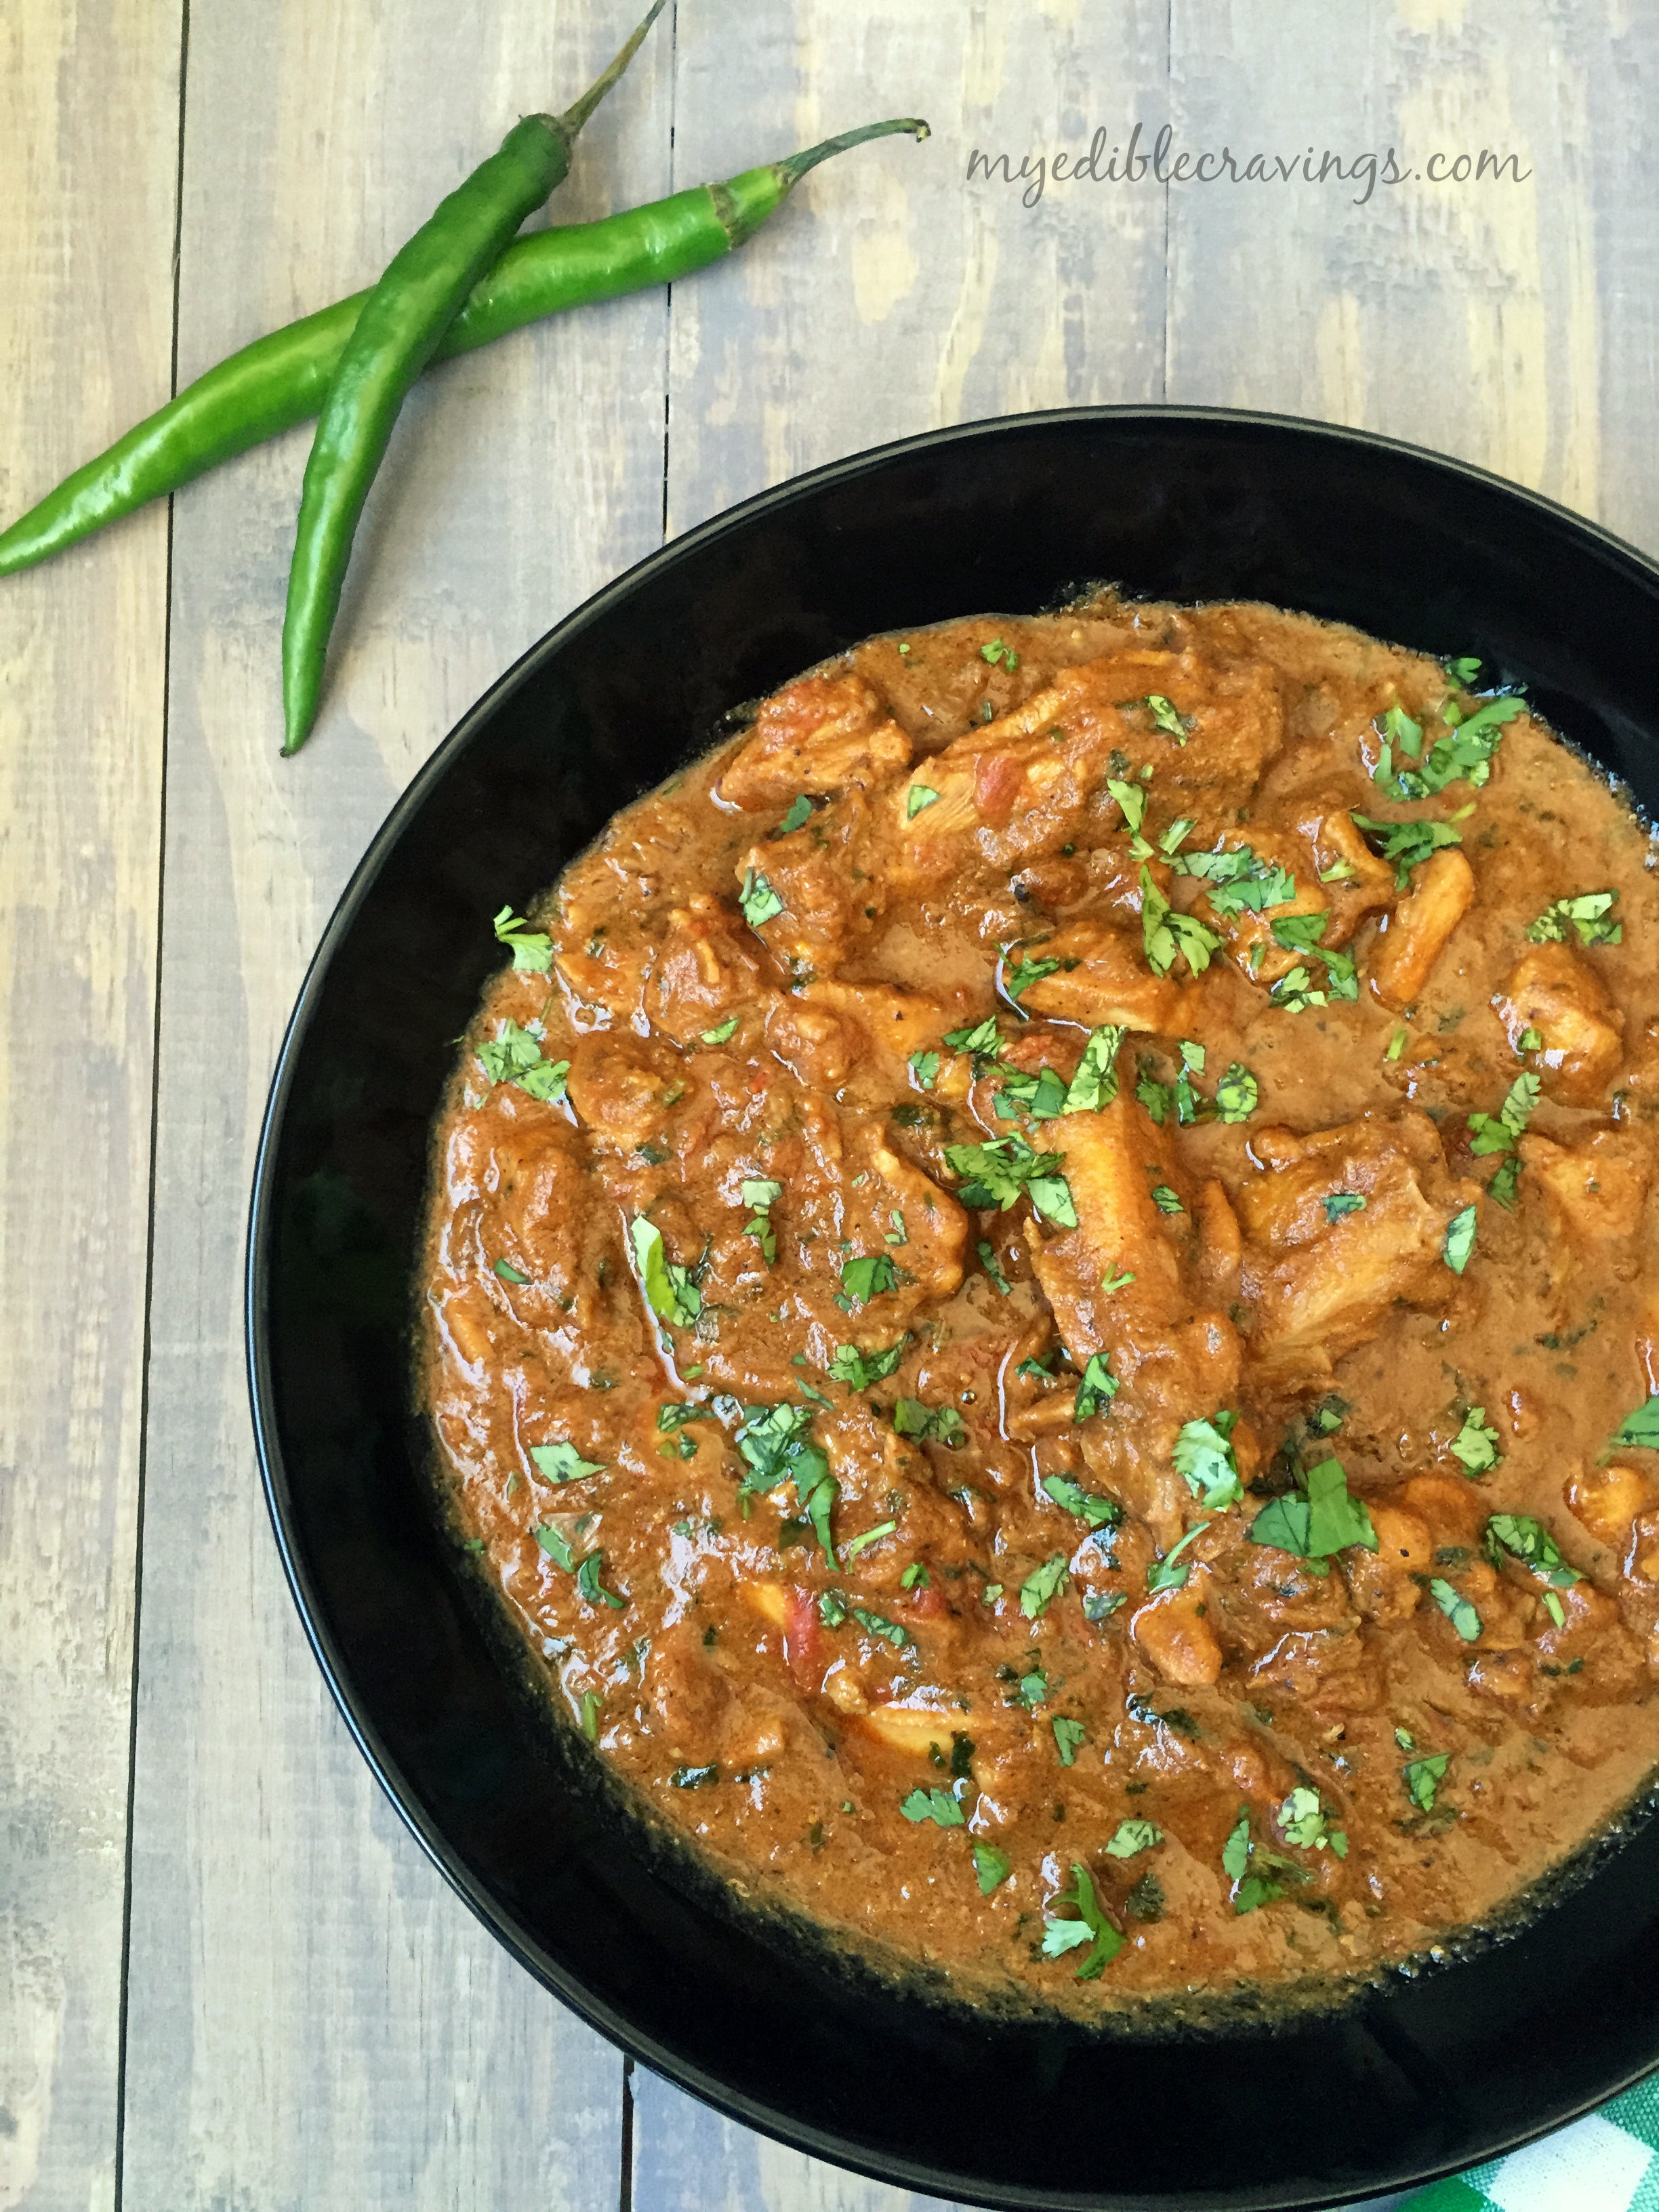
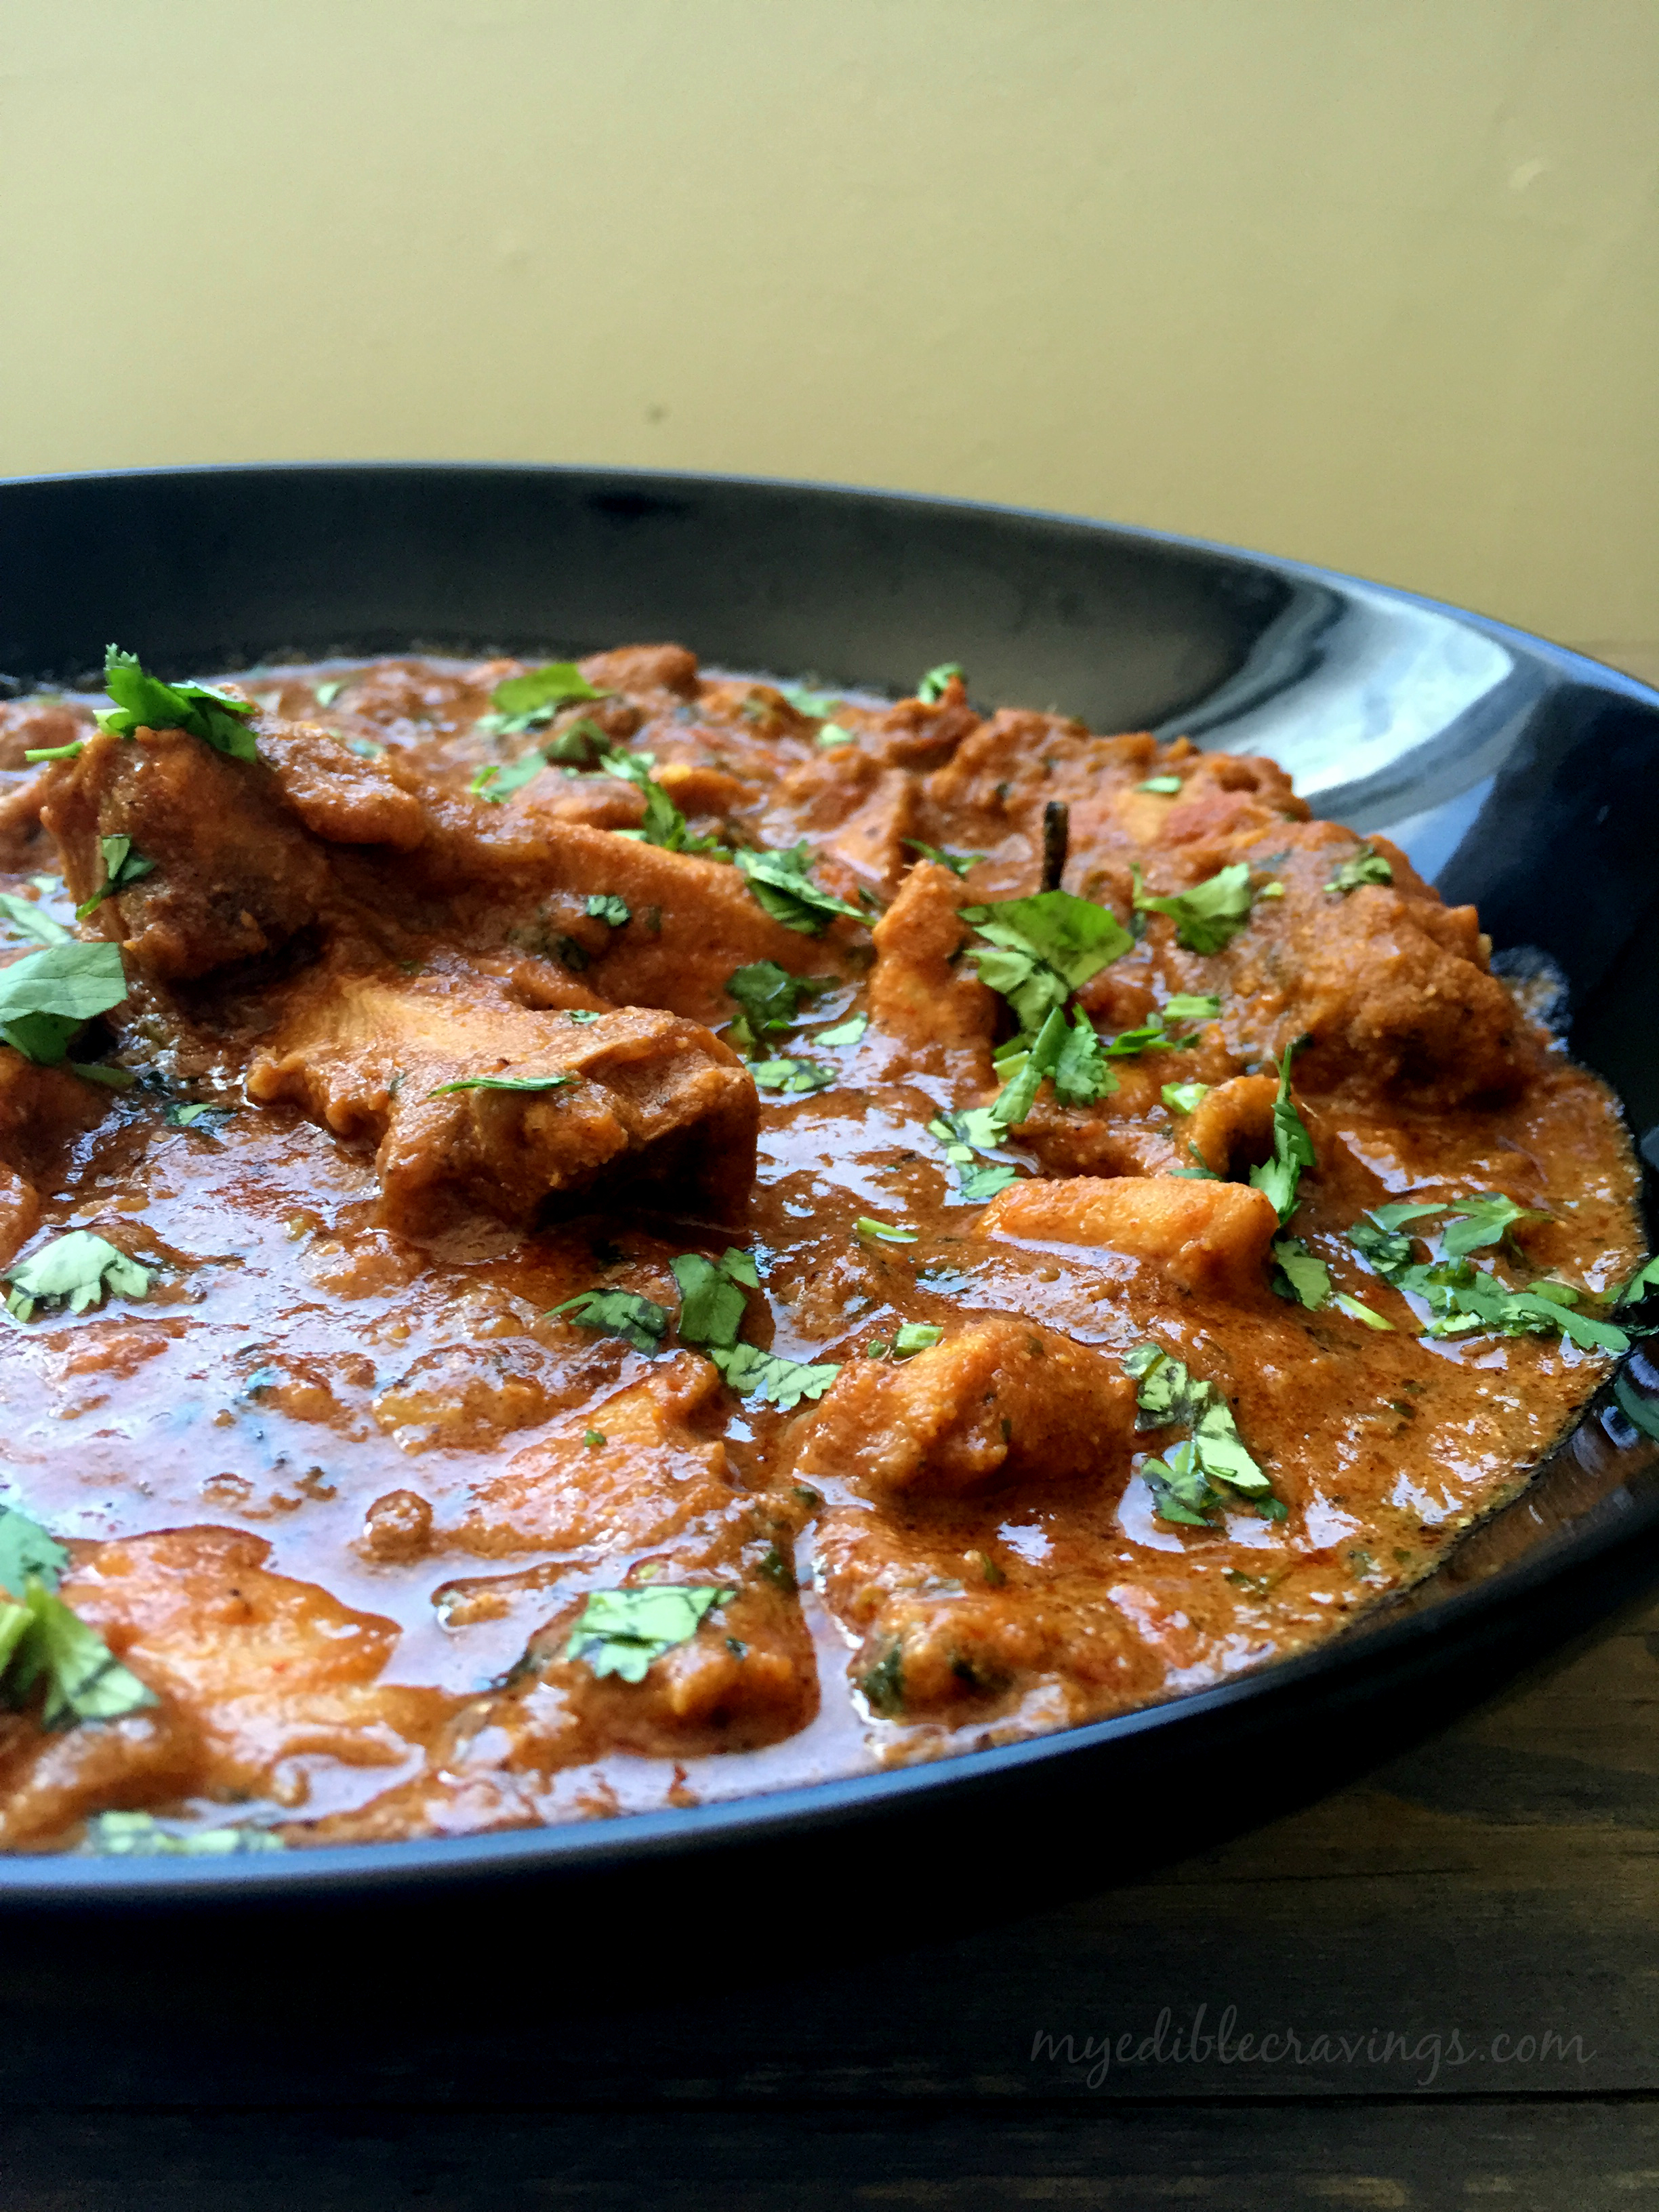
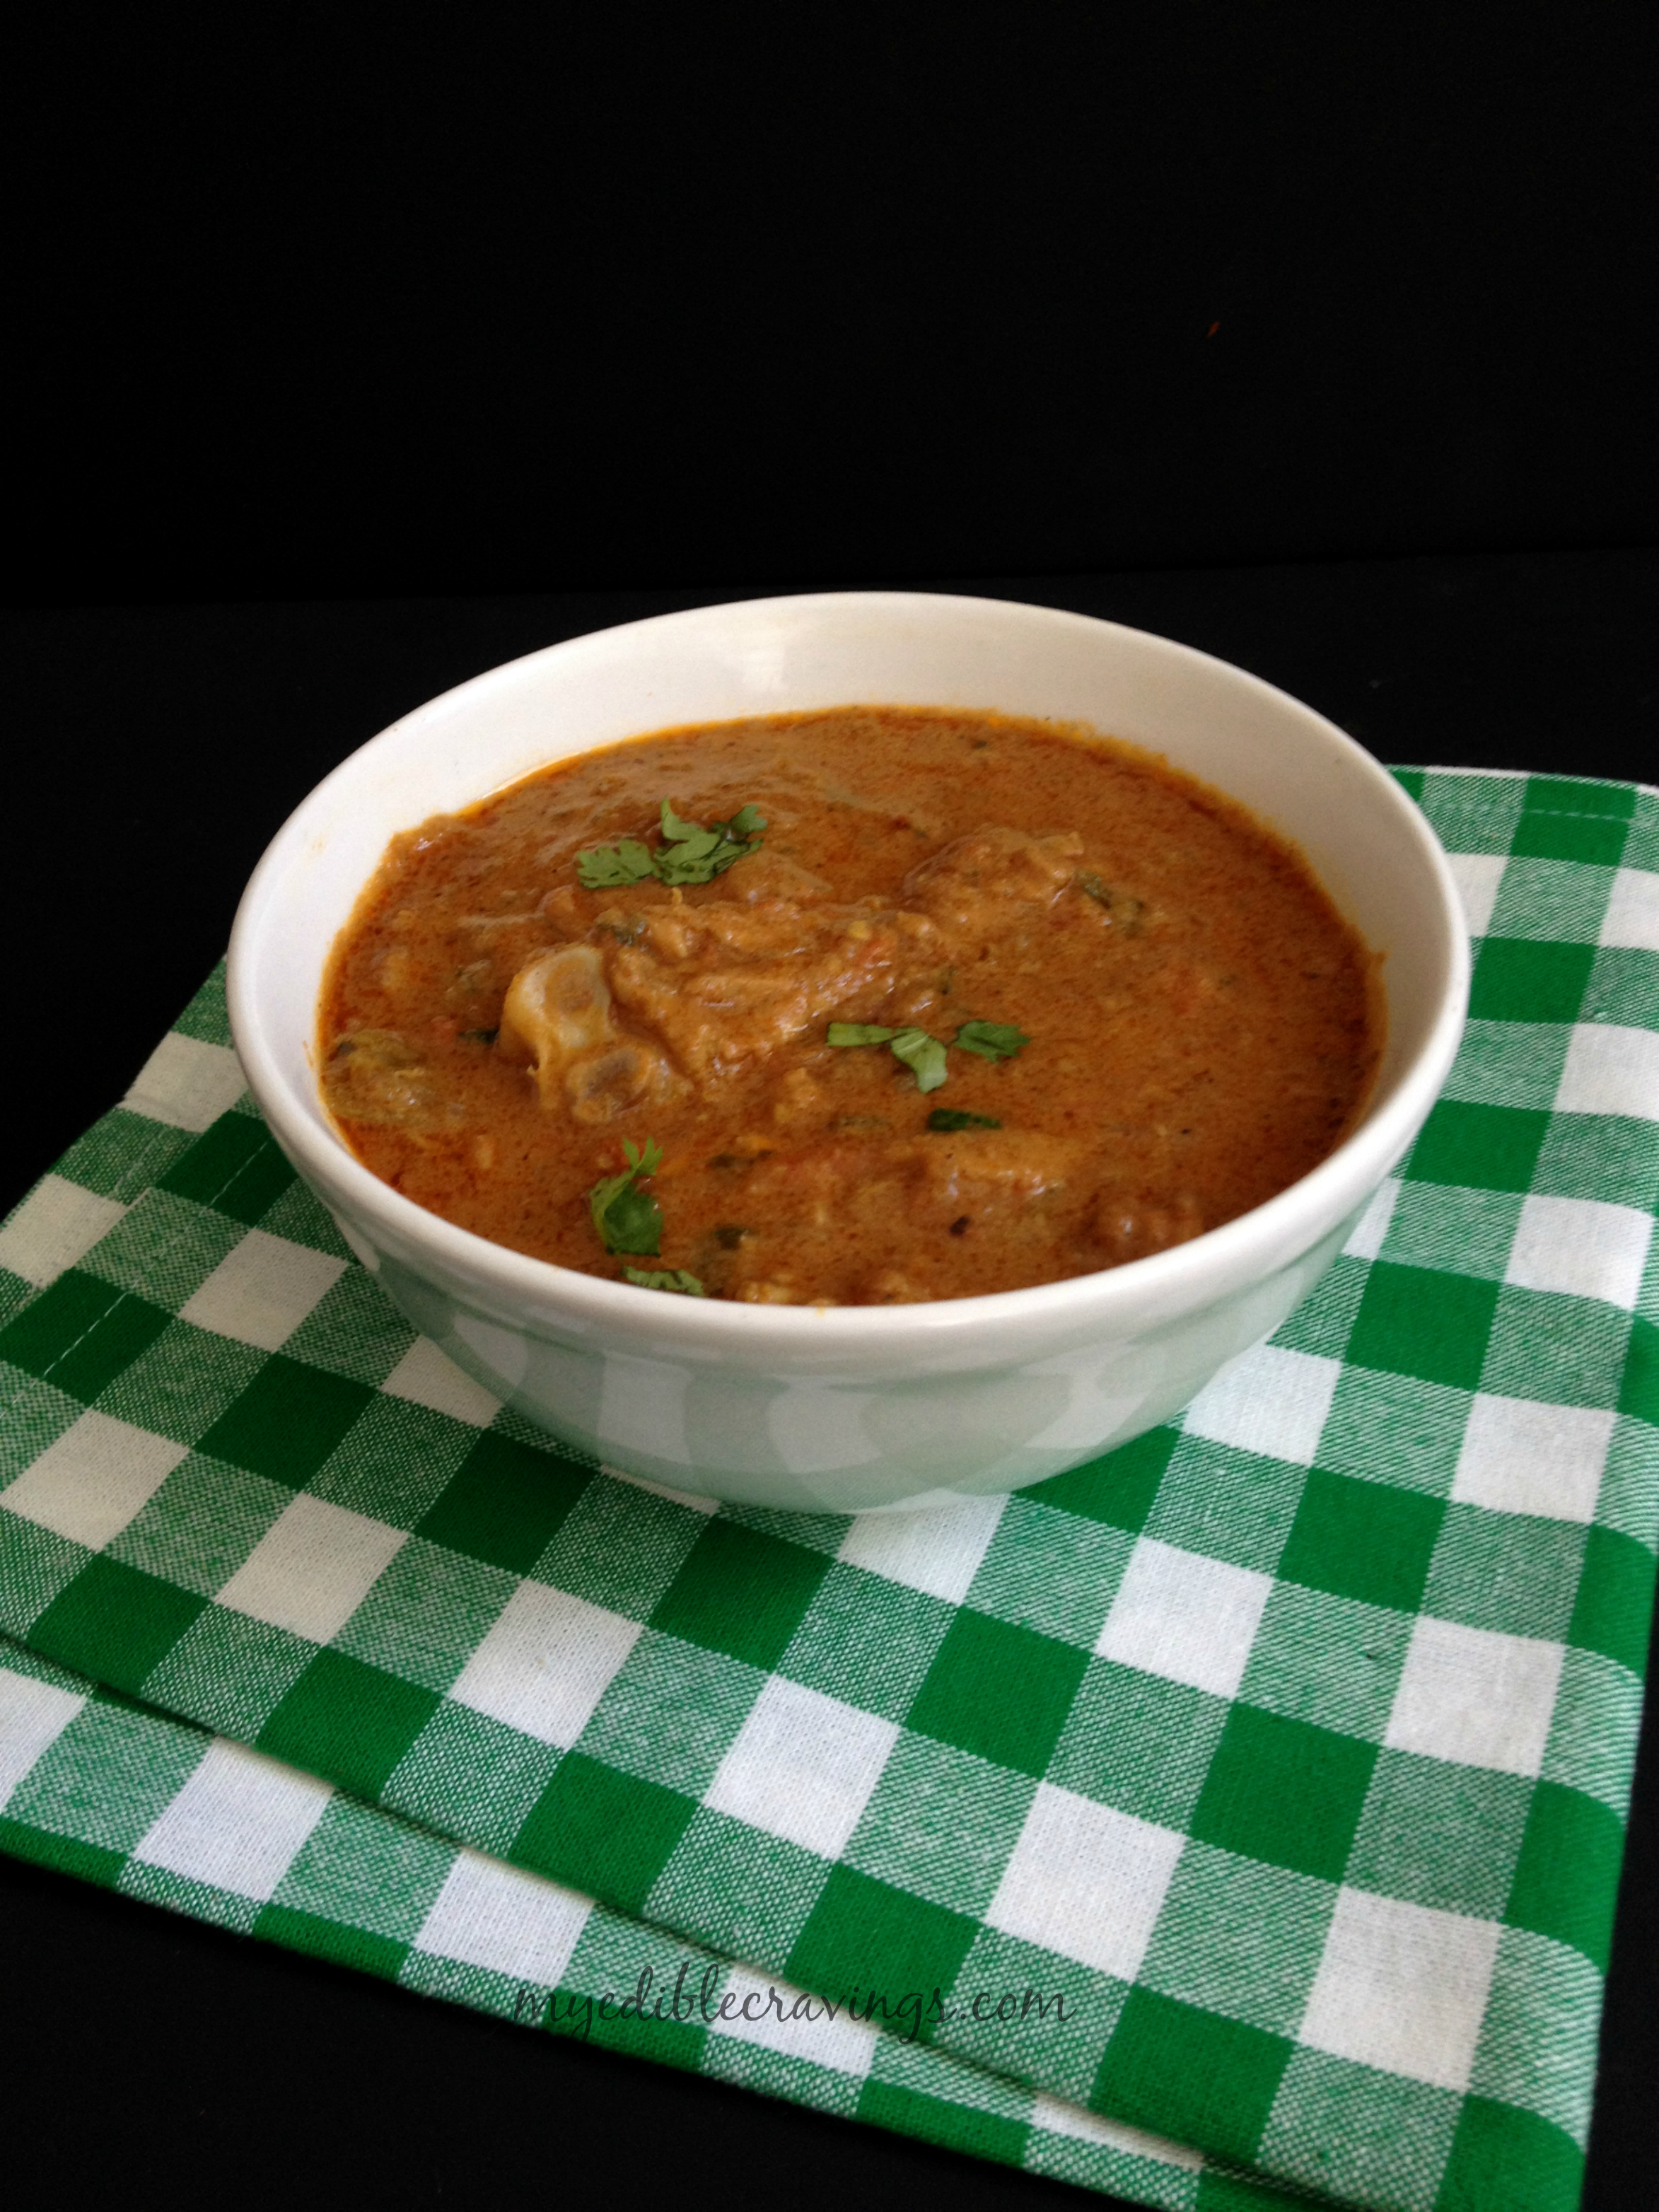
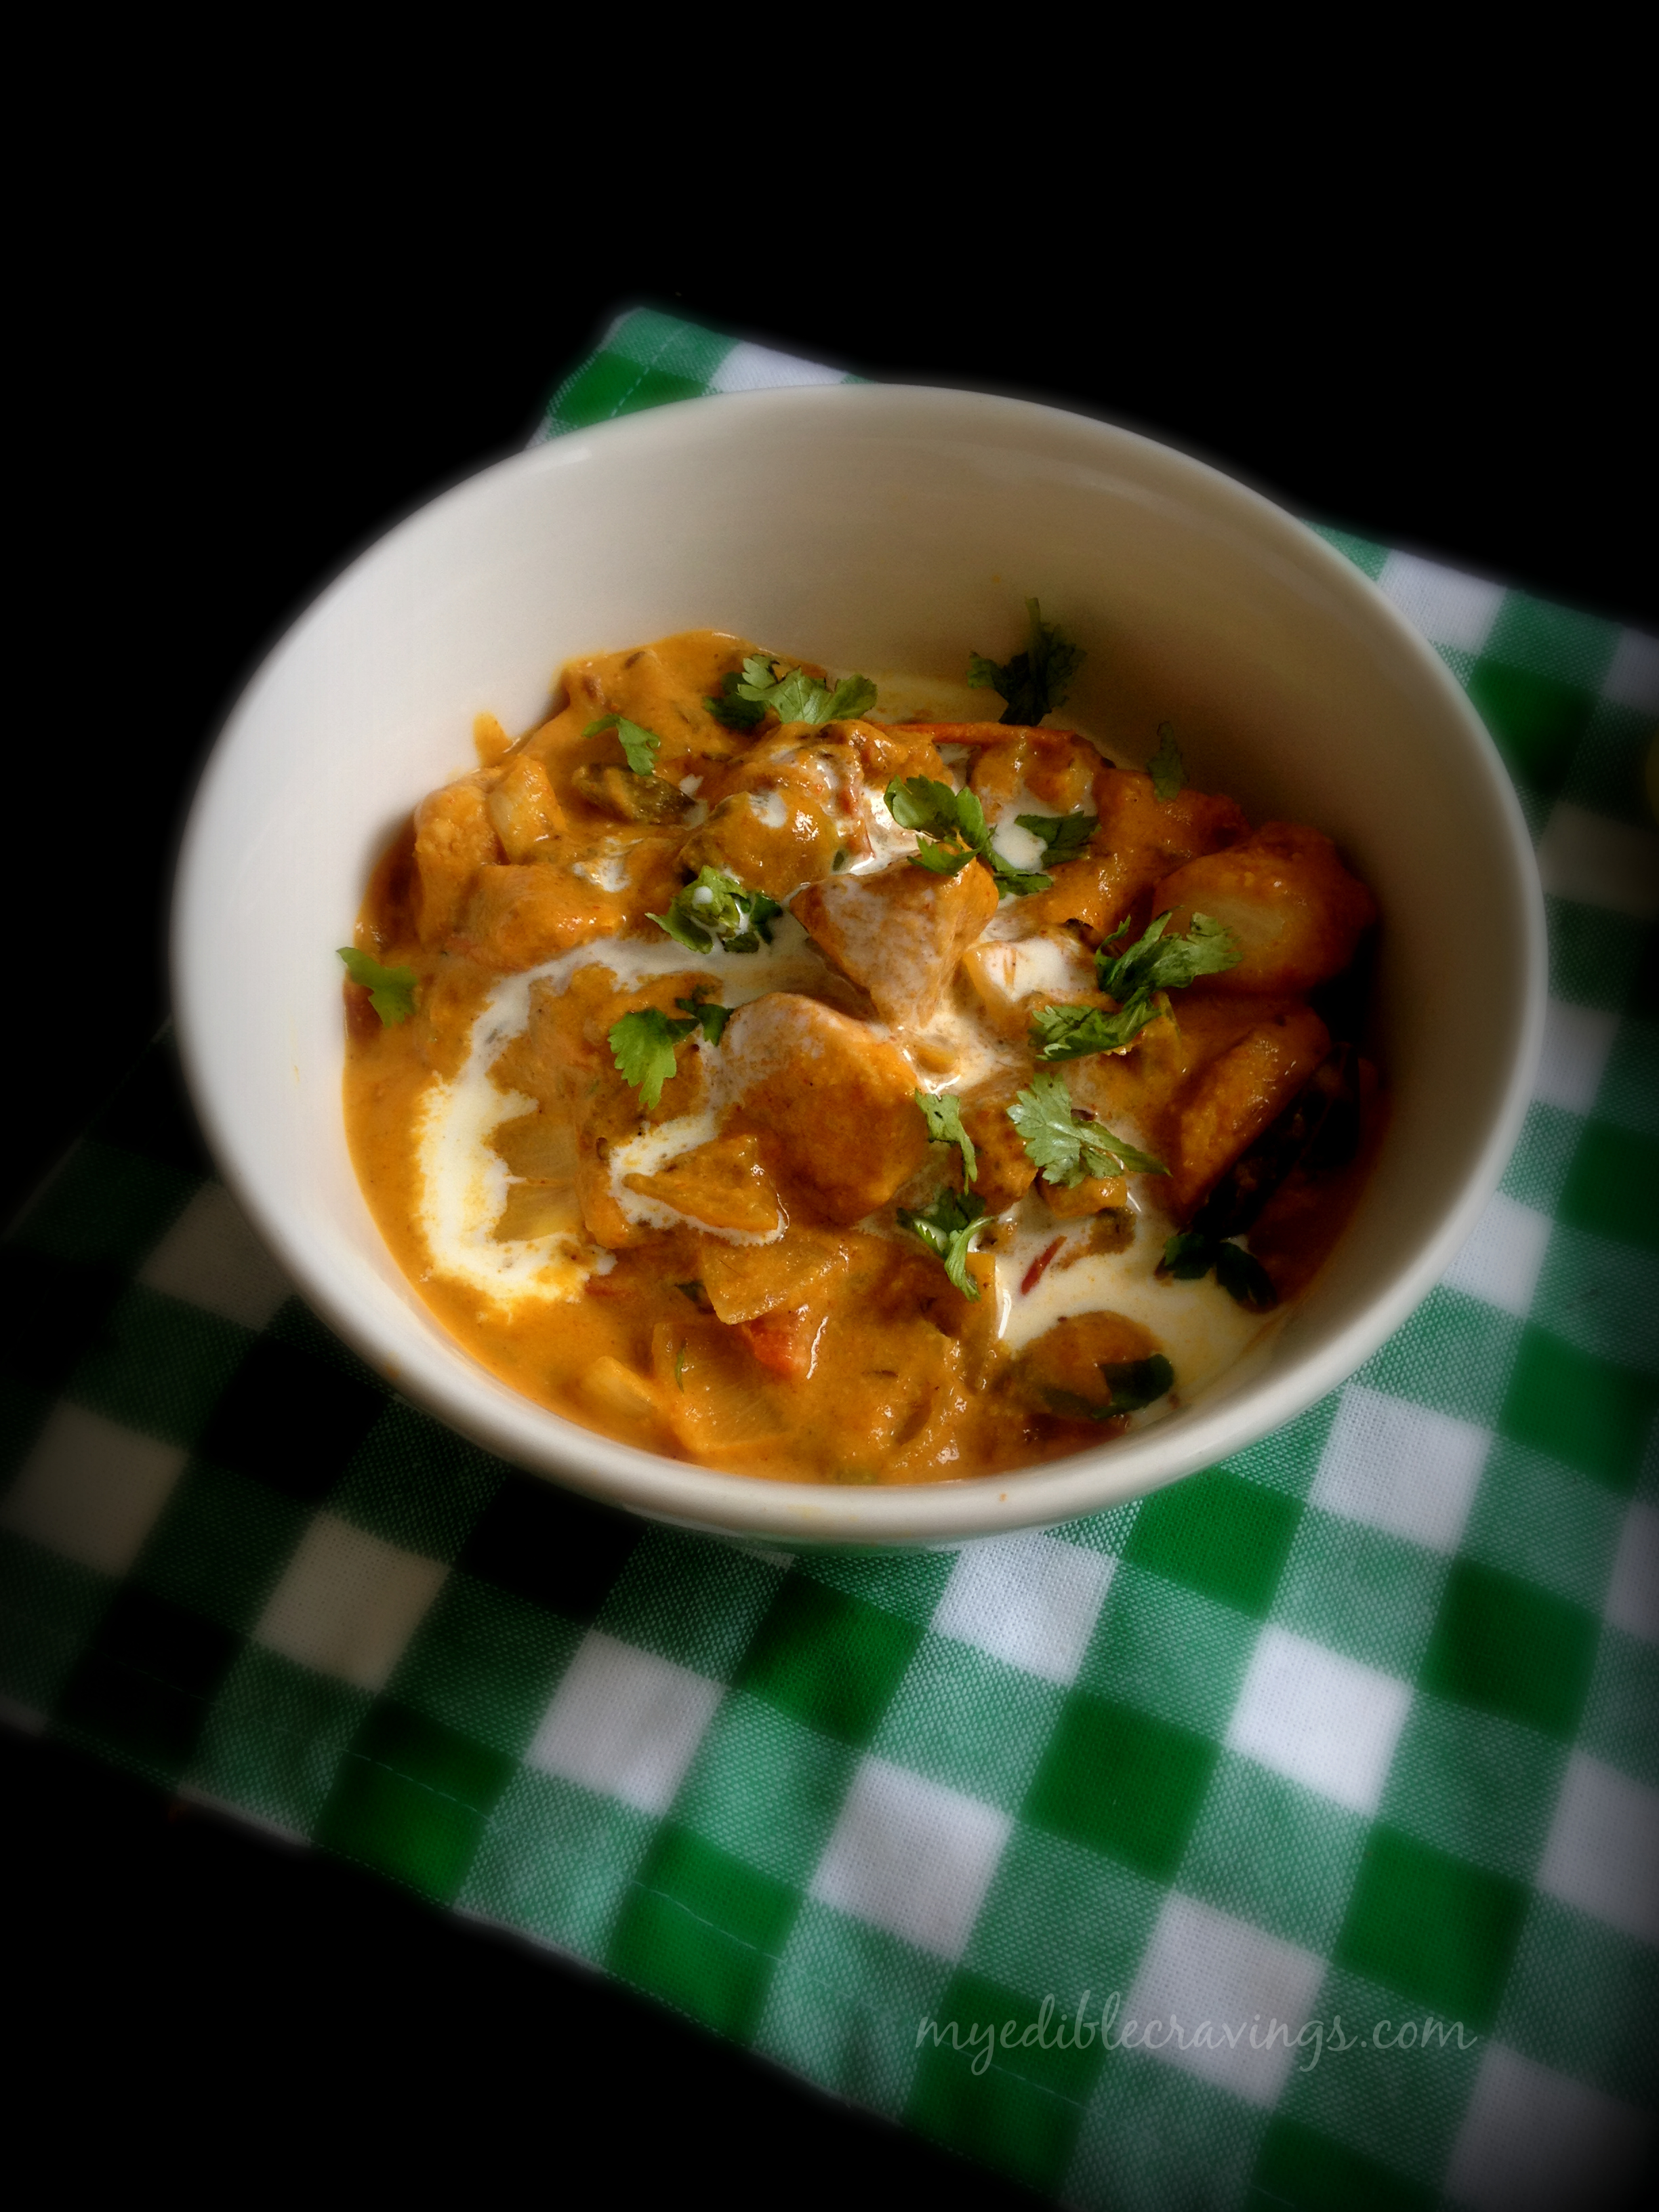
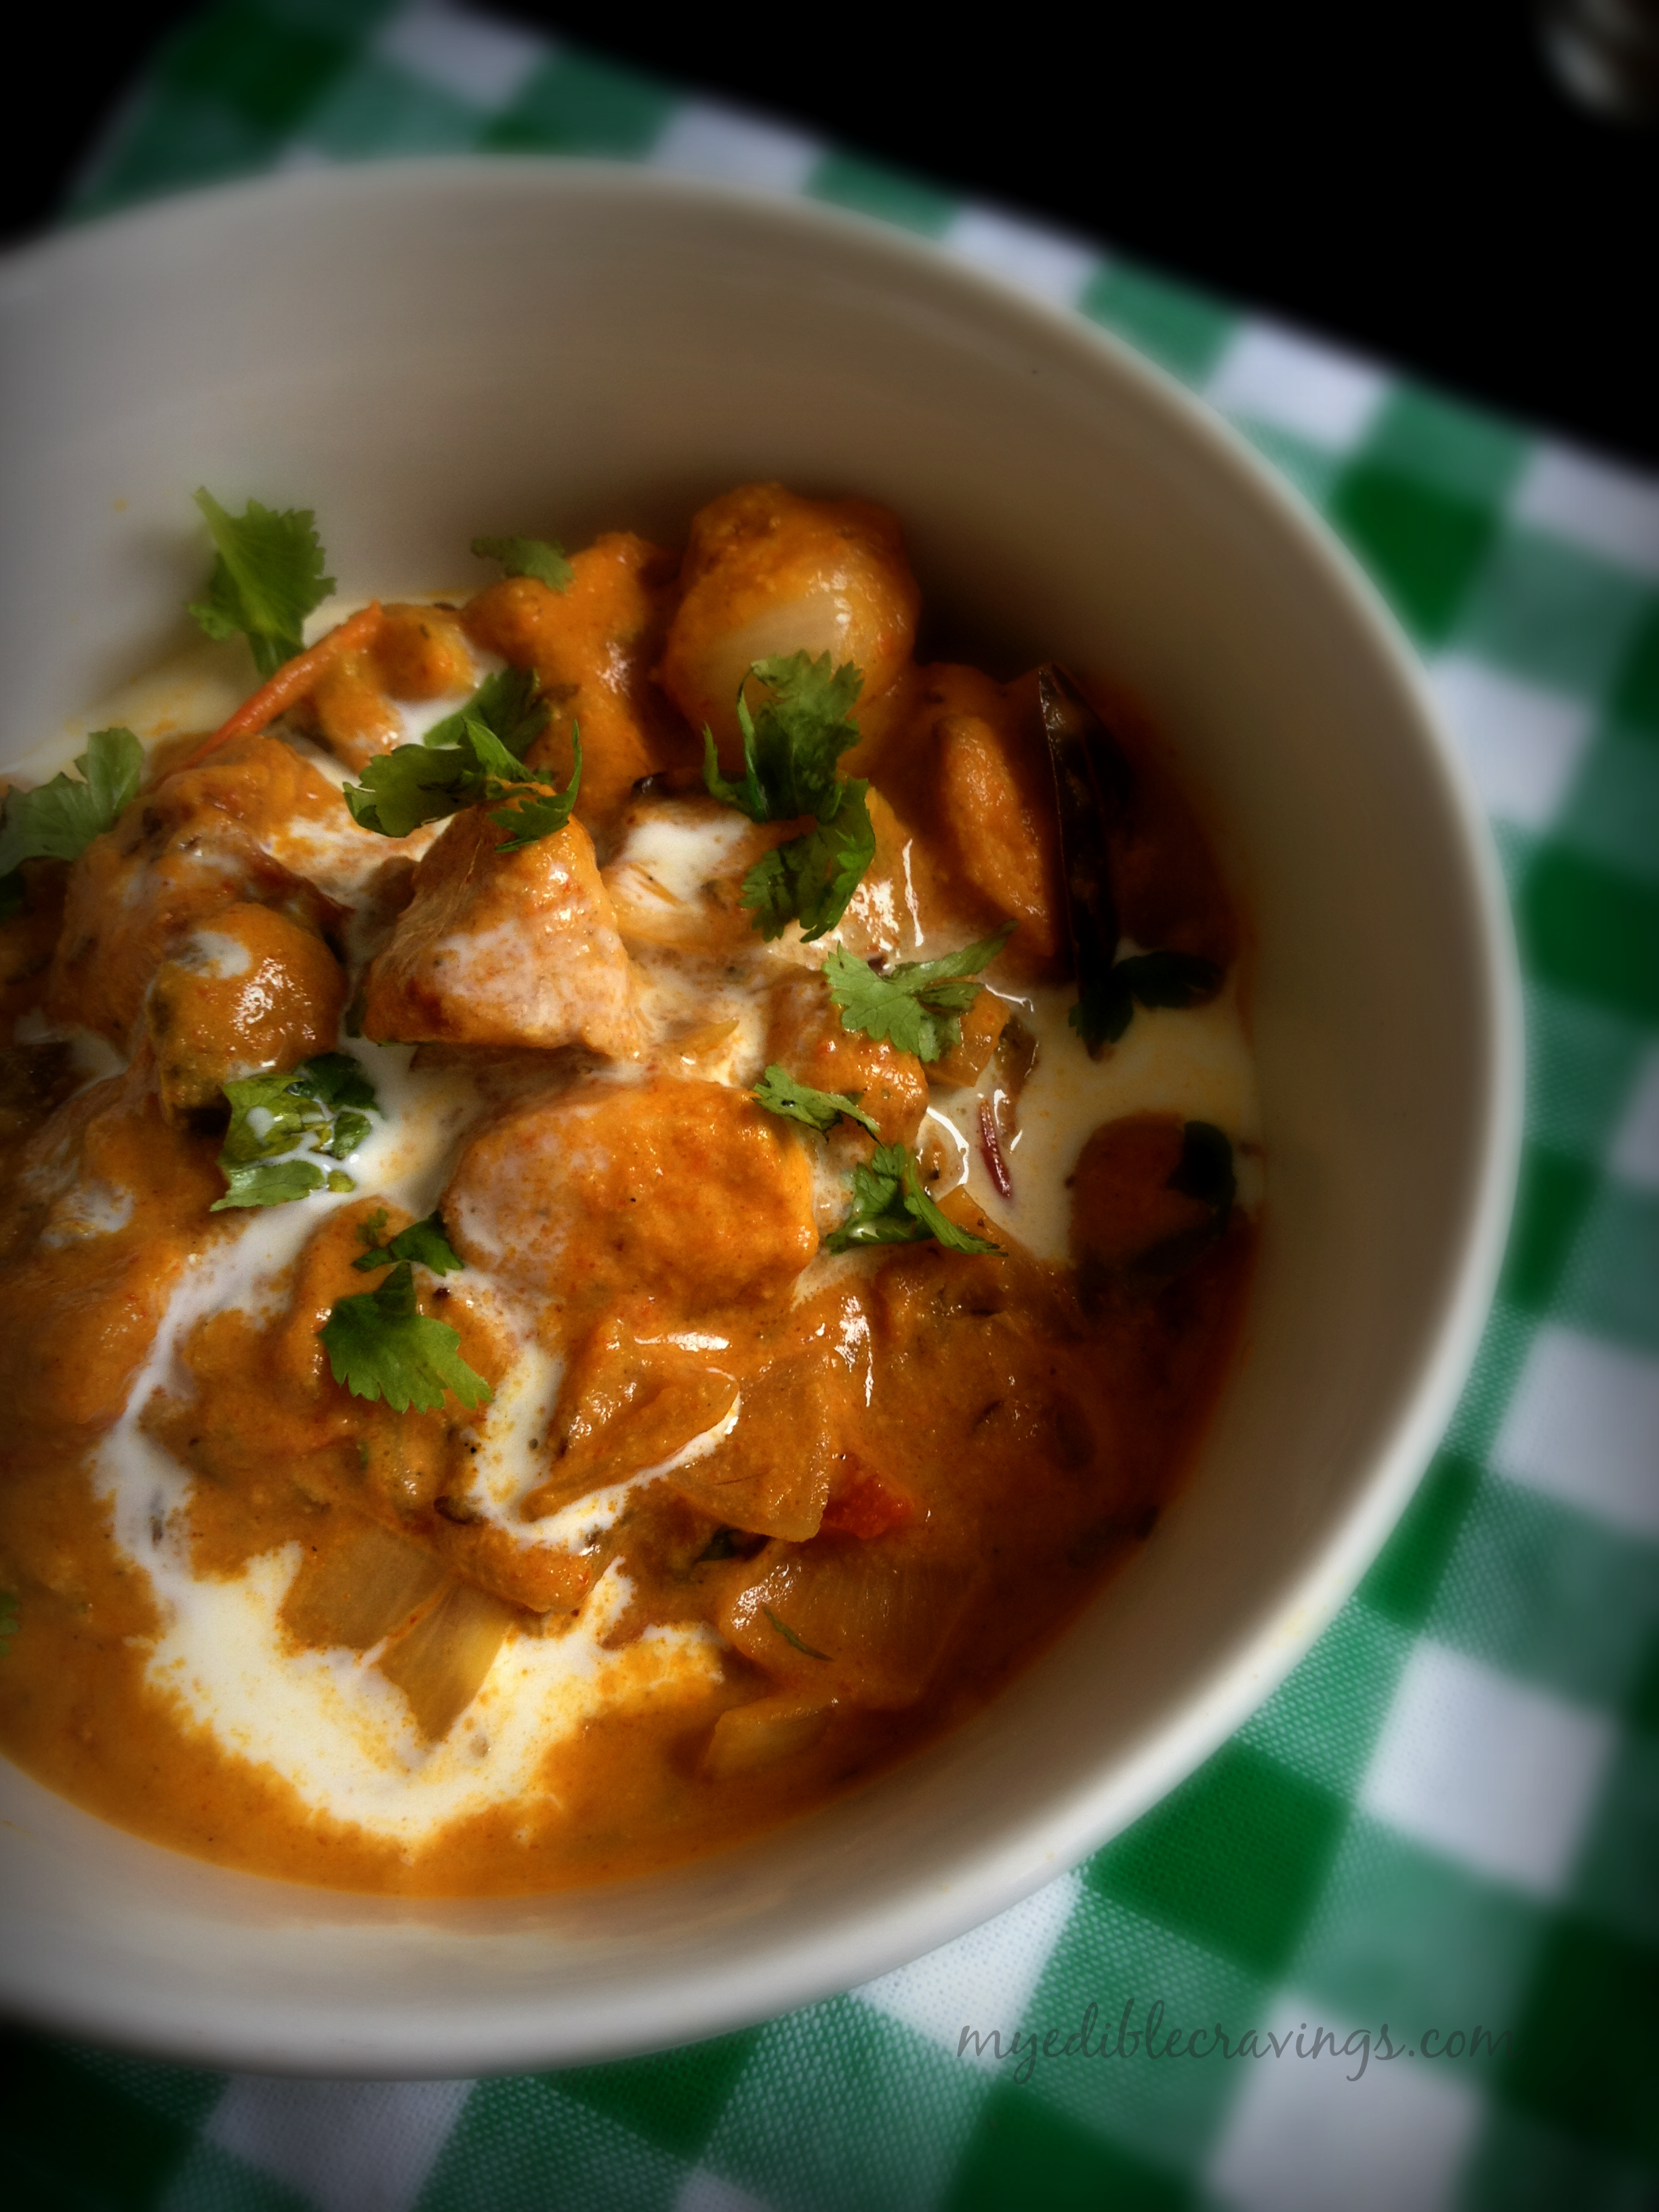
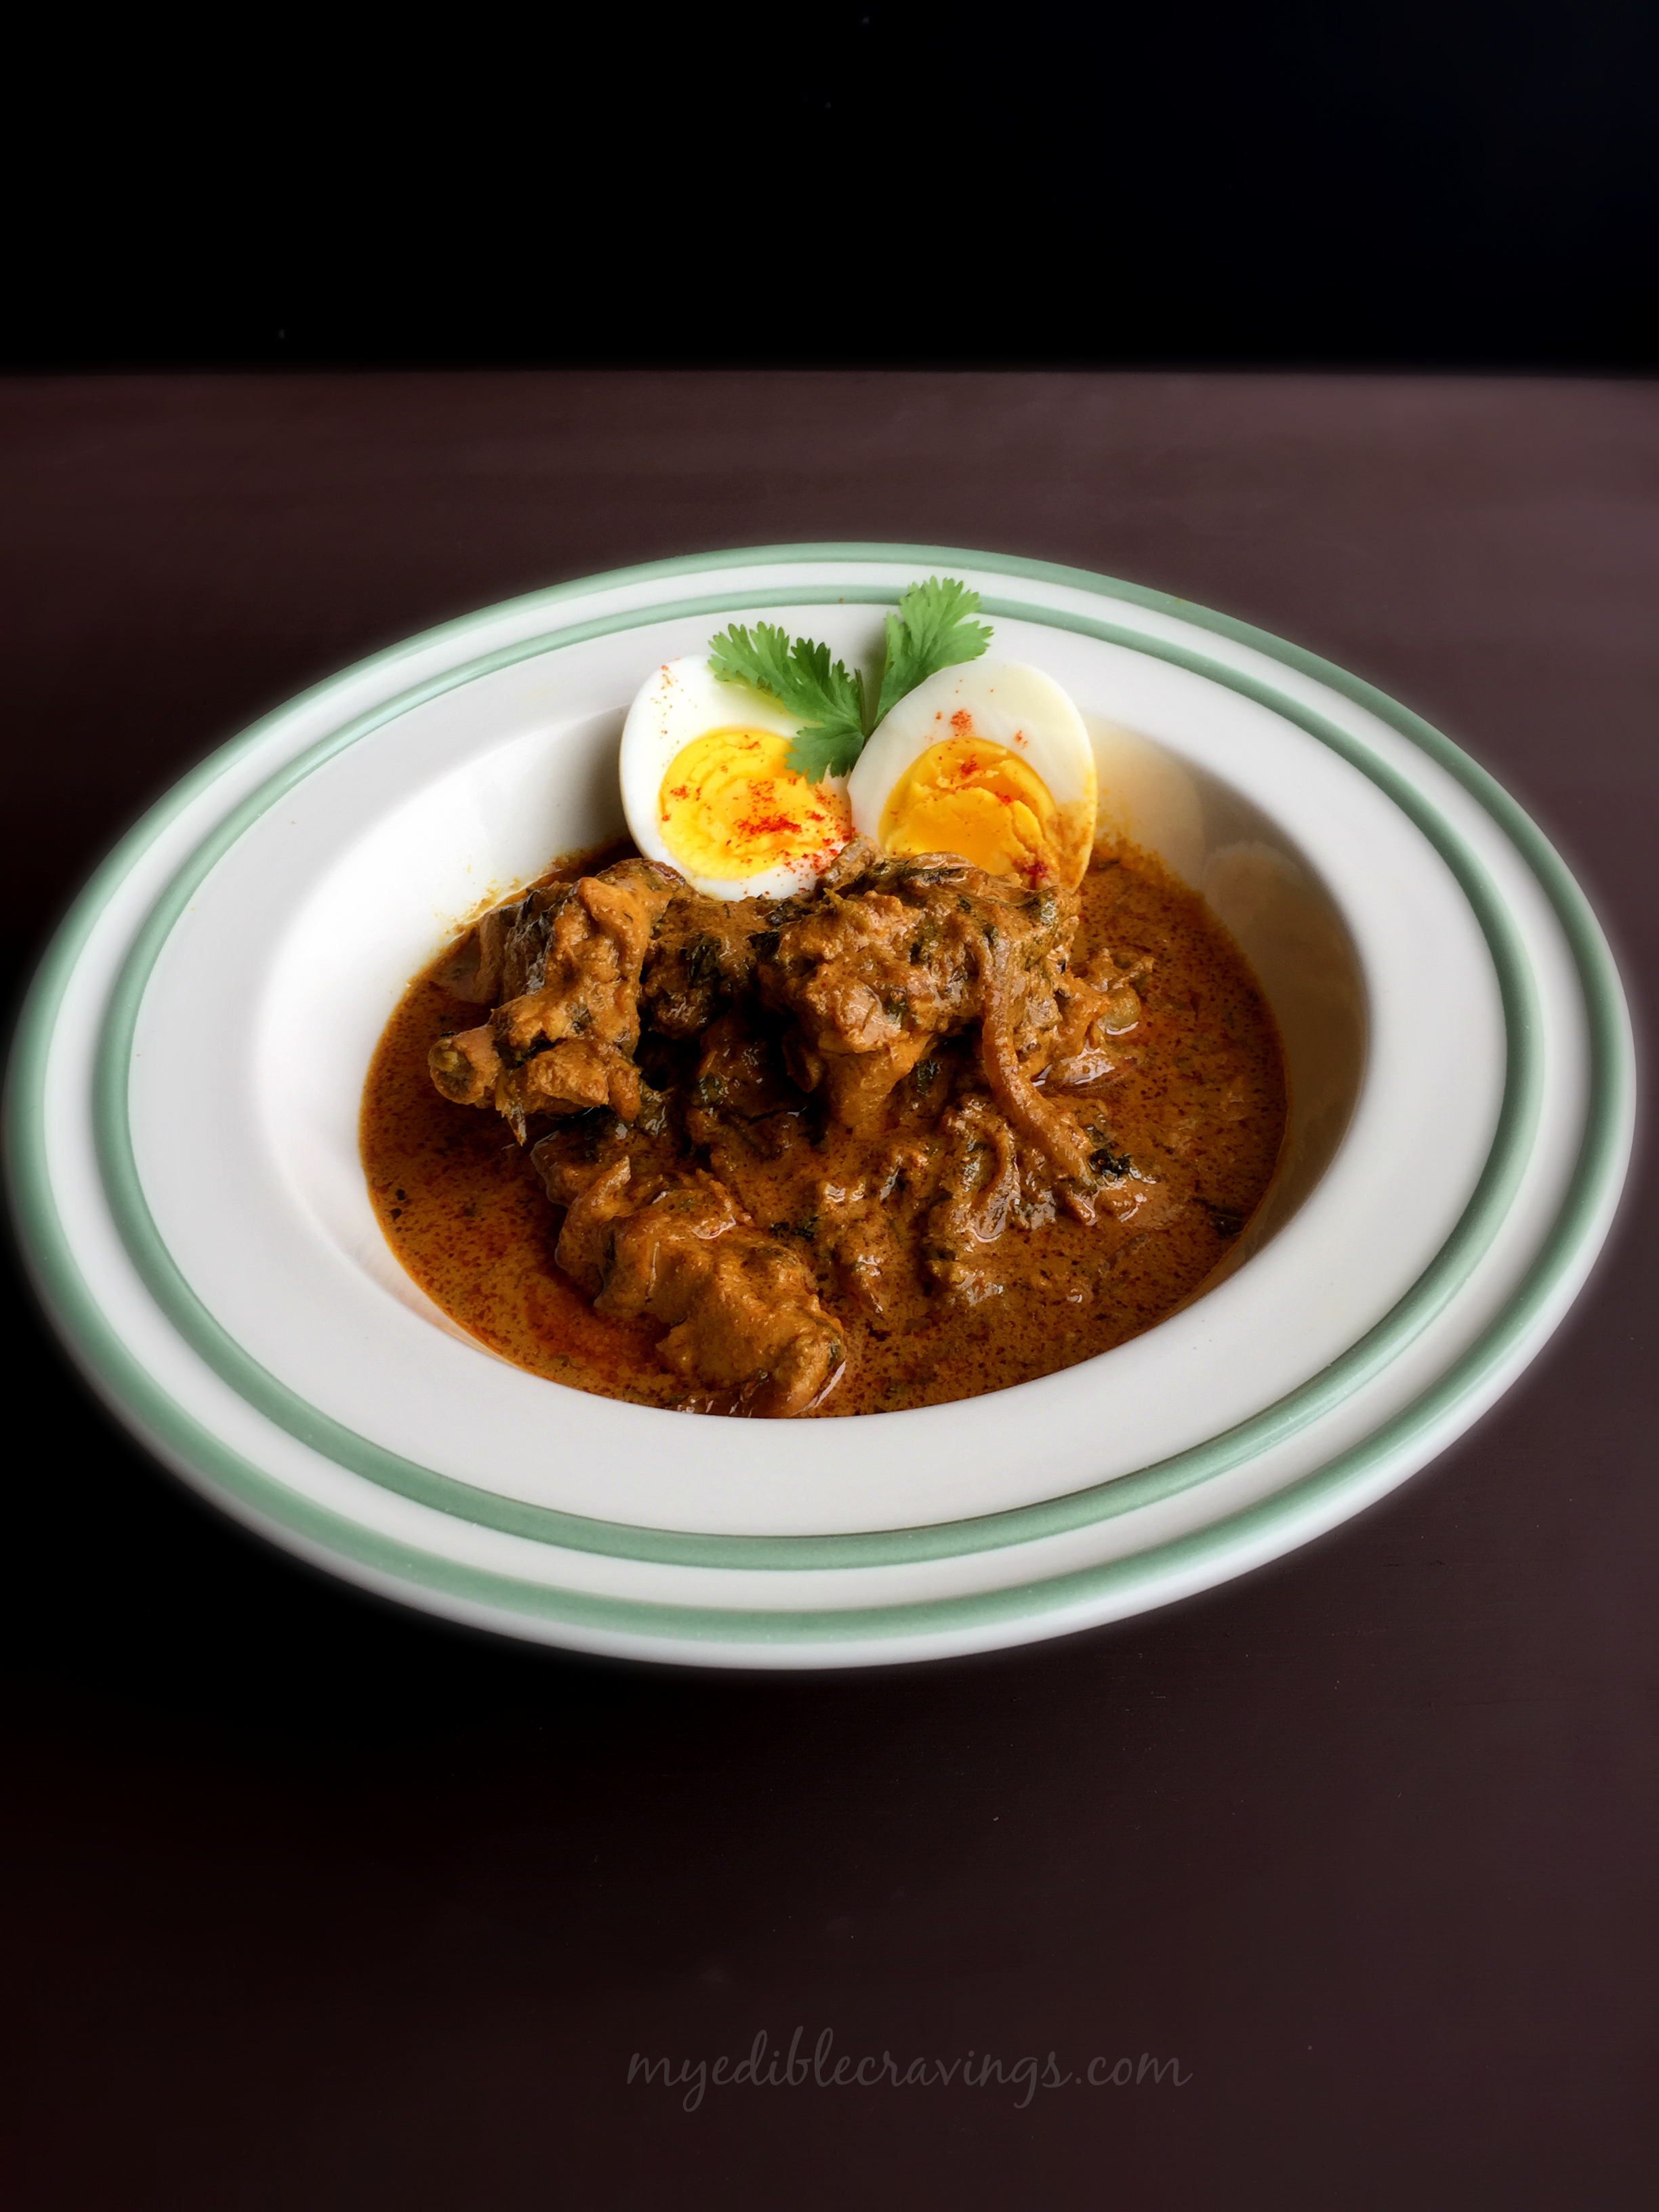
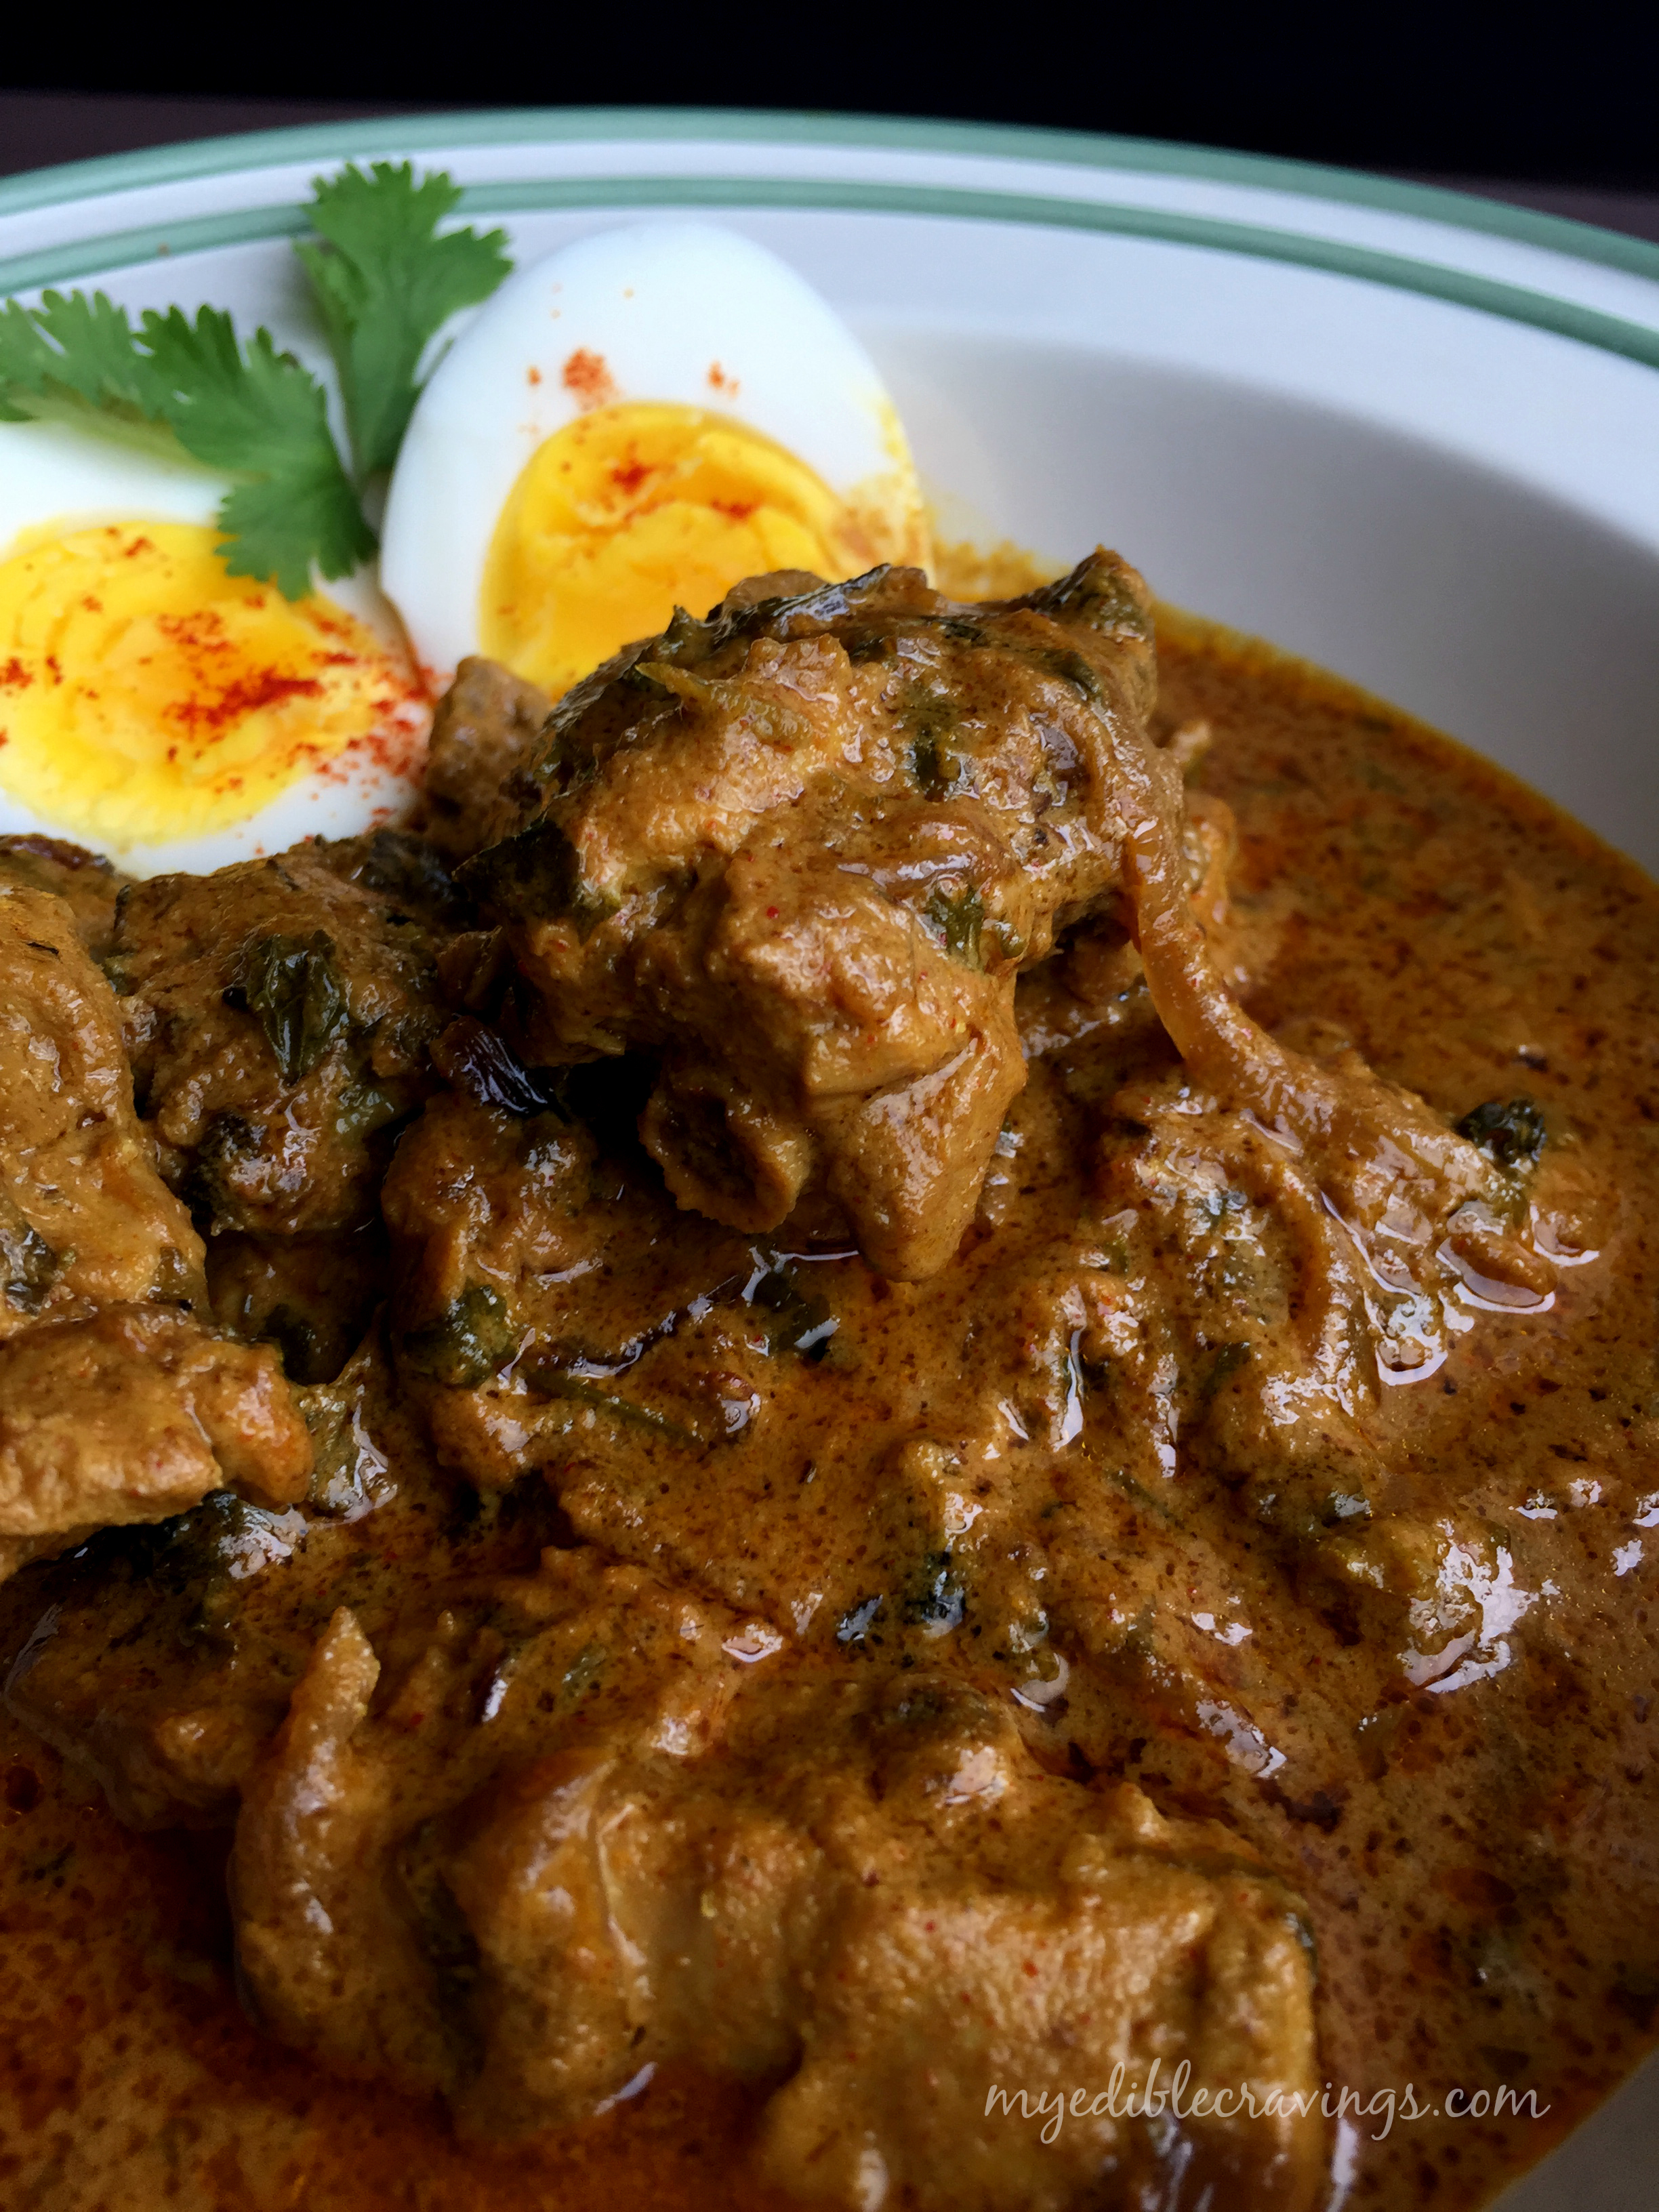
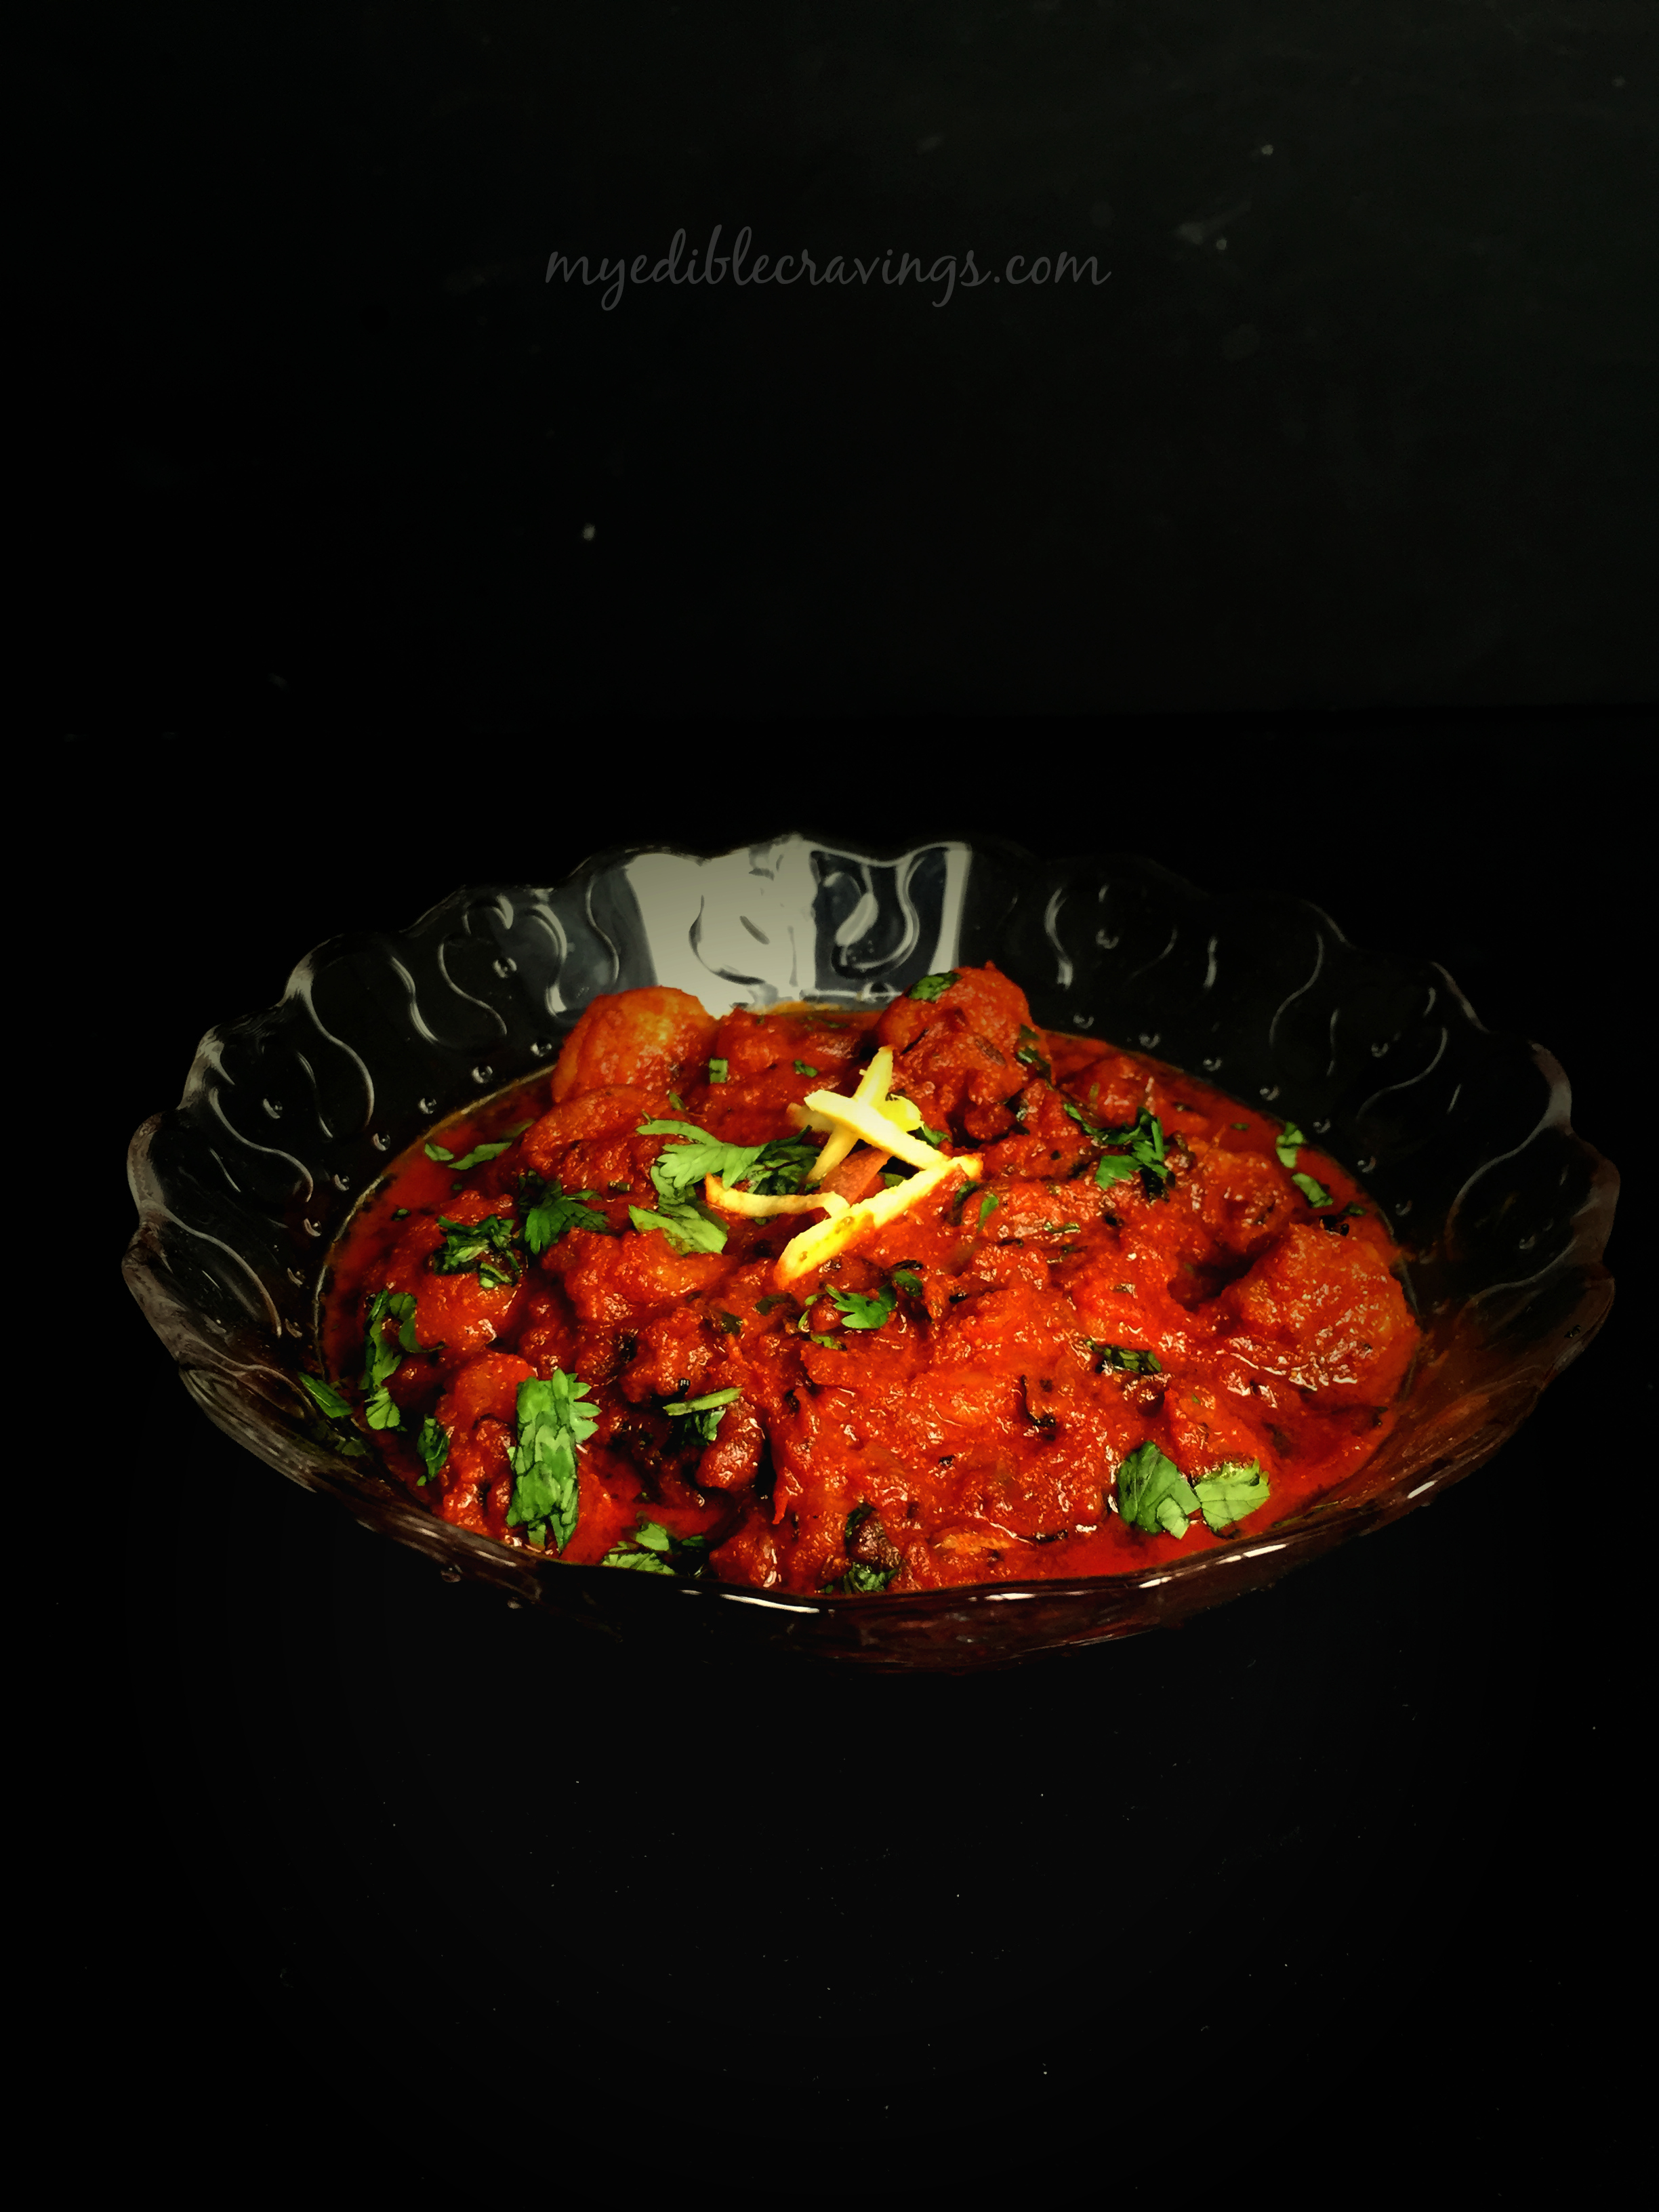
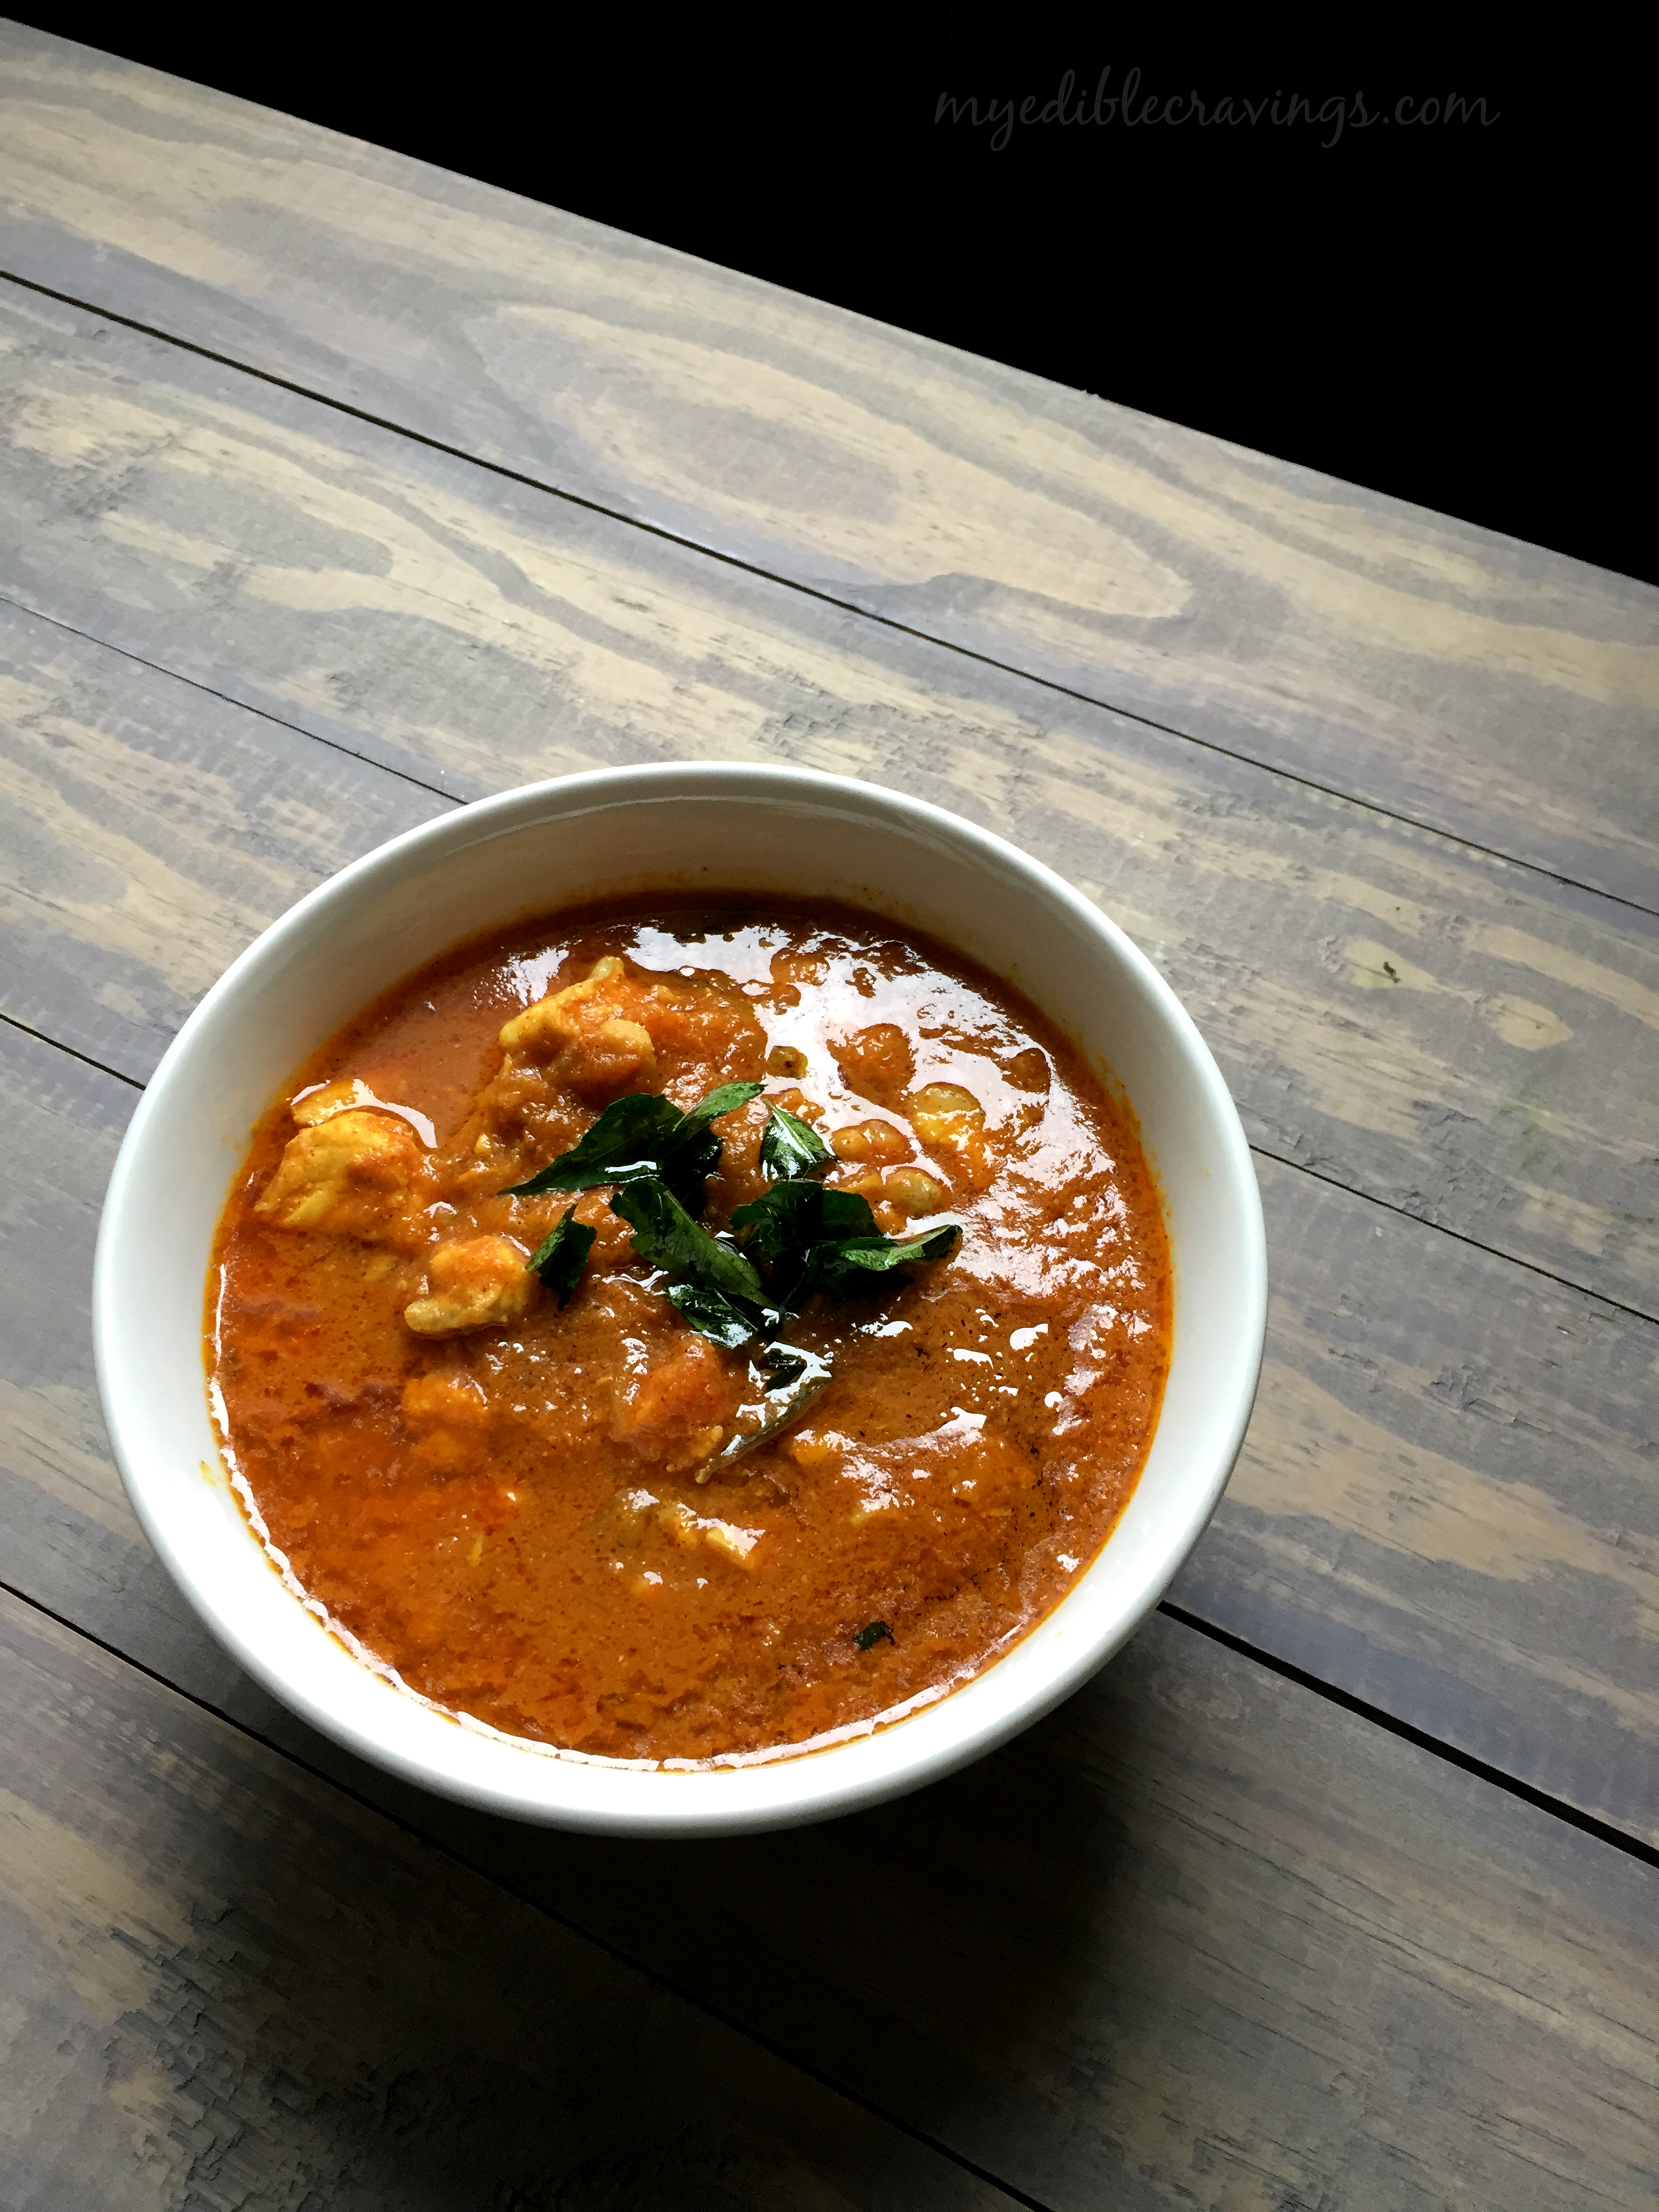
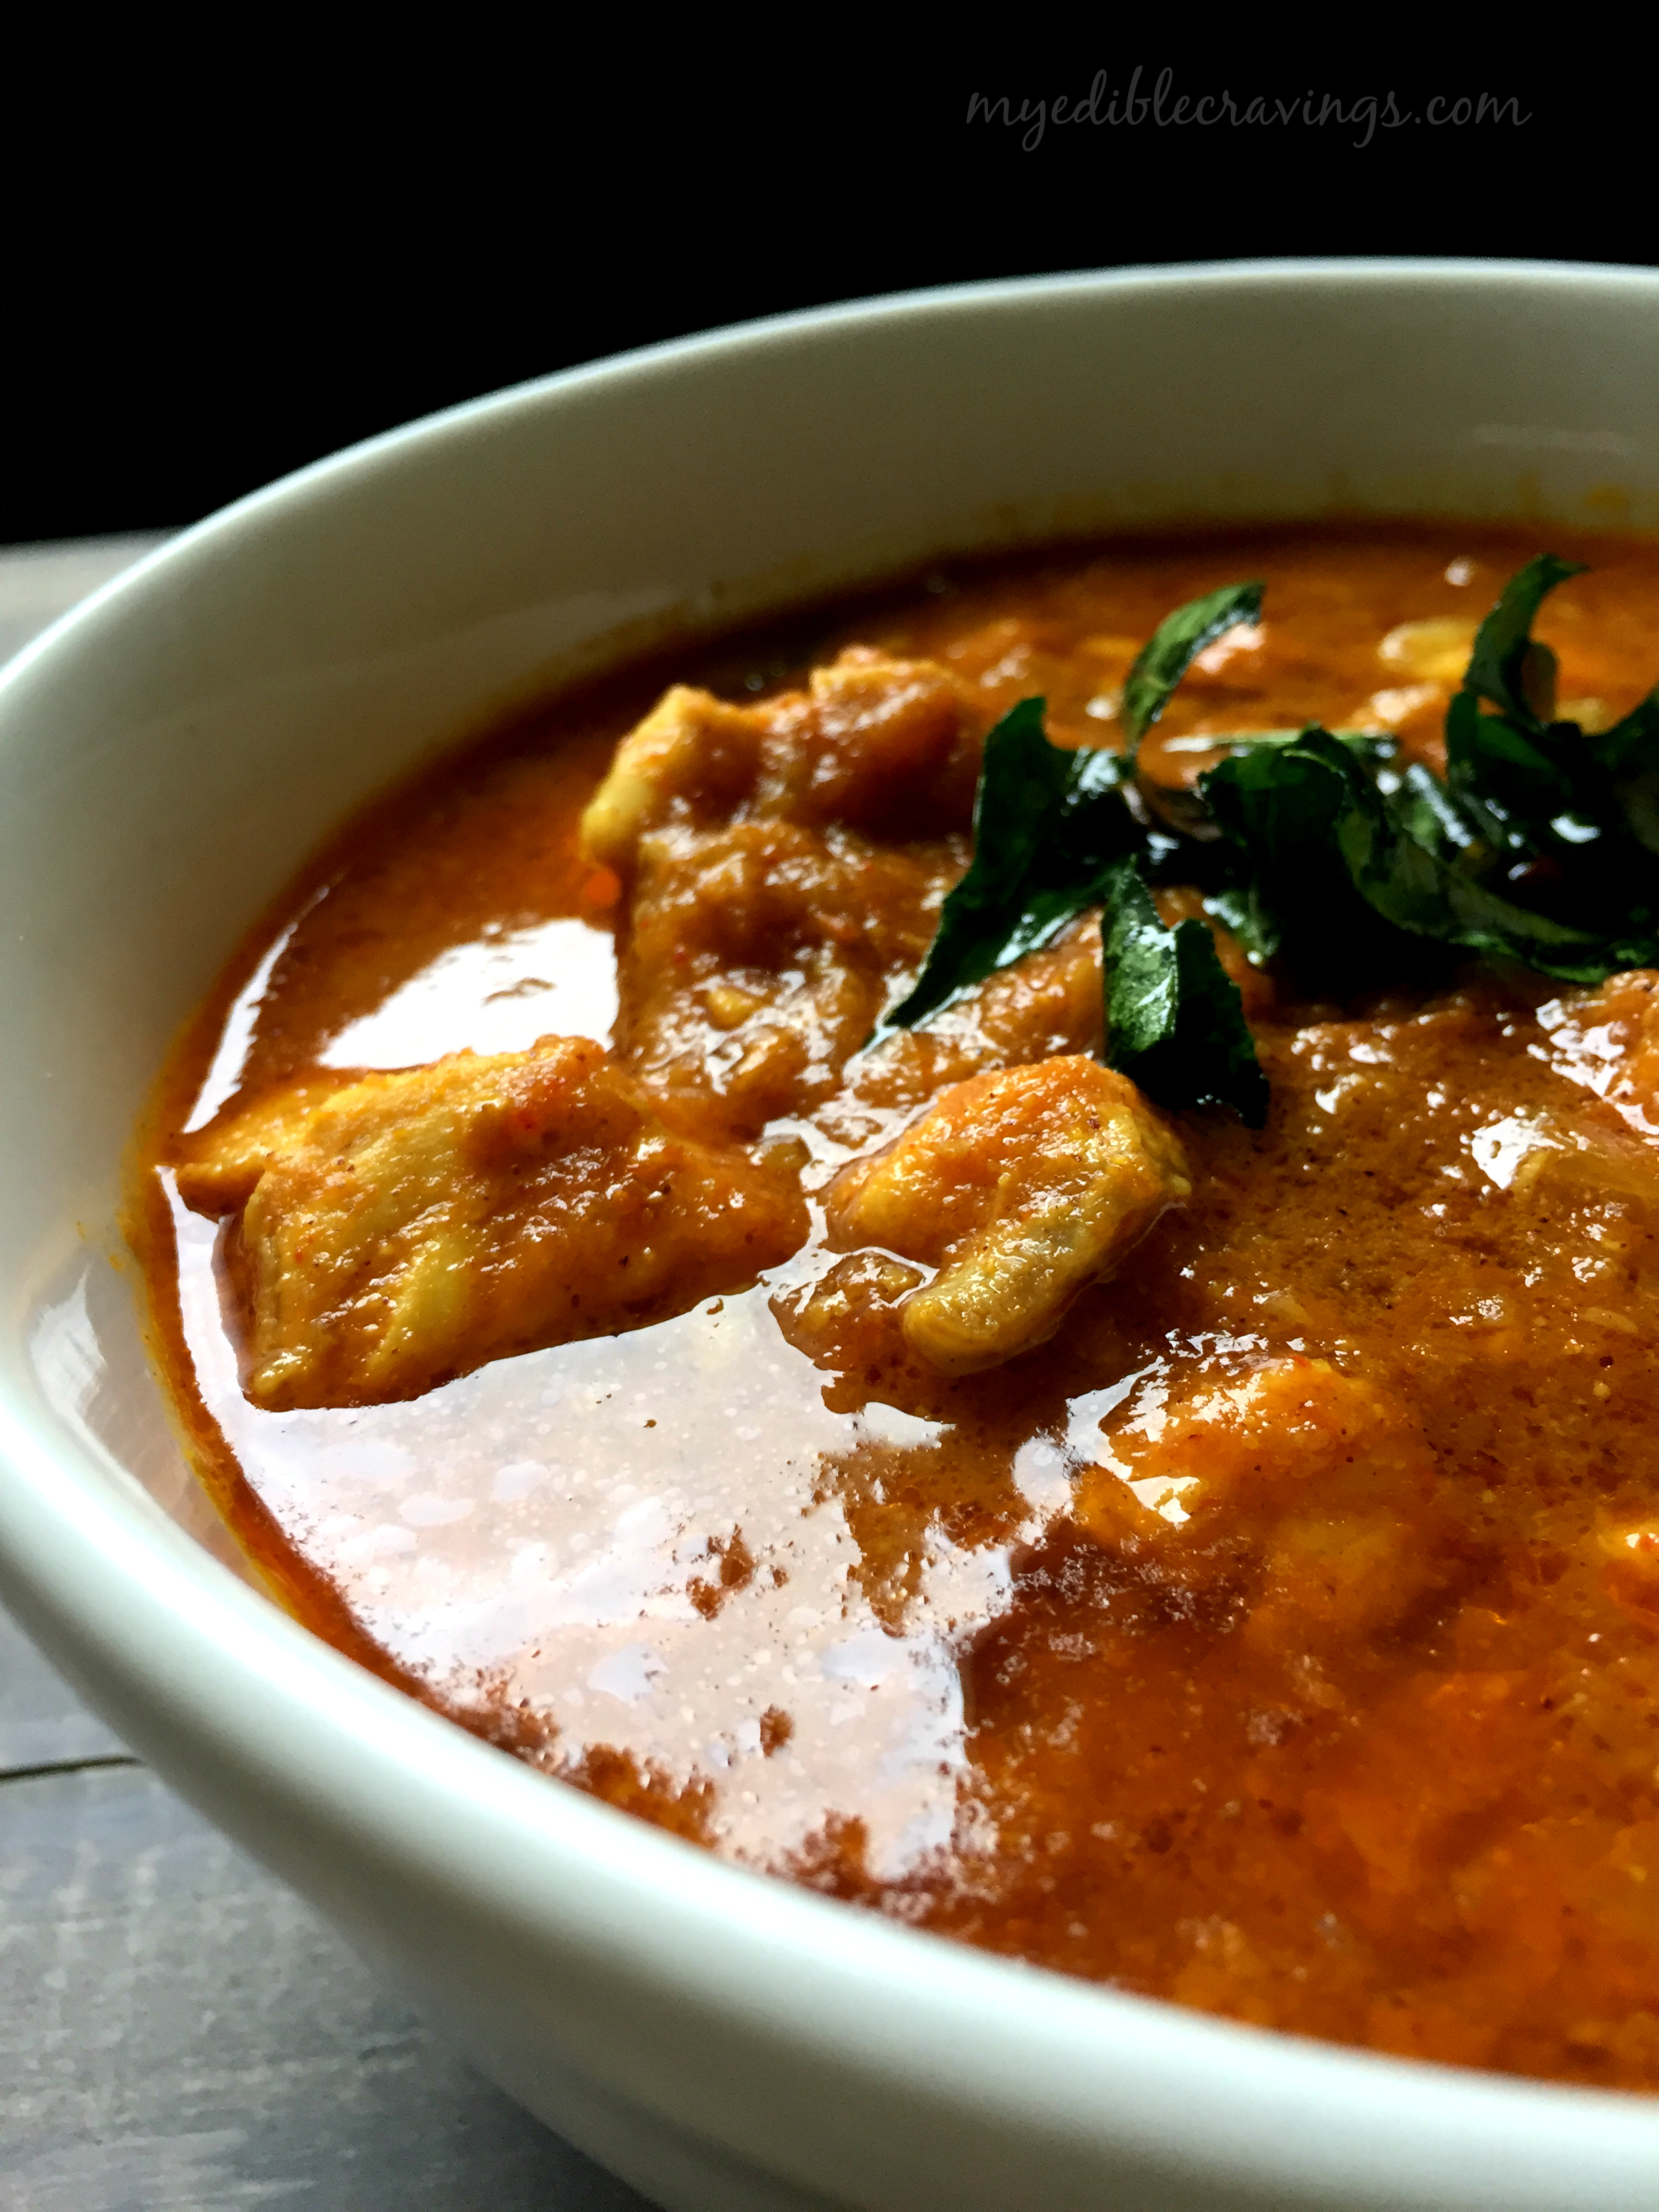
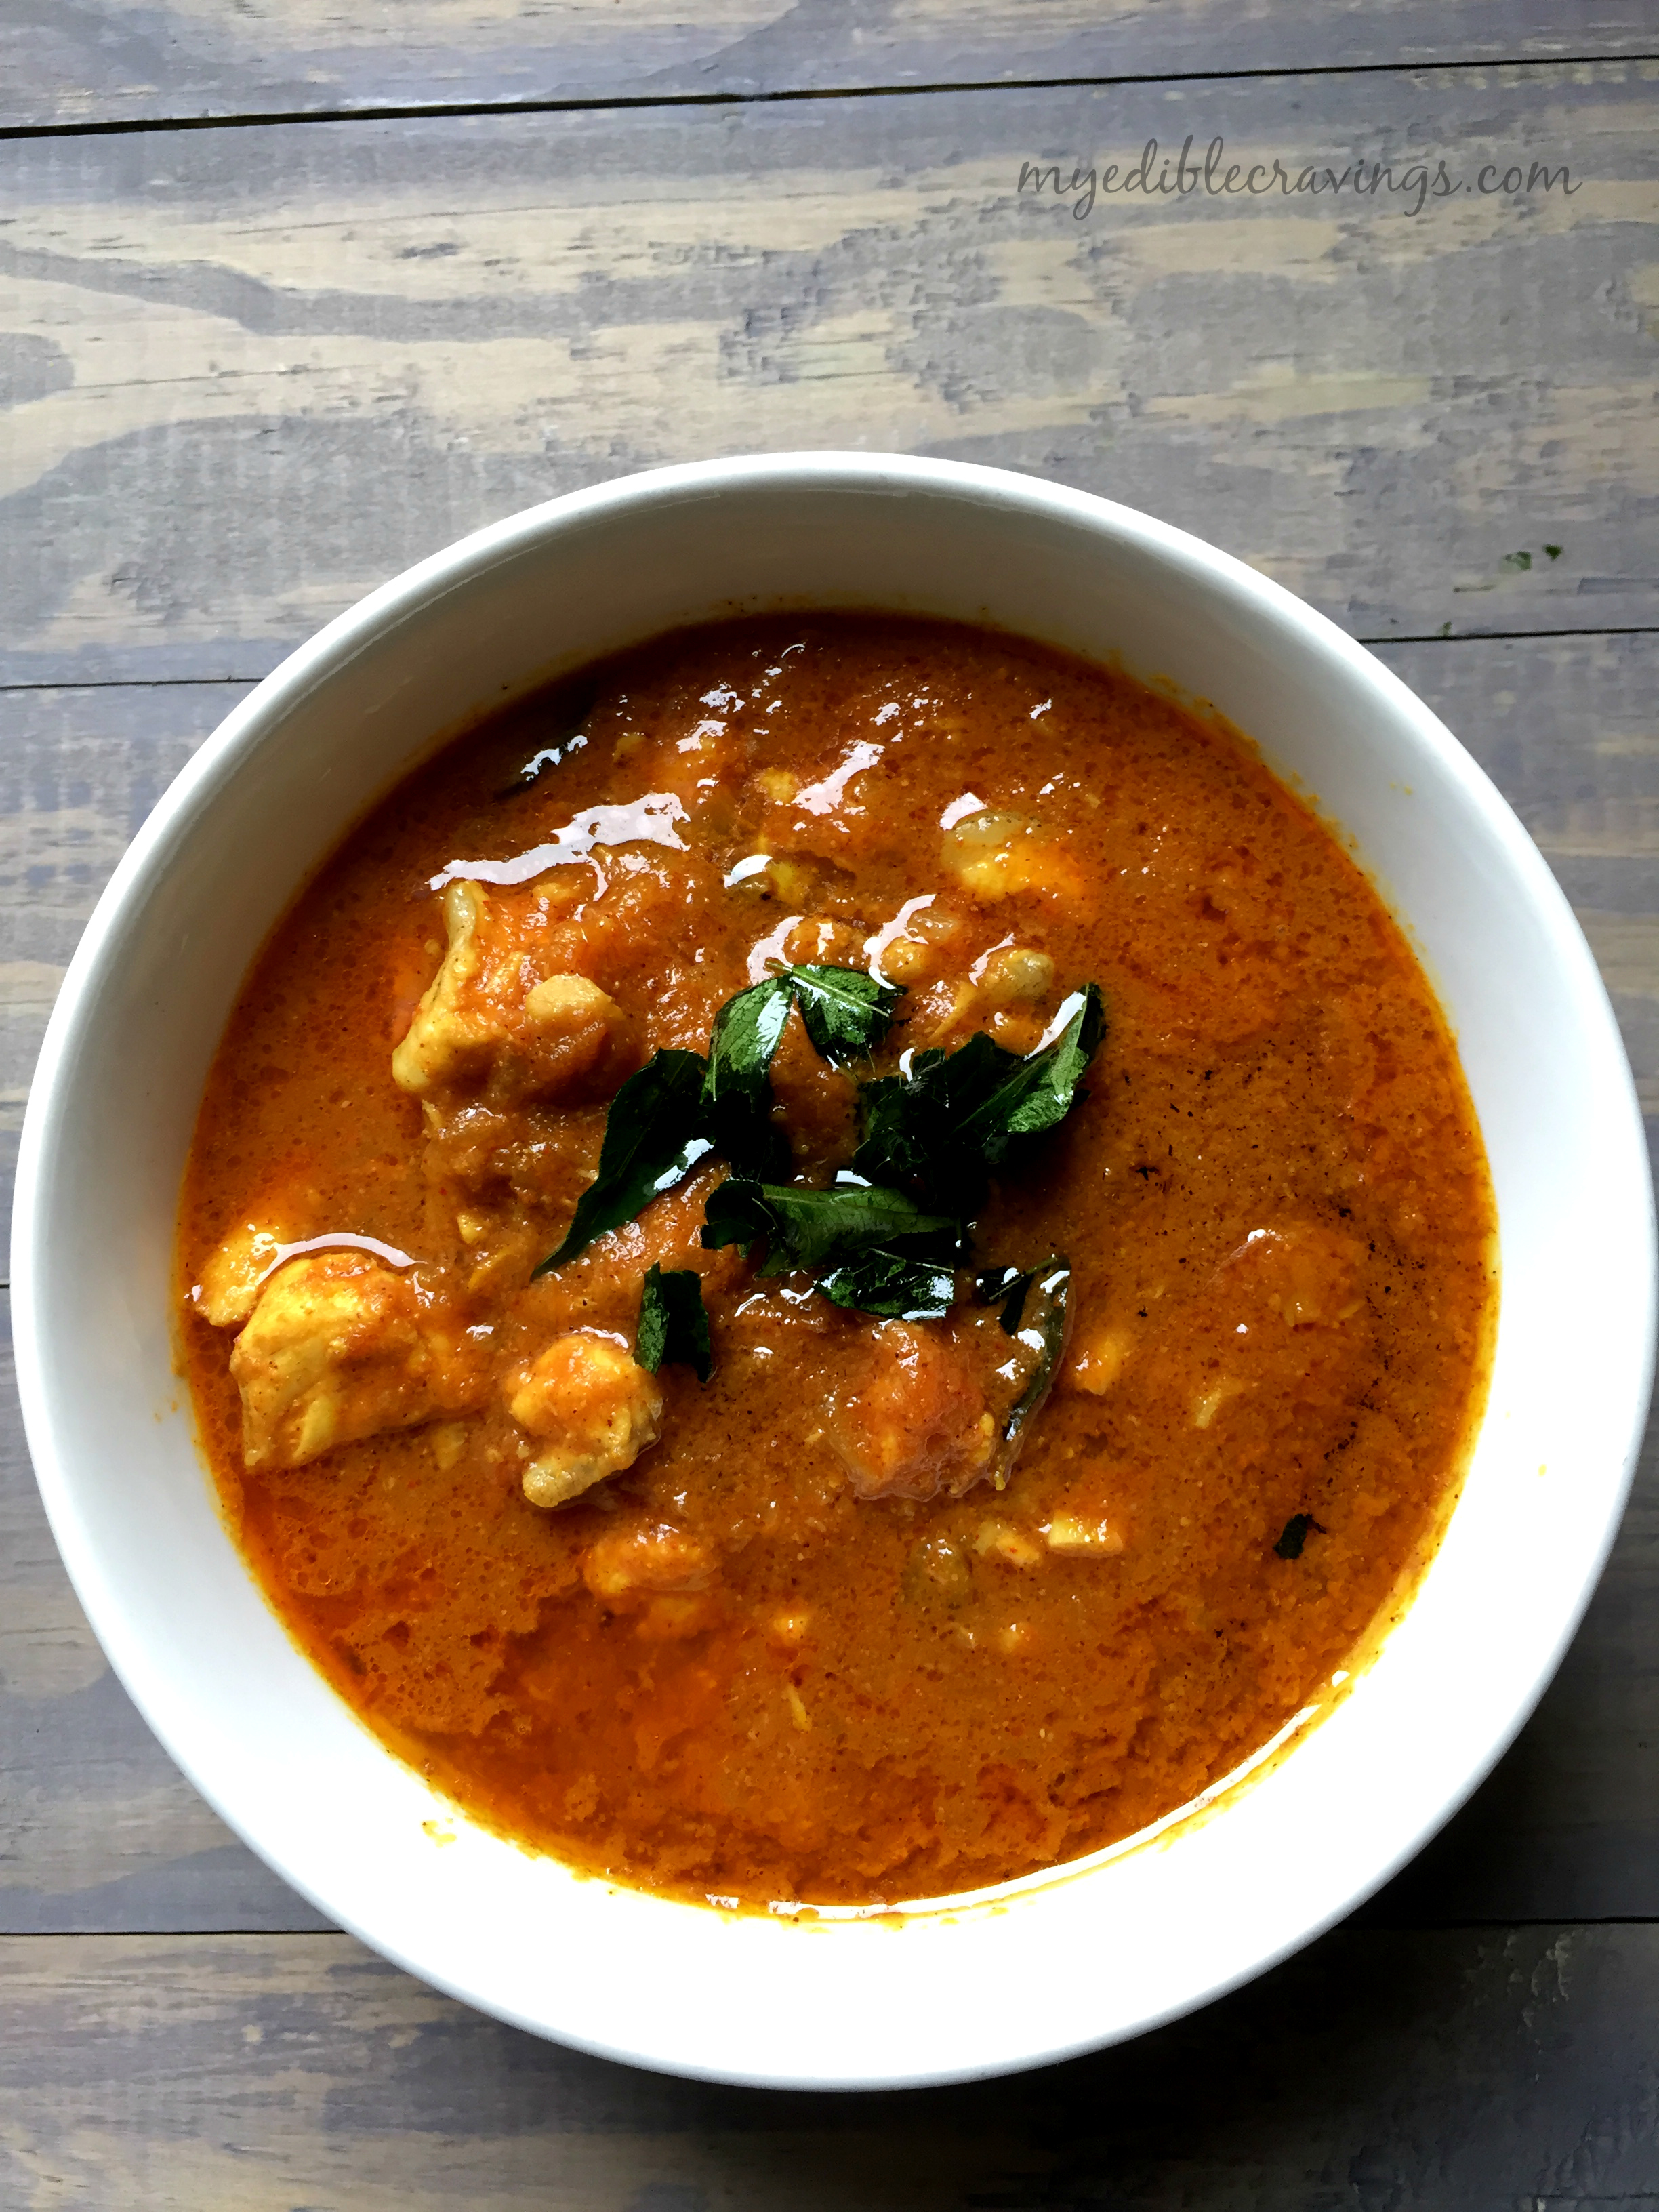
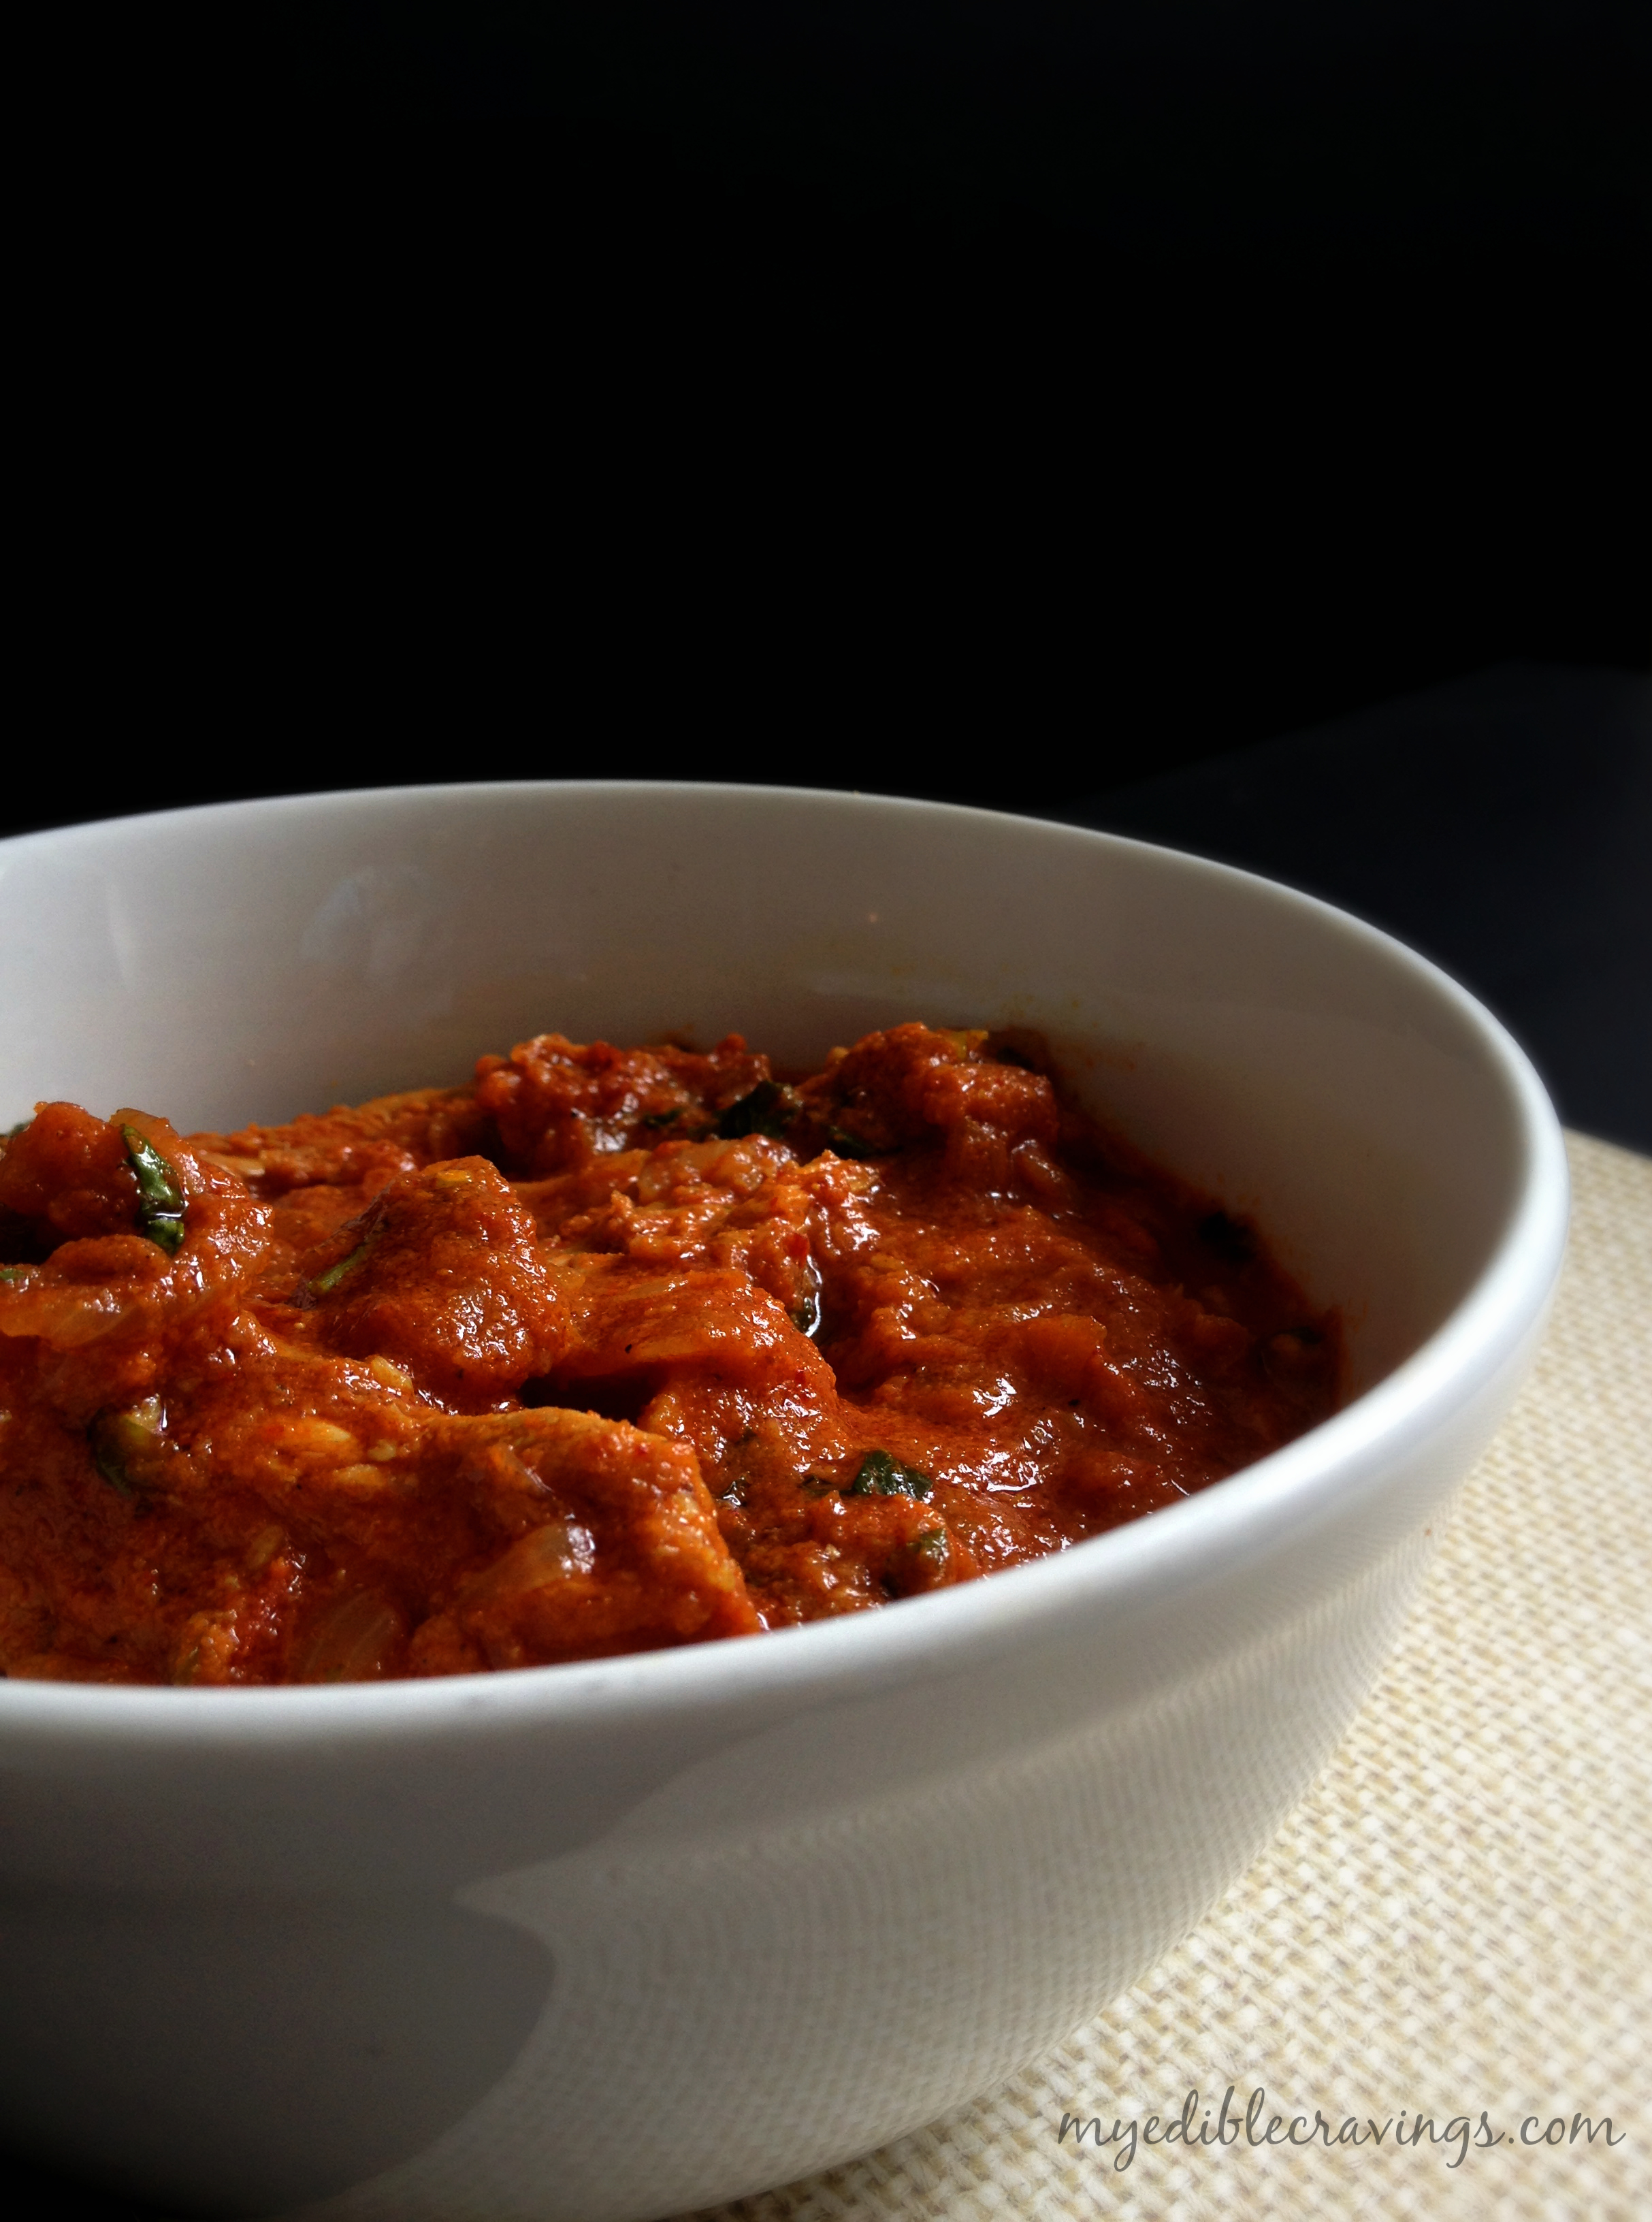
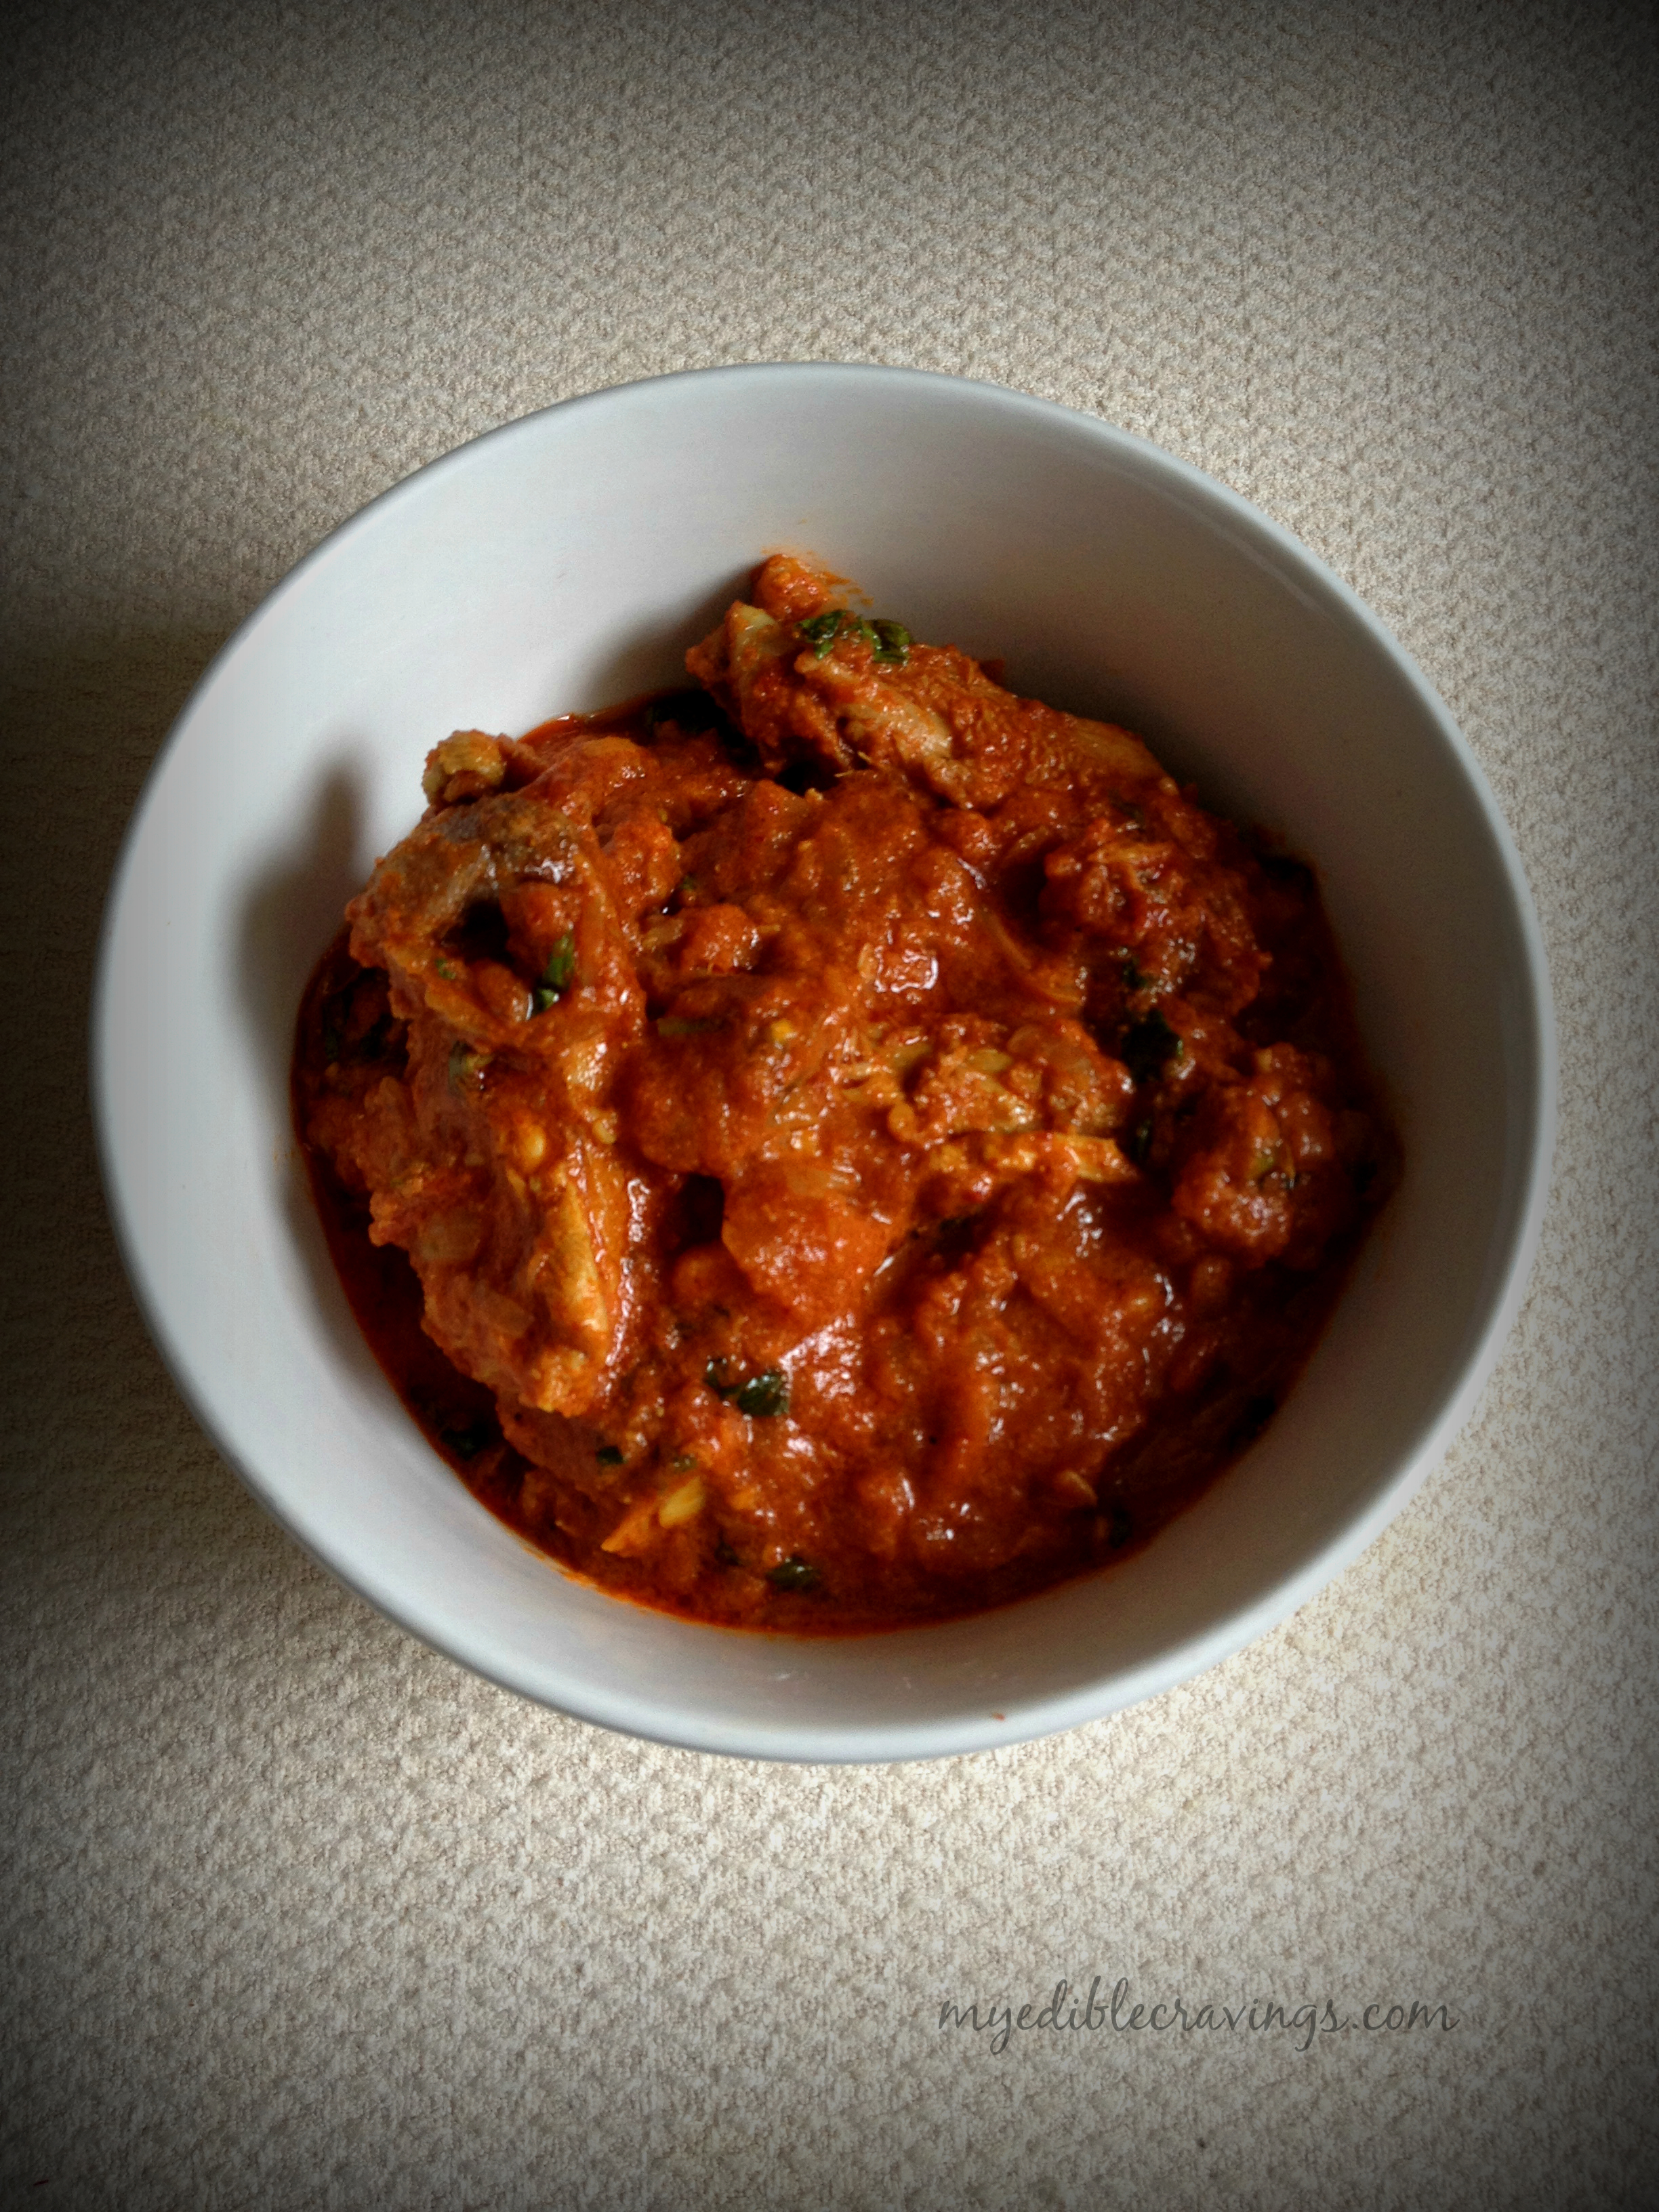
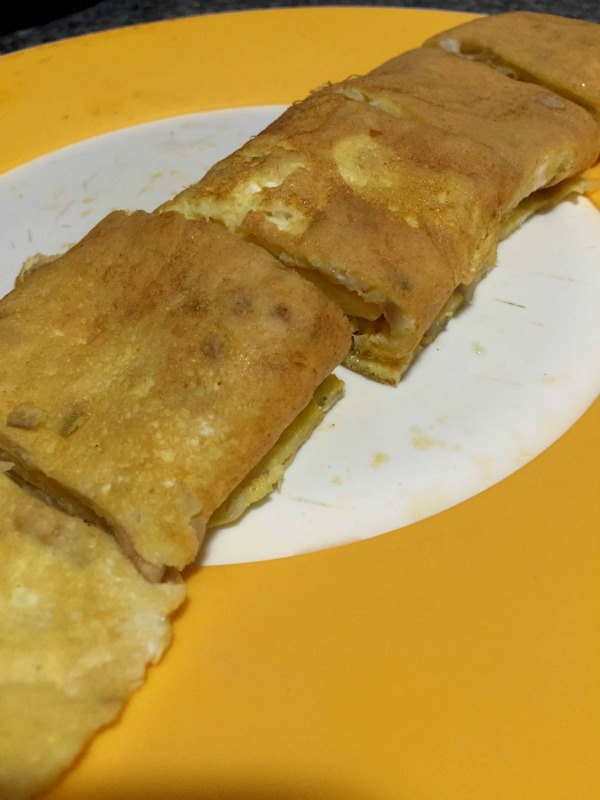
 Whenever I am stuck with what to cook, Egg curry is the go-to gravy in our home. The curry in this dish is a blend of spices, each with their own unique flavor. And when all these spices come together in the gravy, it gives an appetizing aroma and a taste to match for. As I had mentioned earlier, the variation I had given with the eggs here is that instead of having them boiled, I have used them as omelets instead 🙂 The cooked omelets are rolled, cut and then dropped in the gravy, similar to how we do it for Dosa Kuzhambu.
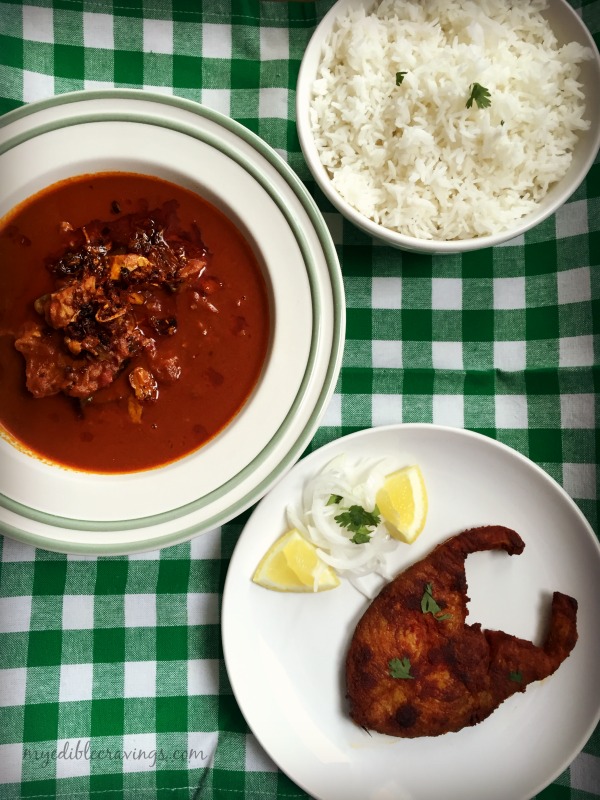
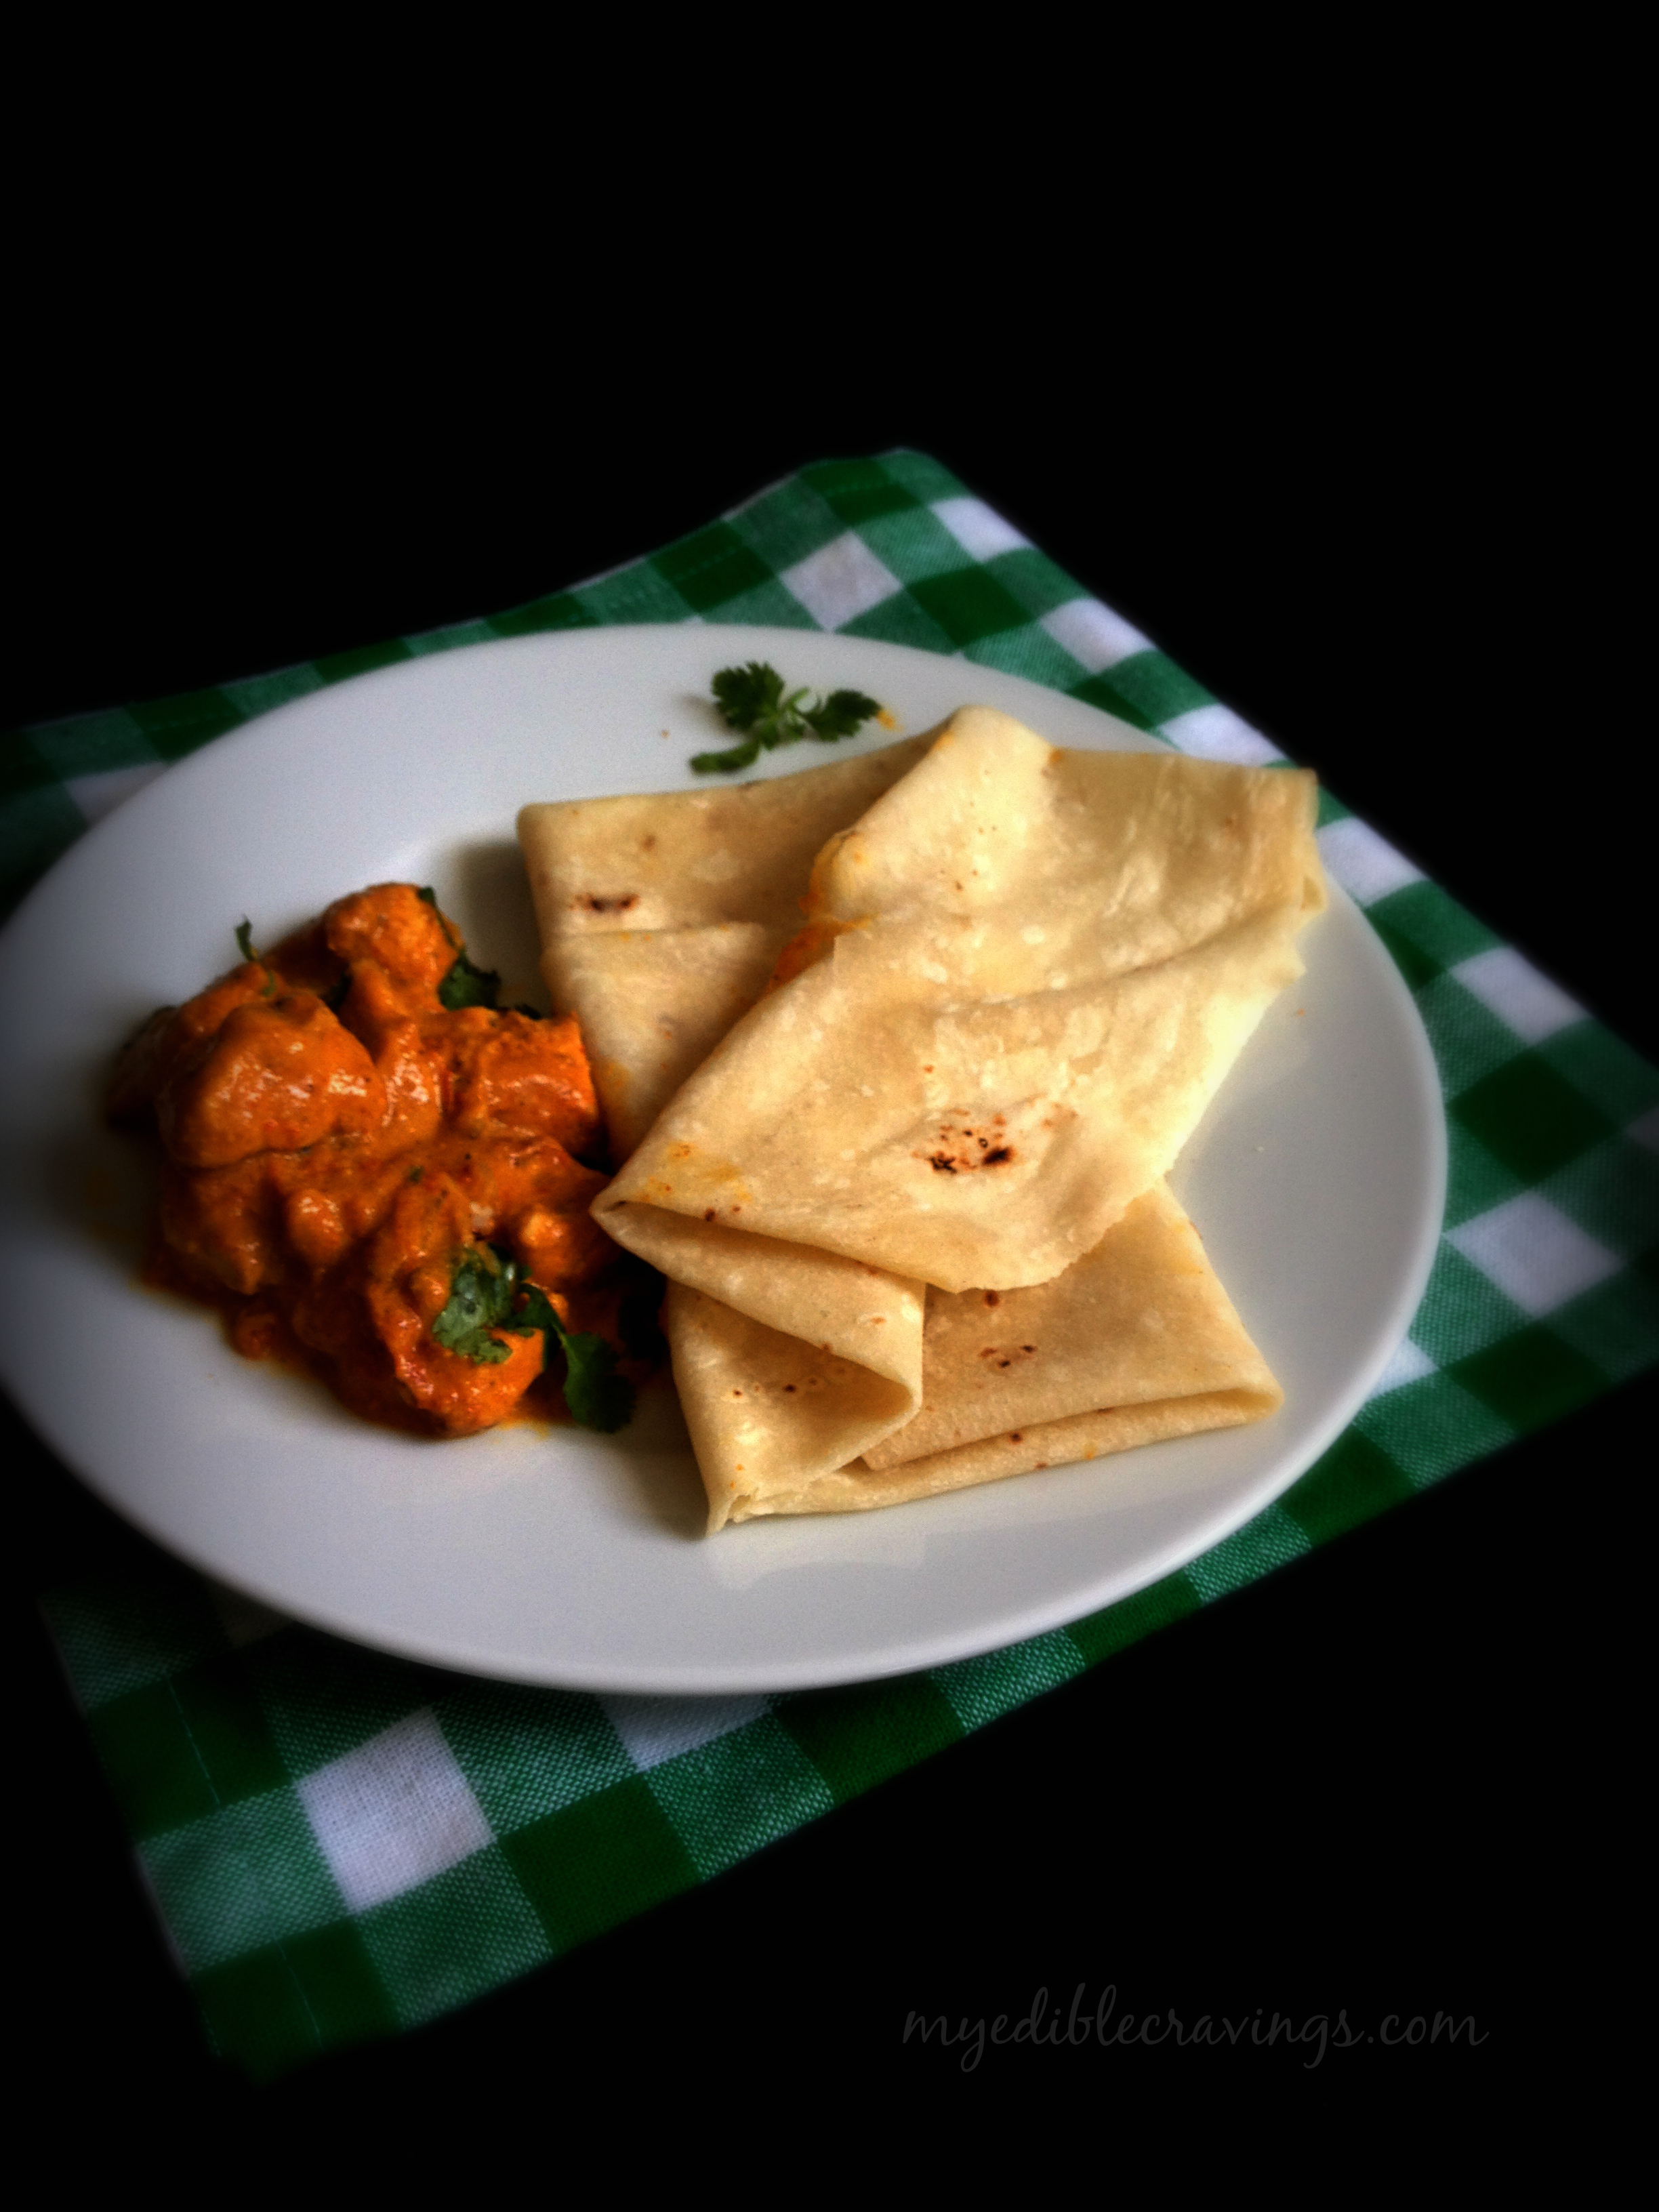
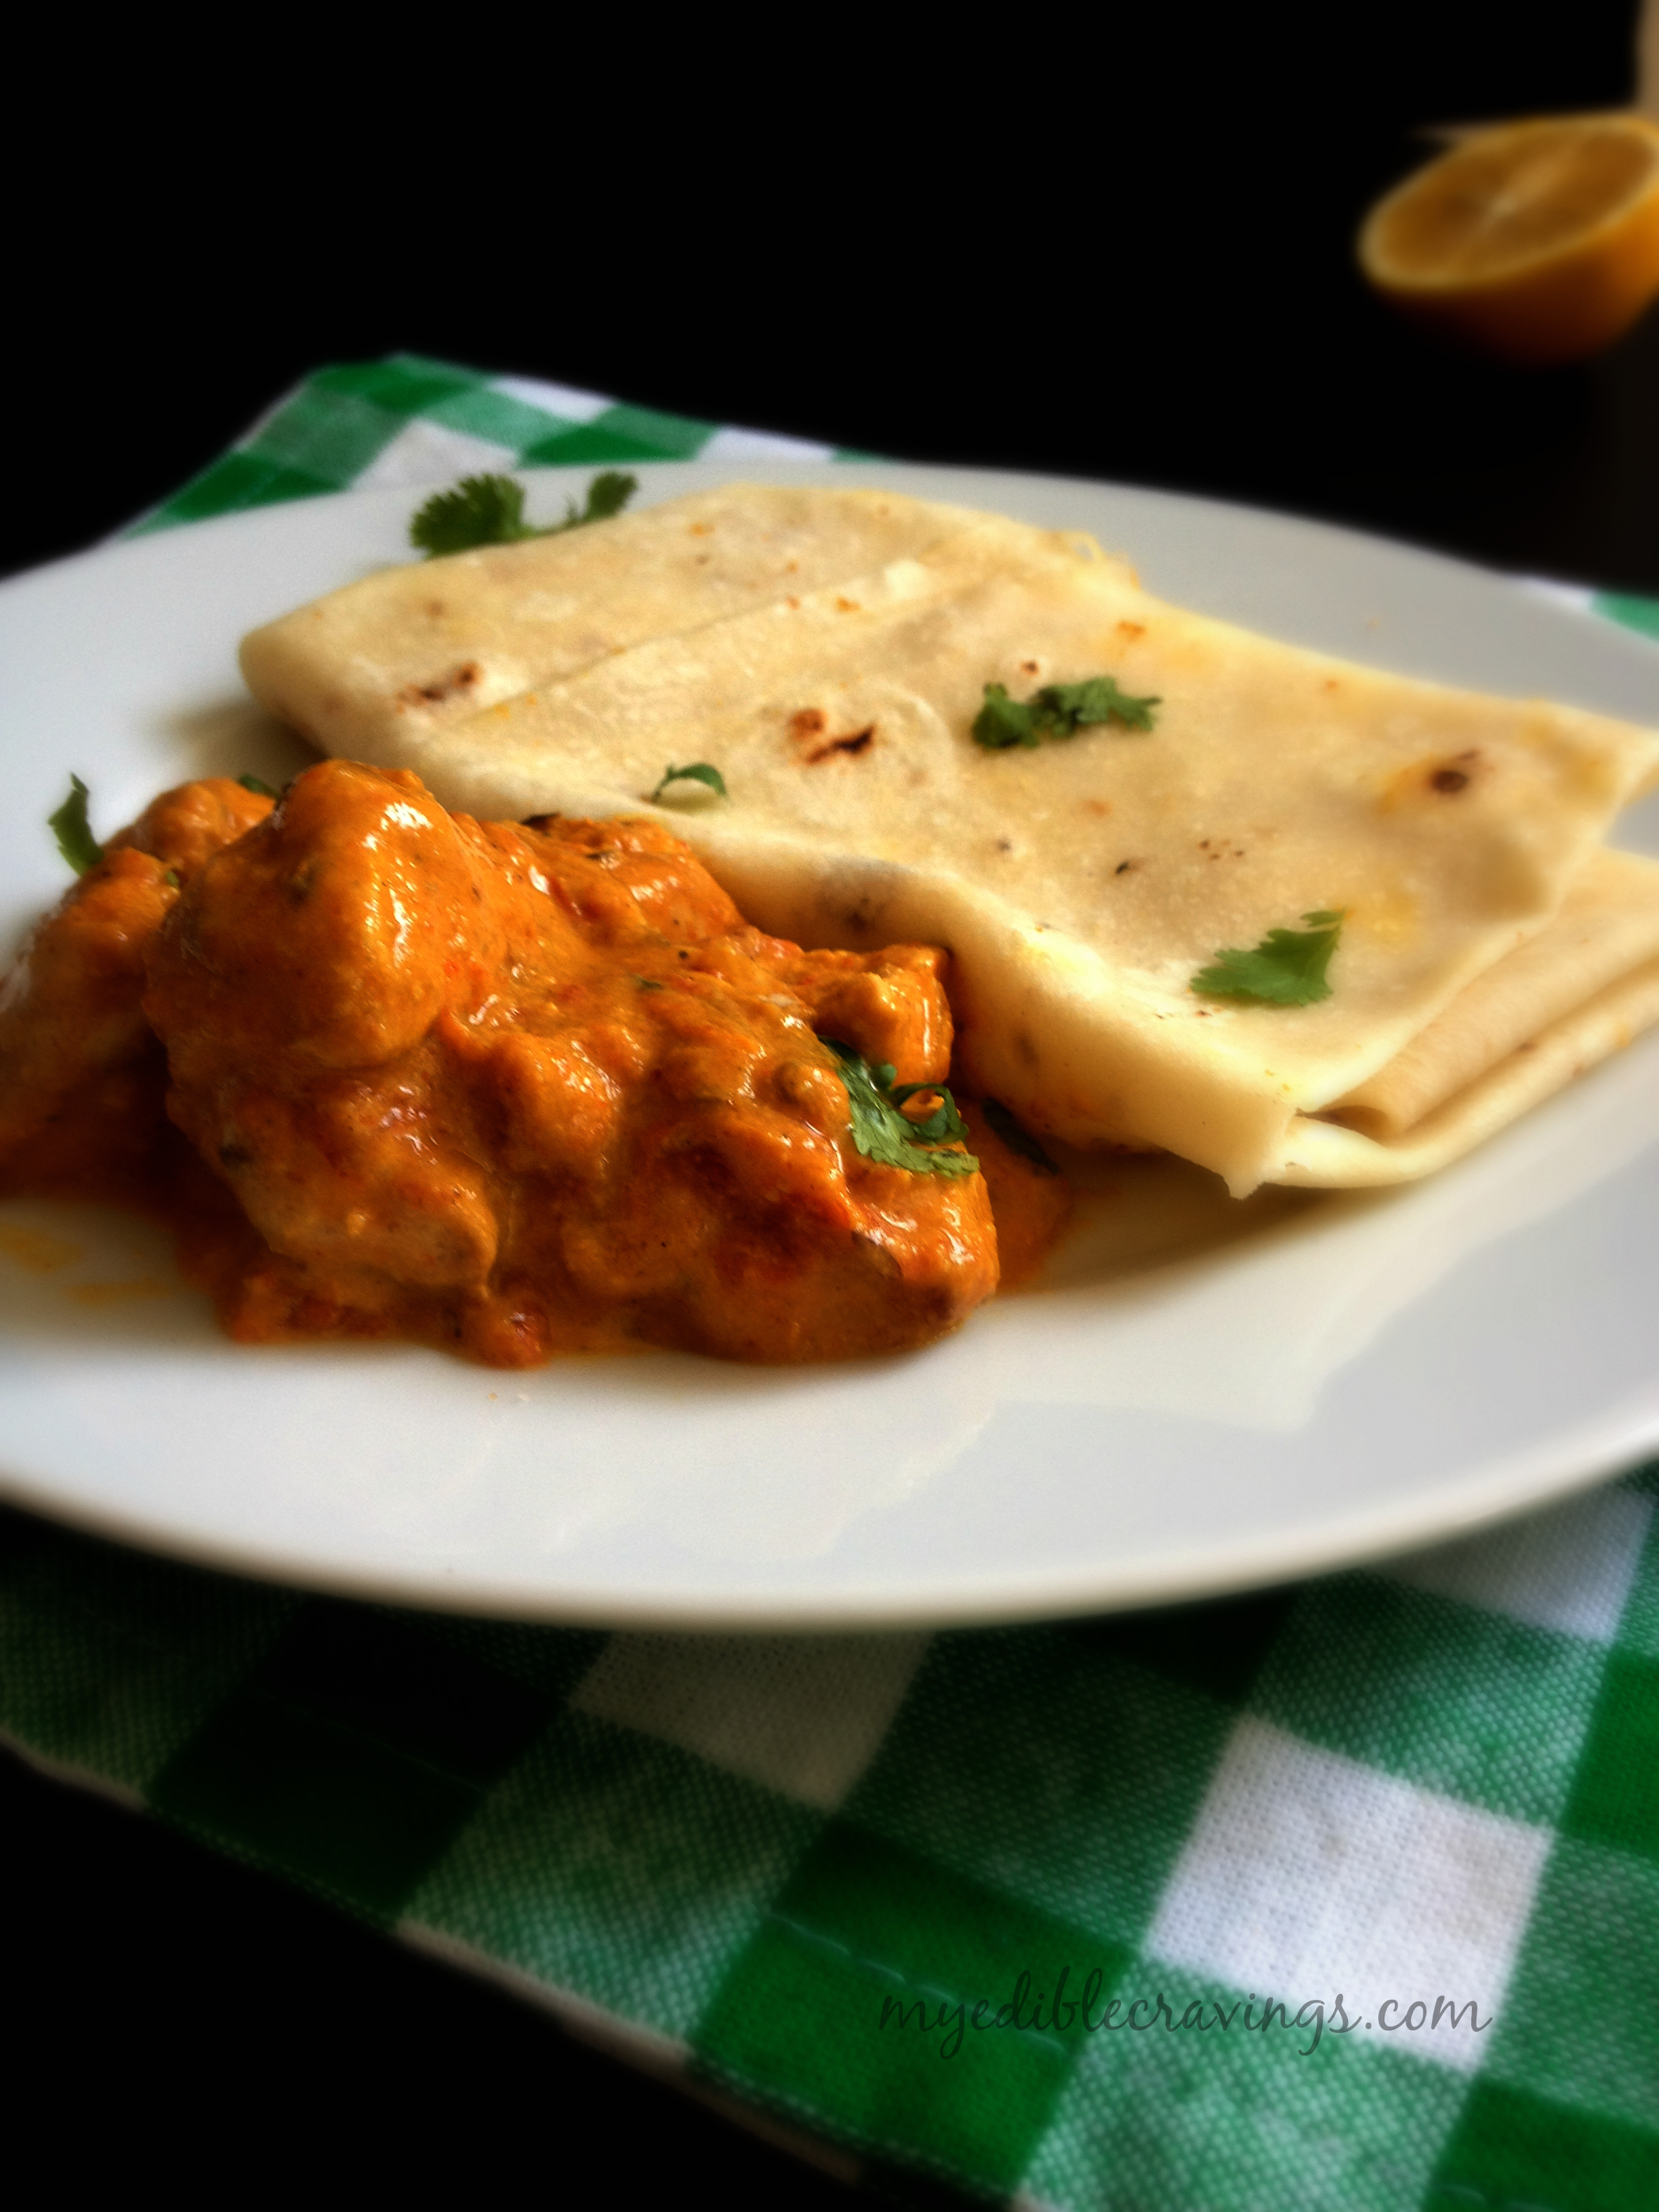
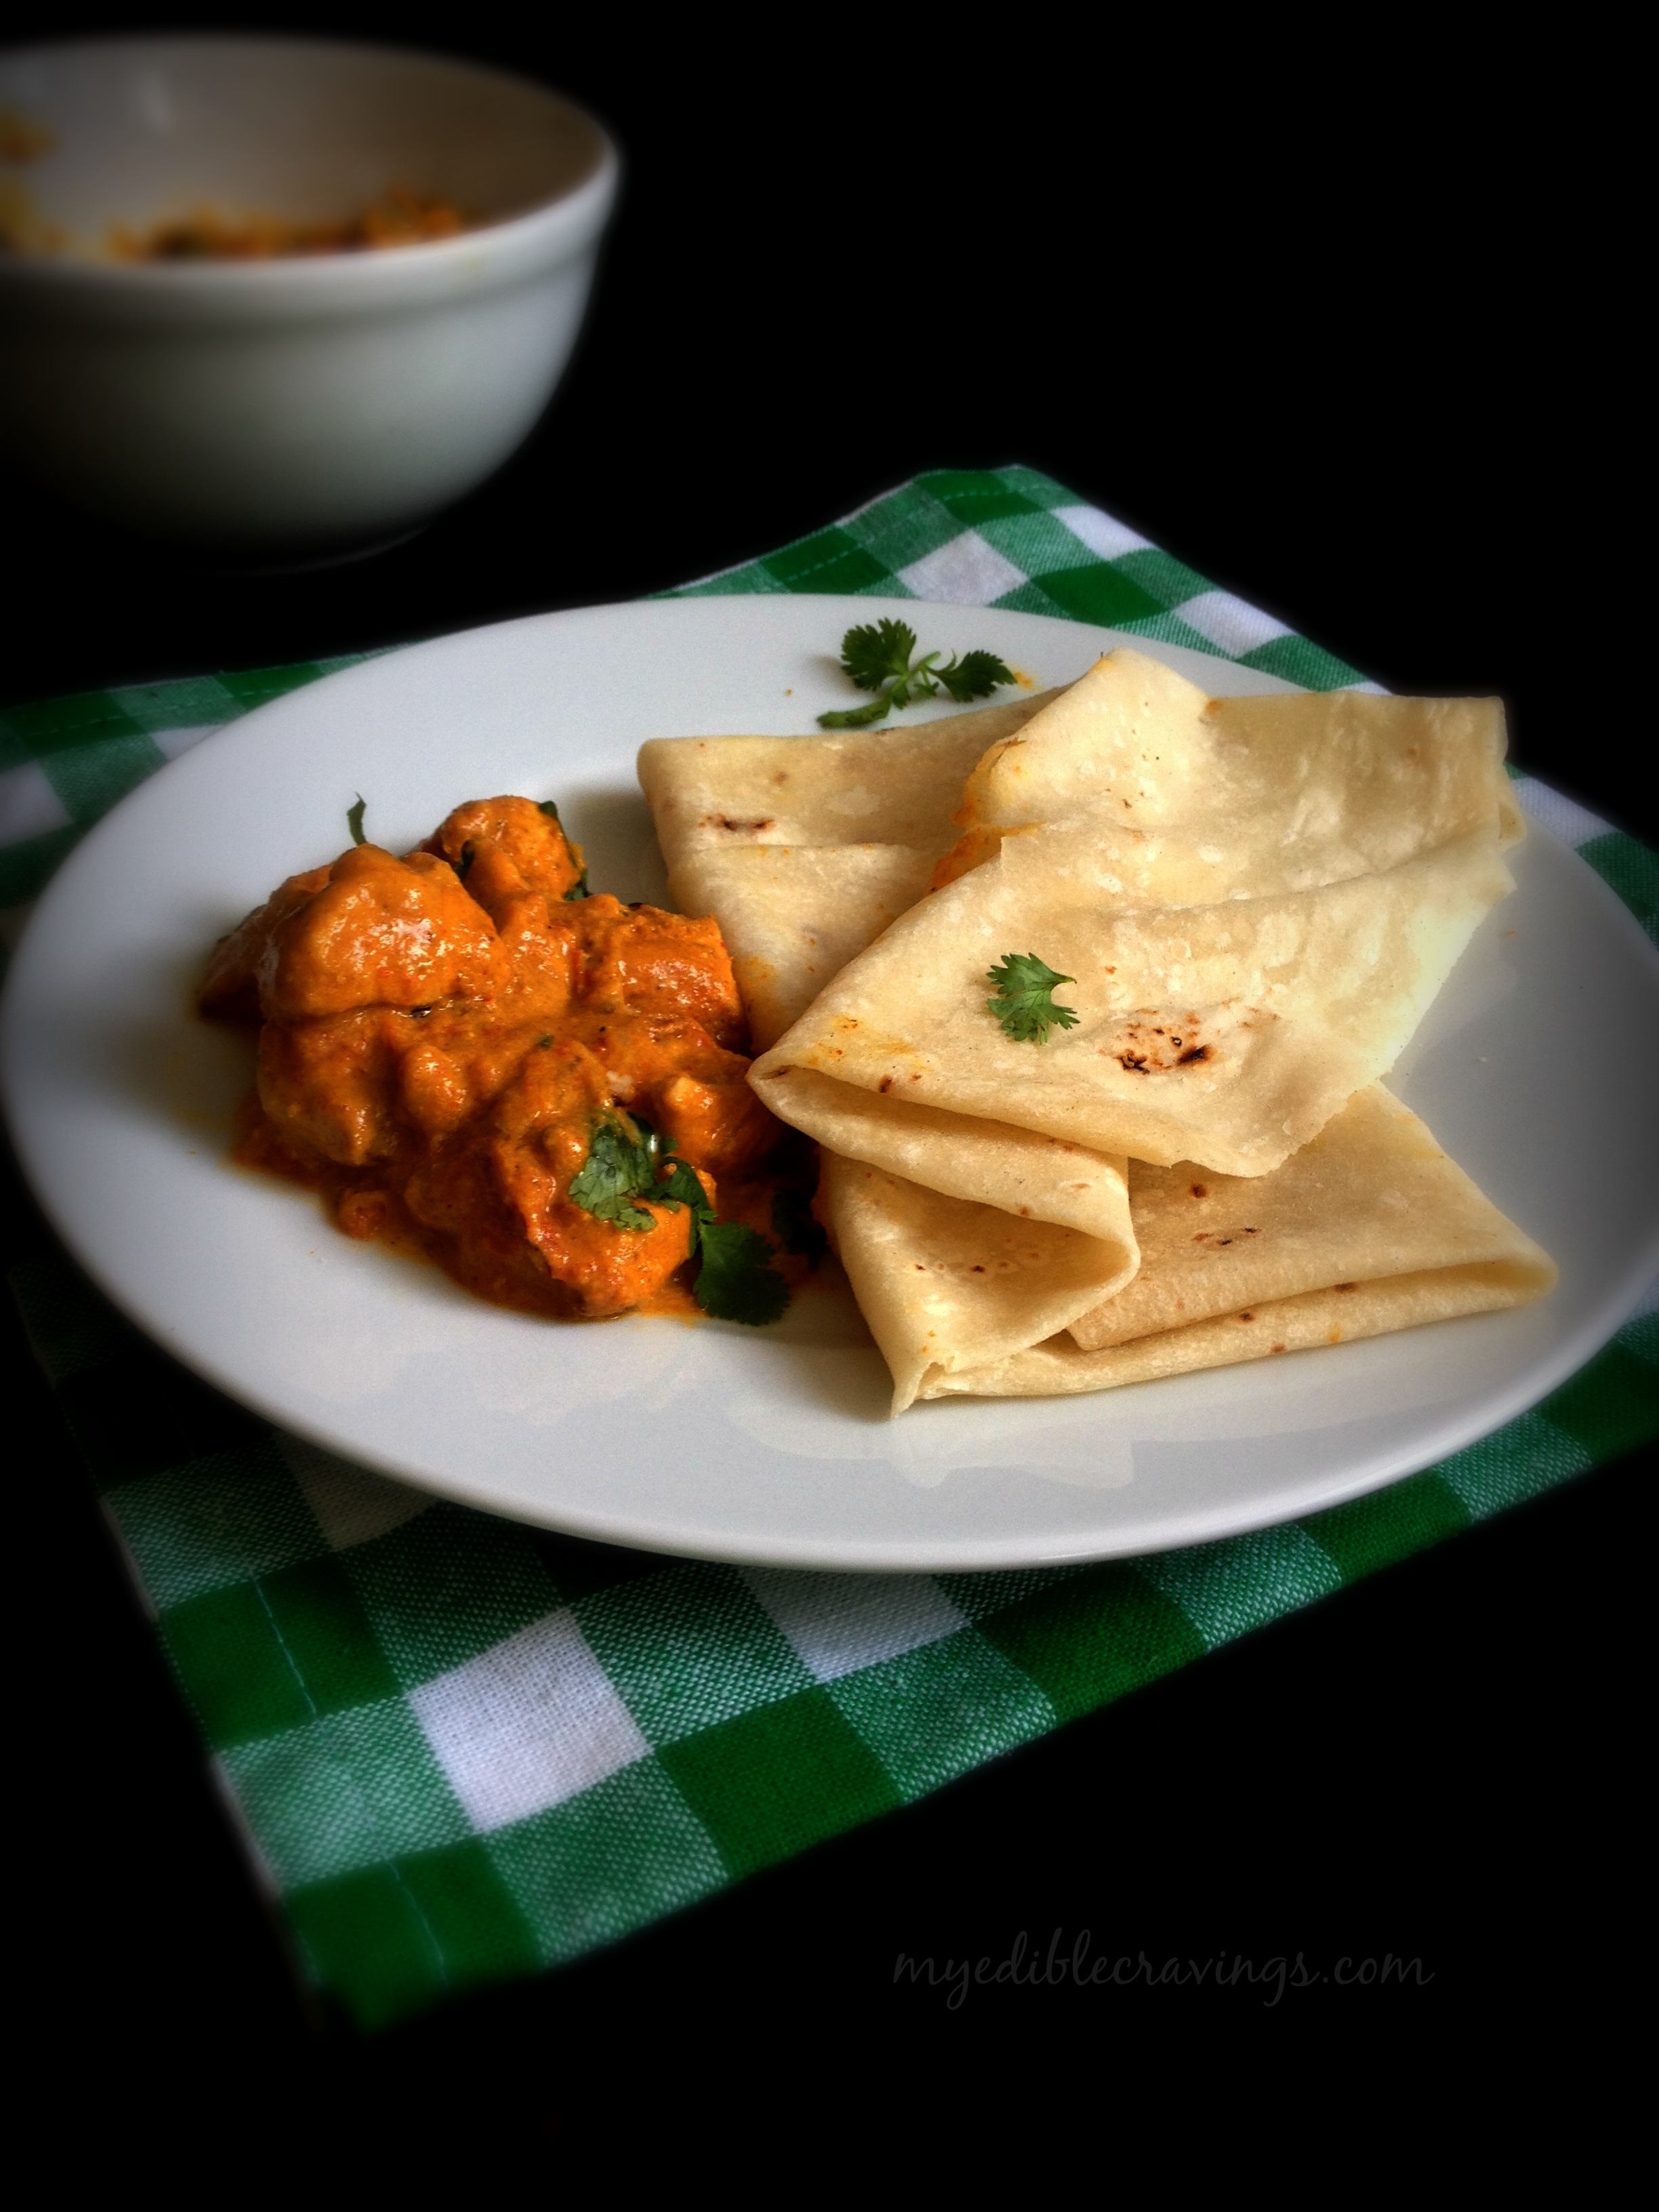
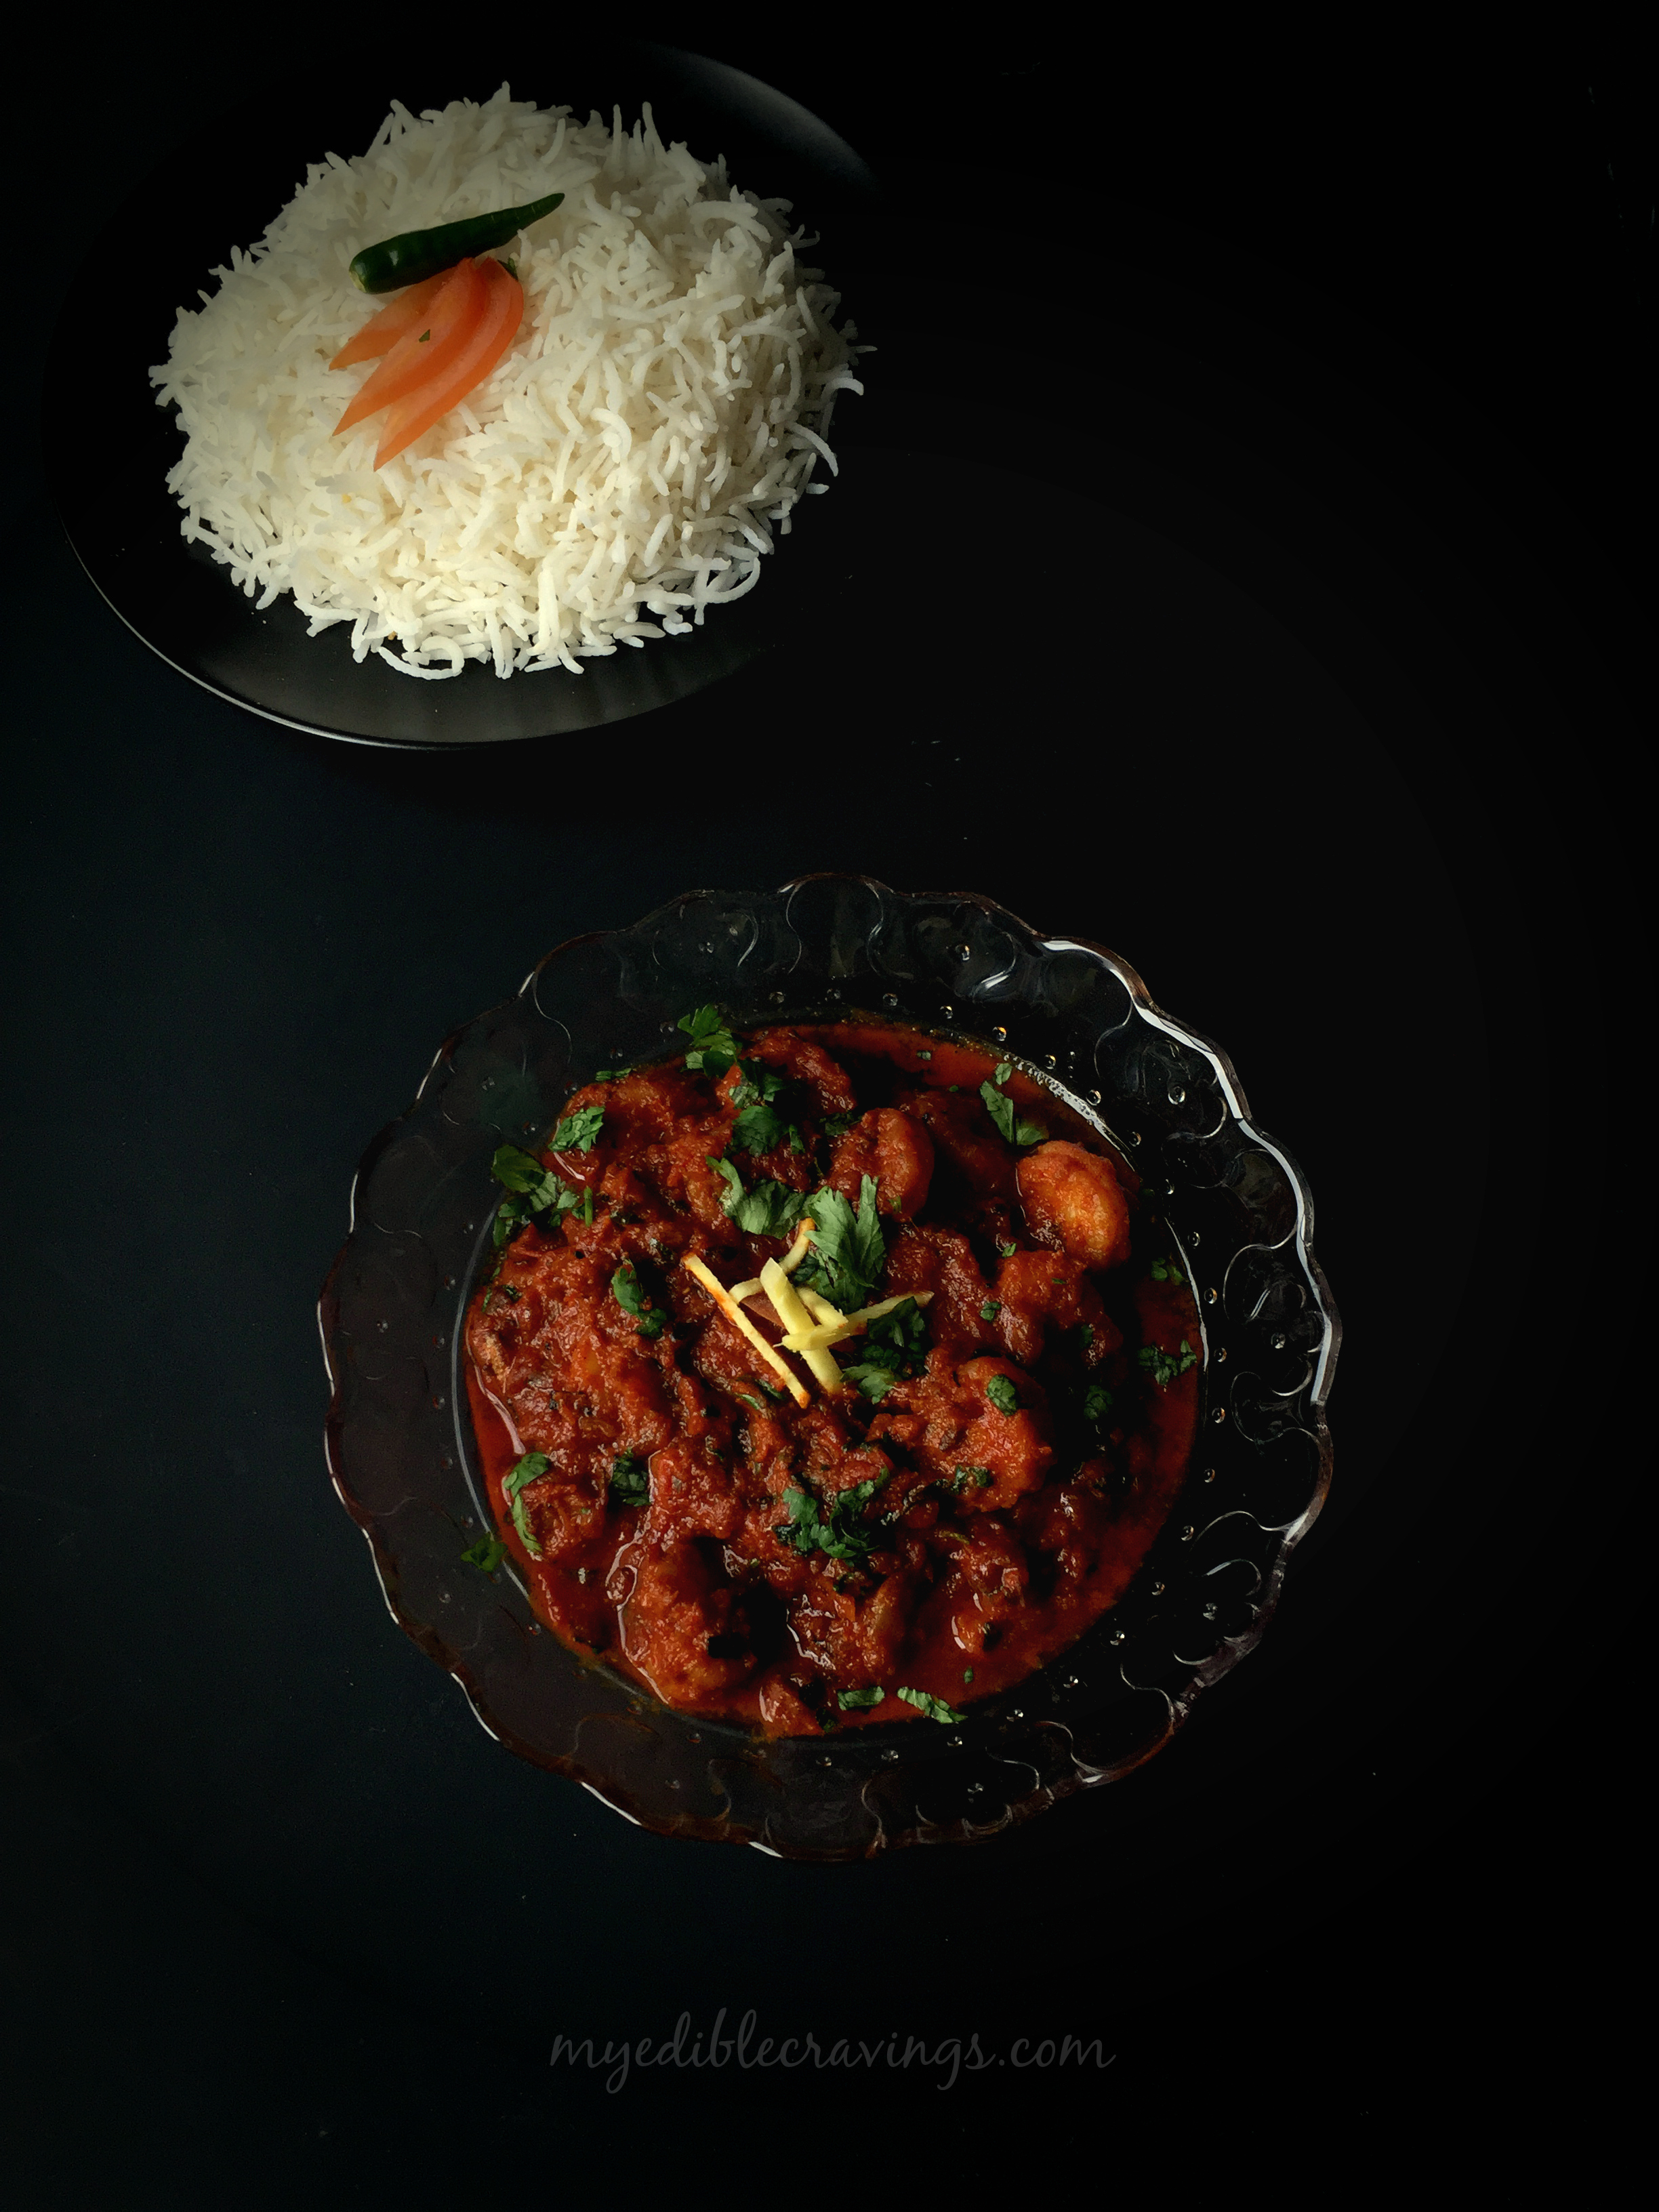
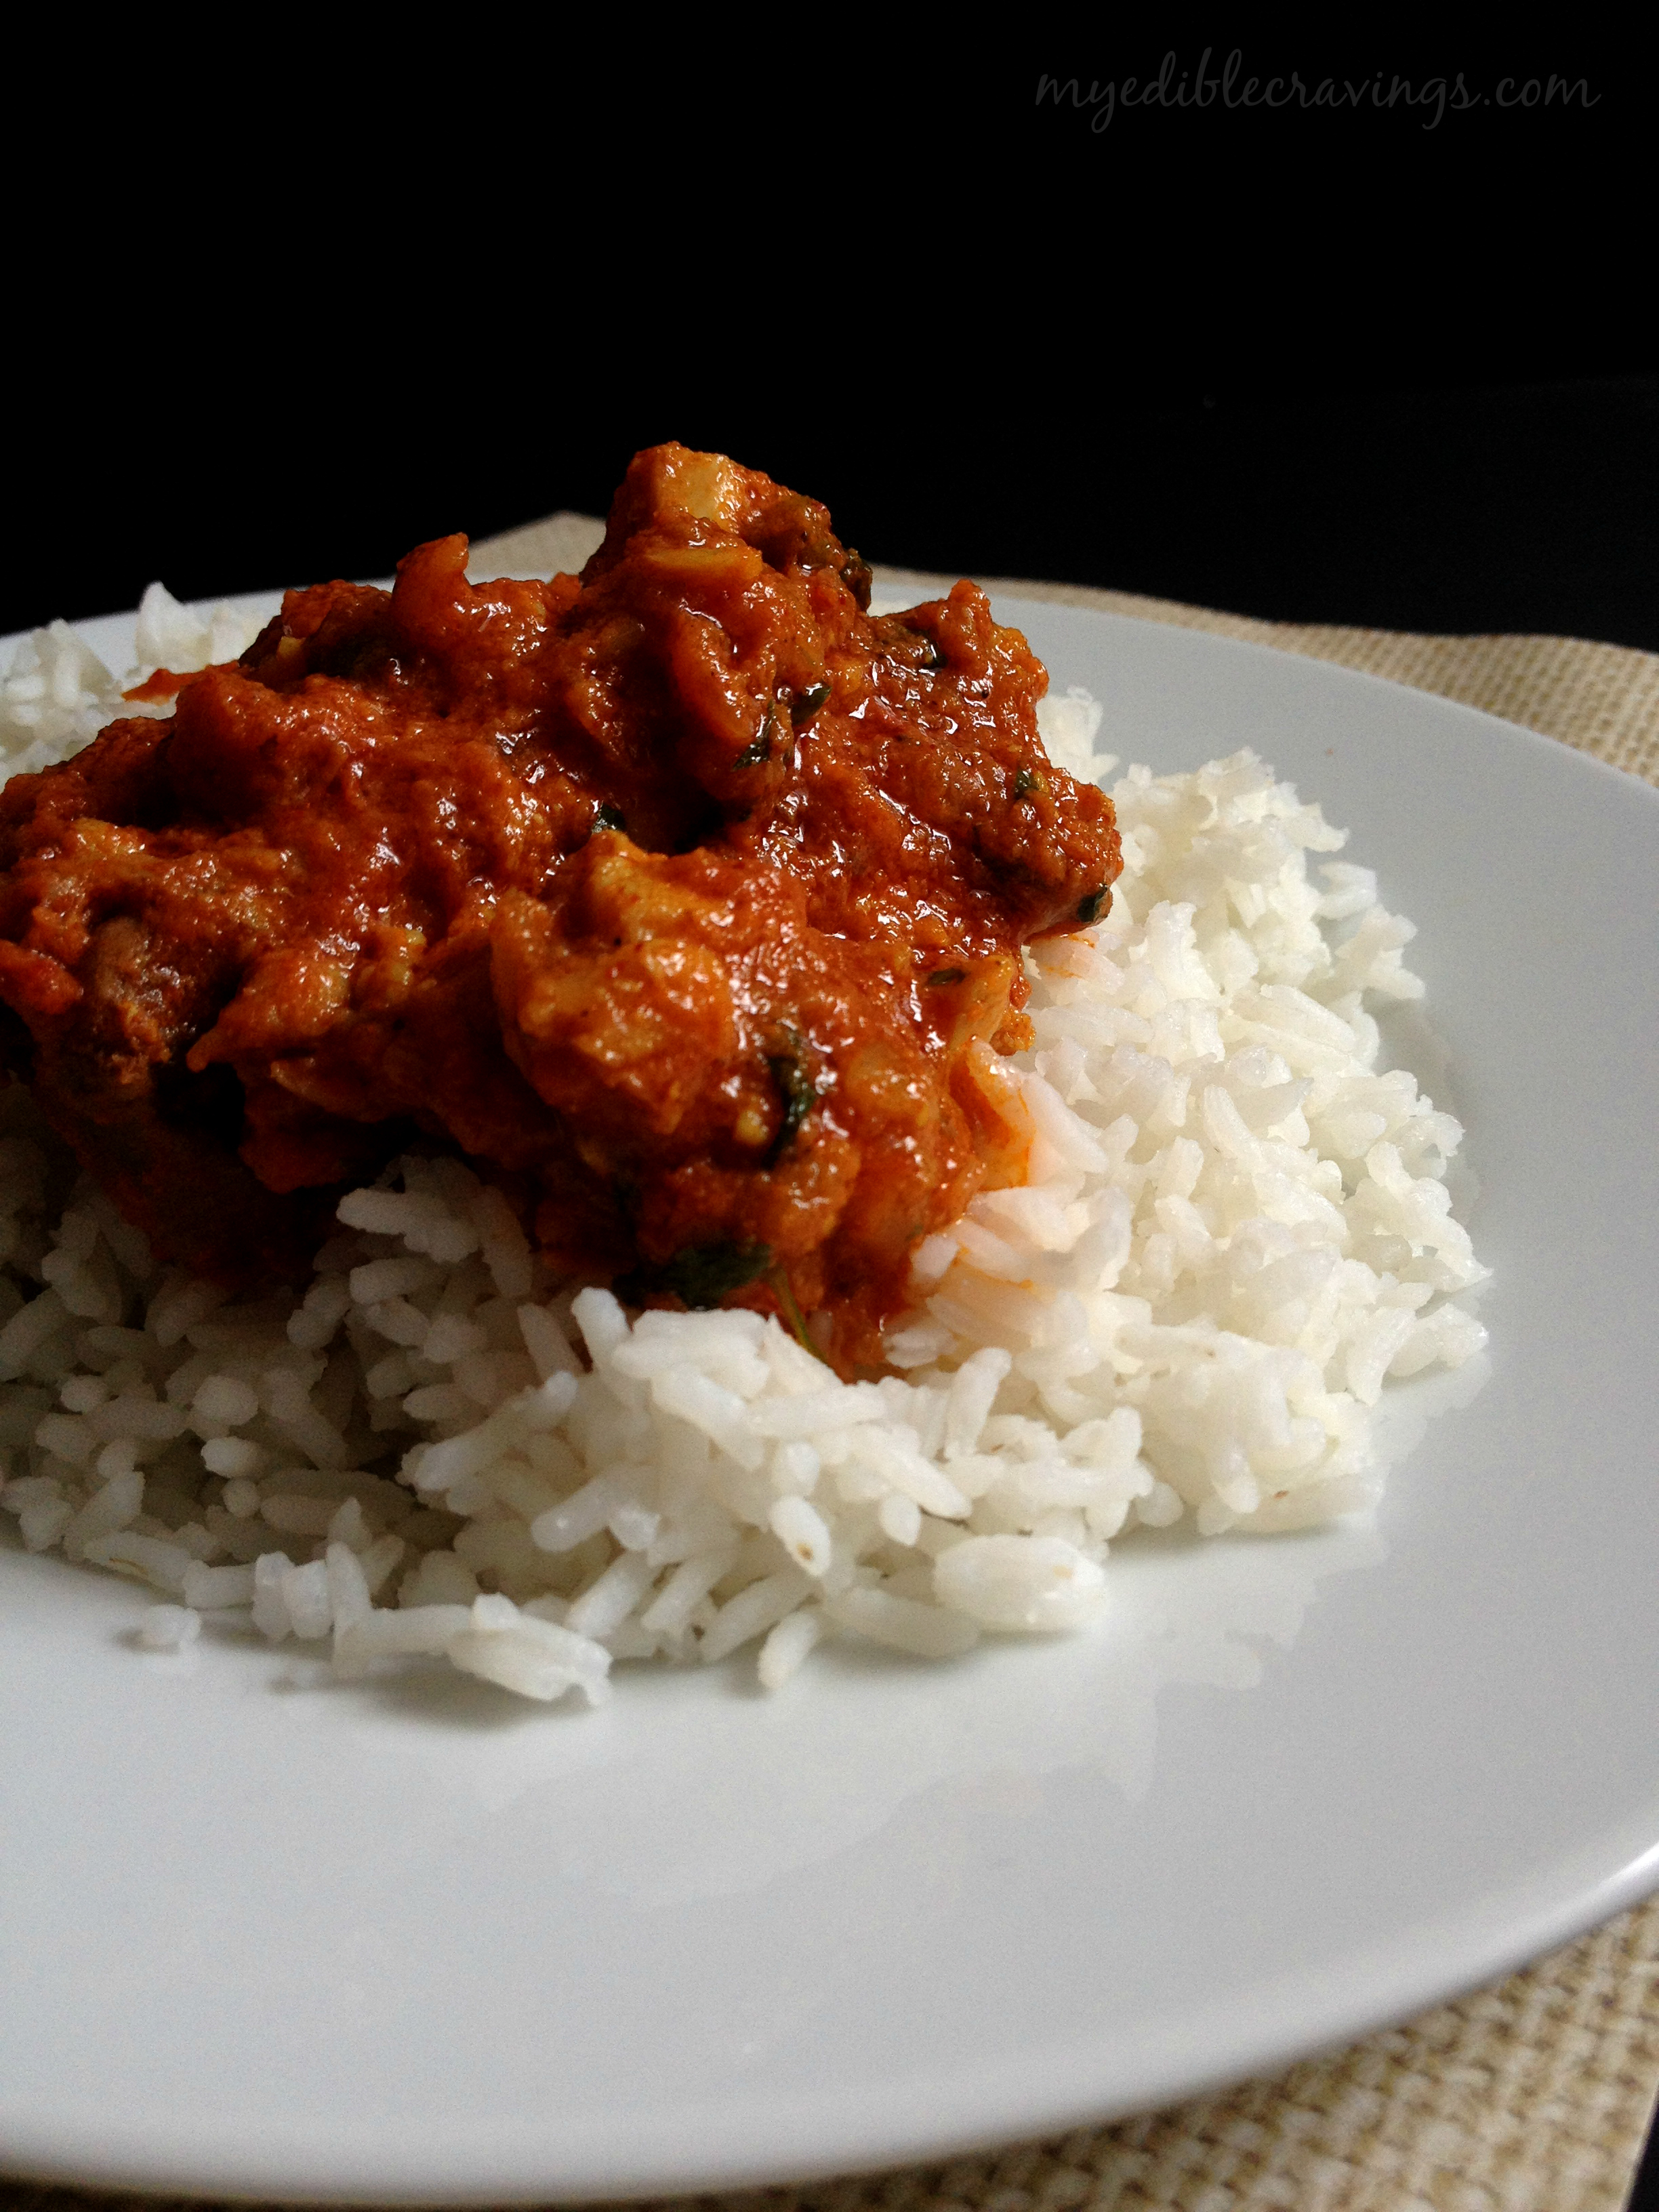
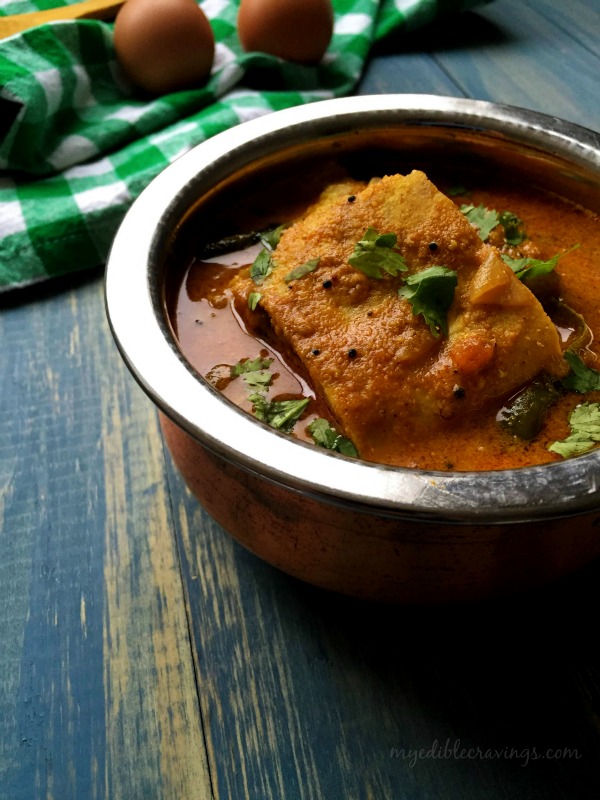 Egg curry normally goes well with white rice and usually with no sides since the eggs themselves are the sides. Try this unique but very tasty Egg curry in your kitchen and if you think of an apt side dish to this gravy, please do share 🙂
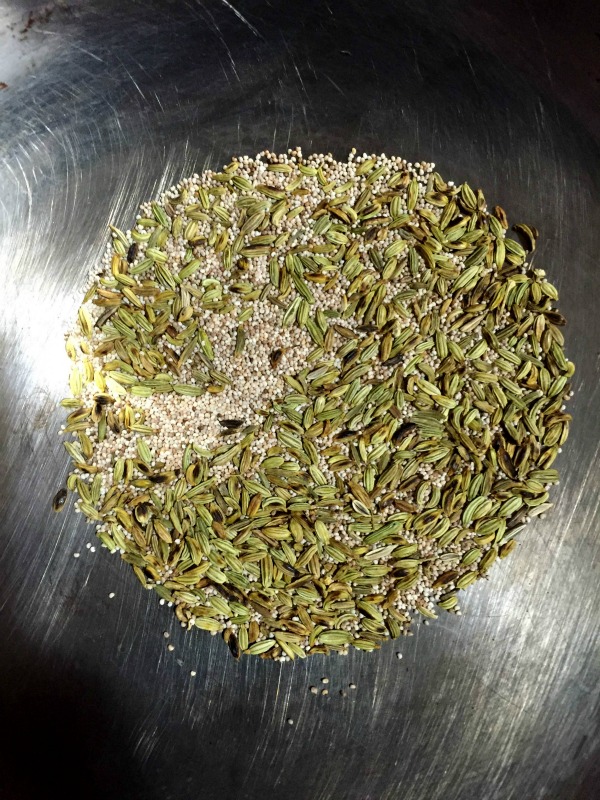
- Fennel seeds – 1 tsp
- Poppy seeds – 1 tsp
- Grated coconut – 2 tbsp
- Oil – 2 tbsp
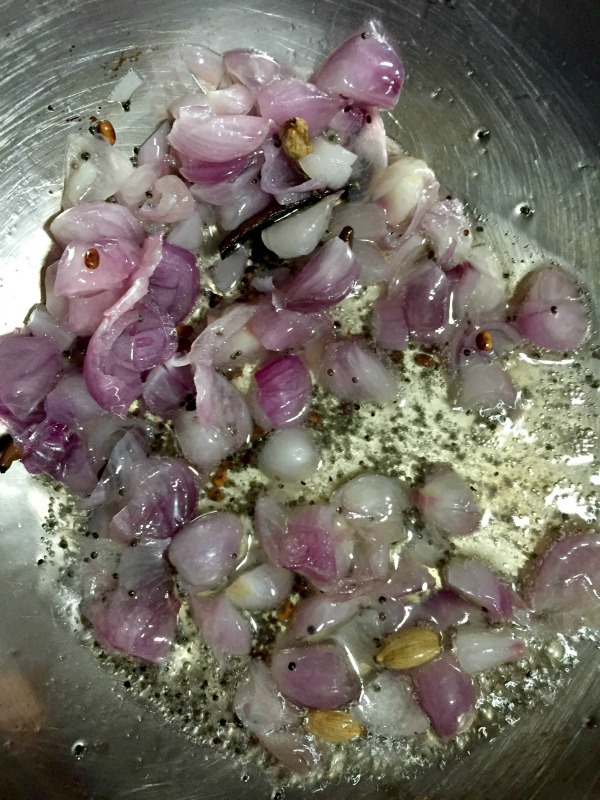
- Mustard seeds – ½ tsp
- Cinnamon – 1”
- Cardamom – 3 nos
- Cloves – 2 nos
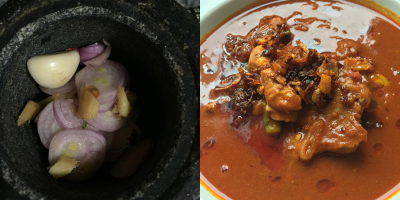
- Shallots, chopped – 5 to 8 nos
- Curry leaves – a sprig
- Green chilli, slits – 2 nos
- Tomato, finely chopped, big – 1 no
- Sambar powder – 1 ½ tbsp
- Mutton masala or egg masala – 1 tbsp
- Salt as required
- Cilantro for garnishing
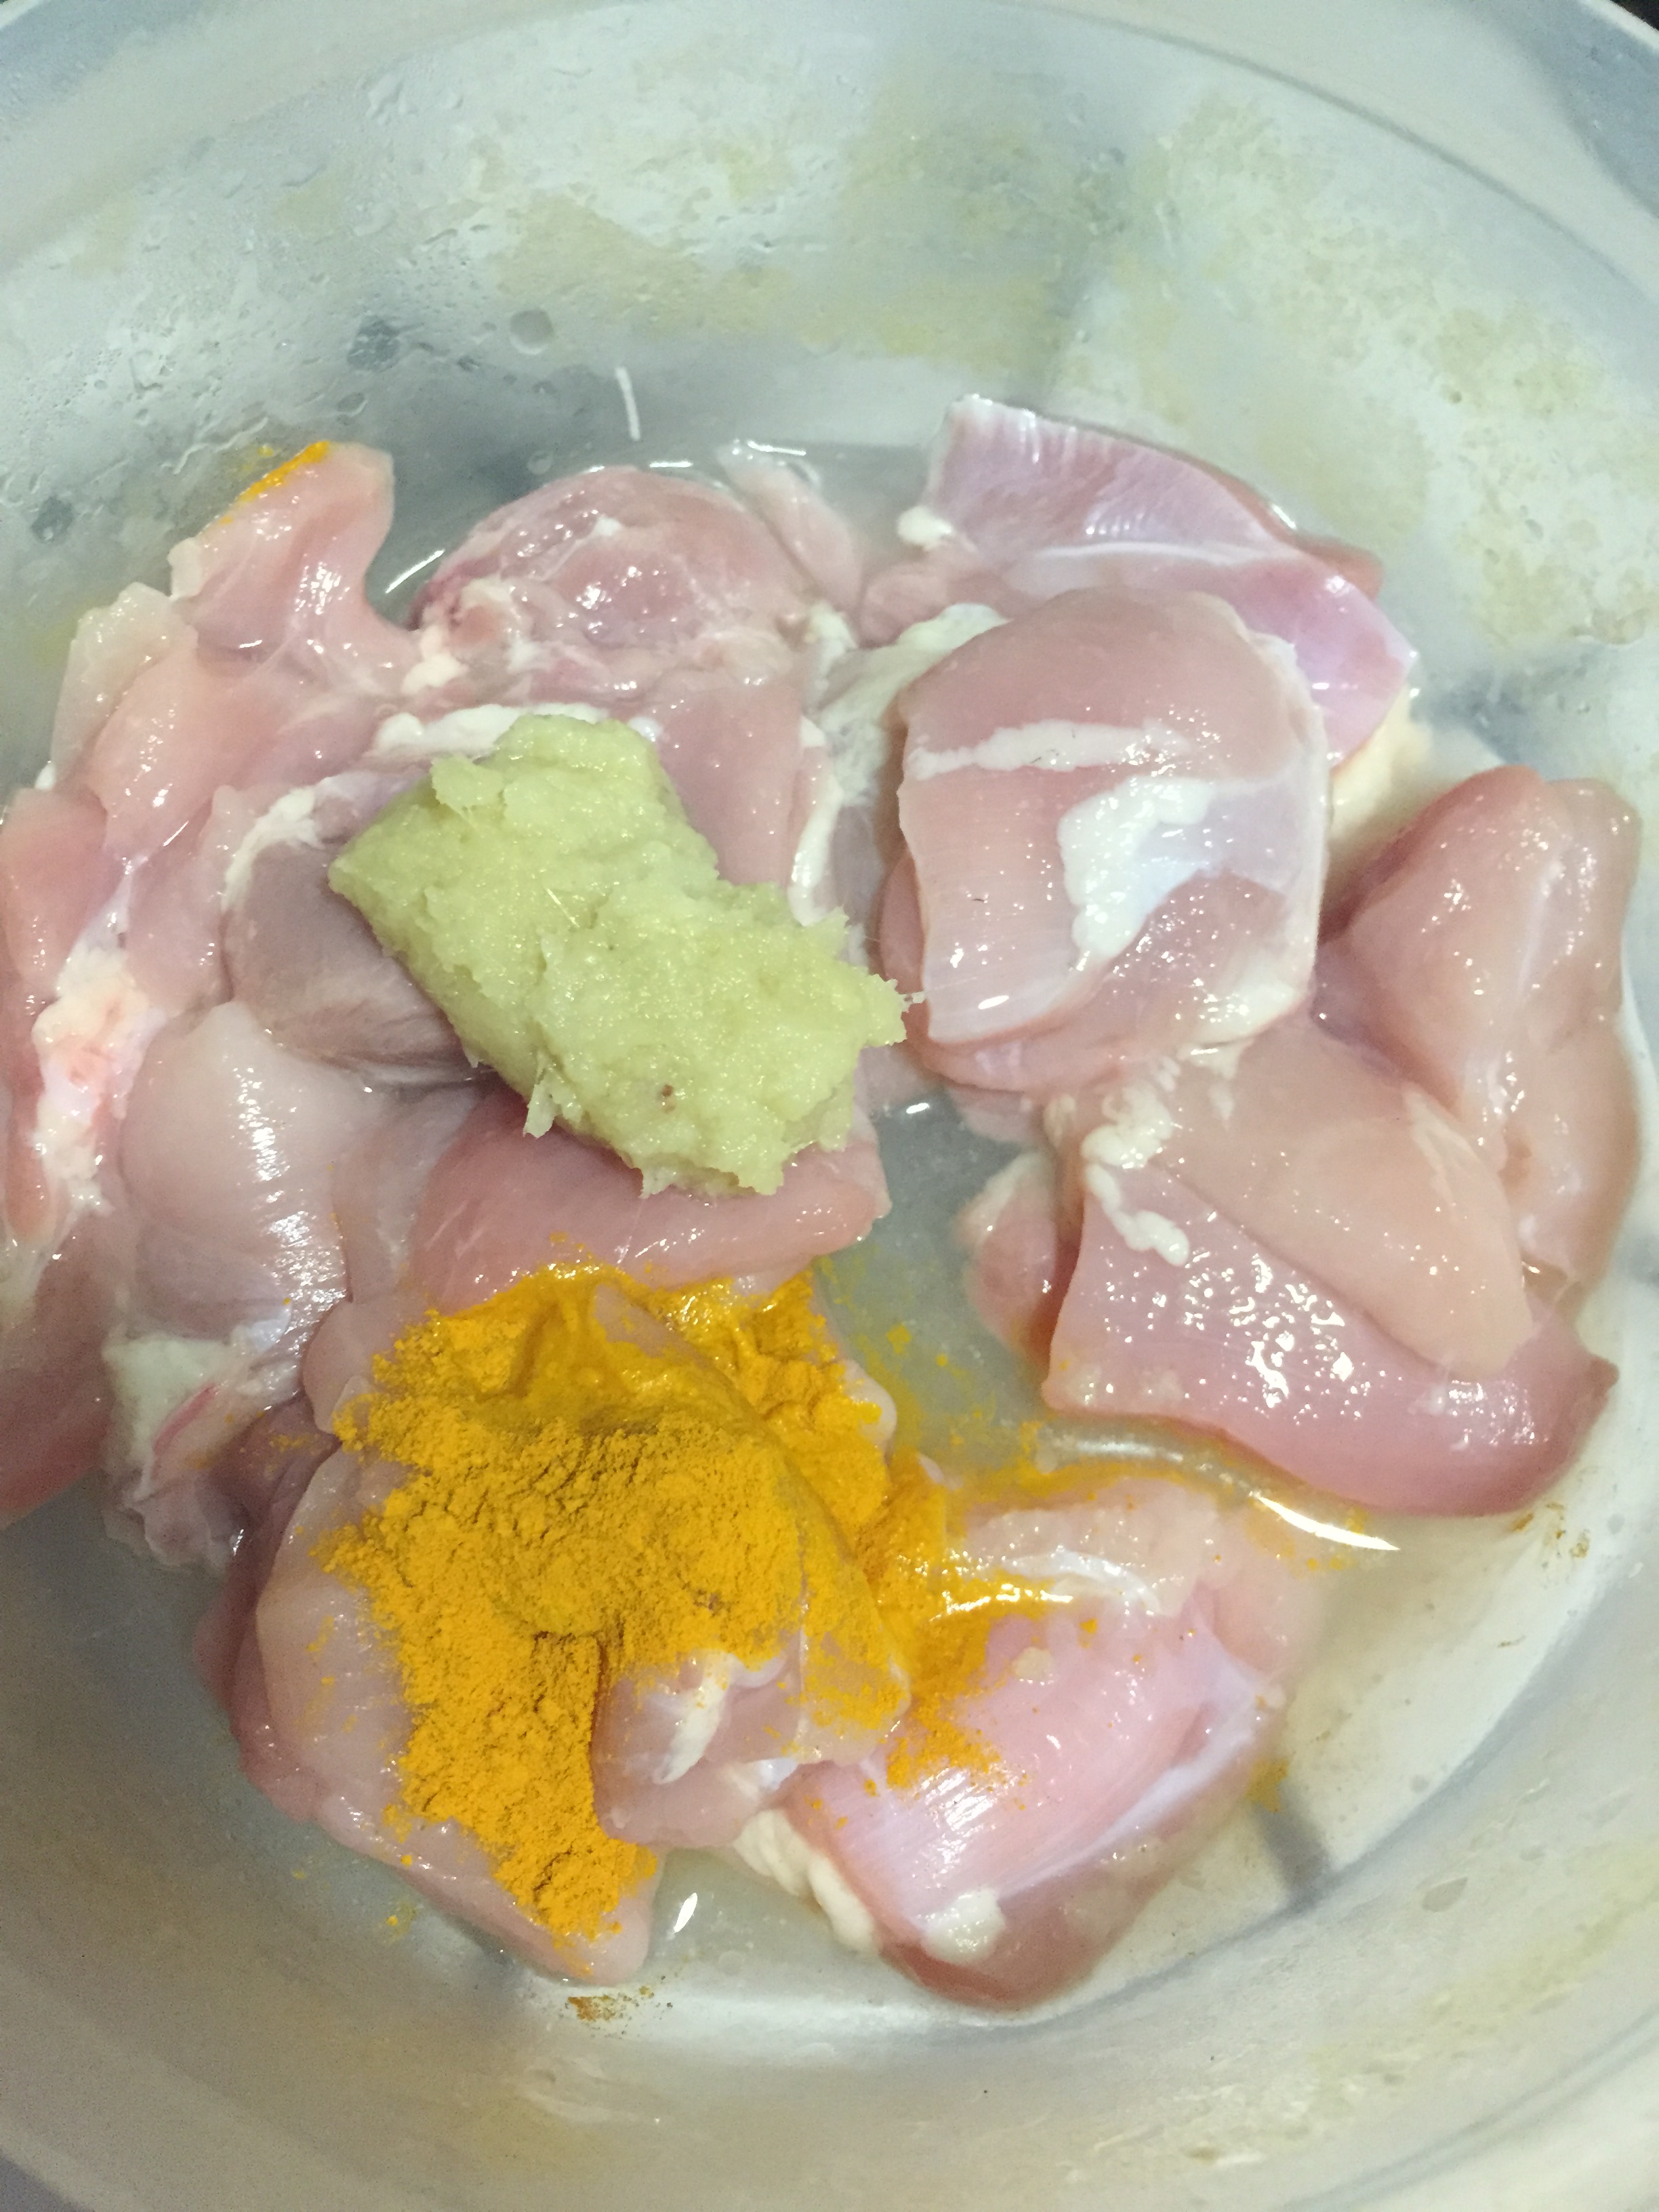
- Eggs – 2 nos
- Salt – a pinch
- Shallots, finely chopped – 2 nos
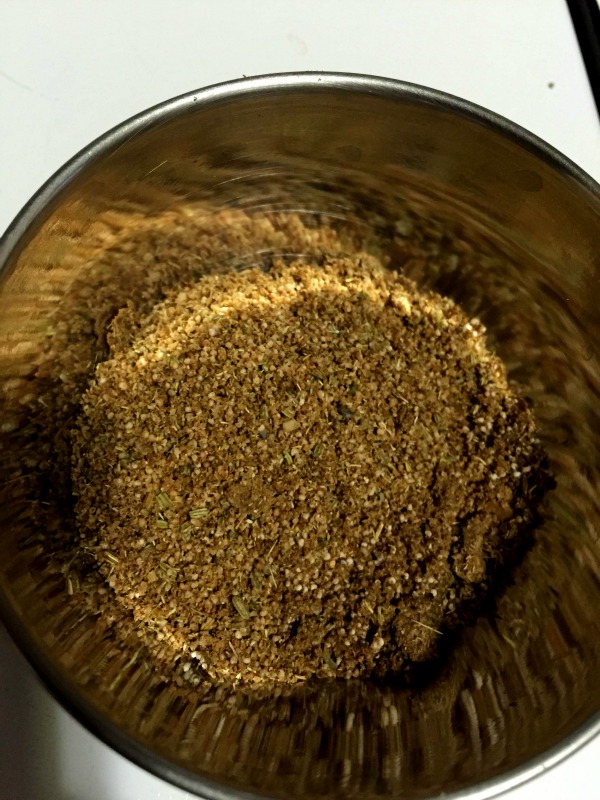
- Dry roast fennel seeds and poppy seed and allow them to cool. Make a paste of grated coconut adding little water.
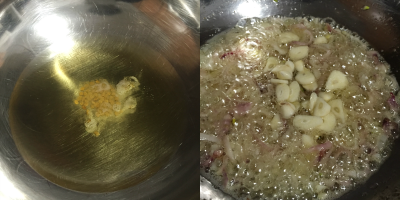
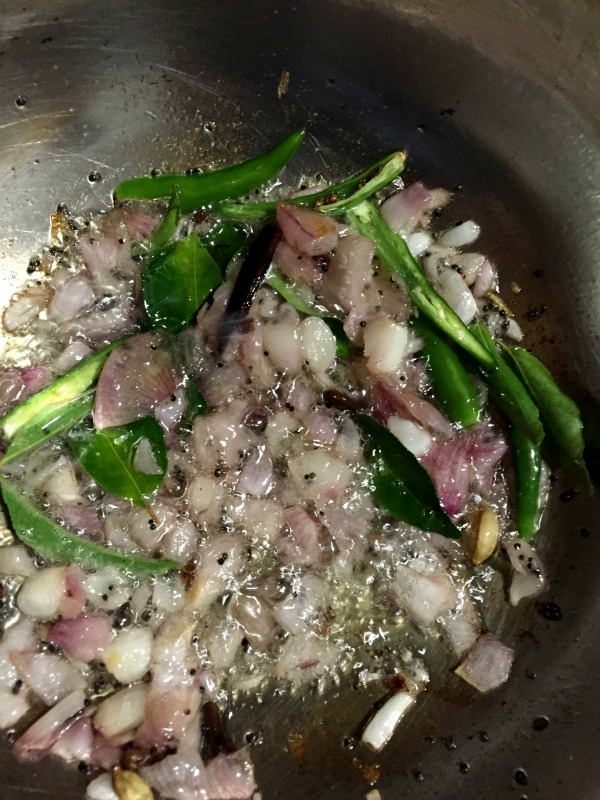
- Heat oil in a pan and season with the above given ingredients

- Add shallots and sauté until they turn translucent.
- Meanwhile powder the dry roasted fennel and poppy seeds.
- Add green chilli and curry leaves. Give a quick stir
- Add in the fennel and poppy seed powder. Mix and stir for a few seconds.

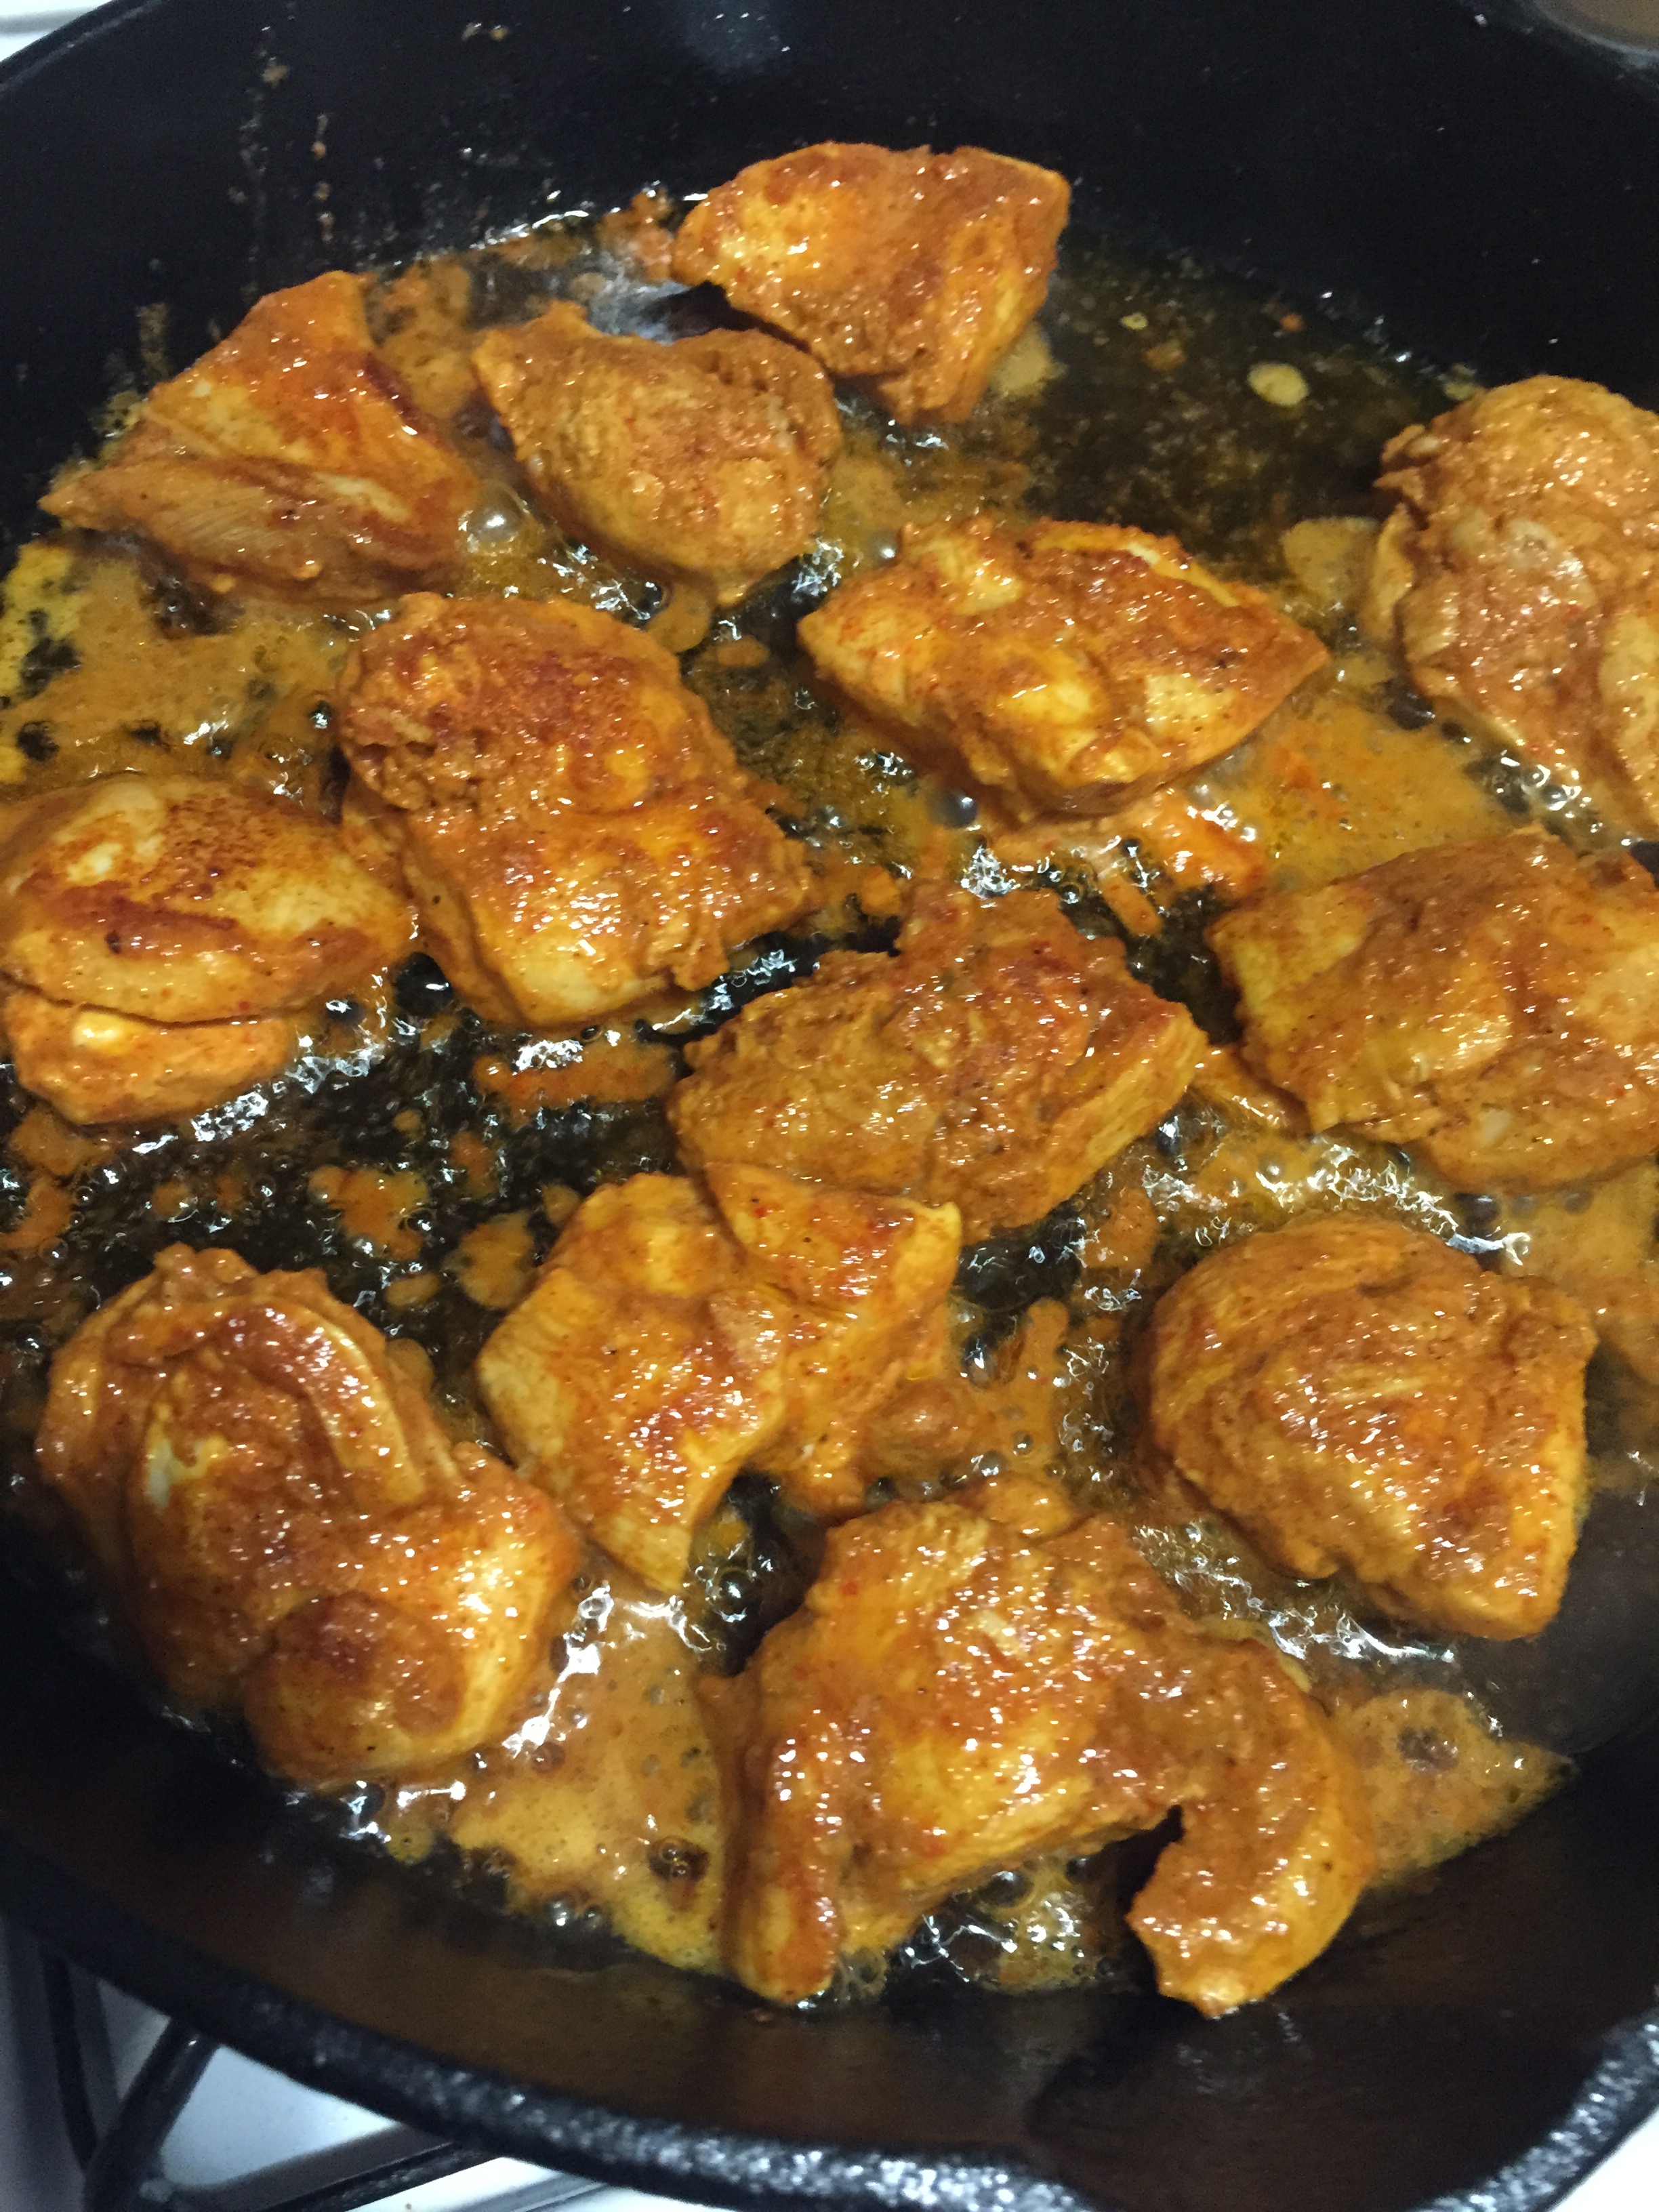
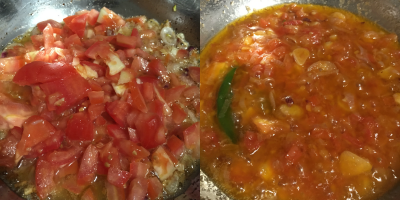
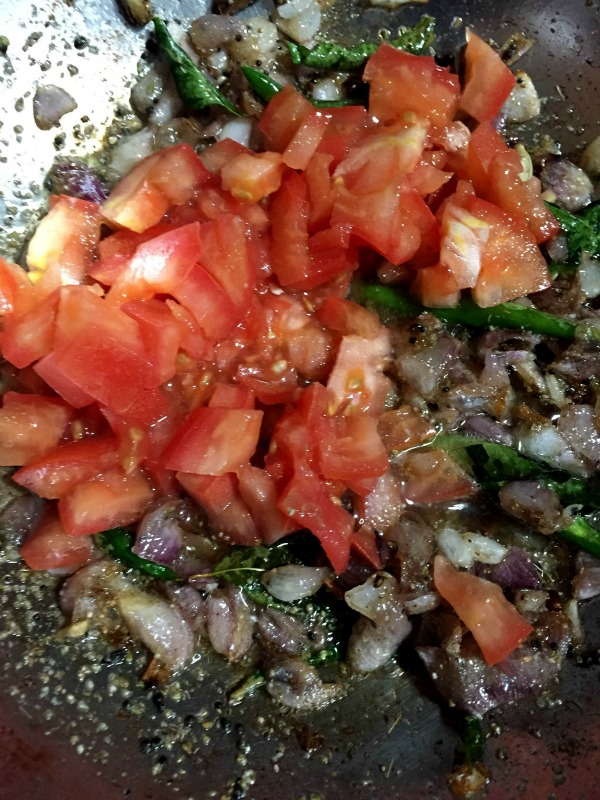
- Now add in chopped tomato and sauté until they turn mushy.
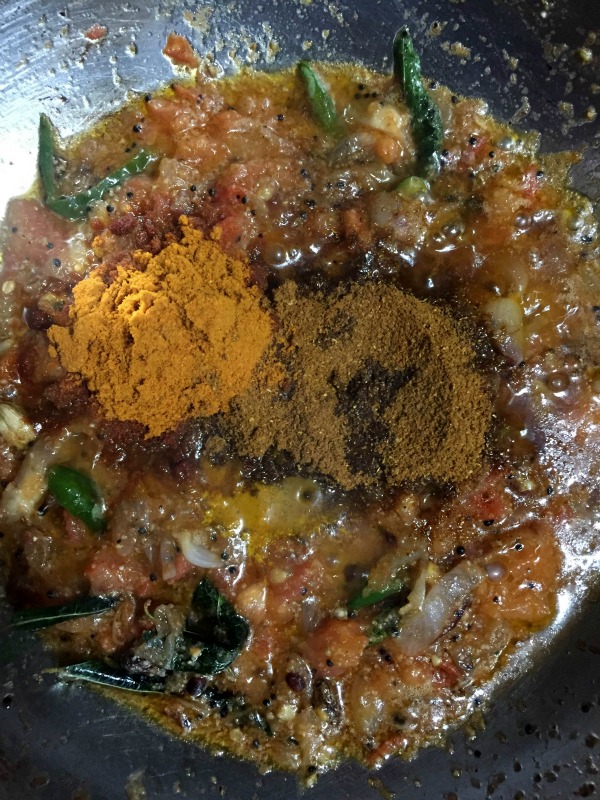
- Add sambar power, mutton/egg curry masala and salt. Mix and cook for a minute.
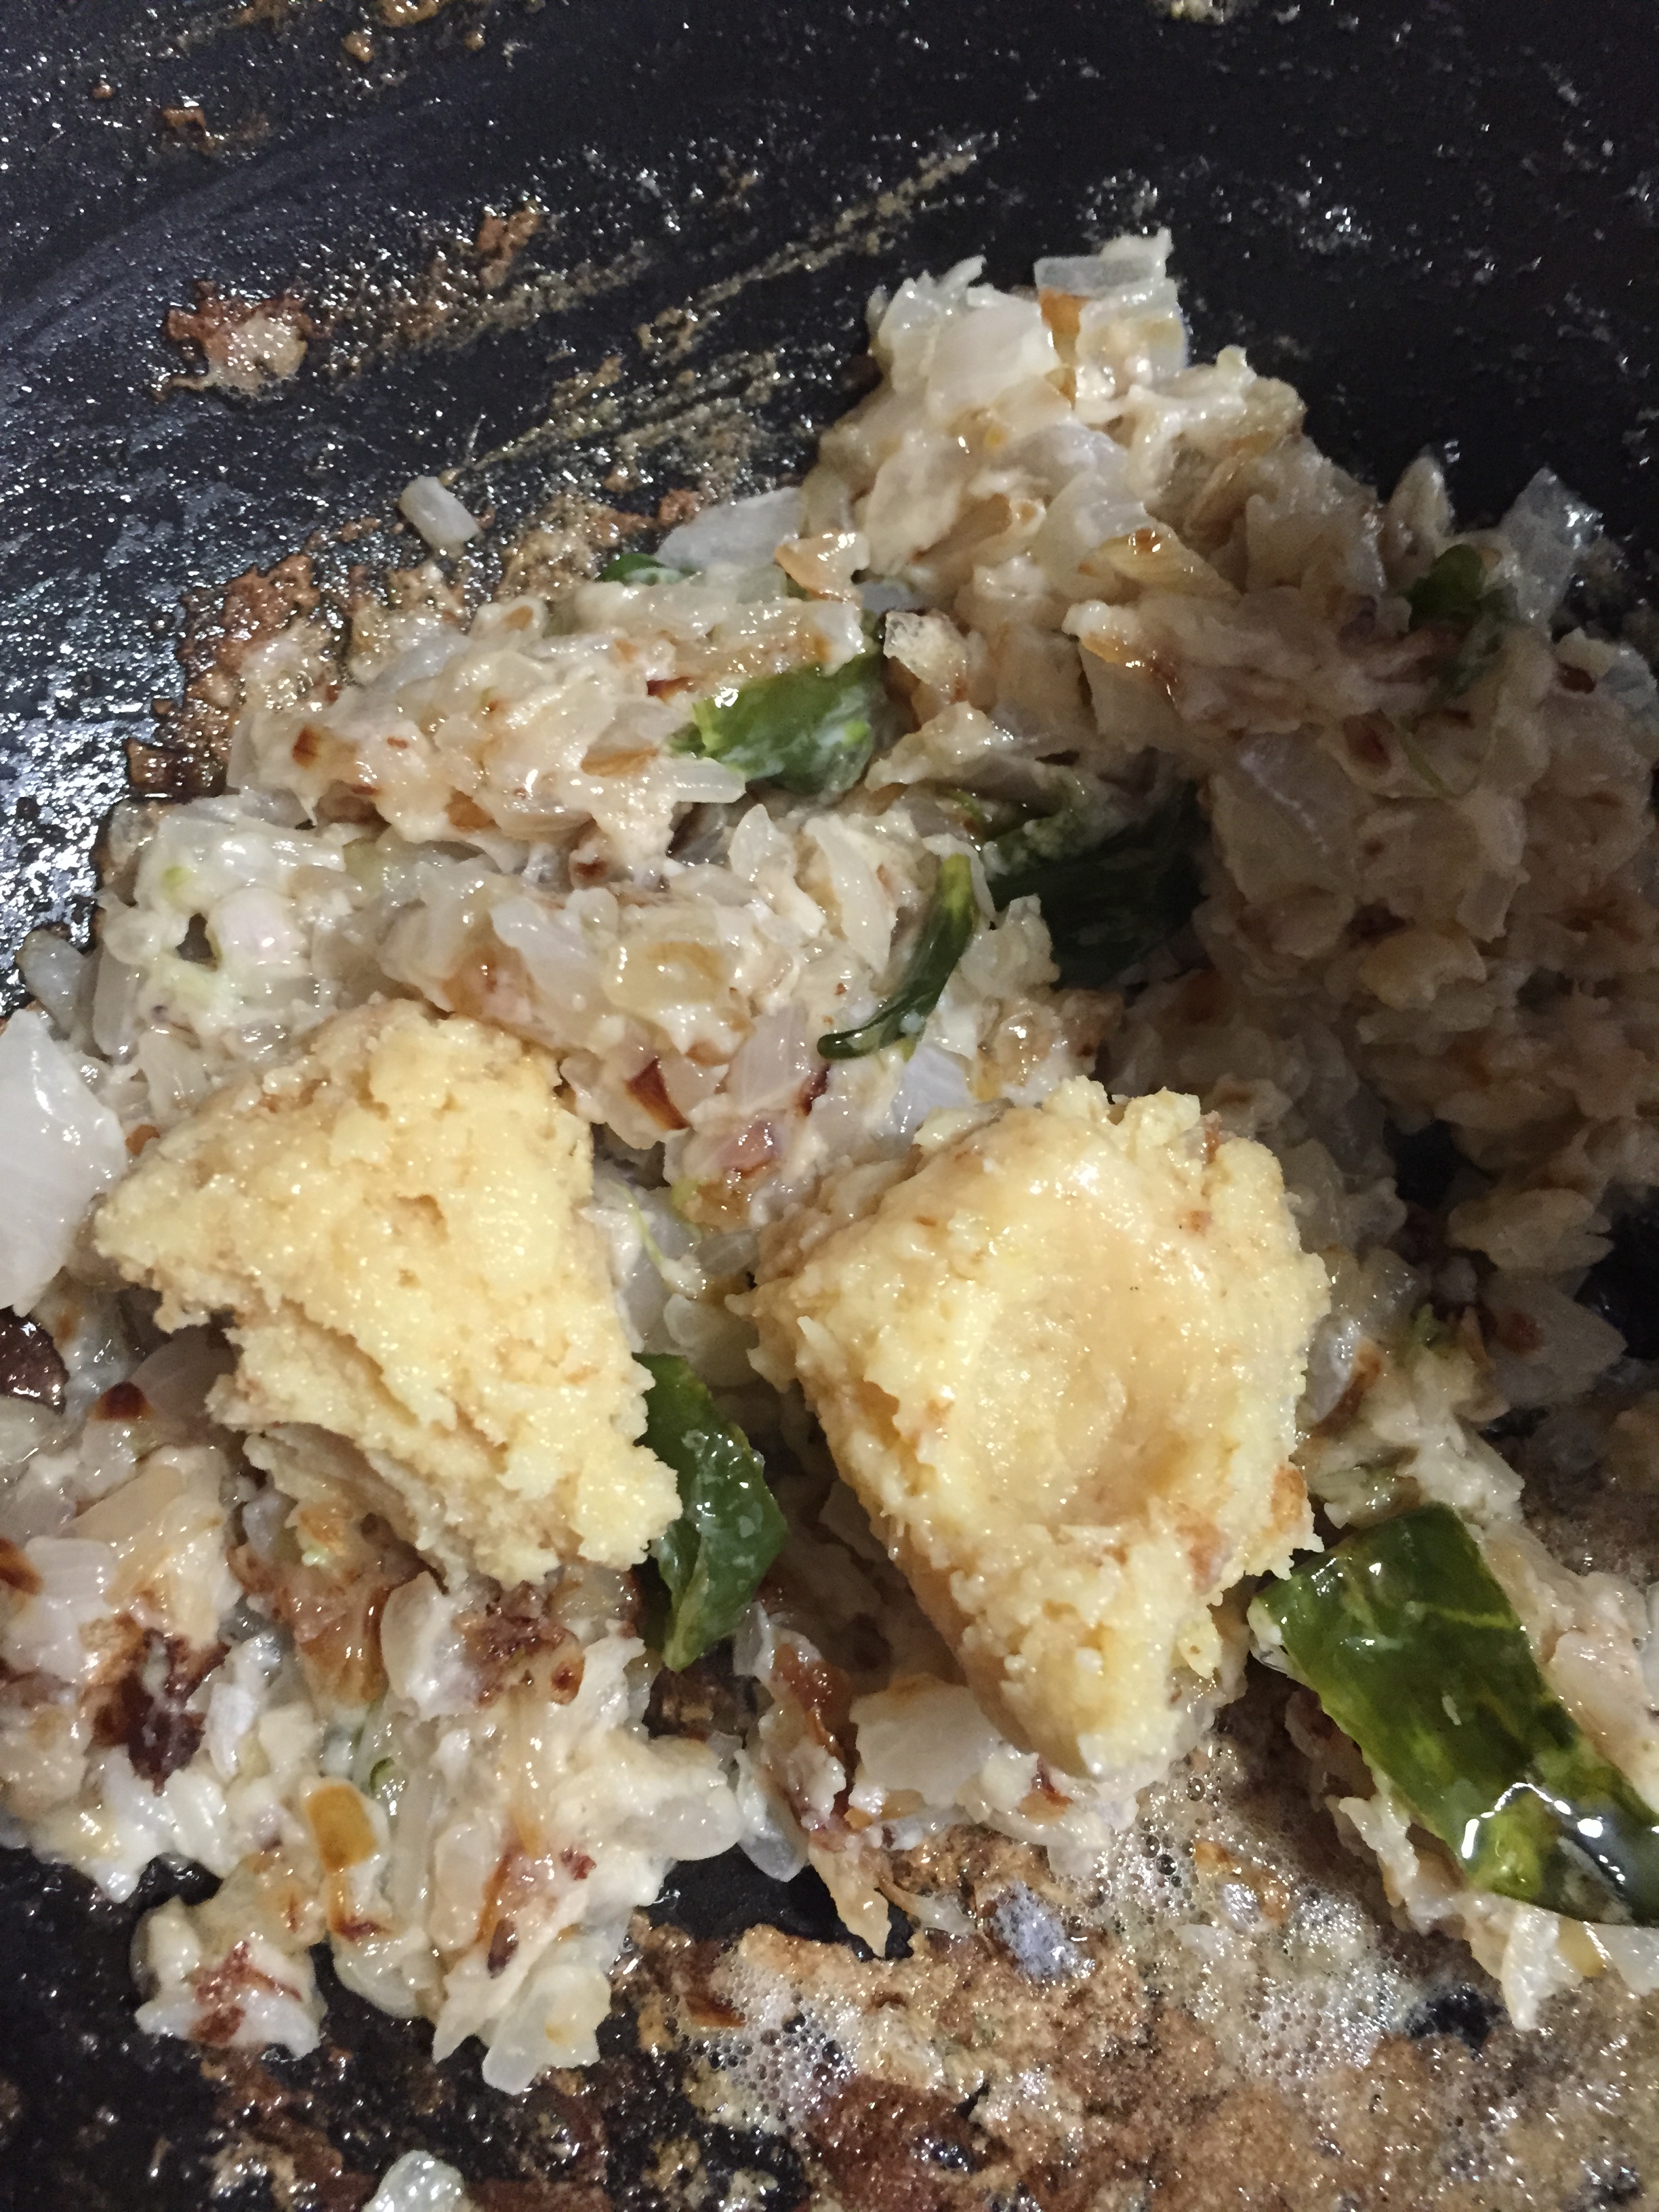
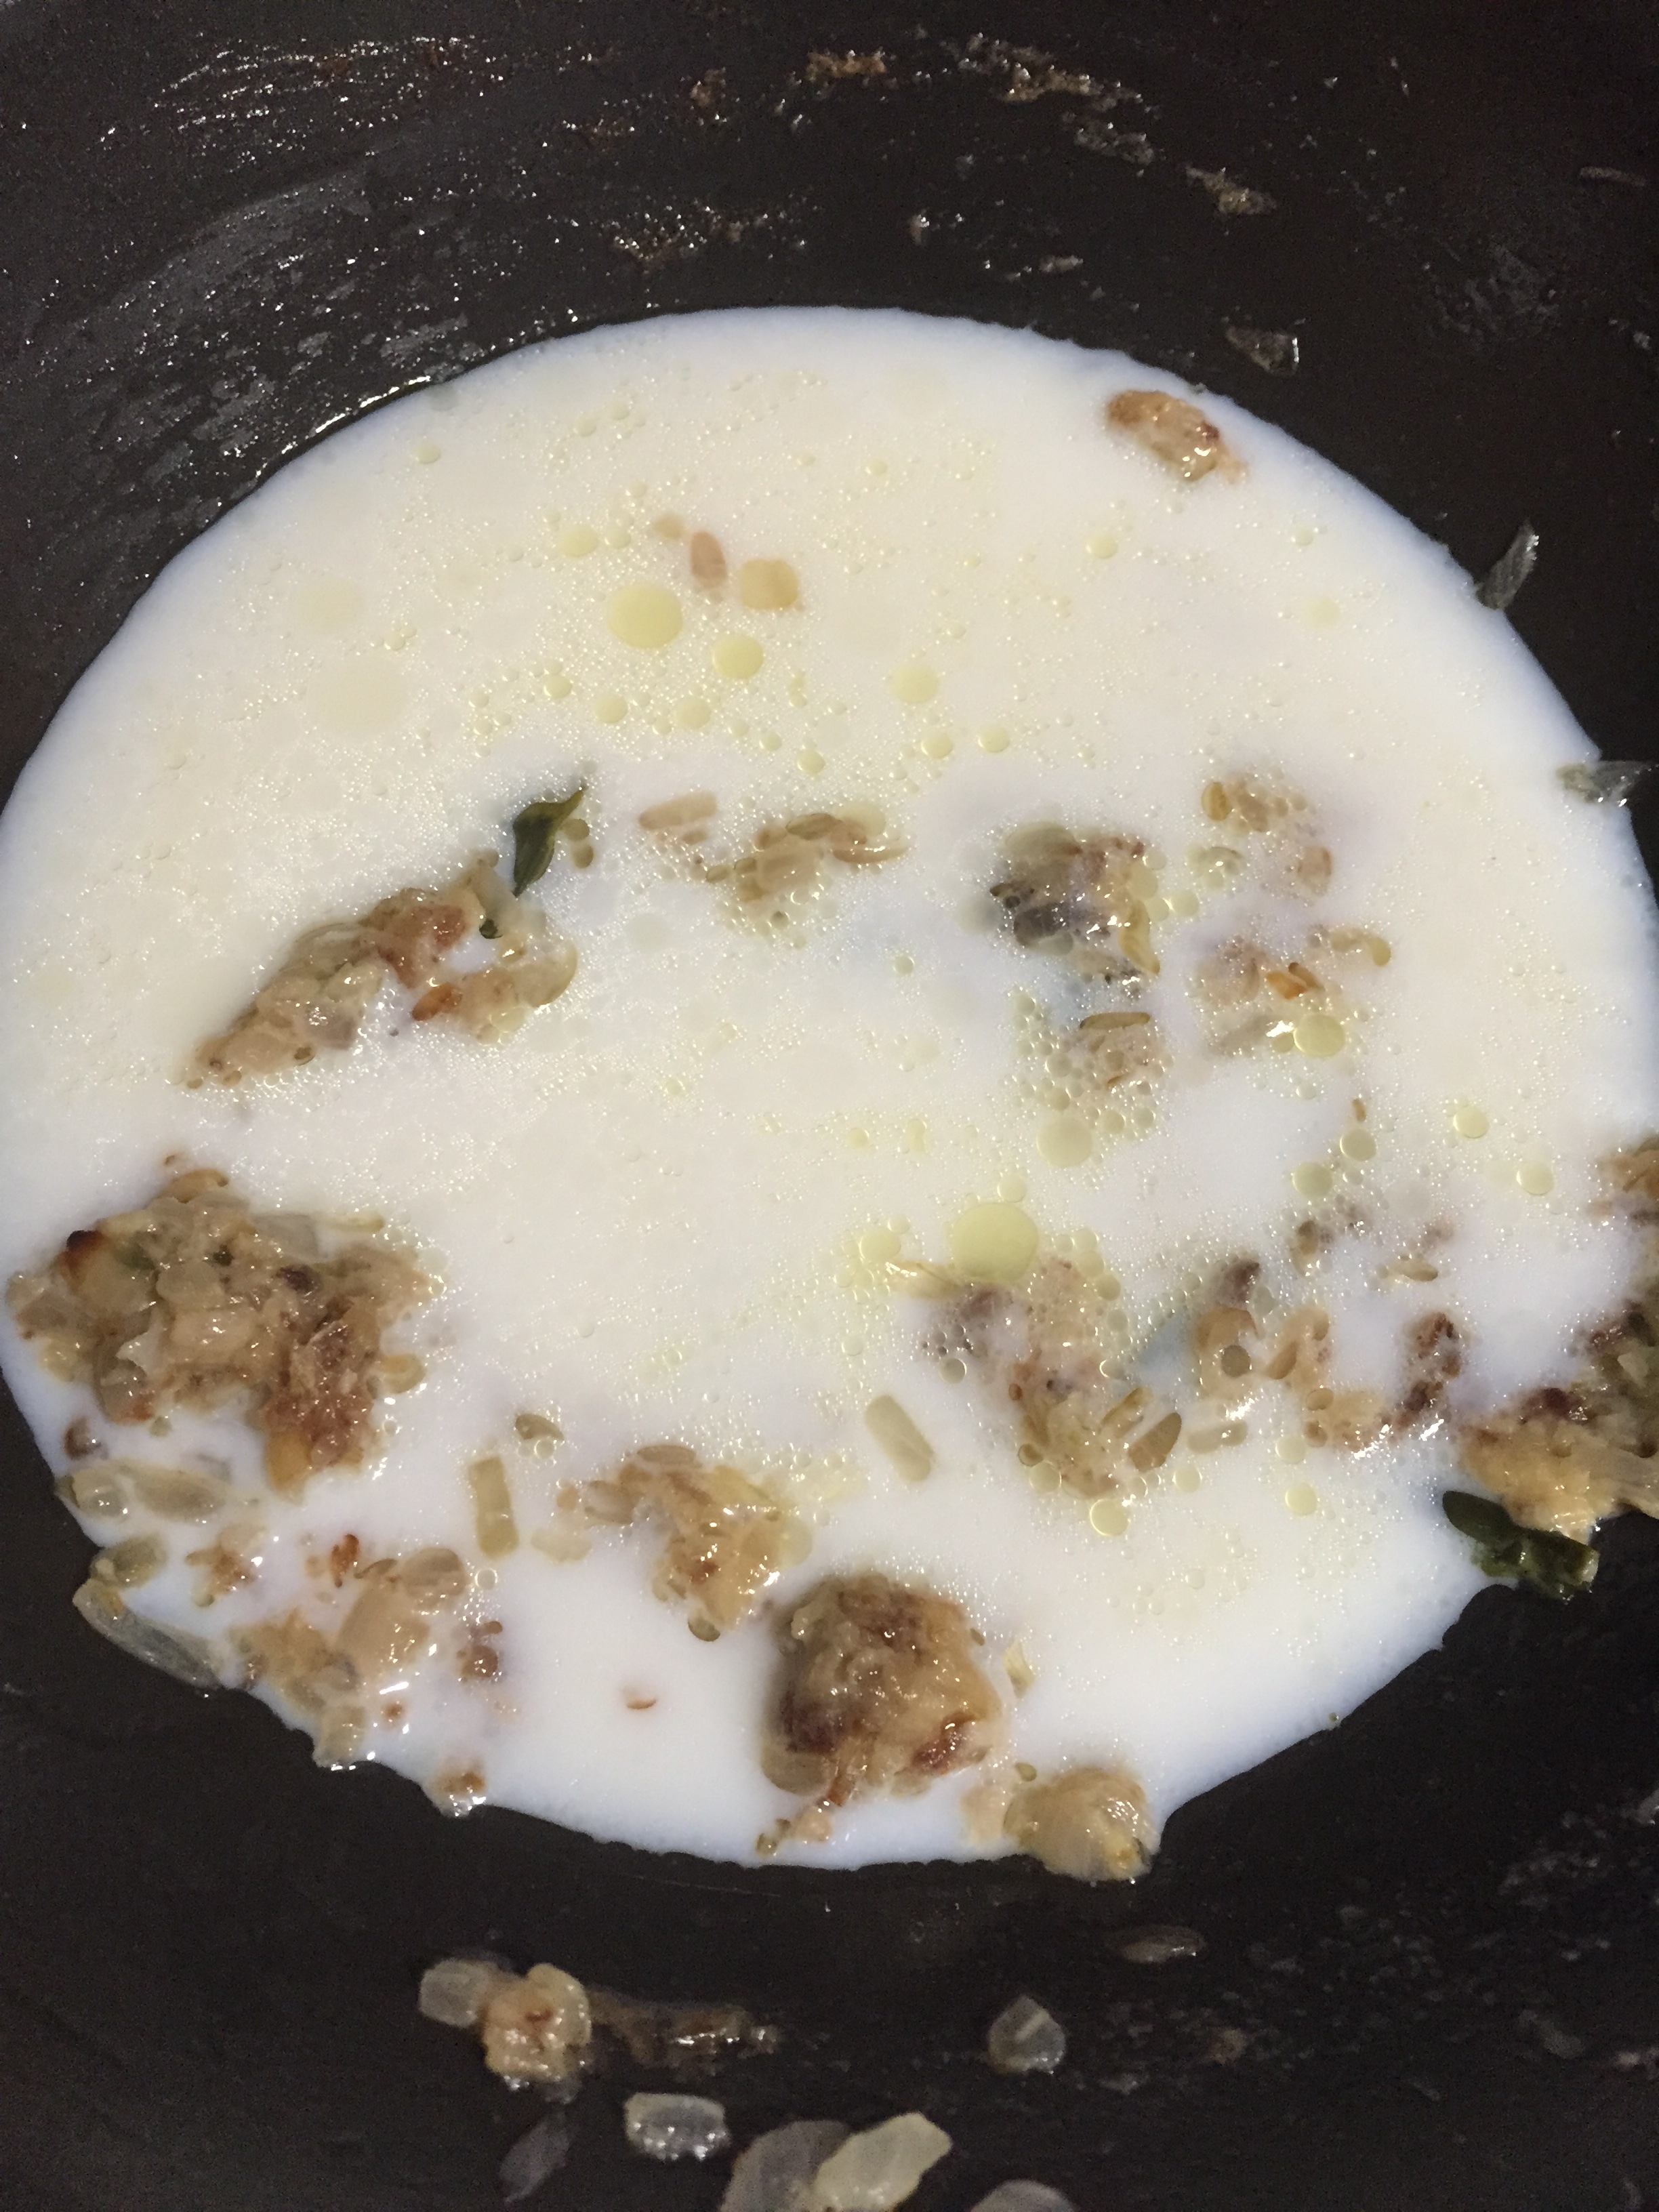
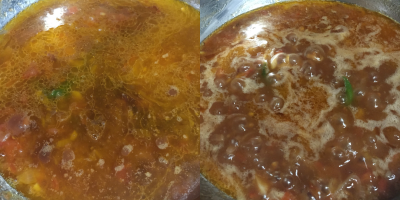
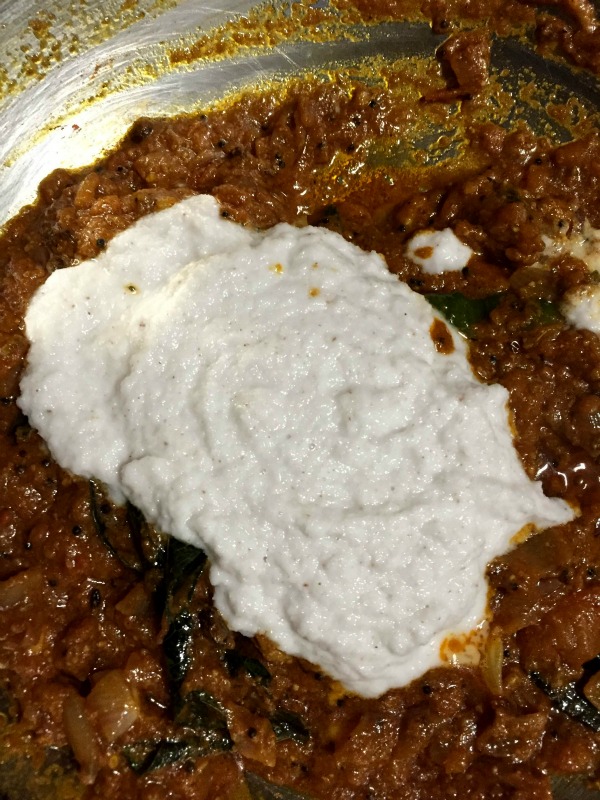
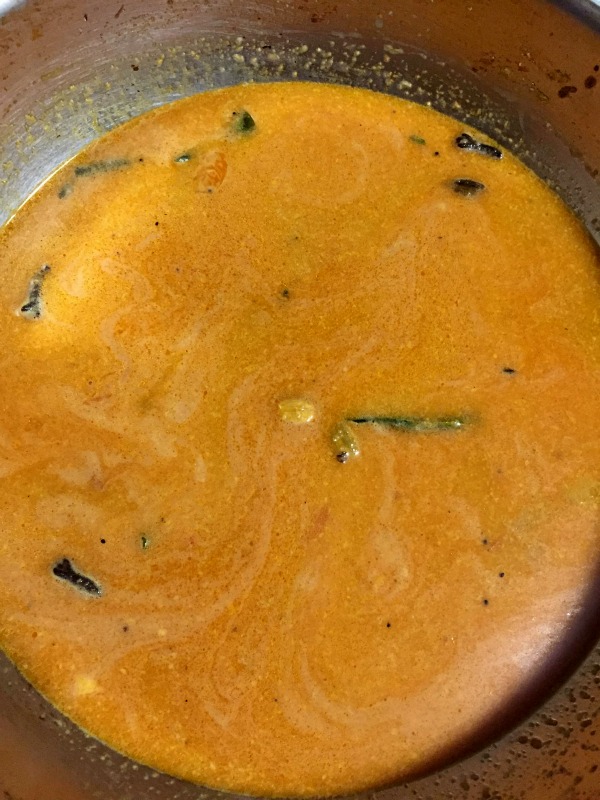
- Add coconut paste, mix well and add enough water. Bring them to boil and cook for 5 minutes.
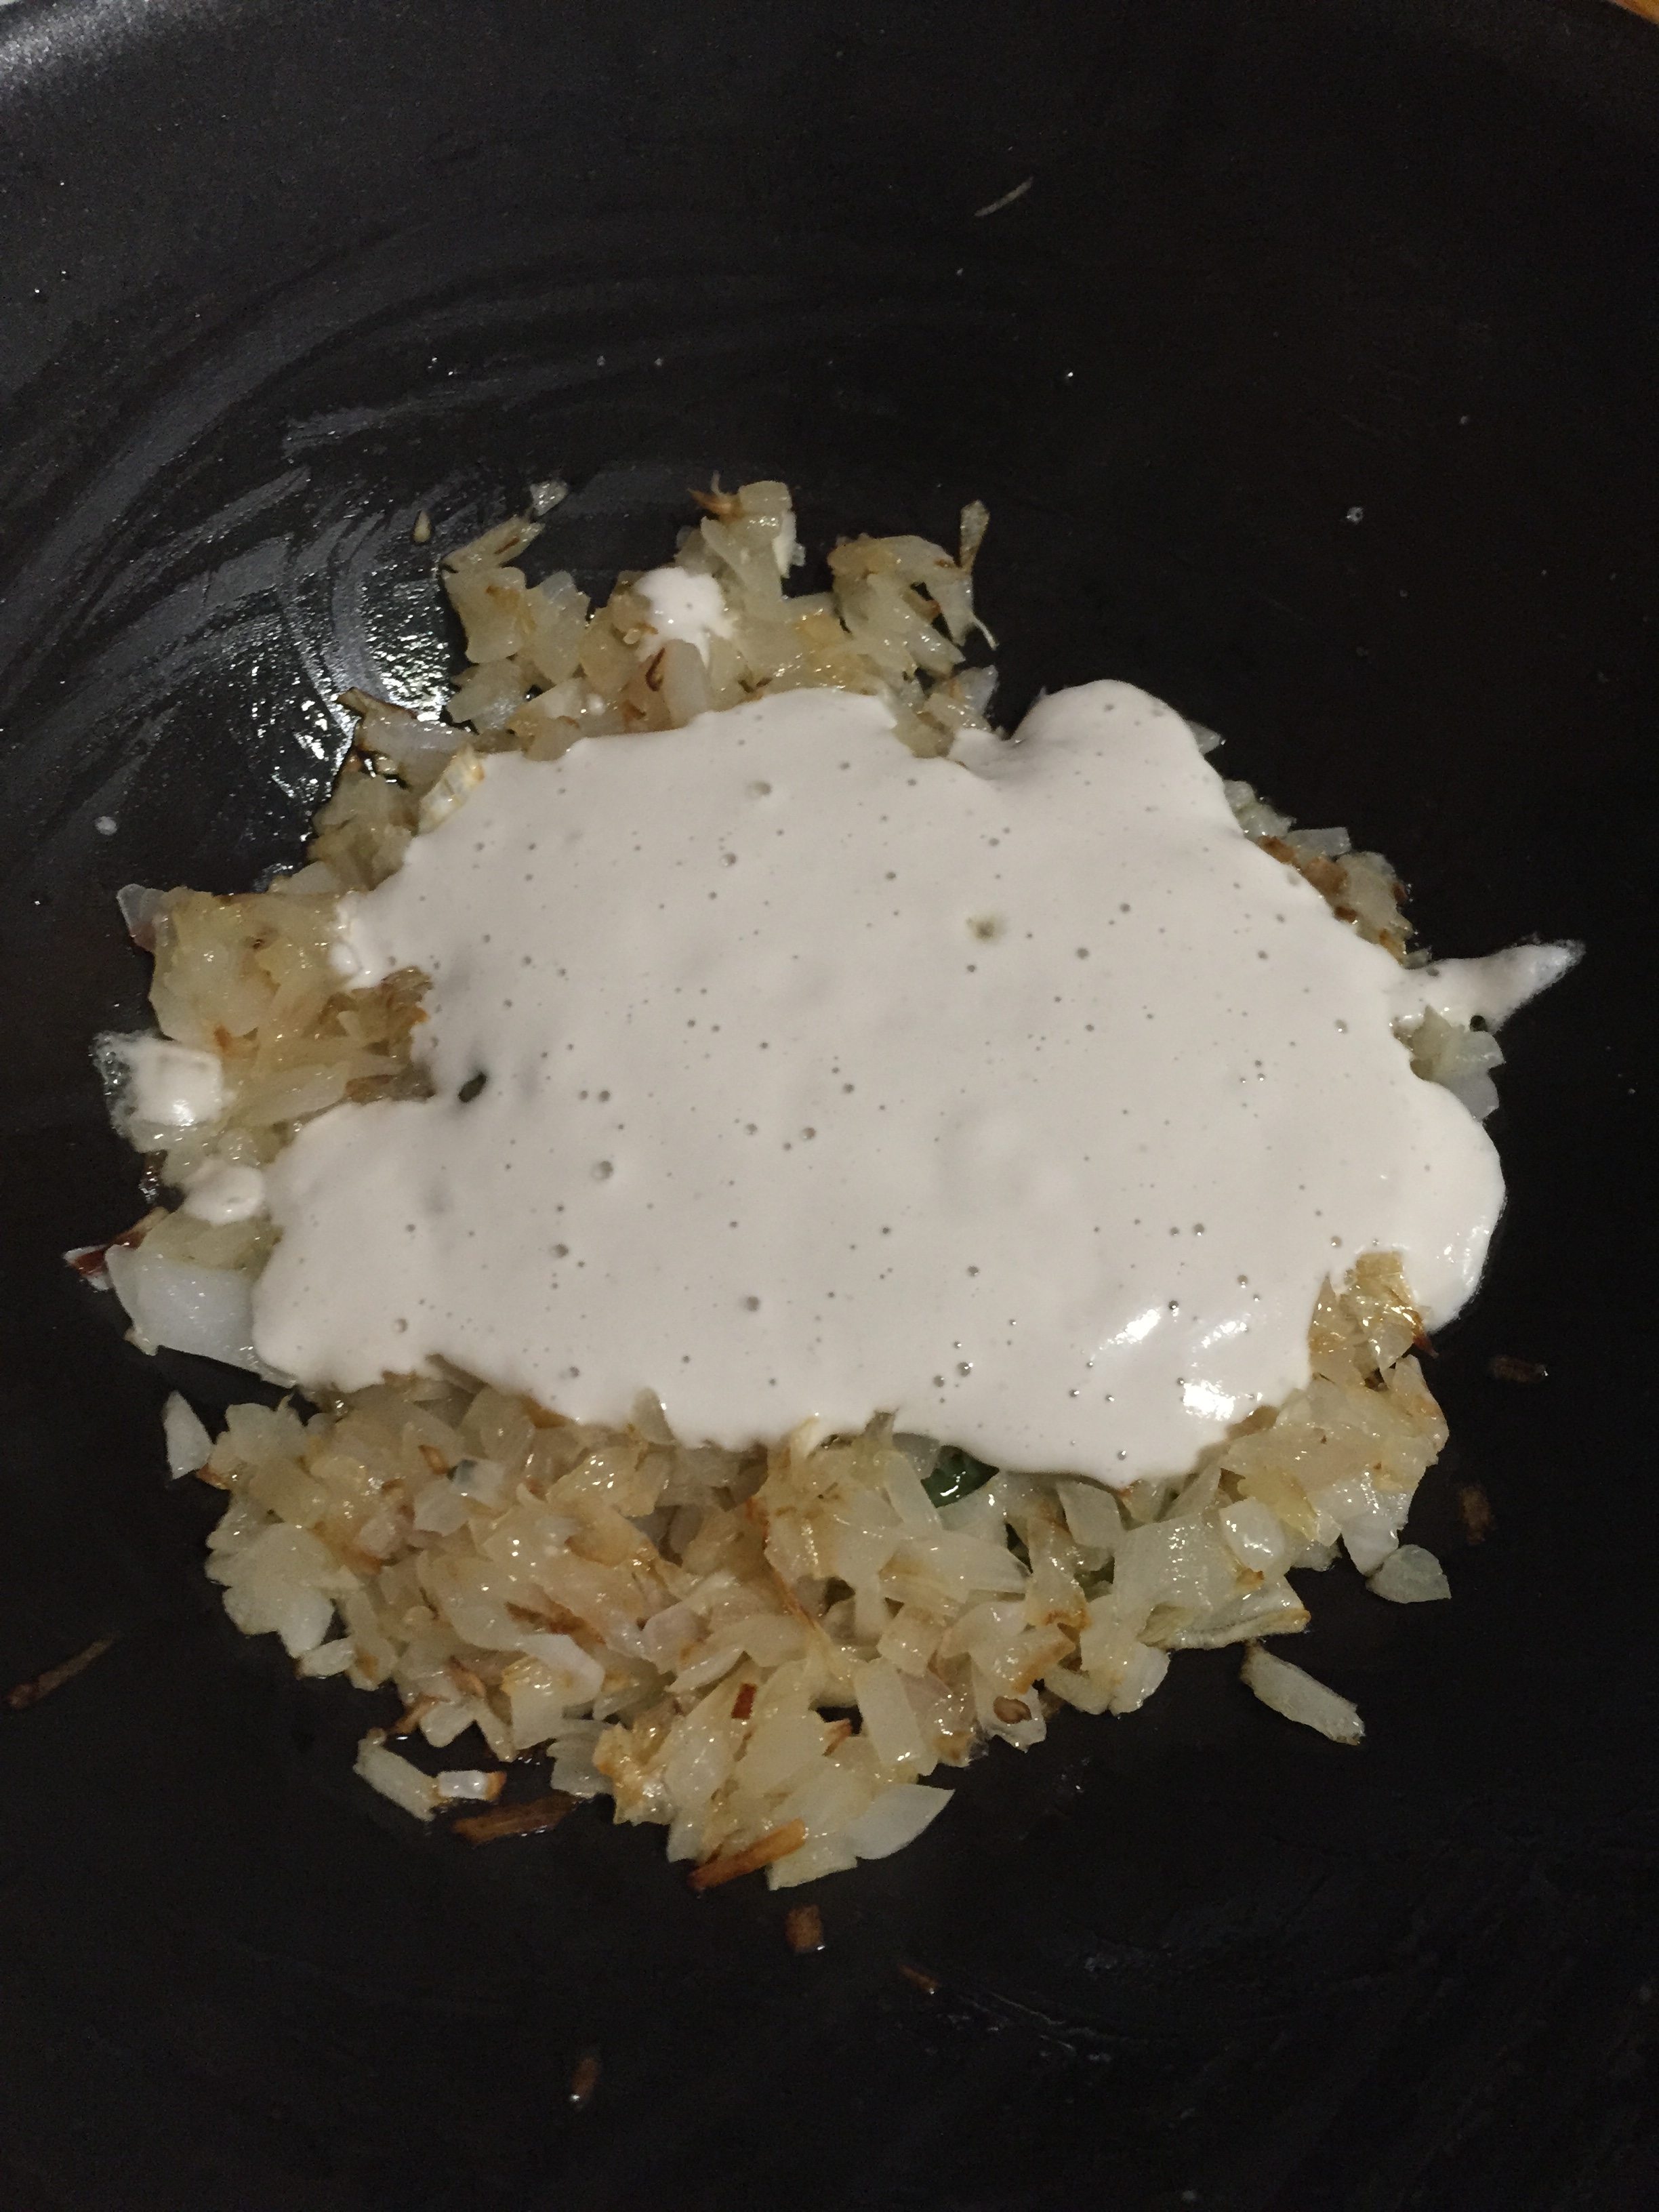
- Meanwhile beat eggs, a pinch of salt and a tbsp of finely chopped shallots.
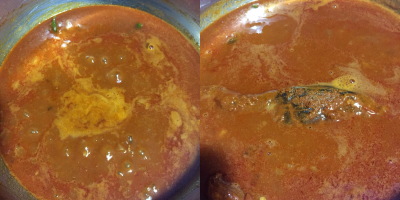
- Make thin omelet (do not flip) and roll it. Cut vertically to 2 to 3 inch pieces like you do for dosa kuzhambu but little bigger.
- Add the omelet rolls to the gravy and cook for another couple of minutes. Switch off and garnish with cilantro. Enjoy!