Podi Idli

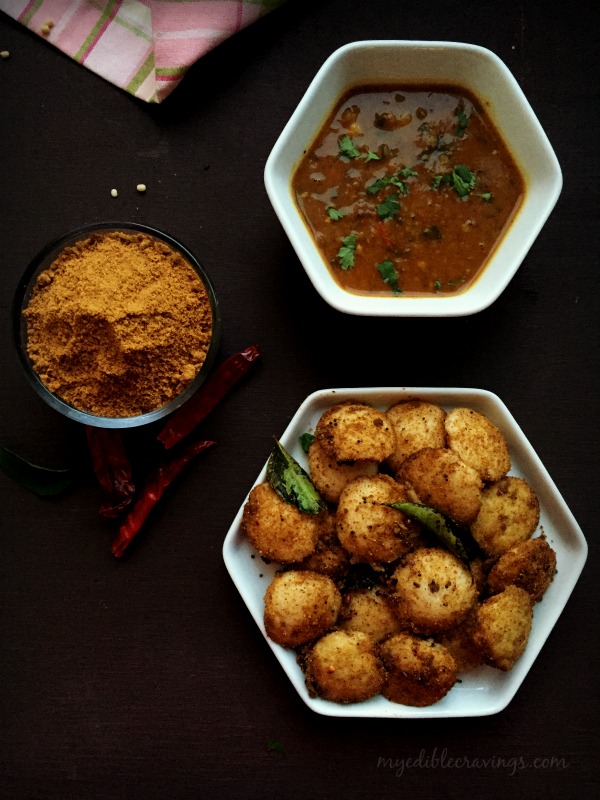
Podi IdliHere is yet another variant of one of the most popular south indian dish, Idli. However, the recipe I have posted here is simple yet tasty. It is made from Milagai Podi or Idli Podi or just Podi, a popular condiment usually had with idli and dosa, called Podi Idli. Podi literally means coarse powder in Tamil. In India, it is popular in Tamilnadu and Andhra Pradesh where it is also called as gun powder because of the spiciness 🙂 Idli podi is somewhat similar to mustard back here, I mean not the texture but the selectiveness in their usage. When you have Podi, you don’t have to worry about any other chutney or side dish for Idli and Dosa; having just them tastes awesome.

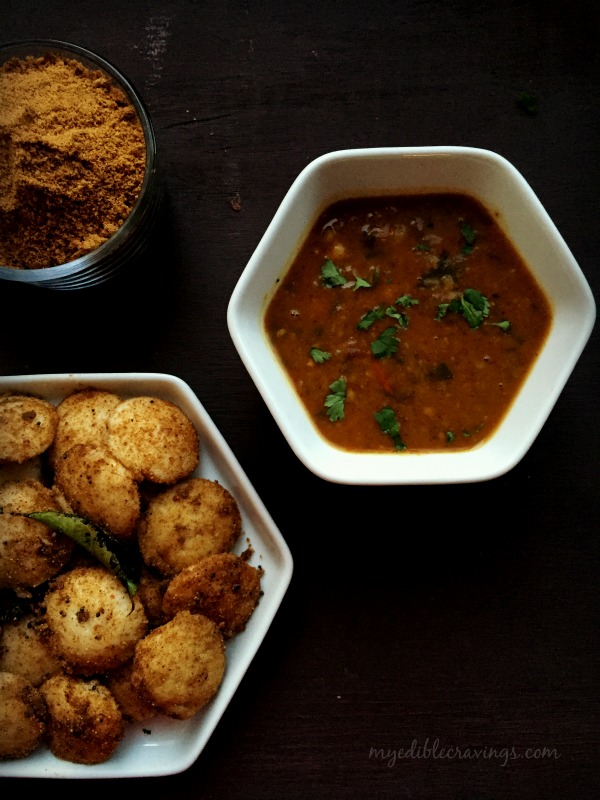
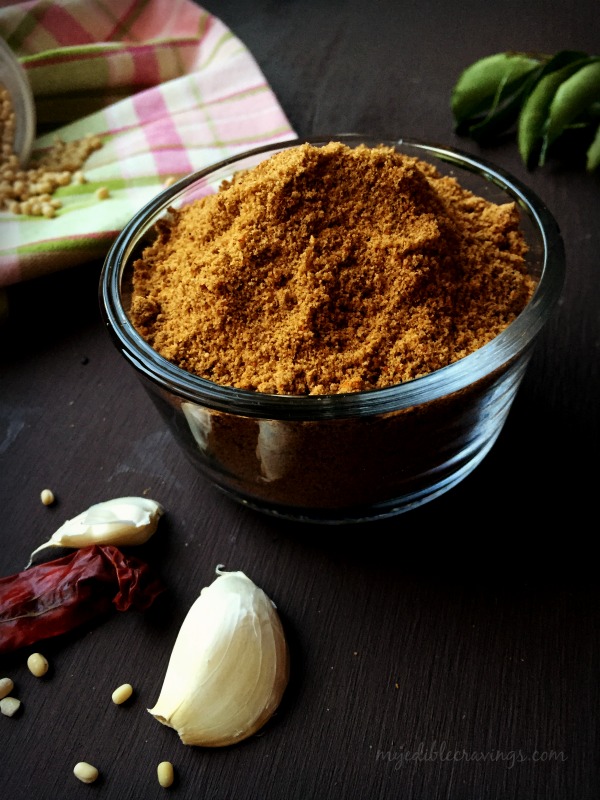
podi idliPodi IdliI love my grandma’s idli podi recipe the most and then my Mom’s. The Podi I have used in the Podi Idli recipe here is my Mom’s. There are so many varieties of Podi like Milagai Podi, Ellu Podi (made from sesame seeds), Paruppu podi etc and the interesting part is each of these serve as an accompaniment to a particular main dish 🙂 I have used both black and white sesame seeds to prepare the Idli Podi. Make sure to grind it to a coarse texture since the coarse particles brings out the flavor and adds crunchiness much more than the fine grained powder.
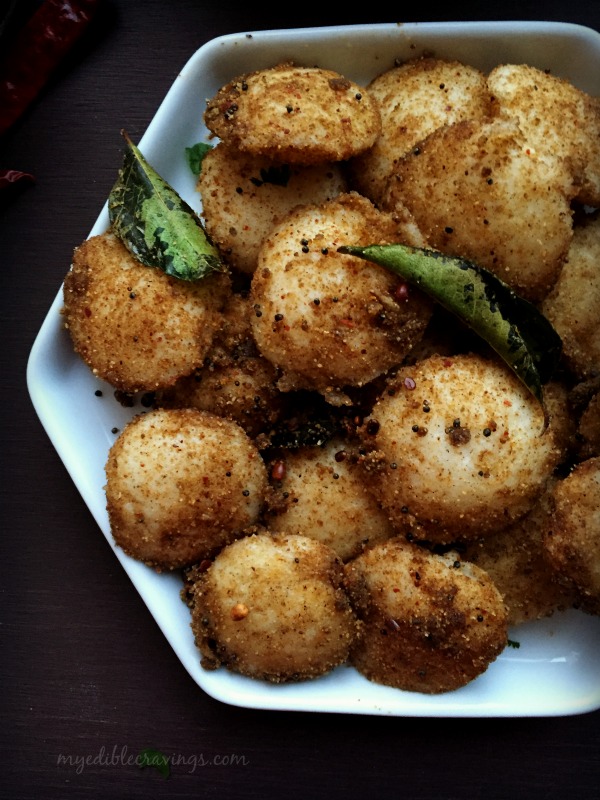
Podi IdliPodi IdliI always prefer having Idli Podi with whatever chutney I make 🙂 This has been my preference since childhood and I used to get an earful from my Mom for that (and still do sometimes) :). Podi Idli is a filling dish and is very easy to make. All you need is an awesome Idli podi and soft idlis. My MIB is a big fan of this recipe 🙂 I have not added onions and green chillis to the recipe since it might then taste similar to another variety of Idli called the Idli Upma (I will post the recipe soon). Podi Idli can be had for breakfast, dinner or just as an appetizer. Try this easy dish in your home and let me know when you would prefer to have it? 🙂

Podi Idli
Recipe type: Main
Cuisine: Indian
Prep time: 
Cook time: 
Total time: 
Serves: 20 mini idlis
 
Ingredients
To make idli podi
  • Whole urad dal - 1 cup
  • Red chilli - 10 to 12 nos
  • Sesame seed - ½ cup
  • Garlic cloves, big - 2 nos + 1 medium
  • Curry leaves - half a sprig
  • Salt - 1 tsp
To make podi idli
  • Idli batter -
  • Oil - ½ to 1 tsp
  • Mustard seeds - ½ tsp
  • Urad dal - ½ tsp
  • Curry leaves - ½ a sprig
  • Idli podi - 2 tbsp
Instructions
  1. Heat a pan in a medium flame and dry roast urad dal until aroma spreads for couple of minutes. Transfer to a plate and let it cool.
  2. Next dry roast red chilli and garlic seperately until they turn crisp and transfer to the plate.
  3. In the same pan dry roast sesame seeds until it splutters for about a minute. Transfer to a separate plate and let it cool.
  4. Turn off the heat and dry roast curry leaves until they turn crispy.
  5. Pulse urad dal, curry leaves and red chilli twice. Add sesame seed, garlic and salt and blend for few seconds to a coarse powder.
  6. Now pour idli batter in mini idli plates and steam cook for 15 minutes.
  7. scoop out all the idlis and immediately (when the idlis are still hot) add a tbsp of idli podi and roughly toss them.
  8. Heat oil in a pan and season with mustard, urad dal and curry leaves.
  9. Add the tossed idlis to the seasoning along with a tbsp of idli podi. Covet the lid, hold two sides of the pan and carefully toss them for few seconds.
  10. Turn off the heat and serve tasty and spicy podi idli with sambar and chutney or serve as is. Enjoy! 🙂

Podi Idli

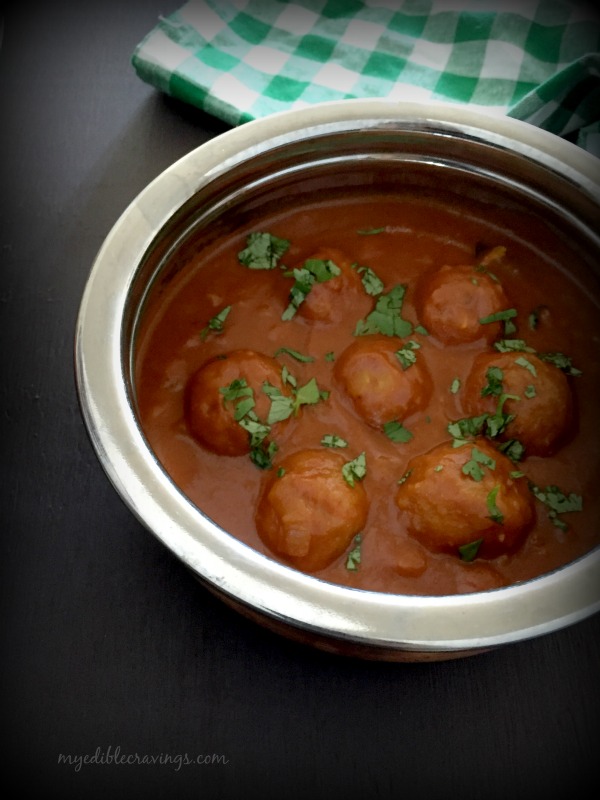
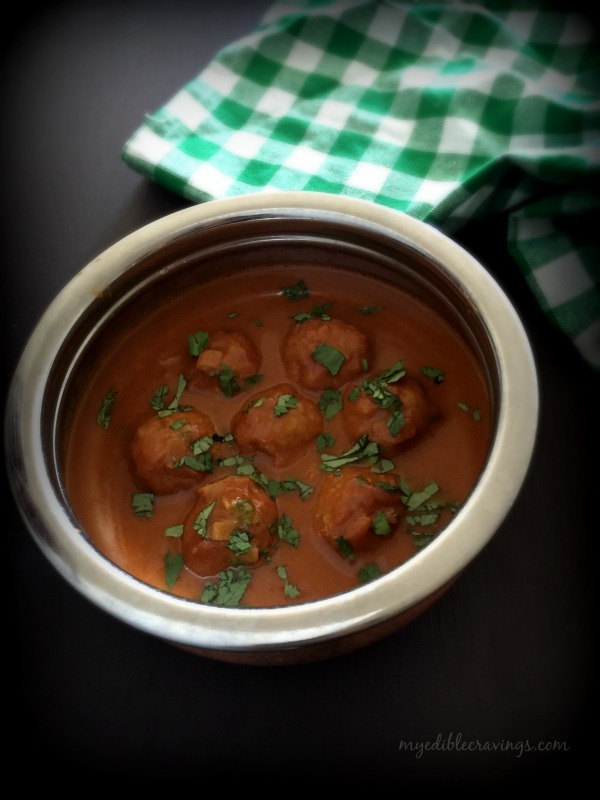
Paruppu Urundai Kuzhambu

paruppu urundai kuzhambuHello everyone. It has been quite a while since I posted new recipes. But I am back and I hope that you had tried as many recipes as possible while I was away. Today, I am going to post an authentic Tamilian gravy dish called the Paruppu Urundai Kuzhambu (it means Lentil dumplings gravy in english). It is one of my favorite gravy and is a favorite of my HB as well. It is packed with protein (lentils), hence healthy for all age groups.

paruppu urundai kuzhambuThe first time I had Paruppu Urundai Kuzhambu was in my friend’s home during my school days.  I loved it instantly. Though it might look like a time consuming process to prepare this gravy, given the preparation of the lentil dumplings and the gravy (we make them separately), it is actually an easy to make recipe. There are subtle variations to the gravy (and the dumplings as well) and the most common one is where the gravy resembles Puzhi Kuzhambu (tamarind gravy). It is a common occurrence in south Indian cuisine where you can prepare different recipes using one common gravy. For example, the tamarind gravy can be used to make Meen Kuzhambu (Fish gravy) and Paruppu Urundai Kuzhambu (Lentil dumplings gravy) as well. I personally like to have a distinct taste, wherever possible, in each of the recipes that I prepare and for that reason my gravy in this recipe does not have tamarind as an ingredient:)

paruppu urundai kuzhambuAs I had mentioned earlier, Paruppu Urundai Kuzhambu is a two step process. One is the preparation of the gravy and the other one is the making of lentil dumplings. For those who are a bit apprehensive about the preparatory method for the lentil dumplings, worry not. You can steam the dumplings first and then drop them in the gravy. One reason why I don’t steam is that the gravy does not get absorbed by the dumplings if you do that and that will alter the taste. So do try this authentic recipe from my home state in India and as always post your comments.

Paruppu Urundai Kuzhambu
Recipe type: Main
Cuisine: Indian
Prep time: 
Cook time: 
Total time: 
Serves: 4
 
Ingredients
  • Oil- 2 tbsp
  • Cloves – 2 nos
  • Cinnamon stick – 1”
  • Fennel seeds – 1 tsp
  • Shallots , roughly chopped – 4 nos
  • Garlic cloves, crushed – 4 nos
  • Tomatoes, pureed – 2 nos
  • Turmeric powder – ½ tsp
  • Sambar powder – 2 tbsp
To grind:
  • Grated coconut – 1 tbsp
  • Shallots – 1 no
To make dumplings:
  • Toor dal, soaked and coarsely ground – ½ cup
  • Shallots, finely chopped – 3 nos
  • Garlic clove, crushed – 1
  • Turmeric powder – a pinch
  • Sambar powder – ½ tsp
  • Salt – a pinch
Instructions
  1. Soak dal in water for one hour. Drain the water completely and grind them coarsely in a blender. Just pulse them like how you make for paruppu vada.
  2. Crush the garlic cloves and chop the shallots. Make tomato puree and keep it ready. Grind grated coconut along with a shallot to a fine paste and keep it aside.
  3. Heat a pan with oil and season with cloves, cinnamon and fennel seeds.
  4. Add shallots and sauté well. Add the crushed garlic cloves.
  5. Add tomato puree and sauté for a minute.
  6. Add turmeric powder, sambar powder and salt. Add enough water, close the lid and bring it to boil.
  7. Meanwhile, in a separate bowl, mix the dal, finely chopped shallots, crushed garlic, a pinch of turmeric powder and ½ tsp sambar powder and a pinch of salt.
  8. Make small dumplings.
  9. Add ground coconut paste and enough water to the gravy and bring them to boil.
  10. When the gravy starts to boil, check the salt and add the dumplings. Do not stir the gravy once the dumplings are added. Cover and allow them to cook for five minutes. The dumplings will start to float on top when they are cooked. Simmer and cook for another couple of minutes and switch off the flame.
  11. Enjoy the paruppu urundai kuzhambu with steamed rice and fryums on the side. 🙂
Notes
1.You could also steam the dumplings in pressure cooker for 10 minutes and add them to the gravy instead of adding them directly.
2.The gravy must be thin while you add the dumplings. So that it gets cooked.
3.If you feel like the gravy is so thin, take out the cooked dumplings carefully and place on a wide pan or plate. Simmer the gravy and cook until the desired consistency. Switch off the flame and transfer the gravy to the pan where the dumplings are transferred.
4.You could also use coconut milk in place of coconut paste.

Chicken Lo Mein


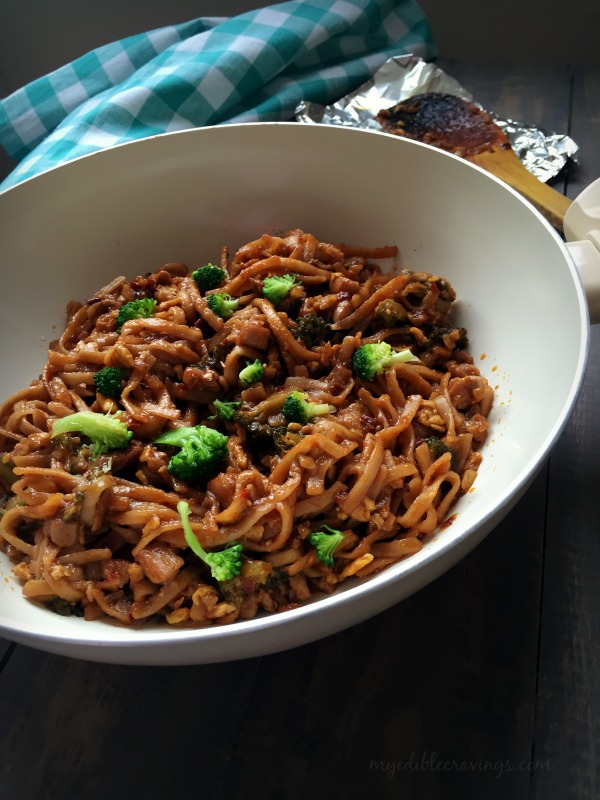
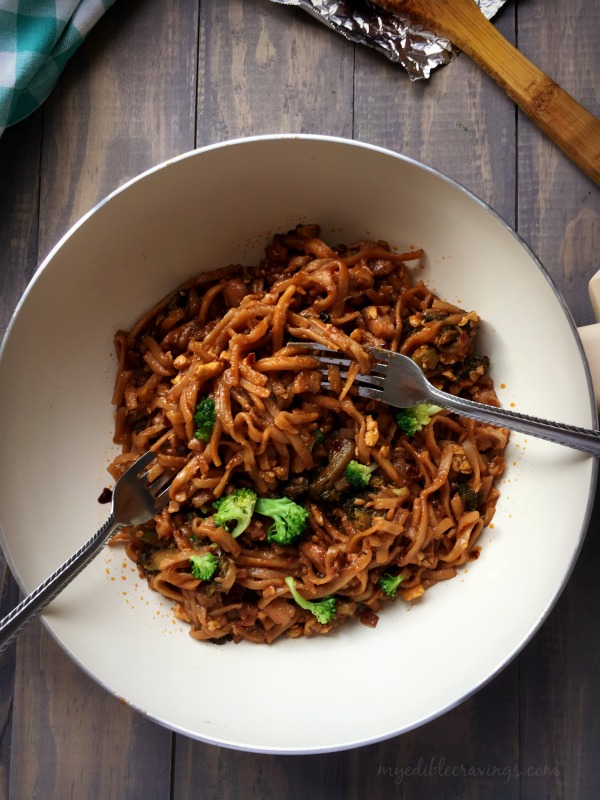
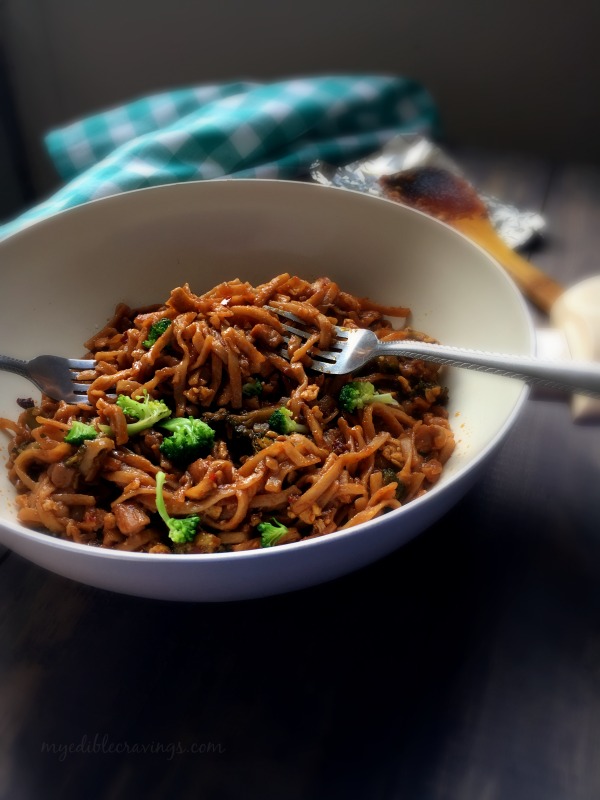
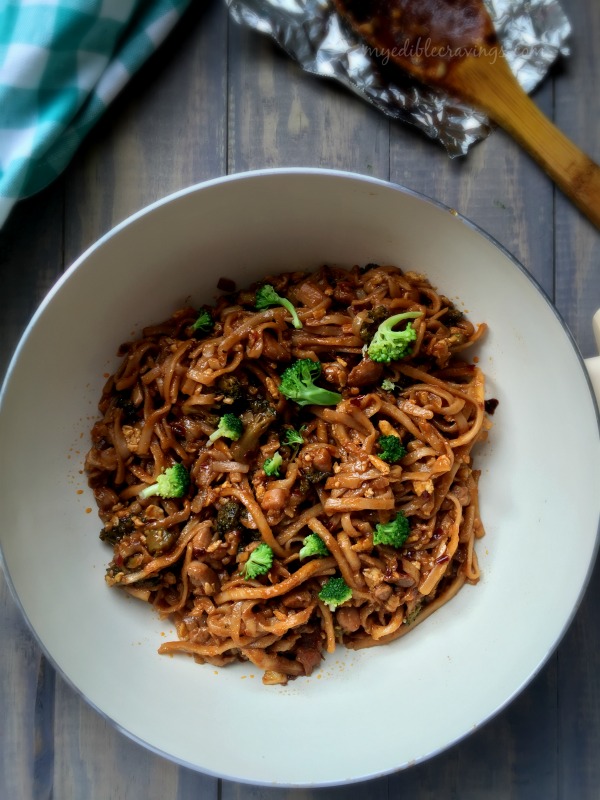
Chicken Lo MeinChicken Lo Mein is a Chinese noodles dish made with wheat flour noodles and chicken. Lo Mein is the Cantonese name for stirred noodles. Traditionally Lo Mein is a variation of another dish called the Wonton noodle soup. Lo Mein is a popular take-out in American Chinese restaurants. It is also sometimes called as Chow Mein but the preparation of this dish very different from that of Lo Mein since with Chow Mein, the noodles are made crispy by frying.

Chicken Lo MeinI love Chinese food but normally prefer fried rice and what not. I got hooked to noodles variety only recently. Like said in my earlier posts, I am always on the lookout for dishes from different cuisines which I can try in my kitchen. And now I had the opportunity to cook an authentic dish from Chinese cuisine. The Chicken Low Mein recipe I had given below is a very easy to make and the end result is totally worth the effort.

Chicken Lo MeinChicken Lo Mein has a slight sweetness to it because of the brown sugar but also has spiciness as well at the same time. It is an apt dish to be served for both lunch and dinner. Try this popular Chinese dish in your home and let me know your experience 🙂

Chicken Lo Mein
Recipe type: Main
Cuisine: Chinese
Prep time: 
Cook time: 
Total time: 
Serves: 2
 
Ingredients
For the sauce:
  • Sesame oil – 1 tbsp
  • Sriracha hot sauce – 1 tbsp
  • Garlic cloves, minced – 3 nos
  • Soy sauce – ¼ cup
  • Water – 2 tbsp
  • Brown sugar – 1 ½ tbsp
  • Cornstarch – 2 tbsp
For Chicken:
  • Olive oil – 1 tbsp
  • Broccoli, small – 1 no ( or 2 cups of florets)
  • Chicken thighs, cut to bite size pieces – 500 grams
  • For the Lo-Mein:
  • Lo Mein noodles – 4 oz
  • Olive oil - 2 tbsp
  • Unsalted butter - 1 tbsp
  • Eggs, large, lightly beaten - 2 nos
  • Ginger, minced - 1 tsp
  • Red chilli flakes, crushed - ½ tsp
  • Carrots, shredded - ½ cup
  • Snow peas - ½ cup
  • Garlic, minced - 3 cloves
  • Green onions, sliced thinly – 2 nos
  • Salt to taste
Instructions
  1. Step 1:
  2. In a small bowl combine and whisk together sesame oil, hot sauce, garlic, soy sauce, water, sugar, and cornstarch; set the sauce aside.
  3. In a large bowl, add many ice cubes and prepare ice bath for broccoli. So that the broccoli retain its color after blanching.
  4. Step 2:
  5. Bring water in a sauce pan along with little salt to boil. Add the broccoli and blanch them for 4 minutes. Immediately transfer them to the ice bath to stop the cooking process.
  6. Heat a large skillet with olive oil in medium high heat. Add the chicken pieces and cook until changes to white/brown color. Add the blanched broccoli, reduce the flame to medium and add the sauce. Stir to coat ingredients and cook for about 5 to 7 minutes or until the sauce has thickened. Transfer it to a bowl.
  7. Step 3:
  8. Meanwhile bring water in the sauce pan along with little salt to boil. Add the noodles and boil for 10 minutes. Simmer it and cook for another 15 minutes or until the noodles are well cooked. Make sure the noodles don’t stick before adding to the water. Drain the noodles and set aside.
  9. Step 4:
  10. Heat the large skillet and add butter in medium low flame. Add the minced ginger and sauté for few seconds or until raw smell disappears. Add the crushed pepper and cook for couple of seconds. Add in the eggs, stir gently and cook for about 3 minutes or until well done.
  11. Sauté carrot and snow peas with very little olive oil in a small flat skillet. And add it to the eggs.
  12. Add the chicken and broccoli to the eggs as well.
  13. Finally add the drained noodles to the skillet, stir until everything is coated well with the sauce. Sprinkle with green onions and serve hot.
Notes
Soy sauce has a lot of sodium, so taste before you add any to the finished product.

Chicken Lo Mein

Fish Gravy

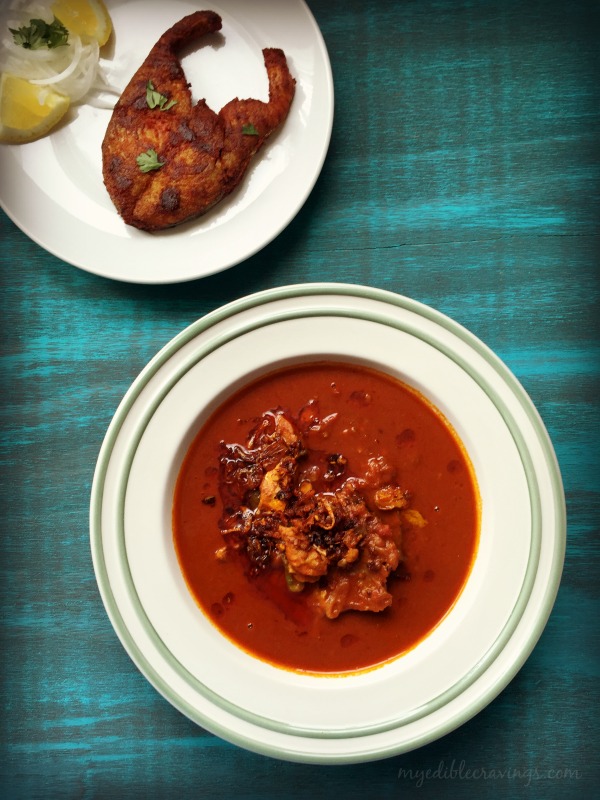
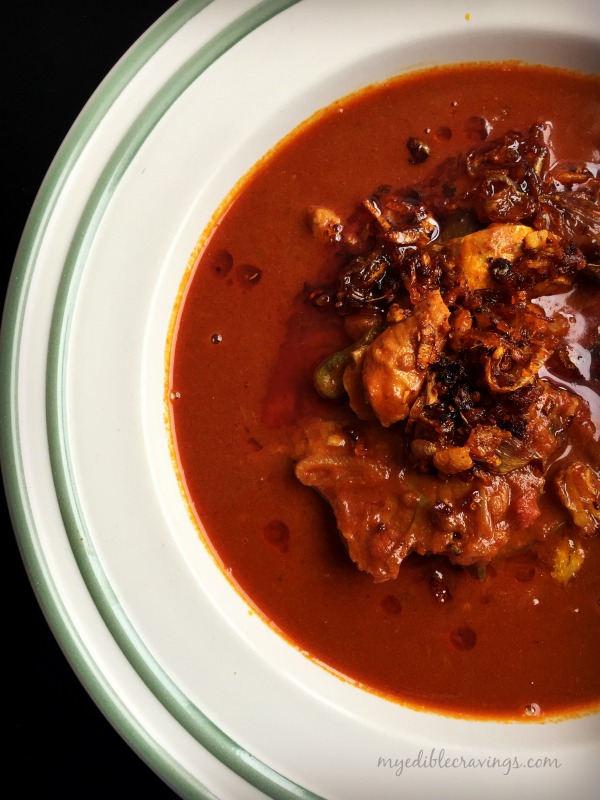
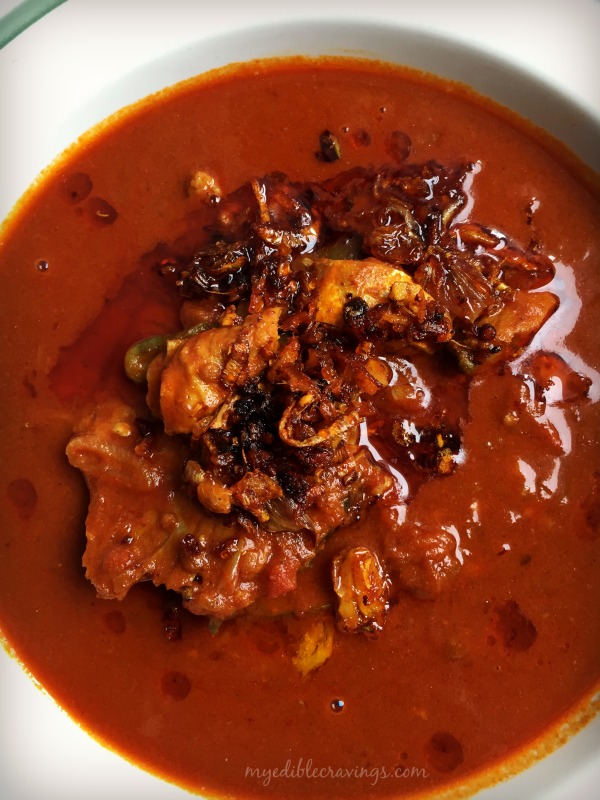
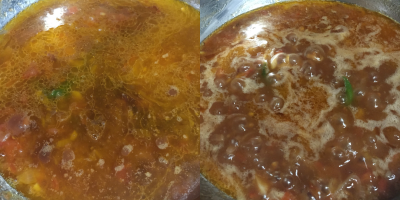
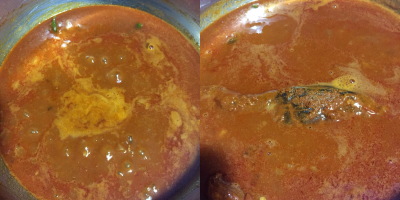
fish gravyGenerally, I am big fan of any food items that has tamarind as one of the ingredients like puli kuzhambu (tamarind gravy), puliyogare (tamarind rice) etc. On those lines, one other dish that I like so much is the Meen kuzhambu/Fish gravy and this gravy also has tamarind as one of the ingredients. Fish gravy is one dish which literally took a lot of my effort in getting it right. Every time I try making this gravy, something or the other didn’t come together. I always suspected that the variety of fish I buy was the reason. So when I visited India recently, this was the dish I had on the top of my list to learn 😉 I tried fish gravy as soon as I returned home and voila! It turned out to be one of my best creations ever 😉

fish gravyI always liked fish since my childhood. I like its texture and taste. The meen kuzhambu that I have given here is one of my mom’s signature recipes. The main ingredients that are used here, other than tamarind, are tomato and green chilli. Fish in general absorbs too much of hotness from the ingredients that we use (chilli and homemade sambar powder). So you need to add extra chilli and/or sambar powder to the gravy. Also, the addition of sambar powder gives thickness to the gravy (you can substitute coconut milk as well here).

fish gravyOne lesson that I learnt from this successful attempt of preparing meen kuzhambu/fish gravy is that if you have the right recipe, you don’t have to worry about the fish you use. So people do try this wonderful recipe and let me know your equally wonderful experience!

Other things that I have learnt,

  • Add extra oil while making fish gravy – enhances the taste.
  • Right amount of tamarind – gives the kick to the gravy.
  • Add extra spiciness – fish absorbs more spice.
  • Fish cooks real fast, so do not stir the gravy often once the fish is added – So that you don’t break/mash the fish.
  • And finally, like biriyani and pizza, fish gravy tastes excellent when had the next day! 🙂

Fish Gravy
Recipe type: Main
Cuisine: Indian
Prep time: 
Cook time: 
Total time: 
Serves: 4
 
A traditional and authentic fish gravy recipe made using tamarind extract and spices.
Ingredients
to marinate:
  • Homemade sambar powder or kuzhambu podi – 1 tbsp
  • Salt – ½ tsp
  • King or seer fish – 1 pound (5 pieces)
other ingredients:
  • Gingelly oil – 3 to 4 tbsp
  • Fenugreek seeds – ½ tsp
  • Shallots, cut to rings – 6 nos
  • Garlic cloves, cut to rounds – 5 nos
  • Tomatoes, big, finely chopped – 1 ½ nos
  • Green chilli – 1 no
  • Salt as required
  • Tamarind - Big gooseberry size
  • Jaggery - a very small piece (a generous pinch)
  • Homemade sambar powder or kuzhambu podi– 2 tbsp
  • Red chilli powder – 1 tsp
  • Grated coconut – 1 to 2 tbsp (optional)
to crush and temper:
  • Shallots – 1 no
  • Garlic cloves - 1 no
  • Ginger – 1”
  • Oil – 1 tbsp (oil used to fry the fish)
Instructions
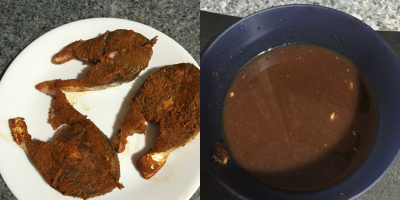
  1. Clean and wash the fish with a tsp of turmeric powder and marinate them with the above given ingredients. Cover and leave it for at least half an hour.
  2. Soak tamarind in a cup of water and extract the juice or blend them in a blender to a thick paste.
  3. Grind coconut and a shallot to a fine paste (this step is completely optional).
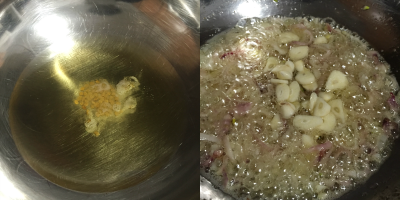
  4. Heat oil in a kadai or any wide open deep pan and add fenugreek seeds. When they start to sizzle add chopped shallots. Sauté until the onion turn translucent and then add chopped garlic and fry for a minute until it turns golden brown.
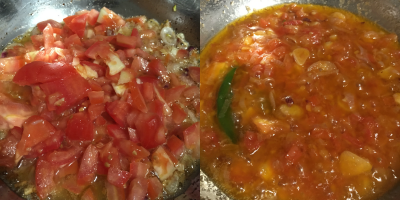
  5. Add chopped tomatoes and a slit green chilli. Cook until the tomatoes are mushy. It takes 2 to 3 minutes.
  6. Add in the tamarind extract/paste and allow them to boil. Add a pinch of jaggery at this time.
  7. Now reduce the flame and add sambar powder, red chilli powder and salt. Mix well and cook until the gravy leaves oil.
  8. When the gravy starts to boil, check for salt and spice and add the marinated fish to the gravy. Cook until the gravy leaves oil. It takes about 5 to 8 minutes – Do not stir the gravy once the fish is added. Just slightly tilt around the kadai if you wanted to.
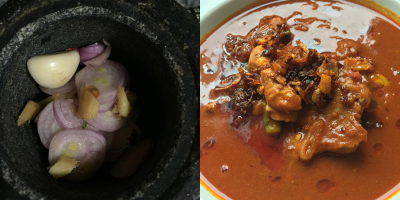
  9. Meanwhile crush shallots, ginger and garlic in a motor and pestle.
  10. If you are making a large batch, add coconut paste to the gravy five minutes after the fish is added to the gravy.
  11. Heat a seasoning ladle and fry the crushed ingredients until light golden brown and pour them in to the fish gravy.
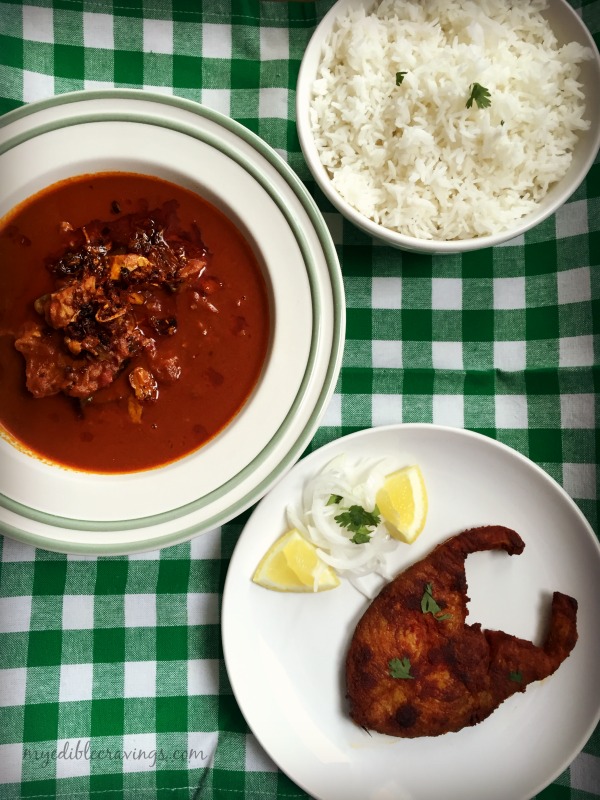
  12. Enjoy the tasty fish gravy with hot rice and fish fry and experience the heaven! 
Notes
1.Here I have used king fish. You can use any variety of fish of your choice. I heard red snapper tastes excellent for fish gravy. 😉
2.I usually don’t add coconut paste to the gravy if I am making for just the two of us. I recommend adding it when you are making a large batch.
3.Adding jaggery enhances the tanginess of the fish gravy
4.If you are making fish fry on the same day, season the crushed ingredients in the left over oil. My mom always does this because it adds more taste to the gravy.

fish gravy

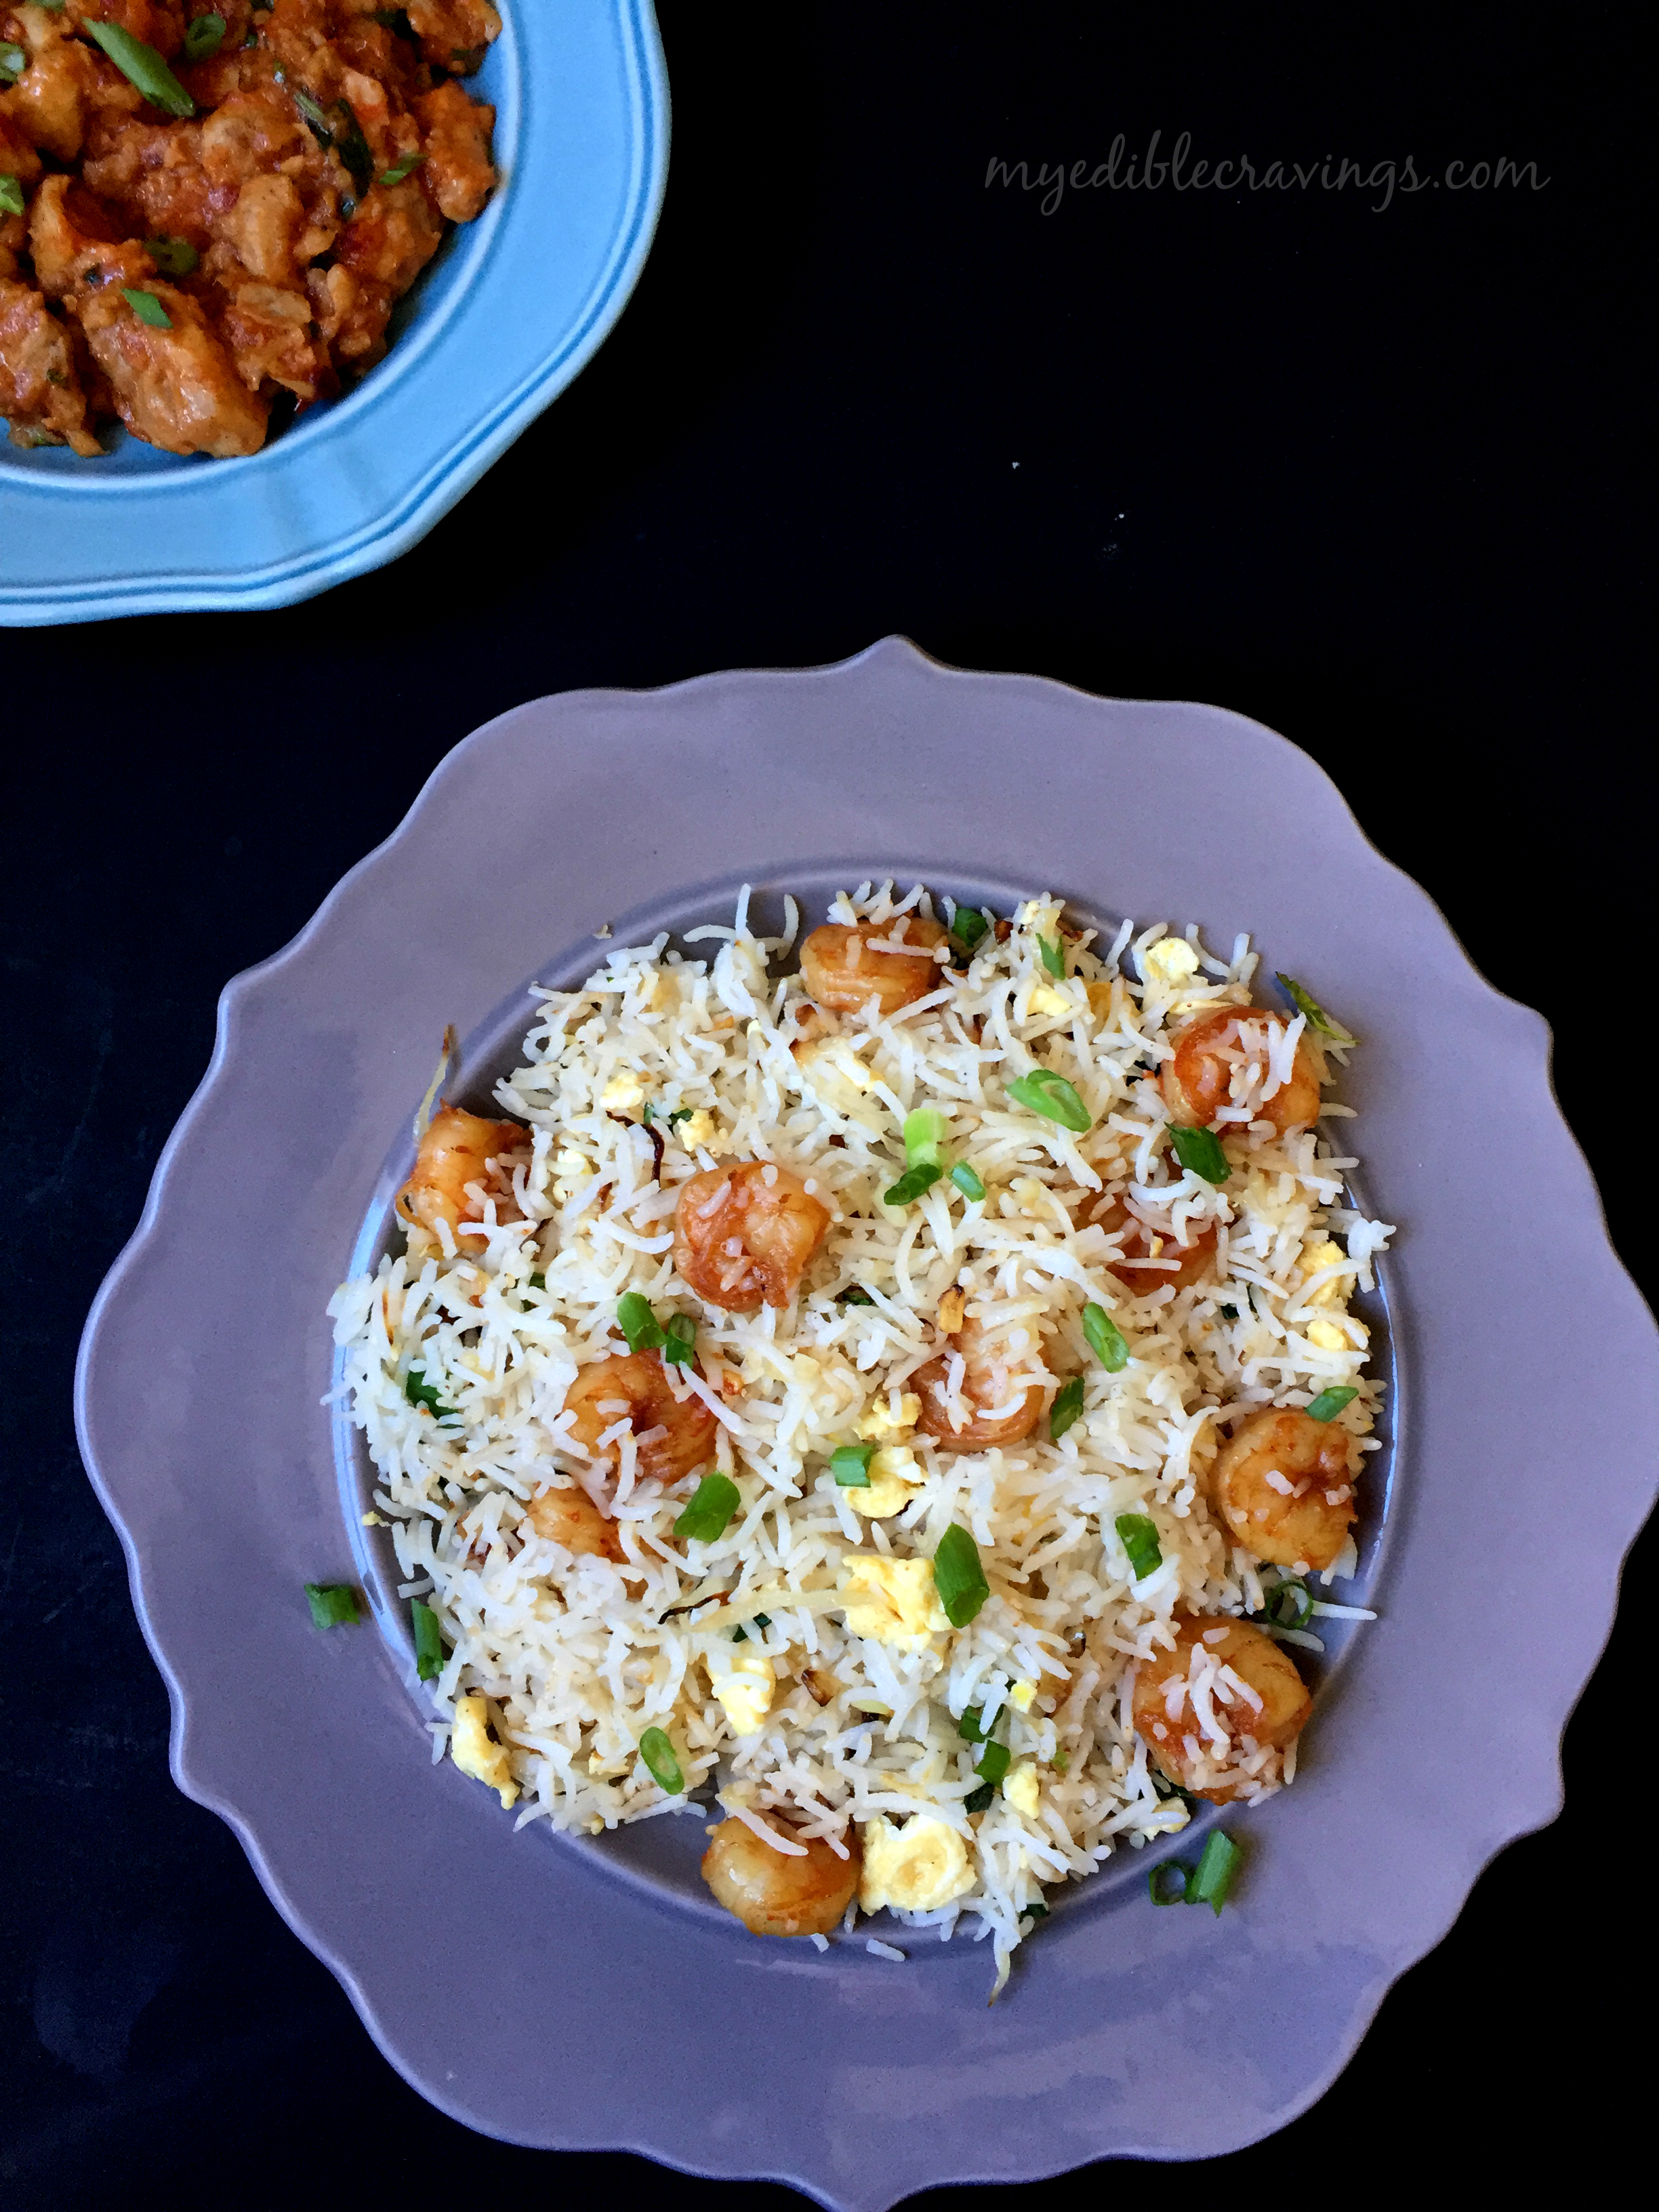
Prawn rice with Dragon Chicken

Prawn rice with dragon chicken
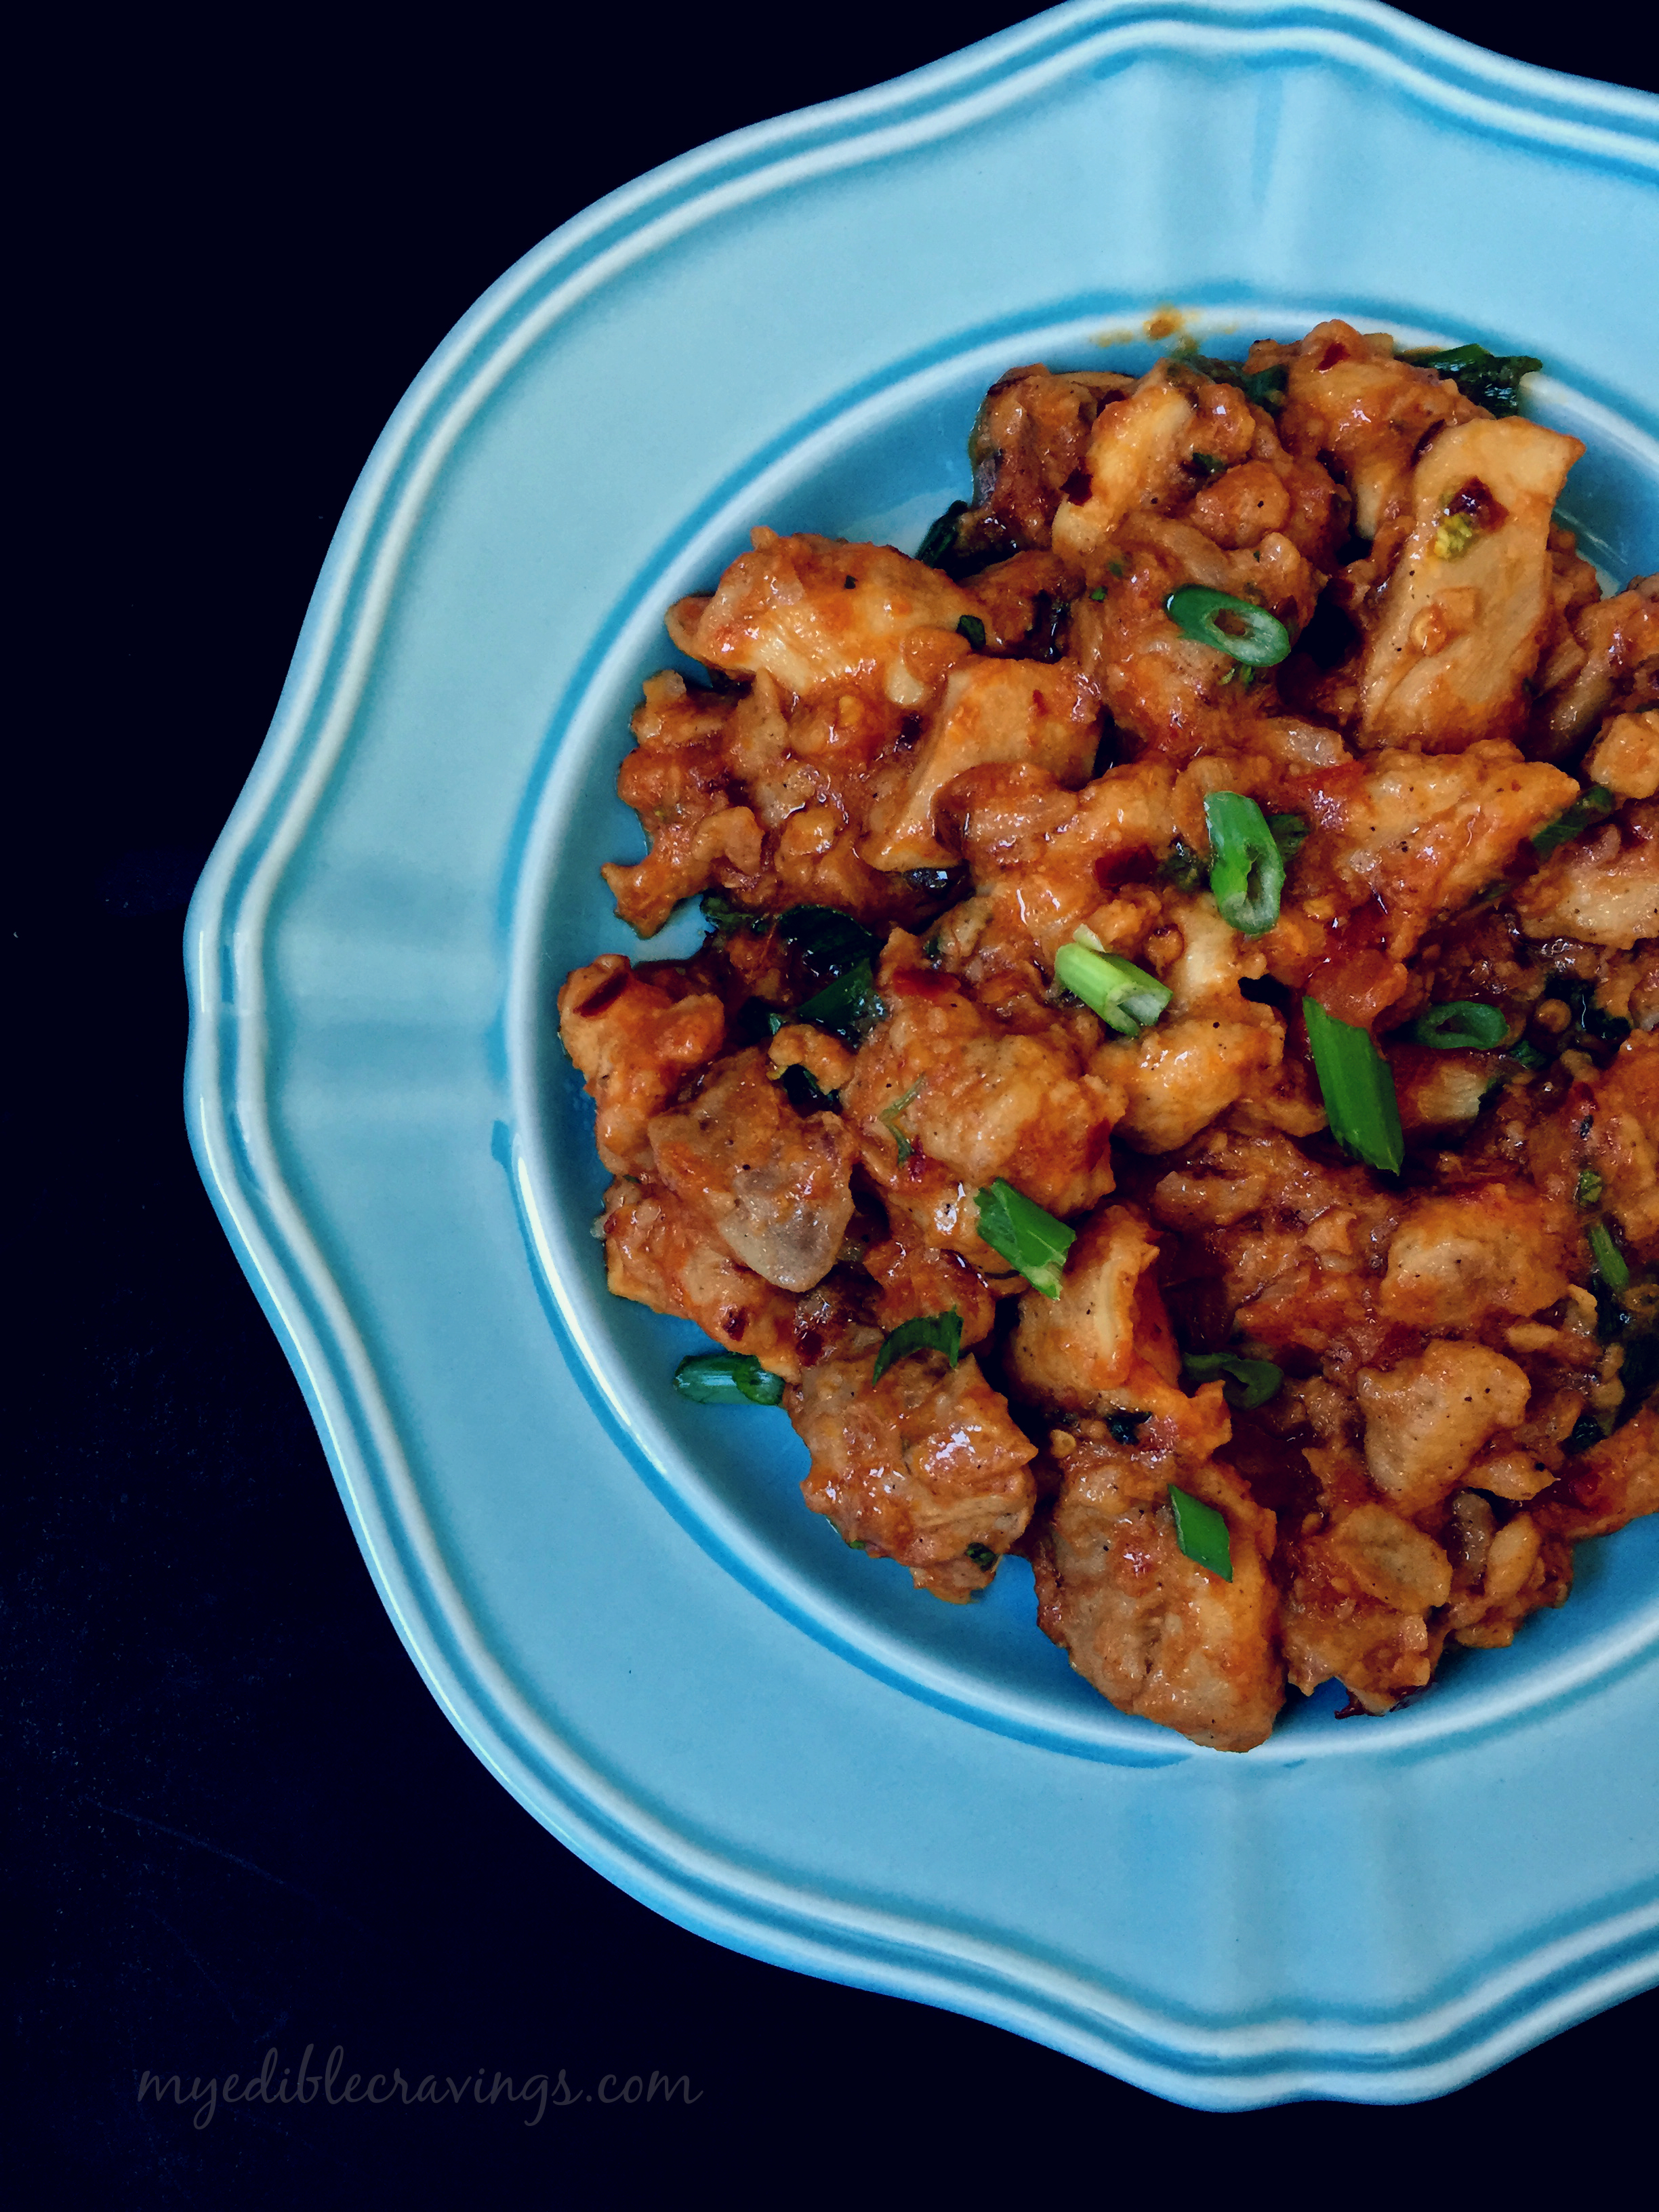
I wanted to post something special for the first post of this new year. So for the past few days, I have been contemplating about trying a different cuisine than the usual south Indian or the occasional north Indian varieties. So me and my HB, after much deliberation, decided on chinese cuisine. As for the actual dishes, we decided on Prawn rice and Dragon chicken.
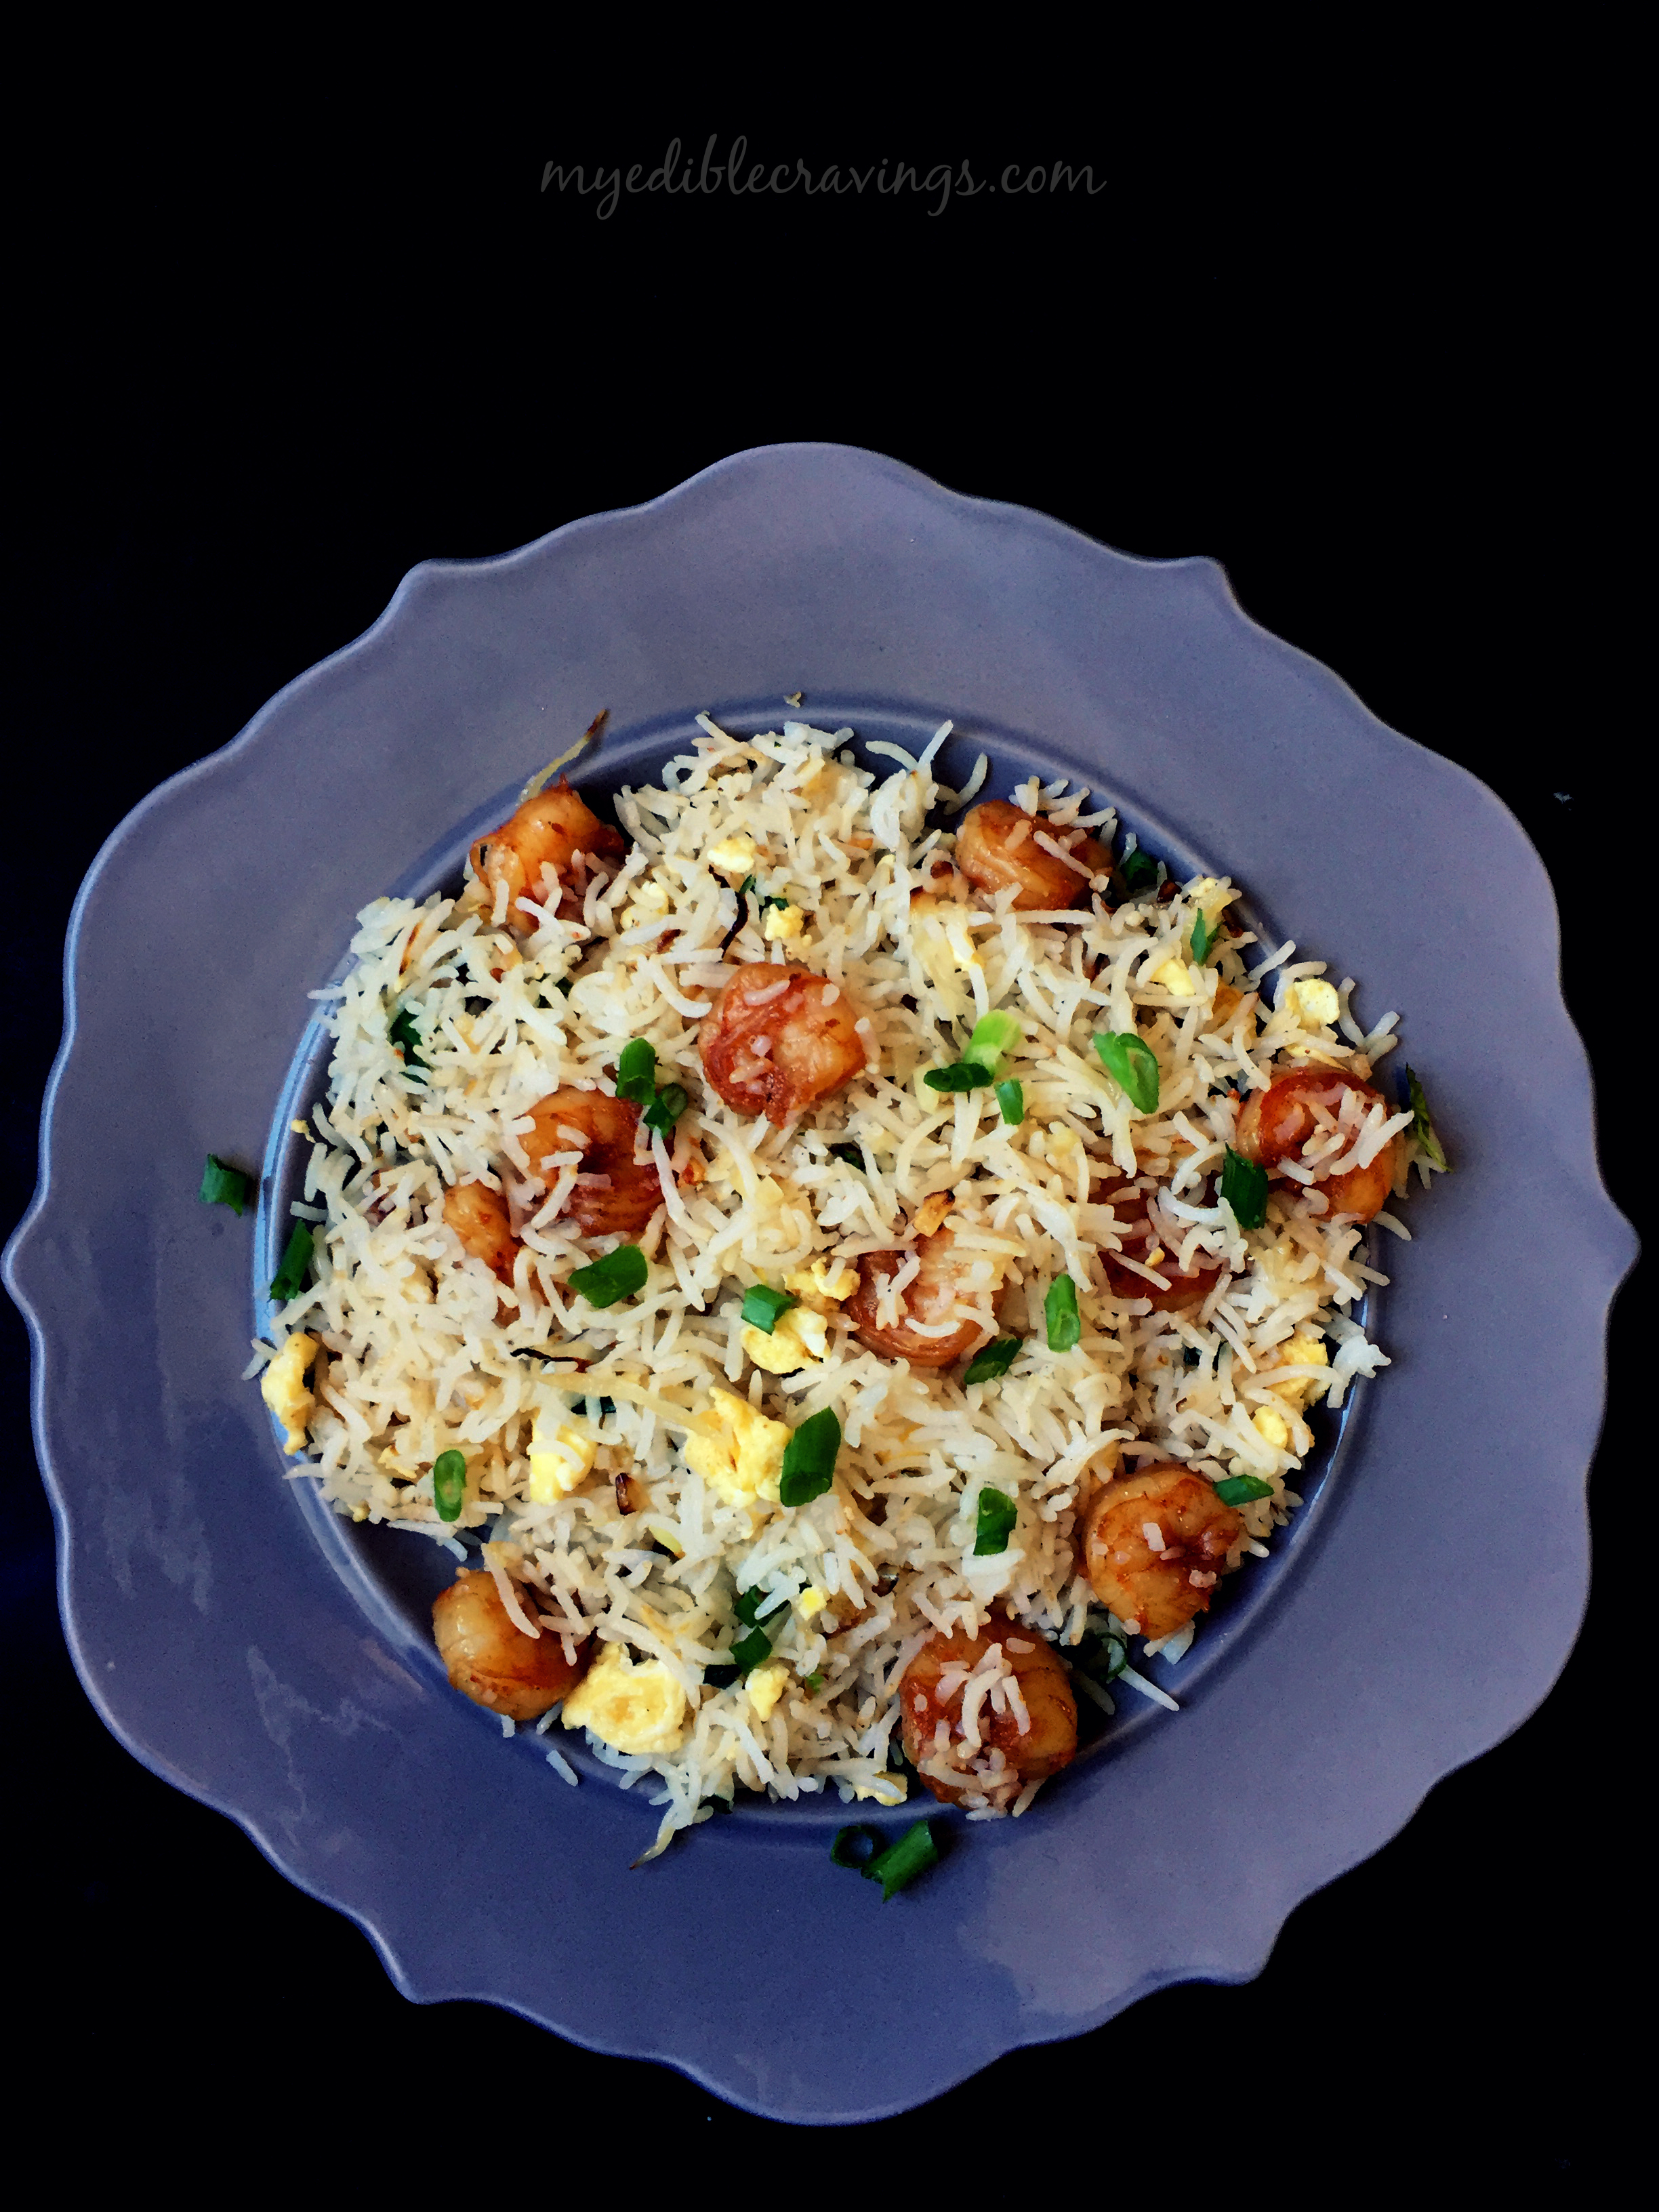
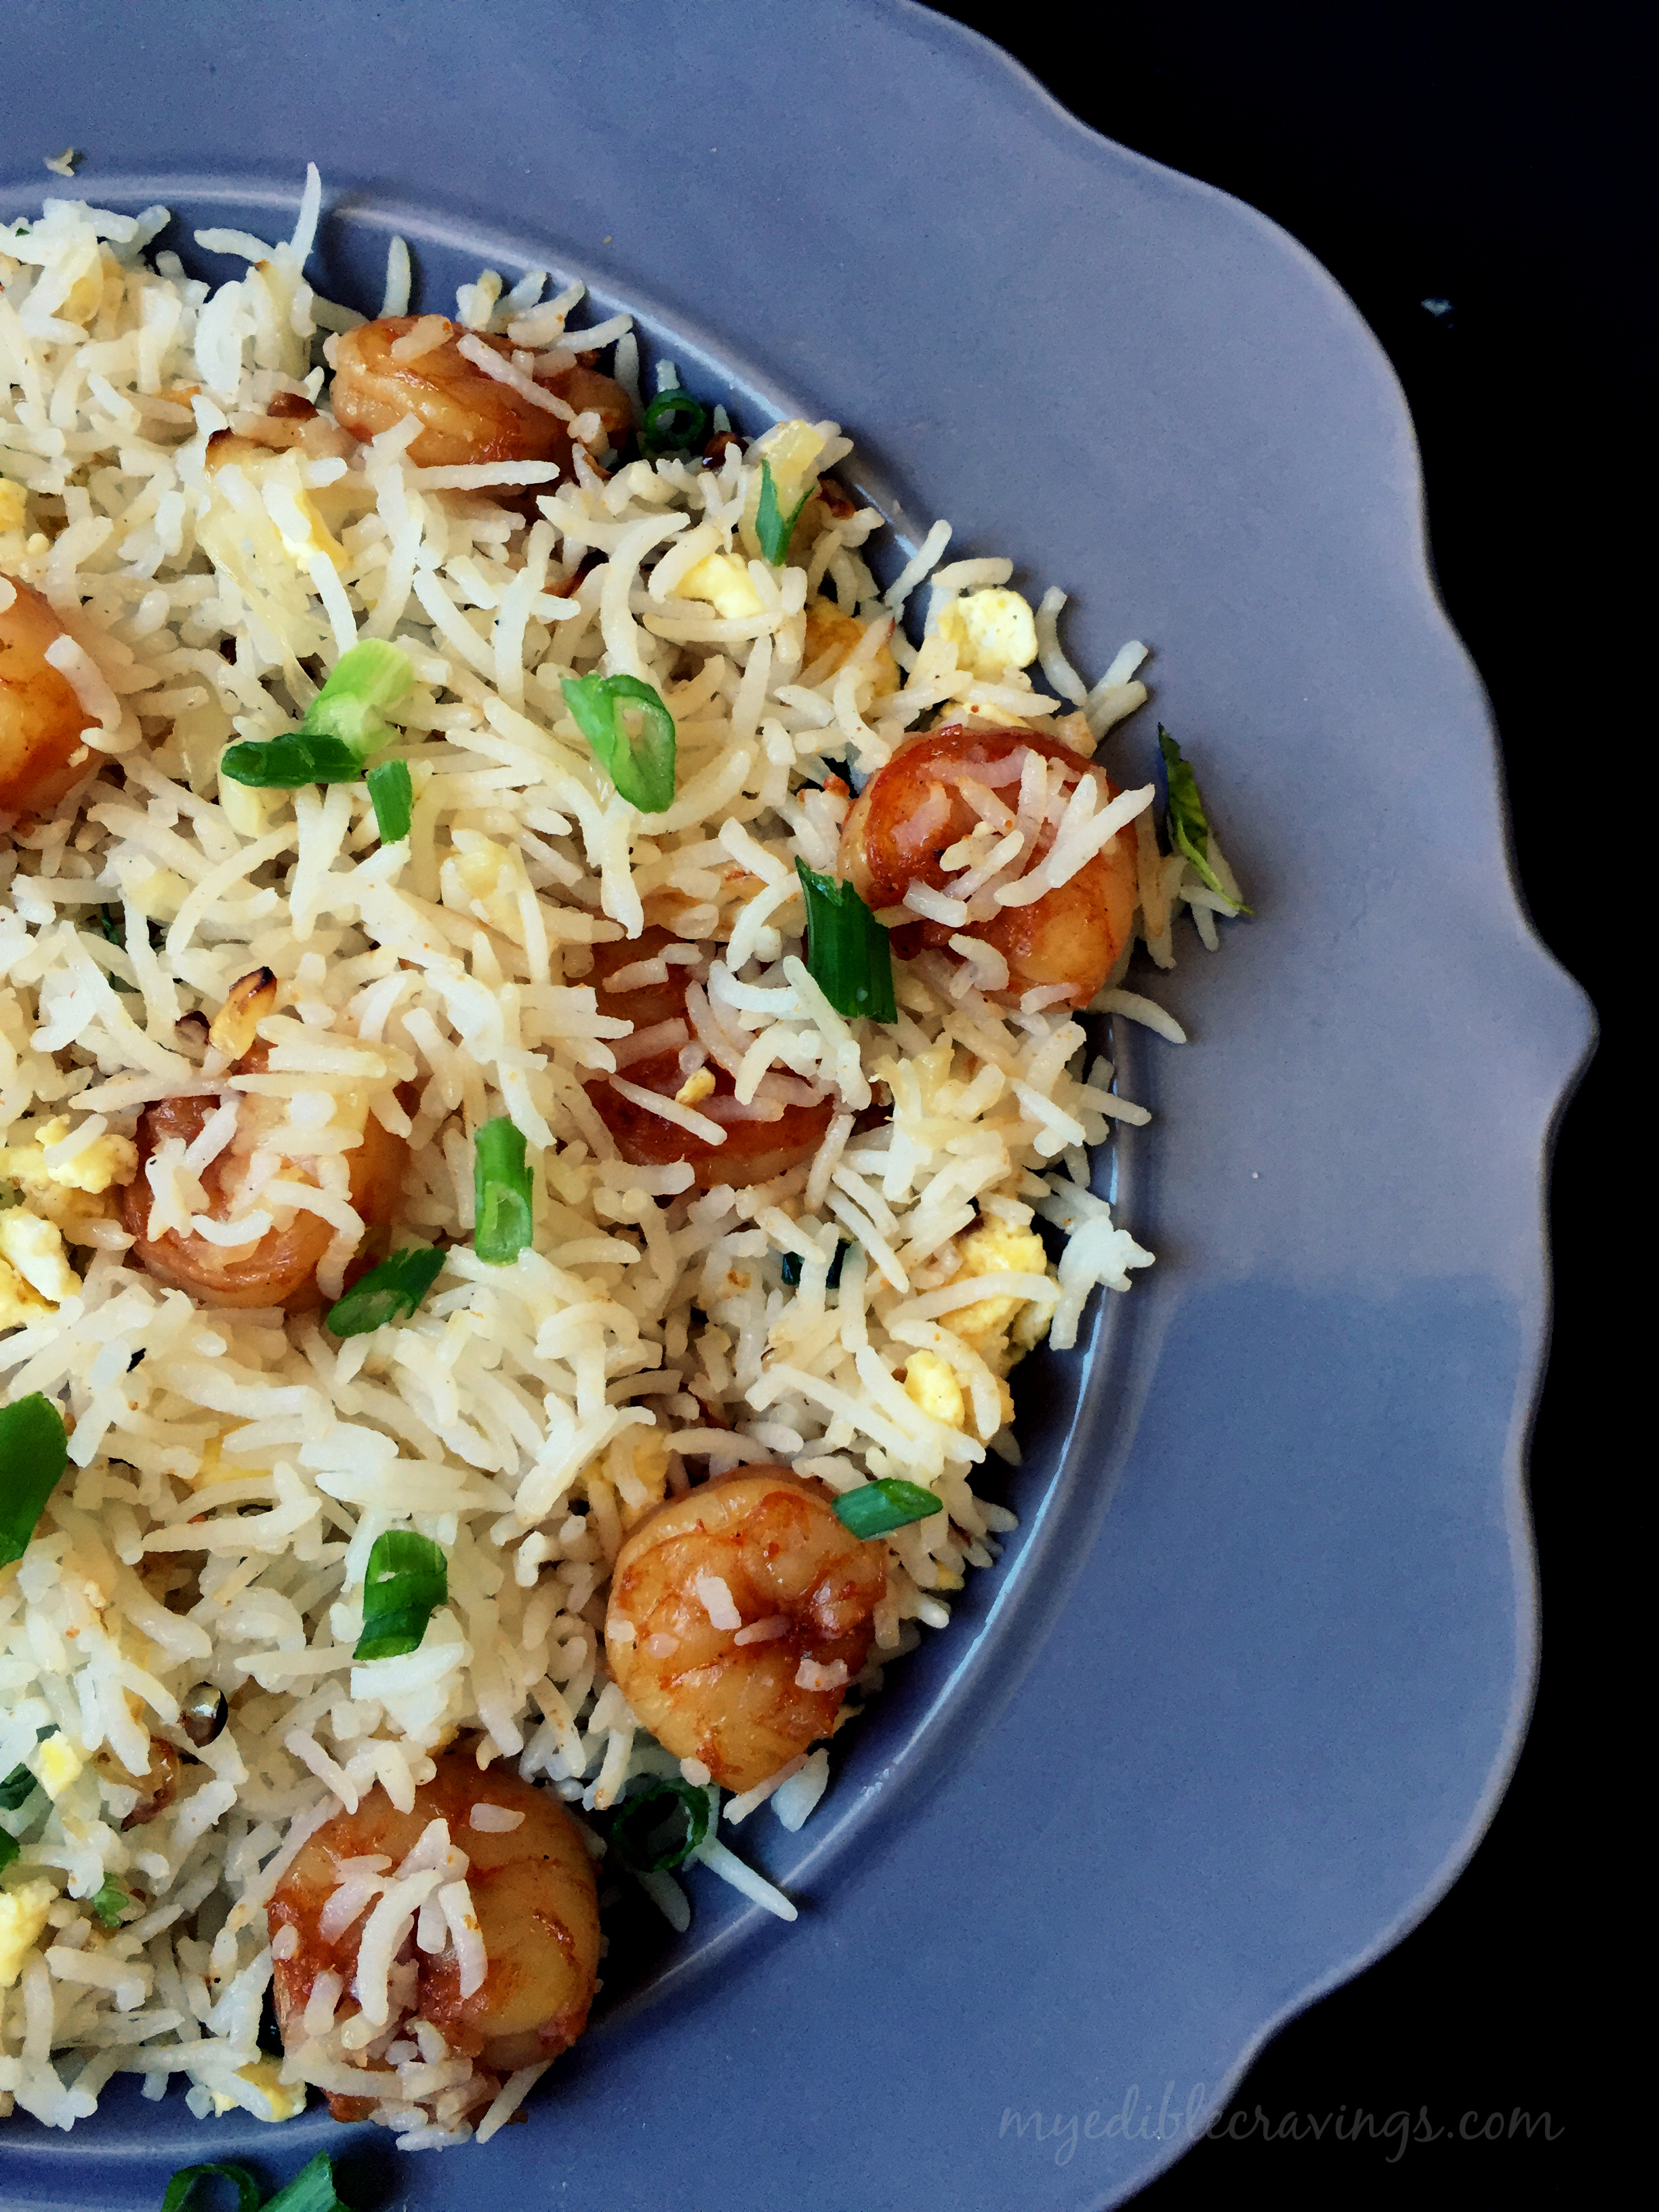
prawn rice
prawn rice
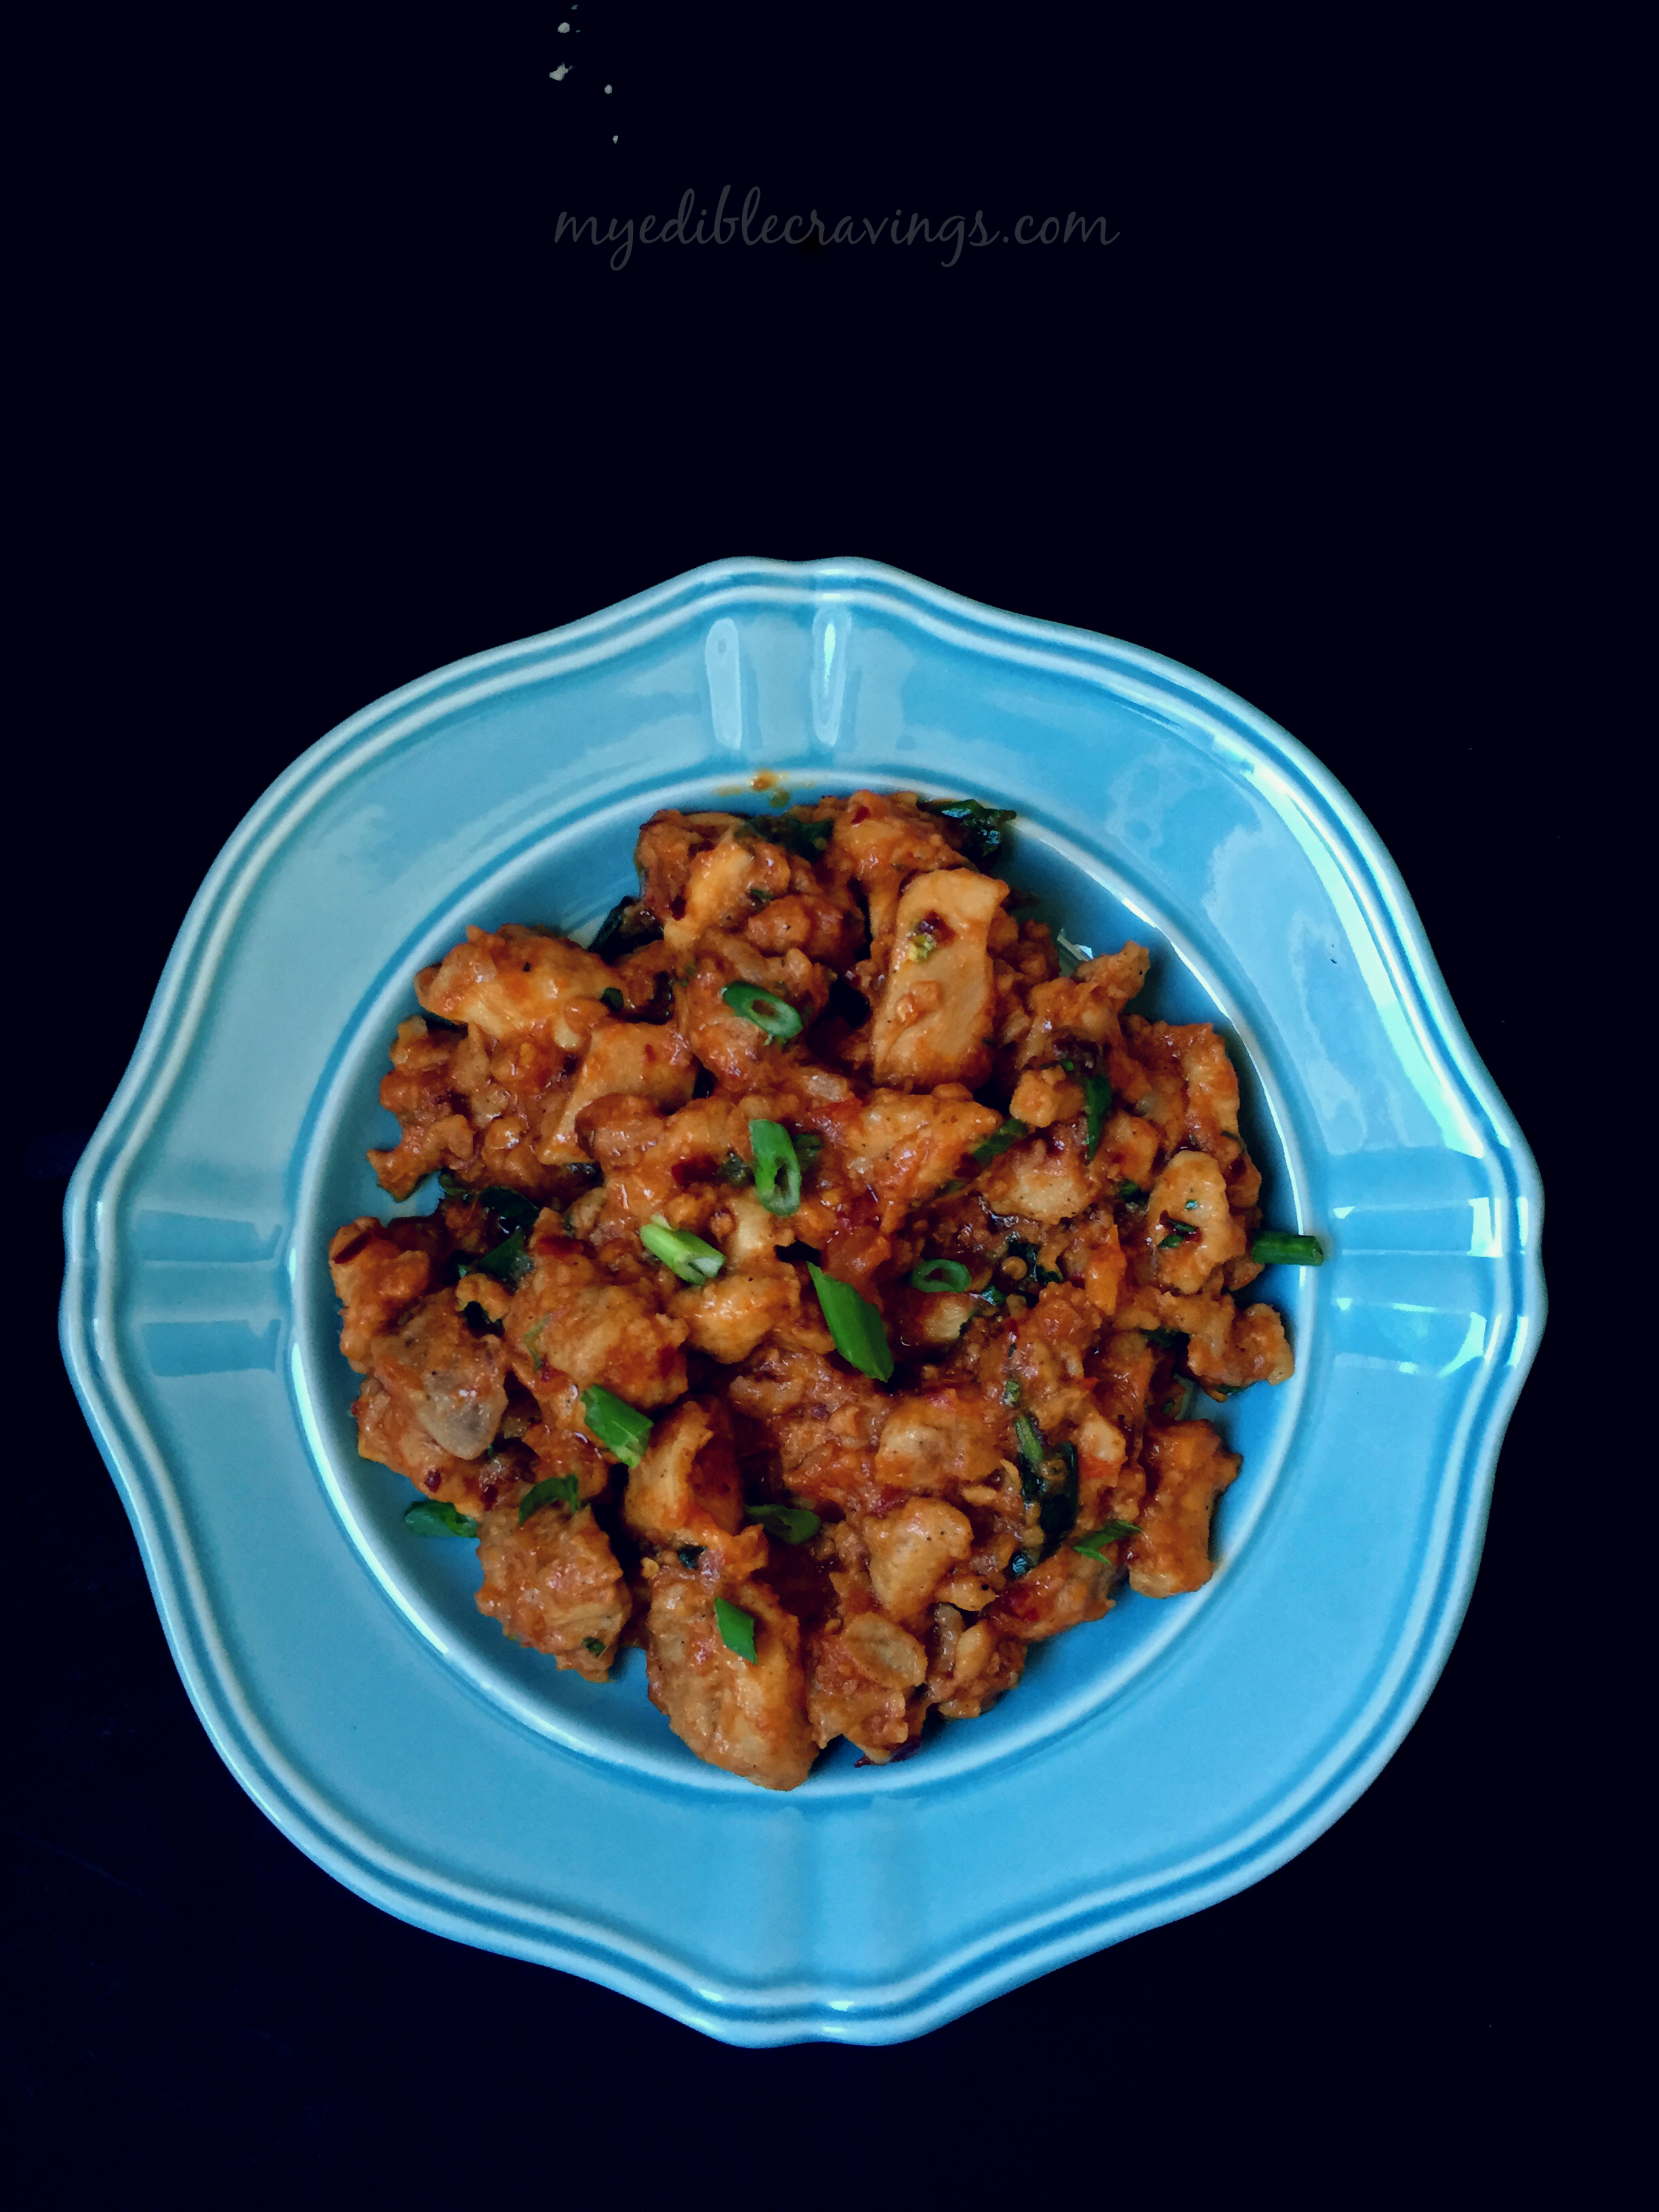
Prawn rice is similar to fried rice except that in fried rice we add soy sauce. Also in fried rice, we cook the rice separately, then add other ingredients along with the cooked rice in a wok and cook them further. In Prawn rice we cook everything separately, i.e.., rice and prawn and then mix them together. Dragon chicken is an indo-chinese dish which is very easy to make. Guess the ‘Dragon’ came from the fiery red color of the dish. It is a dry and spicy dish that goes well with rice, chappati, fried rice or rotis.
Do try these dishes in your home and let me know your experience 🙂
BTW, a very happy & prosperous 2015!!! 🙂
Dragon chicken

Prawn rice with Dragon Chicken
Recipe type: Main
Cuisine: Chinese
Prep time: 
Cook time: 
Total time: 
Serves: 2
 
Ingredients
For Prawn Rice
To marinate:
  • Prawn – 1 lb, 50 count
  • Chicken 65 masala powder – 1 ½ tbsp (I used shakthi brand)
  • Red chilli powder – 1 tsp
  • Salt – as required
  • Ajinamotto – ½ tsp (optional)
  • Corn flour – 1 tbsp
  • Water – 1 tbsp
For the rice:
  • Basmati rice – 1 cup
  • Ajinamotto – a pinch (optional)
  • Salt as required.
Other ingredients:
  • Oil – 2 tbsp
  • Scallions or spring onions – 3 tbsp, divided
  • Onion, slits, medium – 1 no
  • Green bell pepper, finely chopped – 3 tbsp
  • Salt – ½ tsp
  • Scrambled eggs – 1 cup
  • Salt if needed
  • Green chilli sauce – ½ tsp
  • Cilantro leaves – 2 tbsp
  • Garlic, minced – ½ tbsp
For Dragon Chicken
To marinate :
  • Ginger garlic paste - 1 tbsp
  • Crushed pepper - ½ tbsp
  • Egg whites - from 1 egg
  • Corn starch - ¼ cup
  • Soy sauce - ½ tbsp
  • Boneless Chicken thighs (cubed) - 500g
other ingredients:
  • Ginger - ½ tbsp, finely chopped
  • Garlic - 1 tbsp, finely chopped
  • Red chilli flakes - 1½ tbsp
  • Tomato sauce - 1½ cups
  • Soy sauce - 1 tbsp
  • Cilantro - 1 handlful, chopped
  • Spring onions - 1 stalk, chopped
  • Vegetable oil for deep frying
Instructions
  1. Clean and marinate the prawns. Leave it for at least an hour and shallow fry them.
  2. Cook rice separately. I cooked the rice using boiling method to get fluffy separate grains.
  3. Soak the rice for 20 minutes in water. Boil enough water in a medium sized sauce pan and add the rice. Cook until the rice grains starts to sputter. Always stay close while cooking the rice by boiling method. Because rice cooks really quick in this method.
  4. Heat oil in a skillet and add scallions and onions. Sauté till they turn translucent. Add bell peppers and sauté for a minute. Add them to the rice.
  5. Sauté garlic separately.
  6. Transfer the rice to a wide open mixing bowl or a wok and add the sauce, scrambled eggs, sautéed garlic and fried prawns. Mix them very carefully without breaking the rice. Garnish with spring onions and serve hot.
For Dragon Chicken:
  1. Marinate the cut chicken cubes with the marination ingredients mentioned above and set aside for like 15 minutes.
  2. Deep fry the marinated chicken until the cubes turn golden brown.
  3. Heat a non-stick pan over medium heat and pour a tbsp of oil (you can reuse the oil used for deep frying)
  4. Once the oil is hot, add the chopped garlic, garlic and saute until the raw smell goes away
  5. Add in the chill flakes and saute for a little while.
  6. Add in the tomato sauce and stir well.
  7. Then add soy sauce and leave it until the broth comes to a boil
  8. Add the fried chicken cubes to the broth and cook until everything is combined well (by now the mixture should have dried down i.e., not like a gravy anymore)
  9. Garnish with chopped cilantro and chopped spring onion
  10. Server hot with Prawn rice.
Notes
If you don’t have green chilli sauce at home, chop few green chillies finely and add them to a half cup of water. Allow them to soak for an hour and just use the water (2 tbsp) to the rice.

Dragon chicken

Cauliflower fry

Cauliflower fry
Cauliflower is one of those vegetables that is not often found in South Indian palate (especially Tamilnadu). It is a low fat, low in carbohydrates but rich in fiber vegetable. Cauliflower fry is one of the many varieties prepared using this vegetable. I came across this recipe when searching for a supplement to our diet (and yes we start a diet system many times a year, but sticking to one is a different story  🙂 )
Cauliflower fry
The main specialty about this Cauliflower fry is the way it is cooked. Though it is called a fry, I actually use a conventional oven to cook. It is a very tasty dish, trust me. When you are uncertain about what side dish to prepare for Chappati or Naan etc remember this wonderful Cauliflower fry.
Cauliflower fry
For those who don’t have an oven, you can cook this dish using a stove as well. Try this simple, delicious and healthy dish in your kitchen and tell me your experience. 🙂

Cauliflower fry
Recipe type: Main
Cuisine: Indian
Prep time: 
Cook time: 
Total time: 
Serves: 4
 
Ingredients
To bake:
  • Cauliflower florets – 2 to 3 cups
  • Olive oil – 5 tbsp
  • Tomato paste or puree, thick – 4 tbsp (I used hunt’s)
  • Garlic cloves, minced – 1 tbsp
  • Kashmiri red chilli powder – 1 tbsp
  • Black pepper powder – 1 tsp
  • Coriander powder – 2 tbsp
  • Turmeric powder – ½ tsp
  • Garam masala - ½ tsp
  • Salt – ½ tsp
For the seasoning:
  • Oil – 2 tbsp
  • Mustard seeds – ½ tsp
  • Curry leaves – a sprig
  • Green chilli, slits – 4 nos
  • Ginger, julienned – 1 tbsp
  • Onion, big, slits – 1 no
  • Kashmiri red chilli powder – ½ tbsp
  • Red chilli powder – ½ tsp (optional)
  • Coriander powder – 1 tbsp
  • Dry fenugreek leaves or kasthoori methi, crushed – 1 tbsp
  • Spring onions or scallions – 1 to 2 tbsp
Instructions
  1. Preheat the oven to 400 degrees F and mix all the above ingredients in a large aluminium pan given under 'To bake'. Place it inside the oven and cook for 30 to 45 minutes until the cauliflowers are crunchy (stirring in between). For those who do not have conventional oven, just fry it in a pan on the stove until they are nicely done.
  2. Meanwhile heat oil in a flat pan and season with mustard, urad dal, curry leaves and green chillies. When they start to splutter add onions and sauté until they turn translucent.
  3. Add julienned ginger.
  4. Add all the powders (coriander, chilli, salt, turmeric) and kasthoori methi. Add oven baked or stove cooked cauliflower. Sauté well and cook for 10 minutes.
  5. Garnish with scallions and cilantro.
Notes
!To make tomato puree at home:
Roughly chop the tomatoes and sauté with little onion until they leave oil. Blend them to make a thick paste.

Cauliflower fry

VENTHAYA KUZHAMBU

Venthaya kuzhambu is a south Indian gravy that is usually had with white rice (and rarely with idli or dosa). I learnt this dish from my MIL. She is my go-to source for all traditional south Indian (especially Tamilian) recipes. Venthaya kuzhambu is very much like puli (tamarind) kuzhambu except for the fact that we use only fenugreek seeds (venthaiyam/methi) in the recipe.
Venthaya Kuzhambu
Venthayam/Methi/Fenugreek is a healthy spice especially for new moms (for milk production) and also used for digestive problems. Fenugreek seeds in general are bitter in taste. Hence be cautious in the number for fenugreek seeds you use for the preparation of Venthaya kuzhambu. Personally, I have cooked Venthaya kuzhambu only for two, so, I use very little amount of fenugreek seeds (half in that I fry and the rest I add as is in the gravy).
Venthaya Kuzhambu
Like all those dishes that tastes better as they get older (pizza, fish gravy etc), Venthaya kuzhambu tastes excellent as it gets older. As I had mentioned above, you can have this gravy with white rice or as a side dish for curd rice, yummy! Try this healthy (for all those new moms) and tasty recipe in your home and as always let me know your comments and thoughts.

VENTHAYA KUZHAMBU
Recipe type: lunch
Cuisine: Indian
Prep time: 
Cook time: 
Total time: 
Serves: 2
 
Ingredients
  • Shallots,chopped – 6 nos
  • Garlic cloves, chopped – 4 nos
  • Fenugreek seeds - 1 tsp ( 5 to 6 nos )
  • Tamarind – big gooseberry size
  • Sambar powder – 1 tbs
  • Grated Coconut – 1 tbs
  • Gingelly oil – 2 tbs
  • Salt – as required
Instructions
  1. Soak tamarind in water for half an hour and extract the juice. Add sambar powder to the tamarind extract, mix well and set aside.
  2. Grind the coconut along with one chopped shallot and little water in to a fine paste.
  3. Dry roast the fenugreek seeds in a hot pan until golden brown. Allow them to cool. keep half of them aside and blend the remaining half to powder.
  4. Heat a pan with oil and add the shallots. Sauté until the onions turn translucent.
  5. Add garlic and sauté well.
  6. Add tamarind extract and the dry roasted fenugreek seeds.
  7. Now add the coconut paste and bring it to boil. Add the fenugreek powder. Mix well and cook until the gravy is thick and dark brown. Switch off the flame.
  8. Serve venthaya kuzhambu along with white rice and egg podimas or fryums on the side. Enjoy!
Notes
1.Be careful while roasting the fenugreek seeds as it tastes bitter when overcooked. 2.Grinding very few fenugreek seeds to powder is a difficult job. So make a batch and use very little for this gravy. Store the remaining in a small air tight container.

Venthaya Kuzhambu

GRANDMA’S VELLAPOODU KUZHAMBU | POONDU KUZHAMBU | GARLIC GRAVY

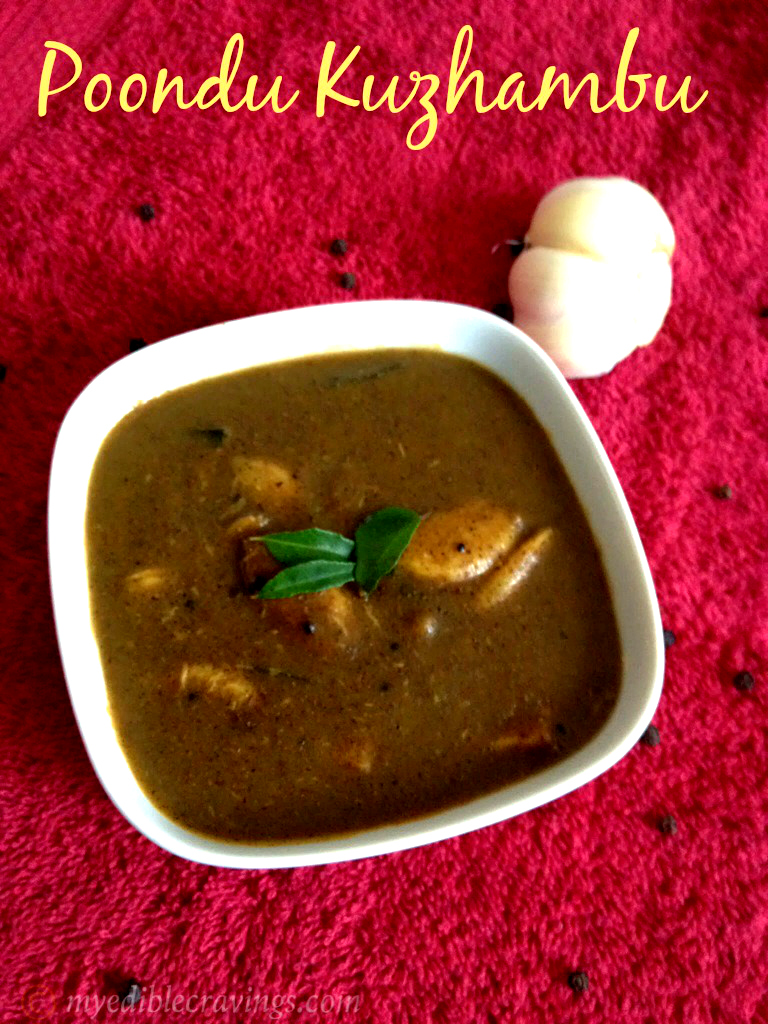
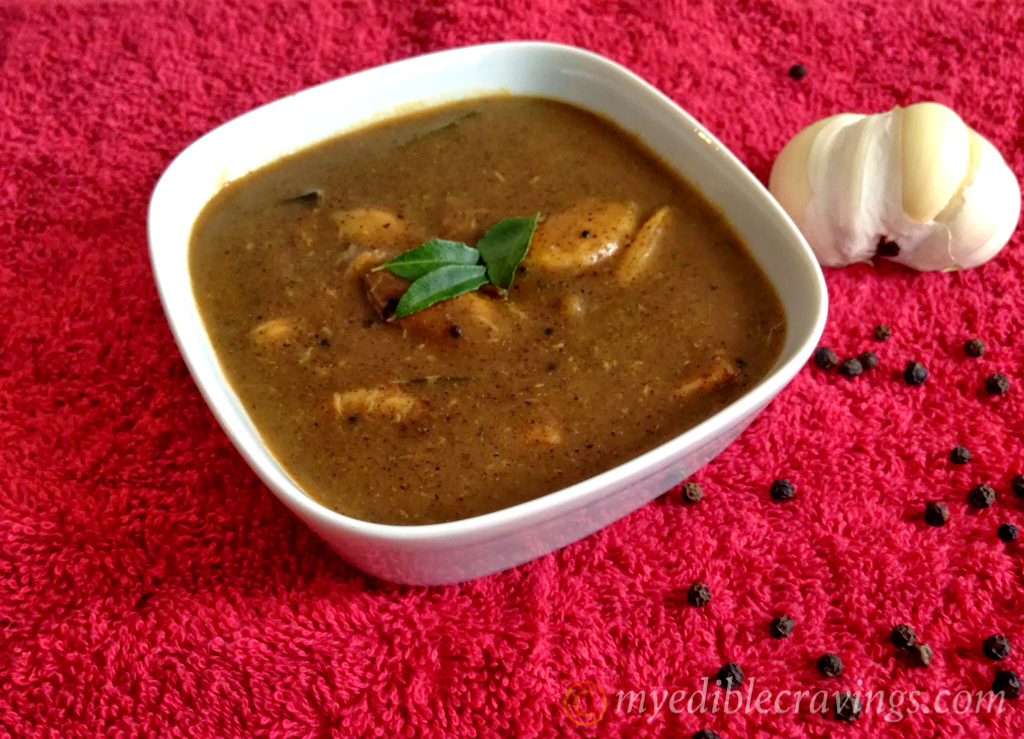
Grandma’s Vellapoodu Kuzhambu, as the name suggests, is a dish from my late grandmother’s kitchen. It is more of like a family recipe, in the sense, passed on to my mom and then to me. Now I am sharing this with you.
poondu kuzhambuVellapoodu kuzhambu is a popular dish in south India and is primarily made of pepper, curry leaves and lots of garlic cloves. It is one of my favorite dishes among vegetarian recipes. It has been a mainstay in my mom’s cooking since my childhood.
The first time I made my grandma’s vellapoodu kuzhambu, it did not resemble to the one made by my mom but my perseverance paid off. So, when I say the recipe has been tried and tested, it literally means that 🙂
042As I had mentioned in my puli kuzambhu recipe, the main ingredient for my grandma’s vellapoodu kuzhambu is using whole garlic cloves; not the diced ones. This gives the unique taste found in my grandma’s recipe.
041So here is the wonderful recipe of my grandma’s vellapoodu kuzhambu and let me know how well did it go in your kitchen 🙂

POONDU KUZHAMBU|GARLIC GRAVY
Recipe type: Lunch
Cuisine: Indian
Prep time: 
Cook time: 
Total time: 
Serves: 2
 
Vellapoodu kuzhambu is a popular dish in south India and is primarily made of pepper, curry leaves and lots of garlic cloves. It is one of my favorite dishes among vegetarian recipes. It has been a mainstay in my mom’s cooking since my childhood.
Ingredients
  • Gingelly oil – 1 tbsp
  • Cumin seed – 1 tbsp
  • Red chilli – 1
  • Black Pepper – 1 tsp
  • Mustard seed – 1 tsp
  • Turmeric powder – 1 tsp
  • Raw Rice – 1 tbsp (soaked in water for 1 hour)
  • Garlic cloves – 15 nos
  • Raw rice water (kalani thanni) – 1 cup
  • Curry leaves – a sprig
  • Salt – as required
Instructions
  1. Heat a pan with half a tsp of gingelly oil. Add cumin seeds, black peeper, red chilli and half a tsp of mustard seeds and stir fry till they start to splutter. Allow it to cool and grind it with a tsp of turmeric powder, soaked rice and a garlic clove with little raw rice water and make into paste.
  2. Heat the same pan with remaining oil, add mustard seeds and curry leaves. When mustard seeds start to splutter, add in the remaining garlic cloves and sauté for a minute or until the cloves changes color.
  3. Now add ground masala along with raw rice water and salt and give it a stir. Bring it to boil or wait until the gravy thickens and garlic cloves are well cooked.
  4. Serve this gravy on side with hot rice and scrambled egg.
Notes
Raw rice water is nothing but the water you get when you wash the rice for the second time.
Adding this water is mainly because it thickens the gravy.


047


INDO-CHINESE FRIED RICE

070Though fried rice is a Chinese delicacy, it is very popular in India as well. It is a popular street food there.  Fried rice in India is a fusion of Indian spices and Chinese method of preparation, aptly named as Indo-Chinese fried rice. Indo-Chinese fried rice has become so popular that I have seen them as a menu item in some Chinese restaurants here!080My inspiration for indo-chinese egg fried rice is my uncle. He is a very good cook and one of his specialties is egg fried rice. Whenever we visit them (Toronto, Canada), we can see it in the menu on one of the days.
068The recipe that I have given below is a tried and tested Indo-Chinese version.
Note:- Fried rice prepared in restaurants has ajinomoto as one of the ingredients but I personally don’t prefer using it and it is not healthy as well (read somewhere that it has carcinogenic properties). Also, the one time I used it, I did not notice any difference in the taste.071Delicious, right?

5.0 from 1 reviews
Egg Fried Rice (Indo – Chinese)
Recipe type: Lunch/Dinner
Cuisine: Chinese
Prep time: 
Cook time: 
Total time: 
Serves: 2
 
Indo-Chinese fried rice is a variation of regular chinese fried rice with indian spices. Check out the easy to prepare instructions and enjoy hot fried rice, Indian style!
Ingredients
  • Gingelly oil - 1 tbsp
  • Green Onion (thinly sliced, green & white separated) - ¼ cup
  • Garlic, minced - 1 tbsp
  • Ginger, minced - 1 tbsp
  • Red Bell Pepper - ¼ cup
  • Green peas - ½ cup
  • Carrots -1/4 cup
  • Cabbage - ¼ cup (optional)
  • Egg - 1
  • Cooked basmati rice (or any long grained variety) - 1 cup
  • Soy Sauce - 1 tbsp or to taste
  • White pepper – 1 tsp
  • Chilli garlic sauce – 1 tsp (I used sriracha)
Instructions
  1. Cook the rice and set aside to cool naturally or refrigerate it for at least 3 hours – Drizzle in few drops of gingely oil and mix the rice carefully until grains are easily separated. Do this once before it goes into the refrigerator.
  2. Make sure to keep all the ingredients ready before proceeding.
  3. Heat a wok or any deep frying pan (I would prefer non-stick) in high heat with gingely oil. Add in green onions(only white), ginger and garlic. Stir for 5-6 seconds or until the aroma aroma spreads.
  4. Add rest of the vegetables. Make sure nothing burns given that you are cooking in high flame. And you want the vegetables to be cooked but still crunchy (that’s the reason we chopped them into smaller and uniform pieces). Keep stirring for 40 - 50 seconds.
  5. Now it is time to add the eggs to the sides of the vegetables. Sauté the eggs until well cooked and scrambled (In restaurants they used to add the eggs once after the rice is added. But I prefer this way).
  6. Next add the cooked (refrigerated) rice. Stir until all the vegetables and eggs are combined.
  7. Next add the soy sauce, chilli sauce and white pepper. Stir for the flavors to combine. Make sure you don't stir it too much because that might make the rice mushy.
  8. Garnish with scallion greens. Serve hot with chilli chicken or butter chicken or any sides of your choice.
Notes
1. soak basmati rice in water for 20 minutes before boiling. For 1 cup of rice add 11/2 cups of water.
2. Refrigerate the cooked rice so that you can retain its texture while making fried rice.
3. Chinese foods are mostly (or as far as i know) cooked in high flame. so make sure you keep all the ingredients ready well before starting.
4. Non Vegetarian lovers could also add cooked minced meat right after the eggs are scrambled and before the rice is added. Vegetarians can skip this entire sequence.


078