Paruppu Urundai Kuzhambu

paruppu urundai kuzhambu
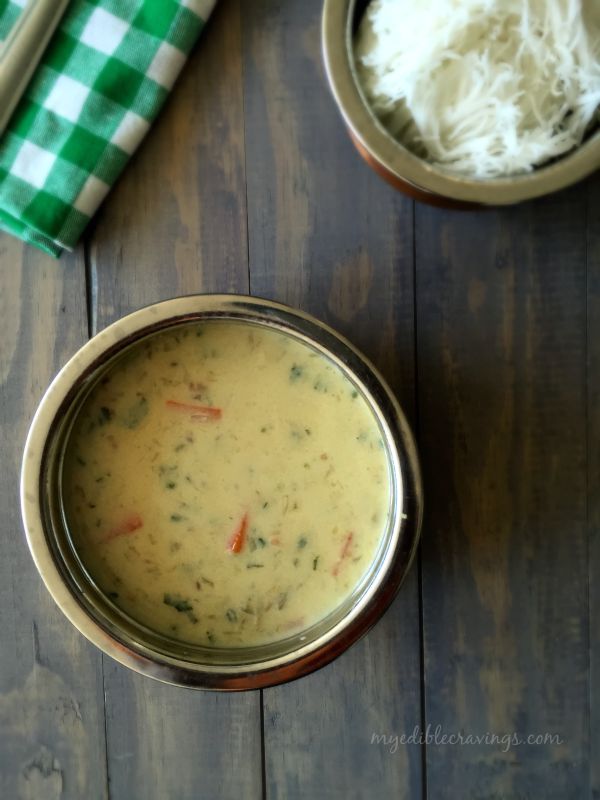
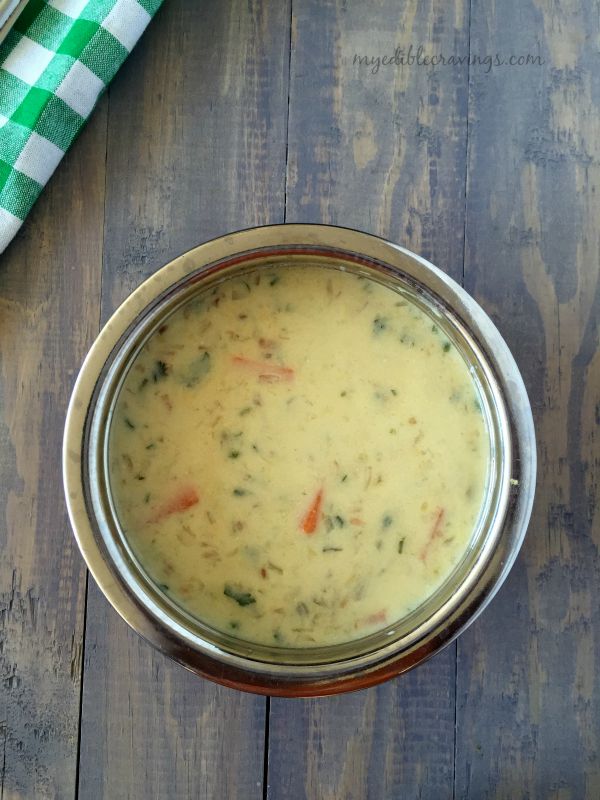
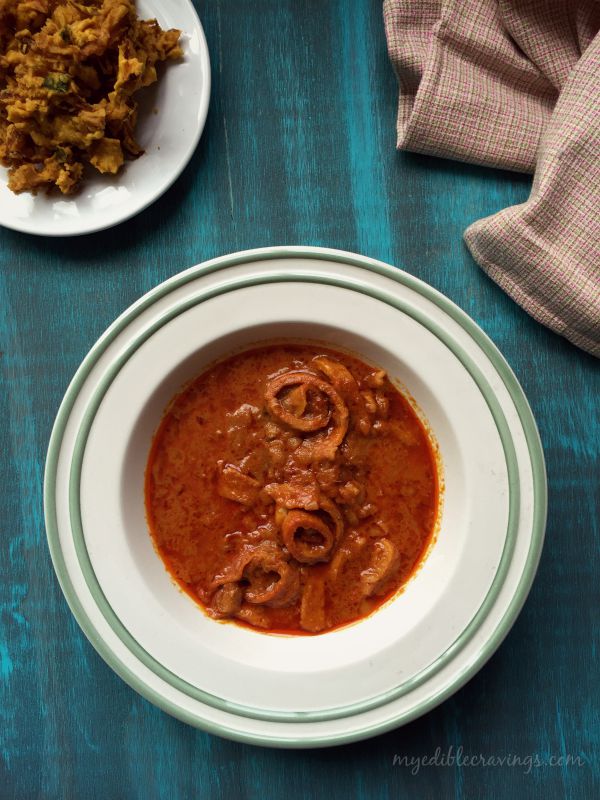
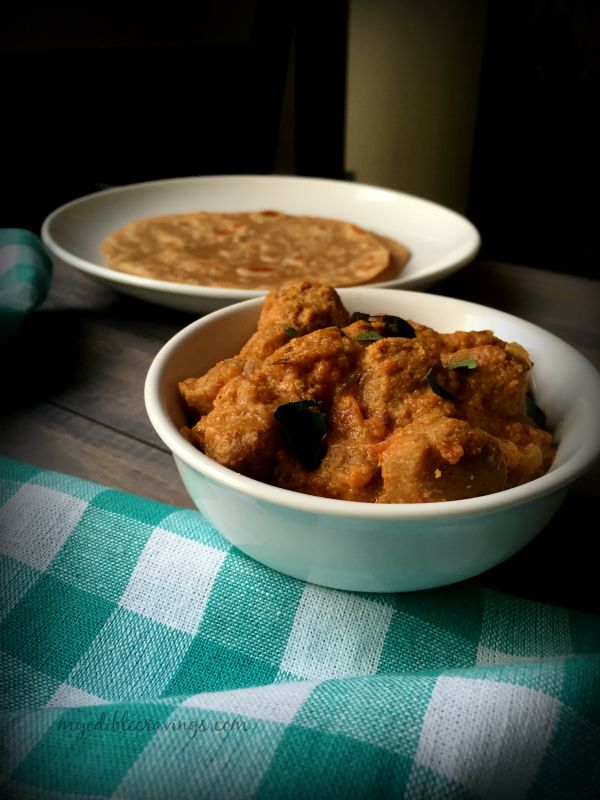
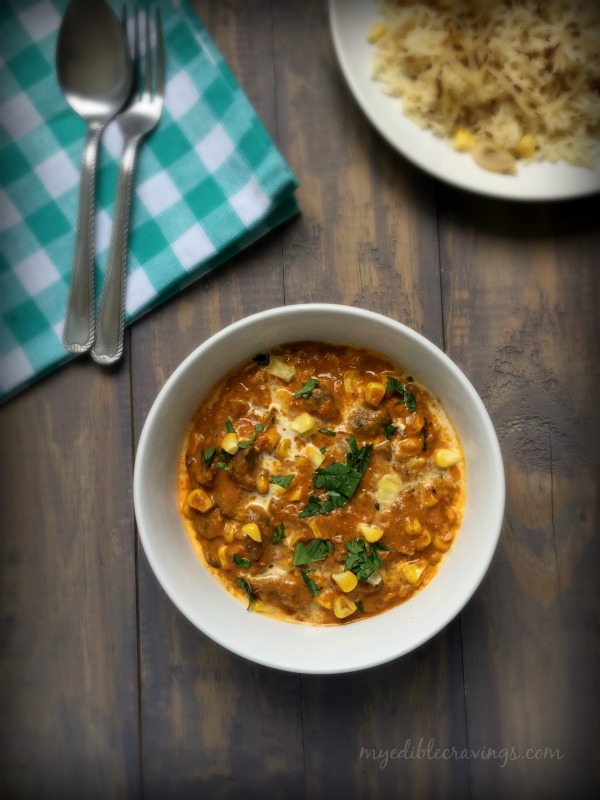
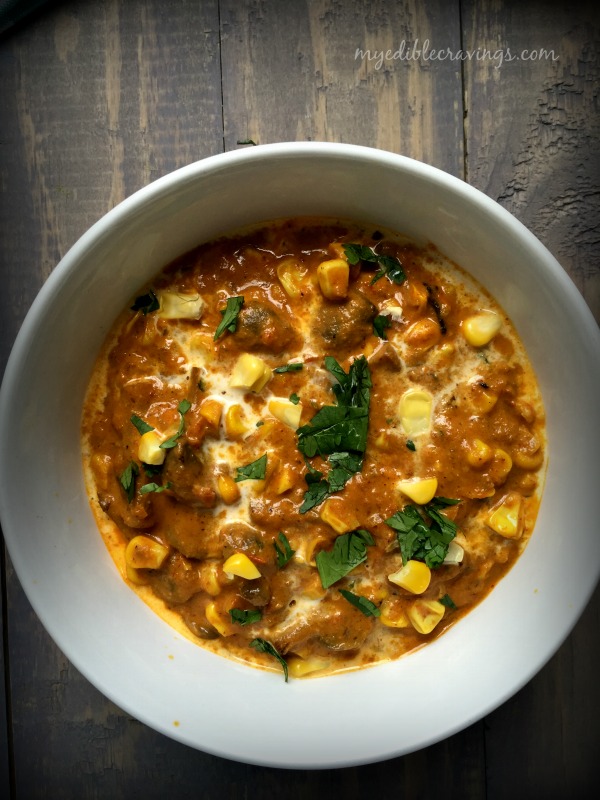
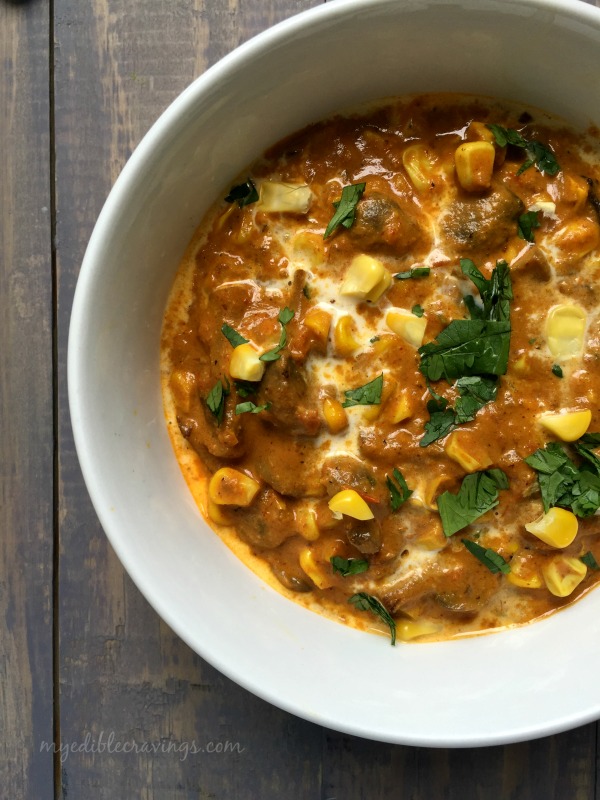
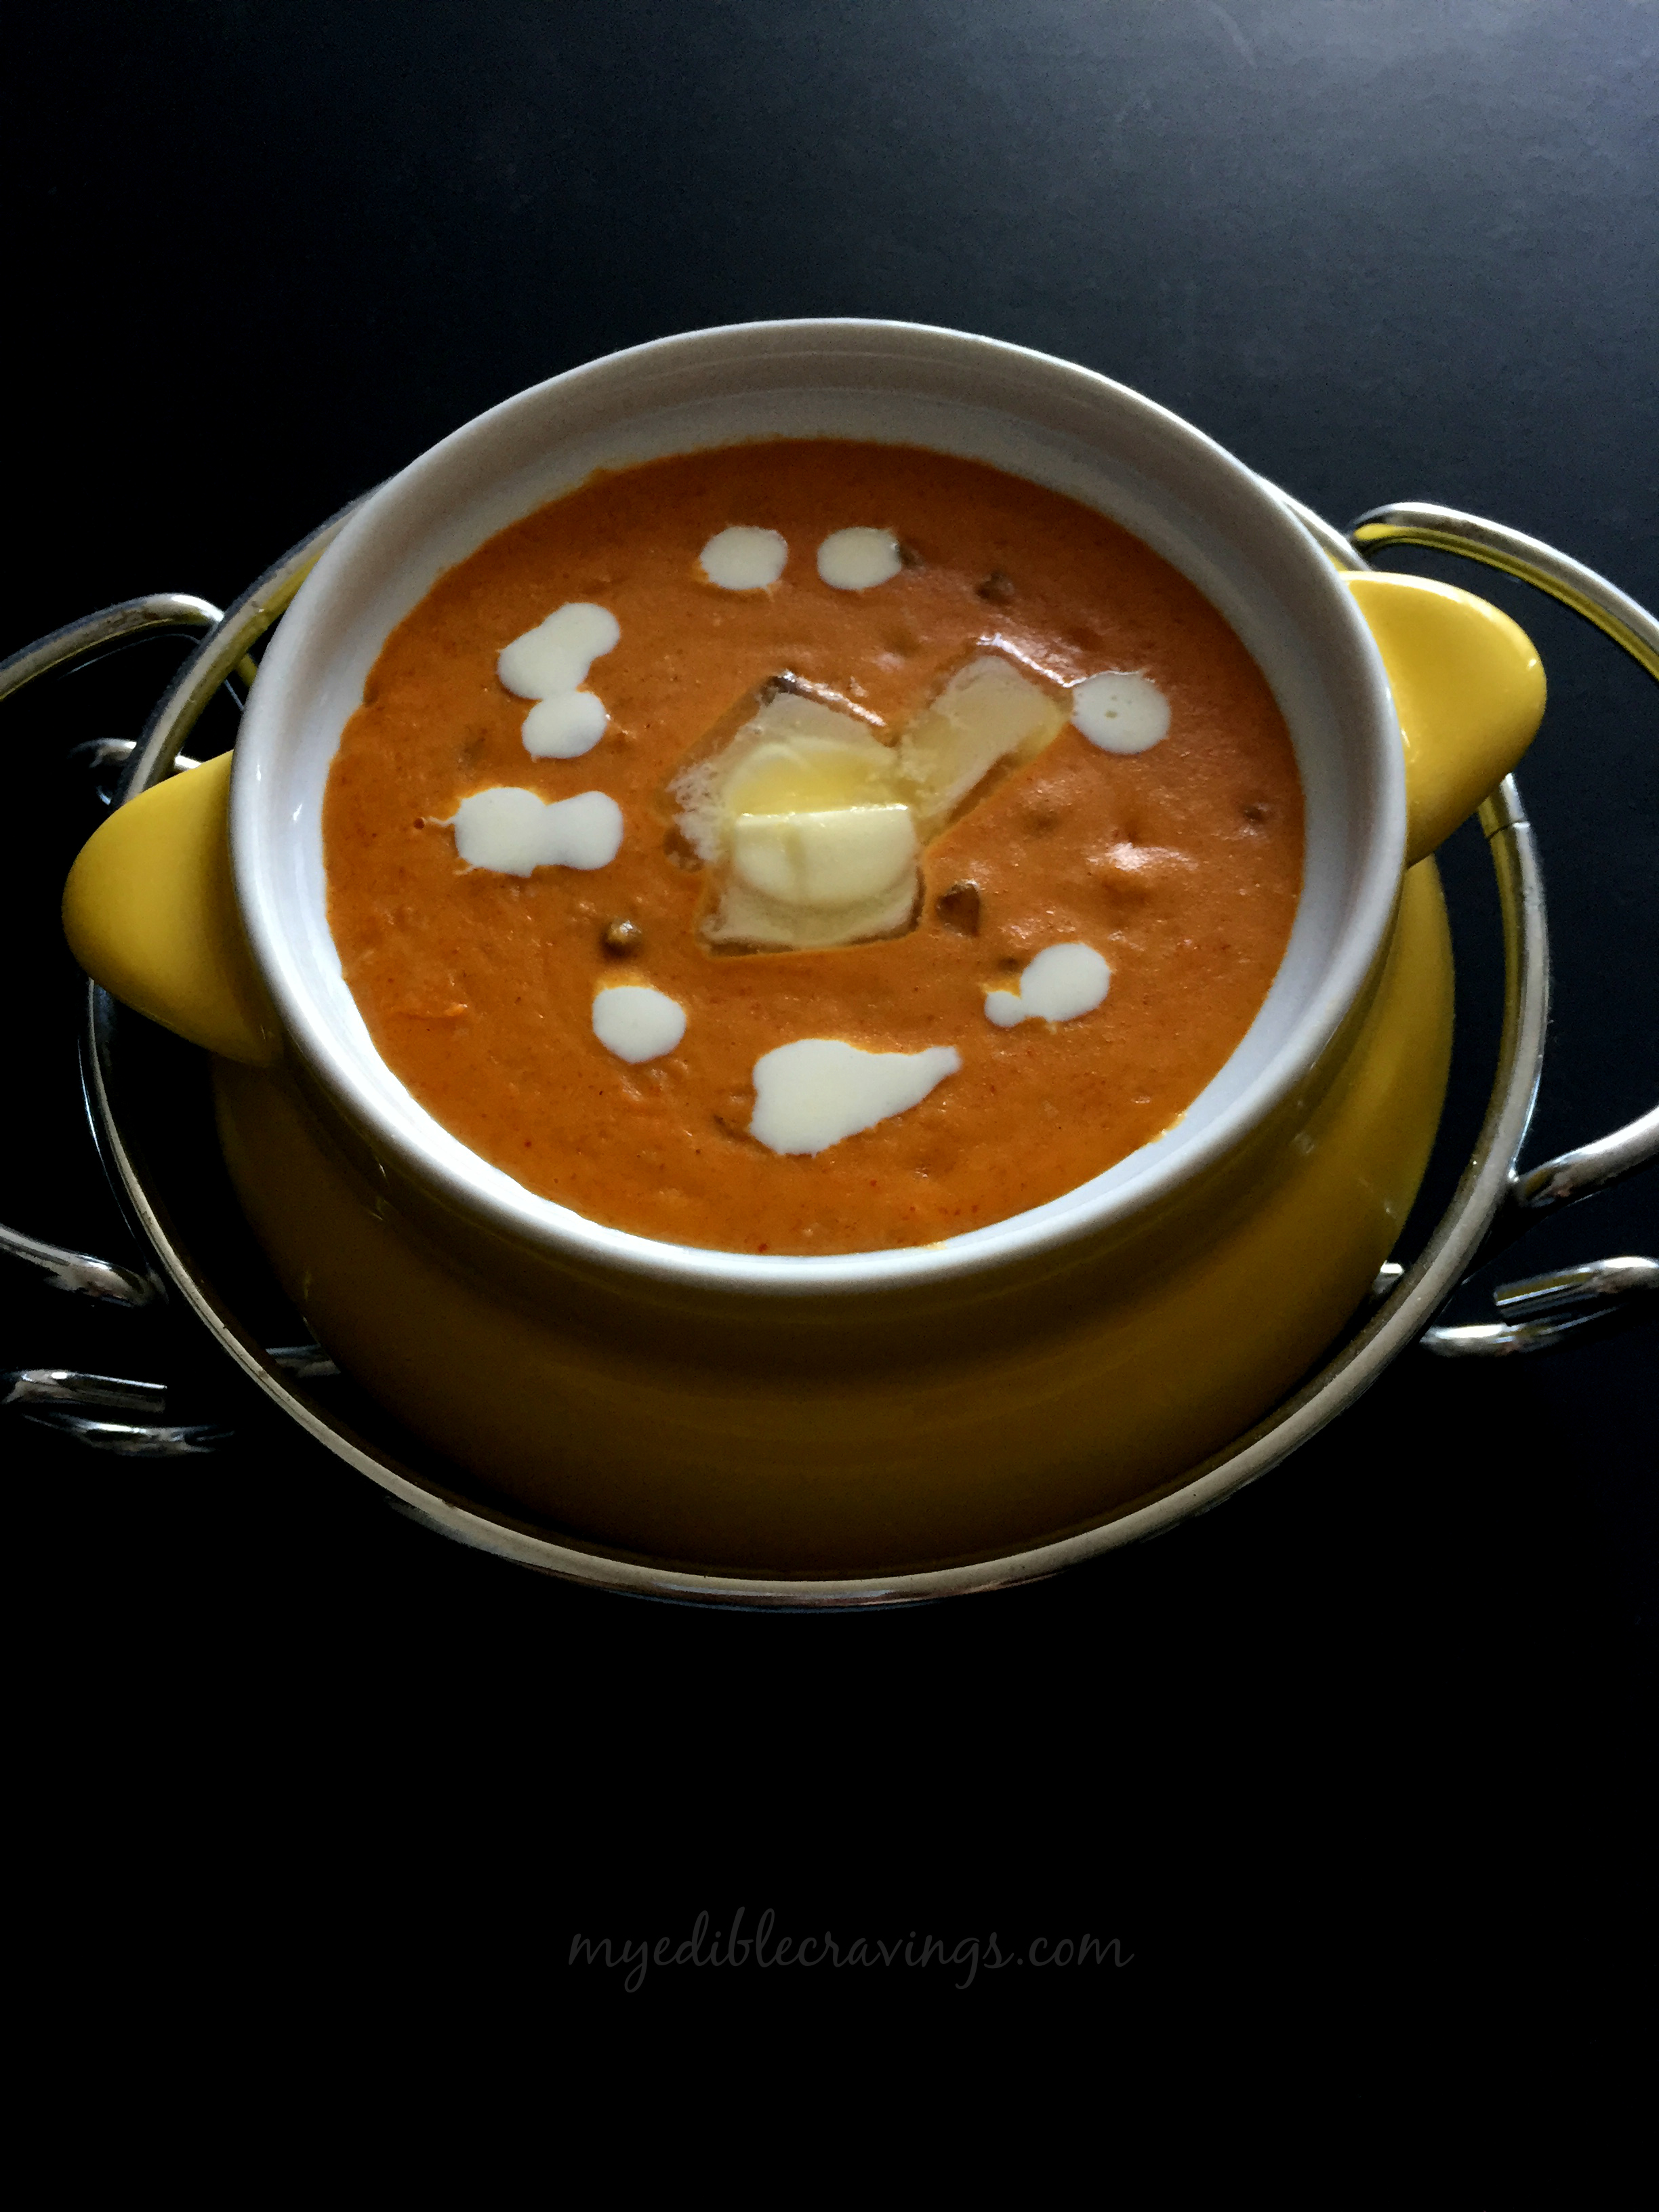
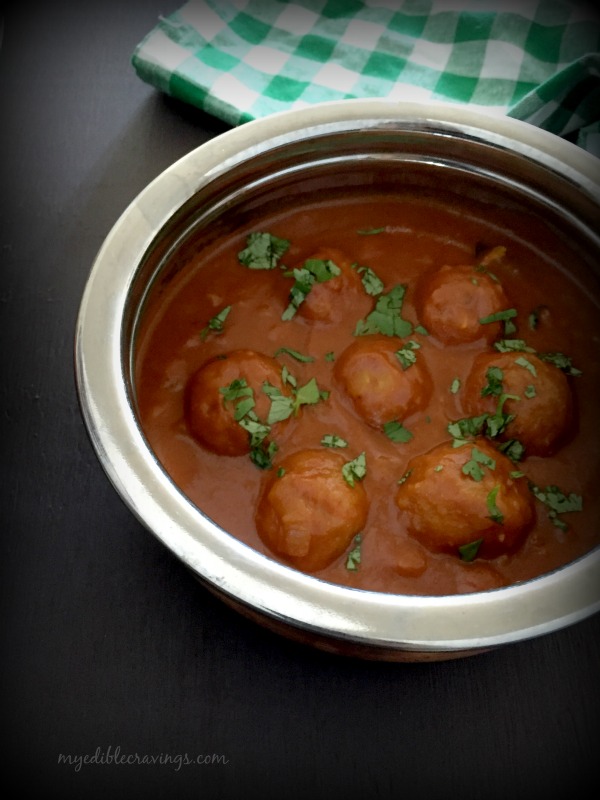
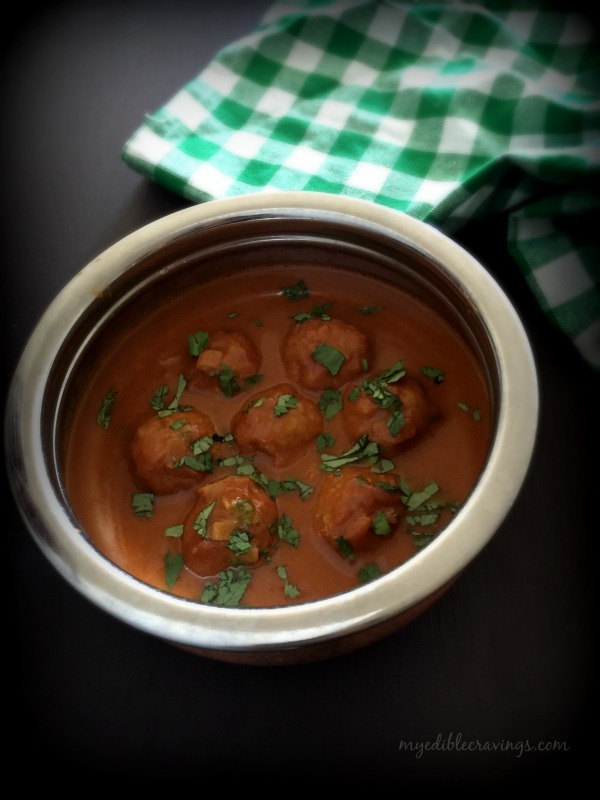
Hello everyone. It has been quite a while since I posted new recipes. But I am back and I hope that you had tried as many recipes as possible while I was away. Today, I am going to post an authentic Tamilian gravy dish called the Paruppu Urundai Kuzhambu (it means Lentil dumplings gravy in english). It is one of my favorite gravy and is a favorite of my HB as well. It is packed with protein (lentils), hence healthy for all age groups.

paruppu urundai kuzhambu
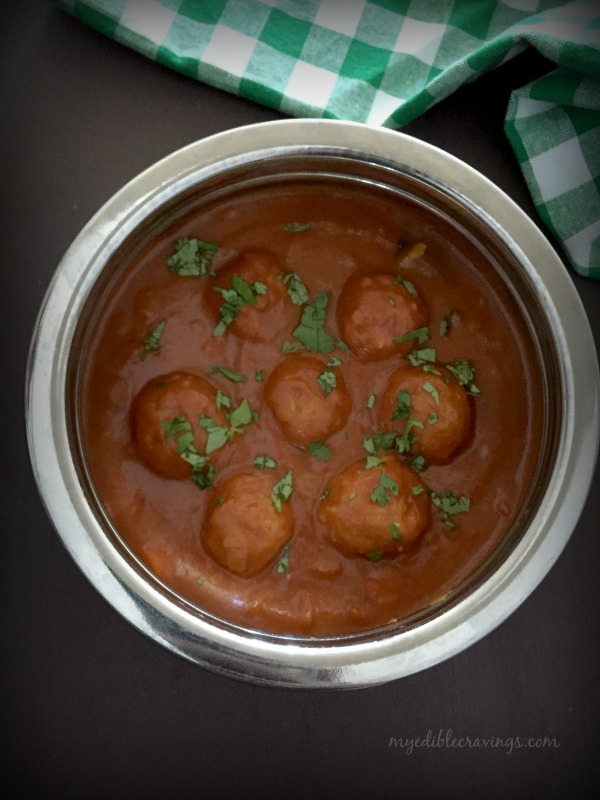
The first time I had Paruppu Urundai Kuzhambu was in my friend’s home during my school days.  I loved it instantly. Though it might look like a time consuming process to prepare this gravy, given the preparation of the lentil dumplings and the gravy (we make them separately), it is actually an easy to make recipe. There are subtle variations to the gravy (and the dumplings as well) and the most common one is where the gravy resembles Puzhi Kuzhambu (tamarind gravy). It is a common occurrence in south Indian cuisine where you can prepare different recipes using one common gravy. For example, the tamarind gravy can be used to make Meen Kuzhambu (Fish gravy) and Paruppu Urundai Kuzhambu (Lentil dumplings gravy) as well. I personally like to have a distinct taste, wherever possible, in each of the recipes that I prepare and for that reason my gravy in this recipe does not have tamarind as an ingredient:)

paruppu urundai kuzhambu
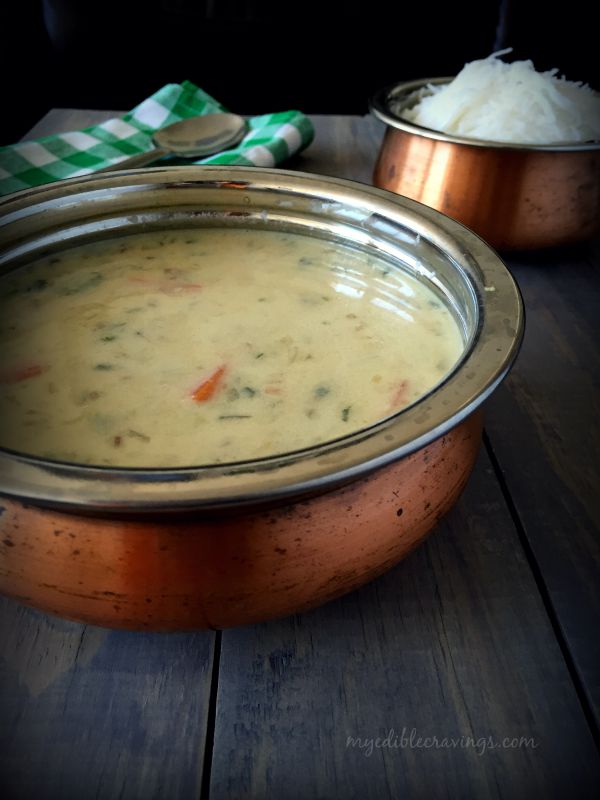
As I had mentioned earlier, Paruppu Urundai Kuzhambu is a two step process. One is the preparation of the gravy and the other one is the making of lentil dumplings. For those who are a bit apprehensive about the preparatory method for the lentil dumplings, worry not. You can steam the dumplings first and then drop them in the gravy. One reason why I don’t steam is that the gravy does not get absorbed by the dumplings if you do that and that will alter the taste. So do try this authentic recipe from my home state in India and as always post your comments.
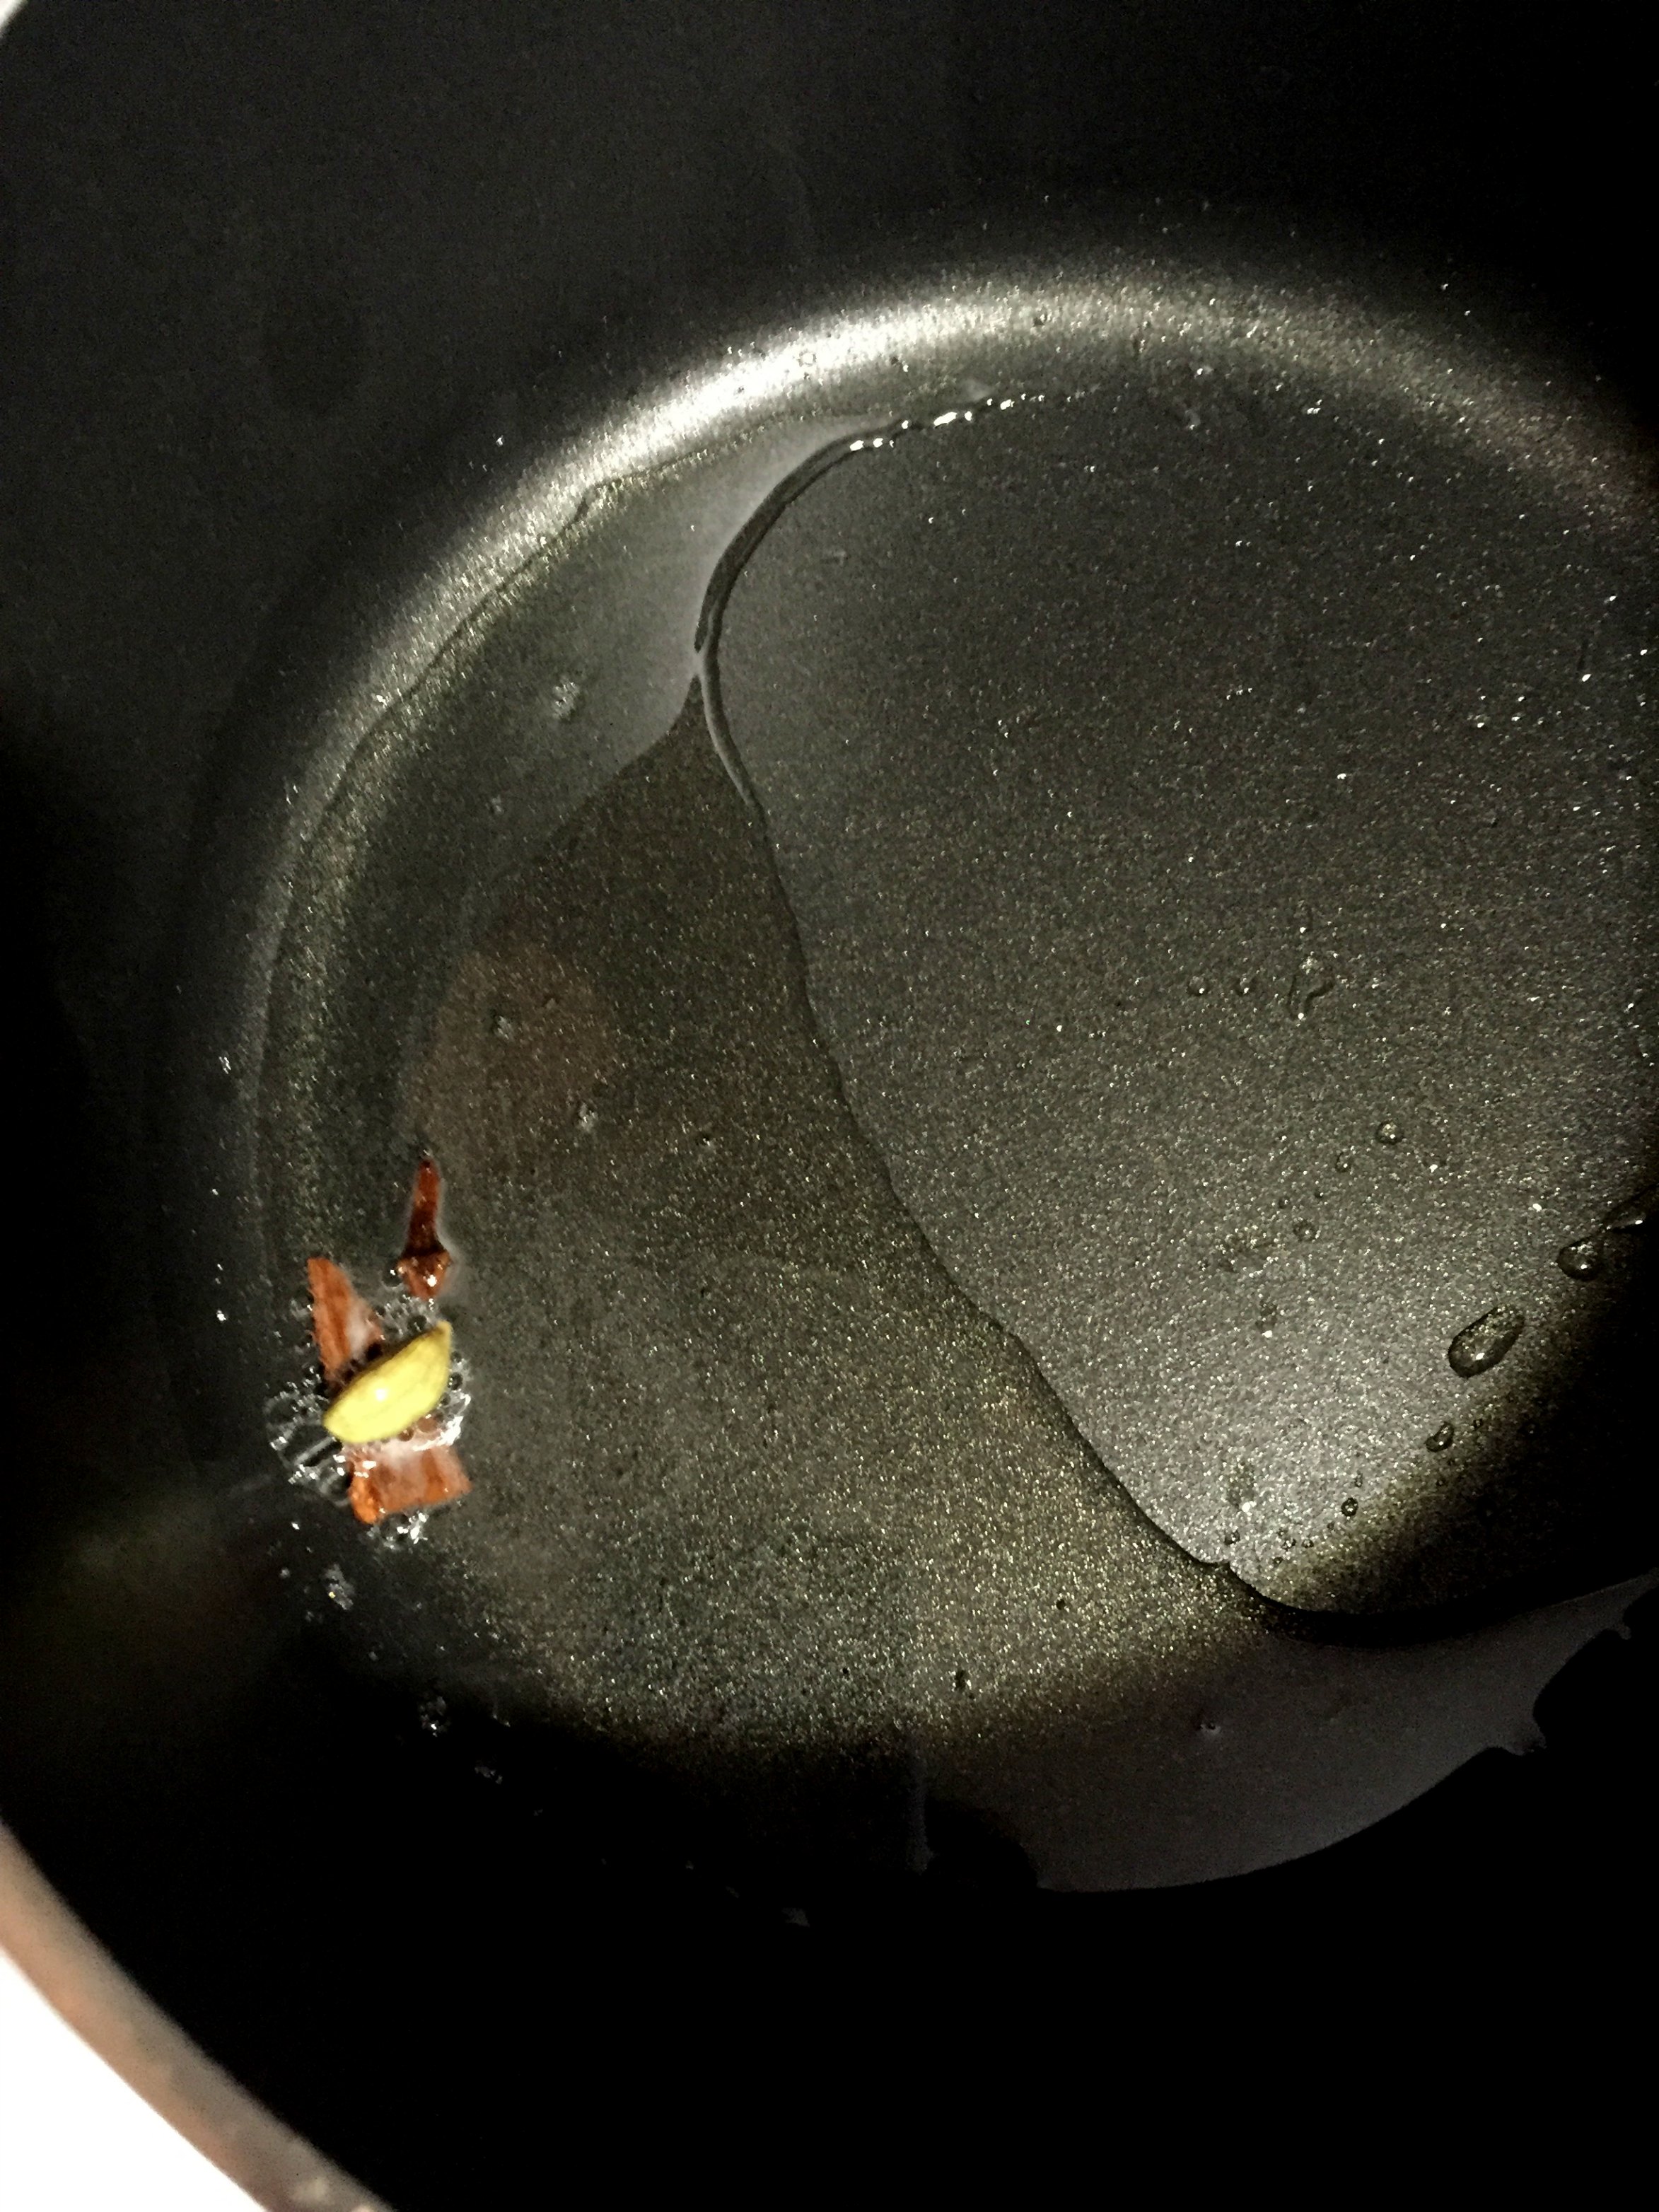
Paruppu Urundai Kuzhambu
Recipe type: Main
Cuisine: Indian
Prep time: 
Cook time: 
Total time: 
Serves: 4
 
Ingredients
  • Oil- 2 tbsp
  • Cloves – 2 nos
  • Cinnamon stick – 1”
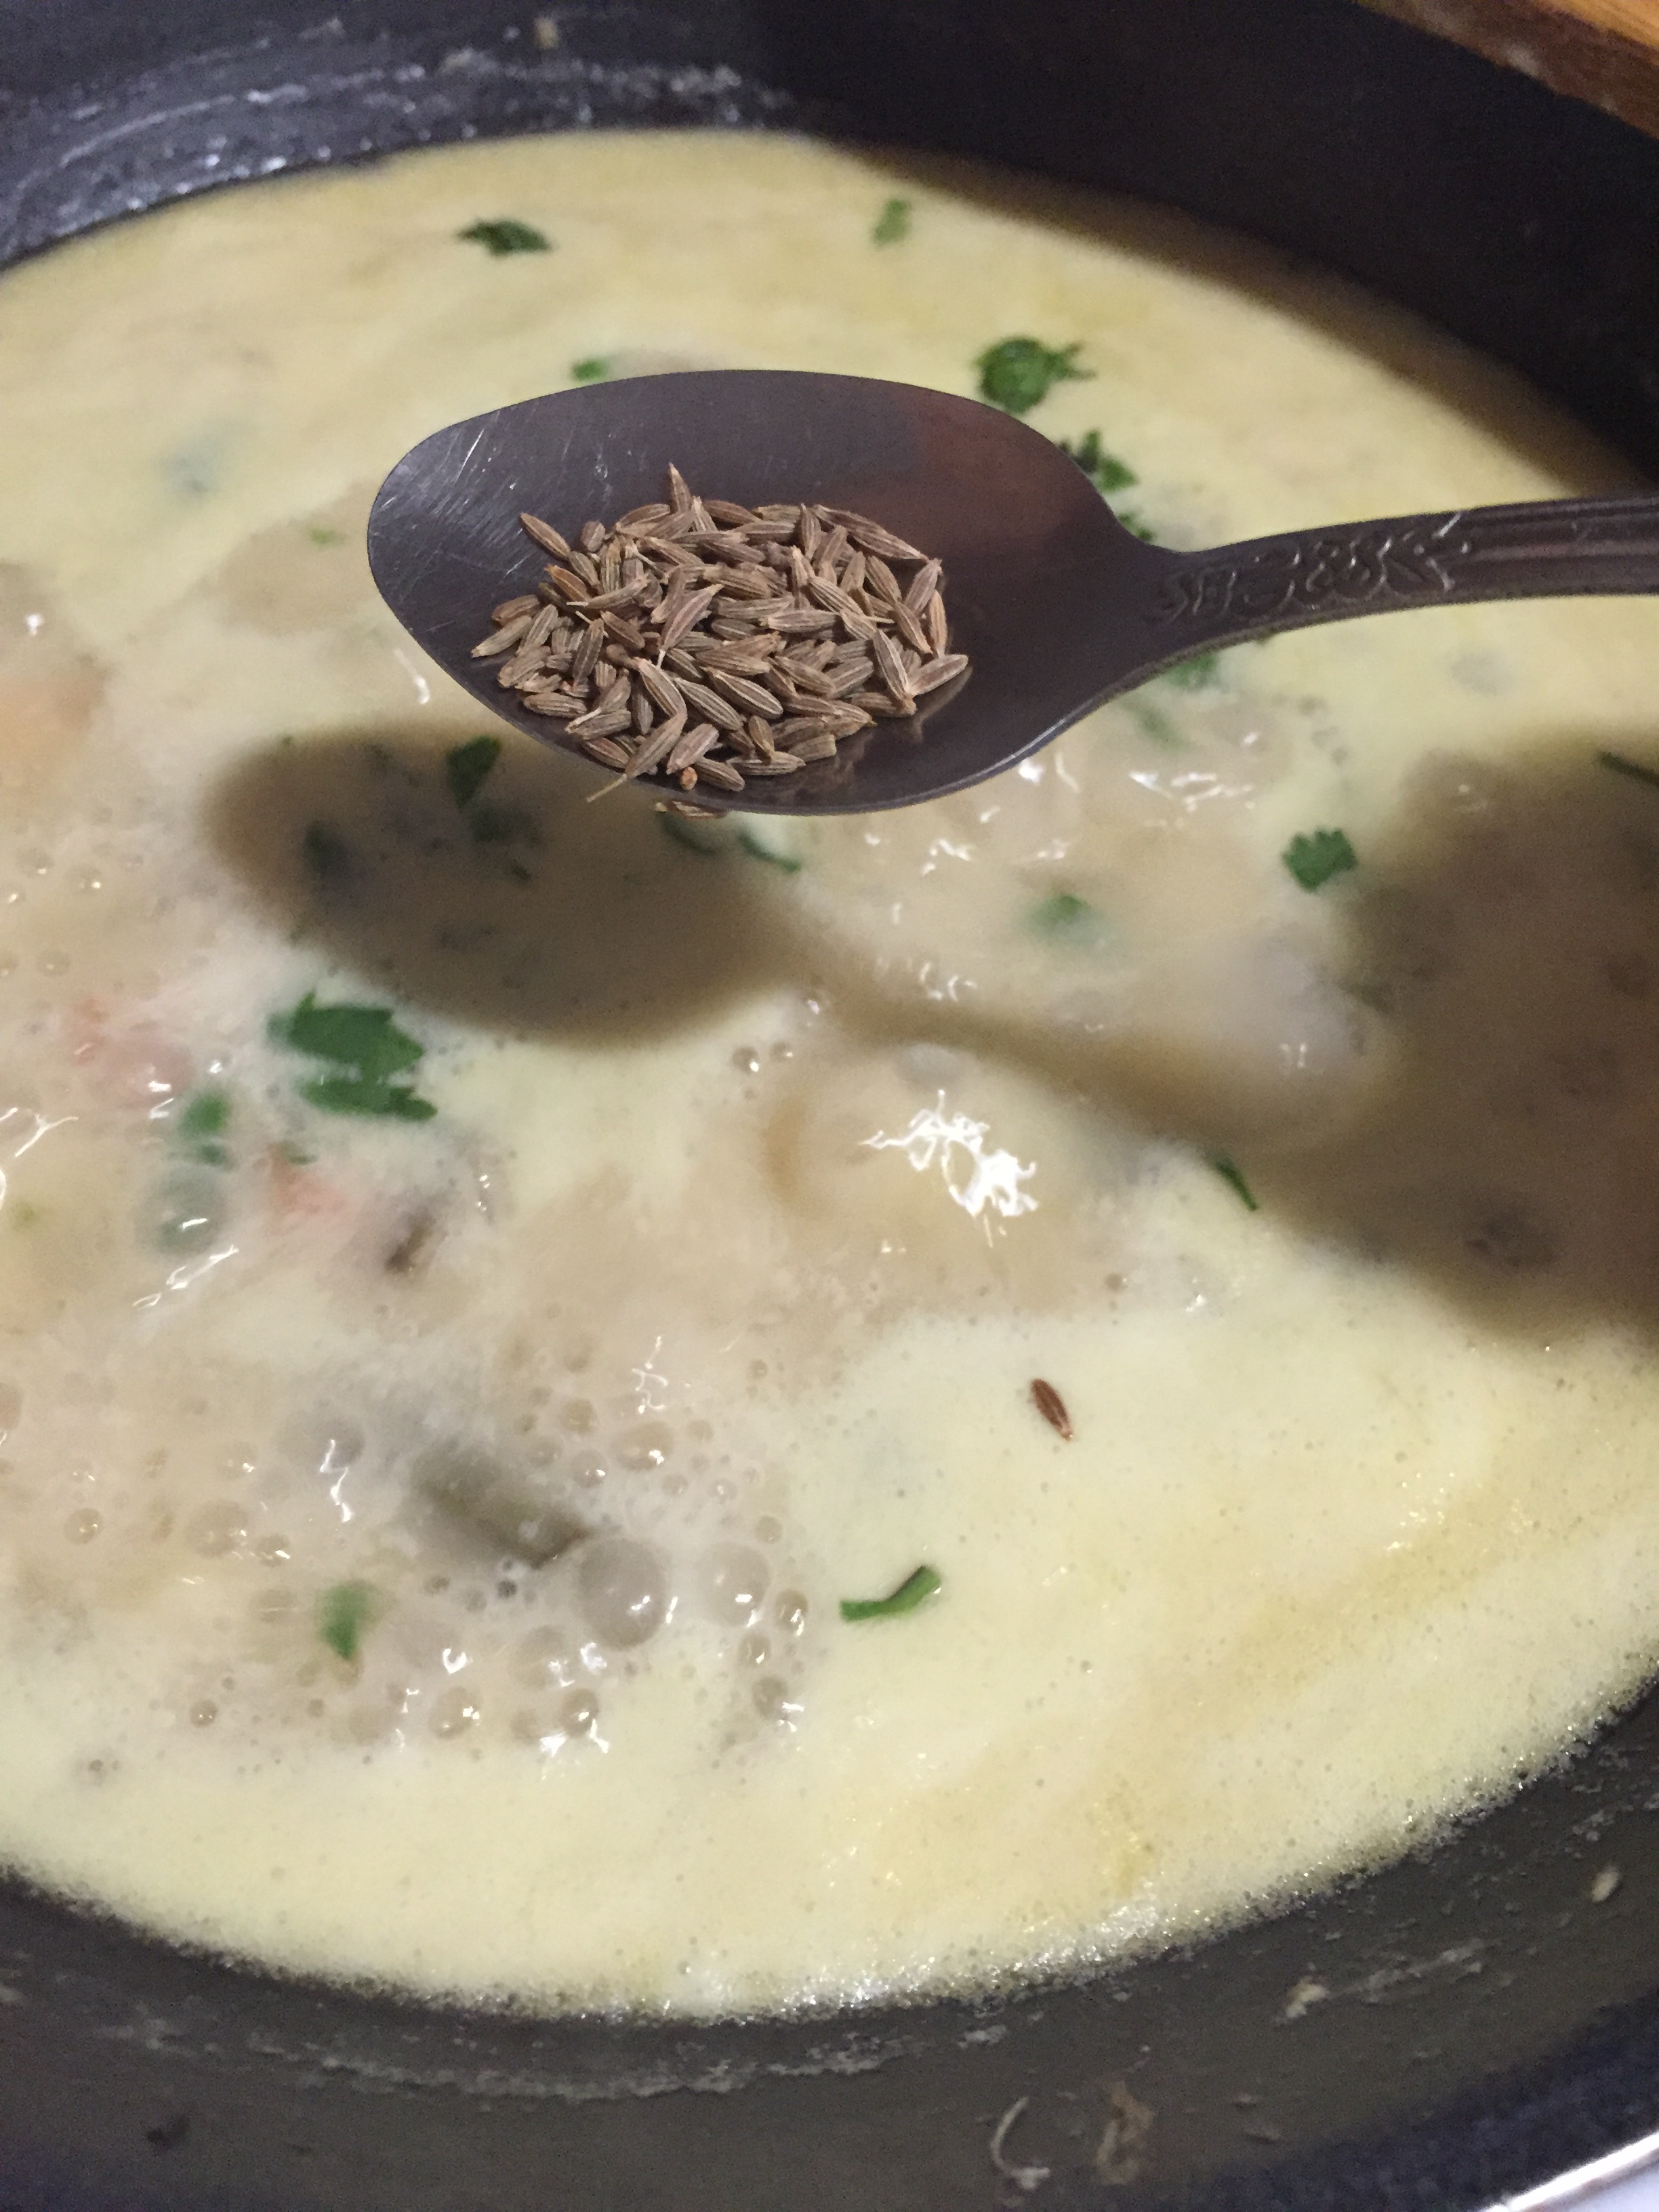
  • Fennel seeds – 1 tsp
  • Shallots , roughly chopped – 4 nos
  • Garlic cloves, crushed – 4 nos
  • Tomatoes, pureed – 2 nos
  • Turmeric powder – ½ tsp
  • Sambar powder – 2 tbsp
To grind:
  • Grated coconut – 1 tbsp
  • Shallots – 1 no
To make dumplings:
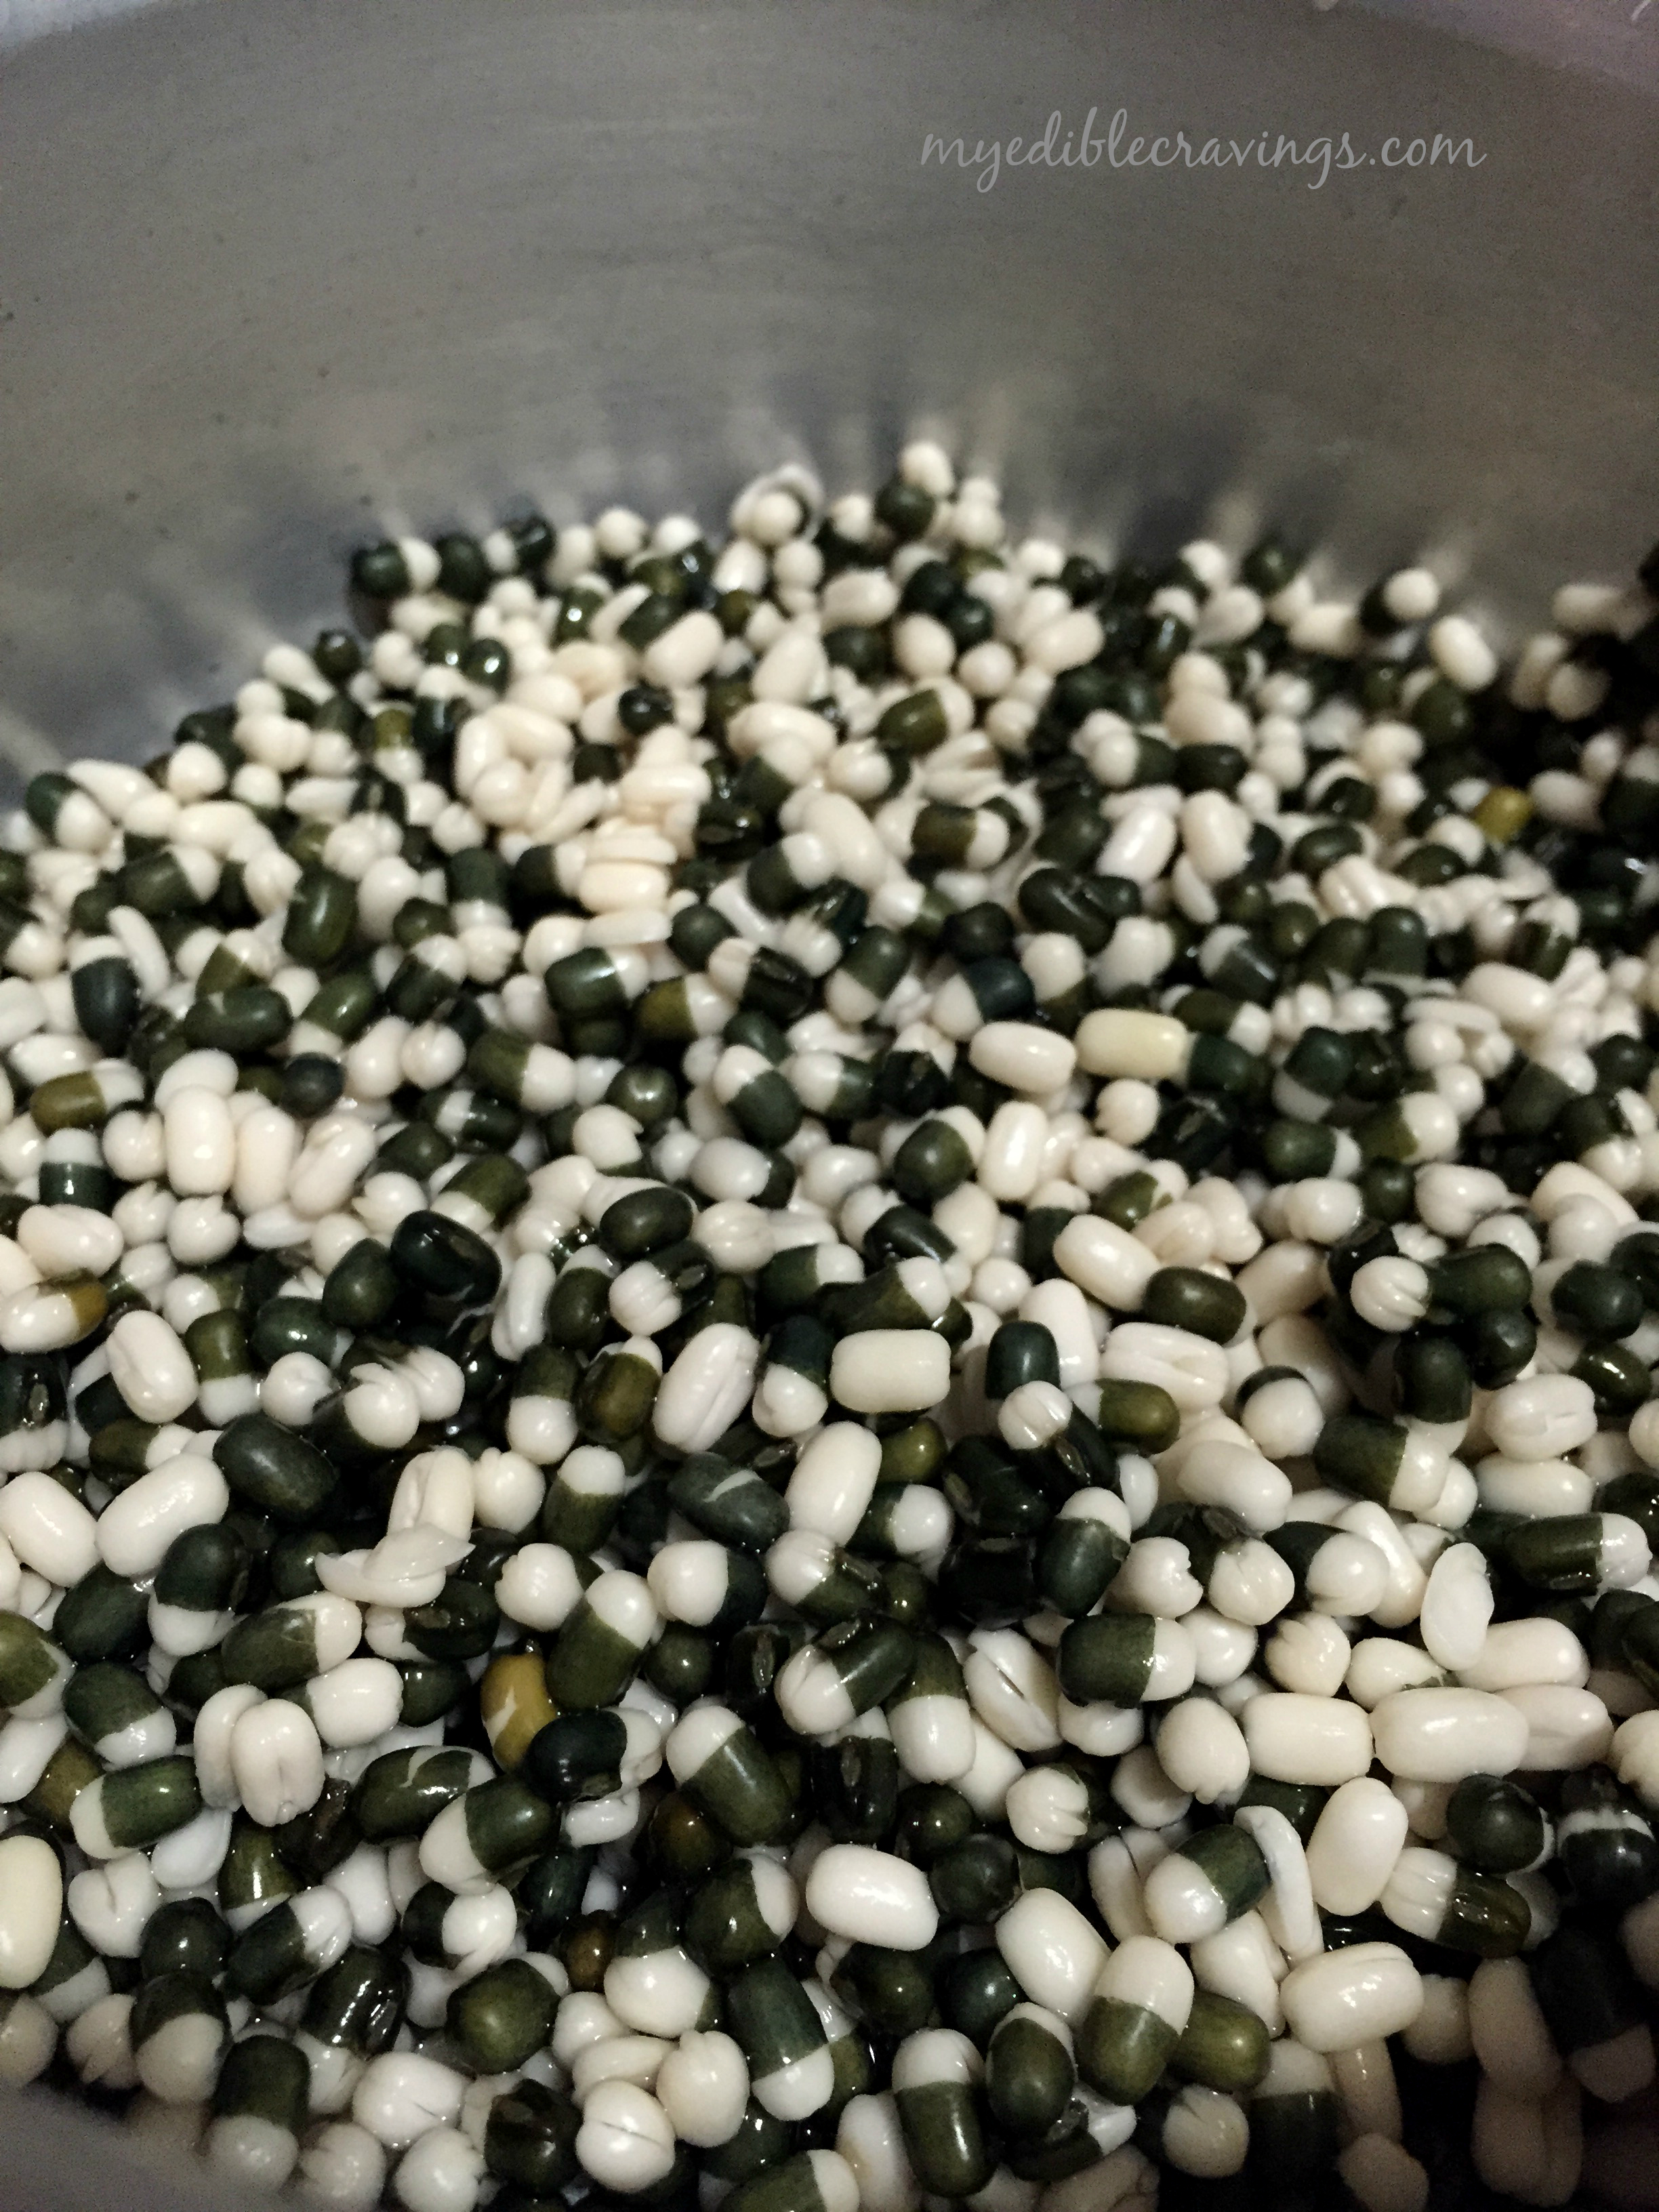
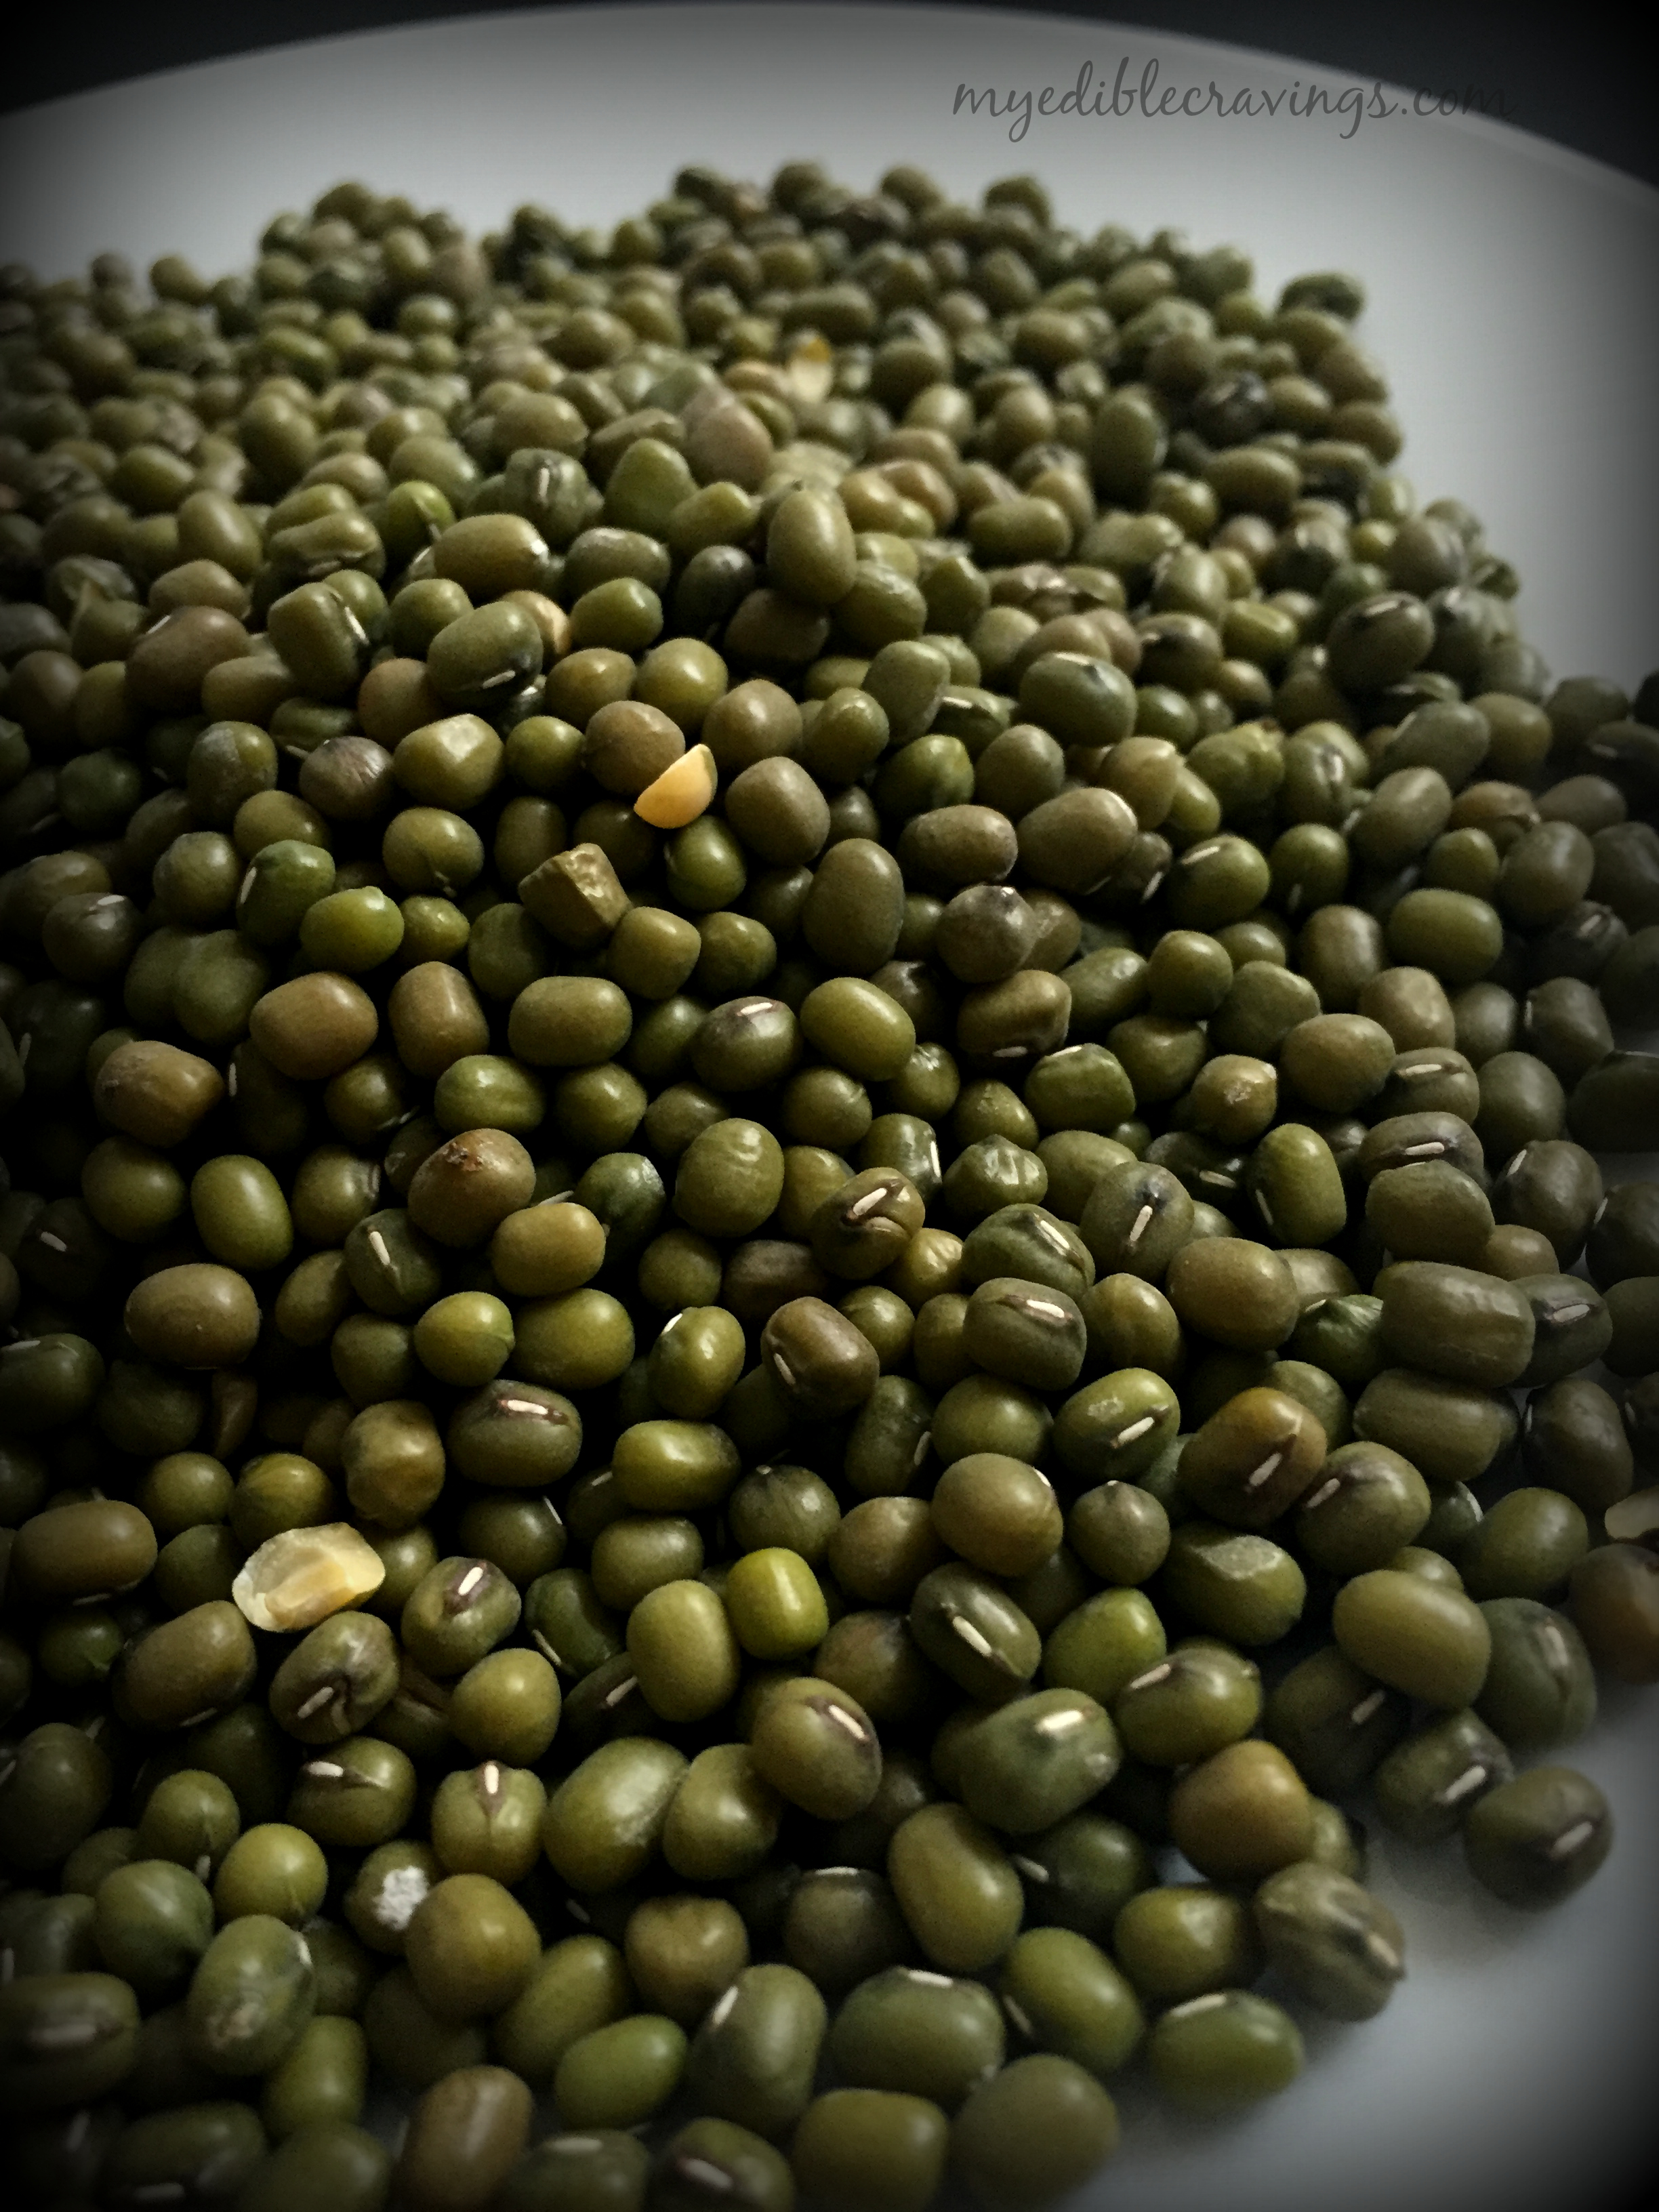
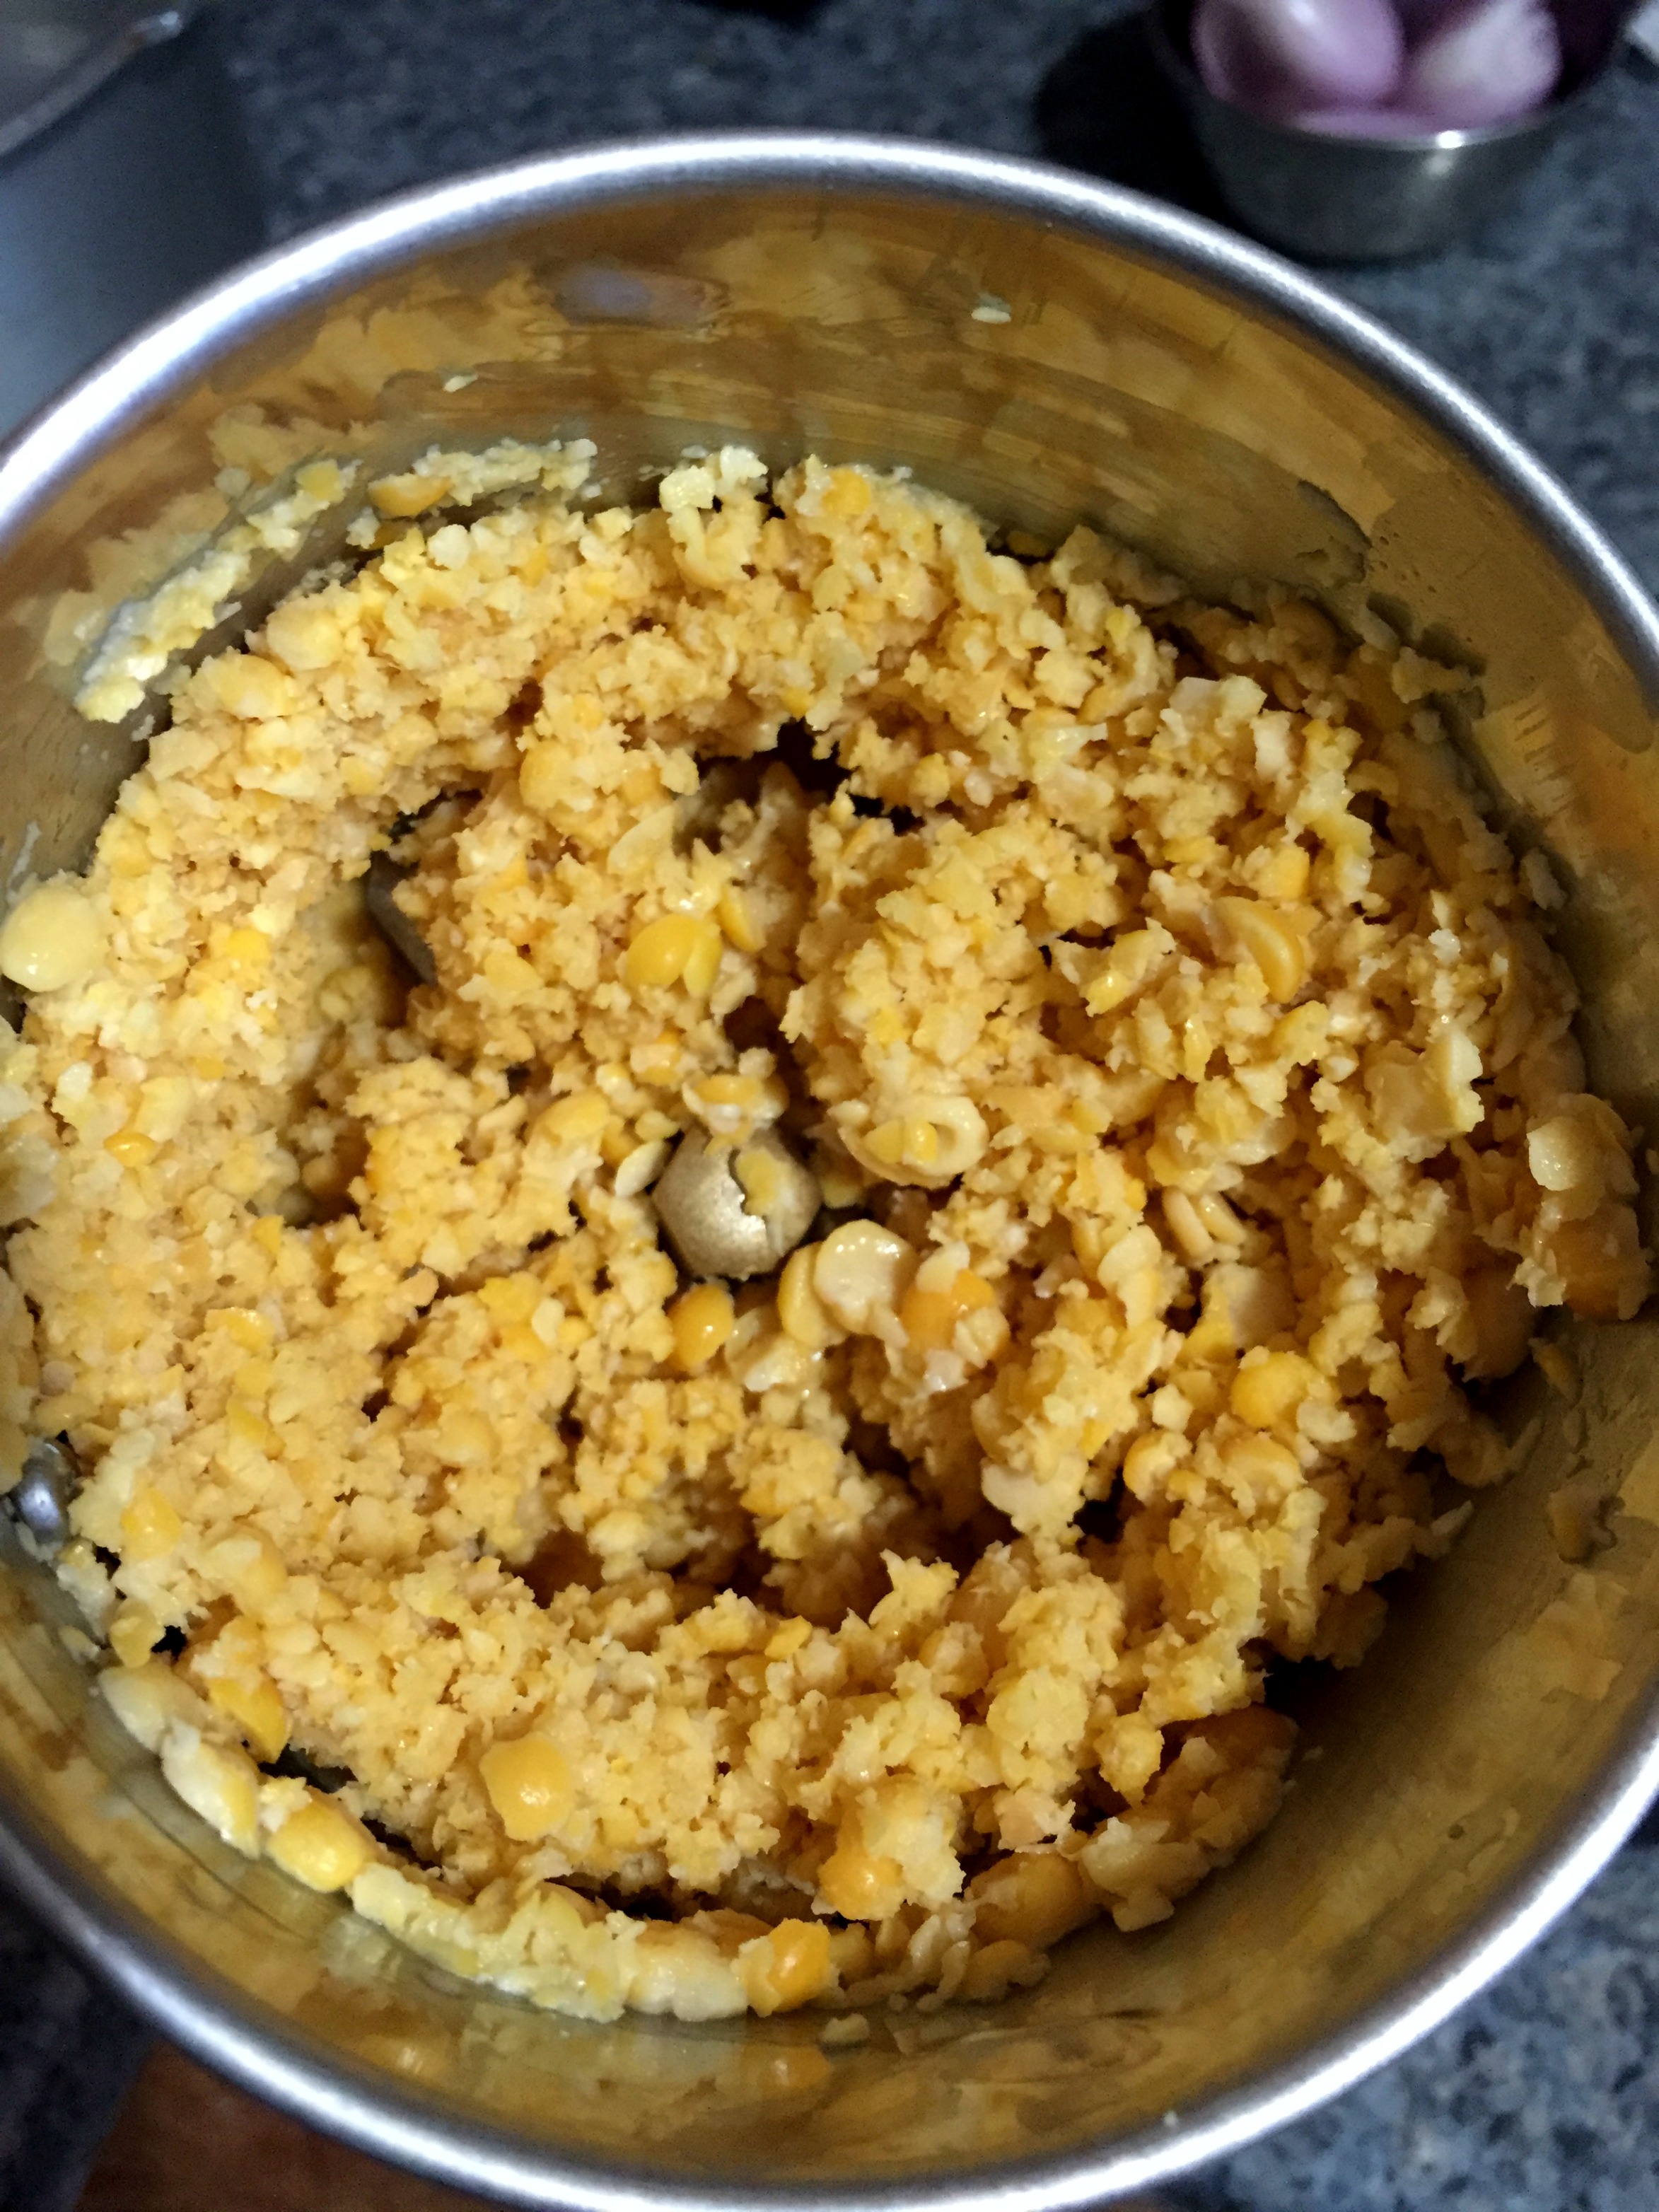
  • Toor dal, soaked and coarsely ground – ½ cup
  • Shallots, finely chopped – 3 nos
  • Garlic clove, crushed – 1
  • Turmeric powder – a pinch
  • Sambar powder – ½ tsp
  • Salt – a pinch
Instructions
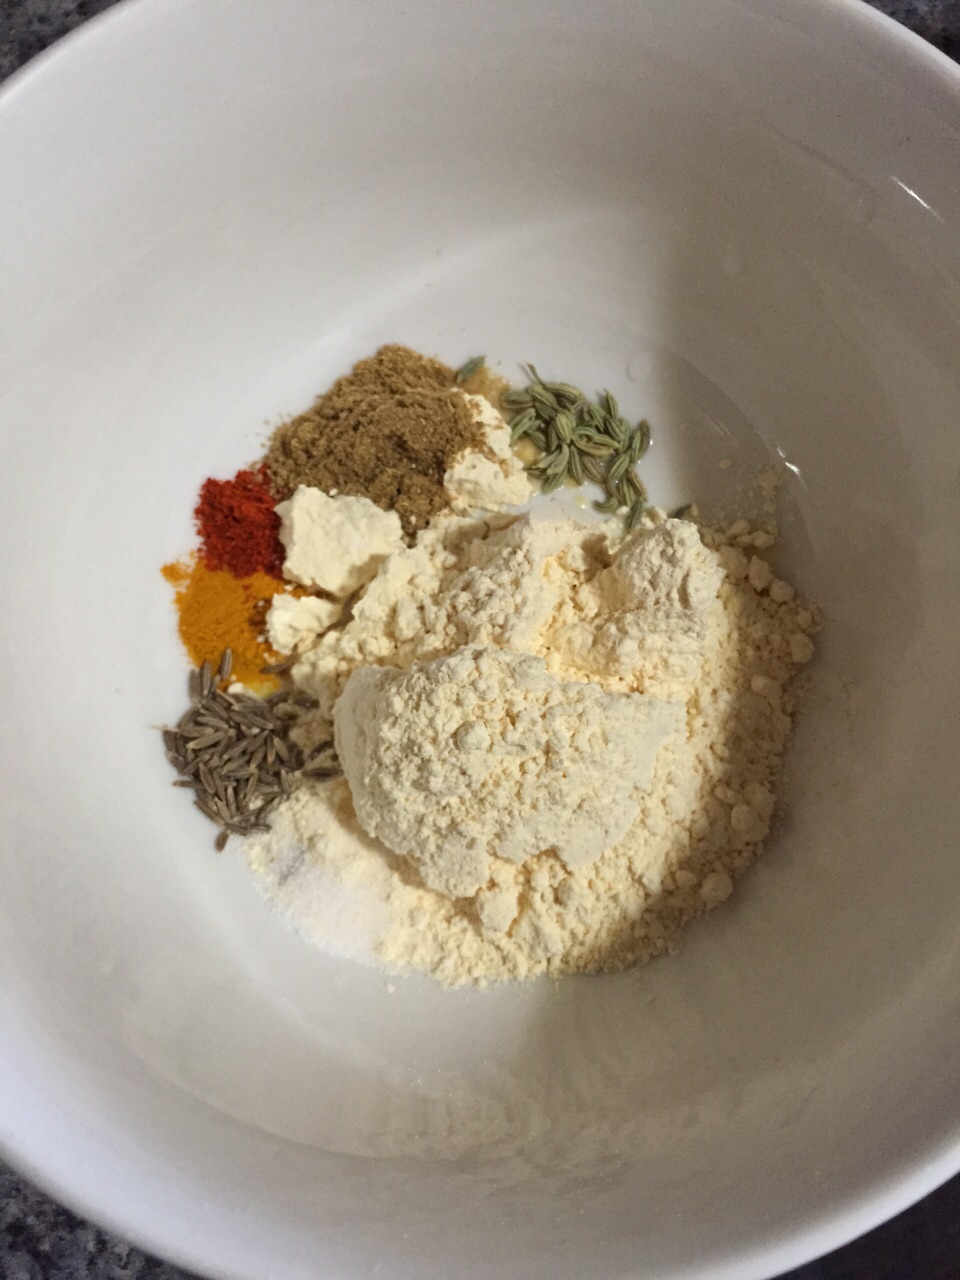
  1. Soak dal in water for one hour. Drain the water completely and grind them coarsely in a blender. Just pulse them like how you make for paruppu vada.
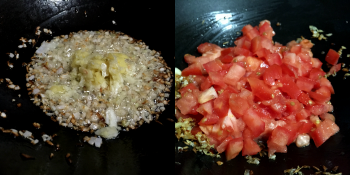
  2. Crush the garlic cloves and chop the shallots. Make tomato puree and keep it ready. Grind grated coconut along with a shallot to a fine paste and keep it aside.
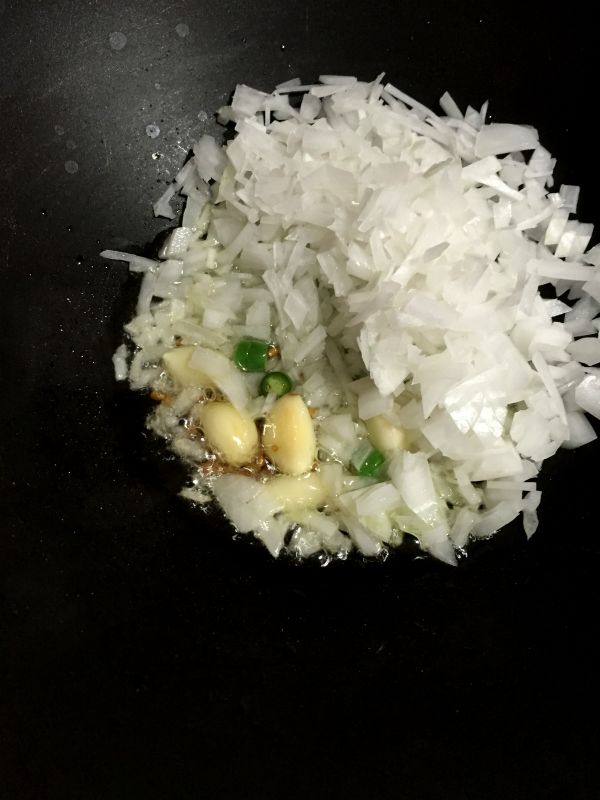
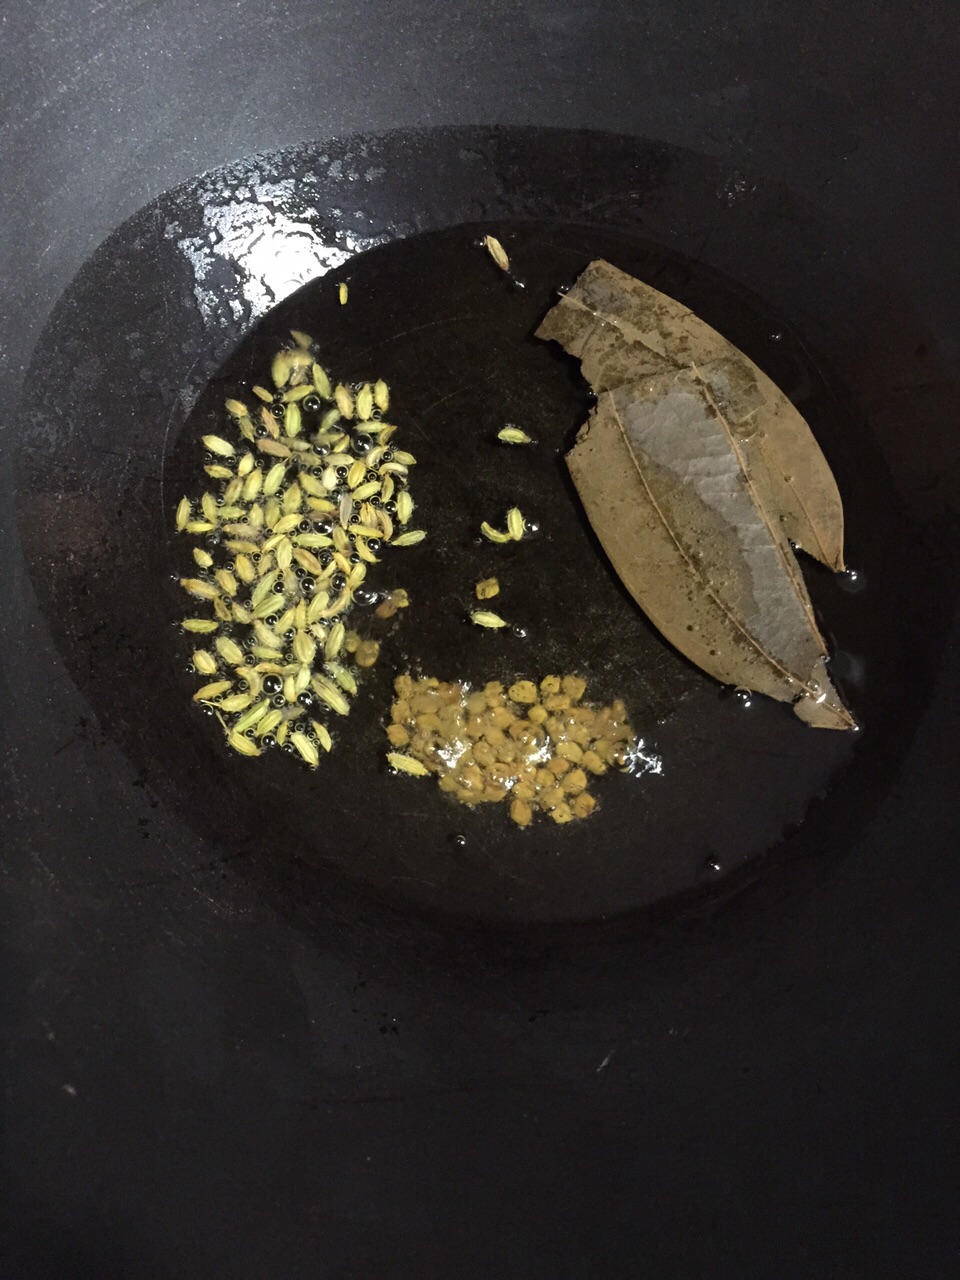
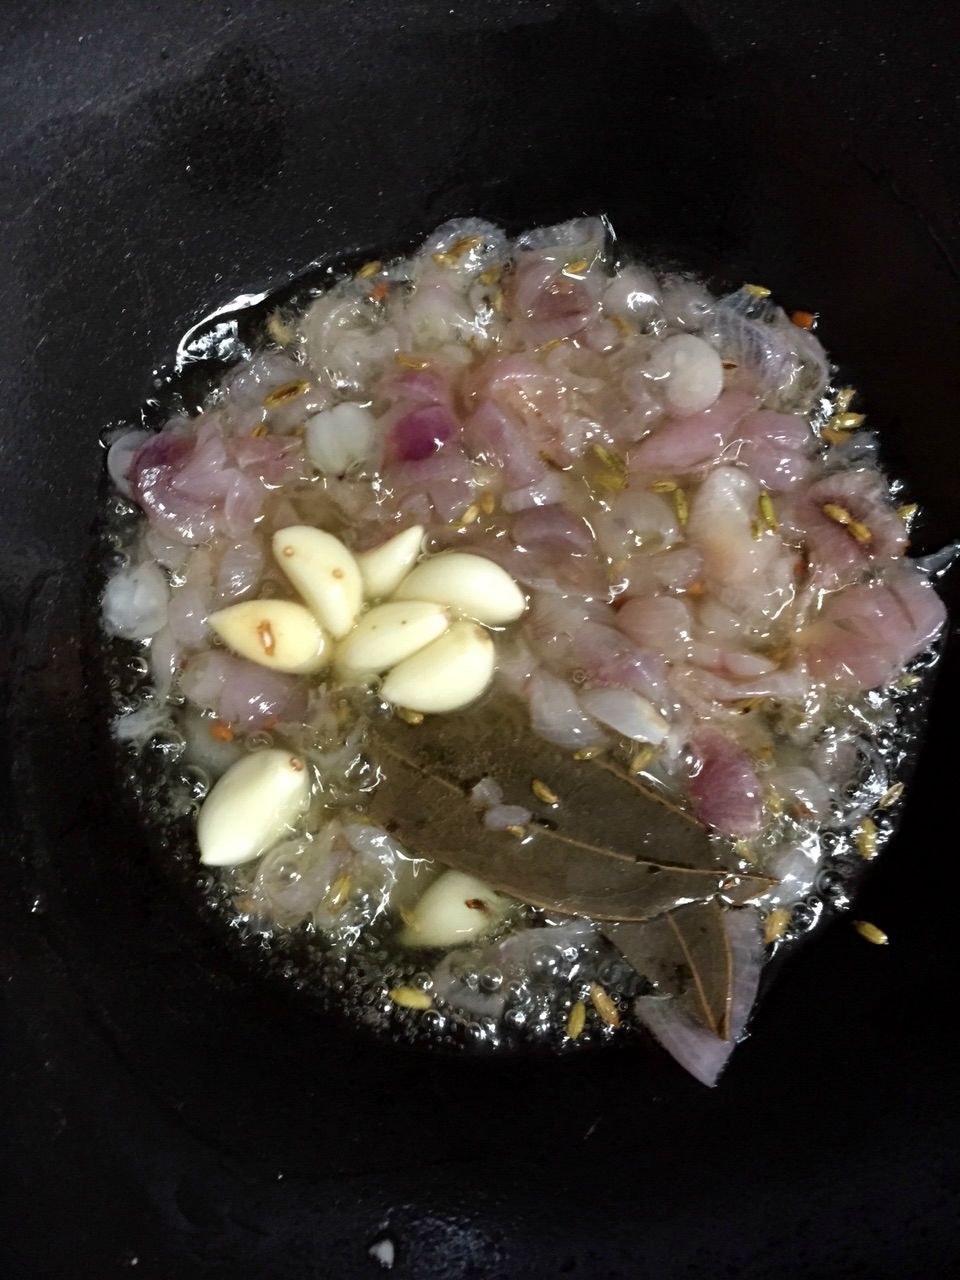
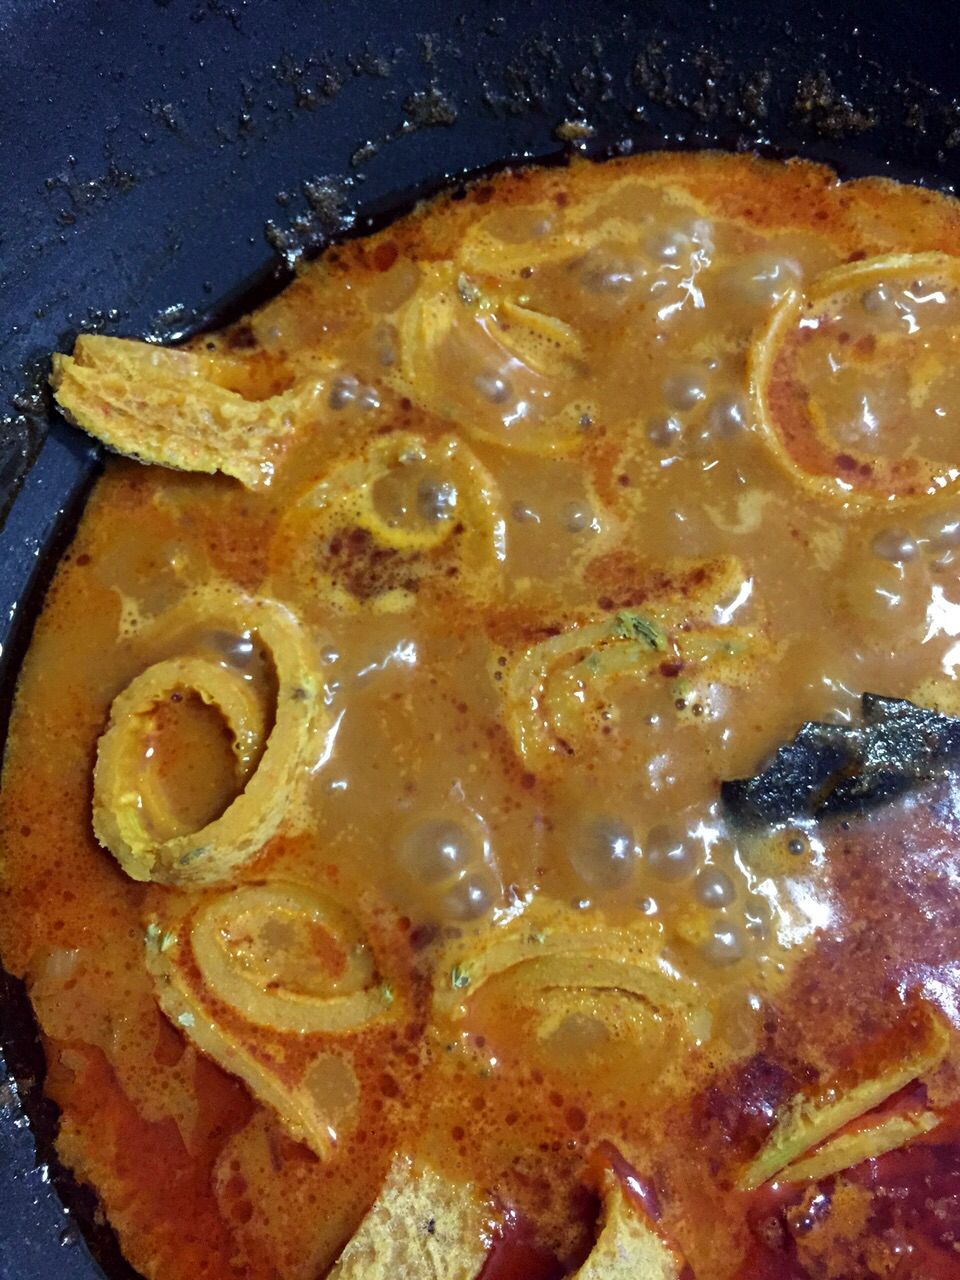
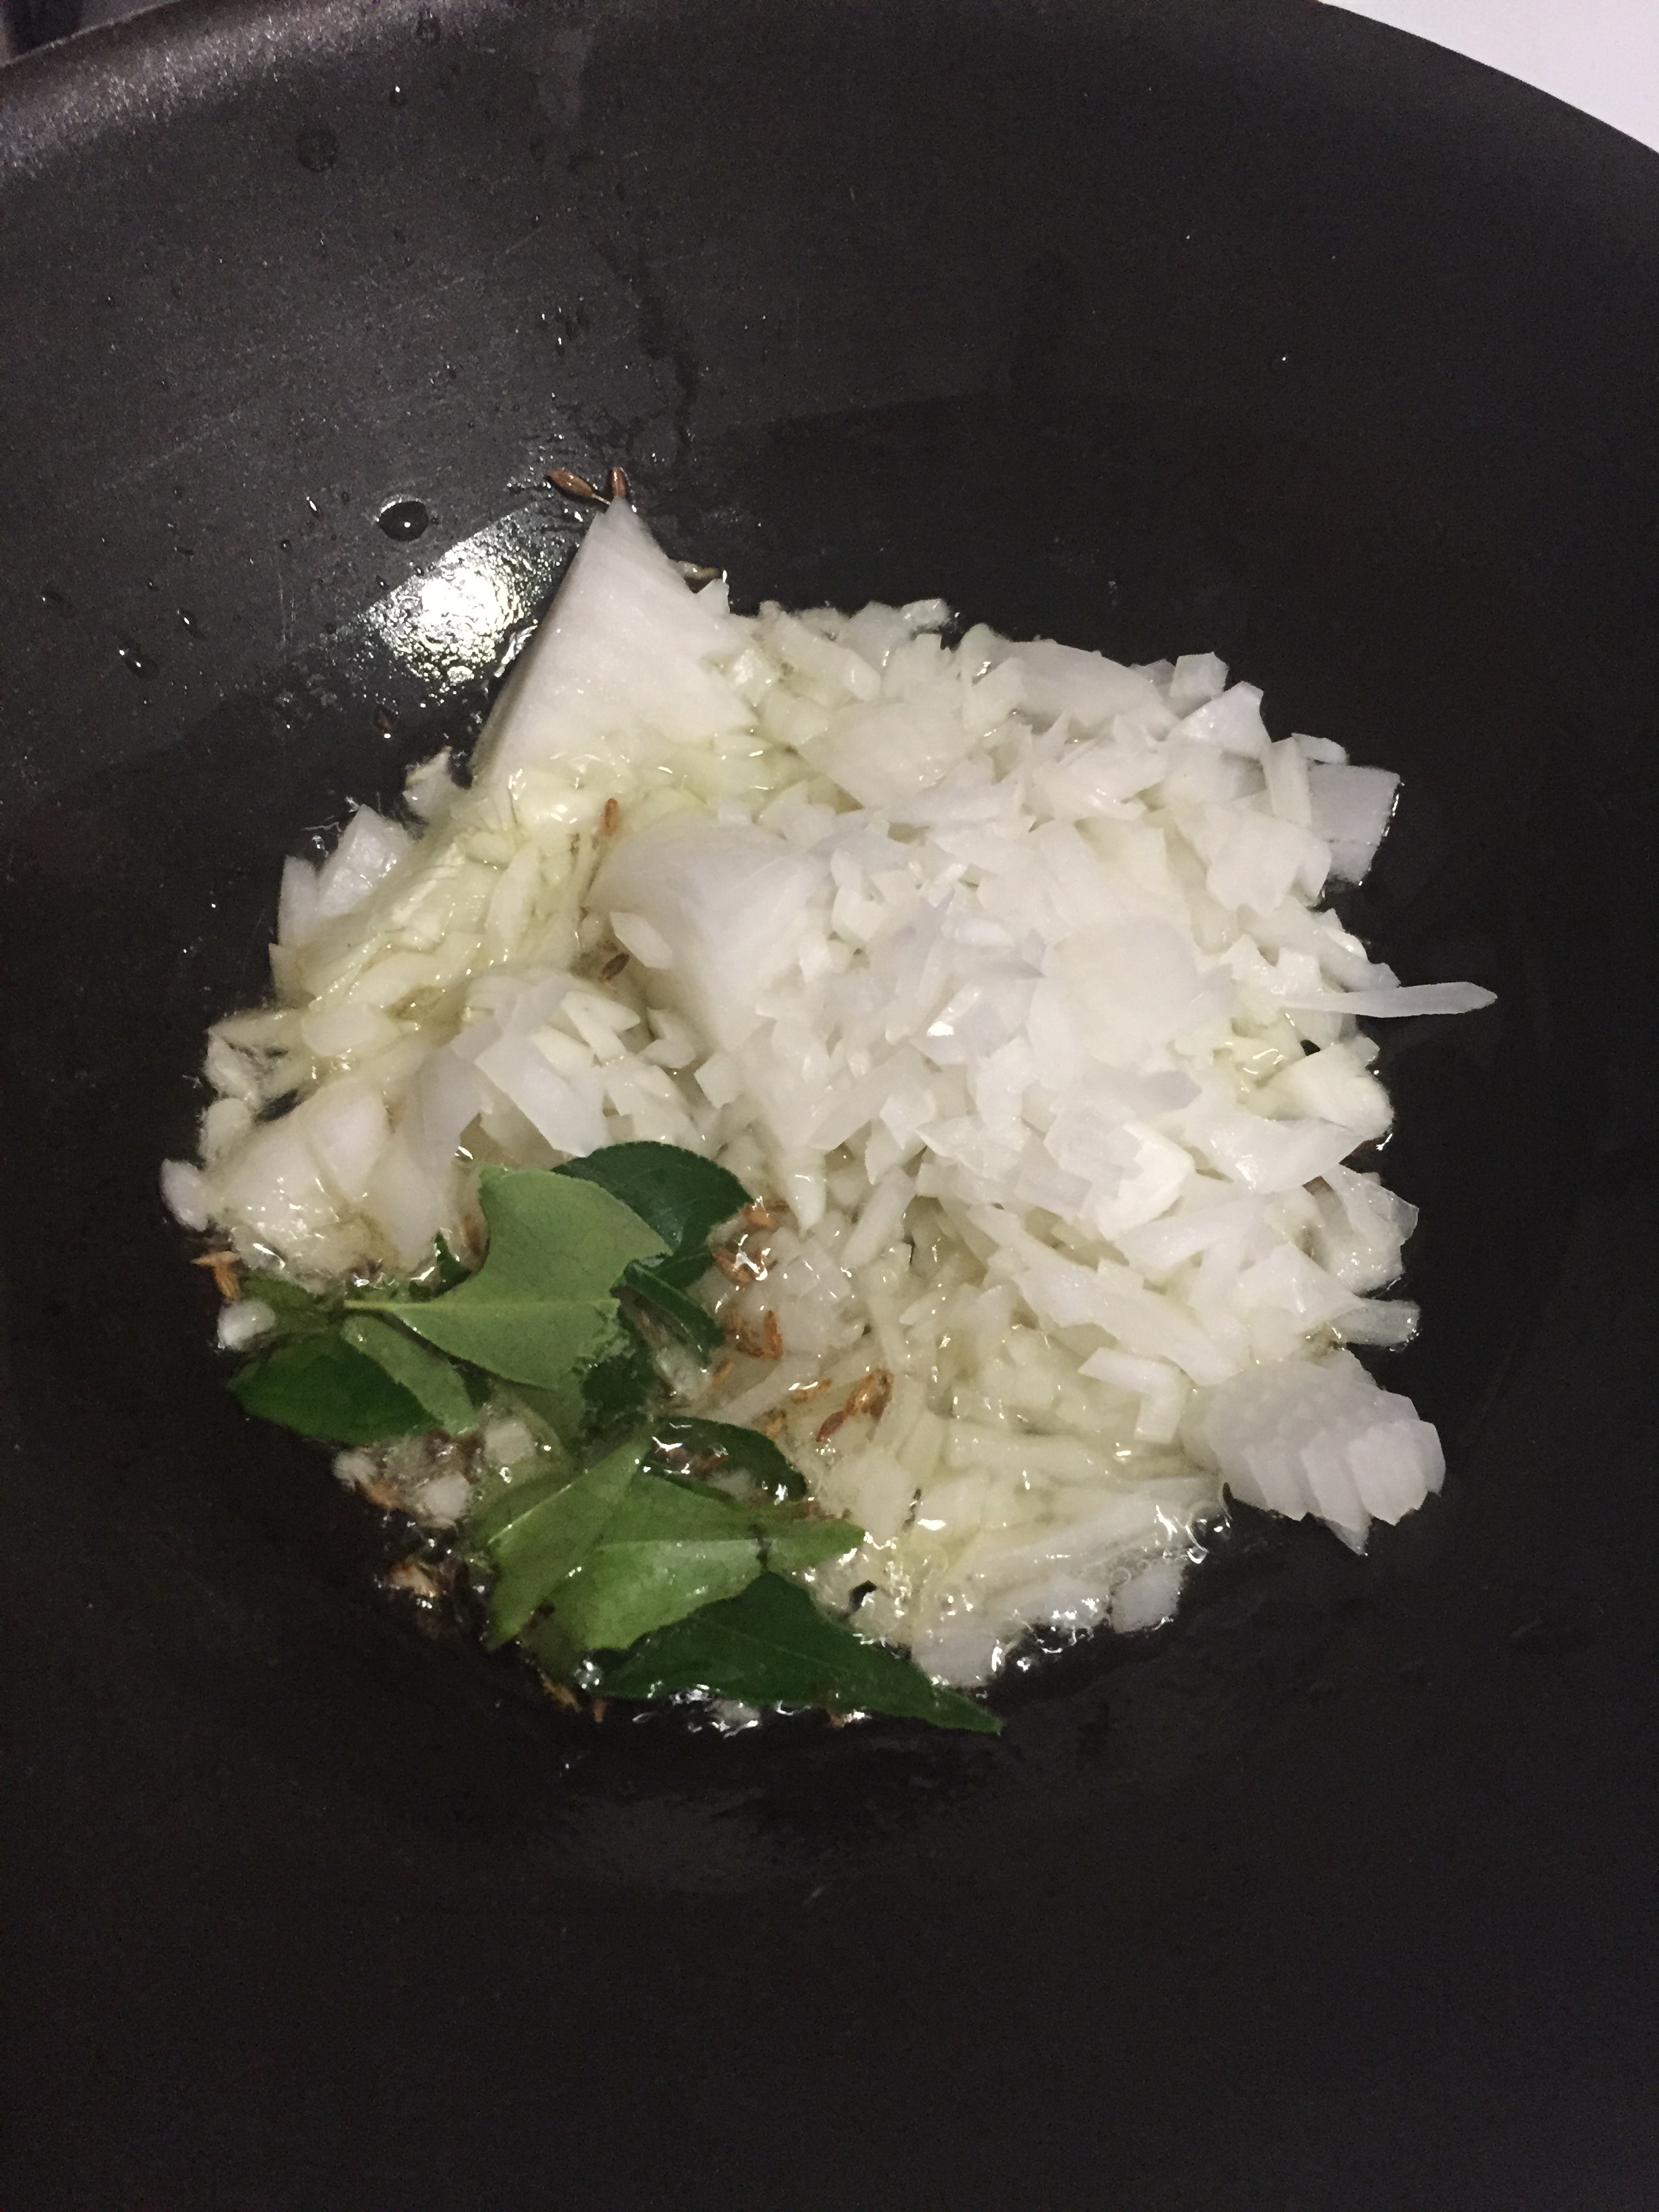
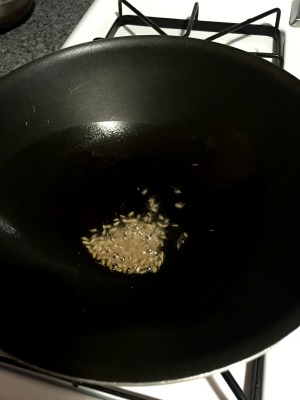
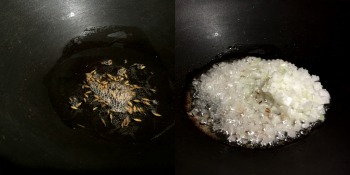
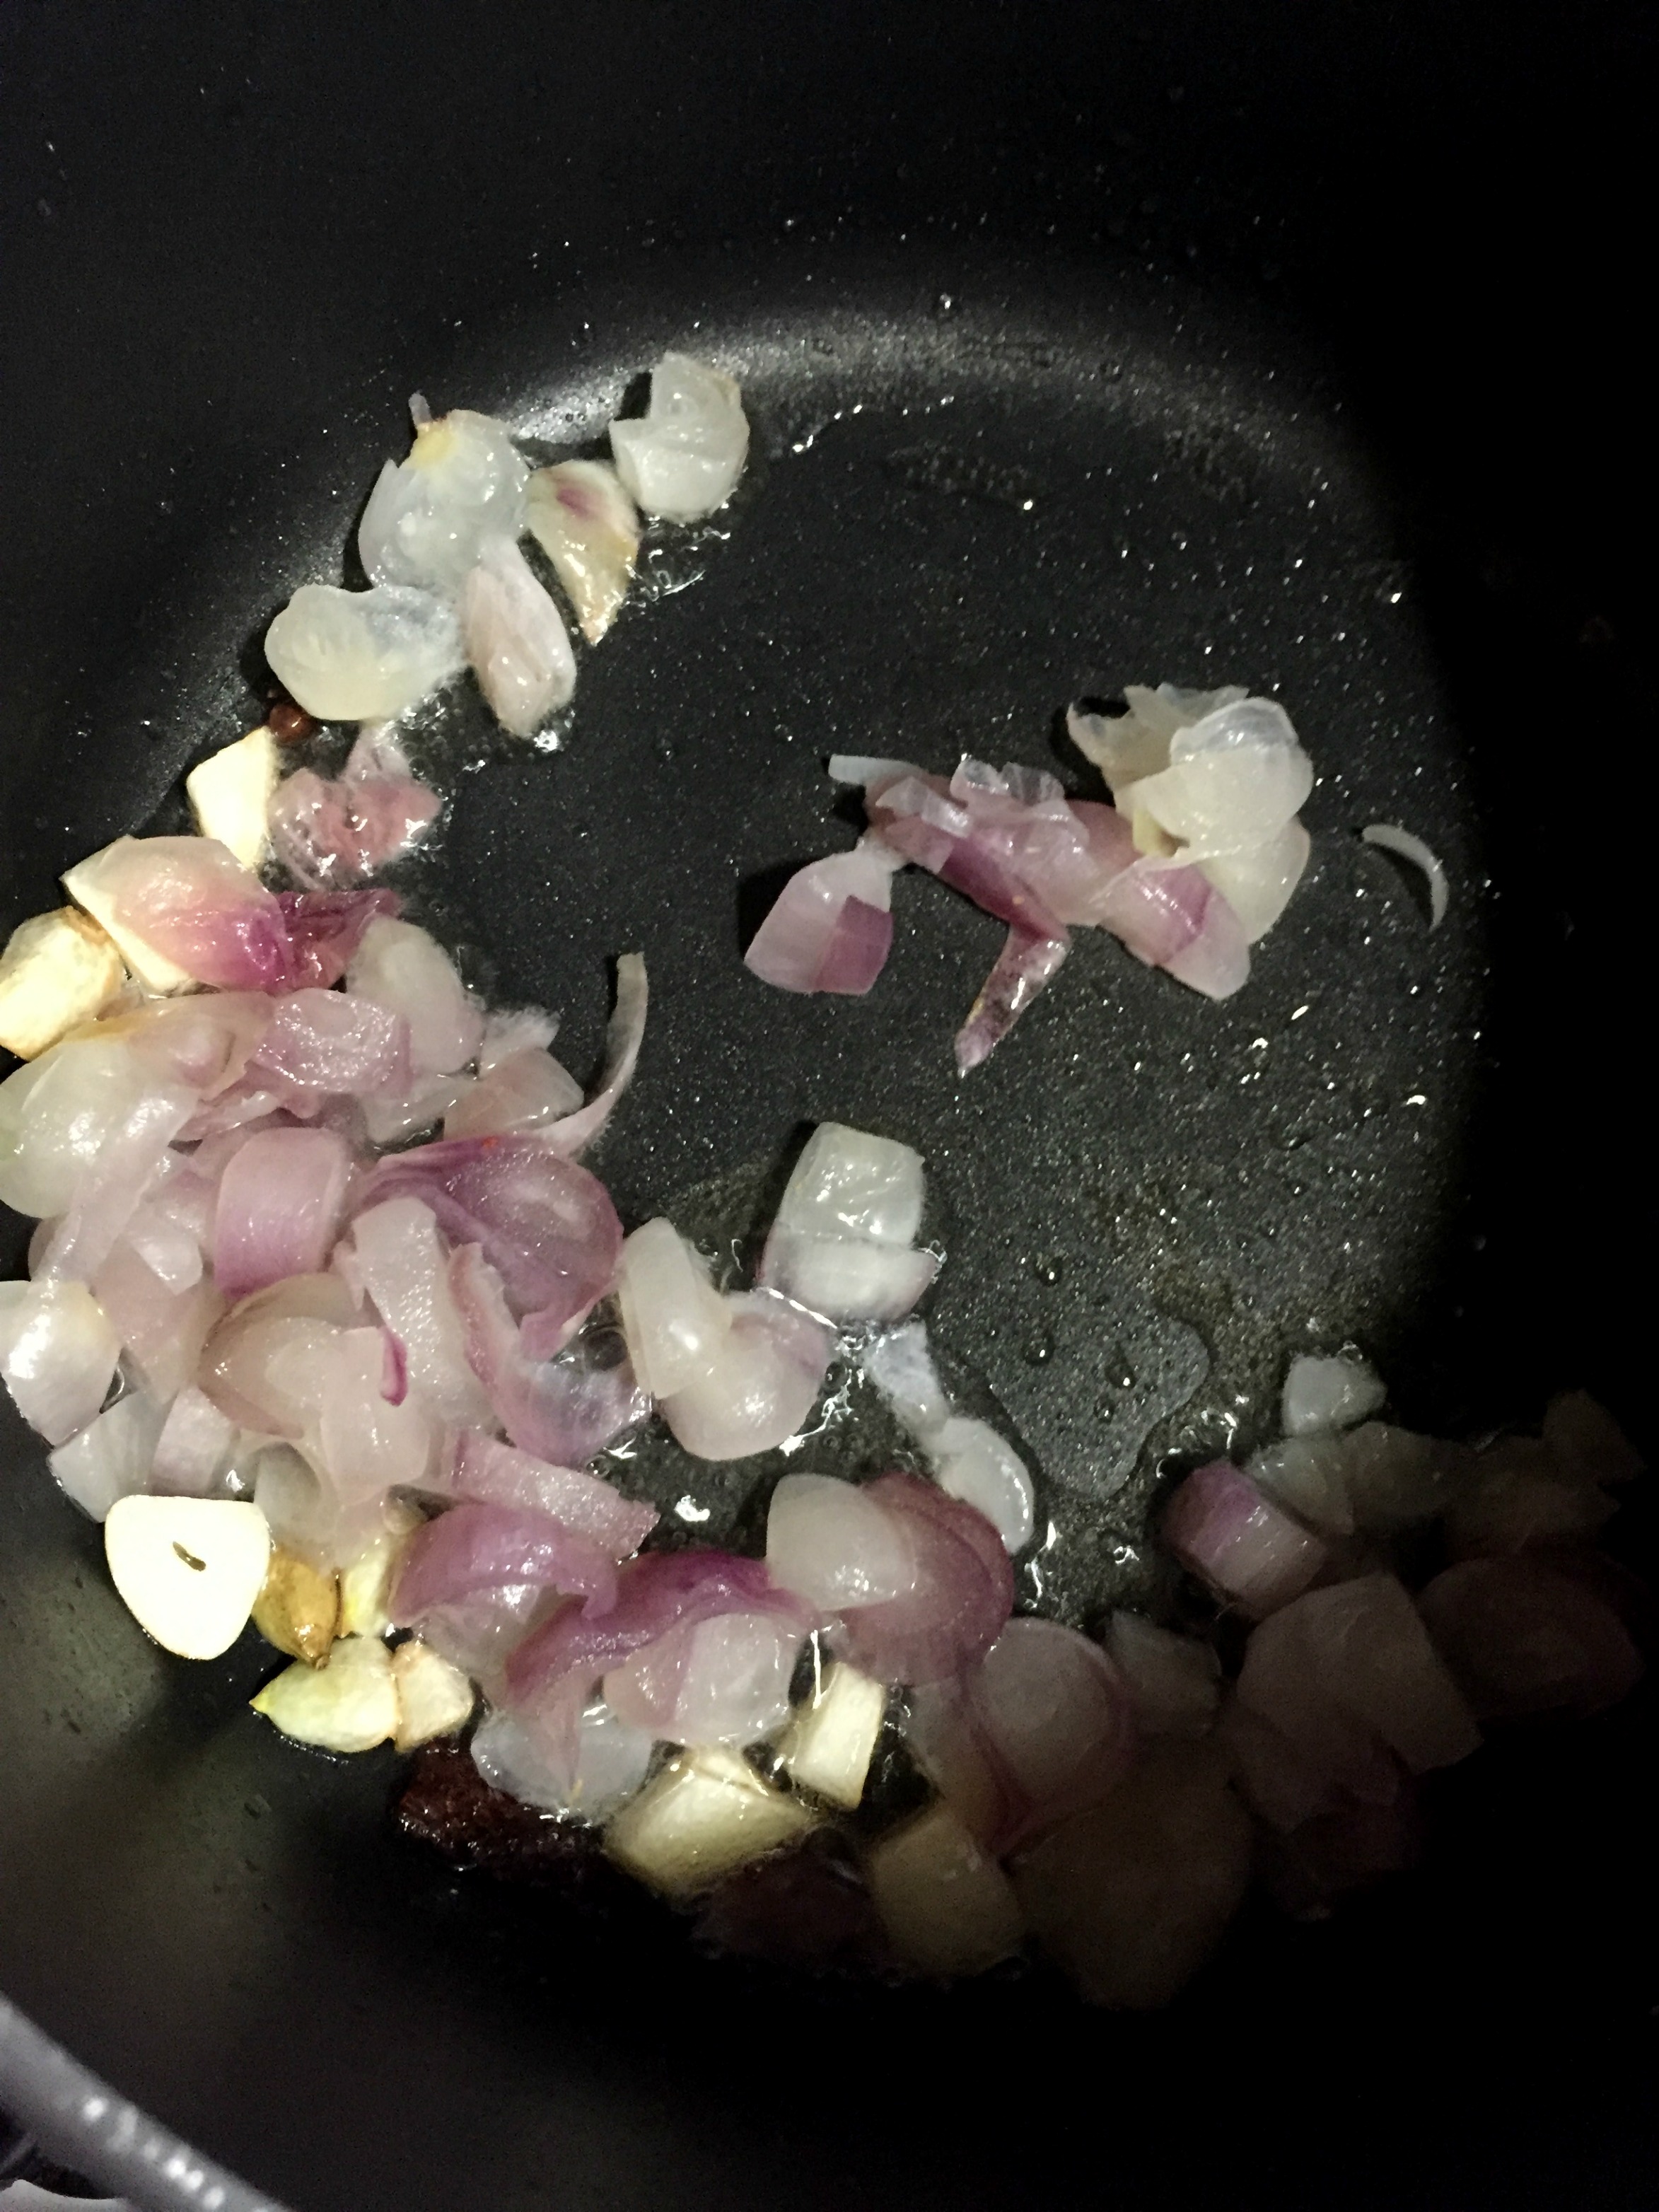
  3. Heat a pan with oil and season with cloves, cinnamon and fennel seeds.
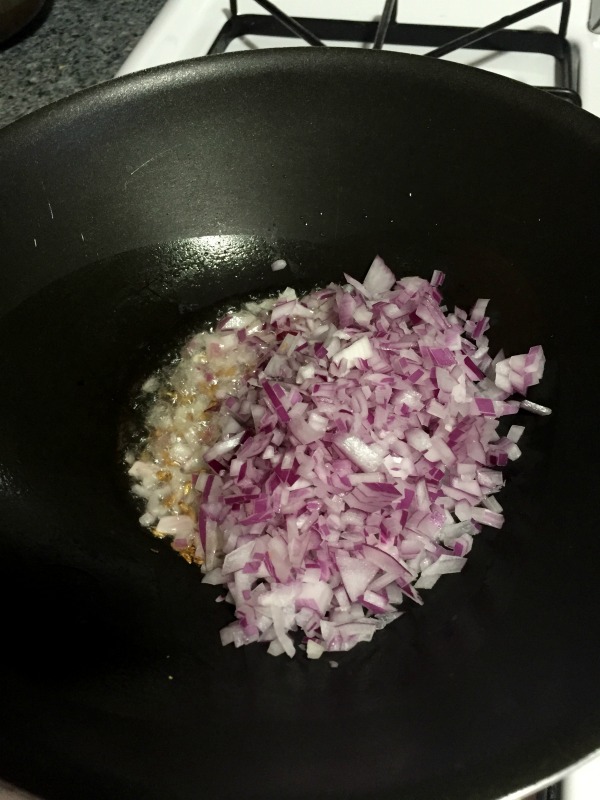
  4. Add shallots and sauté well. Add the crushed garlic cloves.
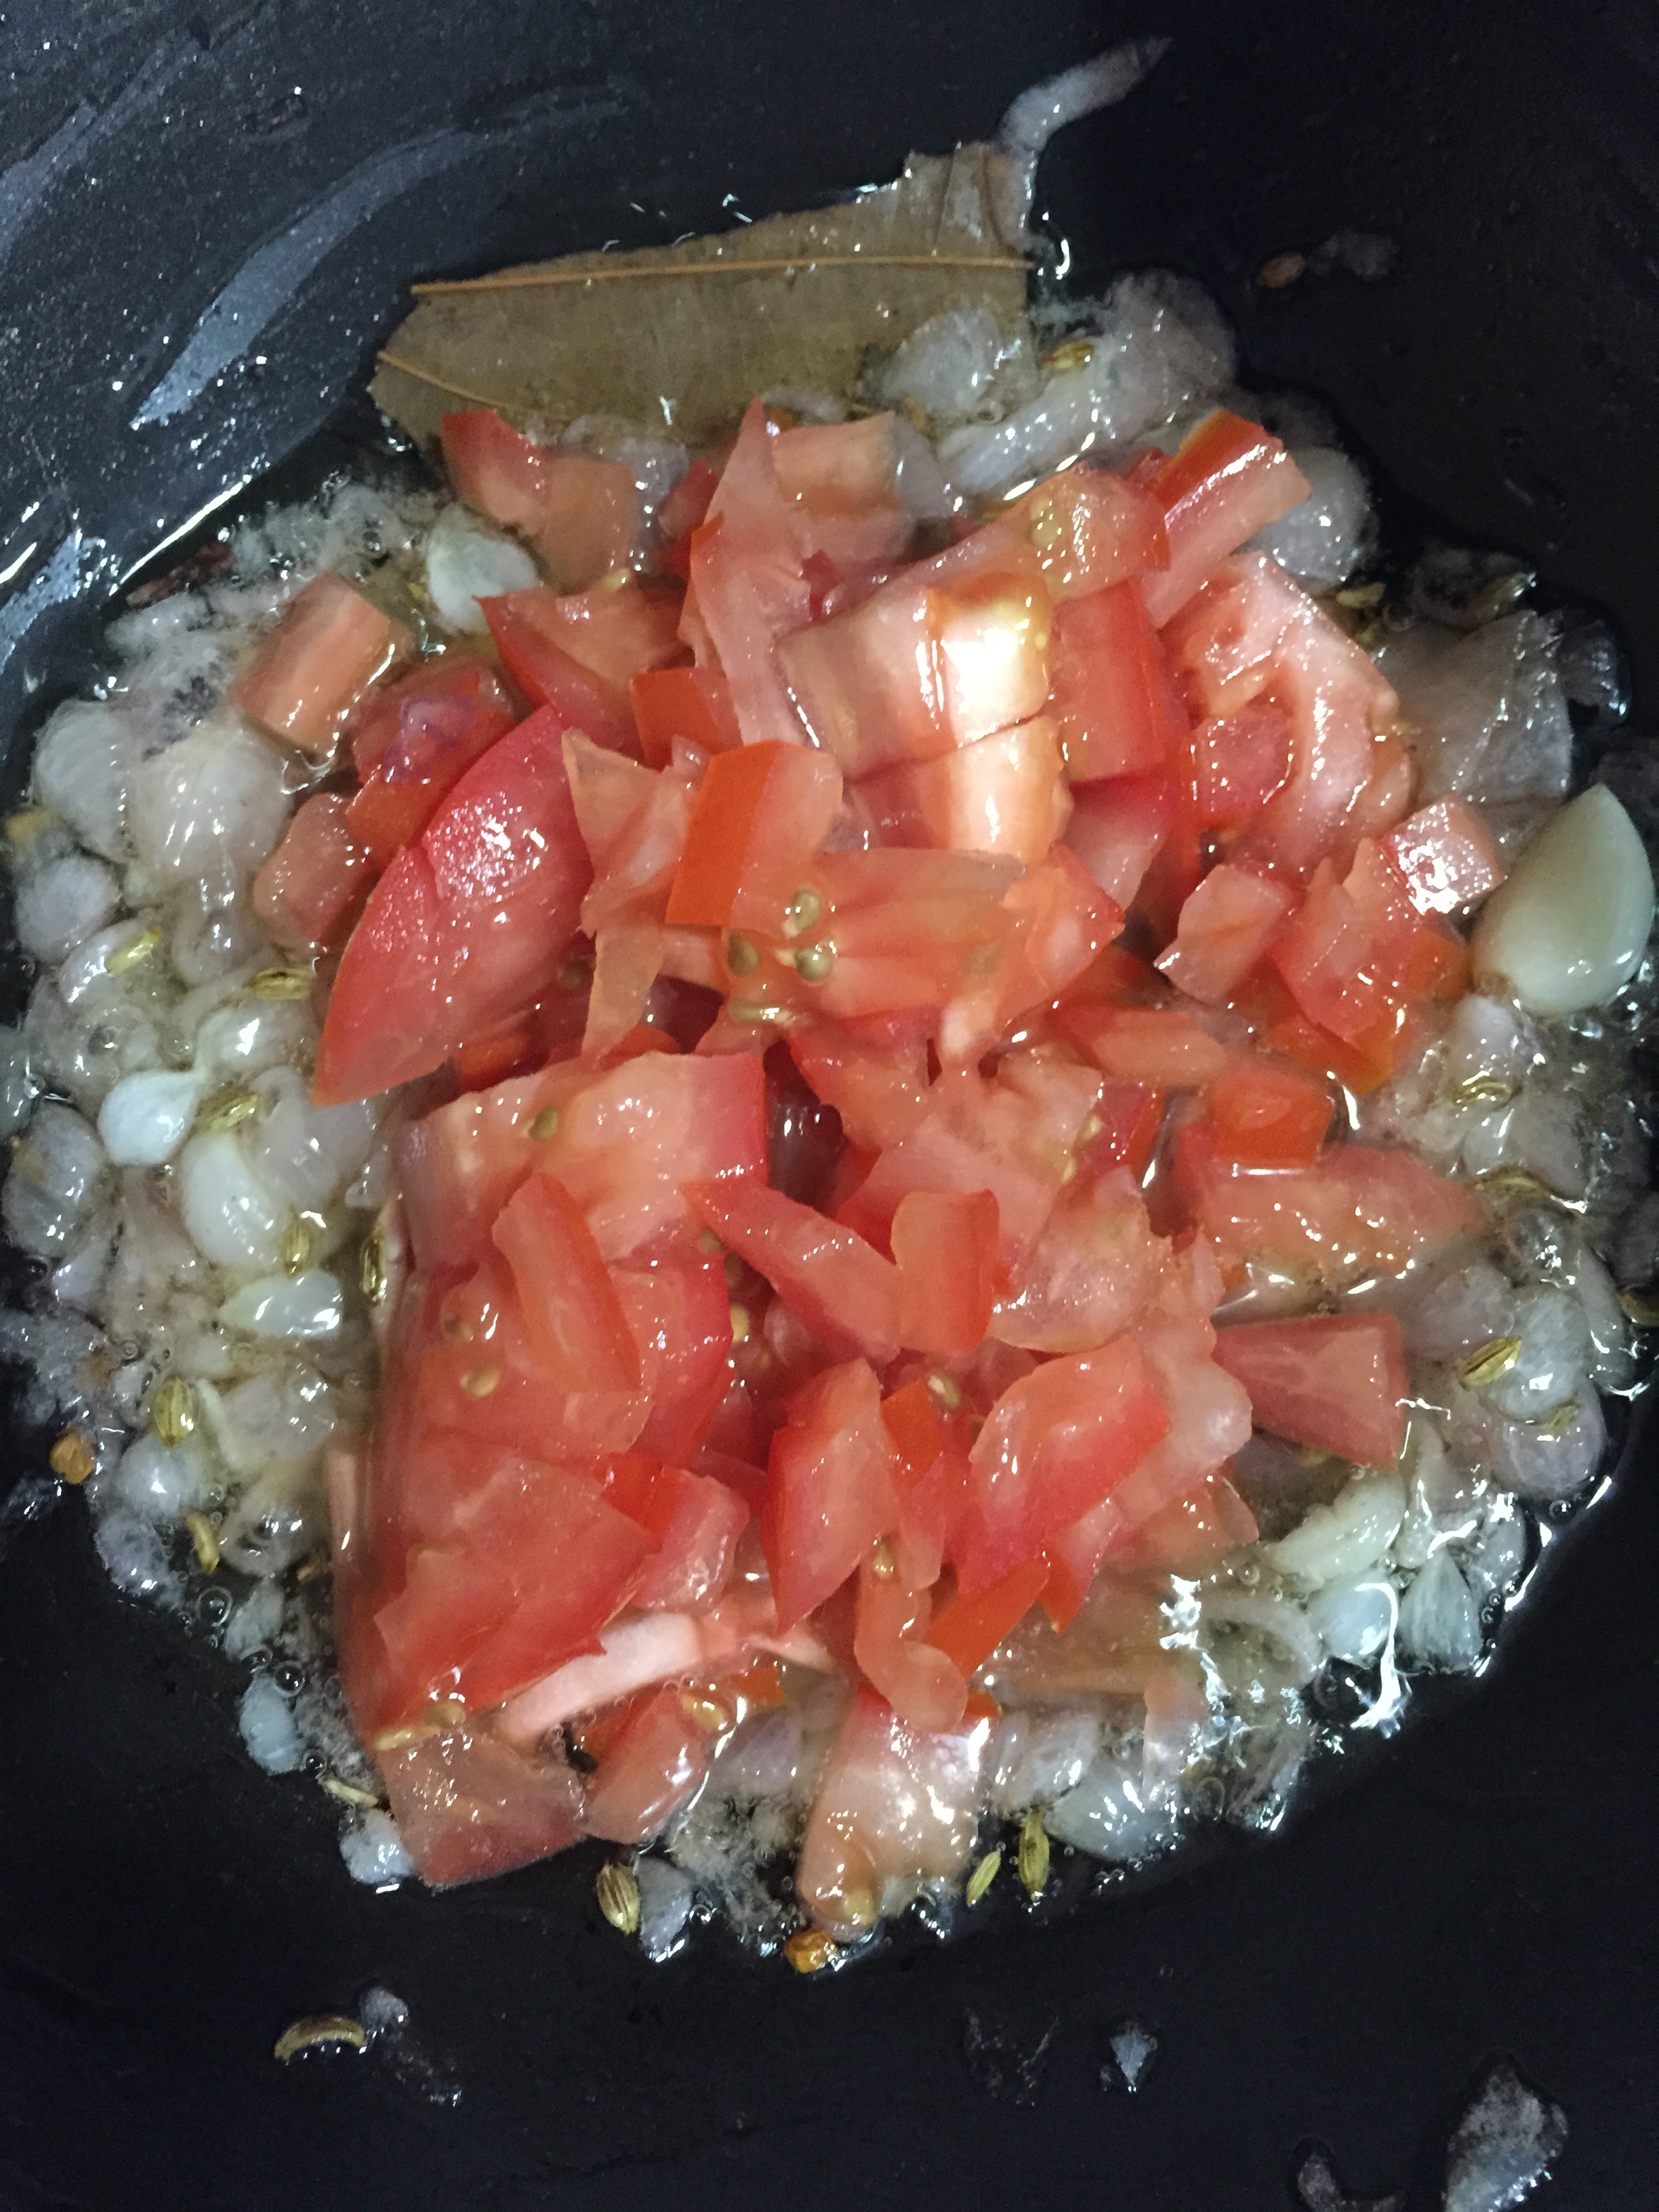
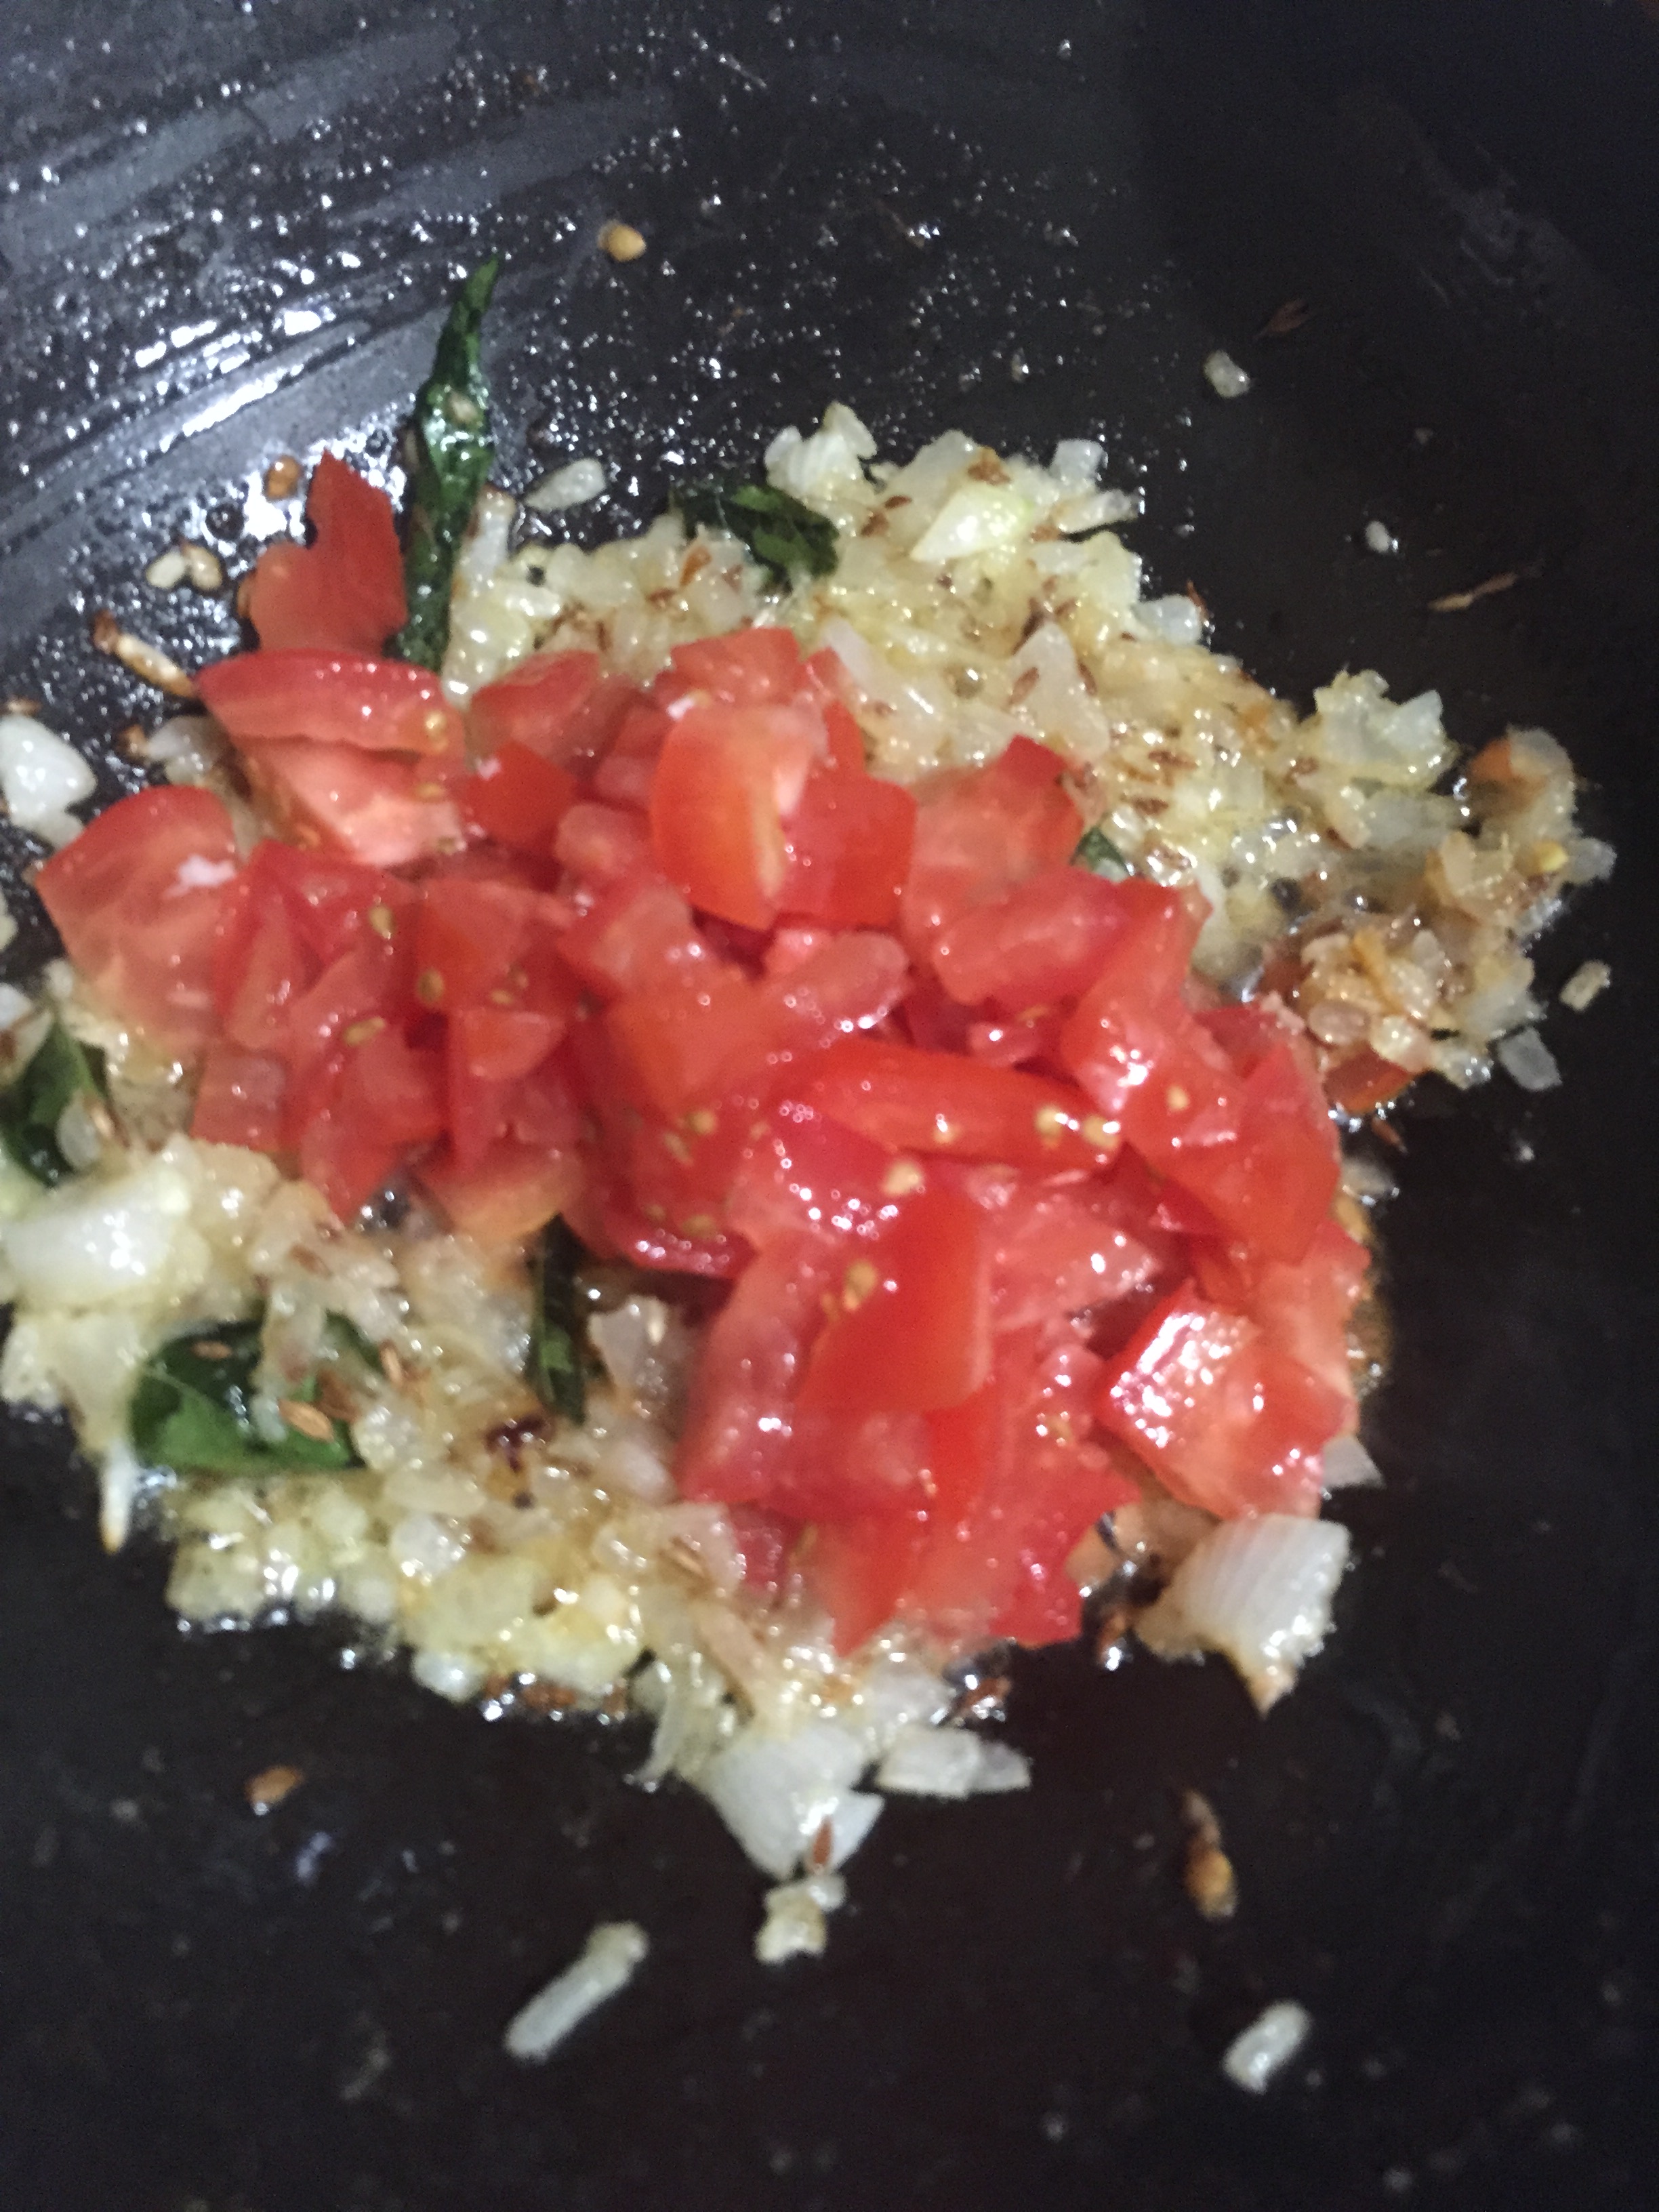
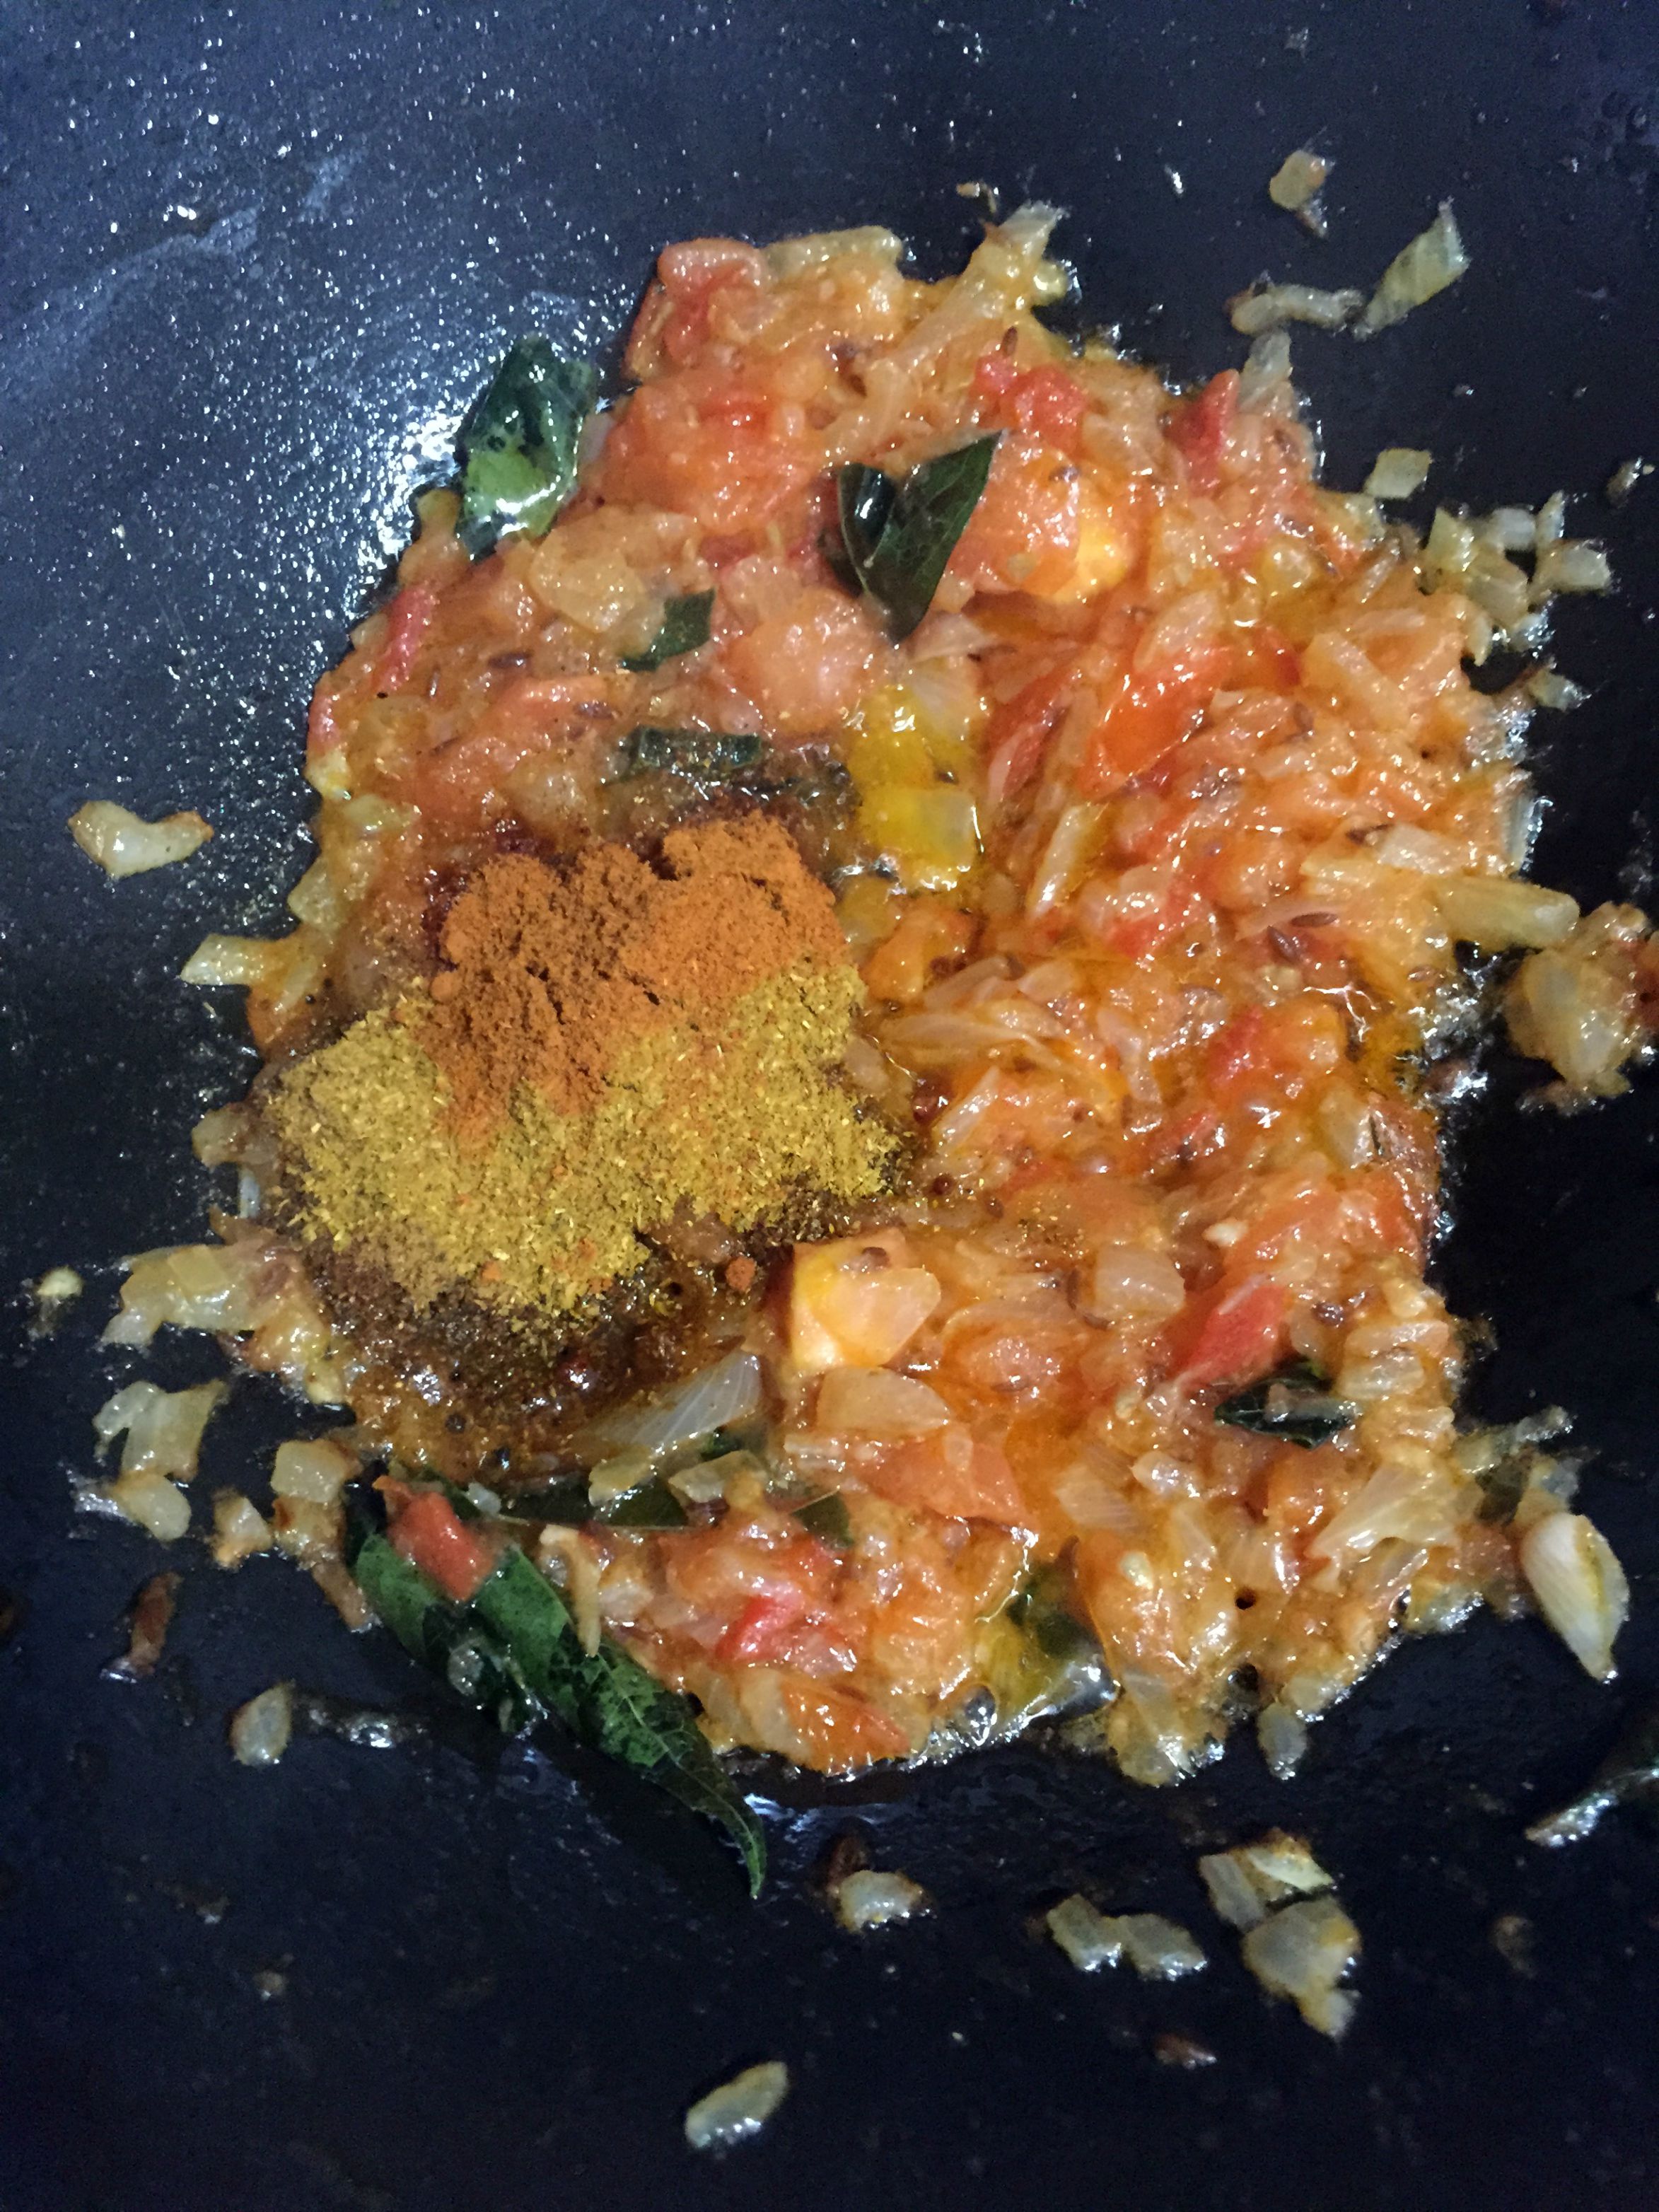
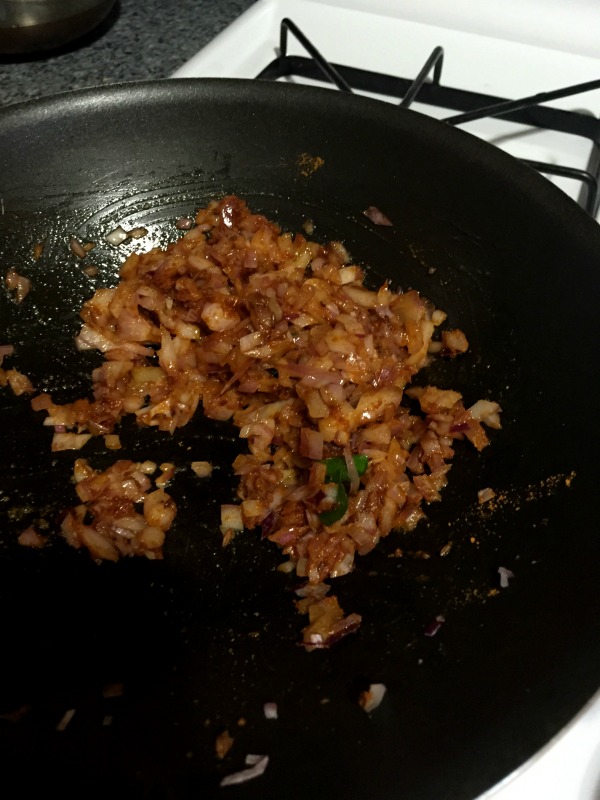
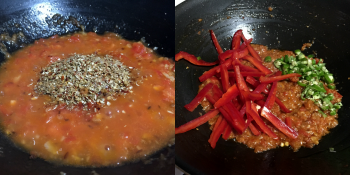
  5. Add tomato puree and sauté for a minute.
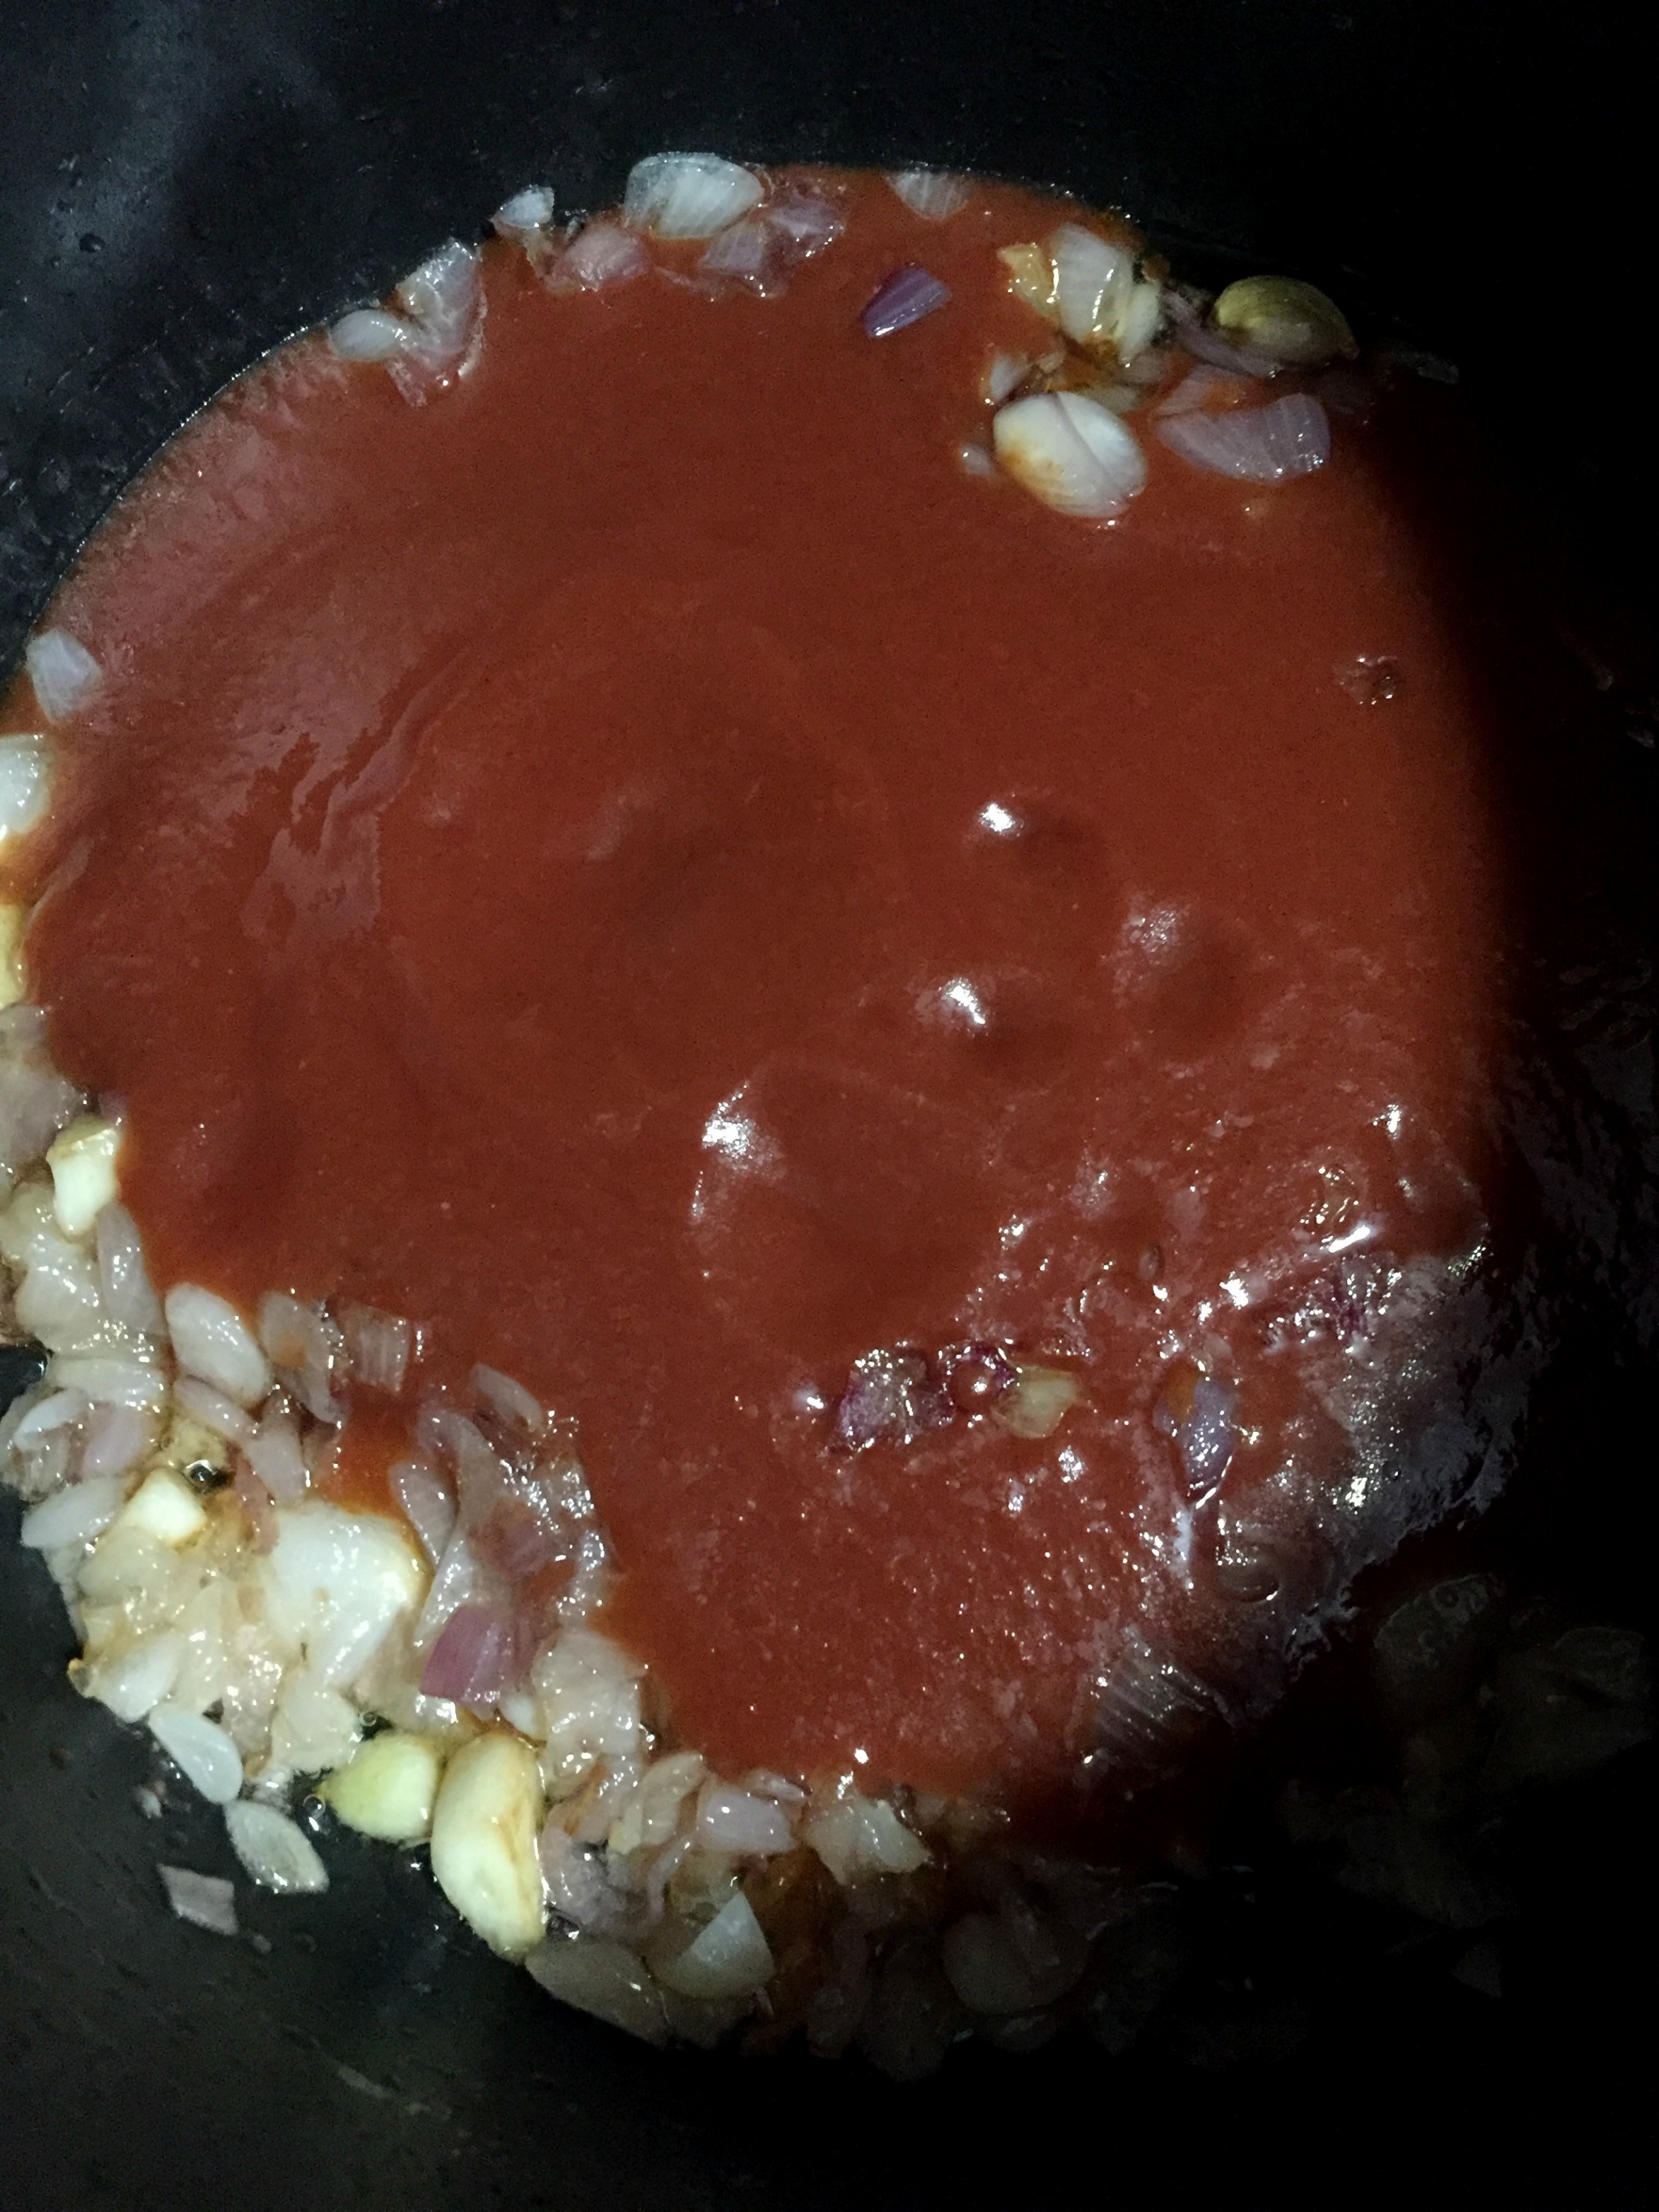
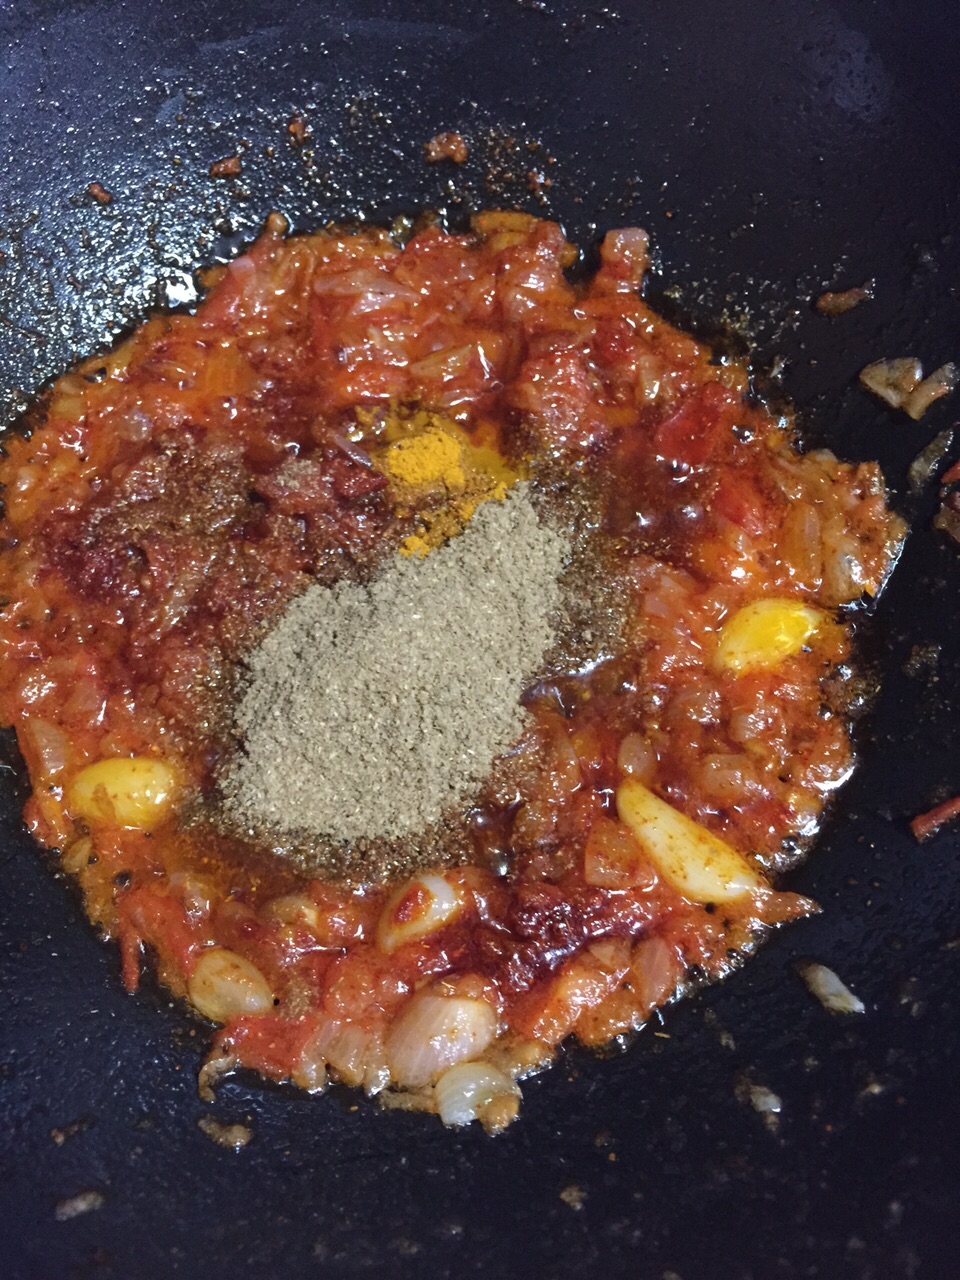
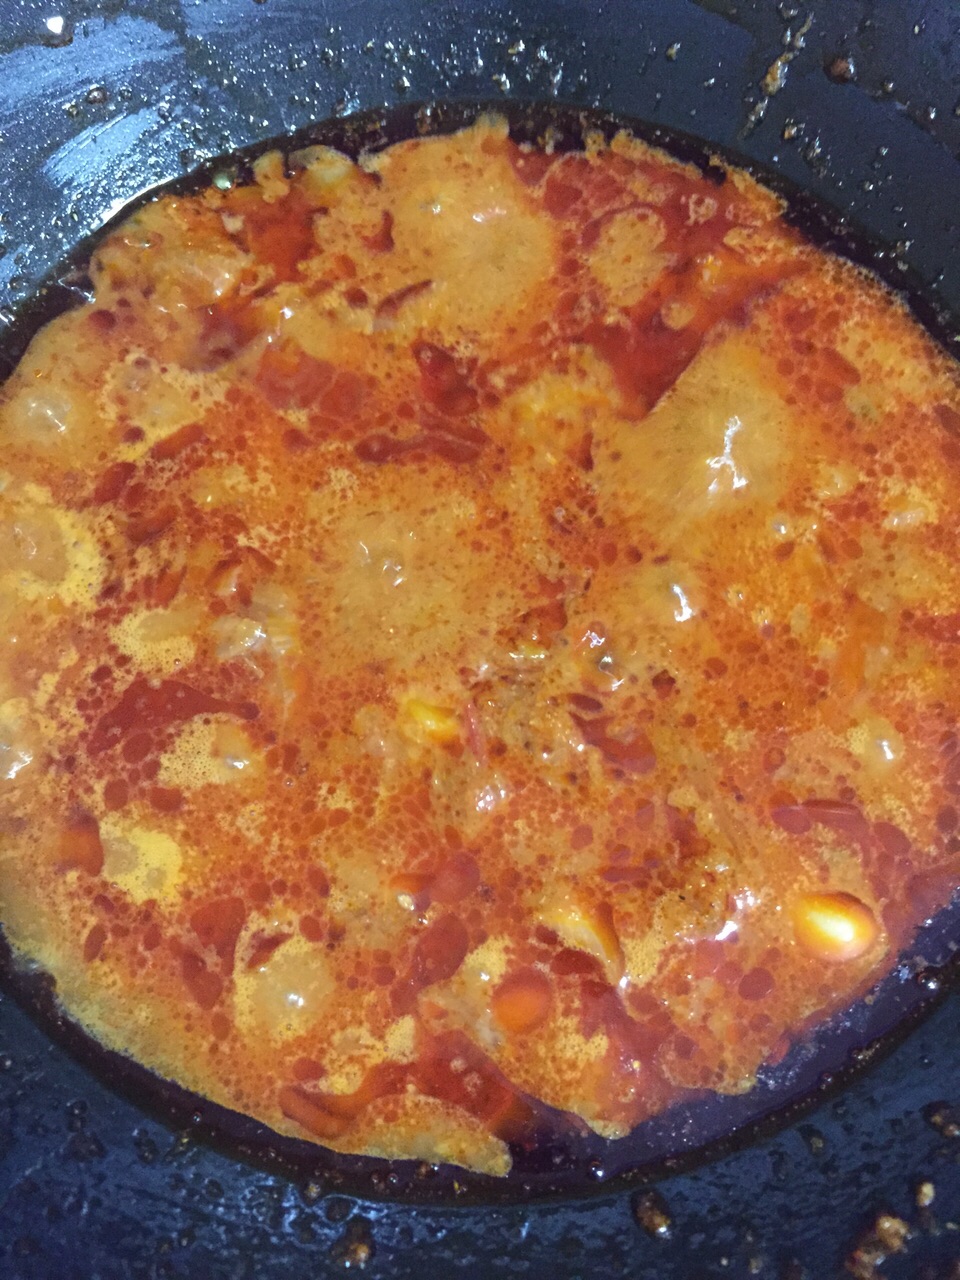
  6. Add turmeric powder, sambar powder and salt. Add enough water, close the lid and bring it to boil.
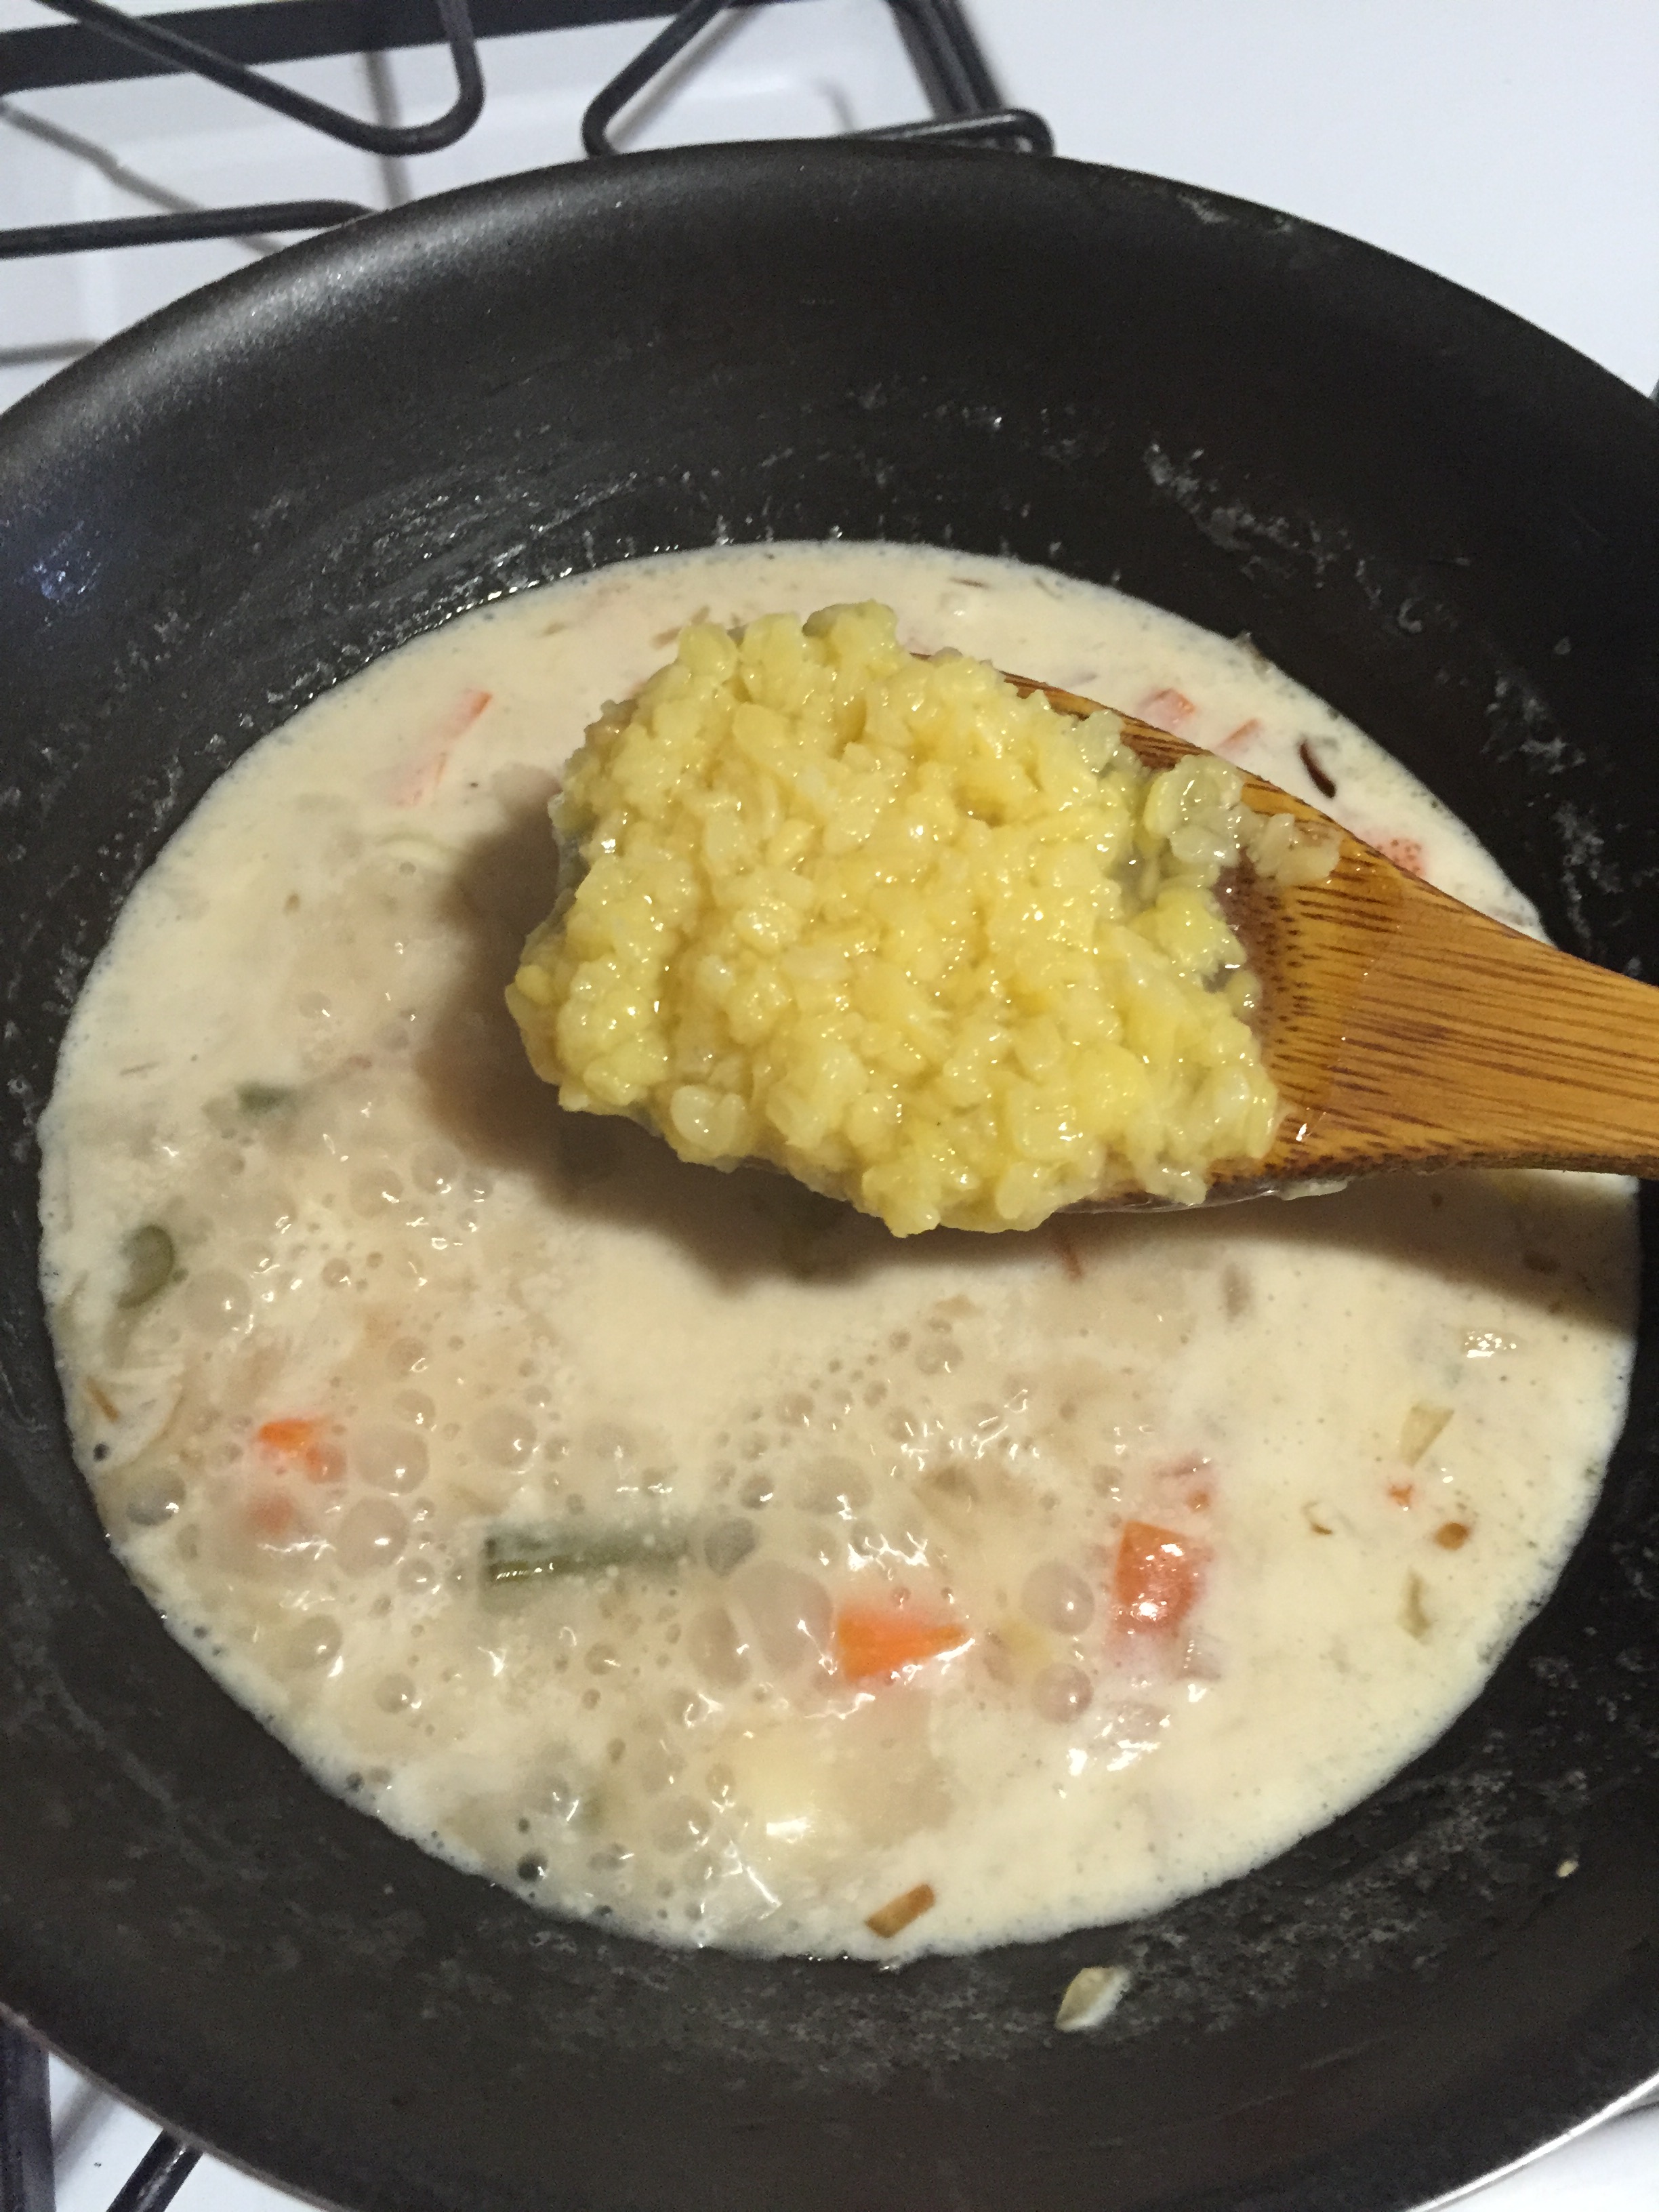
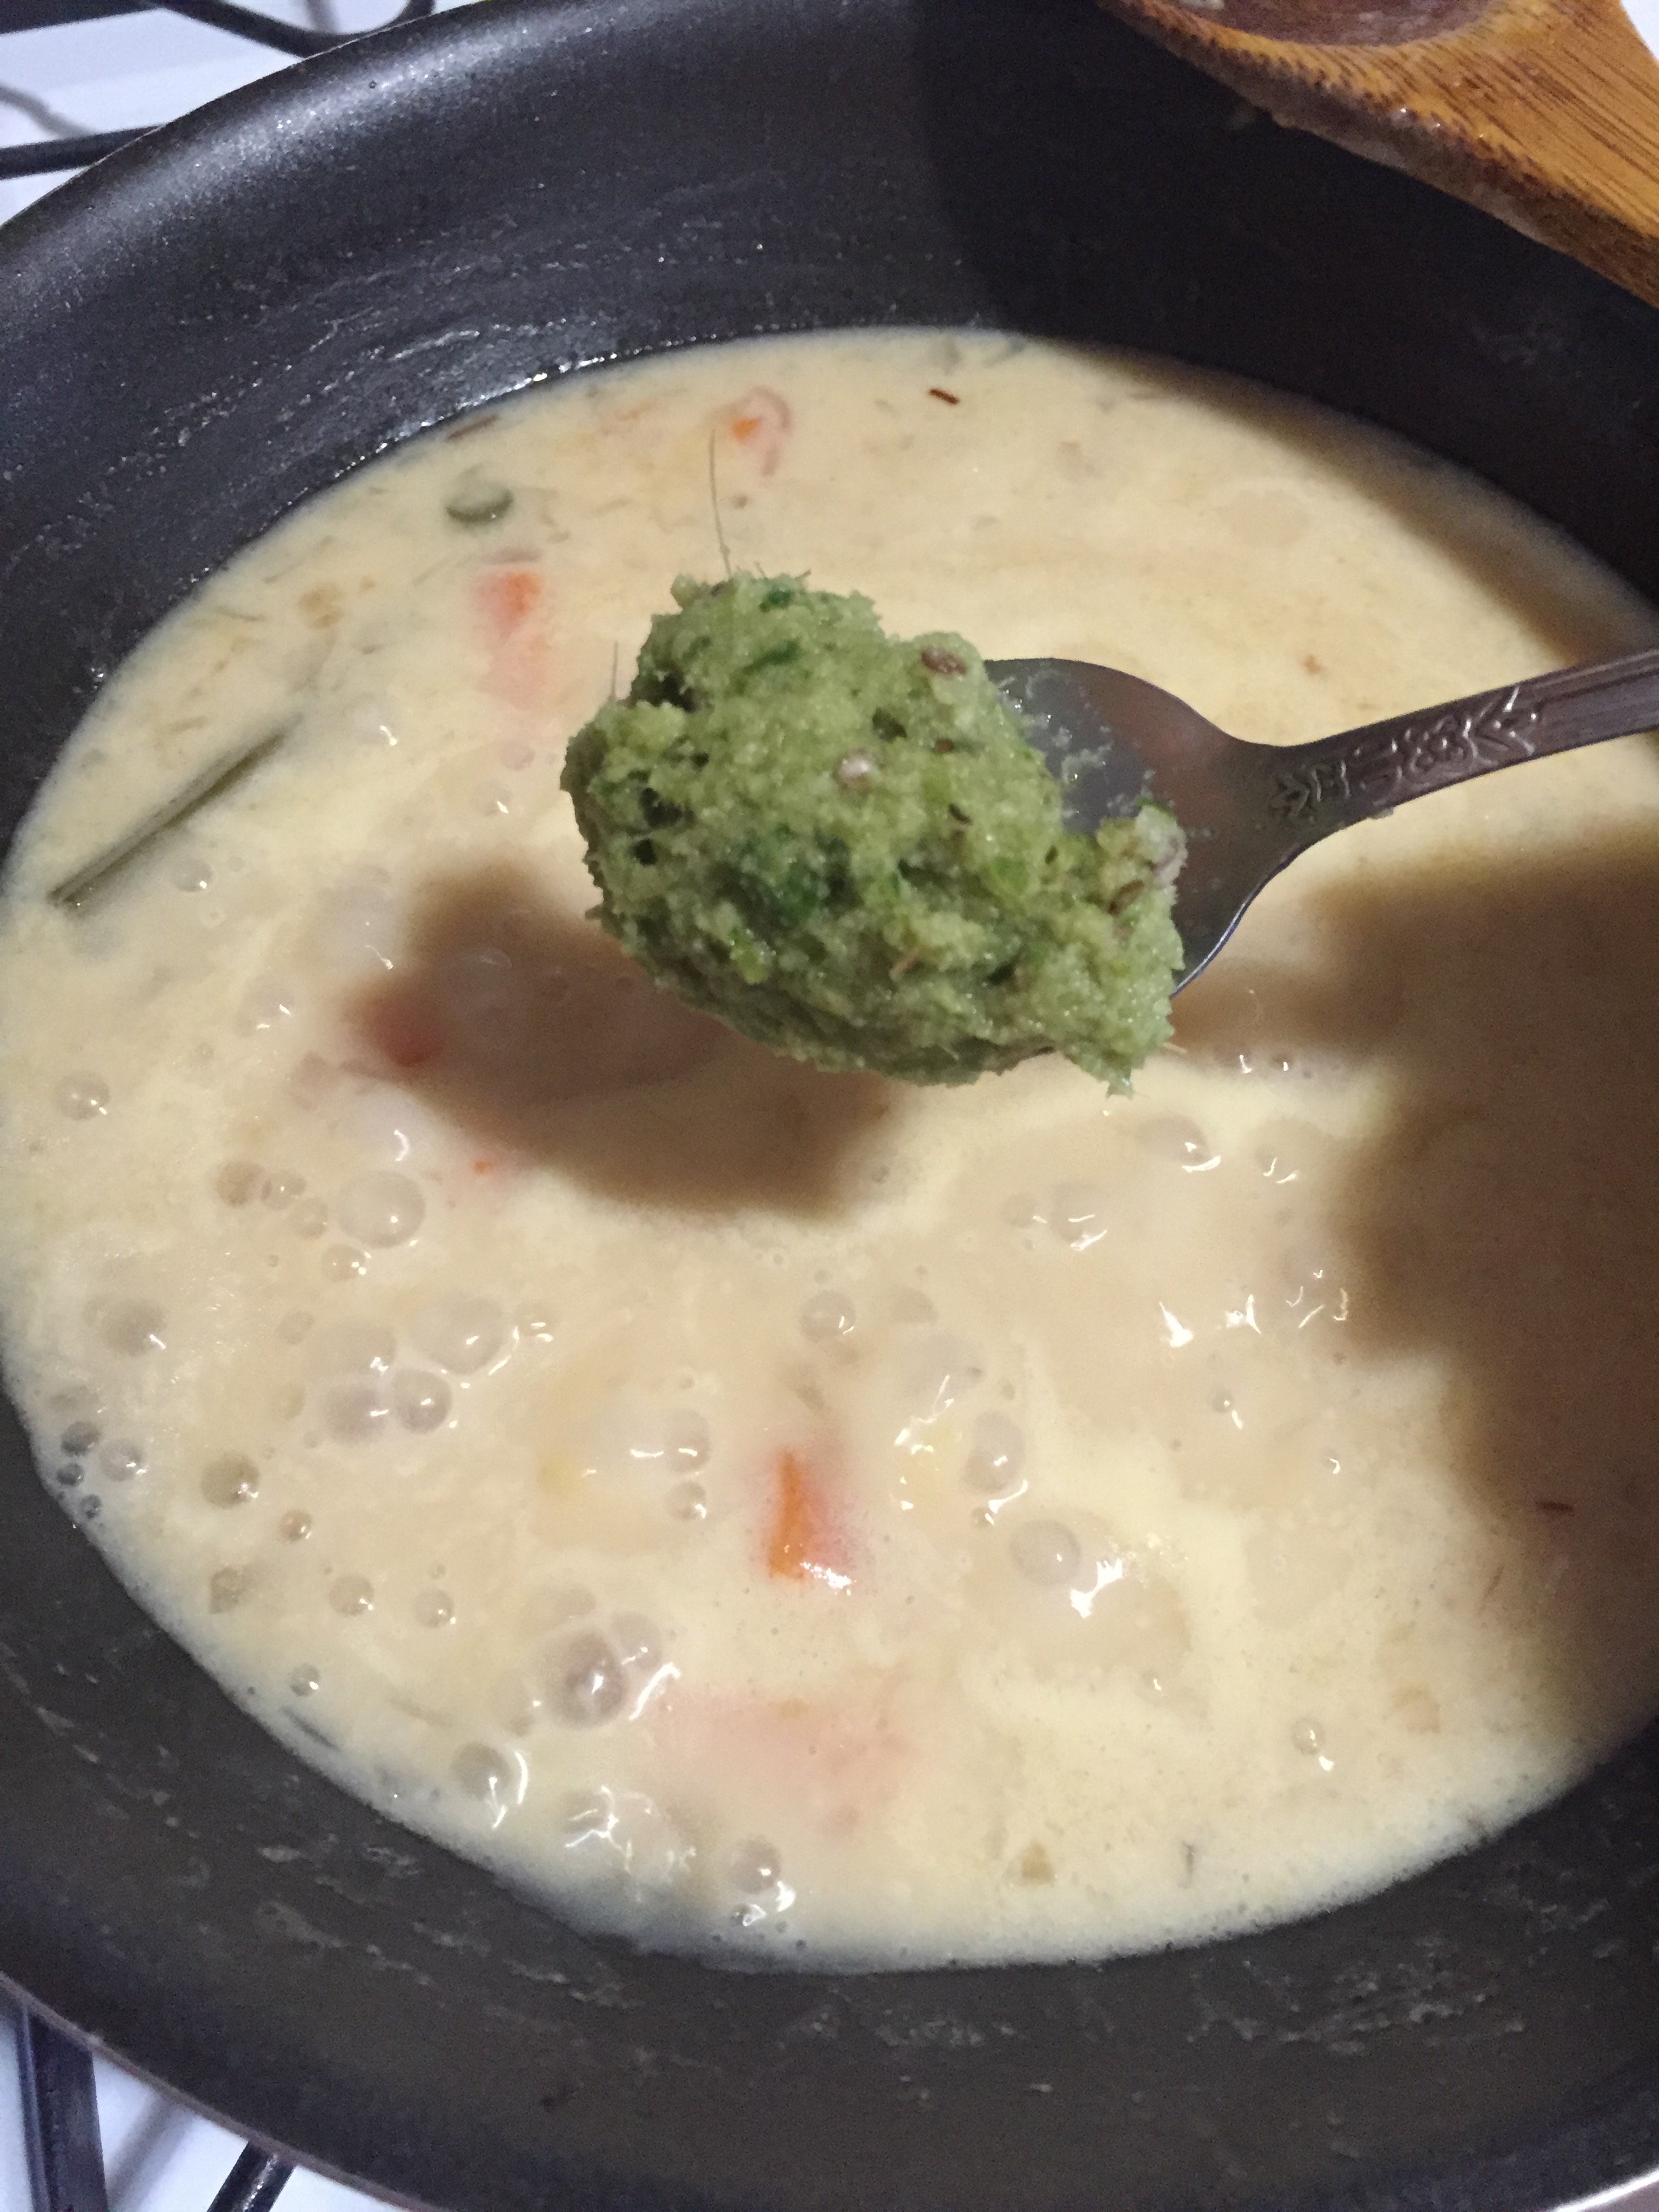
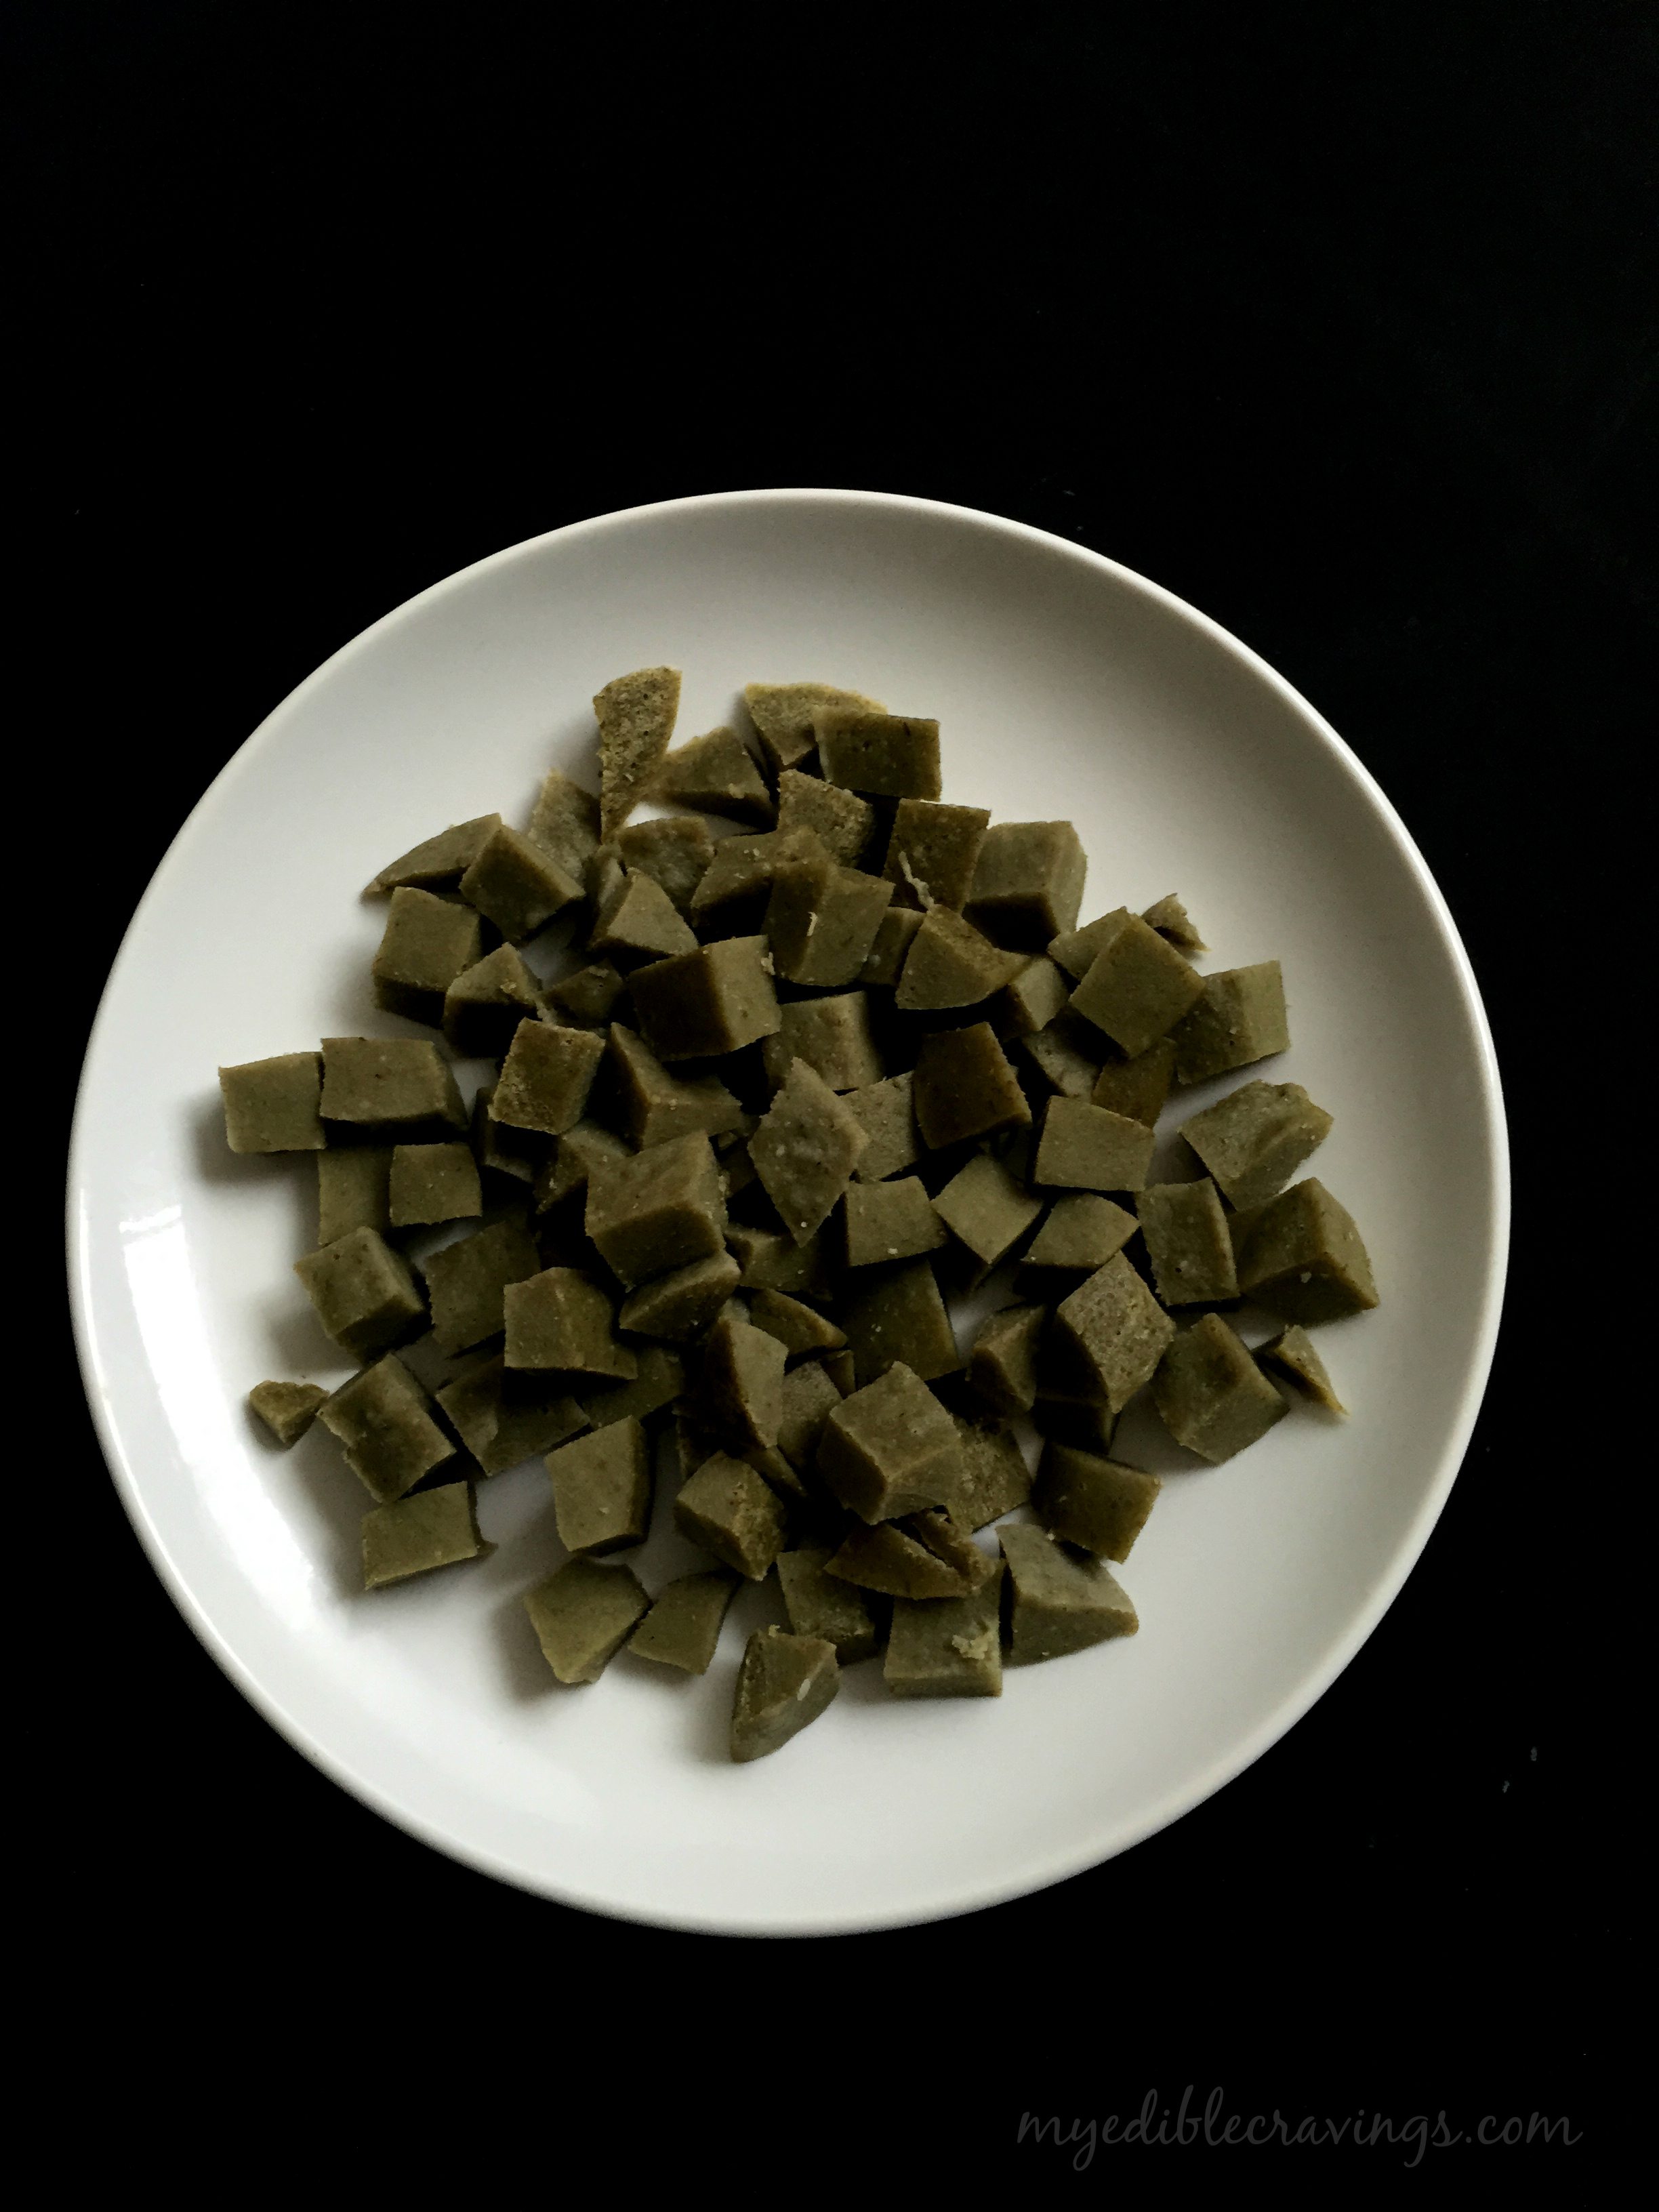
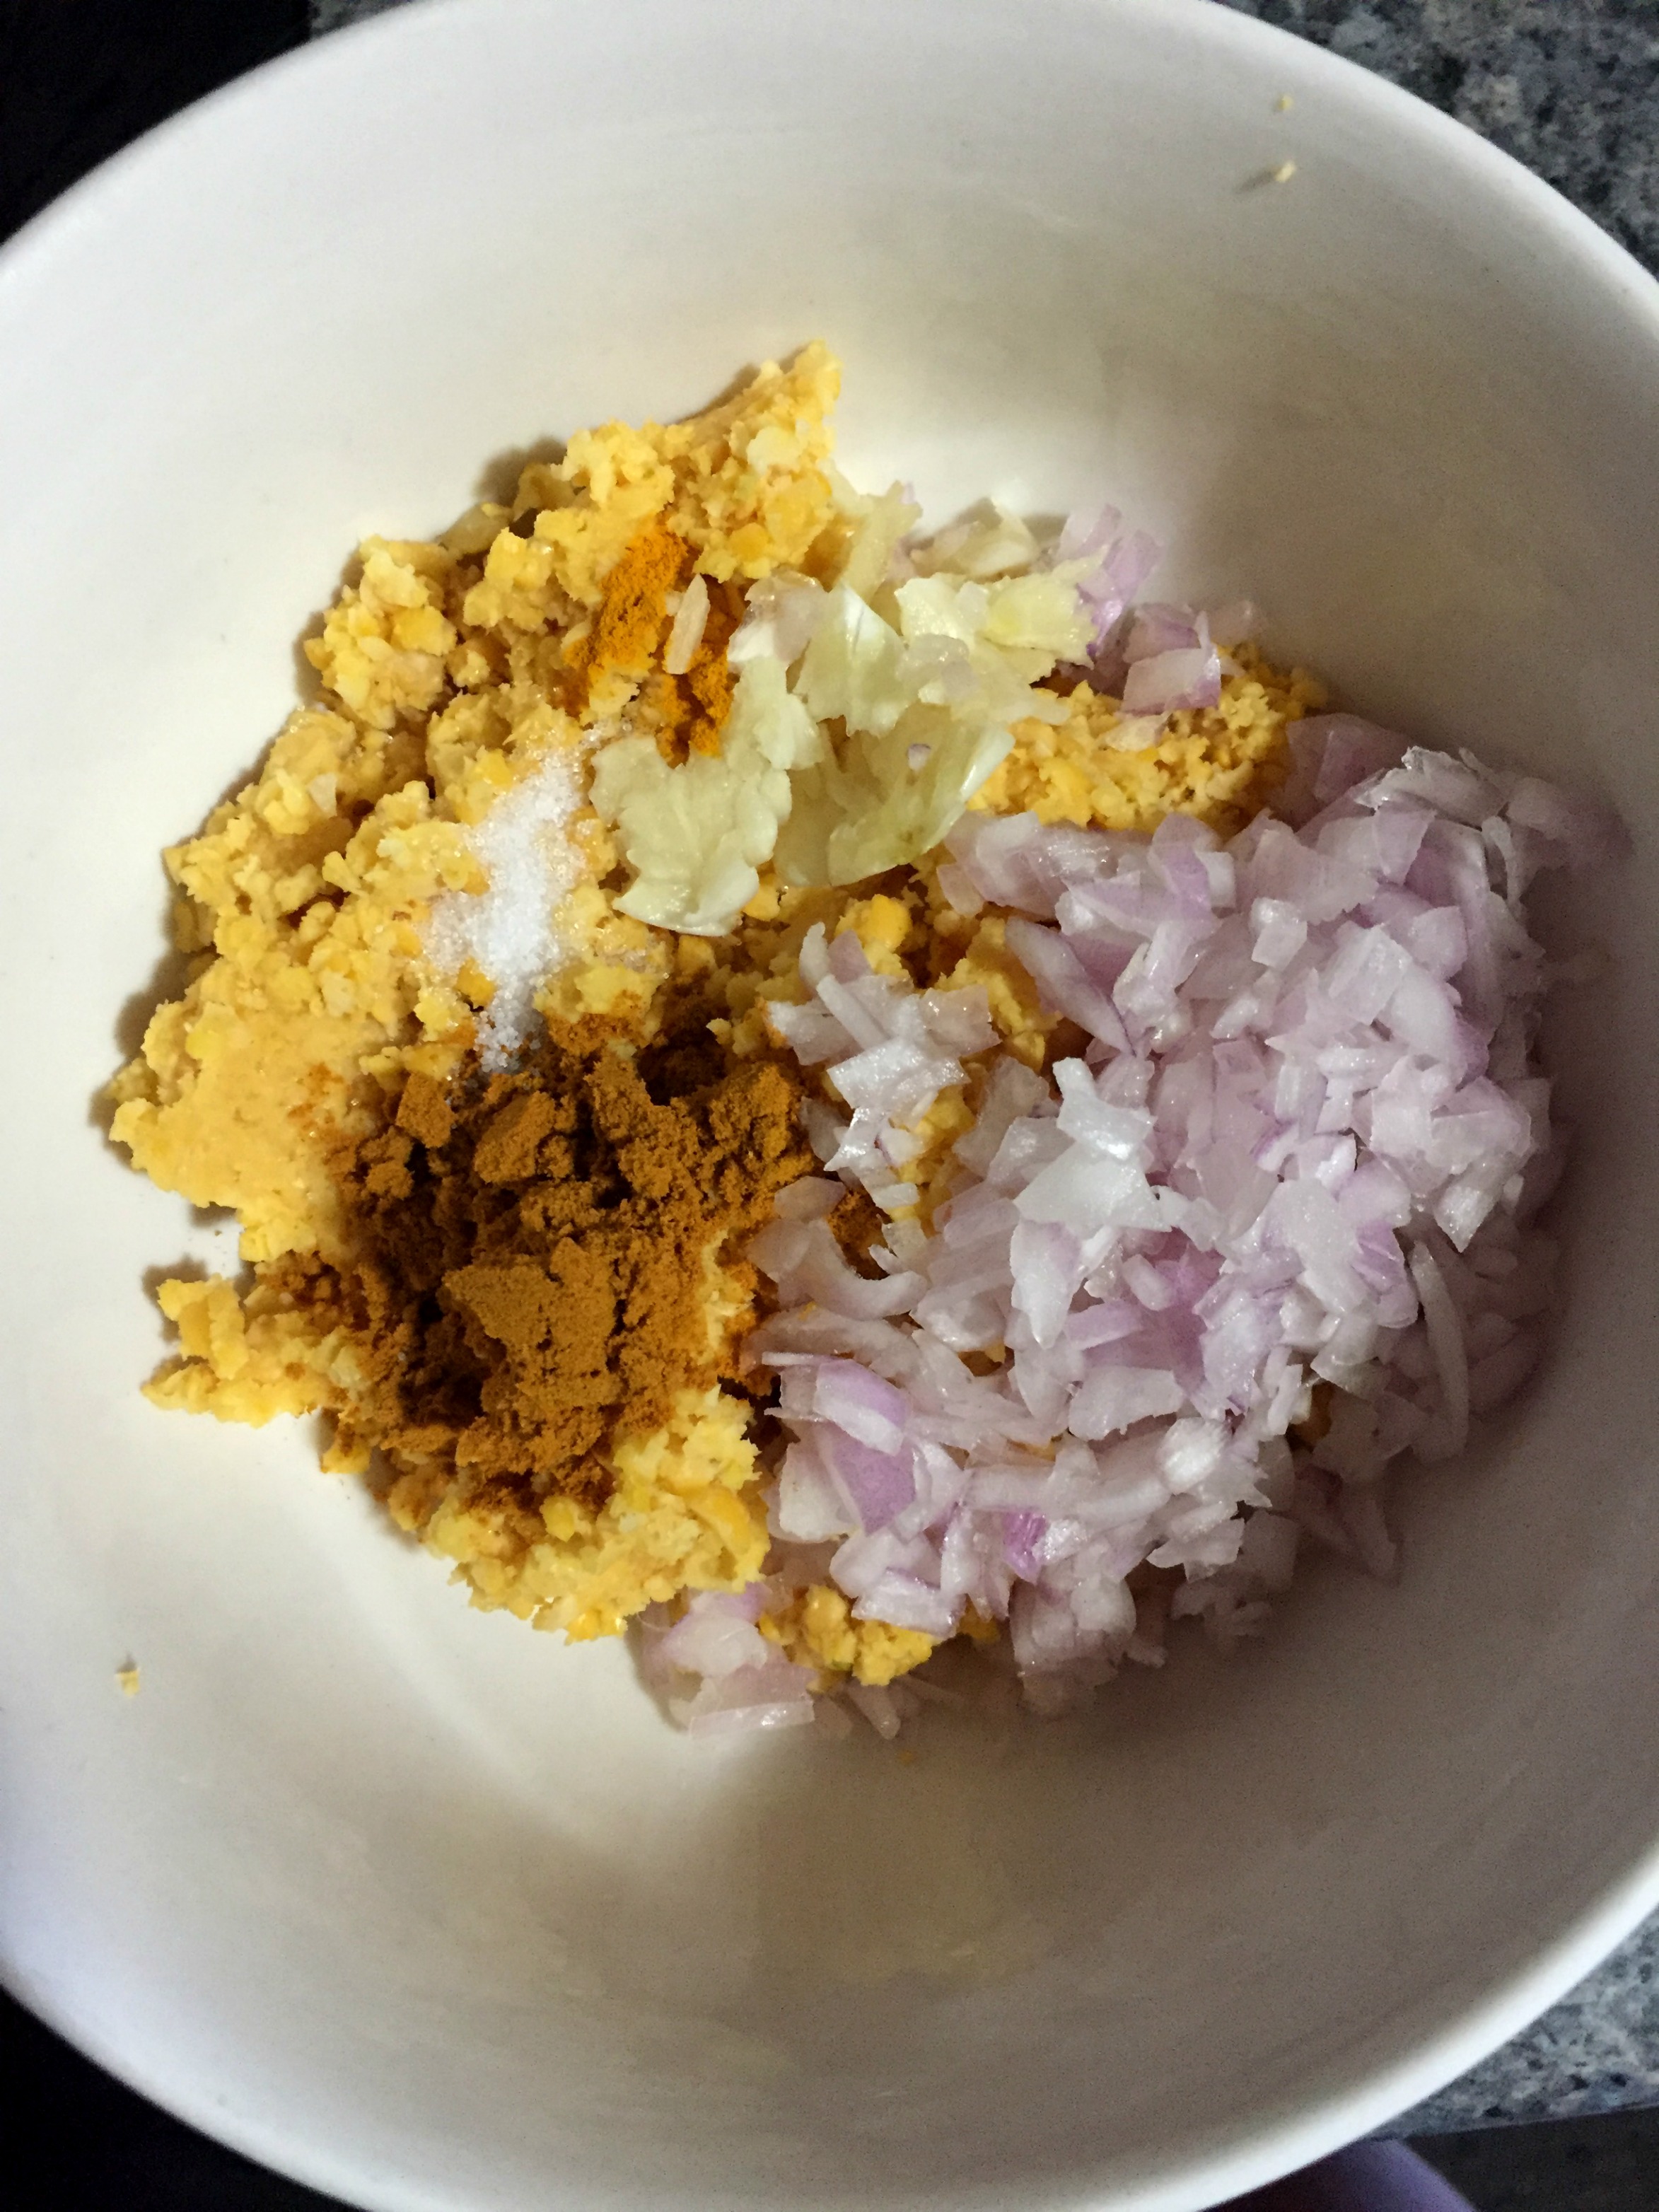
  7. Meanwhile, in a separate bowl, mix the dal, finely chopped shallots, crushed garlic, a pinch of turmeric powder and ½ tsp sambar powder and a pinch of salt.
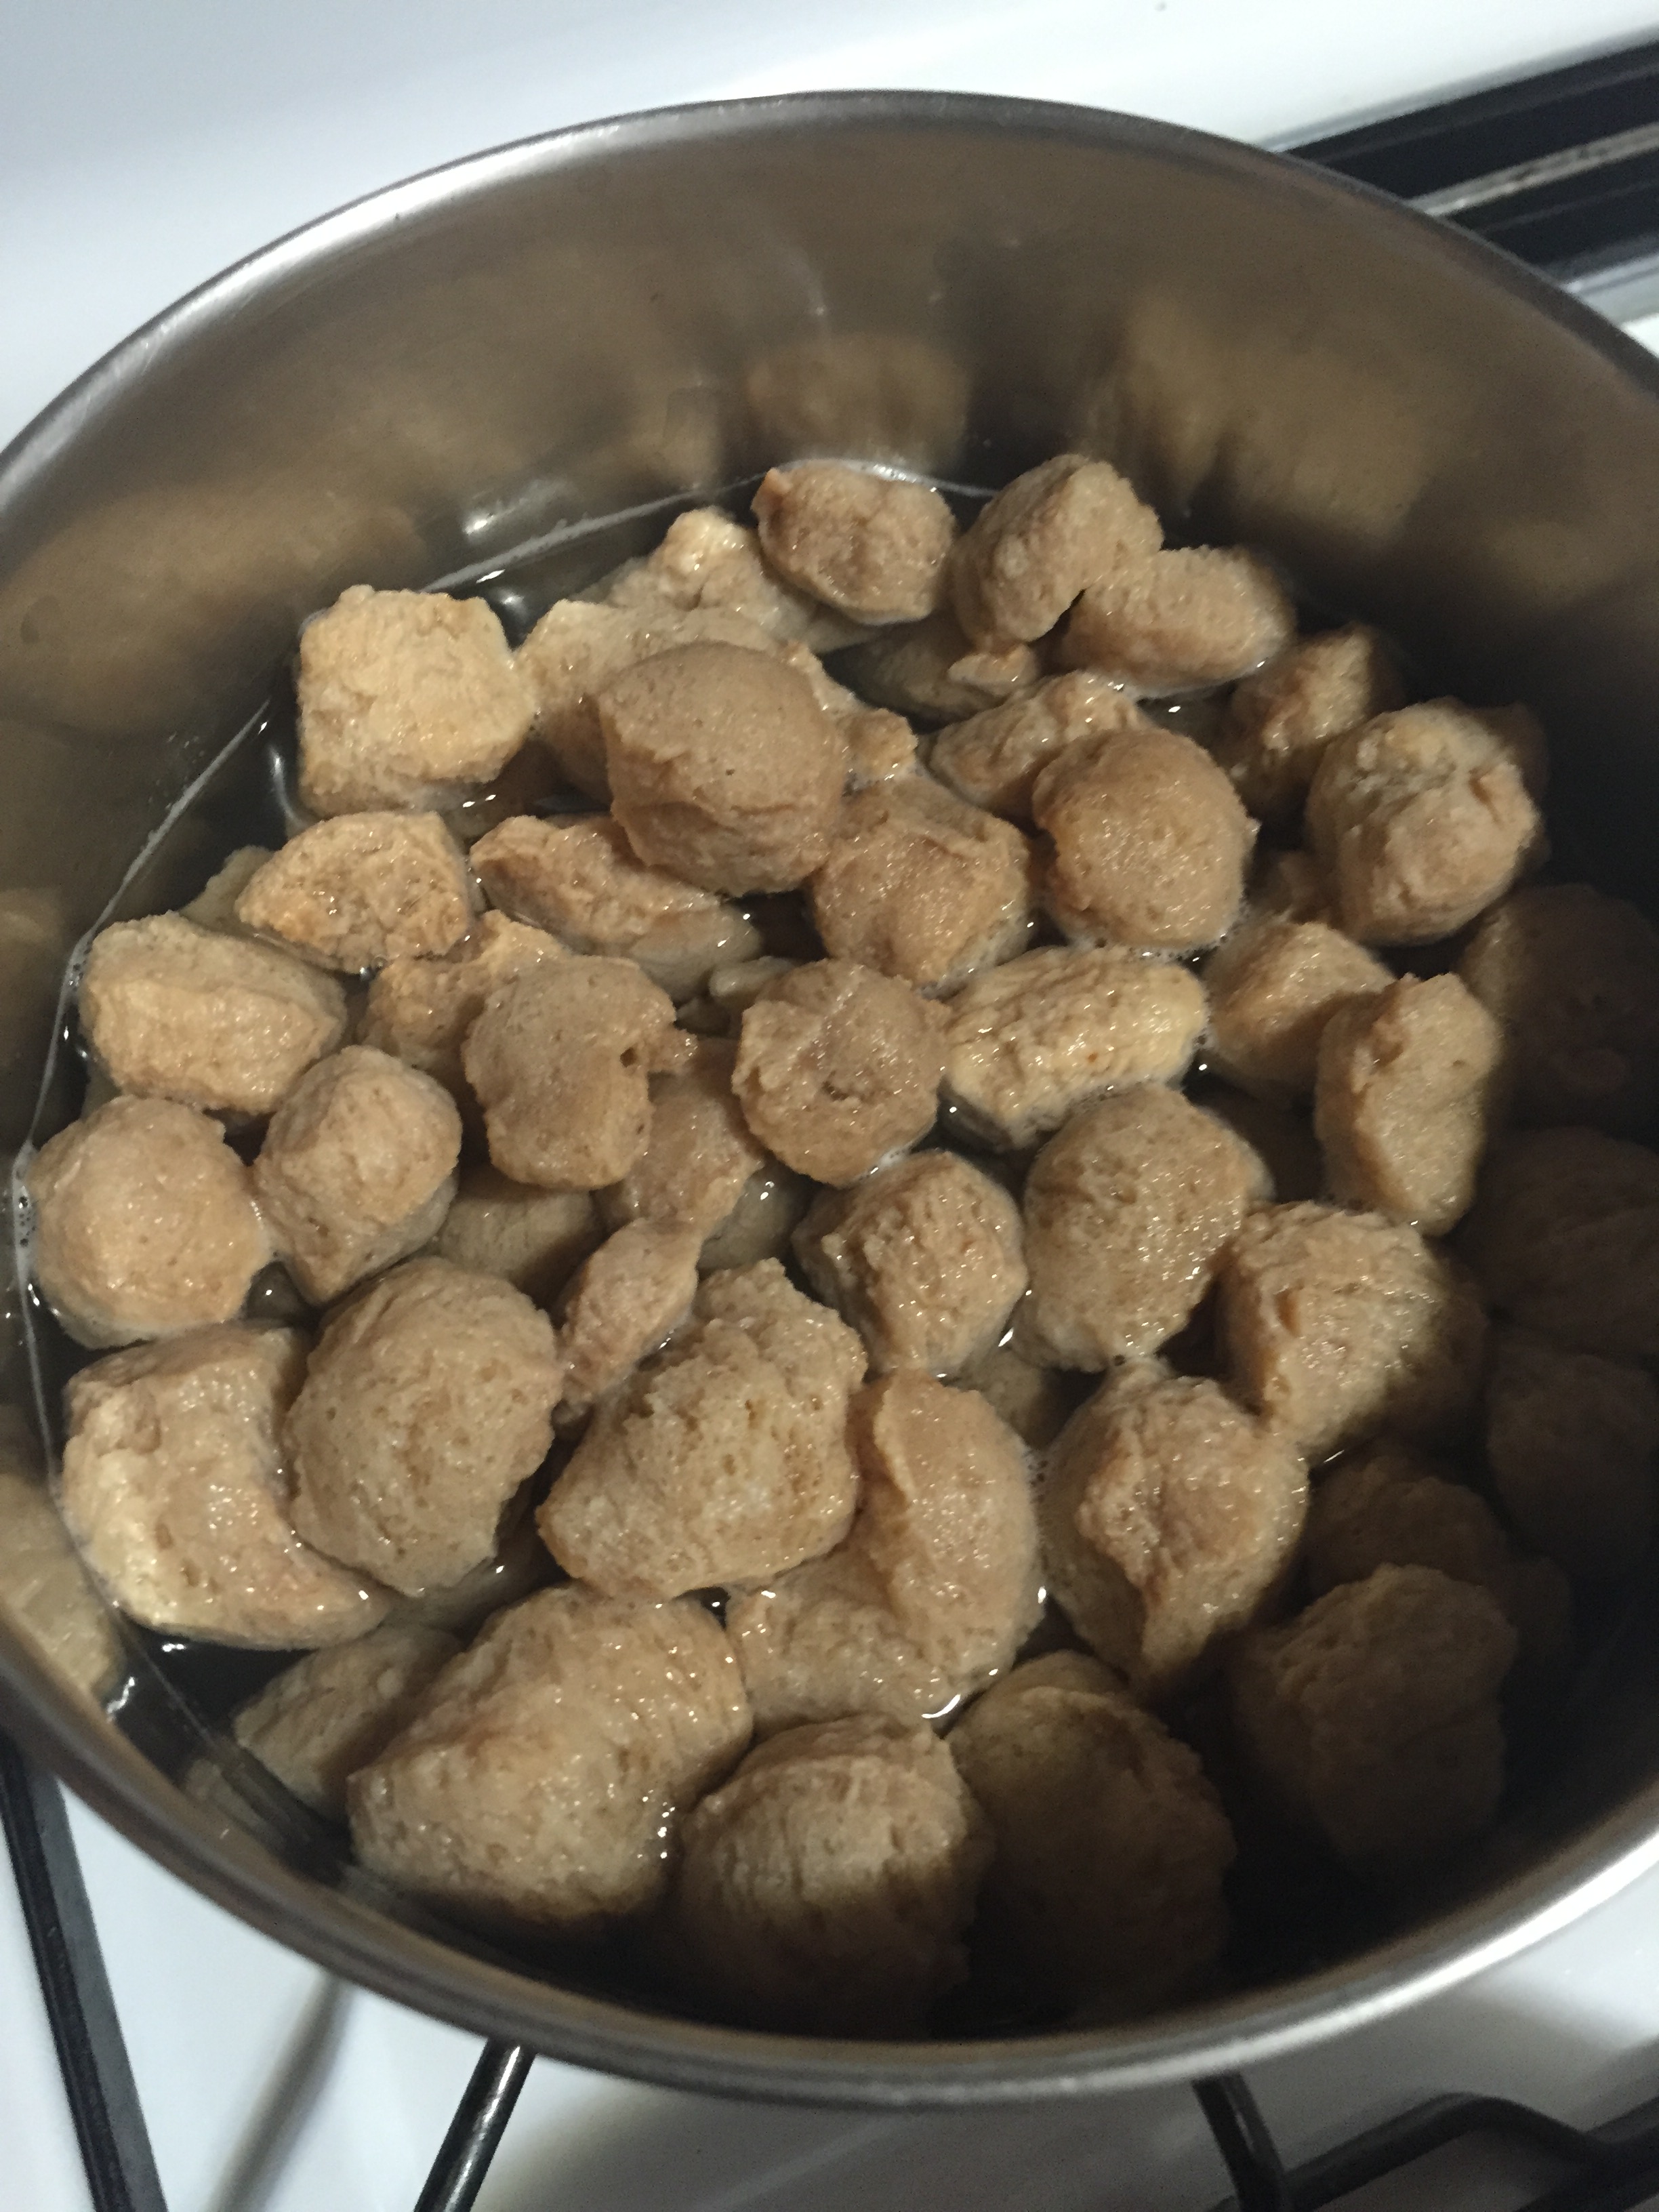
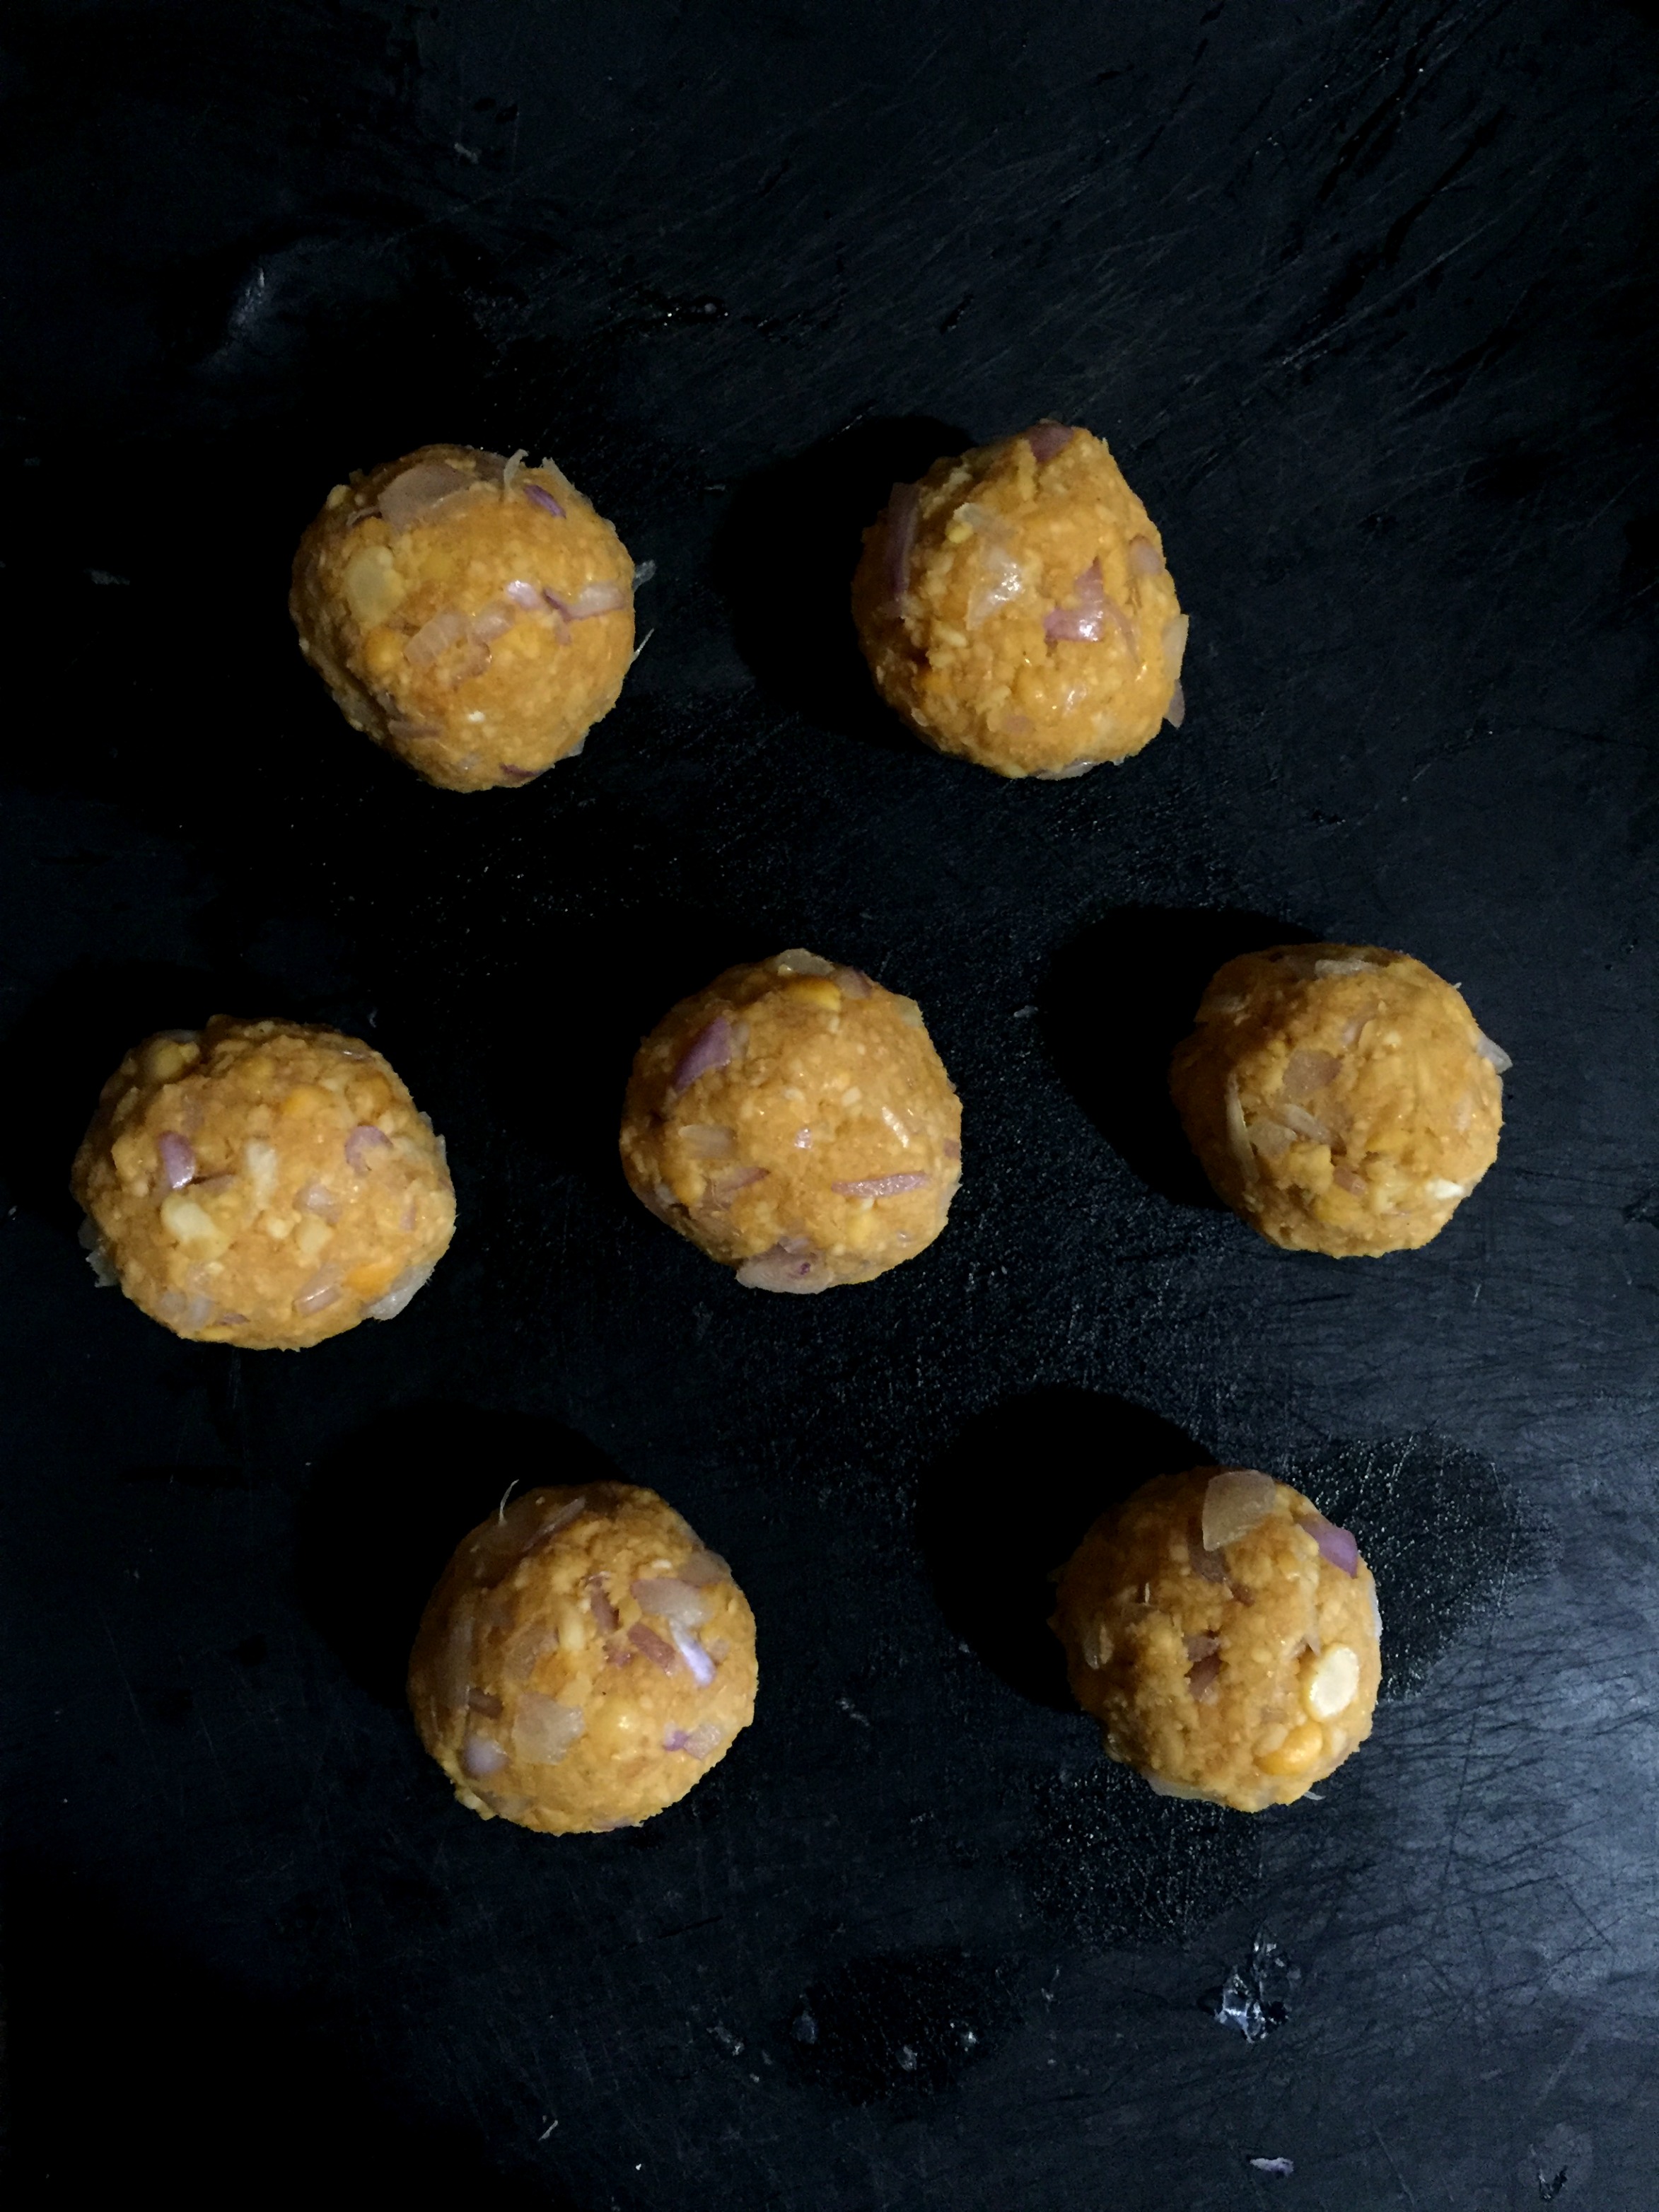
  8. Make small dumplings.
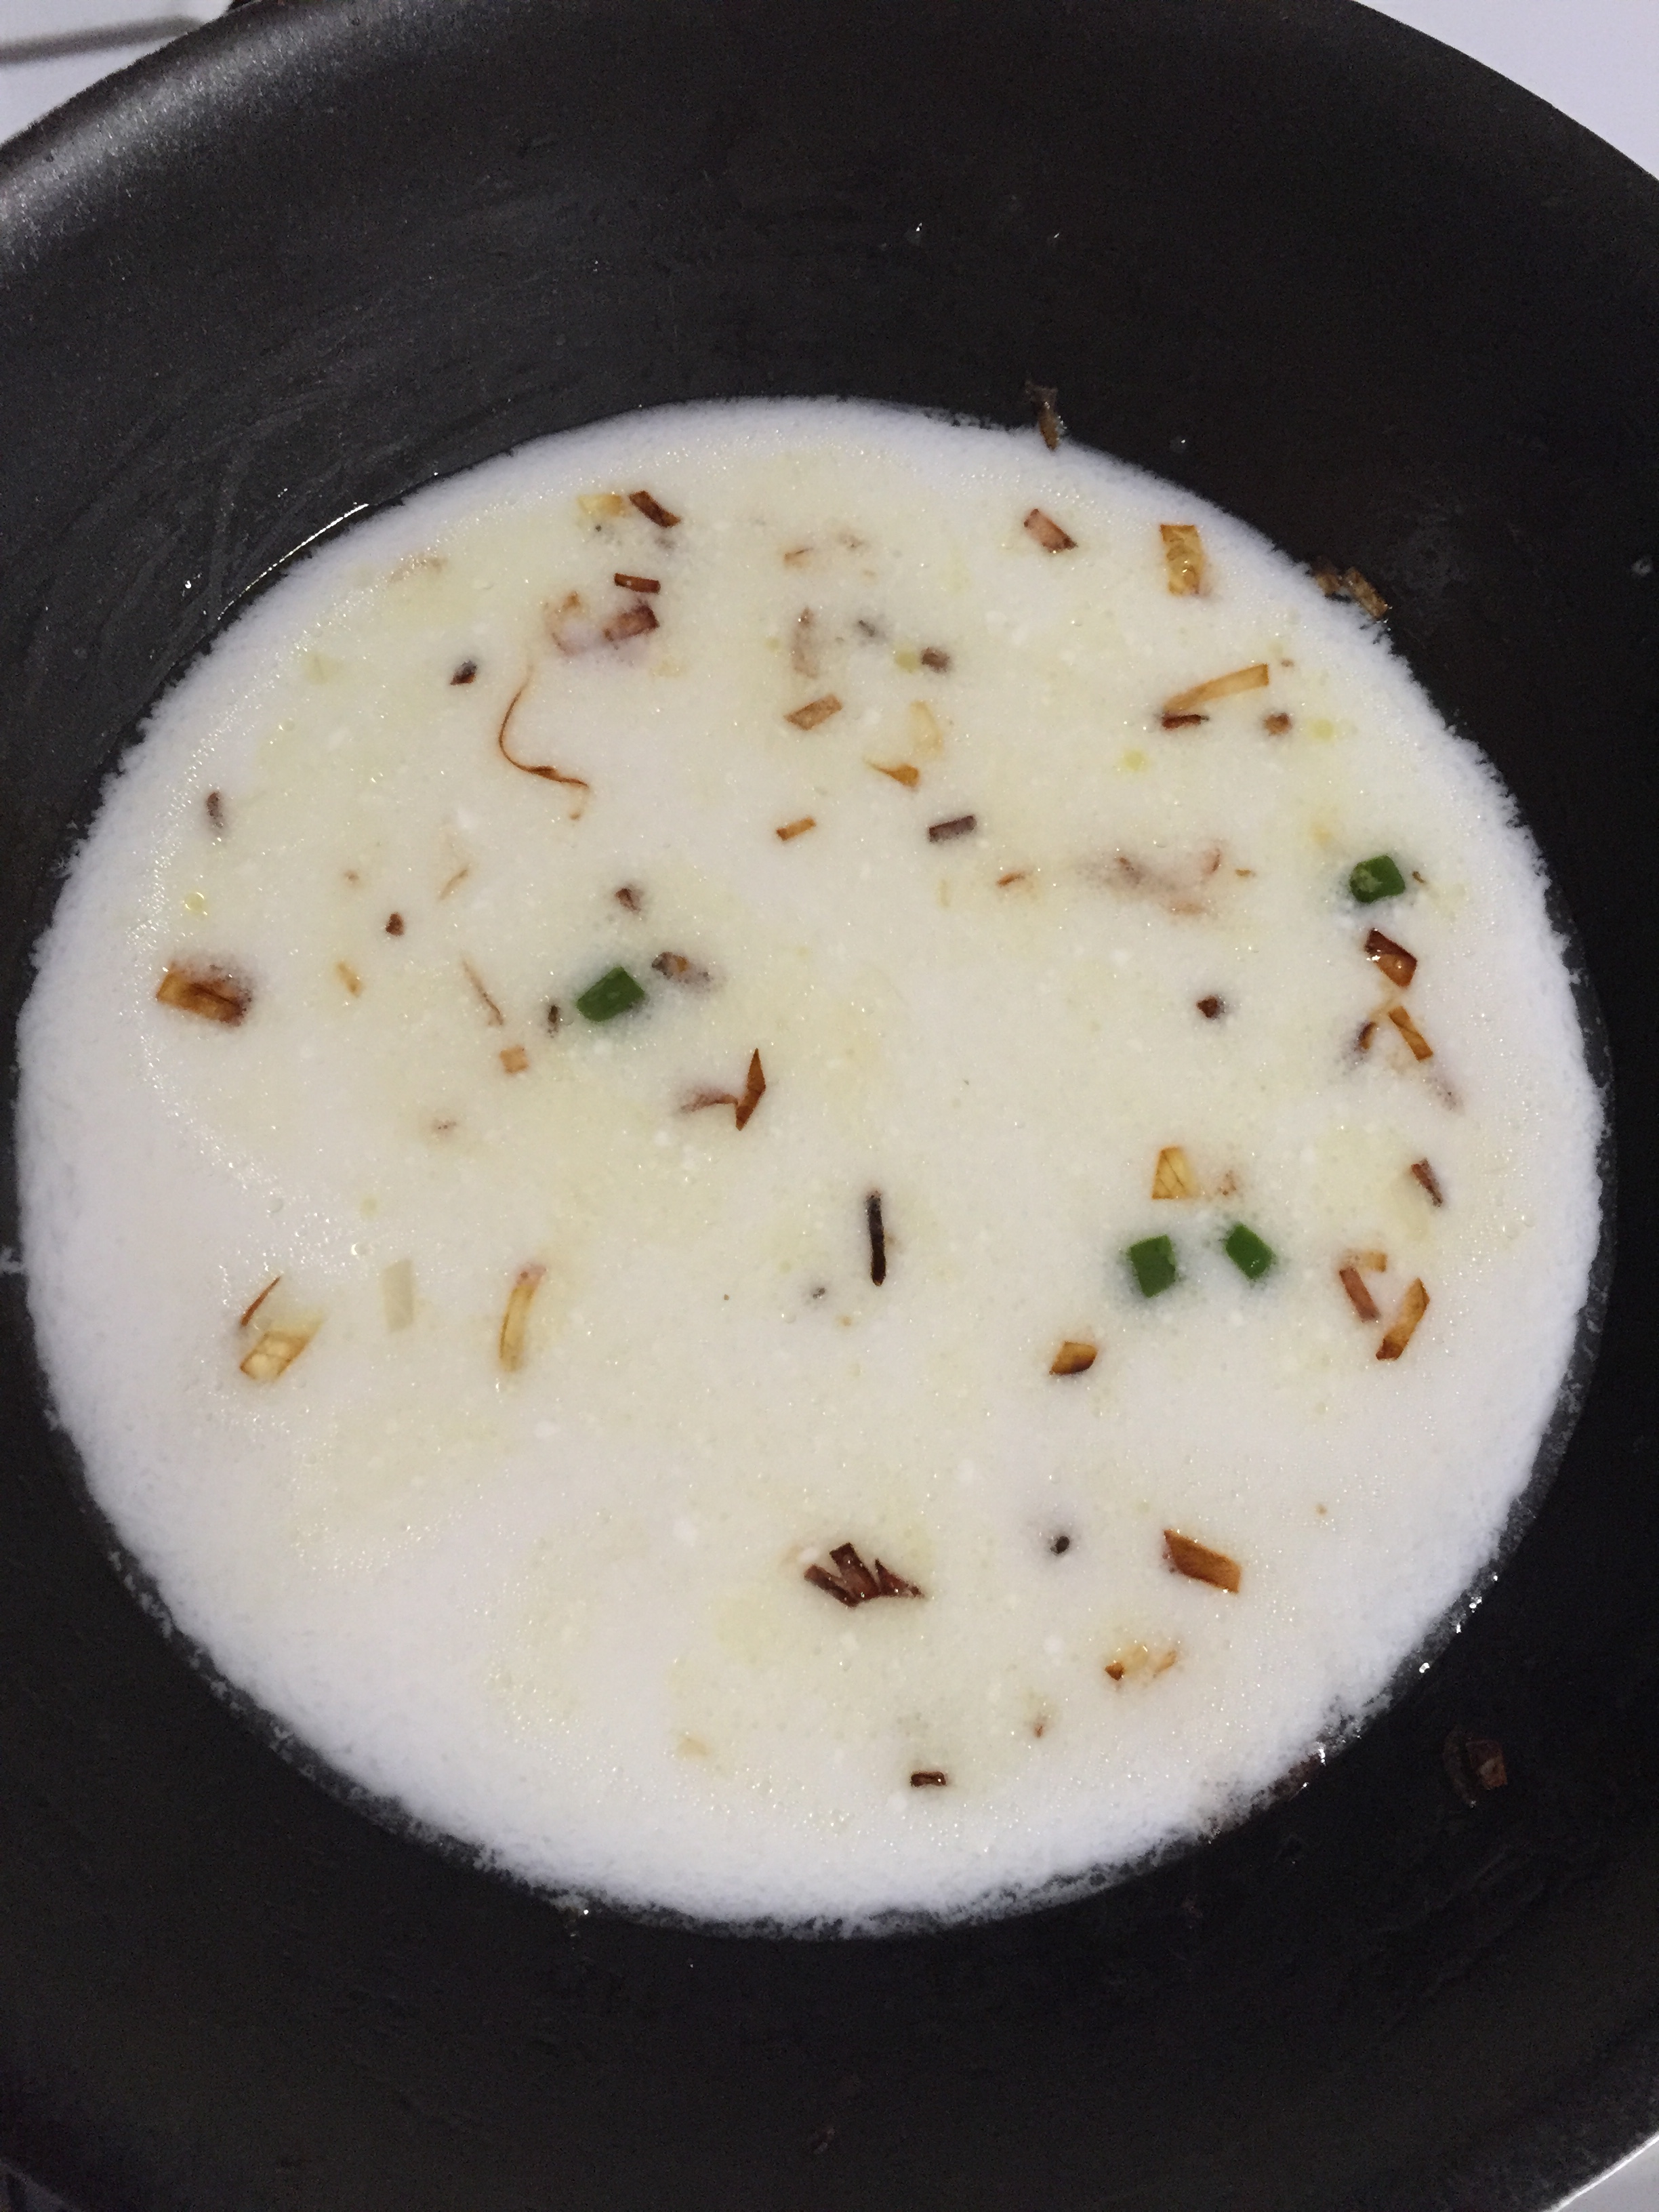
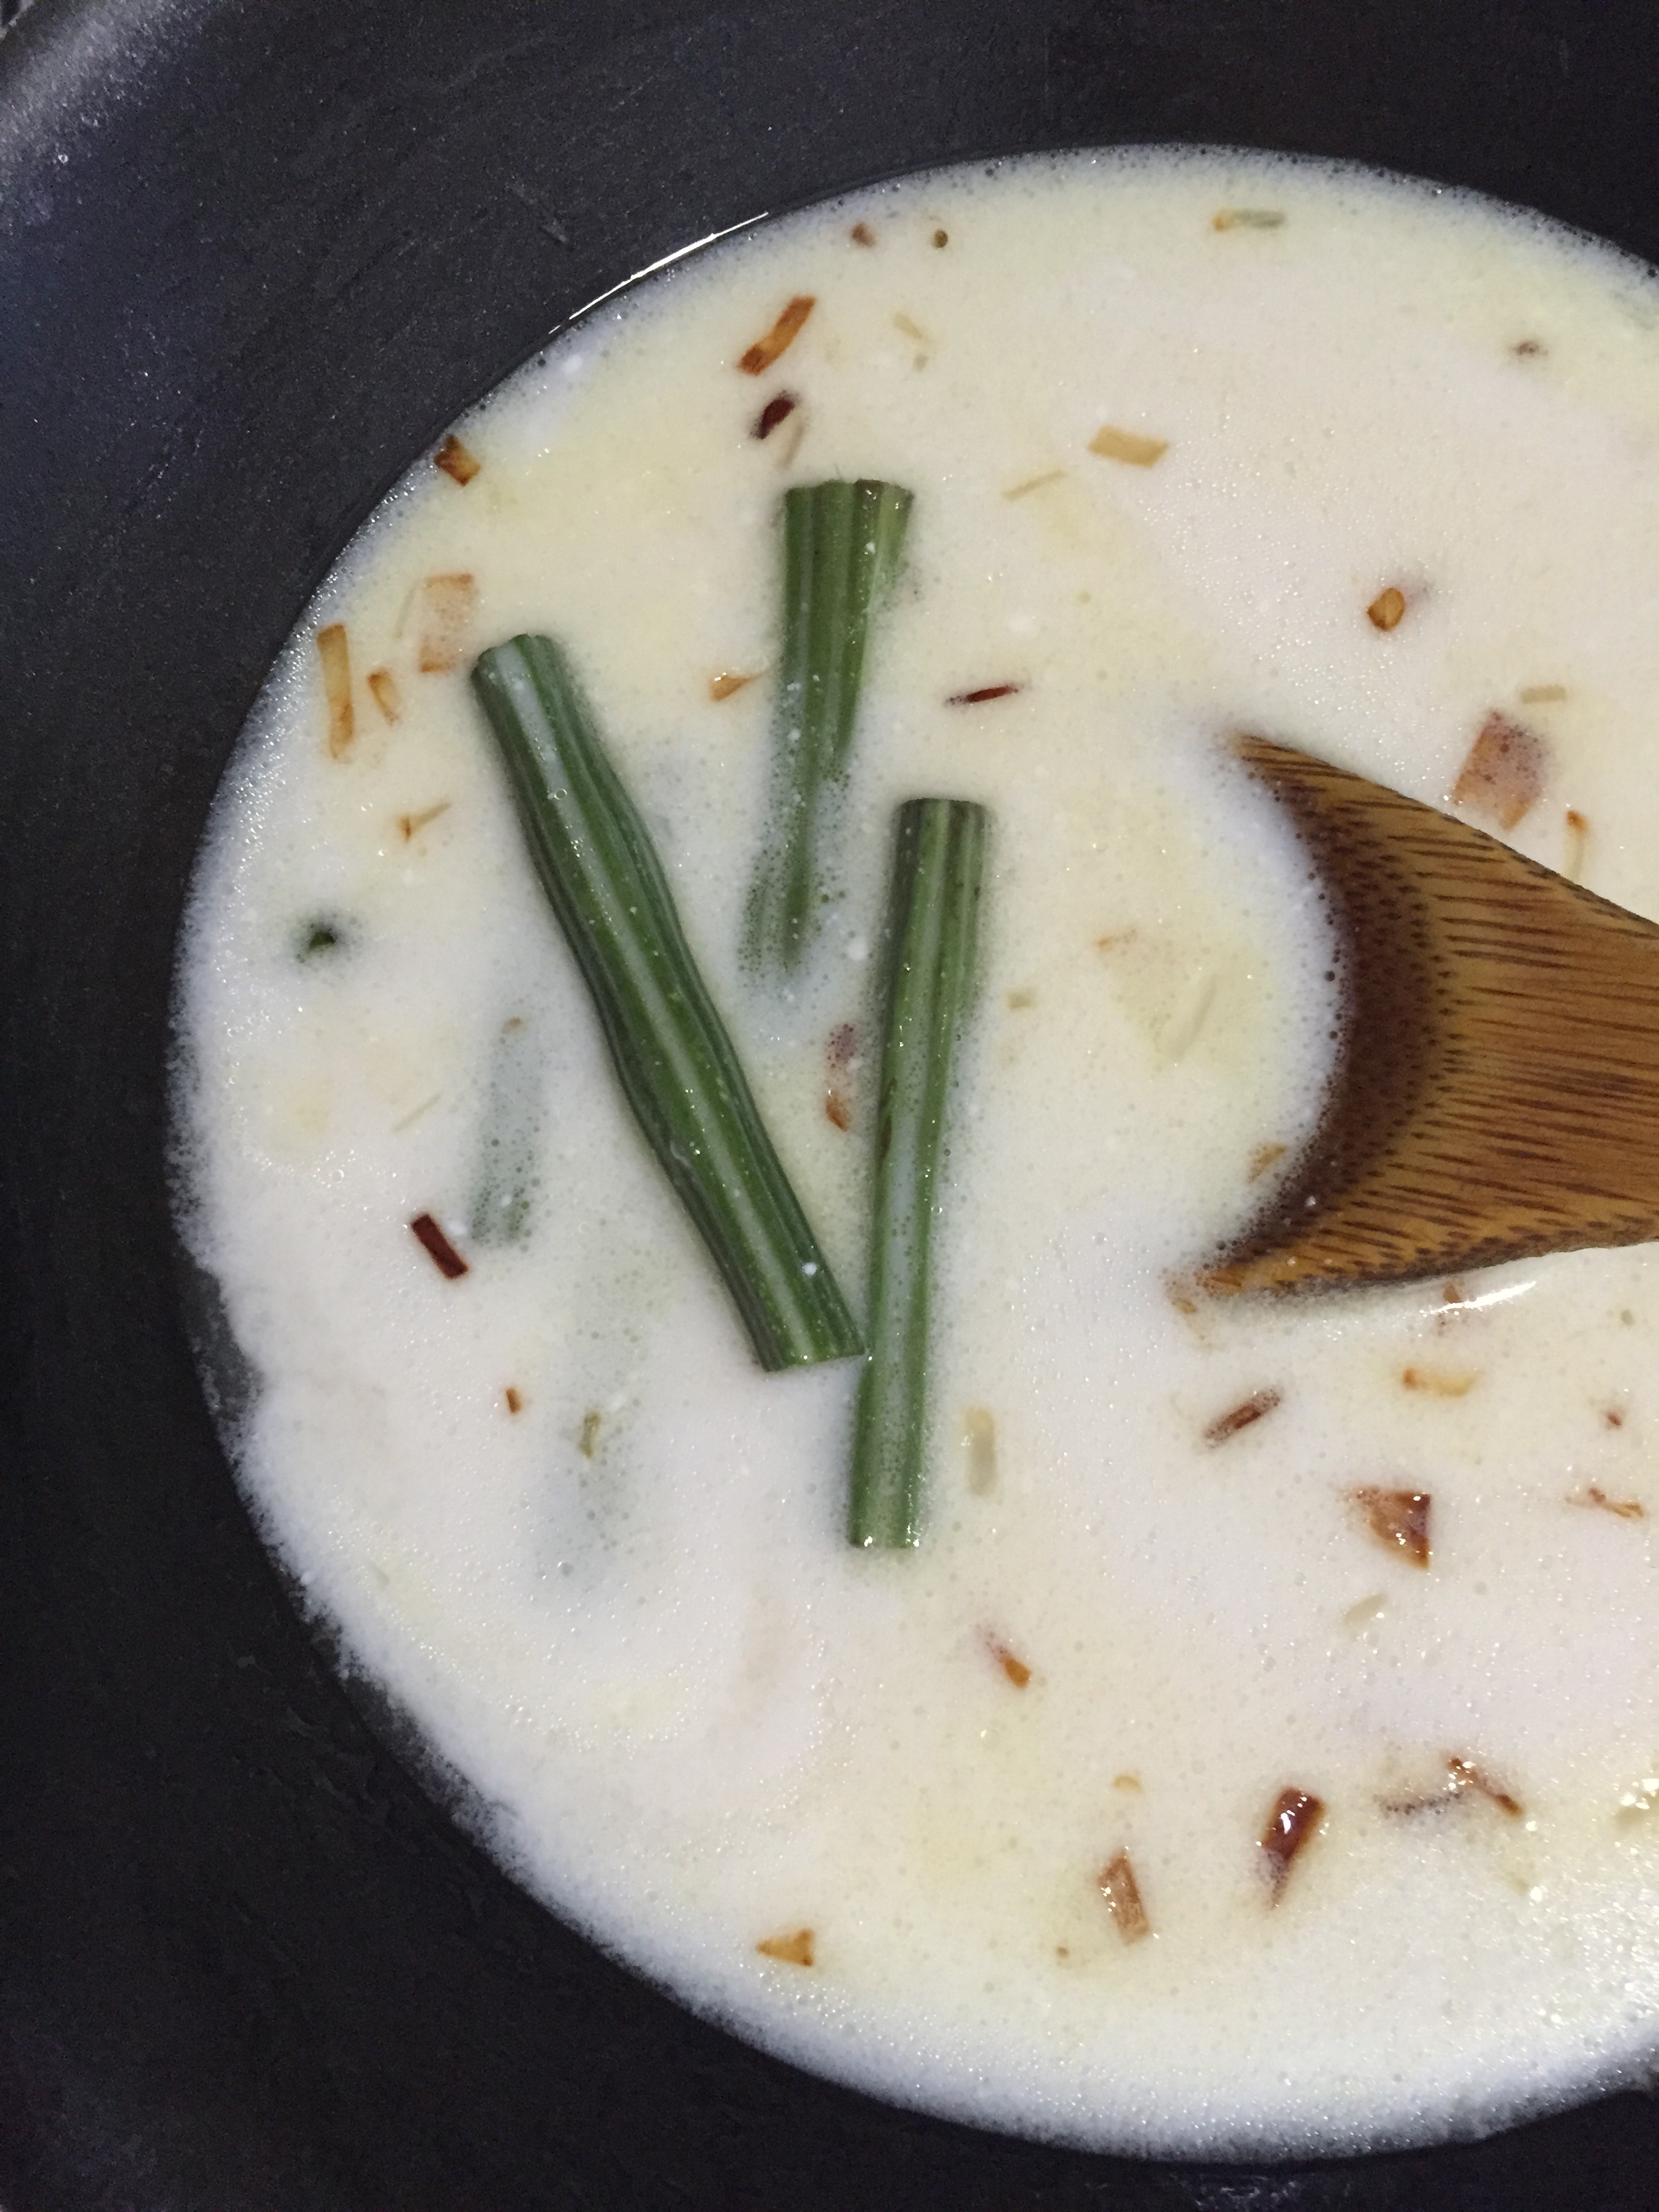
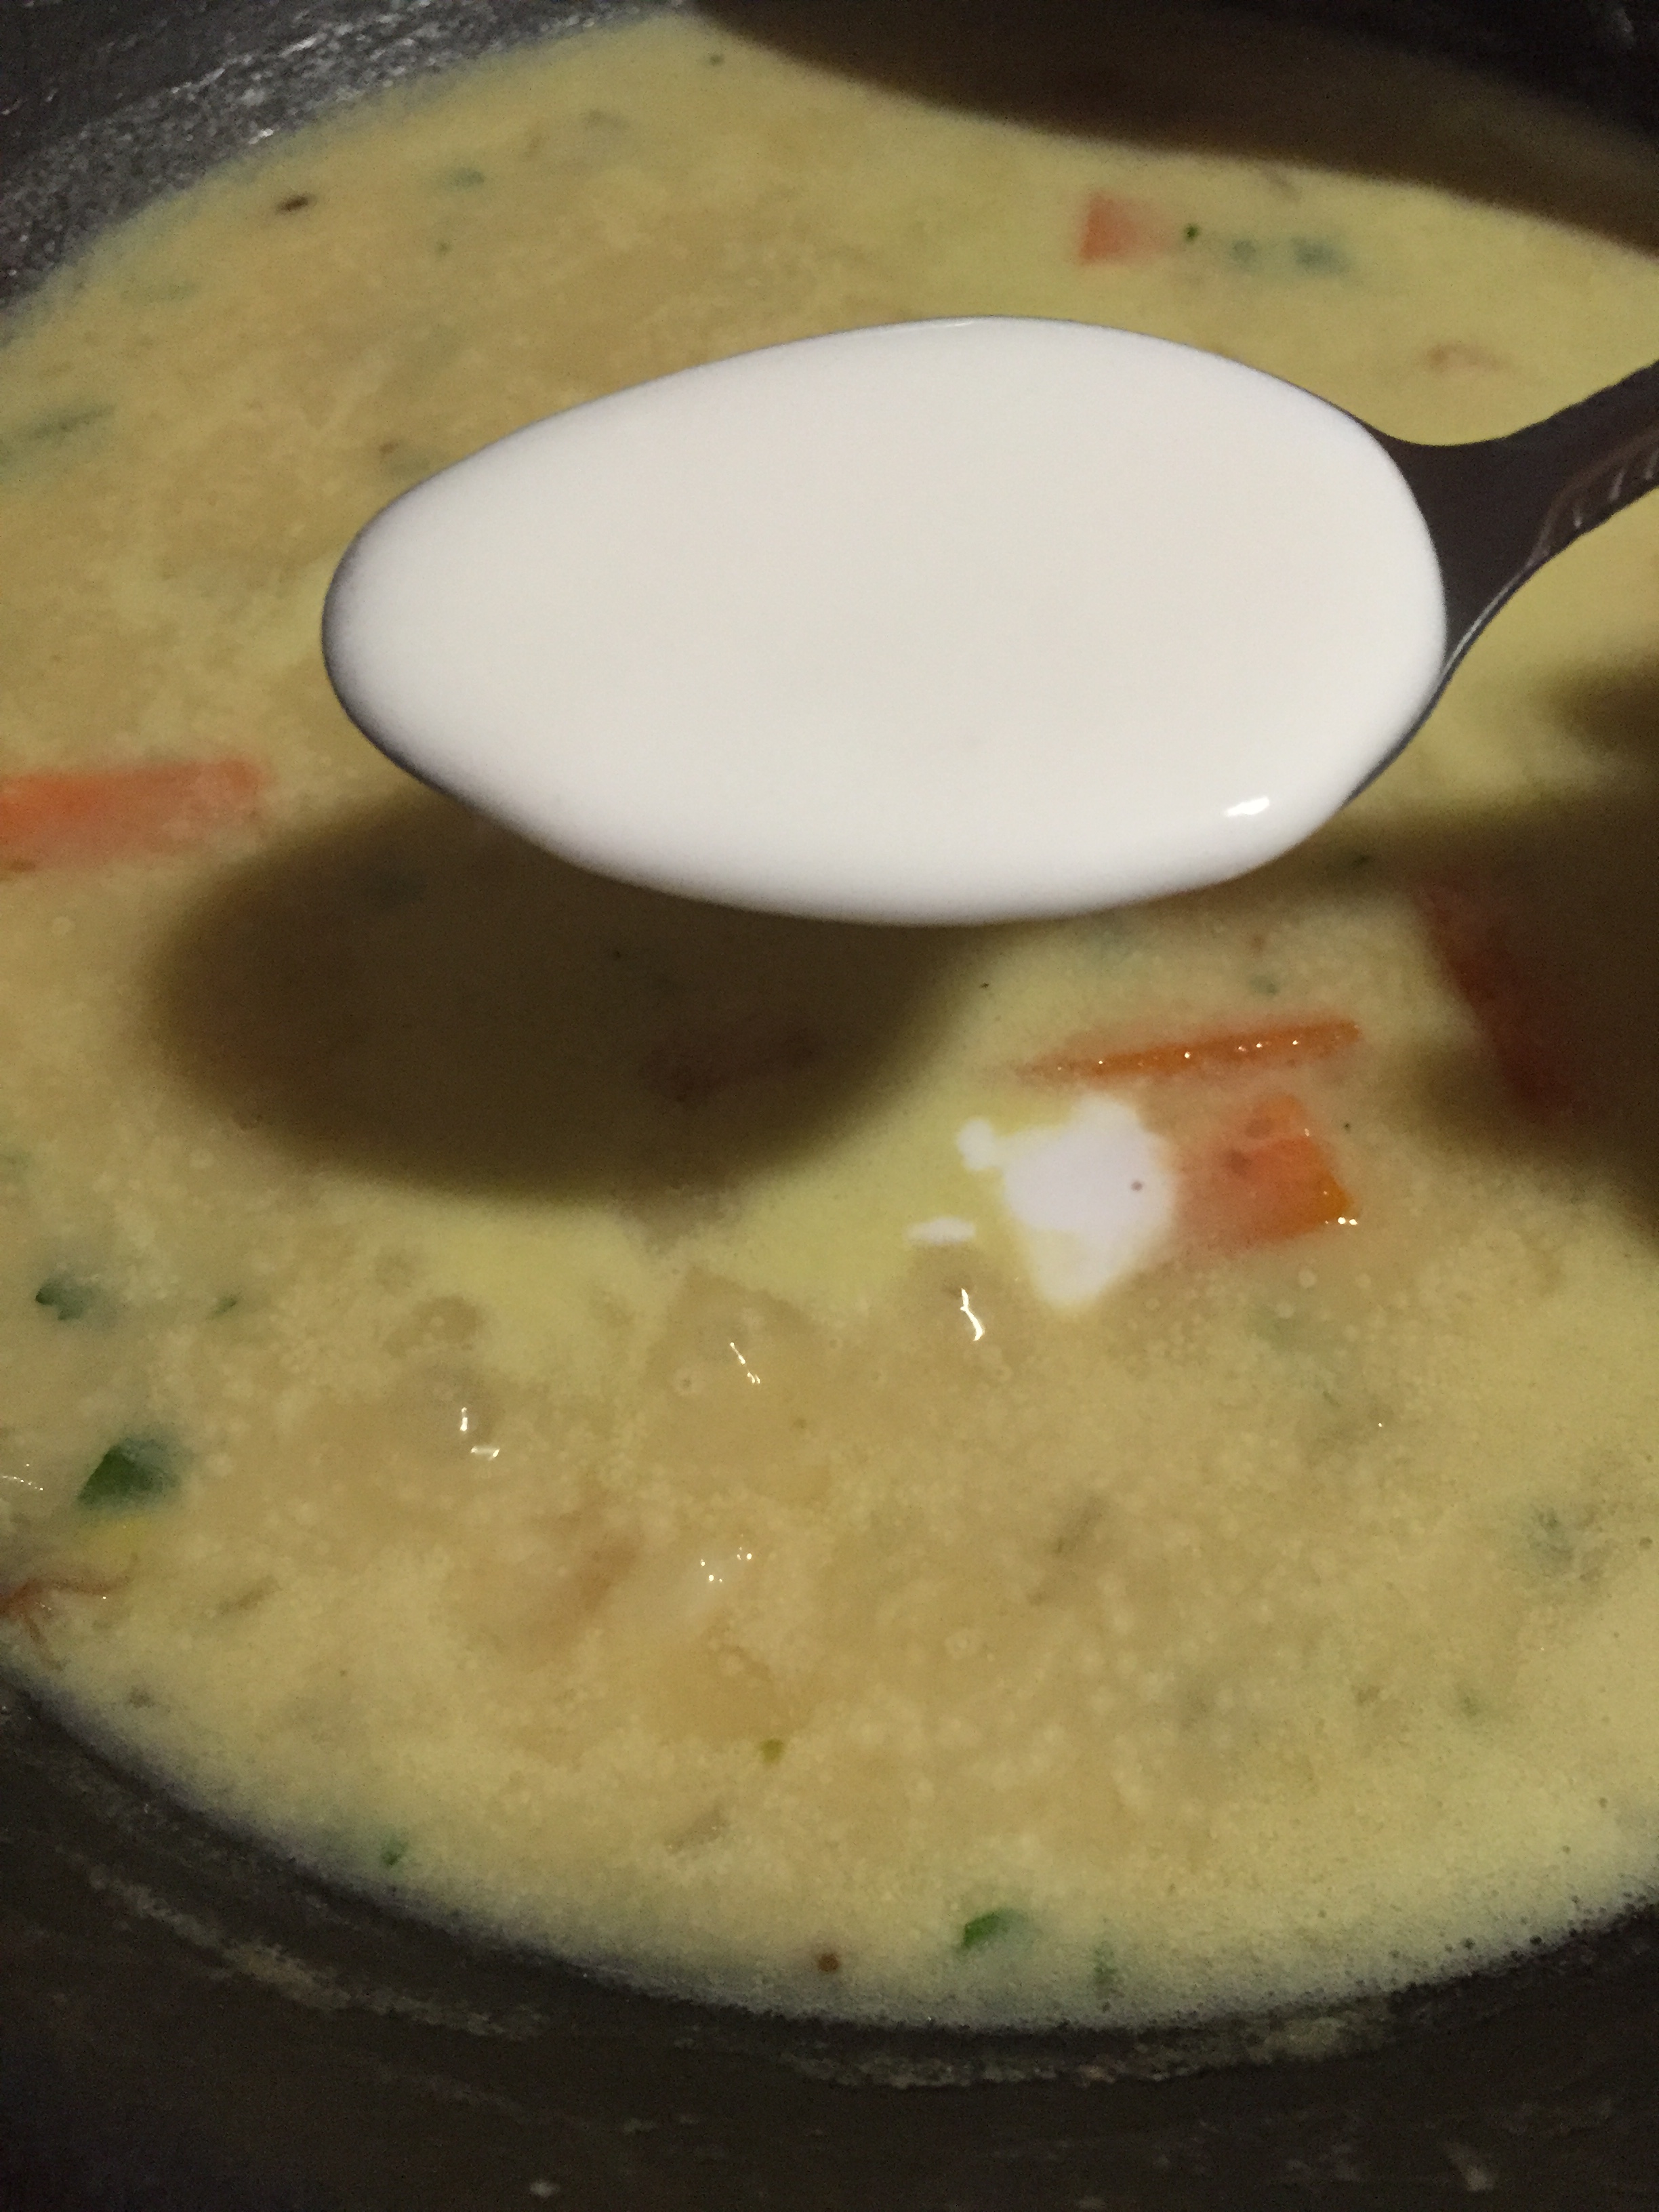
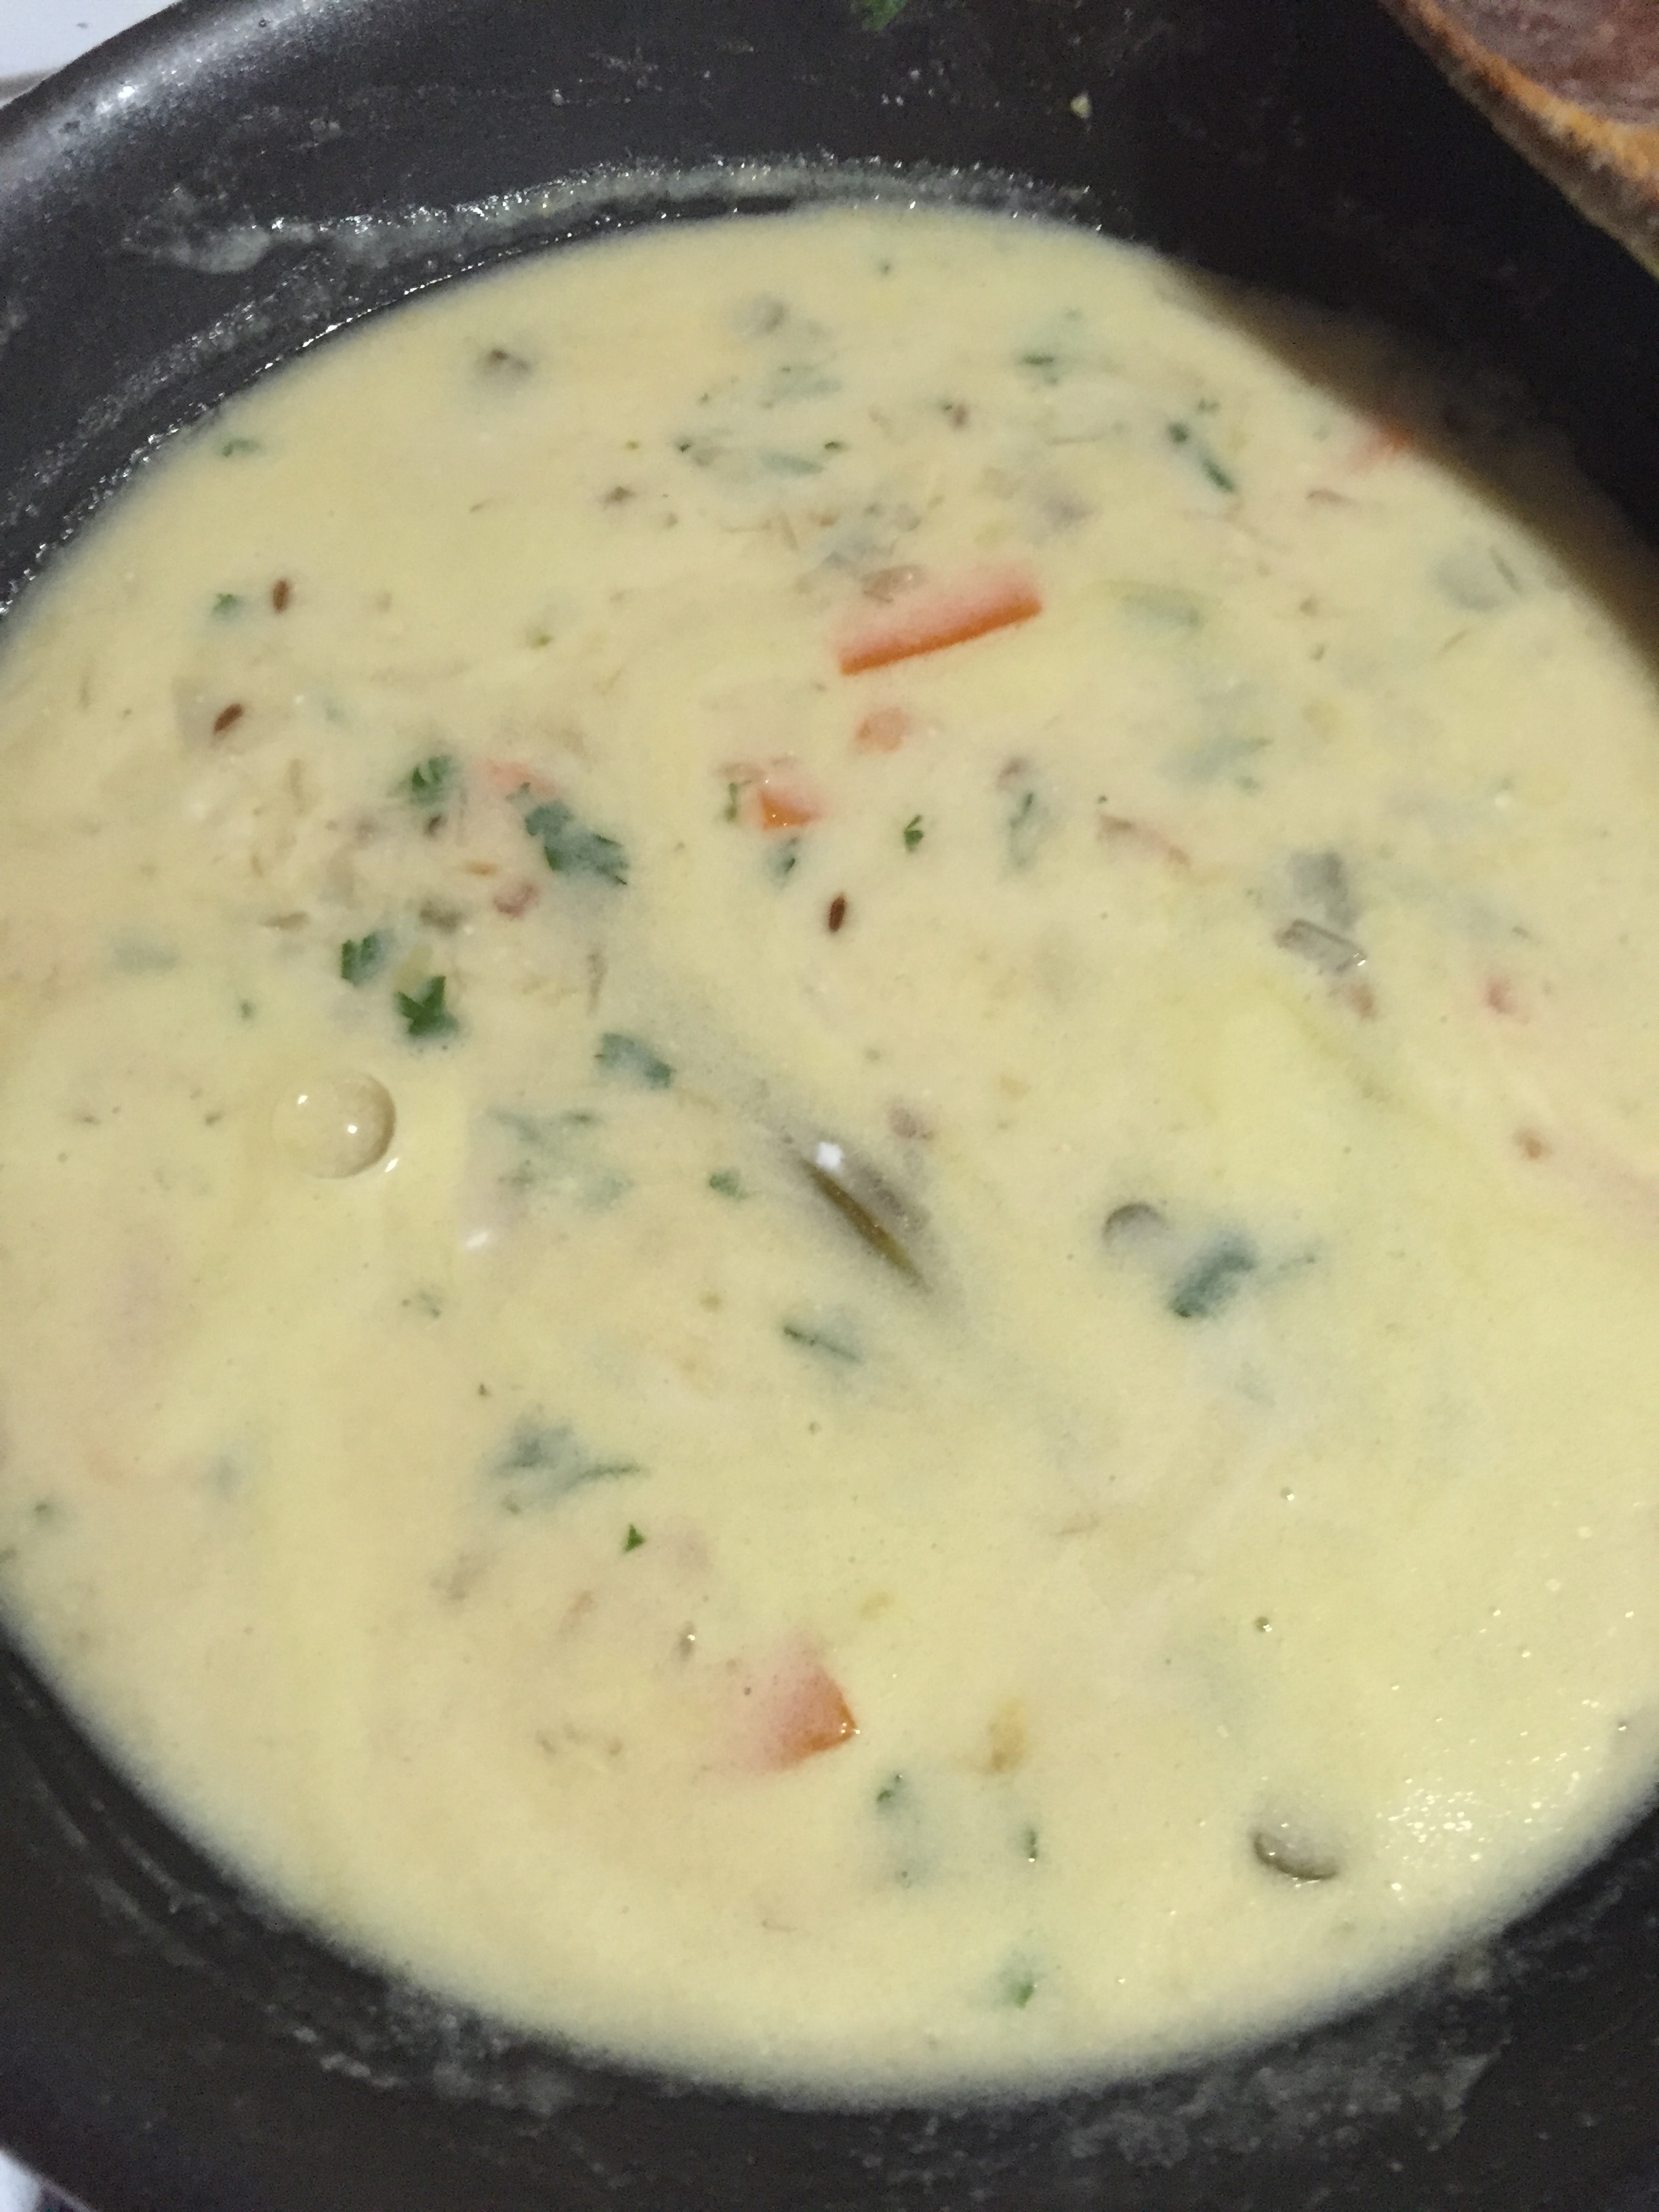
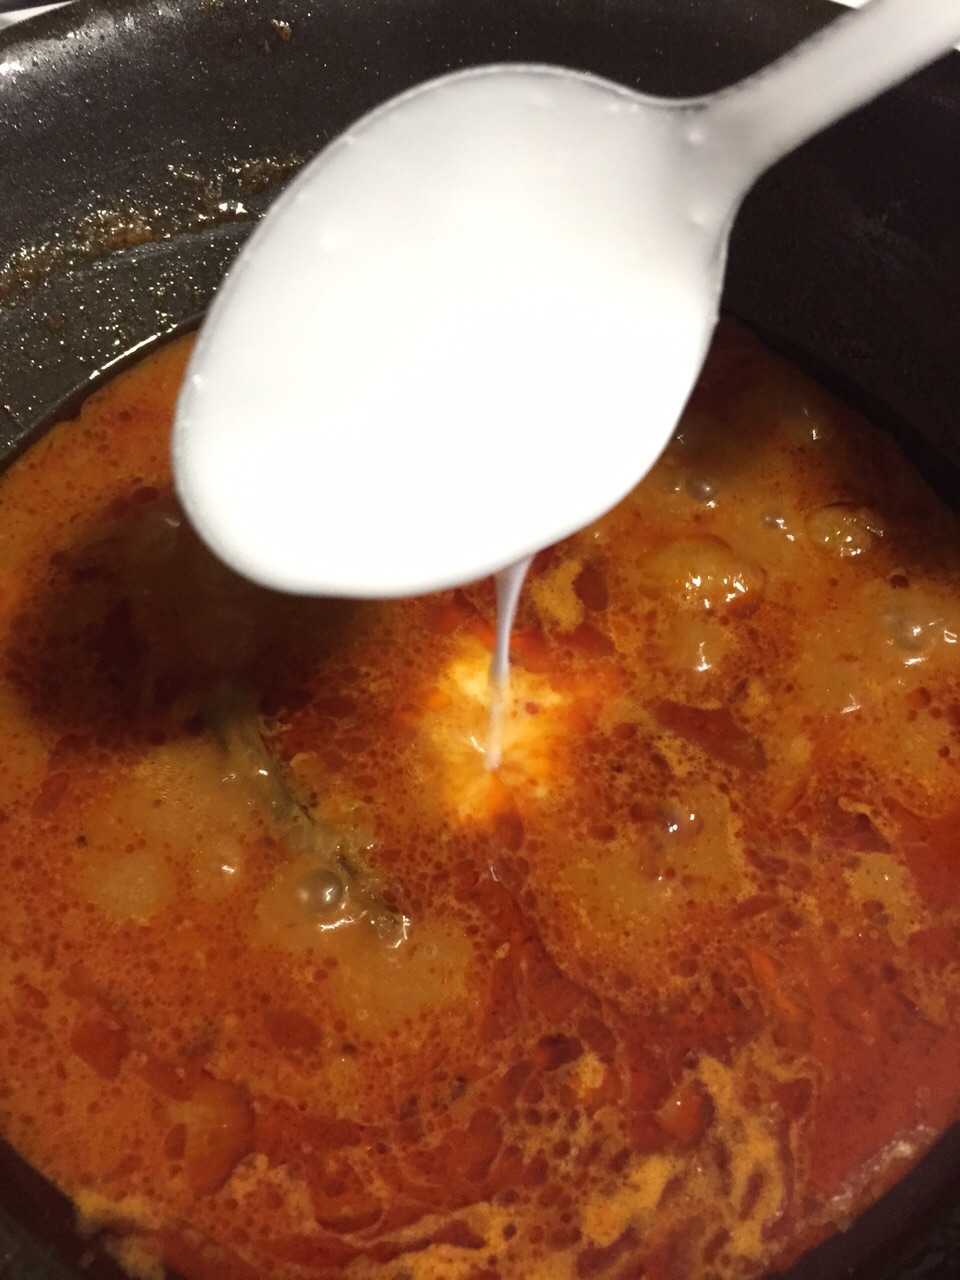
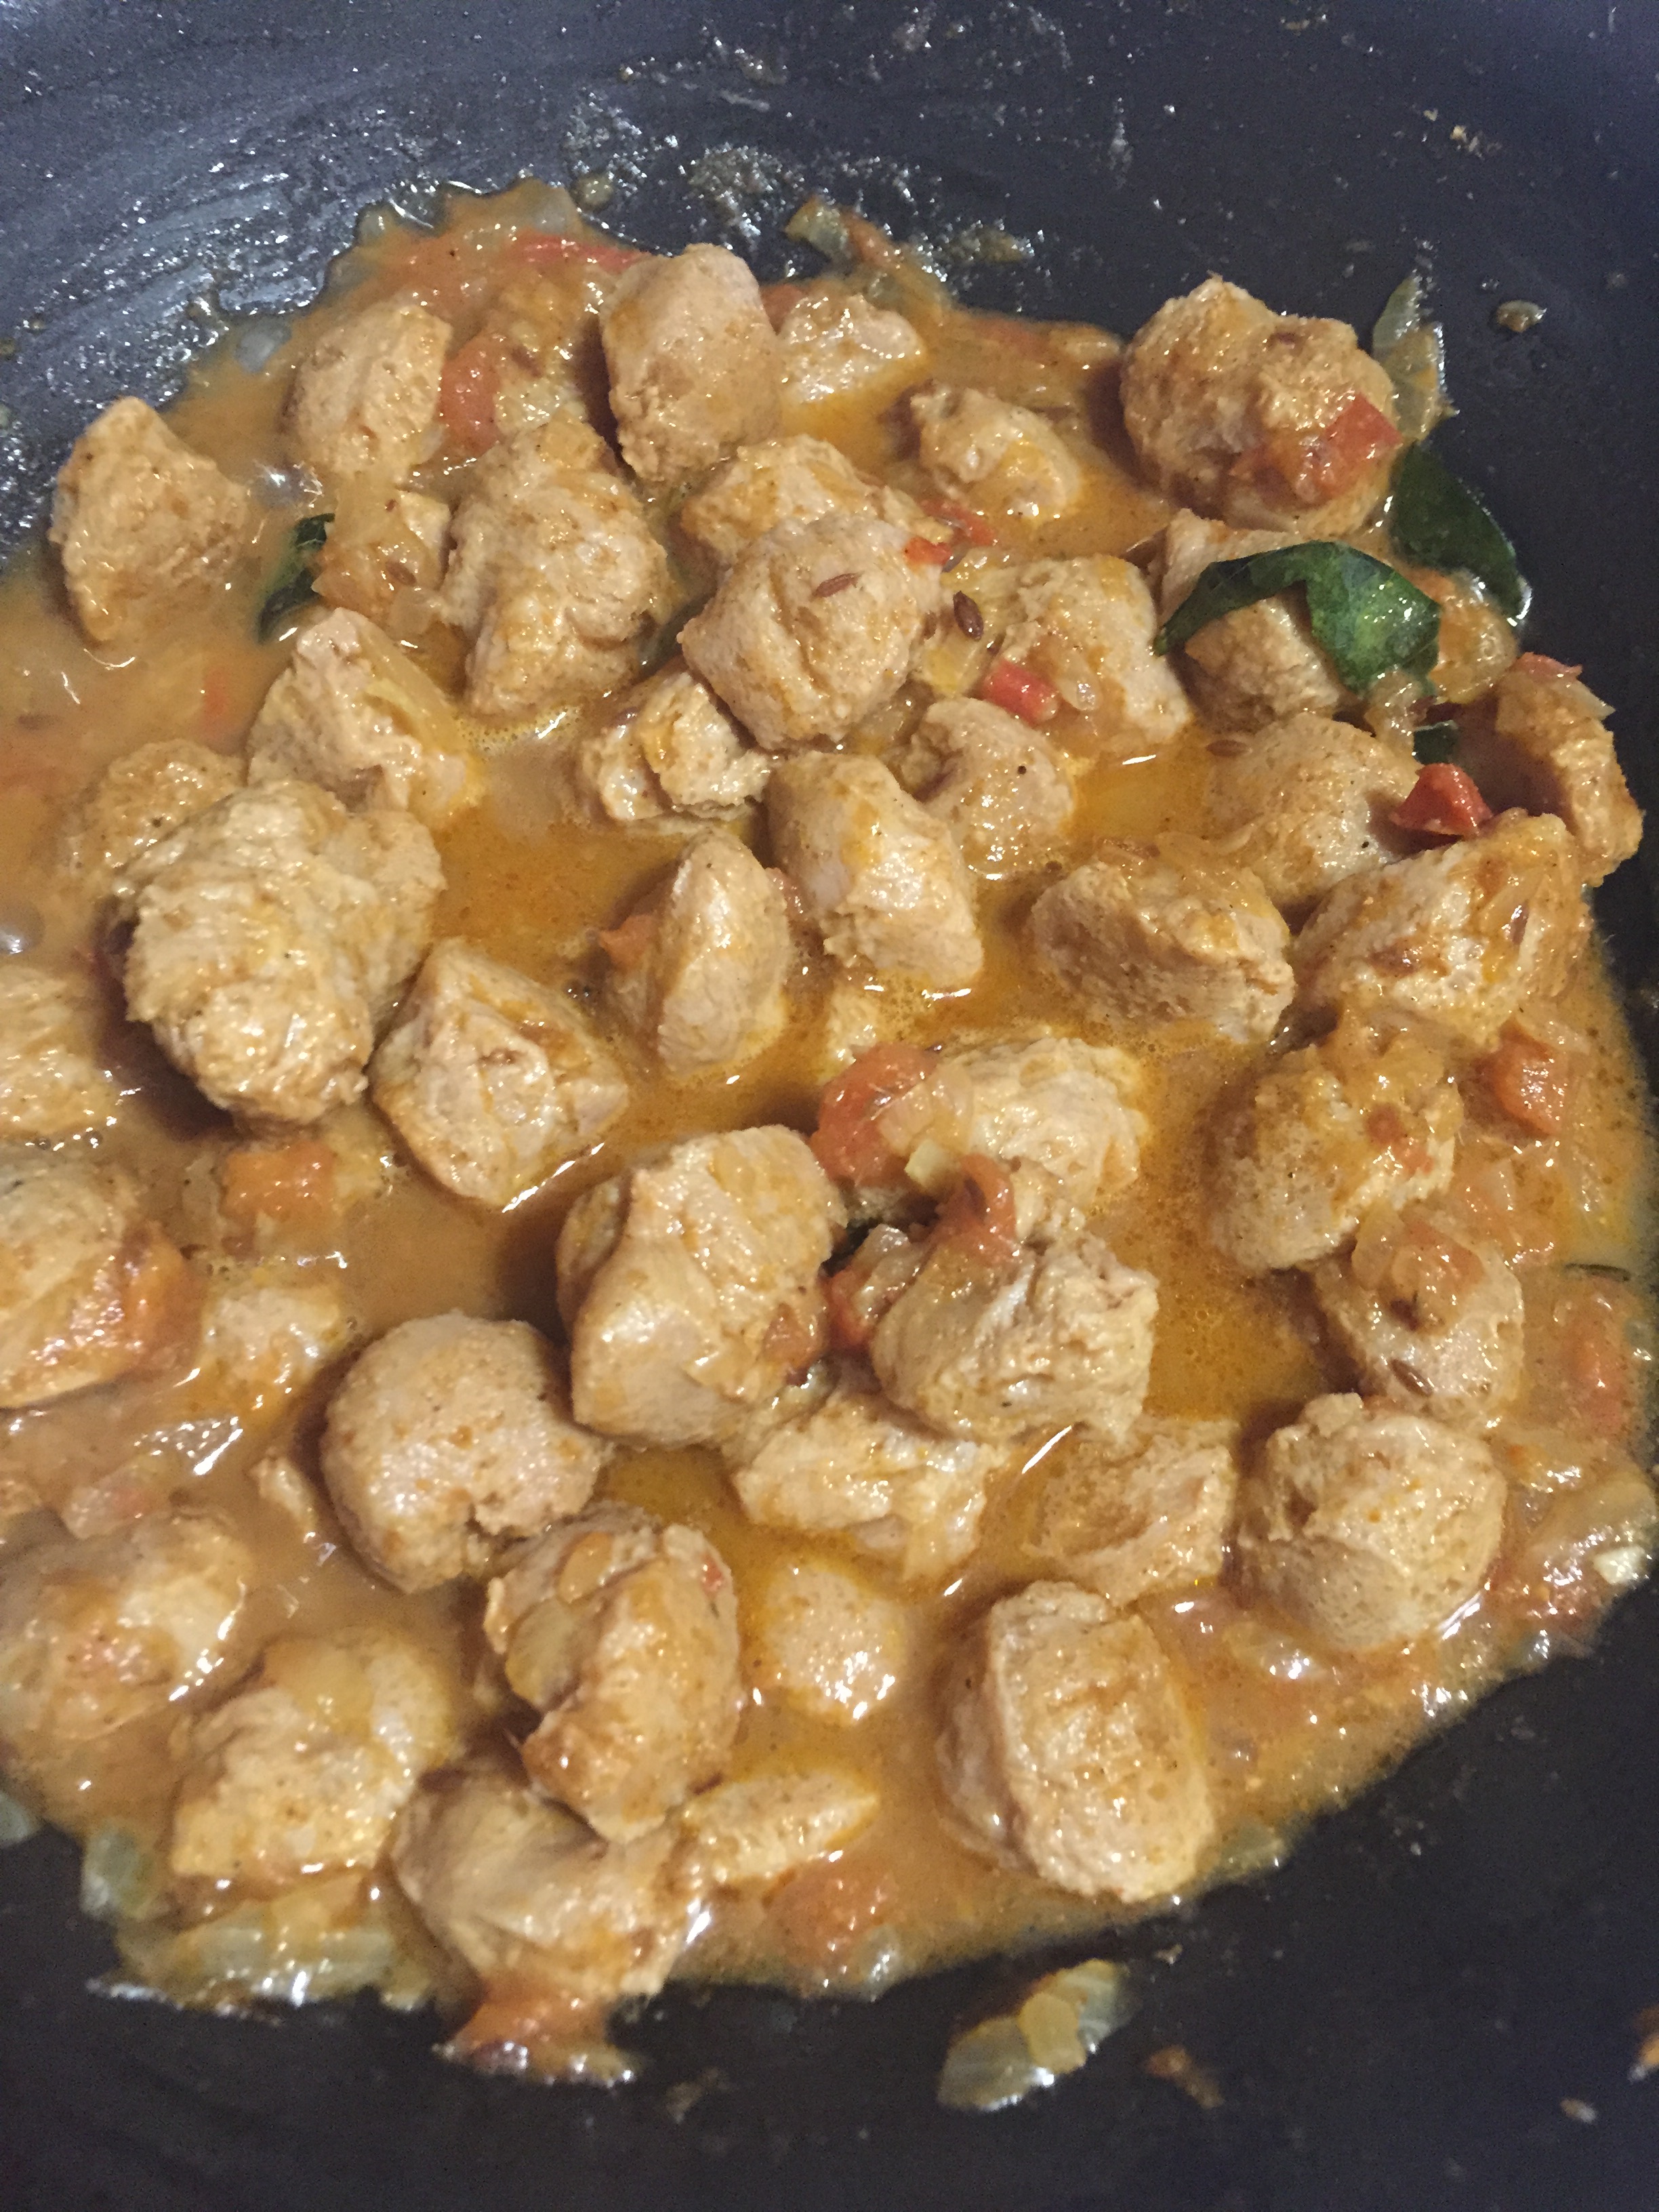
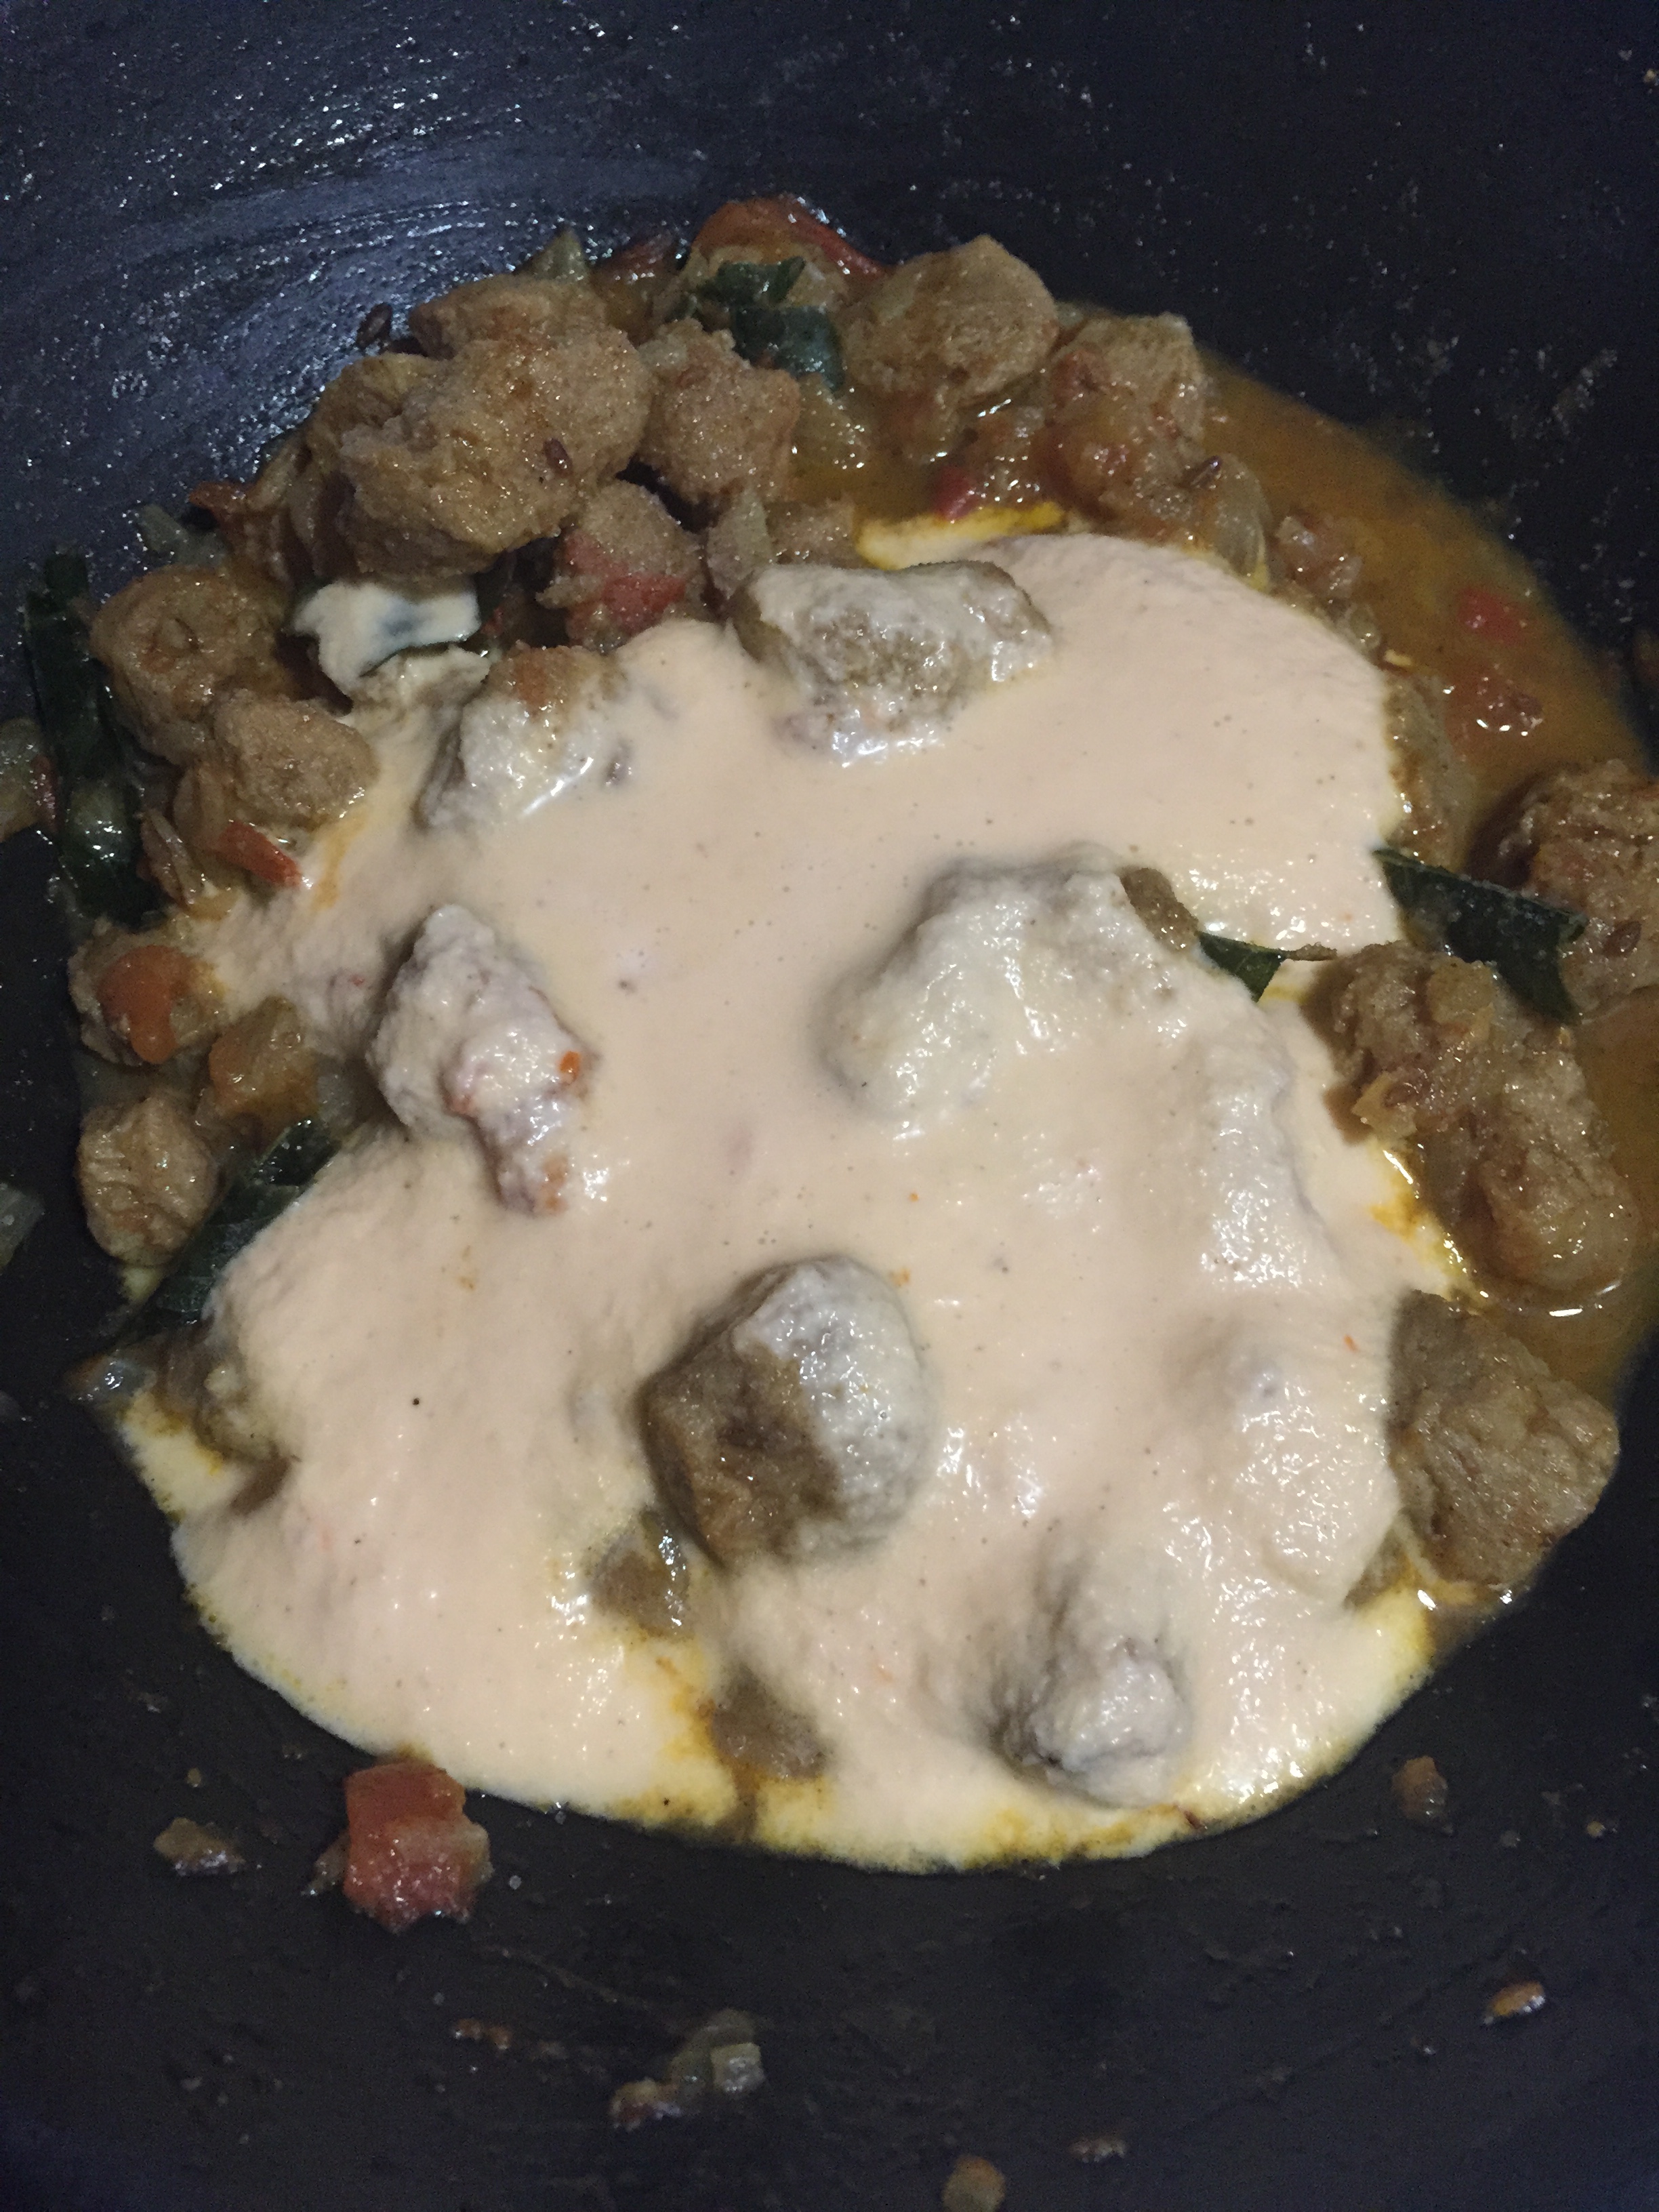
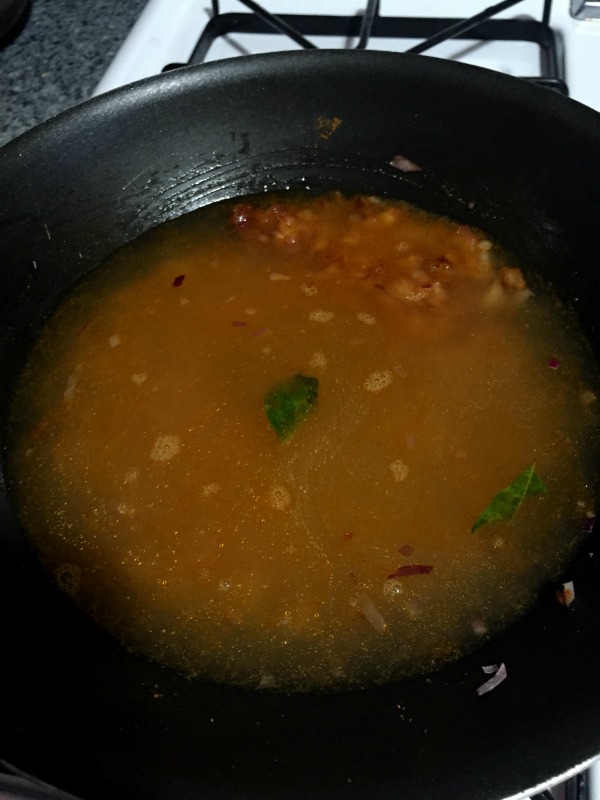
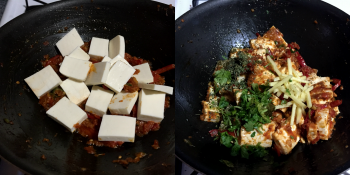
  9. Add ground coconut paste and enough water to the gravy and bring them to boil.
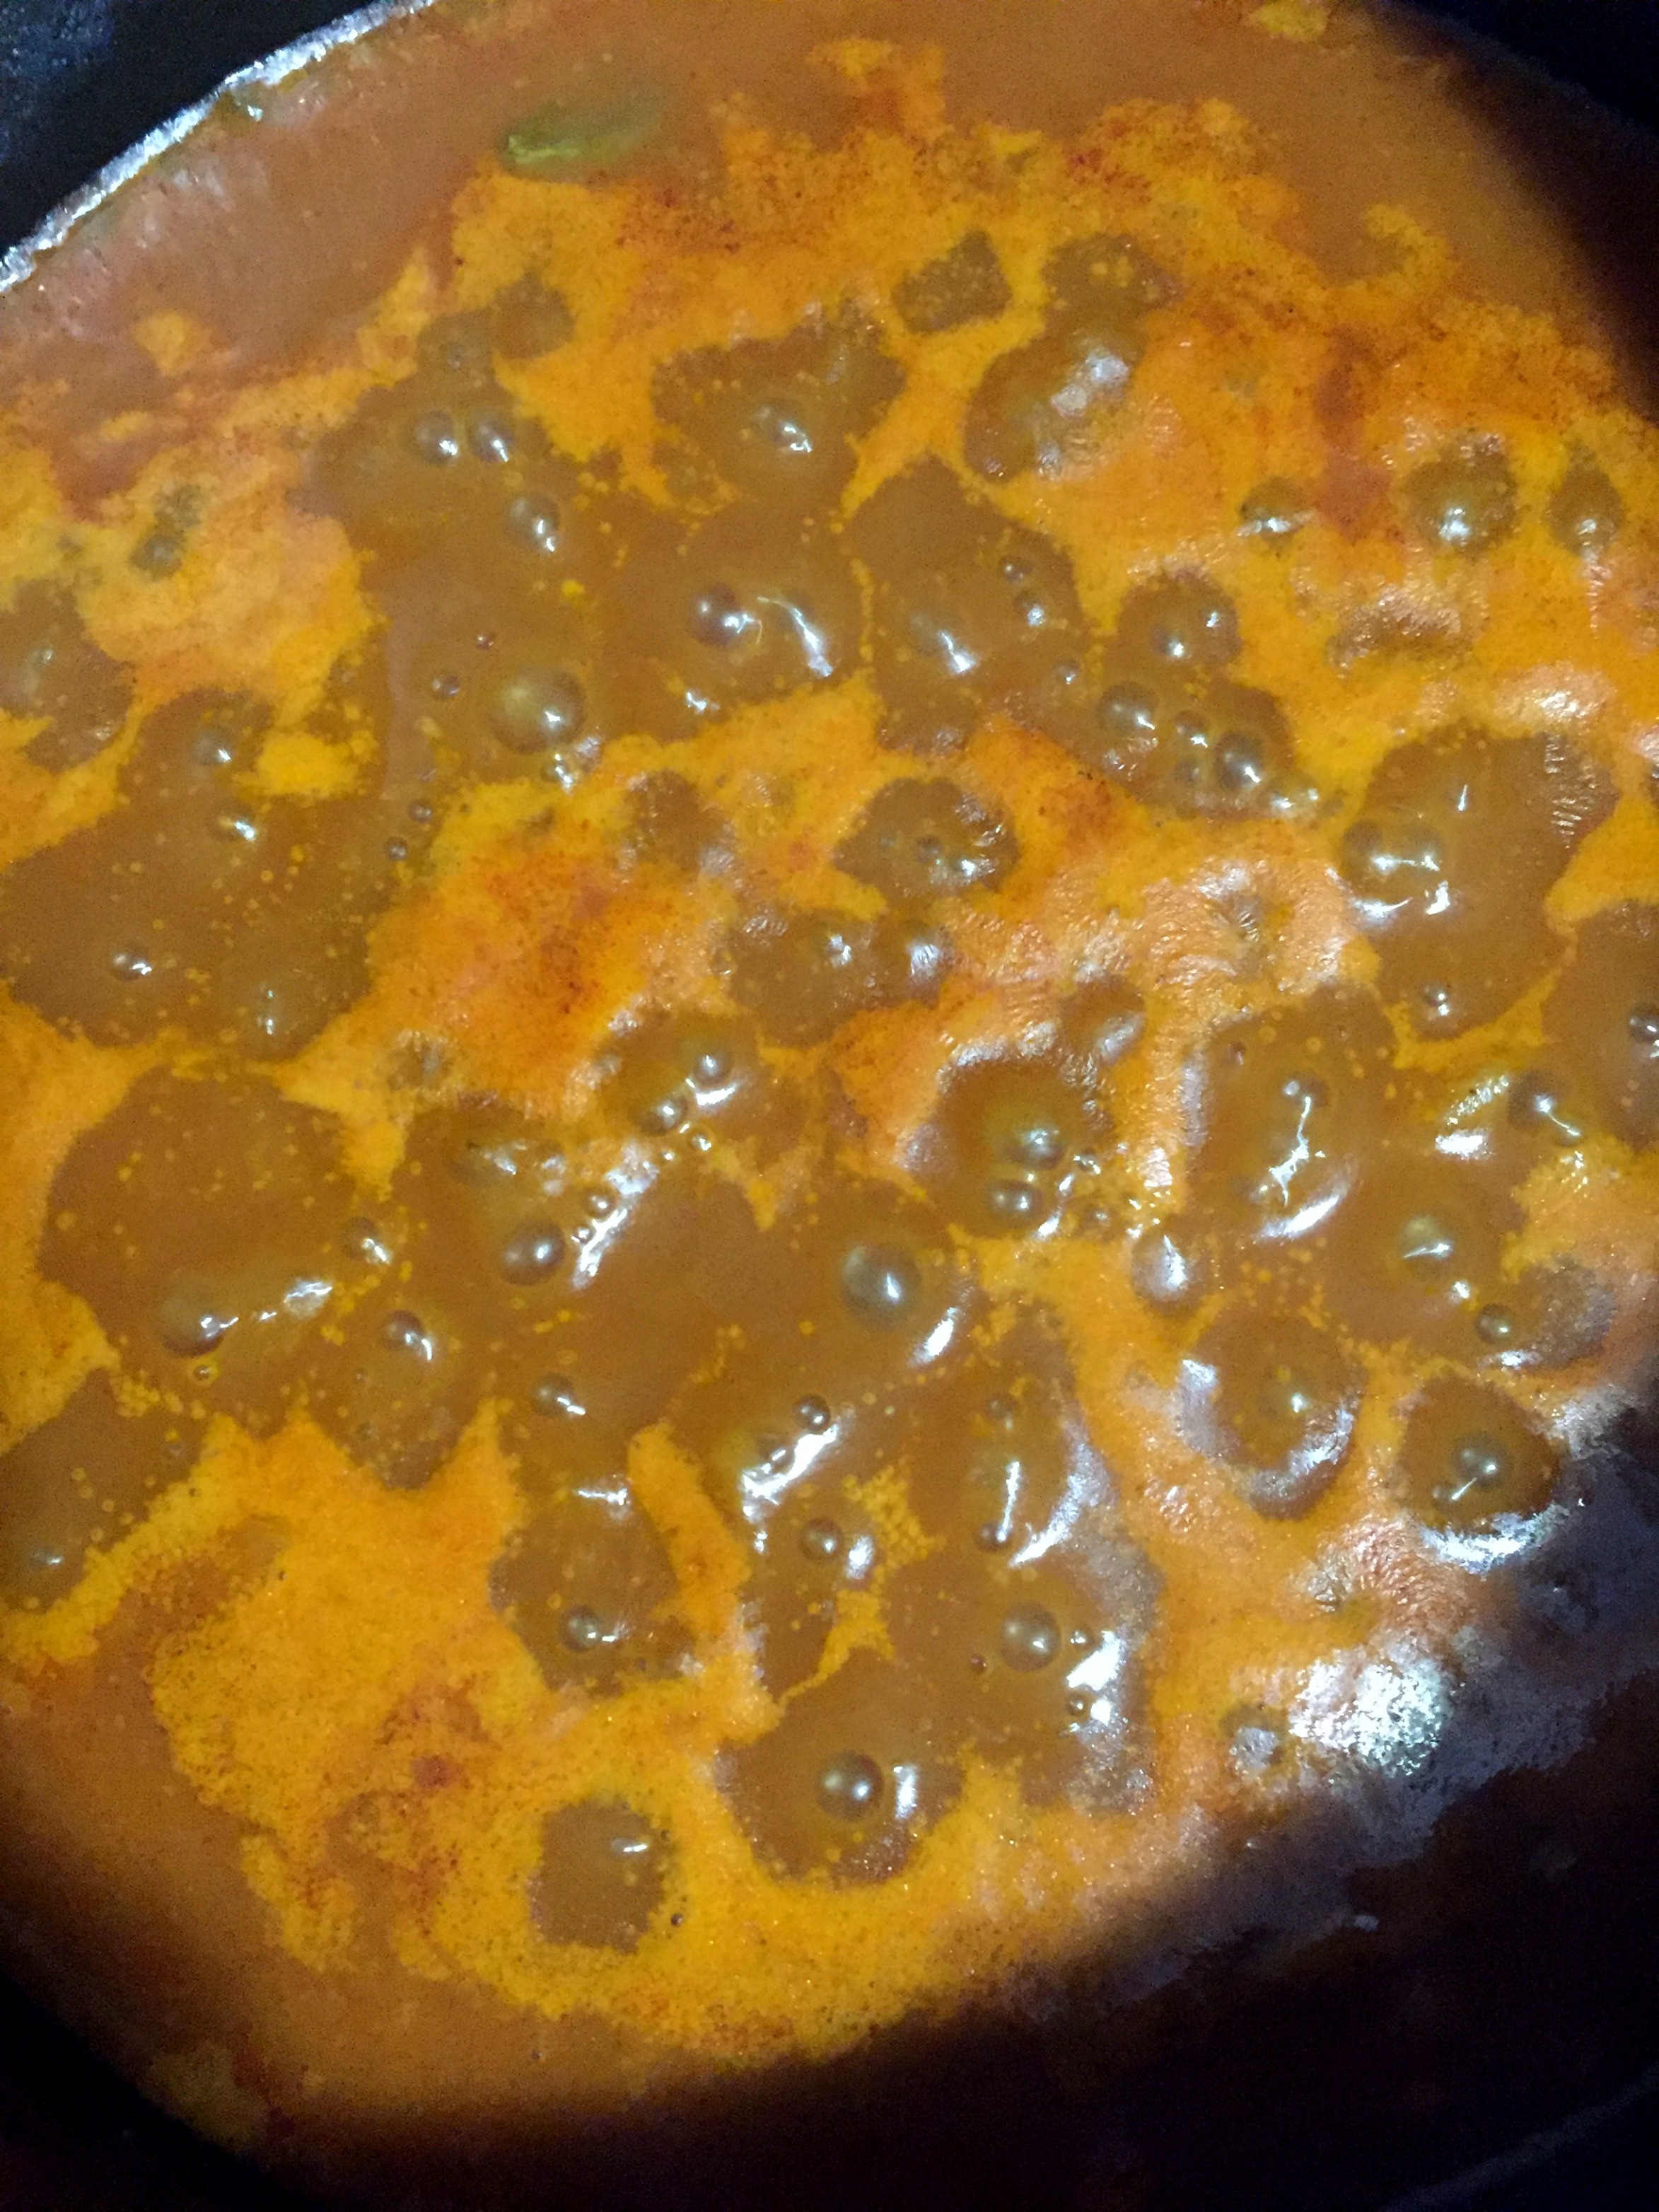
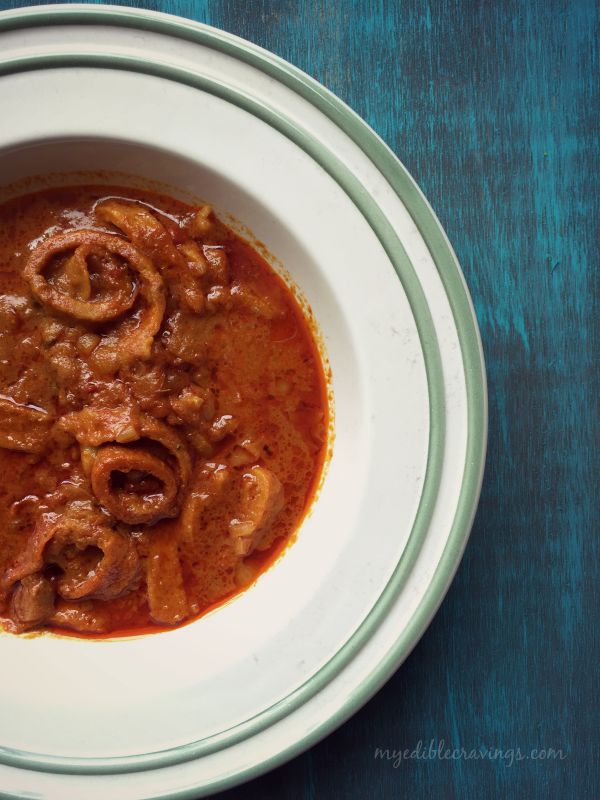
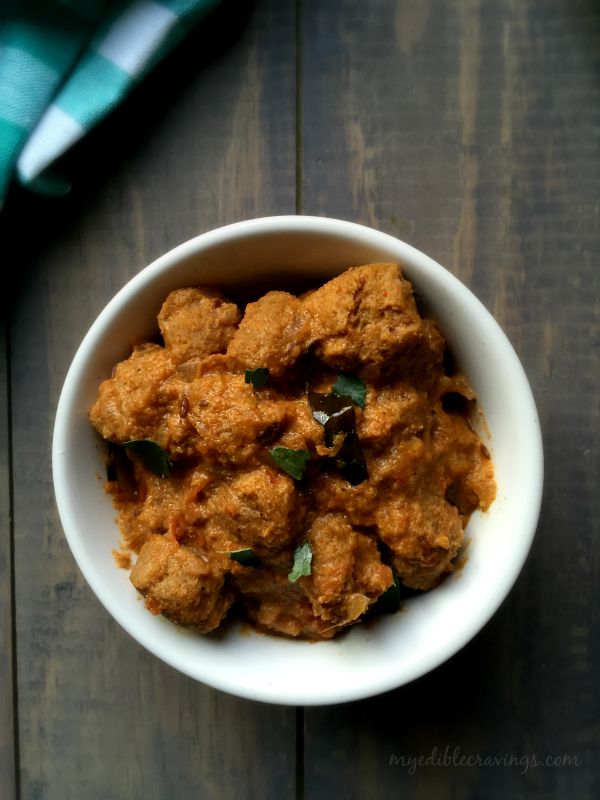
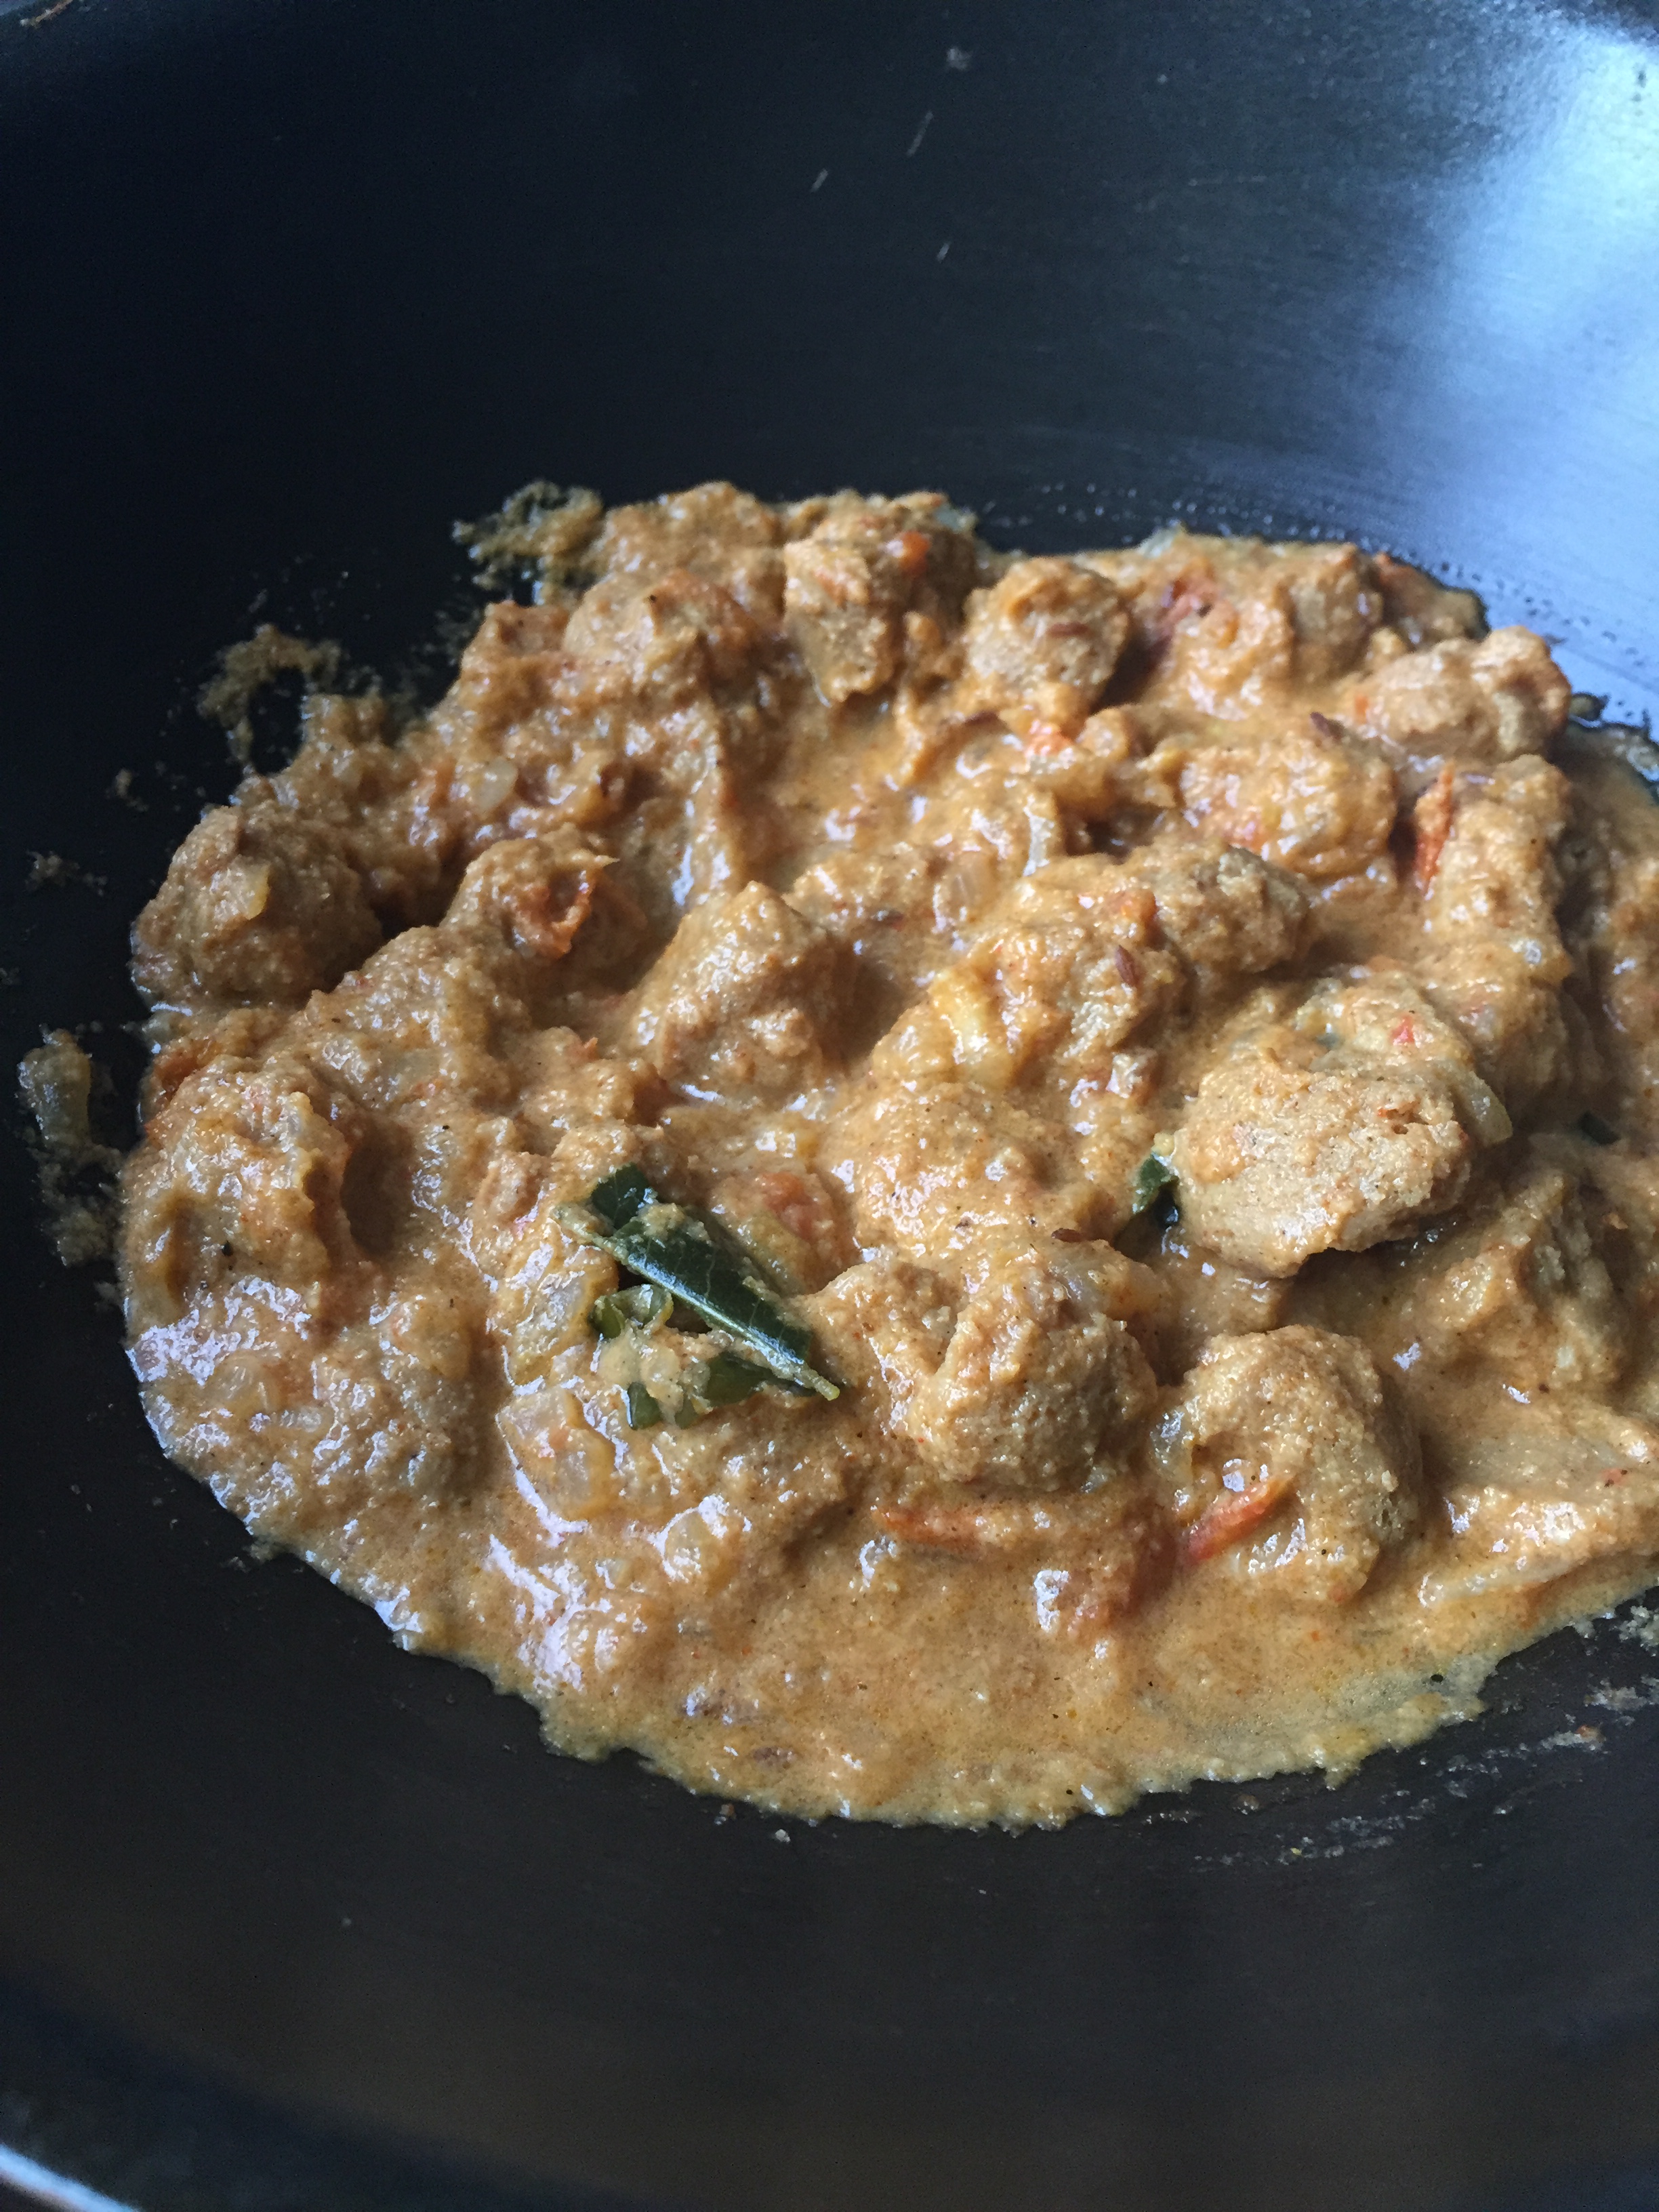
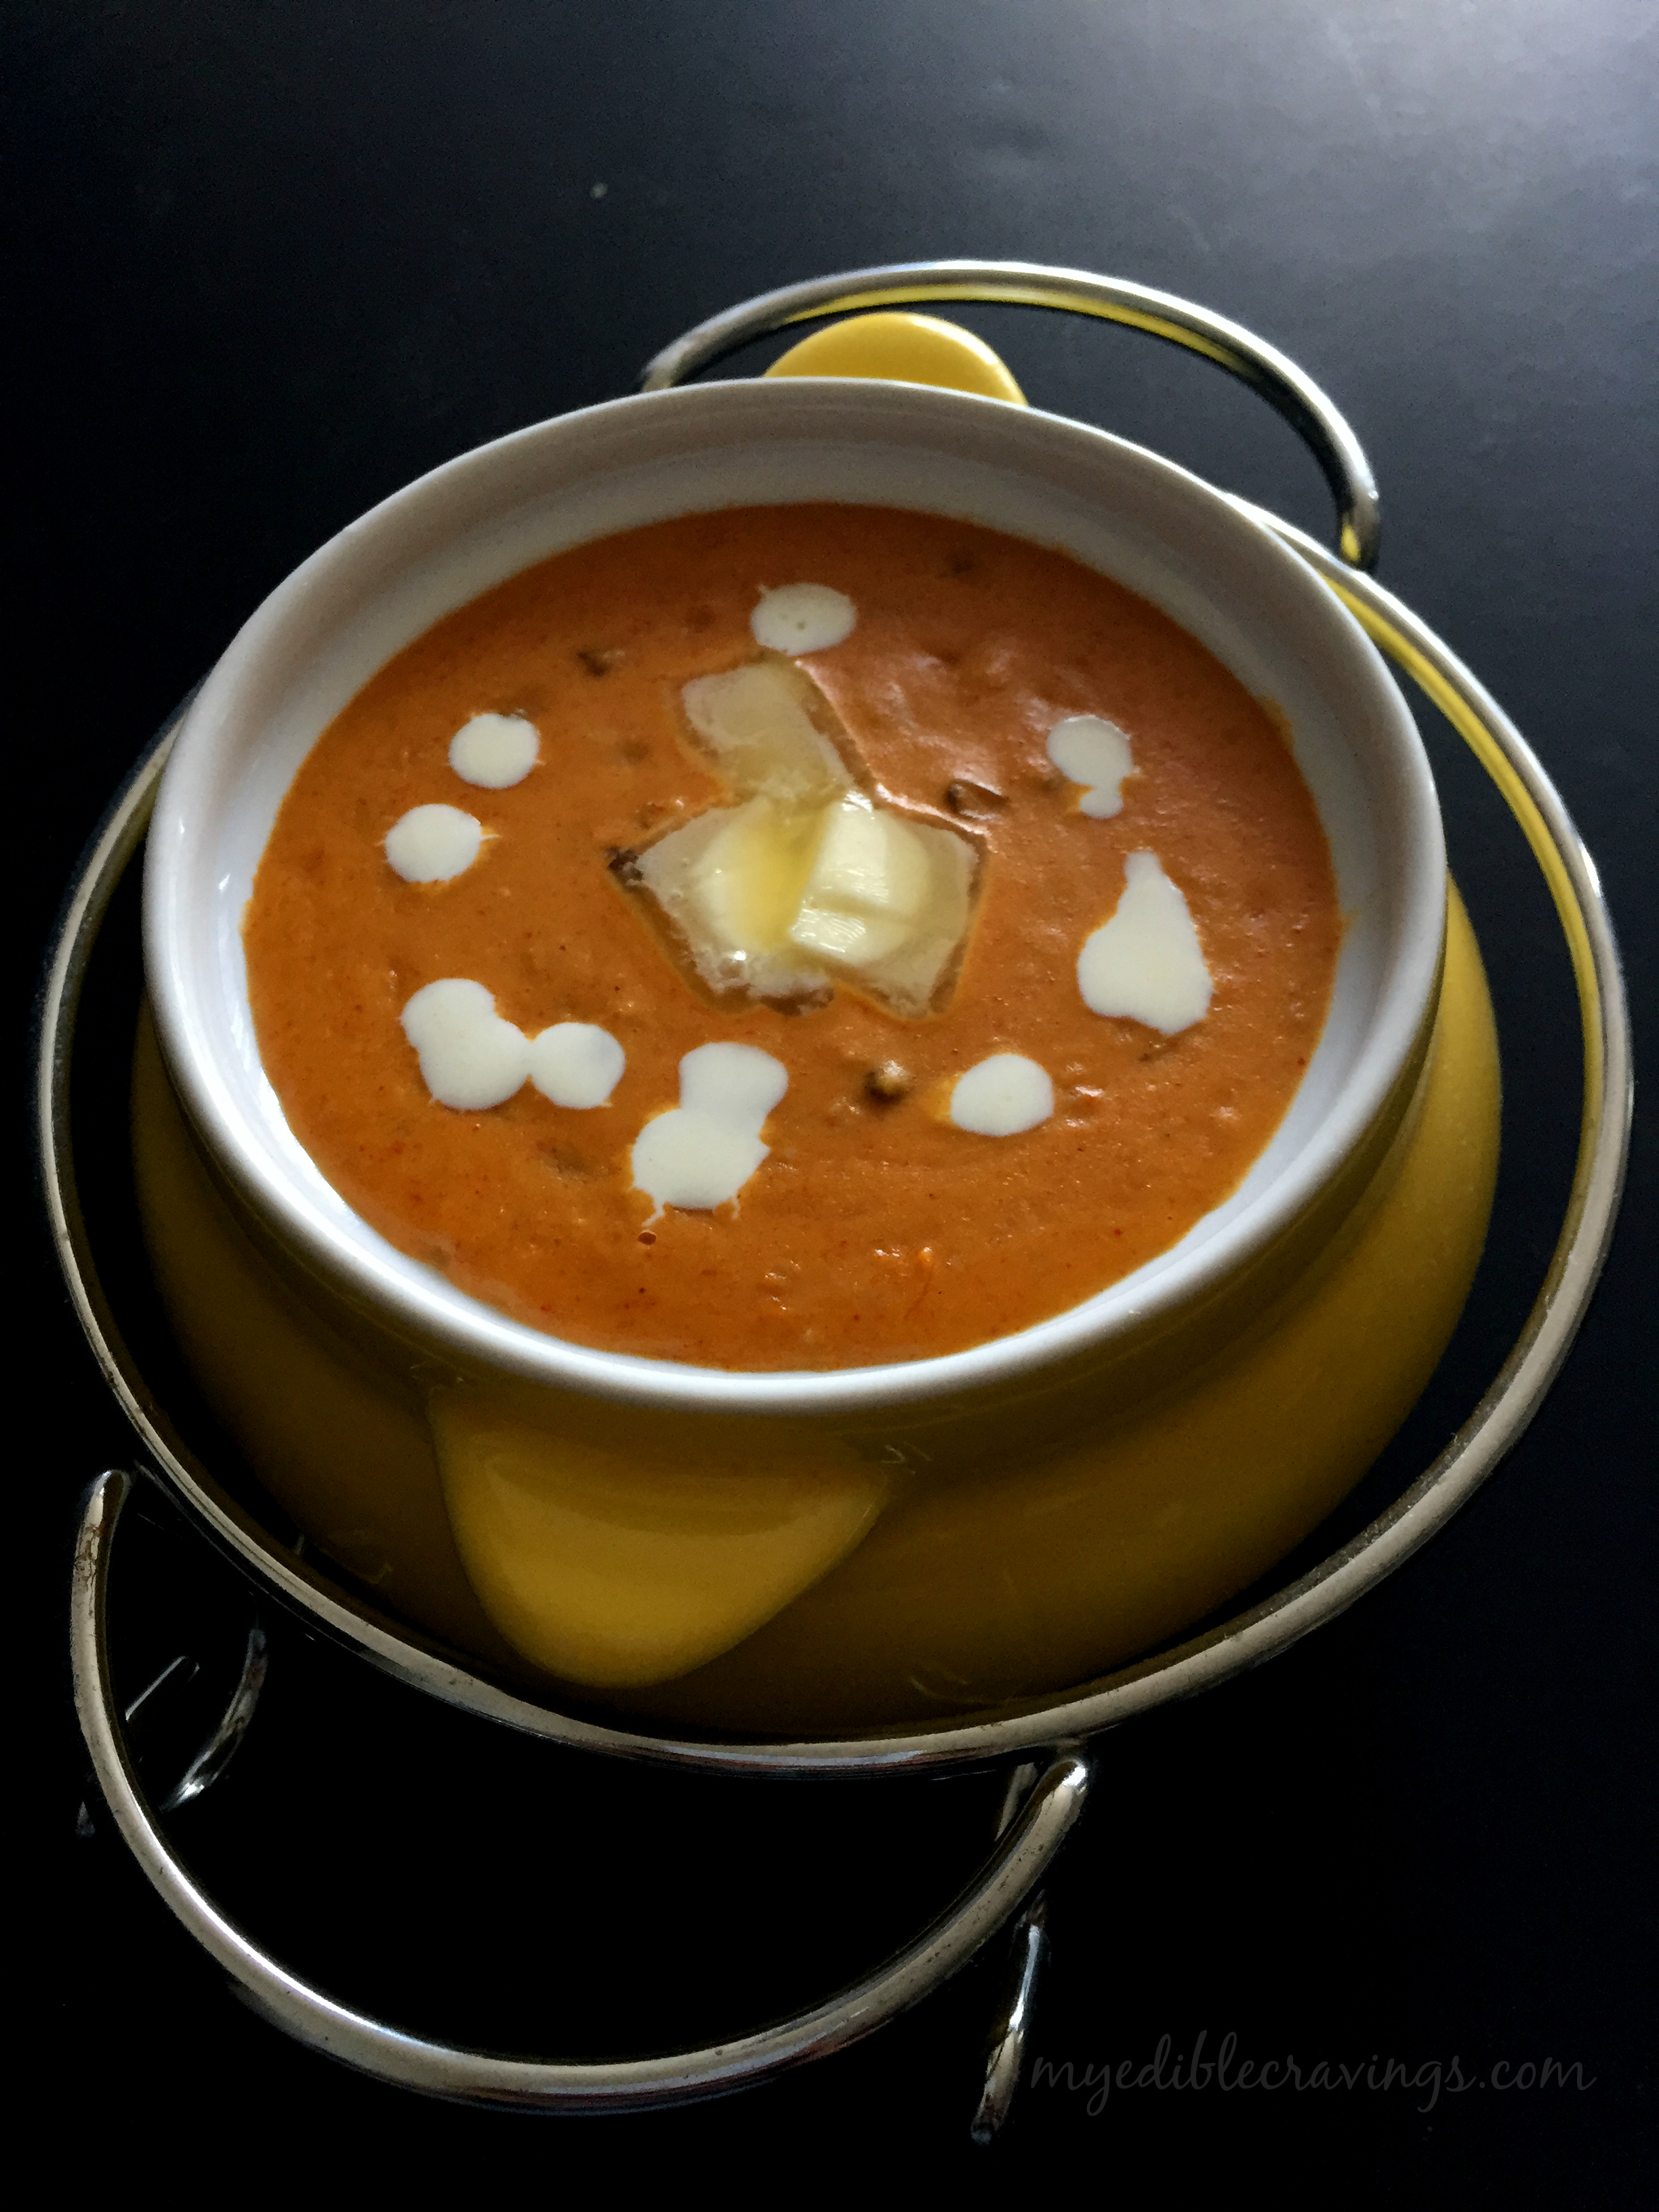
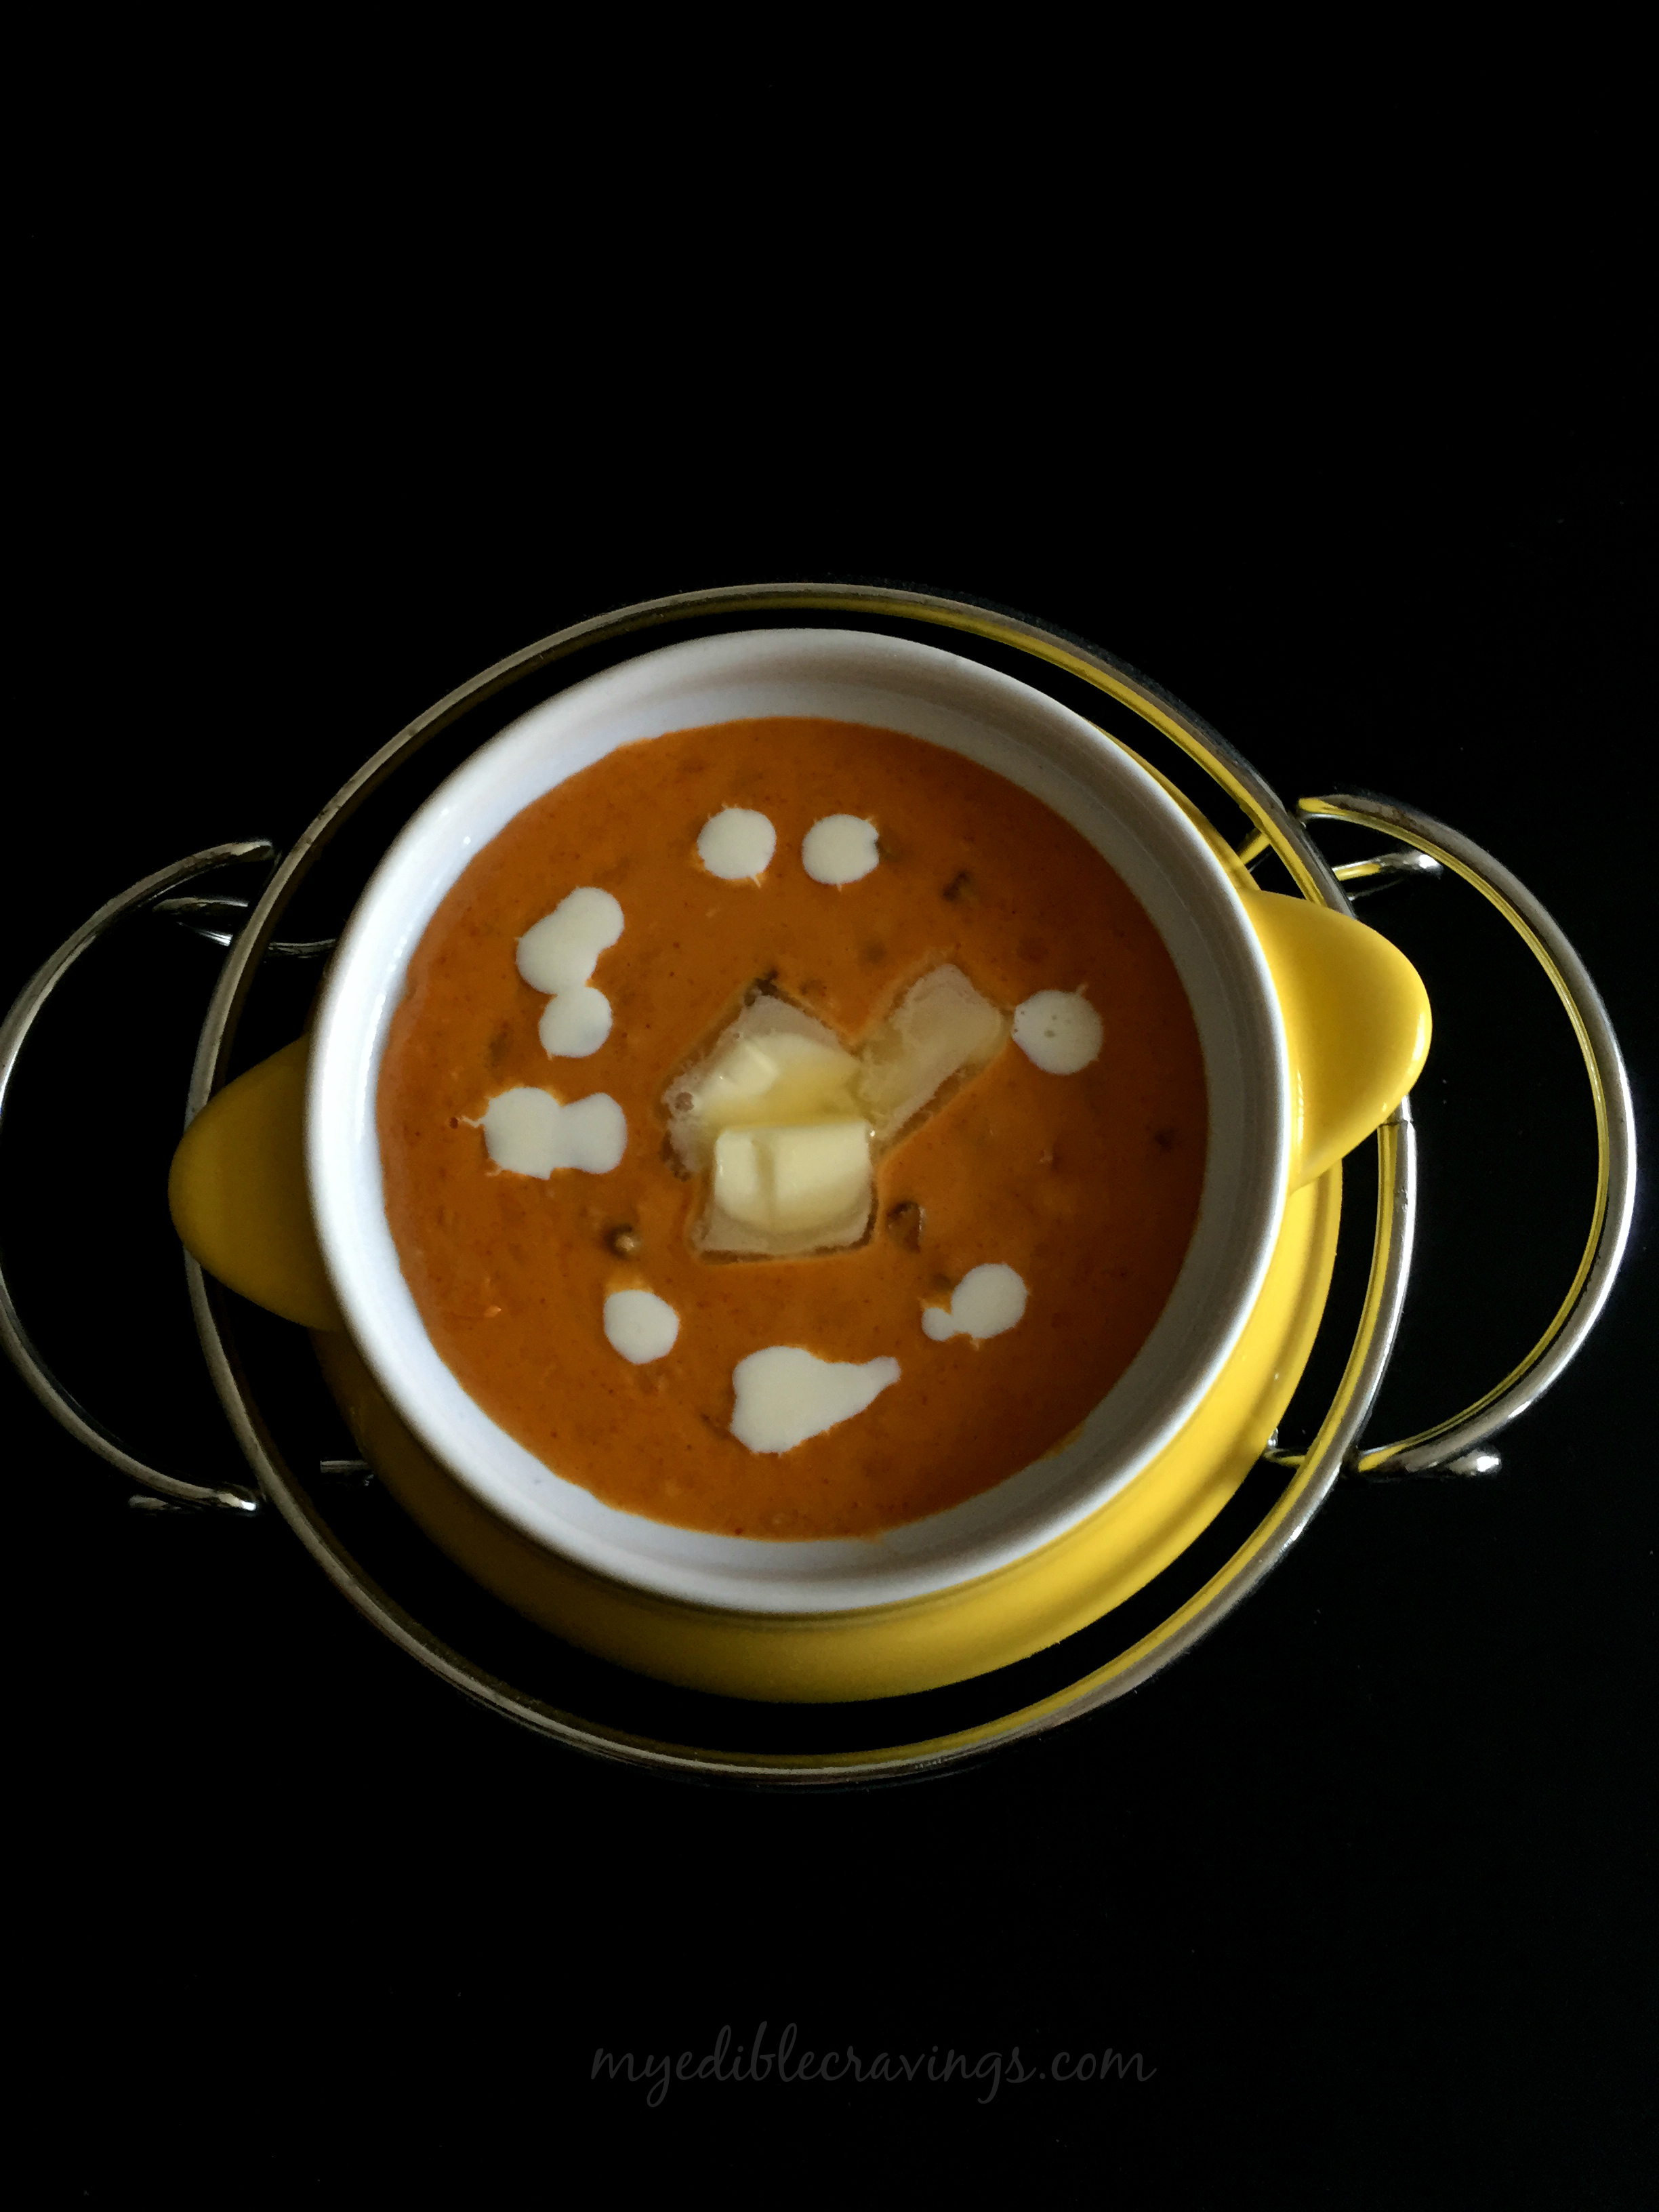
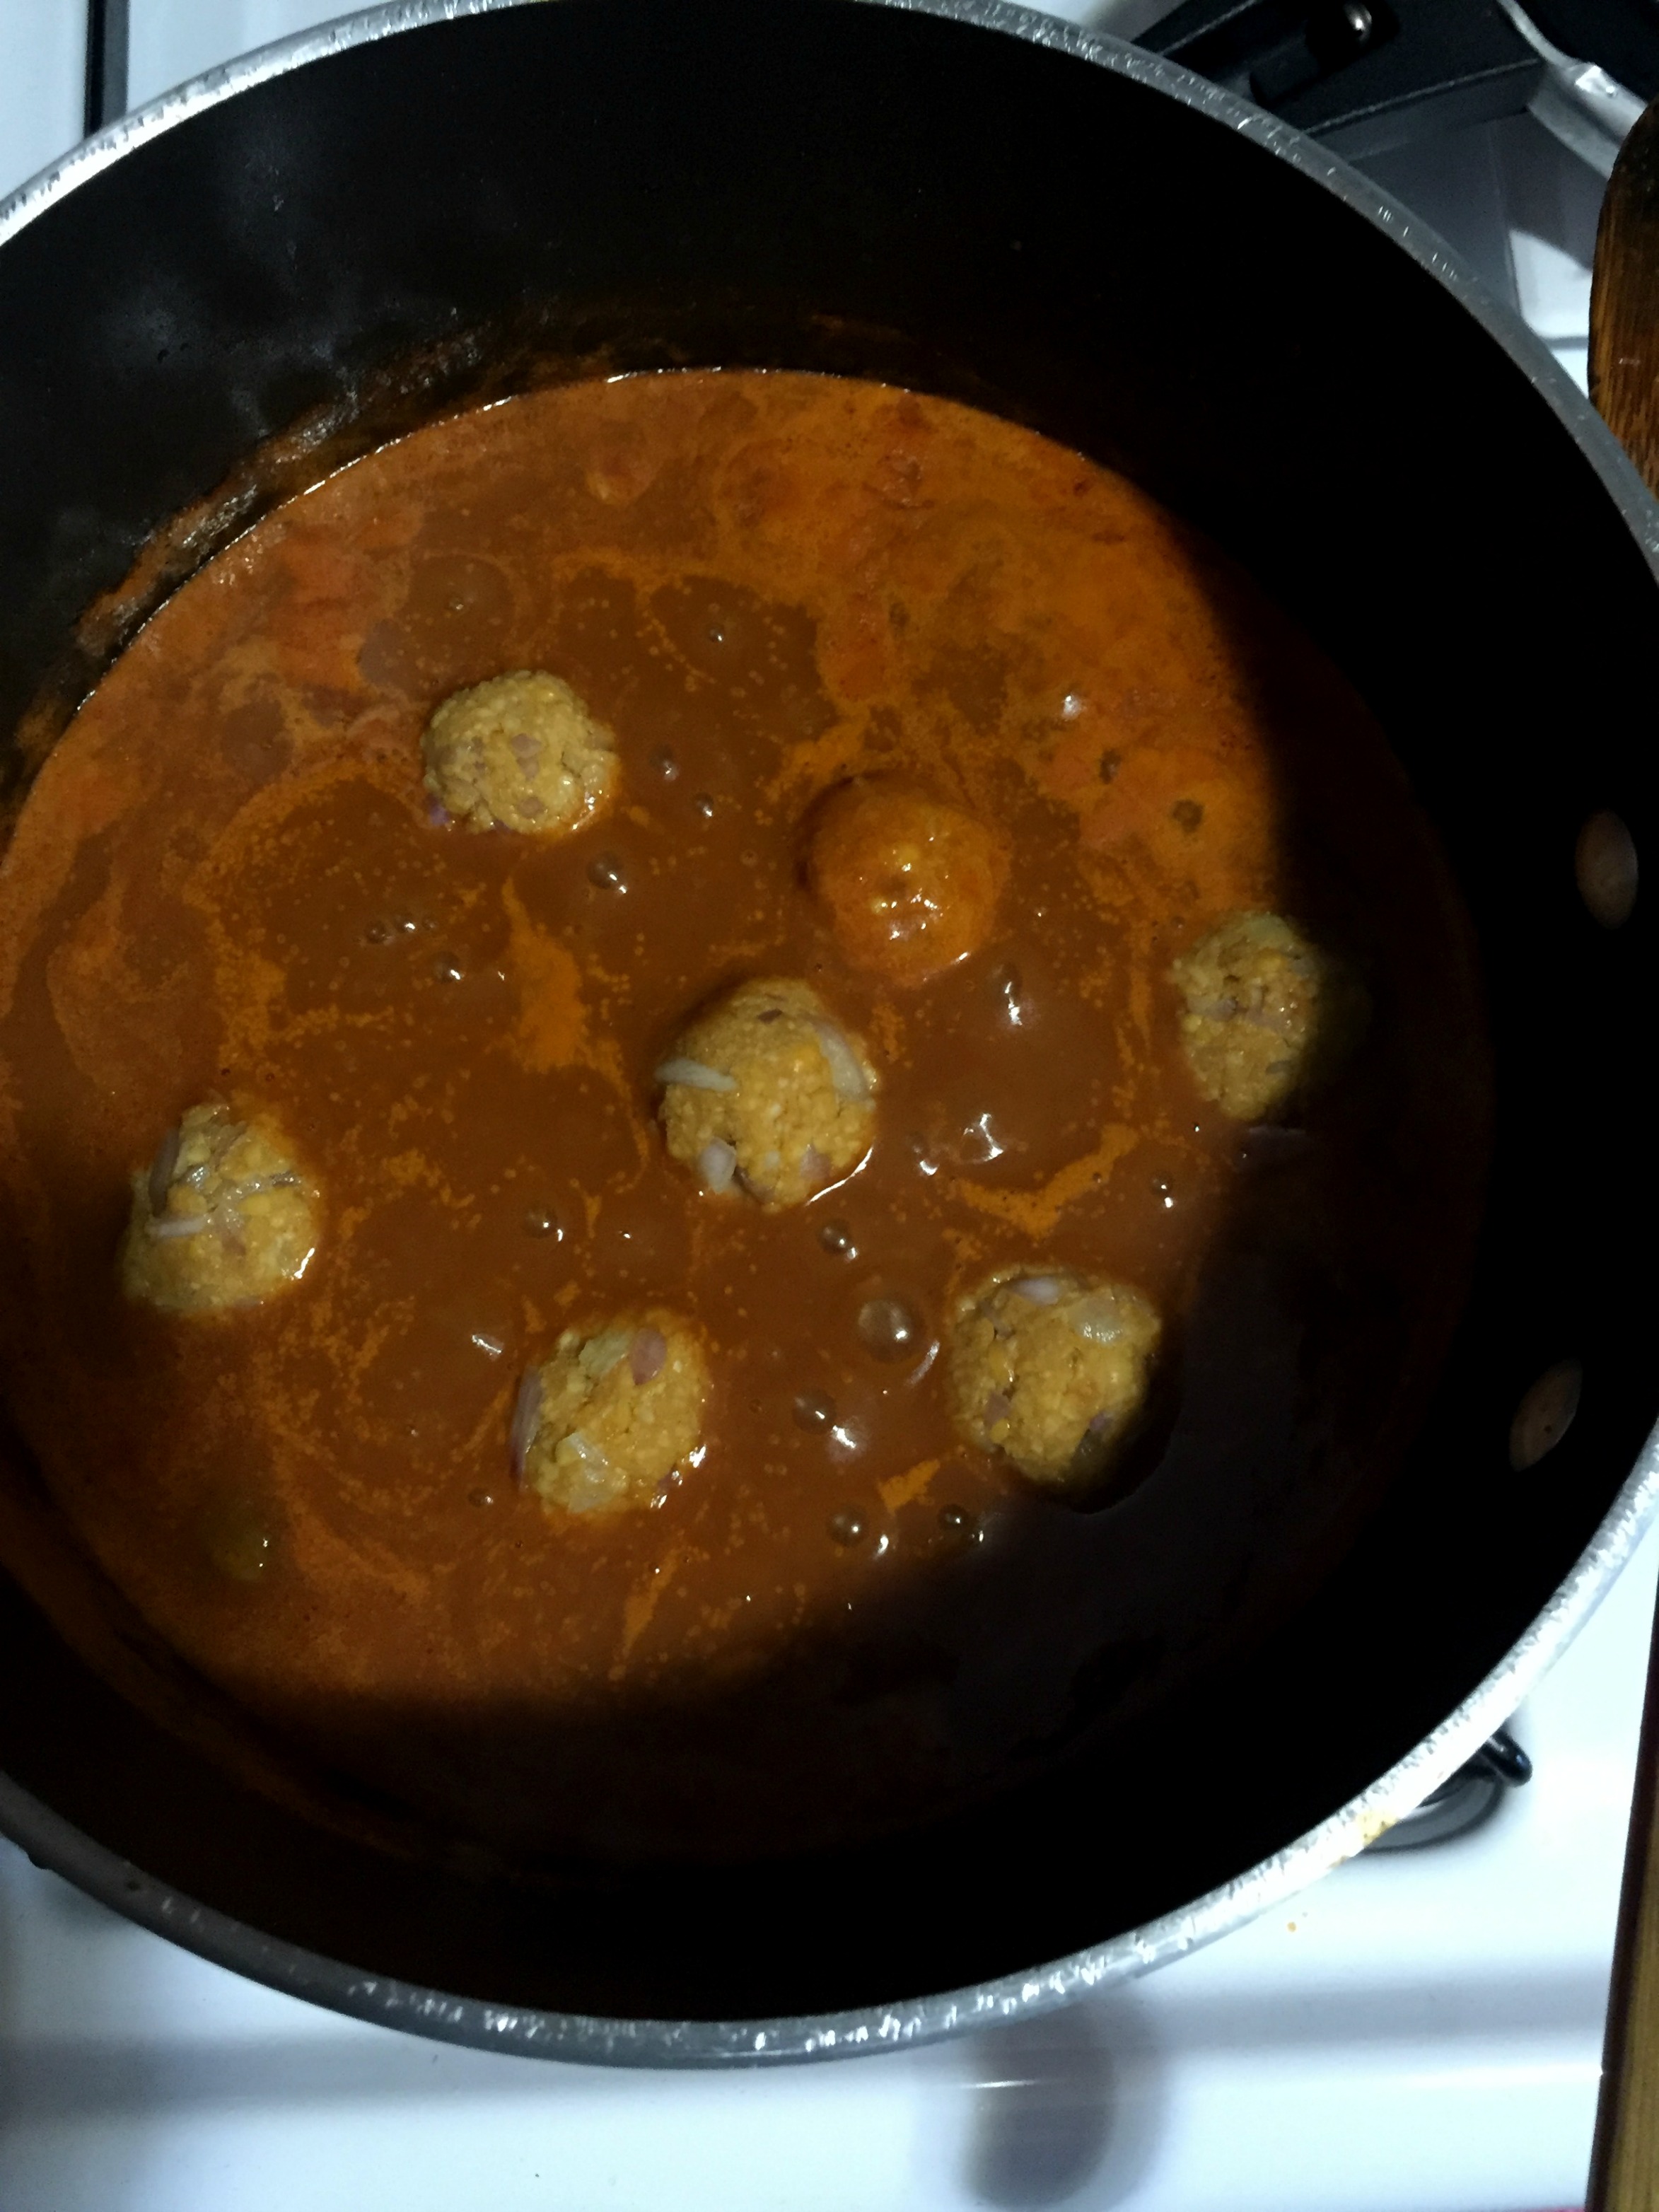
  10. When the gravy starts to boil, check the salt and add the dumplings. Do not stir the gravy once the dumplings are added. Cover and allow them to cook for five minutes. The dumplings will start to float on top when they are cooked. Simmer and cook for another couple of minutes and switch off the flame.
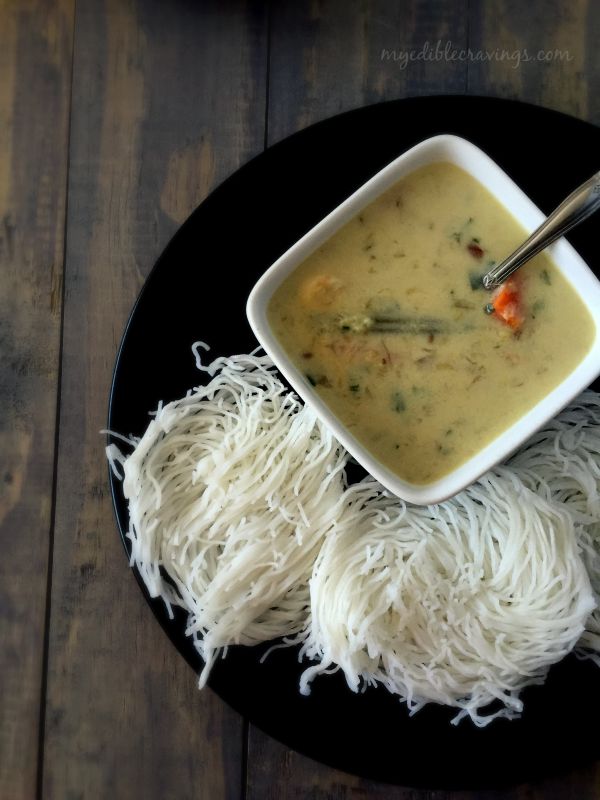
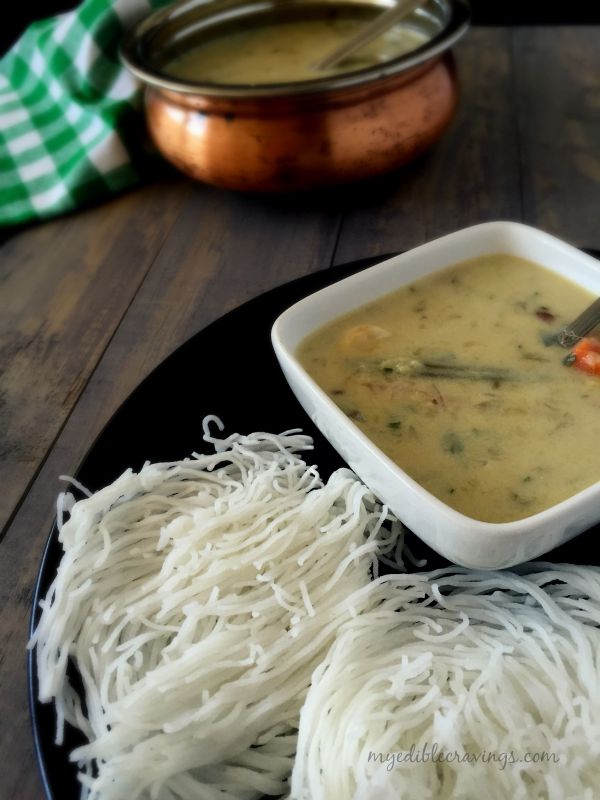
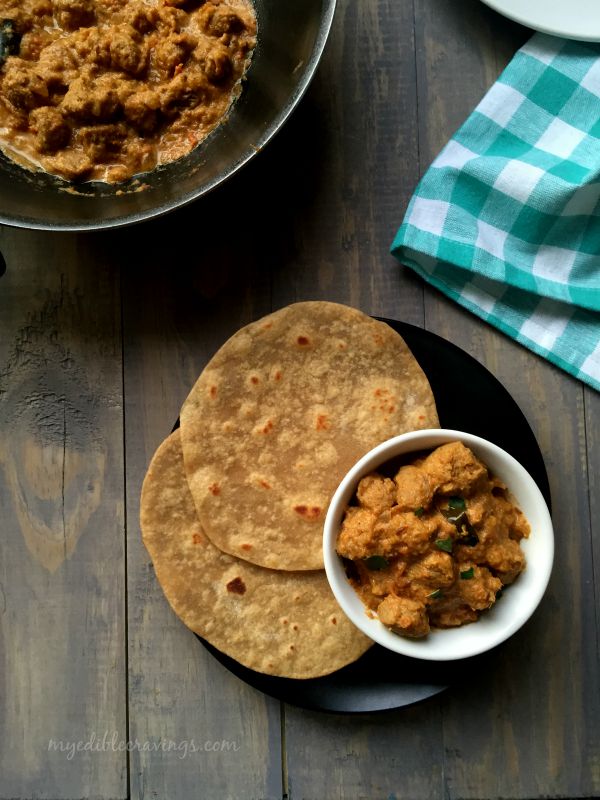
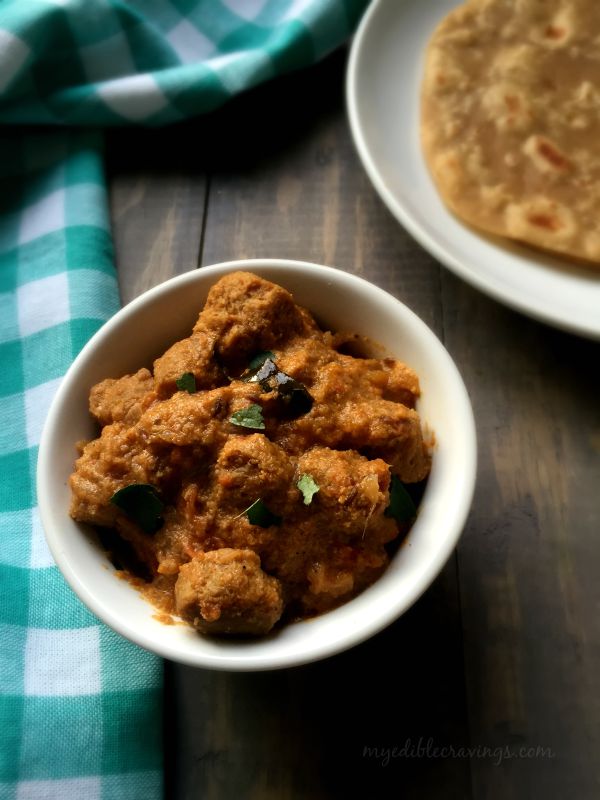
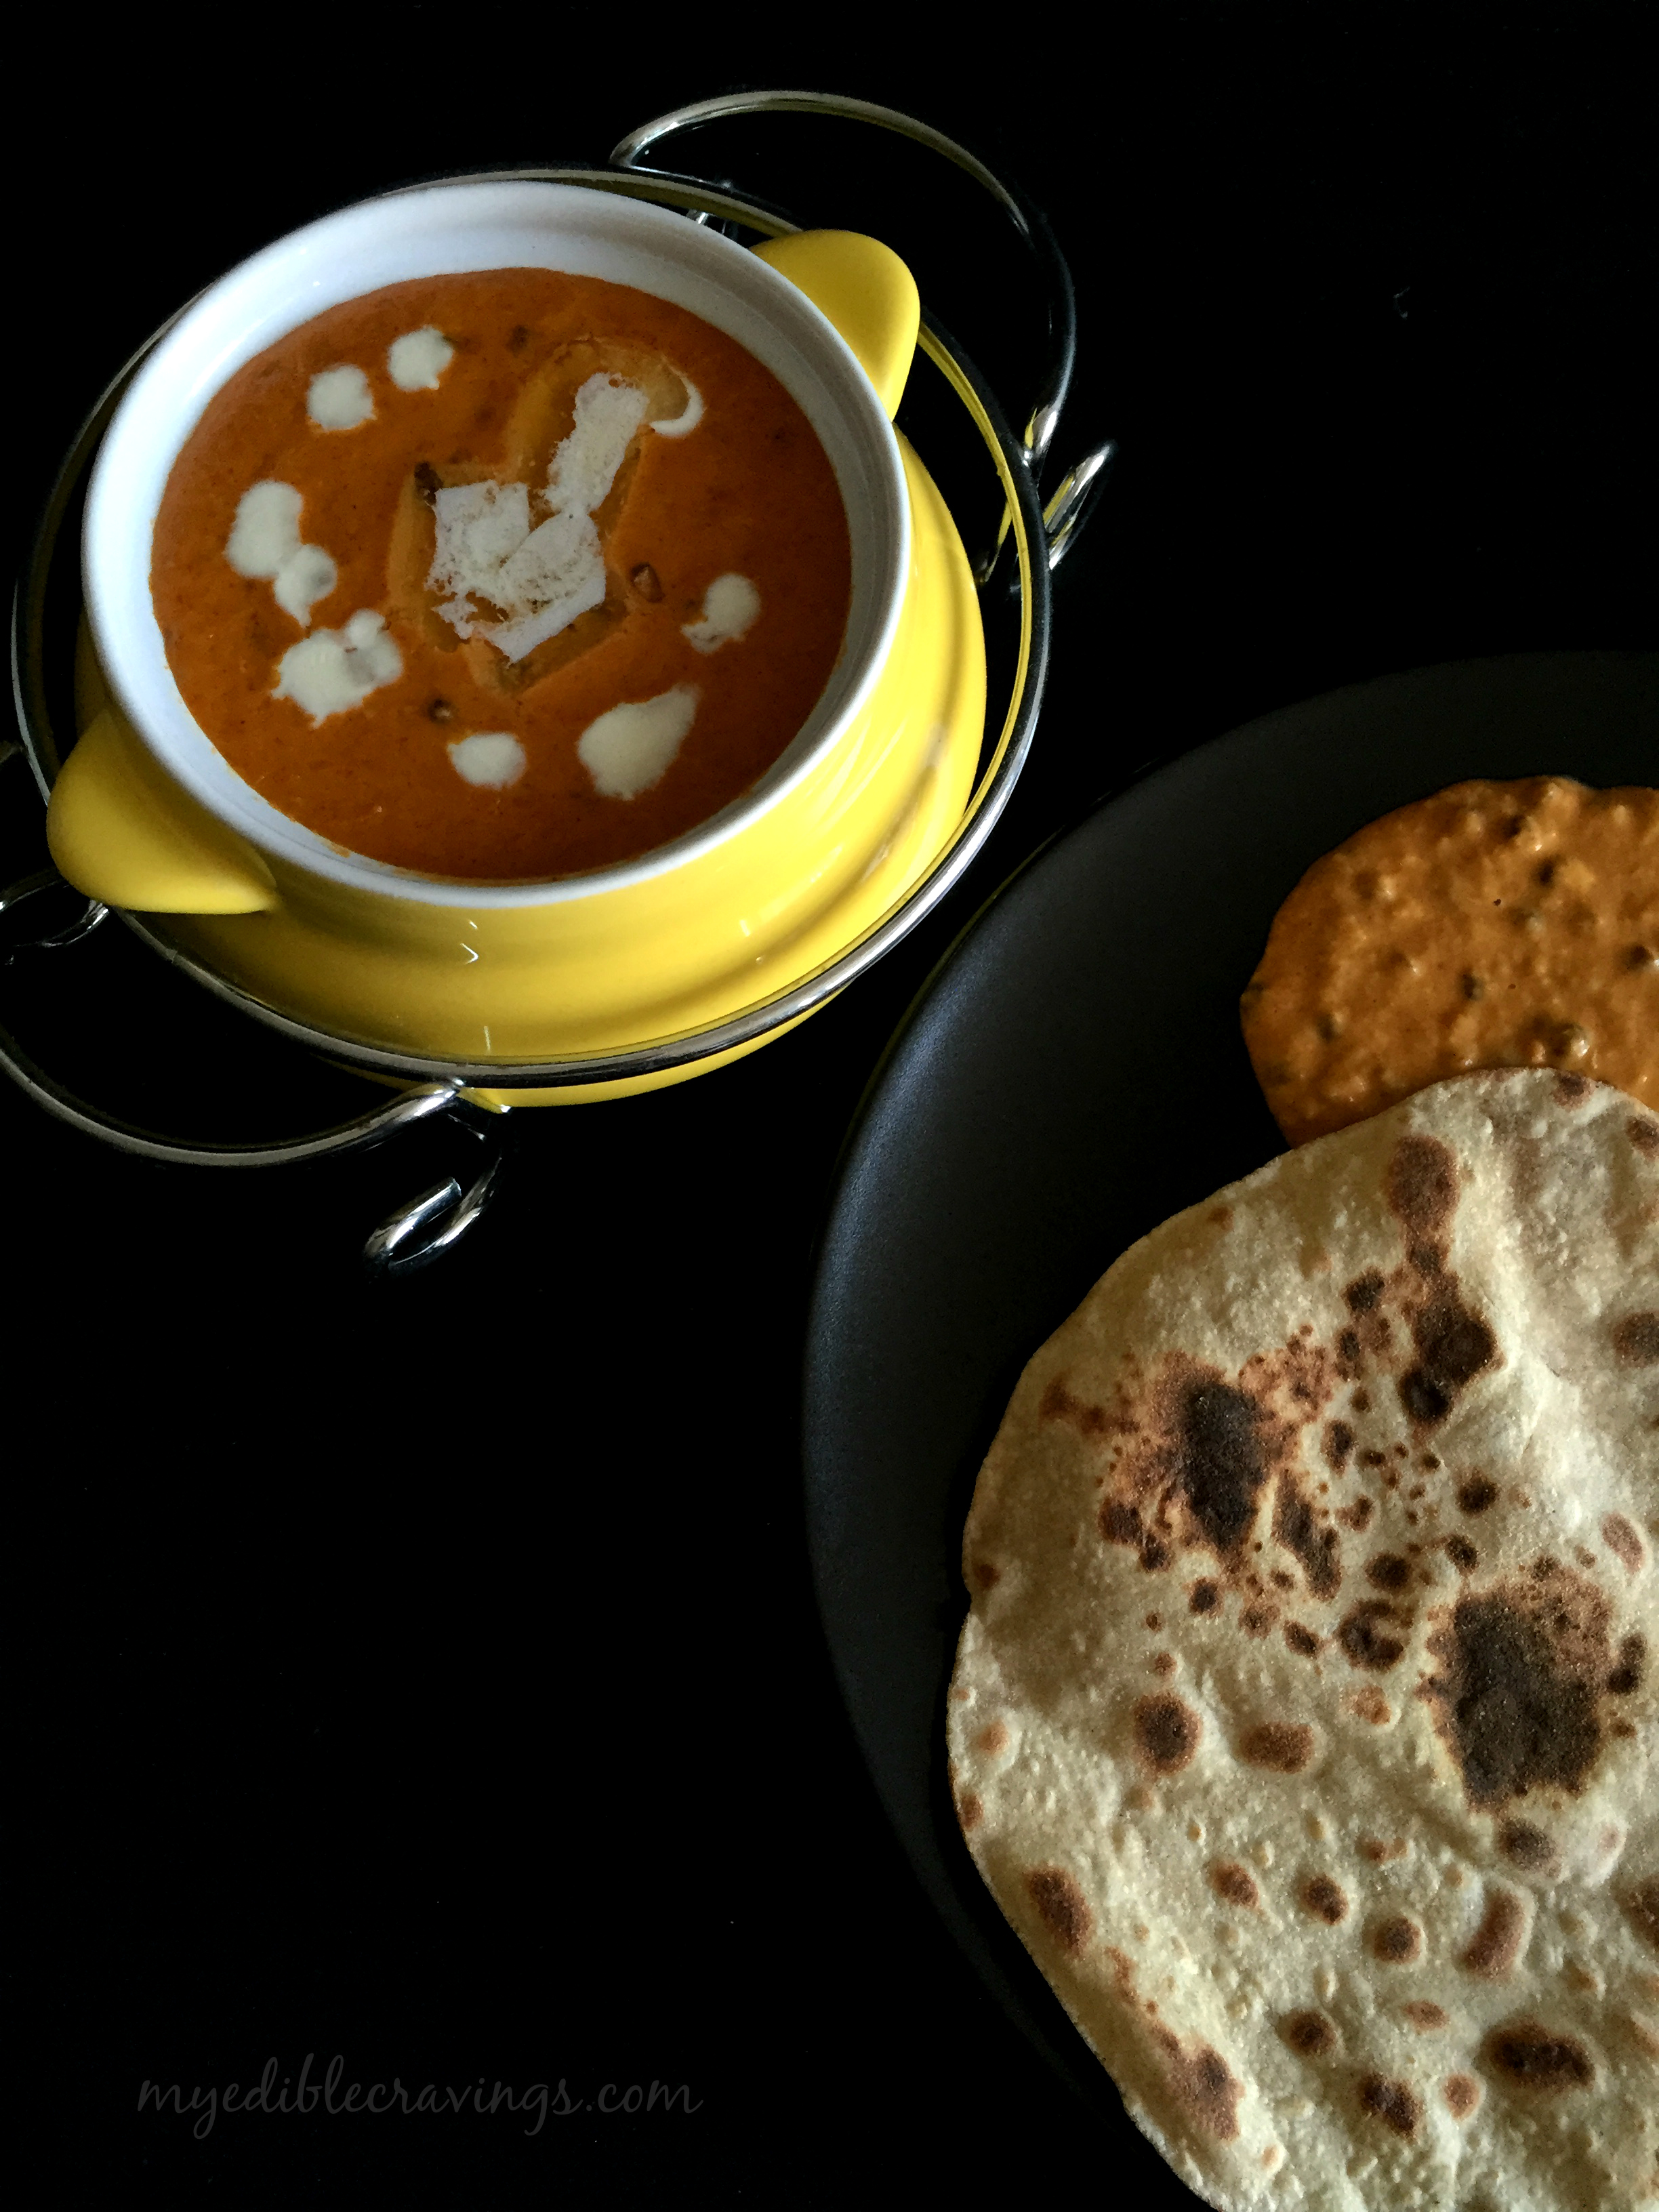
  11. Enjoy the paruppu urundai kuzhambu with steamed rice and fryums on the side. 🙂
Notes
1.You could also steam the dumplings in pressure cooker for 10 minutes and add them to the gravy instead of adding them directly.
2.The gravy must be thin while you add the dumplings. So that it gets cooked.
3.If you feel like the gravy is so thin, take out the cooked dumplings carefully and place on a wide pan or plate. Simmer the gravy and cook until the desired consistency. Switch off the flame and transfer the gravy to the pan where the dumplings are transferred.
4.You could also use coconut milk in place of coconut paste.

Sothi

SothiThere are so many different dishes in Tamilian cuisine that they can be categorized based on the locality.  One such cuisine is that of Tirunelveli, whose dishes are very popular and known for their unique taste and recipes. Here I have given a very popular dish from Tirunelveli called as Sothi. I also learnt recently that it is a popular dish in Srilankan cuisine as well. Sothi is a coconut milk based dish that has a creamy texture (somewhat like alfredo sauce, texture only not the taste) and a mild taste.

SothiSothiWhenever I cook Sothi, my dear friend’s mom come to my mind because she is the one who taught me to cook this dish and she is from Tirunelveli (no wonder :)). She always prepares Sothi when we visit their home for holidays. Compared to many other dishes from Tirunelveli, the number of ingredients used to prepare this dish is less. Coconut milk is the main ingredient and that gives a richness and thick consistency to Sothi.

SothiSochi is a pretty heavy dish in the sense that you feel the fullness even when had in small servings. Back home, Sothi is the main accompaniment for Idiyappam (string hoppers) along with diluted coconut milk with sugar. It can also be had with rice along with any spicy curry like Crunchy cauliflower. Try this ethnic dish from Tirunelveli right in your home and let me know if you like it with Idiyappam or rice. FYI, I love to have it with both 🙂

Sothi
Prep time: 
Cook time: 
Total time: 
Serves: 5
 
Ingredients
To grind:
  • Green chilli – 1
  • Ginger - 1 “
Other ingredients:
  • Fenugreek Seeds - 1 tsp
  • Garlic - 5 cloves
  • Onion, medium, finely chopped - 1 no
  • Green chilli, finely chopped – 2 nos
  • Coconut Milk - 1 cup
  • Drumstick - 1
  • Potato - 1
  • Beans-1
  • Carrot -1
  • Moong dal - 100 grams
  • Salt as required
  • Cumin seeds - 1 tsp
  • Coriander leaves - for garnishing
  • Lemon juice- 1 spoon (optional)
Instructions
  1. Grate the coconut and pulse them adding some water. Strain the milk using strainer. This is first (thick) milk. Add some water to the extracted coconut and pulse them again for couple of seconds and strain the milk. This is second (thin) milk. Repeat this process and extract third milk as well.
  2. Pressure cook the dal for 1 whistle.
  3. Grind ginger and chilli in a blender to a fine paste and keep it aside.
  4. Chop all the vegetables and keep it ready.
  5. In a kadai add a tsp of oil and season it with fenugreek seeds.
  6. Add in onions, garlic and green chillies.
  7. When the onions turn golden brown add the second and third extracted coconut milk.
  8. Then add all the vegetables and bring them to boil. I used drumstick and carrots today. I added drumstick first as it takes lots of time to cook. After 10 minutes I added carrots.
  9. Add the cooked dal to the vegetables and again bring it to boil.
  10. Now add the ground mixture (ginger and chillies) along with salt.
  11. When the gravy becomes thick, add cumin and coriander leaves.
  12. When the mixture comes to boil for the last time add the first extracted coconut milk to it and immediately switch off the stove.
  13. You can sprinkle lemon juice after 10 minutes(optional).

Sothi

Dosa Kuzhambu

Dosa KuzhambuToday I am posting an interesting recipe from Chettinad cuisine. Chettinad refers to a locality in my home state in India, Tamilnadu (the most famous town being Karaikudi) The name Chettinad derives its origin from the phrase, the country of chettiars, a community in Tamilnadu known for their business acumen. Chettinad cuisine is very popular in south Indian diaspora around the world and there are dedicated restaurants catering to this particular cuisine. The dish I have posted here is called the Dosai Kuzhambu (Dosa gravy). Interesting name, right?

Dosa KuzhambuDosai Kuzhambu is a gravy comprised of dosa, not the regular dosa but from the one made specifically for this dish. In Chettinad weddings you are always served with three distinct varieties of Kuzhambu (gravy), a thick one, a thin (watery) one and one more that I could not remember. Dosai kuzhambu comes under the thick variety. It is a very easy recipe to prepare and tastes similar to tomato gravy a.k.a Thakkali Kuzhambu.

Dosa KuzhambuAs with all dishes in Chettinad cuisine, Dosai kuzhambu is made from a wide variety of ingredients. And I believe each one of them contributes to the taste. Try this authentic Chettinad recipe in your home and let me know how it goes. Also, don’t forget to suggest a complimenting side dish for this gravy in the comments section 🙂


Dosa Kuzhambu
Prep time: 
Cook time: 
Total time: 
Serves: 2
 
Ingredients
  • Oil – 1 ½ tbsp
  • Bay leaf – ½
  • Fenugreek seeds – 7 nos
  • Fennel seeds – 5 nos
  • Shallots, cut to thin round slices- ½ cup
  • Garlic, whole – 7 nos
  • Tomato, small, finely chopped – 1 no
  • Red chilli powder – 3 tsp
  • Coriander powder – 5 tsp
  • Turmeric powder – ¼ tsp
  • Tamarind – medium gooseberry size
  • Crystal salt – as required
  • Coconut milk – 1 tbsp
For dosa batter
  • Gram flour - 5 tbsp
  • Turmeric powder – ¼ tsp
  • Red chilli powder – ¼ tsp
  • Coriander powder – ½ tsp
  • Cumin seeds – a generous pinch
  • Crystal salt – a pinch
  • Water as required
Instructions
  1. Heat oil in a wide pan and add bay leaf, fenugreek and fennel seeds and allow them to sizzle.
  2. Add garlic and chopped shallots and sauté until they turn translucent.
  3. Next add in chopped tomatoes and sauté until they turn mushy.
  4. Now add in all the masala powders (chilli, coriander, turmeric) and give a quick stir. Add very little water like ½ a cup and sauté until the raw smell of the masalas disappear and oil separates.
  5. Make a juice of tamarind and add it to the gravy. Add a cup of water and salt and bring the gravy to boil.
  6. Meanwhile, make a thin (not so thin) batter of gram flour and all the above mentioned ingredients.
  7. Heat a dosa pan and make a medium thin dosa. Smear few drops of oil around the dosa.
  8. Flip the dosa cook for a very few seconds and take it out – make sure the dosa(s) are half done so that the remaining will be cooked when added to the gravy.
  9. Role the dosa and apply little more batter on the end and make the roll stick together without coming apart.
  10. Cut the rolls to thin slices and keep it ready.
  11. Now when the gravy starts to boil, add a tbsp of coconut milk and mix well.
  12. Add the dosa roll slices carefully into the gravy. Do not use spatulas at this time. If you want to mix the gravy, just hold two ends of the pan and tilt them slightly without using spatulas. Cook for another five minutes and switch off the flame. Serve the yummy dosa kuzhambu along with hot rice and some fryams. Enjoy! 🙂


Soya Chunks Gravy

Soya Chunks Gravy

Soya beans are a popular legume variety that is known for its protein content. South Indian cuisine has a variety of dishes made with soya beans. Here I have given you a type of gravy made from soya chunks called the Soya chunks gravy.  It is very tasty gravy that goes well with chappati, naan, pulav etc.

Soya Chunks GravySoya chunks gravy is a very easy dish to prepare. I literally use all types of masalas, mutton masala powder, chicken 65 powder, biriyani powder and madras curry powder as ingredients. Soya beans are used to make all those meat substitutes like tempeh, tofu etc. I would say dishes made using soya chunks are the closest to regular non vegetarian dishes in taste.

Soya Chunks GravyAs I had mentioned earlier, soy is rich in protein, amounting to 40% of its composition. Soya chunks gravy is a very healthy dish and a perfect alternative to meat. Try this healthy and tasty dish in your kitchen and let me know your awesome experiences.


Soya Chunks Gravy
Prep time: 
Cook time: 
Total time: 
Serves: 3
 
Ingredients
  • Oil – 2 tbsp
  • Cumin seeds - 1 tsp
  • Onions, small, finely chopped – 1 no
  • Curry leaves – a sprig
  • Ginger garlic paste, freshly ground – 1 tbsp
  • Tomato, medium, finely chopped – 1 no
  • Red chilli powder – ½ tsp
  • Mutton masala – ½ tsp (I used sakthi brand)
  • Chicken masala – ½ tsp
  • Madras curry powder – ¾ tsp
  • Soya chunks or meal maker – 1 cup
  • Biriyani masala – ½ tsp (I used sakthi brand)
  • Salt as required
To grind:
  • Grated coconut – 1 tbsp
Instructions
  1. Heat enough water in a pan and bring them to boil. Switch off the flame and soak the soya chunks in hot water for about 10 minutes. After 10 minutes drain the water and keep the soya chunks aside.
  2. Grind grated coconut to fine paste and set aside.
  3. Heat oil in a pan and add cumin seeds.
  4. When they start to sizzle, add in finely chopped onions and curry leaves. Sauté until onions turn translucent.
  5. Add in freshly ground ginger garlic paste and sauté until the raw smell disappears.
  6. Add in finely chopped tomatoes and sauté until oil separates or until they turn mushy.
  7. Add in all the above mentioned masala powders and give a quick stir. Add very little water and sauté for a minute until the raw smell disappears.
  8. Now add in the soaked and drained soya chunks into the masala and mix well. add enough salt and water. Cover and cook for 5 to 8 minutes.
  9. Finally add in the coconut paste, mix well and cook for another 10 minutes. Enjoy the tasty soya chunk gravy

Soya Chunks Gravy

Mushroom Corn Ki Jugalbandi


Mushroom Corn Ki Jugal BandiJugalbandi is a musical word related to Indian classical music referring to duet performance of two solo musicians. The word literally means “entwined twins” (courtesy:- Wikipedia). You might be wondering why I am talking about classical music in a food blog 🙂 That is because the dish I have given here today is a mix of two distinct ingredients that makes up an absolutely delicious dish called the Mushroom-Corn Ki Jugalbandi.

Mushroom Corn Ki Jugal BandiMushroom-Corn Ki Jugalbandi is a north Indian sabzi variety which is prepared using mushroom and corn with a touch of cream. My HB is a big fan of this dish and it is an amazing side dish for pulao, naan, chappati and many more. Since our diet mainly consists of chapati, I am always on the lookout for new side dishes. So when I came across this recipe online I immediately tried it out and got absolutely hooked. The corn in this dish gives a crunchiness to it and the hint of cream gives a mild sweetness as well. Trust me, it is an irresistible combination 🙂

Mushroom Corn Ki Jugal BandiMushroom Corn Ki Jugal BandiMushroom Corn Ki Jugalbandi is a pretty rich dish because of the cream but goes well with chappati as mentioned above because it complements with the lightness of chappati. Do try this delicious dish in your kitchen and let me know to what main entree dish does it pair well with.

Mushroom Corn Ki Jugal Bandhi
Recipe type: Main
Cuisine: Indian
Prep time: 
Cook time: 
Total time: 
Serves: 4
 
Ingredients
  • Oil – 1 tbsp
  • Cinnamon stick – 1”
  • Cloves – 2 nos
  • Cardamom – 3 nos
  • Onion, medium, finely chopped – 1 no
  • Ginger garlic paste – 1 tbsp
  • Tomato, finely chopped – 1 no
  • Turmeric powder – ½ tsp
  • Red chilli powder – 1 tsp
  • Coriander powder – 1 ½ tsp
  • Cashew paste - 4 tbsp (from 10 nos of cashews)
  • Mushroom, cut to four – 1 cup
  • Sweet corn pod – 1 cup
  • Fresh cream – 1 tbsp
  • Cilantro, finely chopped – 1 tbsp
Instructions
  1. Soak cashews in water for 10 minutes and blend them to fine paste.
  2. Heat oil in a flat wide pan and season with cinnamon, cardamom and cloves.
  3. Add in finely chopped onion and sauté until they turn translucent.
  4. Add ginger garlic paste and sauté until the raw smell disappears.
  5. Add finely chopped tomato and sauté until thay turn mushy.
  6. Now add in all the masala powders (turmeric, chilli, coriander) and salt. Give a quick stir.
  7. Add very little water like ½ a cup and bring it to boil until the raw smell of the masalas disappear.
  8. Add in the cashew paste and sauté until the gravy leaves oil.
  9. Now add in the freshly chopped mushrooms and corn. Mix well and cook for 5 to 10 minutes or until the mushrooms are well cooked.
  10. Finish it off by adding fresh cream. Mix well and garnish with freshly chopped cilantro. Serve hot as a side for chapathi, pulao or jeera rice.
Notes
Add equal amount of chopped onions and tomatoes.
Add the masala powder in 1:2:3 ratio.

Mushroom Corn Ki Jugal Bandi

Cauliflower Gravy

033c

Today, I have given you a recipe that I learned from my MIL. It is the Cauliflower Gravy. This is my third recipe with cauliflower as the main ingredient (the other two are Cauliflower Crust Bread and Cauliflower Fry). I have heard about this dish often from my HB. He always says that it tastes like chicken gravy but I did not get a chance to taste it until recently. And I totally agree with my HB’s assumption. It does taste like Chicken gravy!

034cCauliflower Gravy is a very easy dish to make and one of the main ingredients in preparing this dish, other than cauliflower, is raw rice water (further explanation about it can be found here) and roasted gram dal powder. Cauliflower Gravy can be had with almost all main entree dishes. It can be had with just rice, as a side dish for chappati or eat as is :). No wonder it is one of the most favorite dishes of my HB.

Try this wonderful and very tasty dish in your kitchen and do let me know your thoughts.  🙂

Cauliflower Gravy
Recipe type: Main
Cuisine: Indian
Prep time: 
Cook time: 
Total time: 
Serves: 20
 
Ingredients
  • Oil – 1 tbsp
  • Cumin seeds – 1 tsp
  • Curry leaves – 6 nos
  • Shallots, finely chopped – 6 nos
  • Sambar powder or veetu milagai podi – 1 ½ tbsp
  • Raw rice water or kalani thanni – 2 to 3 cups
  • Cauliflower, medium, blanched – 1 no or 2 cups
  • Salt as required
  • Roasted gram dal powder or pottu kadalai podi – 1 tbsp
Instructions
  1. Boil enough water with salt and turmeric powder and blanche the cauliflower florets for couple of minutes. Strain the florets and set aside.
  2. Heat oil in a tawa and season with cumin seeds. Add curry leaves.
  3. Add onions when the curry leaves start to sizzle. Sauté until the onions turn translucent.
  4. Add in sambar powder and salt. Give a quick stir.
  5. Add raw rice water and bring it to boil or until the gravy gets thick.
  6. Add the blanched florets to the gravy and cook until all the water is absorbed and florets are well cooked.
  7. Finish it off with roasted gram dal powder and give a quick stir. Switch off the flame when the roasted gram dal powder is well blended with the gravy. Enjoy! 🙂

 036c

Kadai Paneer

Kadai PaneerPaneer is a type of cheese that is common in South Asian cuisine. Paneer is made by curdling milk with the addition of lime or vinegar. Here in the US, cottage cheese or queso fresco (a variety of Mexican cheese) is the recommended substitutes. There are a variety of dishes made from paneer in north Indian cuisine. Here I have posted the recipe for one such popular dish called Kadai Paneer.
Kadai PaneerKadai PaneerKadai Paneer literally means paneer that is cooked in a cooking pot. It is a popular dish in Indian restaurants and often served during festivals and in functions. Kadai Paneer is one of the few dishes that I liked in the first taste. The recipe I have given below is of restaurant style Kadai Paneer. It is spicy and colorful dish (mainly because of the bell peppers) and goes well with chappati (or any Indian flatbreads), pulav/pulao etc.
Kadai PaneerFor Kadai Paneer, fresh ingredients are the key. You have to make the ingredients like crushed ginger garlic, coriander powder and chilli powder only when it is time for them to be added, unlike other recipes where they are prepared beforehand. Try this restaurant style Kadai Paneer and enjoy it with hot rotis on a lay afternoon like I do – It does feel heavenly. 🙂

Kadai Paneer
Recipe type: Main
Cuisine: Indian
Prep time: 
Cook time: 
Total time: 
Serves: 3
 
Ingredients
  • Cumin seed – a pinch
  • Onion, medium, finely chopped – ½ no
  • Garic cloves – 4 nos
  • Ginger – ¾”
  • Tomatoes, big, finely chopped – 2 nos
  • Coriander seeds – 1 tsp
  • Red chilli flakes – ½ tsp
  • Green or red bell pepper or capsicum, julienned – ½ no
  • Green chilli, finely chopped – 1 nos
  • Salt as required
  • Garam masala – a pinch
  • Paneer, cut to cubes – ½ pk
  • Kasthoori methi leaves or dry fenugreek leaves – 1 ½ tsp
  • Ginger, julienned – ¼ “
  • Cilantro, finely chopped - for garnishing
Instructions
  1. Heat a kadai and add oil. When the oil is hot add cumin seeds. Wait until they start to sizzle. Add finely chopped onion. Sauté until they turn translucent. Meanwhile crush ginger and garlic in a motor and pestle.
  2. Add the crushed ginger and garlic. Sauté until the raw smell disappears.
  3. Add in finely chopped tomato and sauté well in a low flame. Meanwhile coarsely pulse the coriander seed and red chilli flakes for very few seconds. See notes below.
  4. Add the coriander powder and mix well. Sauté and cook until oil separates.
  5. Add in the julienned capsicum and green chilli. Mix and sauté them for couple of minutes until capsicum is half cooked – you could add very little water if you feel the mixture is dry.
  6. Add salt and garam masala. Stir to mix.
  7. Add in the paneer cubes and mix until the masala is well coated. Cook for 2 to 3 minutes and add kasthoori methi, julienned ginger and coriander leaves. Stir and cook for another couple of minutes and switch off the flame.
  8. Serve delicious kadai paneer with any pulao or roti. Enjoy!
Notes
1.Fresh ingredients are the key for this recipe. Make crushed ginger garlic and coriander powder then and there when needed.
2.I added chilli flakes so it took me only very few seconds to blend them to a coarse powder. You could also add one red chilli in place of chilli flakes.
3.The coriander mixture has to be coarse and do not blend it to fine powder.

Kadai Paneer

Dal makhani

Dal makhaniDal Makhani is a popular north Indian dish that has its origin in Punjab. It literally means ‘buttery lentils’. It is supposed that the original Dal makhani recipe has only black gram lentil (urad) in it. Makhani means buttery and so it is butter and cream along with urad dal. As per Wikipedia, Dal Makhani became popular after the partition, thanks to the Punjabi diaspora. It is a typical punjabi dish that can be found in almost all Dhabas (roadside eateries, very popular in North India) and in Indian restaurants here in the US.
Dal makhani
Dal makhaniThere are so many varieties of sauces like cashew, tomato, white sauce, curry sauce, rogan josh, buna, madrasi etc and Makhani is one among them. Through out my experience with cooking different dishes, I have noticed that most often cooking a recipe can be broadly defined as first preparing a sauce/gravy and then adding the main ingredient, the one that defines the dish, to it. This method of preparation of dishes is particularly useful in restaurants where a variety of sauces are prepared first and then different recipes are cooked using those sauces. And Dal Makhani is prepared the same way as well; you first prepare the Makhani and then add lentil (urad dal here) to it.
Dal makhani
Dal makhani
Dal Makhani is a very rich and flavorful dish. This is mainly because of the lentils which gives you a fullness when eaten due to the high protein content. Hence it is a healthy dish as well. Dal Makhani goes well with almost all entree items like rice, chappati, paratha, naan etc. Also, it is very easy to make. So without further delay, go prepare this easy and tasty punjabi dish in your kitchen and let me know your comments 🙂

Dal makhani
Recipe type: Main
Cuisine: Indian
Prep time: 
Cook time: 
Total time: 
Serves: 4
 
Ingredients
  • Black gram dal – 1 cup
  • Ginger garlic paste – 1 tbsp
  • Kashmiri red chilli powder – 1 ¼ tbsp
  • Unsalted butter – 5 tbsp (120 gr)
  • Tomato, large, pureed – 2 ½ nos (pureed to 1 cup)
  • Fresh cream – 4 to 5 tbsp (250 gr)
  • Salt as required
Instructions
  1. Soak dal in water for 8 hours or overnight.
  2. Rub the dal using your two hands and filter the skins. Repeat this for 5 to 8 times until 70% of the skin is removed.
  3. Add 3 cups of water and ½ tsp salt and pressure cook the dal for 5 whistles.
  4. Transfer the dal into a thick bottomed non stick sauce pan and bring them to boil. Add ginger garlic paste, chilli powder and butter. Cook until the butter is melted, mixed and well blended.
  5. Add in tomato puree and fresh cream. Mix well and add enough salt.
  6. Bring the dal makhani to boil in a low to medium flame. Cook for around 20 to 25 minutes until a thin glaze is formed at the top.
  7. Serve it hot with a dollop of butter on top. It goes excellent with naan, rotis and other Indian flat bread varieties.
To make tomato puree:
  1. Heat a sauce pan with a tbsp of oil. Add in roughly chopped tomatoes and very little salt. Sauté until oil seperates.
  2. Allow it to cool and make a thick puree adding very little water.
Notes
1.Amount of dal and tomato puree should be 1:1 ratio (equal).
2.Use non stick pan to make this dal makhani dish to avoid the dal sticking at the bottom.
3.could also add rajma and other kinds of dal to this dish. i have tried both and all tasted equally good.

Dal makhani

Green Chilli Pickle

007Pickle is an accompaniment in Indian cuisine similar to mustard and ketchup in American or salsa in Mexican cuisines. Pickle in the US has a different meaning altogether where it is cucumber fermented in brine or vinegar. Pickle is very popular in Andhra cuisine where it is almost had with all main entrée dishes.
Back home, there are literally hundreds of variety of pickles (both sweet and spicy) and green chilli pickle is one among them. Green Chilli pickle is a recipe from my grandmother, passed on to my mother and now to me (and I will pass on to my daughter when she is ready ). Green Chilli pickle is the best complement for curd rice.
009
I love Green Chilli pickle very much and have wanted to make it for a long time. As the name suggests, green chilli is the main ingredient (and mango-ginger as well) in this recipe. I am sure all spicy food lovers will love this one. Try this wonderful pickle , have it with curd rice and let me know your thoughts.

GREEN CHILLI PICKLE/ INJI MANGA OORGAI
Recipe type: Lunch
Cuisine: Indian
Prep time: 
Cook time: 
Total time: 
Serves: 5-10 servings
 
Ingredients
  • Mustard seeds – 1 tsp
  • Chopped Shallots – 10
  • Garlic cloves – 10 (minced)
  • Chopped green chillies – 10
  • Chopped ginger and/or mango ginger – 1 ½ tbsp
  • Red chilli powder – 1 tsp
  • Tamarind – big gooseberry size
  • Coriander powder -1 tbs
  • Turmeric powder – 1 tsp
  • Gingelly oil – 2 tbs
  • Salt as required
Instructions
  1. Soak tamarind in water and make a thick paste out of it.
  2. Heat gingelly oil in a pan and temper with mustard seeds. Add onions and sauté until the color changes. Add chopped ginger, garlic and green chillies and sauté for few minutes.
  3. Add chilli powder, coriander powder, turmeric powder, salt and immediately add the tamarind extract.
  4. Give it a stir and switch off the flame when the oil separates.
Notes
1.You could also substitute ginger with mango ginger (Inji maanga) and that tastes awesome too.
2.You can refrigerate the pickle and use it for a week. If you want to store it for more days add very little jaggery while making the pickle.


008

Vegetarian liver fry

veg liver fryToday I am going to give you one of the most unusual and tastiest dishes that I (or my husband to be precise) have ever had. It is the vegetarian liver fry. Sounds unusual, right? It is totally vegetarian and is made of Moong Dal.
veg liver fry
I personally love liver fry and when I came across this recipe, I was skeptical. How would you compare a vegetarian dish to the awesome liver fry? But I was stumped when I tasted it. It was so good that my husband emphatically declared that it was one among my top 3 dishes that I have ever cooked 😉
veg liver fry
veg liver fry
Vegetarian liver fry is nutritional and very healthy. I would even say that it can be included in your diet routine. For those who miss non vegetarian dishes due to fasting or for health reasons, vegetarian liver fry will really be a welcome addition to the menu.
I thing I have said enough about vegetarian liver fry and it is time for you guys to try it in your kitchen and let me know your opinions 🙂

5.0 from 2 reviews
Vegan liver fry
Recipe type: side dish
Cuisine: Indian
Prep time: 
Cook time: 
Total time: 
Serves: 2
 
Ingredients
  • Moong dal – ½ cup
  • Oil – 4 tbsp
  • Cumin seeds – ¼ tsp
  • Onion, medium, finely chopped – 1 no
  • Curry leaves – a sprig
  • Tomato, big, finely chopped – 1 no
  • Turmeric powder – ¼ tsp
  • Red chilli powder – ¼ to ½ tsp
  • Coriander powder – 1 tbsp
  • Garam masala powder – ¼ tsp
  • Sakthi biriyani masala – ¼ tsp (optional)
  • Salt as required
  • Coconut milk – ½ cup
  • Black pepper powder – ¼ tsp
  • Cilantro, finely chopped – 1 tbsp
Instructions
  1. Soak moong dal over night. Drain the water and grind them in a blender into thick batter (idli batter consistency). Do not add too much water while grinding. Add quarter tsp of salt (or as required) to the batter and mix well.
  2. Pour the batter on idli plates with a small ladle and steam them for 15 minutes in a cooker.
  3. Meanwhile heat oil in a flat pan and add onions and curry leaves. Cook until onions turn translucent.
  4. Add tomatoes and cook until they become mushy. Meanwhile cut all the idlis i.e vegan liver into an inch cubes or to the desired size pieces.
  5. When the tomatoes are well cooked add all the masala powders (except pepper) and salt and mix well. Add in coconut milk and bring it to boil. It takes very few minutes.
  6. Now add the idli cubes to the gravy and mix well. Close the lid and cook for a minute - For those of you who wants the gravy consistency can stop here.
  7. Cook until the gravy is well absorbed and turns into a semi gravy. You will start noticing the oil in the sides of the pan.
  8. Add pepper powder and stir well. Cook until it forms into a nice dry fry. Garnish with cilantro on top and serve hot! 
Notes
1.This vegan liver fry tastes even more better when it comes to room temperature.
2.Please be careful not to add excess water while grinding the moong dal.

veg liver fry