Kollu Idli

kollu idli
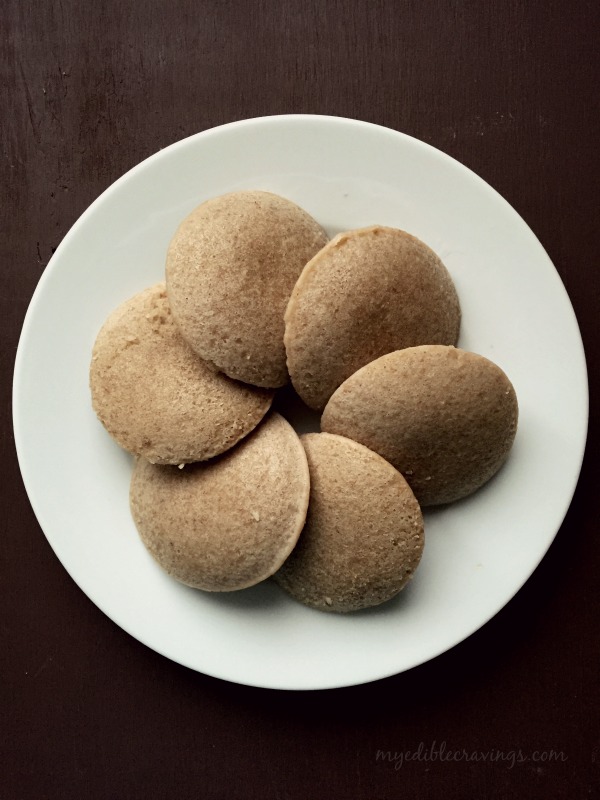
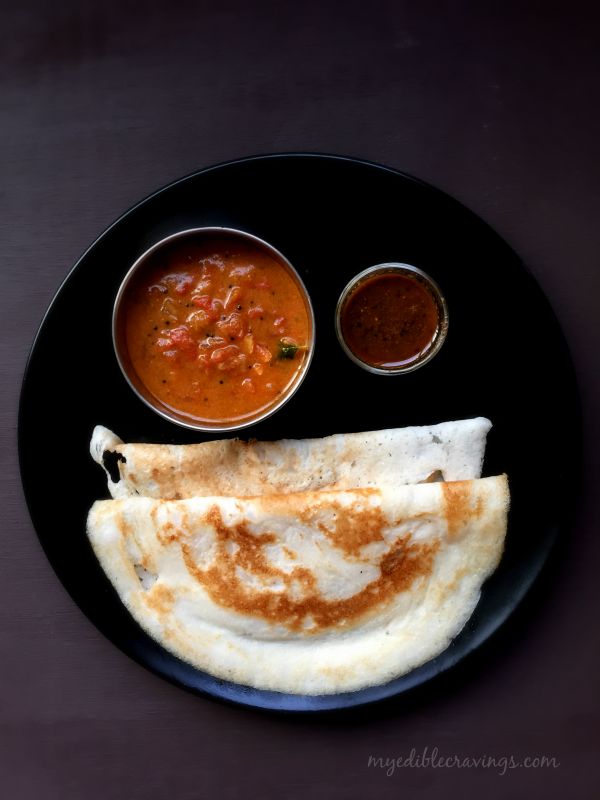
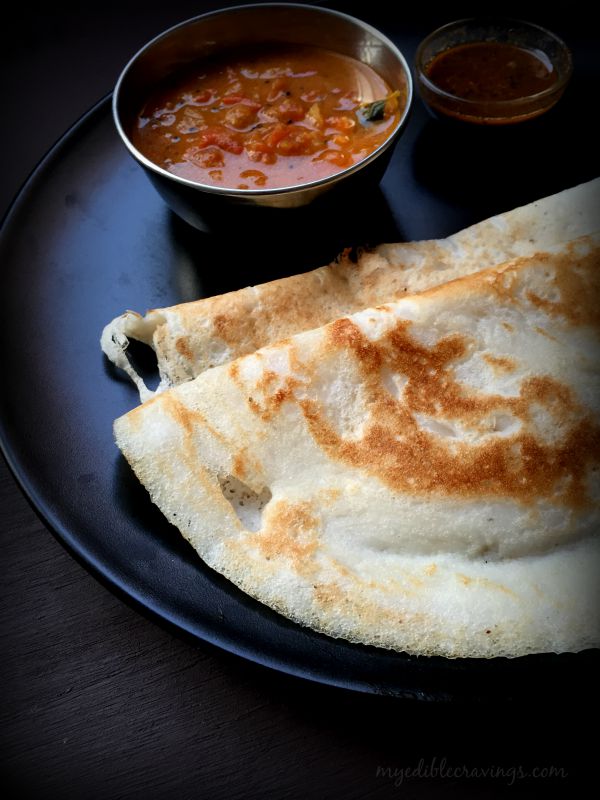
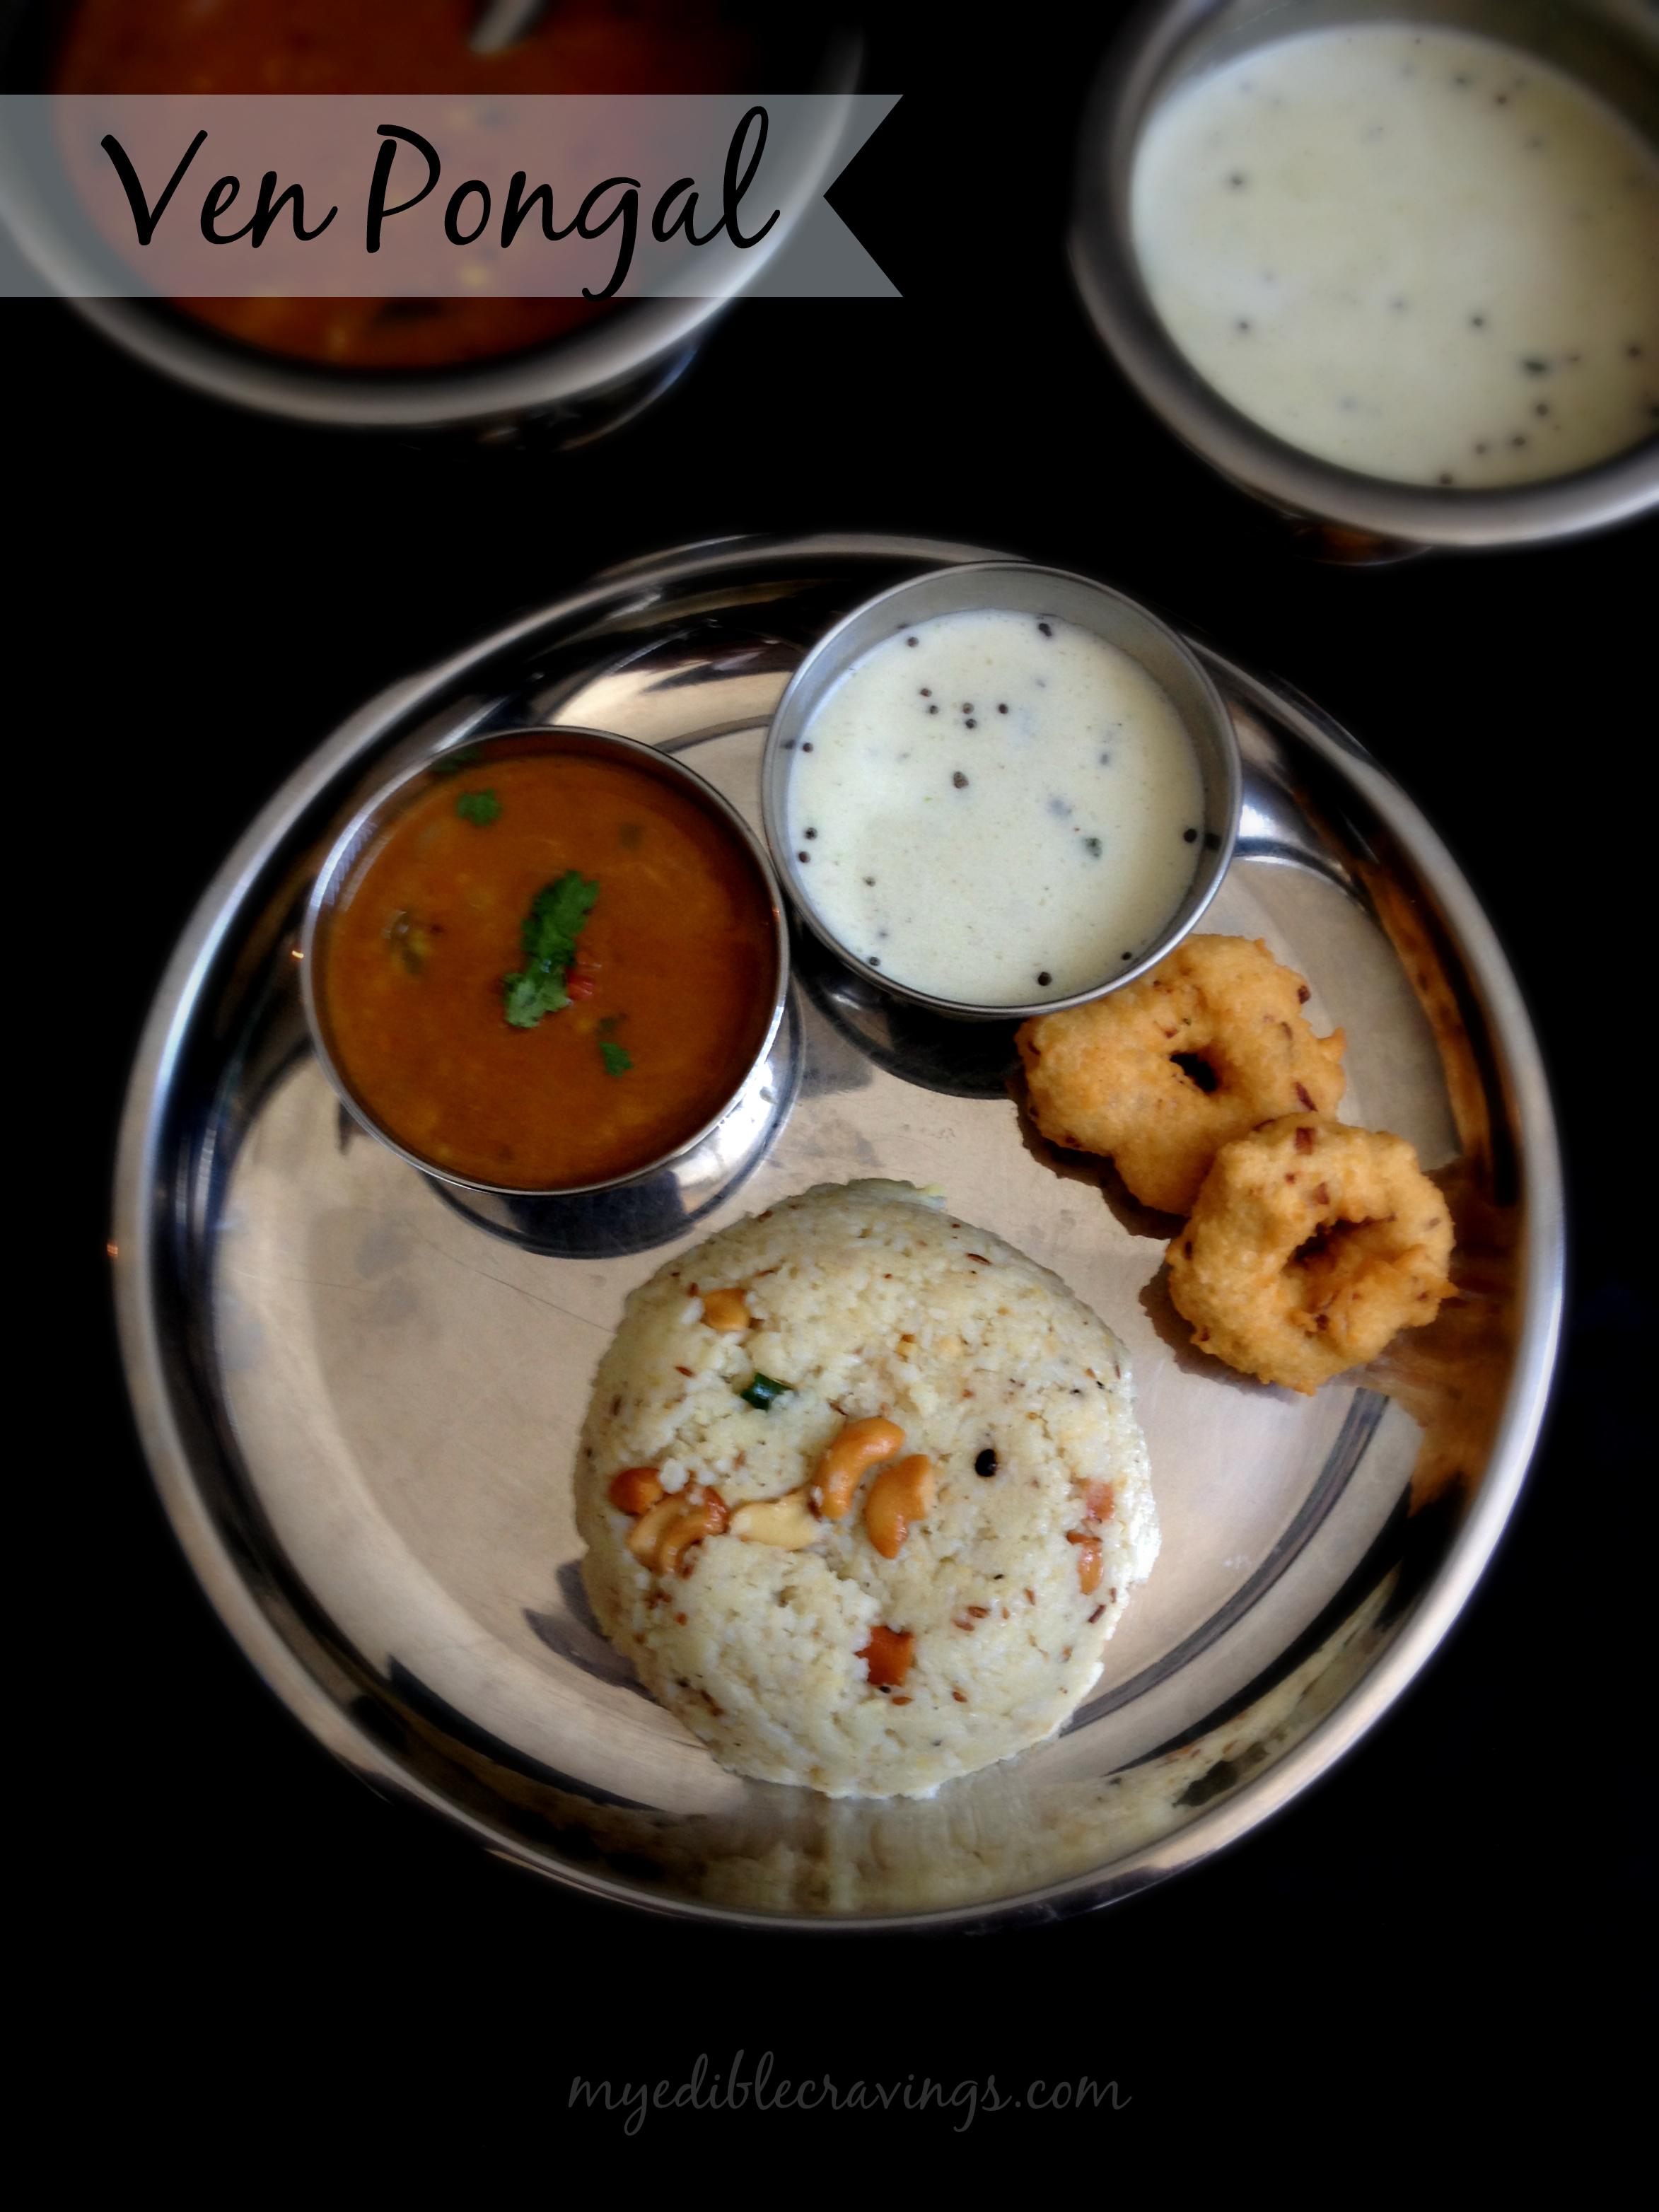
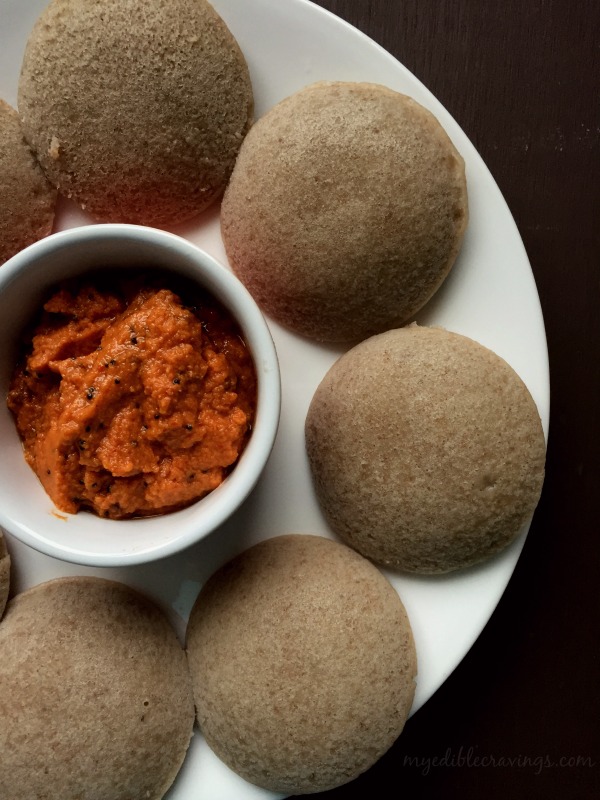
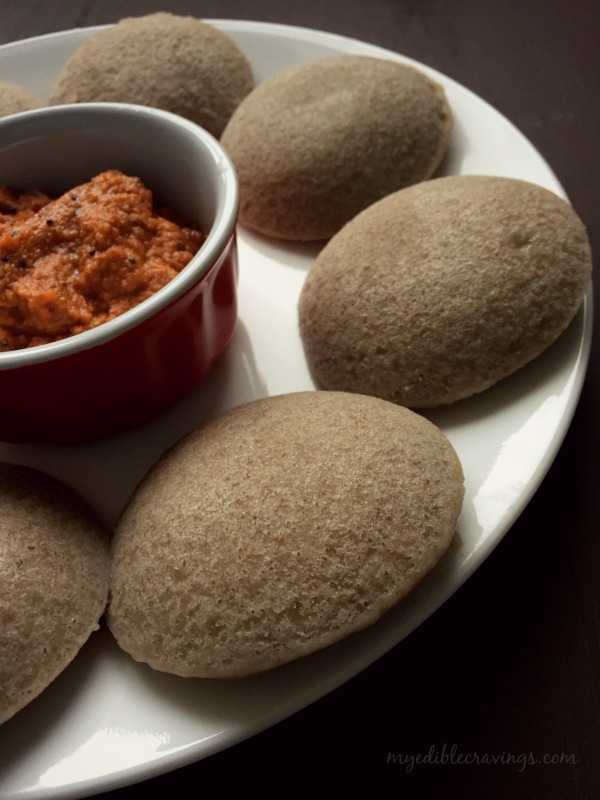
Today’s recipe is a new entrant to my healthy eats collections. One of the most popular breakfast dishes in south India is Idli. I would say there is no restaurant back home that does not have Idli in the menu. Normally, Idli is made from rice batter. The same batter can be used to make another popular breakfast item called the Dosa. The recipe that I have posted here is a type of Idli made from a batter prepared from Kollu (or horse gram in english) hence the recipe is called Kollu Idli. It is a healthy breakfast dish that is rich in essential nutrients.

kollu idlikollu idliKollu Idli recipe was suggested to me by my cousin. Thank you, Chitthi! I have been looking for varieties from the usual breakfast dishes that we make and it’s good that this recipe came across. It served two purposes, one is that I finally found a way to make use of one of the least used pulses in my kitchen and the second was that I had found yet another healthy dish 🙂

031
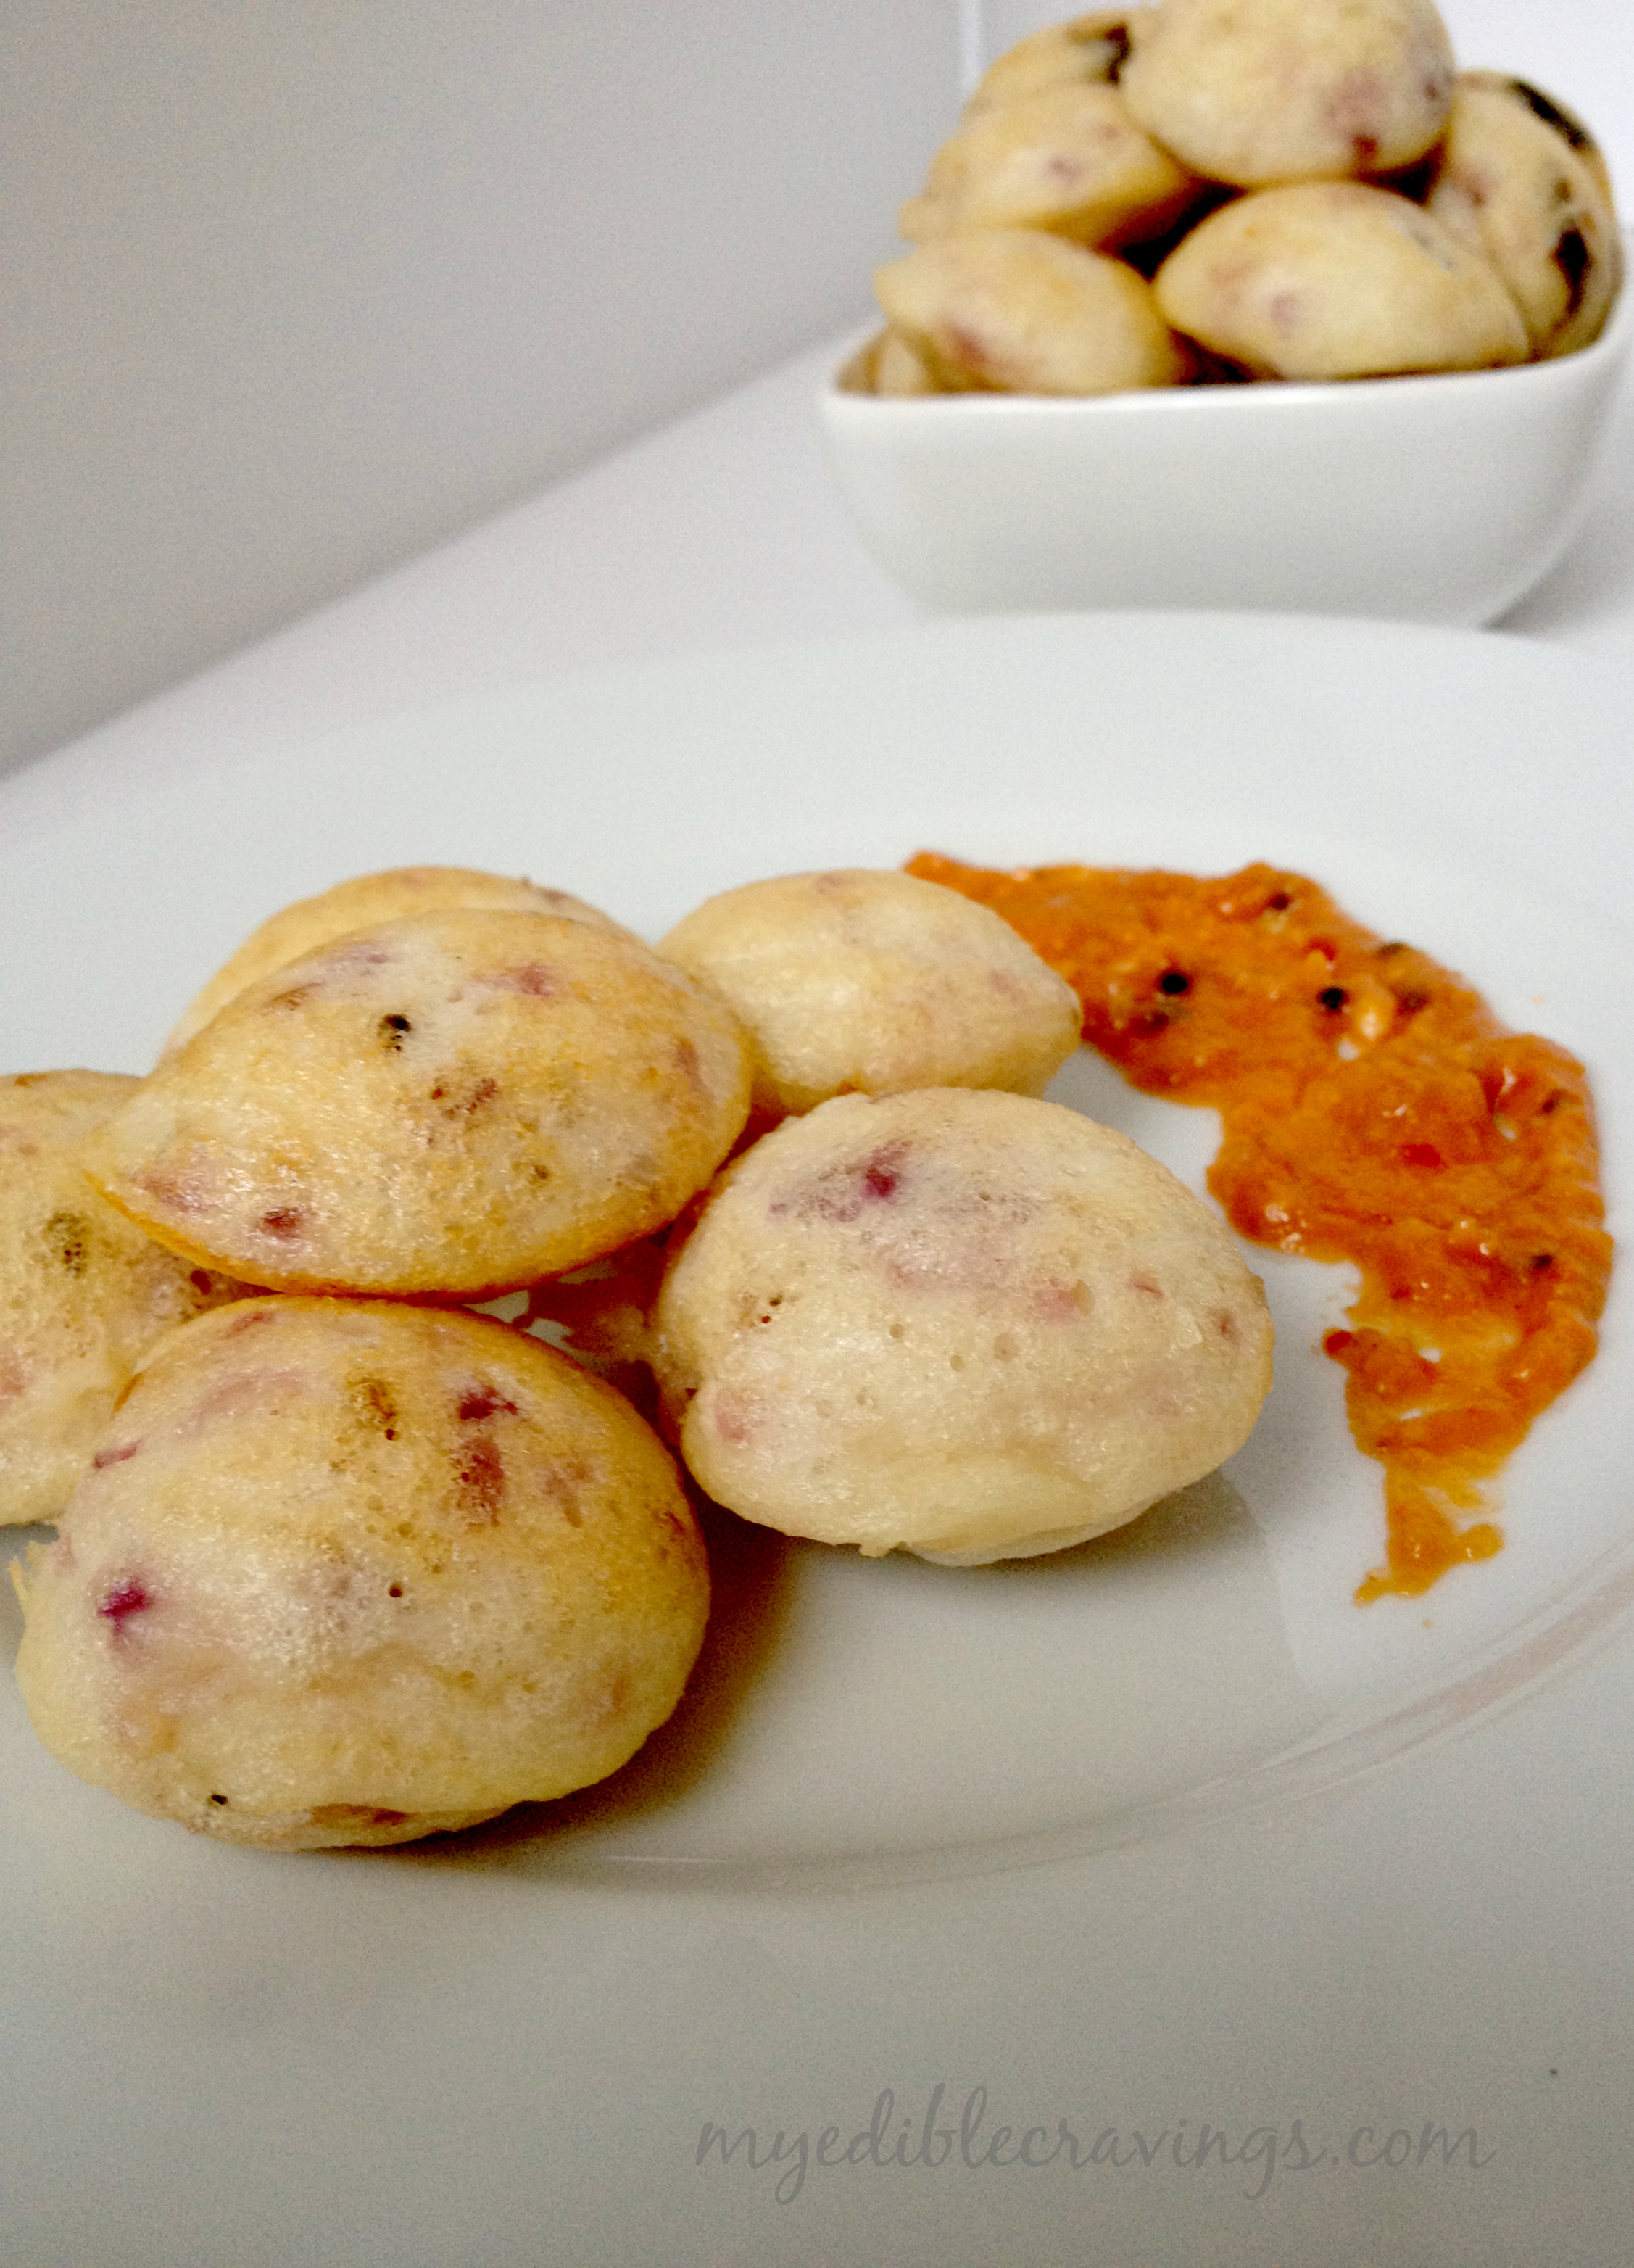
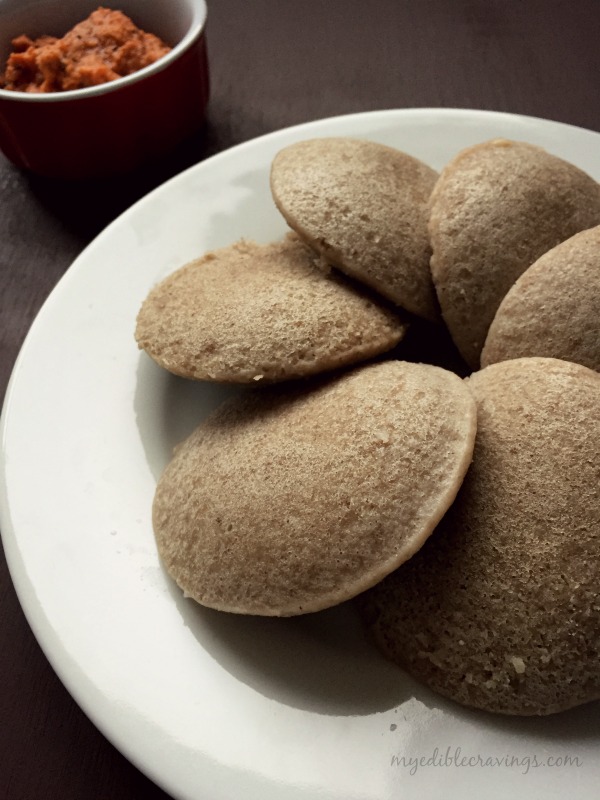
Kollu Idli is very easy to make and it does not take much time to prepare the batter. You can have this idli with the chutneys that you normally have with regular idli. I would say Kollu Idli is tastier than regular idli and is very much filling too (because of the horse gram/Kollu). Try the Kollu Idli in your home and let me know your comments.

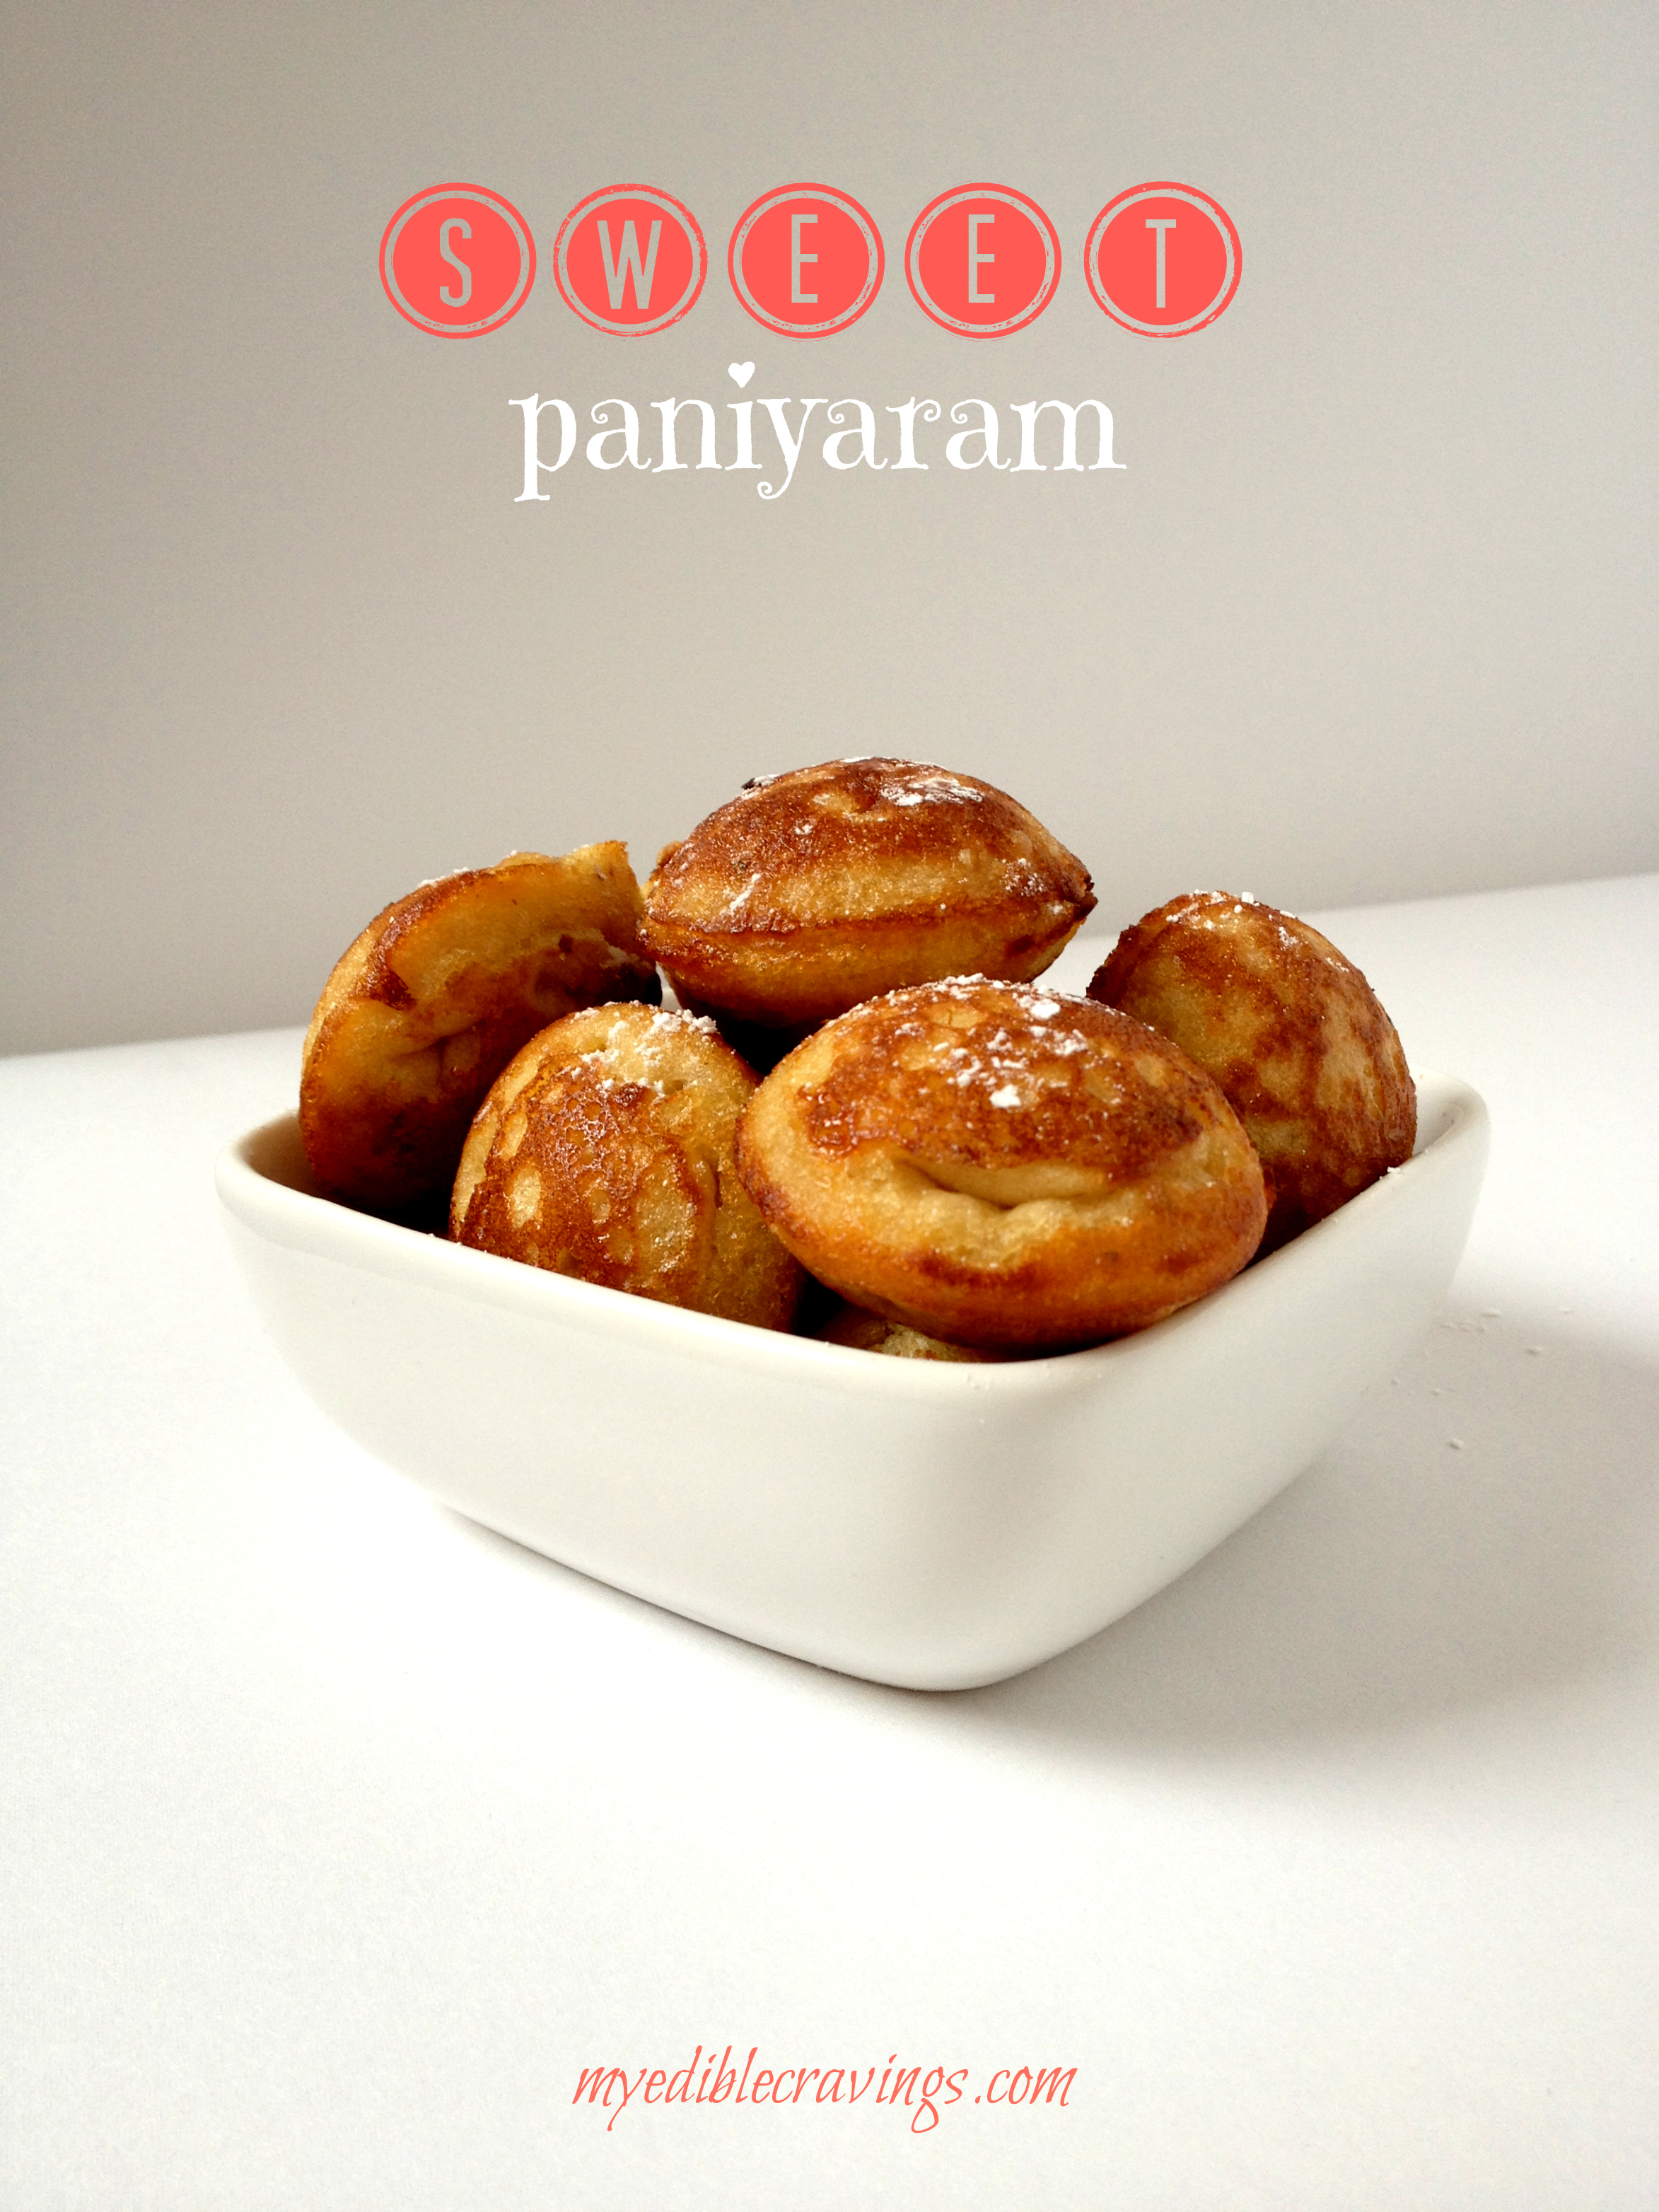
PS:- Check out my other dish made from Kollu here.


Kollu Idli
Recipe type: Breakfast
Cuisine: Indian
Prep time: 
Cook time: 
Total time: 
Serves: 20 to 25 idlis
 
Ingredients
  • Idli rice – 3 cups
  • Kollu or horse gram dal – 1 cup
  • Salt as required
Instructions
  1. Thoroughly wash the rice and dal together in running water (At least thrice).
  2. Soak them with enough water overnight or for 8 to 10 hrs.
  3. Grind them together in a grinder or blender for 20 to 25 minutes or until smooth and thick, sprinkling water in between if needed. If you are grinding for idli do not add too much water. Batter has to be thick.
  4. Add enough salt and mix well. Ferment the batter like how you ferment normal idli/dosa batter.
  5. Pour the batter on idli plates using ladle and pressure cook for 10 to 15 minutes.
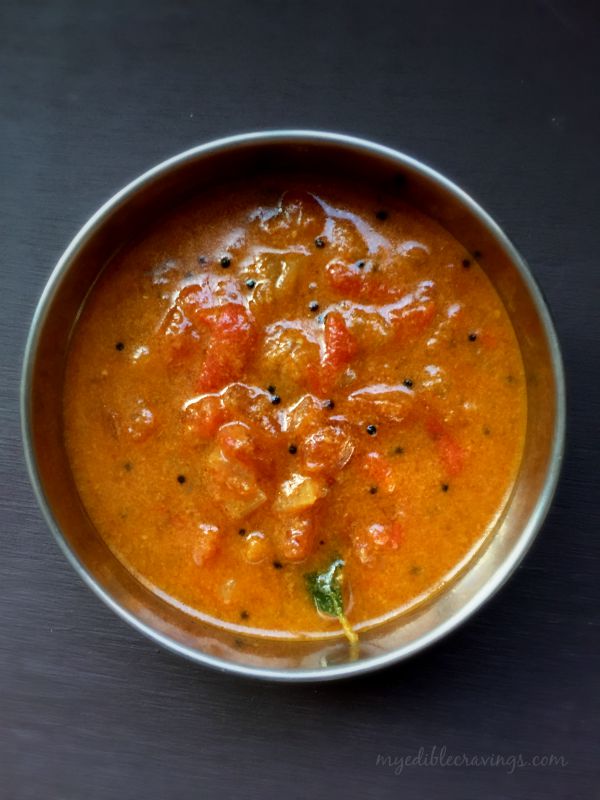
  6. Enjoy healthy and tasty kollu idli with milagai chutney or any other hot and spicy chutney of your choice. 

032c

Tomato Chutney

Tomato ChutneyIt has been quite a while since I had posted a chutney recipe. Chutneys are a type of accompaniment that is specific to South Asian cuisine. It is similar to relish and mustards in western cuisines. The word chutney is derived from the Sanskrit word ‘Catni’ which means to lick (courtesy-Wikipedia). There are literally hundreds of varieties of chutneys made from a wide range of spices, vegetables and fruits. Today I have posted one such chutney variety made from tomato called the Tomato chutney or thakali chutney.

Tomato ChutneyTomato chutney is one of the most popular chutney varieties in south Indian cuisine. It is most often had for breakfast along with idli and dosa. Tomato chutney is very easy to make and uses very minimum ingredients. One interesting fact about chutneys in general is that they were originally used as a method of preserving food which was later adopted by Roman and British empires during colonization.

Tomato ChutneyTomato chutney can be stored for three to four days (using the refrigerator). Also, you can customize the chutney to suite your palate by making it spicy or mild. Try this easy yet tasty chutney recipe in your home and have it with hot idlis or ghee roast along with idli podi.

Tomato Chutney
Recipe type: Main
Cuisine: Indian
Prep time: 
Cook time: 
Total time: 
Serves: 6
 
Ingredients
To grind:
  • Grated coconut – 2 tbsp
  • Shallots – 2 nos
  • Homemade sambar powder (veettu milagai podi) – 2 tbsp
  • Cumin seeds – ¼ tsp
other ingredients:
  • Oil – 1 ½ tbsp
  • Mustard seeds – ½ tsp
  • Urad dal – ½ tsp
  • Curry leaves – 5 nos
  • Shallots, chopped – 9 nos
  • Green chilli, slit – 1 no
  • Tomatoes, finely chopped – 2 nos
  • Salt as required
Instructions
  1. Grind all the ingredients mentioned above to a fine paste and keep it aside.
  2. Heat a pan with oil and add mustard and urad dal. When they start to splutter add curry leaves.
  3. Add chopped shallots and sauté until they turn translucent.
  4. Add slit green chilli and chopped tomatoes. Add enough salt and sauté well.
  5. Finally add the ground paste when the tomatoes turn mushy.
  6. Mix well and bring it to boil.
  7. Cook until the raw smell disappears or cook for one whistle in a pressure cooker. Enjoy tomato chutney with ghee roast and idli podi. 

 Tomato Chutney

Soya Chunks Gravy

Soya Chunks Gravy

Soya beans are a popular legume variety that is known for its protein content. South Indian cuisine has a variety of dishes made with soya beans. Here I have given you a type of gravy made from soya chunks called the Soya chunks gravy.  It is very tasty gravy that goes well with chappati, naan, pulav etc.

Soya Chunks GravySoya chunks gravy is a very easy dish to prepare. I literally use all types of masalas, mutton masala powder, chicken 65 powder, biriyani powder and madras curry powder as ingredients. Soya beans are used to make all those meat substitutes like tempeh, tofu etc. I would say dishes made using soya chunks are the closest to regular non vegetarian dishes in taste.

Soya Chunks GravyAs I had mentioned earlier, soy is rich in protein, amounting to 40% of its composition. Soya chunks gravy is a very healthy dish and a perfect alternative to meat. Try this healthy and tasty dish in your kitchen and let me know your awesome experiences.


Soya Chunks Gravy
Prep time: 
Cook time: 
Total time: 
Serves: 3
 
Ingredients
  • Oil – 2 tbsp
  • Cumin seeds - 1 tsp
  • Onions, small, finely chopped – 1 no
  • Curry leaves – a sprig
  • Ginger garlic paste, freshly ground – 1 tbsp
  • Tomato, medium, finely chopped – 1 no
  • Red chilli powder – ½ tsp
  • Mutton masala – ½ tsp (I used sakthi brand)
  • Chicken masala – ½ tsp
  • Madras curry powder – ¾ tsp
  • Soya chunks or meal maker – 1 cup
  • Biriyani masala – ½ tsp (I used sakthi brand)
  • Salt as required
To grind:
  • Grated coconut – 1 tbsp
Instructions
  1. Heat enough water in a pan and bring them to boil. Switch off the flame and soak the soya chunks in hot water for about 10 minutes. After 10 minutes drain the water and keep the soya chunks aside.
  2. Grind grated coconut to fine paste and set aside.
  3. Heat oil in a pan and add cumin seeds.
  4. When they start to sizzle, add in finely chopped onions and curry leaves. Sauté until onions turn translucent.
  5. Add in freshly ground ginger garlic paste and sauté until the raw smell disappears.
  6. Add in finely chopped tomatoes and sauté until oil separates or until they turn mushy.
  7. Add in all the above mentioned masala powders and give a quick stir. Add very little water and sauté for a minute until the raw smell disappears.
  8. Now add in the soaked and drained soya chunks into the masala and mix well. add enough salt and water. Cover and cook for 5 to 8 minutes.
  9. Finally add in the coconut paste, mix well and cook for another 10 minutes. Enjoy the tasty soya chunk gravy

Soya Chunks Gravy

TIFFIN SAMBAR

Tiffin sambar
Tiffin sambar!? I know, right! What is Tiffin sambar? Back home, in restaurants, the sambar served for tiffin items (like idli, dosa etc or to keep it simple, anything that is not rice :)) has a different consistency and taste than that is served with rice during lunches (unless the people in that restaurant is really lazy and serve the same for both tiffin and rice ;)). This variety that is served with tiffin is called as the Tiffin sambar (‘Tiffin saptaacha’ – Had your tiffin?, Tiffin saapidalama – Shall we have tiffin?, are common talk in my native, referring to either breakfast or dinner)
Tiffin Sambar
There are many different varieties of sambar like, Murungai sambar, Kathirikka sambar, Araithuvitta sambar etc and Tiffin sambar is one among them. One advantage with sambar varieties in general is that you can add any vegetable that you want to to the recipe. And in Tiffin sambar, potatoes or drumsticks are added. In my home, my mom usually prepares it for breakfast and calls it as avasara (quick) sambar since it can be prepared in a short while. I still remember my mom stacking up thin dosas with tiffin sambar poured in between for my lunch while in school. It was very popular among my friends.
Tiffin Sambar
Tiffin sambar is one of the recent recipes that I have started to cook and is fast getting to be an ‘often cooked’ recipe. Dosa with Tiffin sambar or Idlis soaked in Tiffin sambar, also called as Sambar idli are some of the dishes that you must have from Tamilian cuisine. So is it going to be Tiffin sambar for breakfast tomorrow in your home? What say? 🙂

TIFFIN SAMBAR
Recipe type: Main
Cuisine: Indian
Prep time: 
Cook time: 
Total time: 
Serves: 4
 
Ingredients
  • Toor dal – ¼ cup
  • Vegetable (potato,drumstick,carrot) - 1 no
  • Shallots – 10 nos
  • Green chilli – 2 nos
  • Tomato – 1 no
  • Tamarind – small gooseberry size
  • Turmeric powder – ¼ tsp
  • Jaggery – a small piece
  • Asafoetida – a generous pinch
  • Curry leaves – few
  • Cilantro – for garnishing
  • Ghee – 1 tsp
  • Salt as required
To roast and grind:
  • Channa dal – 1 tbsp
  • Coriander seeds – ¾ tbsp
  • Red chillies – 3 nos
  • Fenugreek seeds – ½ tsp
  • Cumin seeds – ½ tsp
To temper:
  • Oil – 2 tsp
  • Mustard seeds – ½ tsp
  • Jeera – 1 tsp
  • Curry leaves – a sprig
Instructions
  1. Soak tamarind in water for half an hour and extract the juice. Add two cups of water to it and keep it aside.
  2. Soak toor dal for an hour. Wash the potato or drumstick and cut to desired pieces. Pressure cook the dal with a cup of water, turmeric powder, asaofetida, few drops of sesame oil and potato or drumstick for 4 whistles. When done, allow it to cool, peel off the skin and set aside. Mash the dal with the help of a ladle and set aside.
  3. Now heat a kadai or a pan with few drops of oil and roast the ingredients altogether given above, stirring constantly. When they turn light brown, add cumin seeds at last and give it a stir. Do not over roast it. Let it cool and blend to a powder.
  4. Heat oil in a sauce pan and temper the above ingredients. Add a pinch of asaofetida snd shallots. Sauté until the onion turns translucent. Add green chillies and tomato and sauté for a couple of minutes.
  5. Add the tamarind juice and bring it to boil. Add few curry leaves, cilantro, salt, turmeric powder and asafoetida. Again bring it to boil.
  6. Add the potato and cook for another couple of minutes.
  7. Sprinkle the sambar powder on top stirring constantly – Do not add sambar powder as a whole as it might form lumps.
  8. Add the cooked dal and stir well. Now you can add water according to your desired consistency. Add jaggery and garnish with curry leaves and cilantro. Switch off the flame. Enjoy it with hot idlis, dosas and ven pongal! 

Tiffin Sambar

VEN PONGAL

Ven Pongal literally means white Pongal (Ven – white). It is a Tamilian dish very popular in my home state in India. Ven Pongal is a rice dish that is always served as a breakfast item (and occasionally for lunch). It is the opposite to Chakara Pongal (sweet Pongal) and is common in the sense that it is served on all days unlike Chakara Pongal which is mainly served on holidays and during festivals. venpongal Ven Pongal is one of my Mom’s and HB’s favorite dishes. He really gets excited when it is prepared at our home. Ven Pongal with Sambar (another south Indian dish), coconut chutney and Medu Vadai makes an awesome combination and the taste is to die for! In our family, we also refer Ven Pongal as sleeping dose 🙂 since it fills your appetite quickly and makes you feels lazy and drowsy, in a good way. I would suggest Ven Pongal as a weekend breakfast dish. venpongal Back in my home, my Mom always makes Chakara  Pongal and Ven Pongal during Pongal festival. Pongal is a Tamil festival that is celebrated during the month on January in honor of farming and cows. I do miss those days where we celebrate this festival wearing new dress and having lip smacking servings of Pongal and sugarcane (called as Karumbu in Tamil). VenPongal Here is the recipe for Ven Pongal, a popular dish from my beloved state. Do try it in your home and experience the same pleasure that I have every time when I make this dish 🙂 ven pongal

VEN PONGAL
Recipe type: Breakfast
Cuisine: Indian
Cook time: 
Total time: 
Serves: 2
 
Ven Pongal literally means white Pongal (Ven - white). It is a Tamilian dish very popular in my home state in India. Ven Pongal is a rice dish that is always served as a breakfast item
Ingredients
  • White raw rice – ¾ cup (I used sona masoori)
  • Moong dal – ¼ cup
  • Ghee – 3 tbs
  • Asafoetida – a pinch
  • Ginger, minced – 1 “ (optional)
  • Salt as required
  • Water – 3 (for 1 cup of rice add 3 cups of water)
  • Cumin seeds – 1 tbsp
  • Crushed pepper – 1 tbsp
  • Curry leaves - a sprig
  • Cashews – 1 tbsp
Instructions
  1. Wash the rice and dal thoroughly in water and drain it completely.
  2. Heat a tbsp of ghee in a pressure cooker, add the rice and moong dal and stir for a minute until the aroma spreads. Add asafoetida, salt, ginger and water. Mix well and pressure cook for 4 to 5 whistles. When the pressure is down, mash the rice well adding a tbsp of ghee.
  3. Heat a tbsp of ghee in a small kadai and temper with cumin seeds, crushed pepper, curry leaves and cashews. Add the tempering to the mashed rice and mix well.
  4. Serve hot with sambar, coconut chutney and medu vada. Enjoy!


CHANNA MASALA / CHANNA / CHOLE

ChannaChanna or Channa Masala is a very popular north Indian dish made from chick peas. You can find Channa Masala in almost all Indian restaurants, north Indian or south Indian. Channa is a very good source of protein and when cooked as a gravy it tastes yummy. In fact, it is one of my HB’s favorite dishes. We never fail to make Channa Masala at least once every two weeks.
008The main step in preparing Channa Masala is the amount of time that you soak the chick peas in water before cooking. The more it is soaked, the faster it gets cooked. As I said above, it is a good source of protein and I heard from my HB that back in India, he and his friends used leave Channa soaked in water overnight and have a handful before hitting the gym, sort of like an energy booster. There is also a black chickpea called as Kondaikadalai in my native tongue that can be cooked similar to Channa Masala. I have given the recipe for that here . There are days when we cook Channa without any masala, i.e., not in a gravy form and have it for dinner. This type is called a Sundal in Tamil. It is a popular Prashadam dish in temples back home.
ChannaChanna Masala is a very good side dish for Chappati, Bhature (Channa Bhature is another popular north Indian dish), Poori and rice as well. And here is the recipe for Channa Masala. Try it in your home and as always comment on your experience and thoughts 🙂

CHANNA / CHOLE
Recipe type: Lunch|Dinner
Cuisine: Indian
Prep time: 
Cook time: 
Total time: 
Serves: 2
 
Ingredients
  • Cooking or vegetable oil – 1 tbs
  • Cinnamon stick – 1 (2 inch)
  • Cardamom – 3
  • Cloves – 2
  • Bay leaf – 1
  • Cumin seeds – 1 tbs
  • Onion – 1
  • Turmeric powder – 1 tsp
  • Ginger & Garlic paste – 1 tbs
  • Green chillies, finely chopped – 1 no
  • Channa masala – 1 ½ tbs
  • Channa or chickpeas – 1 cup
  • Lemon juice – 1 tbs
  • Salt as required
  • Coriander leaves – for garnishing
to make puree
  • Tomato - 1 no
  • green chilli - 1 no
Instructions
  1. Soak the channa/chickpeas overnight or for 8 hours.
  2. Pressure cook the channa with little water and a tsp of salt for 3 whistles - It should be cooked in such a way that you could smash the channa by your thumb and index fingers.
  3. Make a puree of tomato and green chilli in a blender and set aside.
  4. Heat a wide pan with a tbs of oil, add the whole spices mentioned above followed by cumin seeds.
  5. When cumin seeds start to splutter, add chopped onion and fry till they are softened and become translucent.
  6. Add turmeric powder and ginger-garlic paste. Sauté until the raw aroma of ginger-garlic disappears.
  7. Add the tomato puree and chopped green chilli. Saute for 2-3 minutes, stirring in between.
  8. Add channa masala powder and little salt . Mix well and saute until oil seperates.
  9. Add the cooked masala into boiled channa, mix well and pressure cook for another 2 whistles.
  10. Sprinkle few drops of lemon juice on top and garnish with coriander leaves.
  11. Serve hot channa masala with pooris, chapattis or steamed rice accompanied with lemon & onion slices.

013

You might also like

Kondakadalai Kurma

Kondaikadalai kurma

KAARA PANIYARAM | KUZHI PANIYARAM

KAARA PANIYARAM

I have already given you the recipe for sweet paniyaram and here is the hot version of it. If you are bored of regular breakfast items like idli or dosa, you can make these. It is easier than making the sweet ones.

KUZHIPANIYARAM

Resembles fluffy cotton balls, right? But these can be eaten. 🙂
My HB gets excited whenever I make this dish and hope you too enjoy it with your loved ones!

HOT PANIYARAM
Recipe type: Breakfast
Cuisine: Indian
Prep time: 
Cook time: 
Total time: 
Serves: 4
 
Kuzhi paniyaram is a quick south indian breakfast recipe easily made with idli batter.
Ingredients
  • Split bengal gram (Kadalai paruppu ) - soaked for 5 to 6 hrs
  • Idli batter - 2 cups
  • Coconut pieces(optional) - 1 tbs
  • For the seasoning:
  • Mustard seeds – 1 tsp
  • Urad dal – 1 tsp
  • Shallots (chopped) - 3
  • Red chilli – 2
  • Curry leaves – 1 sprig
Instructions
  1. Add the split Bengal gram and coconut pieces into the idly batter.
  2. Season the batter with above given ingredients and mix it well.
  3. Heat the paniyaram pan and add a few drops of oil in each mould. Pour the batter with the help of a small ladle or spoon in each mould till they are ¾th full. Close the pan with a lid and let it cook for 2-3 minutes.
  4. Turn the paniyaram in each mould upside down with the help of a stick and let the other side also cook for 2-3 minutes. Add few more drops of oil if needed. No need to close the pan with the lid this time.
  5. Once cooked till a toothpick comes out clean when inserted, shake off the paniyarams onto a plate and repeat with the rest of the batter.
  6. Serve hot with onion chutney or any chutney of your choice.

You might also like

Sweet Paniyaram
 sweey paniyaram