 Today’s recipe is another entry to my healthy eats category. We have been having Quinoa for quite some time now, probably for a year or so, and I am on the lookout for any new recipe that has Quinoa as an ingredient.
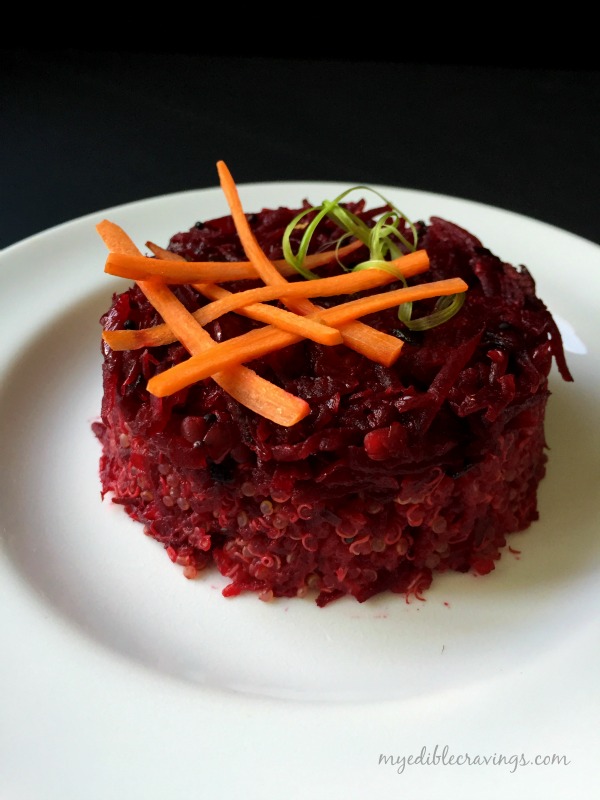
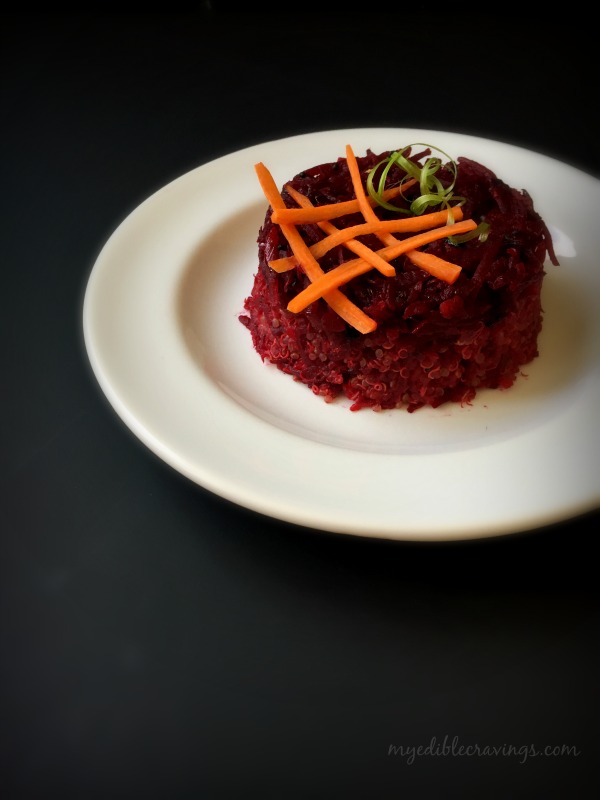
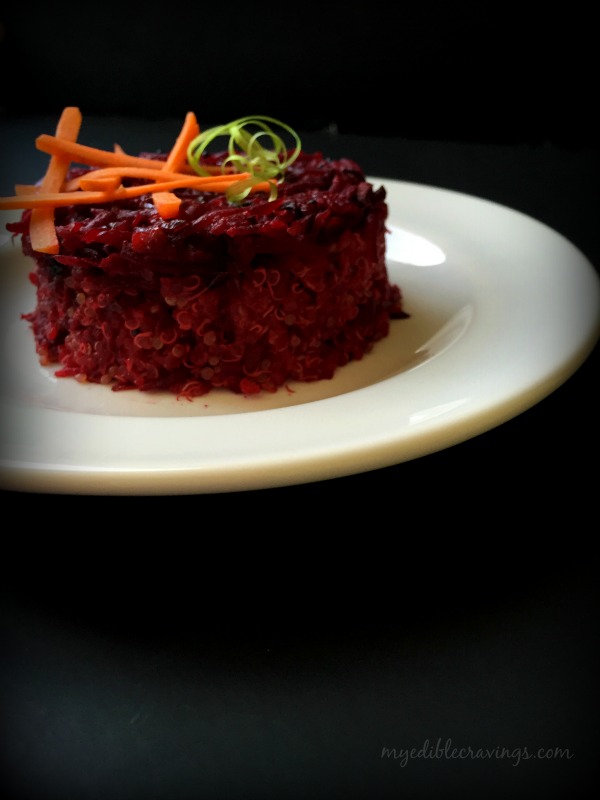
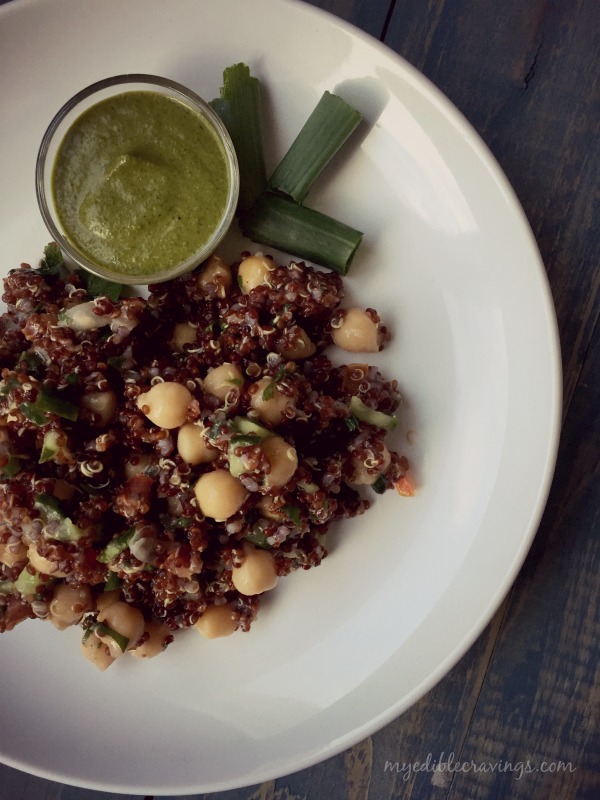
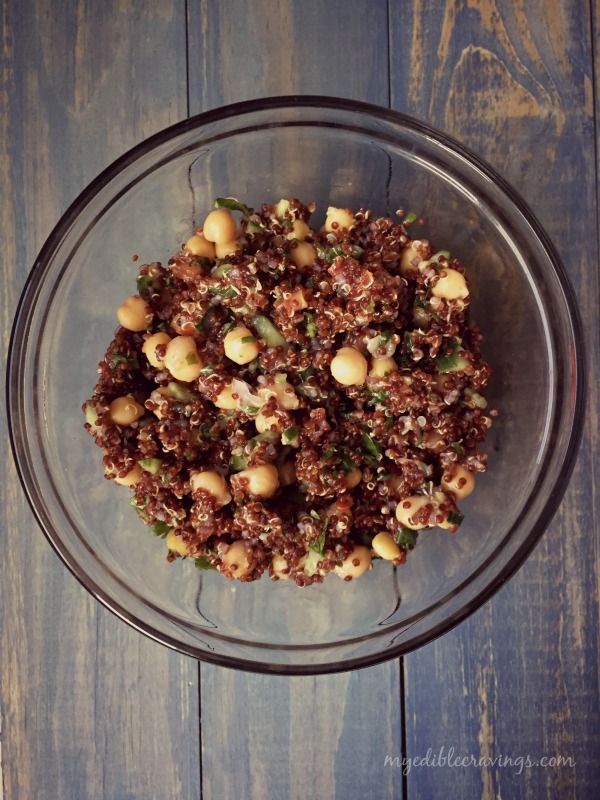 Recently, we went to a mediterranean restaurant and I came across a new type of salad made with Quinoa. I got hooked to it and was eager to try it out myself. The name of the salad is Quinoa Tabbouleh salad and that is the recipe I have posted here.
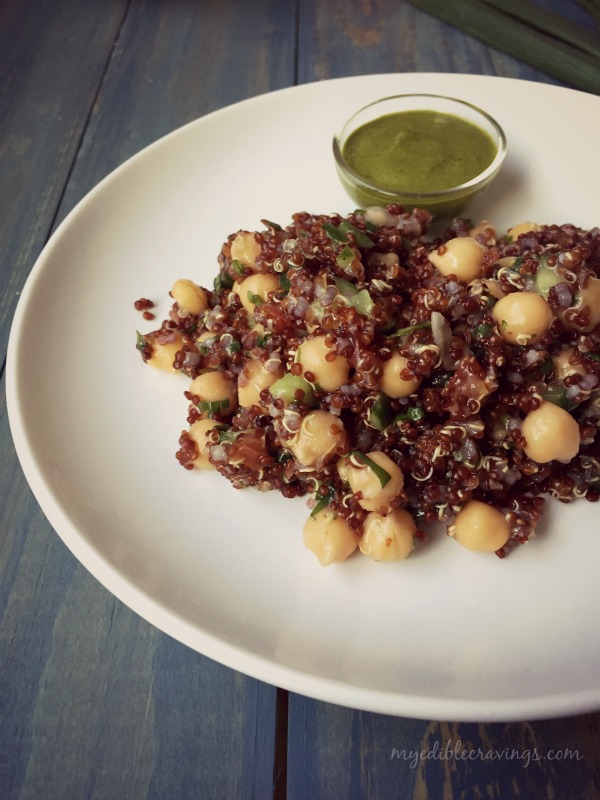
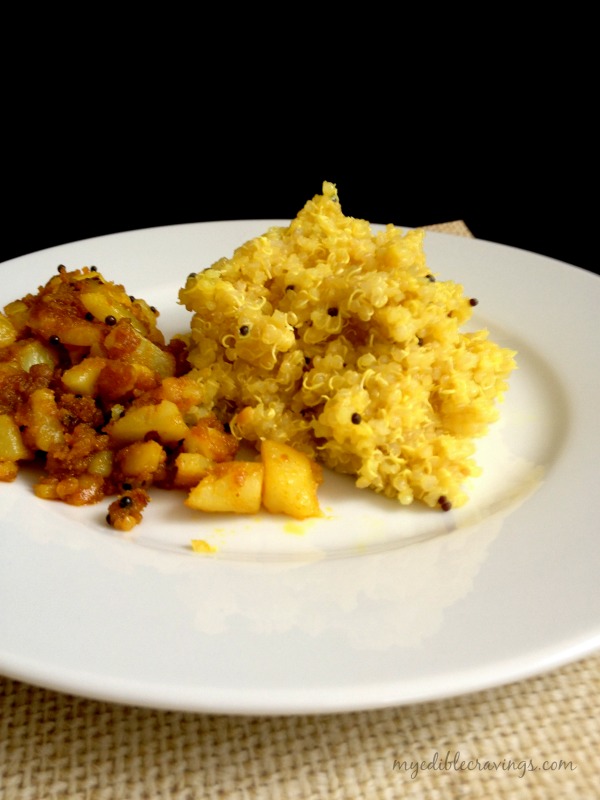
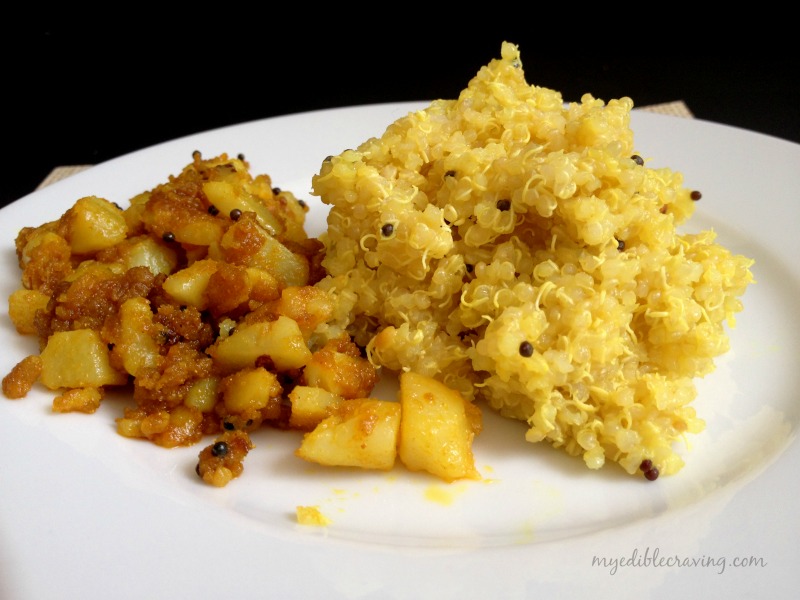
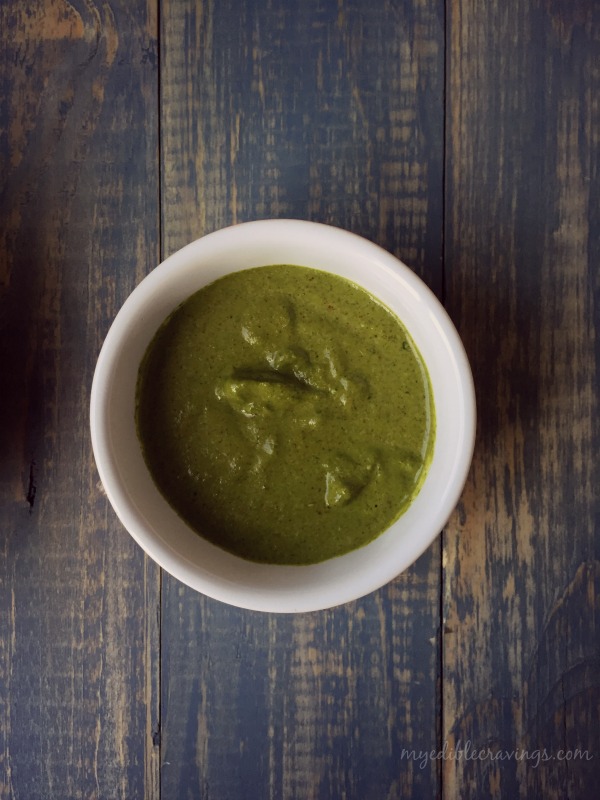 Quinoa Tabbouleh salad is very easy to make and very healthy as well. On days when you don’t feel like cooking or doing a take out, Quinoa Tabbouleh salad is the one to go for. Very few ingredients are needed to make this salad. Also, there is an accompaniment to the Tabbouleh salad called the Zough. It is a condiment relish made from green chili. The mild taste of Quinoa Tabbouleh and the spiciness of Zough make the perfect pair.
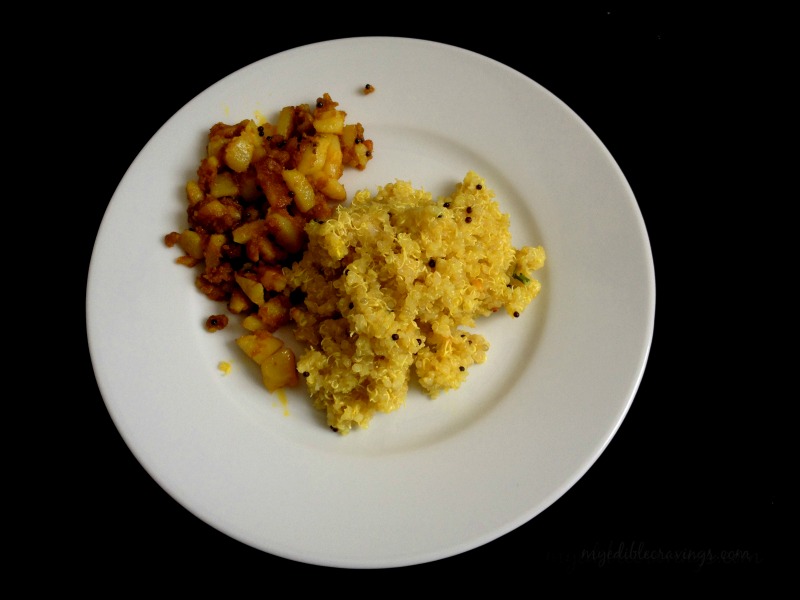
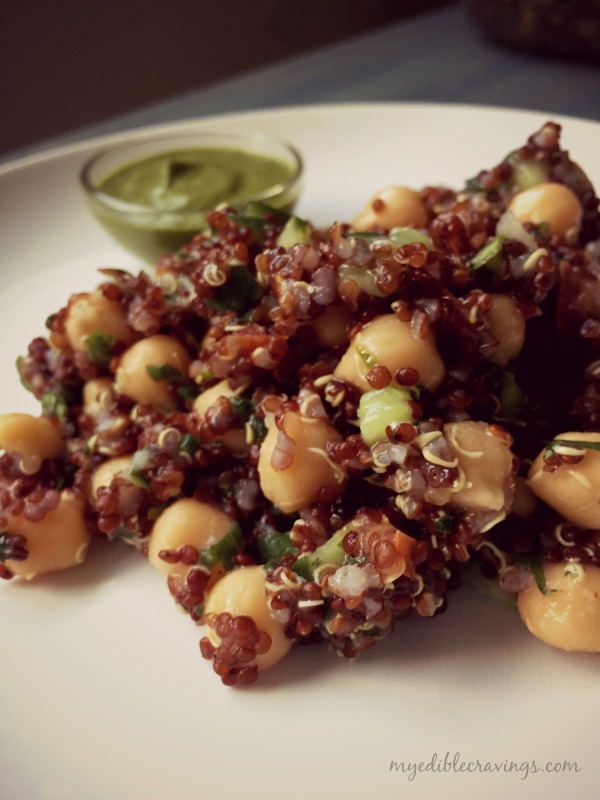 Quinoa Tabbouleh salad can be had as a light dinner or for lunch. Quinoa in general is rich in calories and having it as a salad will not get you full or bloated. Try this wonderful mediterranean salad in your home and let me know your comments 🙂
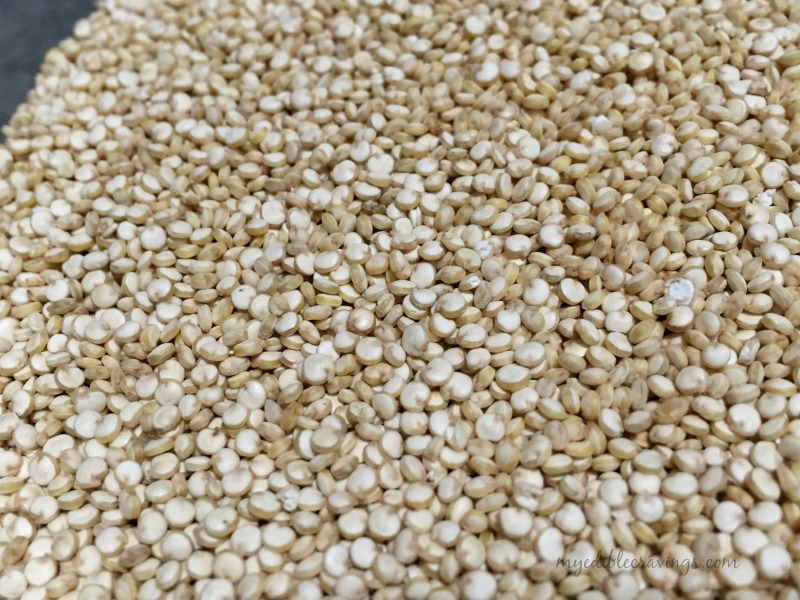
- Red quinoa – 1 cup
- Chick pea or garbonza beans or sundal – ½ cup
- Olive oil – 3 tbsp
- Lemon juice – 3 tbsp
- Cucumber, finely chopped – 1 no (I used Persian Cucumber)
- Tomato, medium, finely chopped – ½ no (2 tbsp)
- Green onions, finely chopped – 2 tbsp
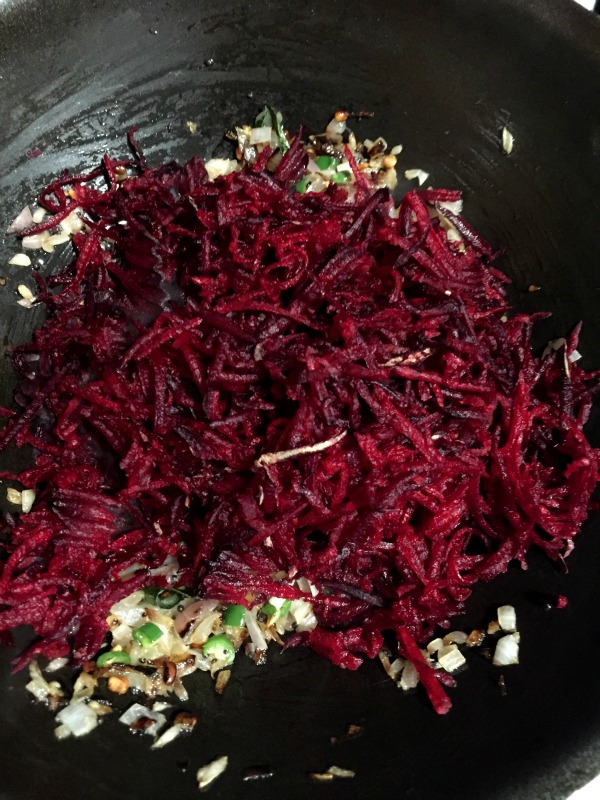
- Carrot, finely grated – 2 tbsp (optional)
- Cilantro, finely chopped – 2 to 3 tbsp
- Salt as required
- Cilantro – small bunch
- Garlic cloves, small to medium – 3 nos
- Lemon juice – 1 ½ tbsp
- Olive oil – 1 ½ tbsp
- Cayenne pepper – ½ tbsp
- Pepper – ¼ tsp
- Cumin powder –a generous pinch
- Green chilli – 4 nos
- Salt as required
- Soak chick pea overnight and pressure cook for 6 whistles adding enough water and salt. Drain the excess water and set aside.
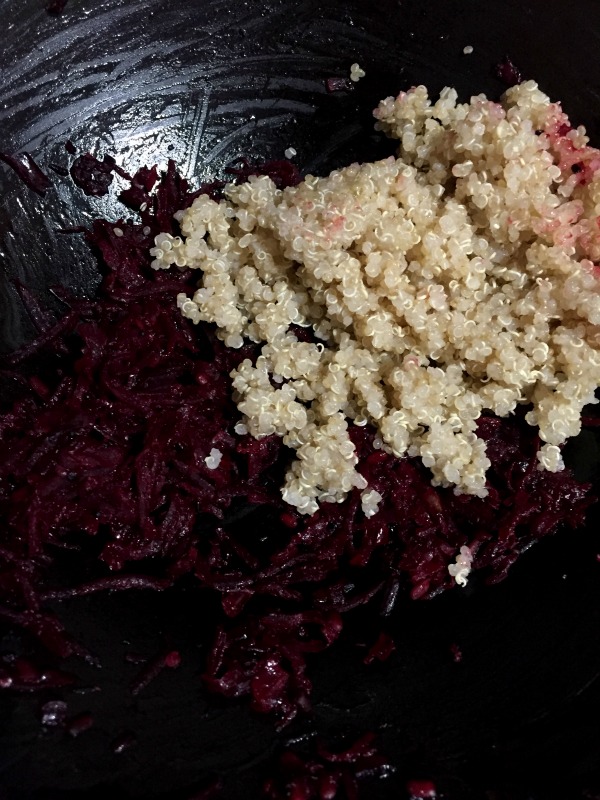
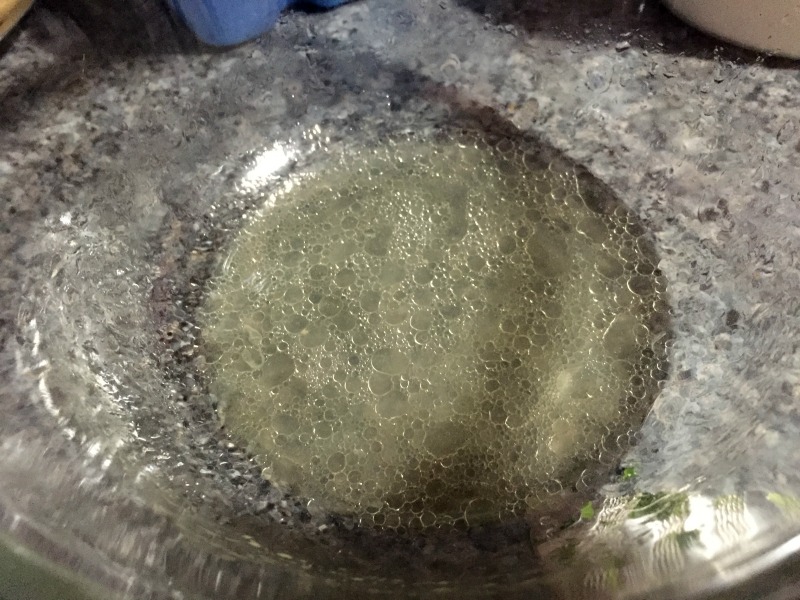
- Wash the quinoa thoroughly and drain them using strainer, pressure cook adding enough salt and 1½ cup water (not more than that) for 3 whistles. Or you could parboil them adding the same amount of water in a sauce pan, covered for 15 minutes. Drain the excess water if any.
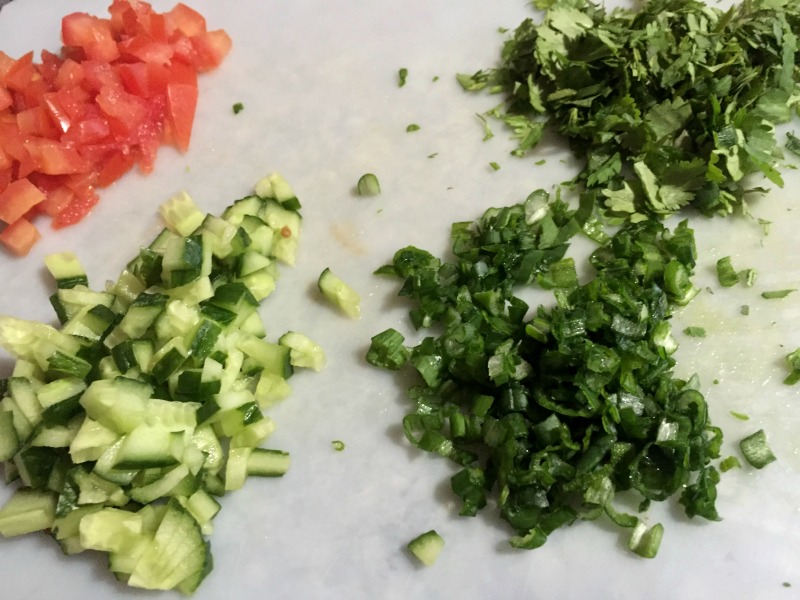
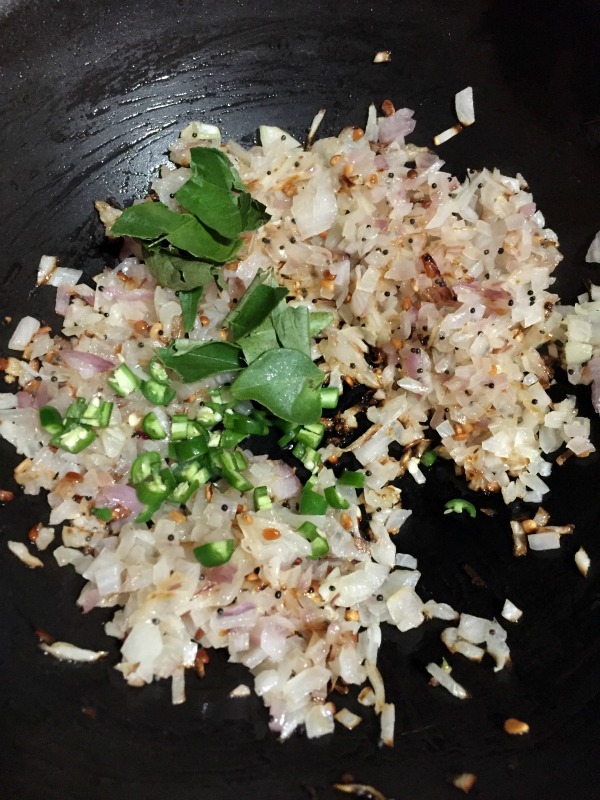
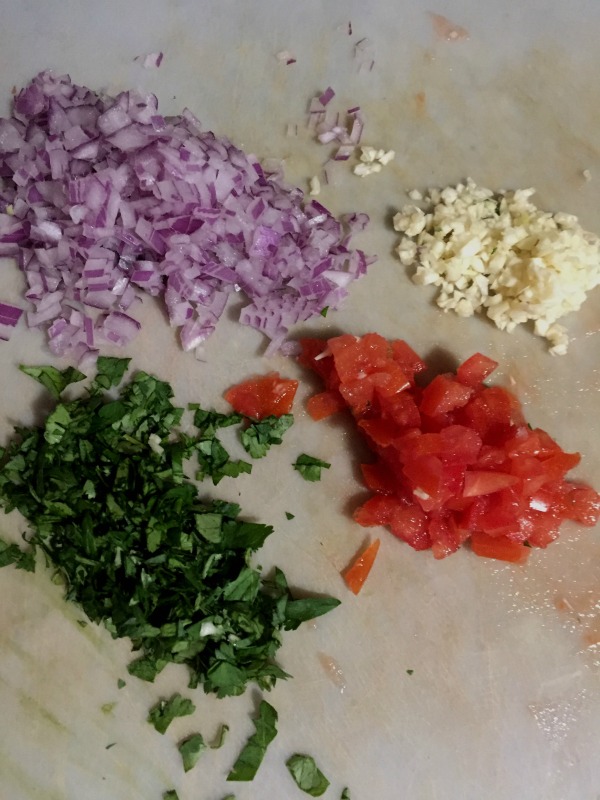
- Finely chop all the above given ingredients and keep them ready.
- In a large mixing bowl, add olive oil, lemon juice and salt. Mix well.
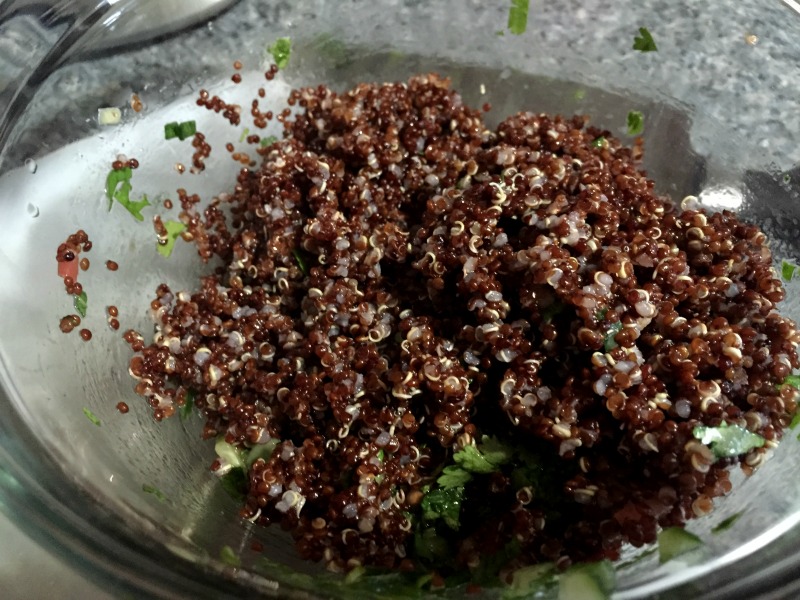
- Add cucumber, tomato, carrot, green onion and cilantro. Mix well.
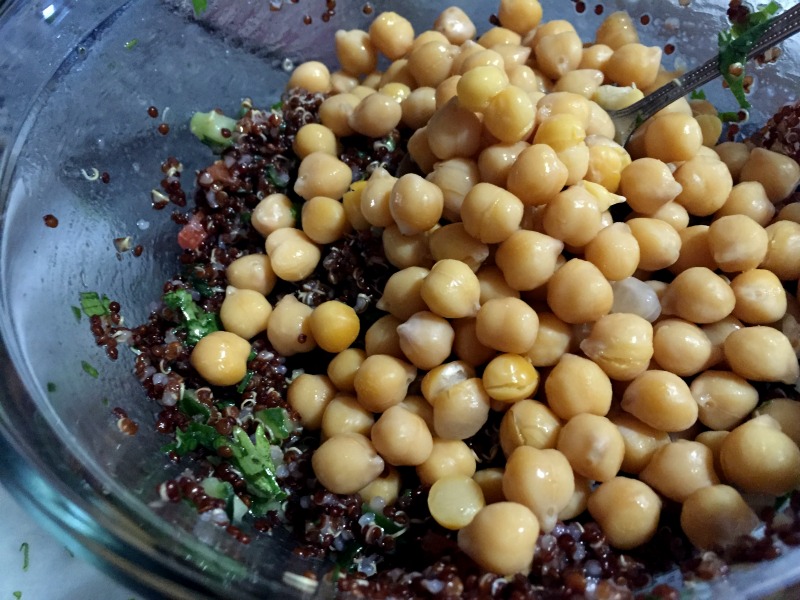
- Finally add quinoa and chick pea. Mix them well until well combined.
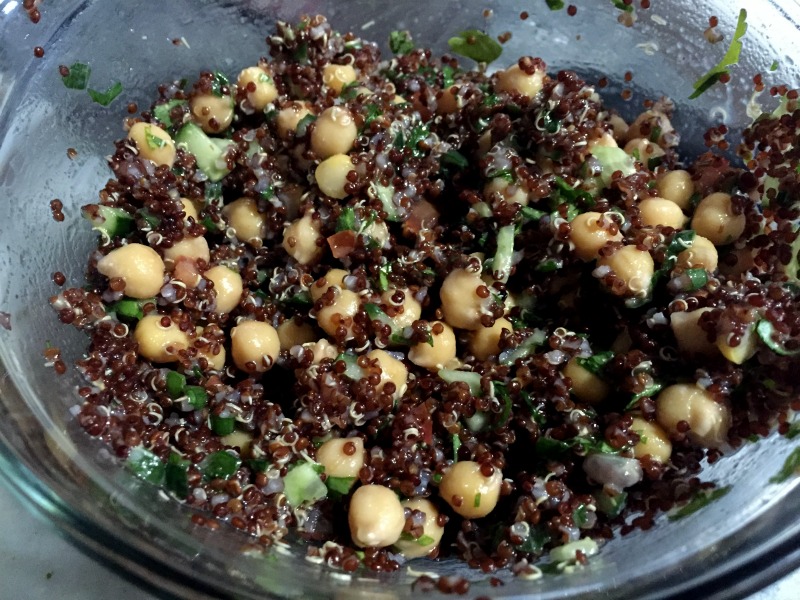
- Have it right away or Cover and leave it at least for ½ an hour in the refrigerator and serve chill for better taste.
- Blend all the above given ingredients to a fine sauce without adding any water.
- Have zough sauce as a side for yummy quinoa tabbouleh. Enjoy! :)