 It has been quite some time since my last post. How you guys doing? Sorry folks, I don’t get time to post regularly like before. It is summer break here in the US and school year starting back home. Different parts of the world and different routines 🙂 Coming back to the recipe for today, I have posted a snack food for a change. It is really healthy and you would be surprised, especially children if they come to know about the ingredients. It is called as the Hara Bhara Kabab.
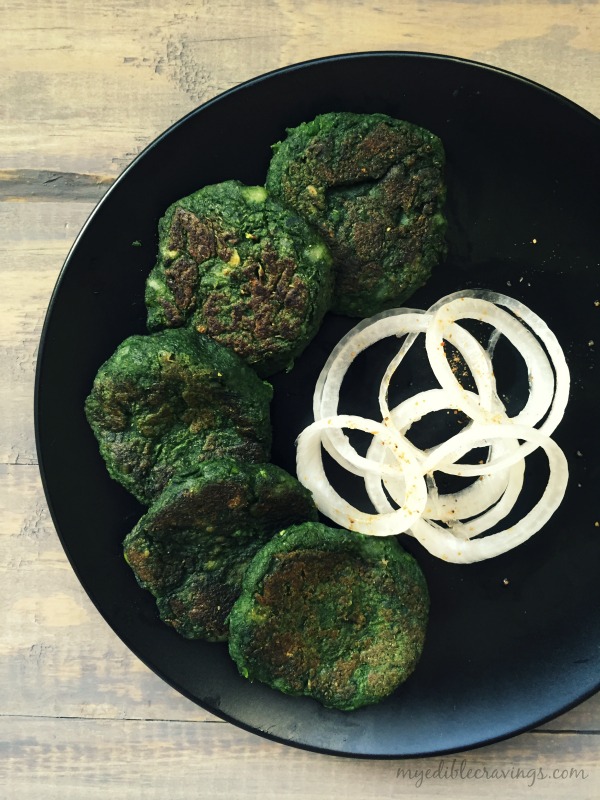
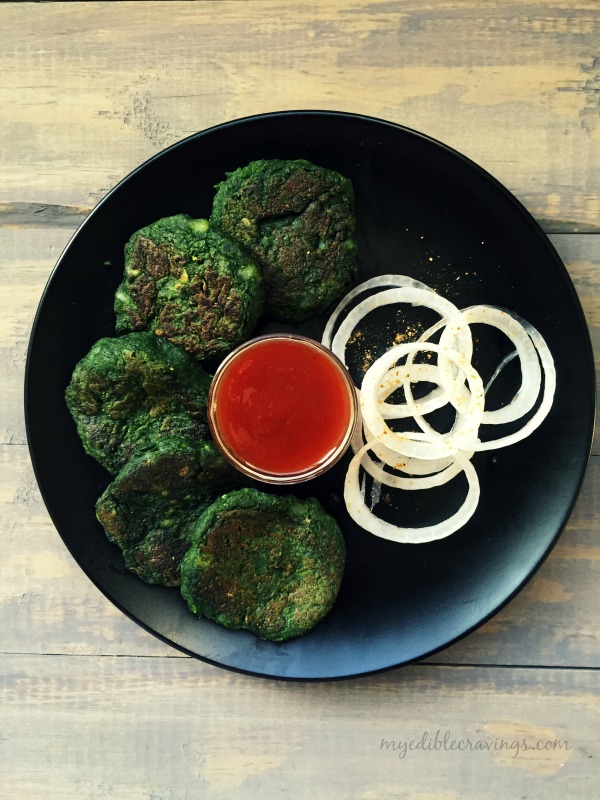
 Kabab in general refers to a variety of snack foods cooked mostly in skewers and made of meat. It originated in the Mediterranean and is widely popular all over the world. India too has its own share of kabab varieties. Since more than half the population is vegetarian and us being the innovators :), we have vegetarian kabab varieties. Hara Bhara Kabab is one such variety made using spinach and peas. I came across this recipe a while ago and have made it quite a few times since then. It is one of my favorite snacks and my HB loves it too.
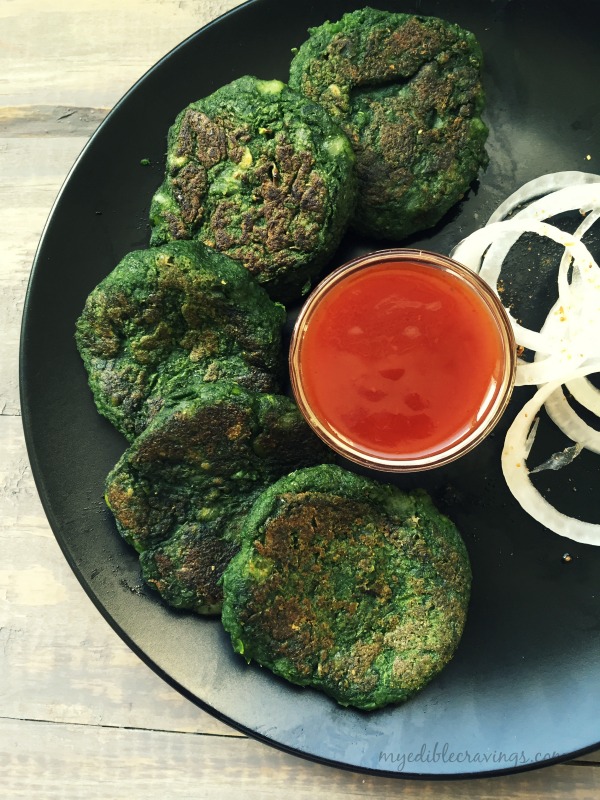
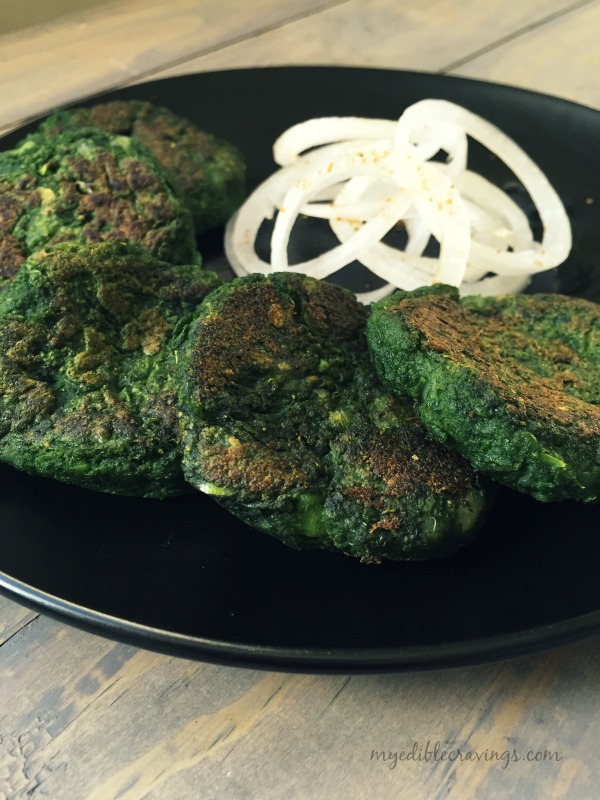 The main ingredients of Hara Bhara Kababs are, as mentioned earlier, spinach and peas. These are very easy to make and uses minimal ingredients. Hara Bhara Kababs can either be pan fried or baked in the oven. I am yet to try the latter and so the cooking method followed in this recipe is pan frying. Having hot Hara Bhara Kababs with ketchup in the evenings is one way to experience culinary nirvana :). Try it out and enjoy!
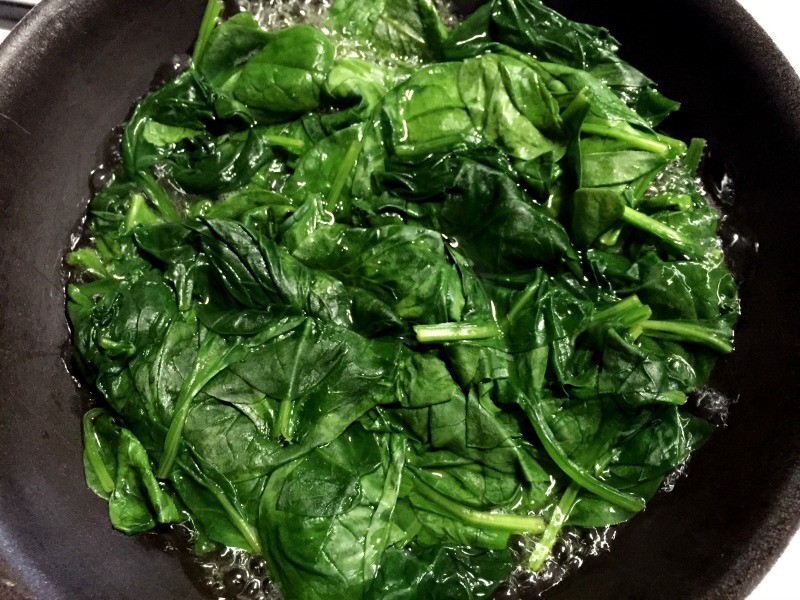
- Spinach – 2 cups
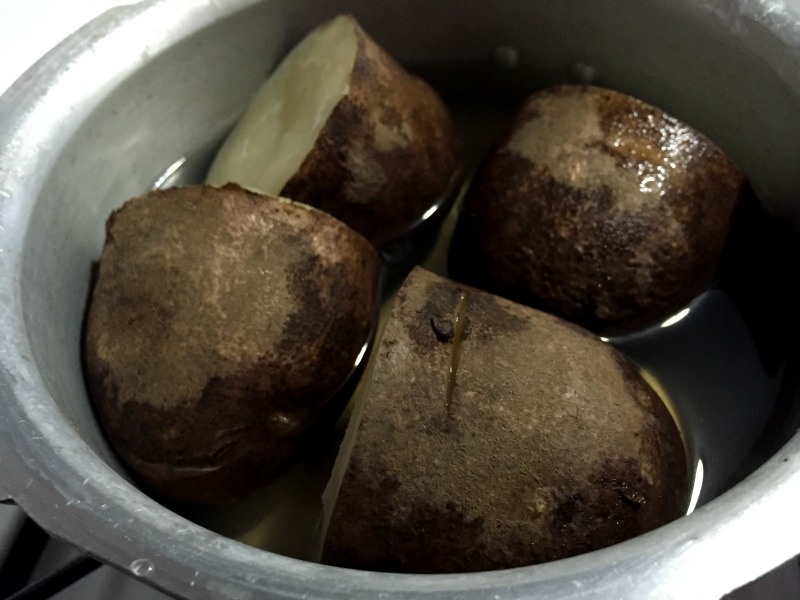
- Potato, medium – 1
- Green Peas, boiled – 2 tbsp
- Green chilli – 2 nos
- Ginger – small piece
- Chat masala – 1 tsp
- Amchur powder – ¾ tsp
- Gram flour – 1 ¼ tbsp.
- Salt as required
- Oil – to smear around kababs
- Pressure cook the potato for 2 whistles.
- Blanch the spinach in boiling water for a minute or two without covering and strain and wash them immediately with cold water – to retain the color. Completely drain the water and keep it aside.
- Grind the spinach along with green chilli, ginger and boiled green peas (I used frozen) and grind them to coarse paste without adding any water.
- Meanwhile drain and peel the potato.
- Add the peeled potatoes to the spinach puree and mash it together.
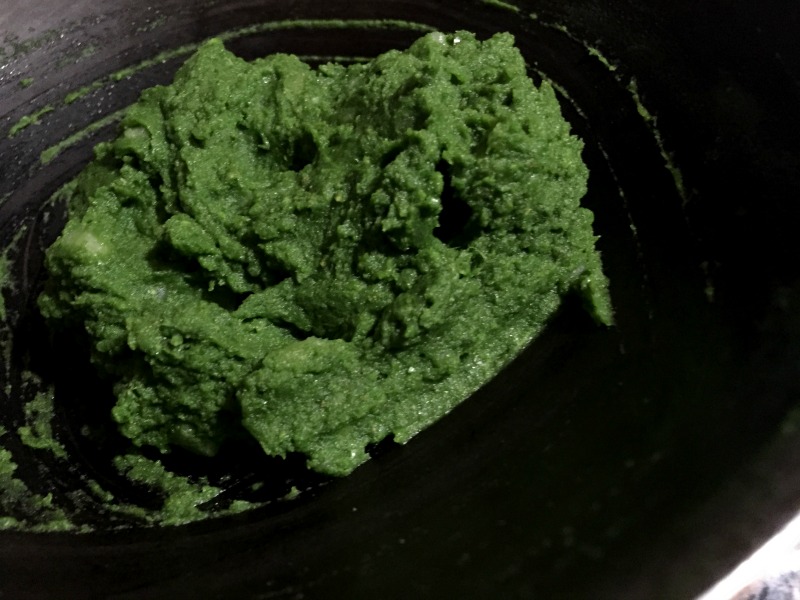
- Add amchur powder, chat masala, salt and gram flour. Mix well and make tikki shapes.
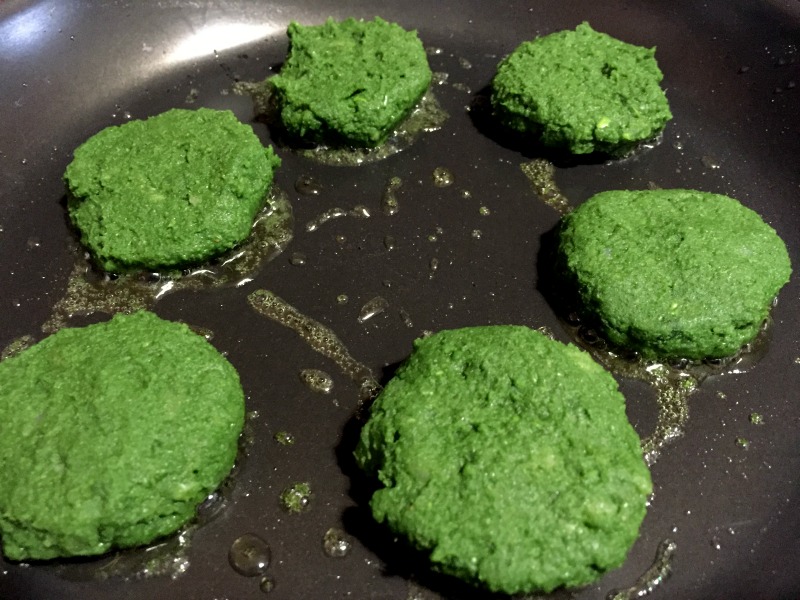
- Cook it in the flat pan drizzling very little oil. Cook for a few minutes. Flip and cook until golden brown on both sides. Enjoy the yummy hara bhara kabab with ketchup!

2.Don’t overcook the potatoes.
3.Kabab has to be like cotton soft when cut. That’s the right texture.