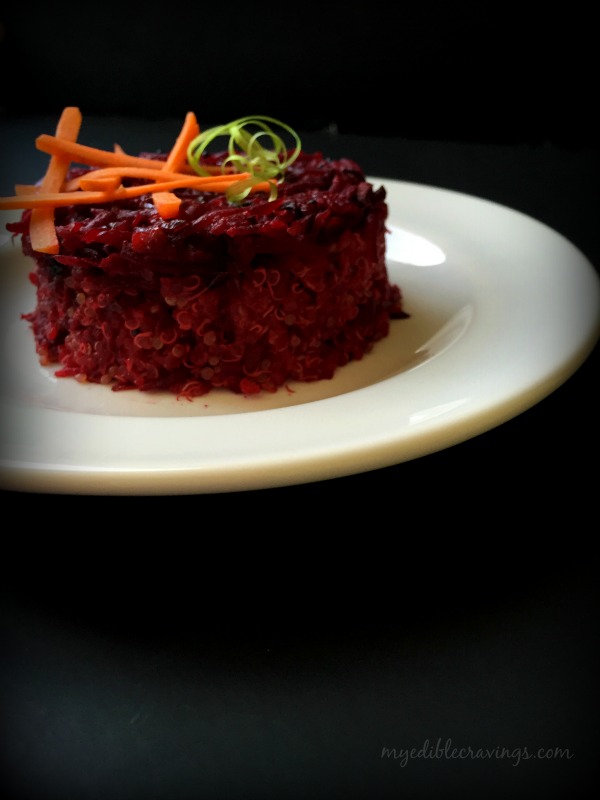
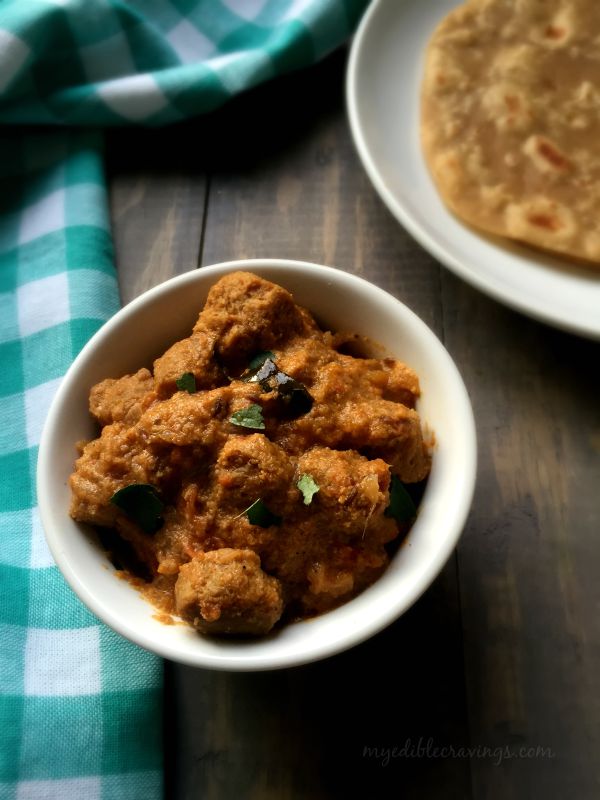
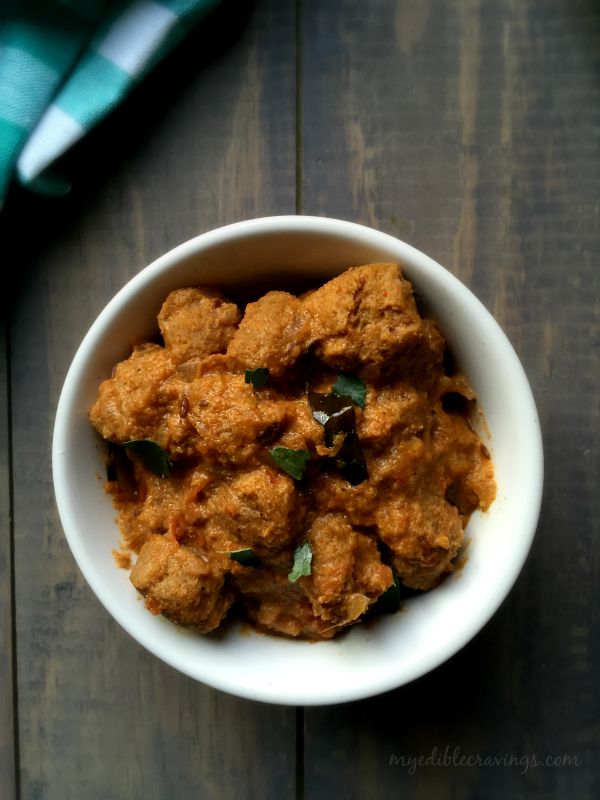
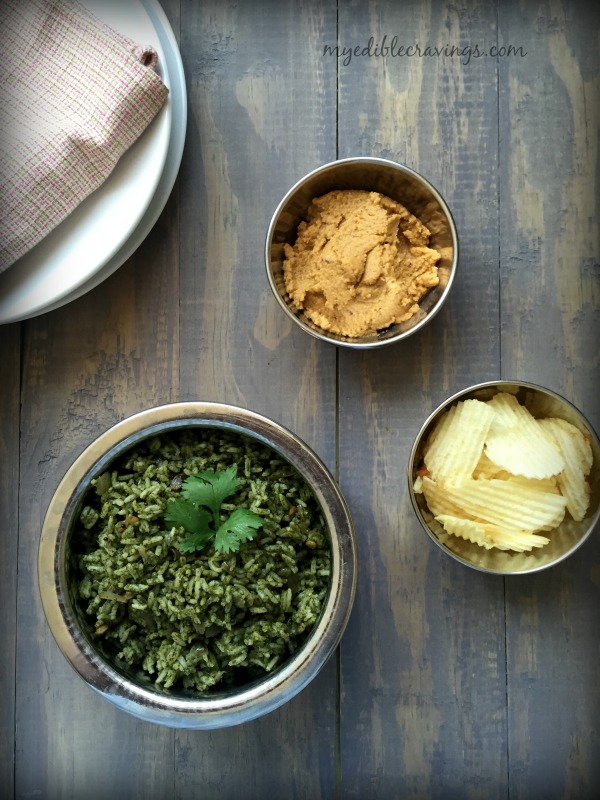
 Today’s recipe is a continuation of my resolution to post healthy recipes as much as I can, going forward. Beetroot Quinoa is a dish made from a well known legume, beetroot and a not so common grain variety called the Quinoa. Like I had described in one of my earlier posts, Quinoa is a South American grain crop well known for its edible seeds. Quinoa is a super food that is rich in calories and easily digestible. Beetroot, as you may all know, is a very good source of iron and vitamins.
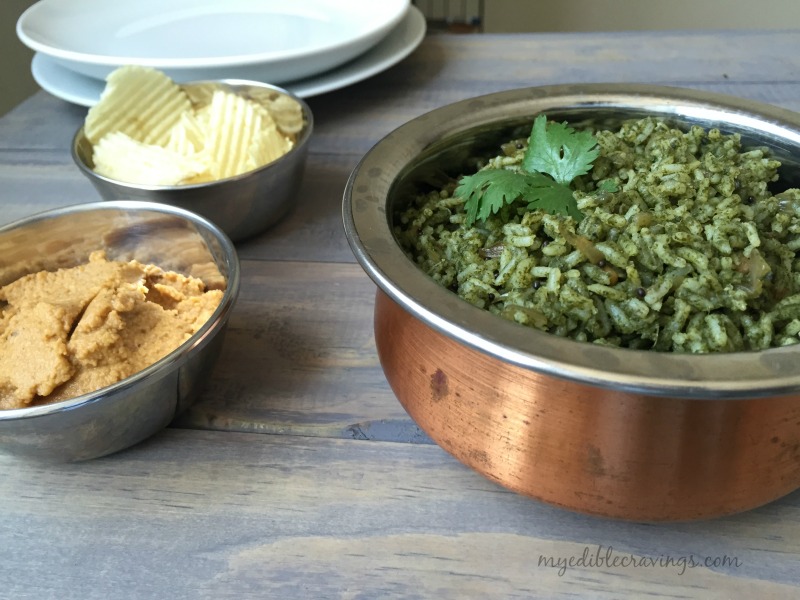
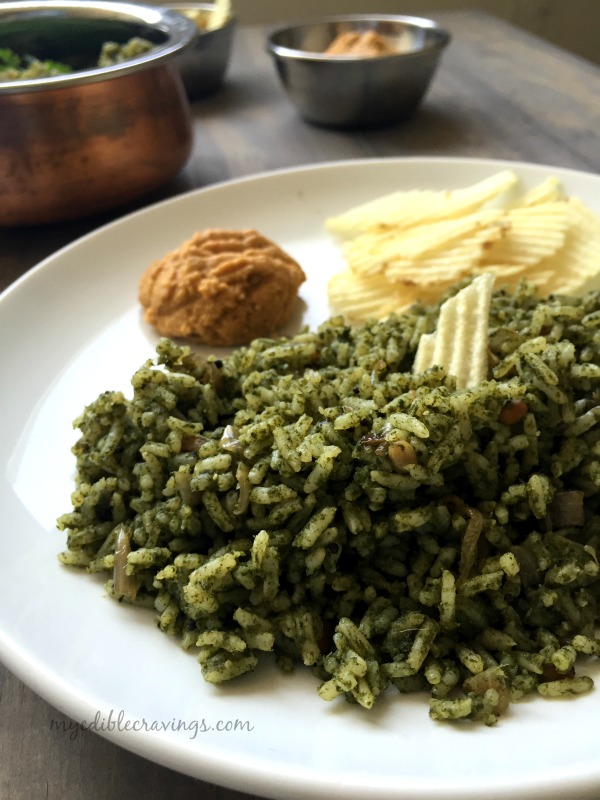
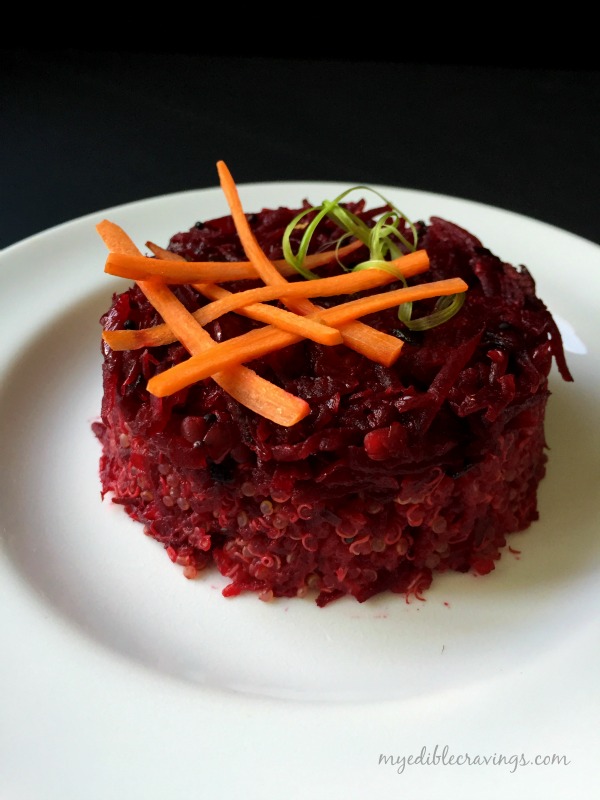
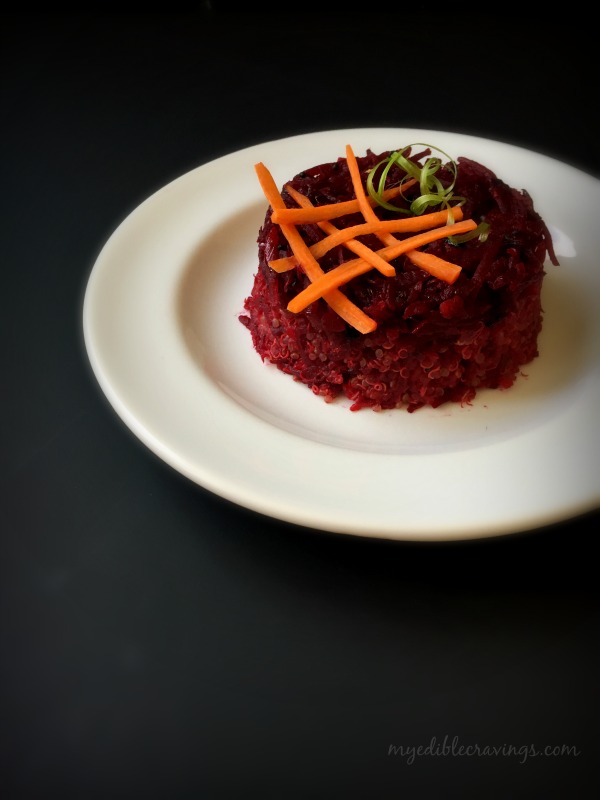 Beetroot Quinoa is a very easy dish to make. It literally takes 15 minutes to prepare. Also, with the way it’s made, you can either have Beetroot Quinoa as is or have the cooked beetroot only with rice. Beetroot Quinoa is a cold food and can be retained by refrigeration, making it the go-to food for bachelors and single ladies that is if you want to have healthy food, if not there is always pasta and noodles :). Also, it is a very good menu for lunch box, especially for kids 🙂
 For those who worry about getting Quinoa back home, no worries, Quinoa is quite popular there and is called as (Seemai Thinai, literally known as foreign grain 🙂 ). Don’t miss out trying this truly healthy food which I believe will be a good alternative to have once in a while amongst the mundane dishes that we have often.
- Olive oil or cooking oil – 1 tbsp
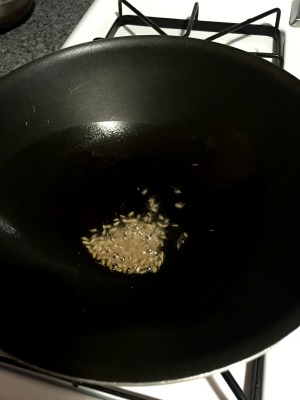
- Mustard seeds – ¼ tsp
- Urad dal – ¼ tsp
- Curry leaves – half sprig
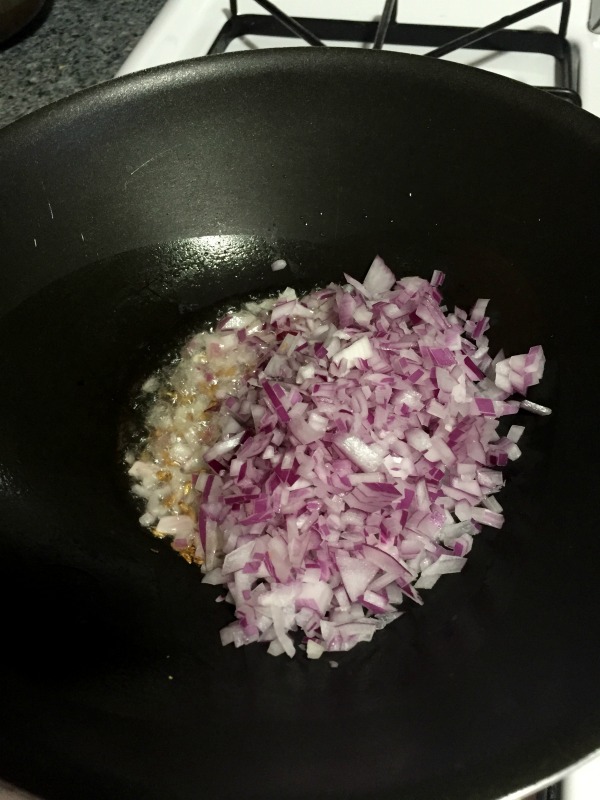
- Onion, finely chopped – 1 no
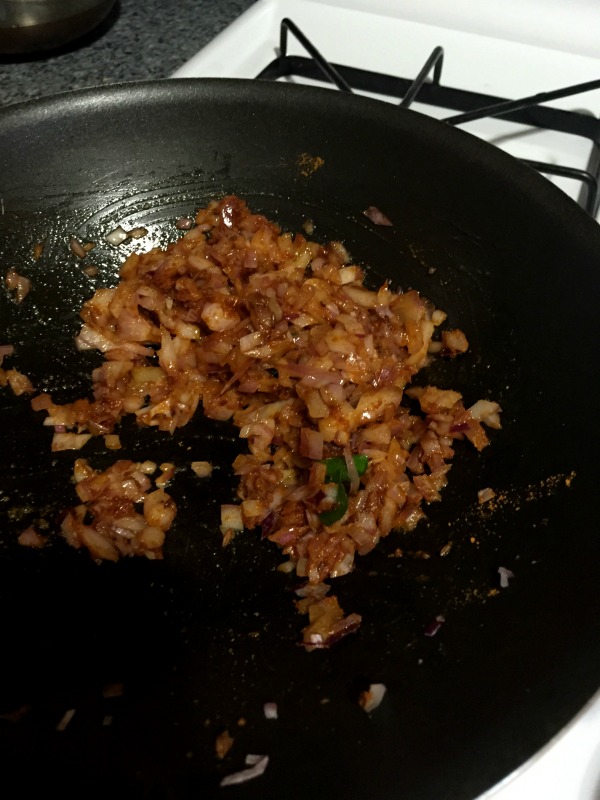
- Green chilli, finely chopped – 2 nos
- Beetroot, medium, grated – 1 cup
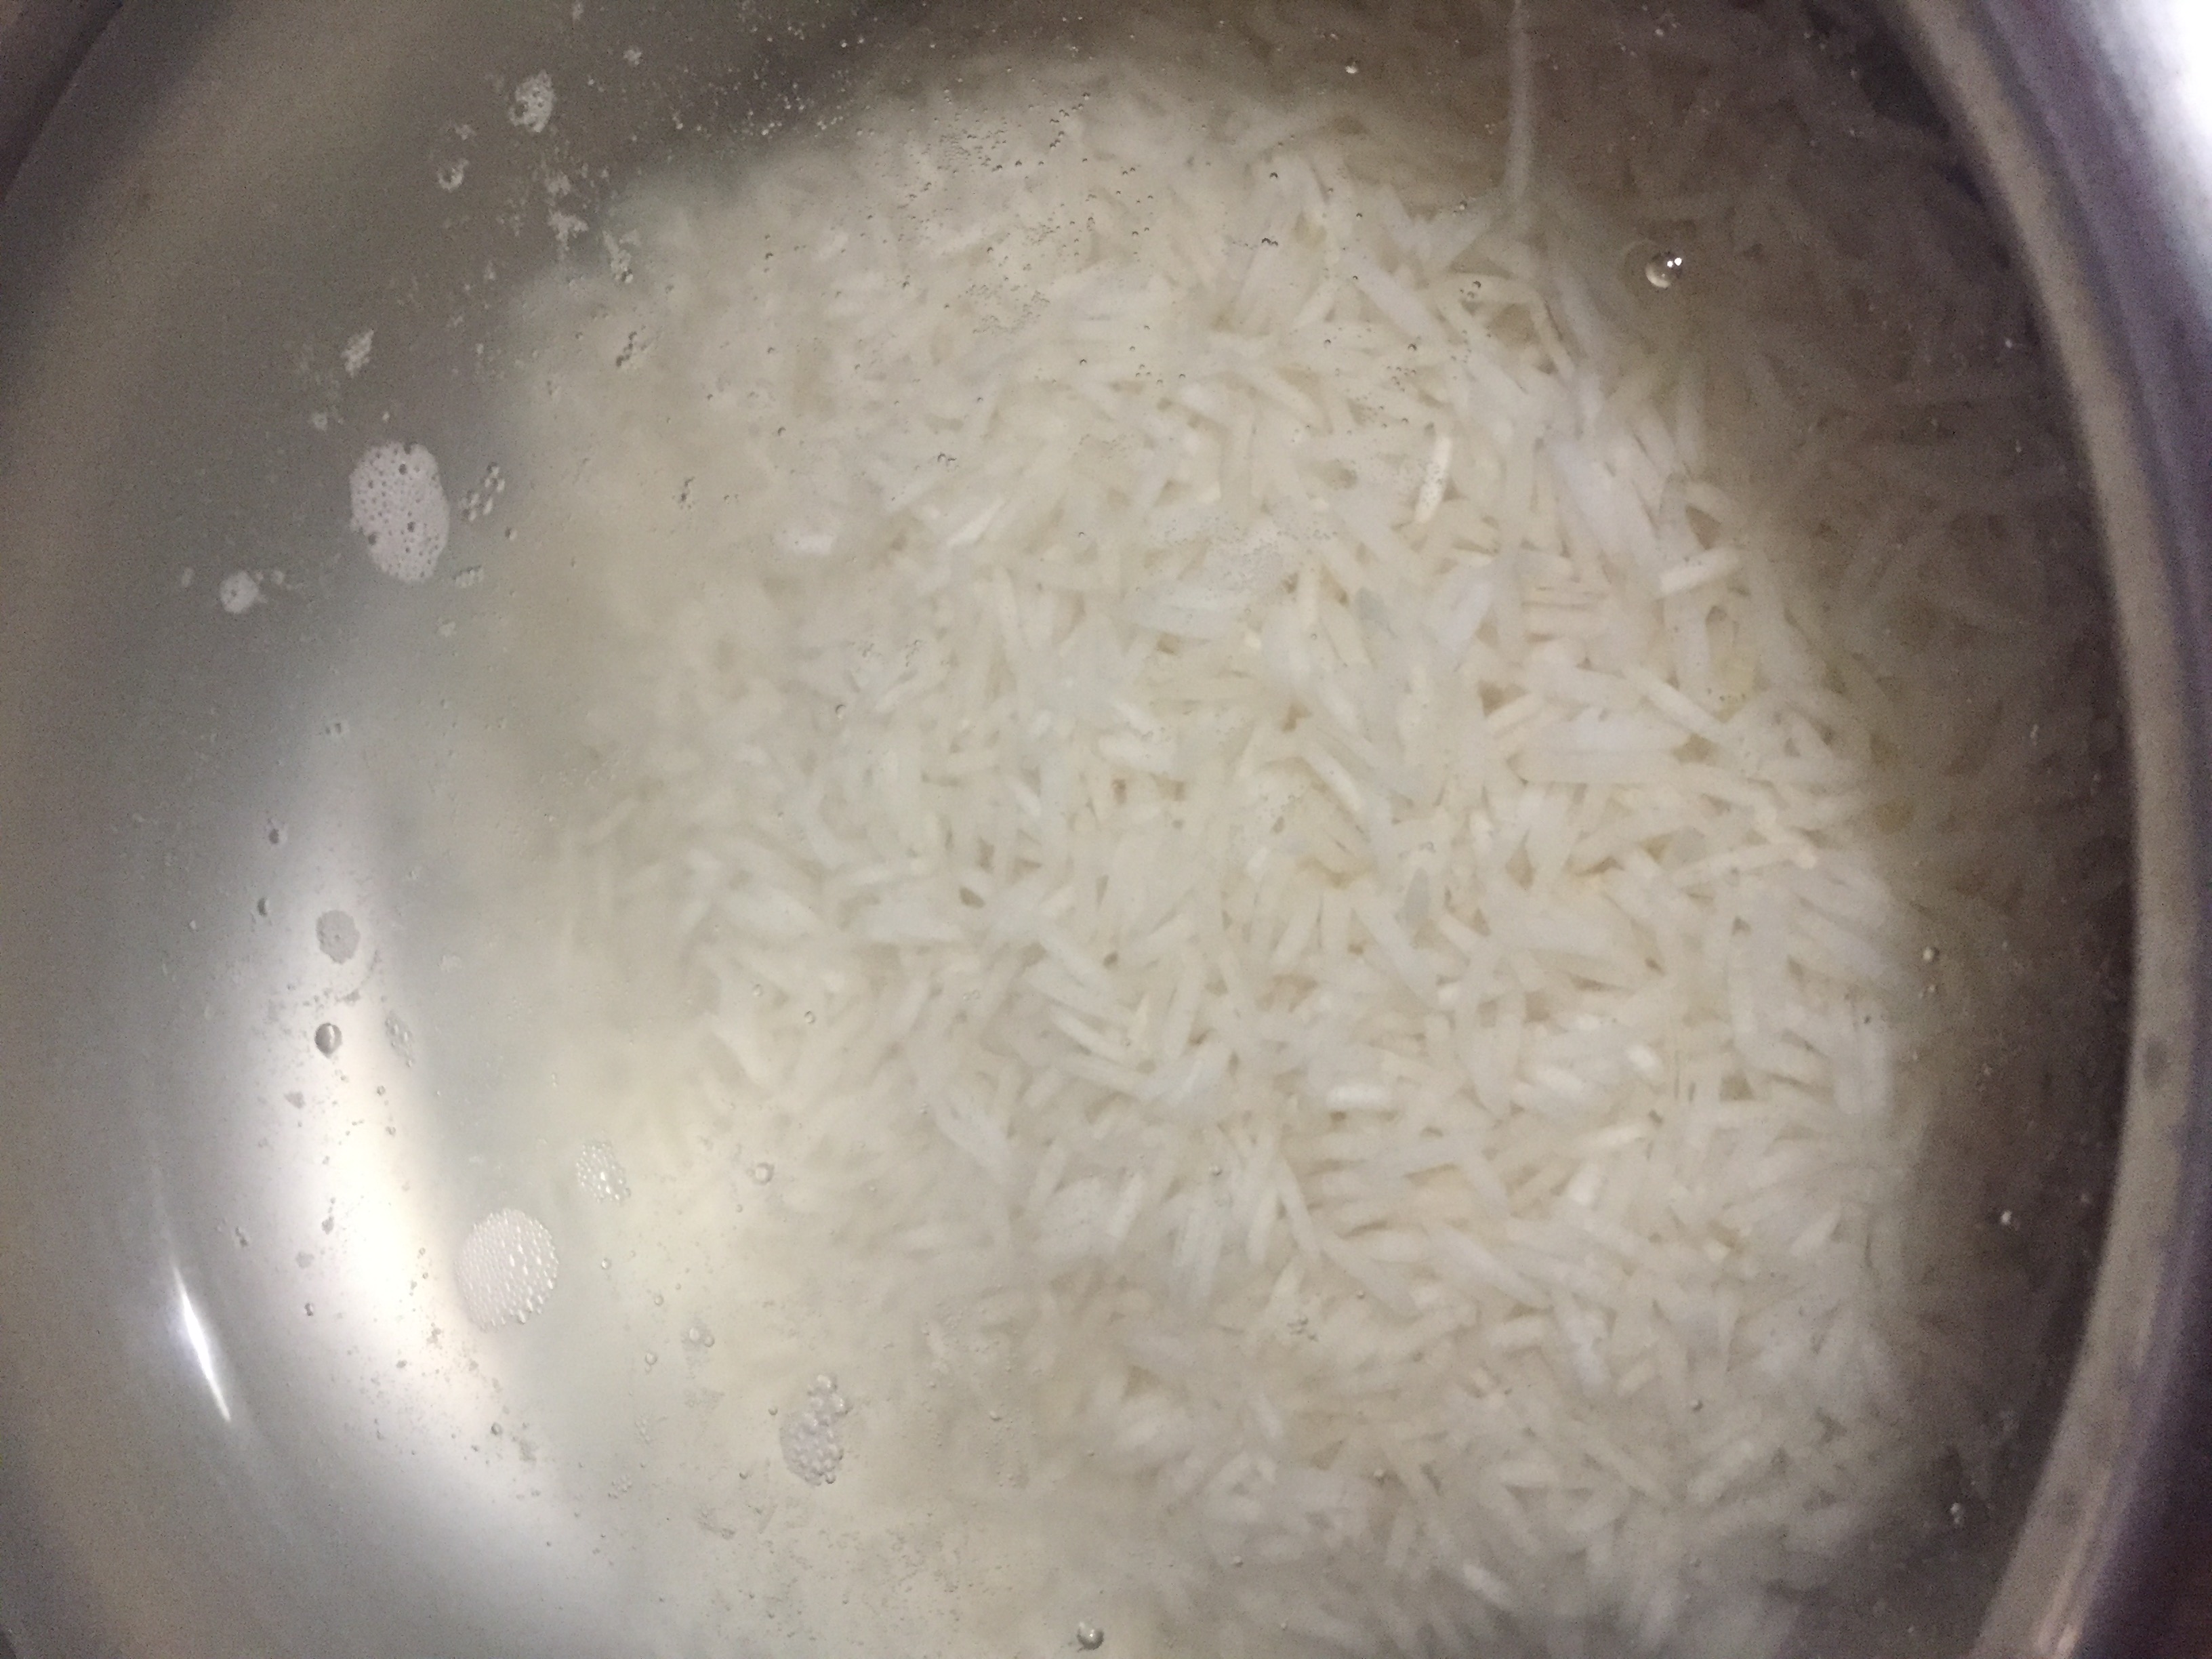
- Quinoa – 1 cup
- Salt as required
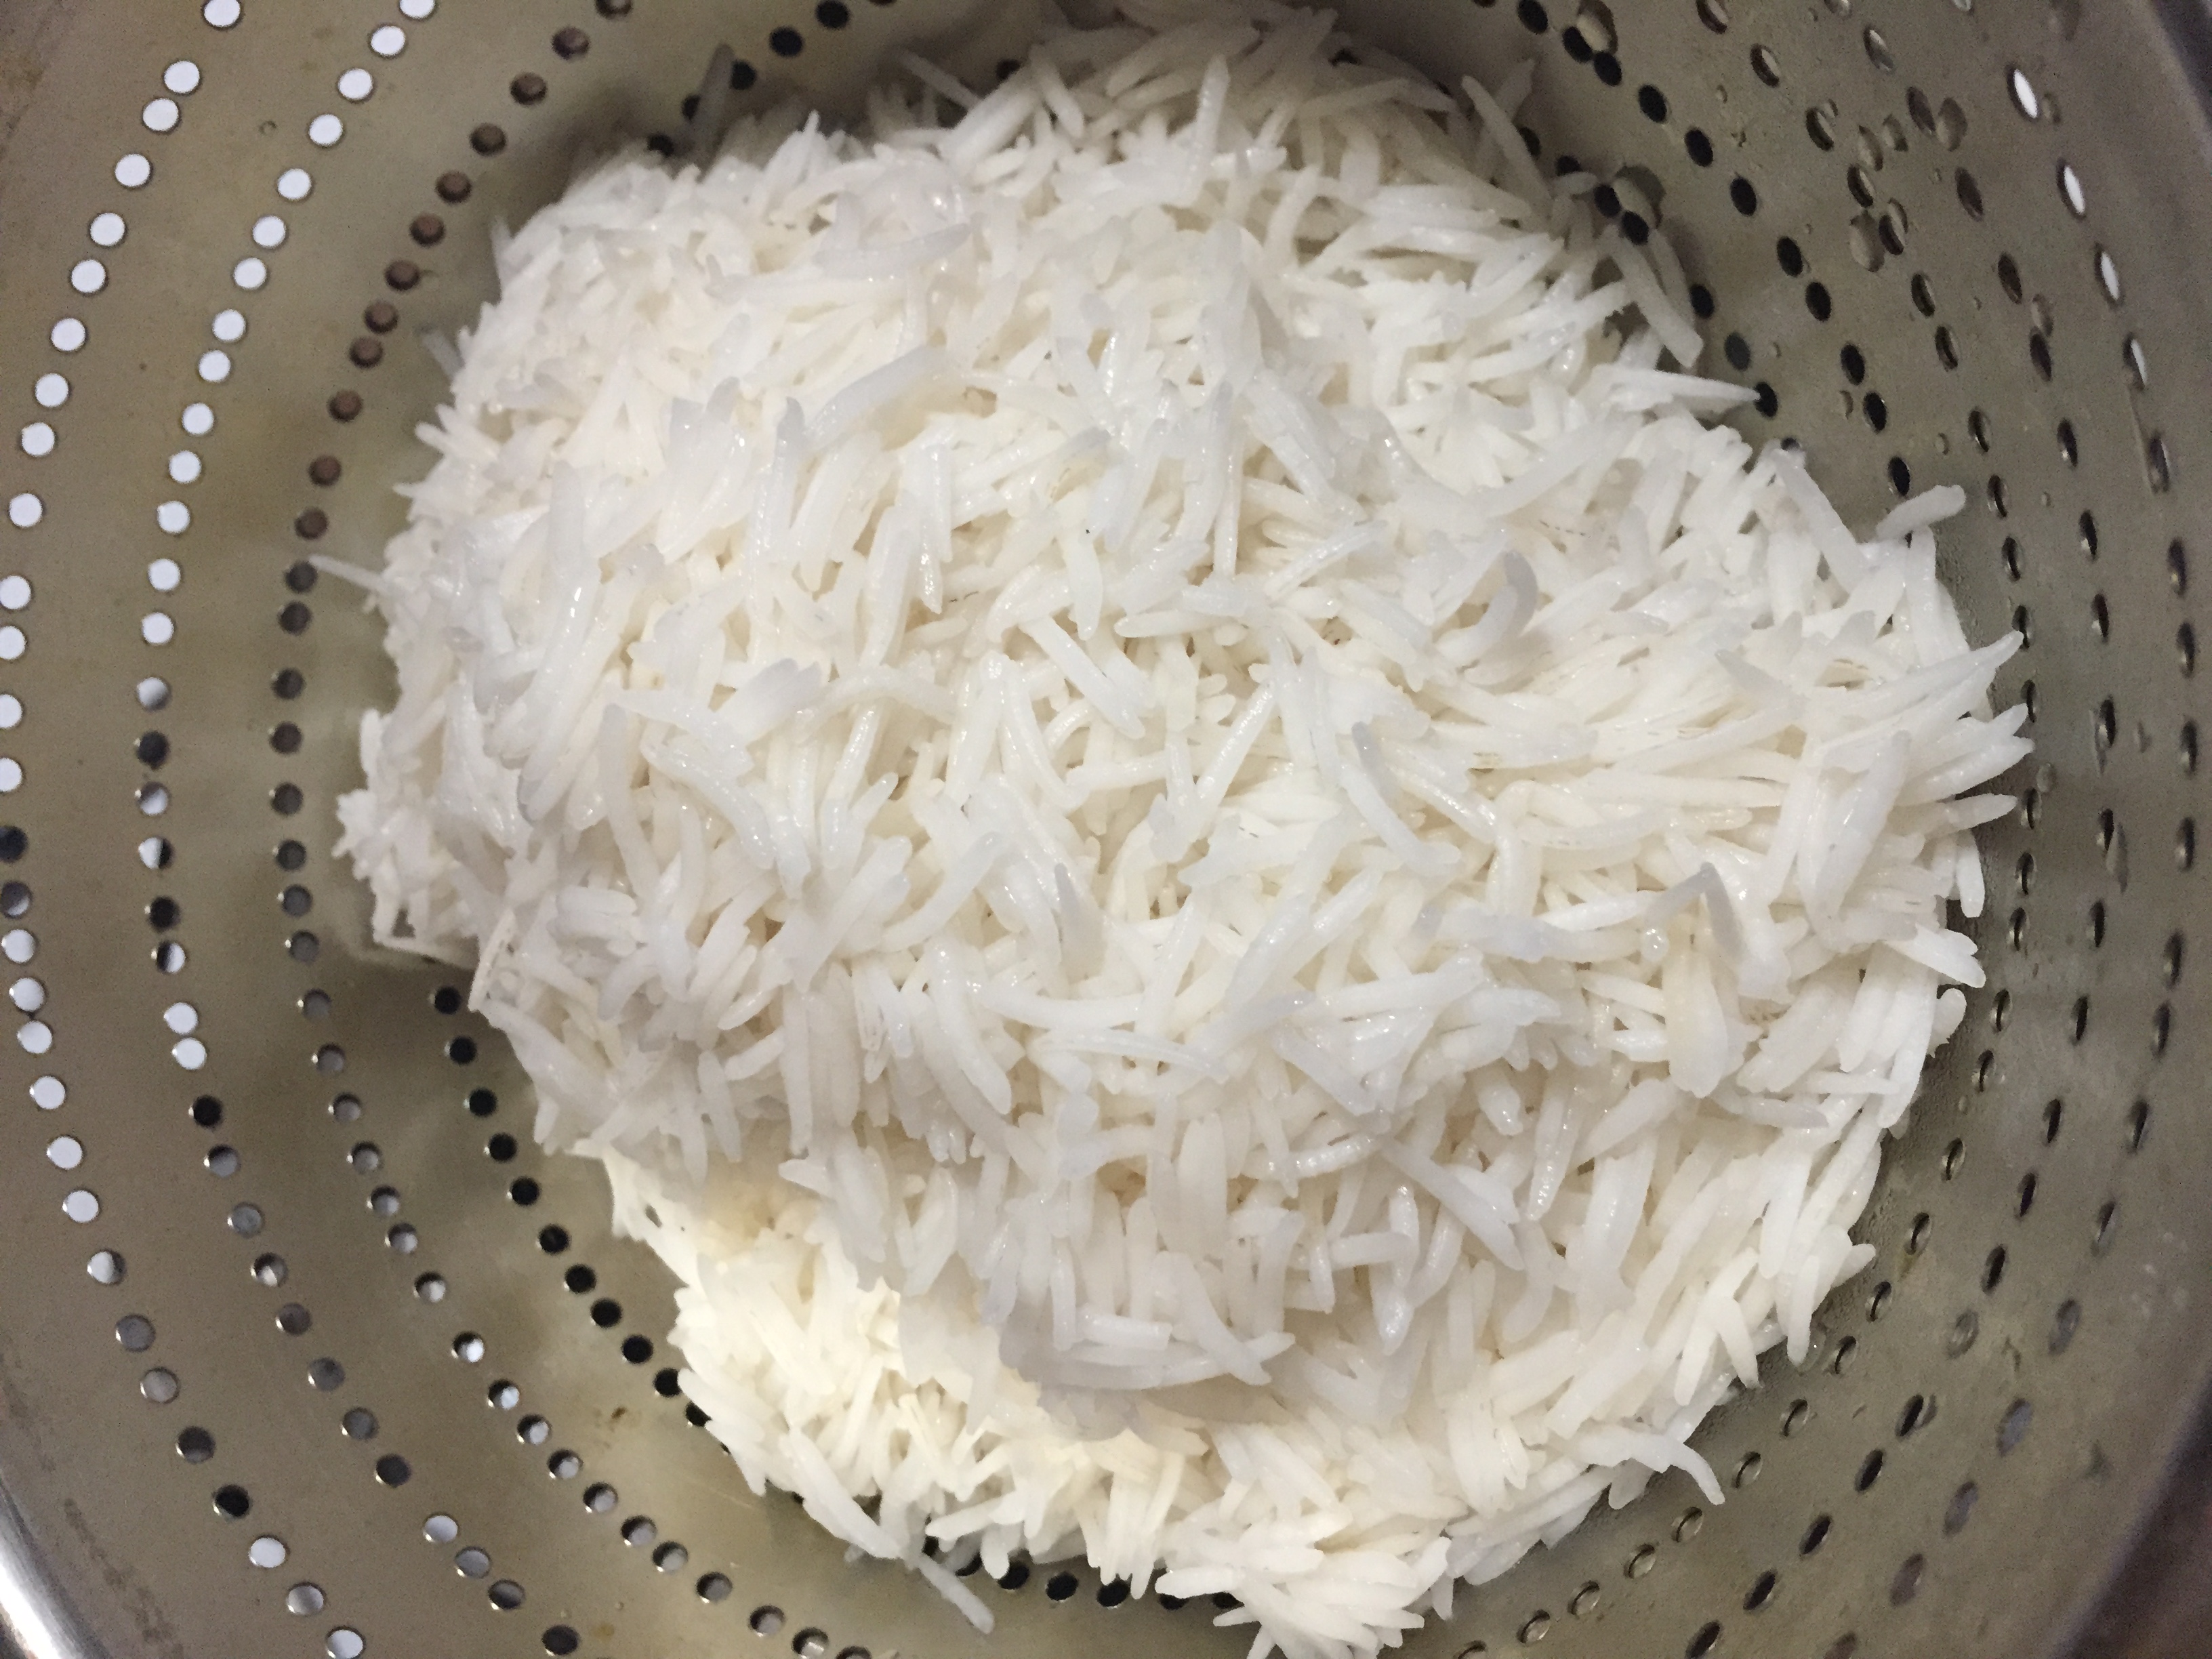
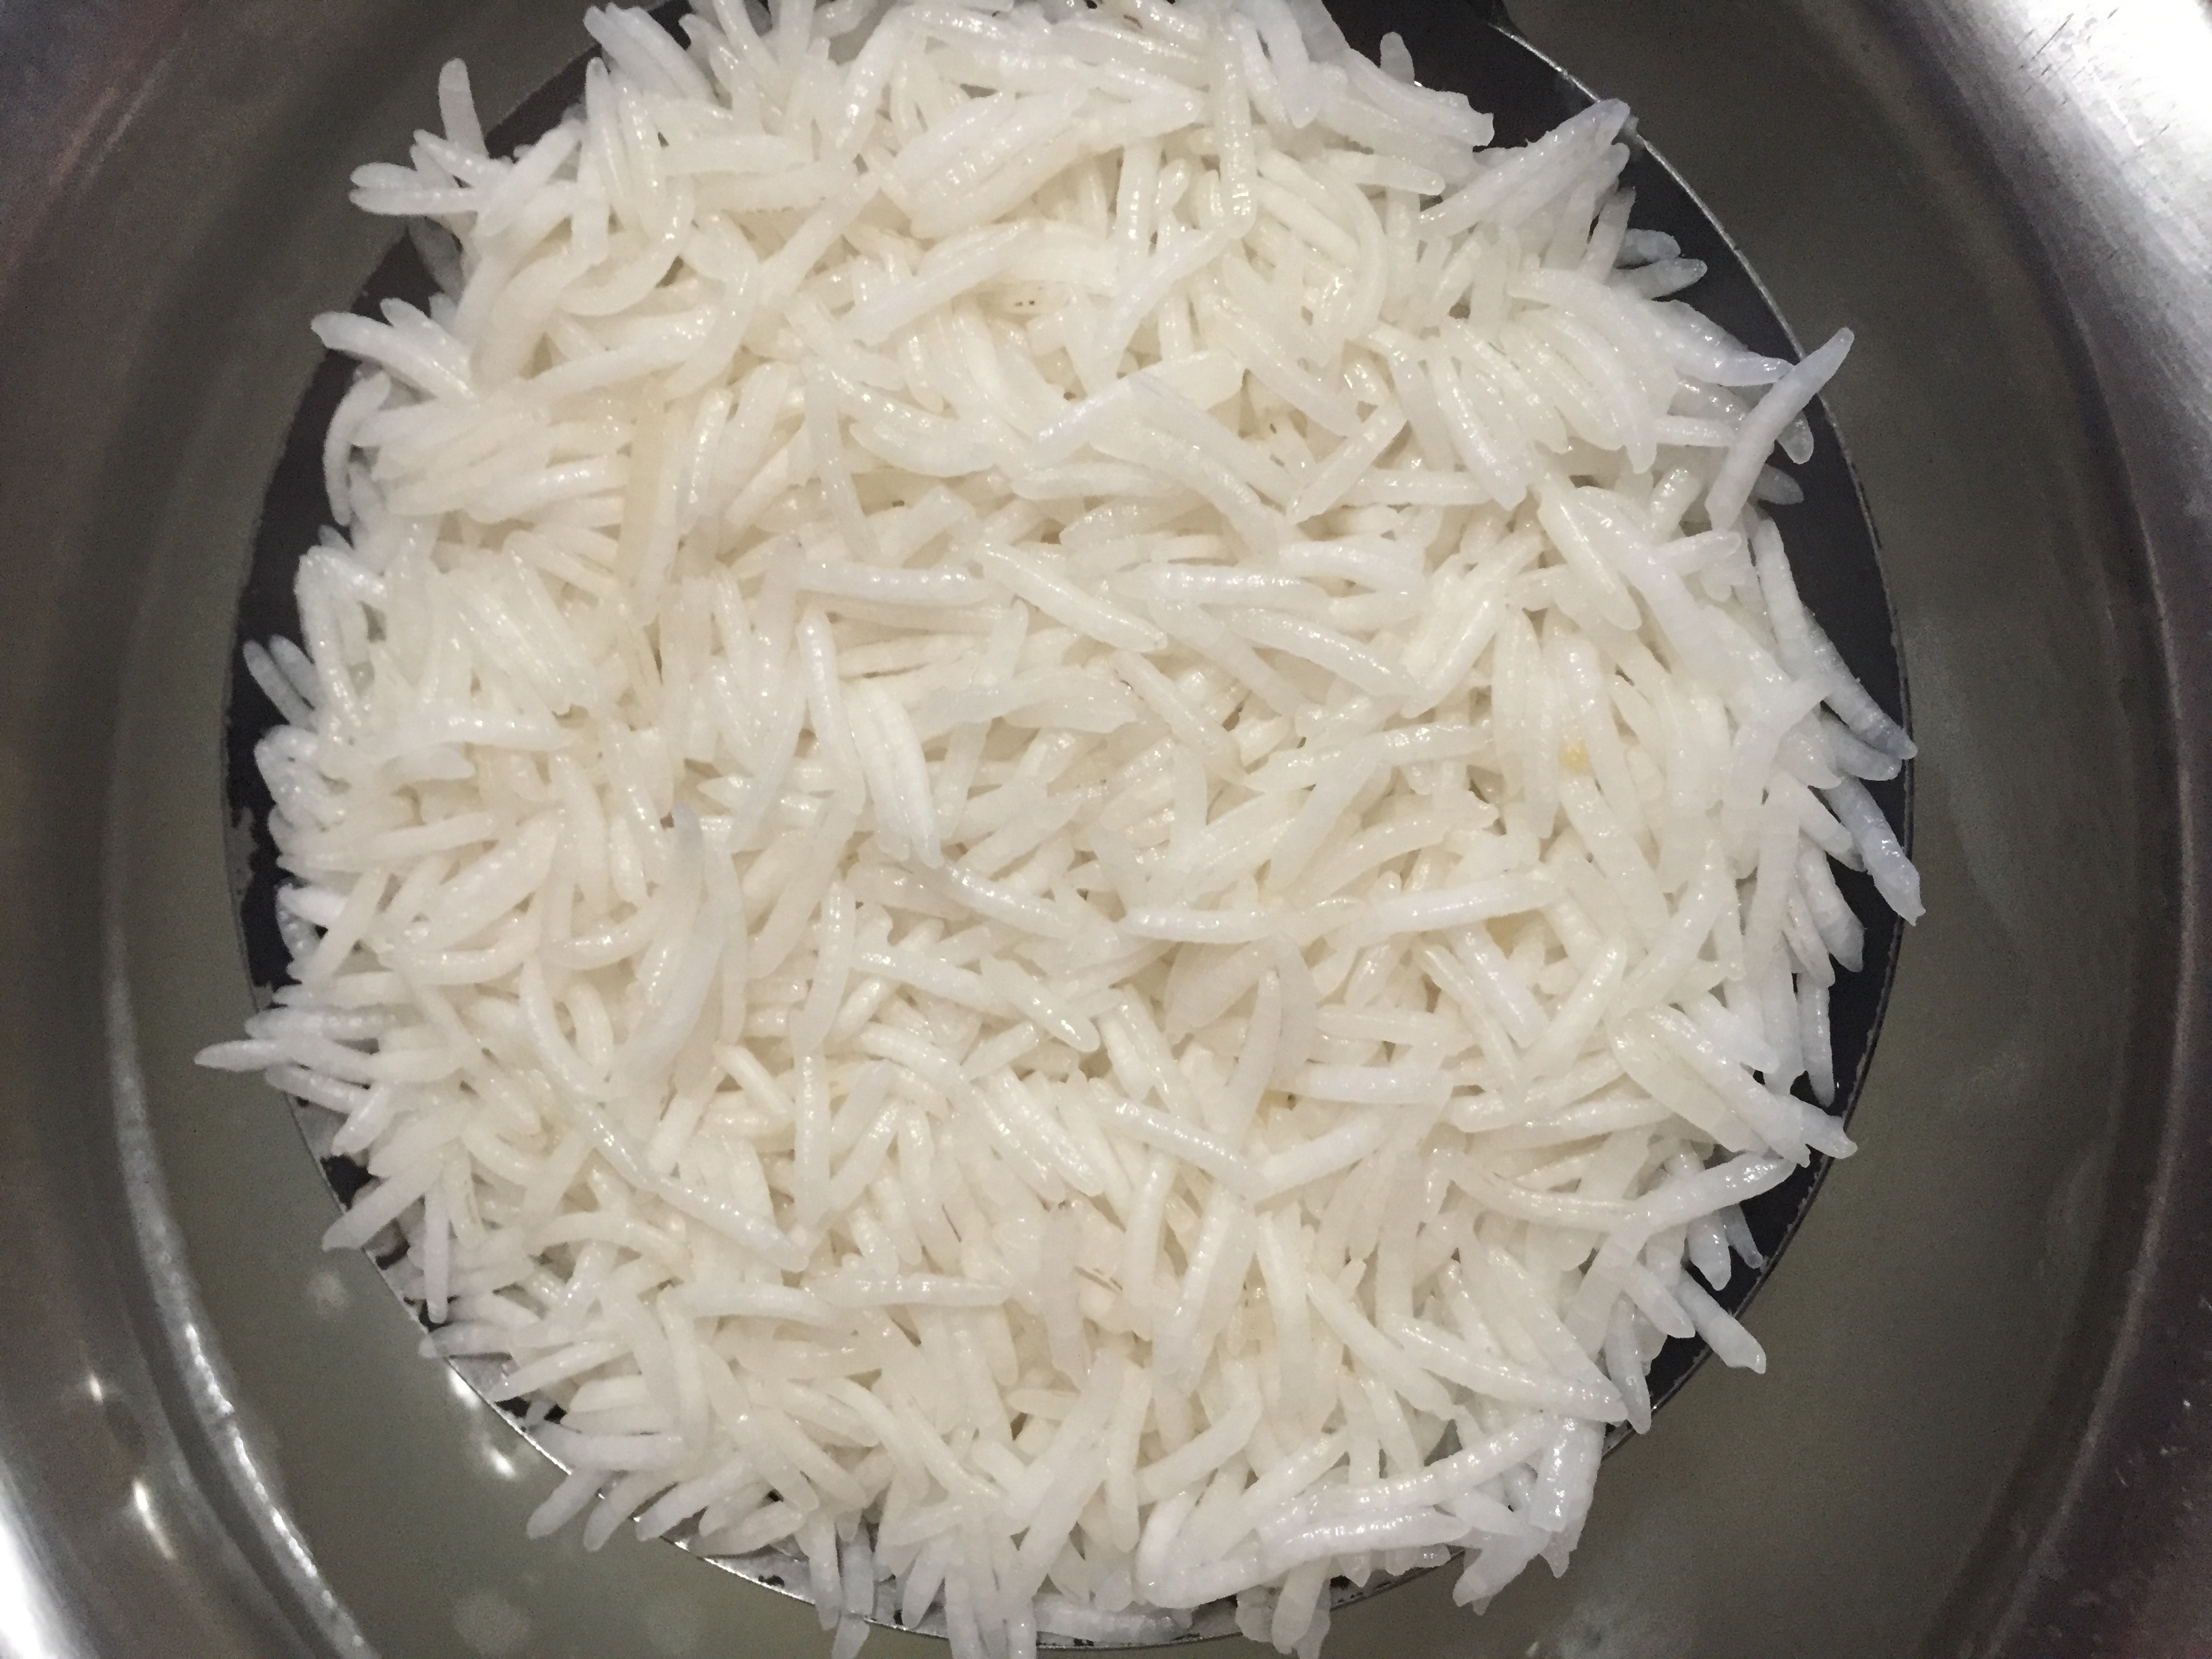
- Wash and drain quinoa using strainer. Pressure cook for 3 whistles adding 1 ½ cups water and enough salt.

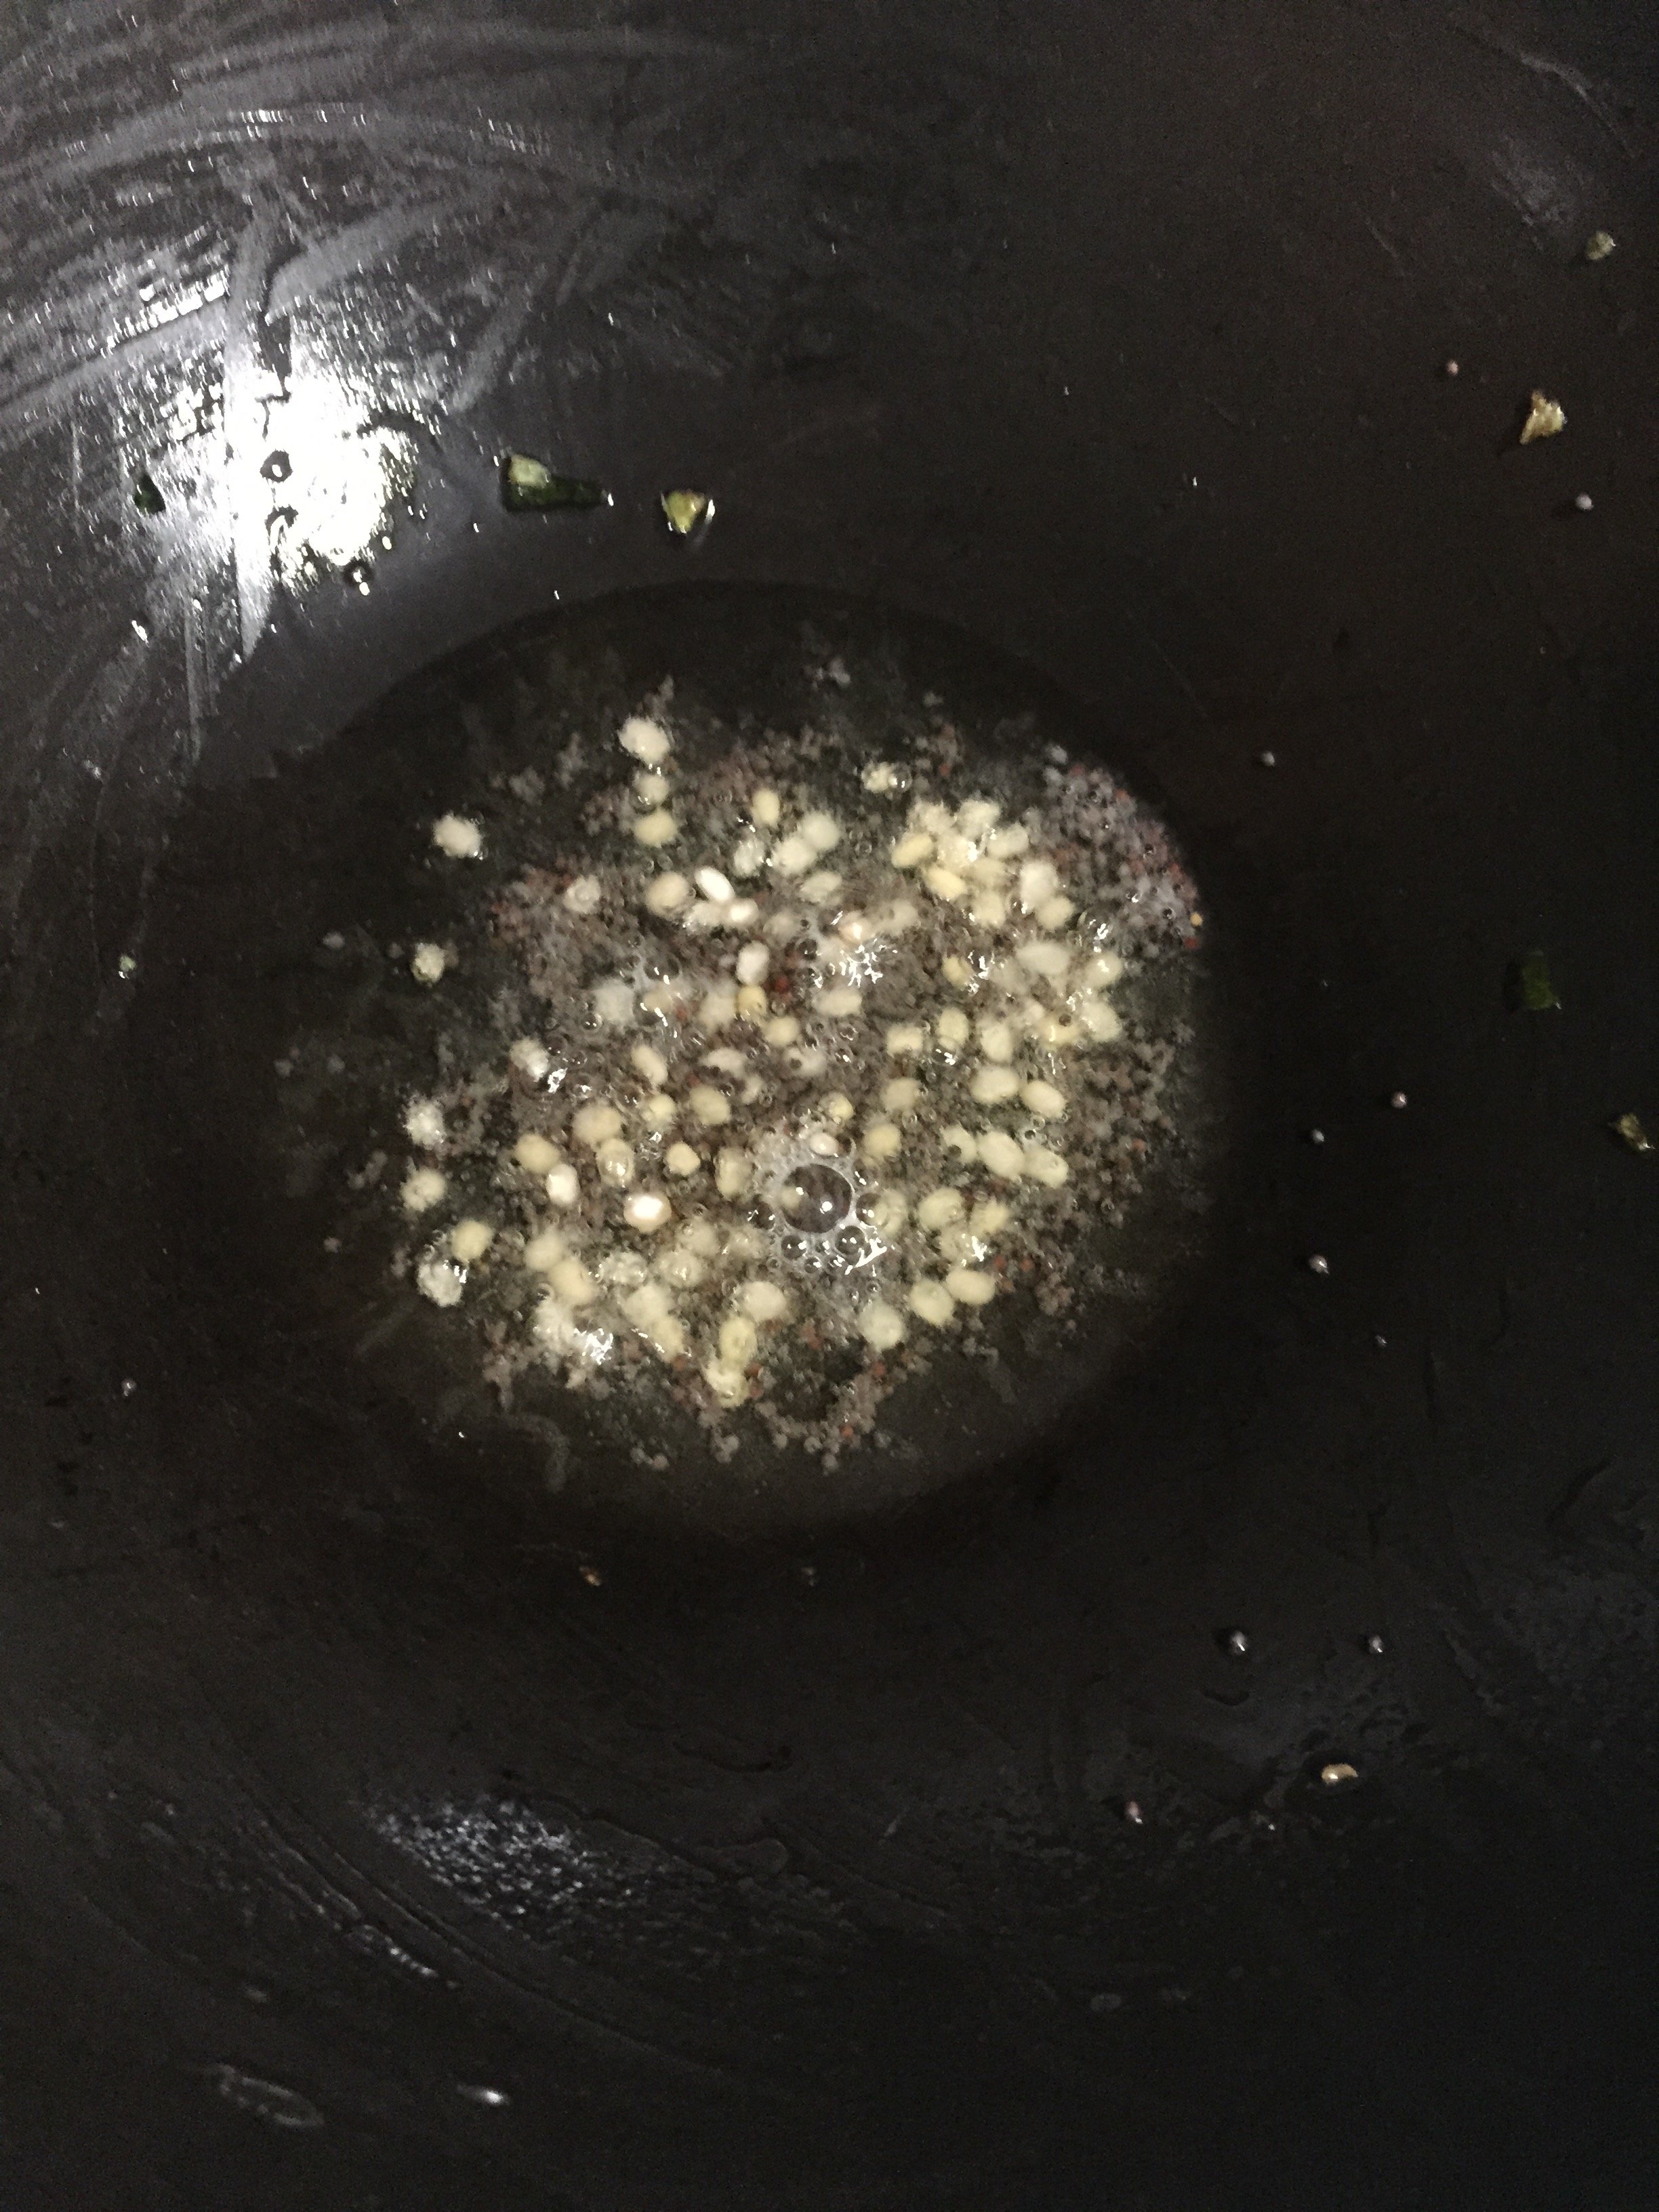
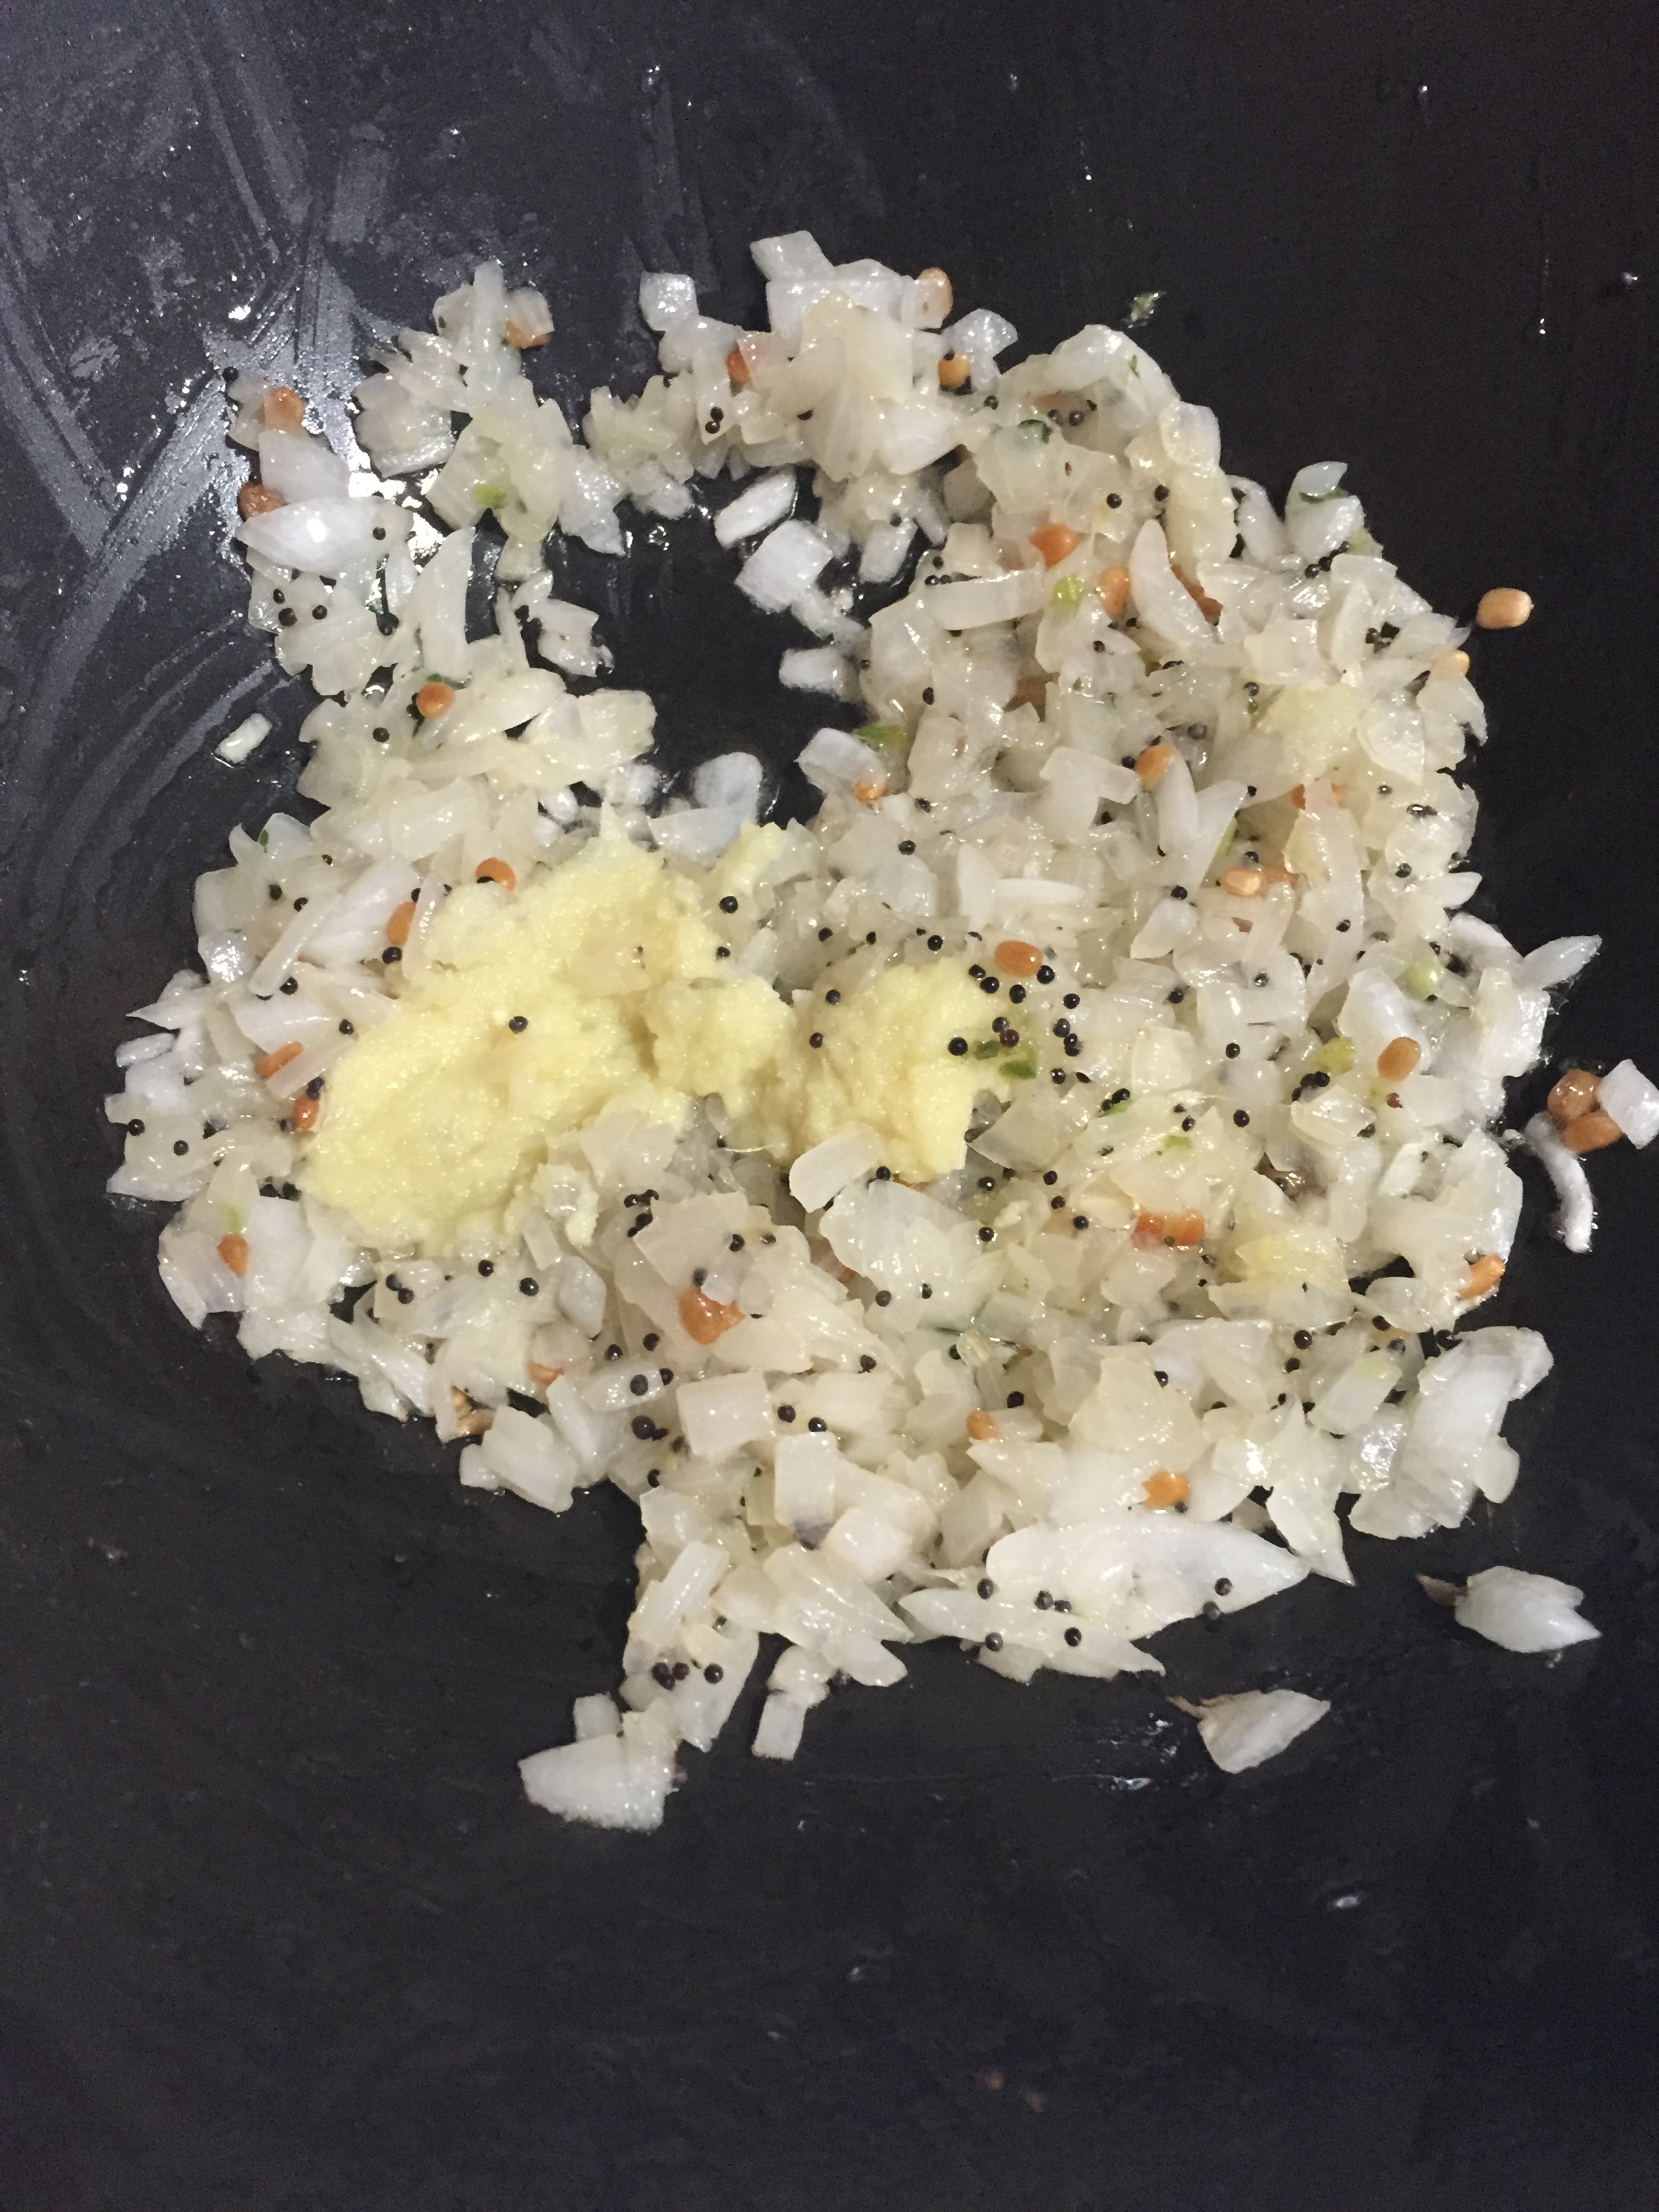
- Heat a pan and add oil. Season with mustard seeds and urad dal.
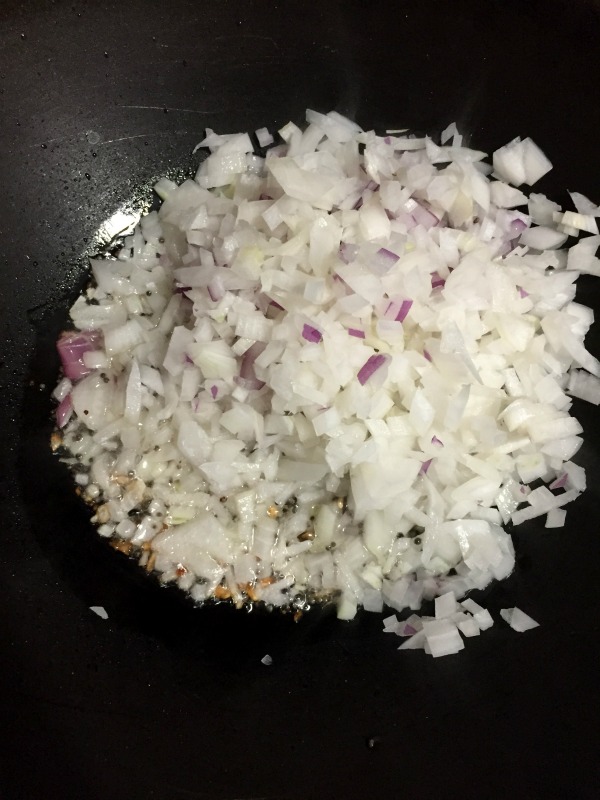
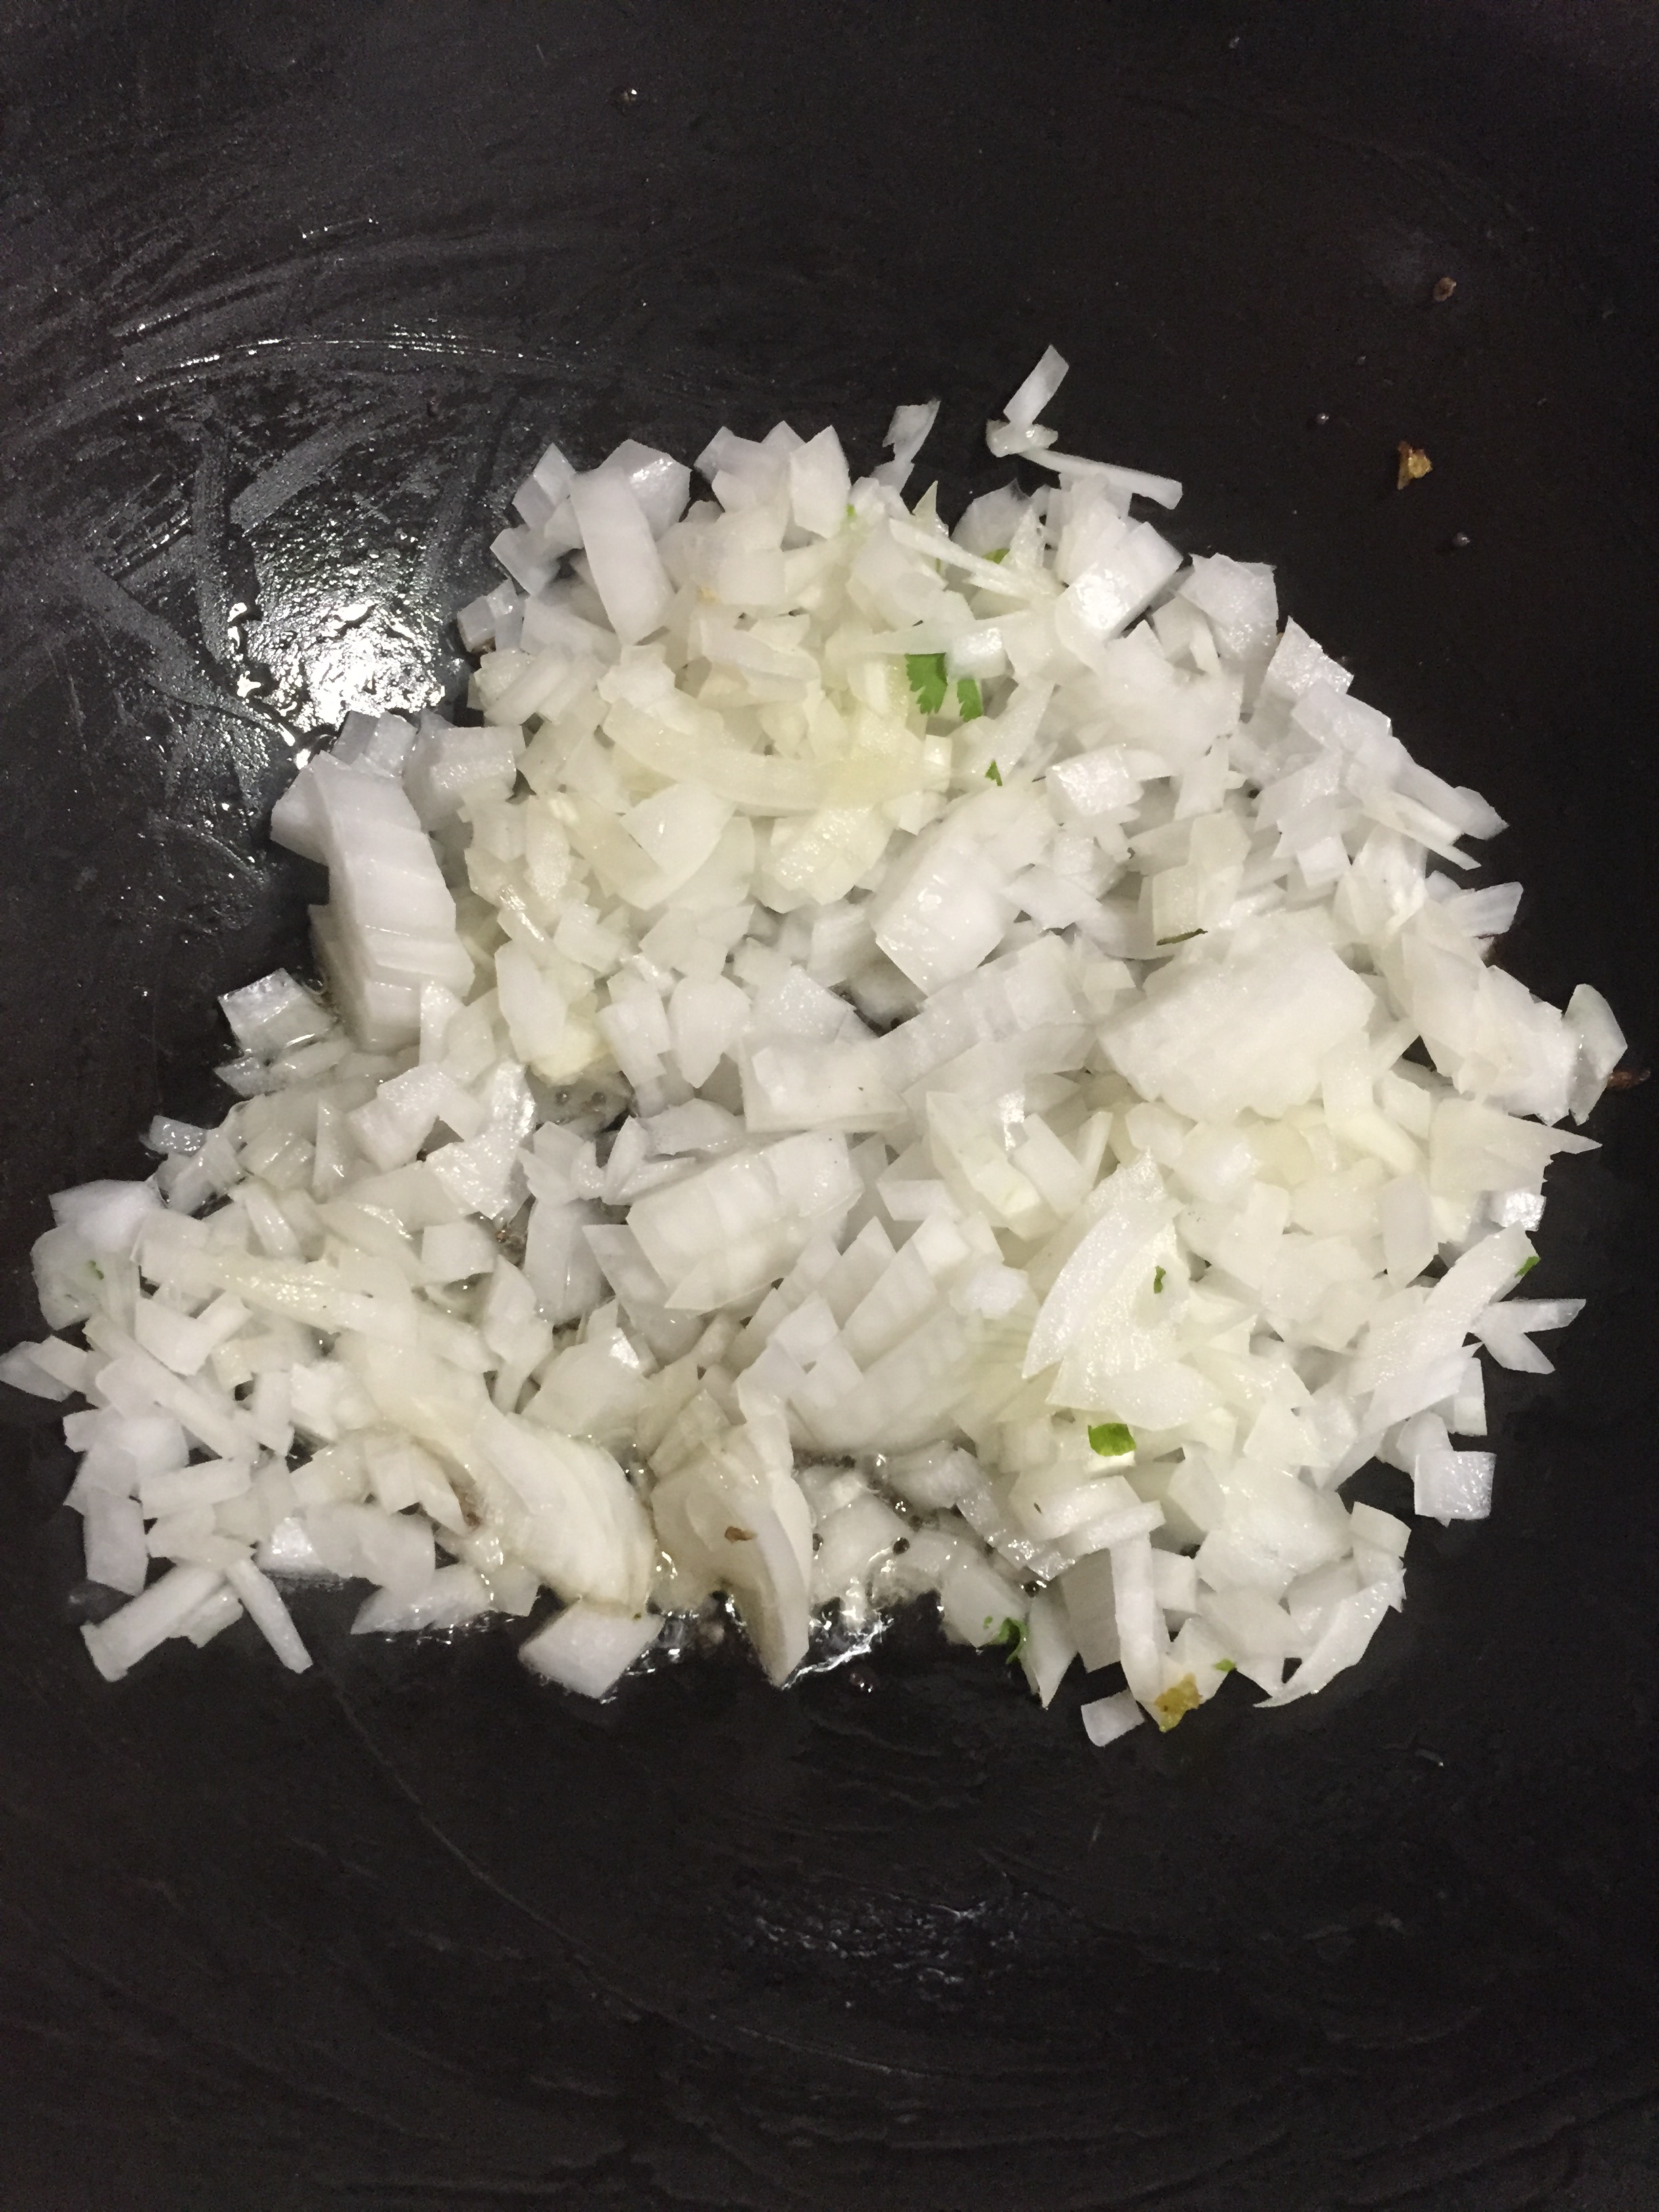
- Add finely chopped onions and sauté until they turn translucent.
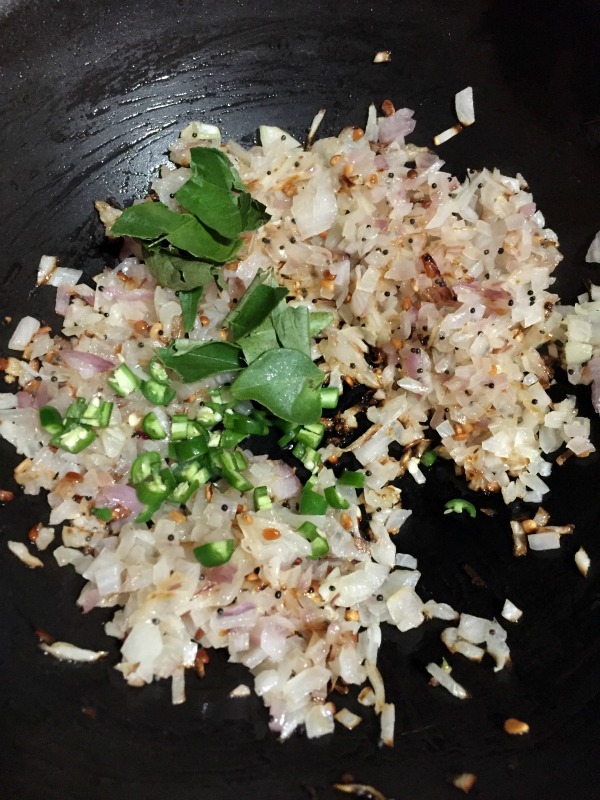
- Add chopped green chilli, and curry leaves. Give a quick stir.
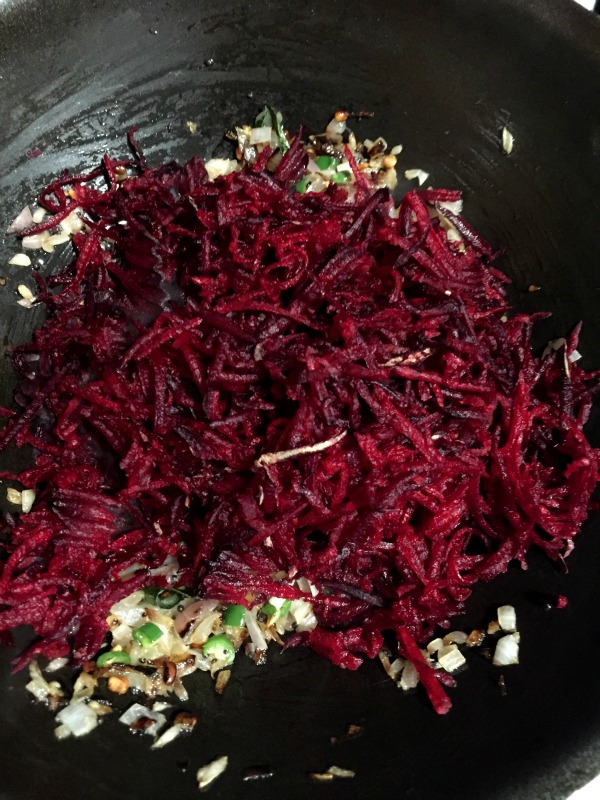
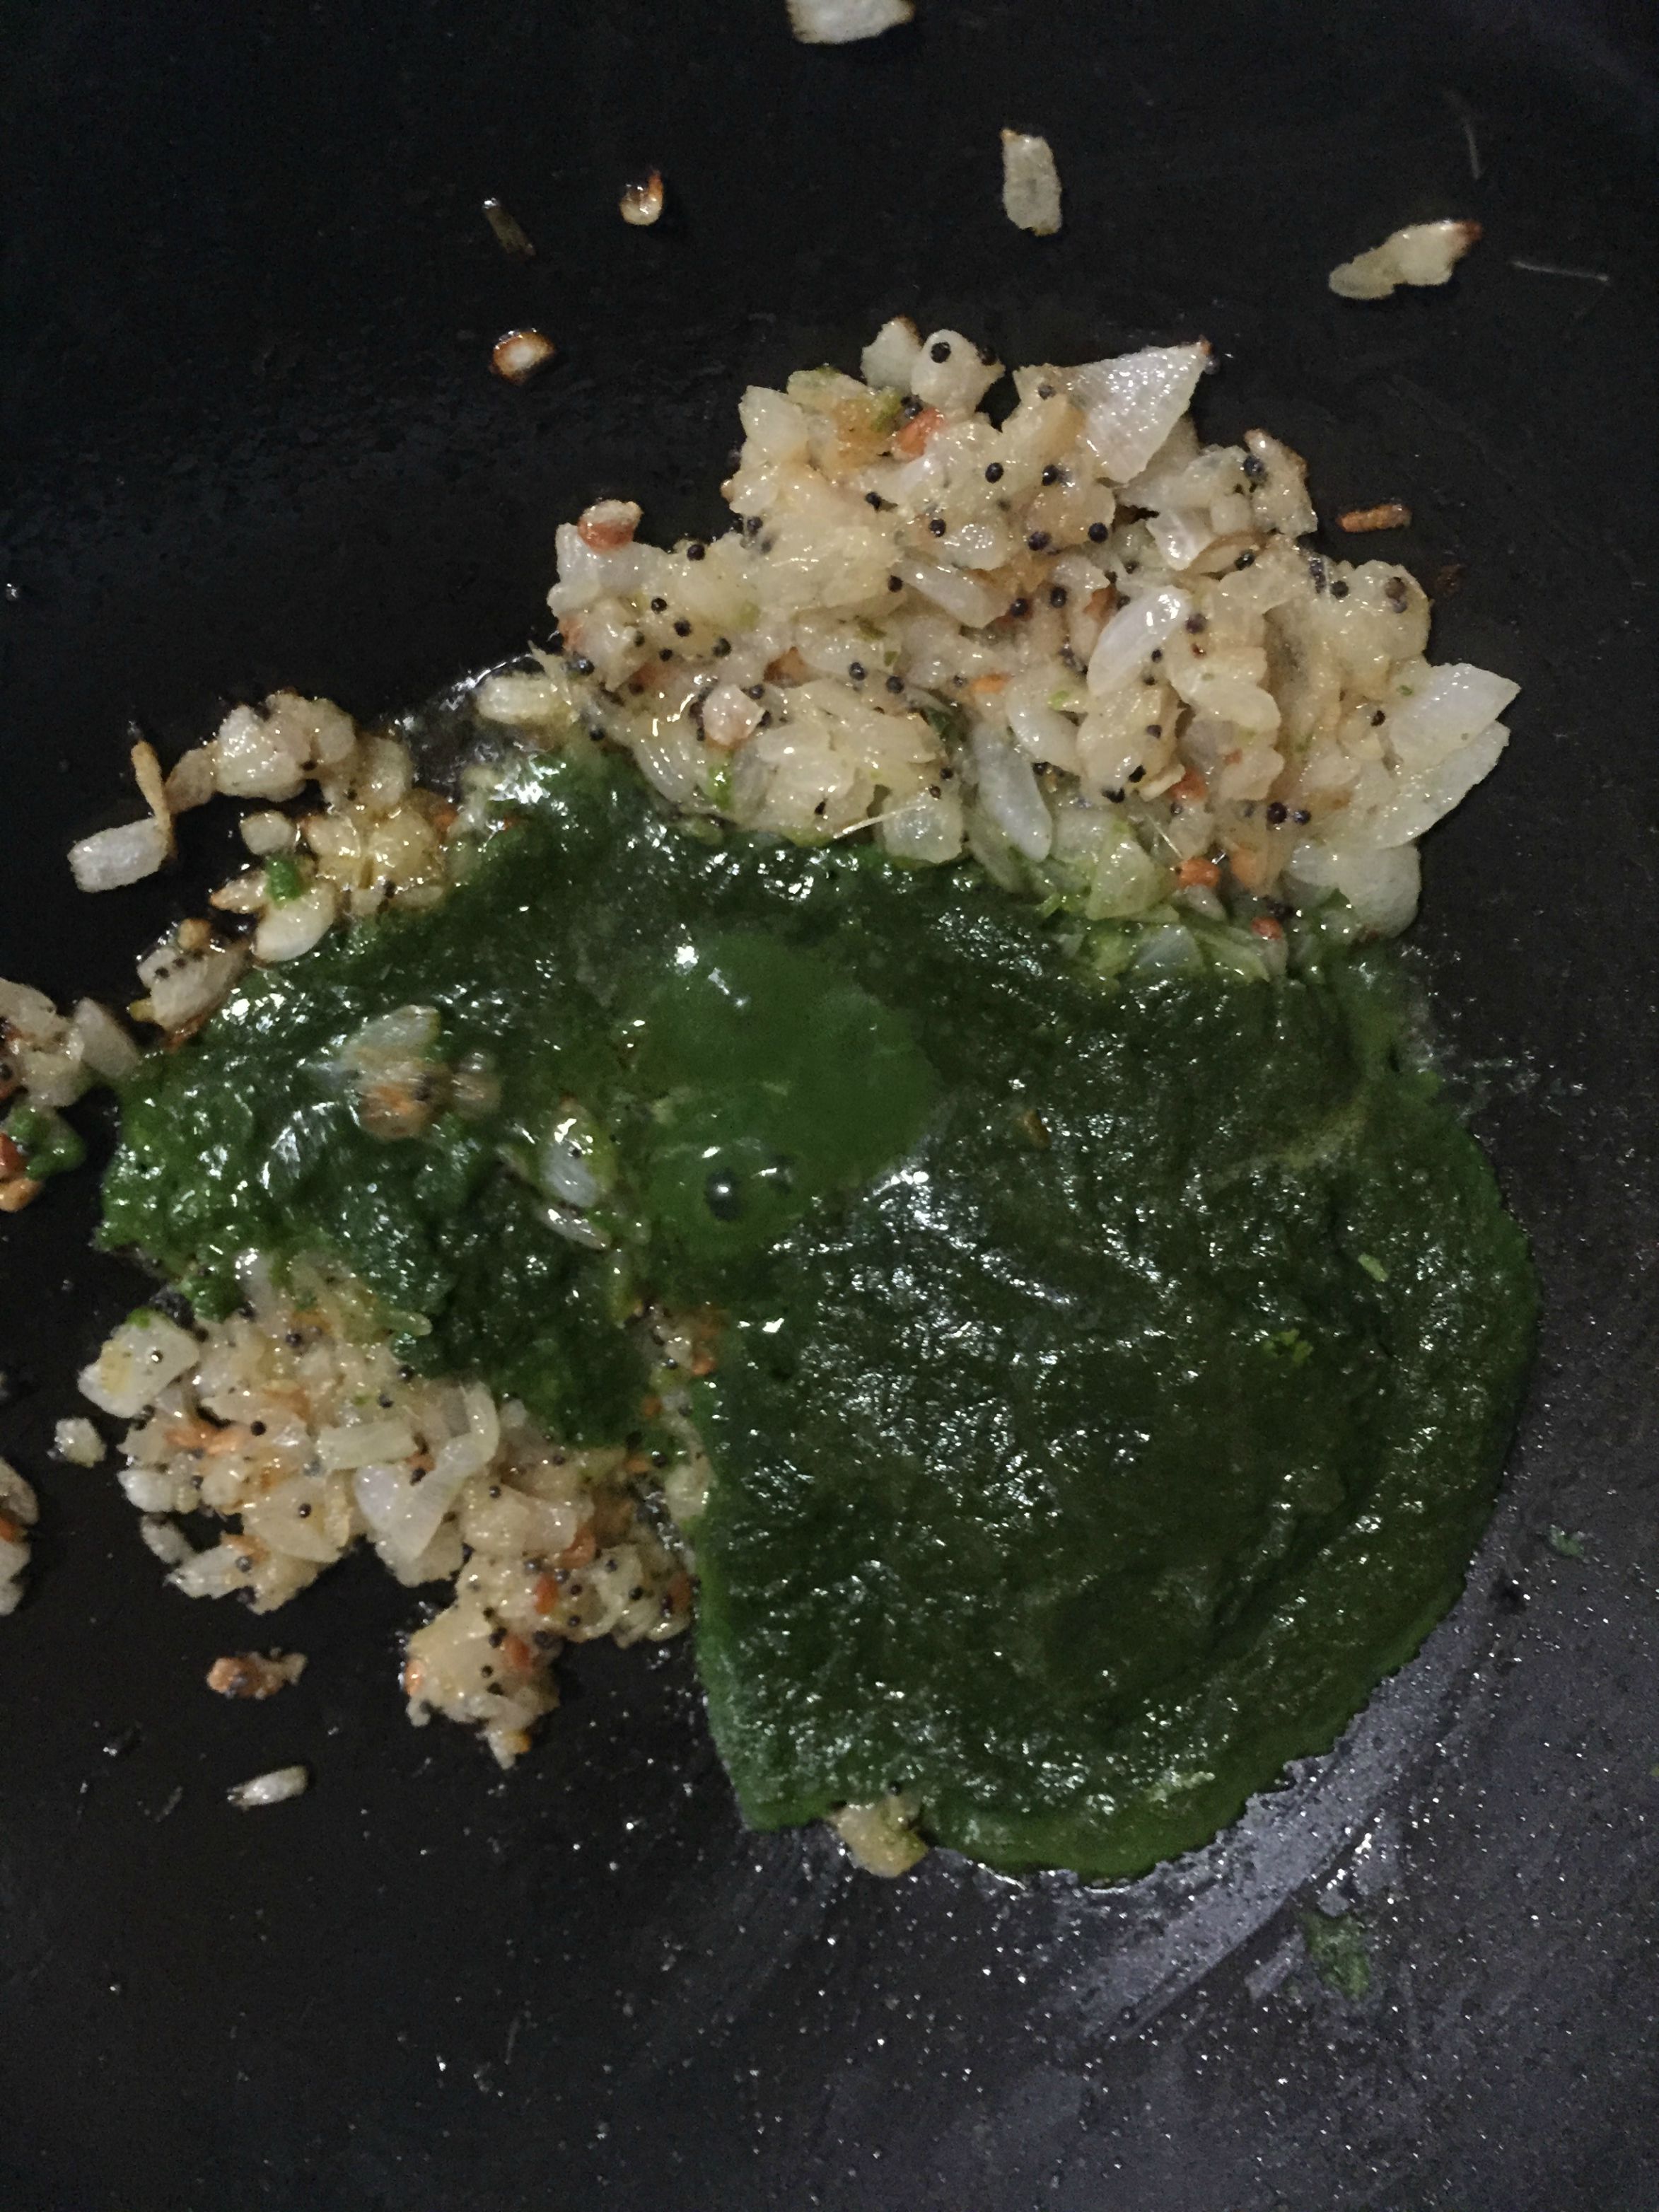
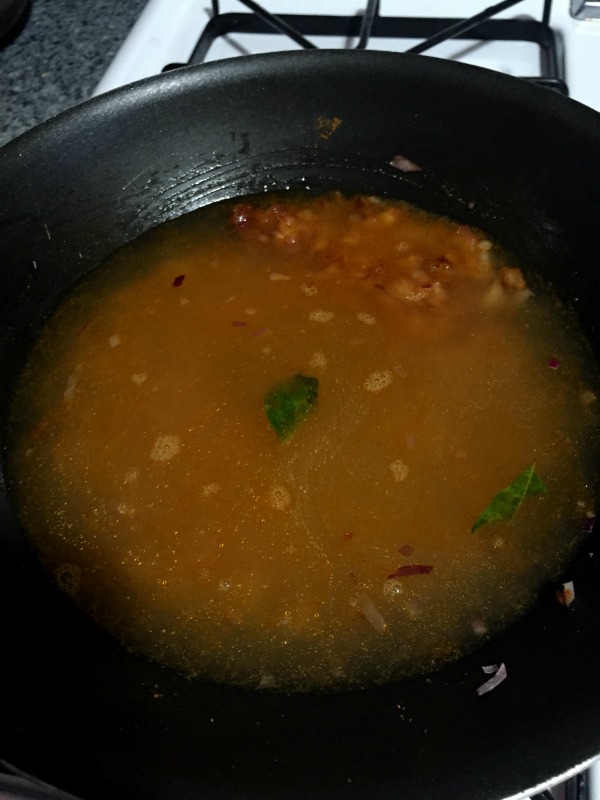
- Now add in finely grated beetroot. Add enough salt and sauté well. Drizzle few drops of water (2 tbsp) on top, cover and cook for 5 to 8 minutes.
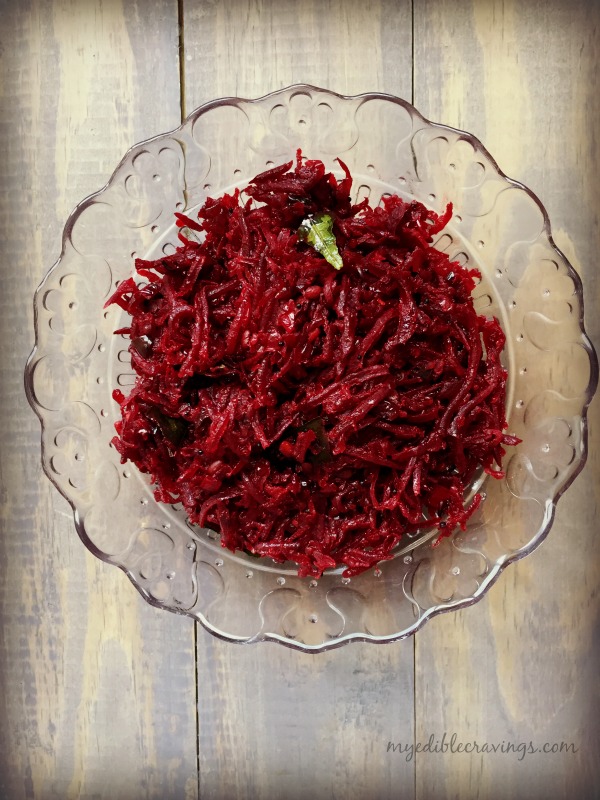
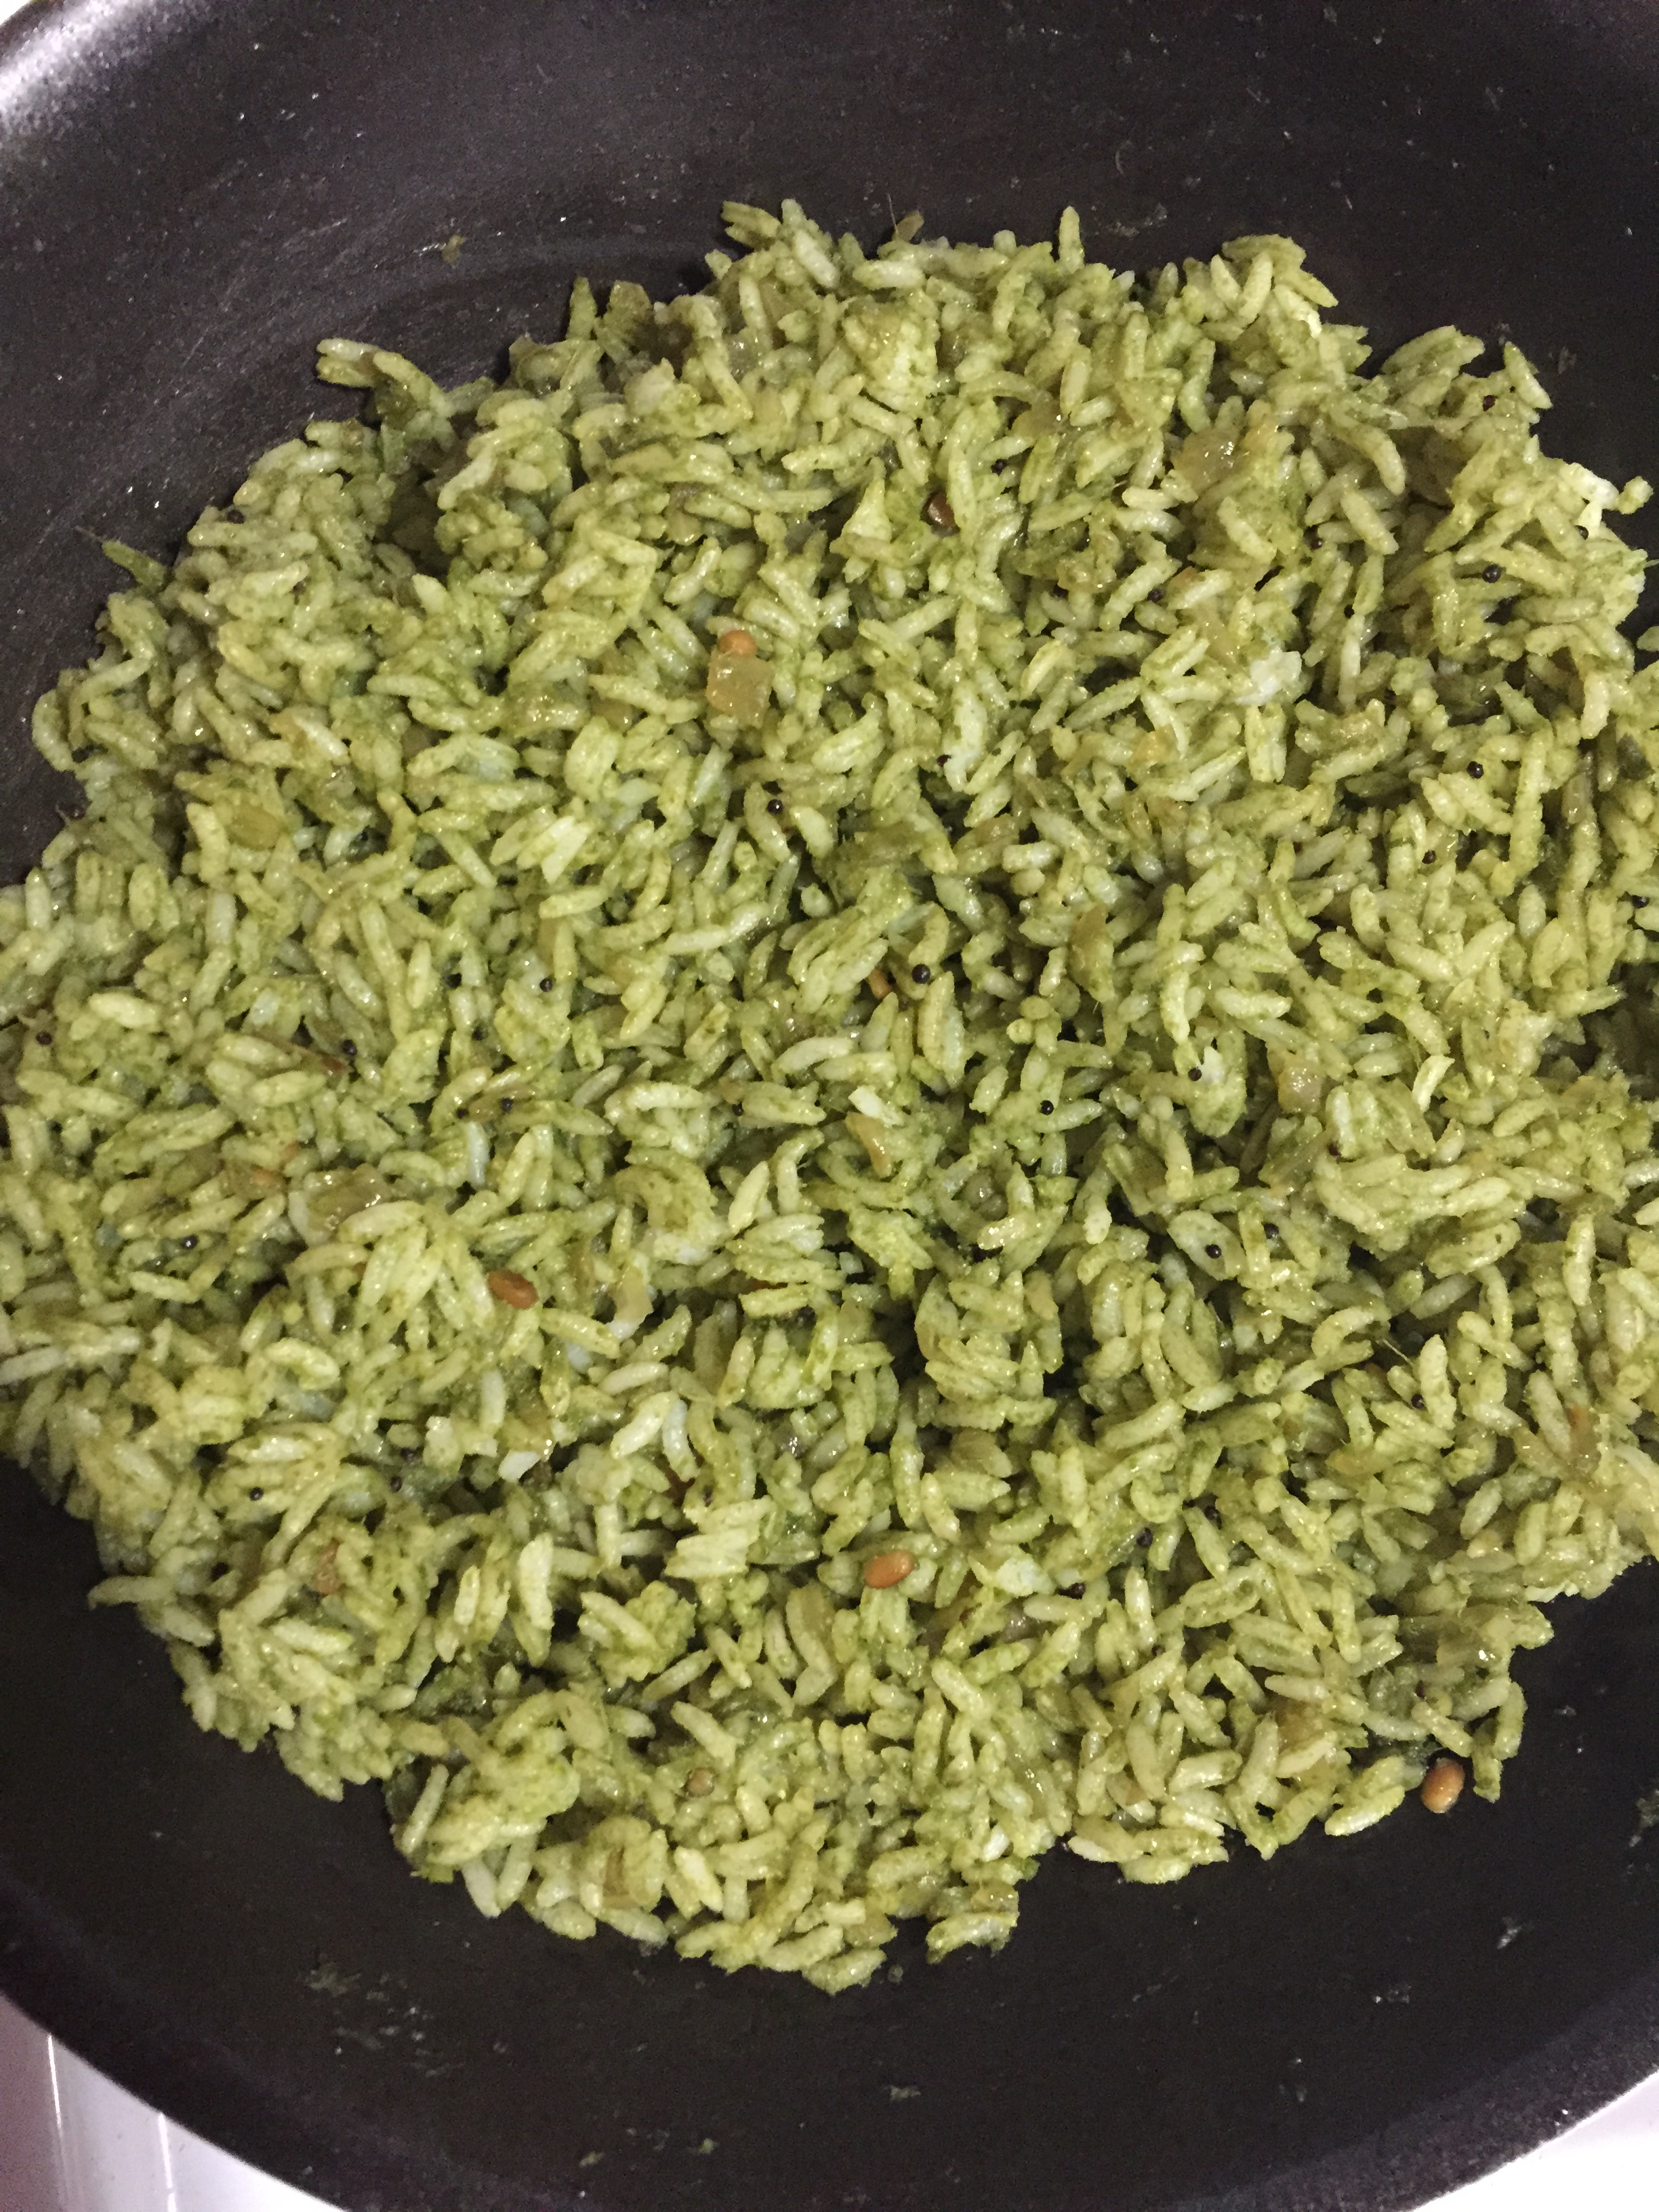
- Open the lid and sauté until all the water is absorbed. you can have this as a side or poriyal.
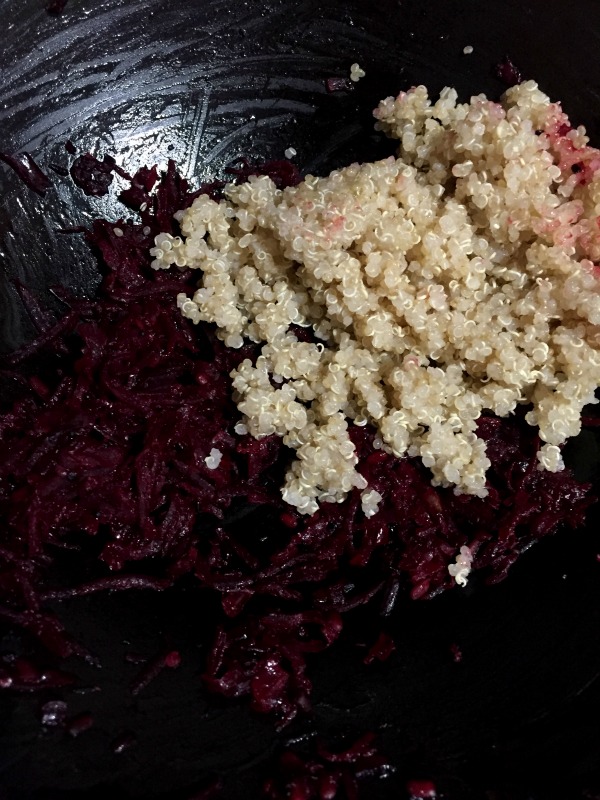
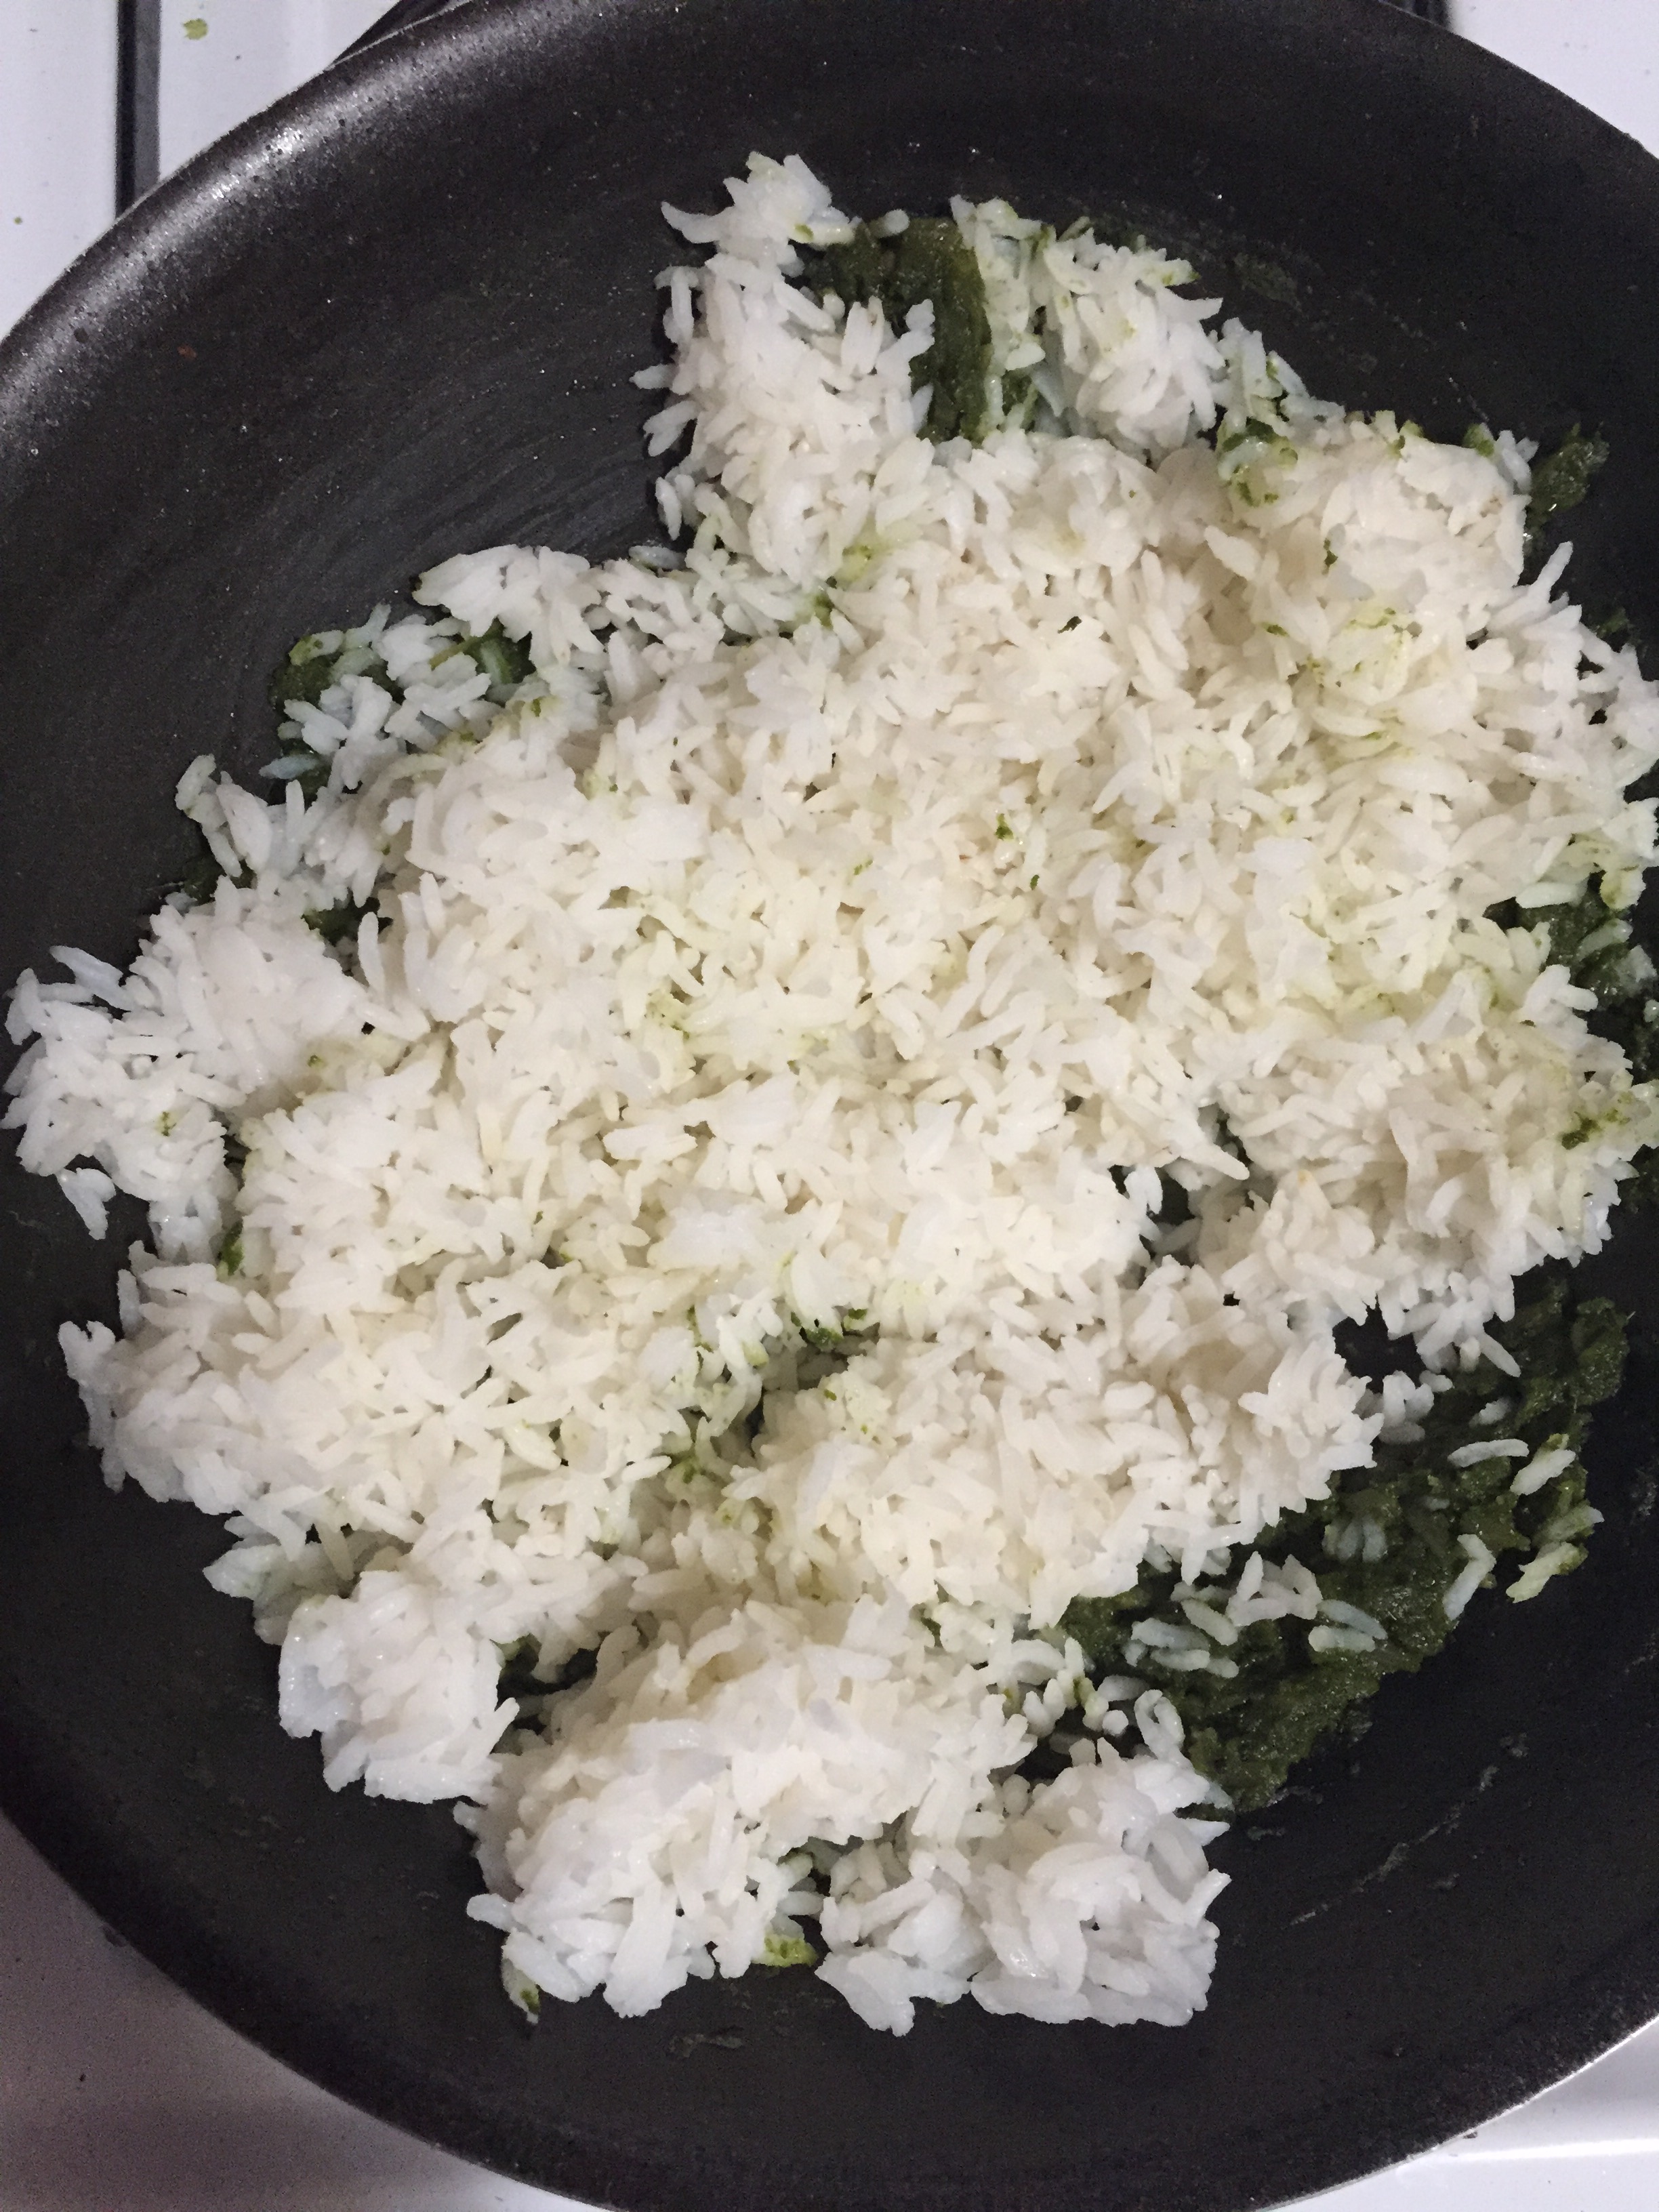
- Finally add cooked quinoa and mix well. Enjoy the yummy beetroot quinoa with papad!