Beetroot Quinoa

Beetroot QuinoaToday’s recipe is a continuation of my resolution to post healthy recipes as much as I can, going forward. Beetroot Quinoa is a dish made from a well known legume, beetroot and a not so common grain variety called the Quinoa. Like I had described in one of my earlier posts, Quinoa is a South American grain crop well known for its edible seeds. Quinoa is a super food that is rich in calories and easily digestible. Beetroot, as you may all know, is a very good source of iron and vitamins.
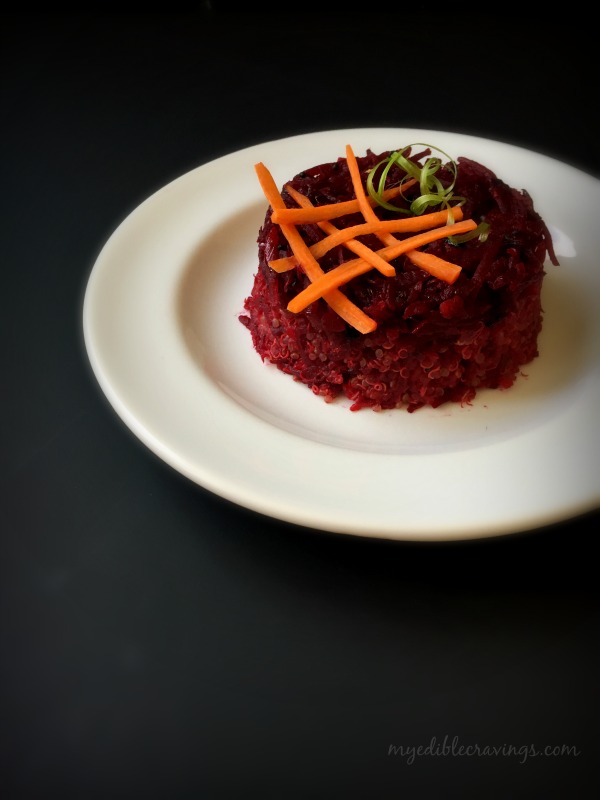
beetroot quinoaBeetroot Quinoa is a very easy dish to make. It literally takes 15 minutes to prepare. Also, with the way it’s made, you can either have Beetroot Quinoa as is or have the cooked beetroot only with rice. Beetroot Quinoa is a cold food and can be retained by refrigeration, making it the go-to food for bachelors and single ladies that is if you want to have healthy food, if not there is always pasta and noodles :). Also, it is a very good menu for lunch box, especially for kids 🙂

Beetroot quinoaFor those who worry about getting Quinoa back home, no worries, Quinoa is quite popular there and is called as (Seemai Thinai, literally known as foreign grain 🙂 ). Don’t miss out trying this truly healthy food which I believe will be a good alternative to have once in a while amongst the mundane dishes that we have often.

Beetroot Quinoa
Recipe type: Main
Cuisine: Indian
Prep time: 
Cook time: 
Total time: 
Serves: 2
 
Ingredients
  • Olive oil or cooking oil – 1 tbsp
  • Mustard seeds – ¼ tsp
  • Urad dal – ¼ tsp
  • Curry leaves – half sprig
  • Onion, finely chopped – 1 no
  • Green chilli, finely chopped – 2 nos
  • Beetroot, medium, grated – 1 cup
  • Quinoa – 1 cup
  • Salt as required
Instructions
  1. Wash and drain quinoa using strainer. Pressure cook for 3 whistles adding 1 ½ cups water and enough salt.
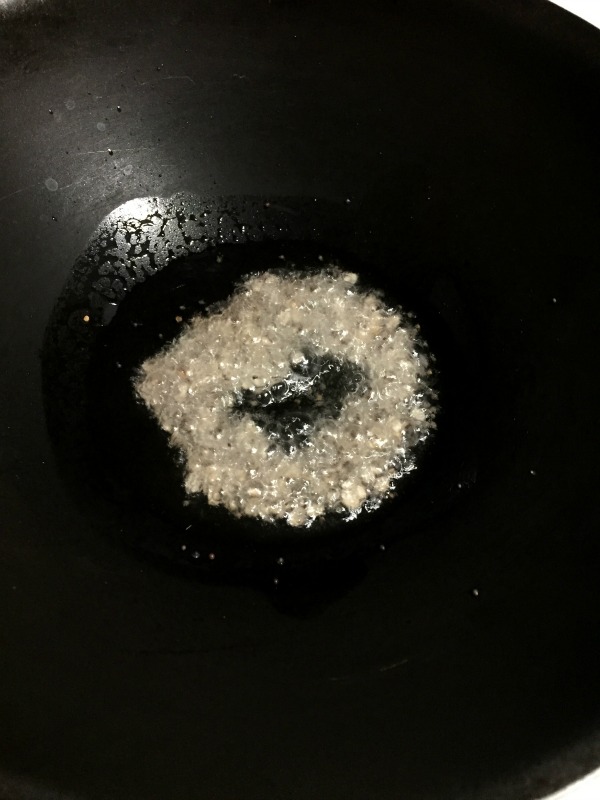
  2. Heat a pan and add oil. Season with mustard seeds and urad dal.
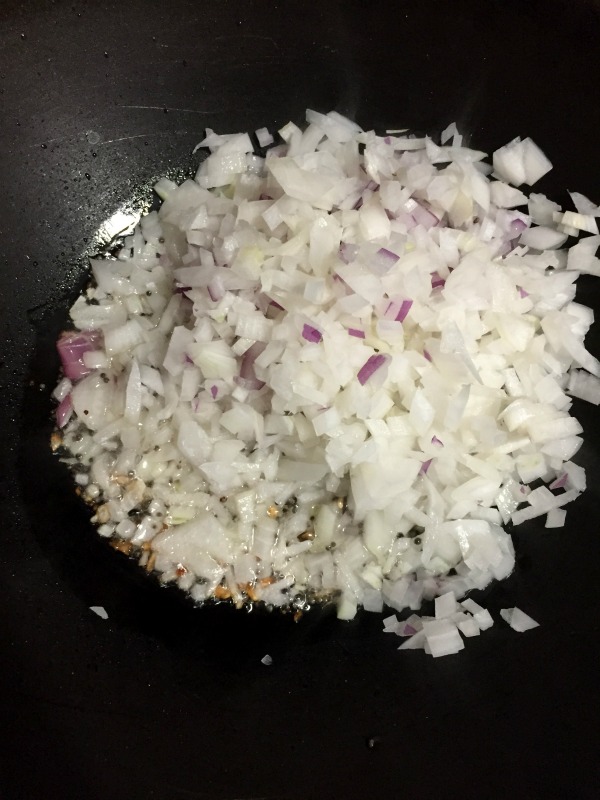
  3. Add finely chopped onions and sauté until they turn translucent.
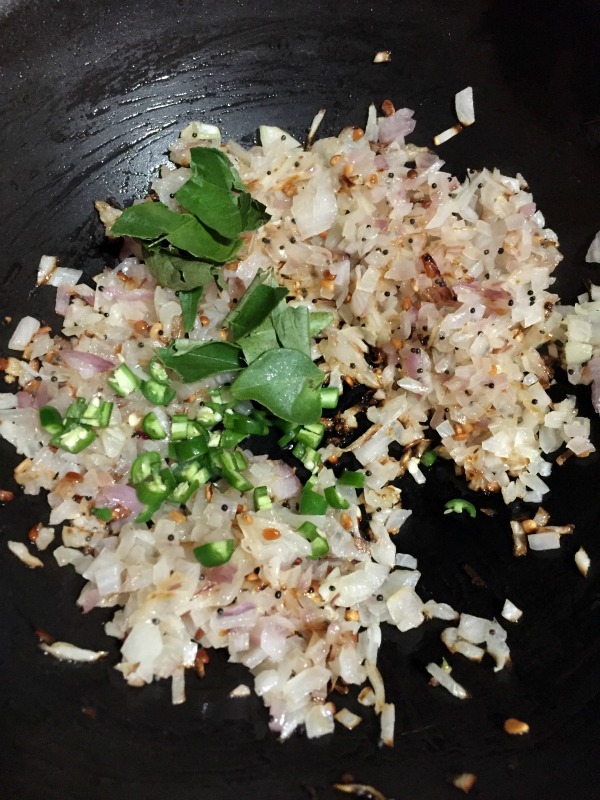
  4. Add chopped green chilli, and curry leaves. Give a quick stir.
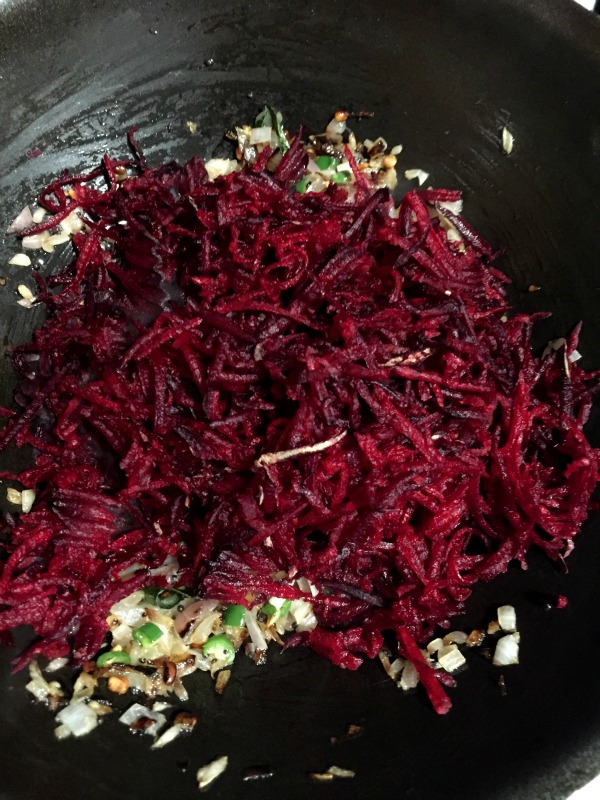
  5. Now add in finely grated beetroot. Add enough salt and sauté well. Drizzle few drops of water (2 tbsp) on top, cover and cook for 5 to 8 minutes.
  6. Open the lid and sauté until all the water is absorbed. you can have this as a side or poriyal.
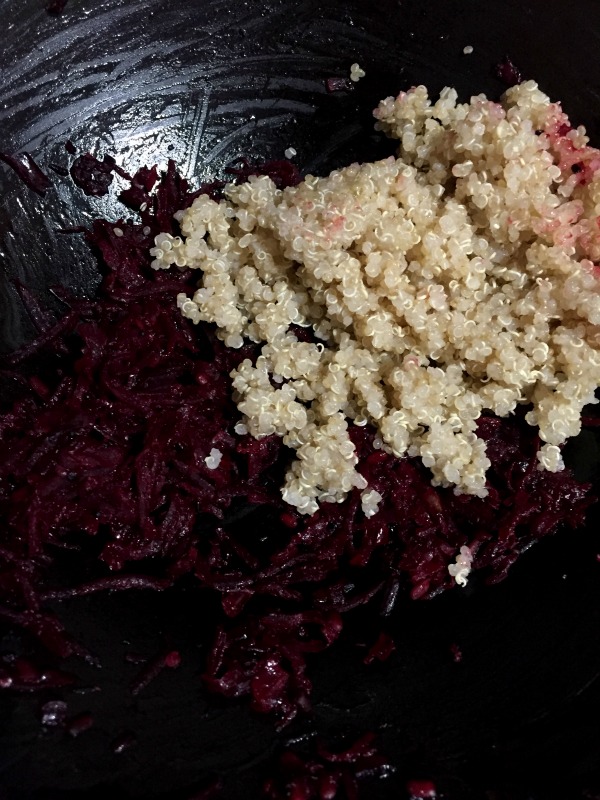
  7. Finally add cooked quinoa and mix well. Enjoy the yummy beetroot quinoa with papad! 
Notes
you can substitute quinoa and add rice instead.i.e beetroot rice.

Beetroot Quinoa

Pav Bhaji

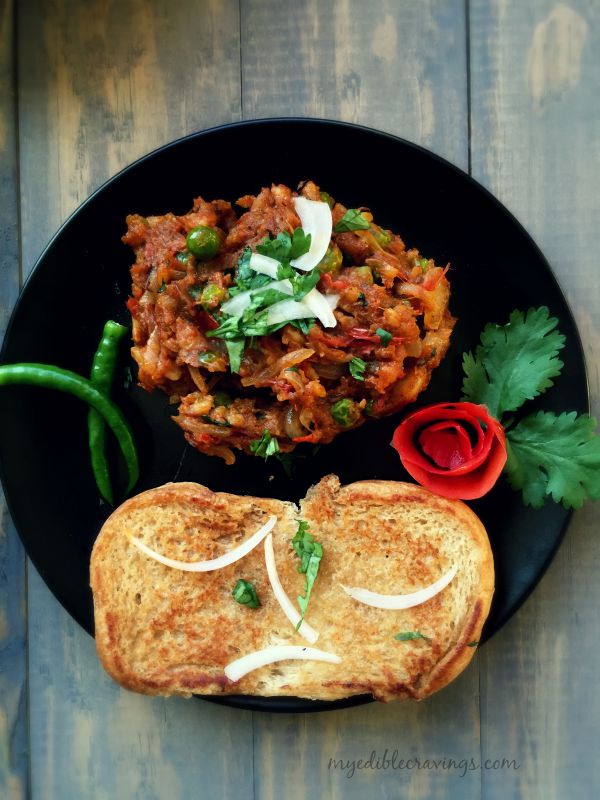
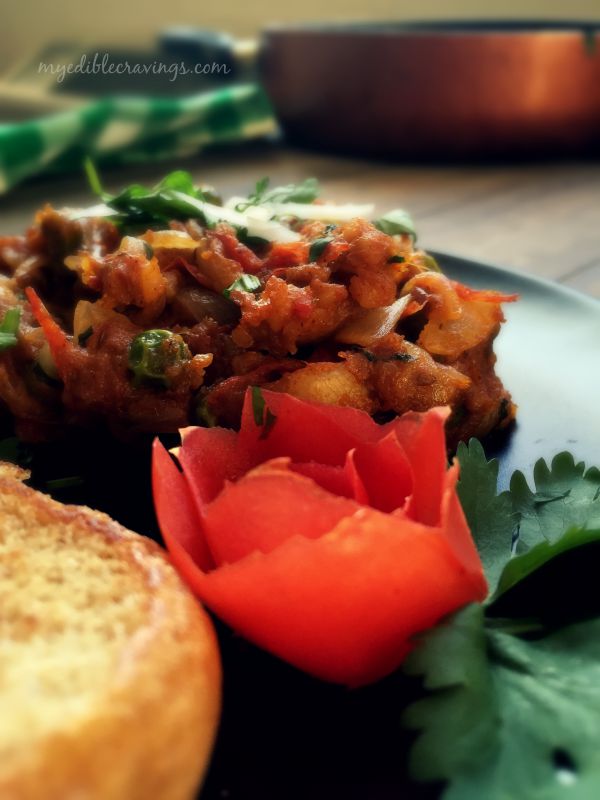
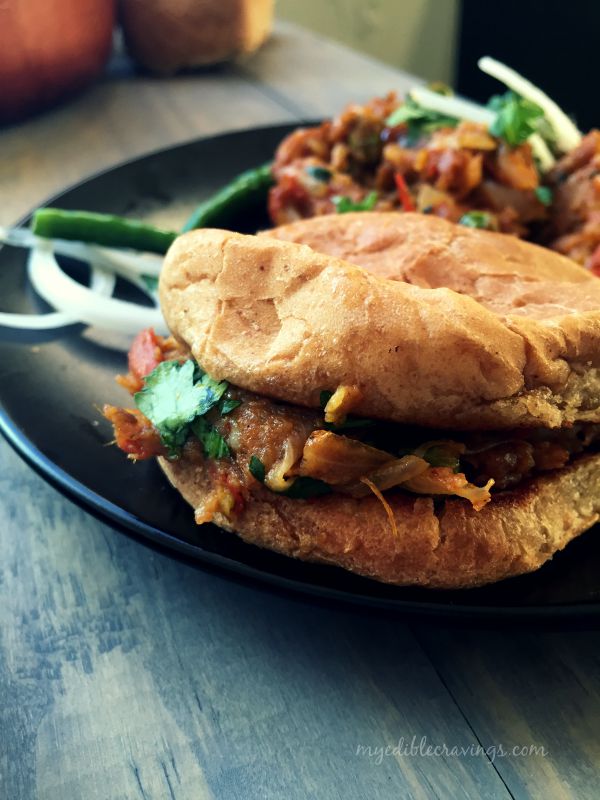
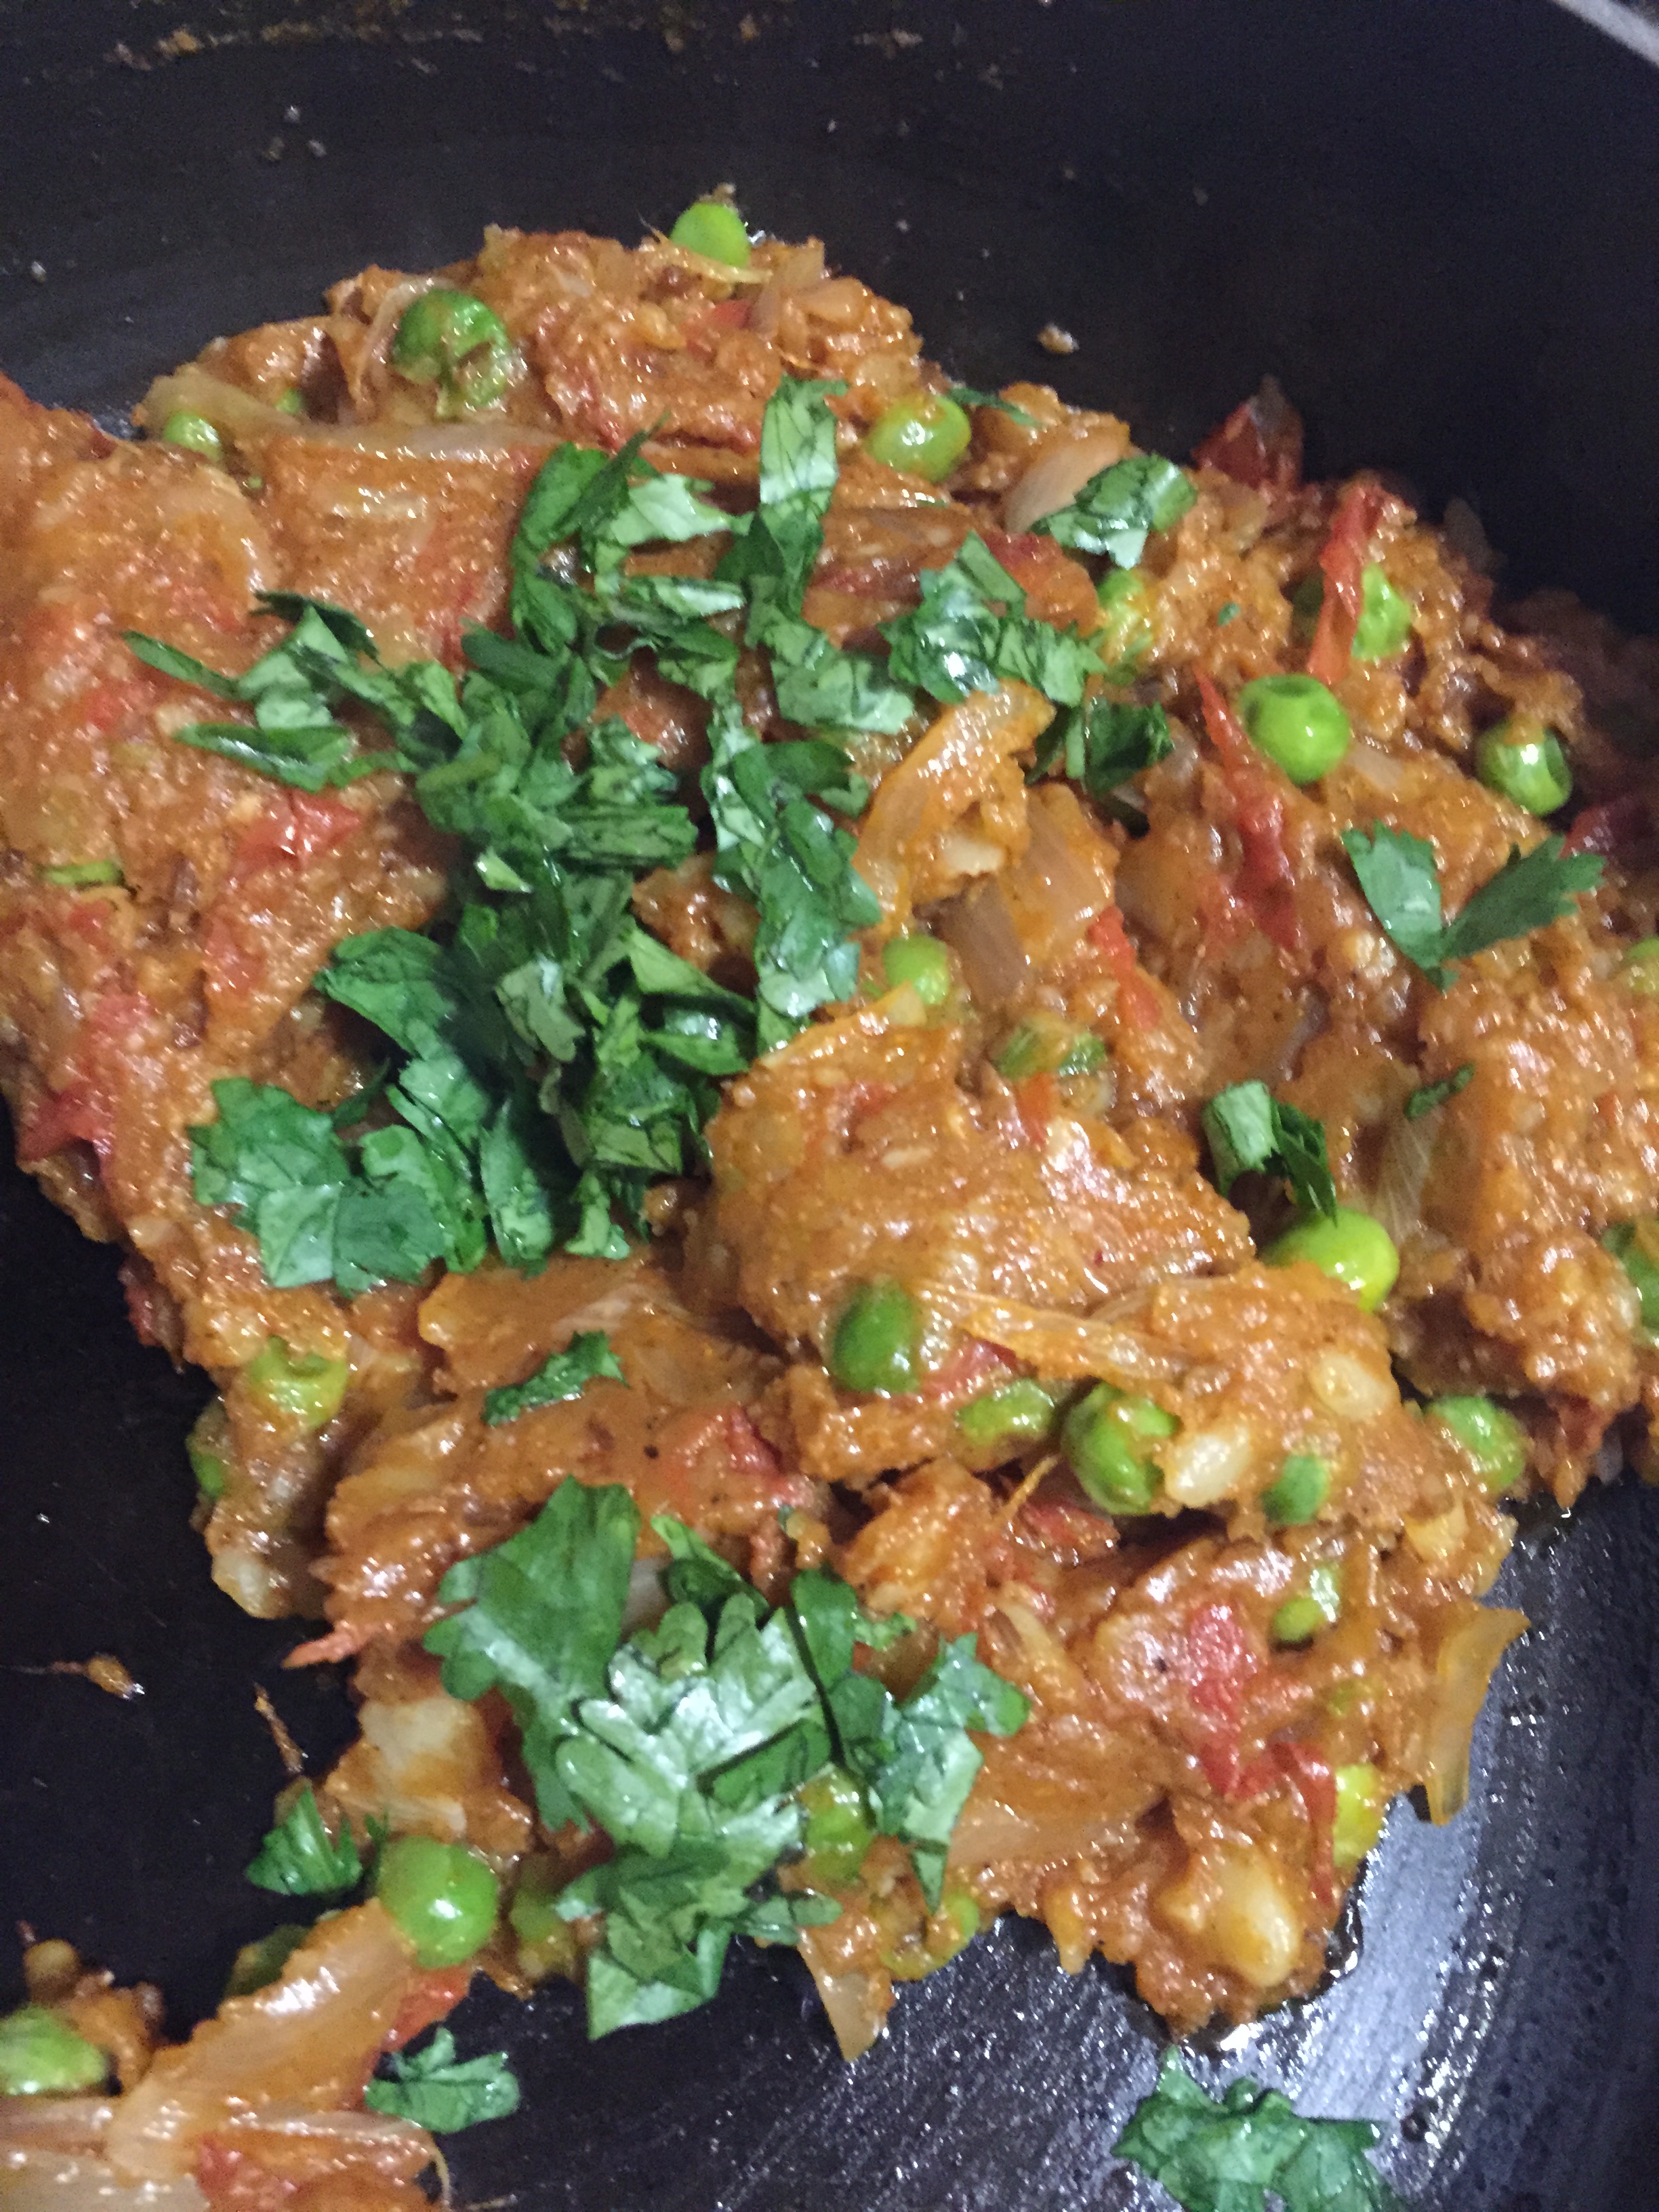
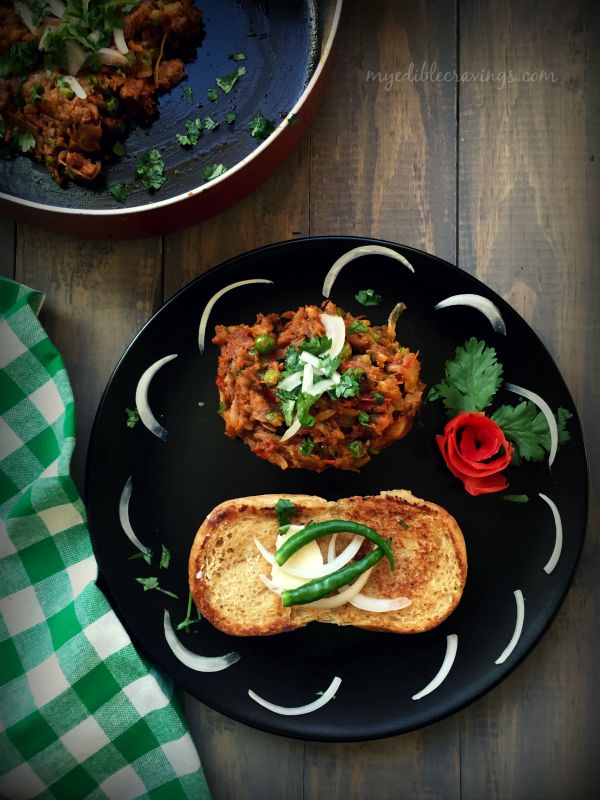
Pav BhajiPav Bhaji is synonymous to Mumbai, next only to Bollywood. It is a type of street food that is sold in road side eateries in India just like gyros in New York City. Pav Bhaji is made of toasted bread roll and spicy vegetable curry usually made of potatoes, green peas and onions.

Pav BhajiAs with most street foods, the ease of making is one of the pluses here, apart from the taste. Unlike most Indian dishes, you don’t have to follow a specific sequence while adding the spices or take care when slicing the onions (there are specific ways to cut the onions depending on the dish you are making in Indian cuisine). I would call the making of Pav Bhaji an orderly messiness :), where you know what ingredients to add and when but you don’t care about the way you add them.

Pav BhajiPav Bhaji is very easy to make. You can customize the bhaji (vegetable curry) to suit your taste, like the vegetables you want to use and the spice level in the curry. Having hot Pav Bhaji with a cup of tea or coffee on a rainy evening is an experience to live for 🙂

Pav Bhaji
Recipe type: Main
Cuisine: Indian
Prep time: 
Cook time: 
Total time: 
Serves: 3
 
Ingredients
  • Unsalted butter – 3 to 4 tbsp, divided
  • Cumin seeds – ½ tsp
  • Onion, slits – 1 no , divided
  • Potato, medium – 3 nos
  • Tomato, big, slits – 1 no
  • Green peas, cooked – ¼ cup (I used frozen peas)
  • Pav bhaji masala – 1 to 1 1 ½ tsp ( I used sakthi brand )
  • Salt as required
  • Red chilli powder – ½ tsp
  • Kashmiri chilli powder – ¼ tsp (optional)
  • Coriander powder - 1 tsp
  • Cilantro, finley chopped – 3 tbsp
Instructions
  1. Add enough water in a pressure cooker just to sink the potatoes and pressure cook for 2 whistles. Allow it to cool. Peel the skin and mash them using your clean hand or with a potato masher.
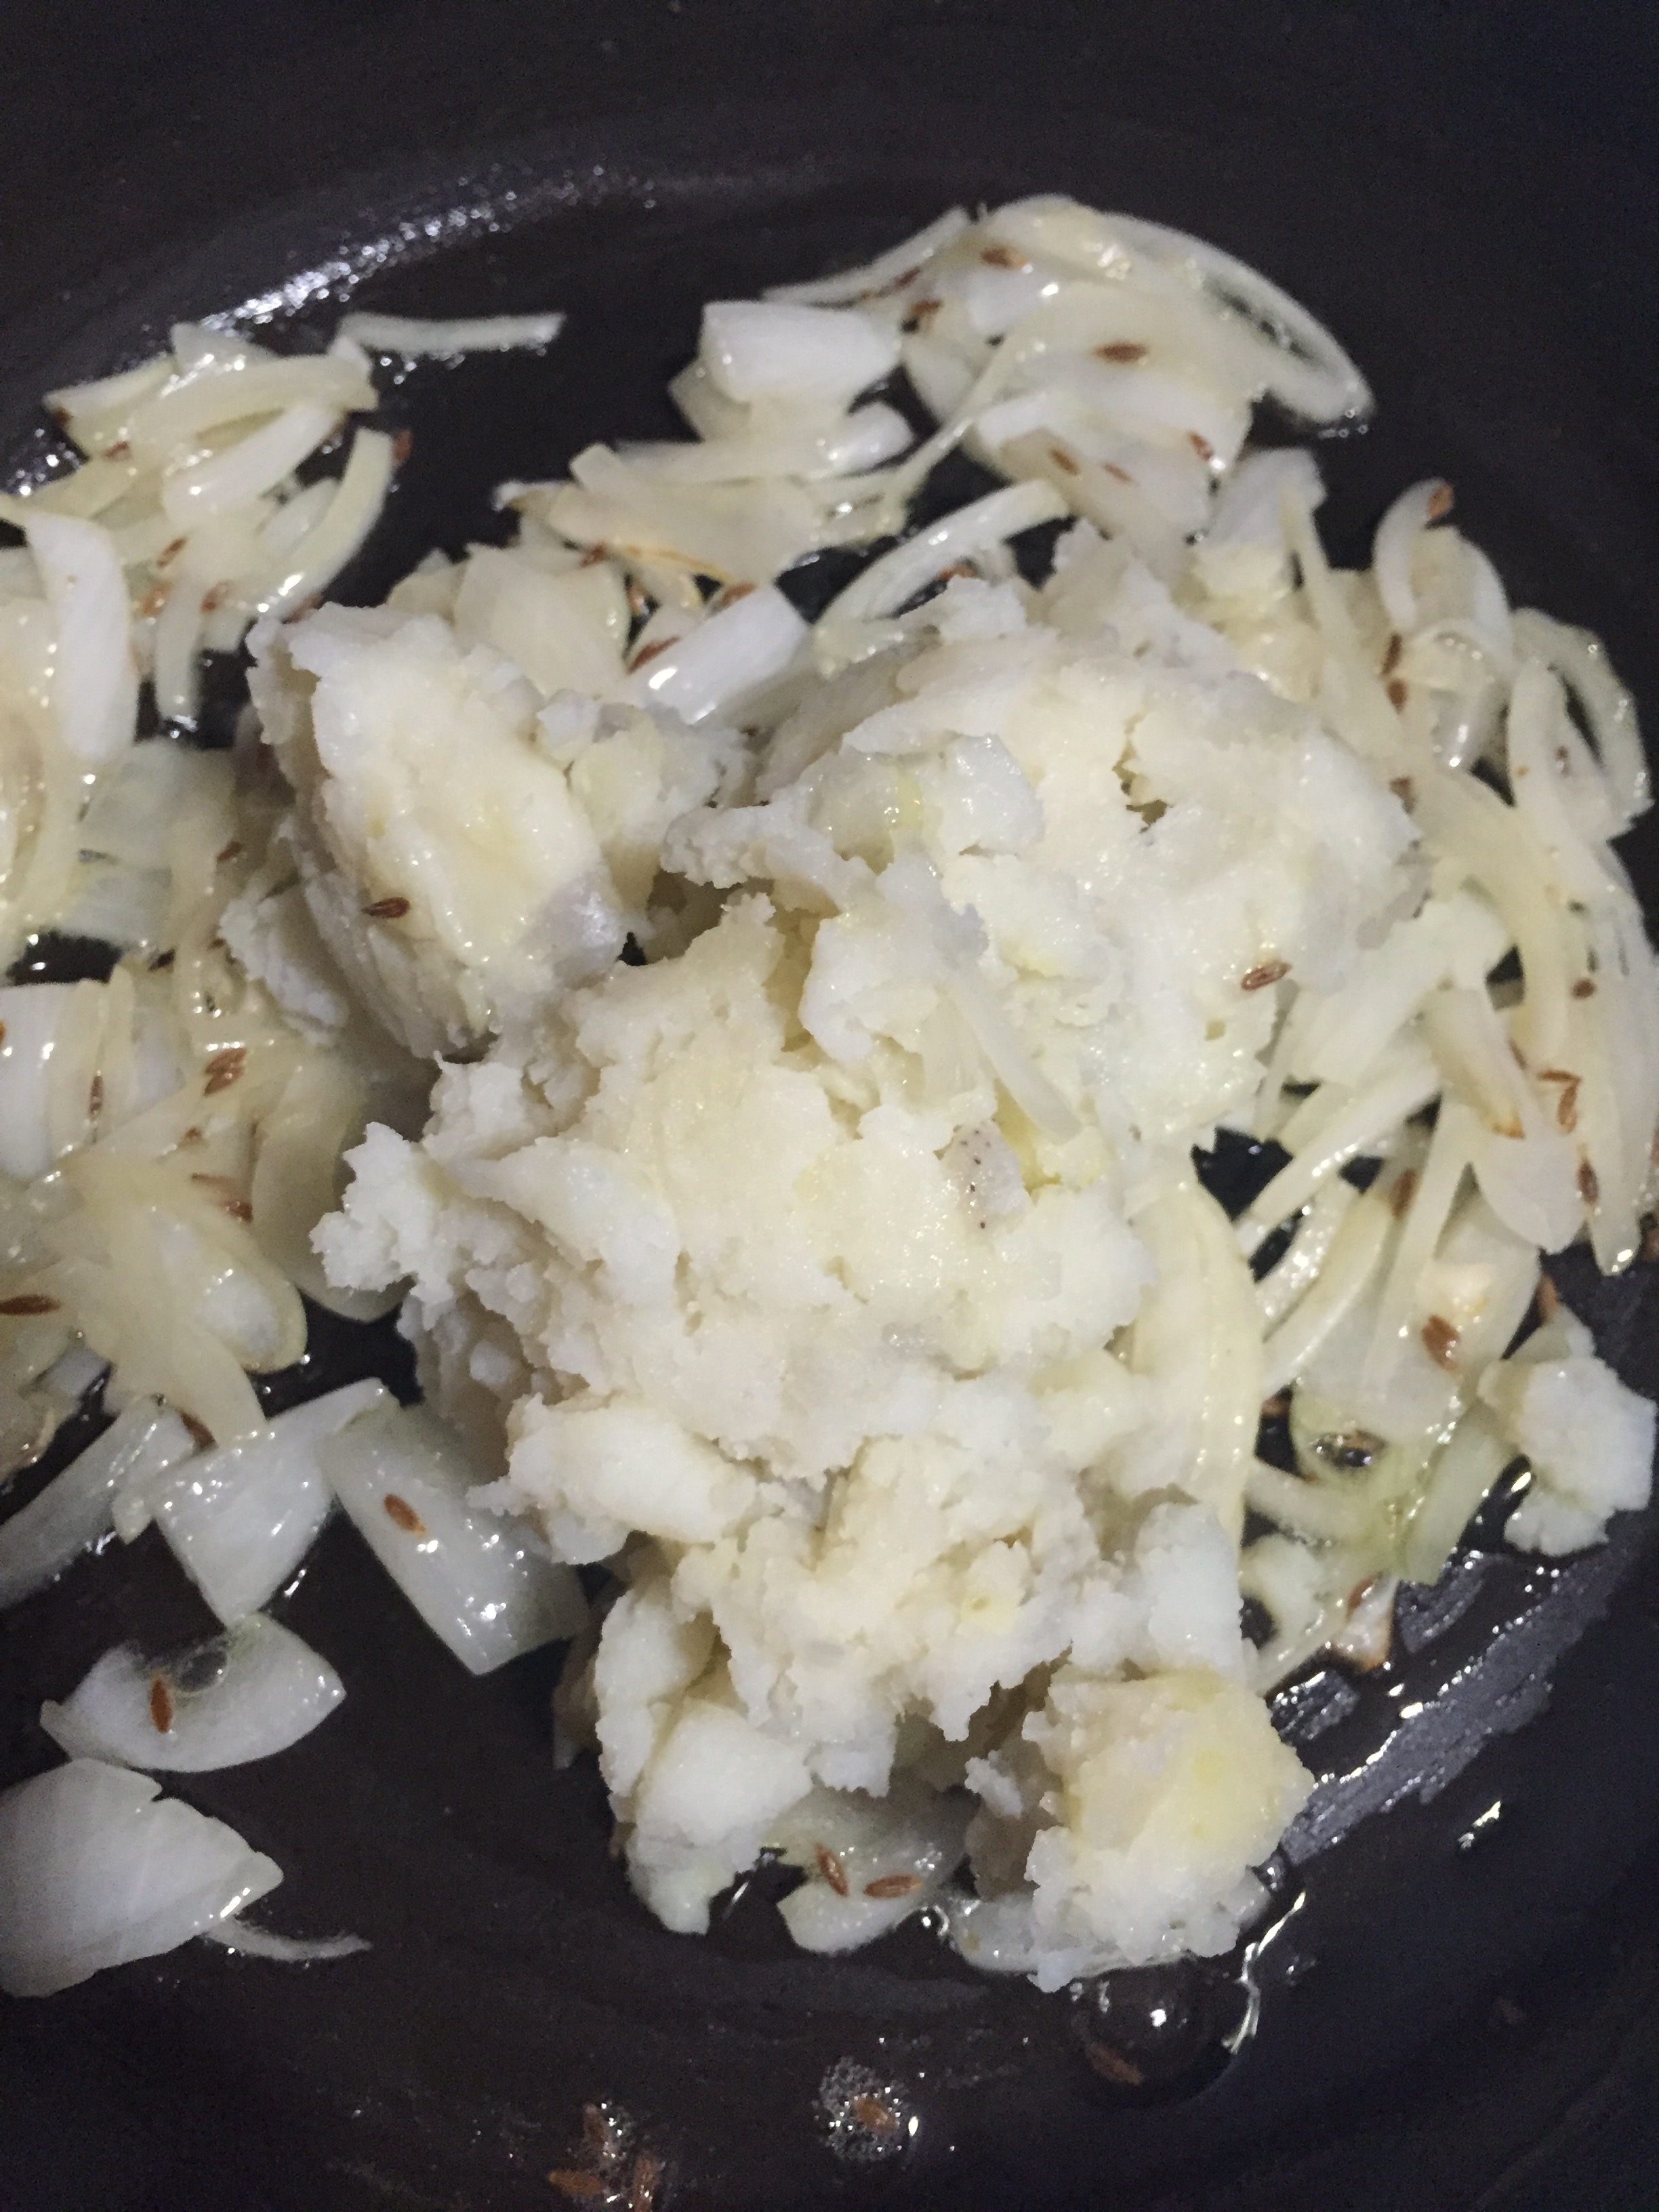
  2. Heat a flat pan and add 2 tbsp of butter. Add in cumin seeds when the butter starts to melt.
  3. Add ¾th of the thin sliced onions and sauté for few seconds until they turn translucent.
  4. Add the mashed potato and mix well. Add little salt at this stage.
  5. Now add thin sliced tomato into the mixture and saute well for couple of minutes or until well blended with potatoes.
  6. Add in cooked green peas and mix well.
  7. Add in pav bhaji masala and mix well. Saute them for a minute.
  8. And finally add in the rest of the masalas. Mix well until all the masalas are well coated. At this stage you could add some more butter if needed. Sauté and cook for another 5 minutes.
  9. Switch off the flame and garnish with finely chopped cilantro.
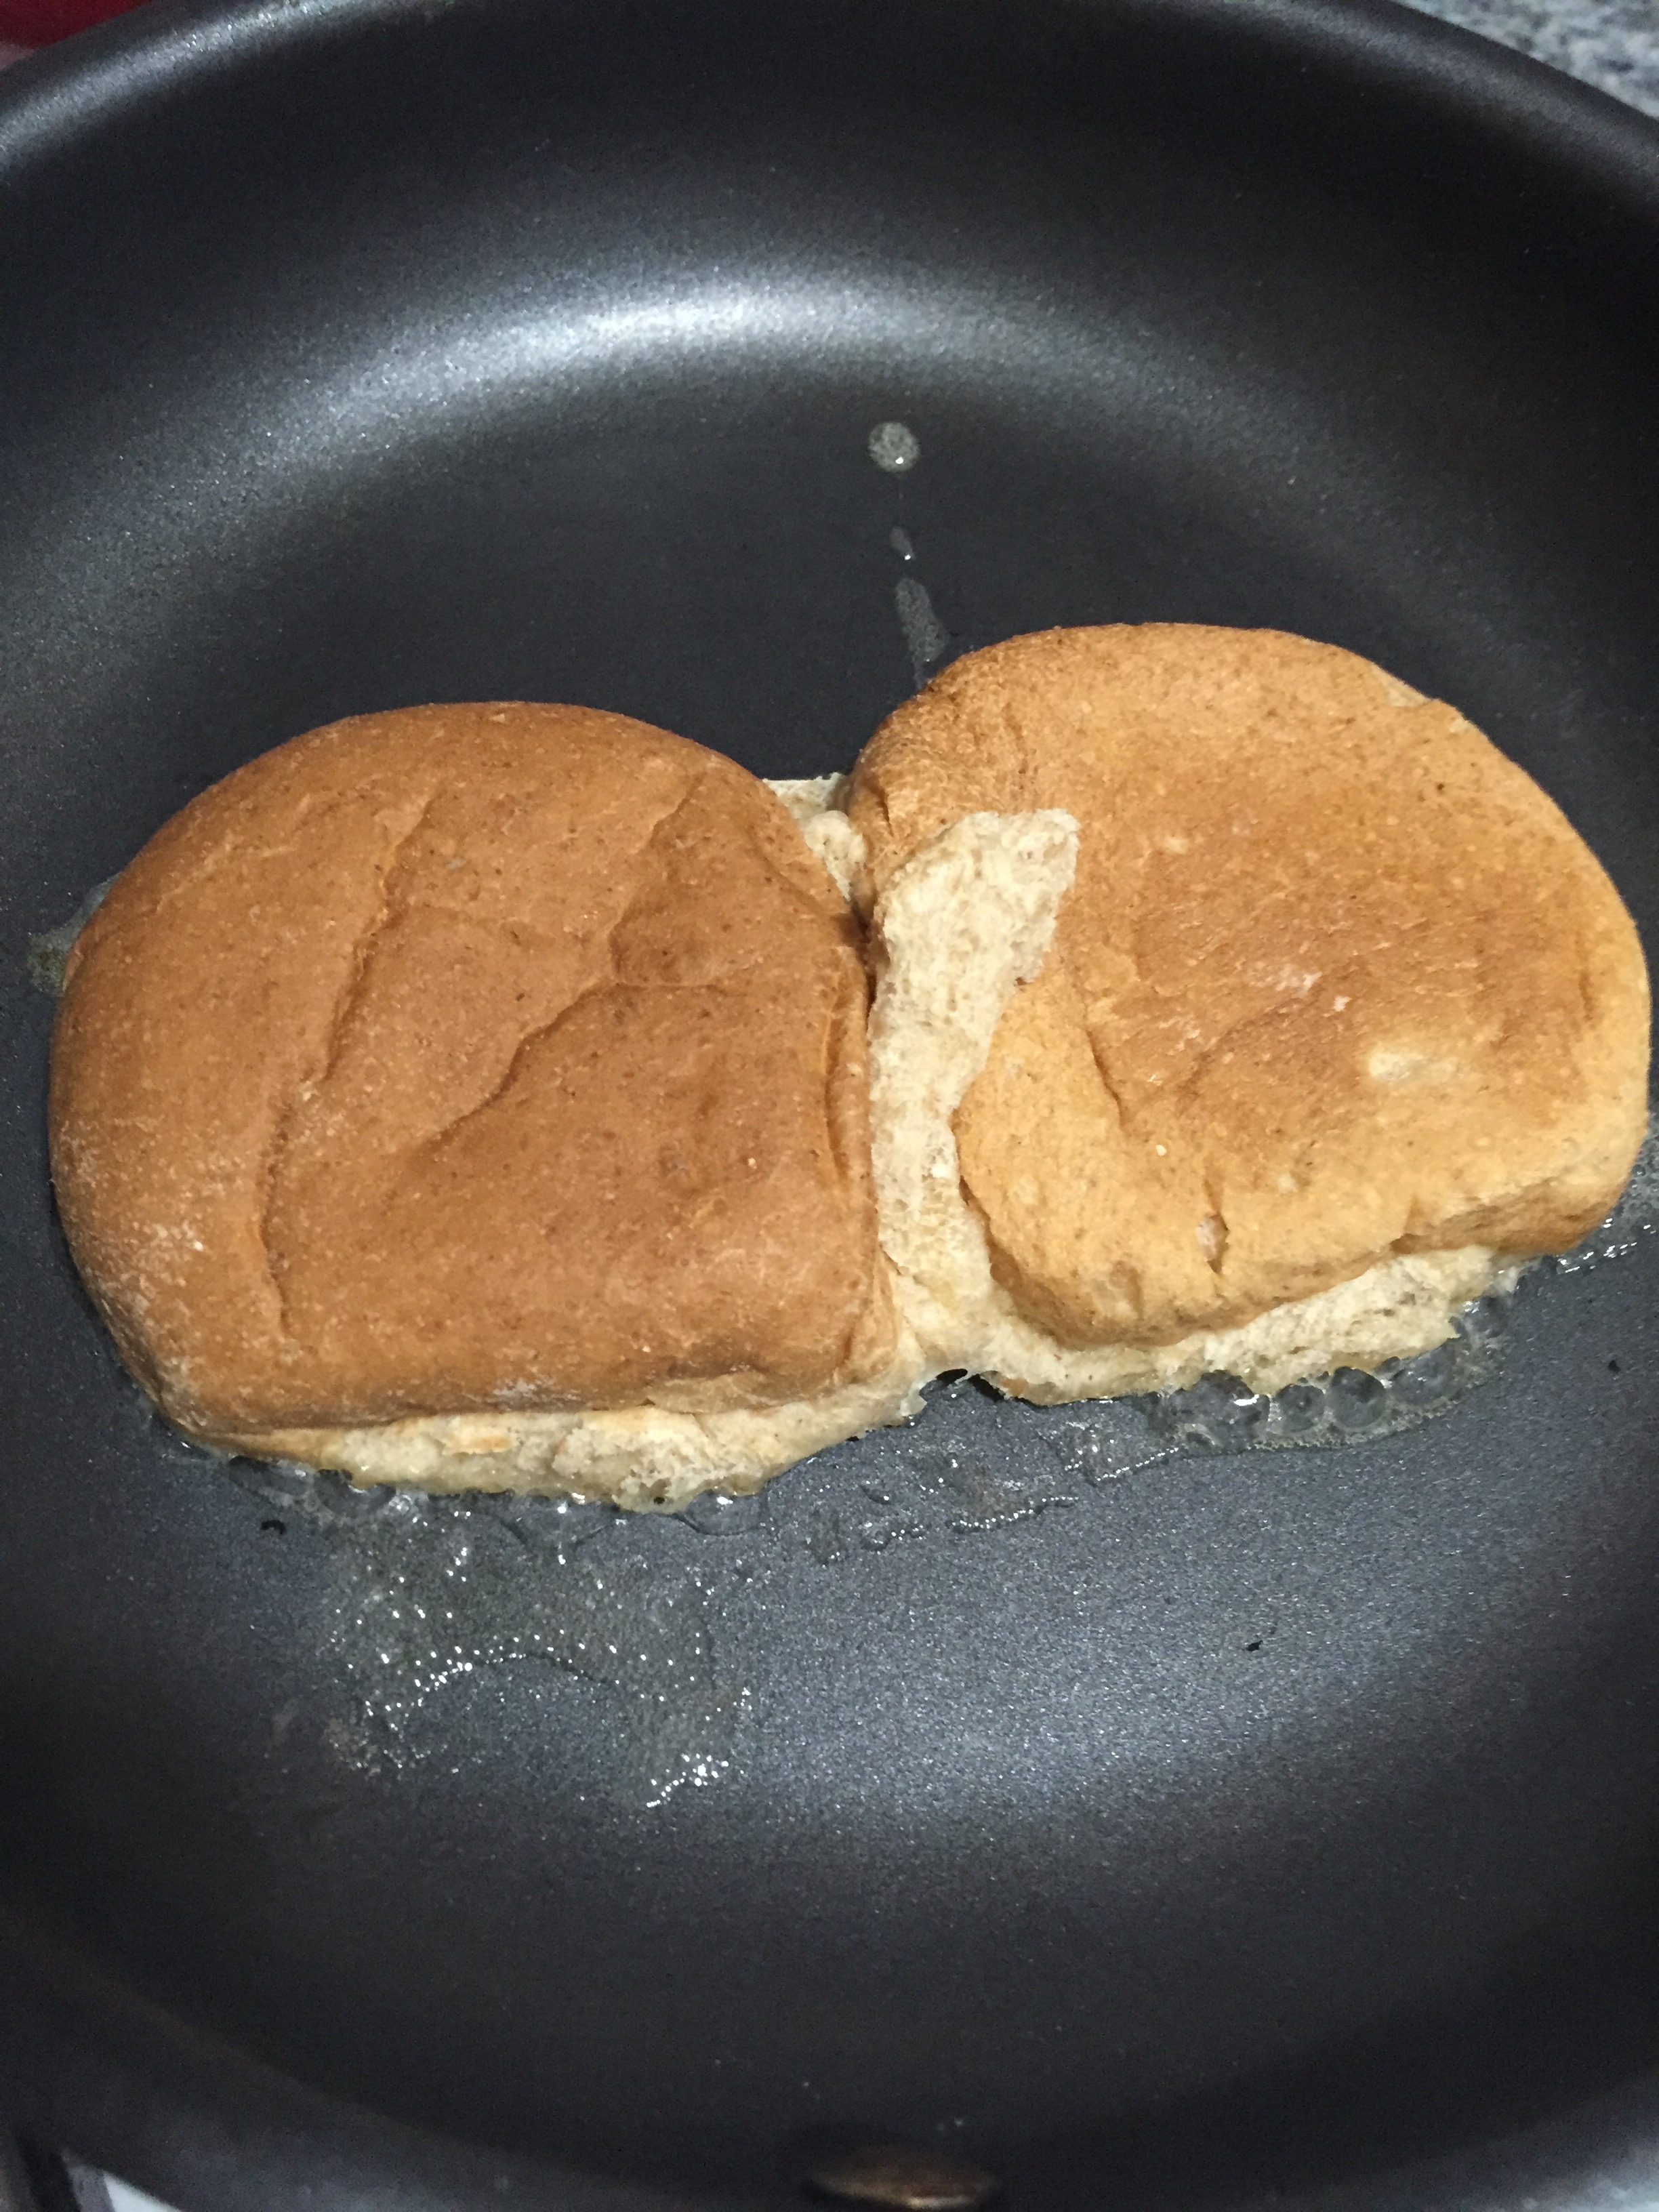
  10. Heat a small skillet and add very little butter. When the butter starts to melt, toast the pav ( I used Pepperidge wheat bread slider) on one side until they turn slightly brown.
  11. Serve the pav along with bhaji with a thin slice of butter on top. I like to have it with some onions on the side as well. Enjoy! 
Notes
1.You do not need to finely chop the onions and tomatoes for this recipe.
2.I used kashmiri chilli powder just for the color. You can totally skip that.
3.You can just have them by filling the bhaji on the middle of the sliders with some onions. I like to have them by just taking a piece of pav/bread and scoop some bhaji with some onions.

Pav Bhaji

Mango Bread

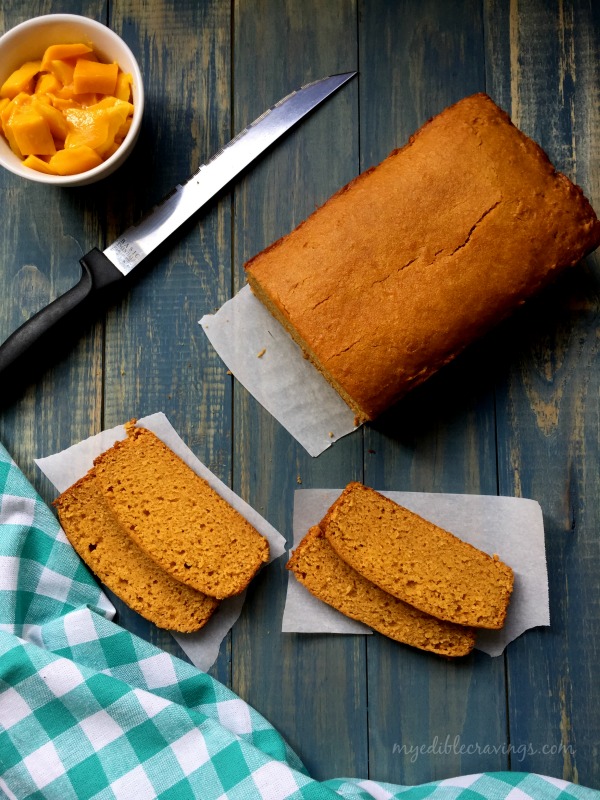
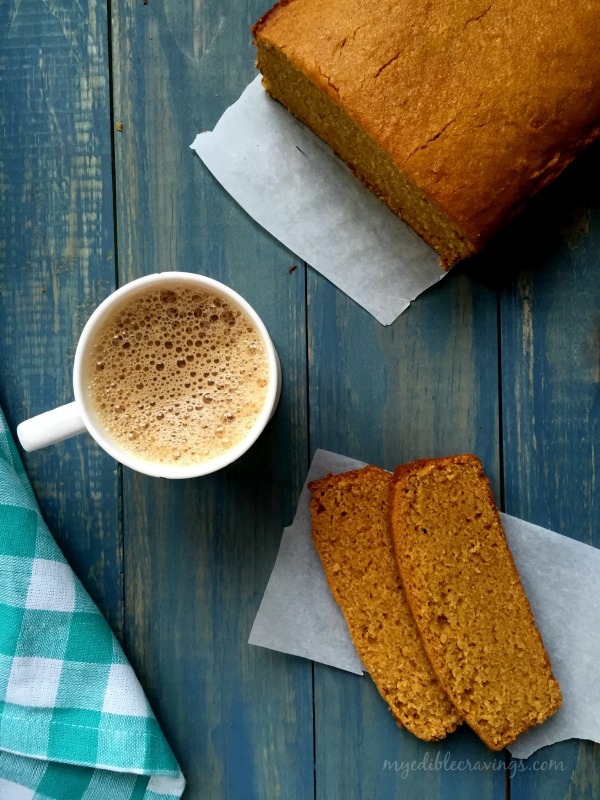
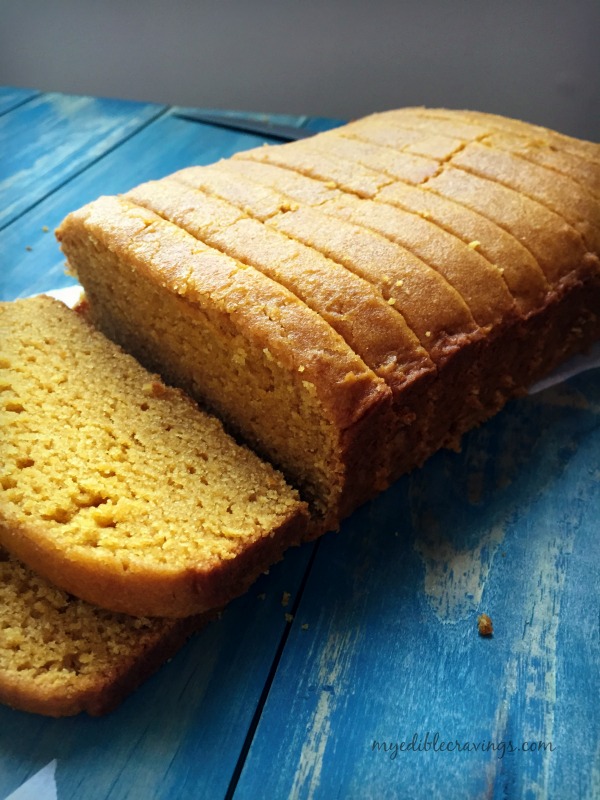
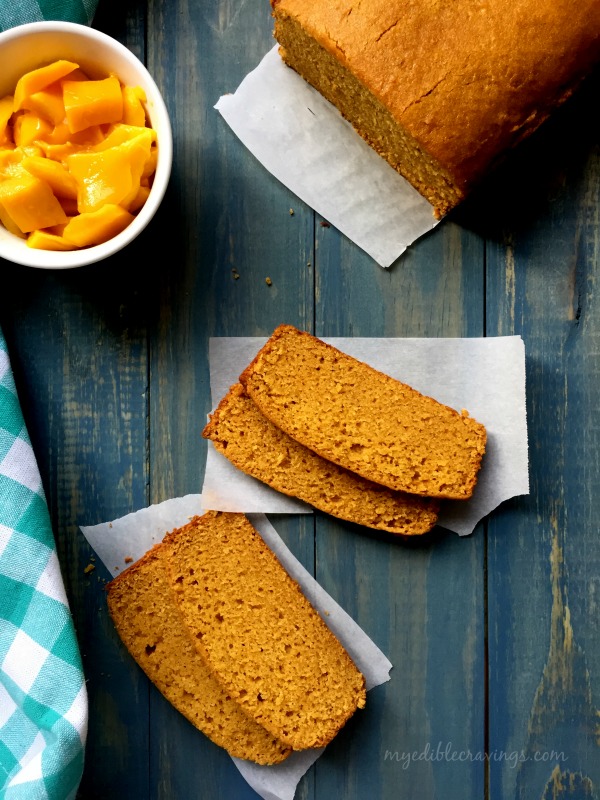
Eggless Mango bread Today, I was in the mood for something sweet, something that describes the summer season and something healthy. Yep, it has got something to do with Mango. It is the Mango bread! The recipe for Mango bread that I have given below is truly healthy and is a light fare. It has no eggs, is made of wheat flour and has very little added sugar!
Eggless Mango bread I came across this Mango bread recipe online recently and it immediately picked my curiosity. I have heard about banana bread, zucchini bread, raisin bread etc but Mango bread? It was the first time I have heard about it. But trust me, the bread tastes awesome. Mango bread can be had for breakfast or served as a snack. If you are left with more mangoes than you could possibly eat, I would say Mango bread is the way to go.
Eggless Mango bread
Mango bread is very easy to make and as said earlier, is healthy as well. Kids would love it. Try baking this unique bread variety in your kitchen and let me know how well you liked it  🙂

Mango Bread
Recipe type: Breakfast
Cuisine: Indian
Prep time: 
Cook time: 
Total time: 
Serves: 1 (9 x 5 x 3 inches) loaf
 
Ingredients
  • 1½ cups wheat flour
  • 1 tsp baking powder
  • ½ tsp baking soda
  • 8 tbsp unsalted butter (1/2 cup or 1 stick), room temperature
  • ¾ cup sweetened condensed milk
  • 2 large mangoes or 1 cup mango puree
  • 3 to 4 tsp sugar or add as required
  • 1 tsp pure vanilla extract
Instructions
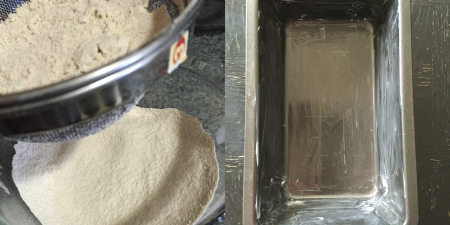
  1. Grease a loaf pan (9 x 5 x 3 inches) with butter or oil on the bottom and on all four sides and set aside.
  2. Sieve flour, baking powder and baking soda together in a medium bowl.
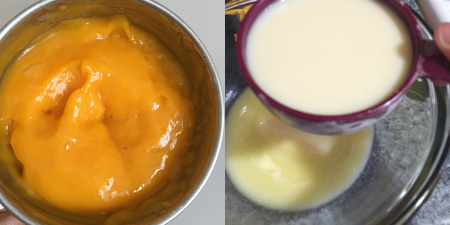
  3. Peel and cut the mangoes (measuring 1 cup tightly packed) and add it to the blender. Add sugar according to your taste and depending on mangoes' sweetness. Blend together in to a puree.
  4. Preheat the oven to 350 degree Fahrenheit or 180 degree Celsius.
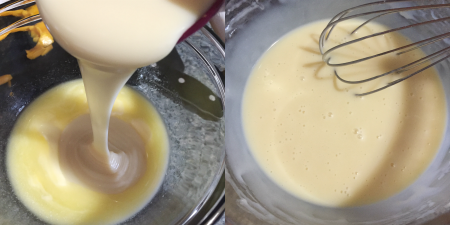
  5. In a large oven safe mixing bowl, heat and melt the butter for 35 seconds. Allow it to cool.
  6. Add in condensed milk to the butter and whisk together in to a smooth mixture.
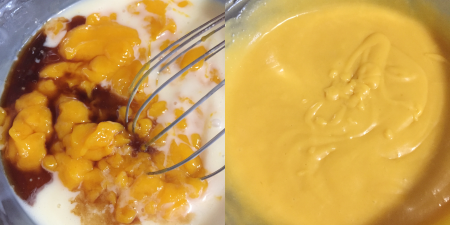
  7. Add in the mango puree and vanilla or mango essence and whisk together until well combined. – I would highly recommend using mango essence to get the complete flavor in the bread.
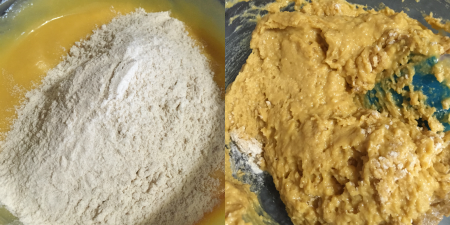
  8. Add in the flour and gently fold them together using a spatula. – The important thing is not to over mix the batter. You do not want it to be smooth. Over mixing the batter will yield tough, rubbery bread. The batter might look thinner if you are using store bought mango puree.
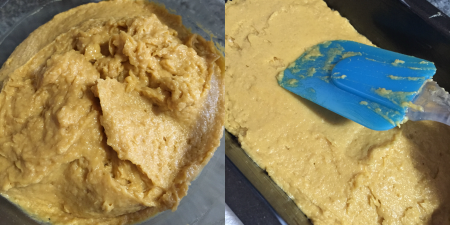
  9. Pour batter into prepared loaf pan. Shake the pan and even the batter on top using spatula.
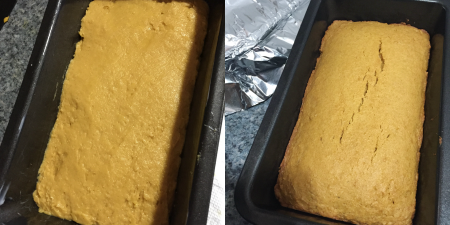
  10. Bake in oven (preferably in the middle rack) for 55 minutes, until golden brown and a toothpick inserted in the center comes out clean – I covered the pan with aluminum foil after 35 minutes when it started to turn brown on top.
  11. Turn out the bread onto a wire rack and allow it to cool. Serve the yummy mango bread as hot or cold for a breakfast or brunch or as an evening snack. Enjoy! 
Notes
1.Recipe also suggests to use cardamom powder or cinnamon powder or mango essence in place of vanilla extract.
2.Use a fiber less mangoes.
3.Wheat flour could also be substituted with all purpose flour.

Eggless Mango bread

Chocolate cake

Myediblecravings
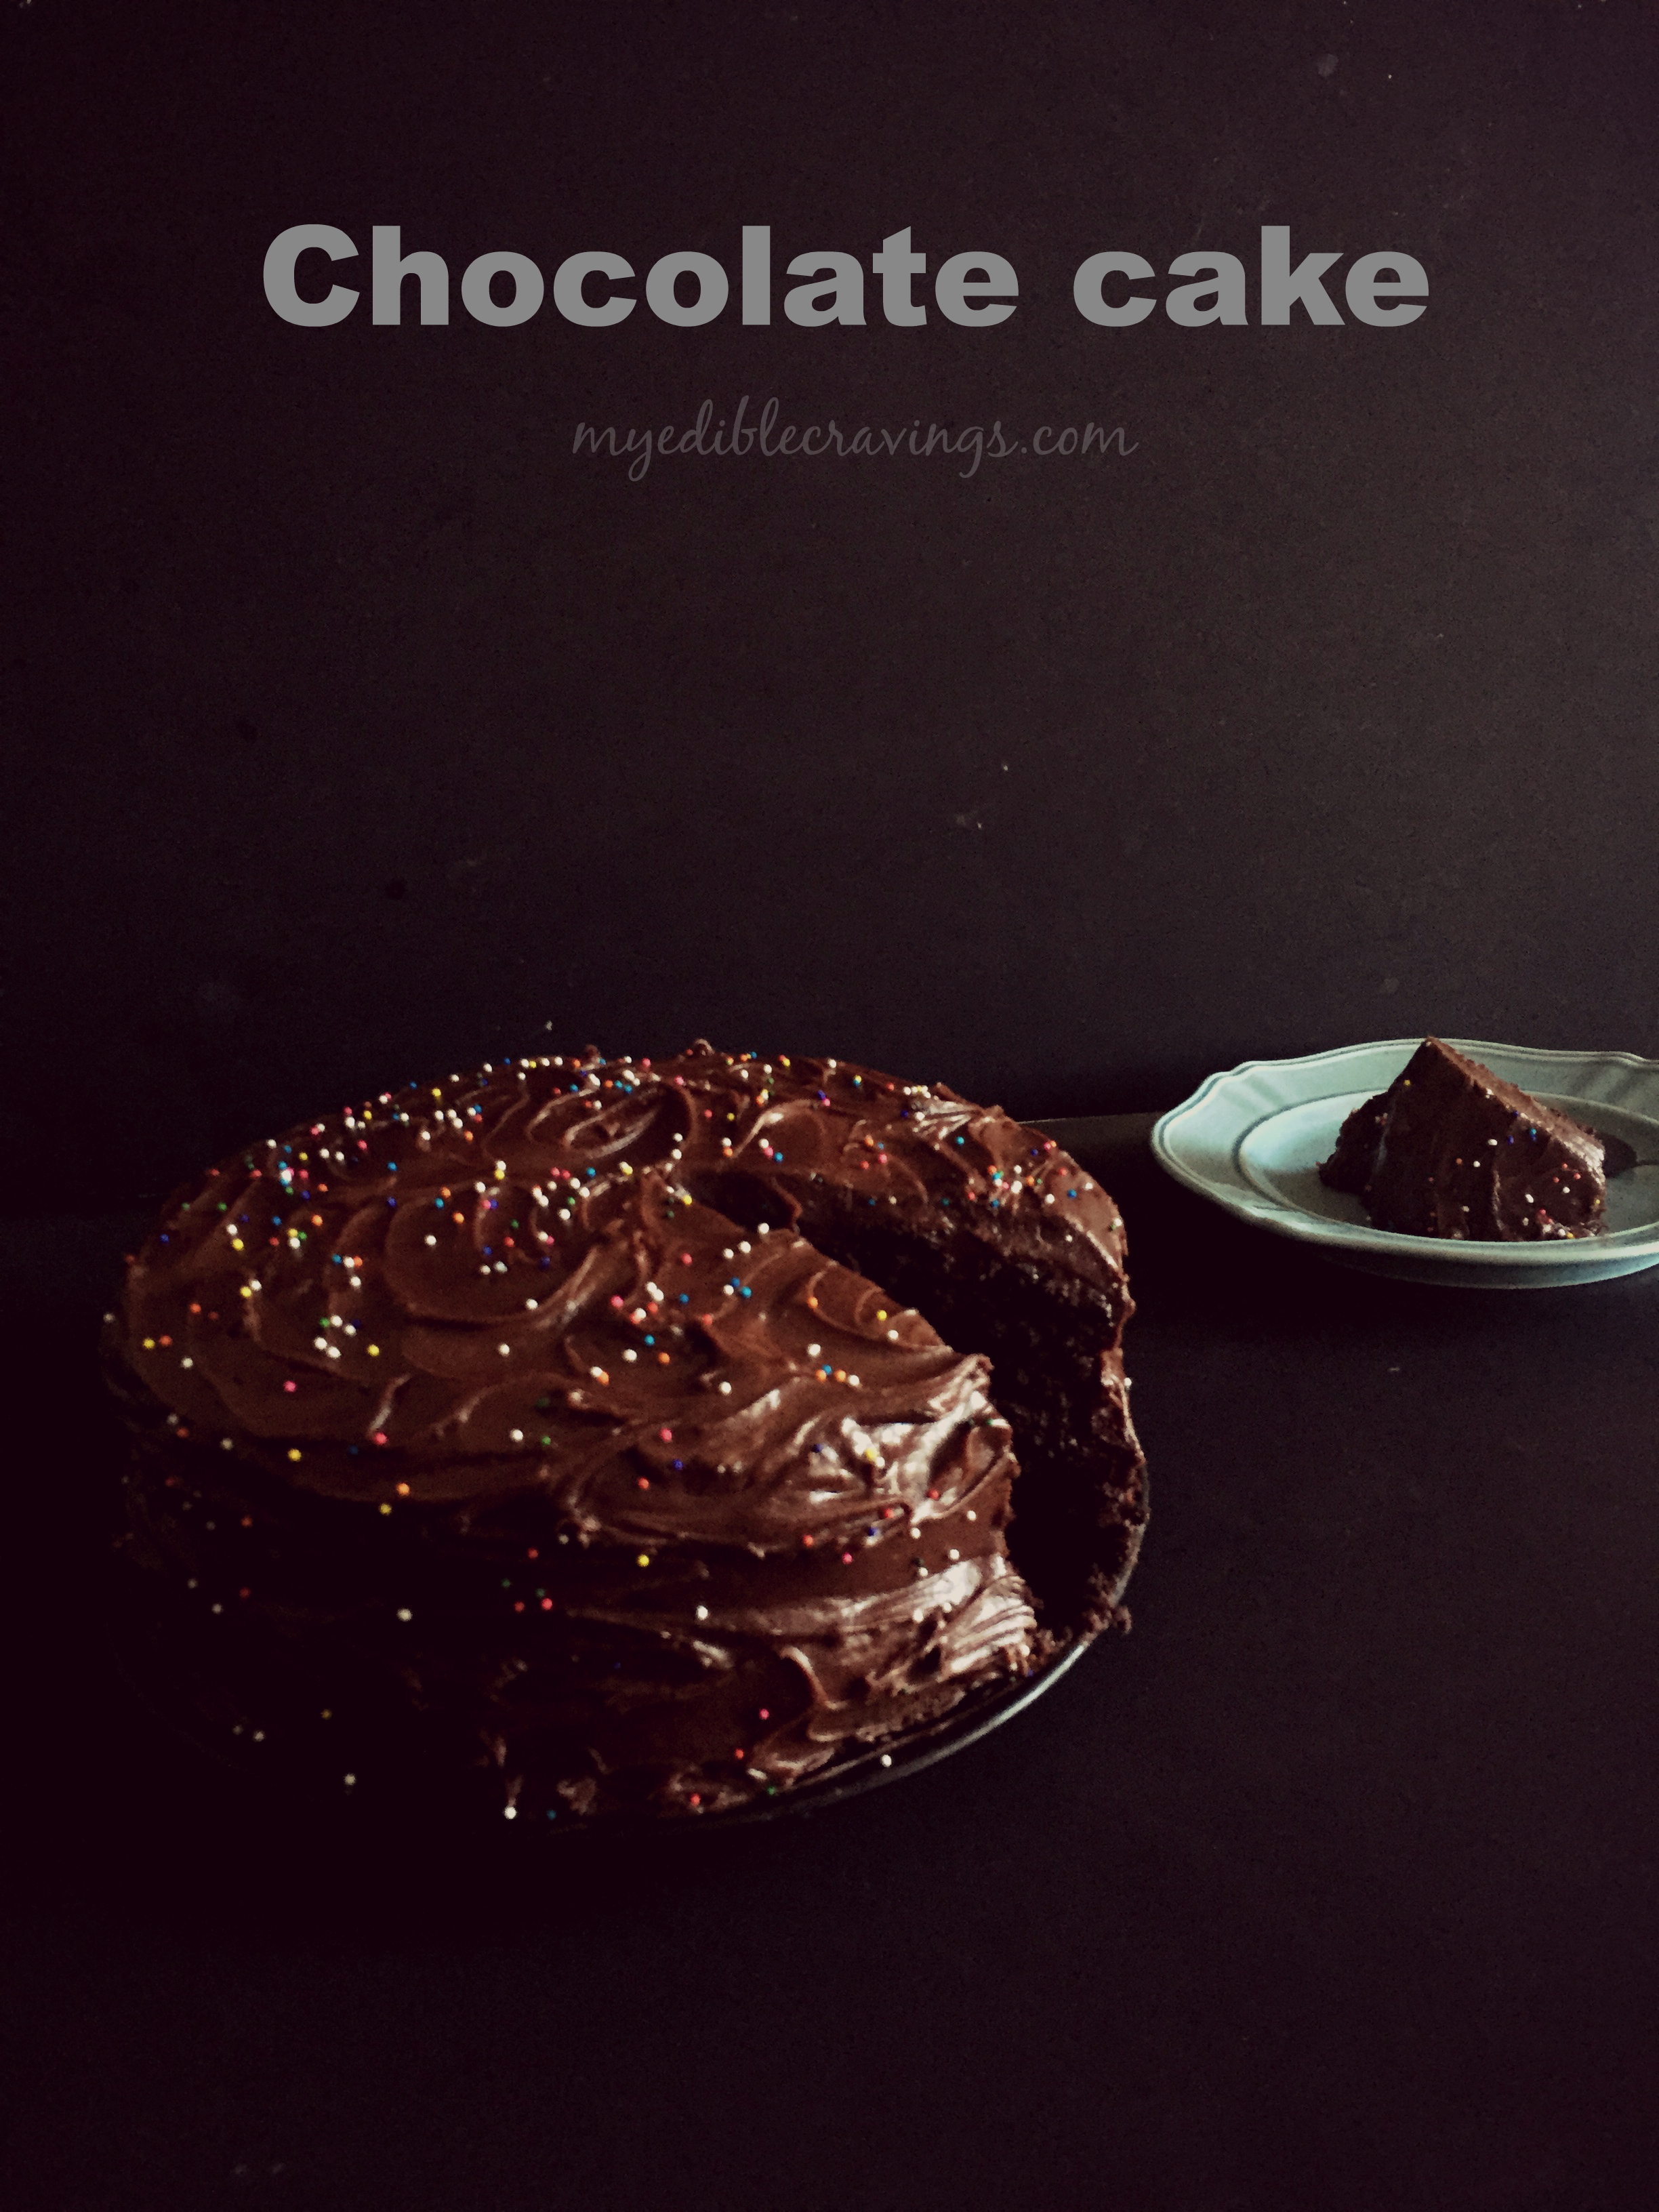
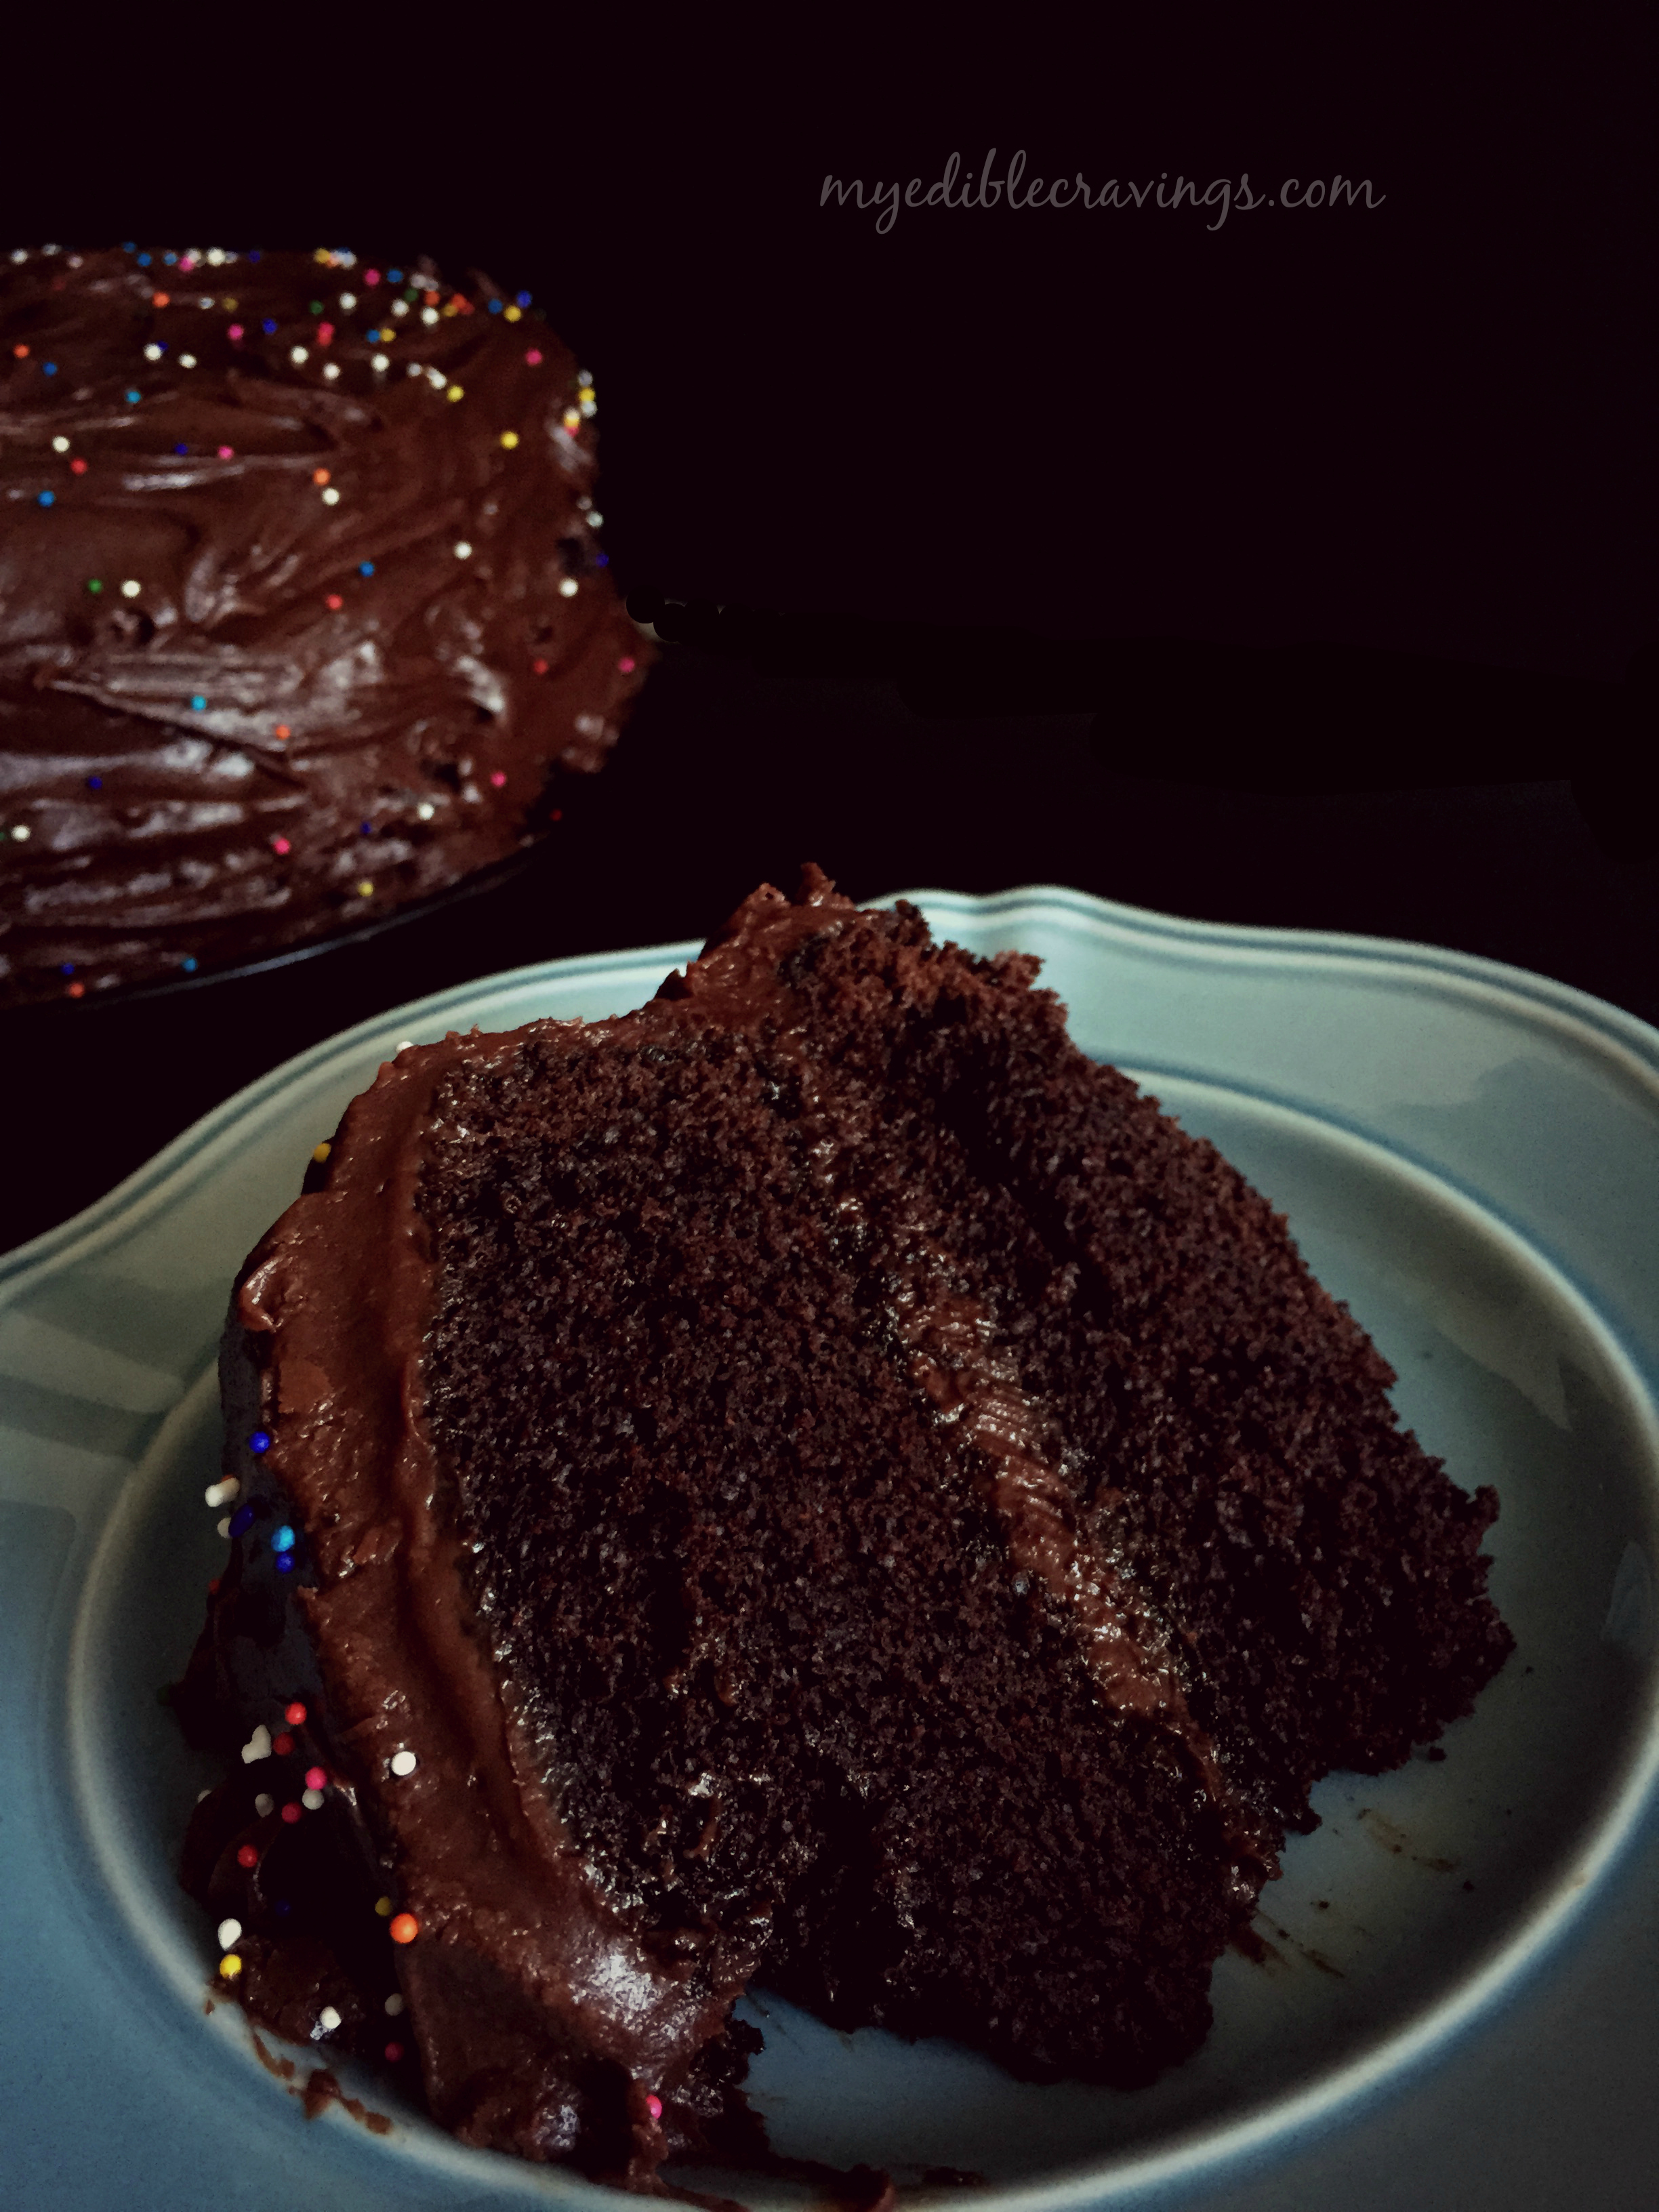
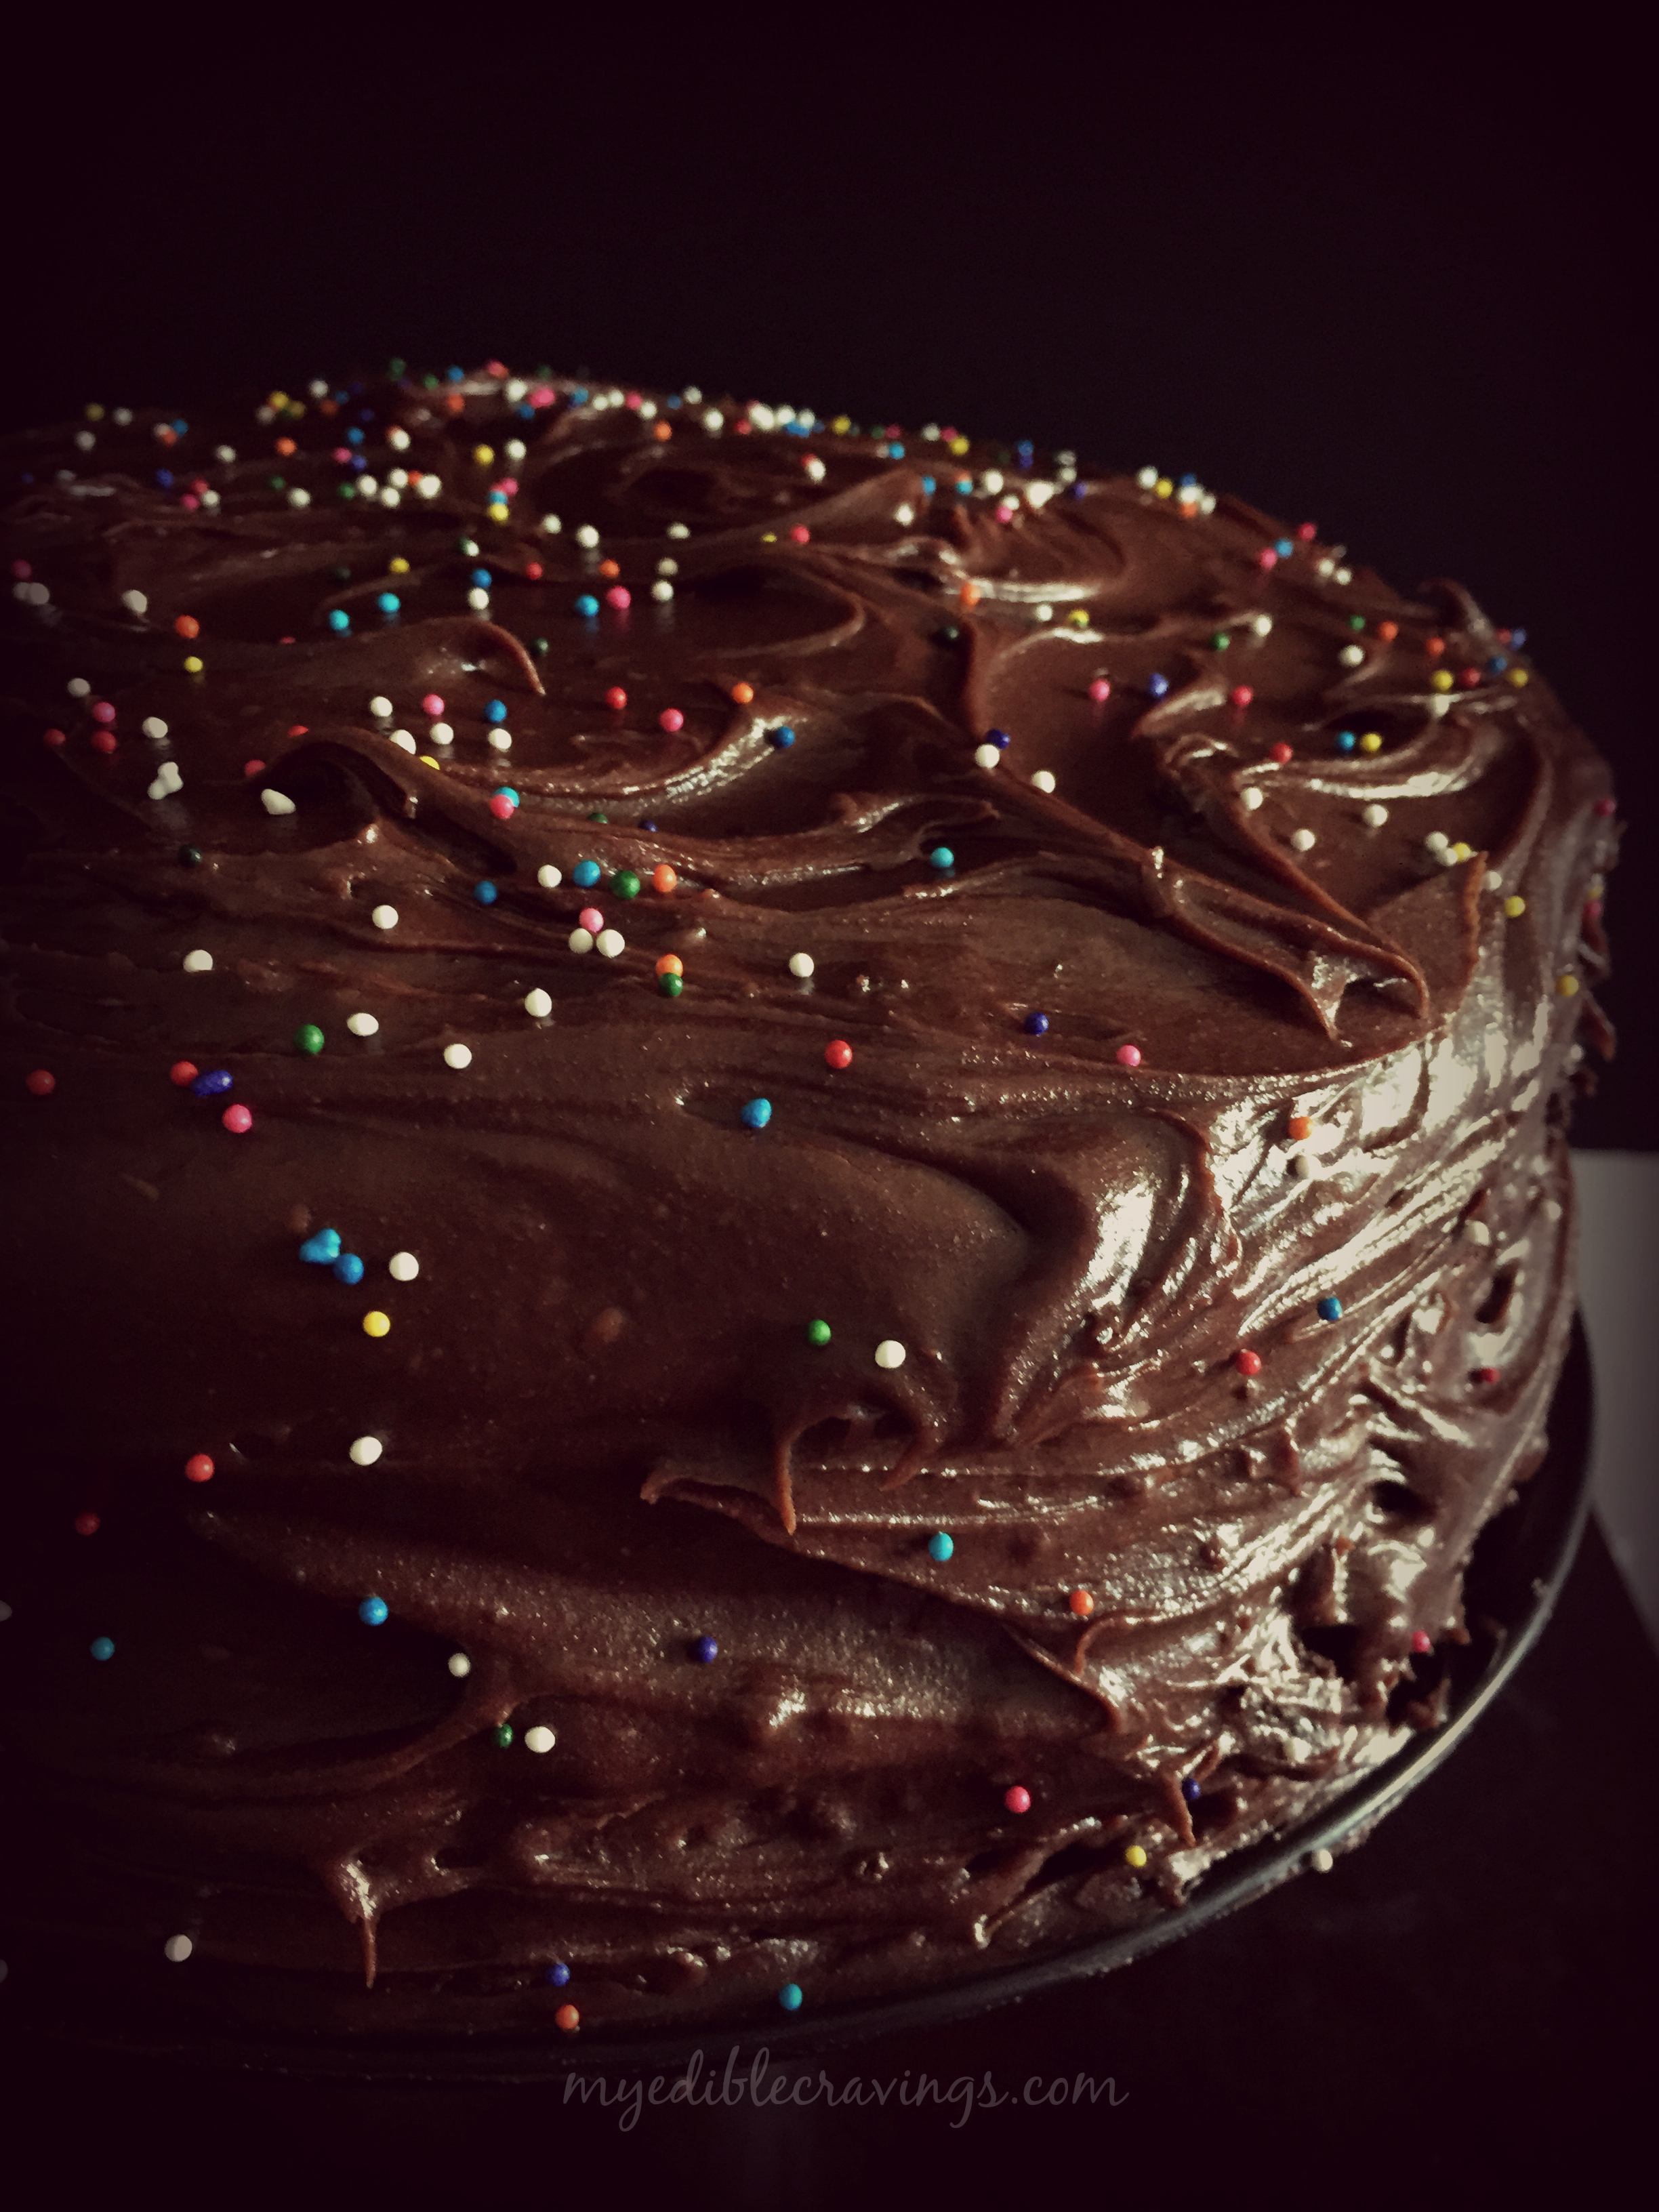
Now, why did I bake a chocolate cake, that too with a diet conscious HB by my side? It is the ONE year anniversary of my website, guys!!! What started as a personal log of my favorite recipes is now well on its way to become a repository of recipes catering to all types of palate. Thank you all for your continuing support and well wishes! When we decided to commemorate the milestone, there was a lengthy debate on what to make. I was oscillating between a white chocolate truffle cup cake and a perfect chocolate cake and finally settled on a chocolate cake, much to my HB’s delight!
myediblecravings
Chocolate cake
Chocolate cake is one of the most recognized cakes in the world. I am pretty sure that there is not even one bakery/pastry shop around the world that does not sell a chocolate cake! Though the name is generalized, there is multitude varieties of chocolate cake. Today, I am giving here a very simple but decadent recipe of chocolate cake which is my favorite as well. It is a three layered chocolate cake with chocolate frosting. I have been wanting to bake a cake from scratch for a long time and now that I have done it, it turned out to be a job well done :). Baking a cake, in general gets a bit messy and doing it from scratch makes it even more messier, but trust me, it is all worth it.
myediblecravings
Myediblecravings
I am a very big fan of cakes in general (it would be the only thing that won’t get me angry when I am woken up from my sleep and offered ;)) And after trying this chocolate cake, I have a profound respect for cakes 🙂 Do try this decadent recipe and post your comments.

Chocolate cake
Prep time: 
Cook time: 
Total time: 
Serves: 3 layer 8"cake
 
Ingredients
For frosting:
  • 1 ¾ cups (350 gr) sugar
  • 1 ½ cups heavy cream
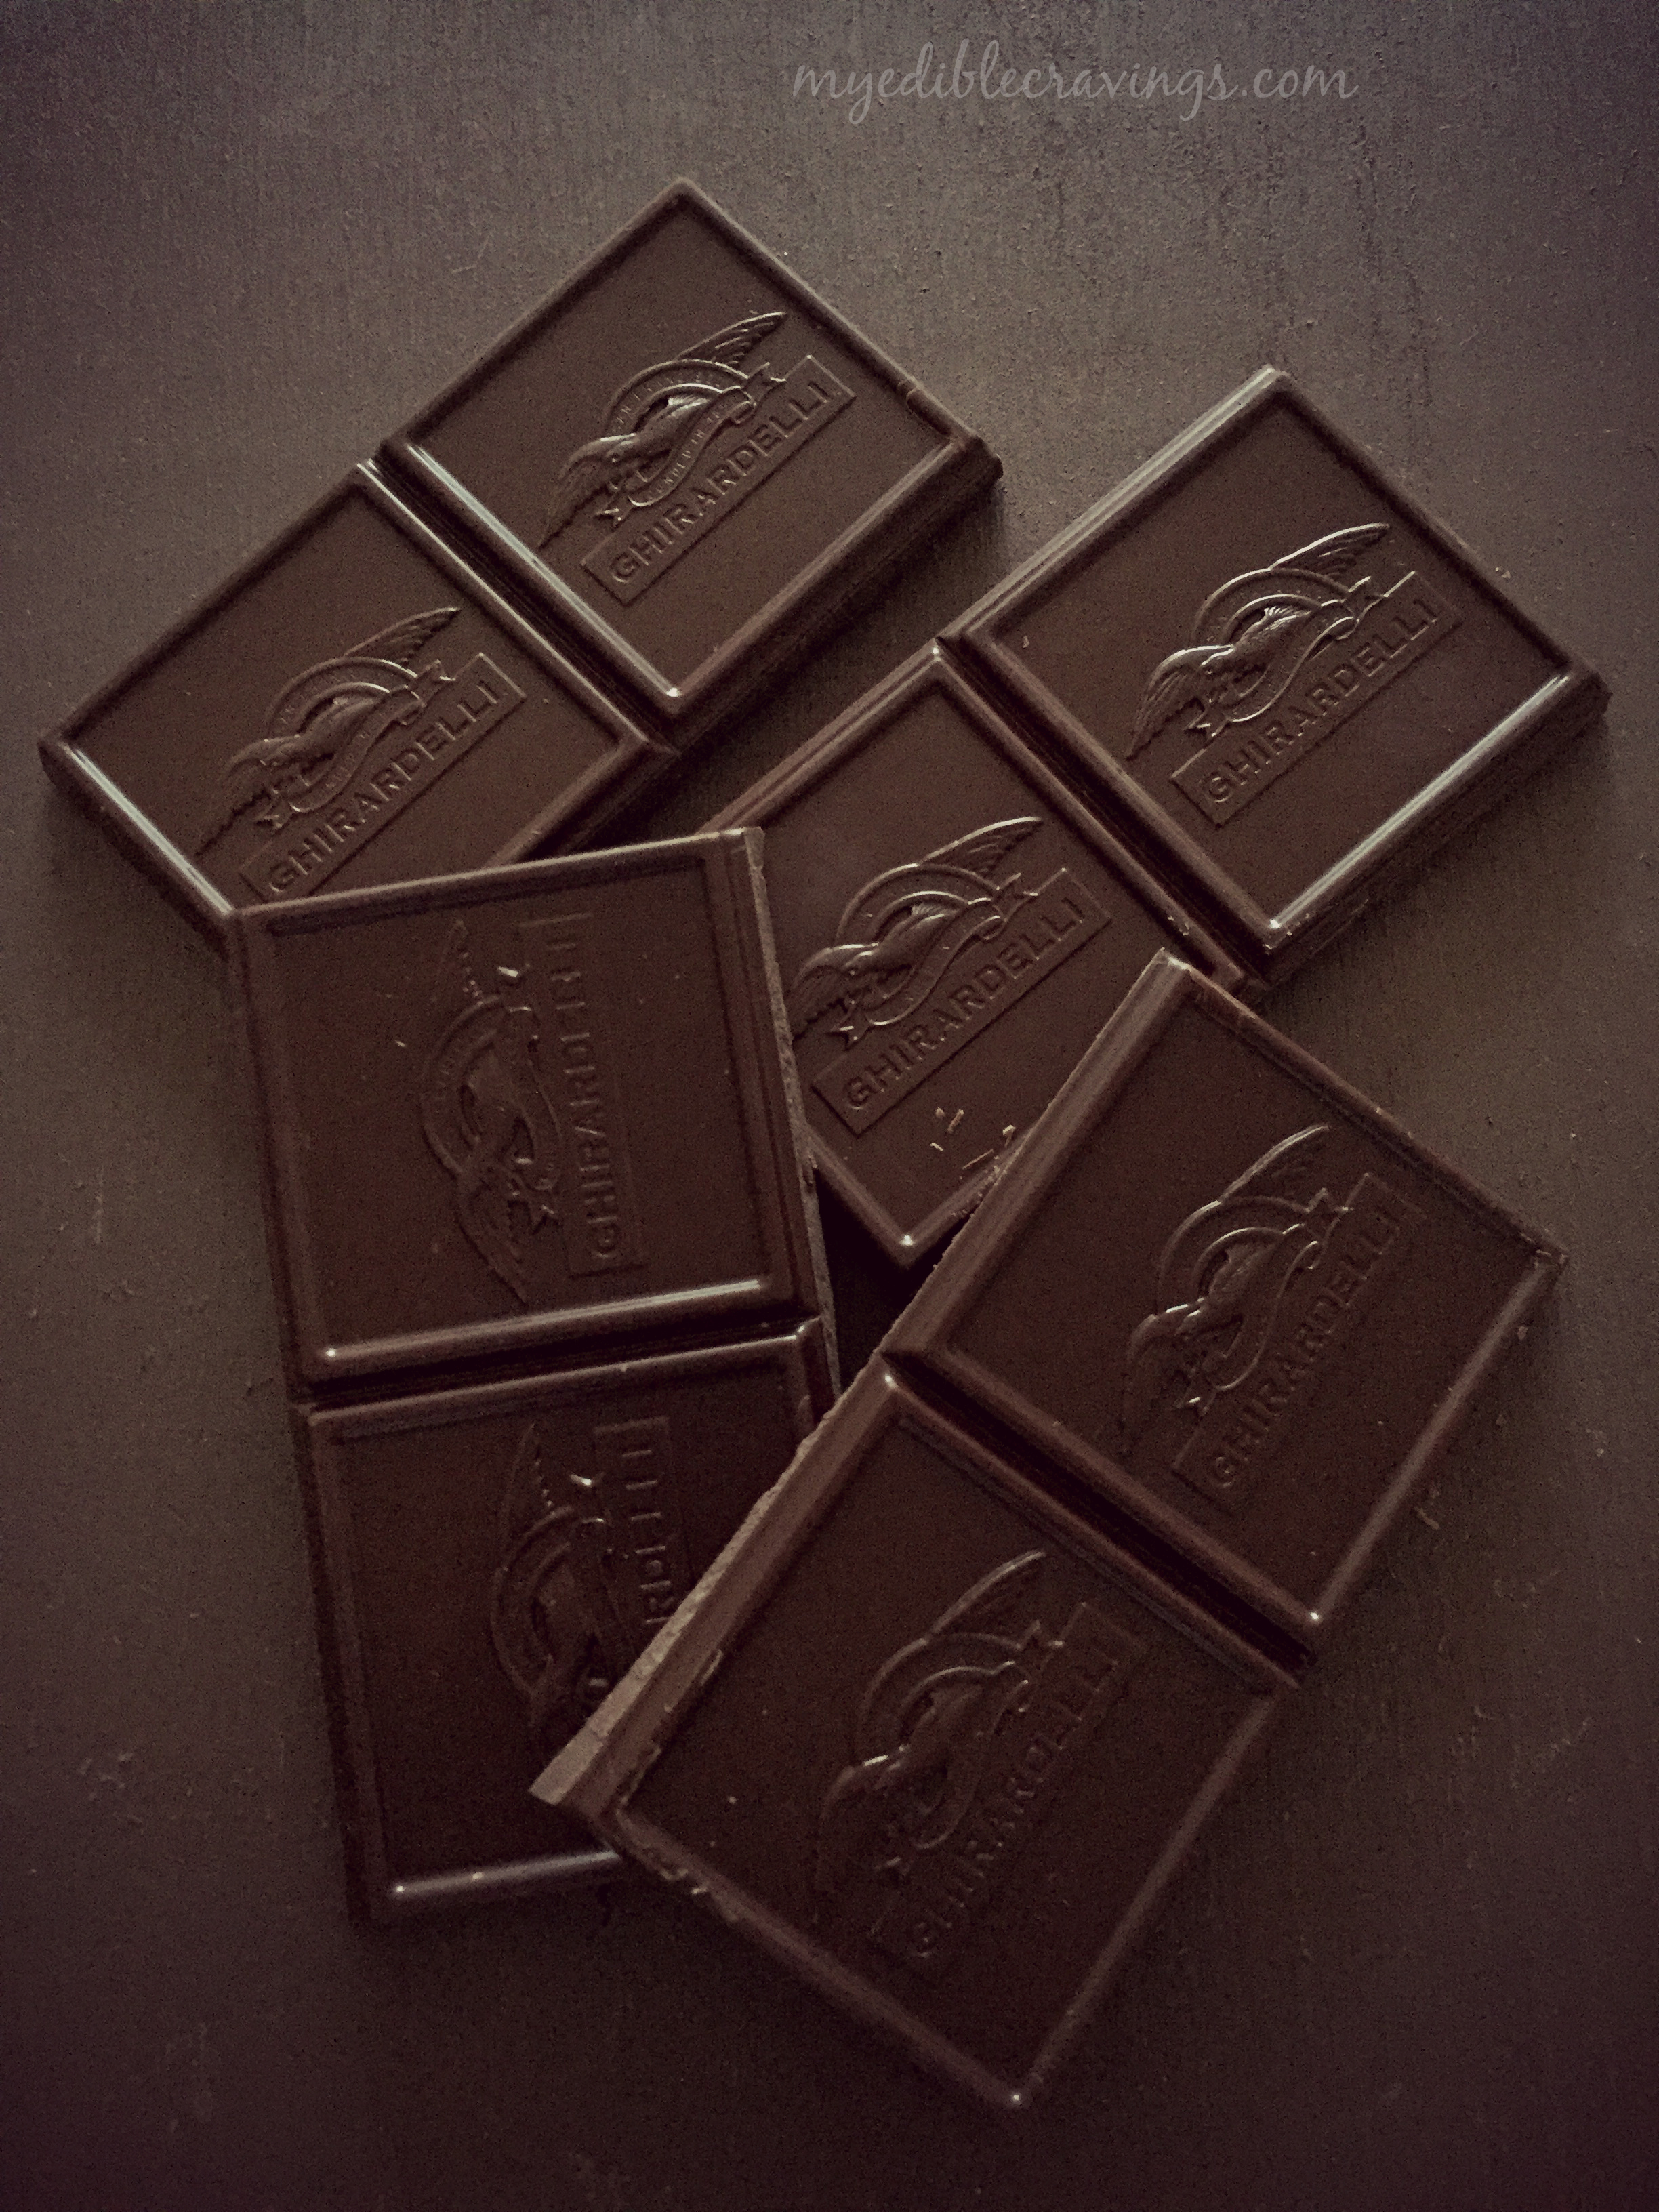
  • 7.5 oz (213 gr) unsweetened chocolate, roughly chopped
  • 12 tbsp unsalted butter, cut into small pieces
  • 1 ½ tsp pure vanilla extract
For cake:
  • Scant 3 cups (425 gr) All purpose flour
  • 3 cups (600 gr) sugar
  • 1 cup + 2 tbsp Dutch-processed cocoa powder
  • 1 ½ tsp salt
  • 2 ¼ tspn baking powder
  • 2 ¼ tspn baking soda
  • 3 eggs, room temperature, beaten
  • ¾ cup vegetable oil
  • 1 ½ cup whole milk
  • 1 ½ cup hot coffee decoction, filtered
Instructions
For frosting:
  1. Combine sugar and heavy cream into a sauce pan. Heat the pan and bring them to boil in a medium heat. Once they starts to boil, simmer it for another 5 to 6 minutes.
  2. Remove from heat and stir in the chopped chocolates until completely melted.
  3. Now add in the butter pieces and stir them again until completely melted.
  4. Finally stir in the vanilla extract.
  5. Let the frosting cool completely, whisking every now and then during cooling. (You can do this step in the refrigerator to speed up the process) Once completely cool at room temperature, the frosting will be spreadable.
For cake:
  1. Preheat oven to 350 degrees F or 175 degrees C. Grease the three 8" round cake pans with butter or oil (on the sides and bottom), dust the bottoms with flour and line them with parchment paper. If desired, wrap the cake pans with bake-even strips.
  2. Sieve sugar, flour, cocoa powder, salt, baking powder and baking soda into a large mixing bowl. This is done to avoid lumps and even the mixing. Meanwhile make hot coffee decoction and keep it ready.
  3. In a separate bowl, combine the beaten eggs, vegetable oil and milk. Stir to mix. Then, with the mixer on low, pour the wet ingredients into the dry ingredients. Mix on low flame until evenly distributed.
  4. Pour the hot coffee into the batter and mix on medium to low flame until smooth and creamy. .
  5. Divide the batter between the cake pans.
  6. Bake for 40-45 minutes. When a toothpick inserted into the center of the cakes comes out cleanly, the cakes are done. Remove from the oven and let cool completely.
  7. Refrigerate the cakes for at least 2 hours or place it n the freezer for one hour. Level the cakes by cutting the excess top bump.
  8. Stack the cakes, spreading a layer of frosting in between each cake layer. Frost the outside of the cake for a smoother finish.
Notes
1.I would strongly recommend to line the parchment paper as this cake is so soft and gooey. You could also use cold wet cloth to tie around the pans instead of bake-even strips.
2.The recipe I have given here is for the big batch. You can reduce the ingredients by half for a smaller batch.
3.This recipe also works for a 3-layer 9" cake, with slightly shorter layers.

Myediblecravings

CHILLI IDLI | KAIMA IDLI

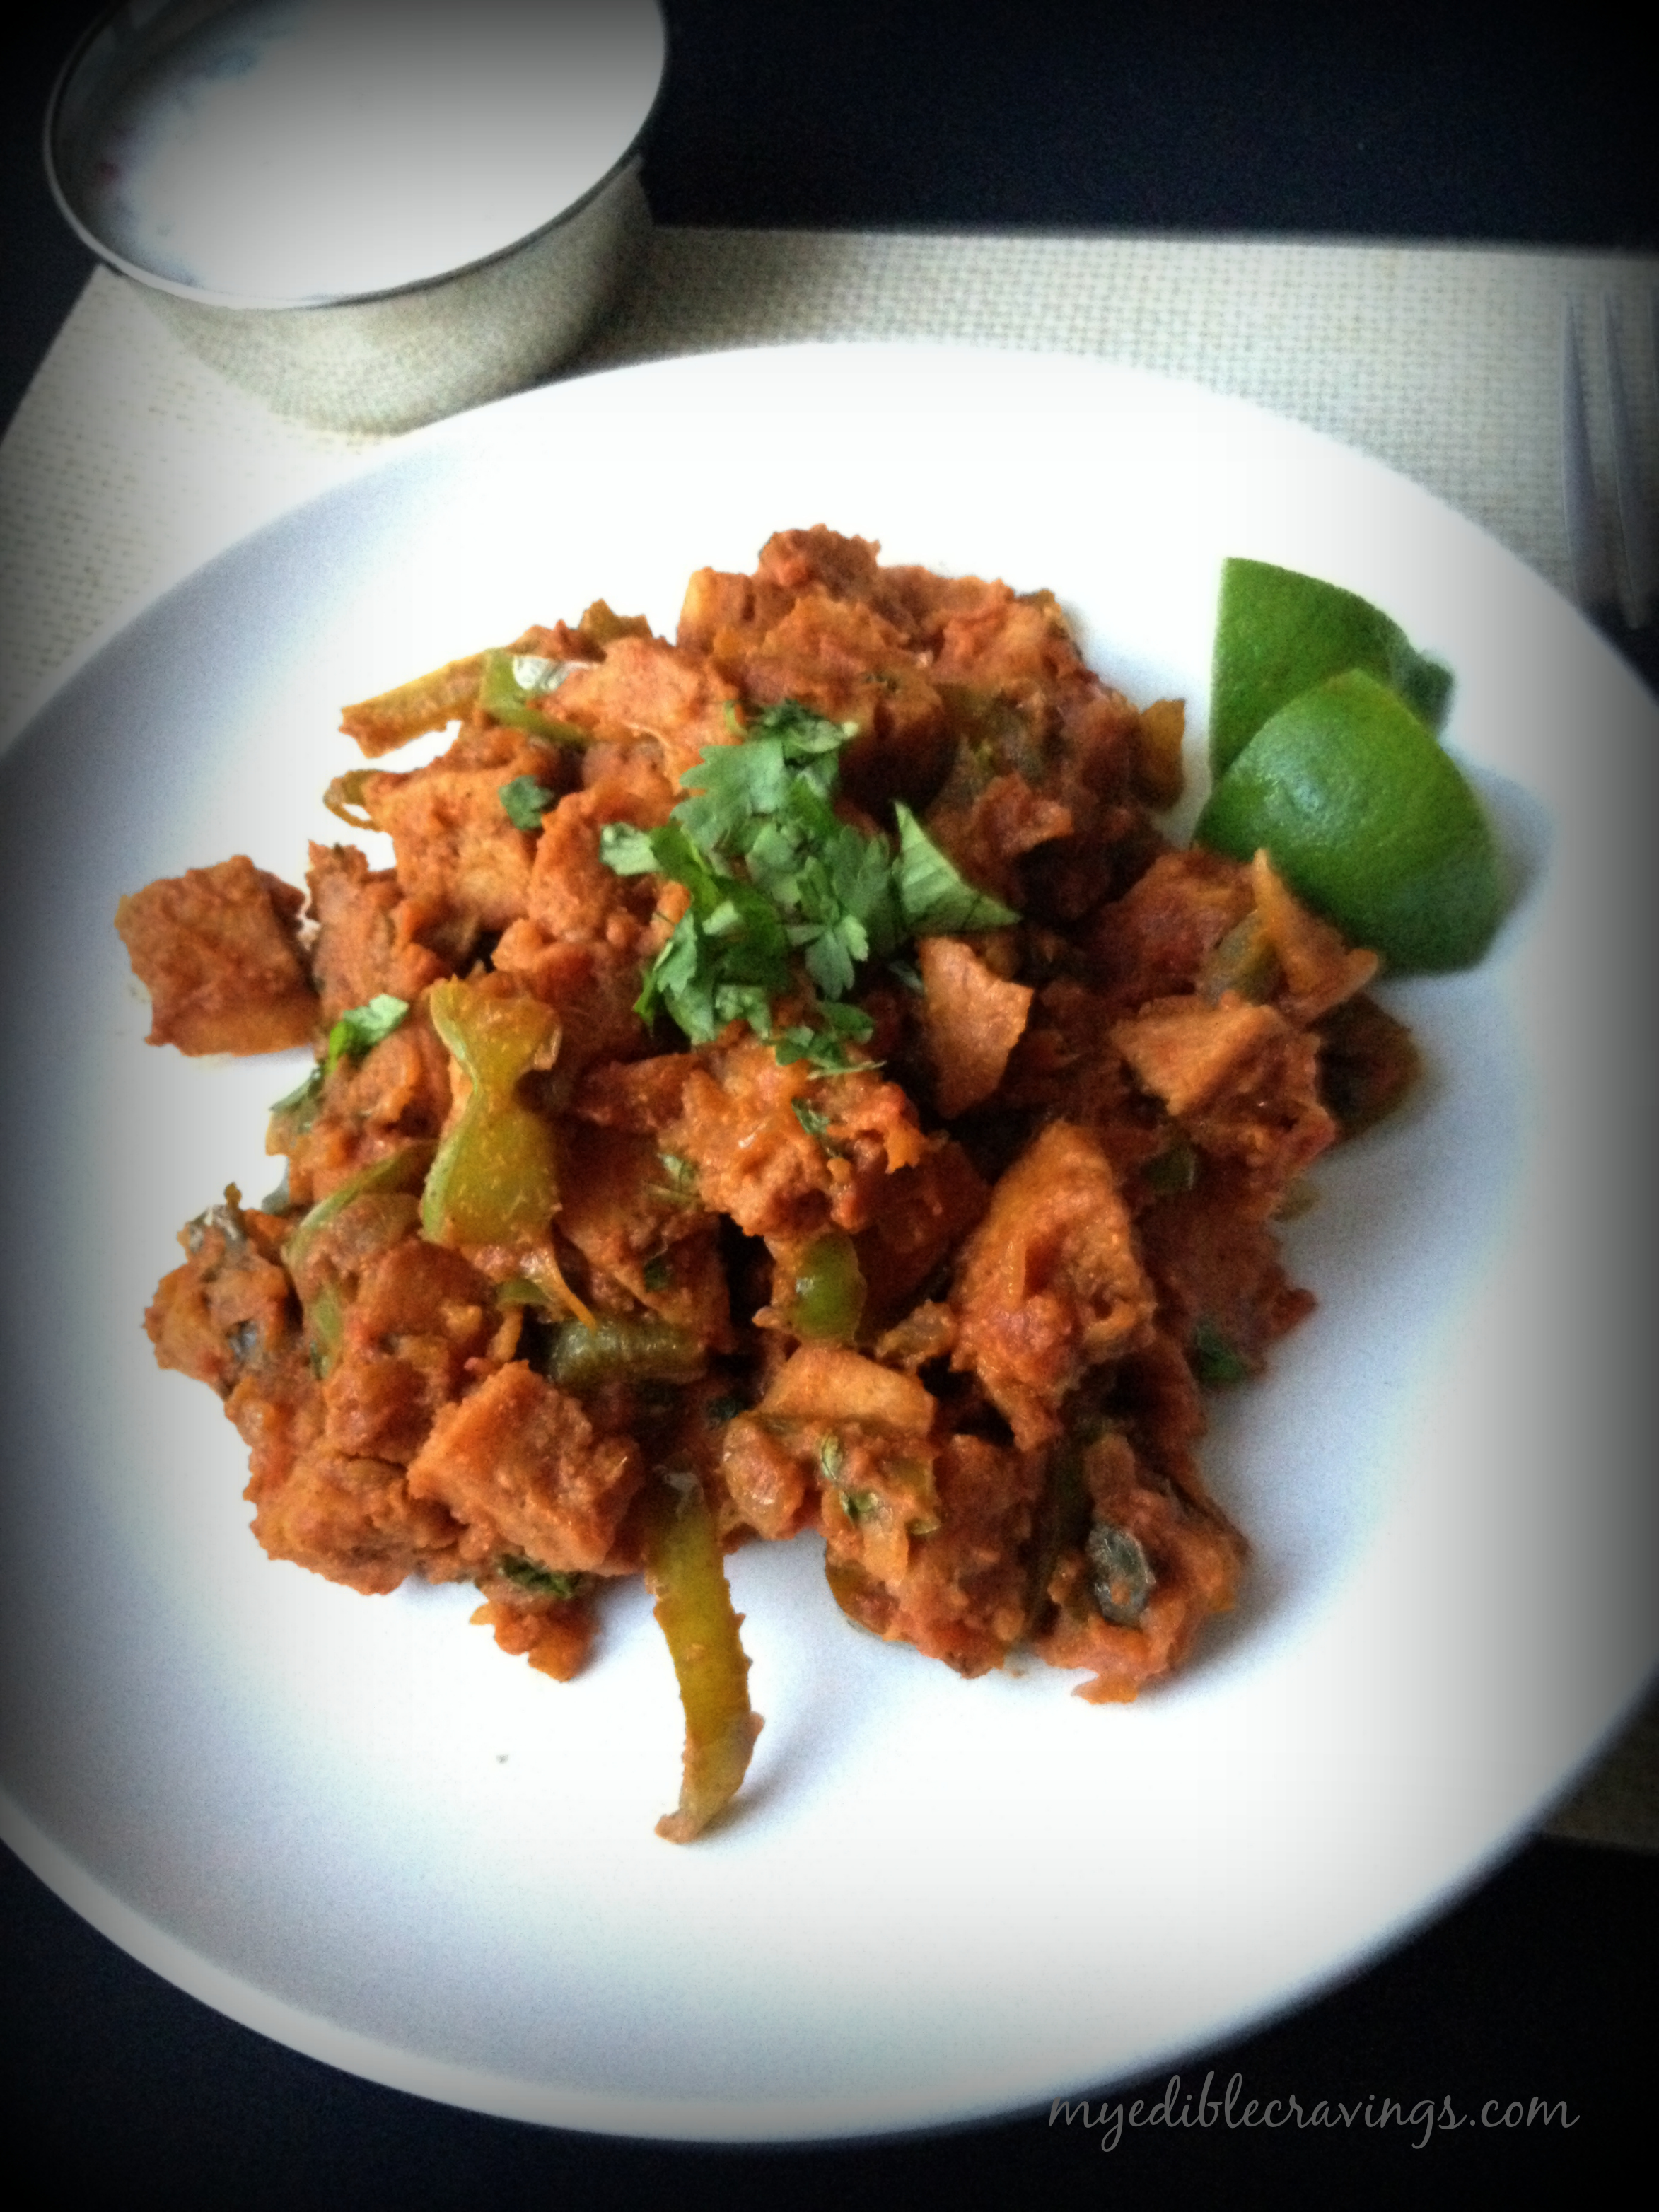
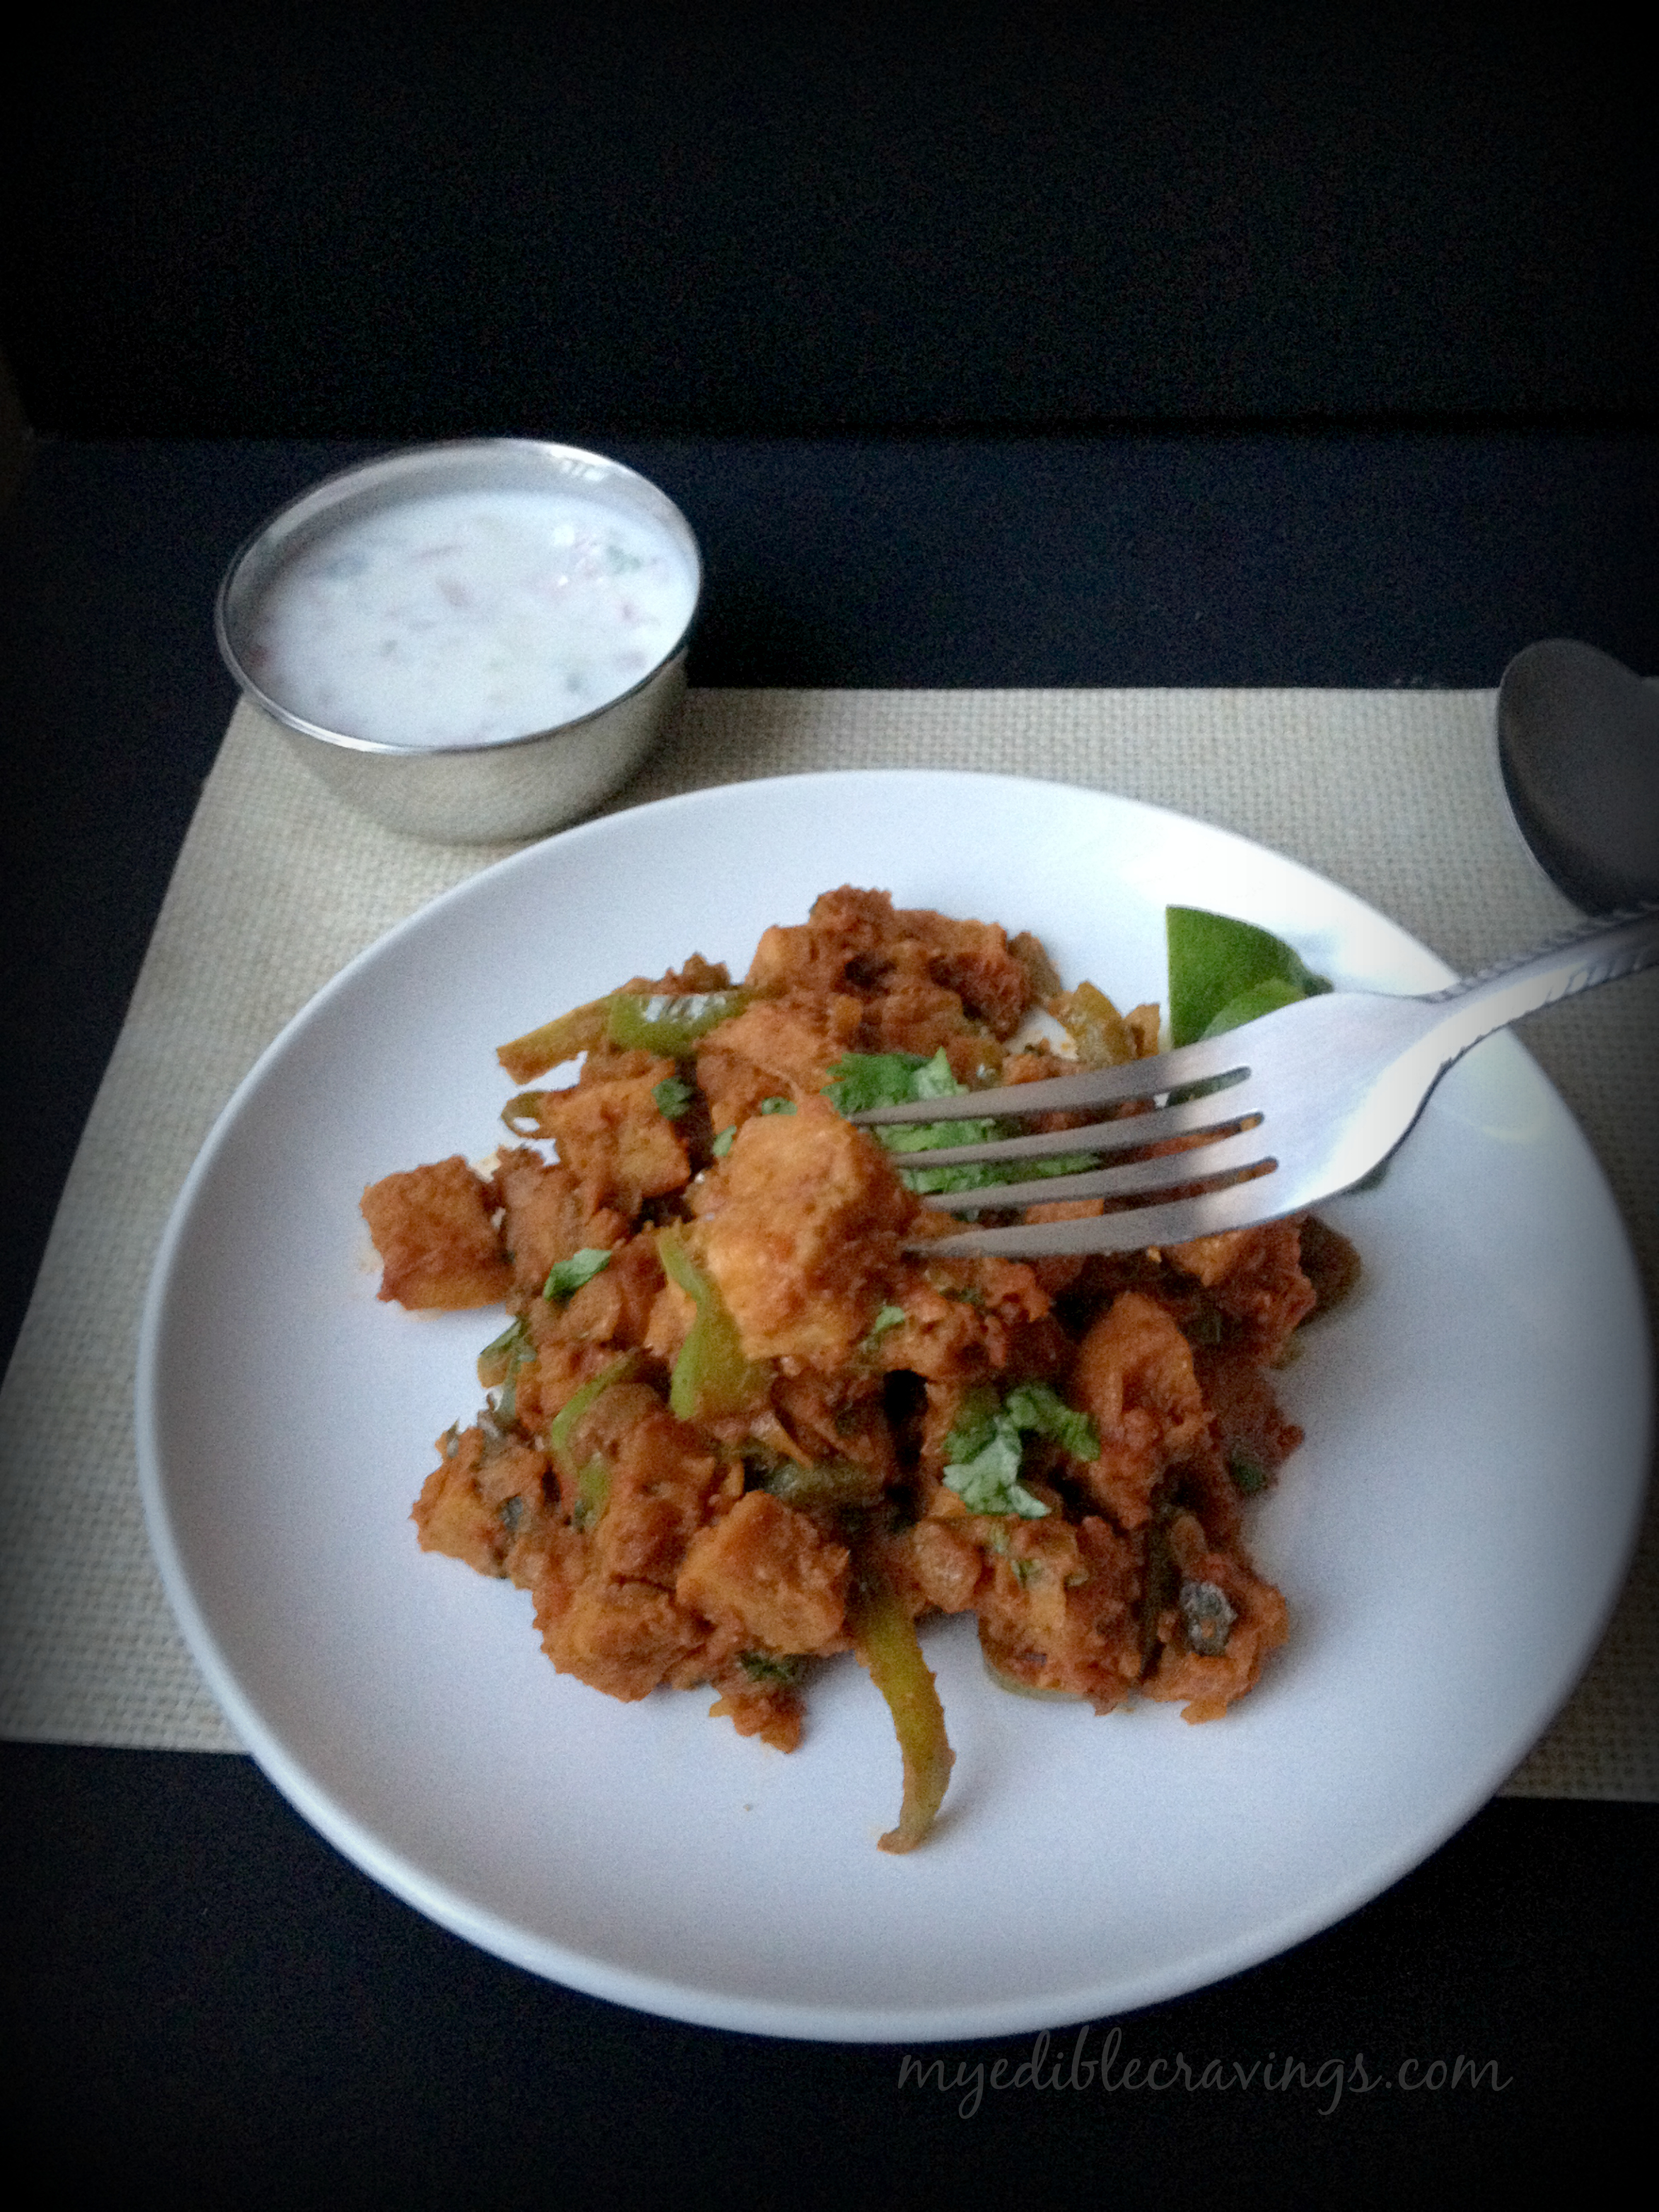
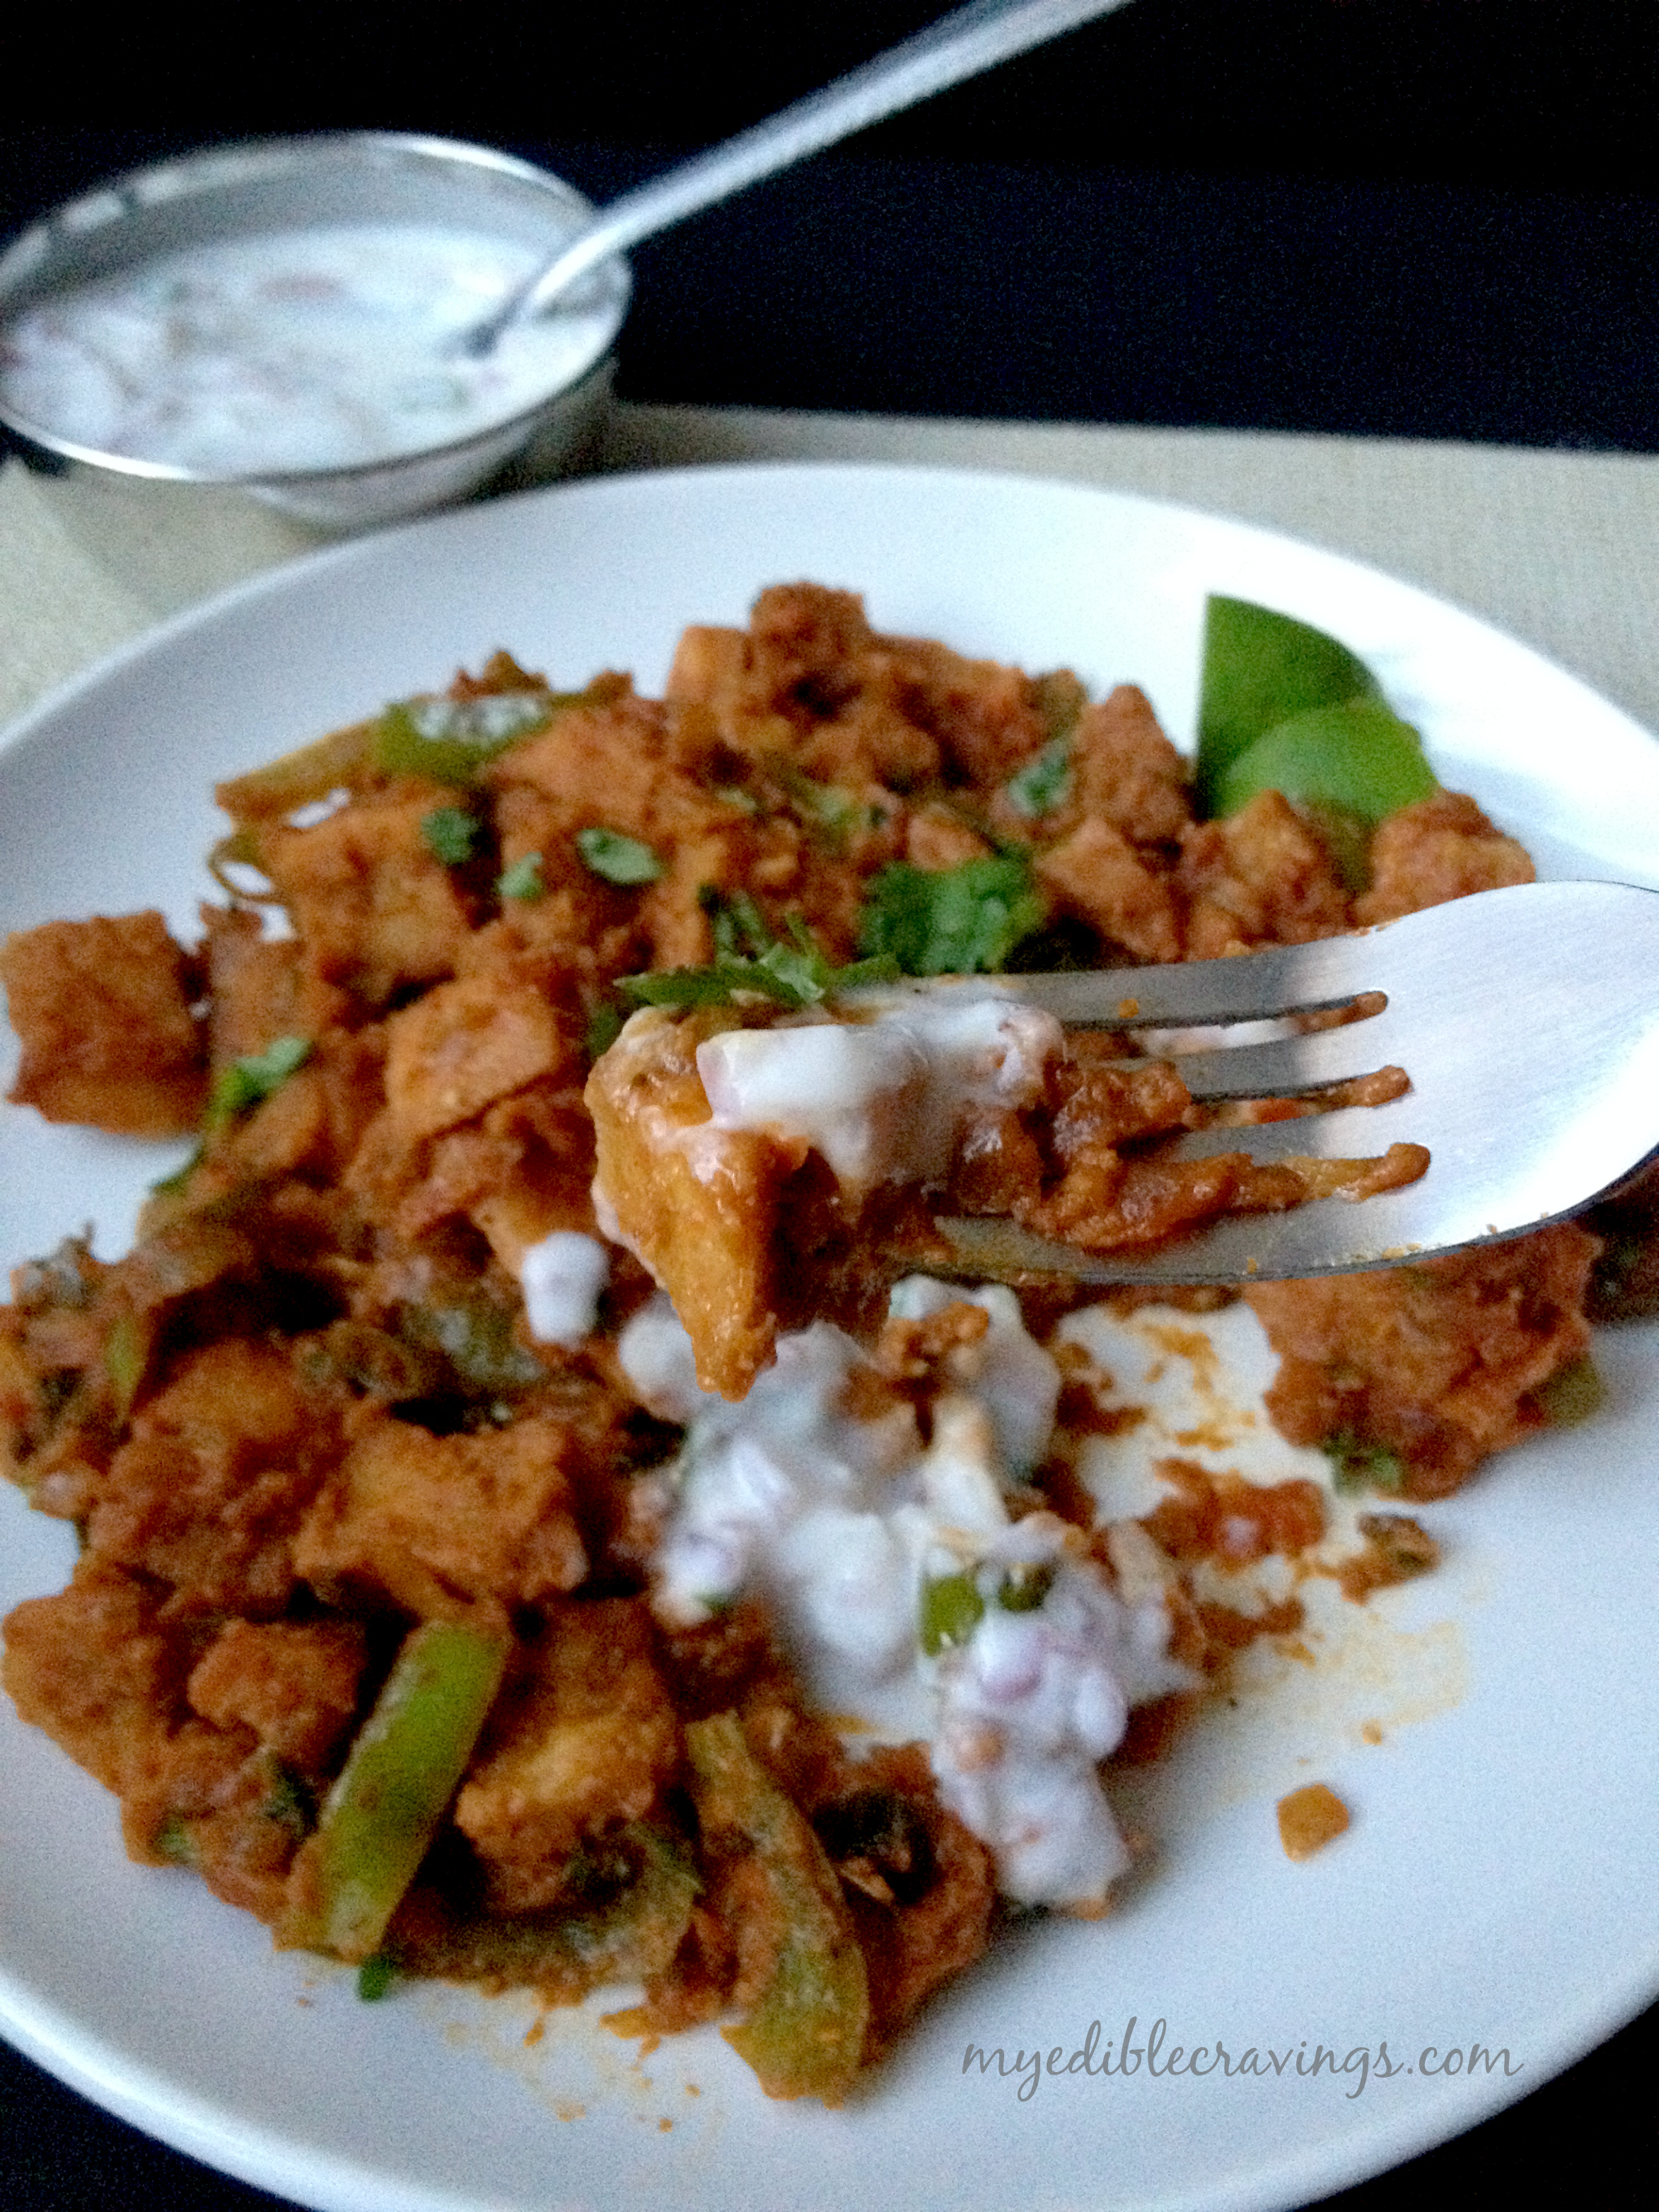
Chilli idli is a variation of the south Indian rice cakes called as Idli. Idli is ubiquitous in Tamilnadu and is one of the most common food items that you can find there (next only to rice). Chilli idli or kaima idli is basically a fried dish where you have fried idli pieces as the base ingredient.
chilli idliChilli idli is one of my favorite vegetarian dishes. It is very easy to prepare and can be done quickly as well. It is also a popular snack item but mainly served as a dinner dish in restaurants back home.
chilli idliIn you preparation, deep fry the idli pieces to give restaurant touch. Make sure to steam idlis six to eight hours ahead and store it in a refrigerator. So that the pieces will absorb less oil while frying. If you are health conscious like us, you could simply spray some cooking oil on top of the pieces and bake in the oven until the sides are crisp and change color. But I would say, once in a while you should skip all your calorie calculations and do it the tasty albeit not so healthy way ;).
CHILLI IDLI
Here is my version of restaurant style chilli idli 🙂

CHILLI IDLI | KAIMA IDLI
Recipe type: Dinner
Cuisine: Indian
Prep time: 
Cook time: 
Total time: 
Serves: 2
 
Chilli idli is a variation of the south Indian rice cakes called as Idli. Idli is ubiquitous in Tamilnadu and is one of the most common food items that you can find there (next only to rice). Chilli idli or kaima idli is basically a fried dish where you have fried idli pieces as the base ingredient.
Ingredients
  • Vegetable oil- for deep frying
  • Idli – 7 nos
  • Fennel seeds – 1 tsp
  • Curry leaves – a sprig
  • Onion – 1
  • Ginger-garlic paste – 1 tbs
  • Tomato, large – 1
  • Green chilli – 2
  • Green Capsicum or bell pepper, cut lengthwise – ½ cup
  • Red chilli powder – 1 tsp
  • Pav bhaji masala – 1 tsp
  • Coriander powder – 1 tbsp
  • Tomato ketchup – 1 tbsp
  • Salt as required
  • Garlic powder – 1 tsp (optional)
  • Onion powder – 1 tsp (optional)
  • Cashews – 1 tbsp
  • Cilantro, chopped – 2 tbsp
  • Lemon juice – 1 tbsp
Instructions
  1. Steam the idlis and refrigerate it at least for 6 hours.
  2. Heat oil in a frying pan, and meanwhile cut the idlis to desirable bite size pieces.
  3. Fry the idli pieces until it turns brown and crispy. Drain on a plate lined with paper napkin and set aside.
  4. Heat a pan with a tbsp of oil, season with fennel seeds and curry leaves.
  5. When they start to sizzle, add in the chopped onion. Sauté until the onions turn translucent. Add in ginger-garlic paste and stir fry until the raw aroma disappears.
  6. Now add in chopped tomato followed by slit chillis. Sauté for couple of minutes until the tomatoes are mushy without any chunks.
  7. Add bell pepper and give it a stir.
  8. Now in a low flame, add chilli powder, coriander powder, pav bhaji masala, salt and ketchup. Stir well until all the masalas are well mixed.
  9. Add in the fried idli pieces to the masala and give a good stir until the masalas are blended.
  10. Now add ¼ th cup of water and bring it to boil. When the water is completely absorbed, add in garlic and onion powder. Give it a stir. Switch off the flame.
  11. Garnish with fried cashews and chopped cilantro.
  12. Drizzle few drops of lemon juice on top before serving.
  13. Enjoy hot chilli idli with onion raitha!

CHILLI IDLI
What is your version of chilli idli?