Banana bread

Banana BreadHi guys, Today I finally decided to make something with the ripe bananas that has been on the counter for the past two days. So zeroed in on Banana bread, a favorite of us. Banana Bread is a type of bread that is often served as an after meal snack. According to Wikipedia, Banana bread became popular in US in the 1930s after the advent of baking soda 🙂 and February 23rd is National Banana Bread Day. Generally, I am a fan of banana and like food items that has banana as one of the ingredients.
Banana breadBanana bread
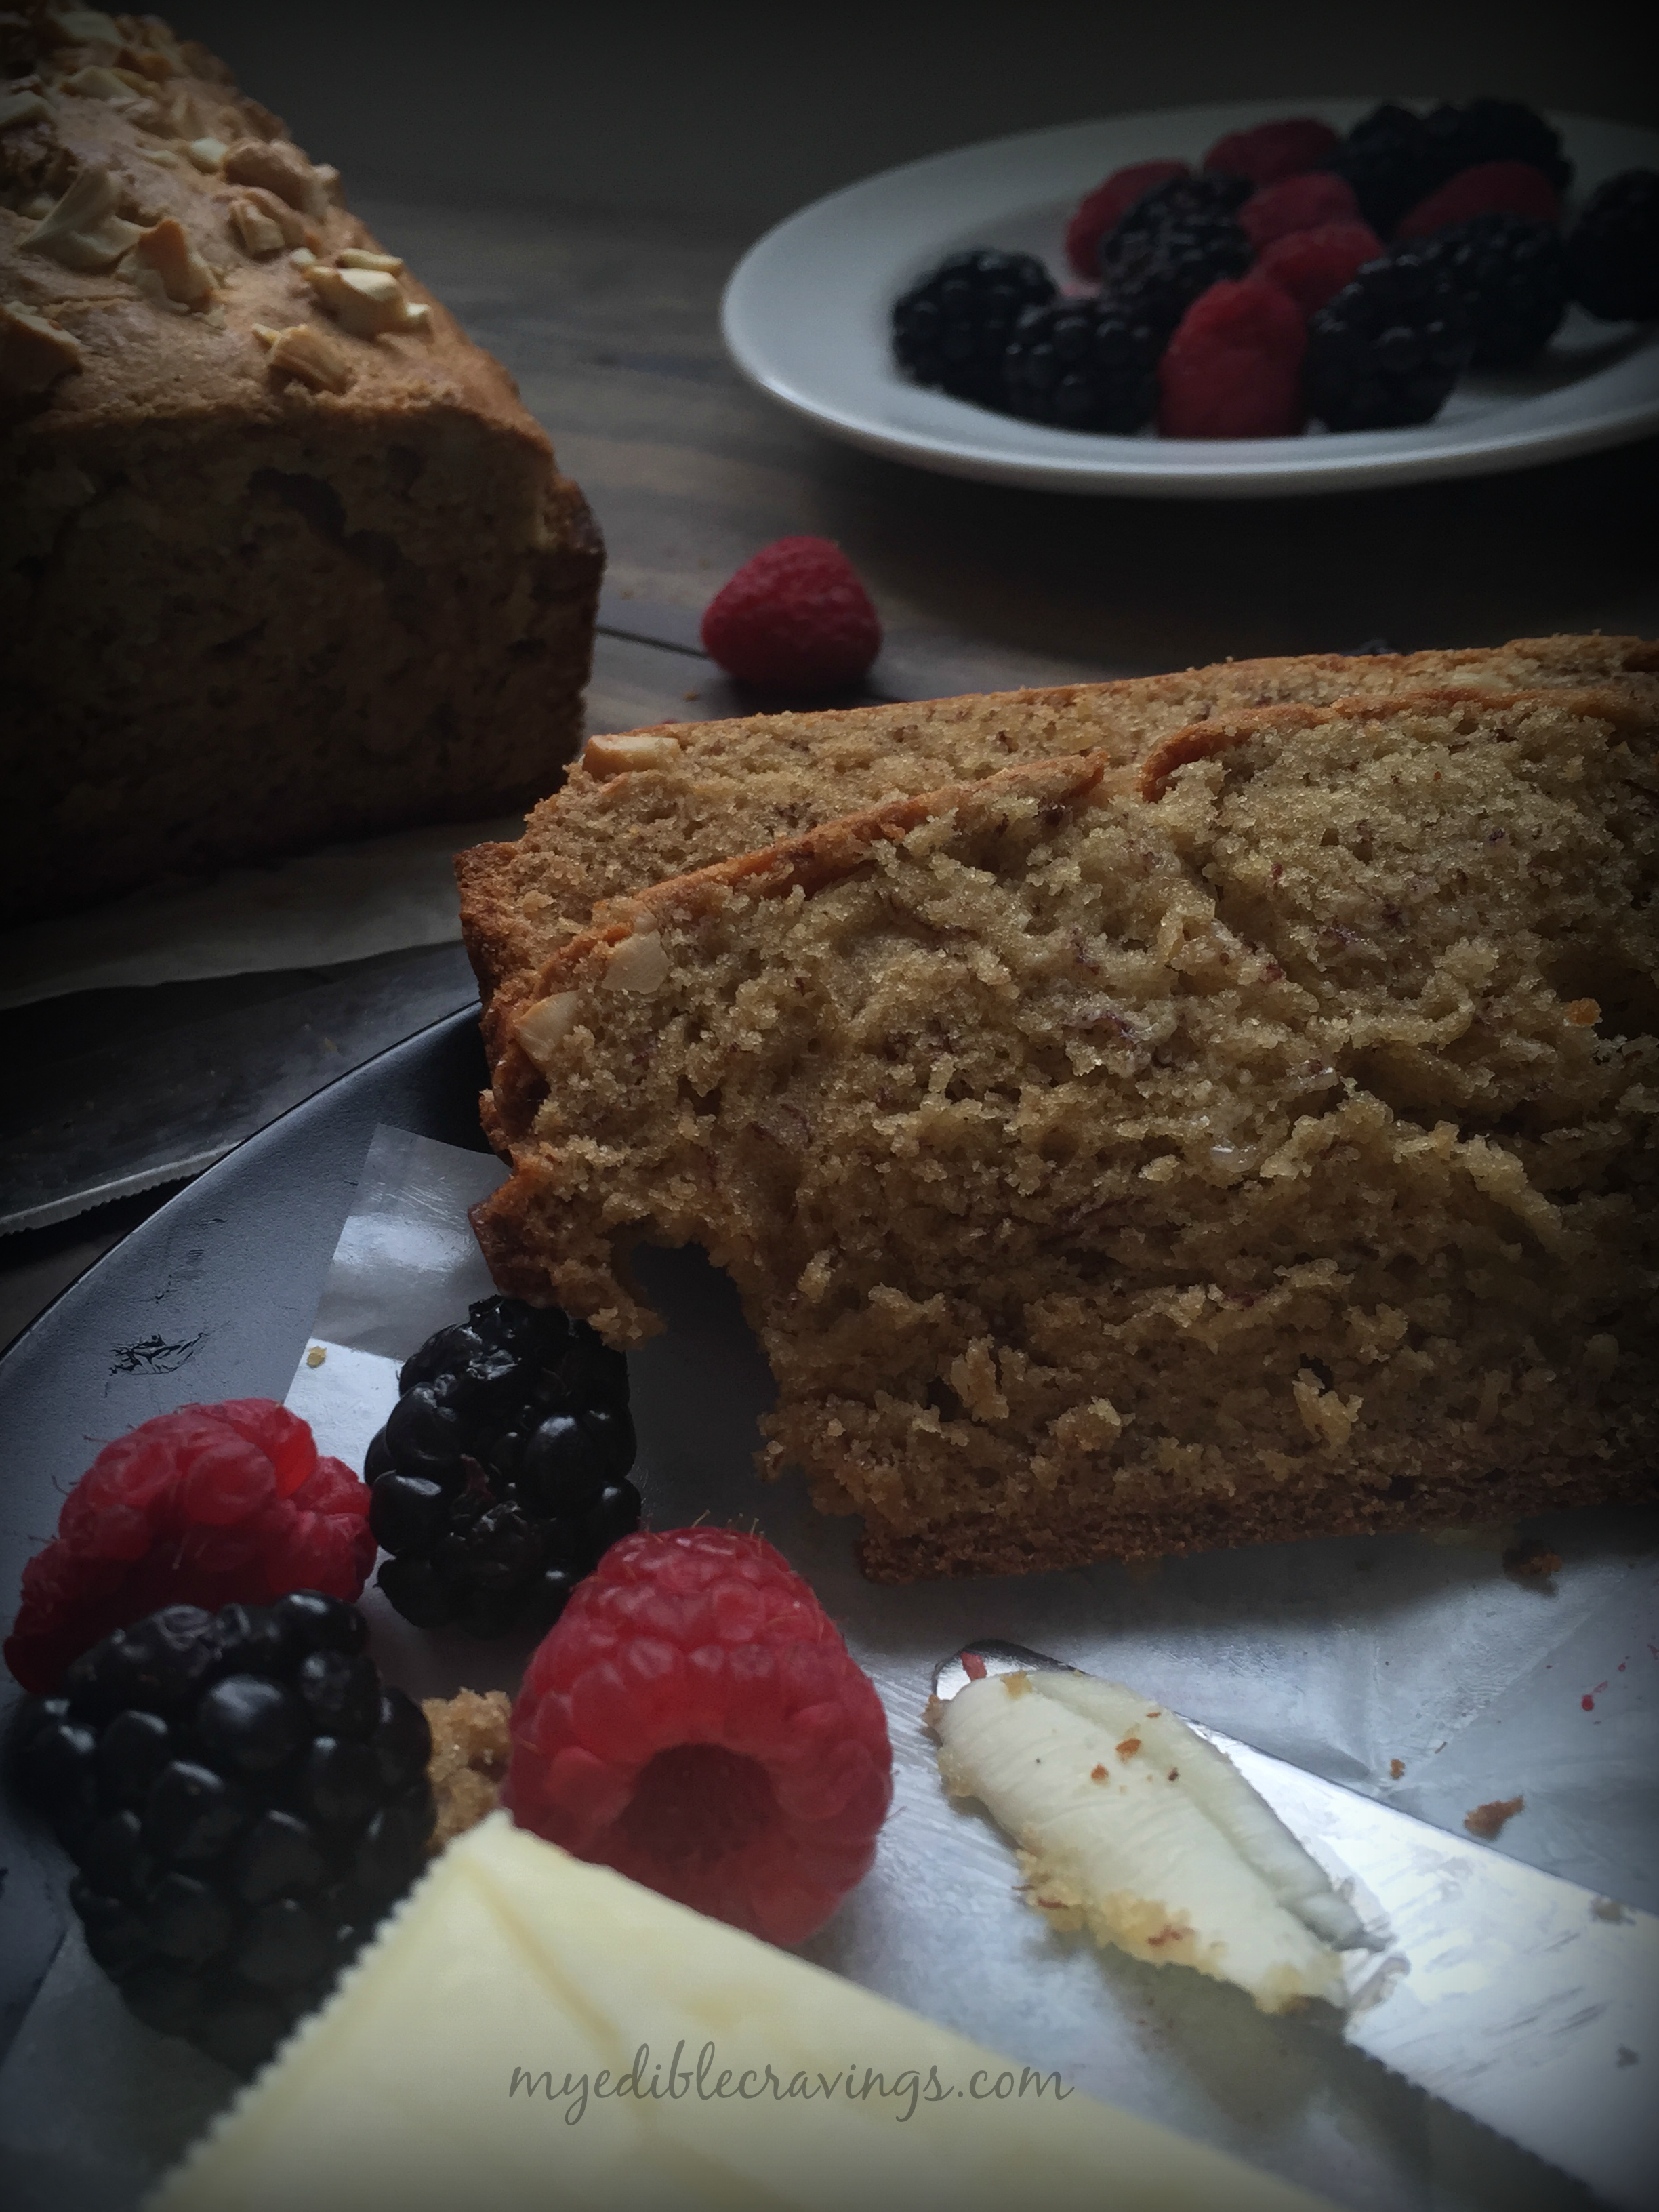
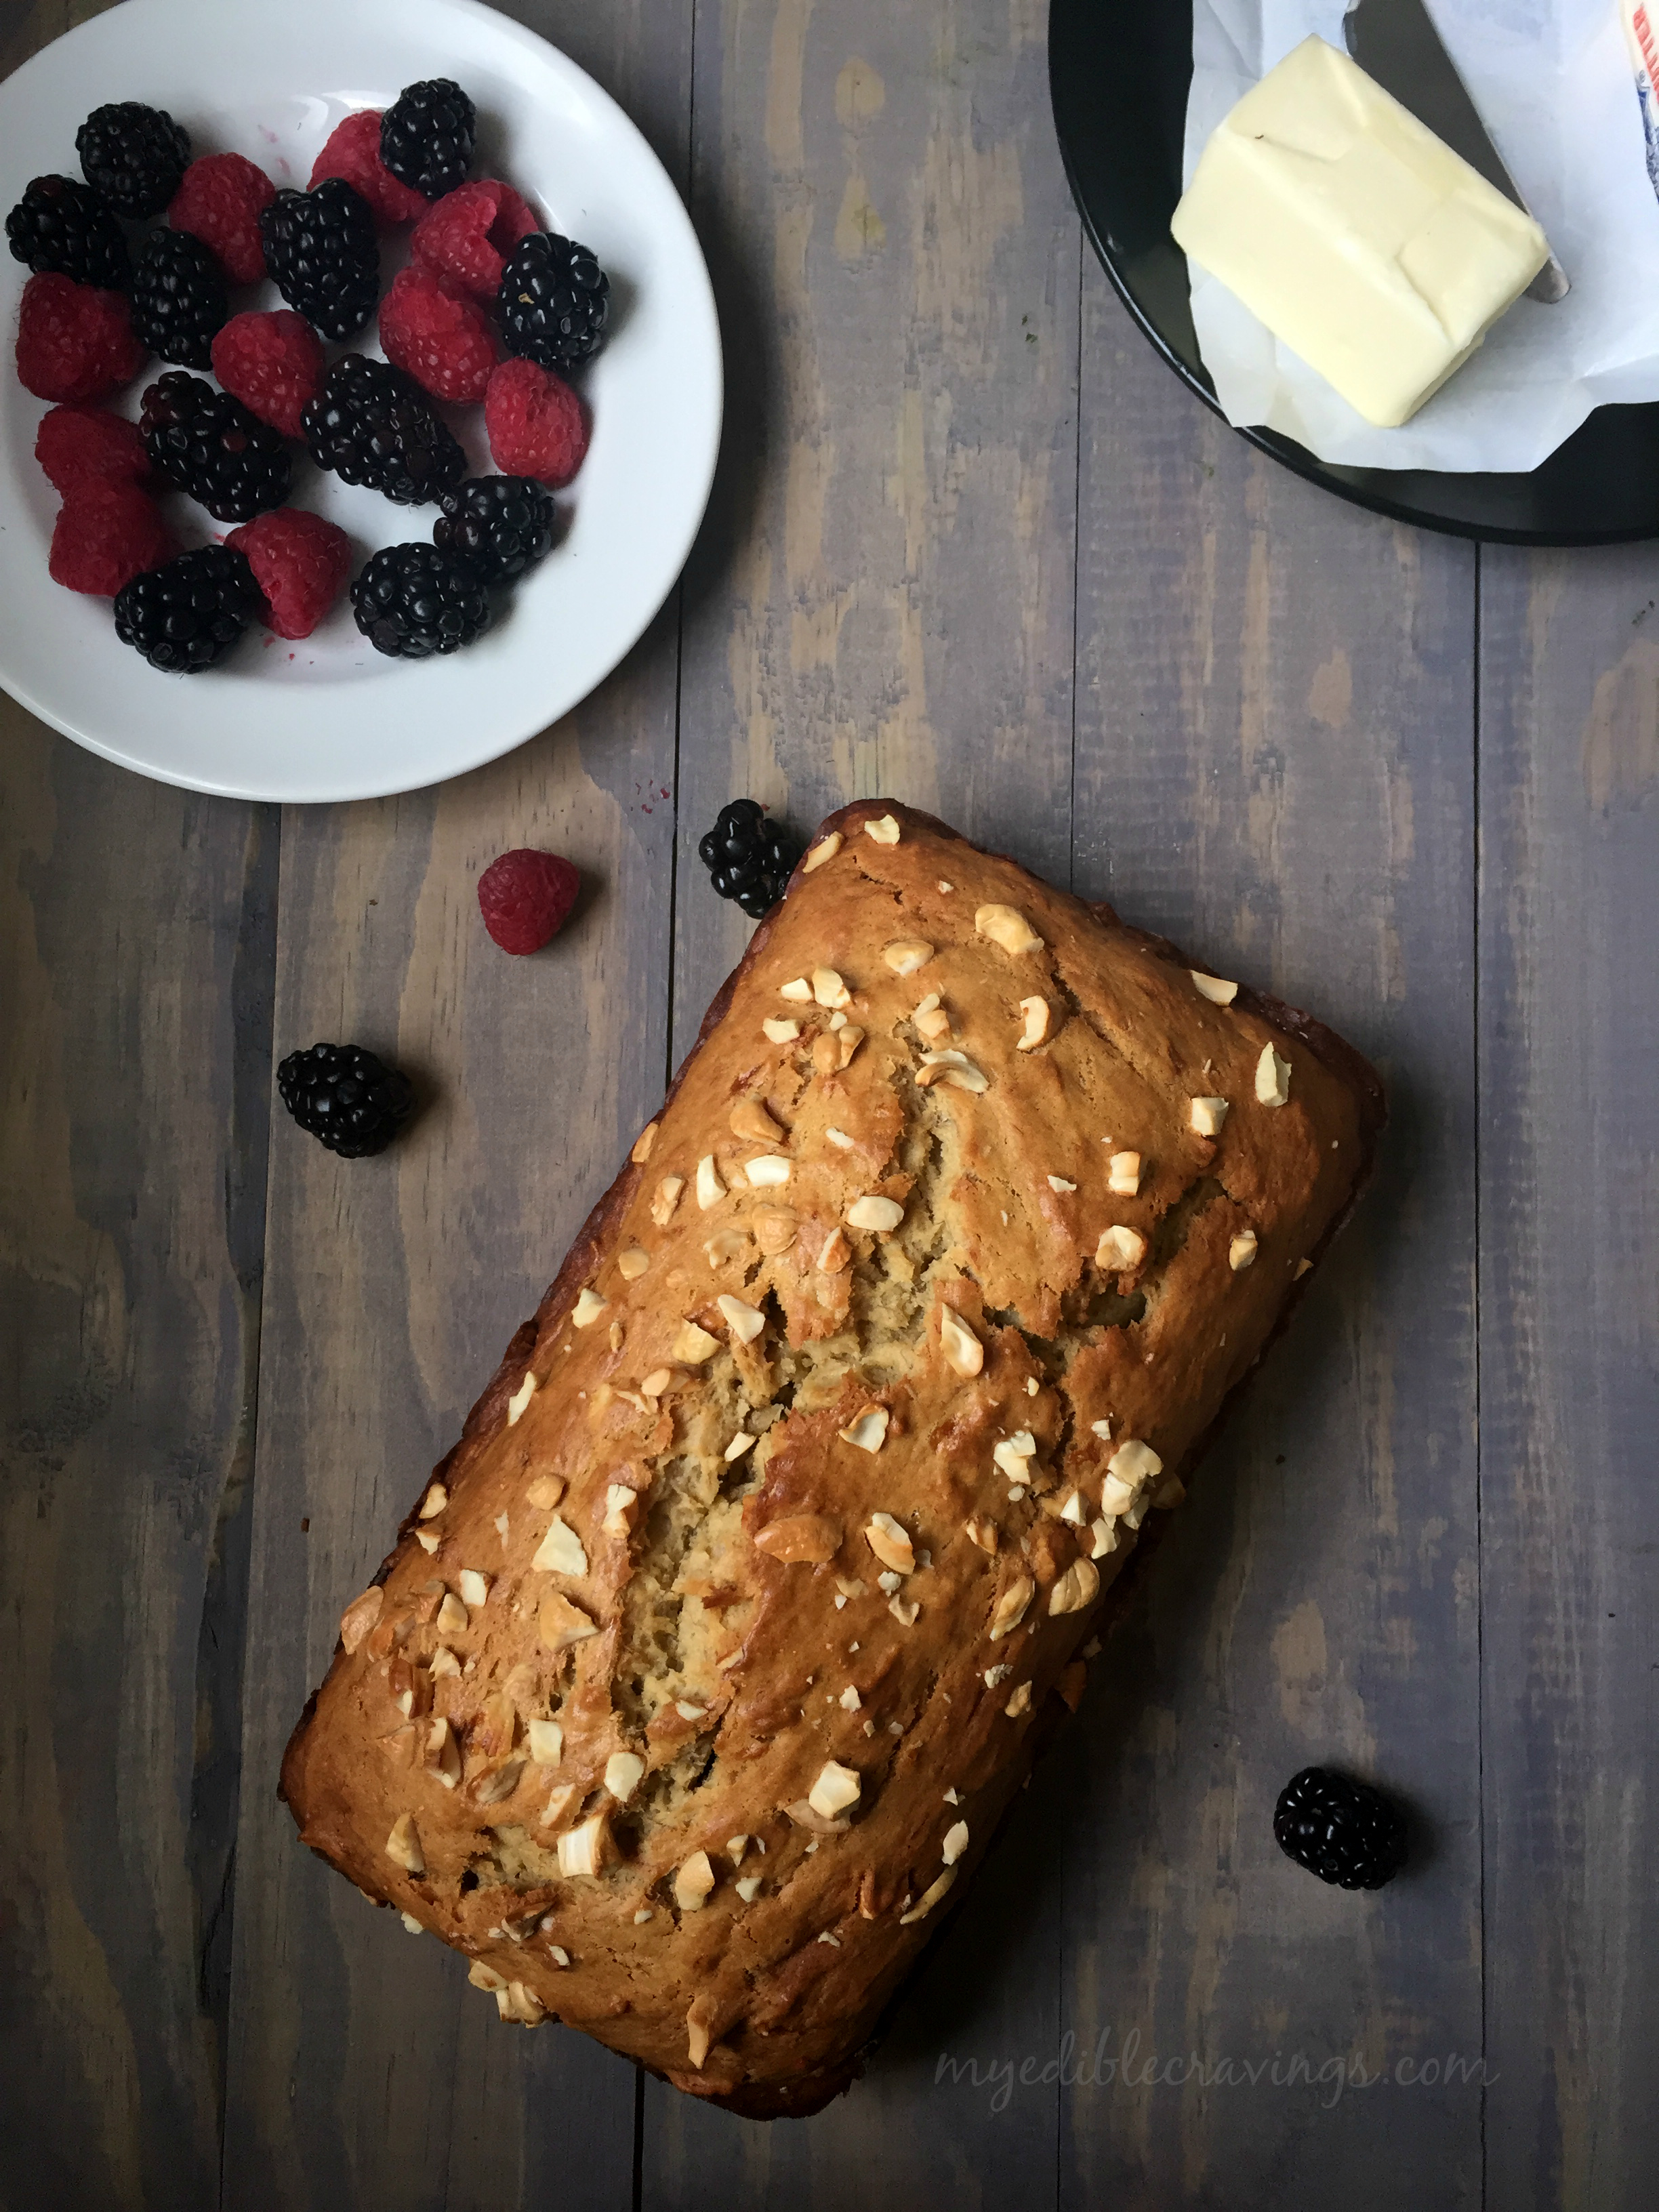
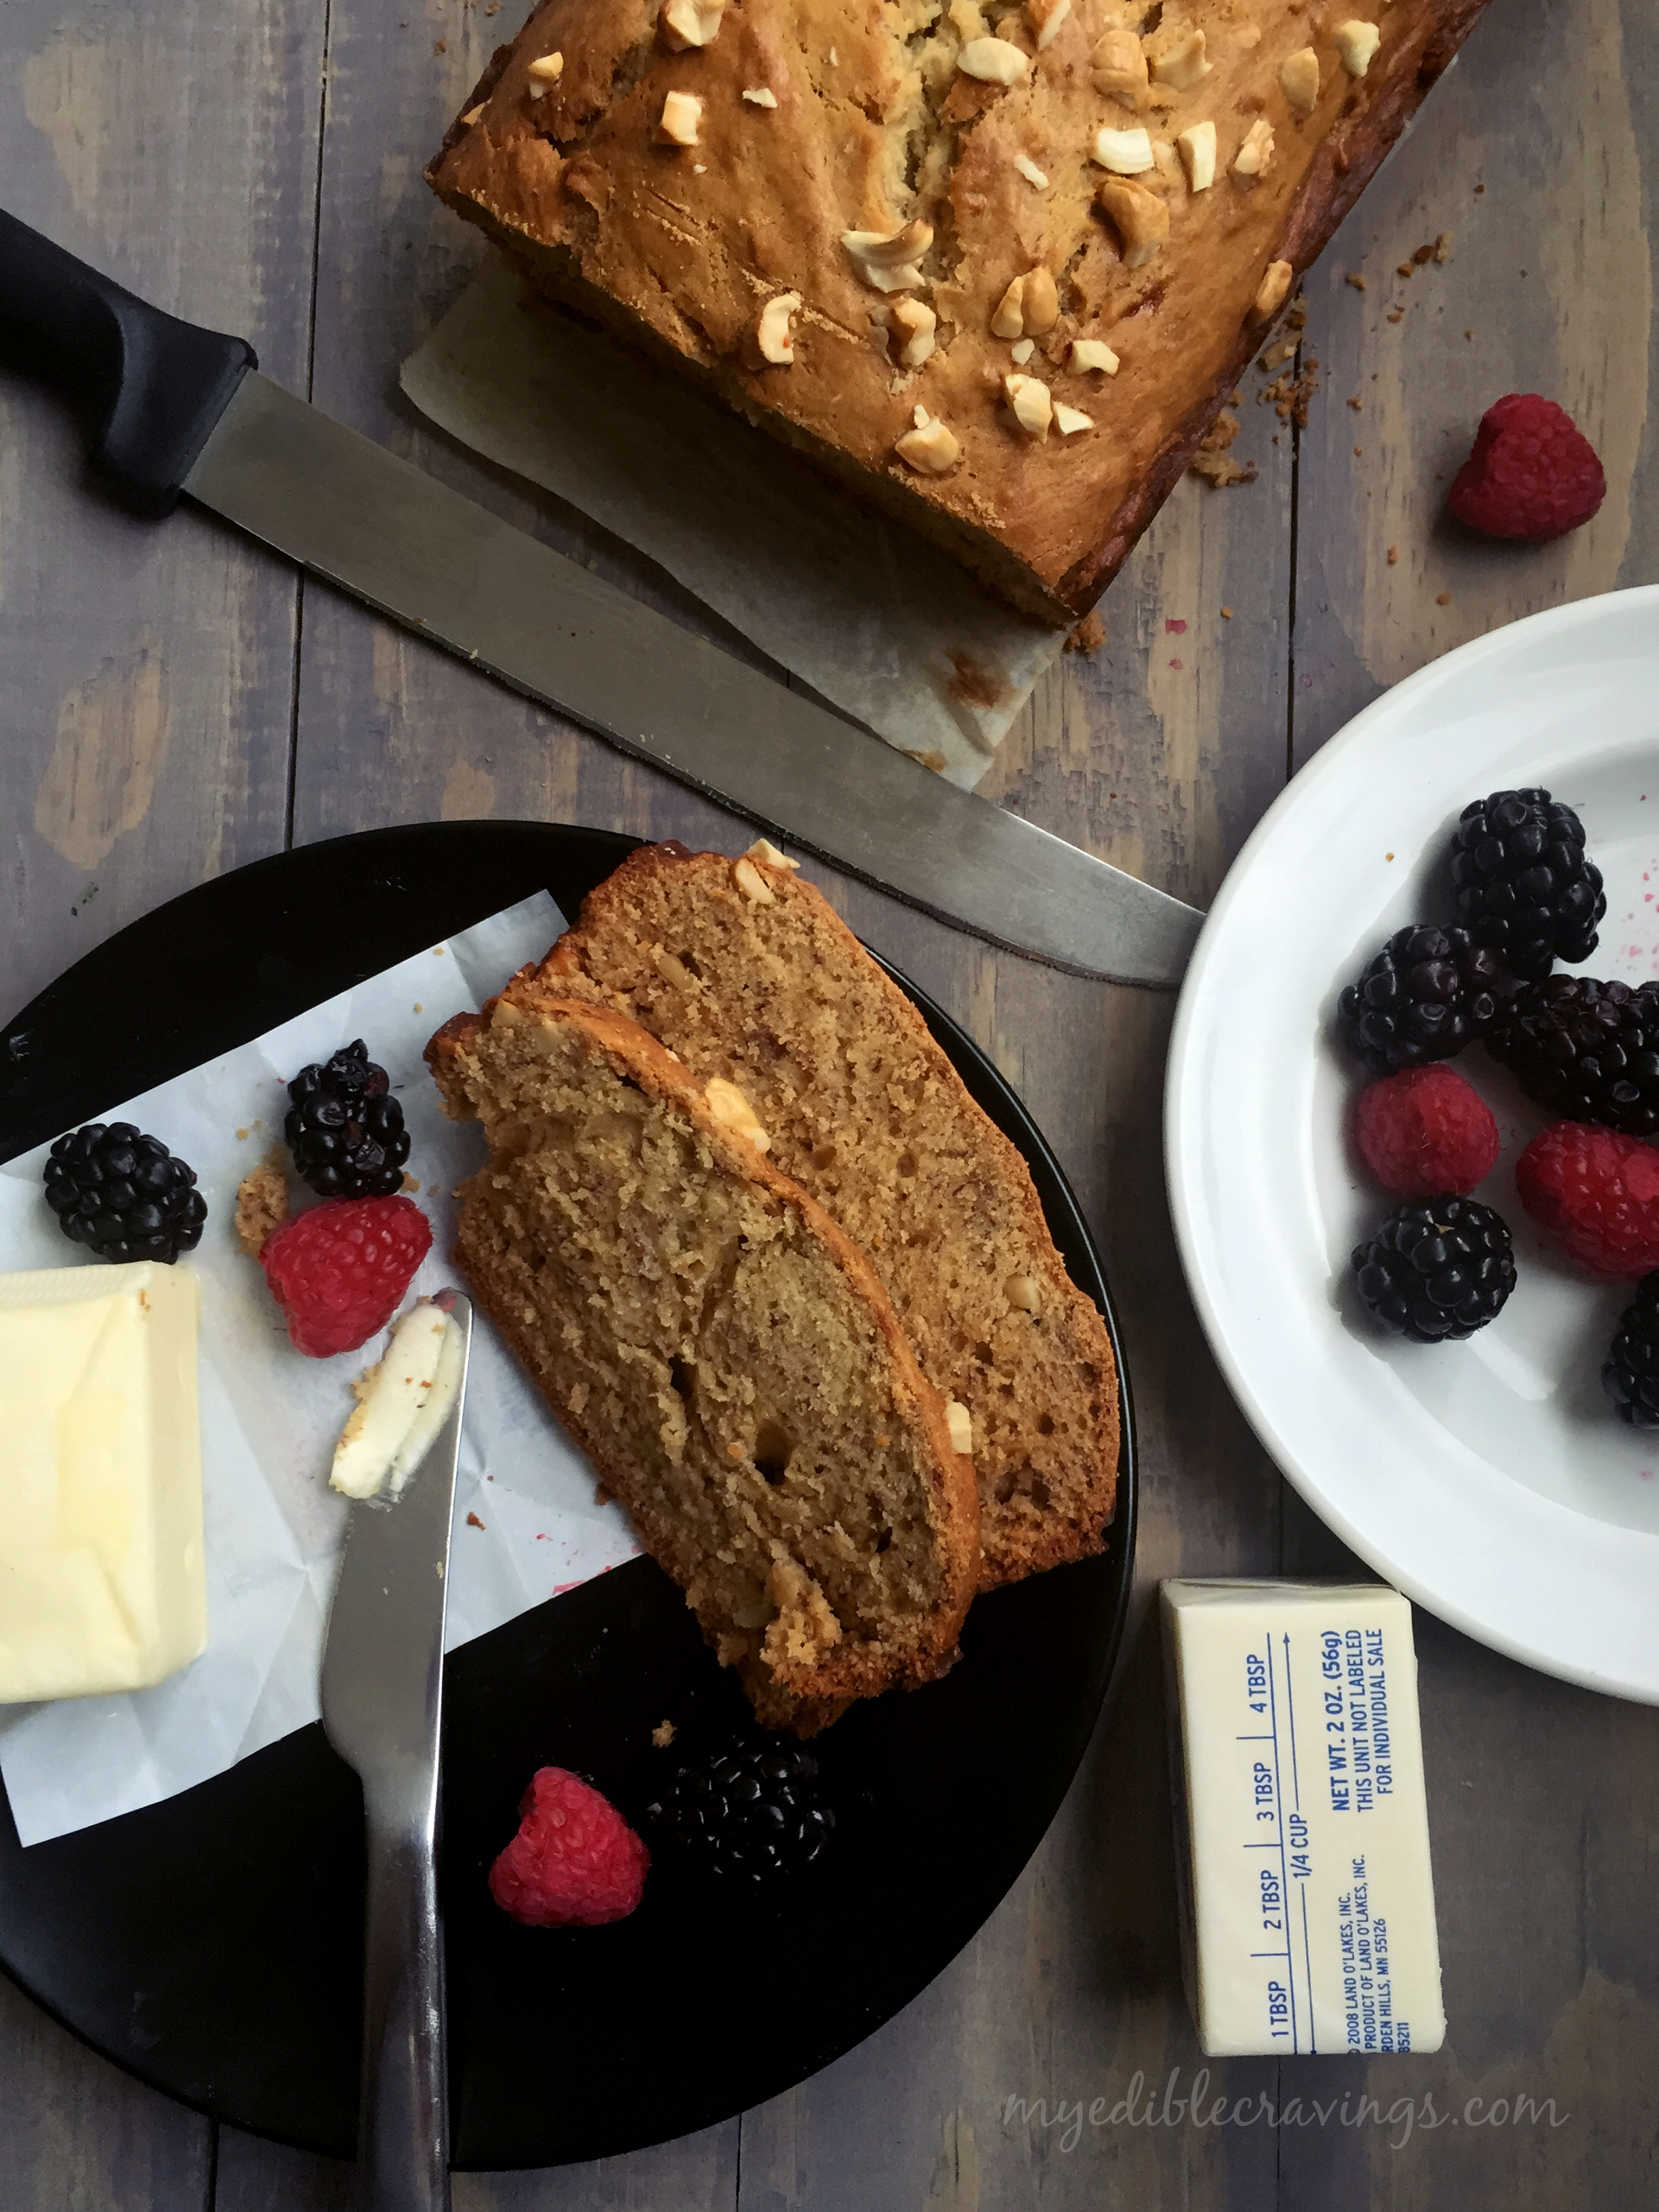
Banana bread is very easy to make and is very flavorful. In fact while I am writing this, Banana bread is getting baked in the oven and I could smell the divine smell of bananas and butter mixed together. Can’t wait to have a bite! If you have the ingredients sorted out, then baking the bread takes no time at all. There are different varieties to banana bread as well, like, chocolate chip banana bread, banana nut bread, banana raisin bread etc. Here I have given you the recipe for plain banana bread with cashews.
Banana bread
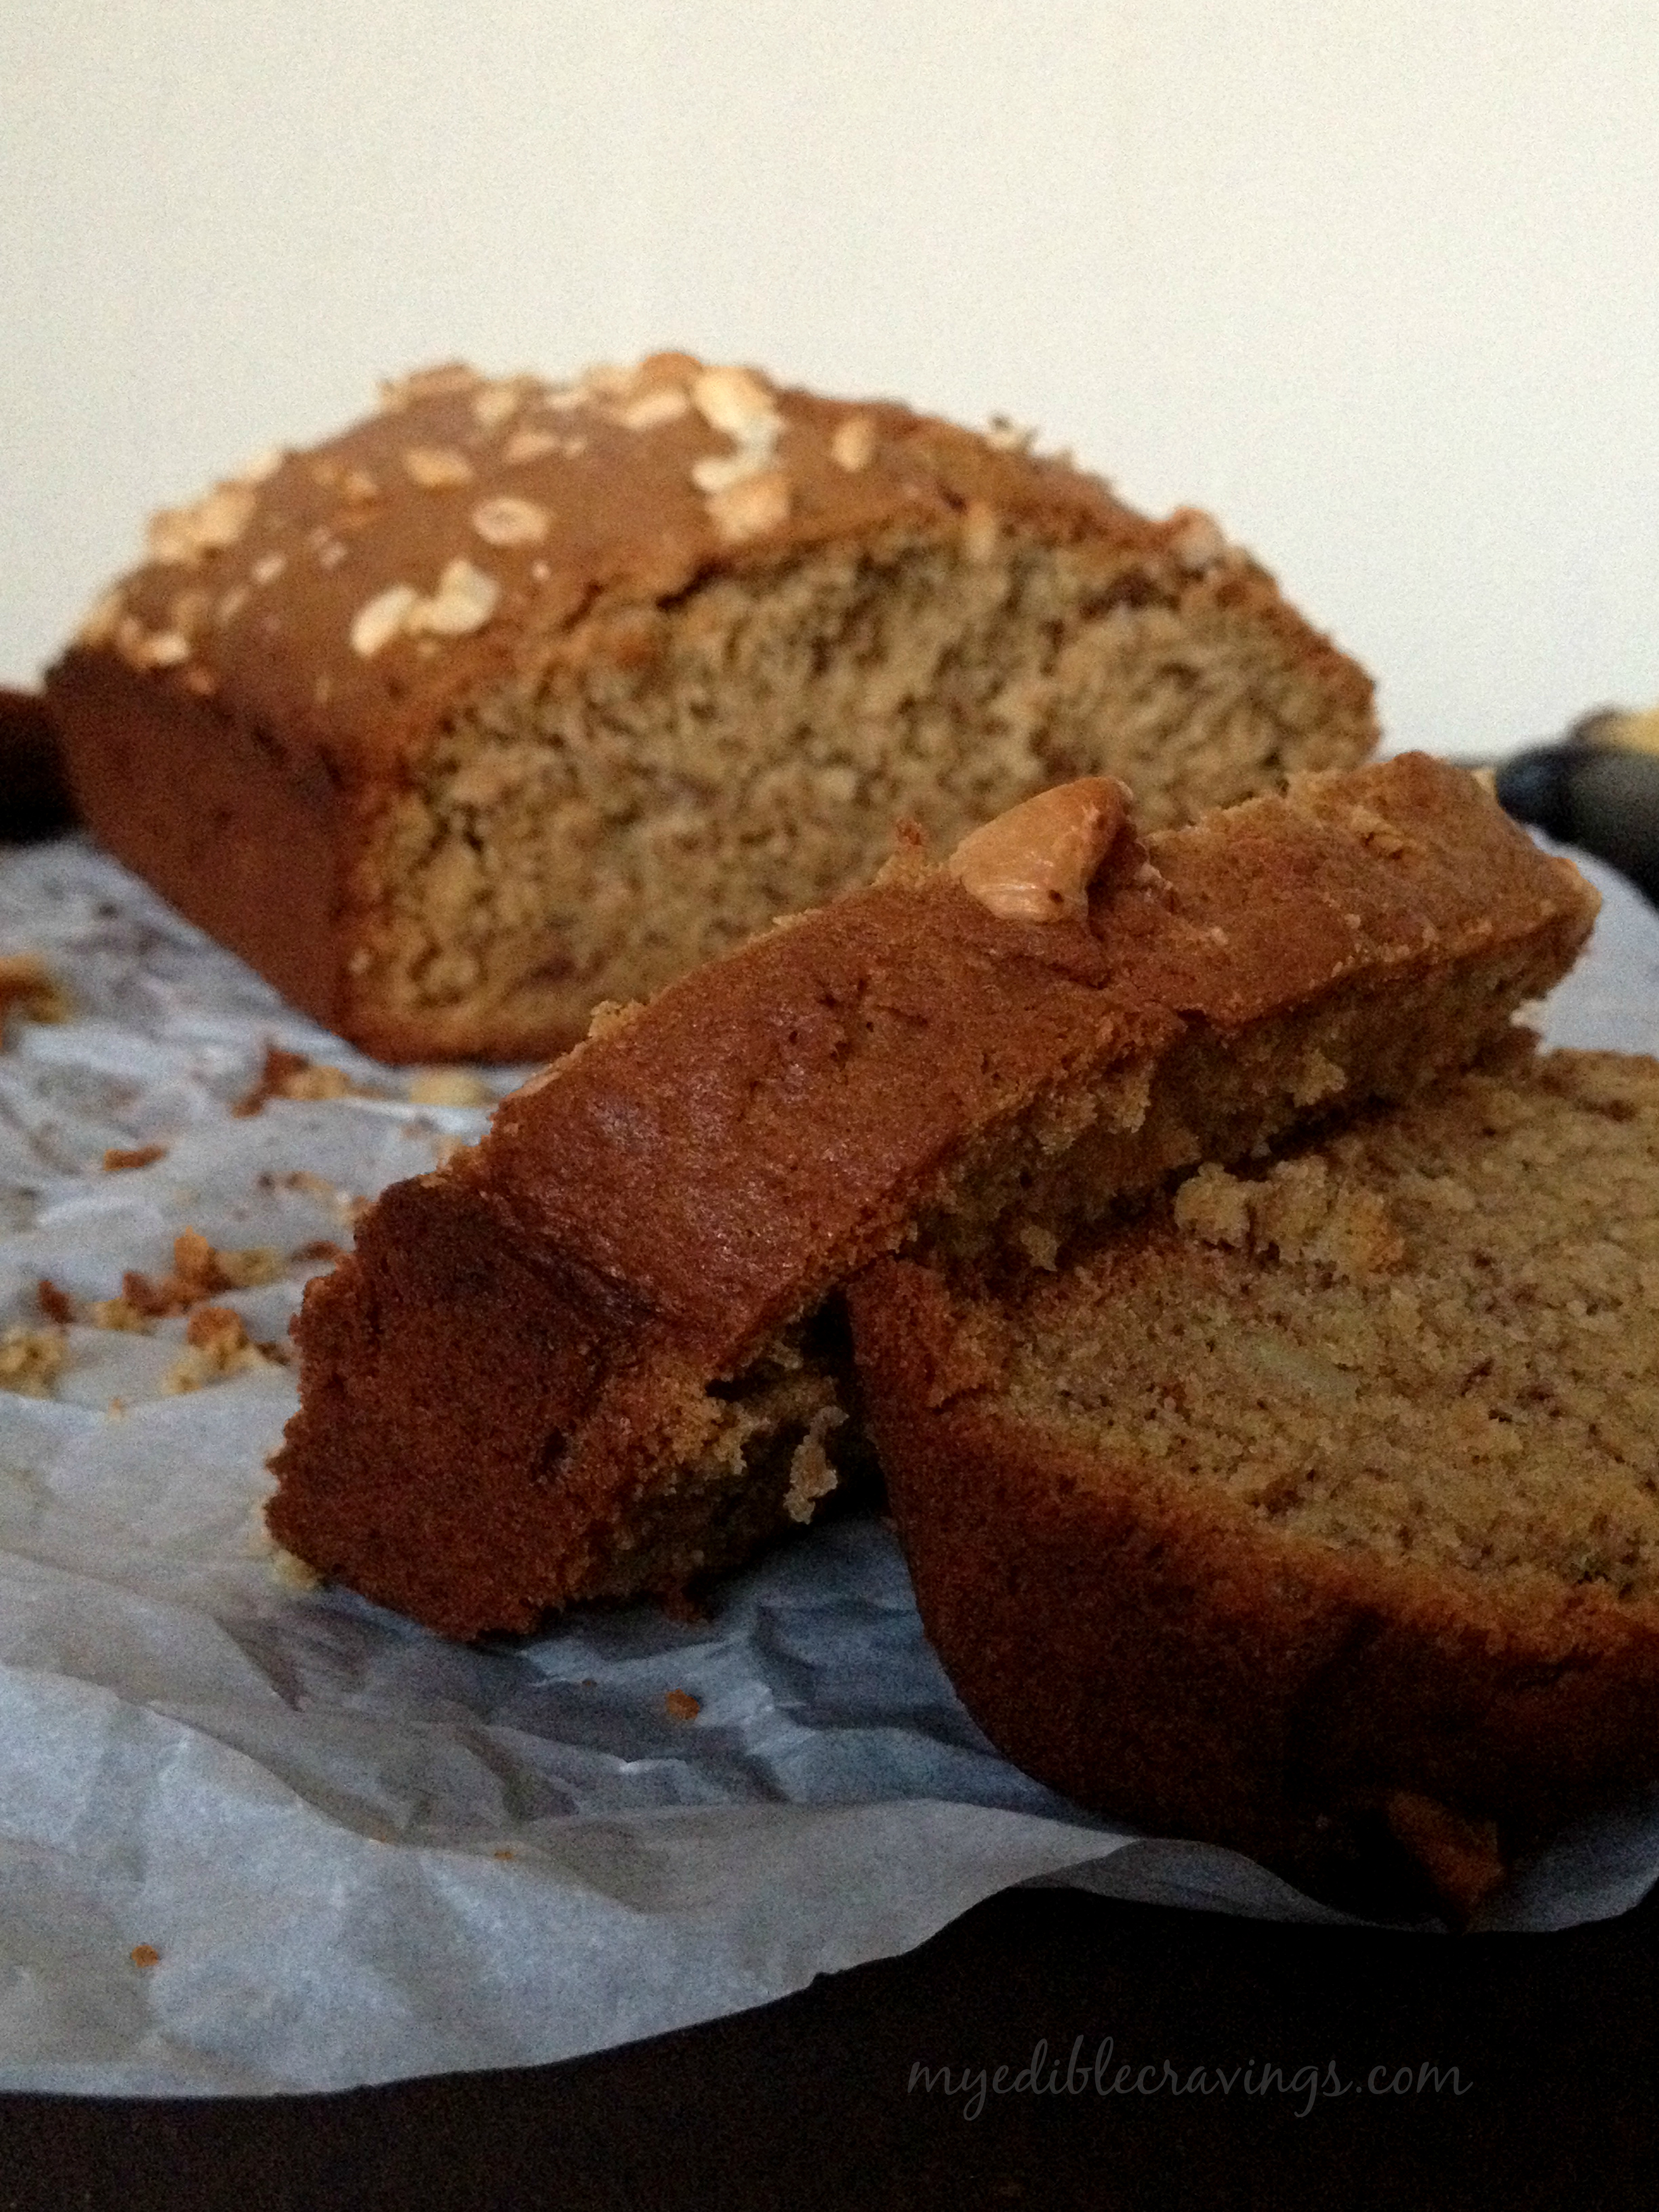
Here comes the beep from the oven! Alright, enough of the stories. I guess its nom nom time and I am off to the kitchen. Hope you are too, to start making this wonderful, simple and flavorful dish, i.e. the Banana Bread 🙂

Banana bread
Recipe type: Dessert
Cuisine: American
Prep time: 
Cook time: 
Total time: 
Serves: 1 9x5x3 inch loaf
 
Ingredients
  • 1 ¾ cups all-purpose flour
  • 1 tsp baking soda
  • ¼ tsp salt
  • ½ cup (8 tbsp) unsalted butter, melted and cooled
  • ½ cup brown sugar
  • ½ cup granulated sugar
  • 2 eggs, beaten
  • 3 overripe large bananas, mashed
  • ⅓ cup any nuts, chopped, divided (I used cashews)
Instructions
  1. Preheat the oven to 350 degrees F (180 degrees C).
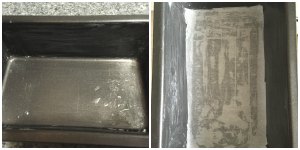
  2. Lightly grease a 9 X 5 inch loaf pan with butter on the sides and line the bottom with parchment sheet. Set aside.
  3. Mash the bananas, chop the nuts and beat the eggs.
  4. In a large bowl, sieve flour, baking soda and salt together.
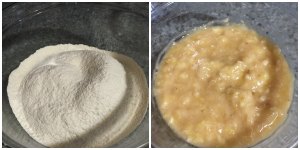
  5. In a separate bowl, cream together butter and sugar.
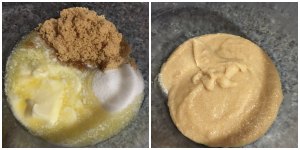
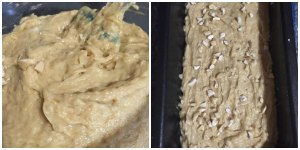
  6. First add the sugar mixture into the flour mixture and mix well without any lumps. Then add in eggs and bananas and mix them with a wooden spoon or rubber spatula until the batter is thick and chunky (The important thing is not to over mix the batter. You do not want it smooth. Over mixing the batter will yield tough, rubbery bread).
  7. Mix half of the chopped nuts to the batter. Lightly fold the batter. Pour batter into the prepared loaf pan. Top it off with the remaining nuts.
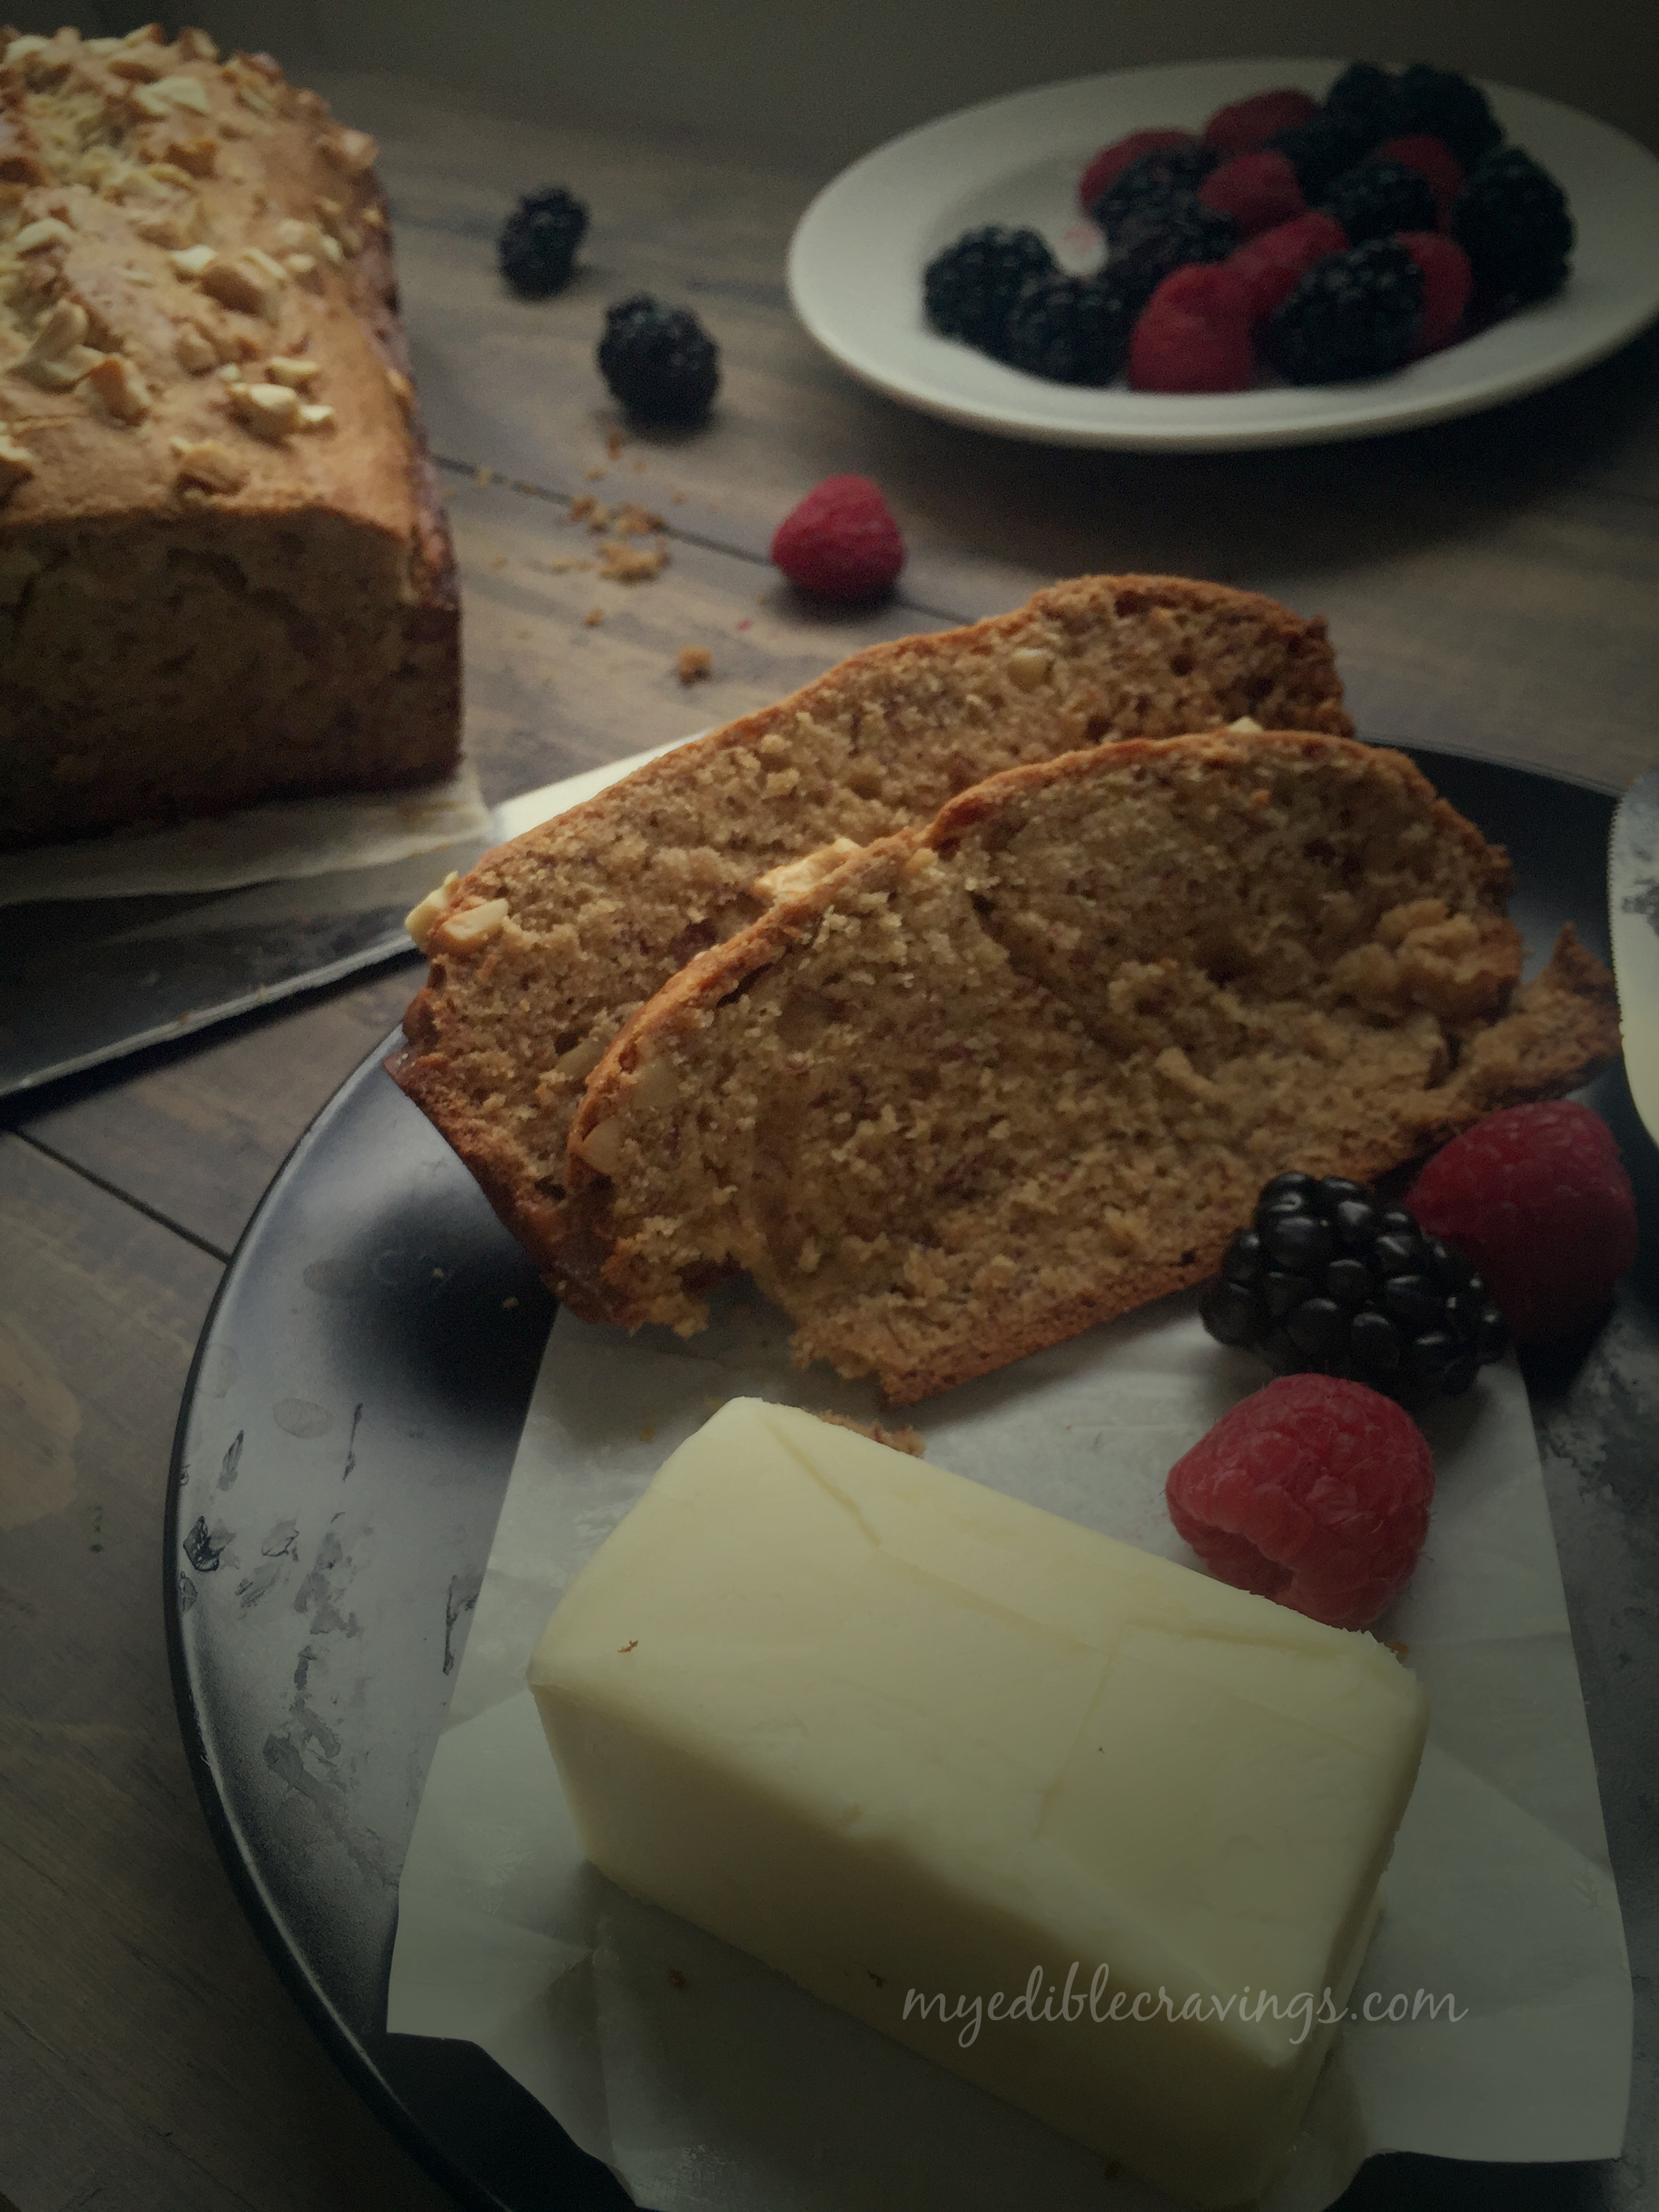
  8. Bake in oven (preferably in the middle rack) for 60 to 65 minutes, until golden brown and a toothpick when inserted in the center comes out clean. Turn out onto a wire rack and allow them to cool.
  9. Serve warm or at room temperature. This bread can be frozen.

Banana bread

Chocolate cake

Myediblecravings
Now, why did I bake a chocolate cake, that too with a diet conscious HB by my side? It is the ONE year anniversary of my website, guys!!! What started as a personal log of my favorite recipes is now well on its way to become a repository of recipes catering to all types of palate. Thank you all for your continuing support and well wishes! When we decided to commemorate the milestone, there was a lengthy debate on what to make. I was oscillating between a white chocolate truffle cup cake and a perfect chocolate cake and finally settled on a chocolate cake, much to my HB’s delight!
myediblecravings
Chocolate cake
Chocolate cake is one of the most recognized cakes in the world. I am pretty sure that there is not even one bakery/pastry shop around the world that does not sell a chocolate cake! Though the name is generalized, there is multitude varieties of chocolate cake. Today, I am giving here a very simple but decadent recipe of chocolate cake which is my favorite as well. It is a three layered chocolate cake with chocolate frosting. I have been wanting to bake a cake from scratch for a long time and now that I have done it, it turned out to be a job well done :). Baking a cake, in general gets a bit messy and doing it from scratch makes it even more messier, but trust me, it is all worth it.
myediblecravings
Myediblecravings
I am a very big fan of cakes in general (it would be the only thing that won’t get me angry when I am woken up from my sleep and offered ;)) And after trying this chocolate cake, I have a profound respect for cakes 🙂 Do try this decadent recipe and post your comments.

Chocolate cake
Prep time: 
Cook time: 
Total time: 
Serves: 3 layer 8"cake
 
Ingredients
For frosting:
  • 1 ¾ cups (350 gr) sugar
  • 1 ½ cups heavy cream
  • 7.5 oz (213 gr) unsweetened chocolate, roughly chopped
  • 12 tbsp unsalted butter, cut into small pieces
  • 1 ½ tsp pure vanilla extract
For cake:
  • Scant 3 cups (425 gr) All purpose flour
  • 3 cups (600 gr) sugar
  • 1 cup + 2 tbsp Dutch-processed cocoa powder
  • 1 ½ tsp salt
  • 2 ¼ tspn baking powder
  • 2 ¼ tspn baking soda
  • 3 eggs, room temperature, beaten
  • ¾ cup vegetable oil
  • 1 ½ cup whole milk
  • 1 ½ cup hot coffee decoction, filtered
Instructions
For frosting:
  1. Combine sugar and heavy cream into a sauce pan. Heat the pan and bring them to boil in a medium heat. Once they starts to boil, simmer it for another 5 to 6 minutes.
  2. Remove from heat and stir in the chopped chocolates until completely melted.
  3. Now add in the butter pieces and stir them again until completely melted.
  4. Finally stir in the vanilla extract.
  5. Let the frosting cool completely, whisking every now and then during cooling. (You can do this step in the refrigerator to speed up the process) Once completely cool at room temperature, the frosting will be spreadable.
For cake:
  1. Preheat oven to 350 degrees F or 175 degrees C. Grease the three 8" round cake pans with butter or oil (on the sides and bottom), dust the bottoms with flour and line them with parchment paper. If desired, wrap the cake pans with bake-even strips.
  2. Sieve sugar, flour, cocoa powder, salt, baking powder and baking soda into a large mixing bowl. This is done to avoid lumps and even the mixing. Meanwhile make hot coffee decoction and keep it ready.
  3. In a separate bowl, combine the beaten eggs, vegetable oil and milk. Stir to mix. Then, with the mixer on low, pour the wet ingredients into the dry ingredients. Mix on low flame until evenly distributed.
  4. Pour the hot coffee into the batter and mix on medium to low flame until smooth and creamy. .
  5. Divide the batter between the cake pans.
  6. Bake for 40-45 minutes. When a toothpick inserted into the center of the cakes comes out cleanly, the cakes are done. Remove from the oven and let cool completely.
  7. Refrigerate the cakes for at least 2 hours or place it n the freezer for one hour. Level the cakes by cutting the excess top bump.
  8. Stack the cakes, spreading a layer of frosting in between each cake layer. Frost the outside of the cake for a smoother finish.
Notes
1.I would strongly recommend to line the parchment paper as this cake is so soft and gooey. You could also use cold wet cloth to tie around the pans instead of bake-even strips.
2.The recipe I have given here is for the big batch. You can reduce the ingredients by half for a smaller batch.
3.This recipe also works for a 3-layer 9" cake, with slightly shorter layers.

Myediblecravings

Sago Payasam

sago payasamPayasam is a traditional south indian dessert. It is a very simple yet tasty dish that is always in the menu of marriage lunches and served during traditional festivals. There are different varieties of payasam based on the ingredients that you use, like lentil, sago, vermicelli etc. Here I have given the Sago-Vermicilli variety of payasam.
sago payasamsago payasam
sago payasamSago-Vermicilli Pasayam is the most popular among all payasams. As I had said earlier, it is always served in wedding lunches. One popular way of consuming it is with papad :). My dad and his siblings love to have it with sweet boondi (another south Indian snack item). I know it will be a sugar explosion but who cares when it tastes just awesome 😉
I had never tried making Sago-Vermicilli Payasam until recently. The ingredients used and the preparatory method may make it seem easier to make (and it is easy to make) but you need to be careful as well, especially for beginners. In my recipe I had included rose flavor because I like it and is commonly found in most other Indian desserts. Also I have included Saffron just to give the distinct color and enhance the flavor. Sago-Vermicilli Payasam can be served hot or chilled; it tastes awesome either way.
Try this yummy and sweet dessert in your kitchen and post me your experiences 🙂

5.0 from 1 reviews
sago payasam
Prep time: 
Cook time: 
Total time: 
Serves: 3
 
Ingredients
  • Milk – 3 ½ cups
  • Sago or javvarisi – ½ cup
  • Vermicelli or semiya – ¼ cup
  • Refined sugar – ½ cup
  • Ghee – 2 tbsp
  • Cashews – 8 to 10 nos
  • Raisins – 6 nos
  • Saffron – 2 to 3 strands.
  • Rose water or essence – 3 drops
Instructions
  1. Soak sago in water for 20 to 30 mins.
  2. Heat a small pan with ghee and roast cashews and raisins until the cashews turn golden brown. Keep it aside. In the same pan roast vermicelli for a minute or so and keep it aside.
  3. Soak saffron threads in a cup with 1 tbsp of warm milk.
  4. Boil two cups of water and add sago. Boil until the sagos turn translucent for about 15 to 20 minutes. Add vermicelli to the boiling water as well and cook for another couple of minutes until they are soft. Drain them.
  5. Heat a sauce pan and boil the milk. When the milk has boiled, simmer and reduce it to half the quantity.
  6. When the milk has reduced to half, add the cooked and drained sago and vermicelli. Mix well and allow them to set for about 5 minutes - Simmer the burner while adding sago and vermicelli.
  7. Add sugar and mix well. Finally add the saffron and fried cashews to the payasam. Switch off the flame and add few drops of rose essence. Refrigerate the payasam and serve the delicious cold Sago-Vermicilli payasam. 
Notes
1.I have read online that cooking sago and vermicelli directly to the boiling milk will curdle the milk. So I boiled them and strained the water before adding them to the milk.
2.Simmer the milk and add the cooked sago and vermicilli. Otherwise the milk will curdle as well.
3.Adding saffron and rose essence is completely optional. I added them just for the flavor.

sago payasam