Red Velvet Cupcake

Red Velvet Cupcake

I love cakes and pastries, period. Cake is one food that I can eat even when I am not in the mood to eat anything!:) So obviously, trying out different varieties of cakes is a favorite pastime of mine. Recently, we celebrated my HB’s birthday and this time I decided to make something that was in long time pending list and a favorite of mine (as for as cakes are concerned my HB’s choice comes in second :)), the red velvet cupcake!

Red Velvet Cupcake

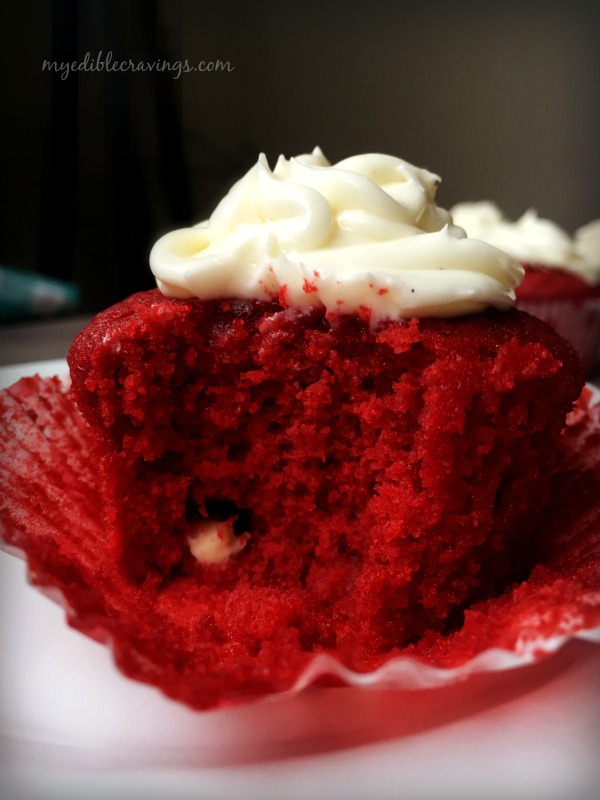
Cupcakes are classic American delicacies that have been around as early as the late 18th century. There are numerous varieties of cupcakes. After the advent of boutique pastry shops, more and more interesting flavors are being baked. The earliest mention of Red velvet cupcakes was in the late I950s (courtesy Wikipedia). Also the distinct red color has its own titbit. Apparently, one businessman in Texas started baking red velvet cakes as a marketing ploy to sell more red dyes! It is quite hard to nail down the flavor of this cake. It is a mixture of mild chocolate, with a hint of buttermilk, enough vanilla and lots of butter taste. The major attribute of Red velvet cupcakes is the dense but soft,  moist crumb. The best part about Red velvet cupcakes are their cream cheese frosting. The slight tanginess of the cream cheese goes hand in hand with the soft moist crumb of the cake. There are certain things to be noted while baking Red velvet cupcakes. One is the use of cake flour. All purpose flour is a strong no-no. Cake flour gives the distinct softness associated with this cake. Another is the use of unsweetened cocoa powder. This gives you a mild chocolate flavor just enough to tease your tastebuds 🙂 For Red velvet cupcakes, there are two special ingredients that we use. One is buttermilk and the other is vinegar. Buttermilk gives you a slight tanginess and moistness to the cake. It also enables the baking soda to leaven the cake. Vinegar is used to enhance the red color. Trust me, you will not taste even a hint of vinegar once the cake is baked.

Red Velvet Cupcake

Red Velvet Cupcake
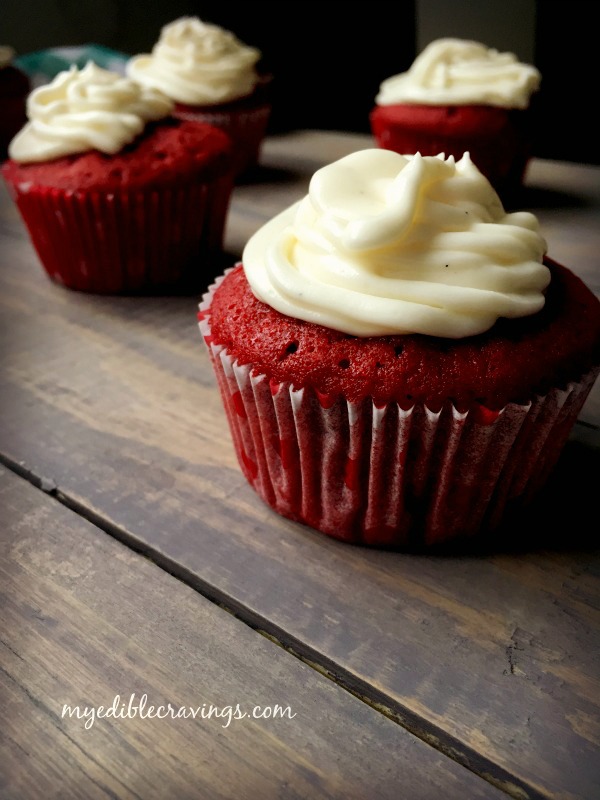
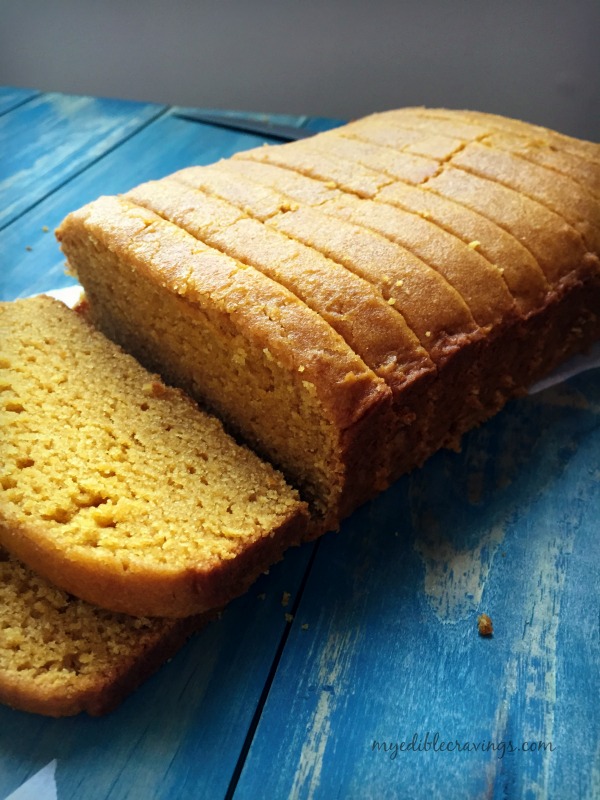
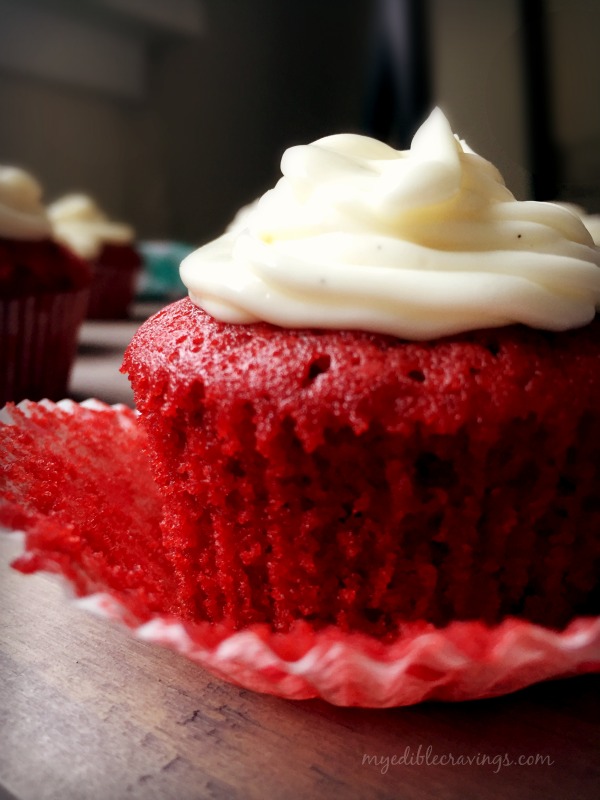
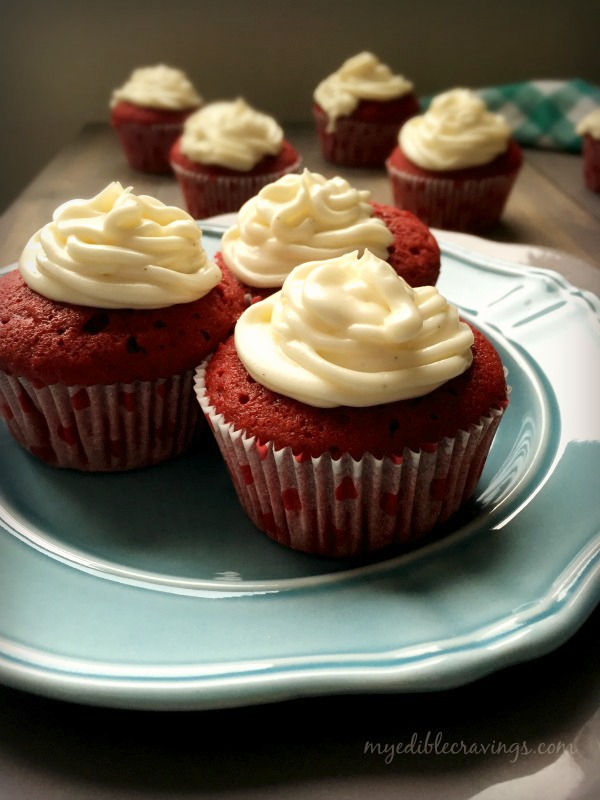
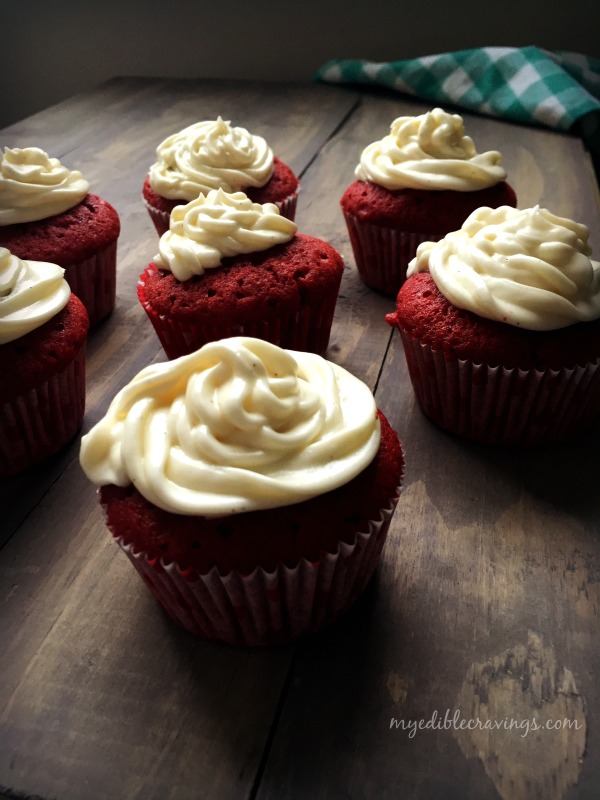
Red velvet cupcake is a decadent dessert that is sure to make any party a memorable one, given its distinct taste and delightful appearance. So try it in your home and have your own party, tasting the awesome Red velvet cupcake!:)

Red Velvet Cupcake
Prep time: 
Cook time: 
Total time: 
Serves: 12 cupcakes
 
Ingredients
  • 1 ½ cups cake flour
  • ½ tsp baking soda
  • 1 tbsp unsweetened cocoa powder
  • ¼ tsp salt
  • ¼ cup unsalted butter, softened to room temperature
  • 1 cup granulated sugar
  • ½ cup vegetable oil
  • 2 large eggs, room temperature, separated,
  • ¾ tbsp vanilla extract
  • ½ tsp distilled white vinegar
  • 1 ¾ tbsp Gel or liquid or powder red food coloring
  • ½ cup buttermilk, room temperature
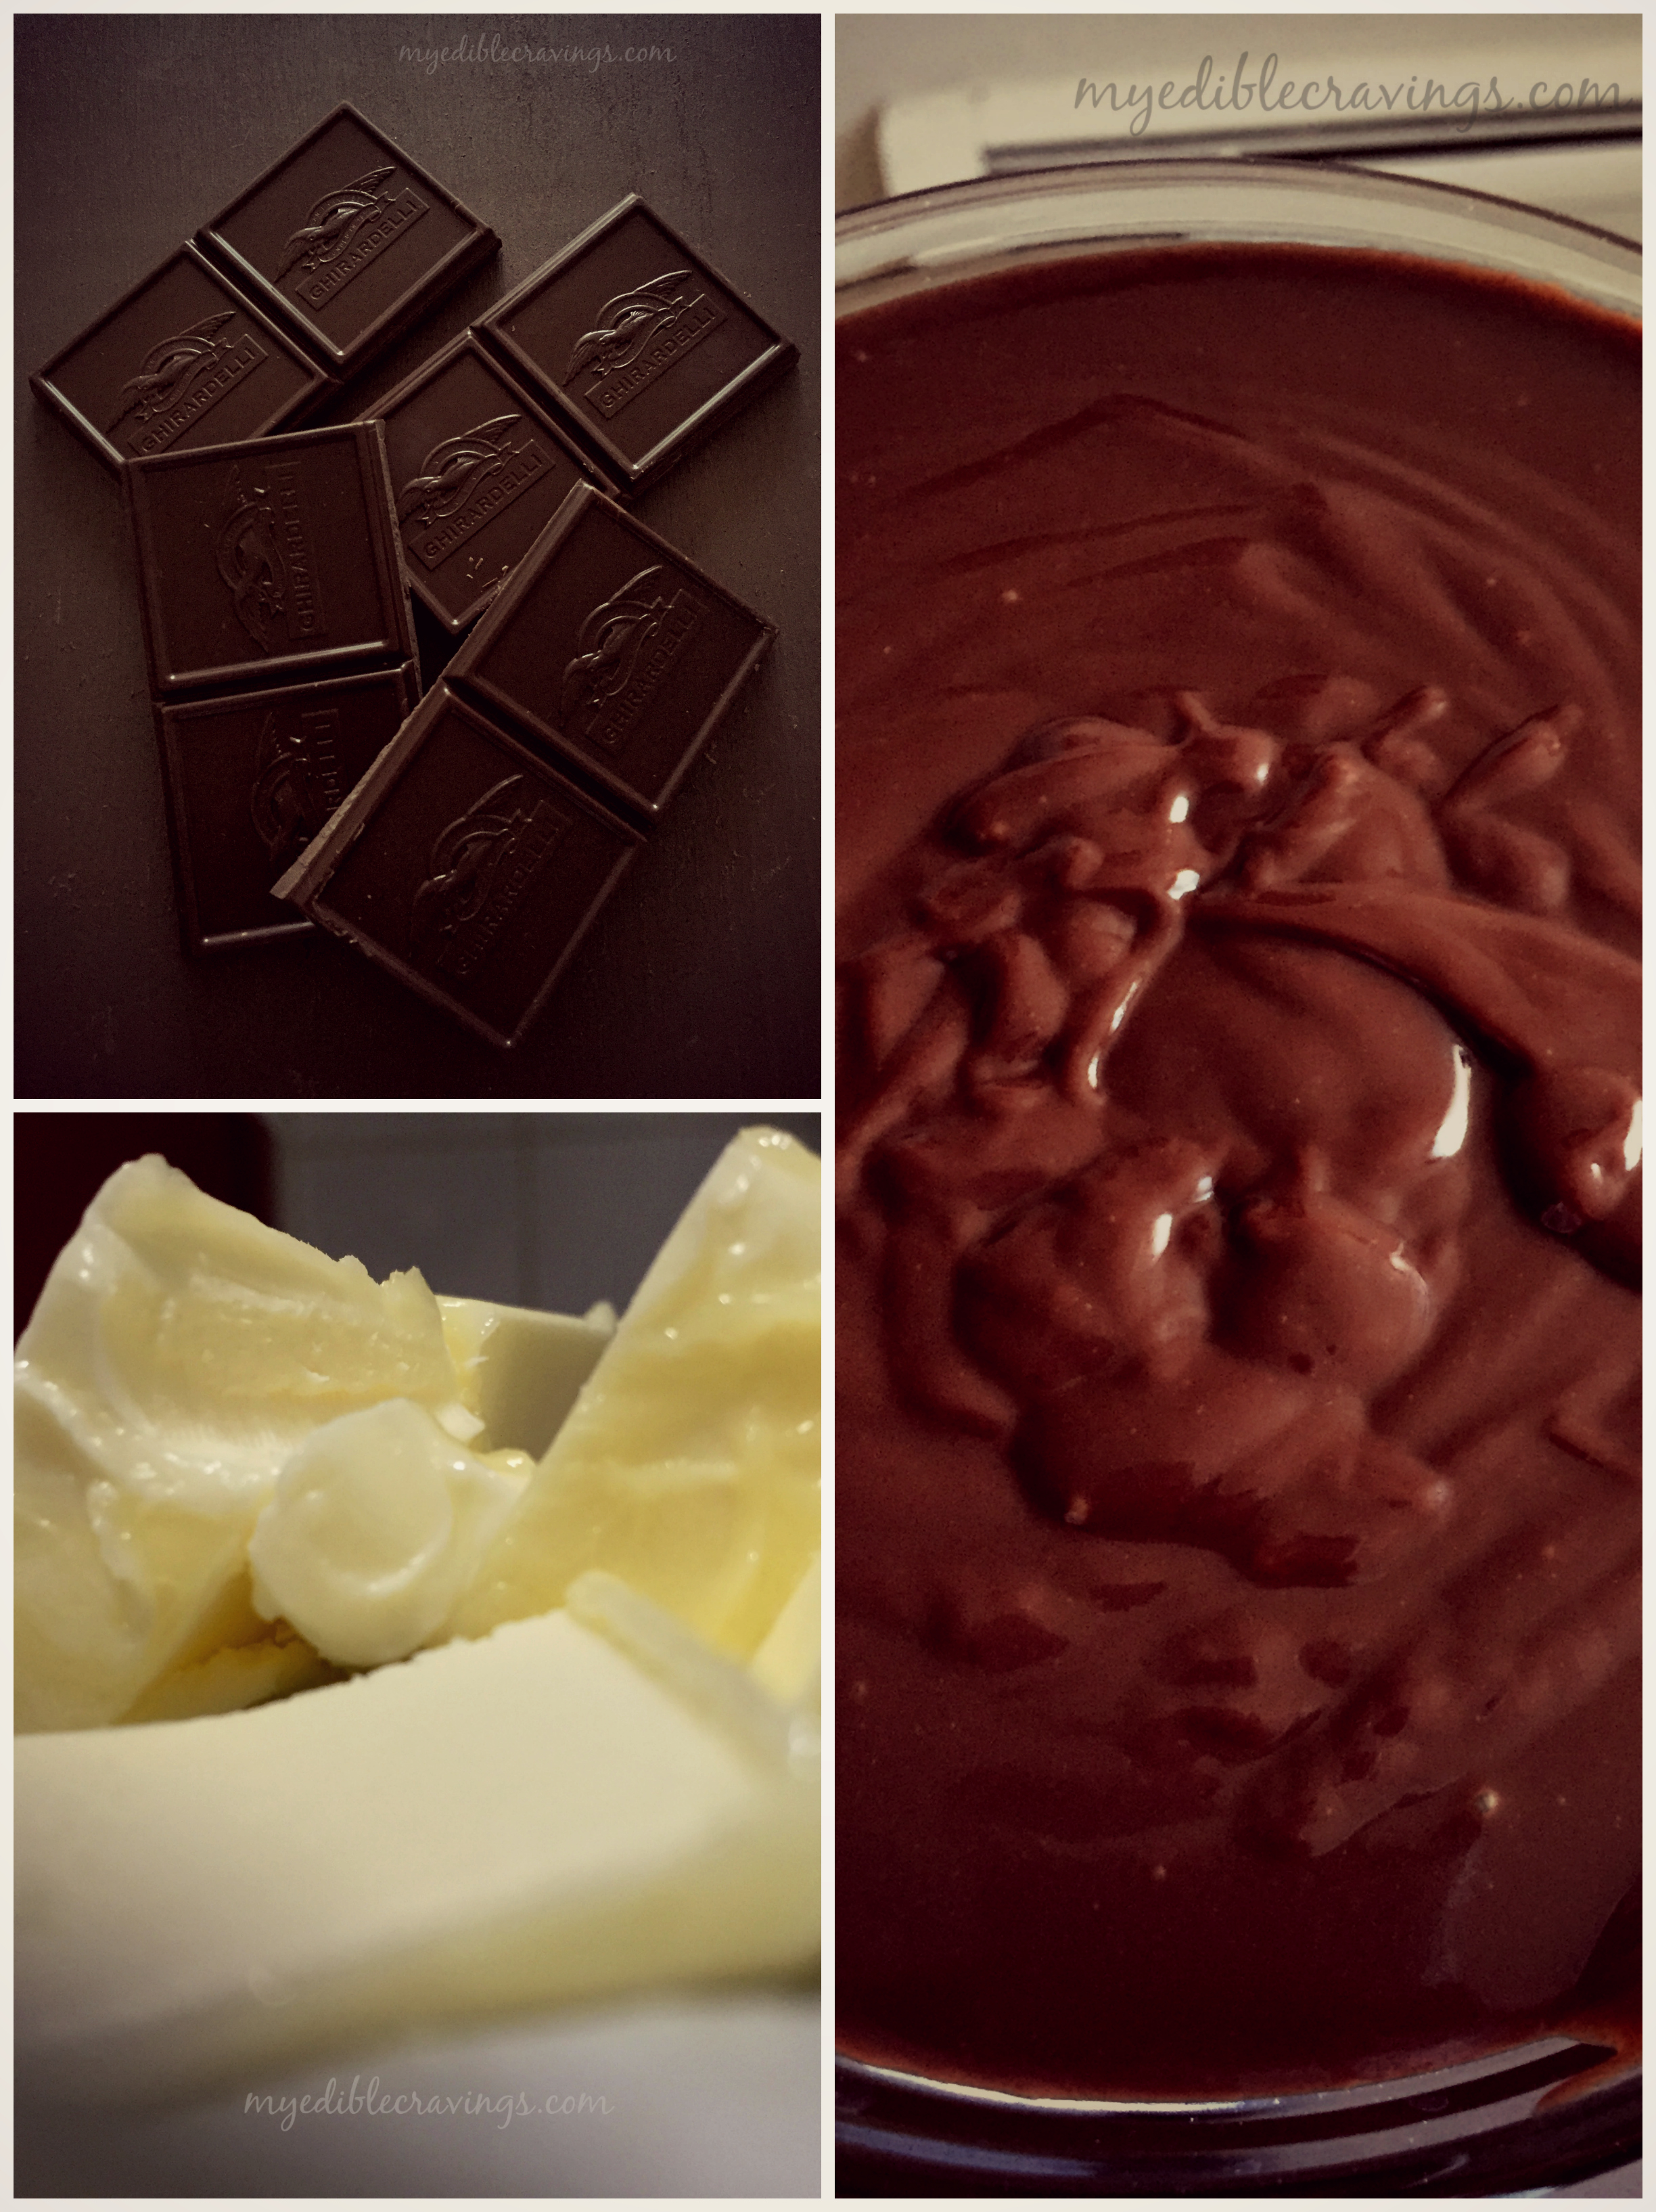
  • ¼ cup white chocolate chip
for the cream cheese frosting
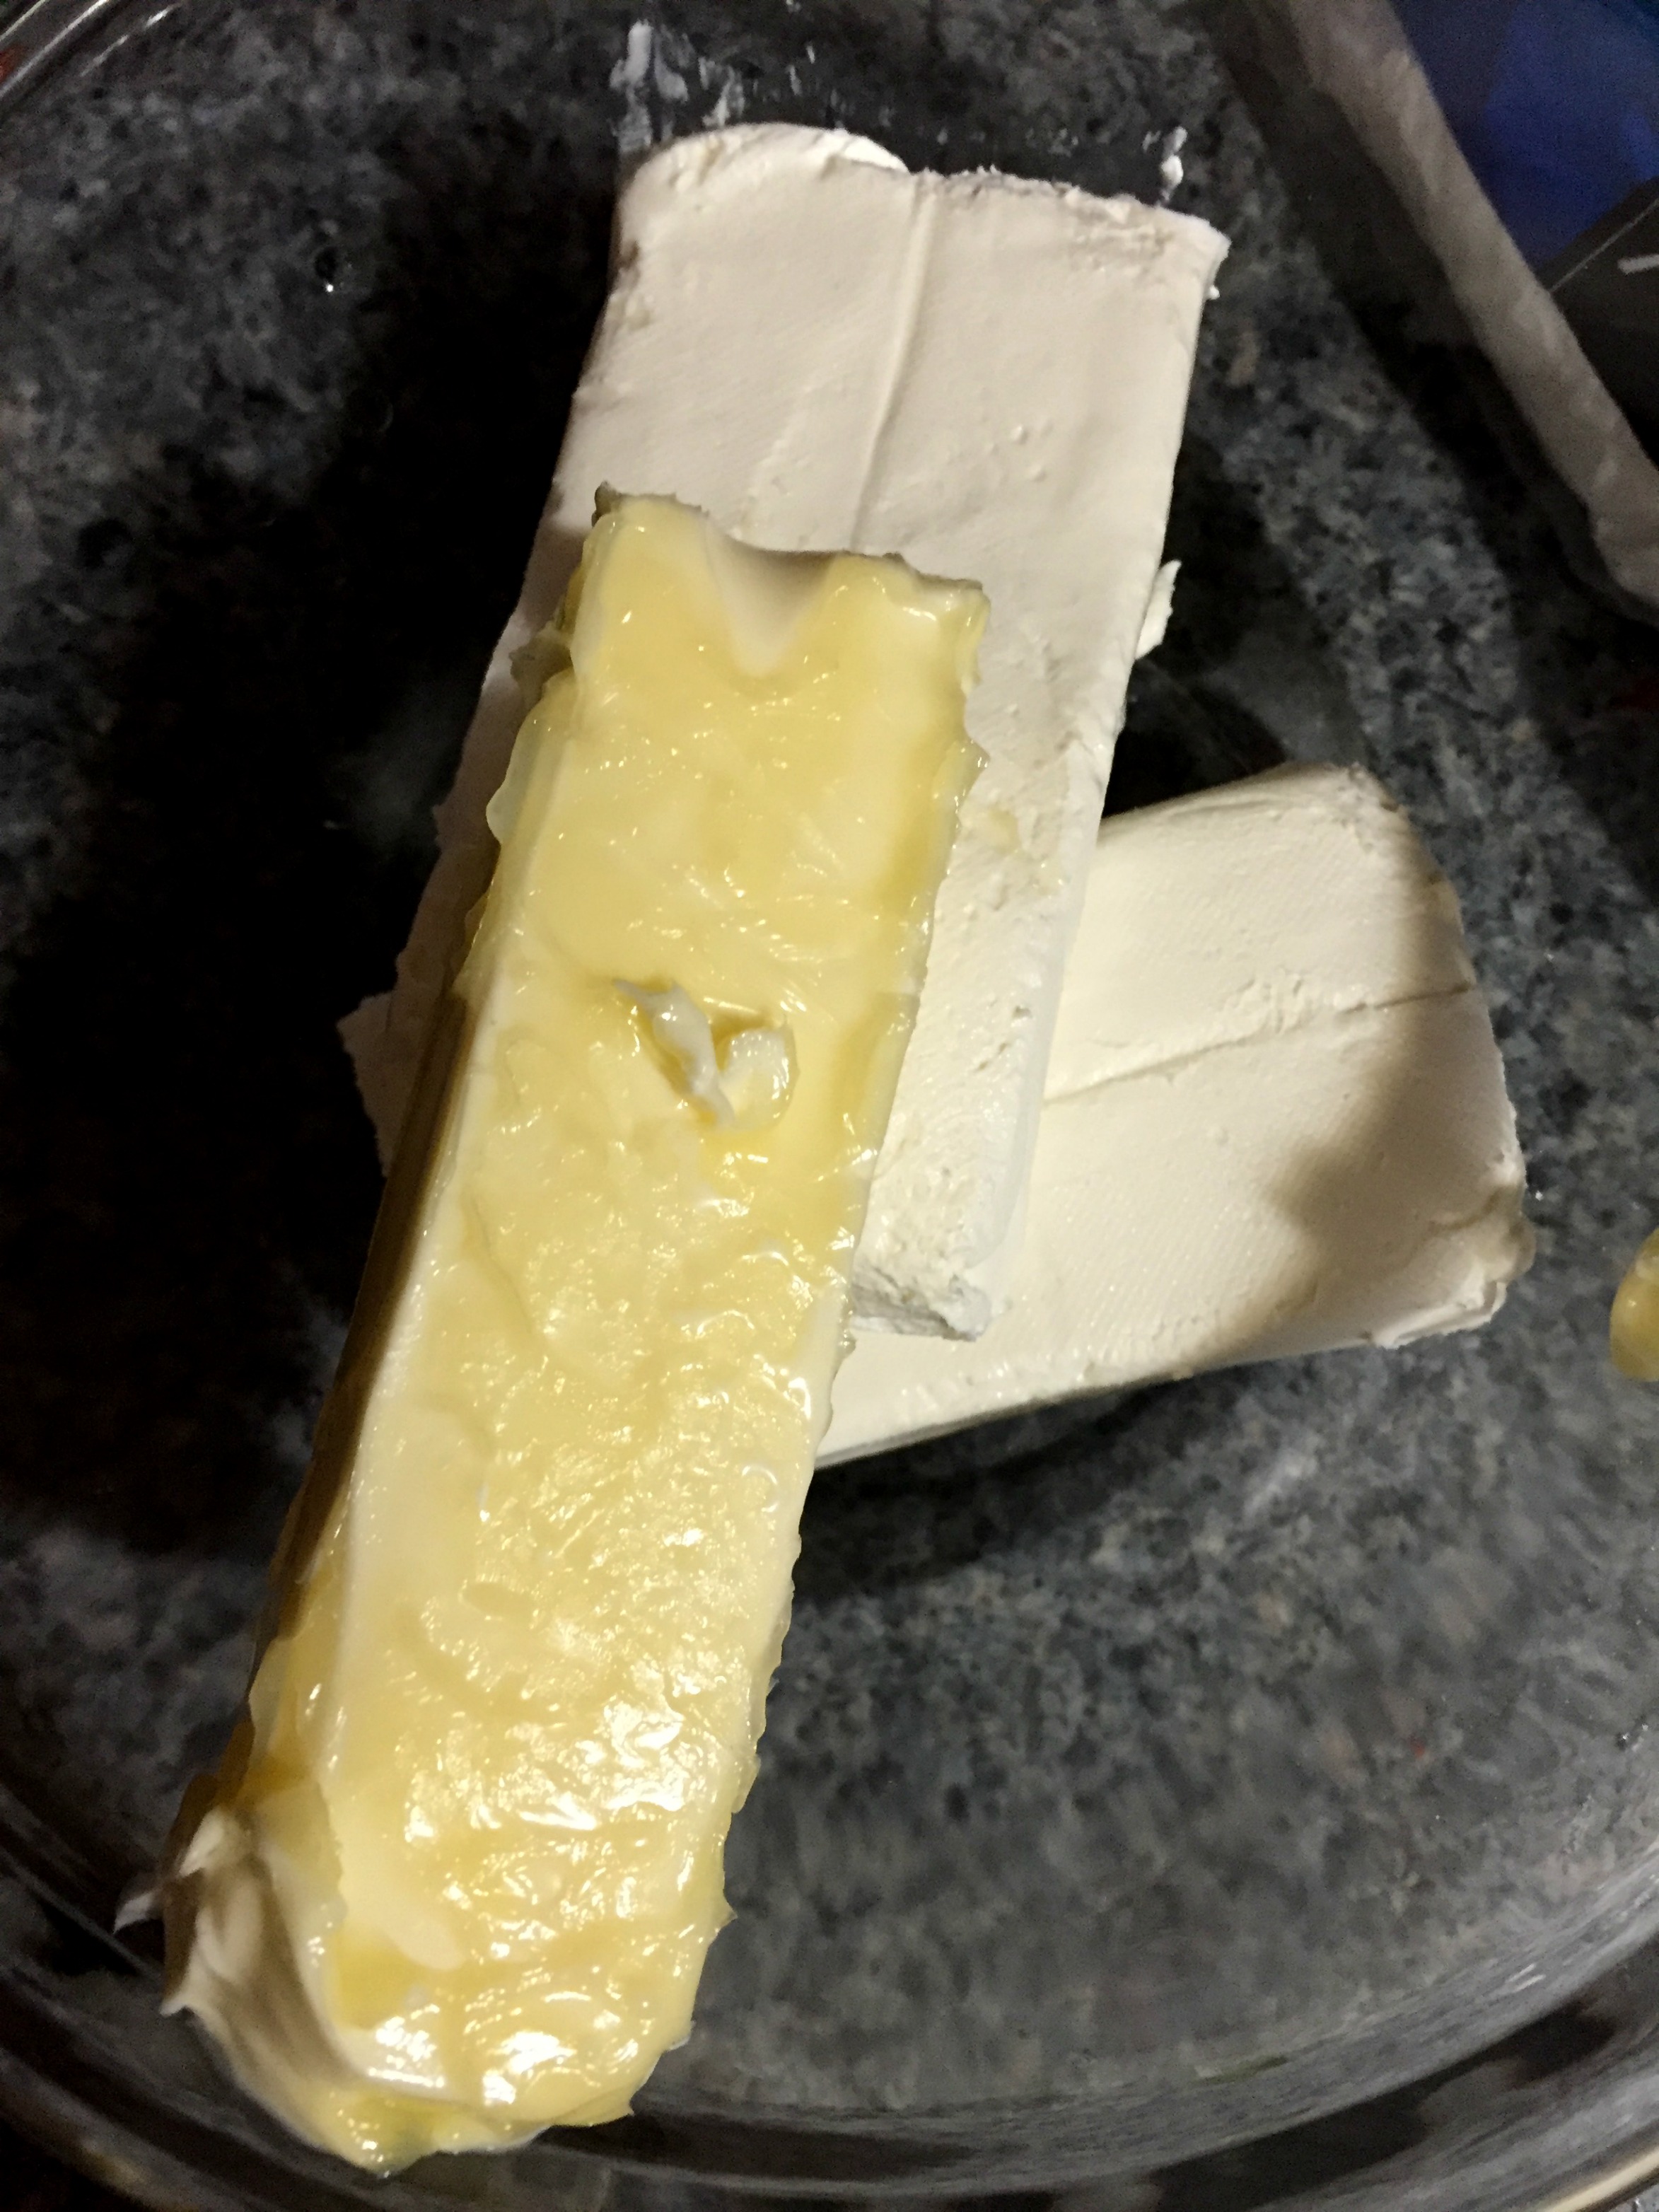
  • 5 oz. cream cheese, brick type
  • 3 ¼ tbsp unsalted butter, room temperature
  • 1 ¾ cups confectioners’ sugar sifted
  • ½ vanilla bean paste +1 tsp vanilla extract or 2 tsp clear vanilla extract
Instructions
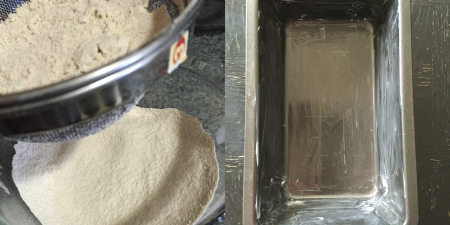
  1. Preheat the oven to 350 degree Fahrenheit or 180 degree Celsius. Line cupcake pans with paper liners.
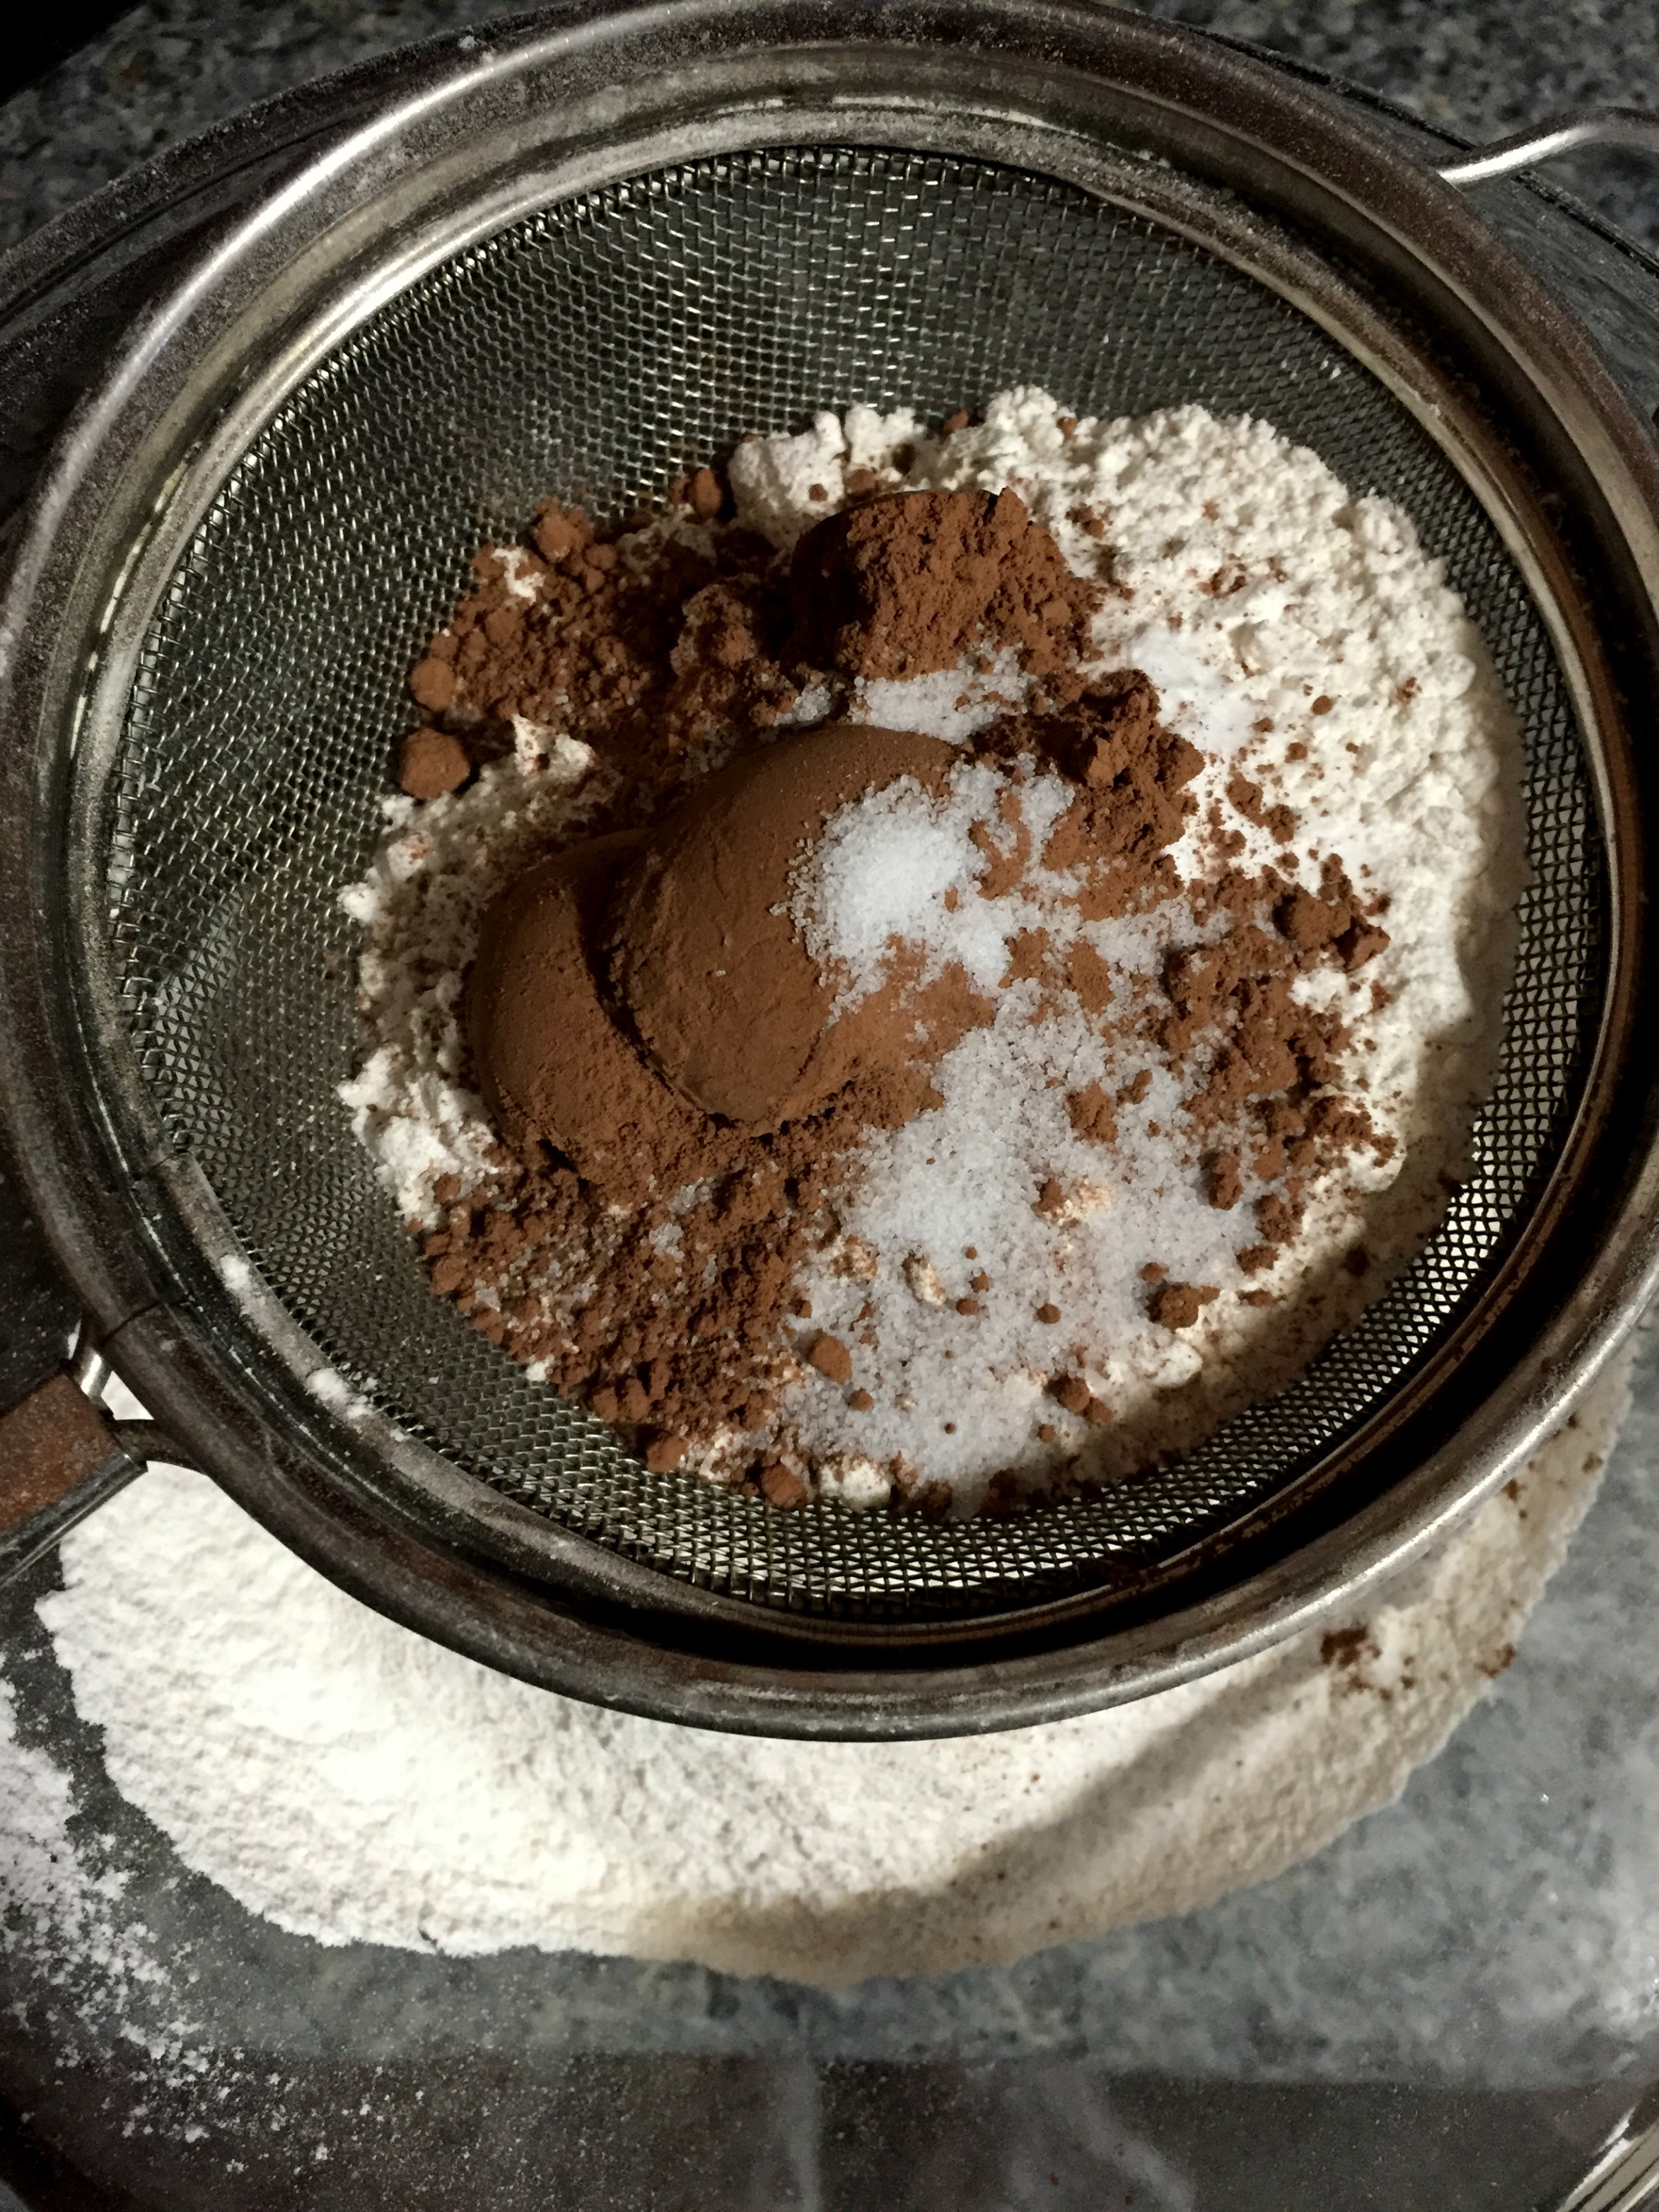
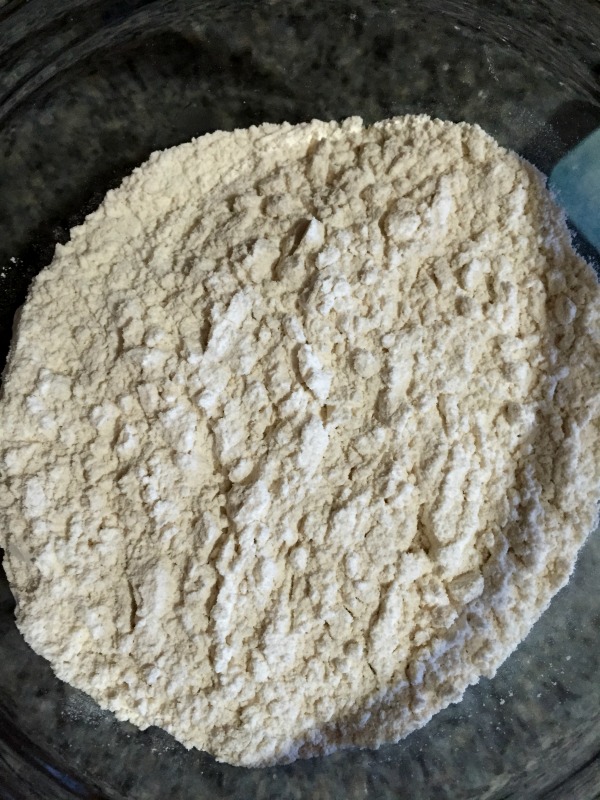
  2. Sift the flour, baking soda, cocoa powder and salt together into a medium mixing bowl and keep it aside.
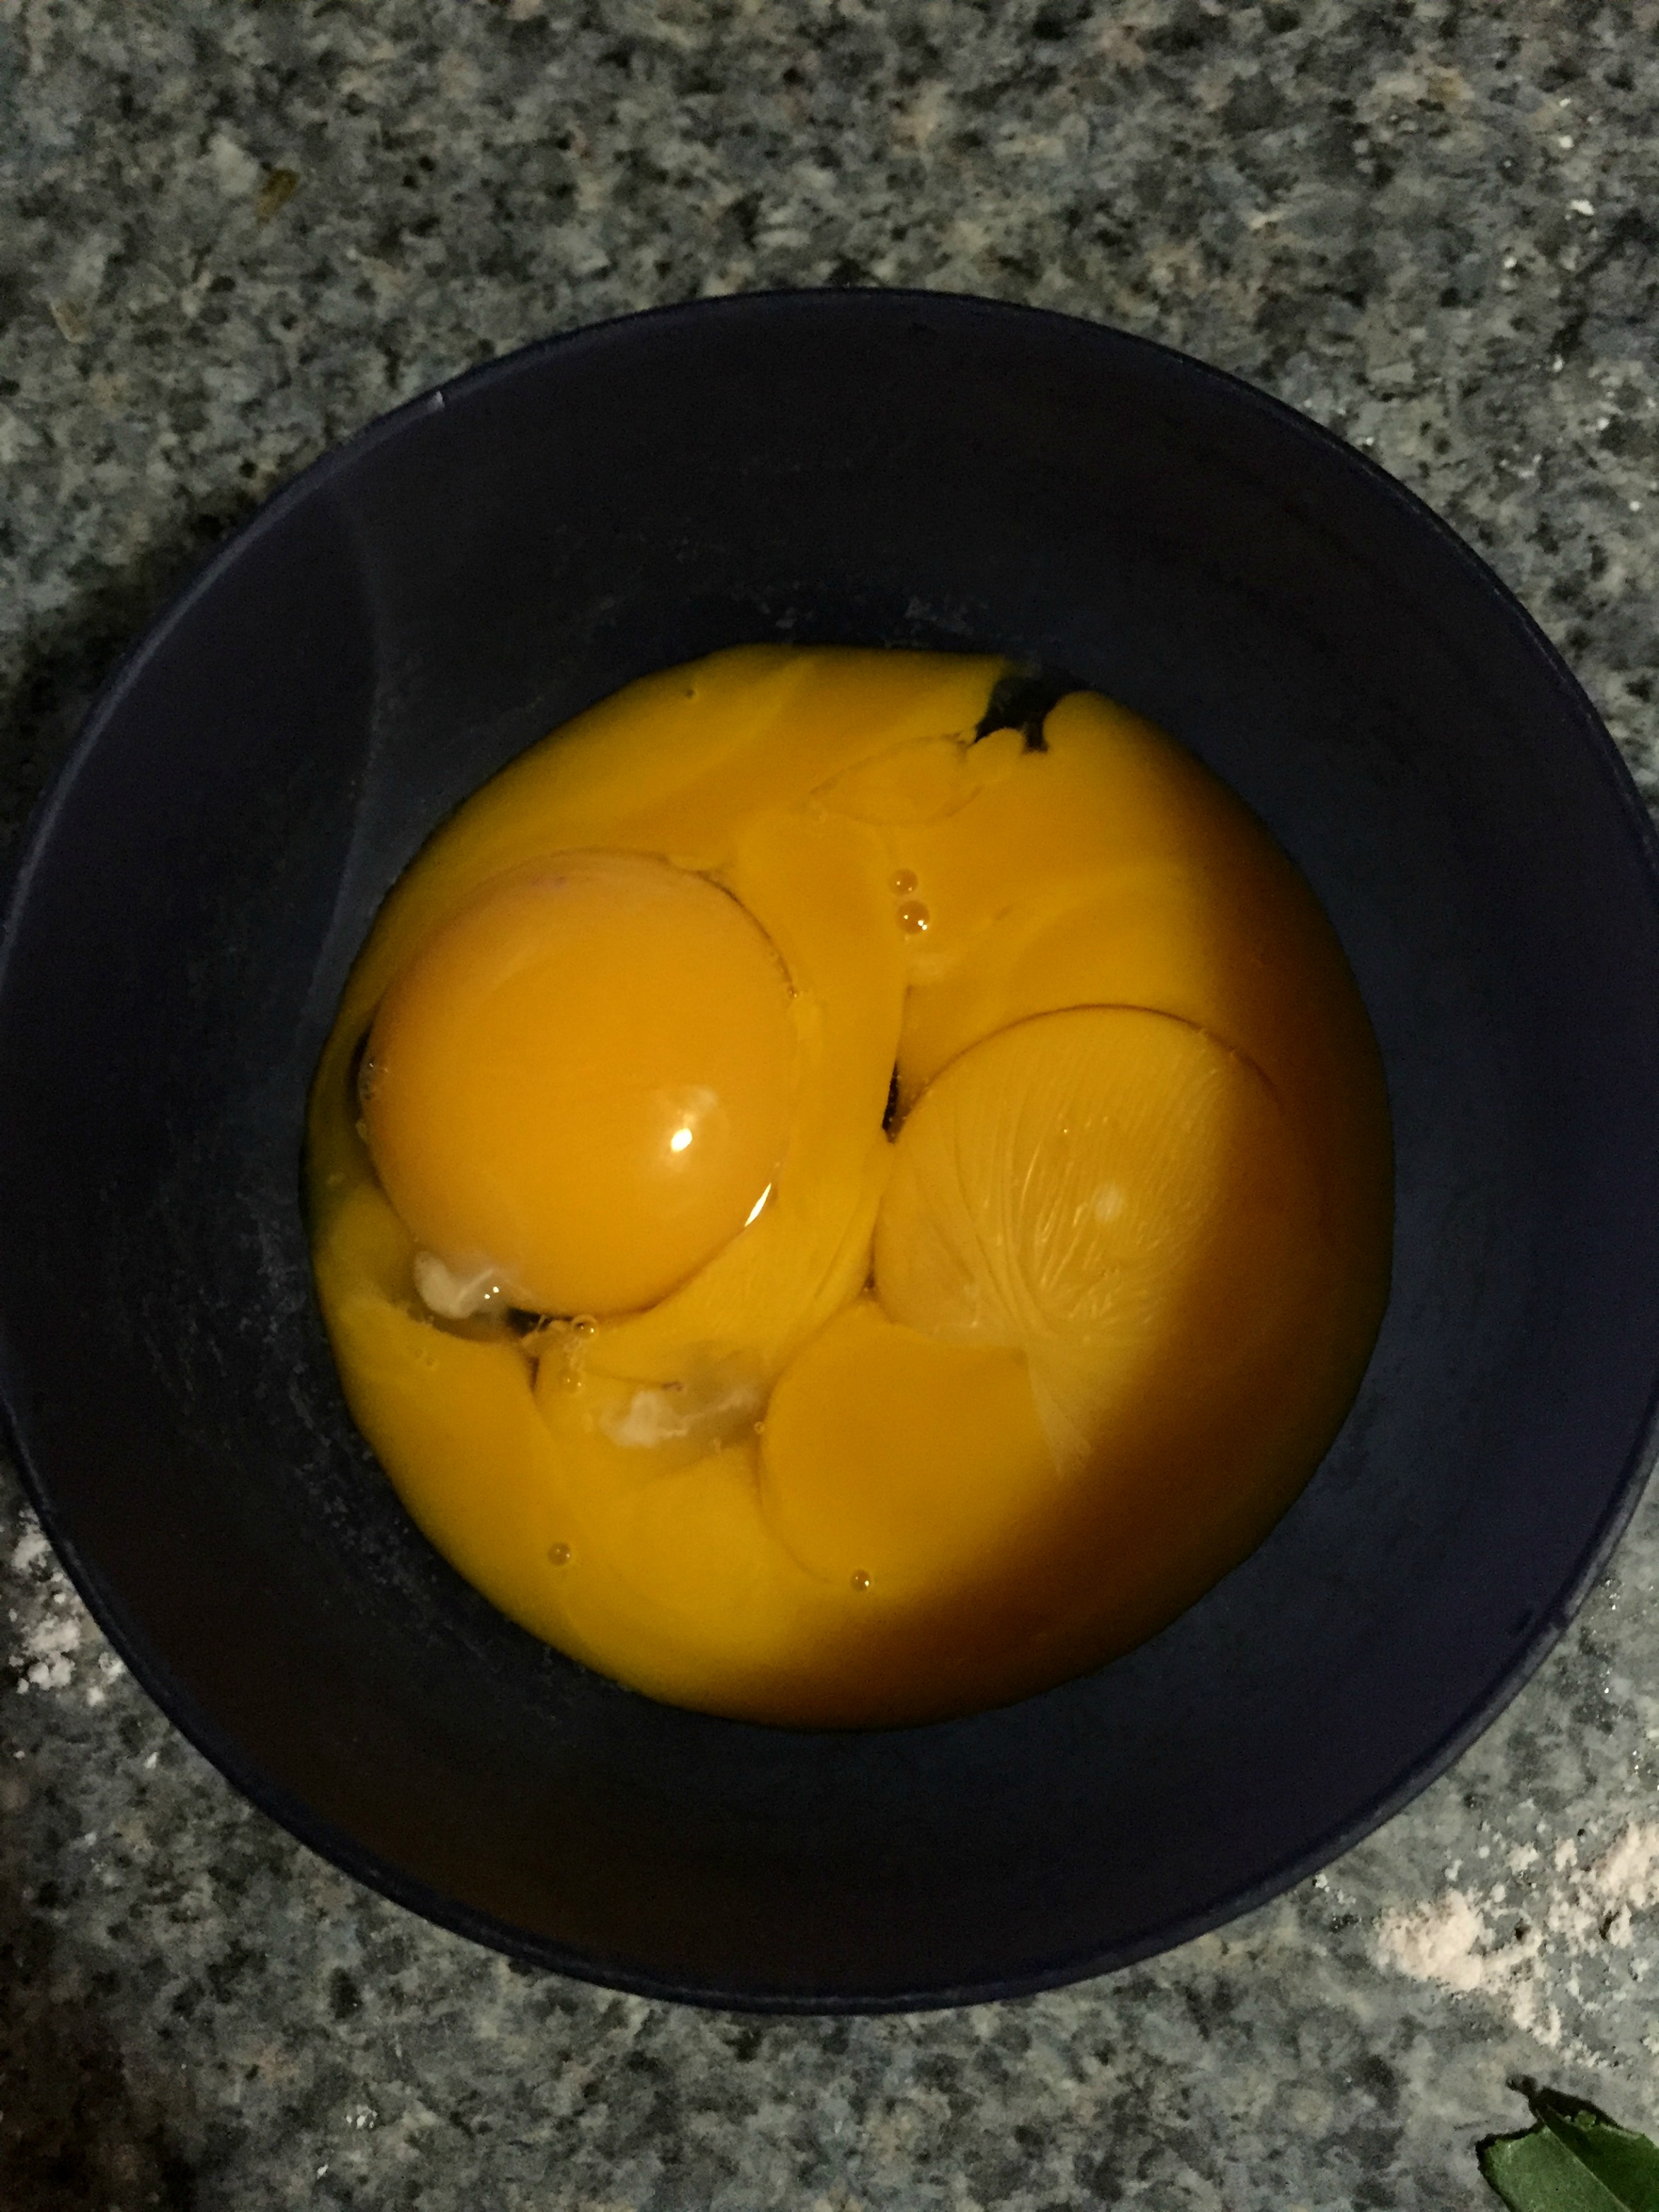
  3. Separate the egg yolk and egg whites and set aside.
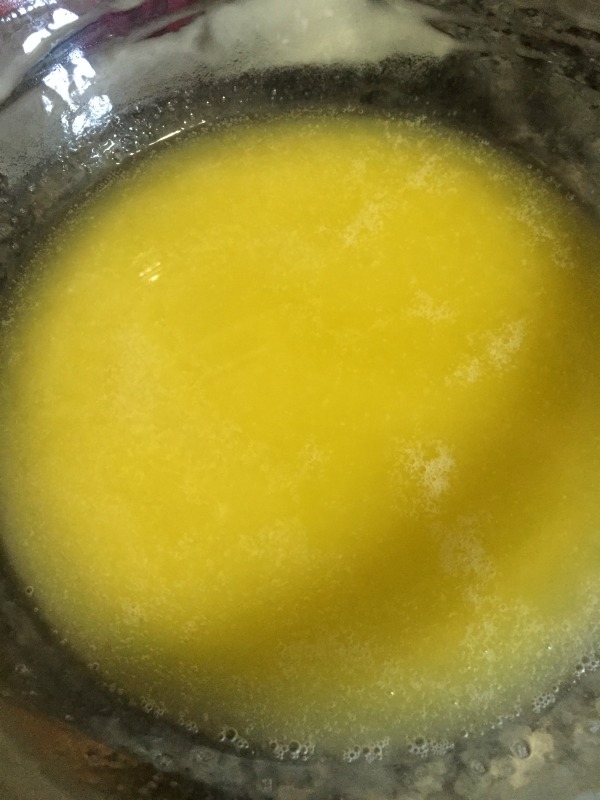
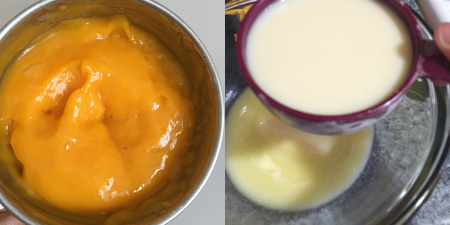
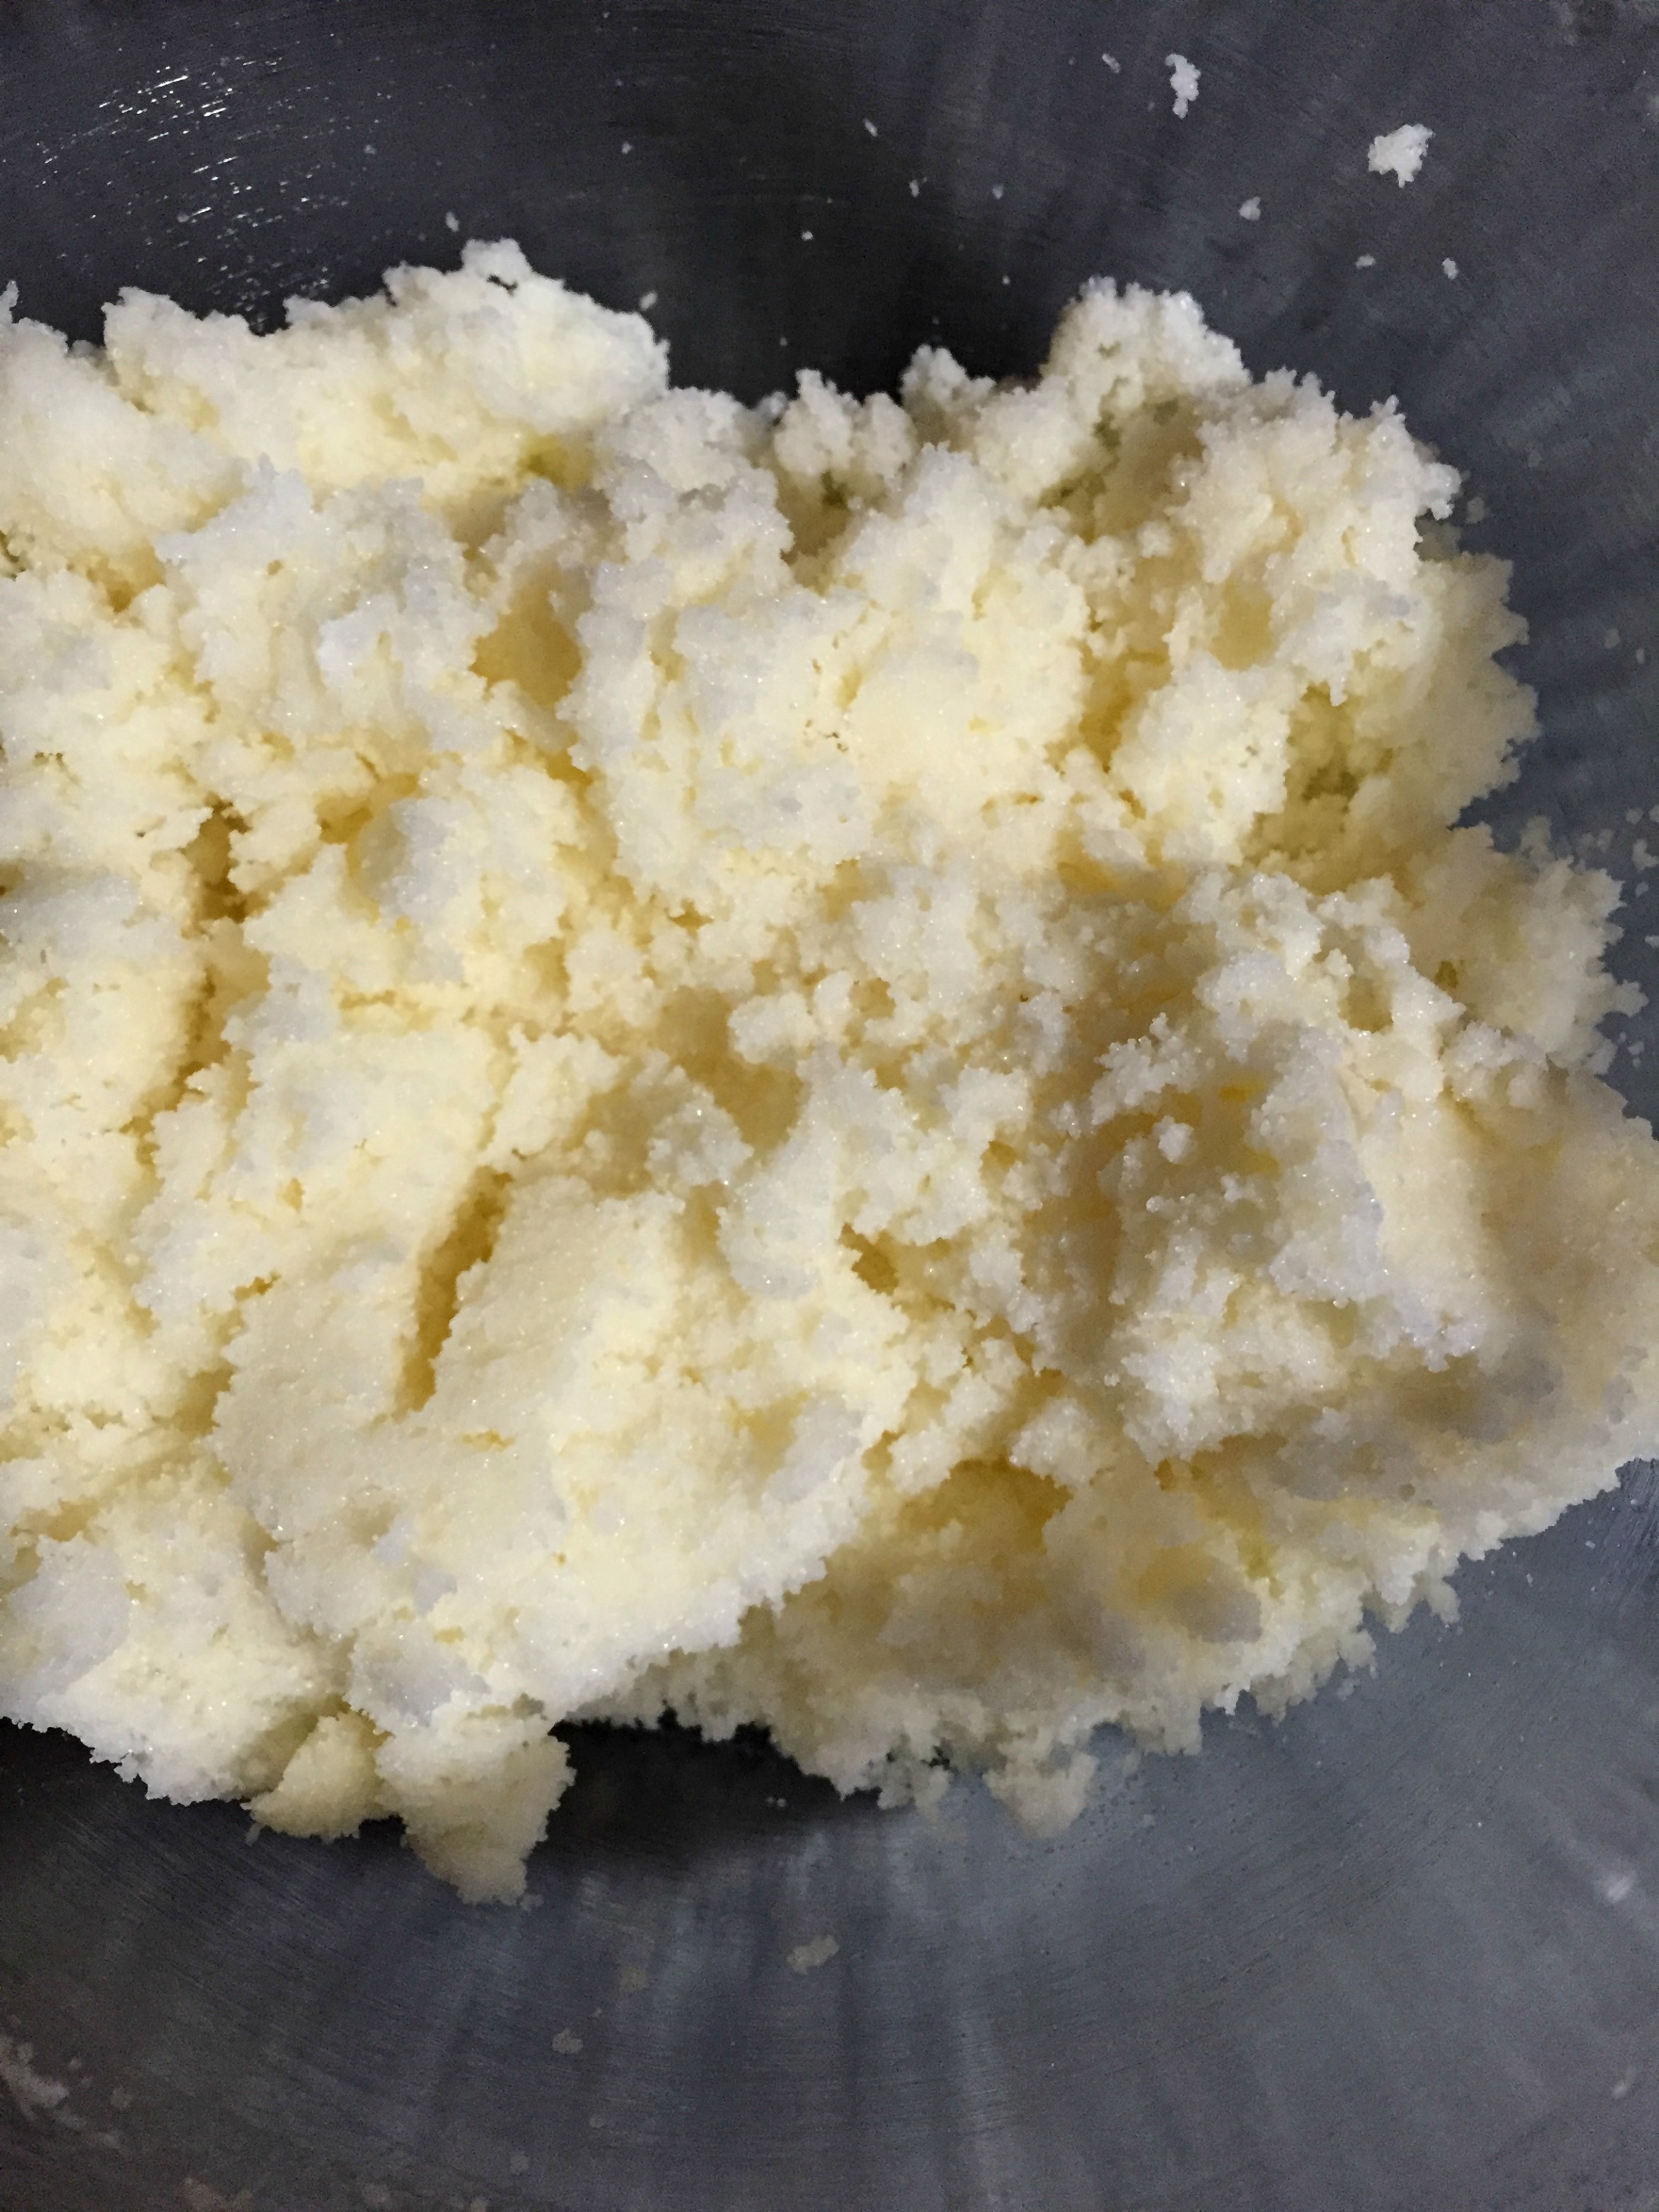
  4. In a large mixing bowl, beat the butter using hand mixer on high speed until smooth for about one minute.
  5. Add sugar and beat on high speed for another couple of minutes until creamy.
  6. Scrape the sides using spatula and add the oil and beat on high for another 2 minutes.
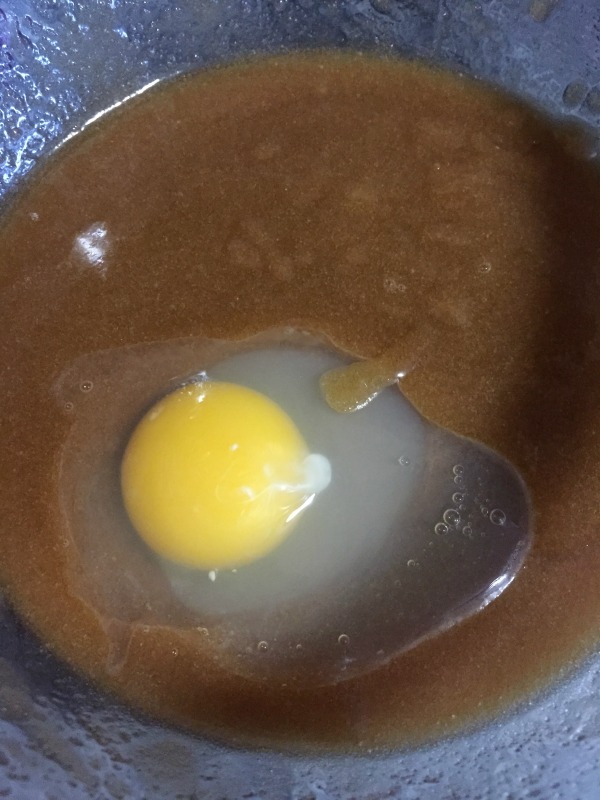
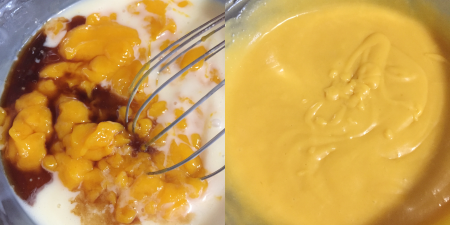
  7. Now add in the egg yolks and vanilla. Beat on medium high speed until well combined.
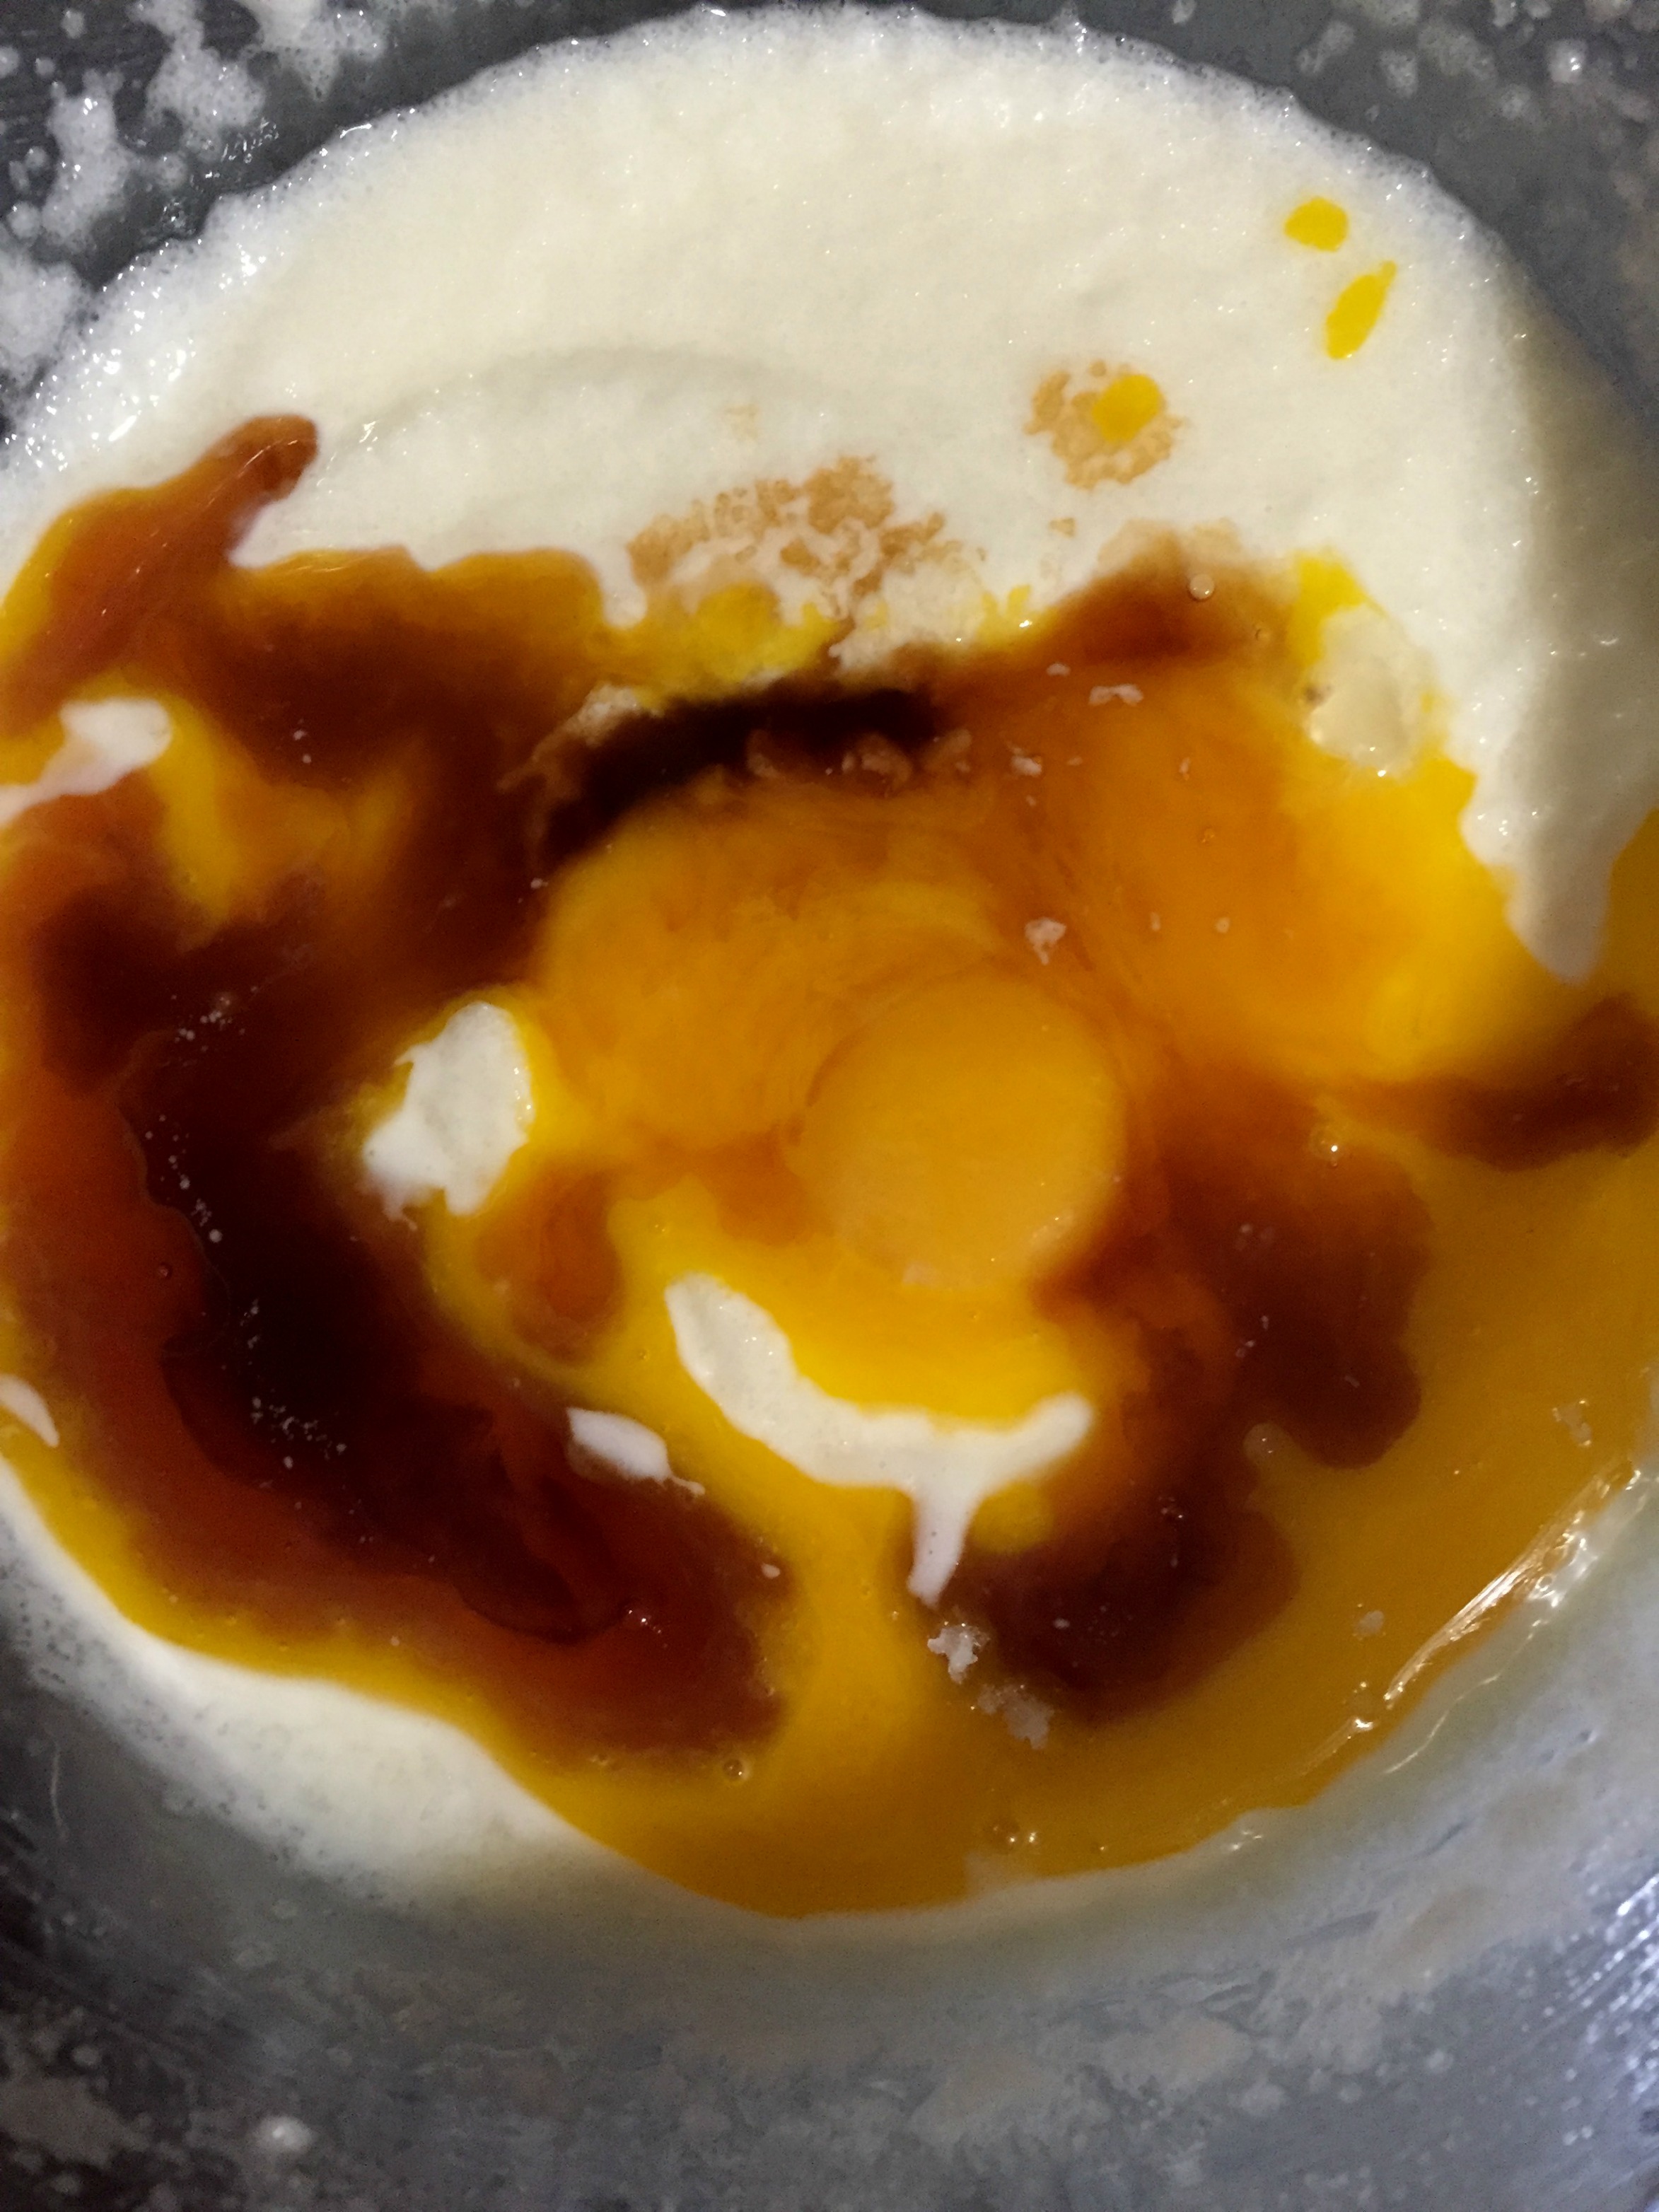
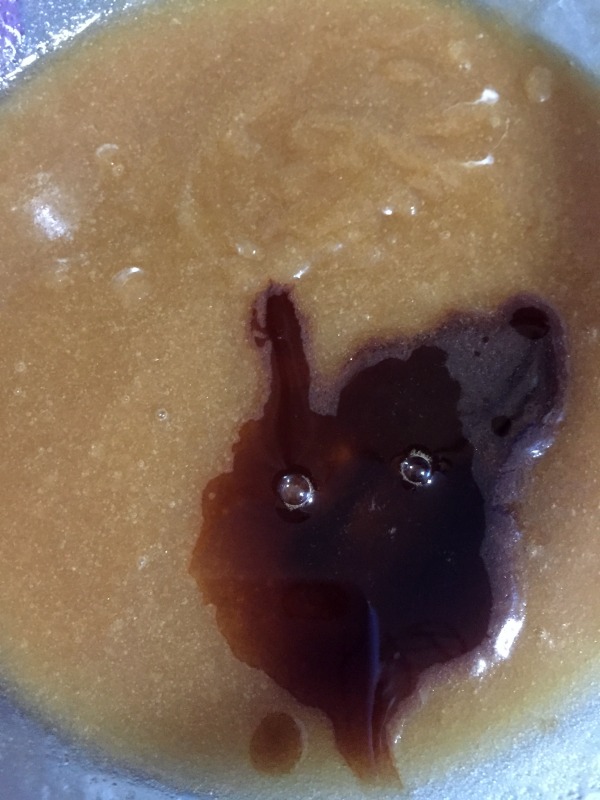
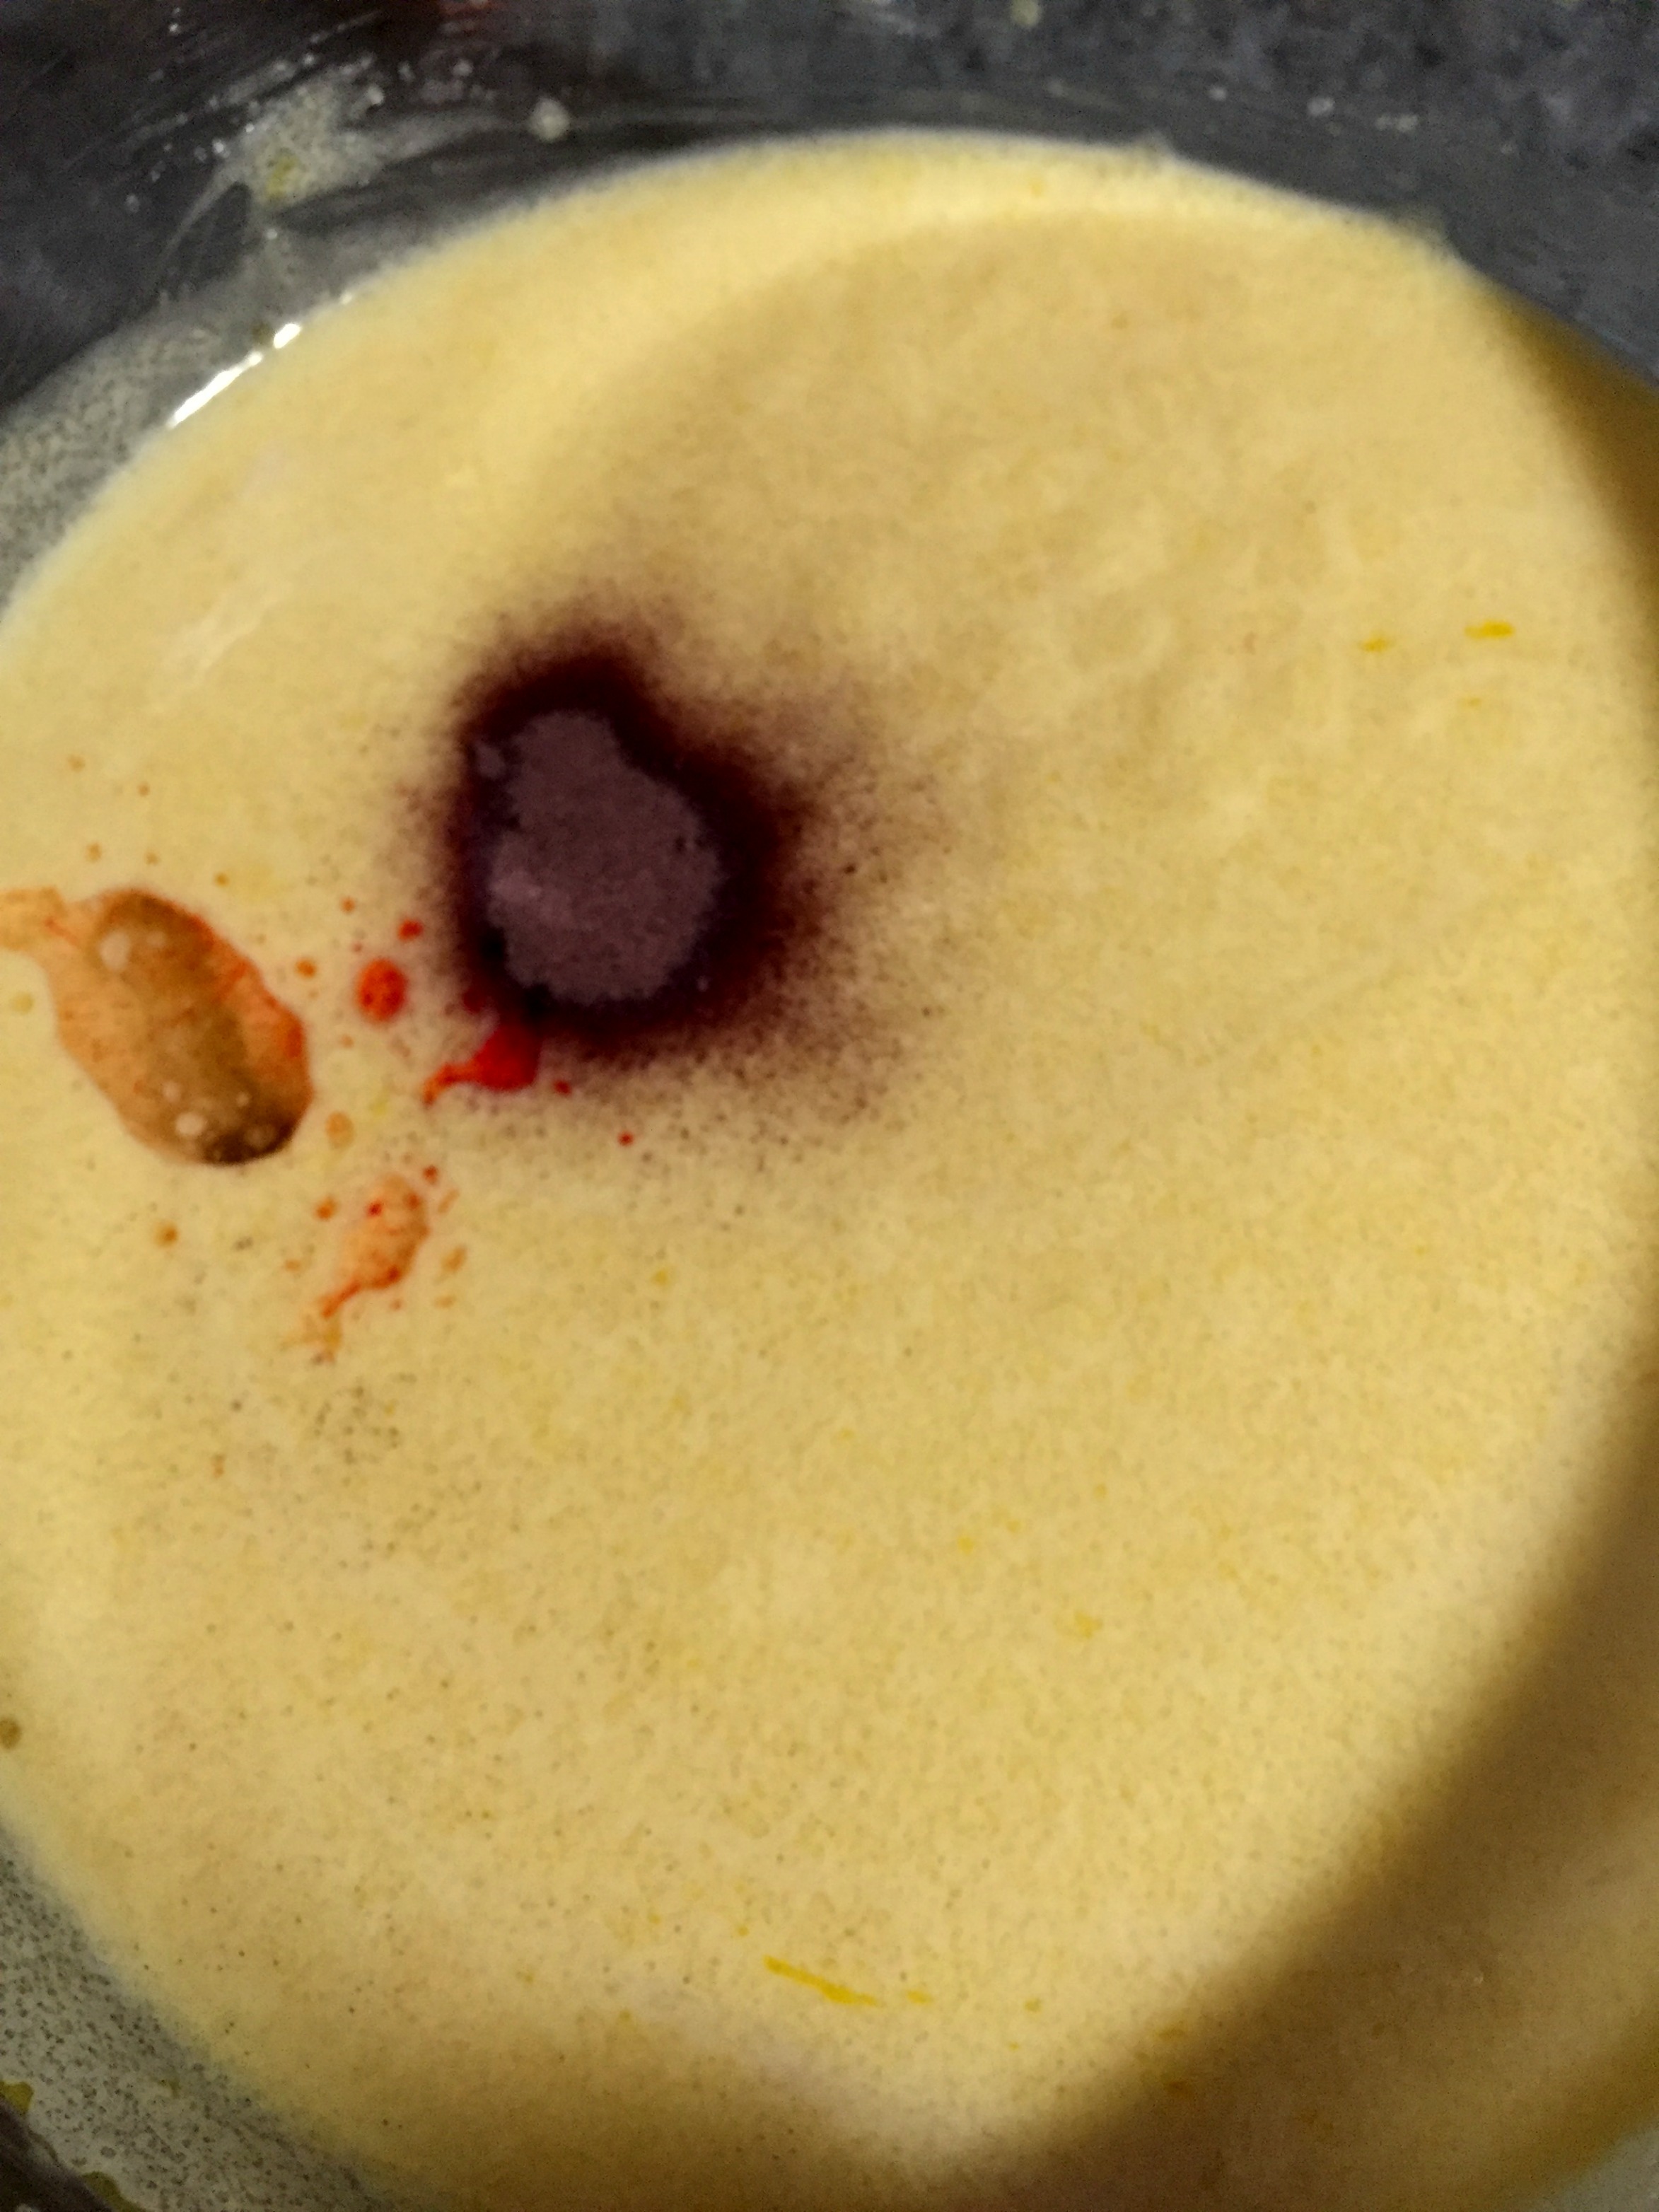
  8. Now beat in the vinegar and enough food coloring until you reach the desired color.
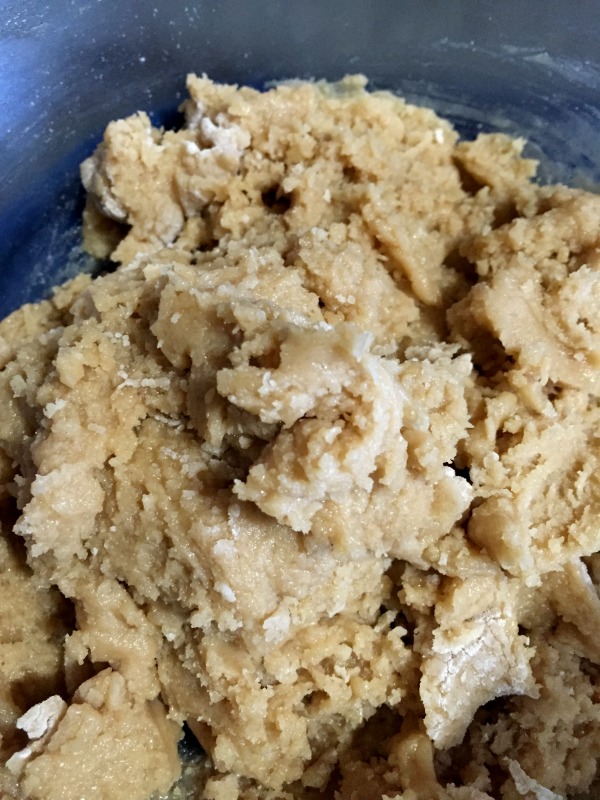
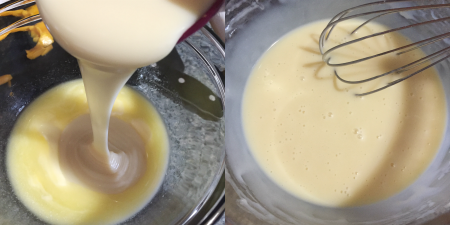
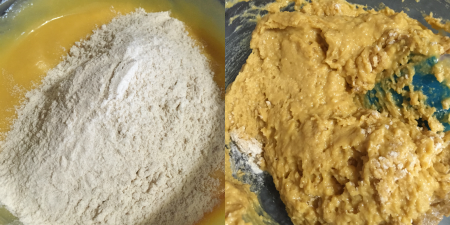
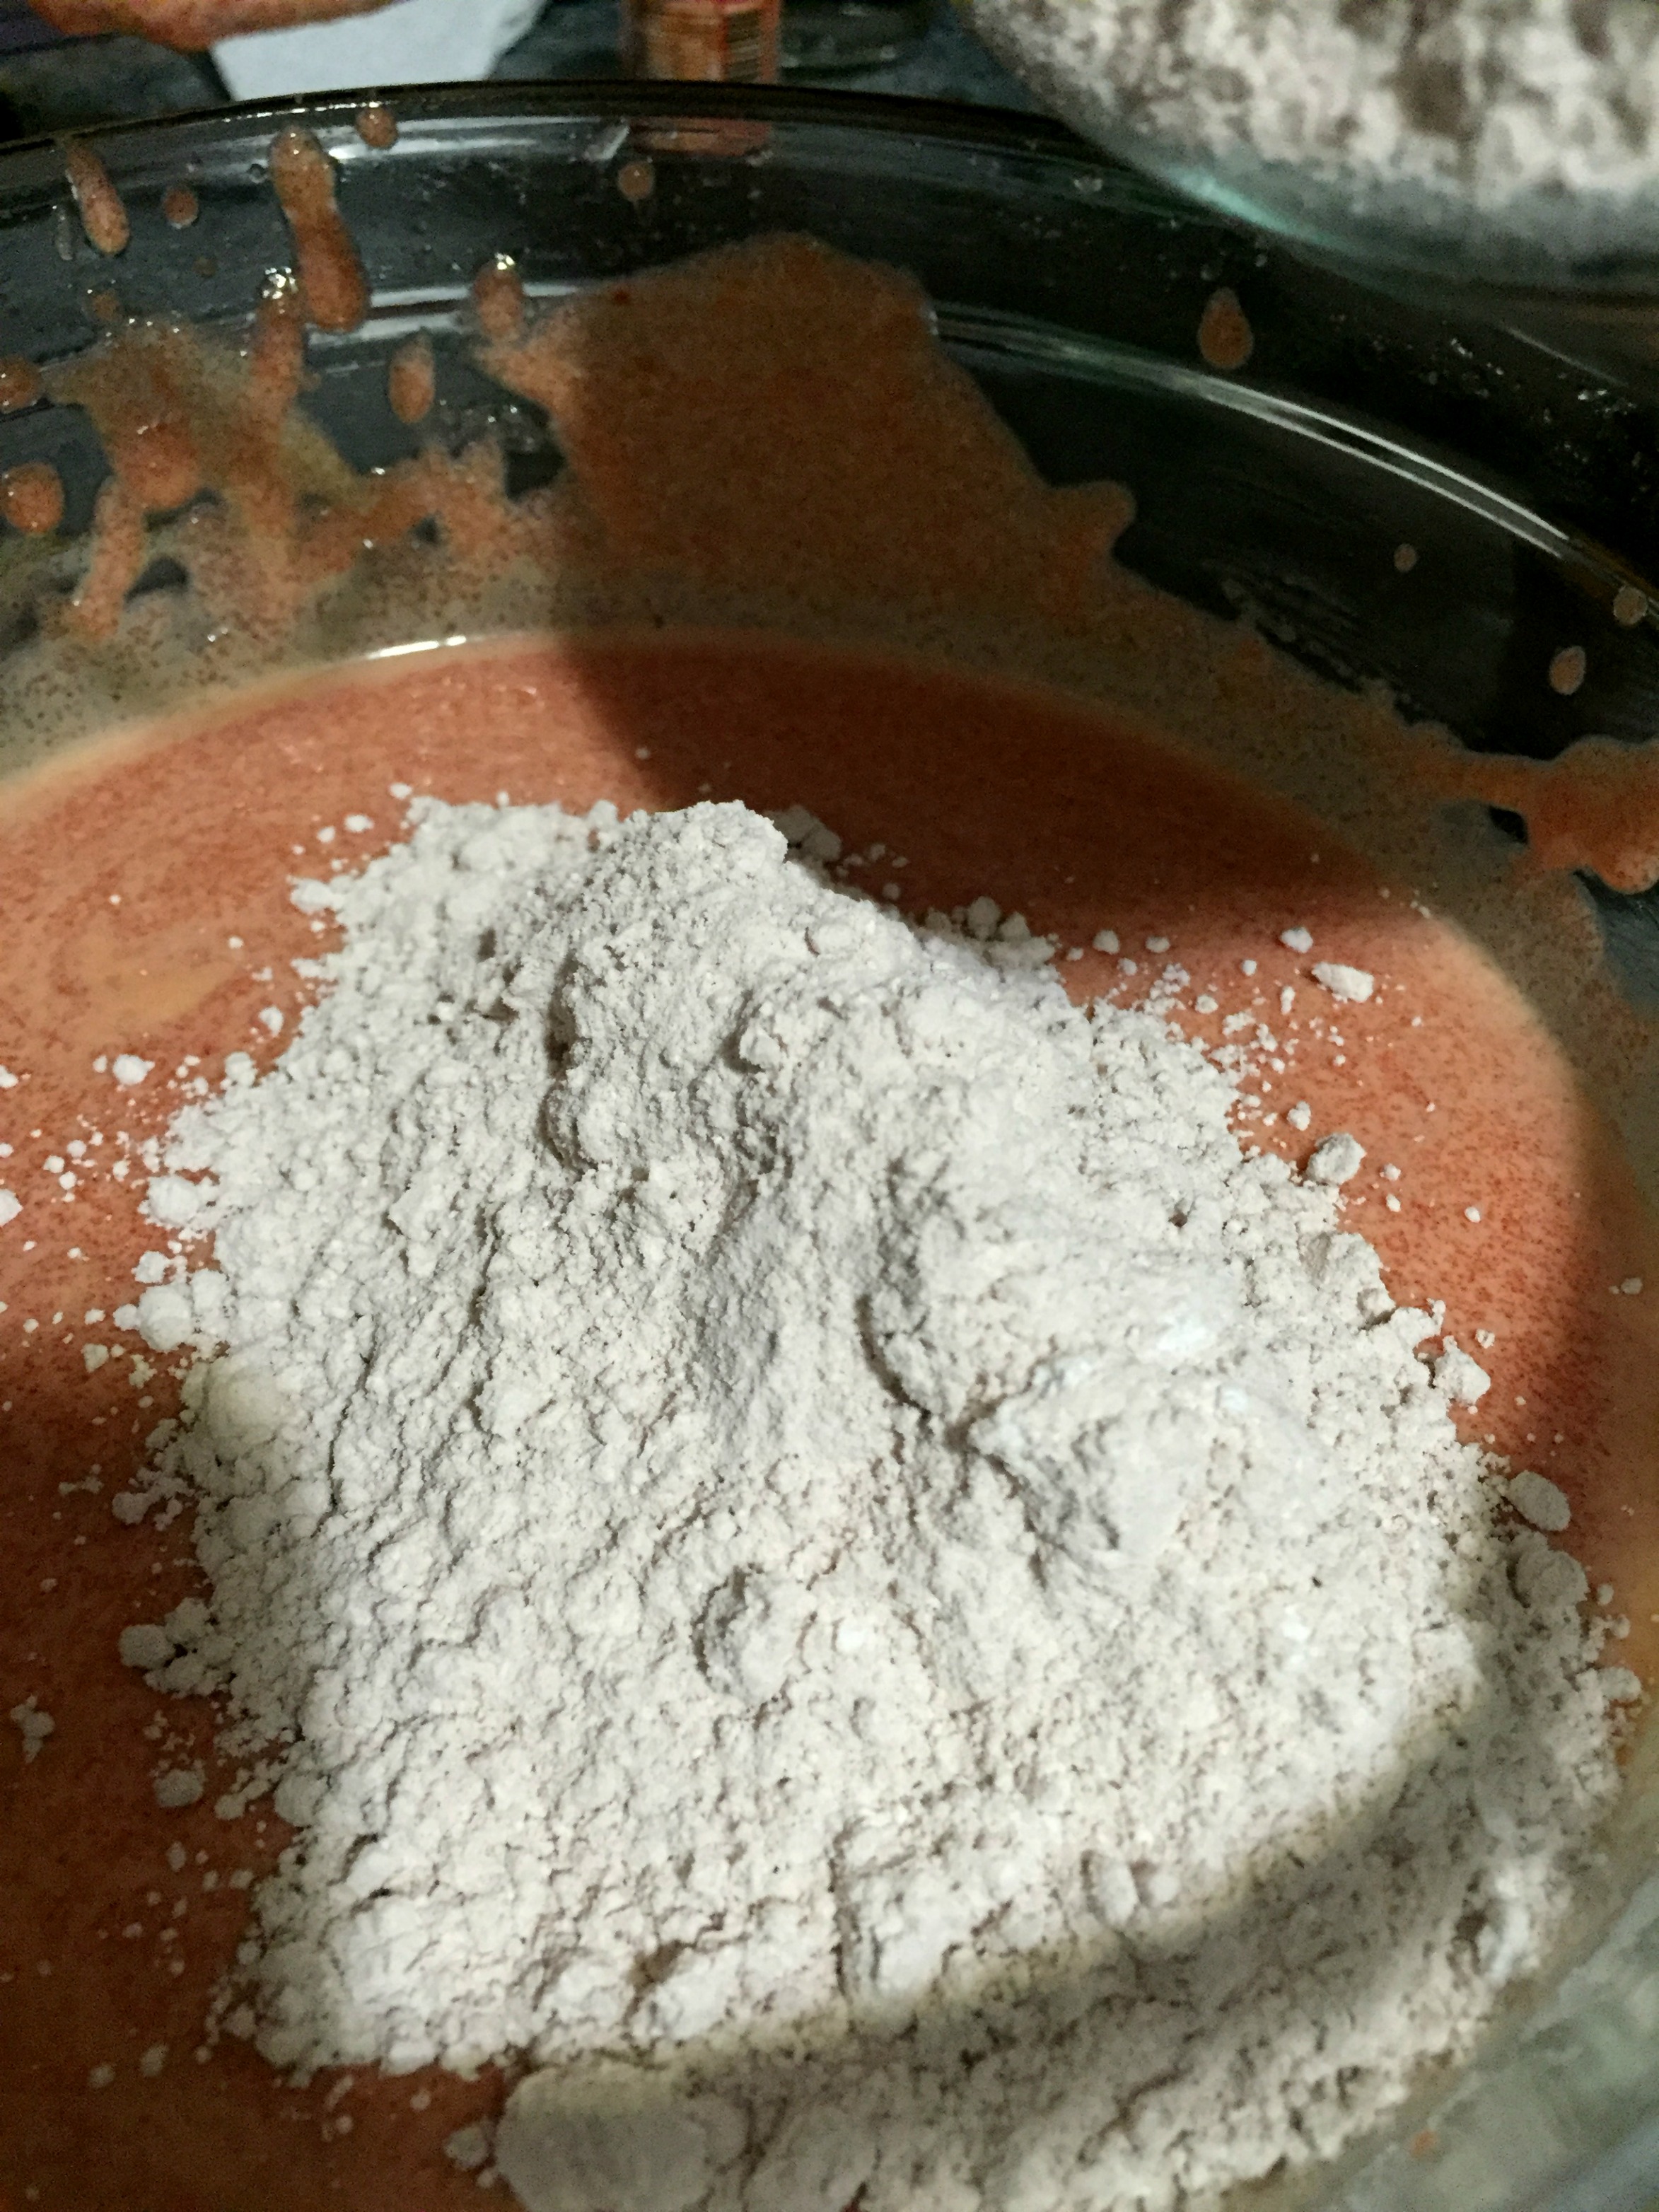
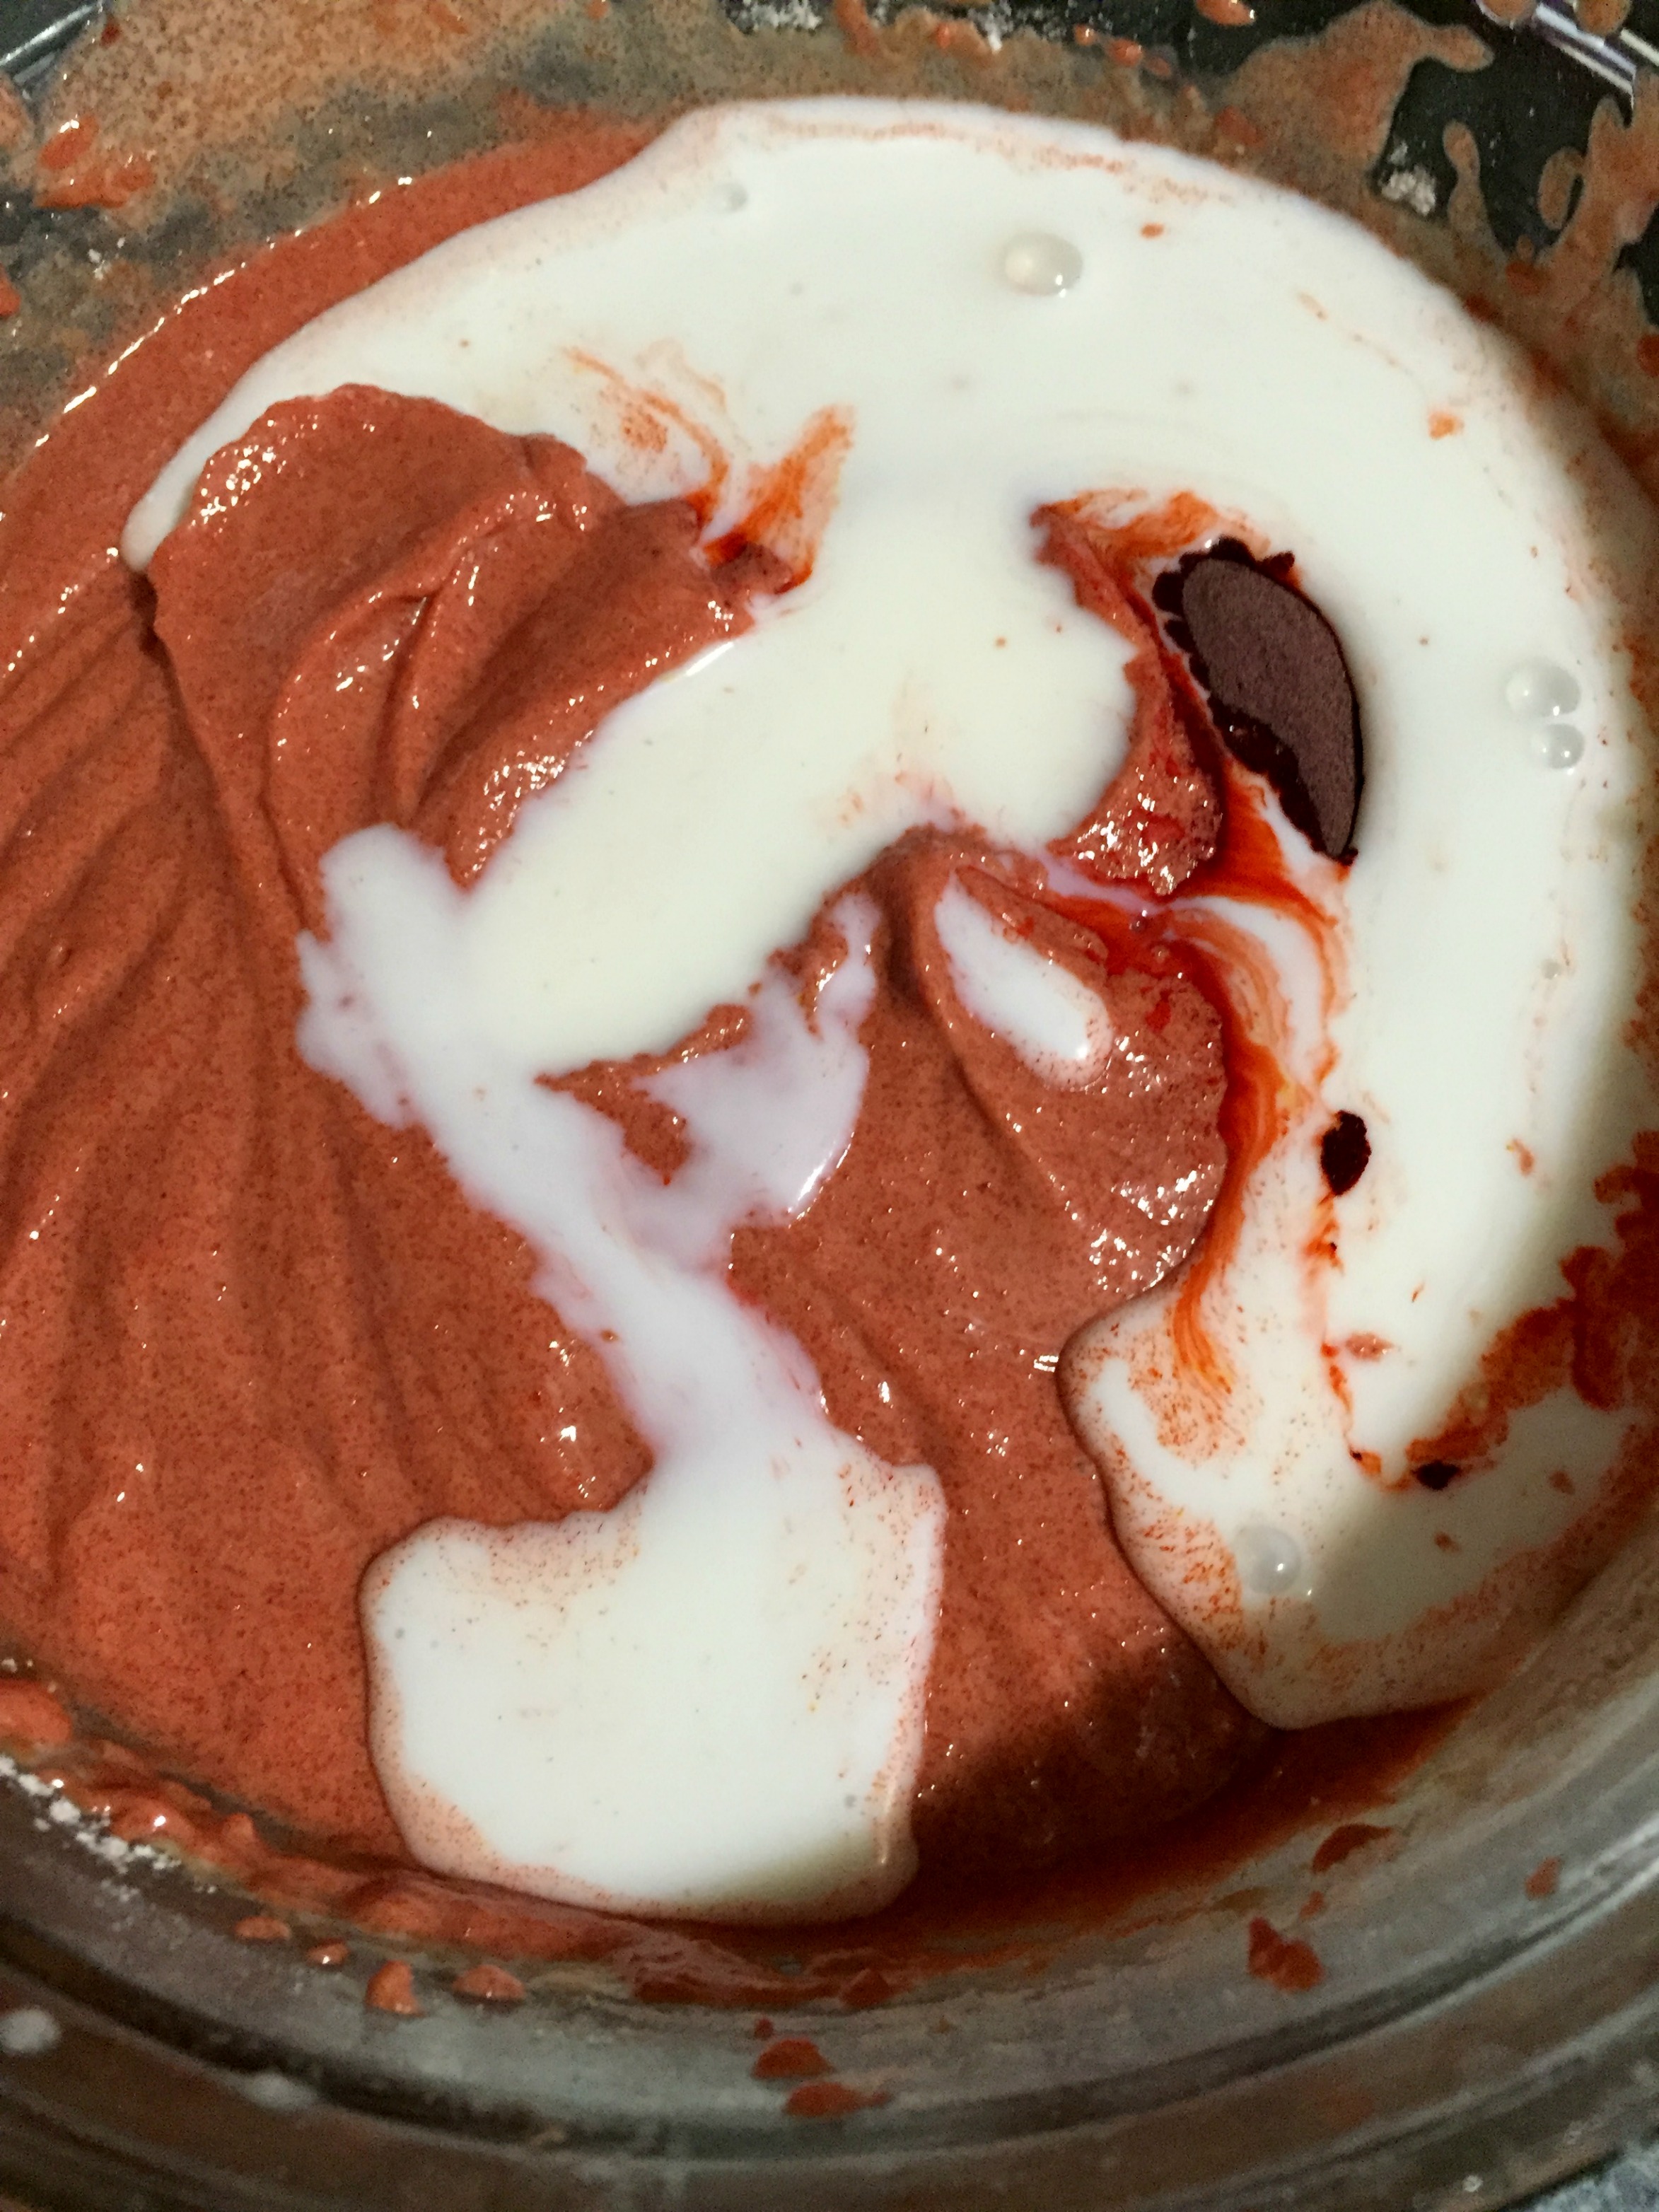
  9. Set the mixer on low speed and add the dry ingredients in three additions alternating with the buttermilk, beginning and ending with the dry ingredients, and mixing each addition just until incorporated – do not over mix.
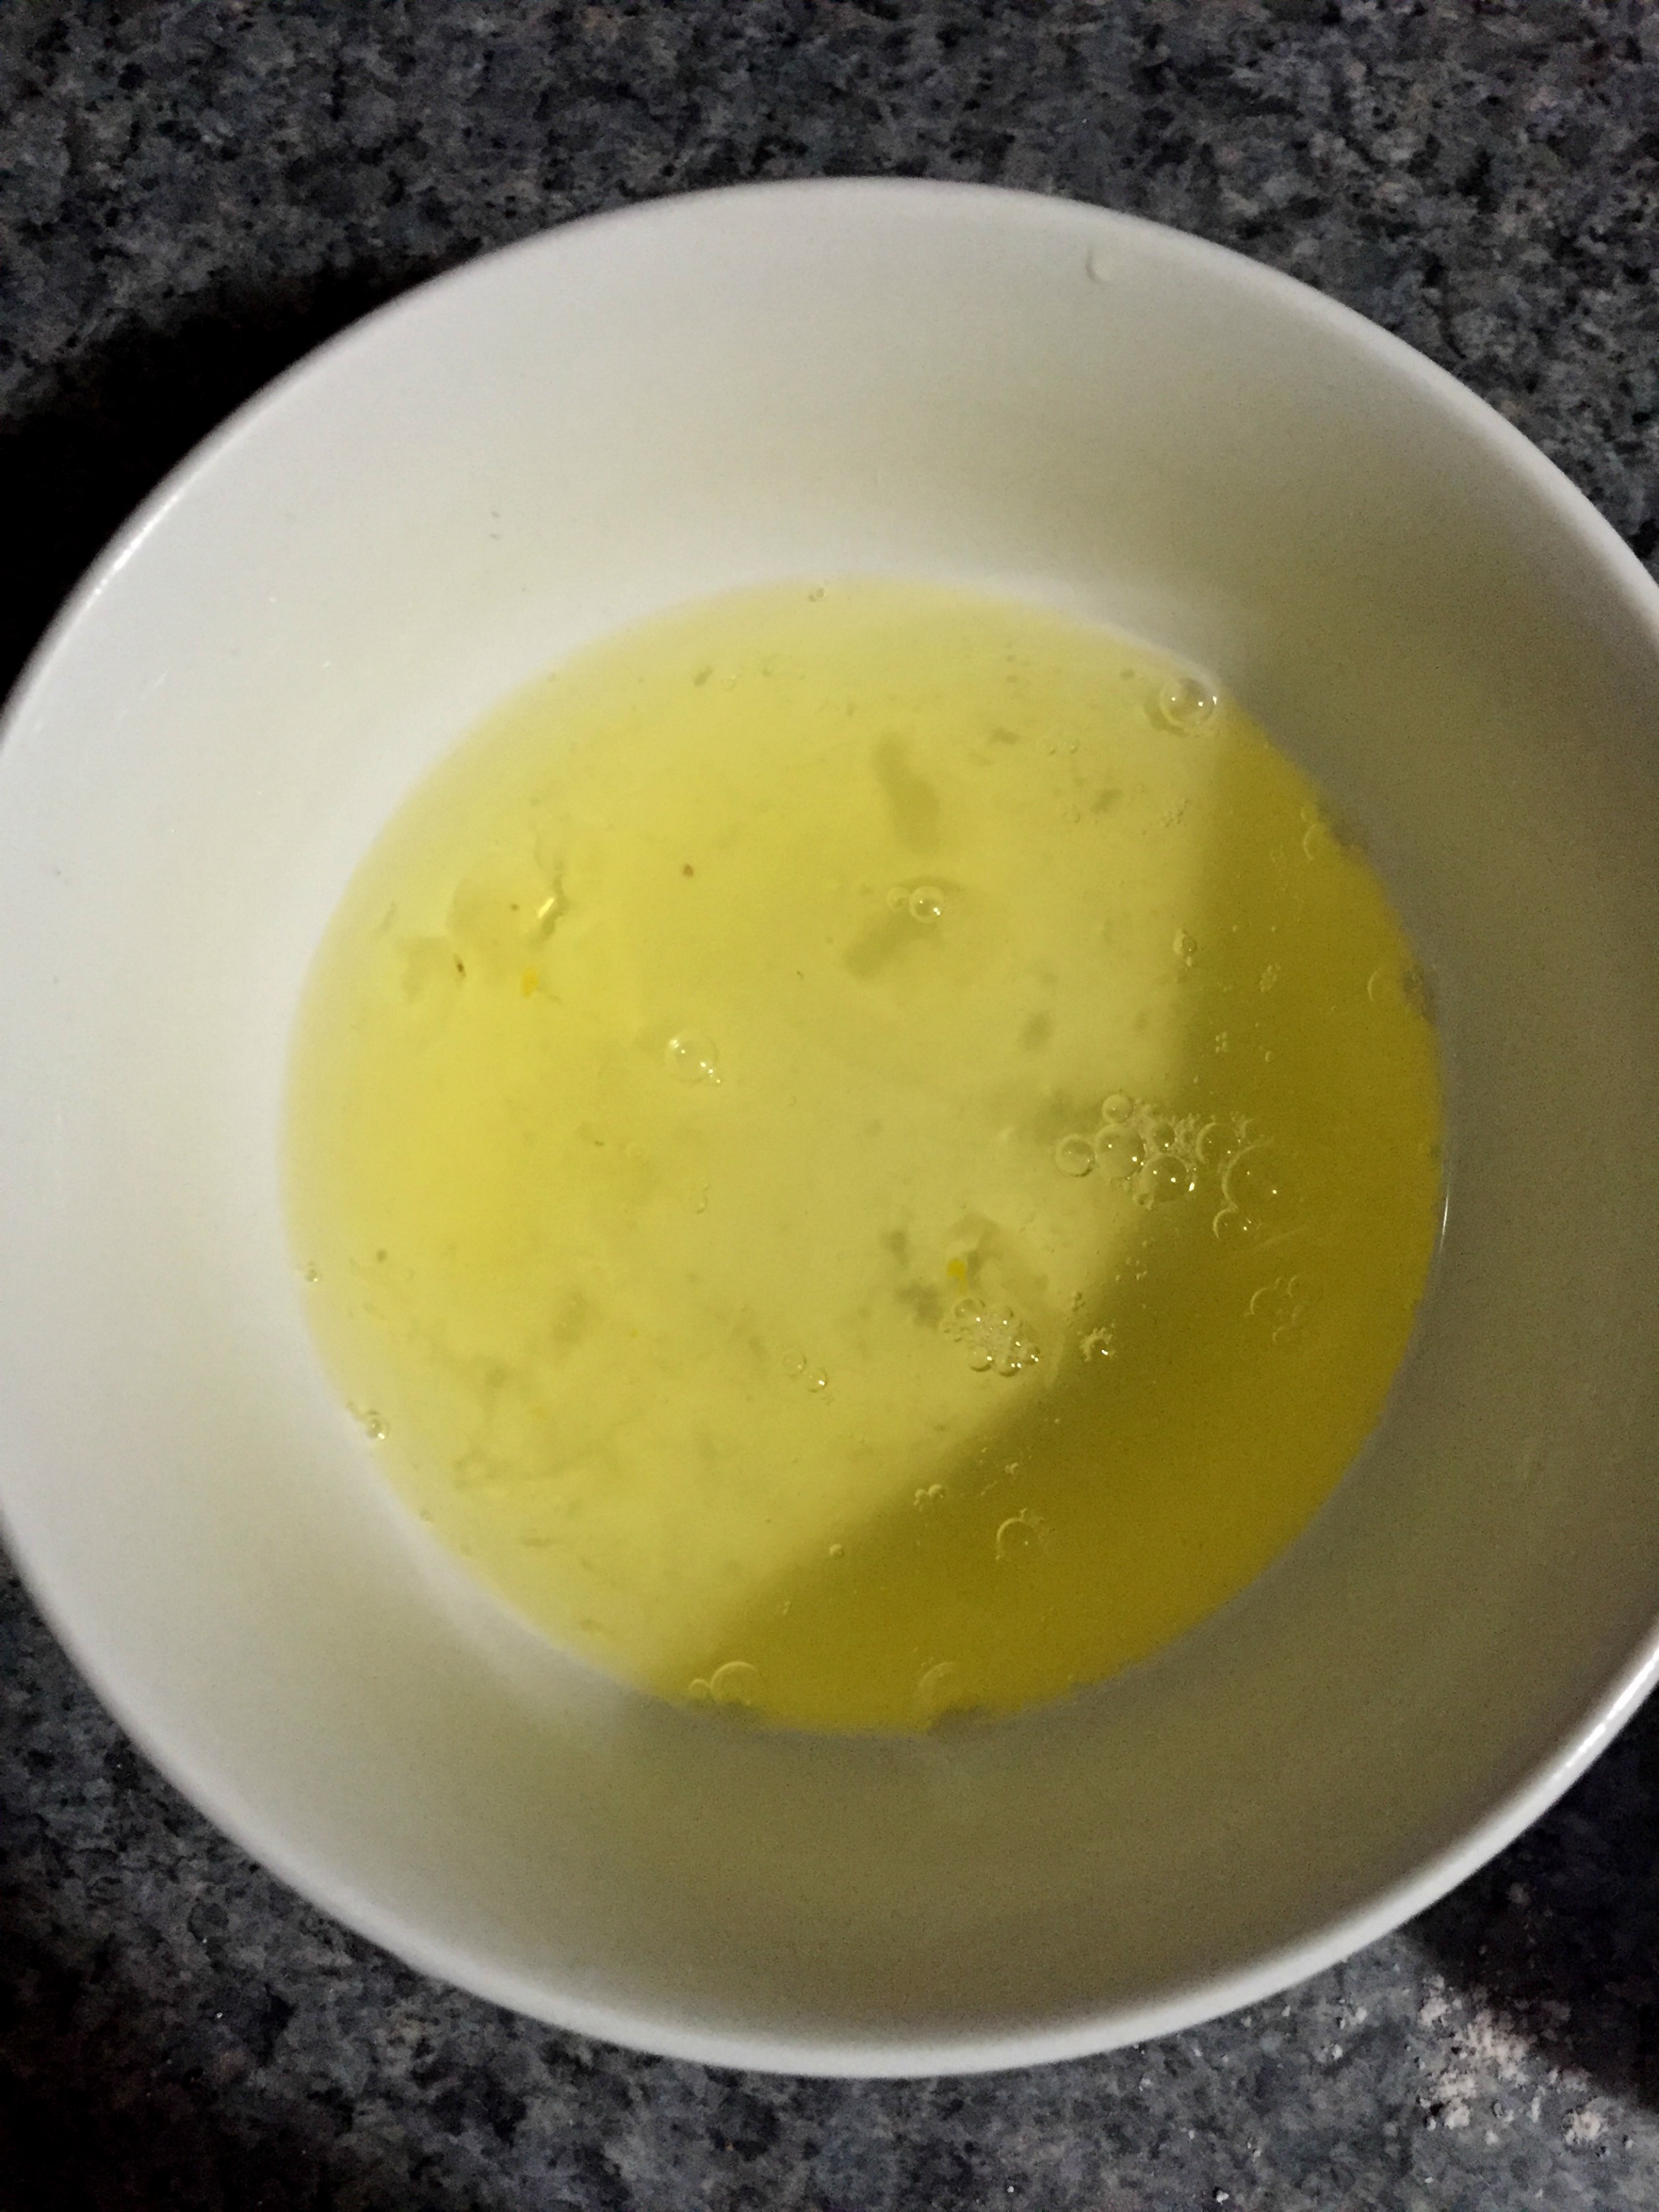
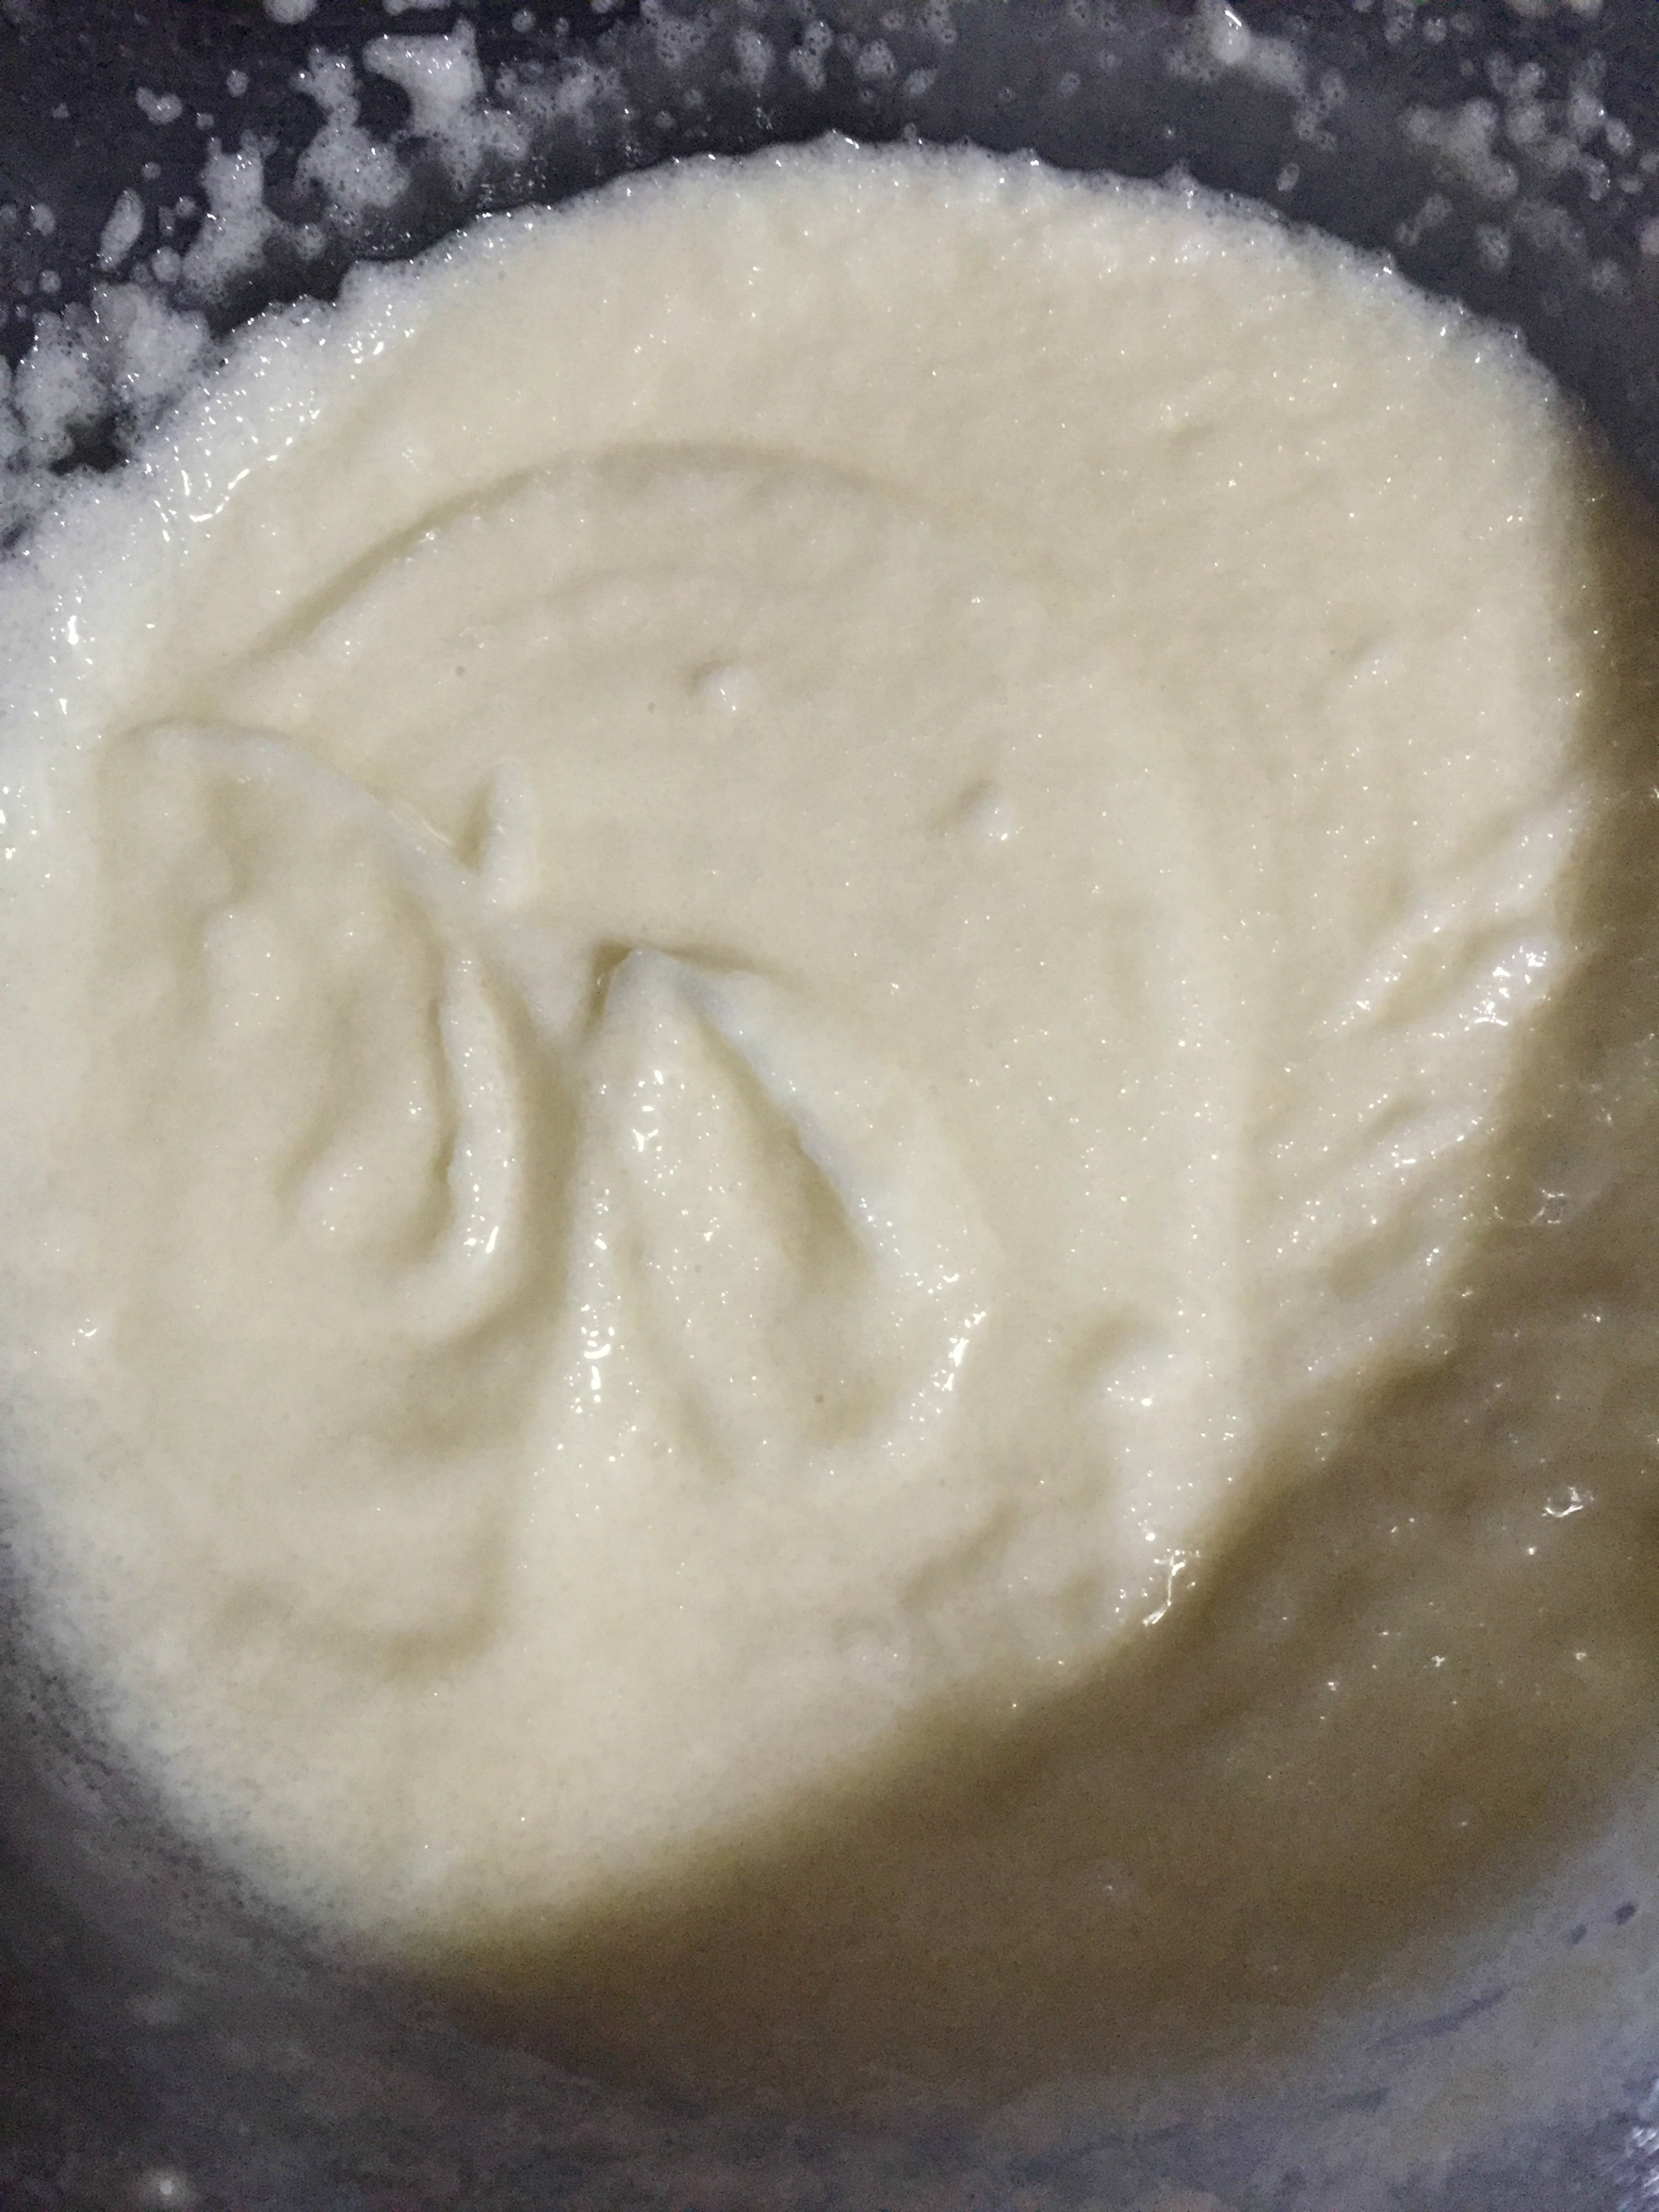
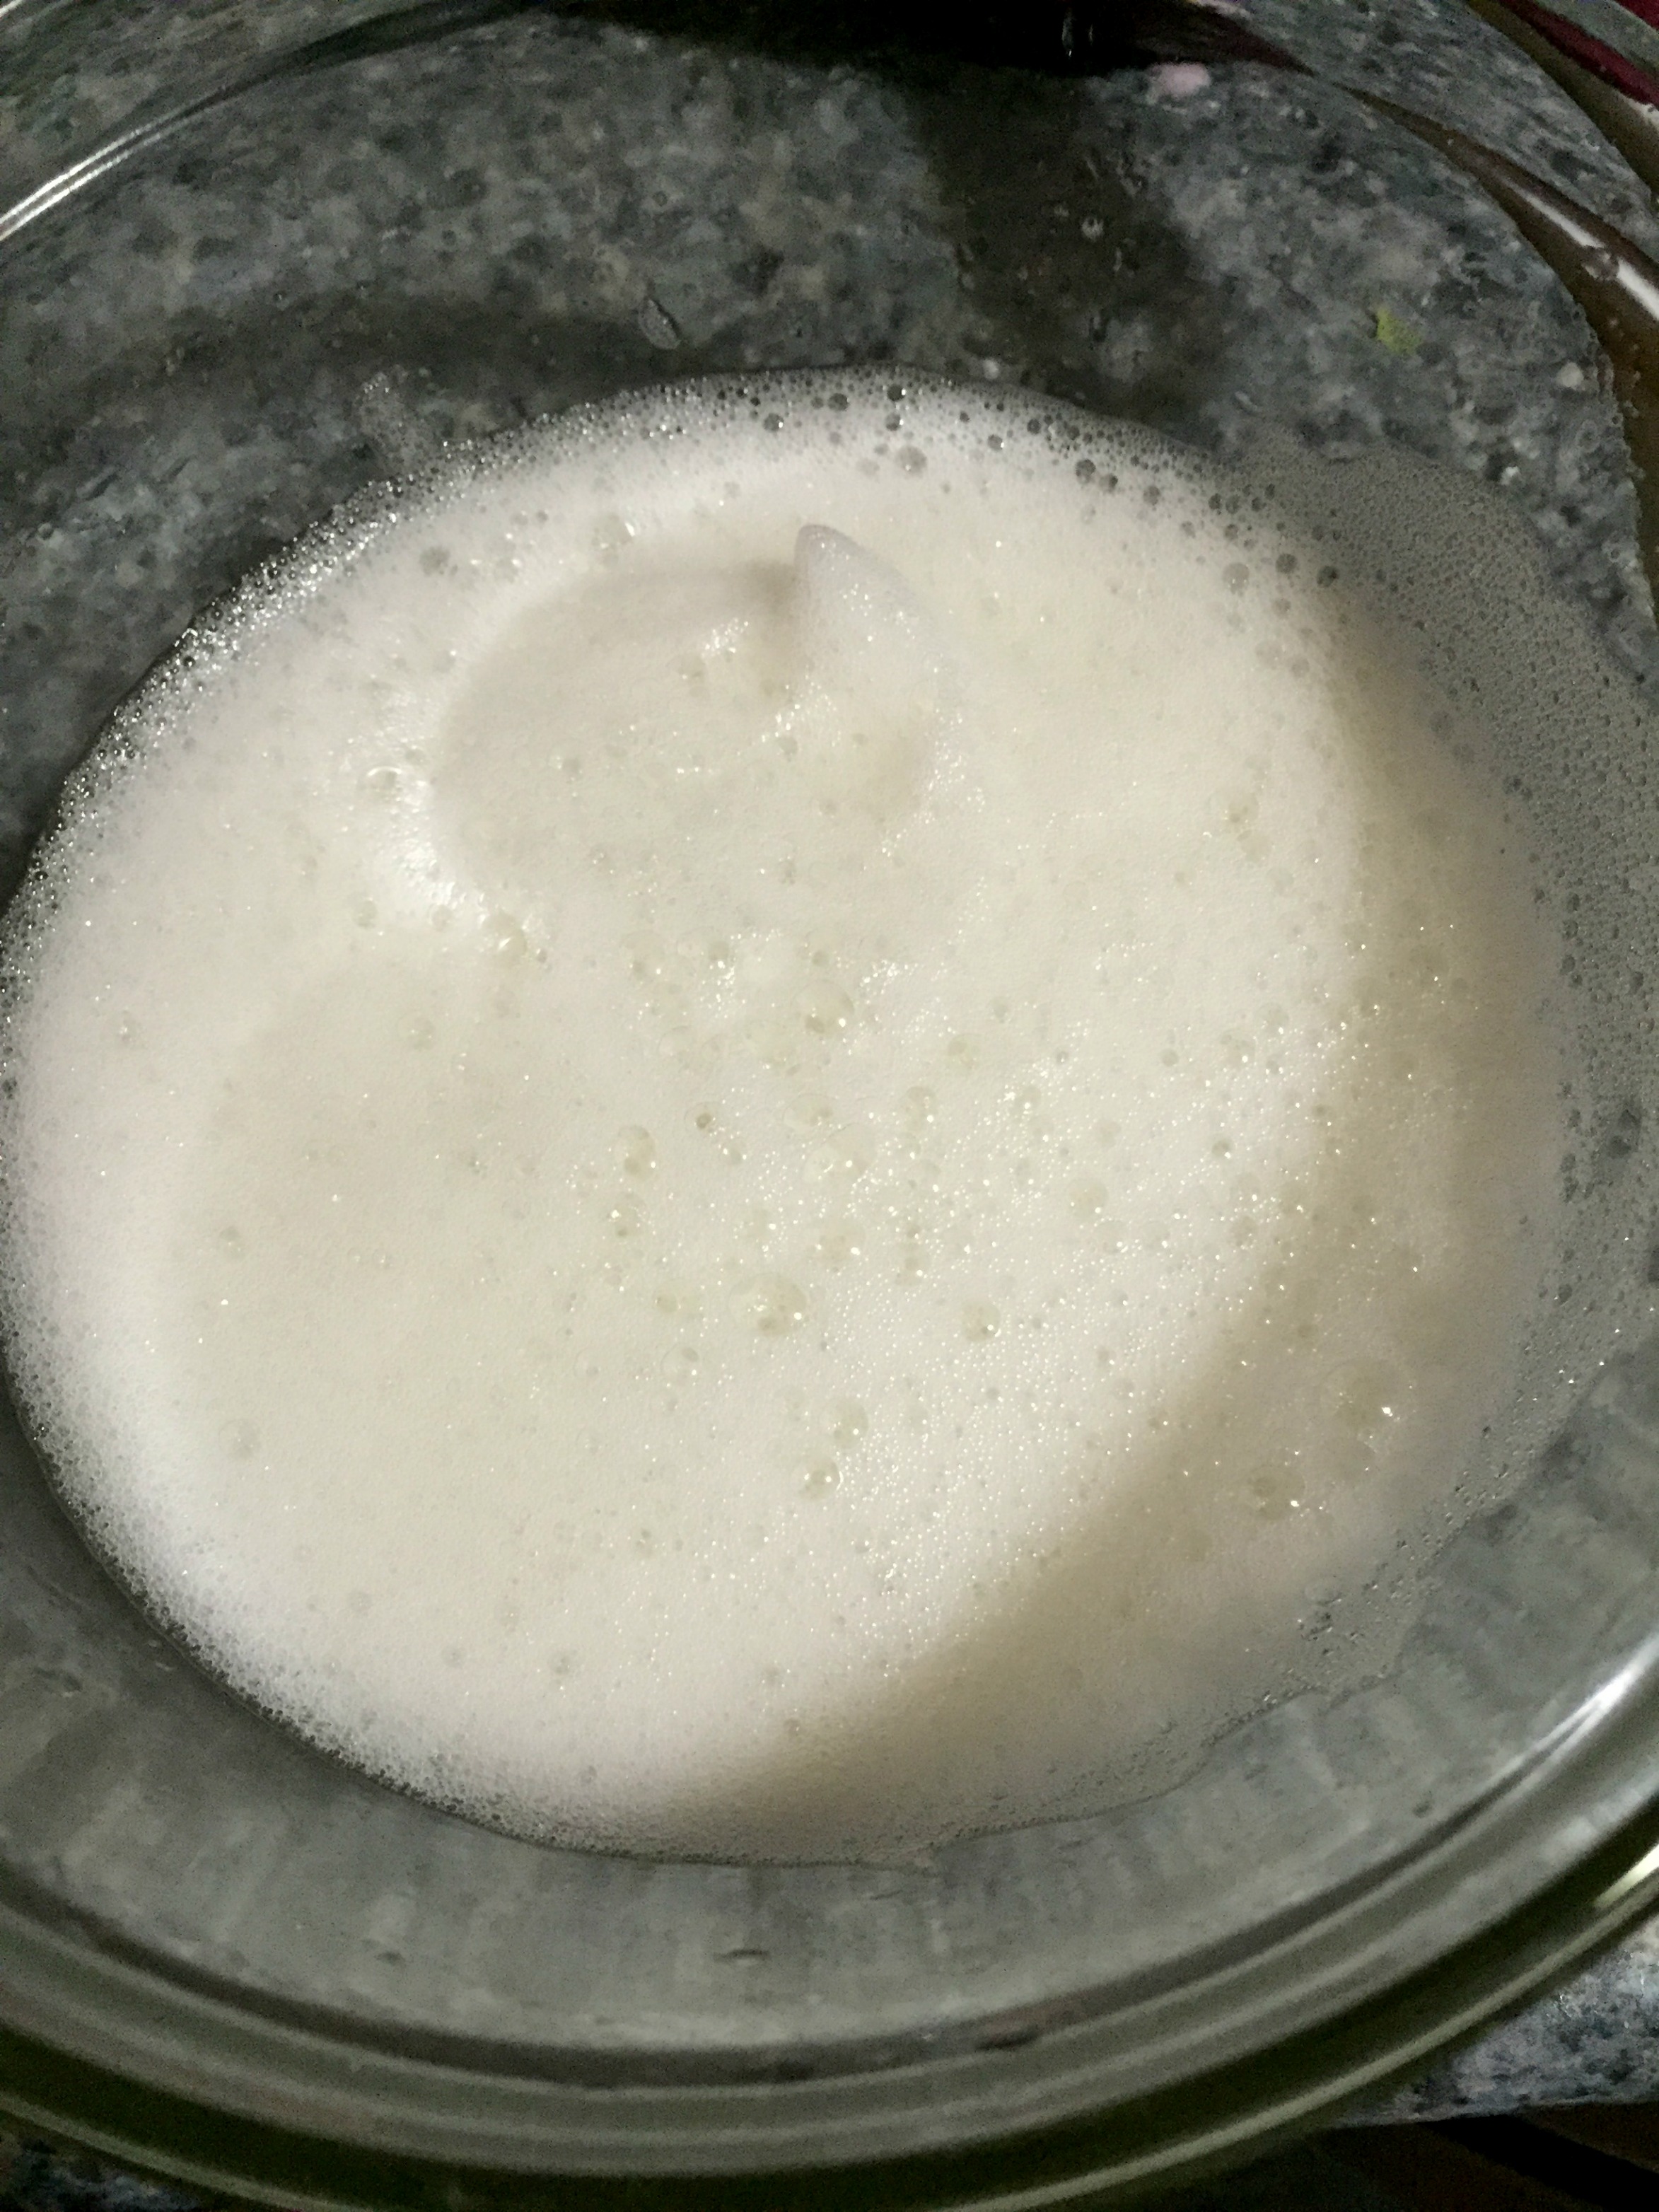
  10. Vigorously whisk the egg whites until thick and foamy for 3 minutes as shown in the picture.
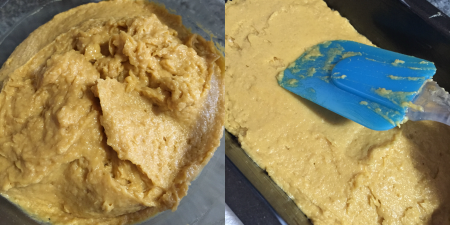
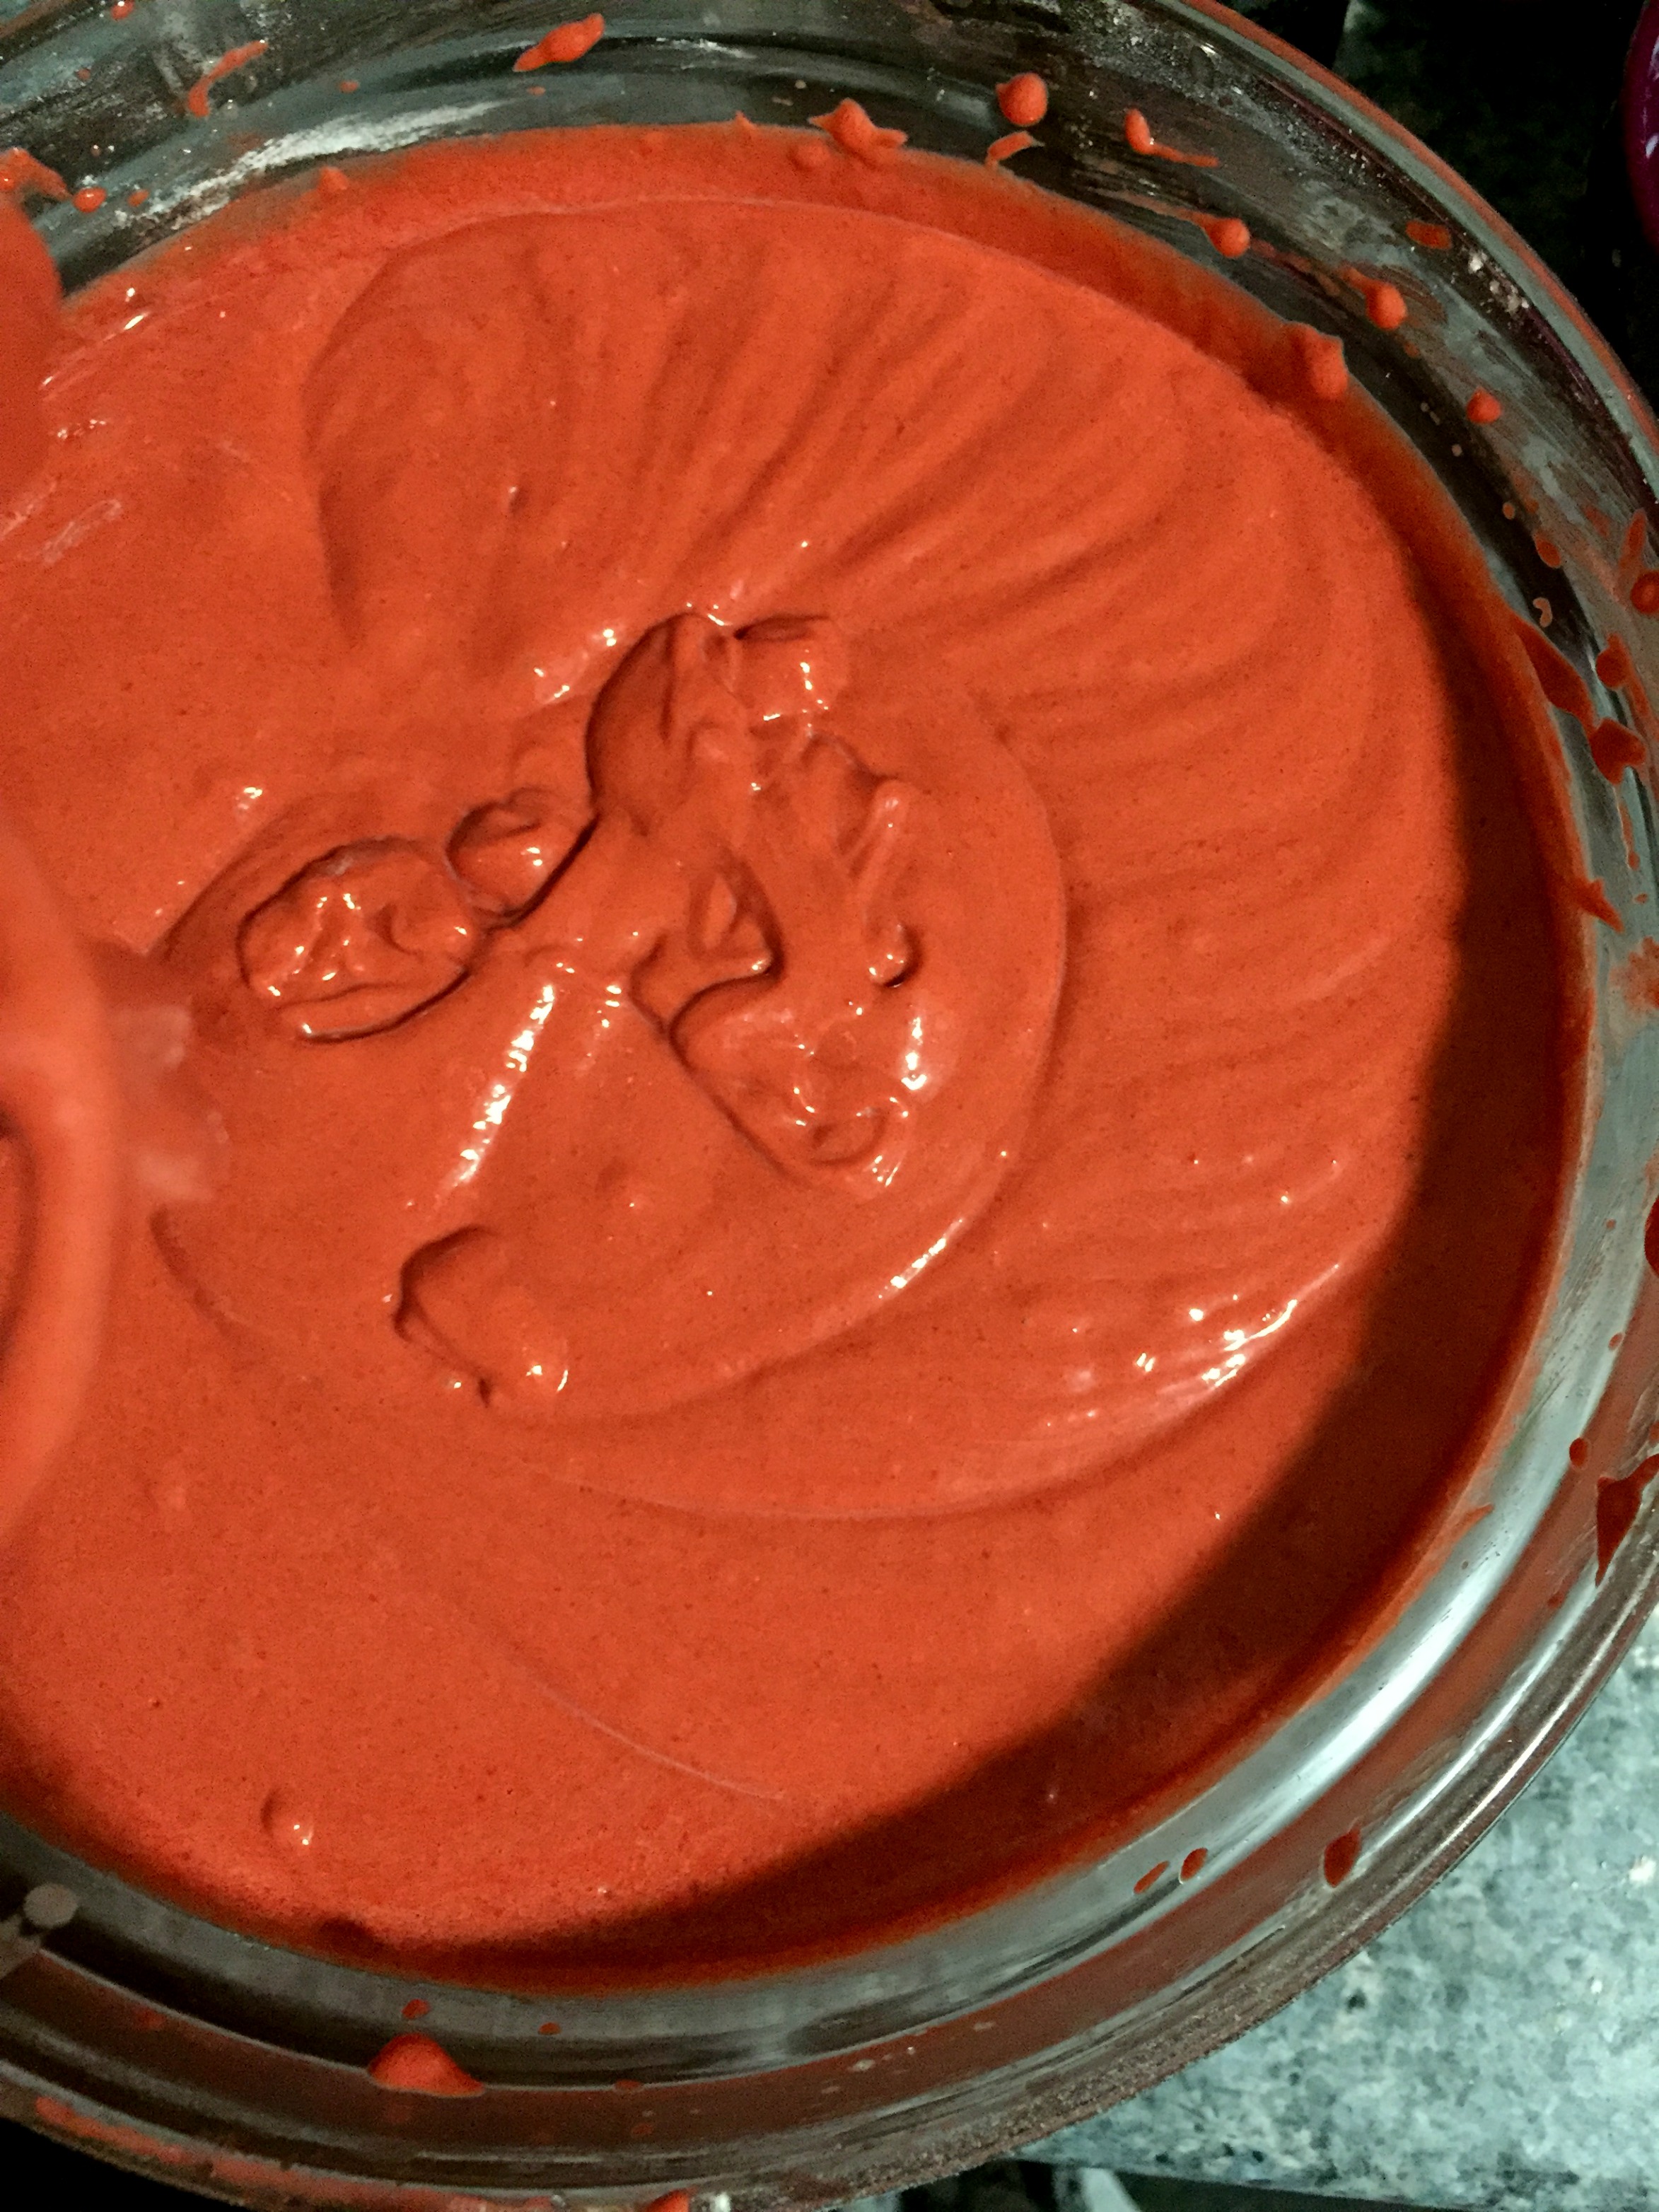
  11. Fold the beaten egg whites into cake batter with a spatula. The batter will be silky and lightly thick.
  12. Add in white chocolate chip and gently mix the batter. Again, do not over mix the batter.
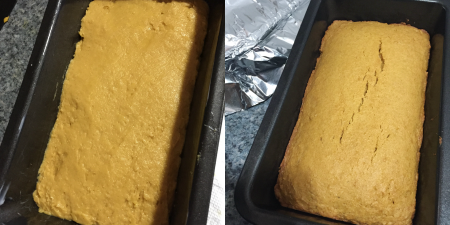
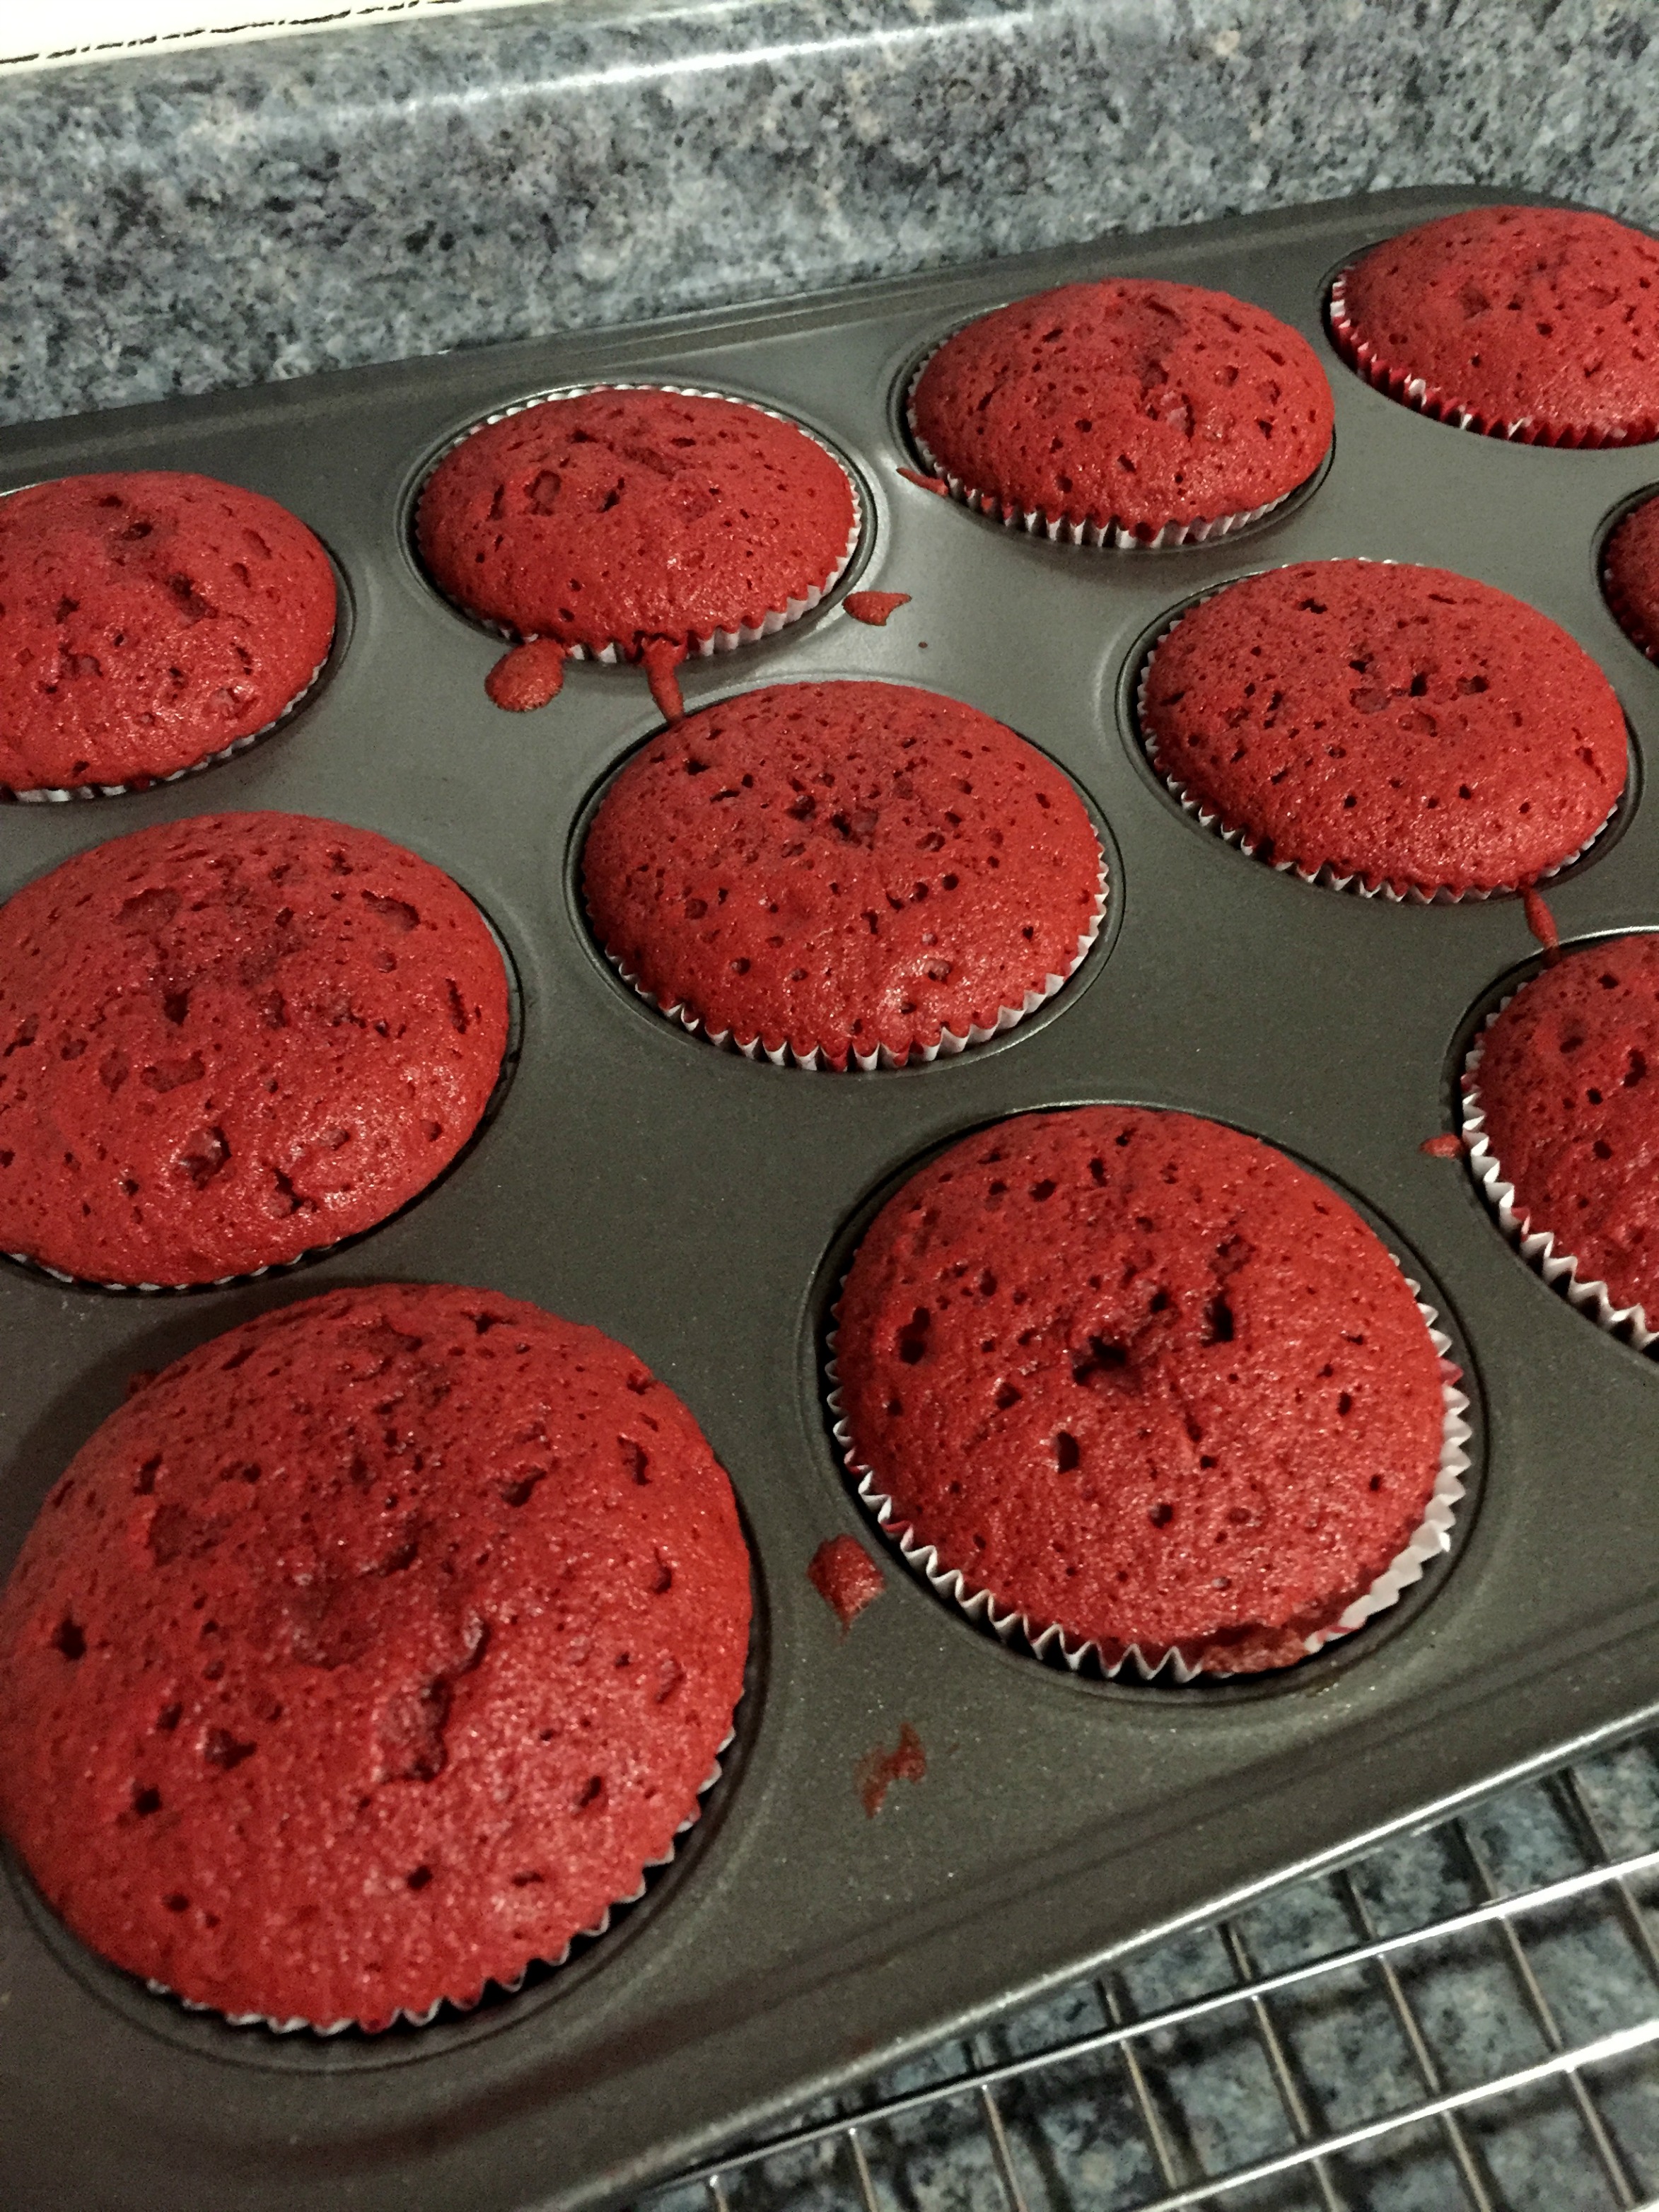
  13. Pour the batter into cupcake pans filling ⅔ of the way full and bake for 18 minutes or until the tooth pick inserted in the center comes out clean.
  14. Remove the pan from the oven and let it cool in the pan for 10 minutes, then transfer to a wire rack and cool them completely.
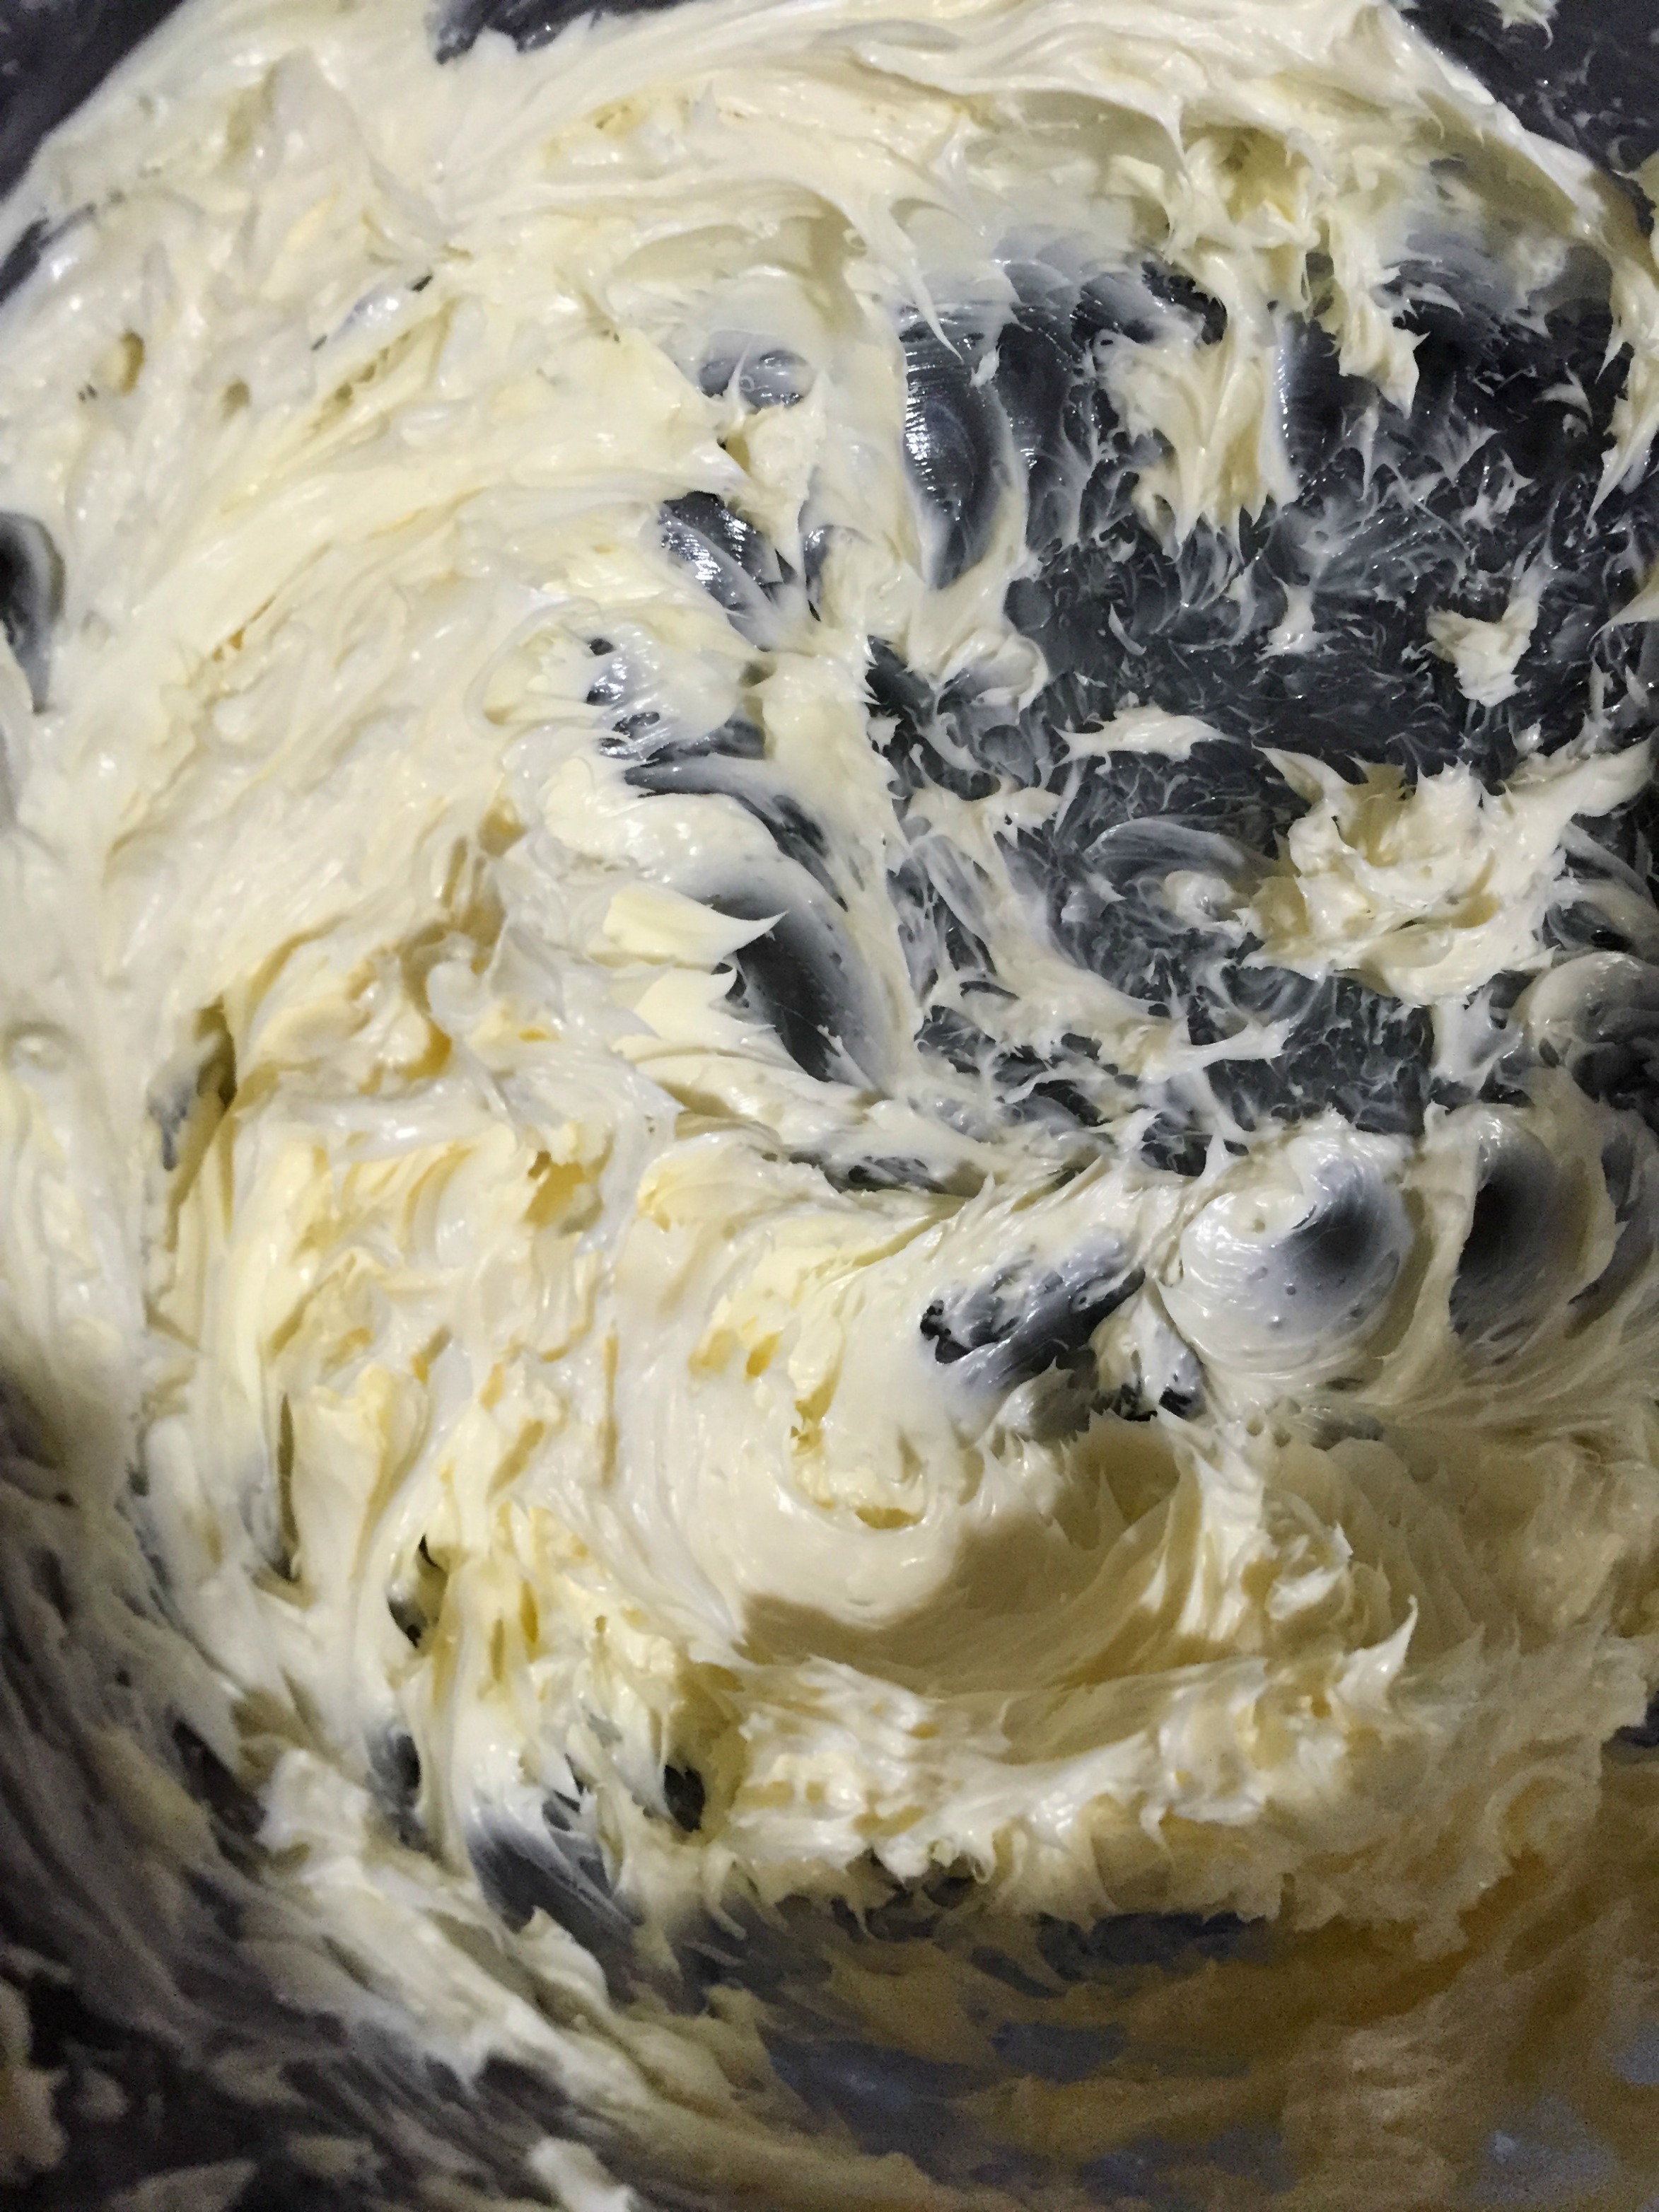
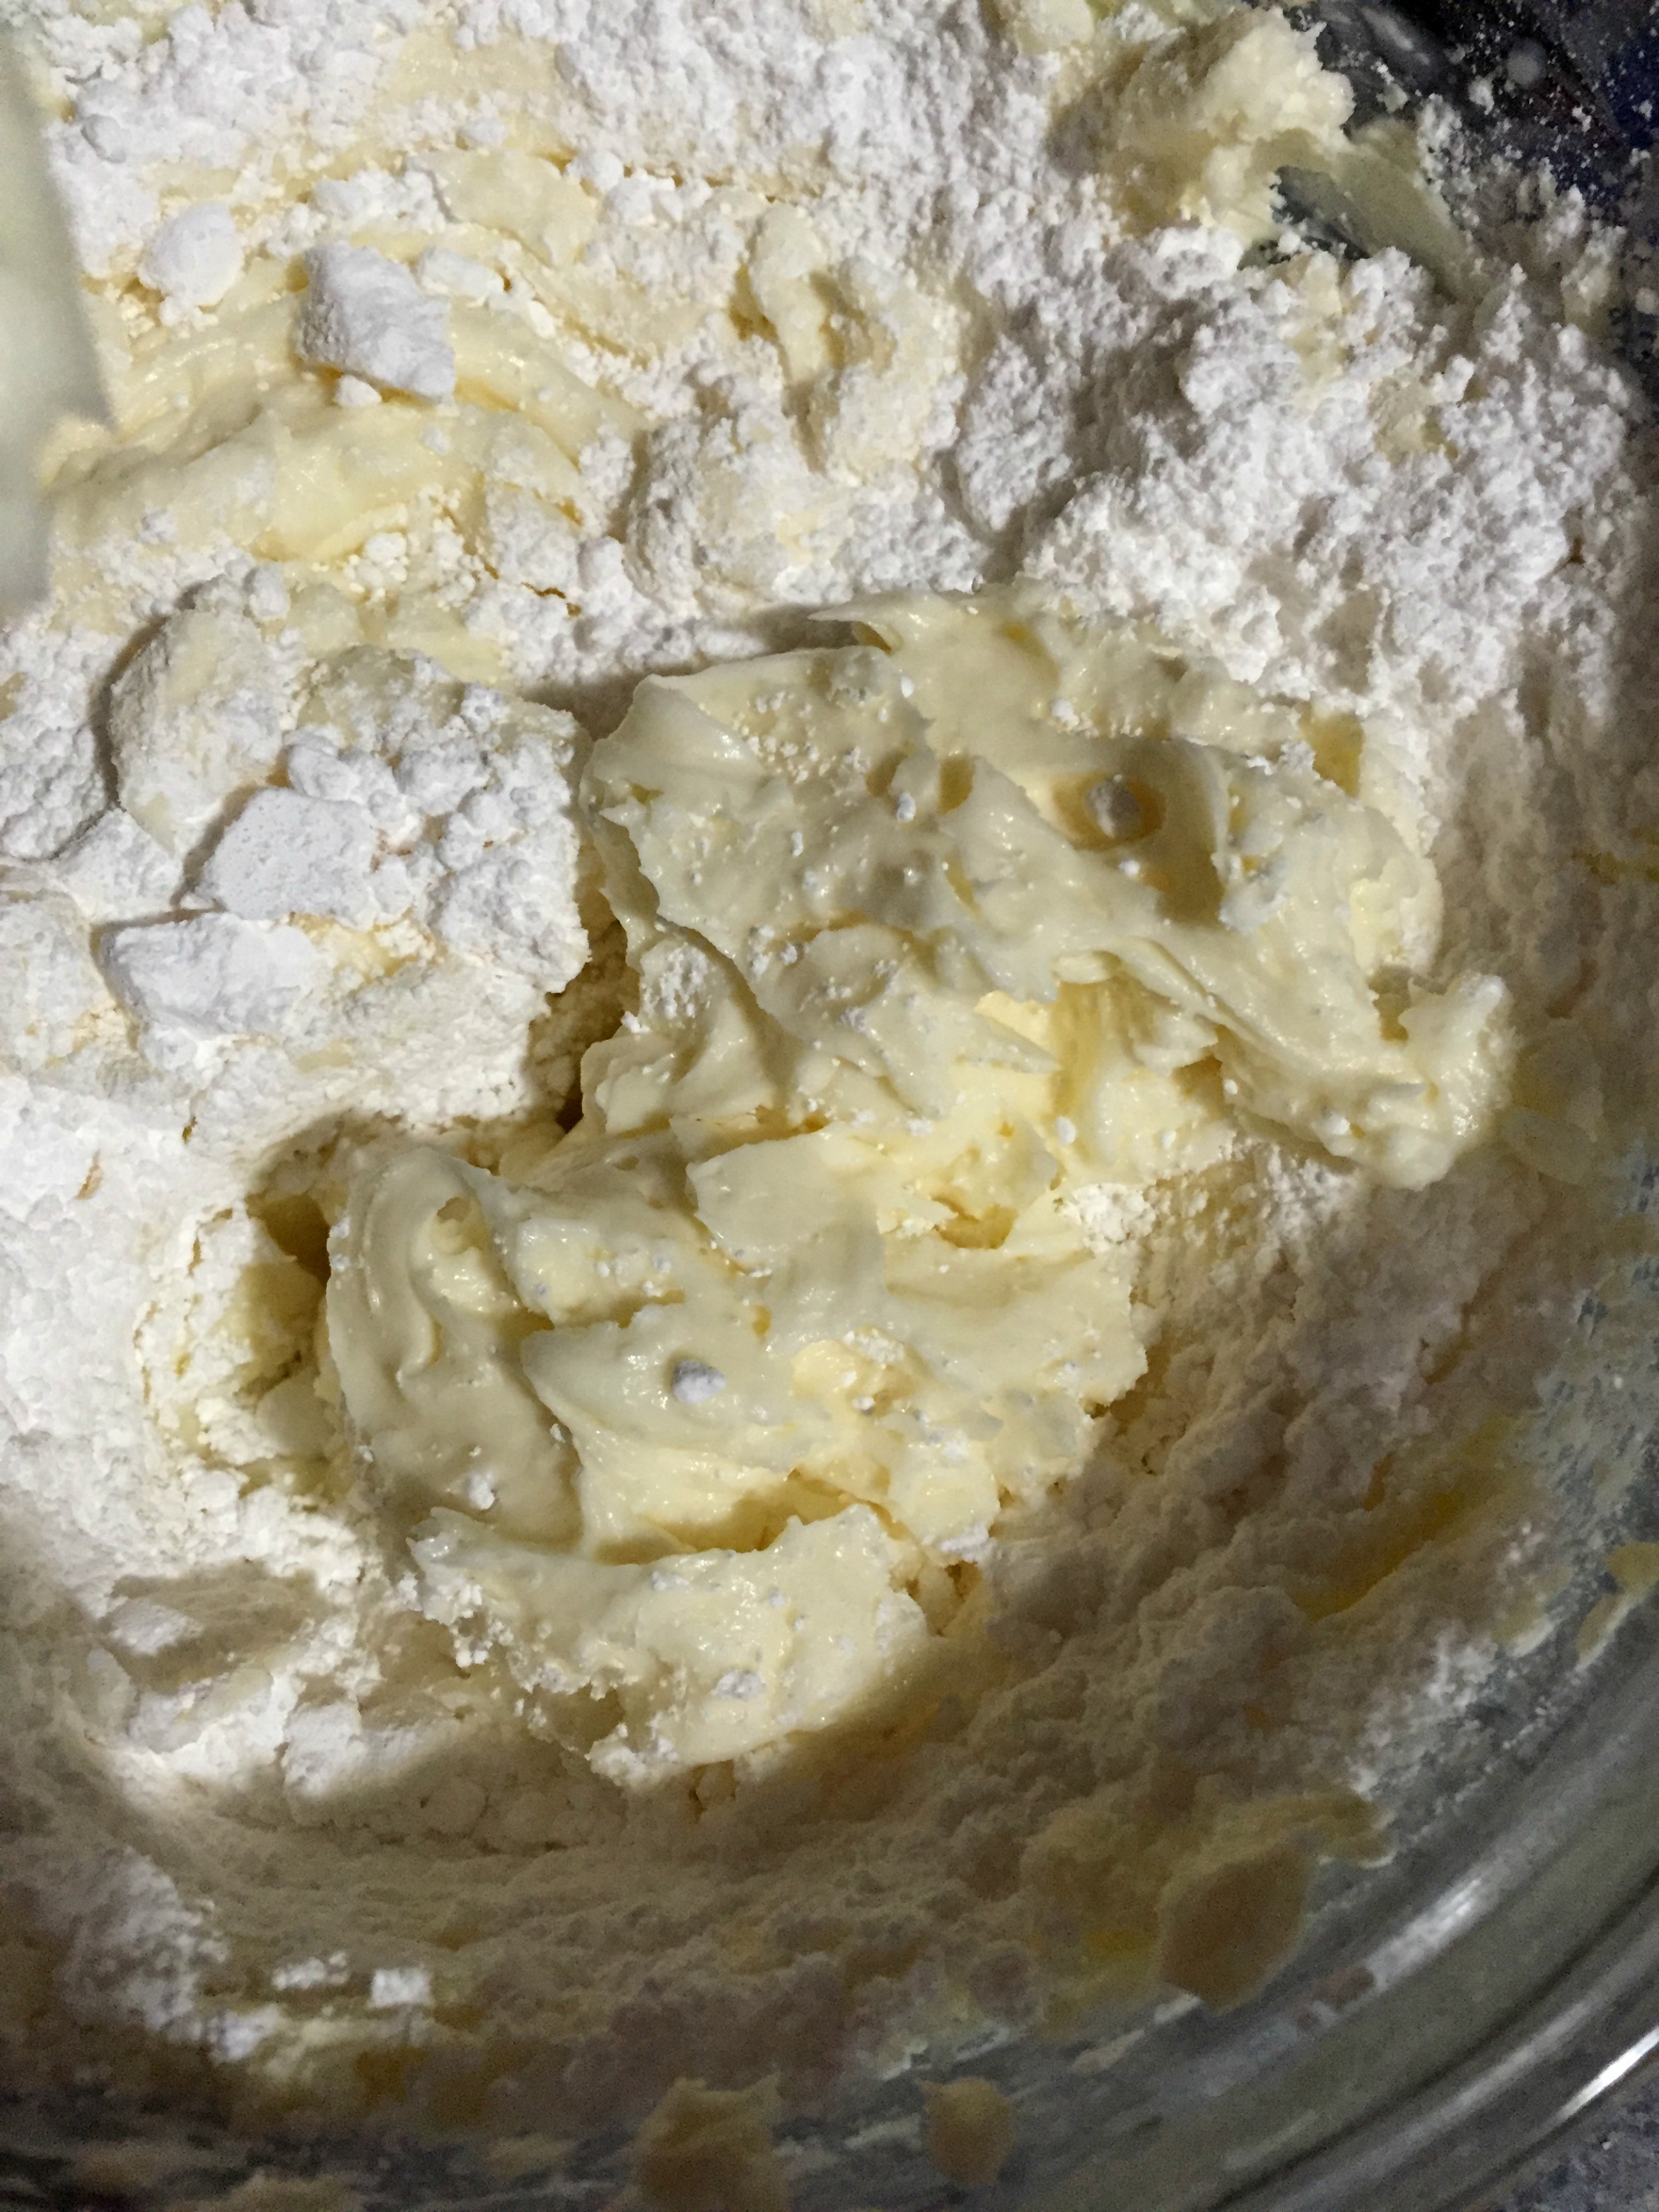
  15. Now for the frosting, combine the cream cheese and butter in a medium mixing bowl and beat on medium to high speed for 3 minutes until light and fluffy.
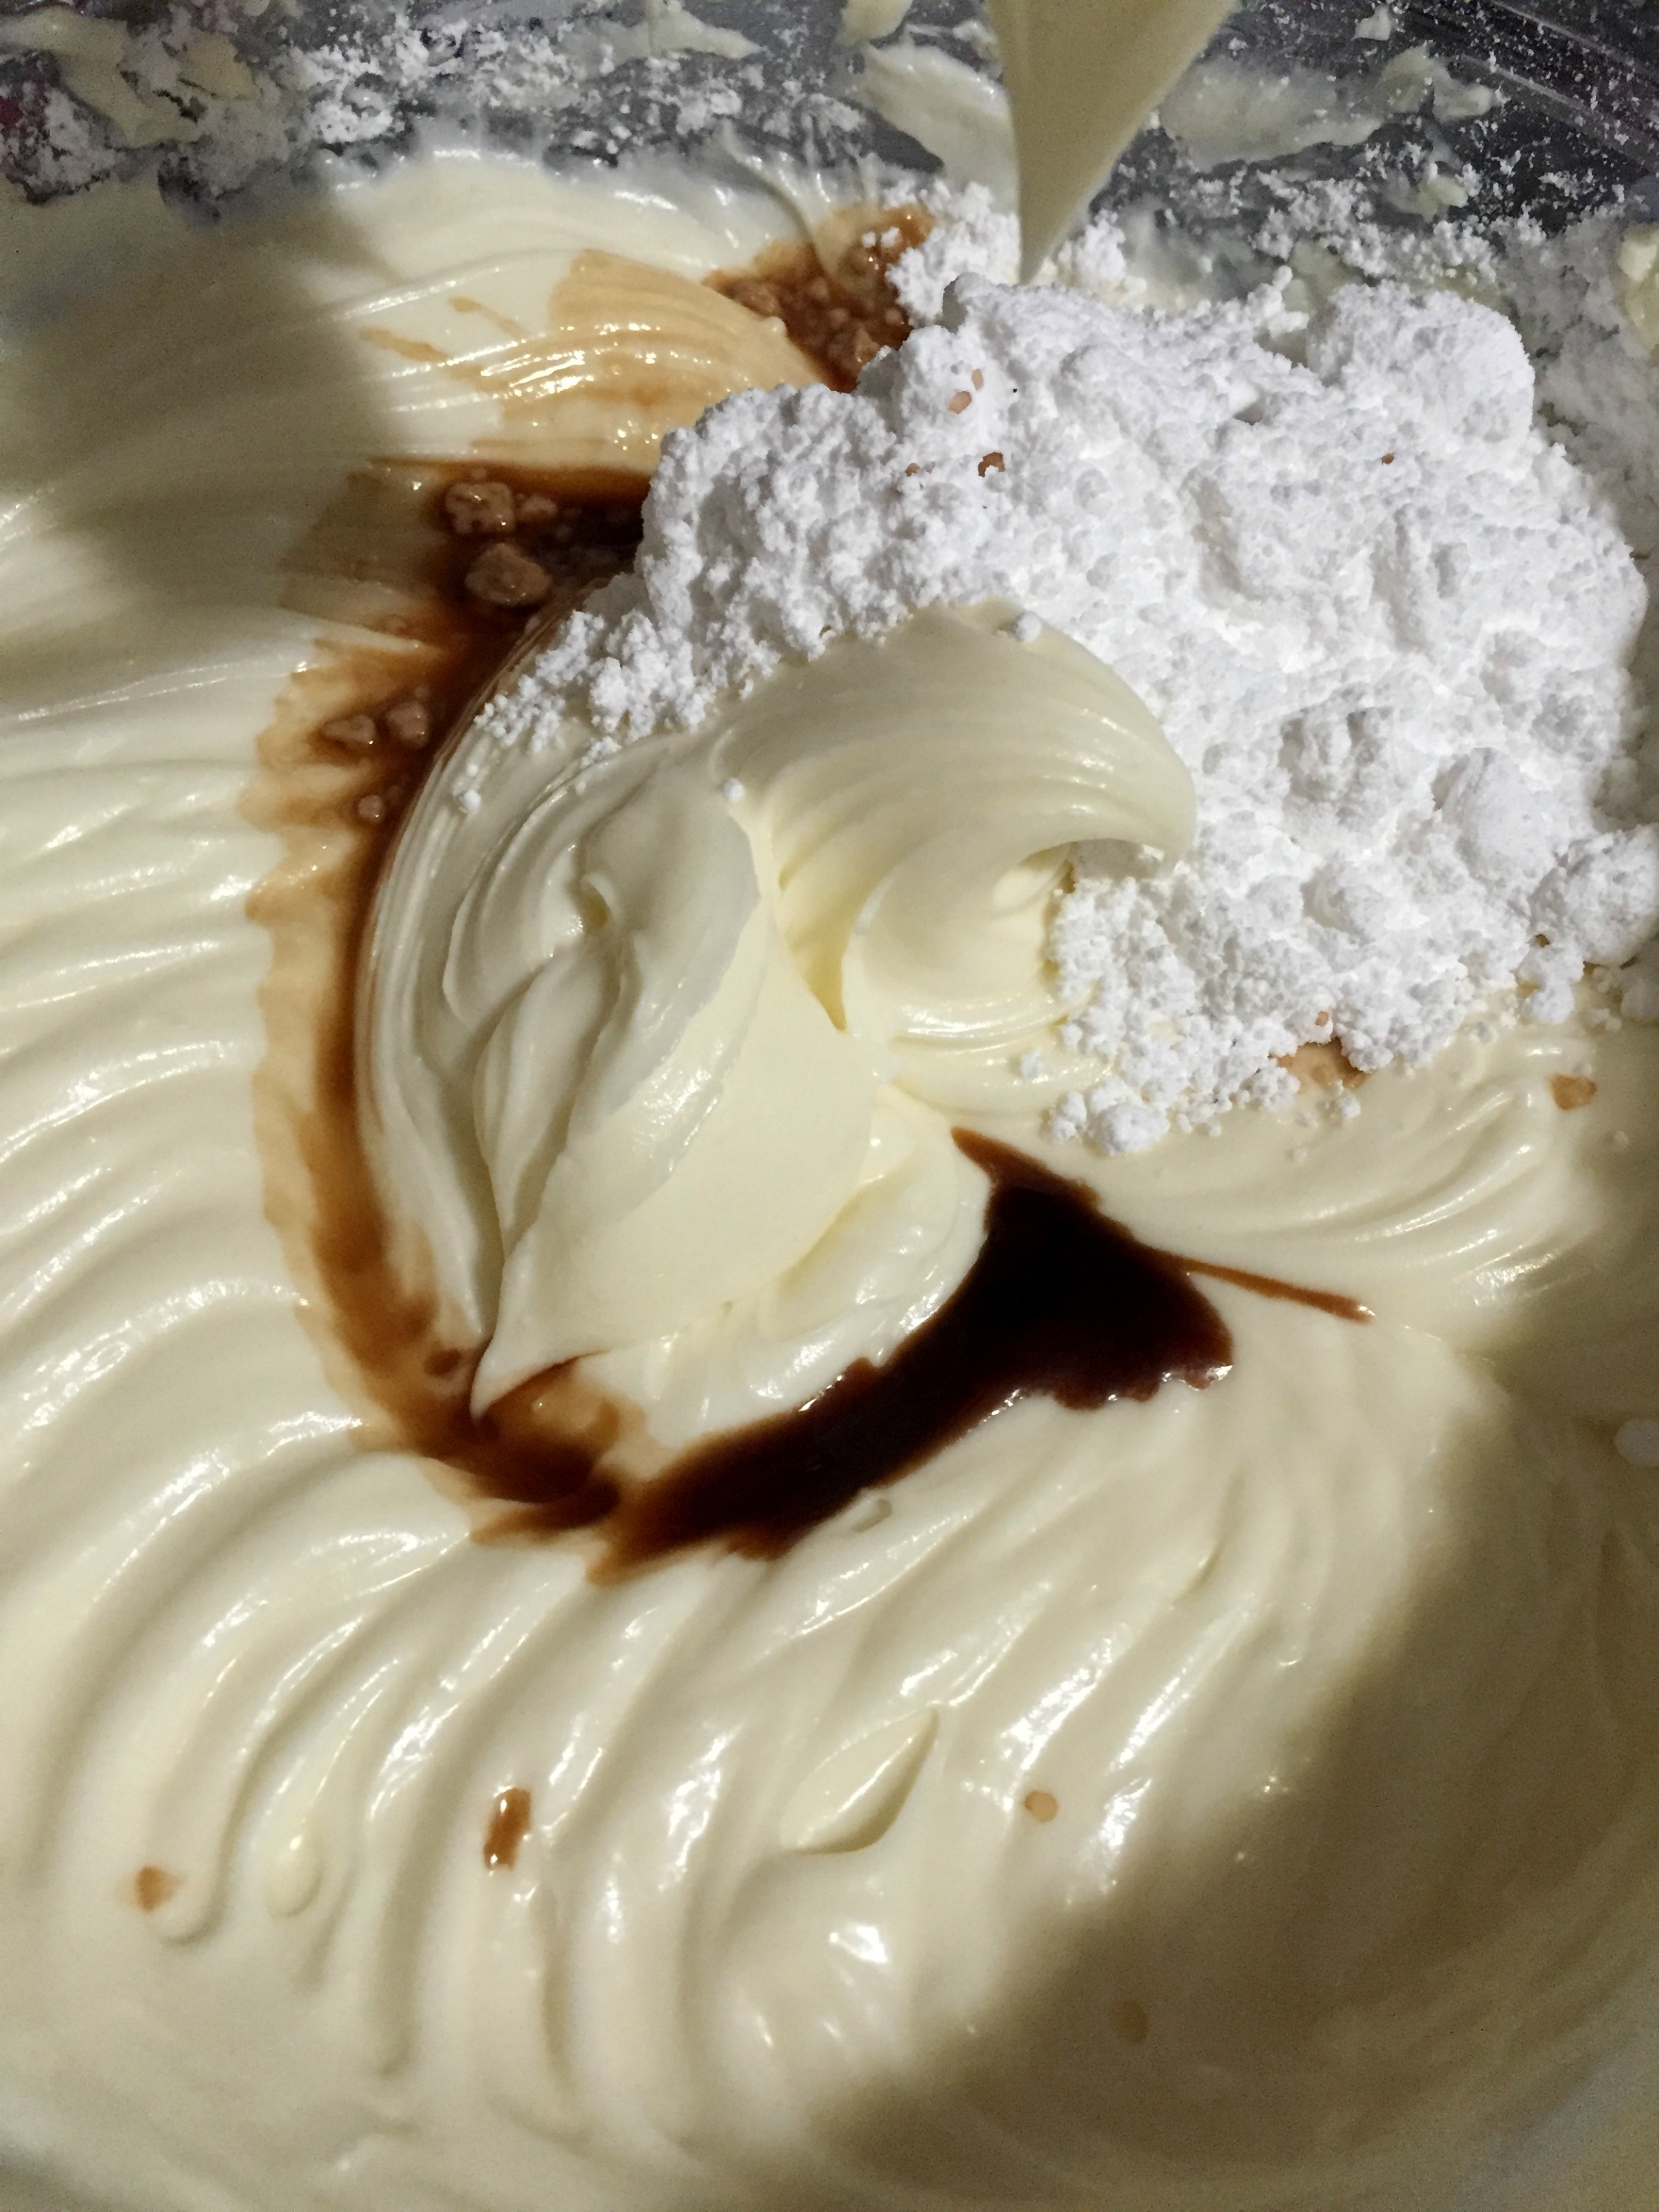
  16. Add in the confectioners’ sugar and mix on low speed until well incorporated. Increase the speed to medium to high and beat for another 2 minutes.
  17. Blend in the vanilla.
  18. Add the frosting into a pipe bag. And refrigerate for one hour. Later cut the edge of the pipe bag and frost the cupcakes according to your own taste. Enjoy 🙂
Notes
1.Using cake flour is a must for making red velvet cake or red velvet cupcakes. Cake flour is much lighter than all-purpose flour and gives right texture.
2.Separate the egg white and egg yolk and then add to the cake batter to achieve the fluffiest texture possible.
3.Buttermilk is a must for this recipe to give tangy flavor and moisture to the cake and vinegar as well. Read that vinegar helps brighten the color.
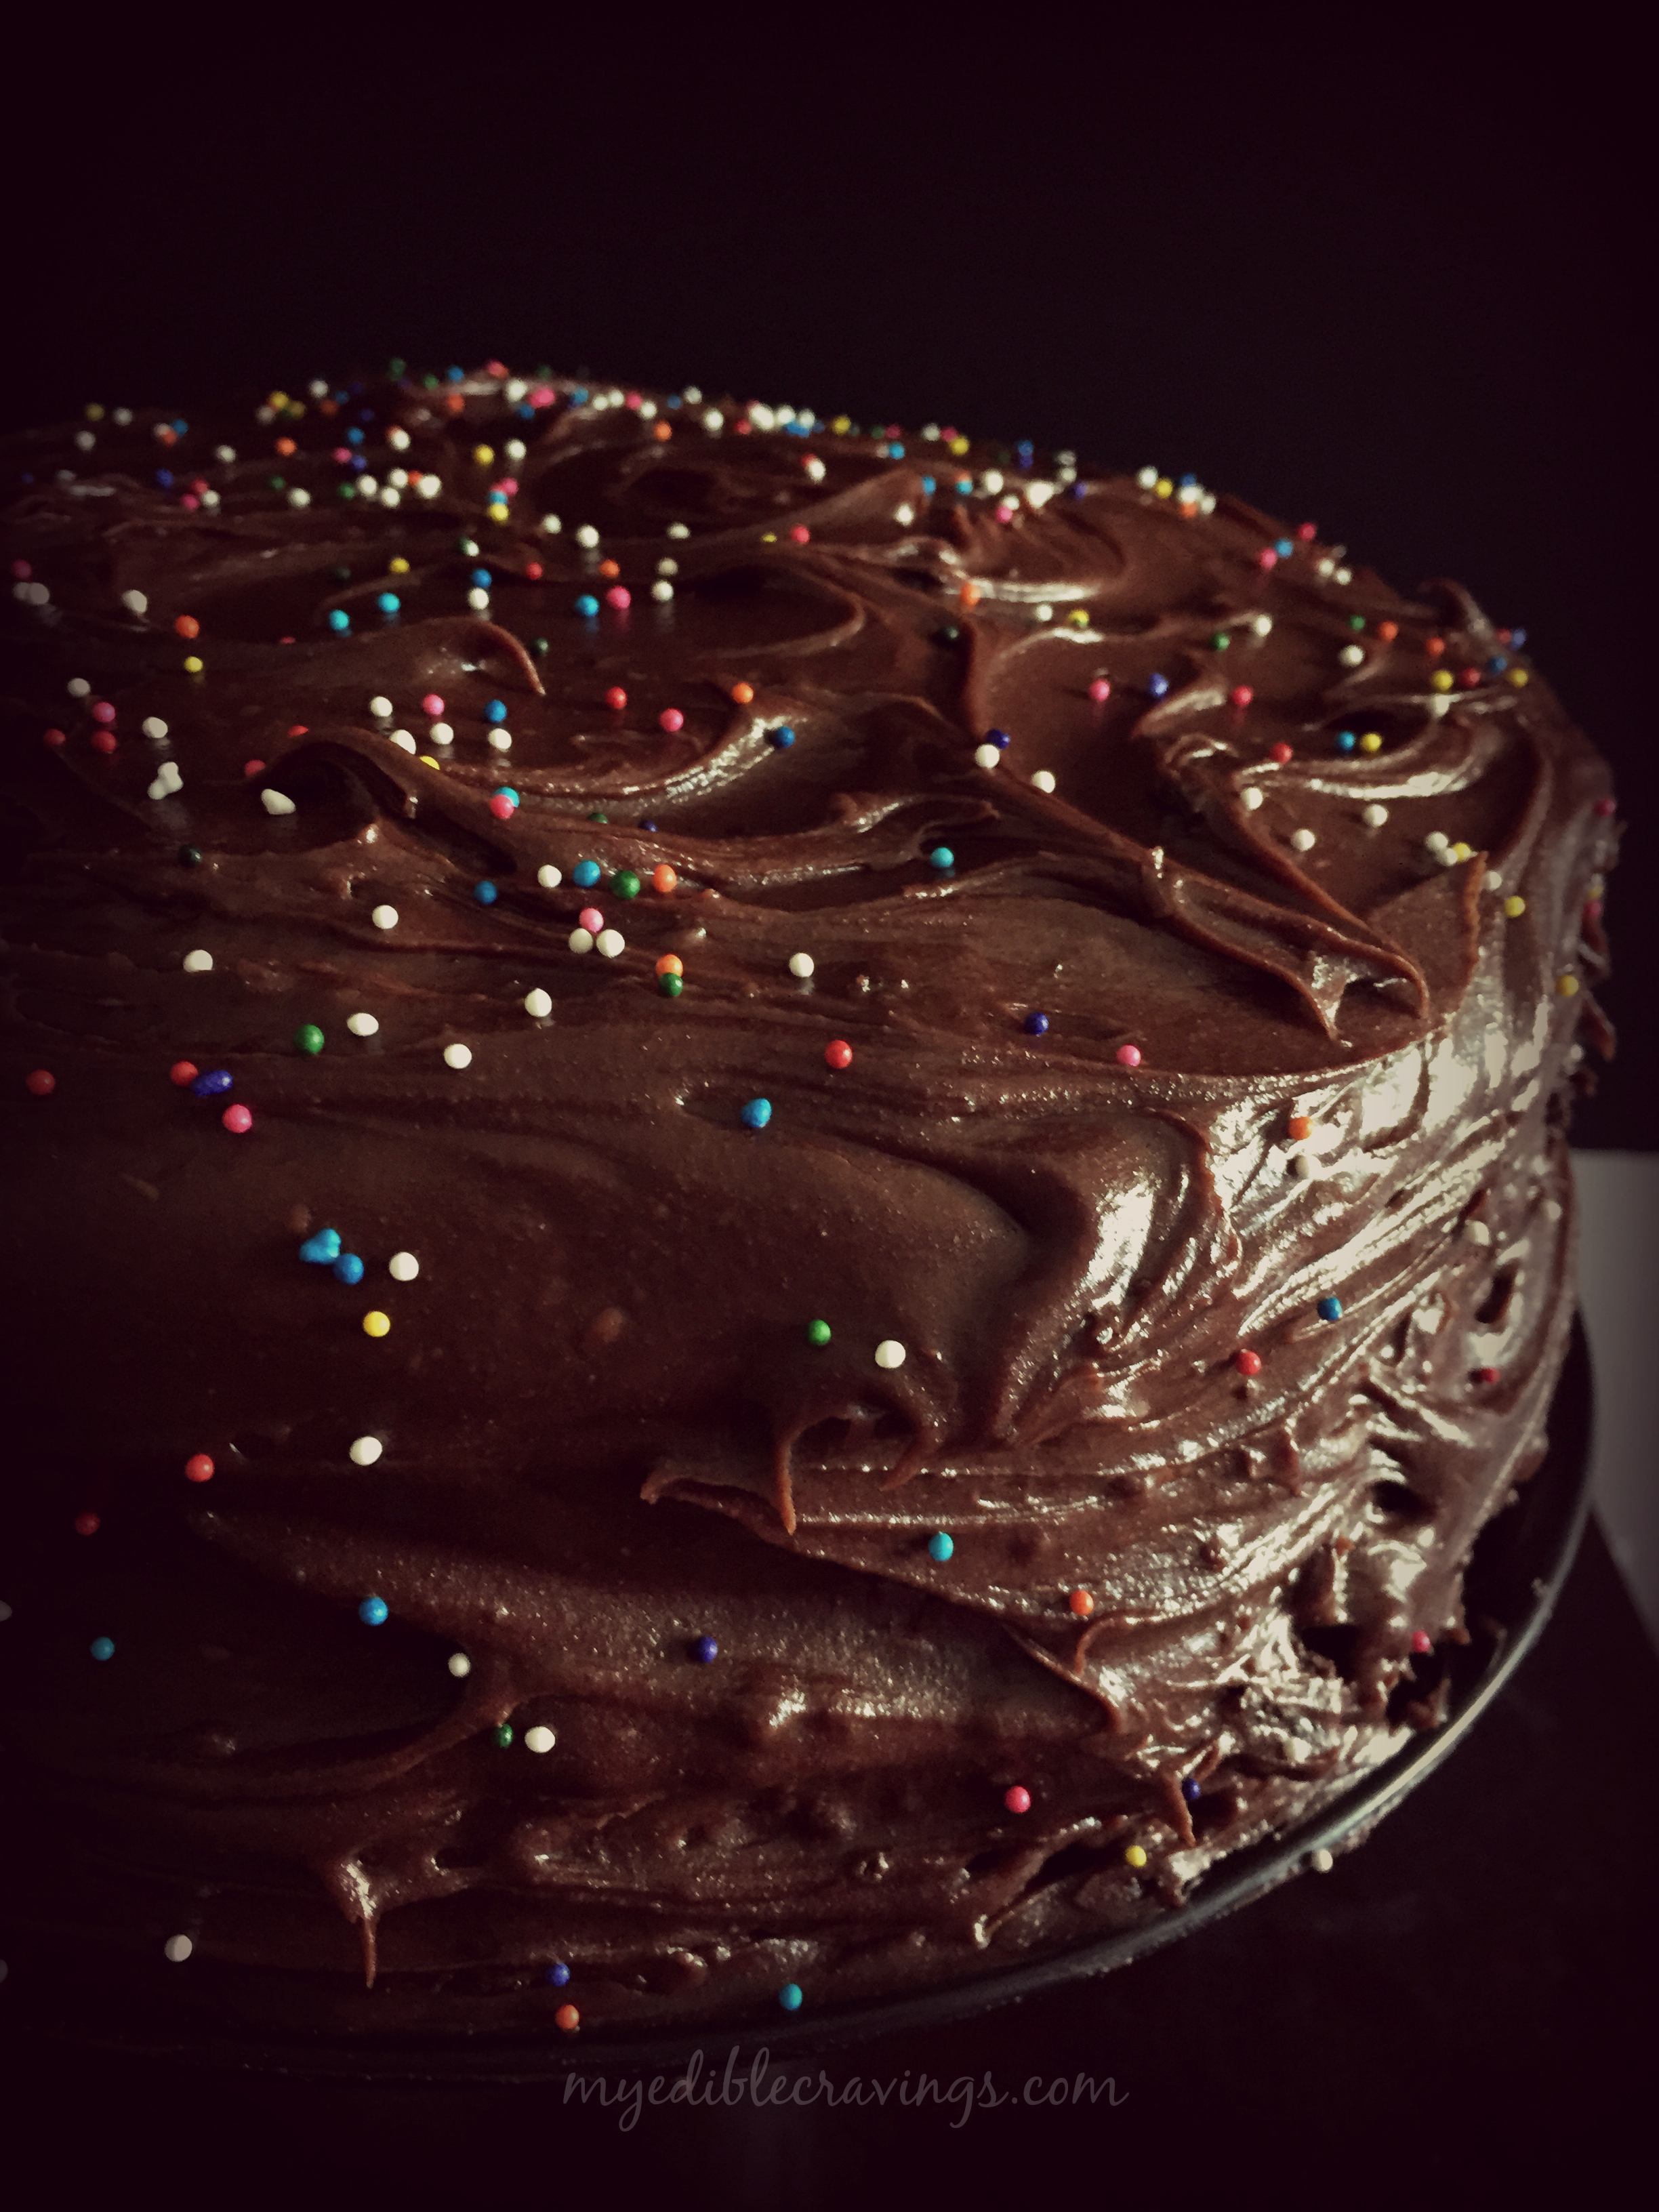
4.You can make 6” red velvet cake using the same measurement or double the measurement for 2 layer red velvet cake.

IMG_0082

Chocolate Chip Cookie

Chocolate Chip Cookie

Today I am posting one of the most popular snack/dessert items in the US, the Chocolate Chip Cookie. The Chocolate Chip Cookie was first invented in the United States in Massachusetts. The original recipe consisted of dough composed of butter and both white and brown sugar. Since then there had been numerous variations of this iconic snack. I had already posted White Chocolate Cashew cookie here in my blog and this is my second cookie variety 🙂

Chocolate Chip CookieChocolate Chip CookieI had been wanting to bake Chocolate Chip Cookie for some time but did not really pursue it. But today at the gym, I came to know that it was international chocolate day, (see the irony here, chocolate in gym 🙂 ) and what better day to bake Chocolate Chip cookie than today? Also, happy chocolate day to all chocolate lovers!:)

Chocolate Chip CookieChocolate Chip CookieChocolate Chip cookie is so decadent but there are certain nuances in its preparation. They are, use the right amount of flour, melt the butter completely before mixing it with the flour and do not over bake.

Chocolate Chip CookieChocolate Chip cookie has so many variants like I had mentioned above. You can customize according to your taste, like, substituting chocolate chips with macadamia nuts or M&Ms, add peanut butter to the dough etc. So, are you ready to try this amazing and delectable Chocolate Chip Cookie in your home? Do try and post your comments.


Chocolate Chip Cookie
Recipe type: Dessert
Cuisine: American
Prep time: 
Cook time: 
Total time: 
Serves: 22
 
Ingredients
  • 1 ½ cup all purpose flour
  • ½ tsp baking soda
  • ¼ tsp salt
  • 8 tbsp unsalted butter (1 stick)
  • ½ cup granulated white sugar
  • ¼ cup packed light brown sugar
  • 1 tsp pure vanilla extract
  • 1 large egg (room temperature)
  • ¾ cup chocolate chip
Instructions
  1. Pre heat the oven to 350 degrees Fahrenheit or 180 degrees Celsius. Melt the butter in the microwave oven for 40 seconds or until it reaches liquid form and bring it to room temperature.
  2. Sieve flour, baking soda and salt together into a small bowl and set aside.
  3. Bring the melted butter to the large bowl and add white and brown sugar. Beat well until creamy.
  4. Add in vanilla extract and mix well.
  5. Add the eggs and beat until well combined.
  6. Add the dry ingredients, using spatula mix well until crumbles form or to the dough consistency.
  7. Finally add the chocolate chips and carefully mix them.
  8. Allow it to cool in the refrigerator for about 5 to 10 minutes. Bunch up the dough to 22 small balls and place the rolls on the cookie sheet.
  9. Bake for about 9 to 11 minutes until the cookies are puffy and barely golden. Do not over bake the cookies.
  10. Allow them to cool on the cooling rack for 30 minutes. Enjoy! 🙂
Notes
Few tips that I have learnt to bake the best chocolate chip cookie are
1.Melt the butter completely and bring it to room temperature.
2. Add enough flour such that dough doesn't stick to your hand while making bunches.
3. Use bunching up approach instead of rolling them out in the palm of your hand. This will get you a defined lumpy mounds of chocolate chips which looks more appealing.
4. Don't Over bake the cookies. Doing so you might loose the moist and soft texture of the cookies.

Chocolate Chip Cookie

Mango Bread

Eggless Mango bread Today, I was in the mood for something sweet, something that describes the summer season and something healthy. Yep, it has got something to do with Mango. It is the Mango bread! The recipe for Mango bread that I have given below is truly healthy and is a light fare. It has no eggs, is made of wheat flour and has very little added sugar!
Eggless Mango bread I came across this Mango bread recipe online recently and it immediately picked my curiosity. I have heard about banana bread, zucchini bread, raisin bread etc but Mango bread? It was the first time I have heard about it. But trust me, the bread tastes awesome. Mango bread can be had for breakfast or served as a snack. If you are left with more mangoes than you could possibly eat, I would say Mango bread is the way to go.
Eggless Mango bread
Mango bread is very easy to make and as said earlier, is healthy as well. Kids would love it. Try baking this unique bread variety in your kitchen and let me know how well you liked it  🙂

Mango Bread
Recipe type: Breakfast
Cuisine: Indian
Prep time: 
Cook time: 
Total time: 
Serves: 1 (9 x 5 x 3 inches) loaf
 
Ingredients
  • 1½ cups wheat flour
  • 1 tsp baking powder
  • ½ tsp baking soda
  • 8 tbsp unsalted butter (1/2 cup or 1 stick), room temperature
  • ¾ cup sweetened condensed milk
  • 2 large mangoes or 1 cup mango puree
  • 3 to 4 tsp sugar or add as required
  • 1 tsp pure vanilla extract
Instructions
  1. Grease a loaf pan (9 x 5 x 3 inches) with butter or oil on the bottom and on all four sides and set aside.
  2. Sieve flour, baking powder and baking soda together in a medium bowl.
  3. Peel and cut the mangoes (measuring 1 cup tightly packed) and add it to the blender. Add sugar according to your taste and depending on mangoes' sweetness. Blend together in to a puree.
  4. Preheat the oven to 350 degree Fahrenheit or 180 degree Celsius.
  5. In a large oven safe mixing bowl, heat and melt the butter for 35 seconds. Allow it to cool.
  6. Add in condensed milk to the butter and whisk together in to a smooth mixture.
  7. Add in the mango puree and vanilla or mango essence and whisk together until well combined. – I would highly recommend using mango essence to get the complete flavor in the bread.
  8. Add in the flour and gently fold them together using a spatula. – The important thing is not to over mix the batter. You do not want it to be smooth. Over mixing the batter will yield tough, rubbery bread. The batter might look thinner if you are using store bought mango puree.
  9. Pour batter into prepared loaf pan. Shake the pan and even the batter on top using spatula.
  10. Bake in oven (preferably in the middle rack) for 55 minutes, until golden brown and a toothpick inserted in the center comes out clean – I covered the pan with aluminum foil after 35 minutes when it started to turn brown on top.
  11. Turn out the bread onto a wire rack and allow it to cool. Serve the yummy mango bread as hot or cold for a breakfast or brunch or as an evening snack. Enjoy! 
Notes
1.Recipe also suggests to use cardamom powder or cinnamon powder or mango essence in place of vanilla extract.
2.Use a fiber less mangoes.
3.Wheat flour could also be substituted with all purpose flour.

Eggless Mango bread

Dal makhani

Dal makhaniDal Makhani is a popular north Indian dish that has its origin in Punjab. It literally means ‘buttery lentils’. It is supposed that the original Dal makhani recipe has only black gram lentil (urad) in it. Makhani means buttery and so it is butter and cream along with urad dal. As per Wikipedia, Dal Makhani became popular after the partition, thanks to the Punjabi diaspora. It is a typical punjabi dish that can be found in almost all Dhabas (roadside eateries, very popular in North India) and in Indian restaurants here in the US.
Dal makhani
Dal makhaniThere are so many varieties of sauces like cashew, tomato, white sauce, curry sauce, rogan josh, buna, madrasi etc and Makhani is one among them. Through out my experience with cooking different dishes, I have noticed that most often cooking a recipe can be broadly defined as first preparing a sauce/gravy and then adding the main ingredient, the one that defines the dish, to it. This method of preparation of dishes is particularly useful in restaurants where a variety of sauces are prepared first and then different recipes are cooked using those sauces. And Dal Makhani is prepared the same way as well; you first prepare the Makhani and then add lentil (urad dal here) to it.
Dal makhani
Dal makhani
Dal Makhani is a very rich and flavorful dish. This is mainly because of the lentils which gives you a fullness when eaten due to the high protein content. Hence it is a healthy dish as well. Dal Makhani goes well with almost all entree items like rice, chappati, paratha, naan etc. Also, it is very easy to make. So without further delay, go prepare this easy and tasty punjabi dish in your kitchen and let me know your comments 🙂

Dal makhani
Recipe type: Main
Cuisine: Indian
Prep time: 
Cook time: 
Total time: 
Serves: 4
 
Ingredients
  • Black gram dal – 1 cup
  • Ginger garlic paste – 1 tbsp
  • Kashmiri red chilli powder – 1 ¼ tbsp
  • Unsalted butter – 5 tbsp (120 gr)
  • Tomato, large, pureed – 2 ½ nos (pureed to 1 cup)
  • Fresh cream – 4 to 5 tbsp (250 gr)
  • Salt as required
Instructions
  1. Soak dal in water for 8 hours or overnight.
  2. Rub the dal using your two hands and filter the skins. Repeat this for 5 to 8 times until 70% of the skin is removed.
  3. Add 3 cups of water and ½ tsp salt and pressure cook the dal for 5 whistles.
  4. Transfer the dal into a thick bottomed non stick sauce pan and bring them to boil. Add ginger garlic paste, chilli powder and butter. Cook until the butter is melted, mixed and well blended.
  5. Add in tomato puree and fresh cream. Mix well and add enough salt.
  6. Bring the dal makhani to boil in a low to medium flame. Cook for around 20 to 25 minutes until a thin glaze is formed at the top.
  7. Serve it hot with a dollop of butter on top. It goes excellent with naan, rotis and other Indian flat bread varieties.
To make tomato puree:
  1. Heat a sauce pan with a tbsp of oil. Add in roughly chopped tomatoes and very little salt. Sauté until oil seperates.
  2. Allow it to cool and make a thick puree adding very little water.
Notes
1.Amount of dal and tomato puree should be 1:1 ratio (equal).
2.Use non stick pan to make this dal makhani dish to avoid the dal sticking at the bottom.
3.could also add rajma and other kinds of dal to this dish. i have tried both and all tasted equally good.

Dal makhani

Chocolate cake

Myediblecravings
Now, why did I bake a chocolate cake, that too with a diet conscious HB by my side? It is the ONE year anniversary of my website, guys!!! What started as a personal log of my favorite recipes is now well on its way to become a repository of recipes catering to all types of palate. Thank you all for your continuing support and well wishes! When we decided to commemorate the milestone, there was a lengthy debate on what to make. I was oscillating between a white chocolate truffle cup cake and a perfect chocolate cake and finally settled on a chocolate cake, much to my HB’s delight!
myediblecravings
Chocolate cake
Chocolate cake is one of the most recognized cakes in the world. I am pretty sure that there is not even one bakery/pastry shop around the world that does not sell a chocolate cake! Though the name is generalized, there is multitude varieties of chocolate cake. Today, I am giving here a very simple but decadent recipe of chocolate cake which is my favorite as well. It is a three layered chocolate cake with chocolate frosting. I have been wanting to bake a cake from scratch for a long time and now that I have done it, it turned out to be a job well done :). Baking a cake, in general gets a bit messy and doing it from scratch makes it even more messier, but trust me, it is all worth it.
myediblecravings
Myediblecravings
I am a very big fan of cakes in general (it would be the only thing that won’t get me angry when I am woken up from my sleep and offered ;)) And after trying this chocolate cake, I have a profound respect for cakes 🙂 Do try this decadent recipe and post your comments.

Chocolate cake
Prep time: 
Cook time: 
Total time: 
Serves: 3 layer 8"cake
 
Ingredients
For frosting:
  • 1 ¾ cups (350 gr) sugar
  • 1 ½ cups heavy cream
  • 7.5 oz (213 gr) unsweetened chocolate, roughly chopped
  • 12 tbsp unsalted butter, cut into small pieces
  • 1 ½ tsp pure vanilla extract
For cake:
  • Scant 3 cups (425 gr) All purpose flour
  • 3 cups (600 gr) sugar
  • 1 cup + 2 tbsp Dutch-processed cocoa powder
  • 1 ½ tsp salt
  • 2 ¼ tspn baking powder
  • 2 ¼ tspn baking soda
  • 3 eggs, room temperature, beaten
  • ¾ cup vegetable oil
  • 1 ½ cup whole milk
  • 1 ½ cup hot coffee decoction, filtered
Instructions
For frosting:
  1. Combine sugar and heavy cream into a sauce pan. Heat the pan and bring them to boil in a medium heat. Once they starts to boil, simmer it for another 5 to 6 minutes.
  2. Remove from heat and stir in the chopped chocolates until completely melted.
  3. Now add in the butter pieces and stir them again until completely melted.
  4. Finally stir in the vanilla extract.
  5. Let the frosting cool completely, whisking every now and then during cooling. (You can do this step in the refrigerator to speed up the process) Once completely cool at room temperature, the frosting will be spreadable.
For cake:
  1. Preheat oven to 350 degrees F or 175 degrees C. Grease the three 8" round cake pans with butter or oil (on the sides and bottom), dust the bottoms with flour and line them with parchment paper. If desired, wrap the cake pans with bake-even strips.
  2. Sieve sugar, flour, cocoa powder, salt, baking powder and baking soda into a large mixing bowl. This is done to avoid lumps and even the mixing. Meanwhile make hot coffee decoction and keep it ready.
  3. In a separate bowl, combine the beaten eggs, vegetable oil and milk. Stir to mix. Then, with the mixer on low, pour the wet ingredients into the dry ingredients. Mix on low flame until evenly distributed.
  4. Pour the hot coffee into the batter and mix on medium to low flame until smooth and creamy. .
  5. Divide the batter between the cake pans.
  6. Bake for 40-45 minutes. When a toothpick inserted into the center of the cakes comes out cleanly, the cakes are done. Remove from the oven and let cool completely.
  7. Refrigerate the cakes for at least 2 hours or place it n the freezer for one hour. Level the cakes by cutting the excess top bump.
  8. Stack the cakes, spreading a layer of frosting in between each cake layer. Frost the outside of the cake for a smoother finish.
Notes
1.I would strongly recommend to line the parchment paper as this cake is so soft and gooey. You could also use cold wet cloth to tie around the pans instead of bake-even strips.
2.The recipe I have given here is for the big batch. You can reduce the ingredients by half for a smaller batch.
3.This recipe also works for a 3-layer 9" cake, with slightly shorter layers.

Myediblecravings