Bread Halwa

bread halwa
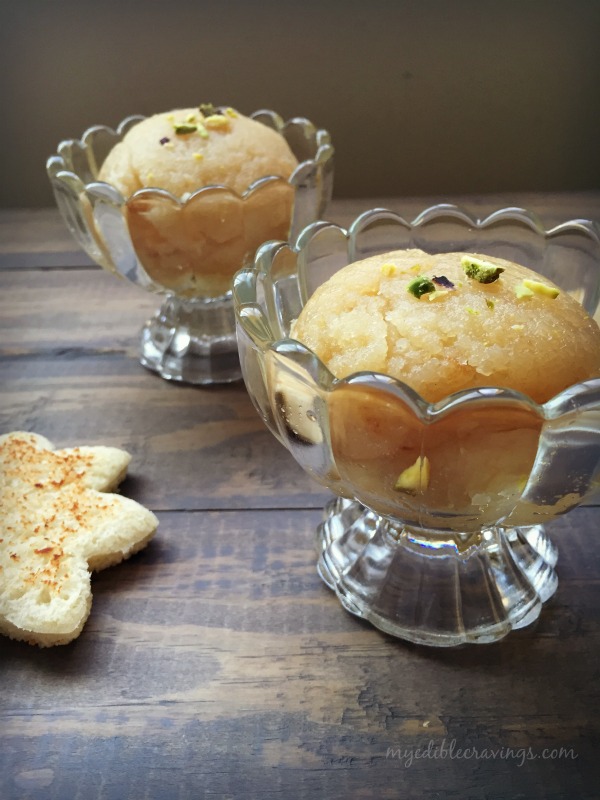
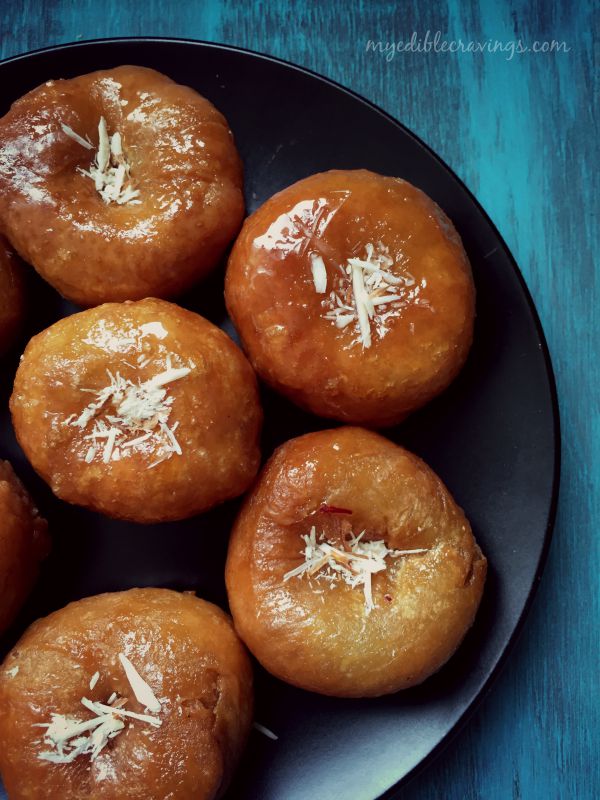
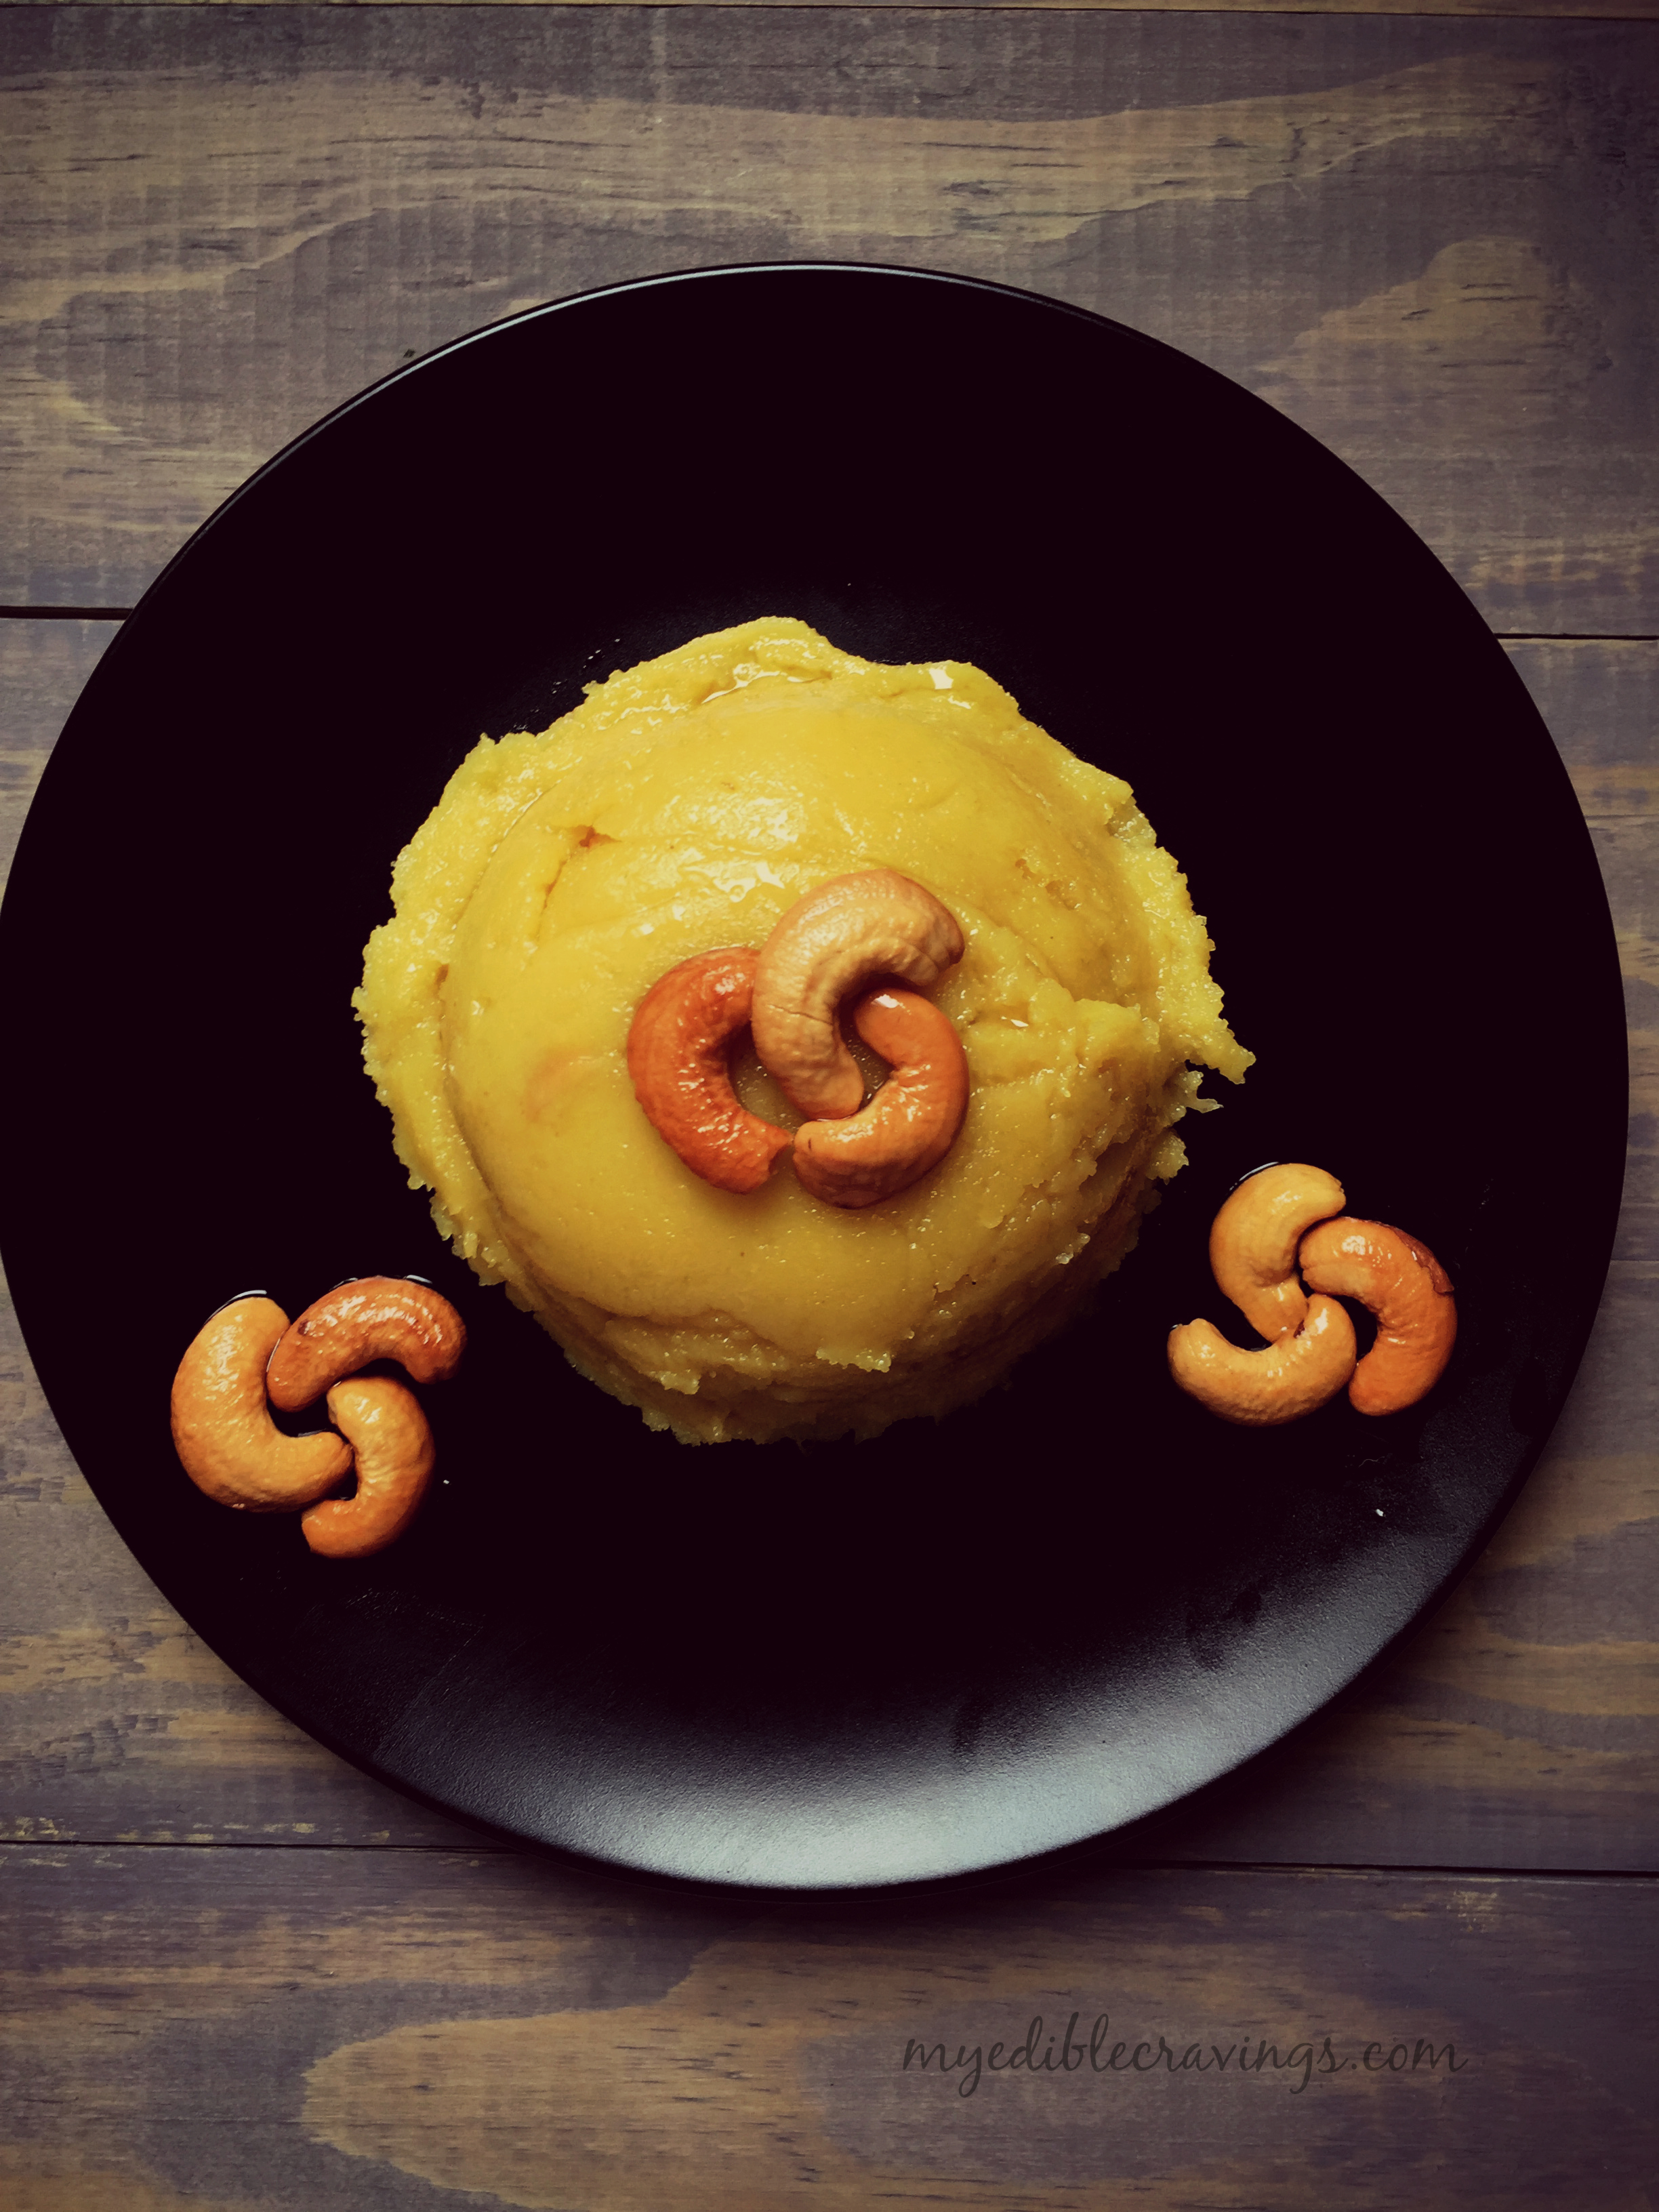
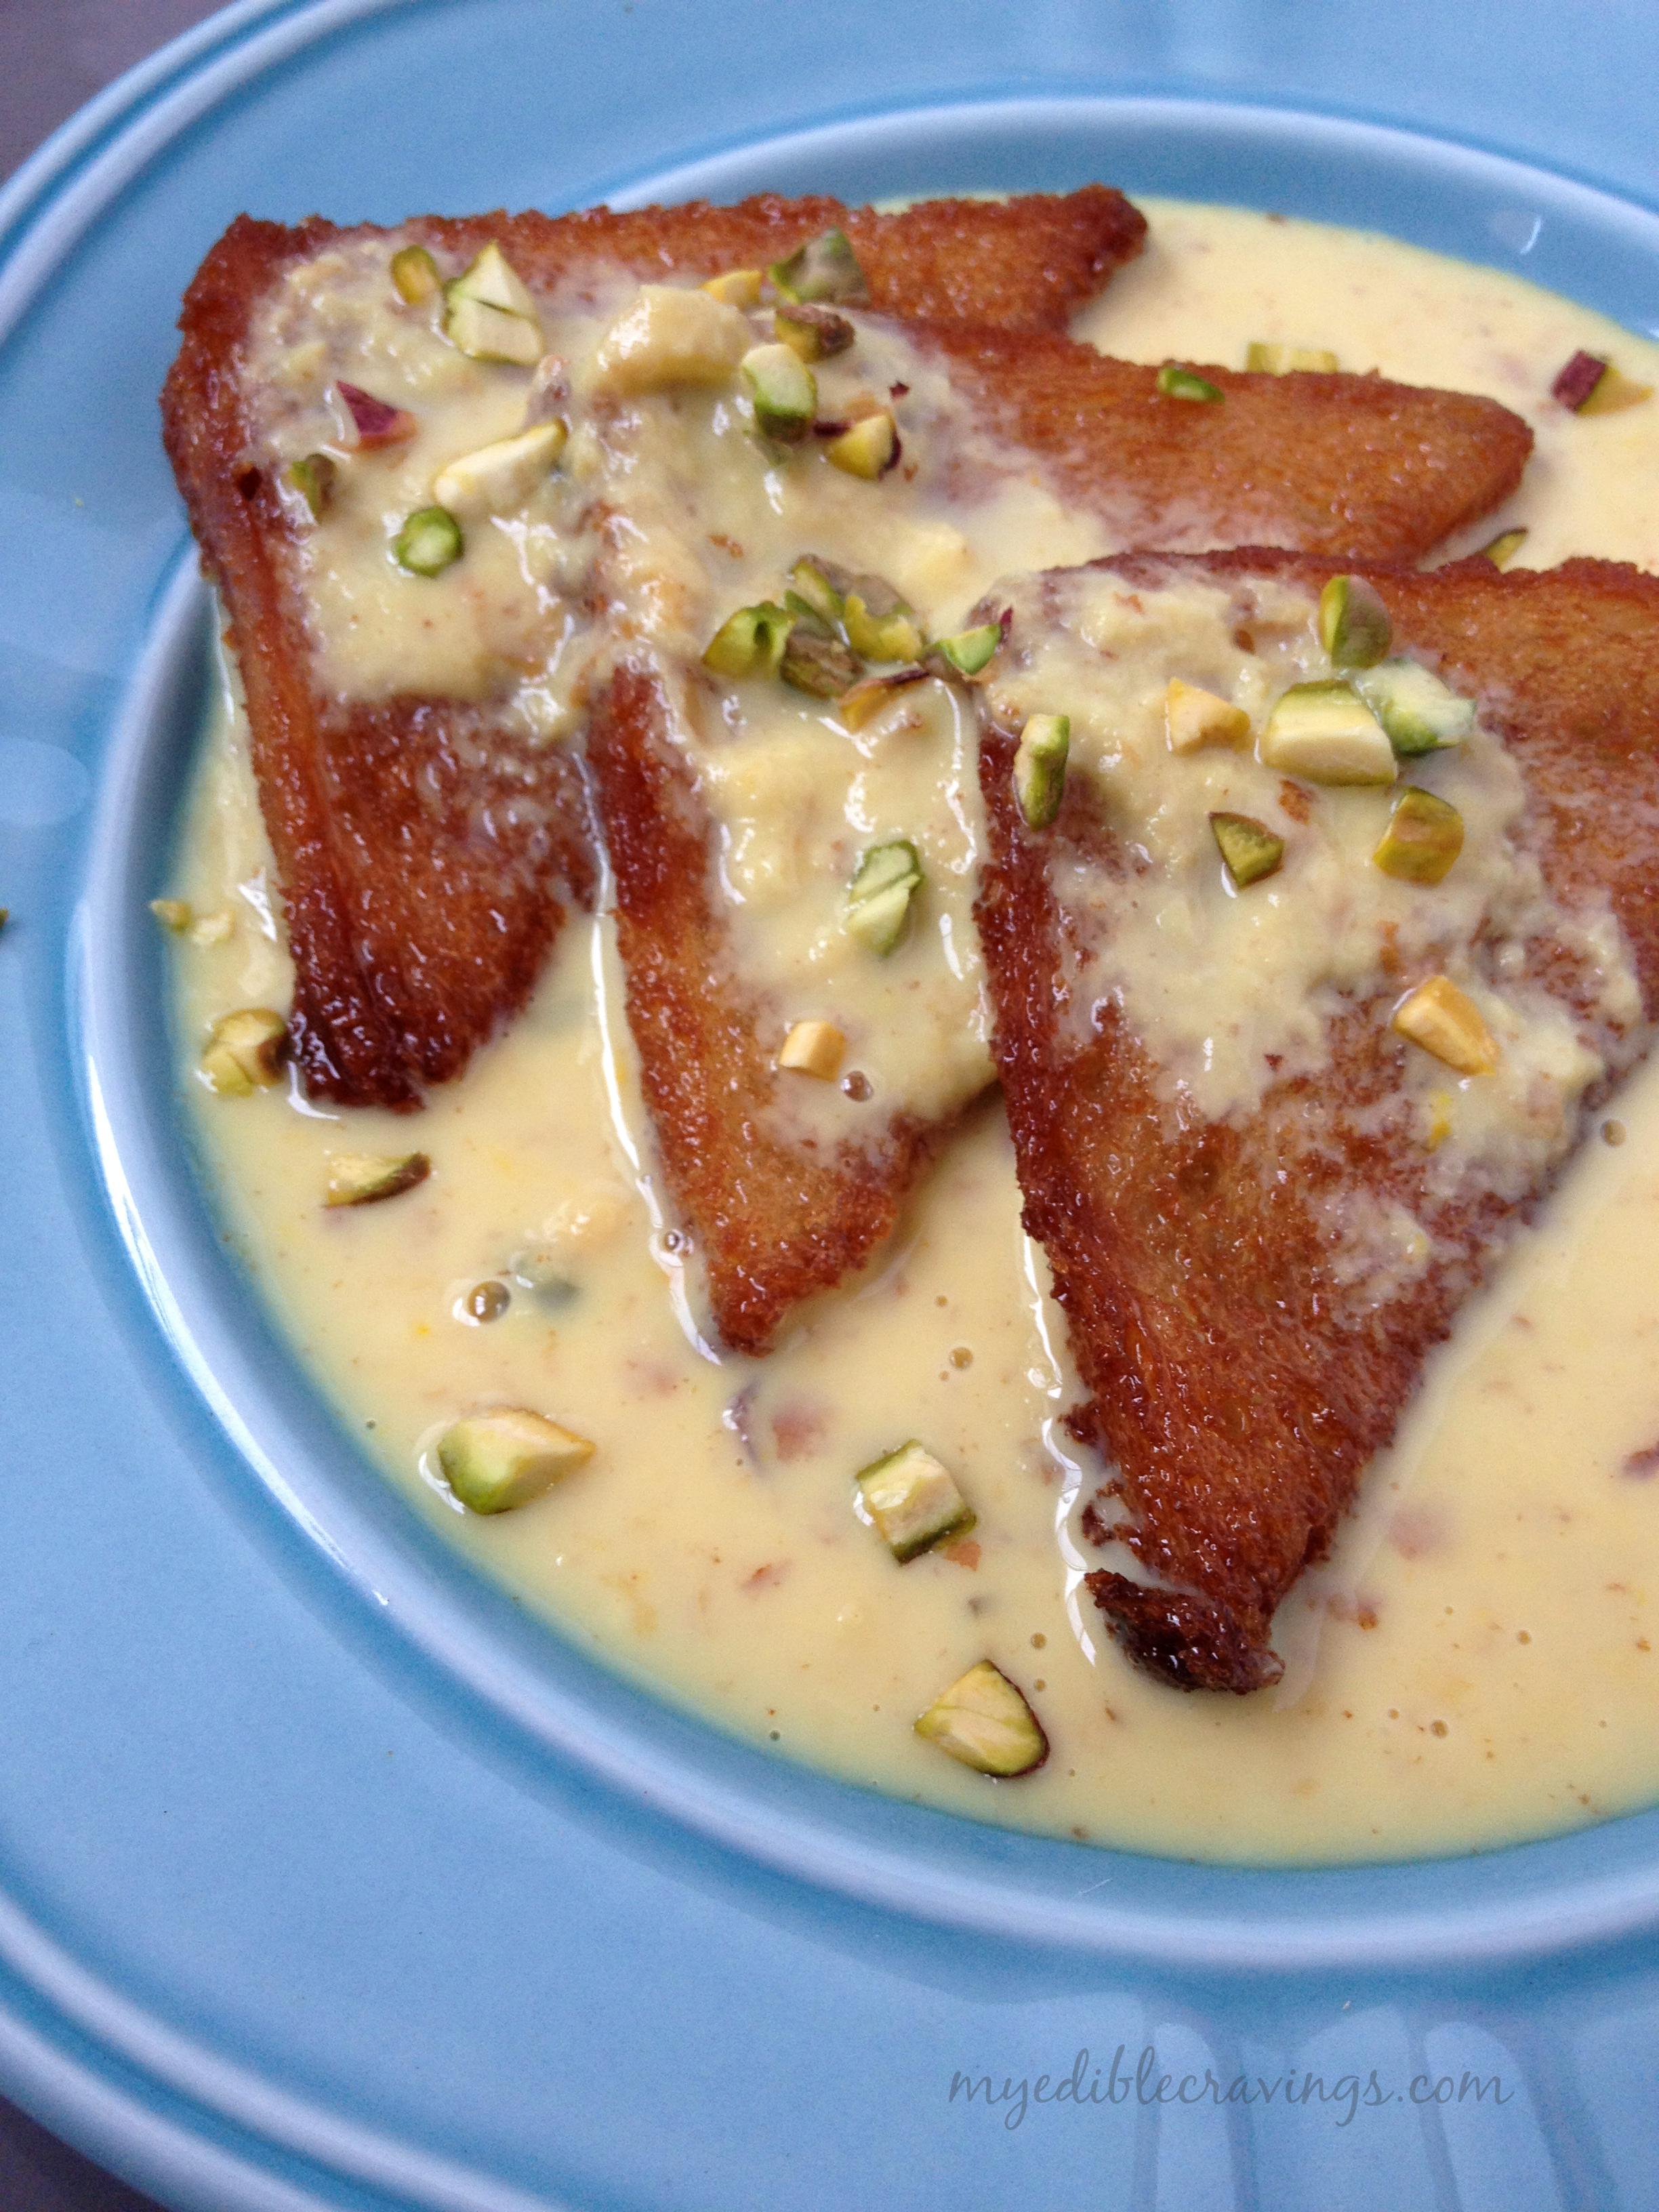
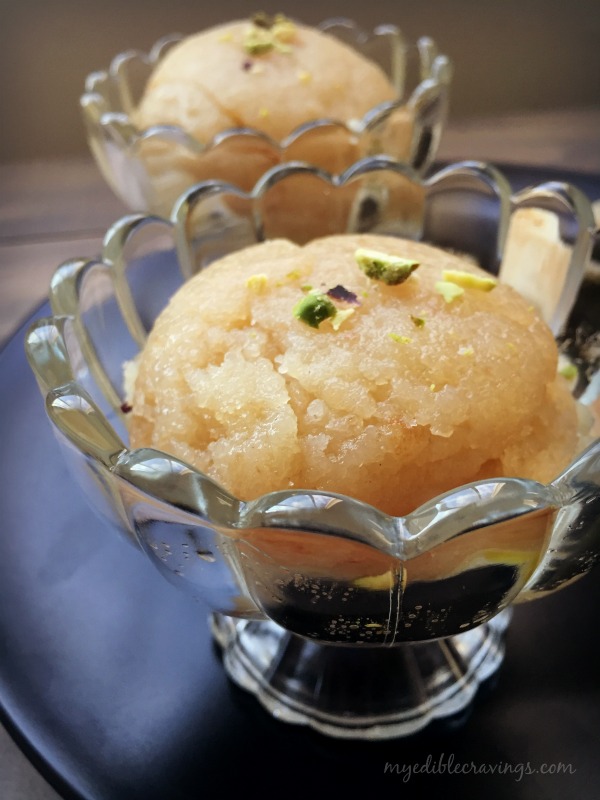
Happy Fathers day!!! For every son and daughter out there, Dad is their hero and role model and I am no different. I love my dad. As always, like any other special days, I wanted to make something sweet that personifies my dad. I also wanted it to be something that I haven’t made so far. So after some deliberation and searching, I made Bread Halwa. I have had bread halwa before, my mom’s (yummy!) and from this restaurant (Ananda’s) near (Rajapalayam) my home town in India which is famous for its Bread halwa.

bread halwabread halwa
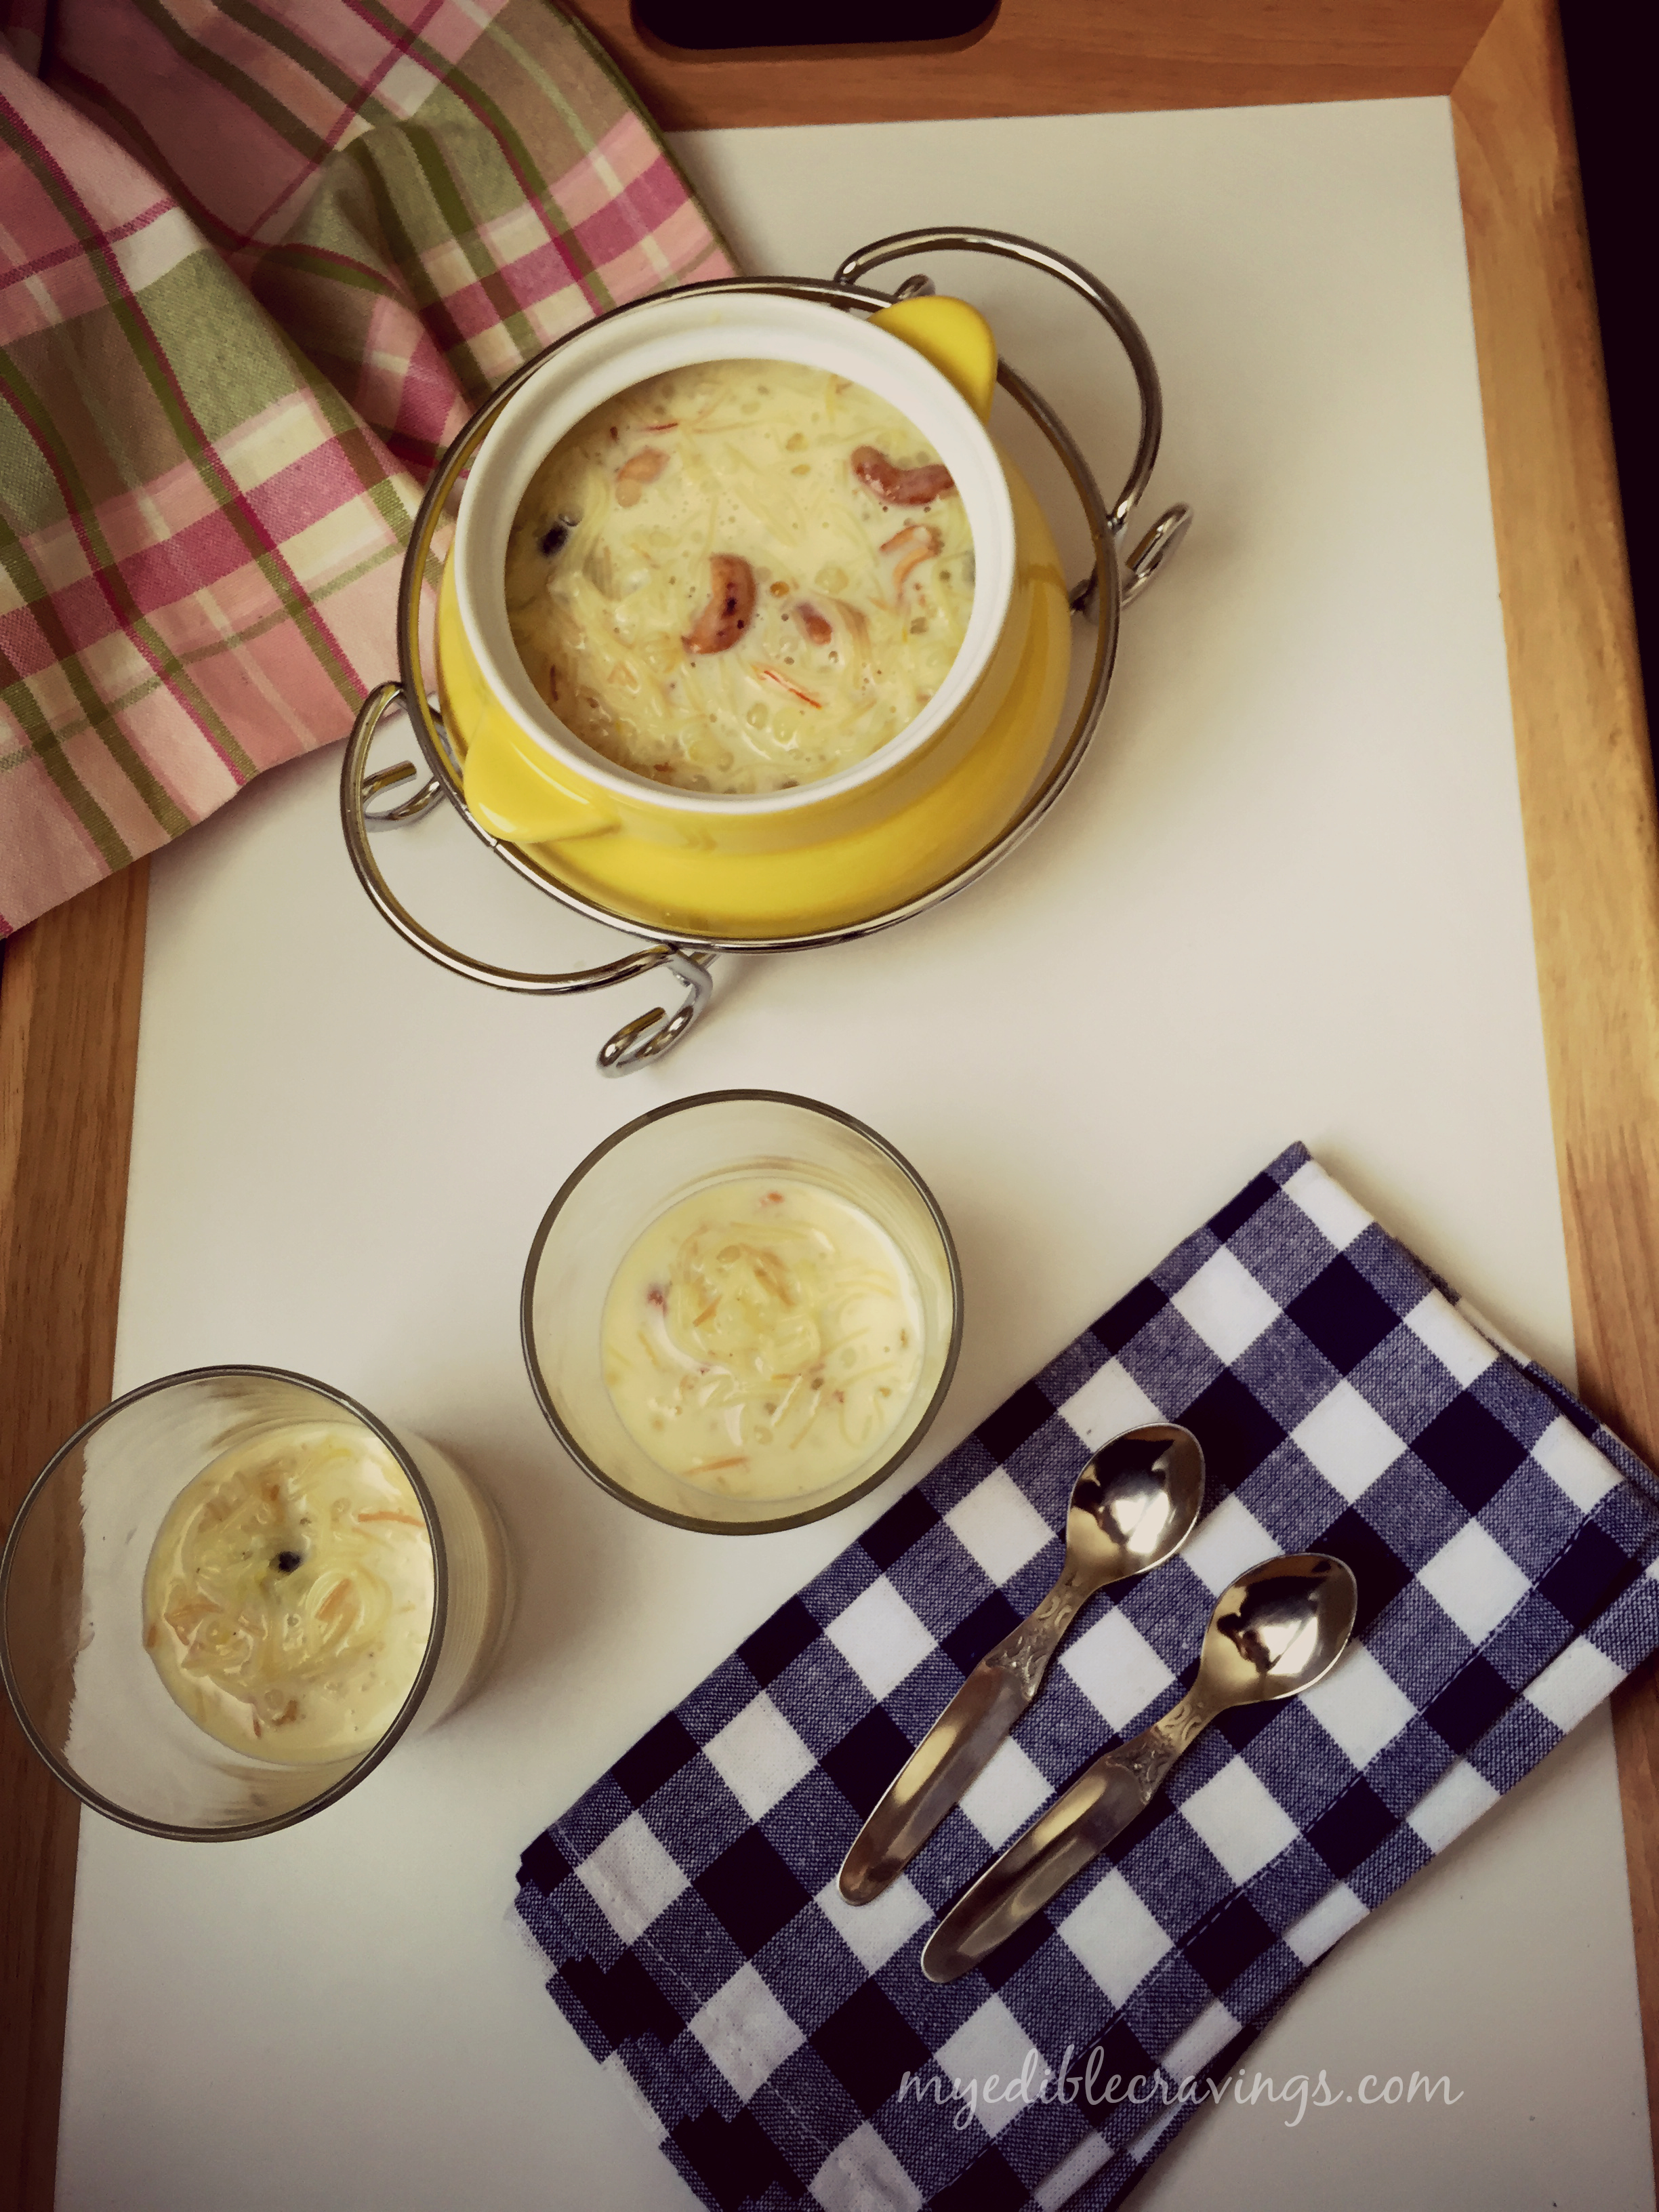
Halwa is a popular Indian sweet which literally means sweetness. There are so many varieties of Halwa, like, Wheat halwa (the original), muscut halwa, semolina halwa, carrot halwa, bread halwa, beetroot halwa, Asoka halwa etc. Halwa is the only sweet that I love to have hot (but not the bread halwa, though :)) Back home, there is this town in my state called Tirunelveli which is famous for its halwa (especially from one particular shop called Iruttukadai). Also, there is another restaurant (Nanban Mess) in Kuttralam, a popular tourist town in Tamilnadu famous for its waterfalls, that makes one of the most delicious halwa out there. Having a bath at the waterfalls and then breakfast and halwa at that restaurant is a ritual which we never forget to follow while there. I simply love it 🙂

bread halwa
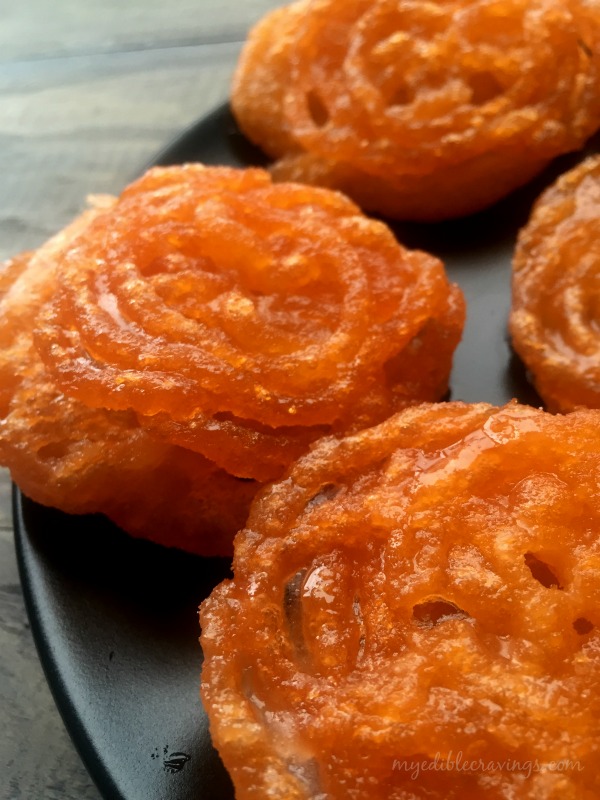
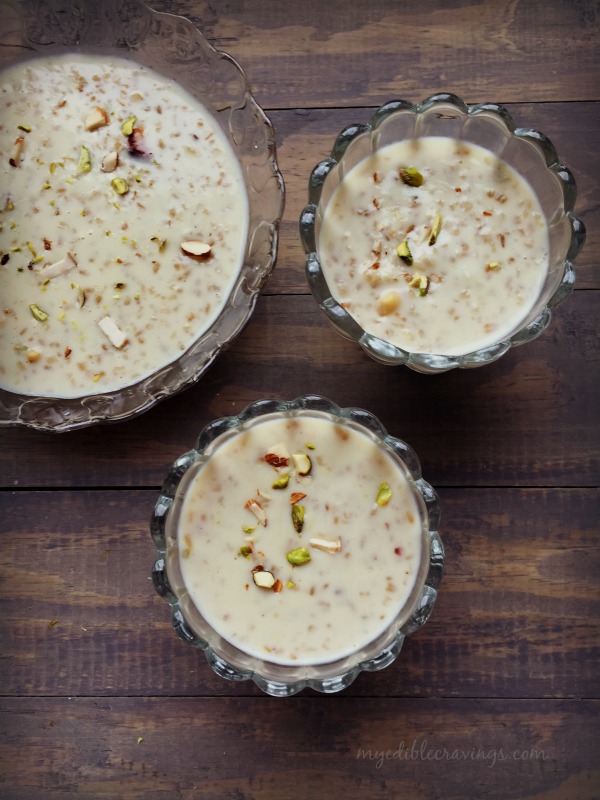
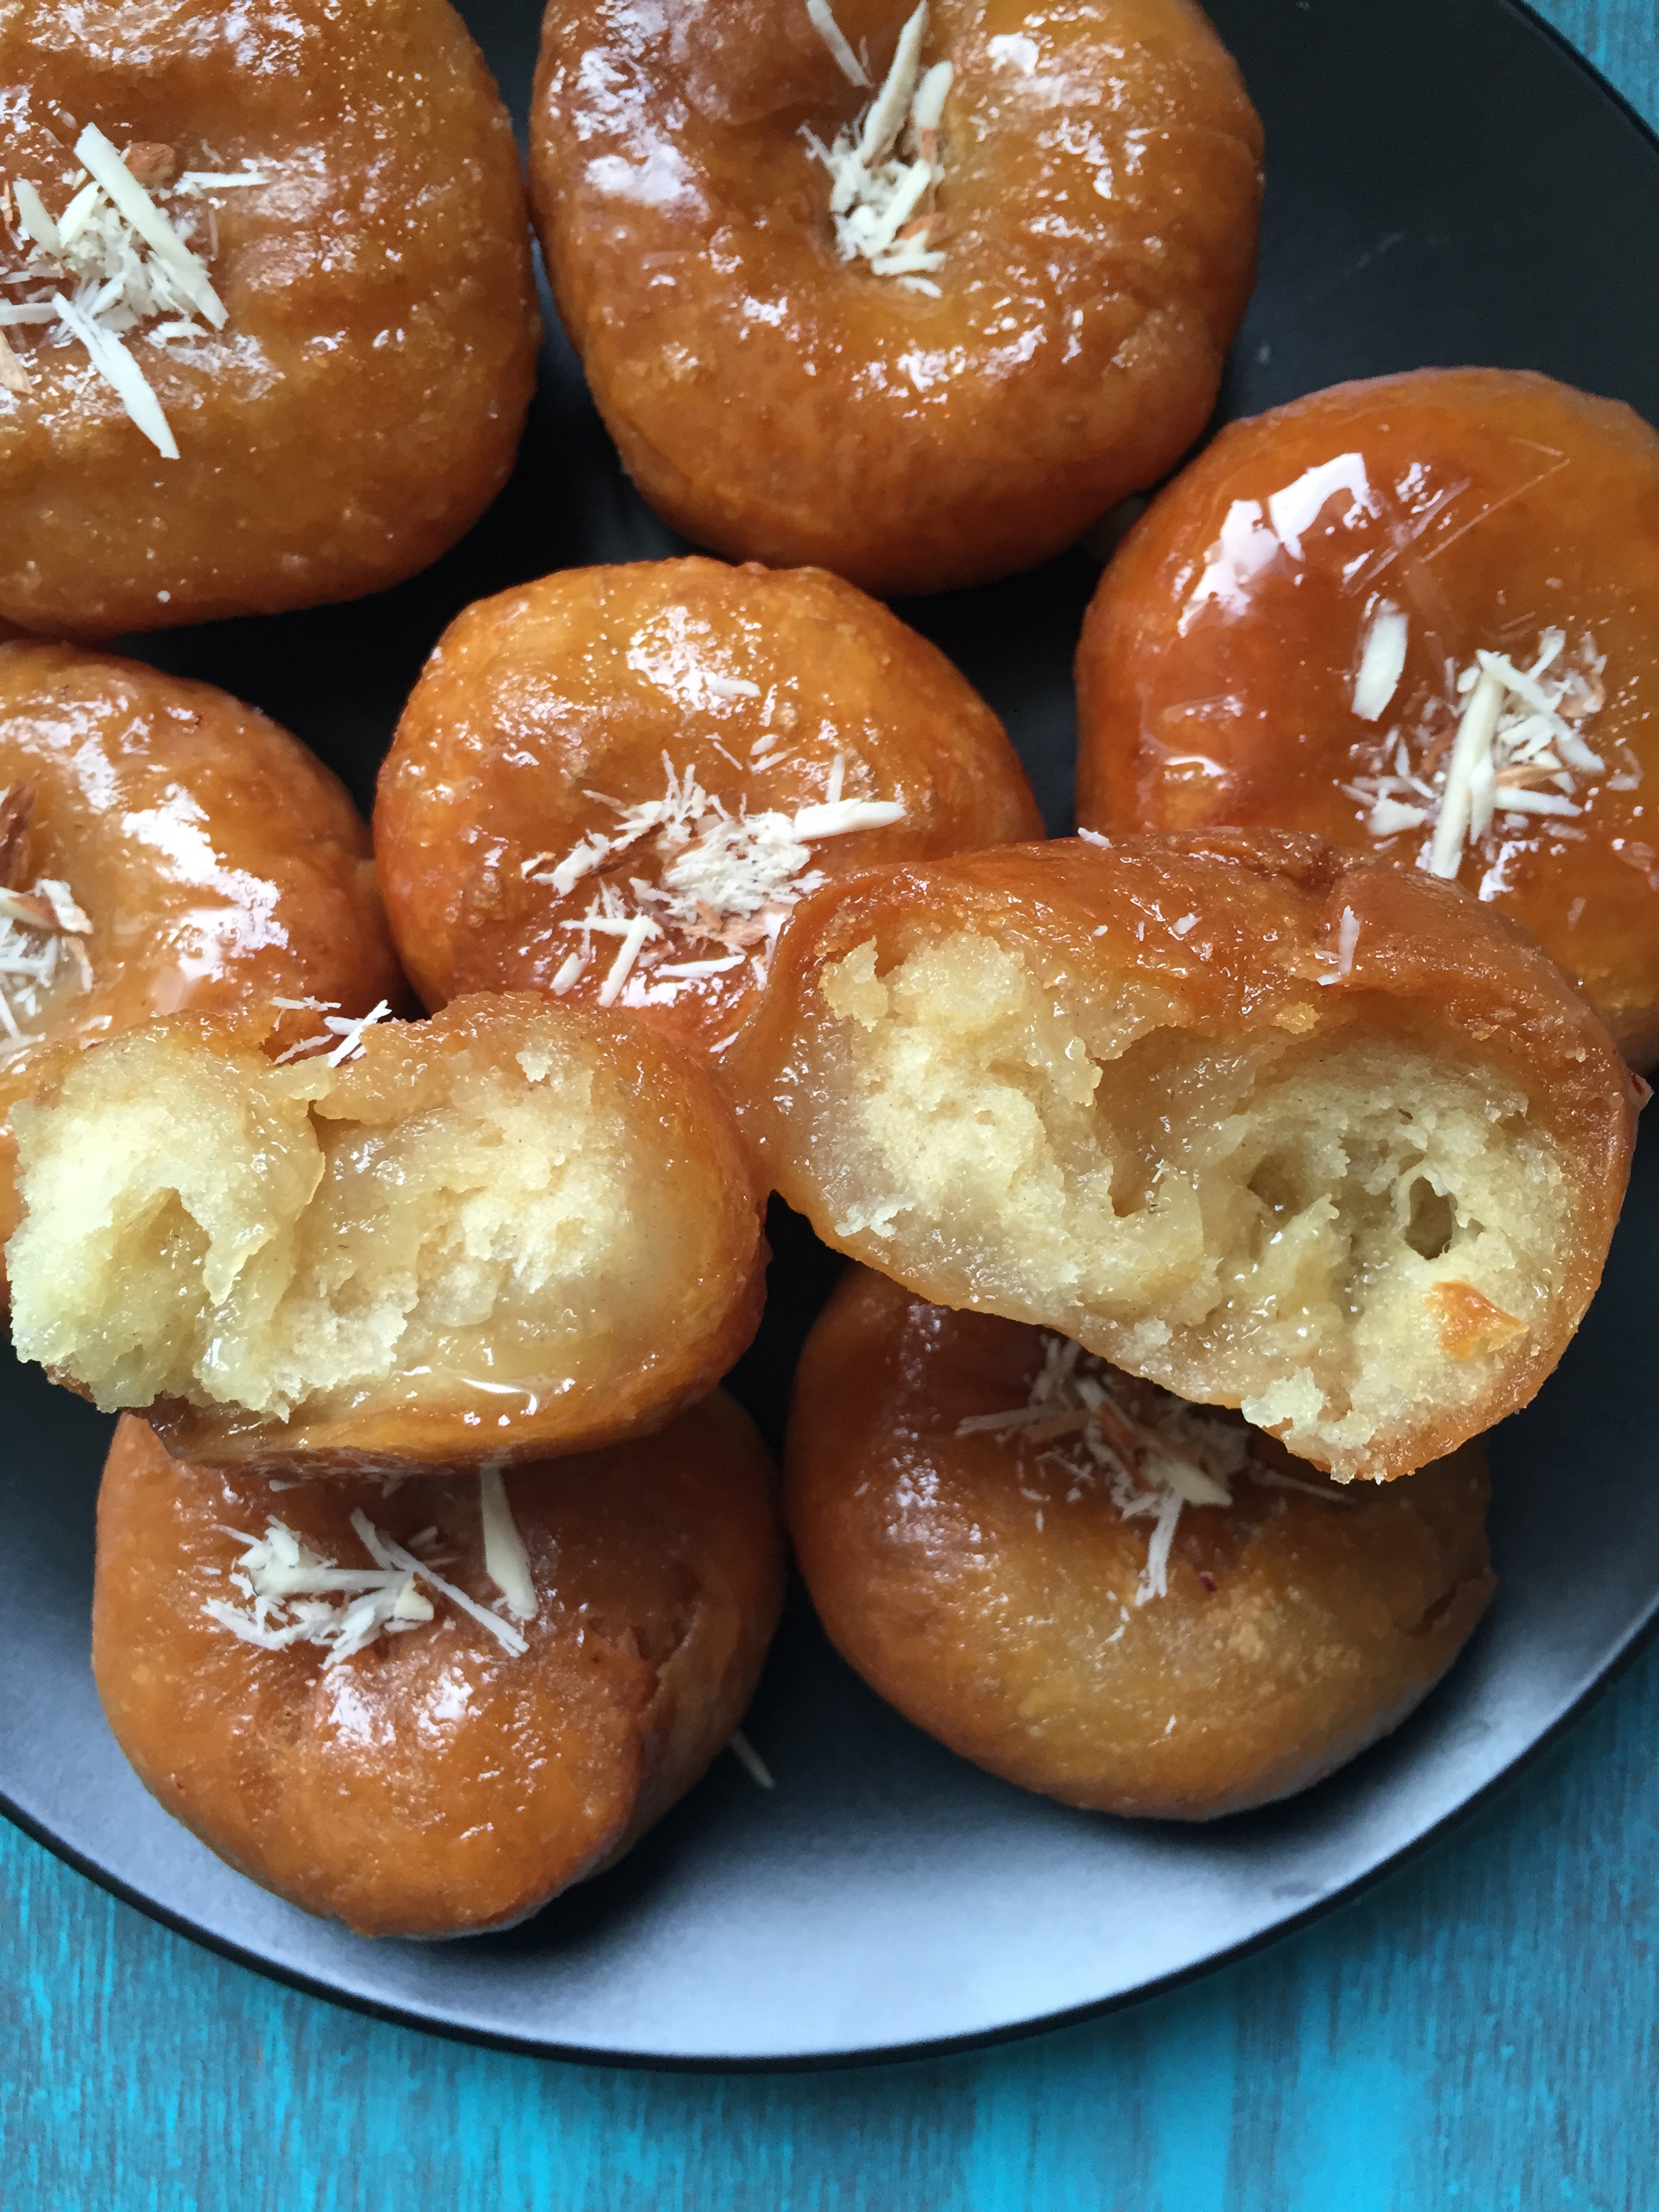
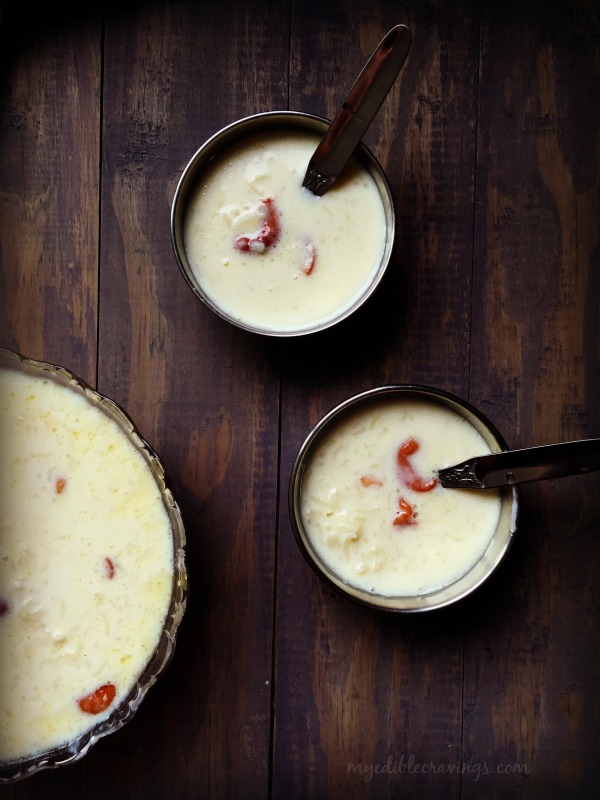
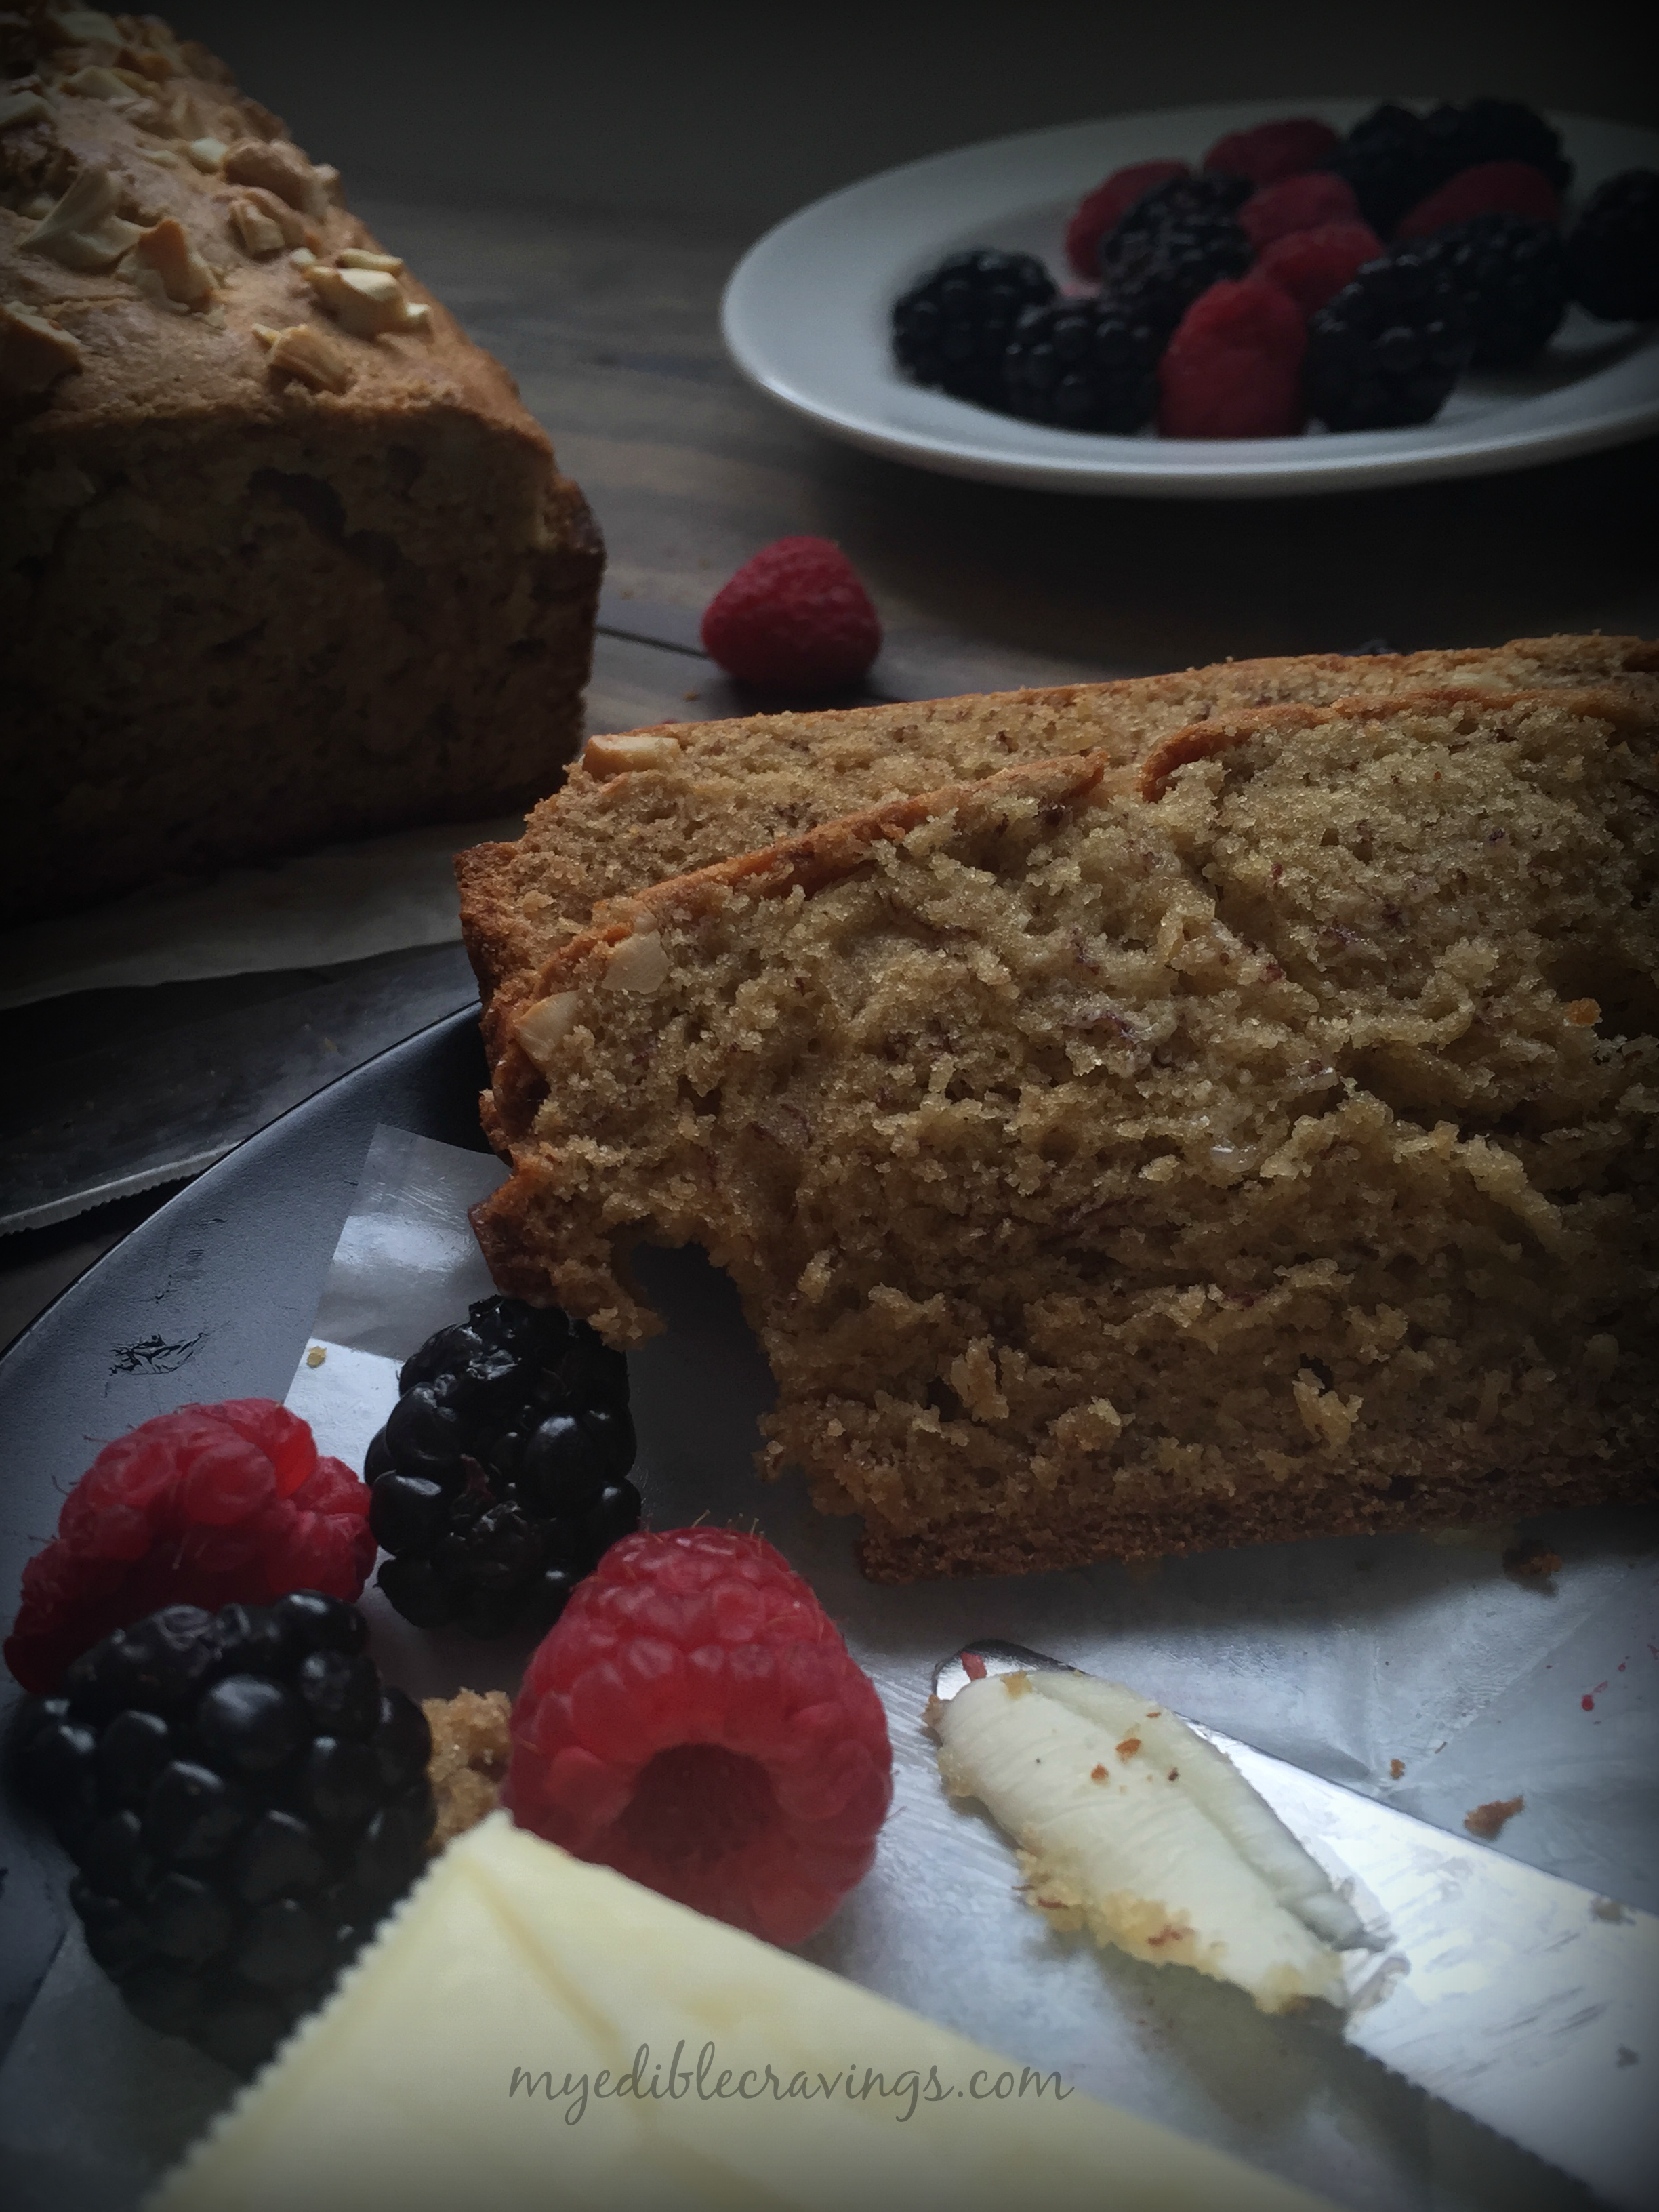
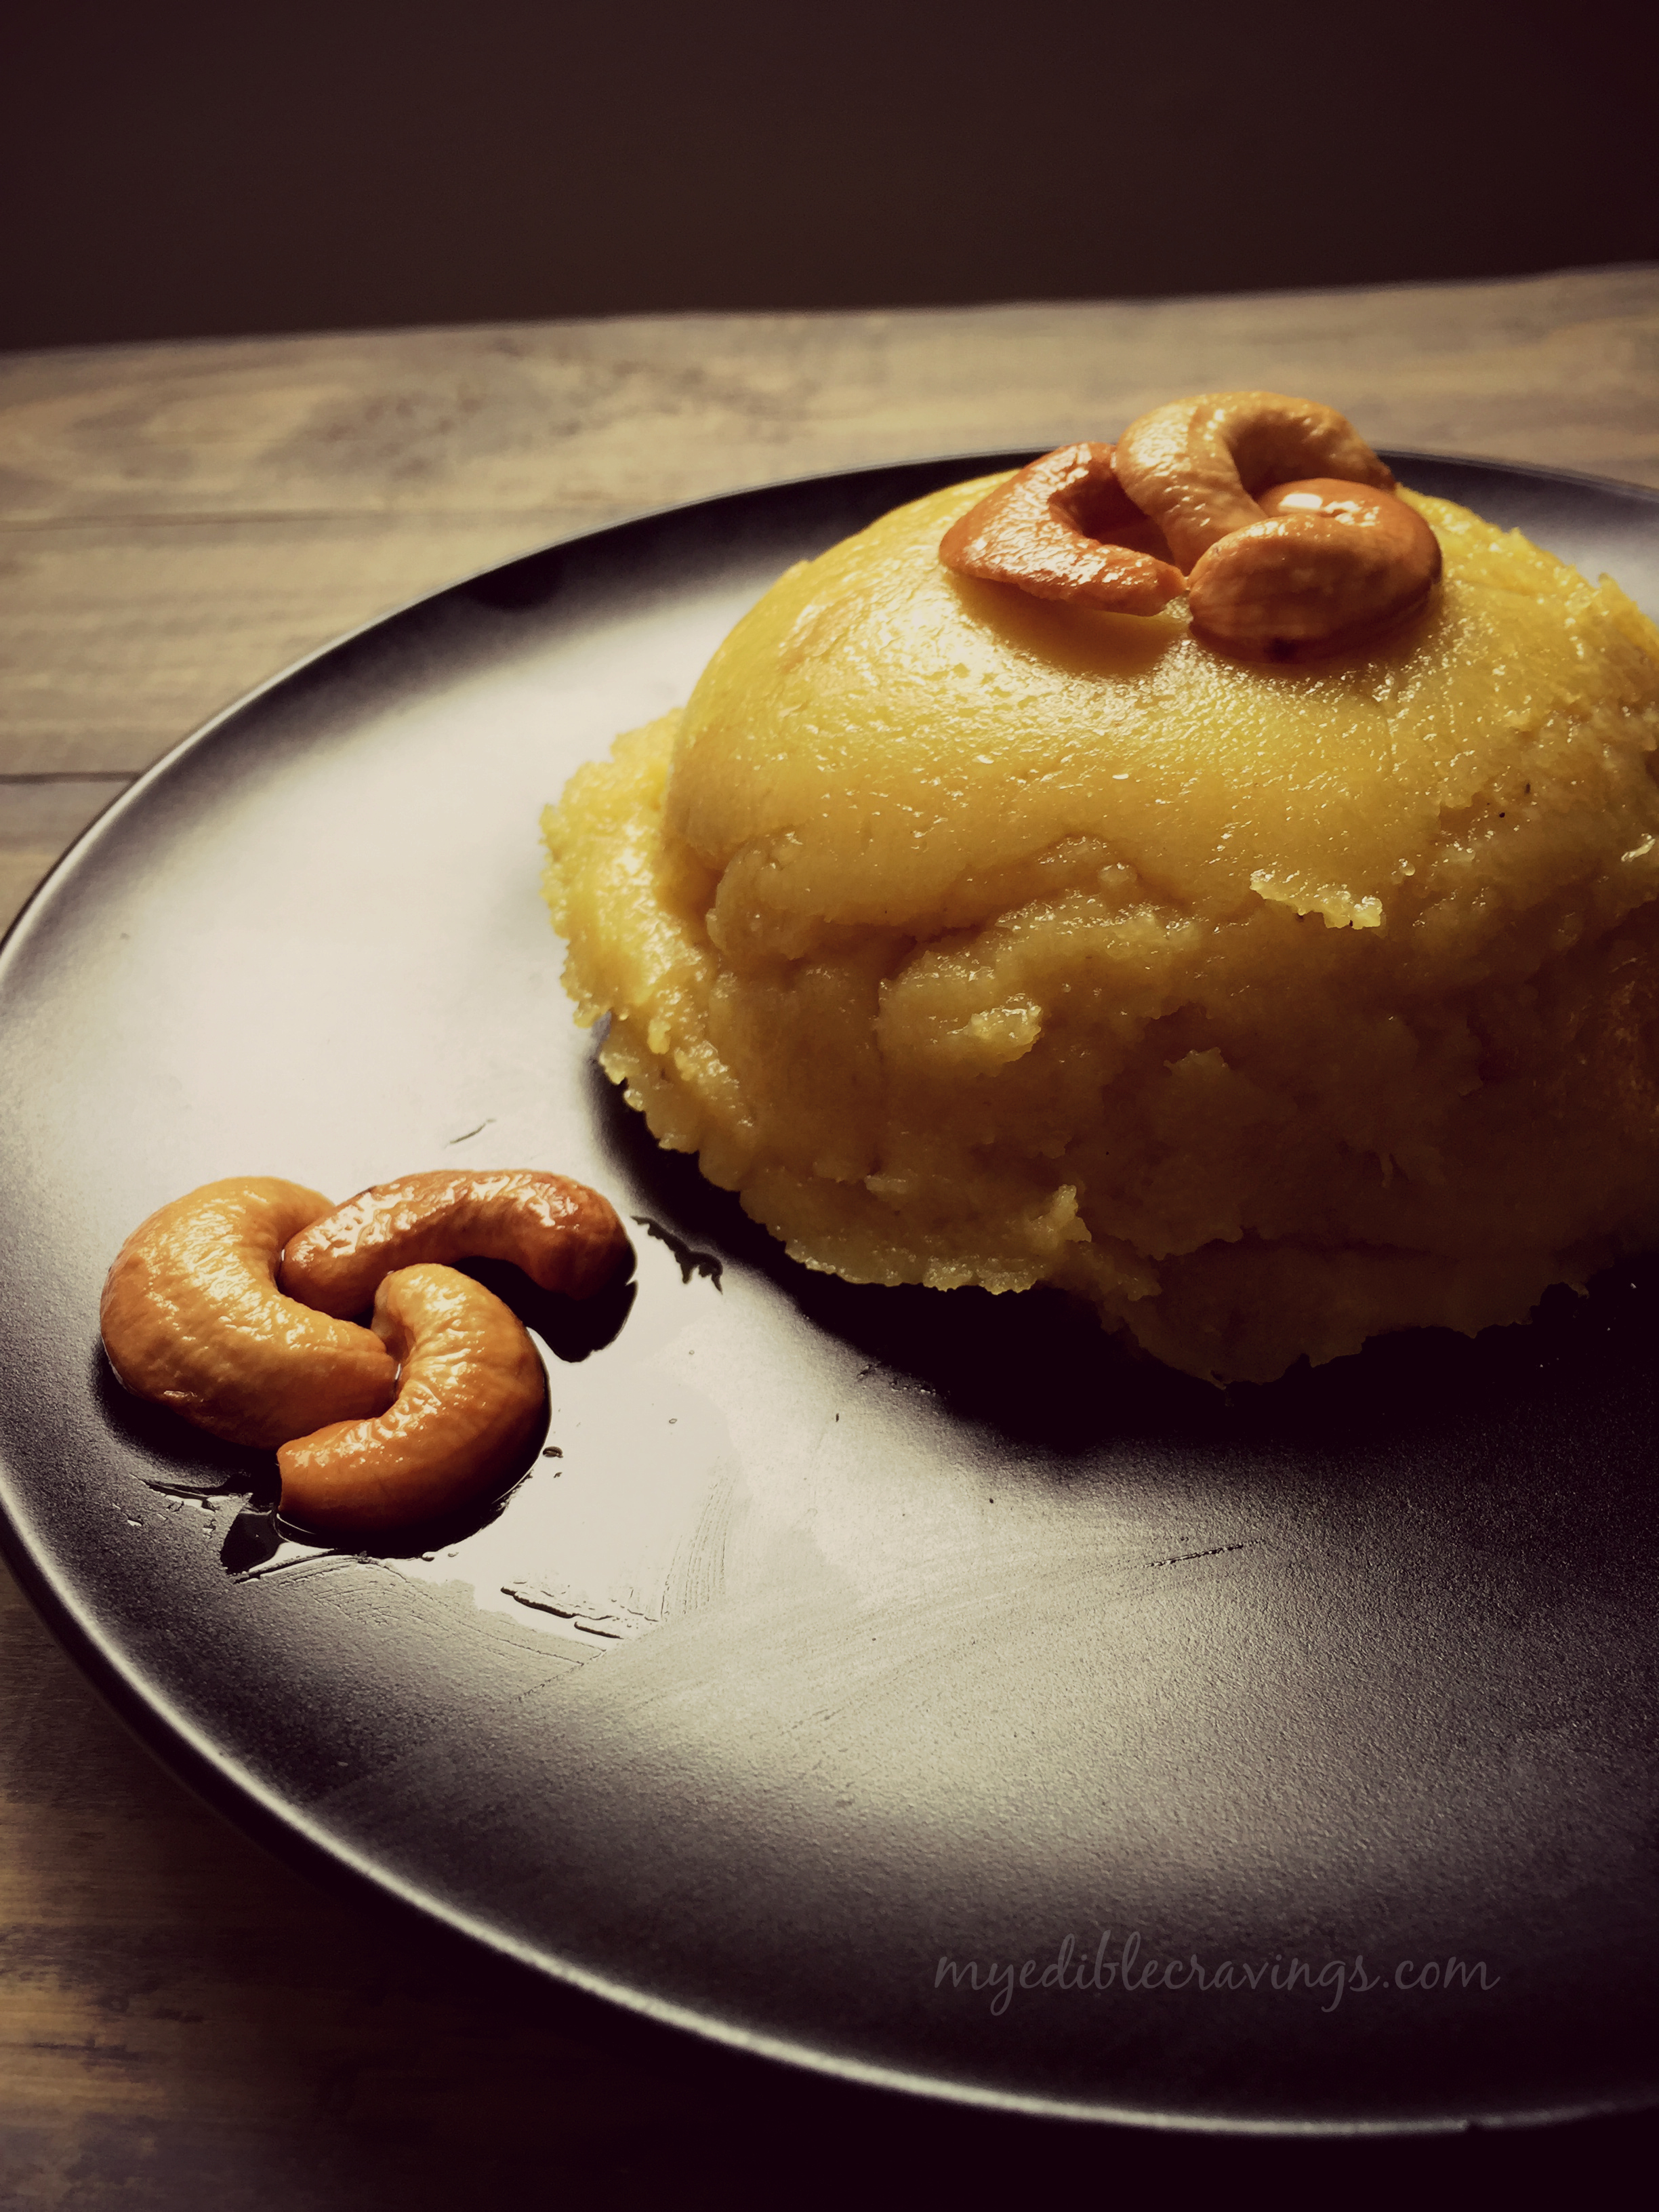
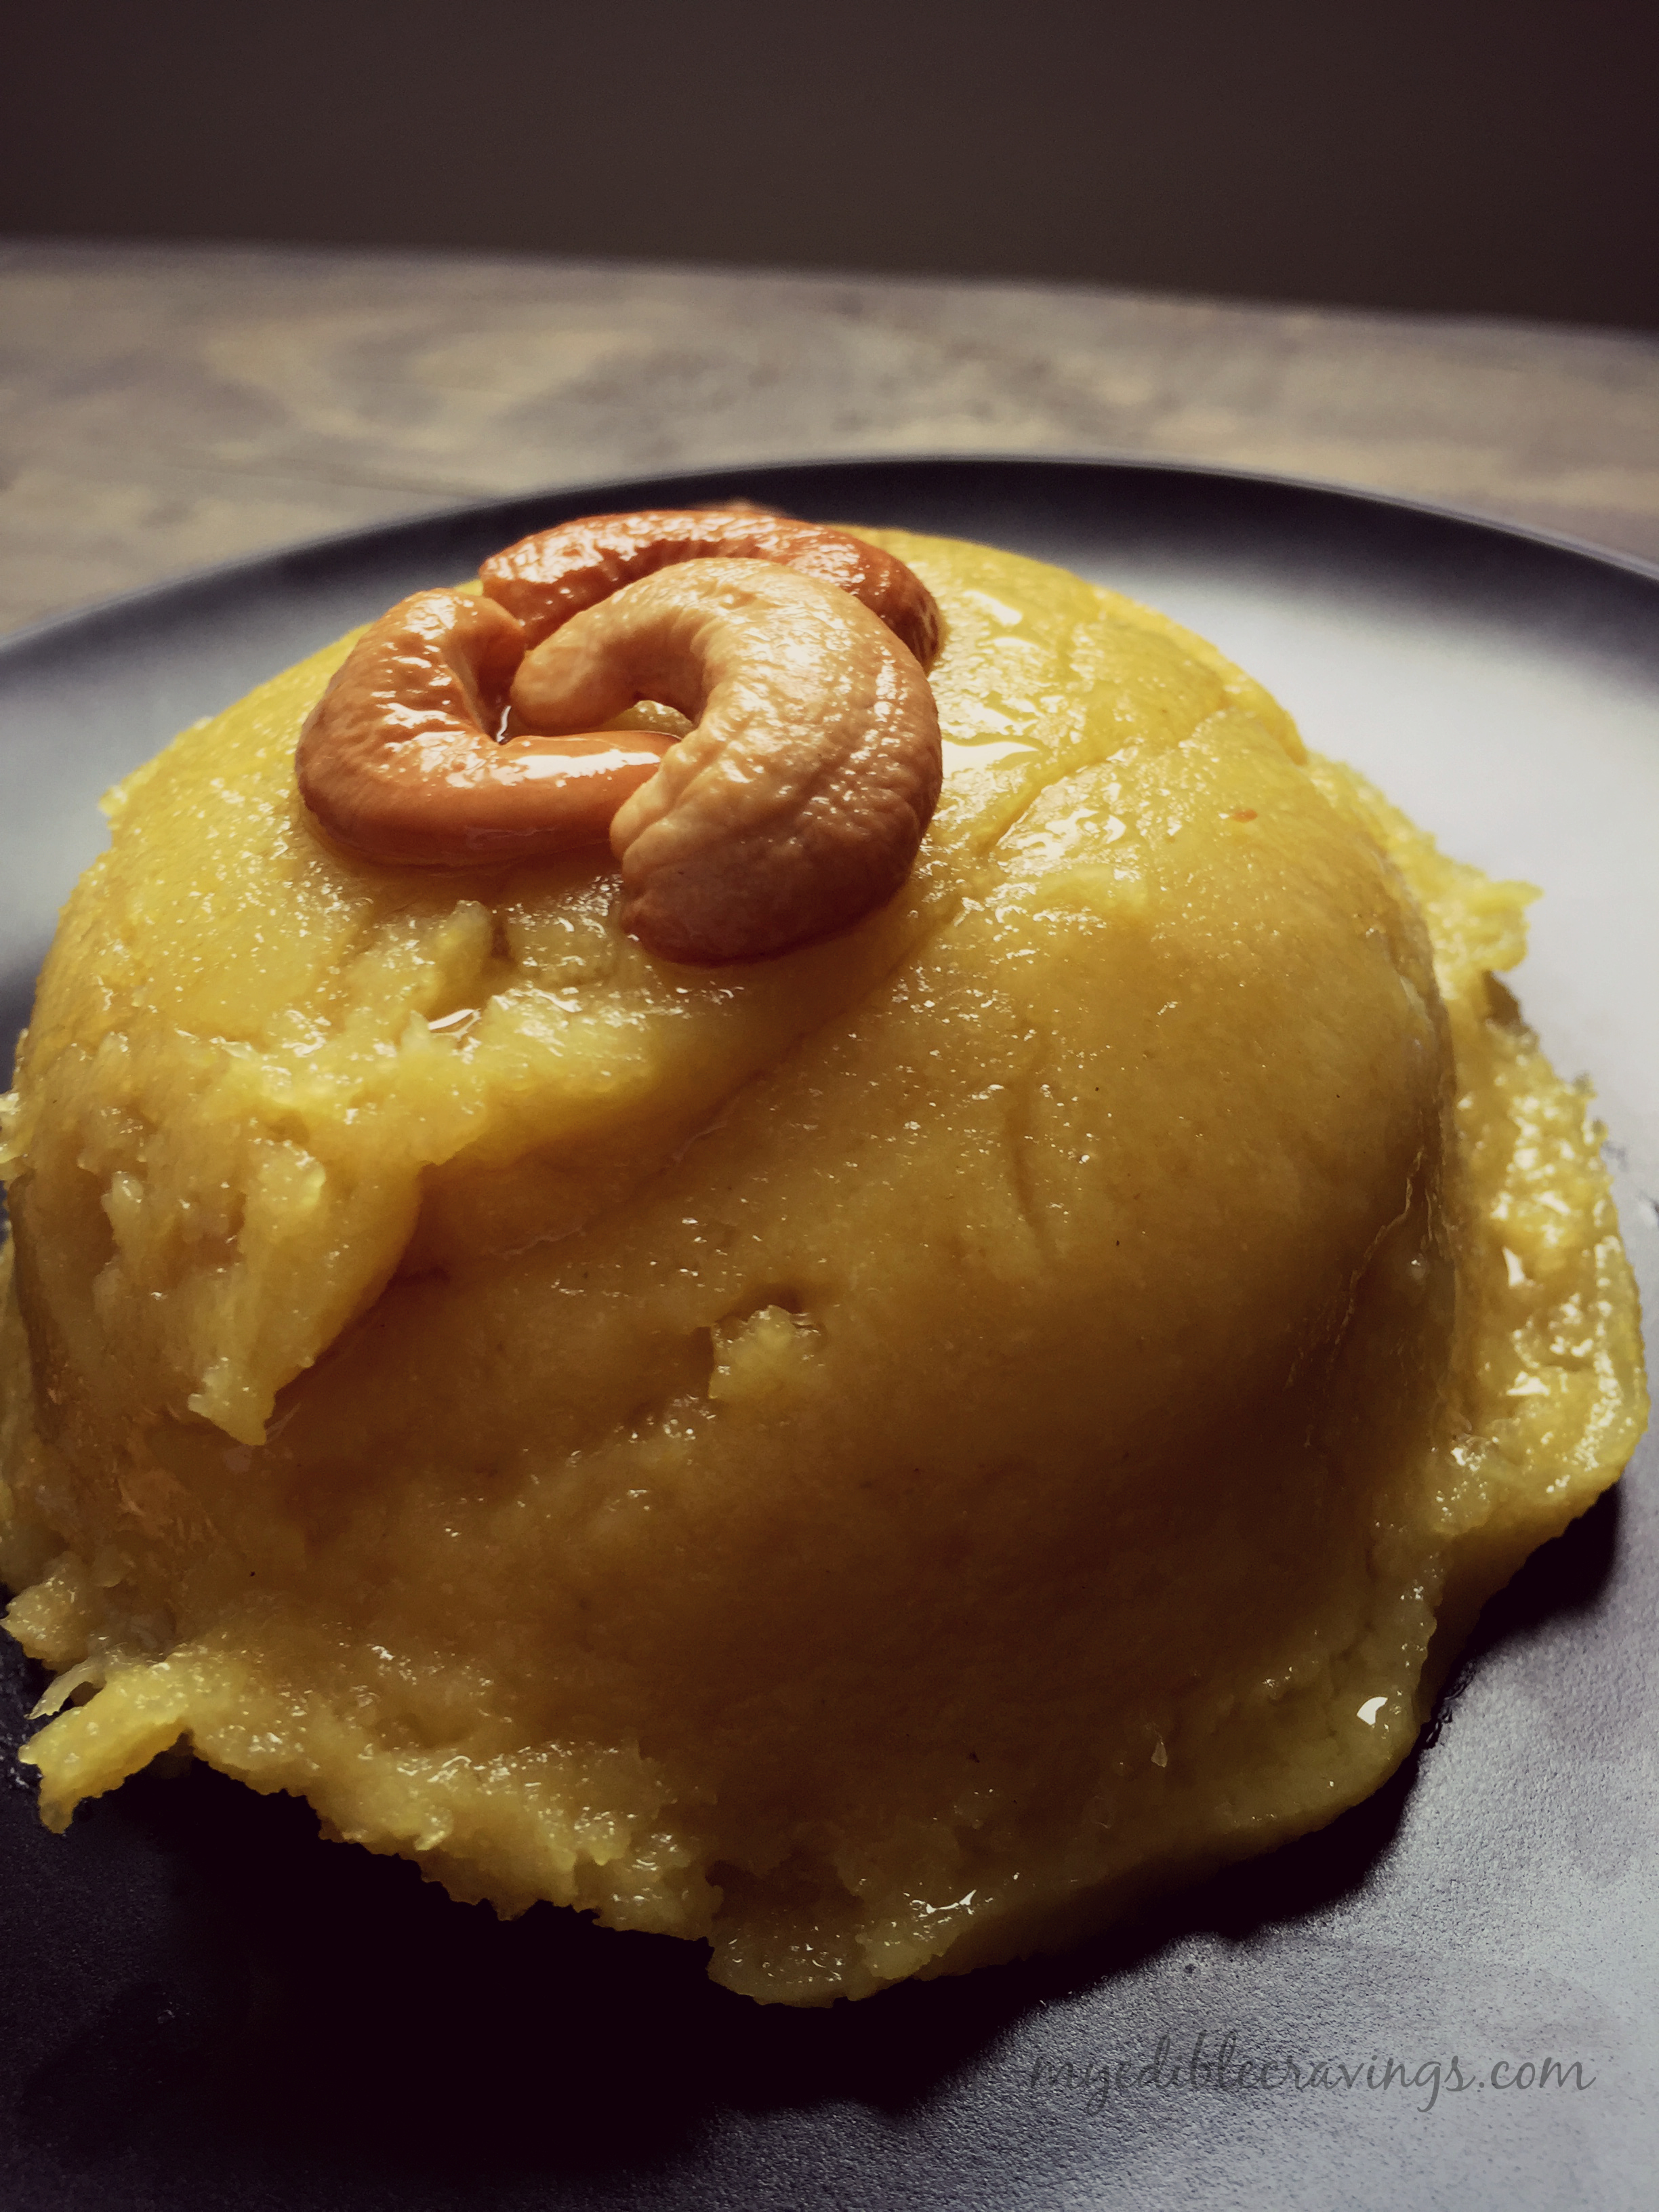
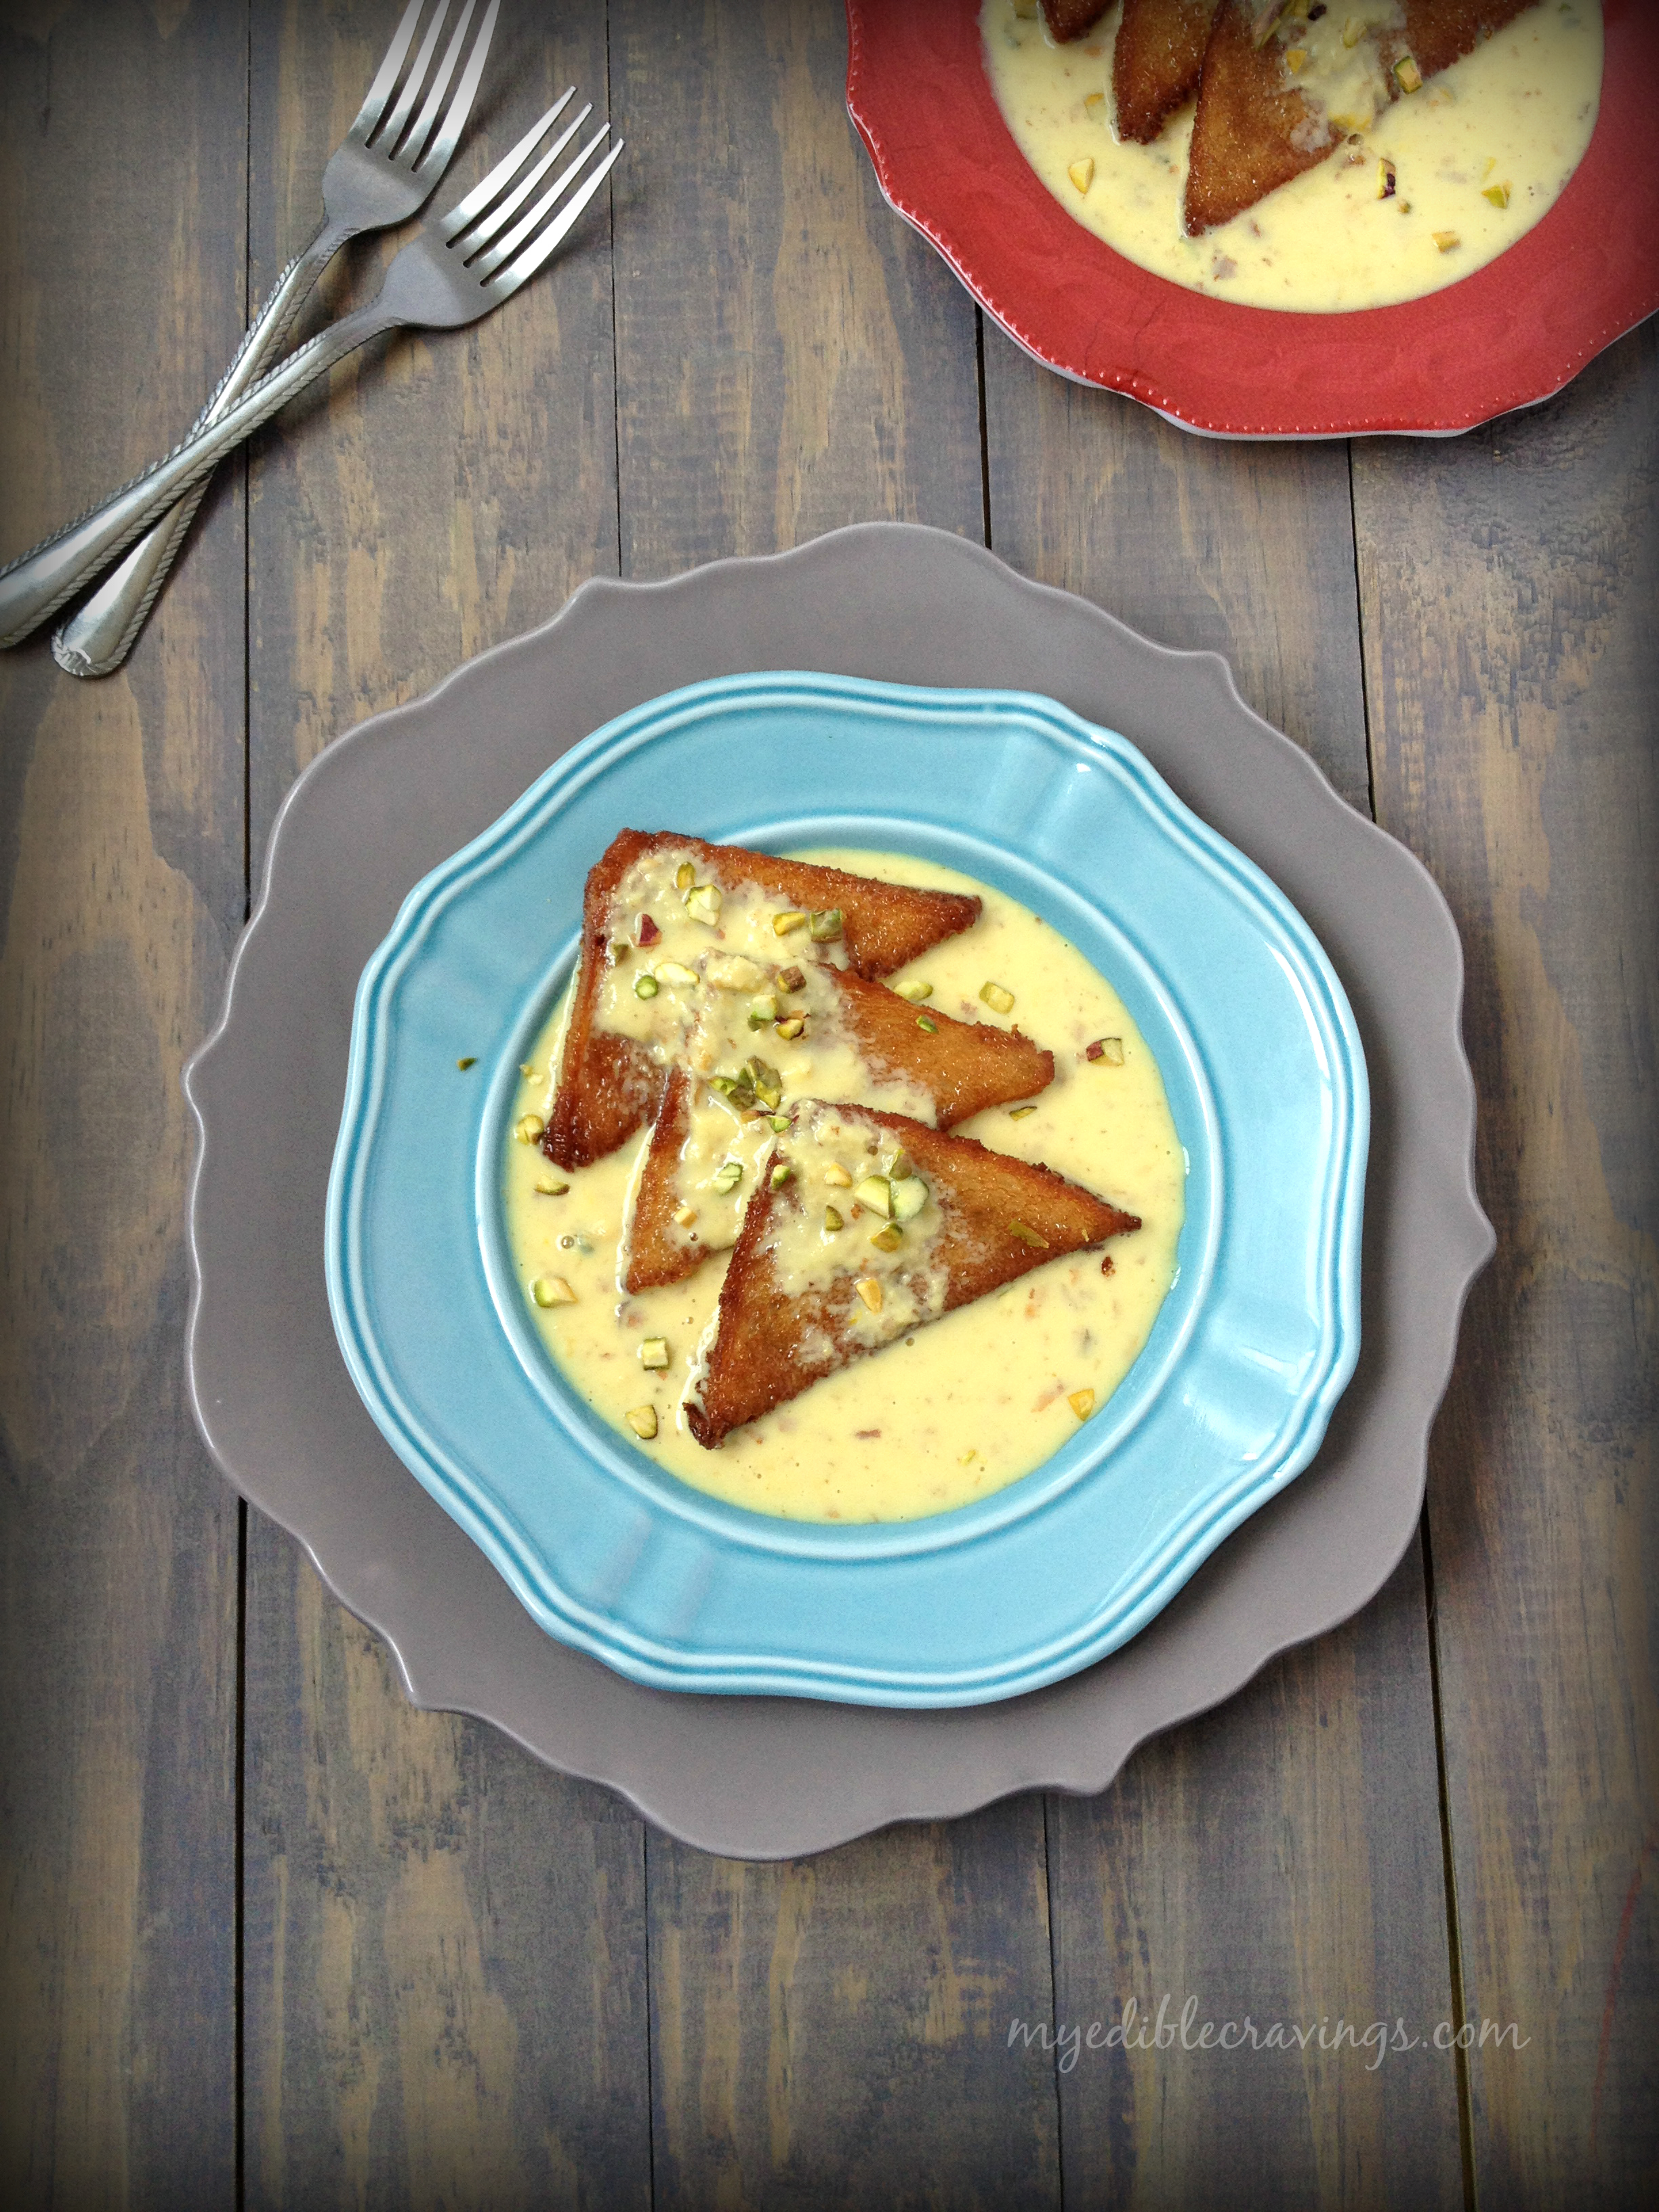
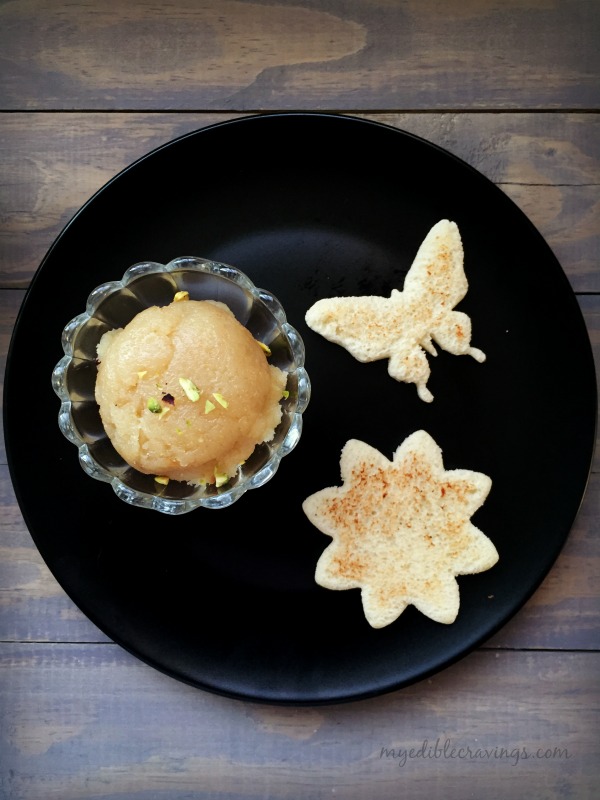
Generally, I don’t like fried food or any dish that involves frying. That was one of the main reasons why I did not try making bread halwa for a long time. All the recipes that I came across involved frying the bread. But when I came across a recipe that did not involve frying I tried it at once and the result was extremely tasty :D. The Bread Halwa recipe I have posted here is extremely easy to make and it takes no time at all, infact you can make it in less than 15 minutes tops. Care should be taken while cooking as you don’t want to overcook the halwa else it will get harder because of the bread used. Try out this Bread Halwa and you won’t be disappointed, I guarantee!

Bread Halwa
Recipe type: Dessert
Cuisine: Indian
Prep time: 
Cook time: 
Total time: 
Serves: 4
 
Ingredients
  • White Bread slices – 6 (I used pepperidge sandwich bread)
  • Ghee – ¼ cup
  • Milk – 1 cup
  • Sugar – 1 cup
  • Rose water – ¼ tsp
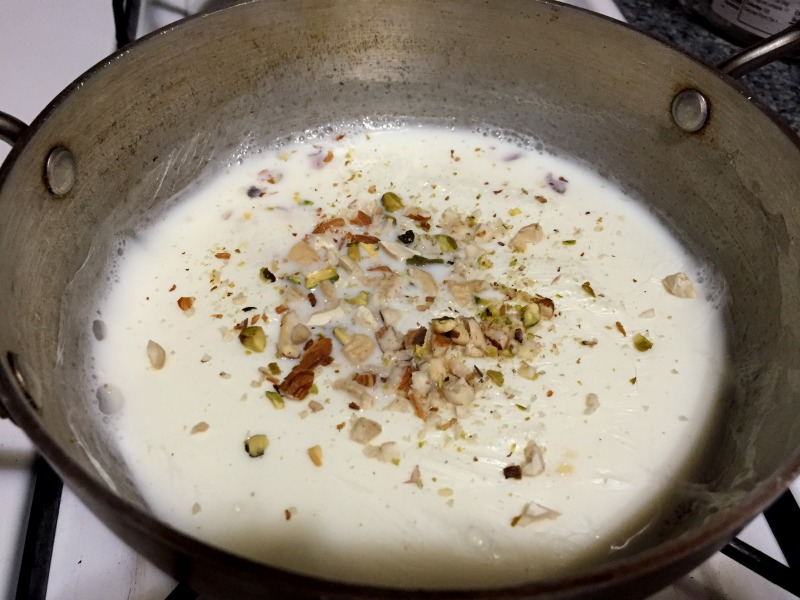
  • Pistachios, chopped – for garnishing
Instructions
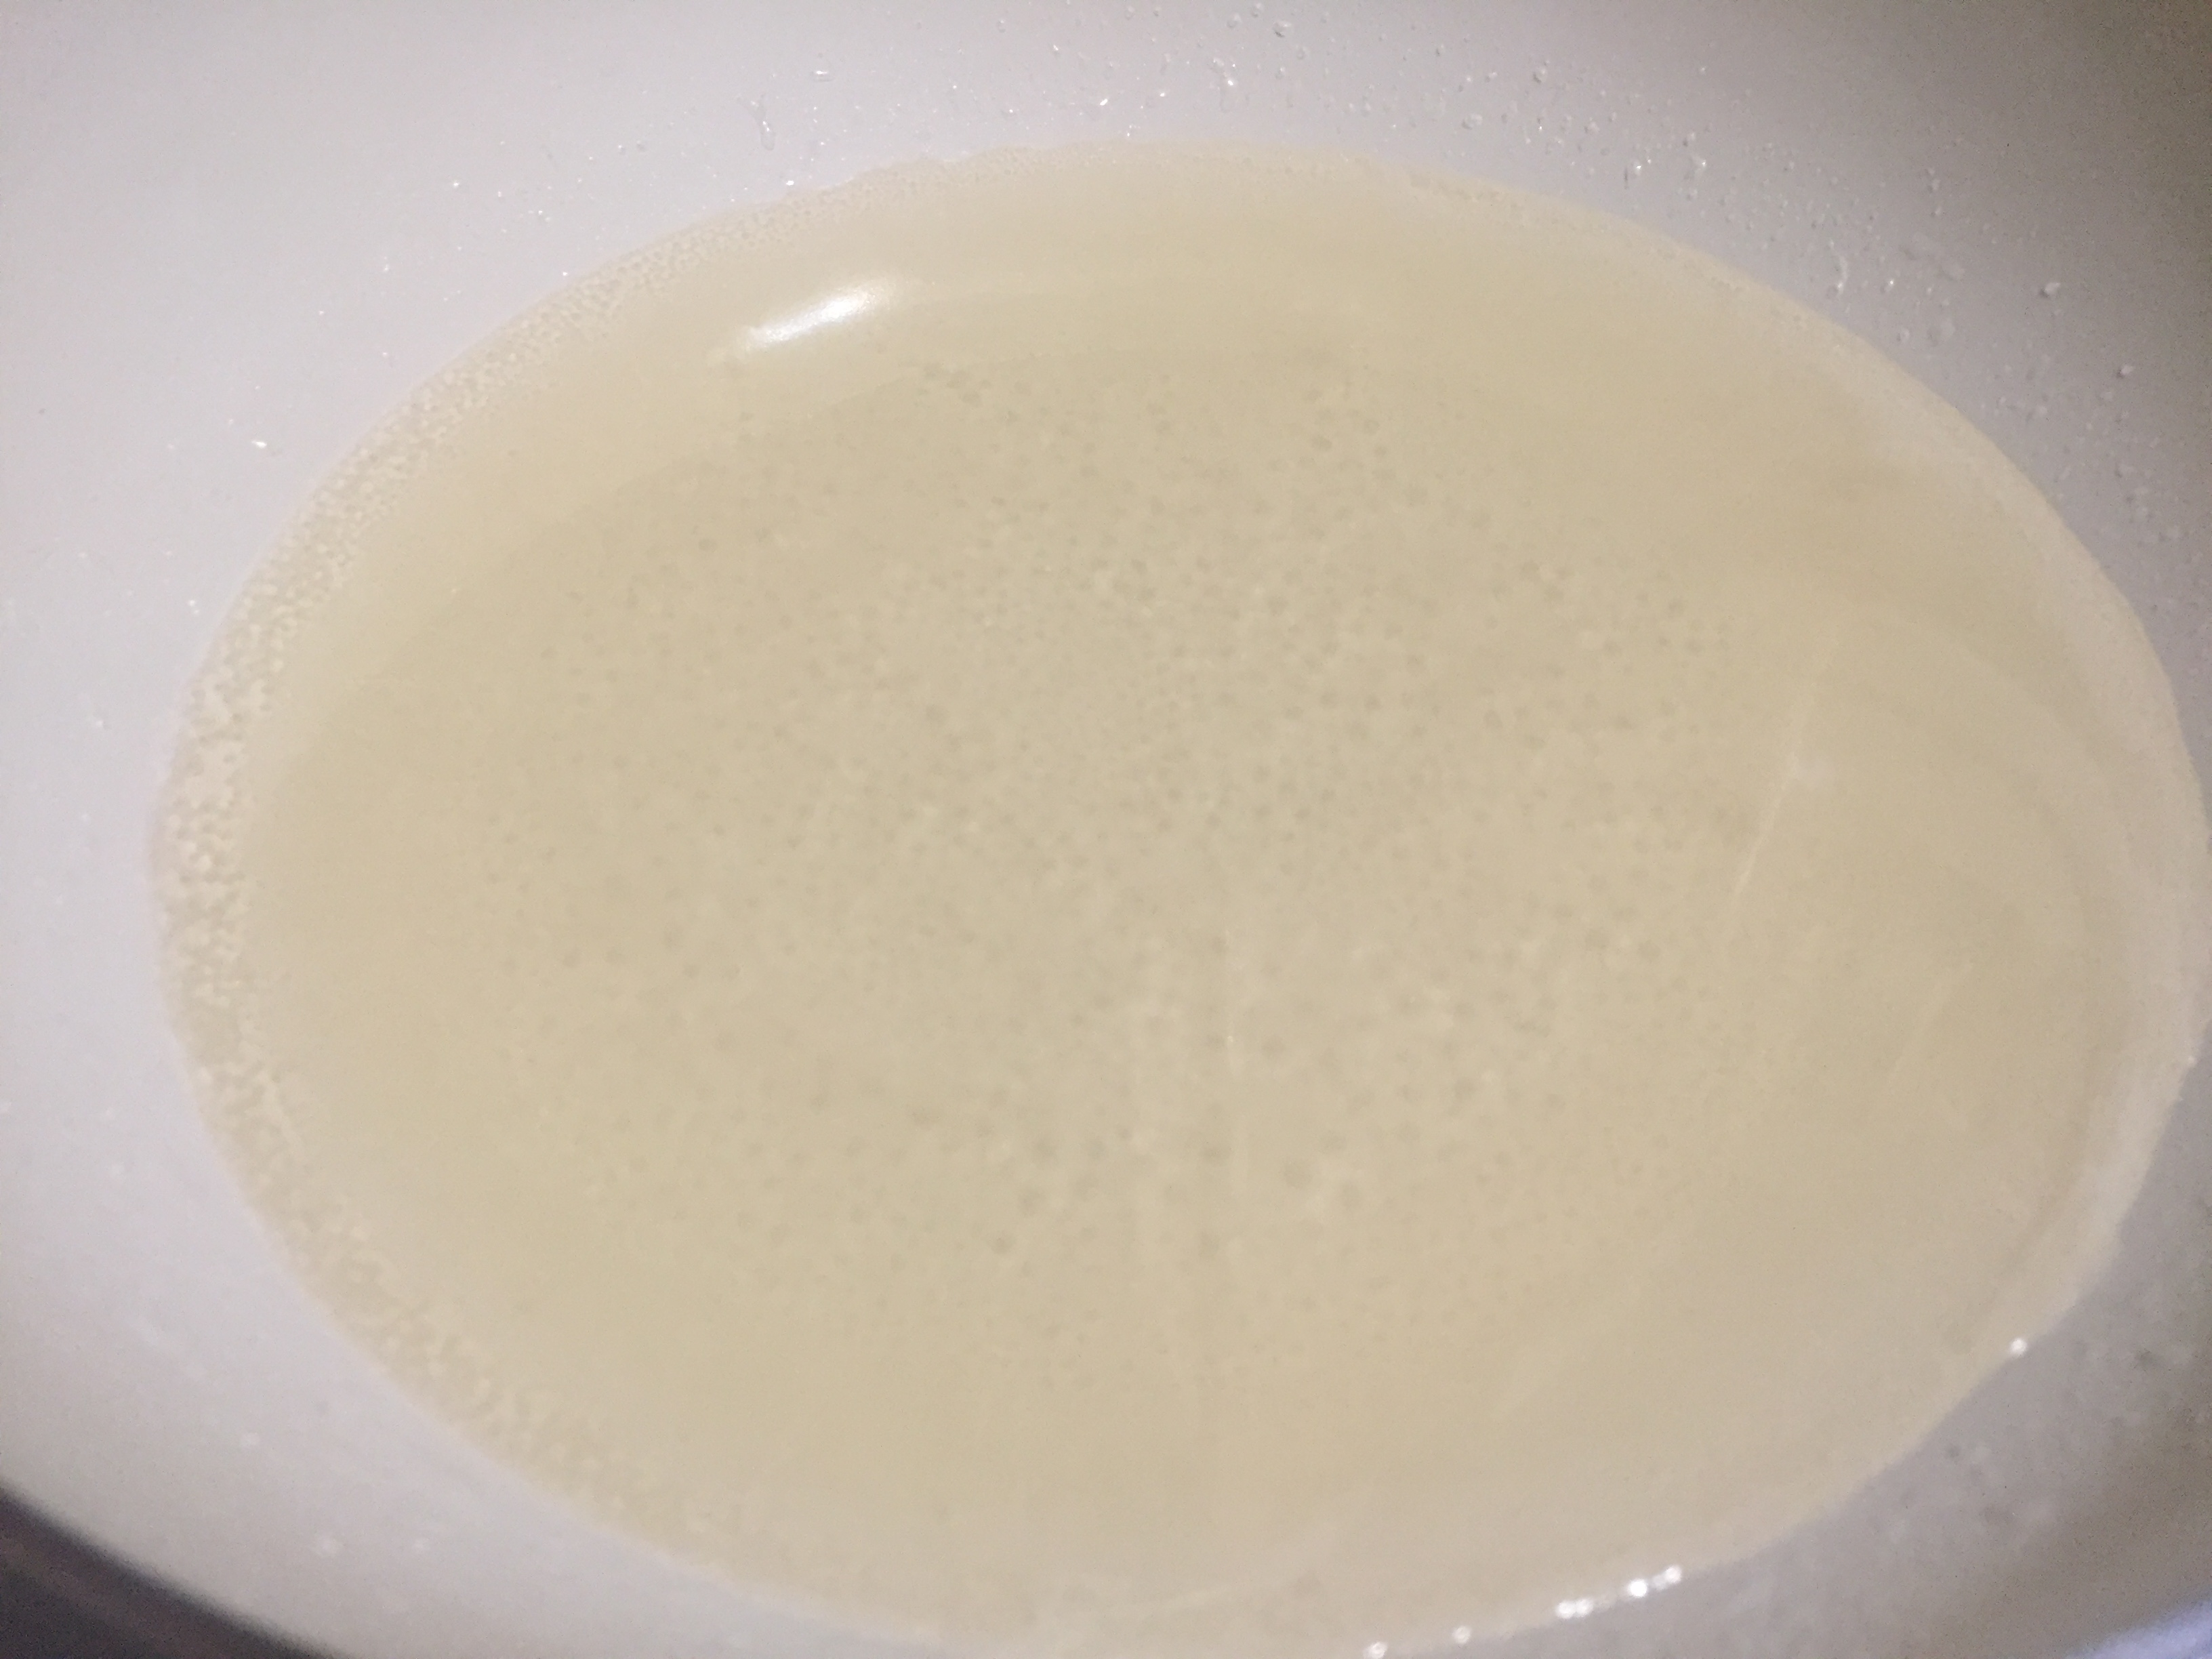
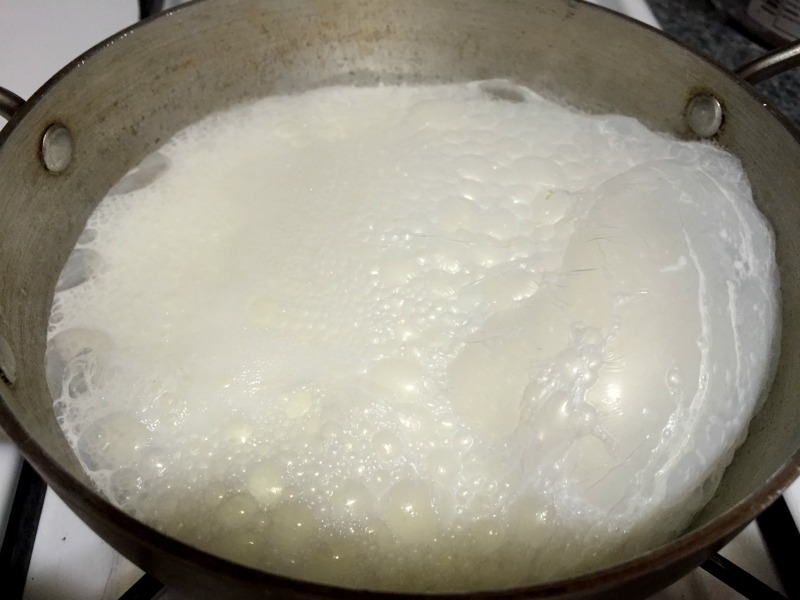
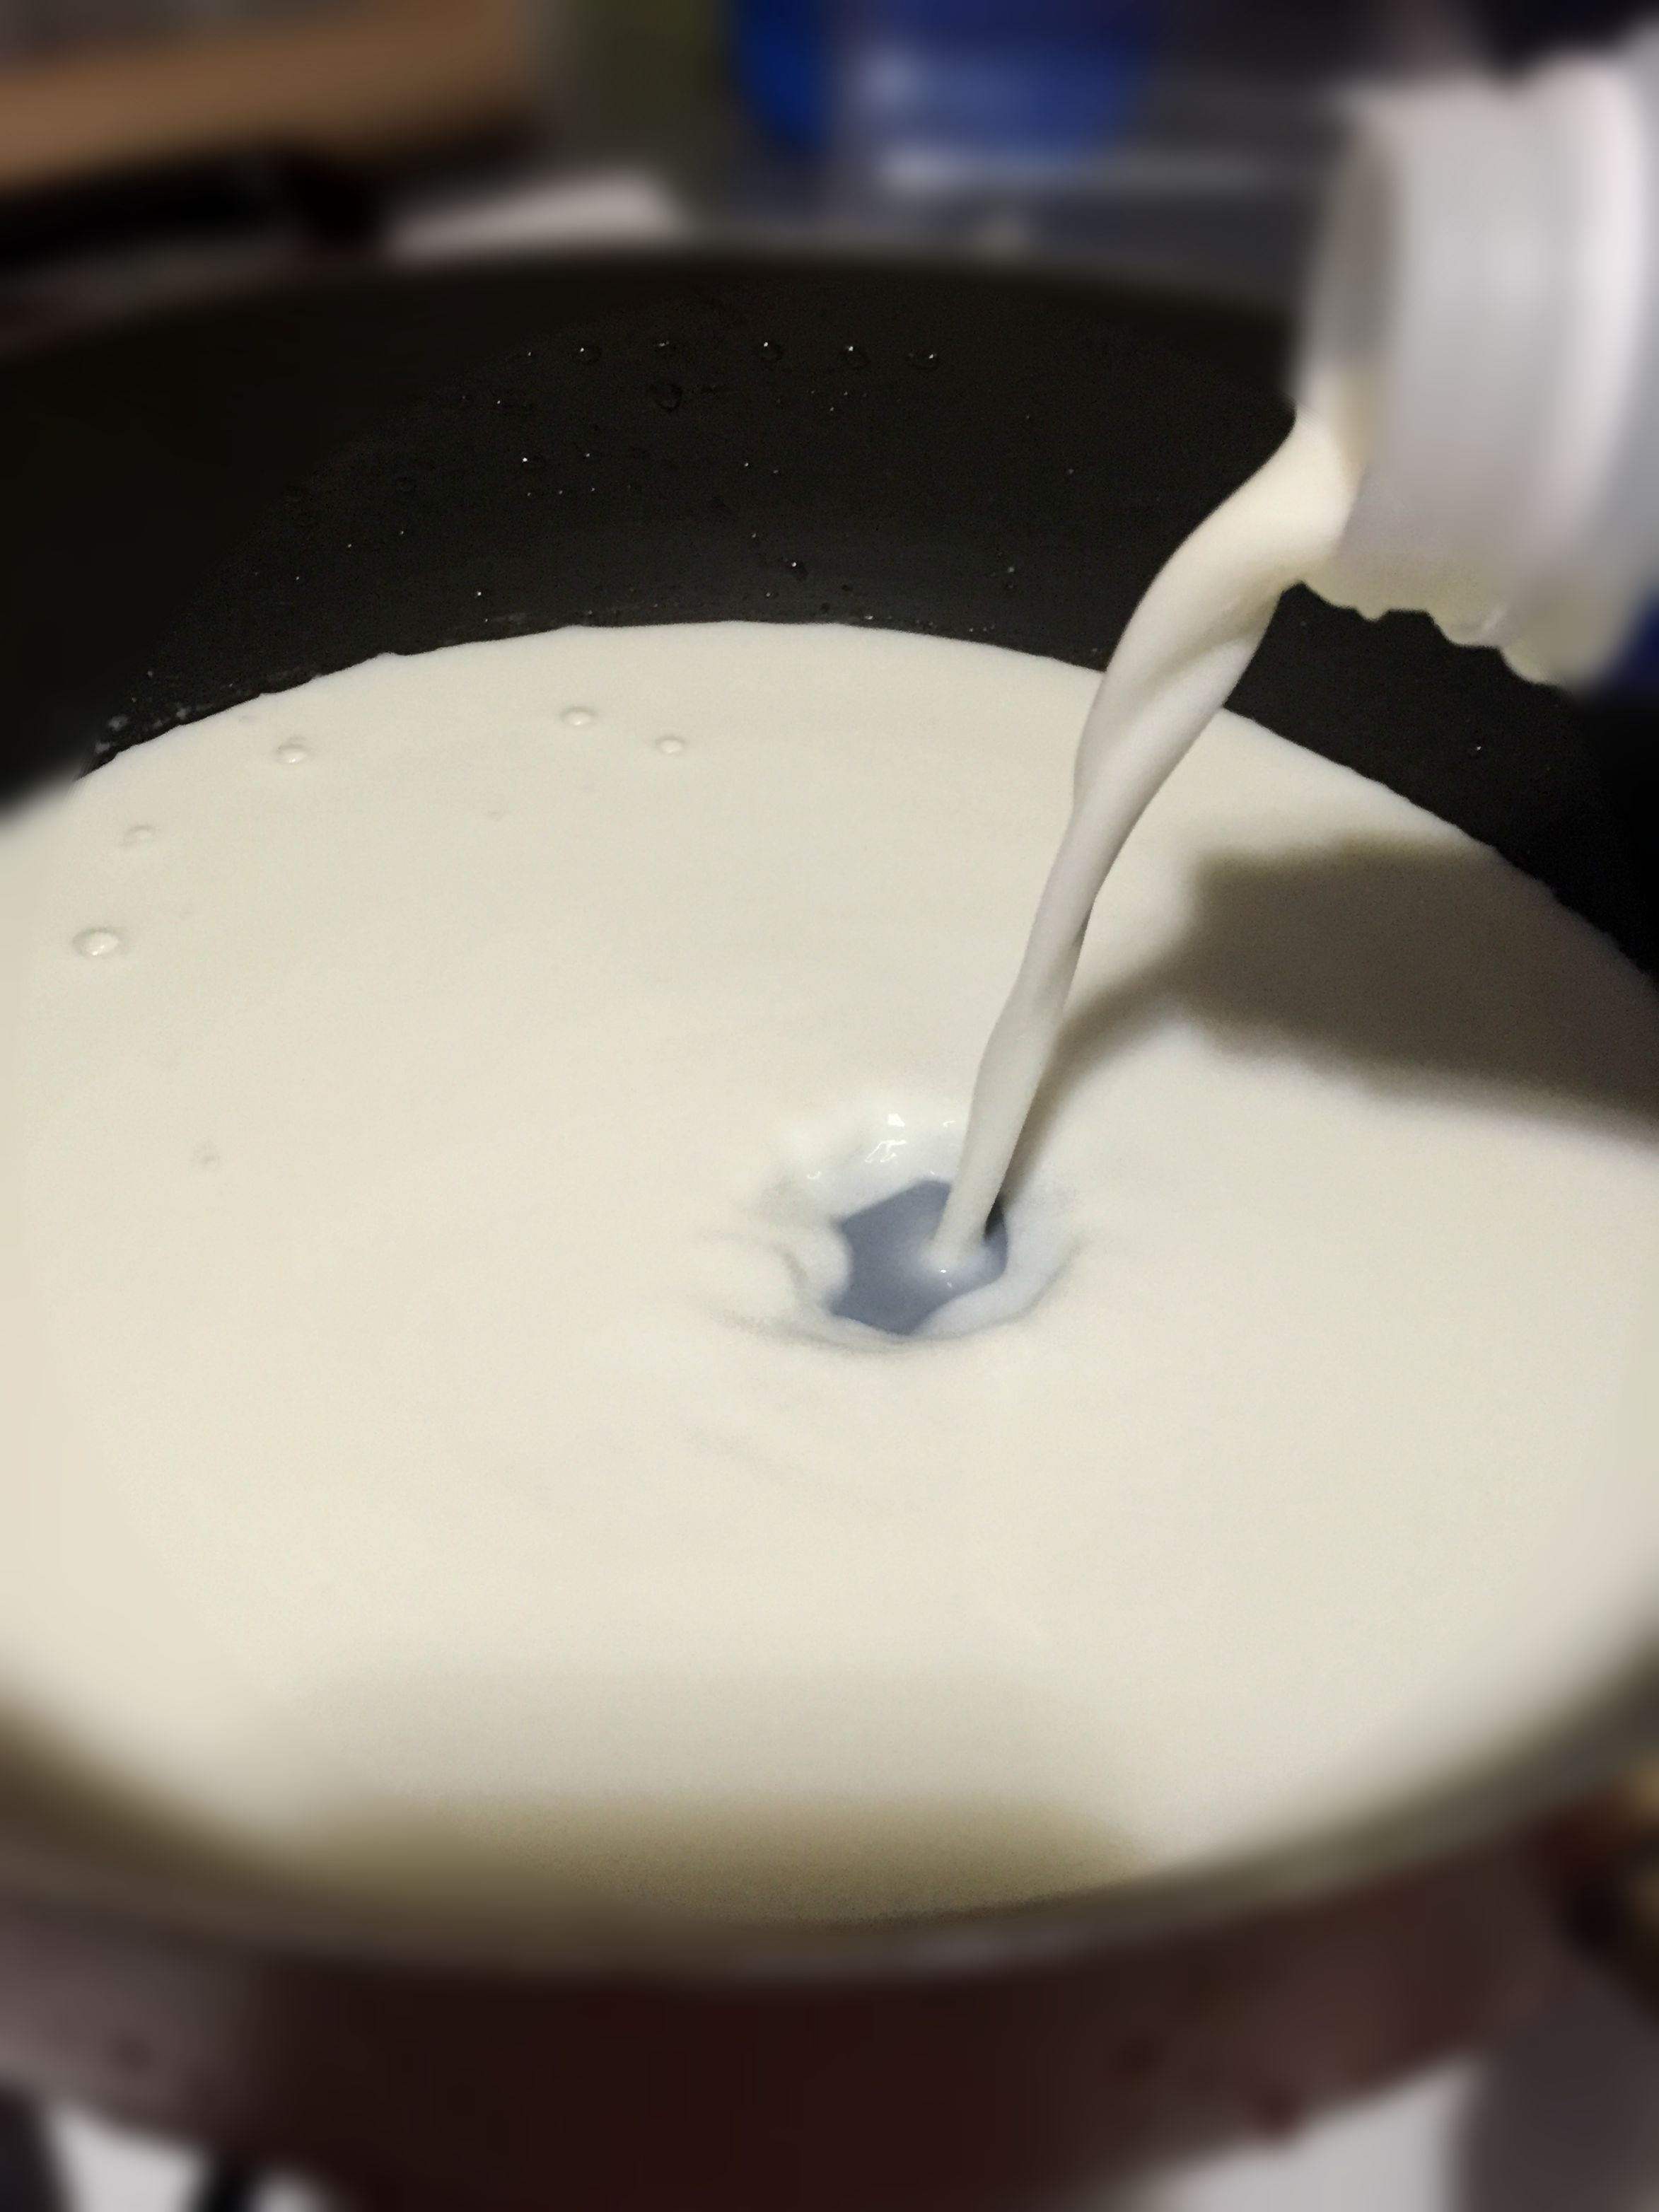
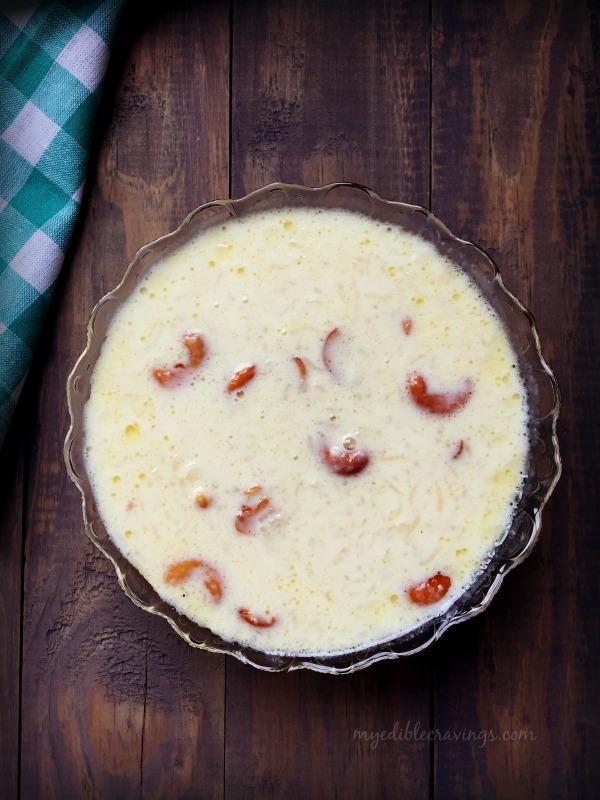
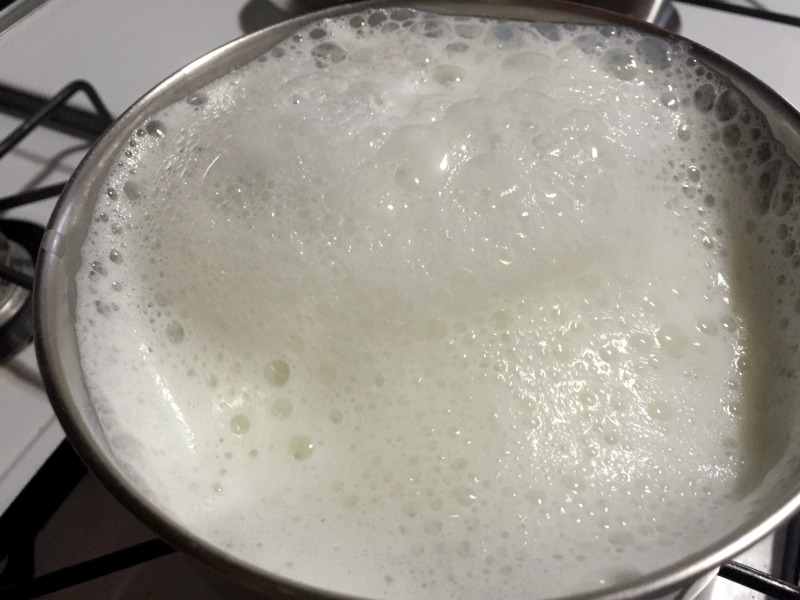
  1. Boil milk and allow it to cool.
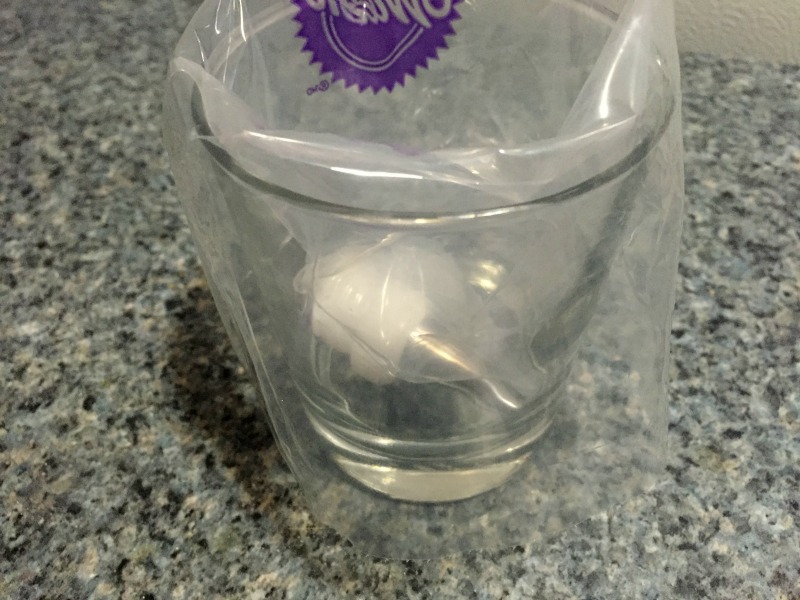
  2. Cut the soft crust on all four sides of the bread.
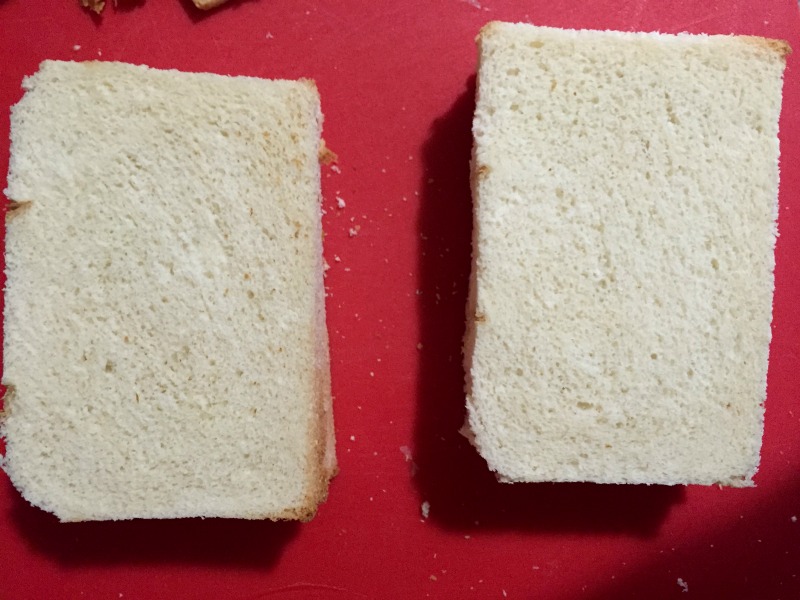
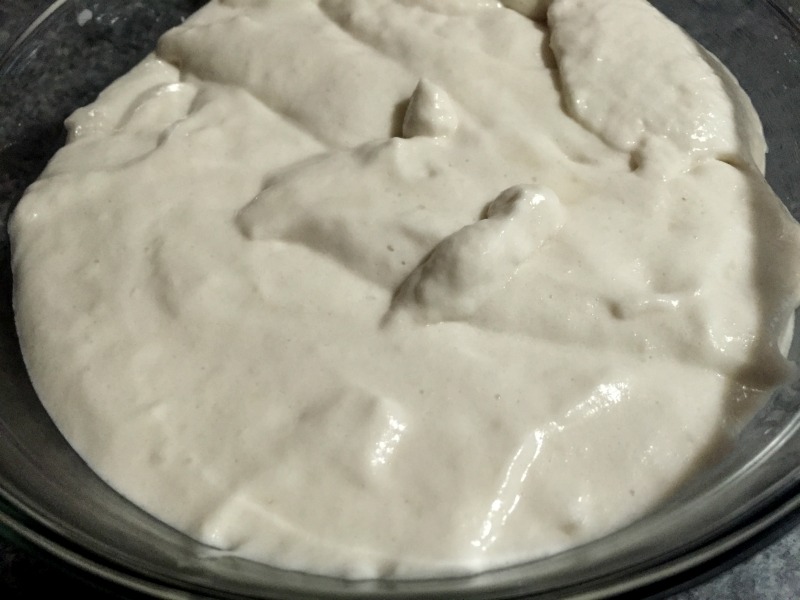
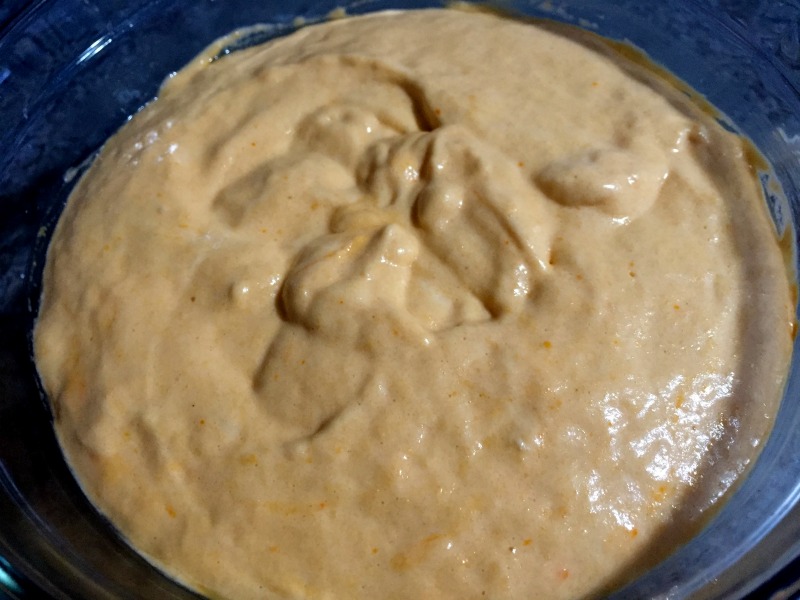
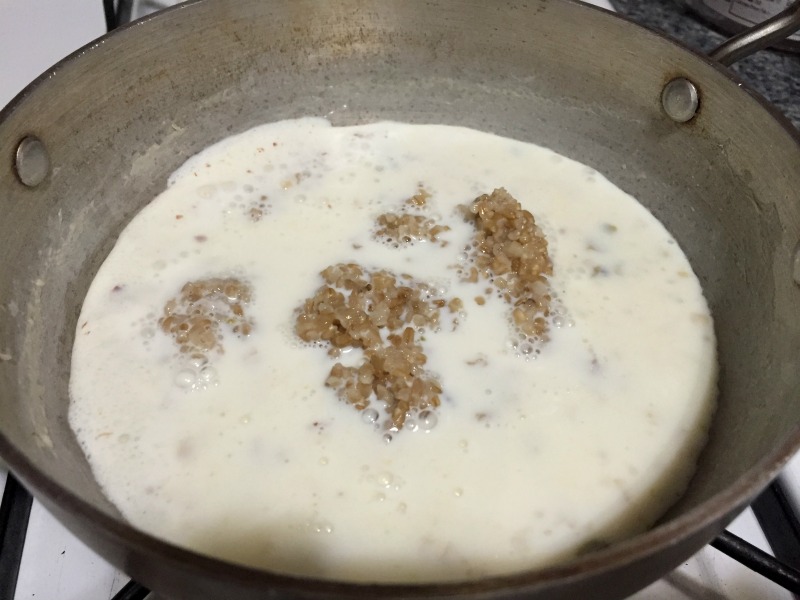
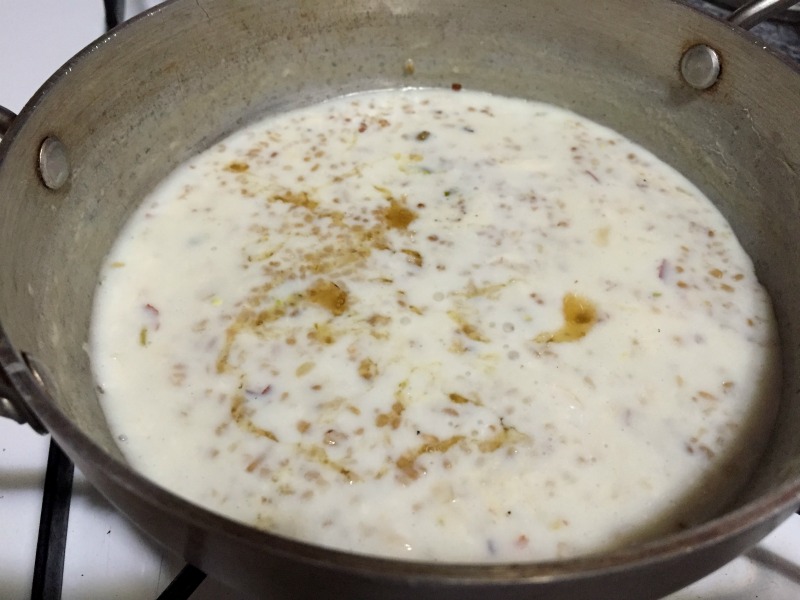
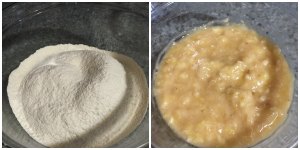
  3. Roughly chop the bread slices and soak them in milk. Mash the bread with clean hand without any lumps.
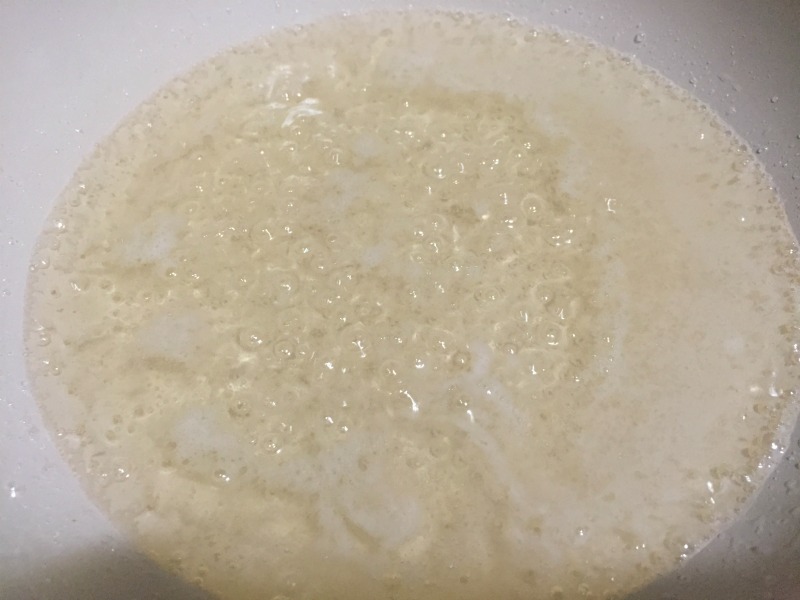
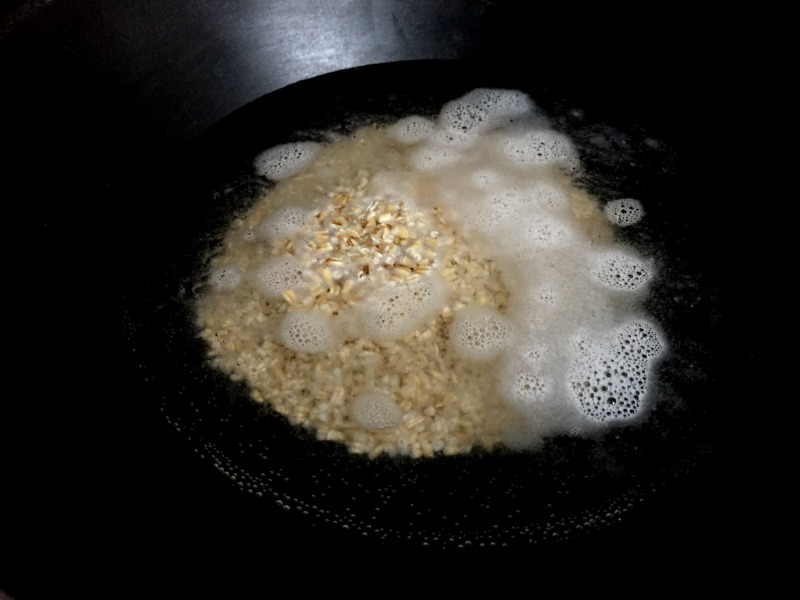
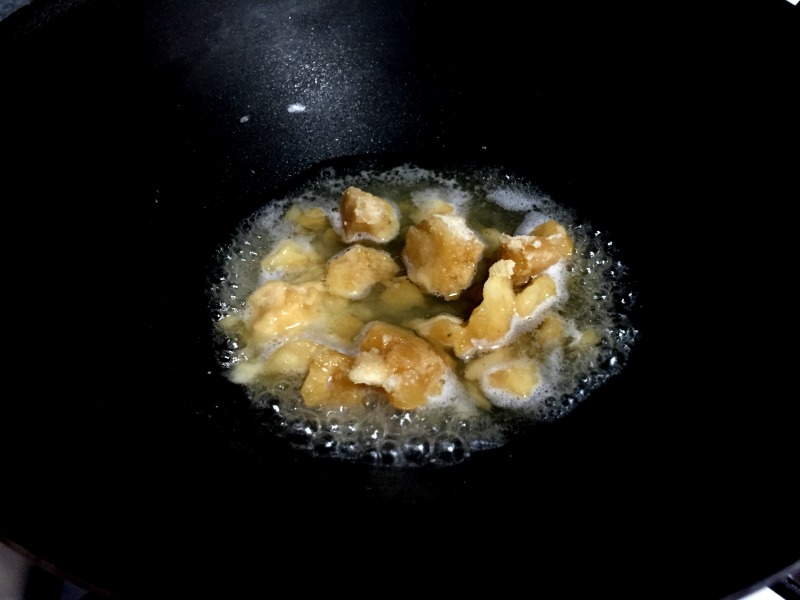
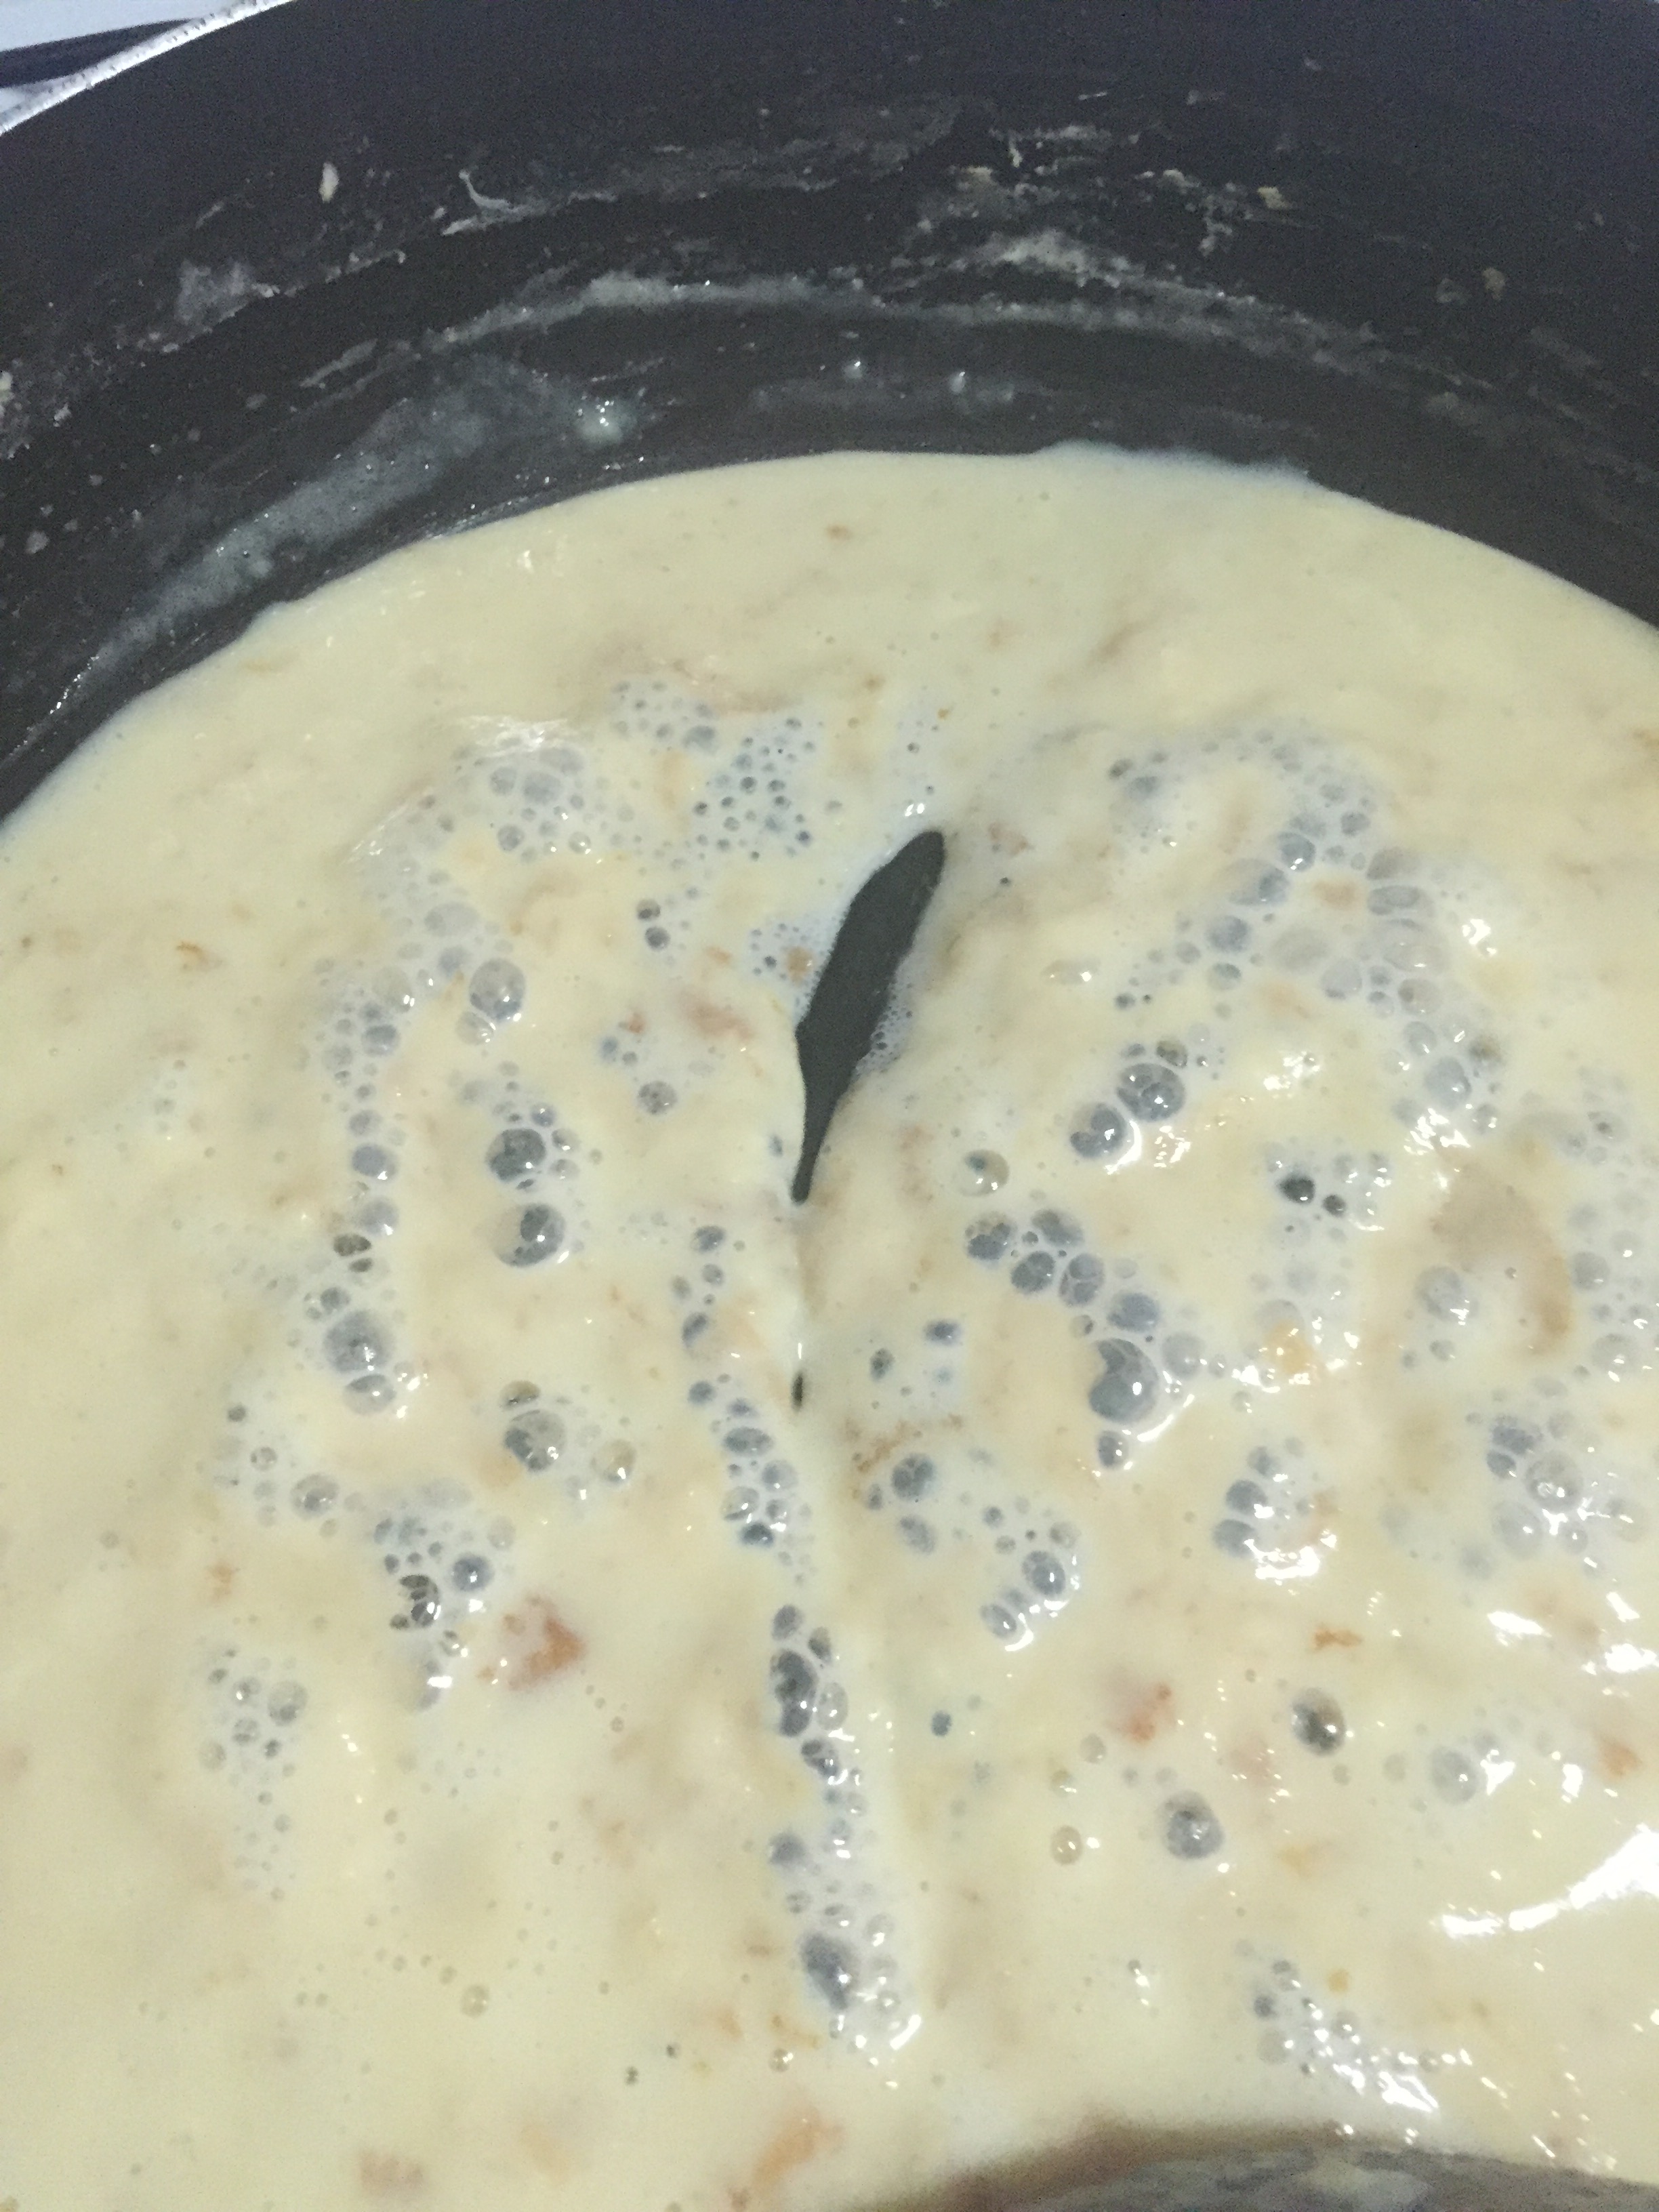
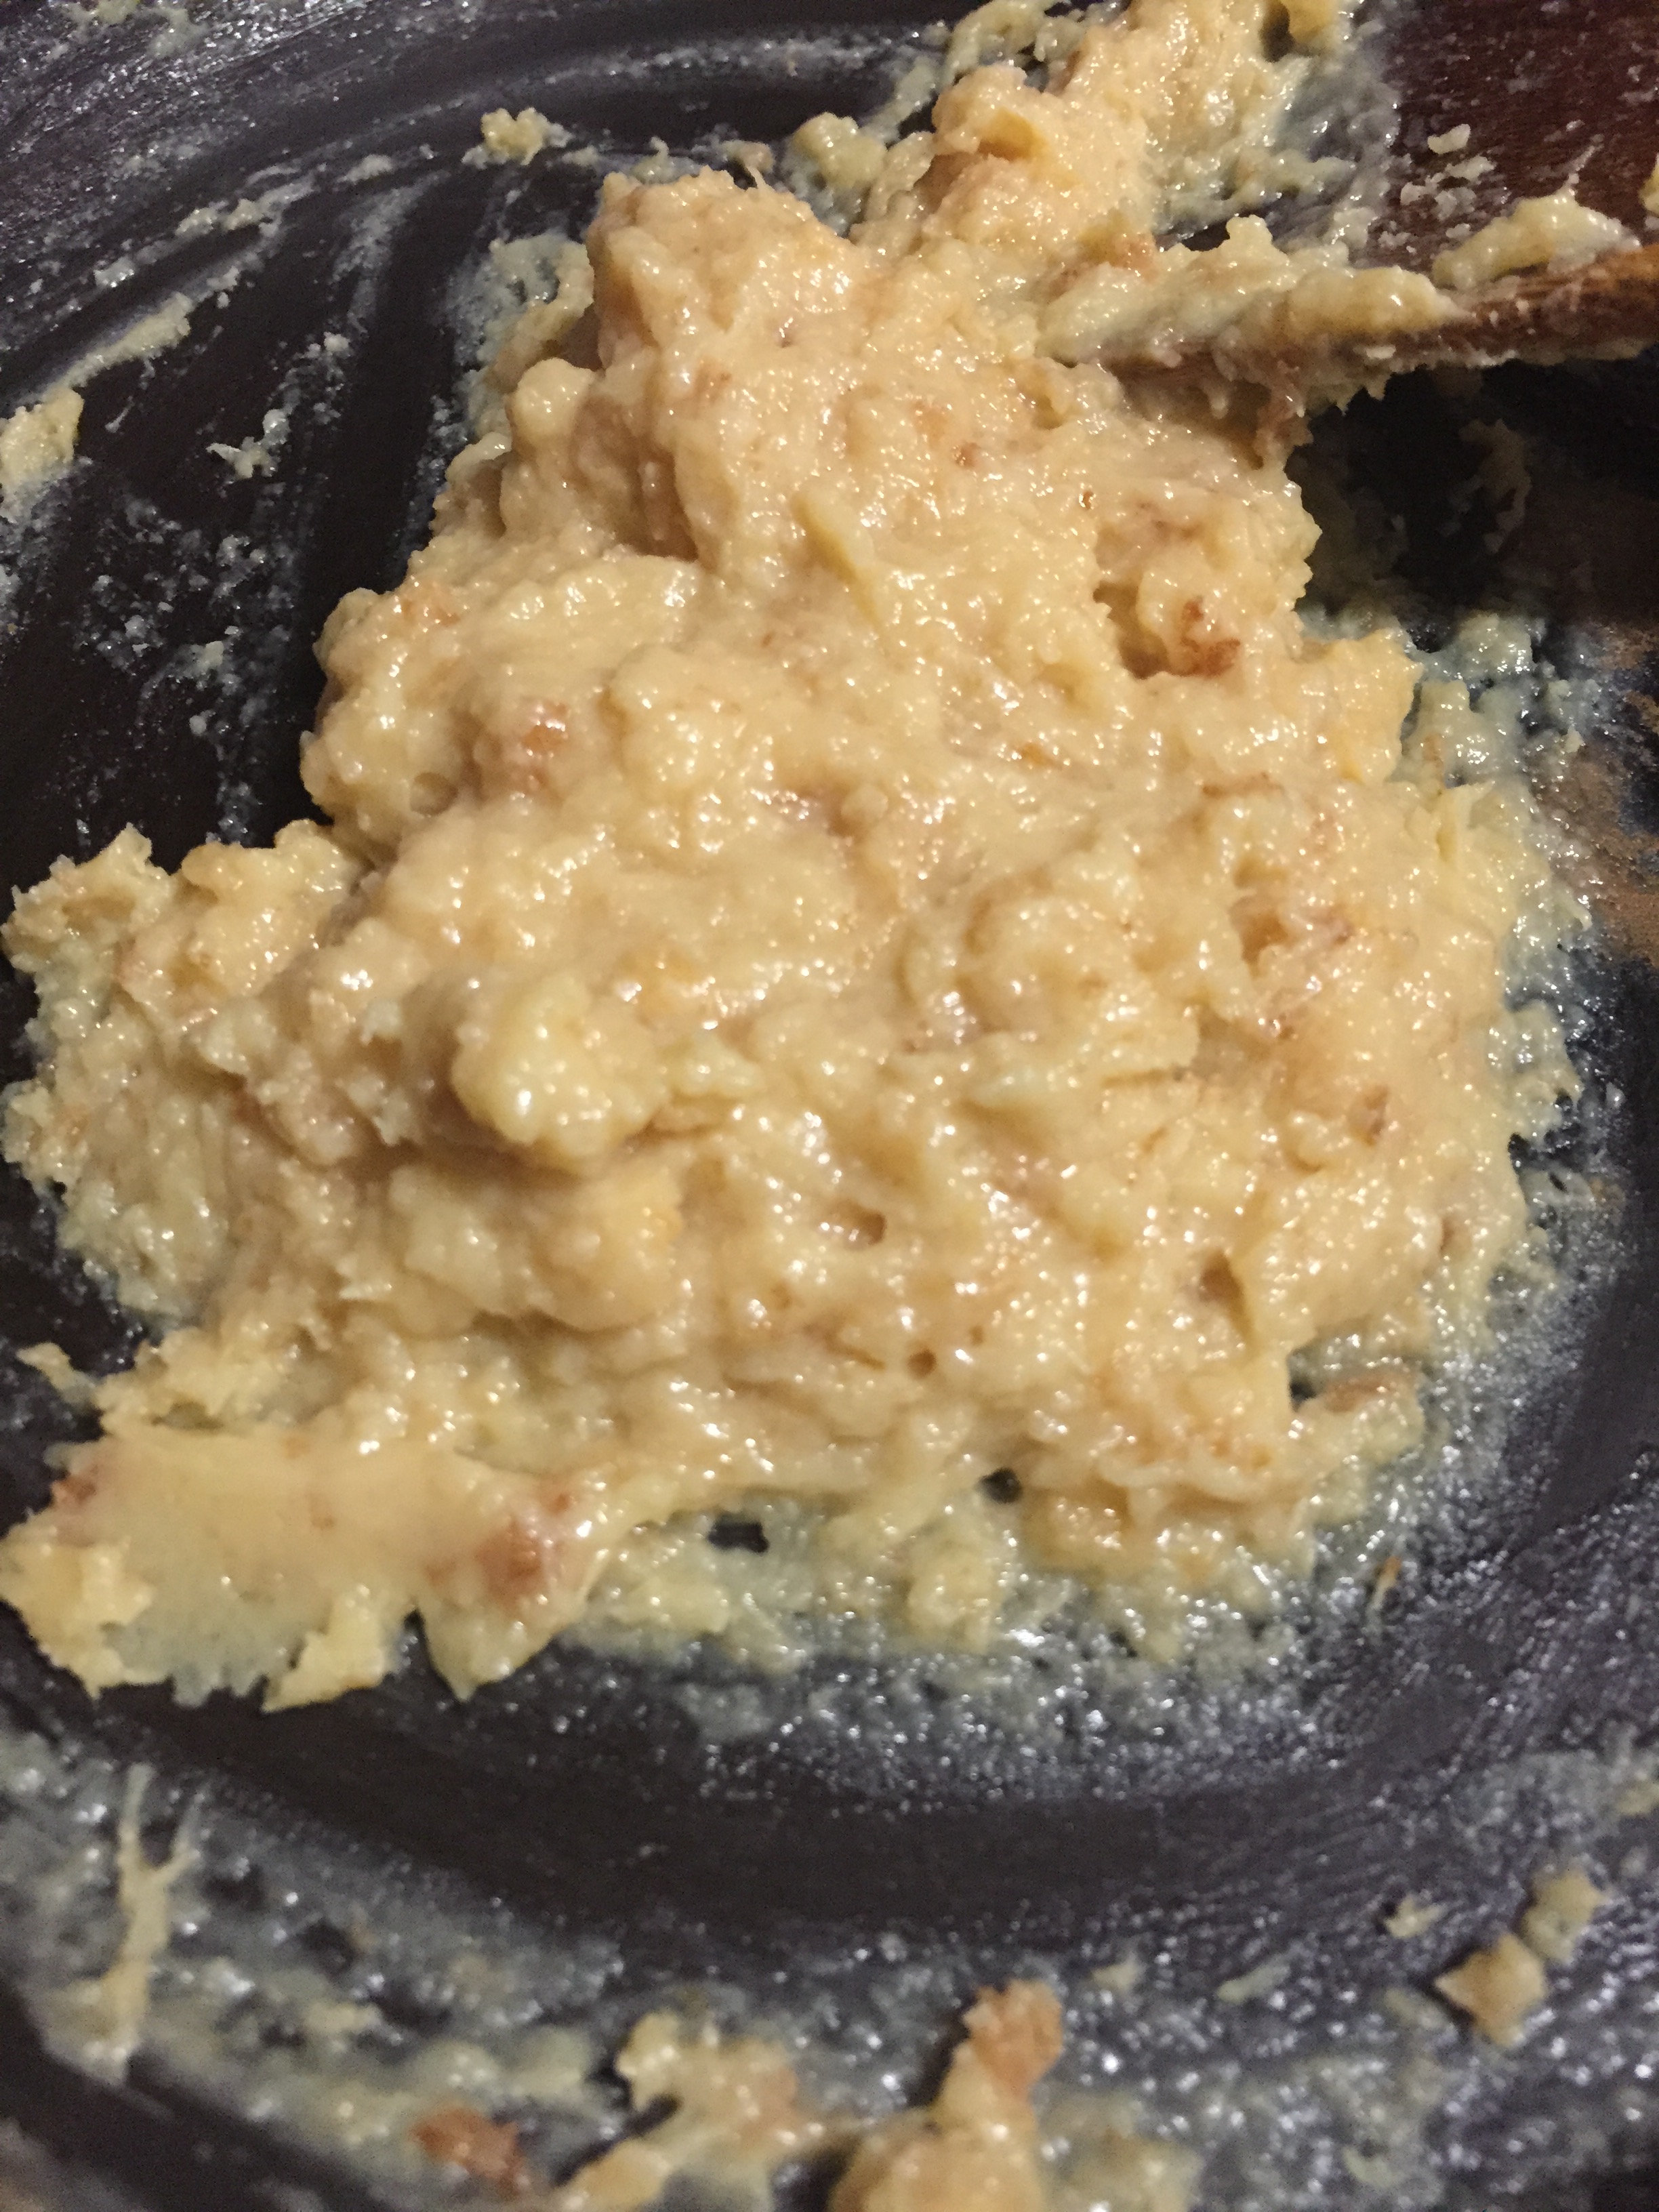
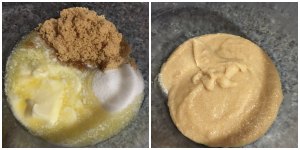
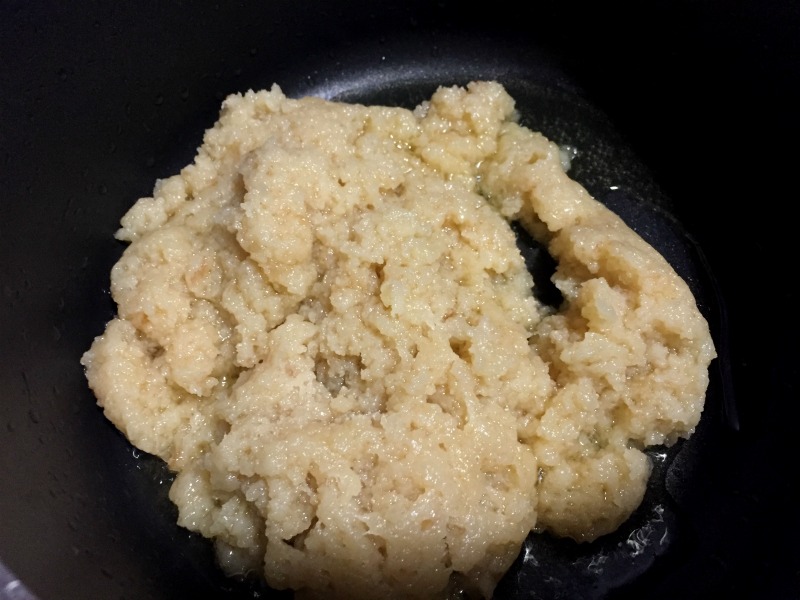
  4. Heat a thick nonstick pan and add ⅛ cup ghee and add the mashed bread.
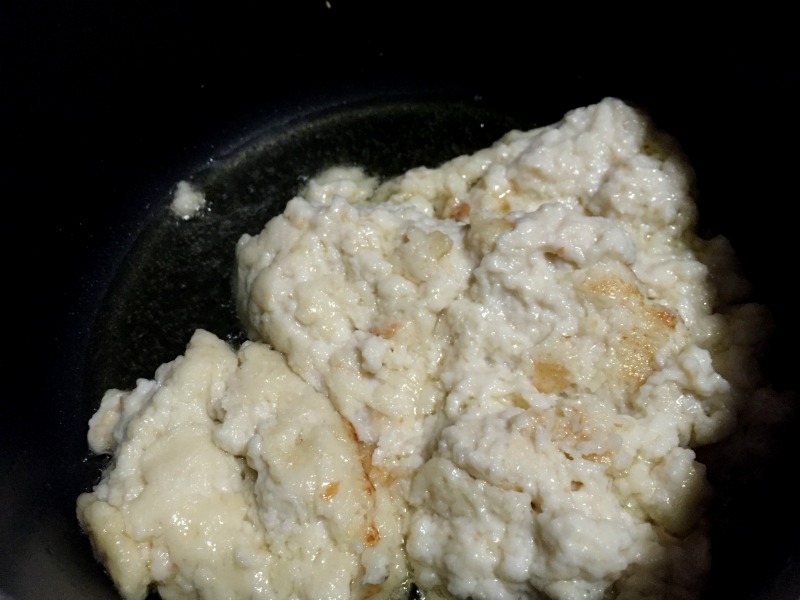
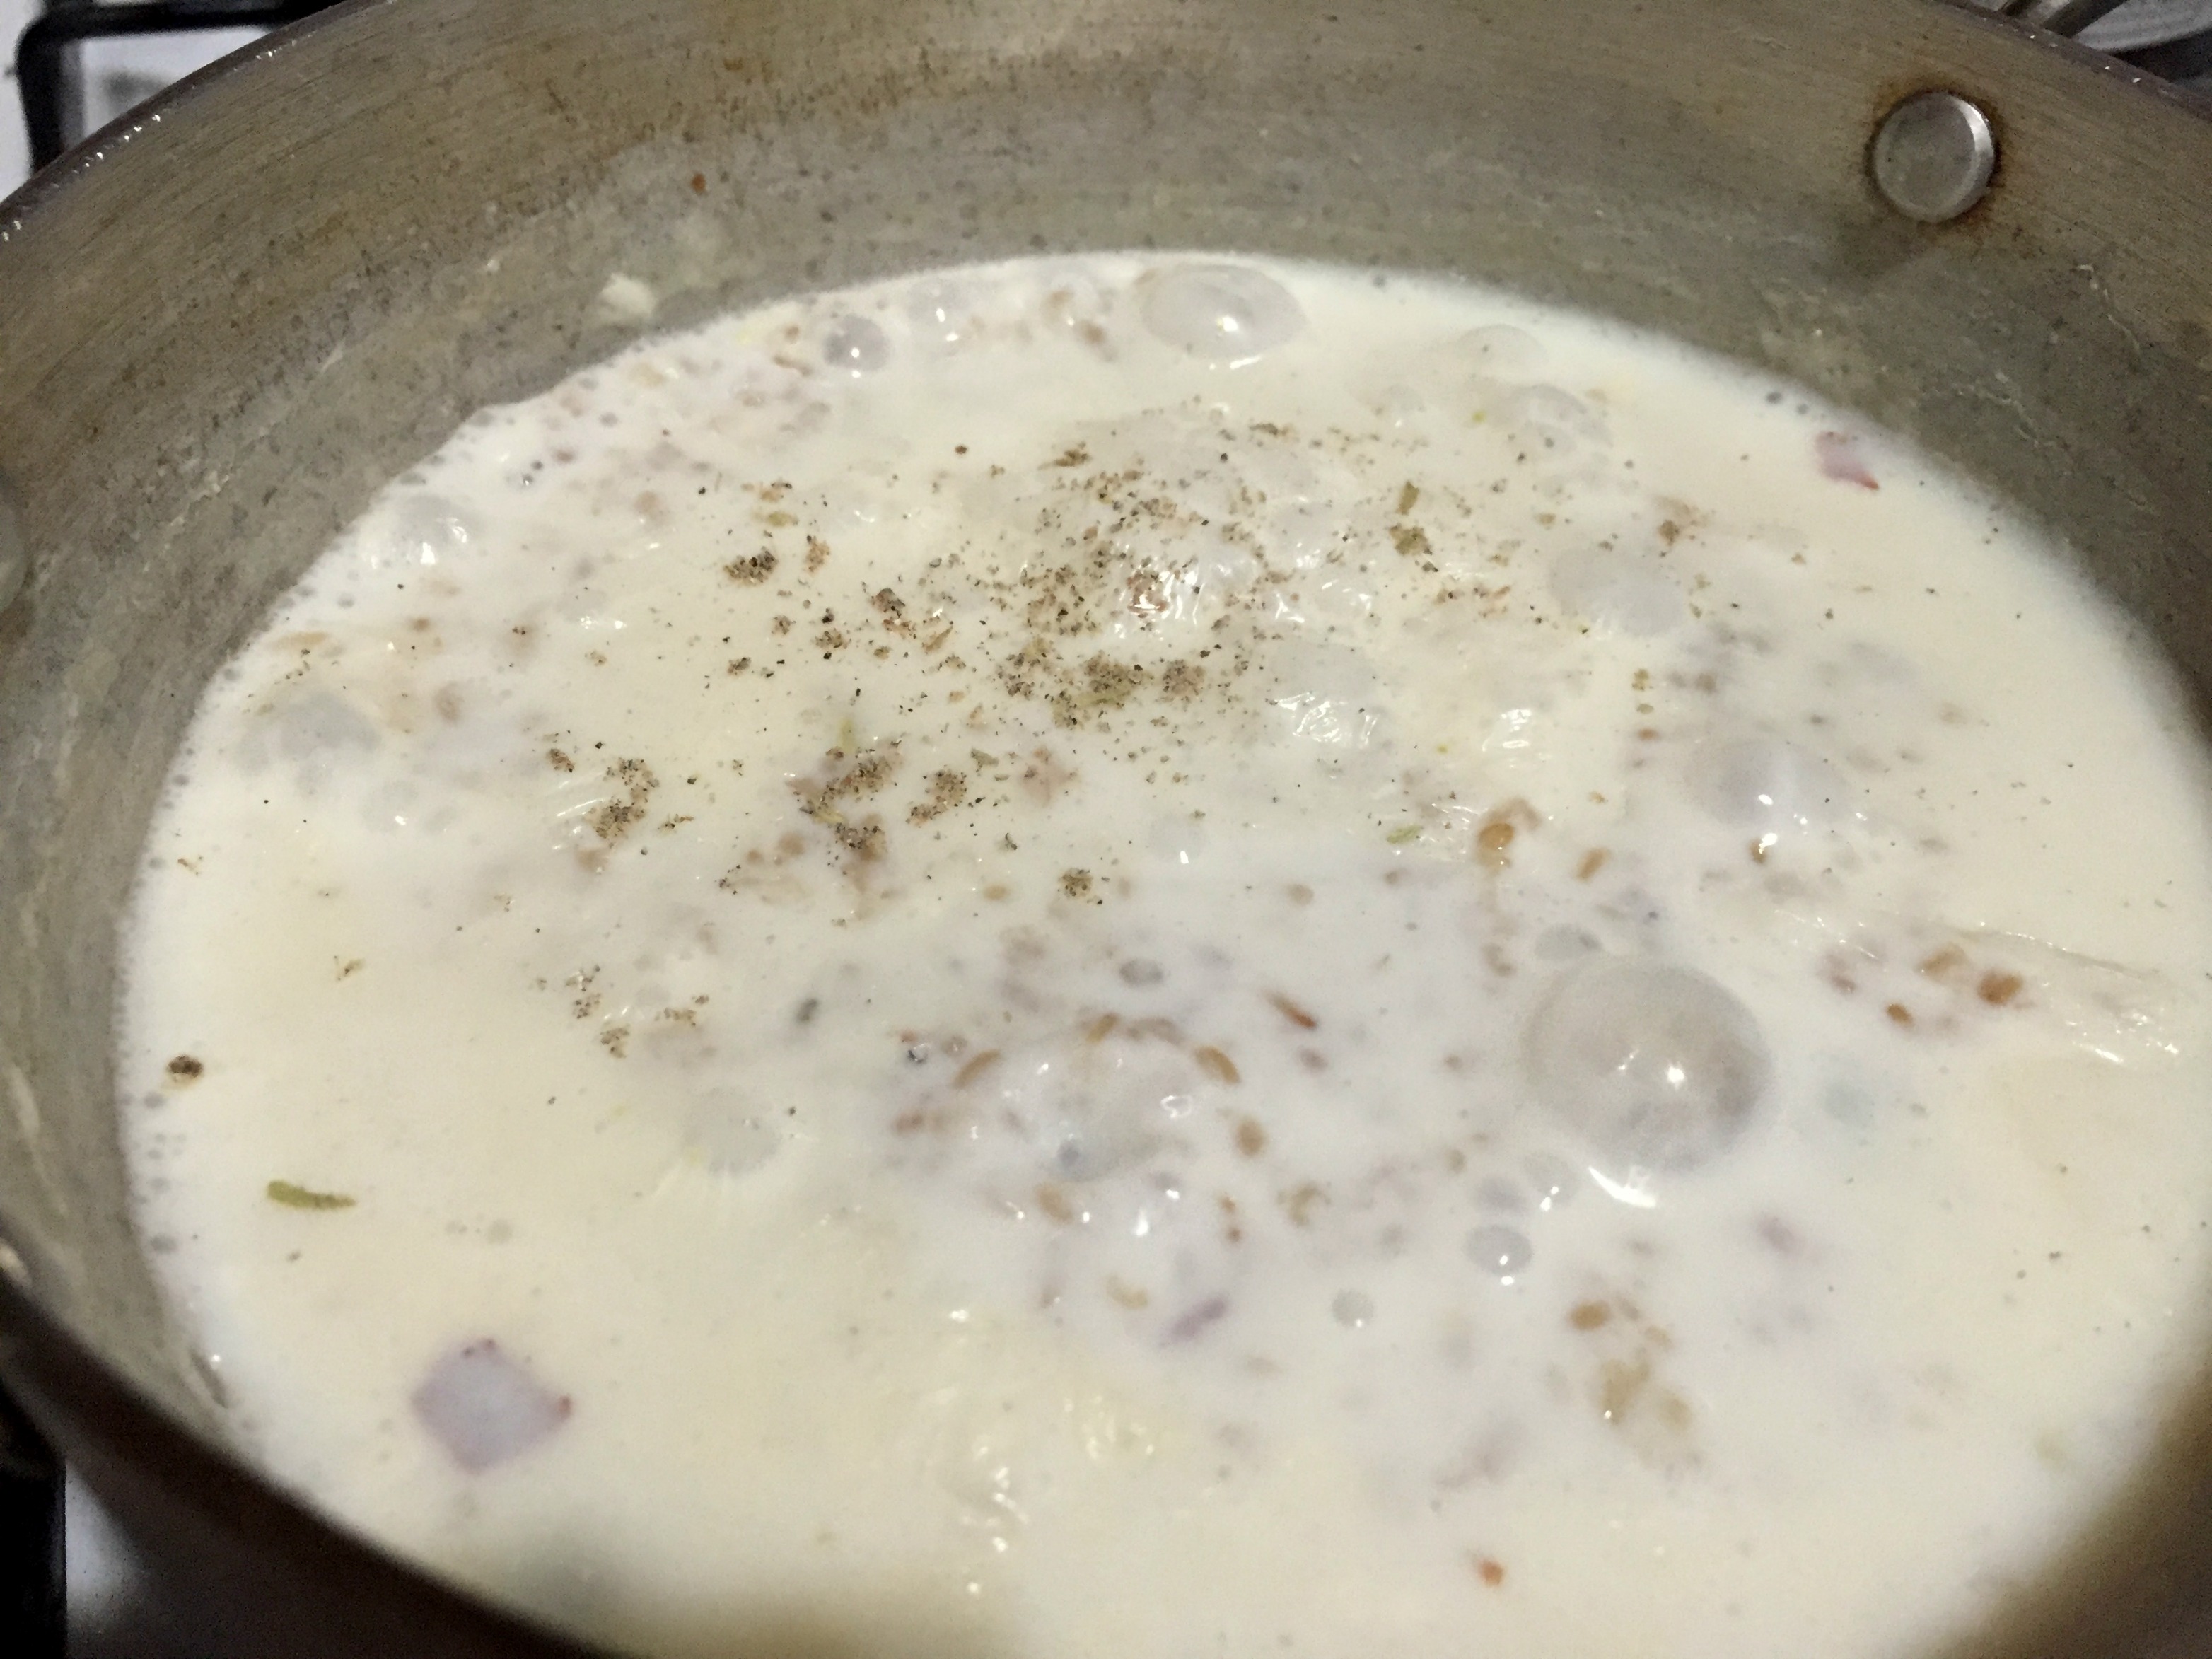
  5. Cook in medium flame and stir constantly for few minutes until it doesn’t stick on the sides.
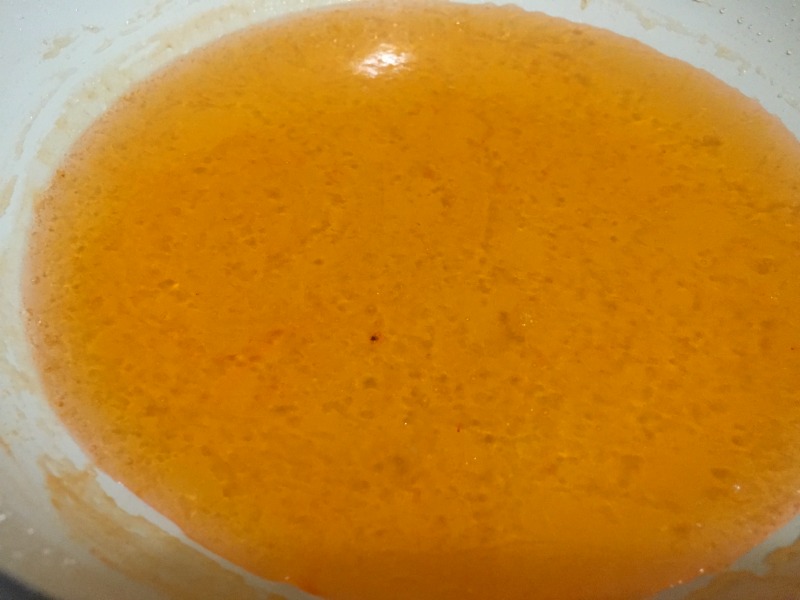
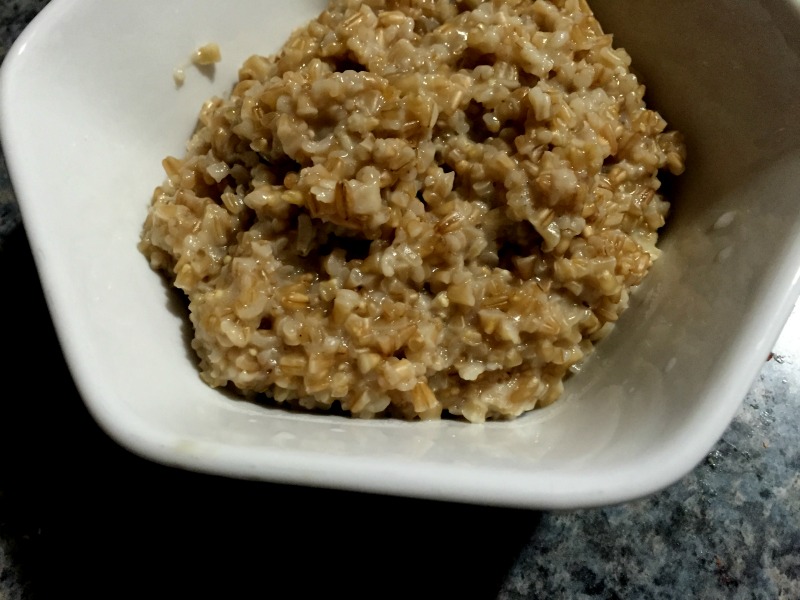
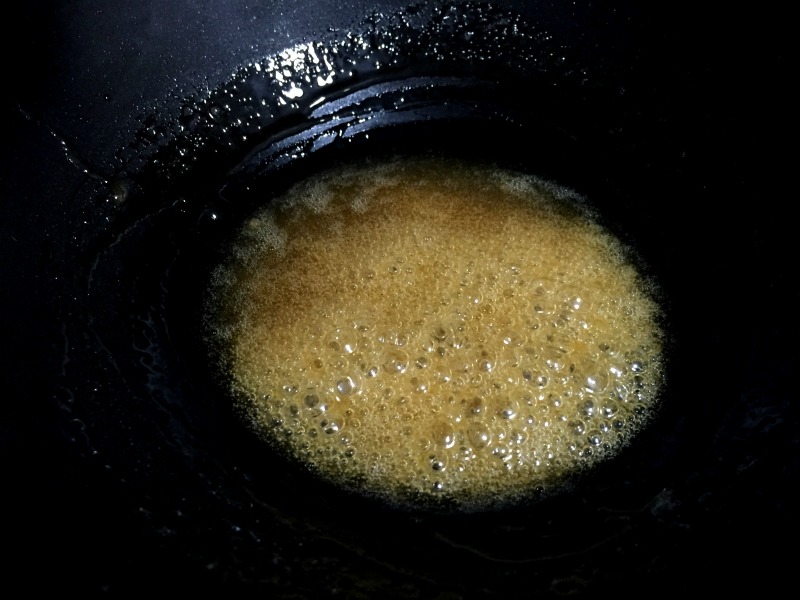
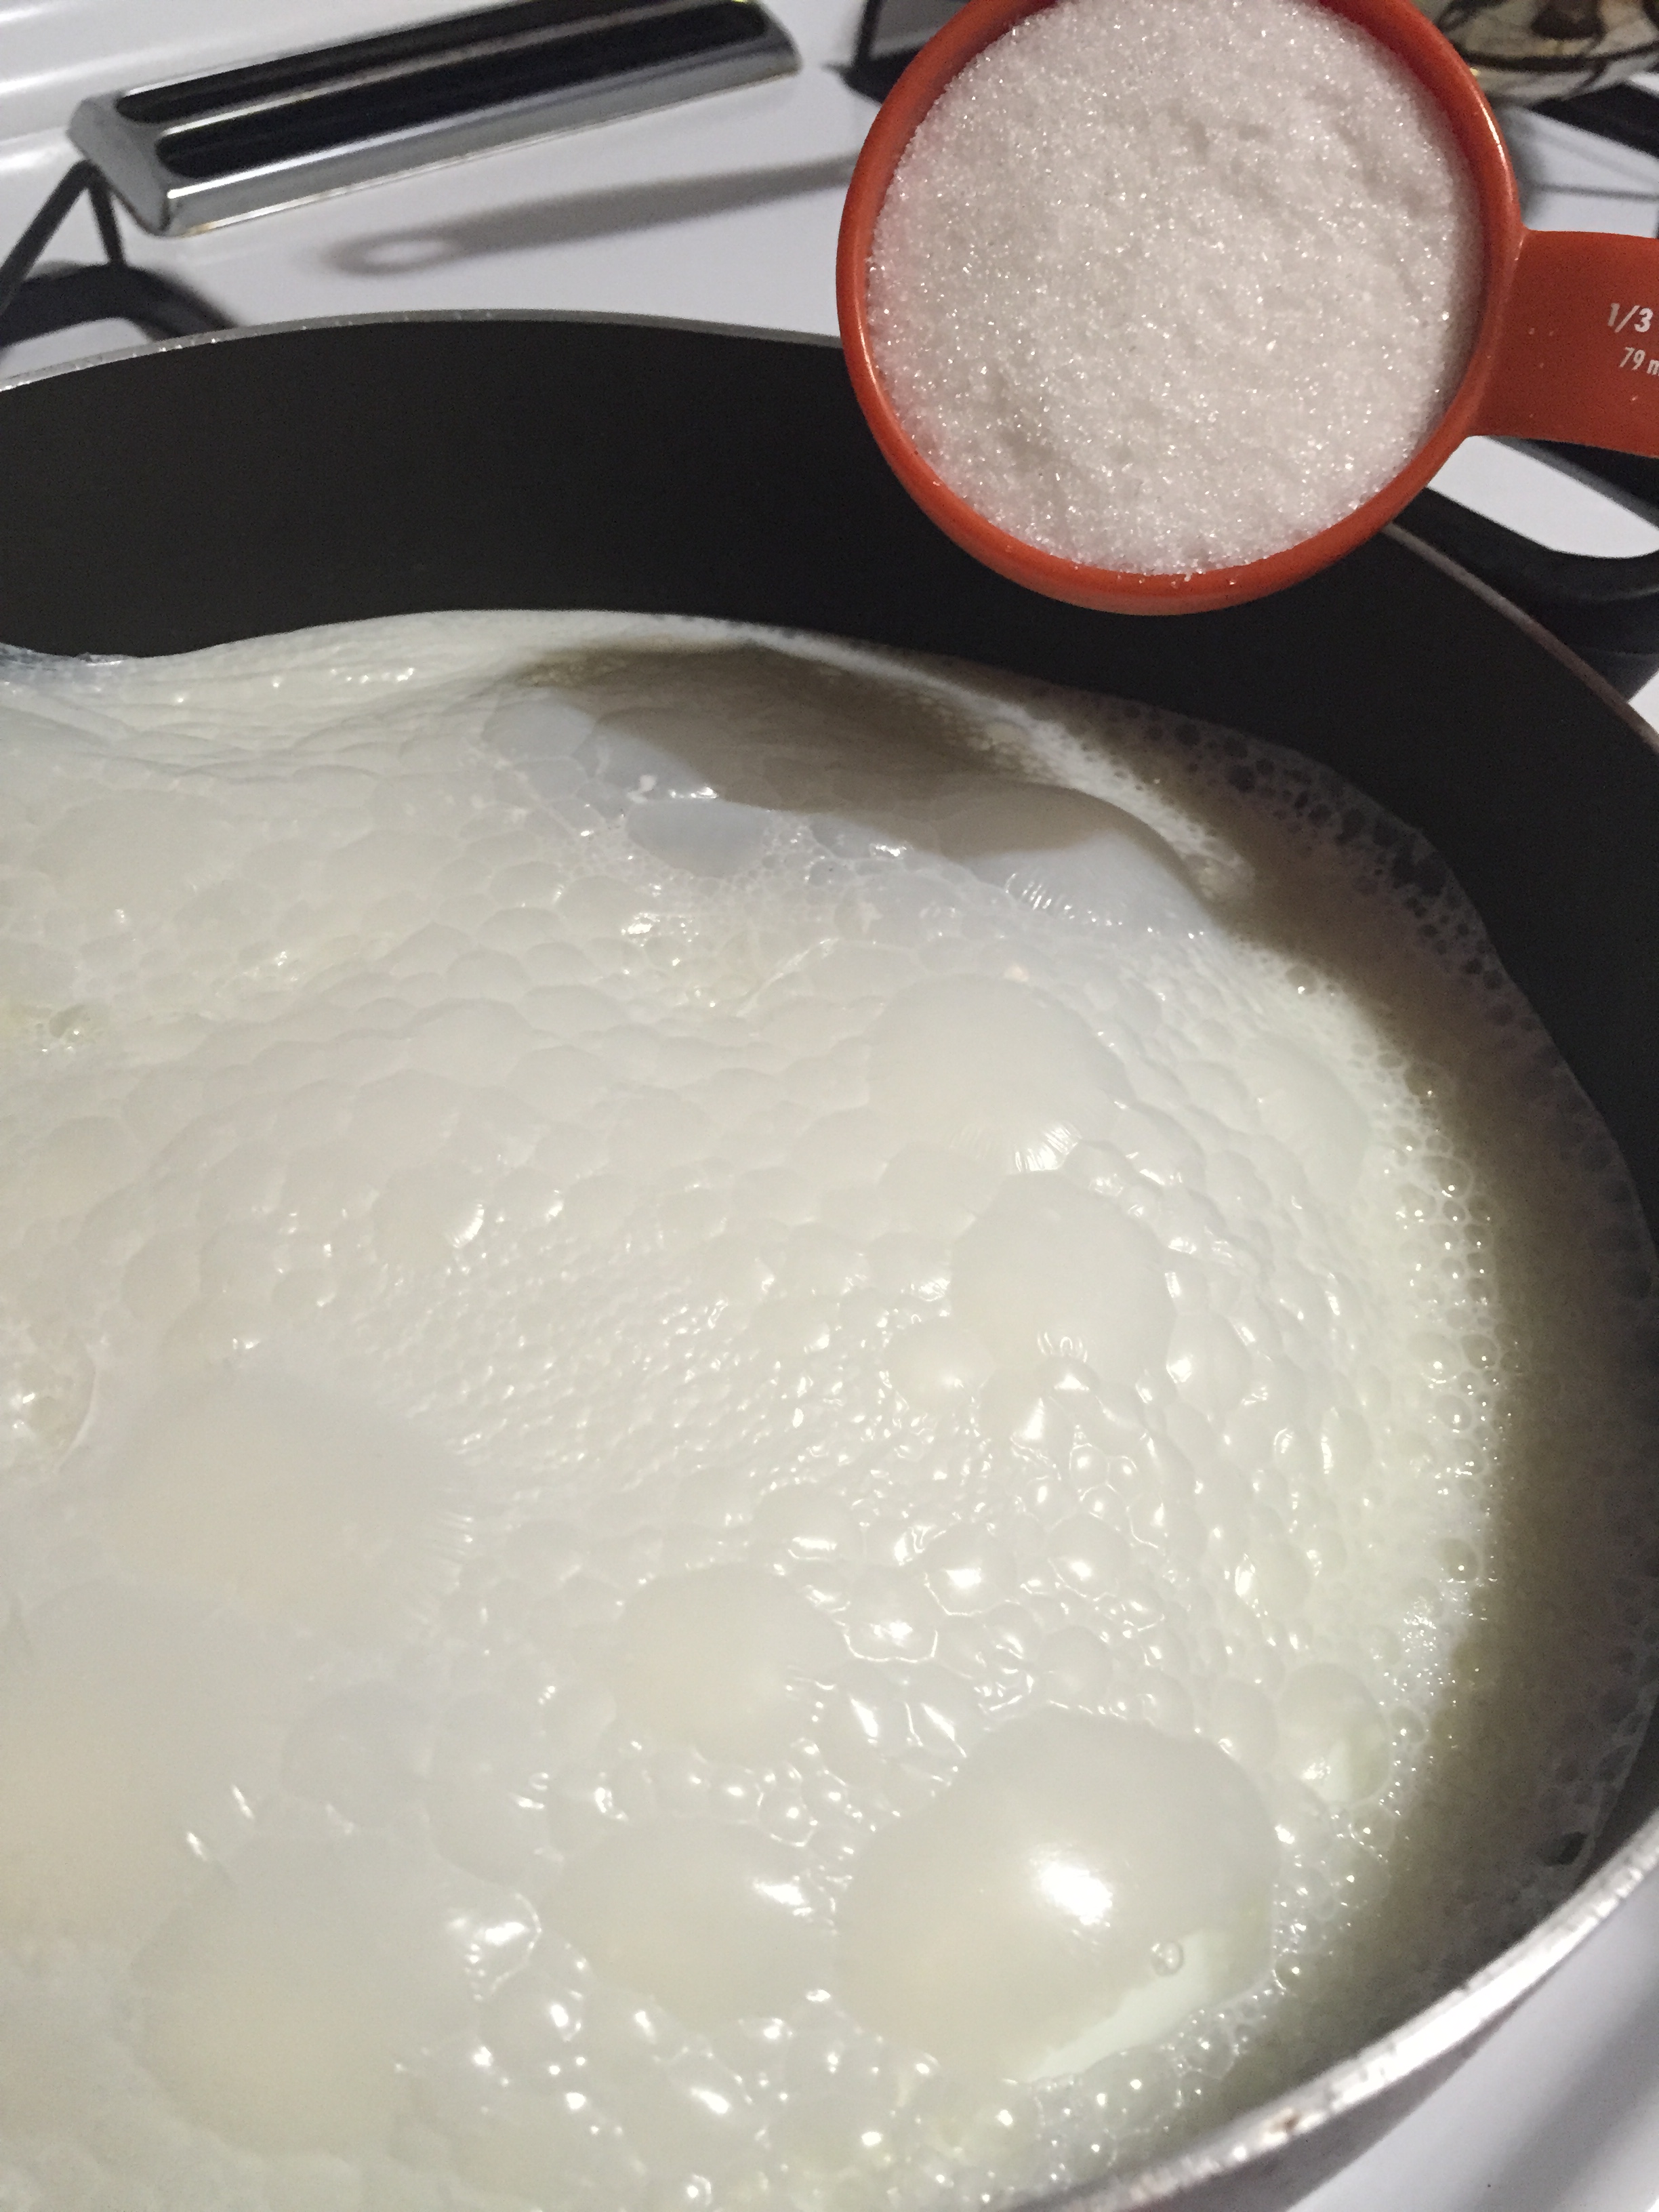
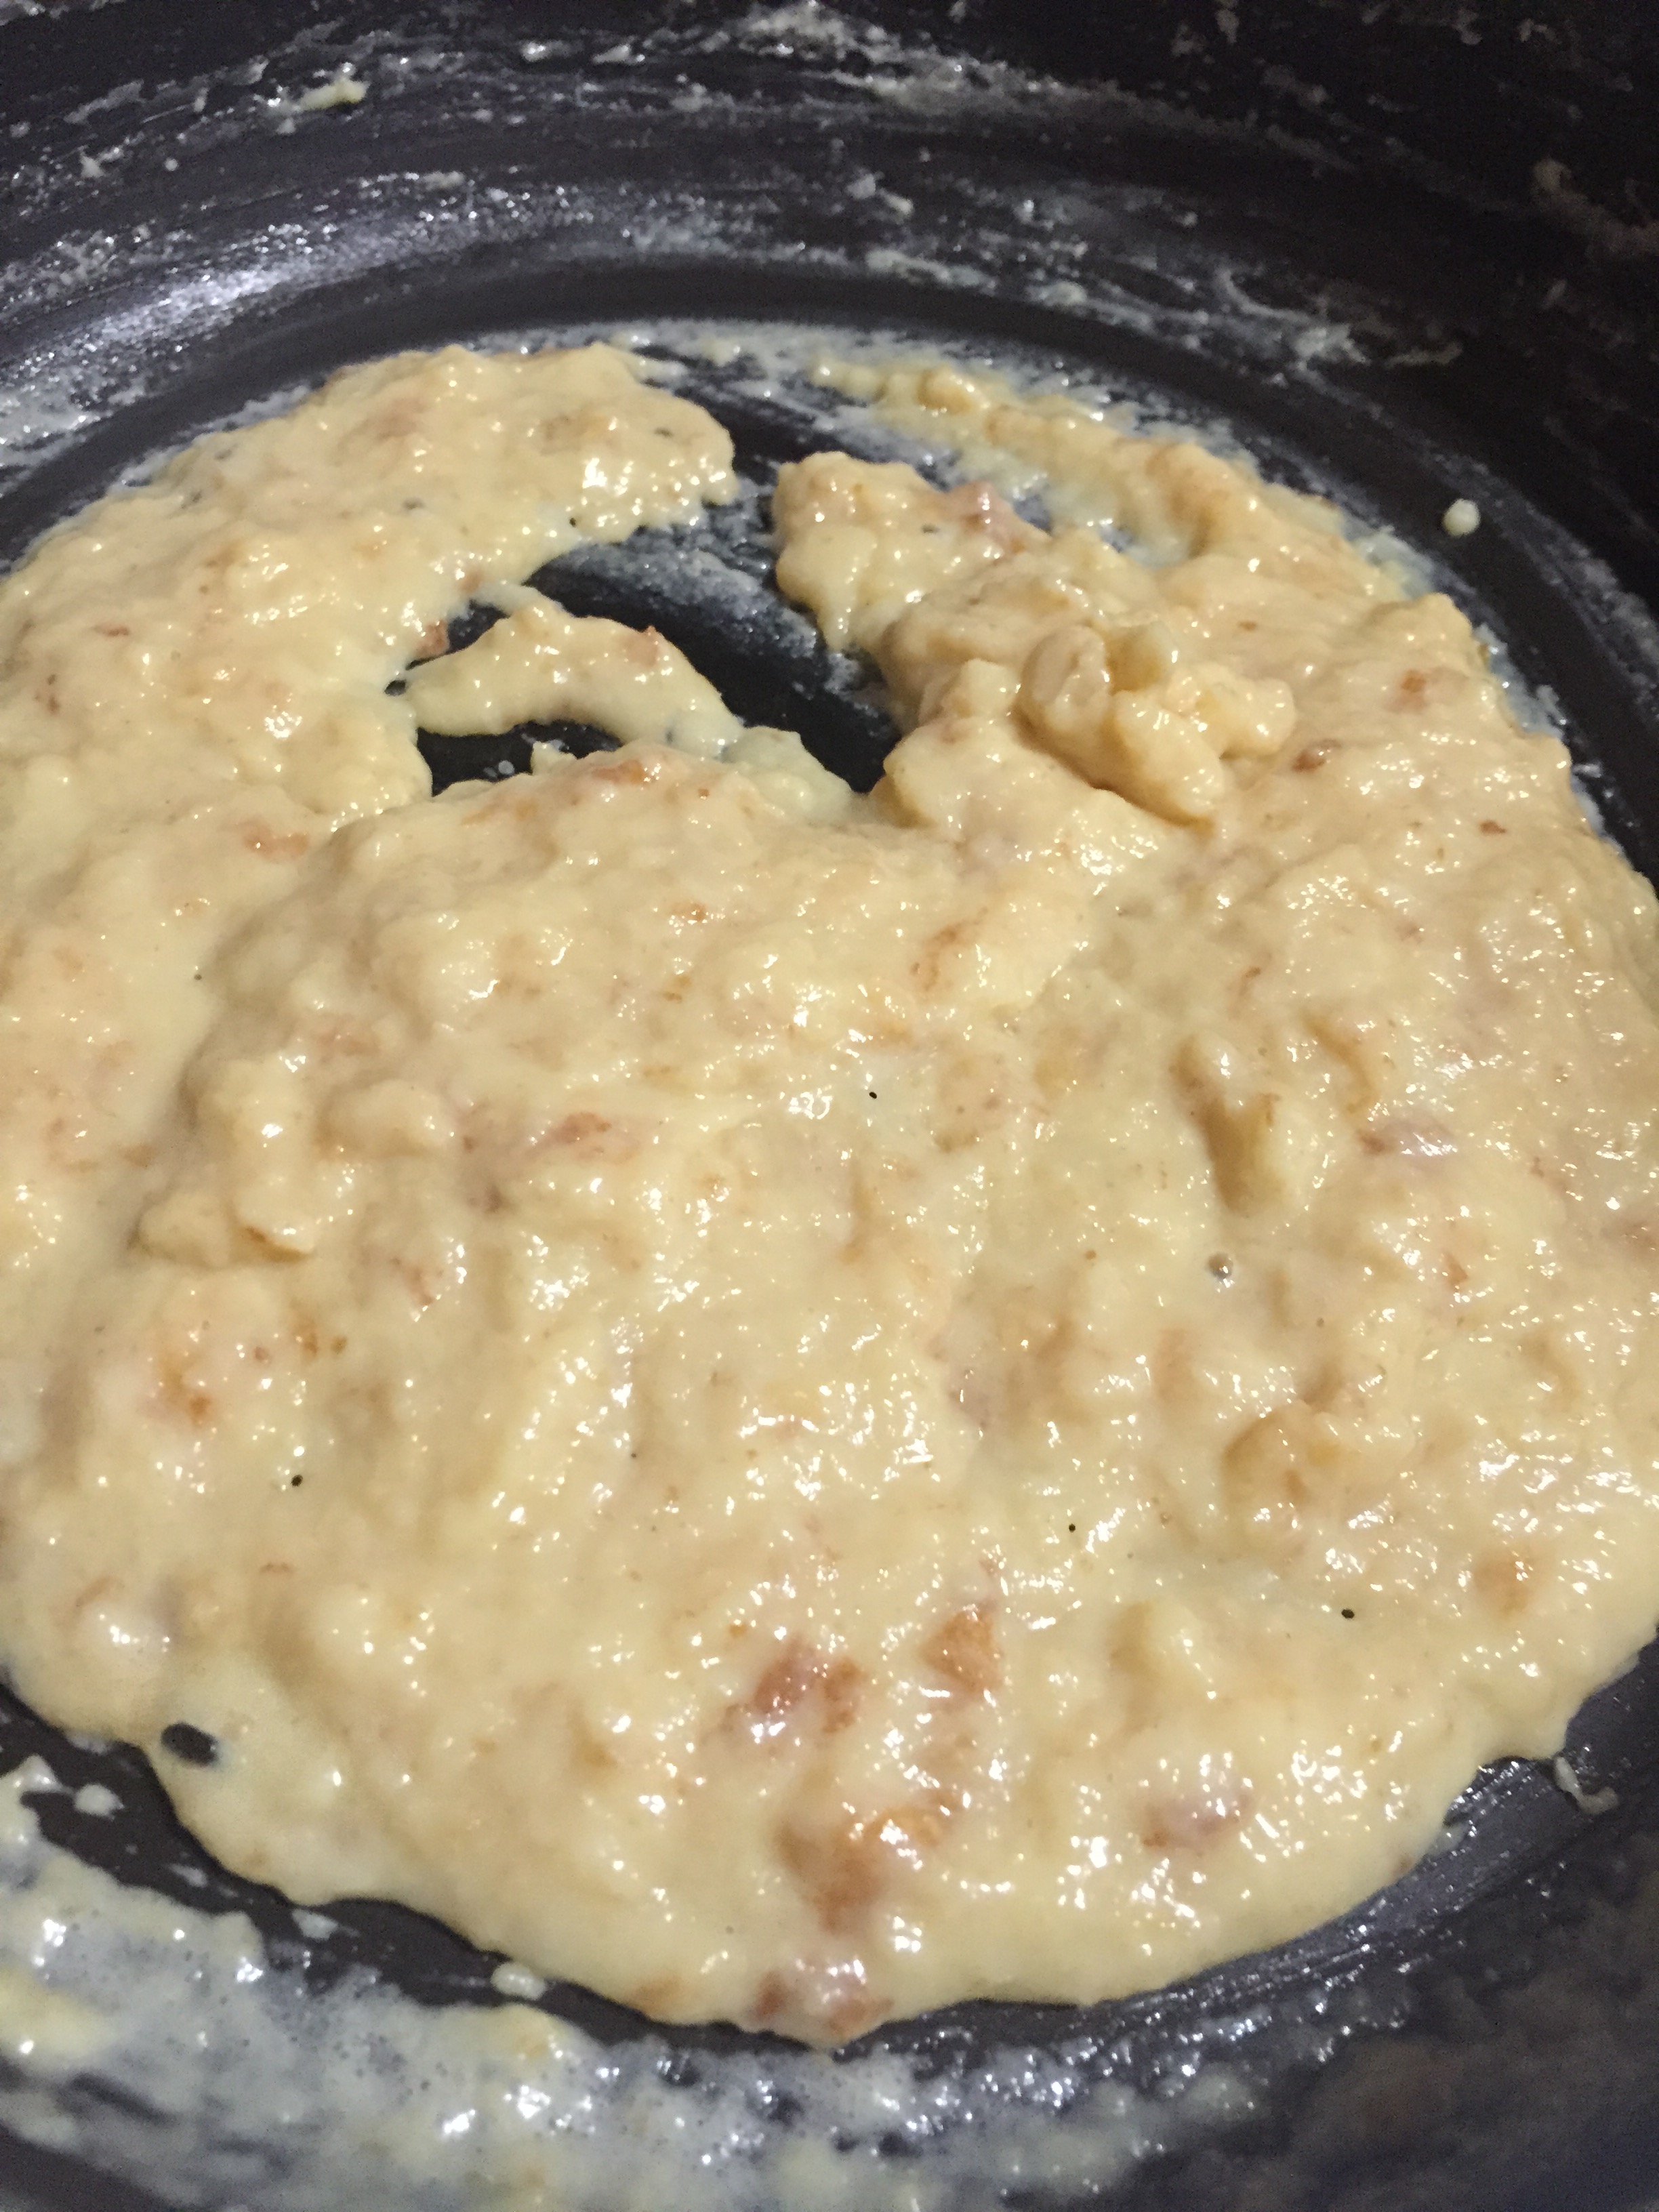
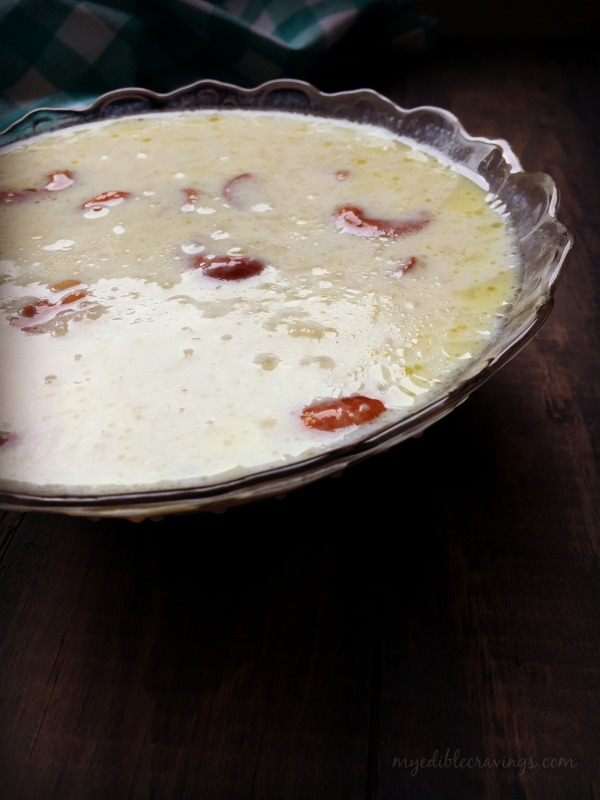
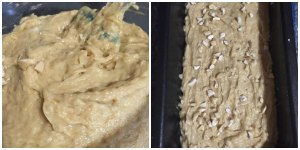
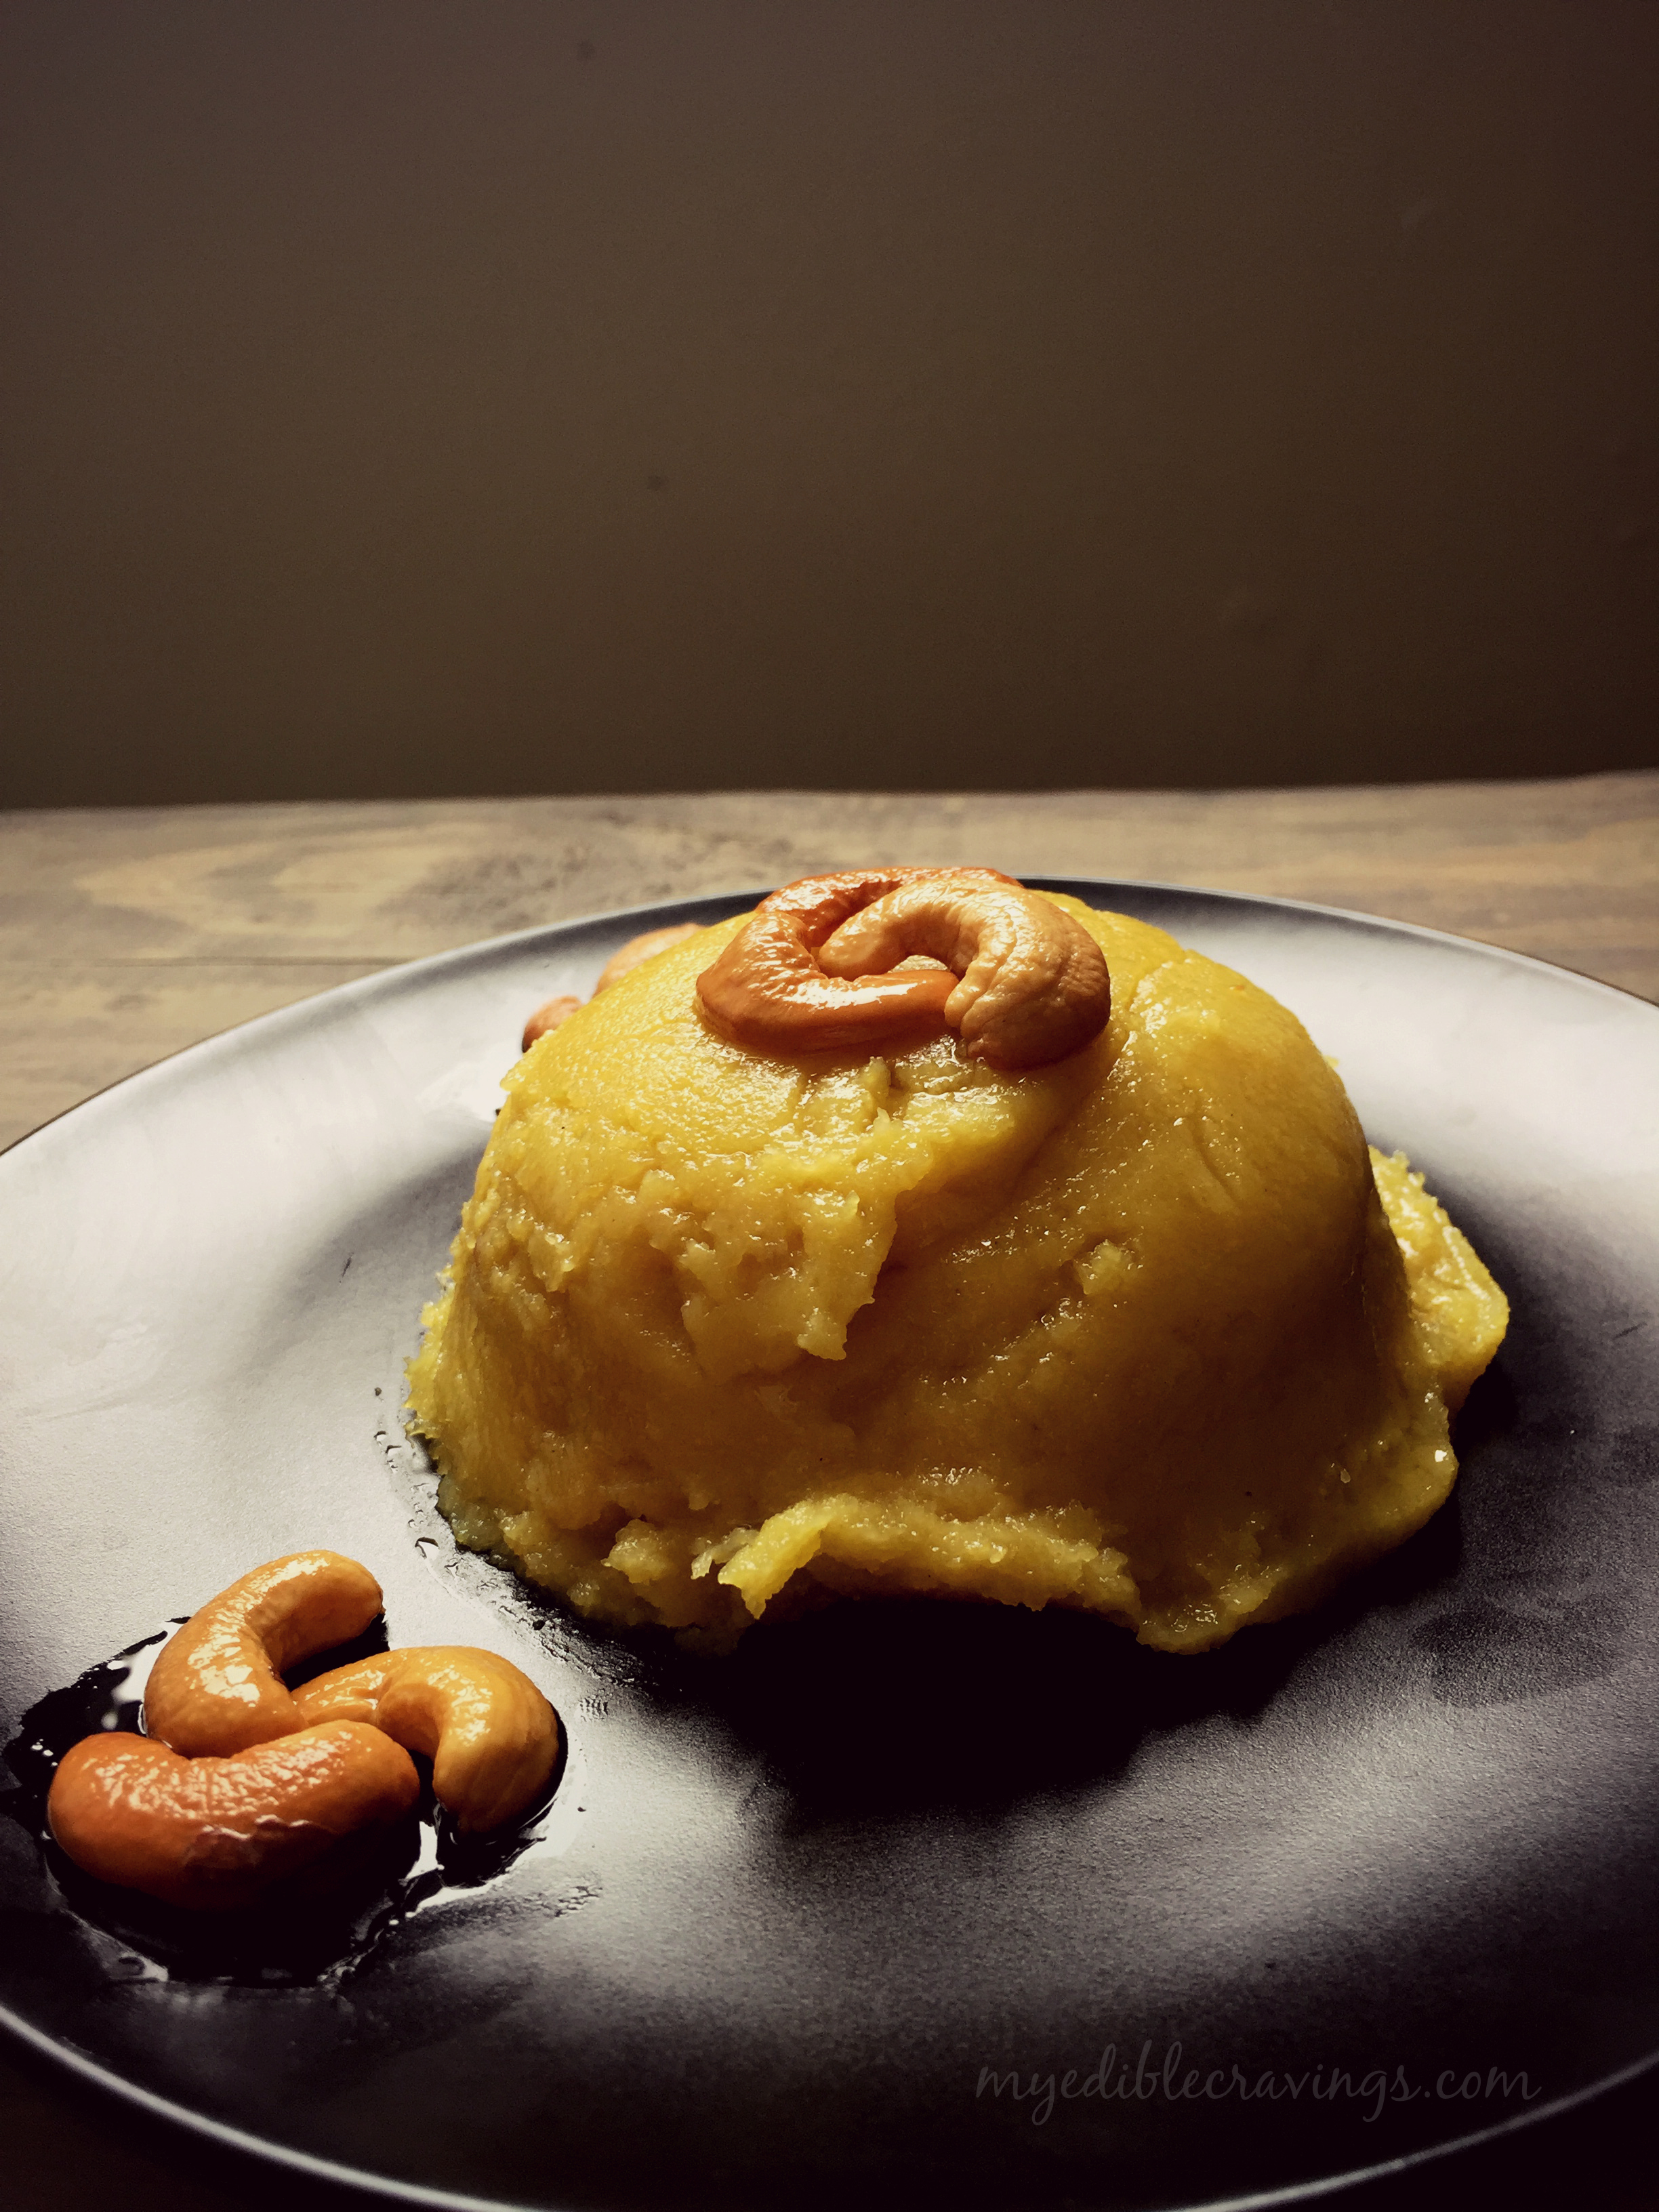
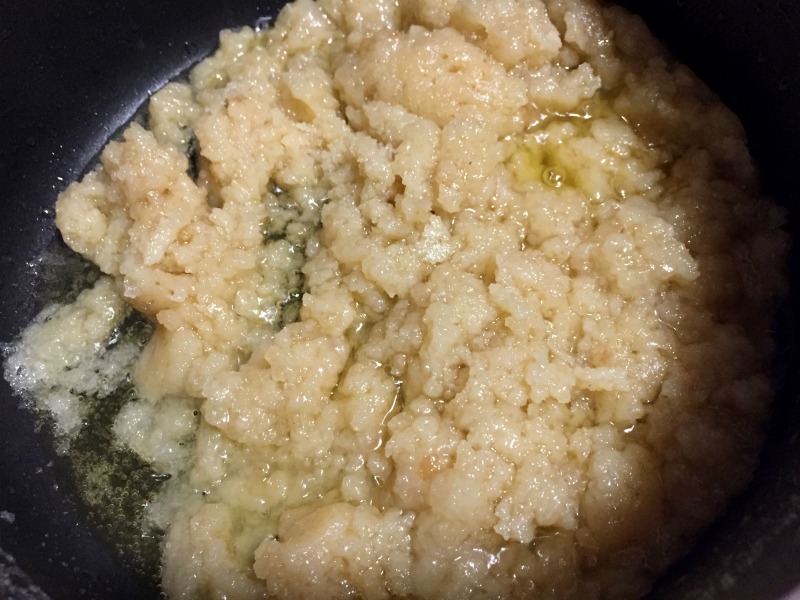
  6. Add sugar in low to medium flame and mix well. Add the remaining ghee at this stage. Stir constantly until the halwa consistency. It only takes a couple of minutes.
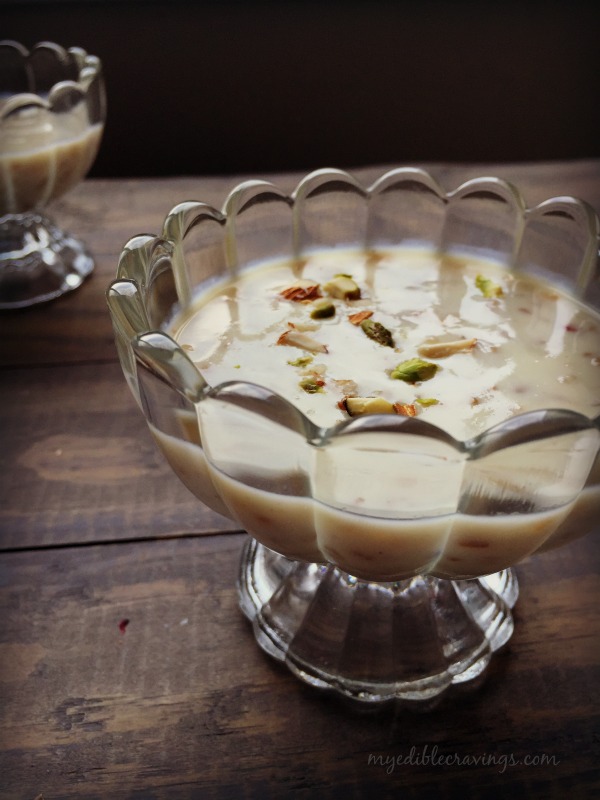
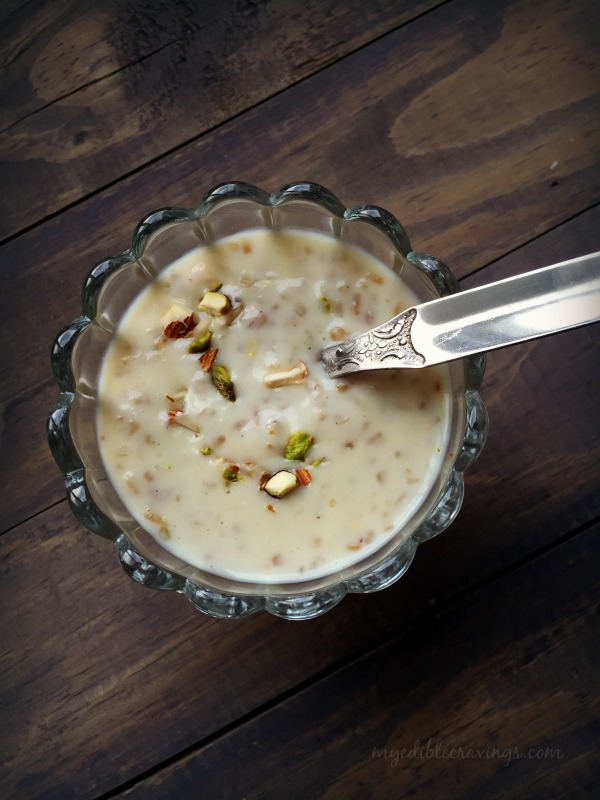
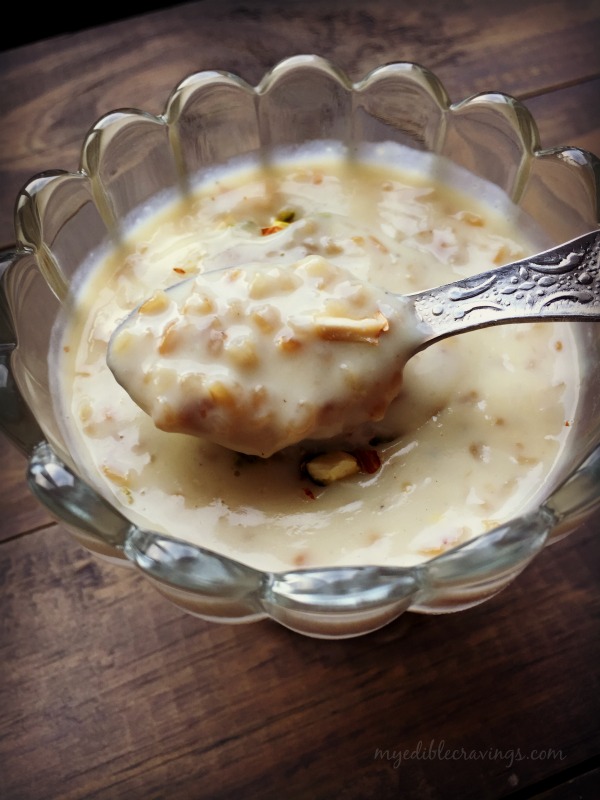
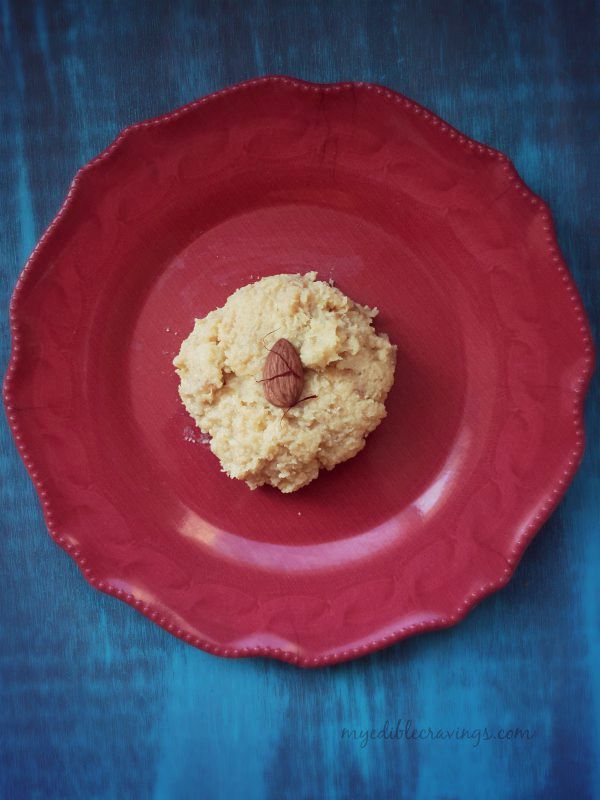
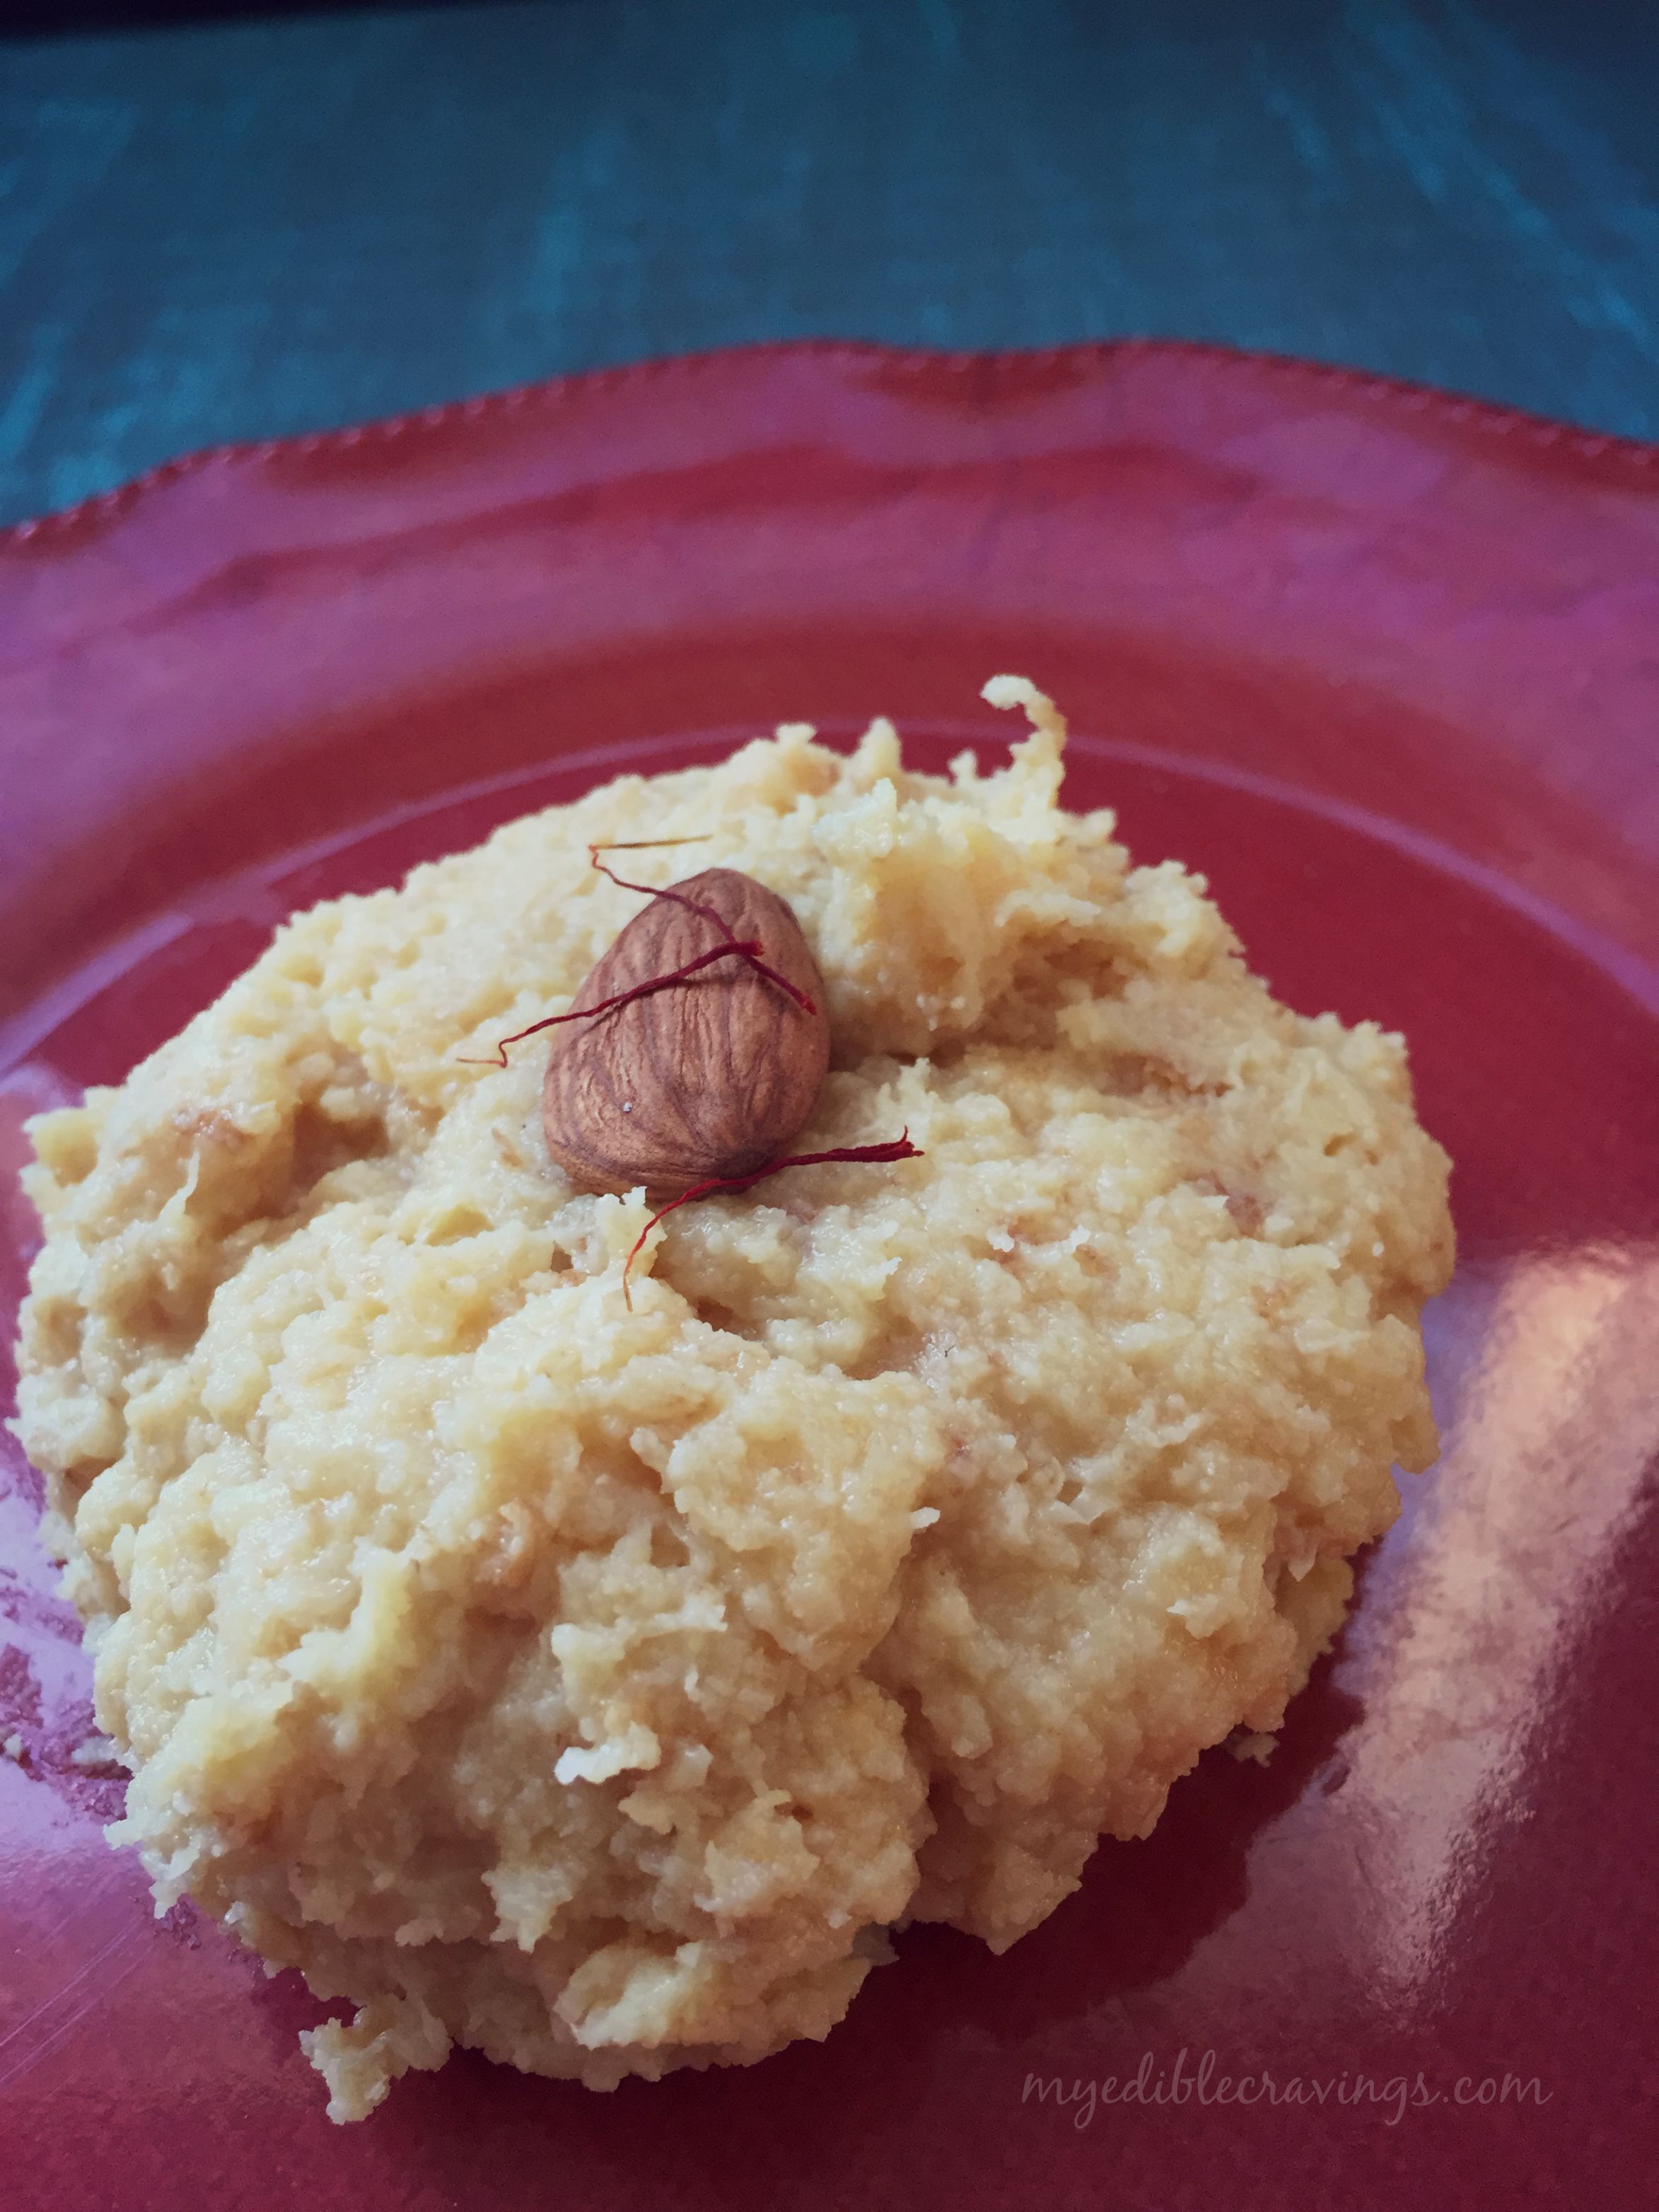
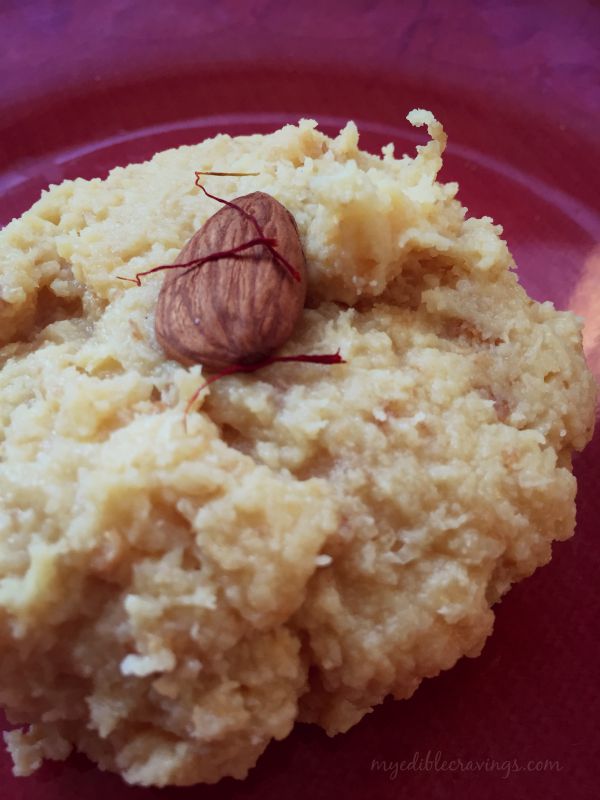
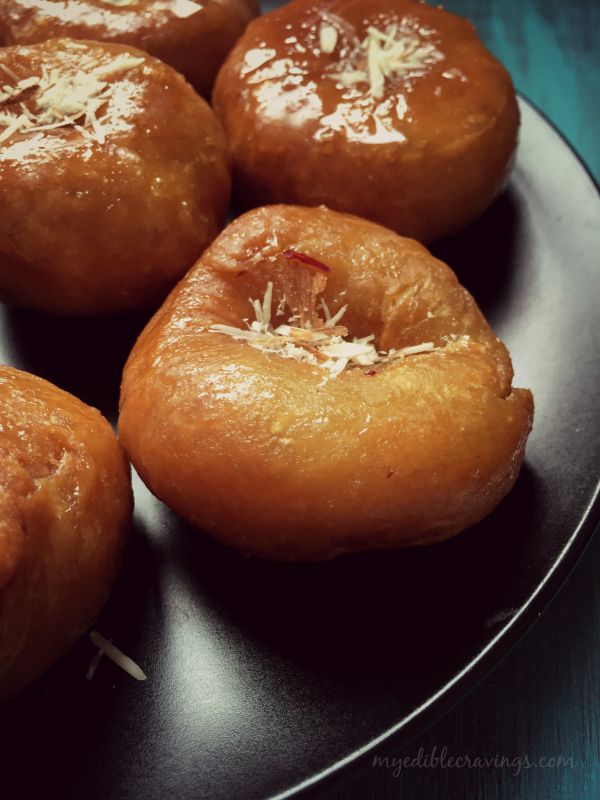
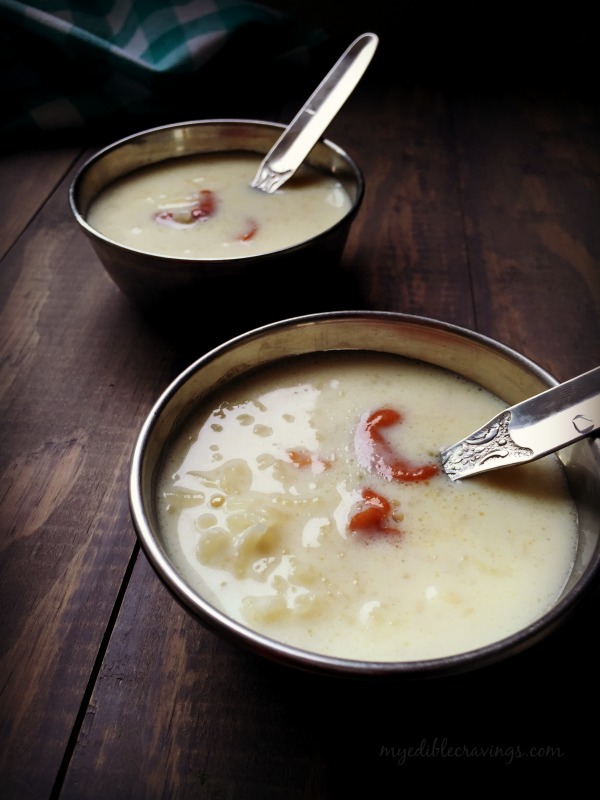
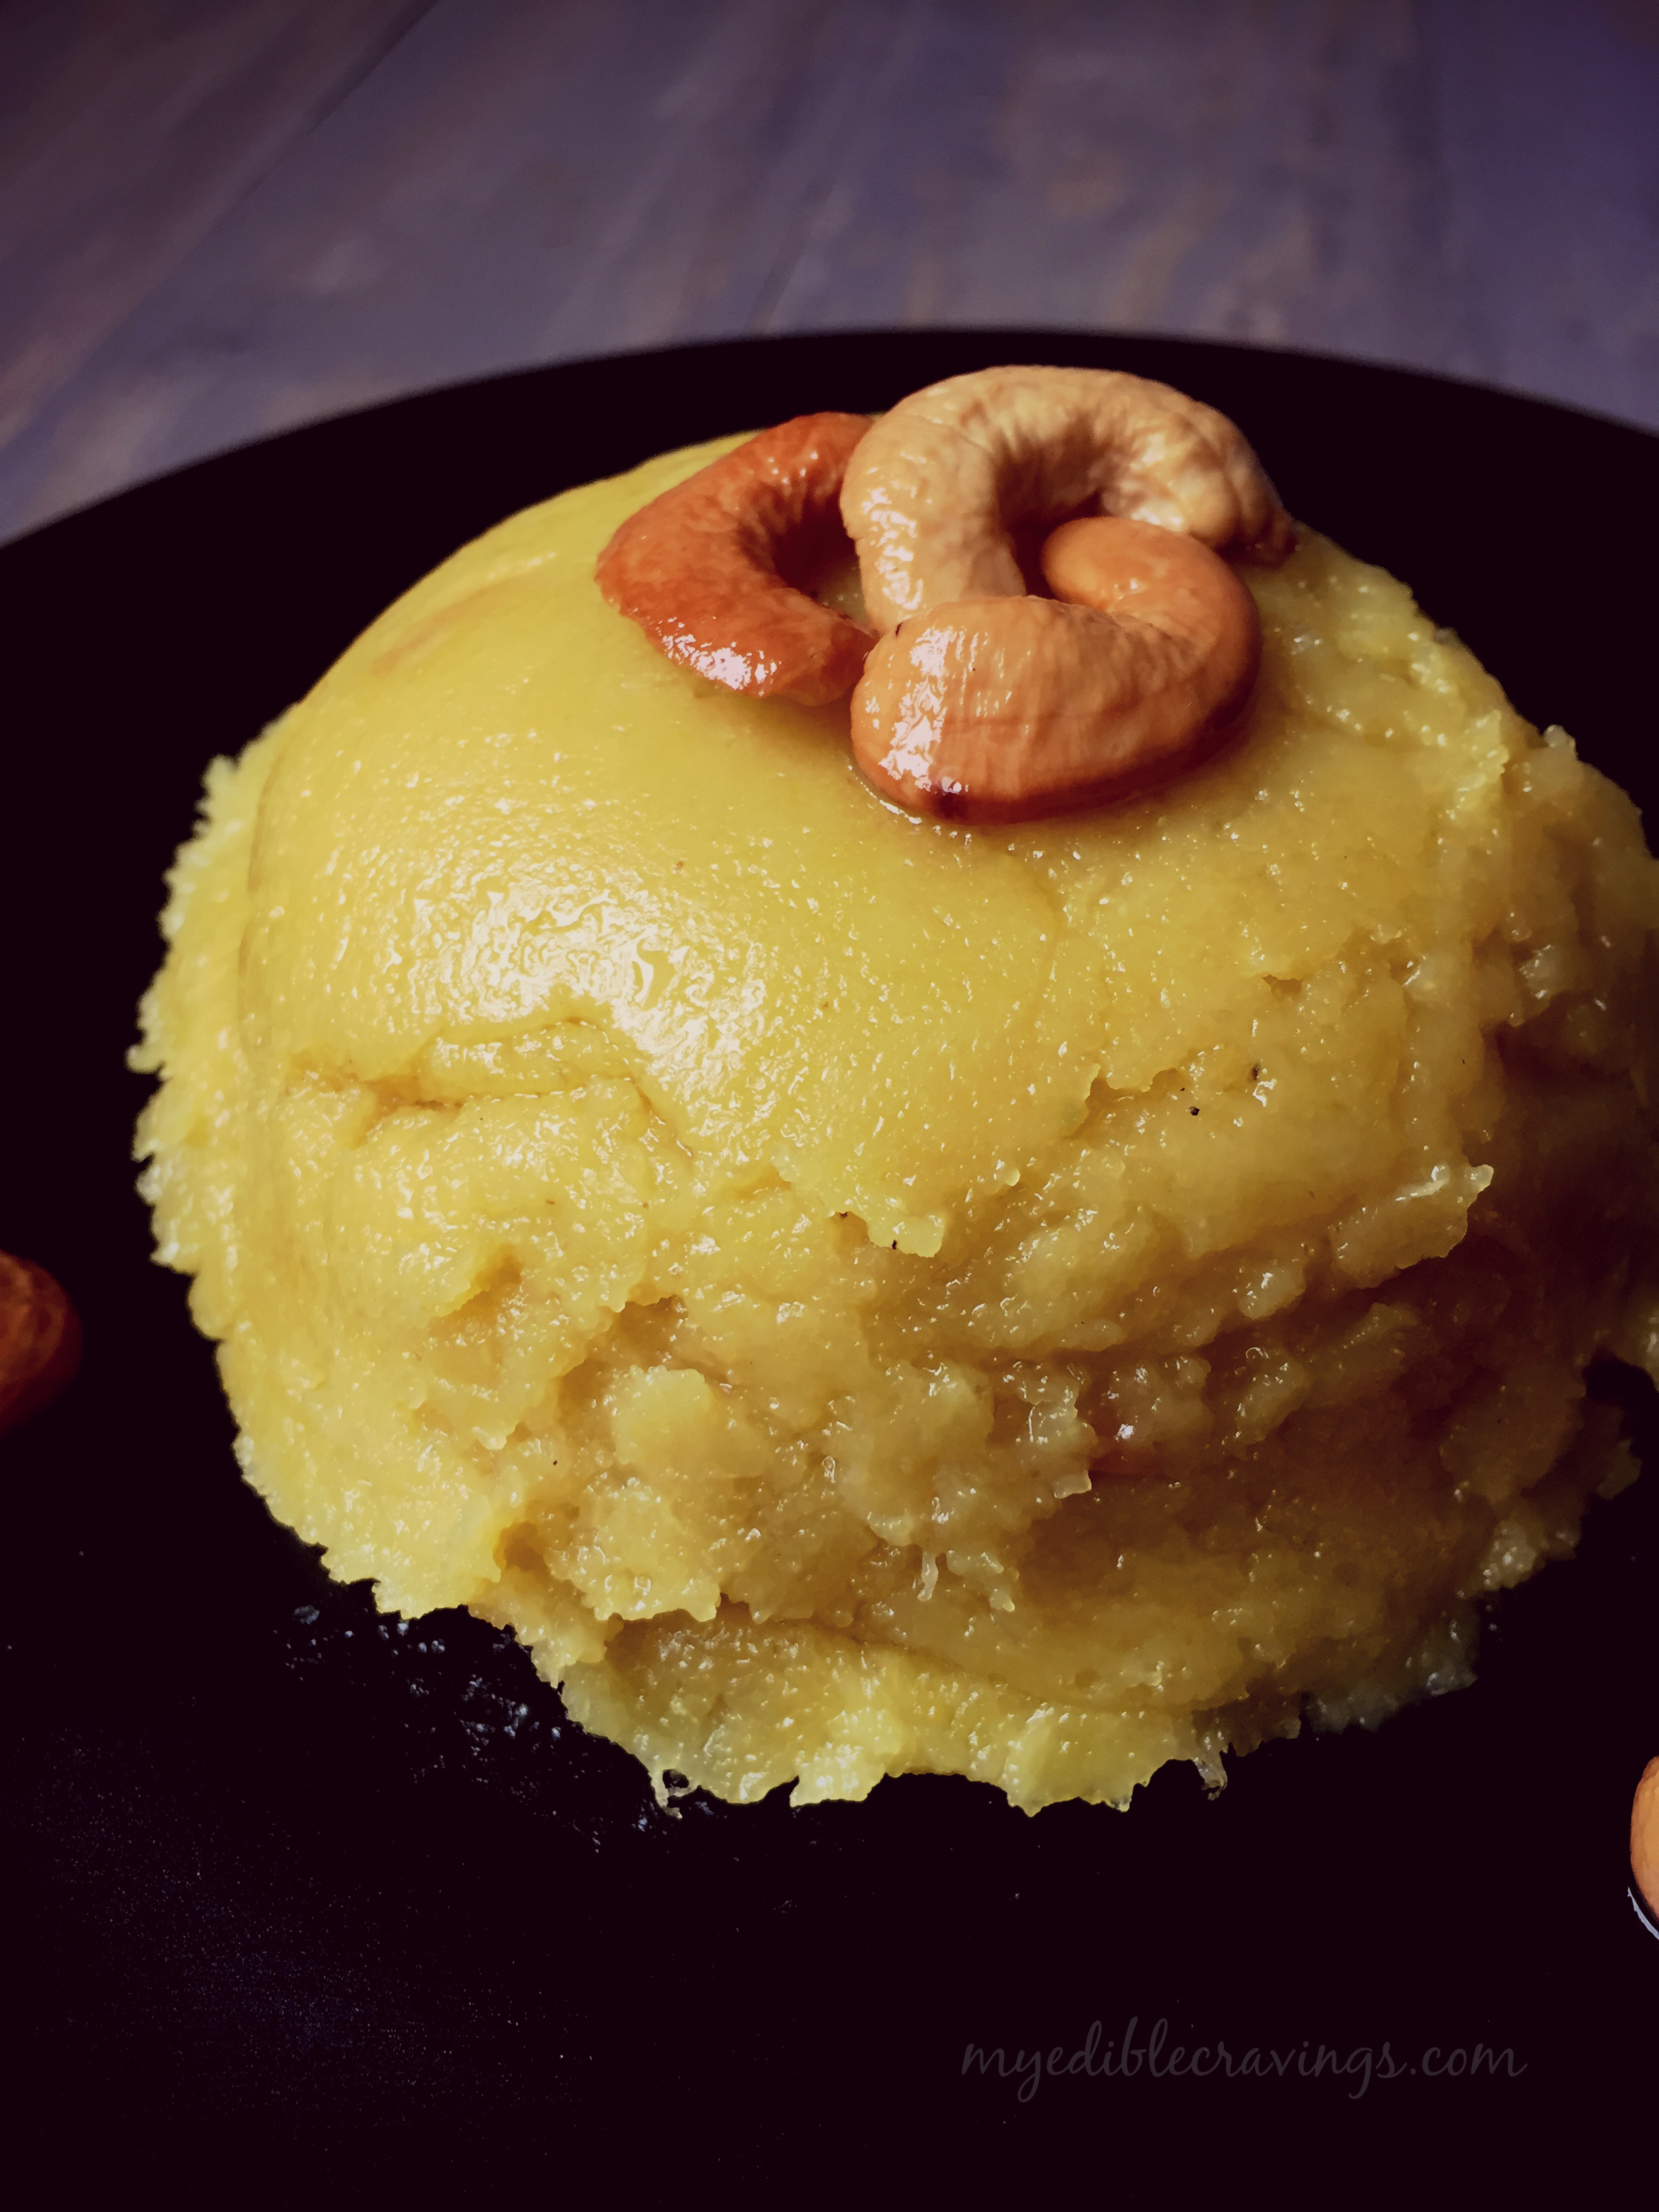
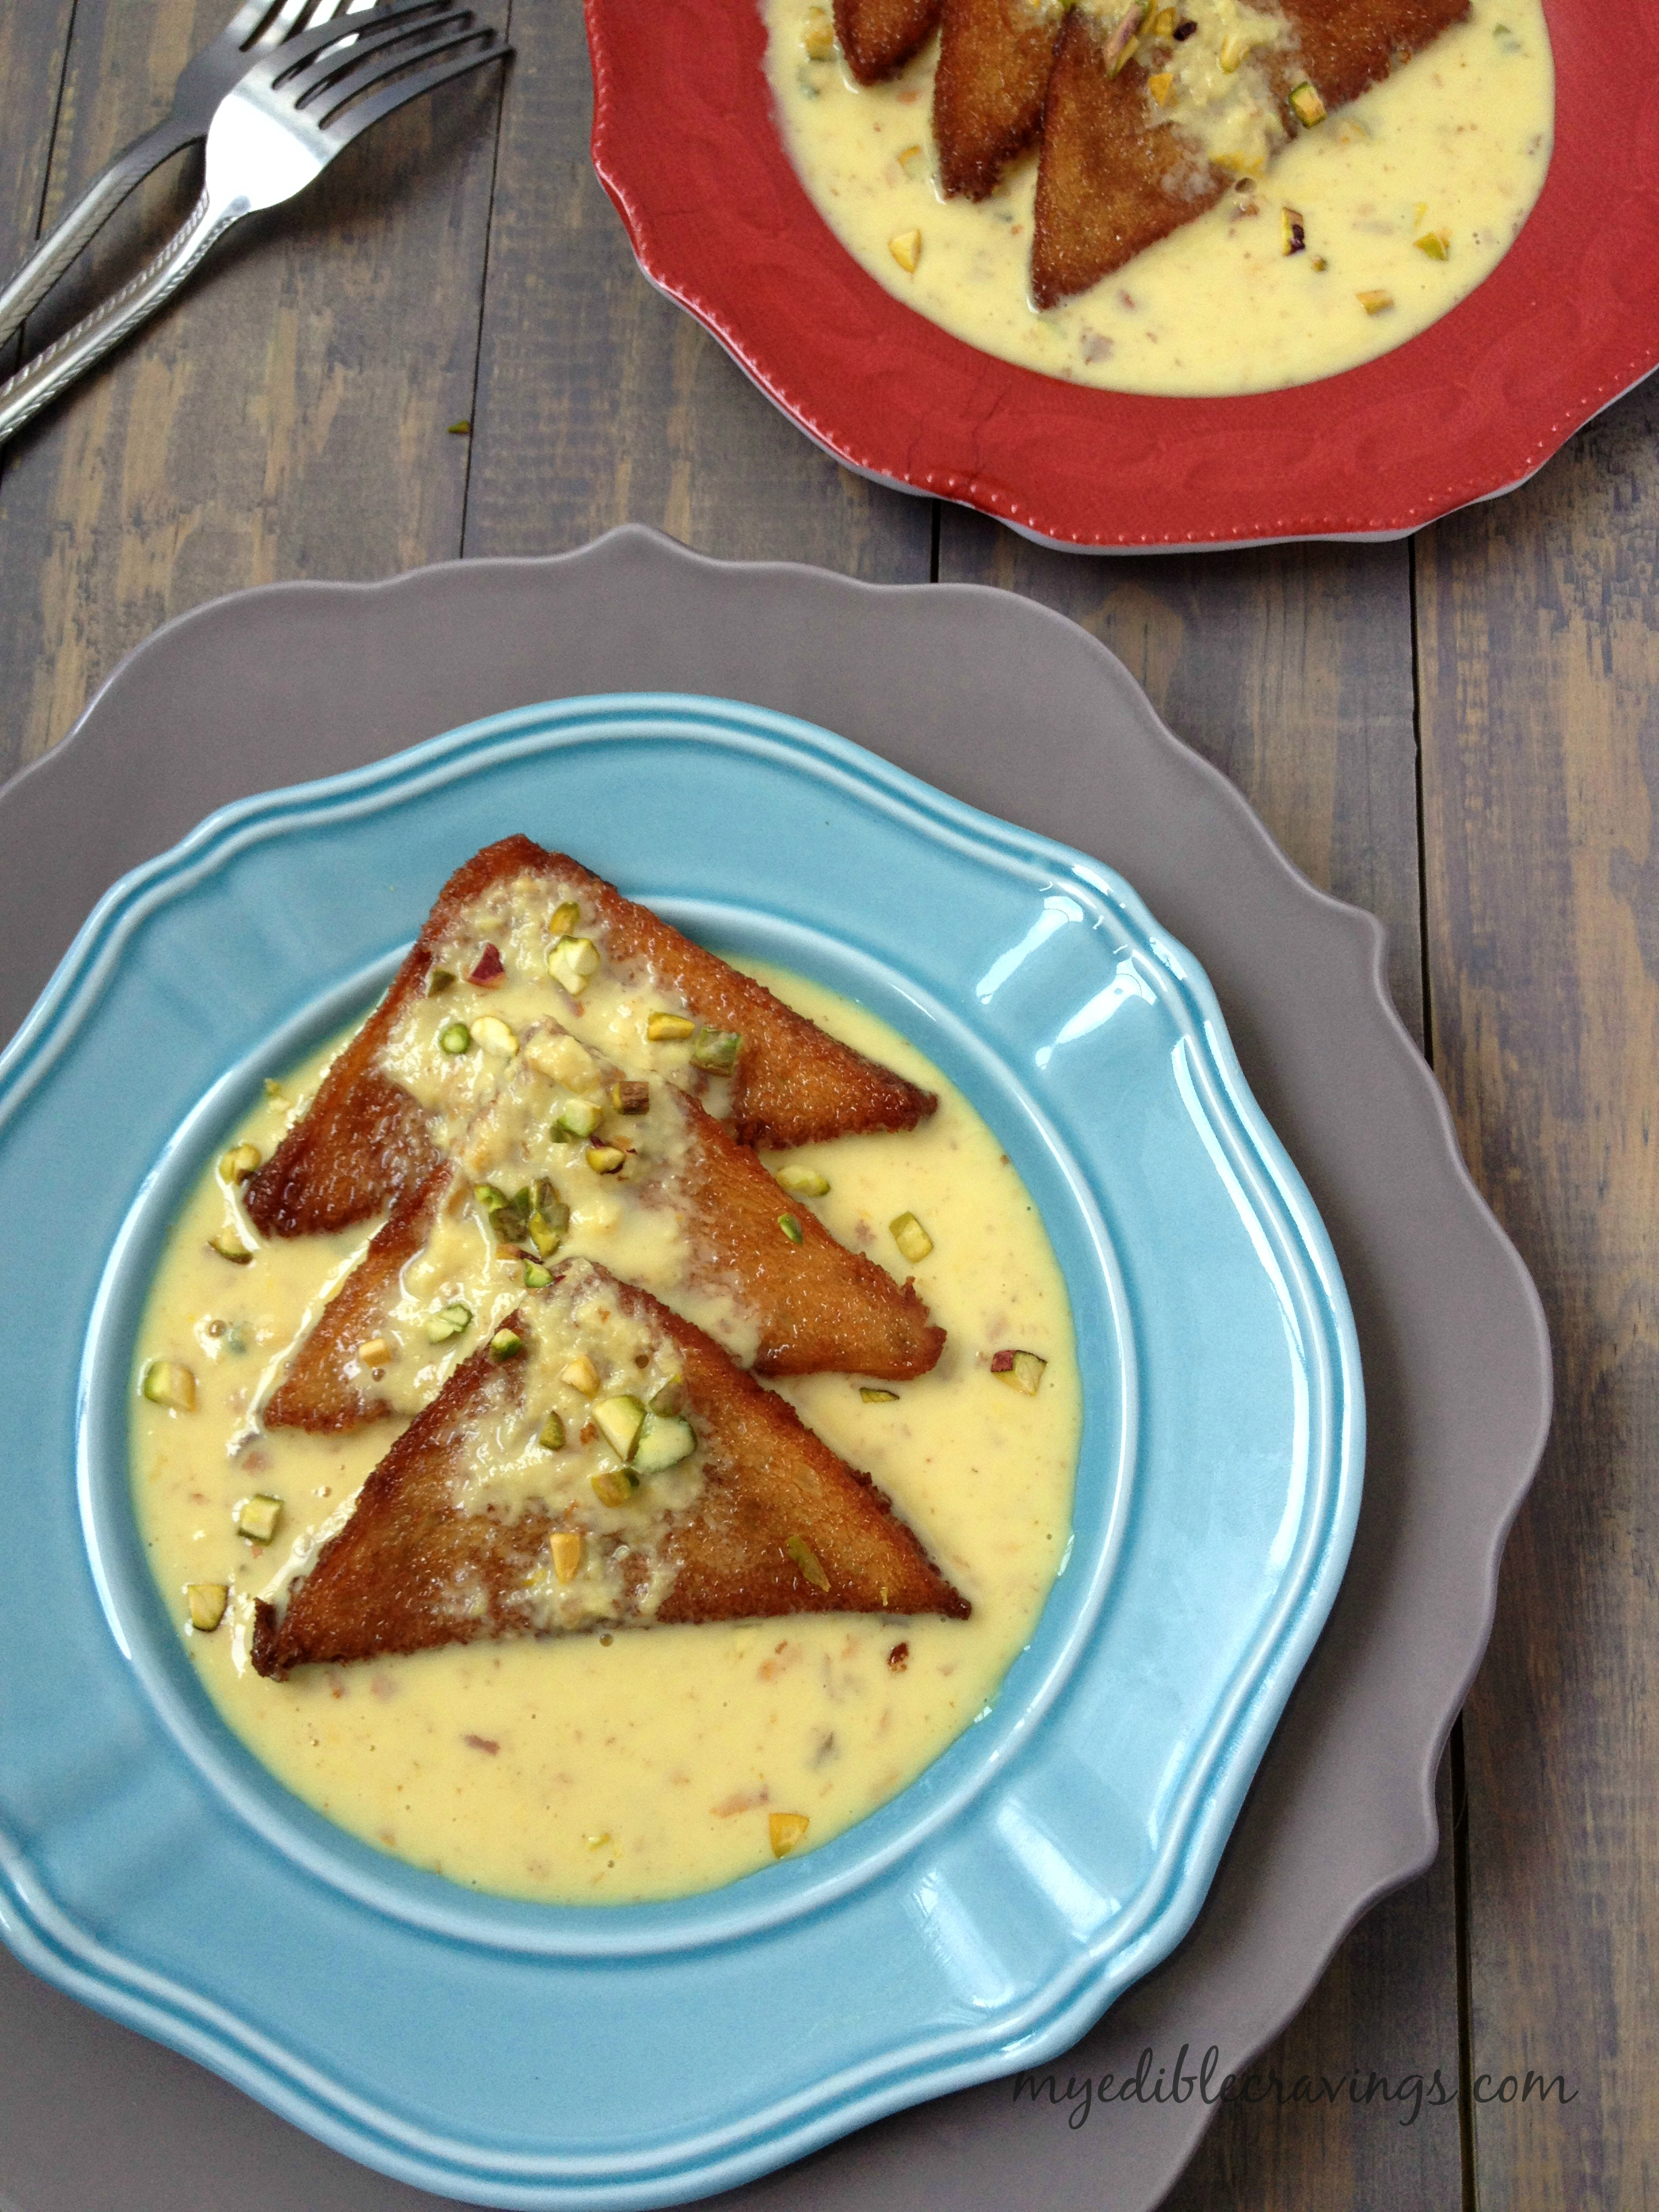
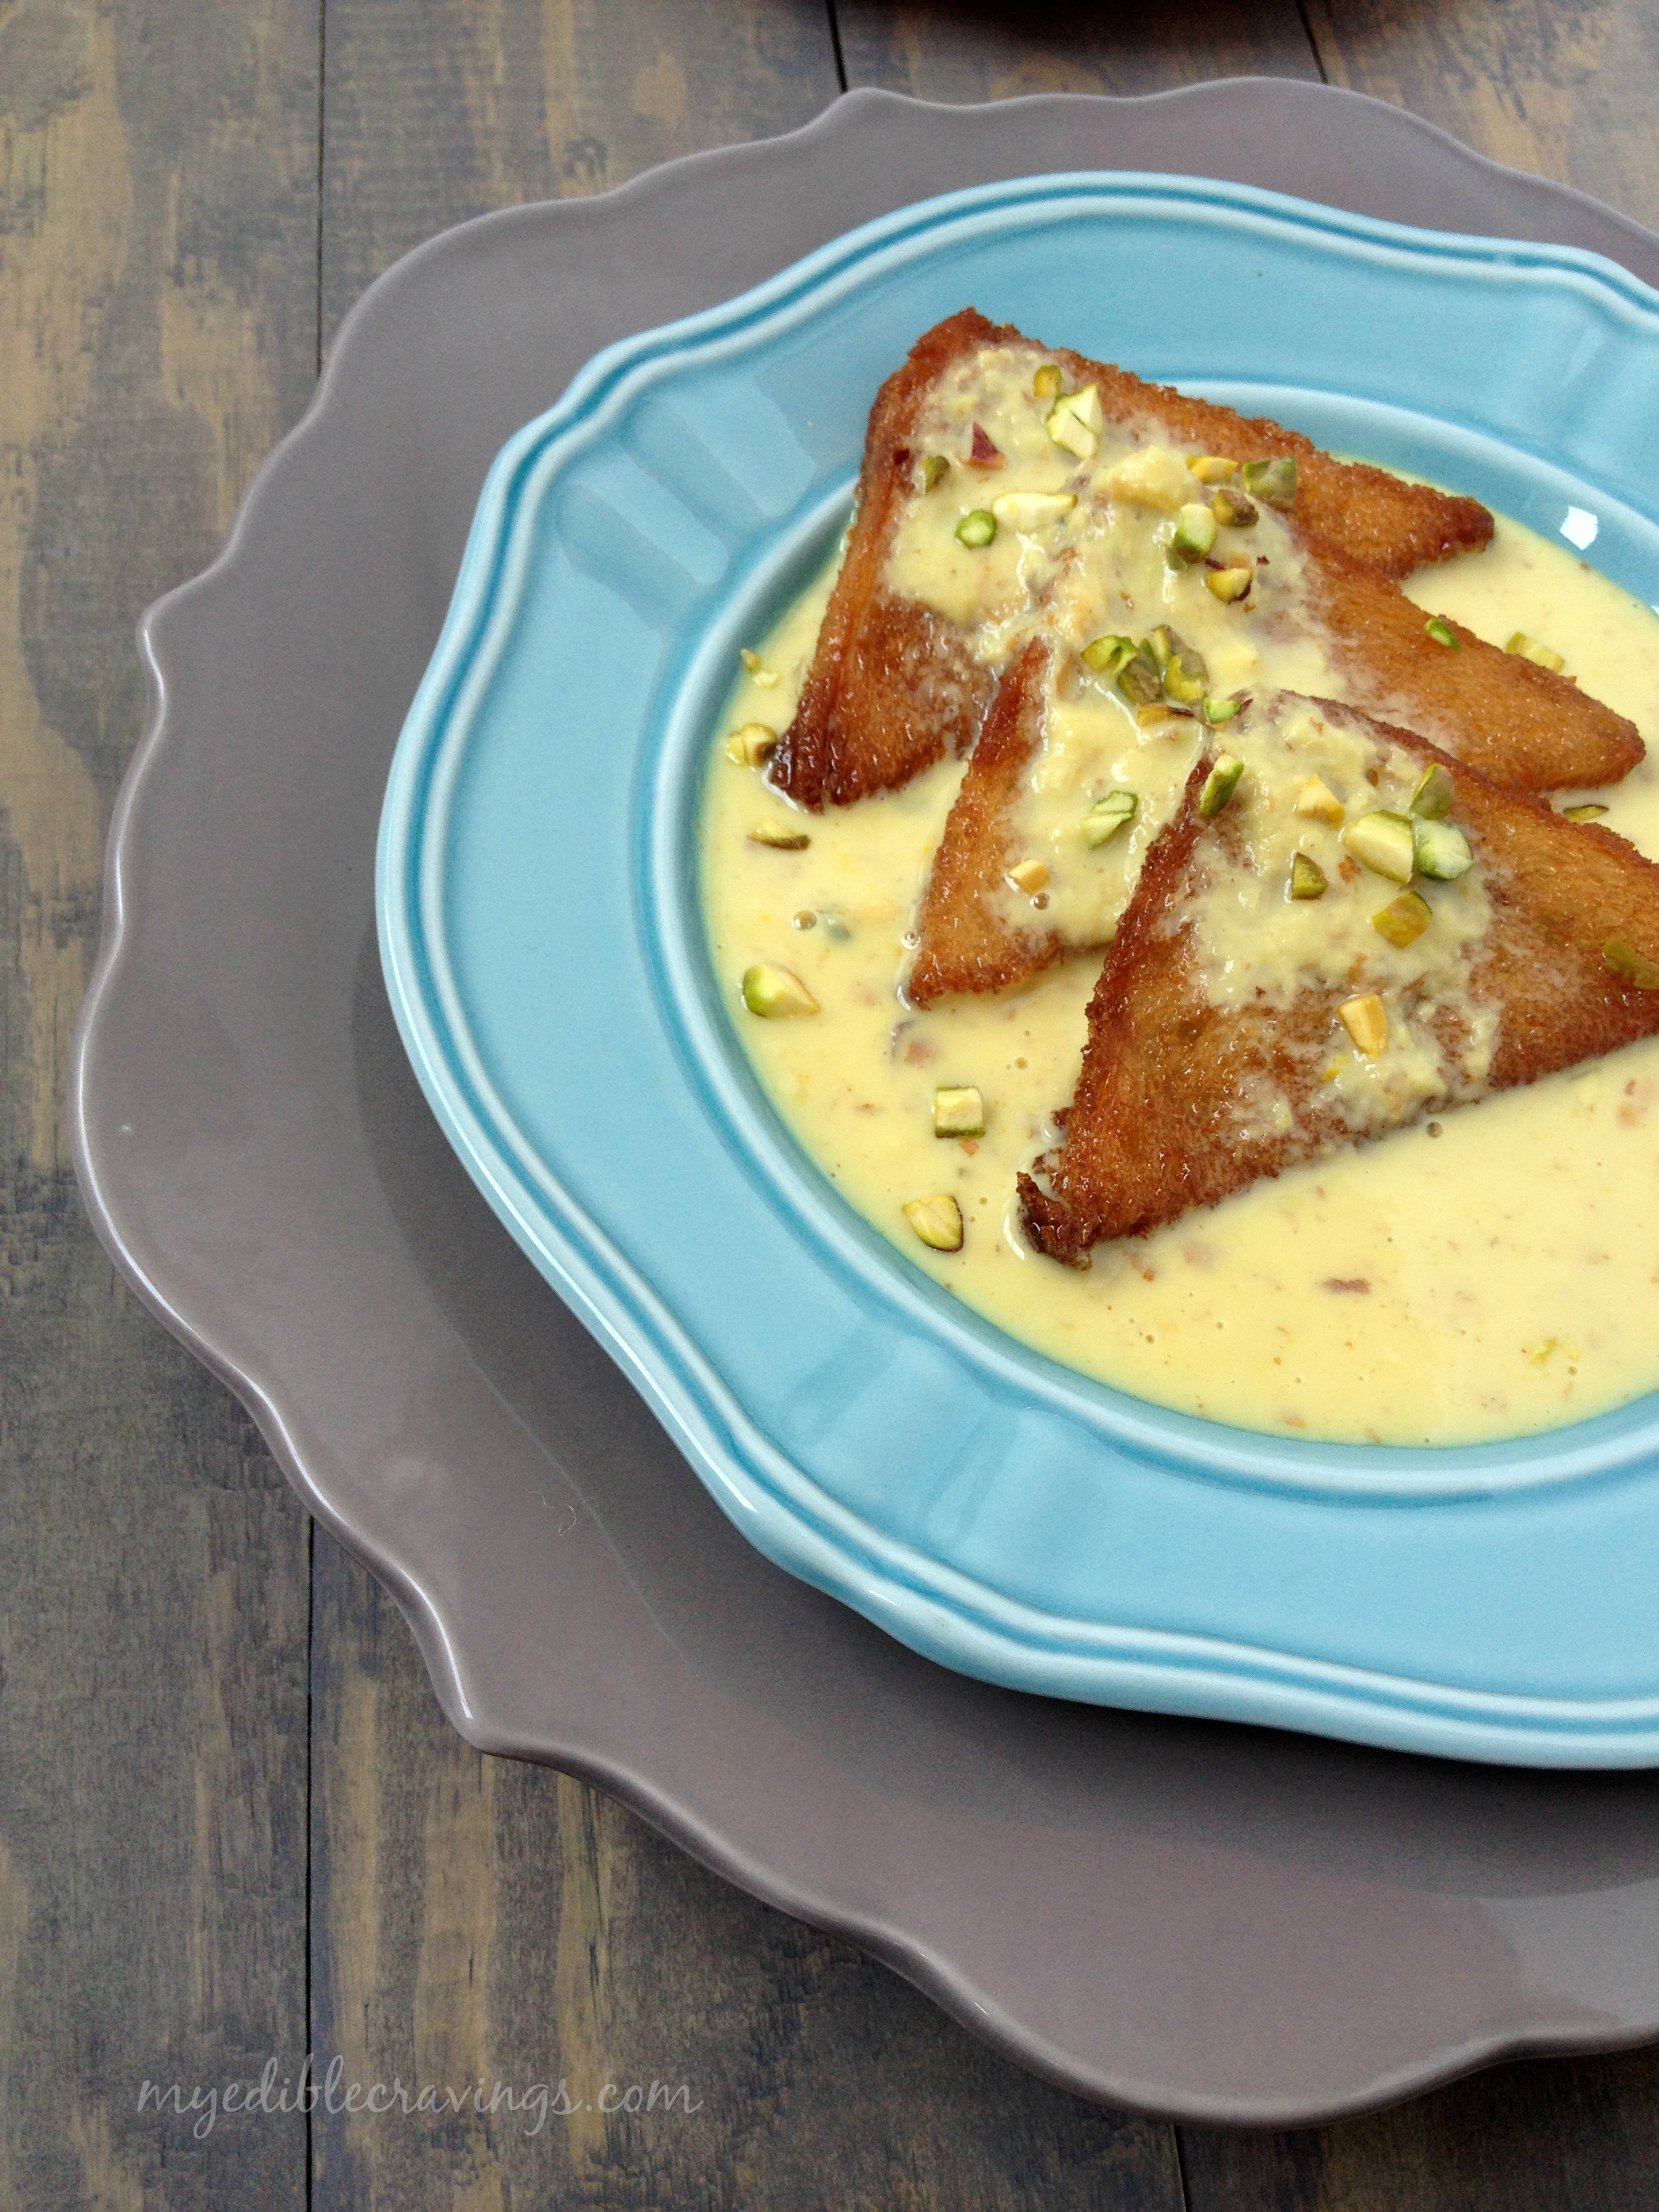
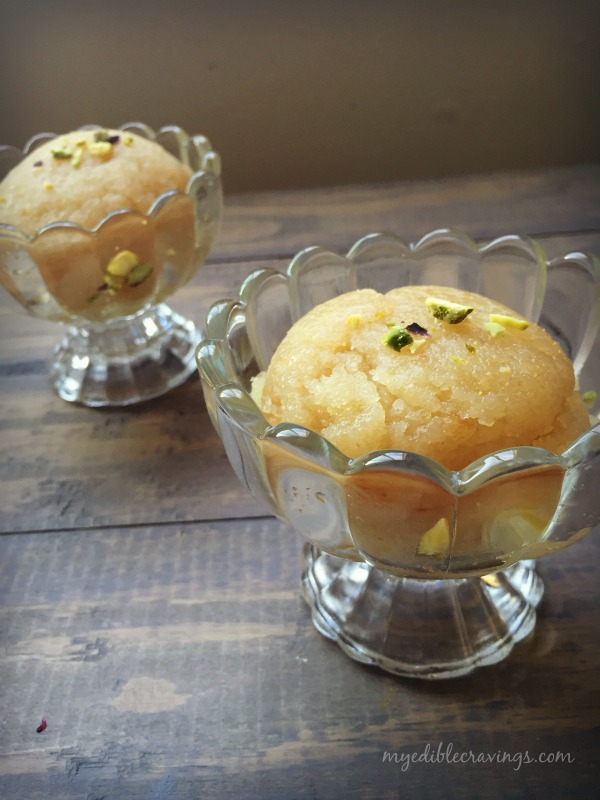
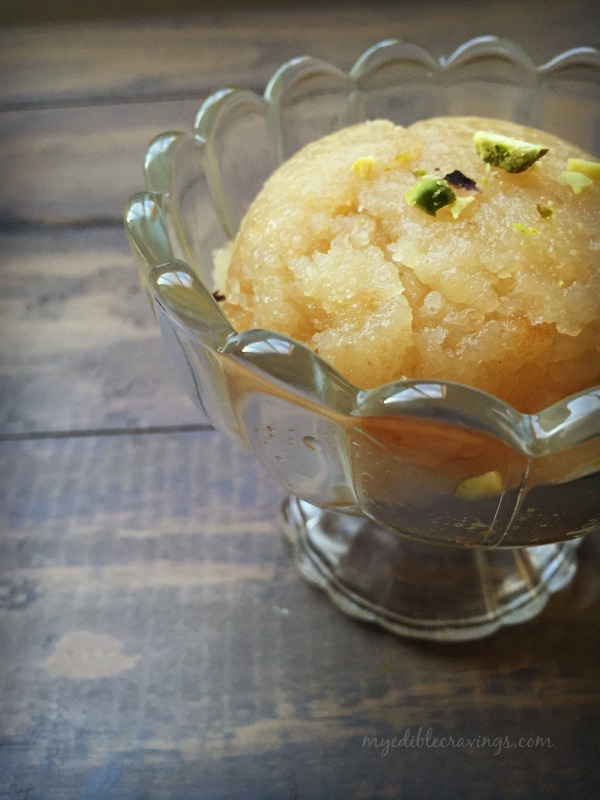
  7. Switch off the flame and serve hot or cold garnishing with pistachios. Enjoy! 🙂
Notes
1.Always make this bread halwa in low to medium flame.
2.This dish will be cooked real quick. So do not overcook otherwise you won’t get the desired consistency.
3.I used US measurements for this recipe.

bread halwa

Jaangri

IMG_0987cHappy Mother’s Day to all  Moms and Moms-would be :)! It is a very special day in honor of the most caring and sweetest person in our life, Mom. As with any other special day/festival, I made one of my favorite sweets for this Mother’s day, Jaangri. Jaangri is a version of another popular Indian sweet called the Jalebi. Jalebi is crispier, smaller and sweeter than Jaangri. Jaangri is also called as Amriti, Emarti, Oriti and Jhangri. Jaangri is a sweet made from urad dal batter, deep fried and then soaked in a sugar syrup. The closest pastry that resembles Jaangri is the funnel cake here.

IMG_0996cThe first thing you notice about Jaangri is its shape. That comes from the unique way the batter is poured in oil for frying. It has a geometric pattern that somewhat resembles a flower with a circle in the middle. The texture is crunchy on the outside and soft on the inside. This is because of the frying in oil and the subsequent soak up in sugar syrup. I had always wanted to prepare Jaangri, especially after coming here to the US since it is extremely difficult to buy it here and I am not a fan of Jalebi 🙂 I had tried it once before and this time was my next attempt and I am happy that it turned out very well 🙂

IMG_0994cIMG_0992cMaking Jaangri is simple but a bit time consuming process. Everything comes down to the batter and your skill in pouring it in the oil to get that unique flower pattern while frying. But trust me, it is worth all the trouble. Having a crunchy, soft Jaangri well soaked in the sugar syrup is a culinary delight that can only be experienced. And I would love for you all to experience this sweetness with your sweet ones at home 🙂

Jaangri
Prep time: 
Cook time: 
Total time: 
Serves: 30 Jaangris
 
Ingredients
  • Whole urad dal – ¾ cup
  • Rice flour – 1 tsp
  • Corn flour – ¼ tsp
  • Sugar – 2 cups
  • Rose essence – ¼ tsp
  • Orange food color – a pinch or two
  • Oil to fry the Jaangri
Instructions
  1. Wash and soak urad dal with enough water for 2 hours. Drain the water completely and set aside.
  2. Grind the urad dal in grinder, sprinkling little water now and then – do not add too much water. The batter has to be thick in order to get good jangri shape. It took me like ¾ cup of water. Add or reduce according to your measurement. I ground the urad dal for 35 minutes to get a smooth batter.
  3. Meanwhile add 2 cups of sugar in a pan and add enough water to cover the sugar. I added ¾ cup water. Set aside until the sugar is completely dissolved.
  4. While grinding the batter I also prepared the piping bag. I used wilton piping bag with #10 tip.
  5. You could also use traditional jaangri making cloth or thick ziplock and make a hole.
  6. Make the sugar syrup when the sugar is completely dissolved. Do not stir the sugar syrup otherwise it forms crystals. Just heat the syrup and bring it to boil.
  7. Now reduce the flame and add essence and food color. Boil for another couple of minutes until single string consistency.
  8. Transfer the batter into a mixing bowl.
  9. Add rice flour,corn flour and food color (mixed with little water) to the batter and beat or fluff them well using your hand. (Like how you do for idli batter). The batter should be airy and thick.
  10. Add some of the batter to the piping bag.
  11. Heat a FLAT pan with enough oil in a medium flame. Do not add too much oil. Fill 1” of the pan with oil. Oil should not be too hot.
  12. You will know the oil is ready when you start to notice small bubbles rising from the bottom of the pan.
  13. Pipe the jaangri batter, pour it in oil and cook until one side is cooked. Carefully turn the jangri and cook the other side.
  14. Using skewers take out the fried jaangris.
  15. Dip them in the sugar syrup for couple of minutes and transfer to the plate. Serve hot. Enjoy! 🙂

IMG_0988c

Oats Payasam

Oats PayasamHappy Tamil New Year, everyone! Missing home :(. It is a tradition all over the world to make special dishes on special occasions like festivals, celebrations etc and Tamilians are no exception to that. Though it is not a big occasion like Deepavali or Pongal, Tamil New Year is still celebrated widely back home. You get to watch lots of programmes in cable television, you get a Government holiday and get to eat scrumptious food:) Now lets concentrate a little bit more on that last word, after all this is a food blog and I am foodie (hope you are too :)) I make it a habit of preparing something new, usually a sweet dessert on all special occasions and holidays. And I try not to make the same dish for two different occasions. This year, I tried a new type of Payasam or Kheer made from oats called the Oats Payasam and am sharing the recipe for it here.

Oats PayasamOats PayasamOats, as you all might know is a popular breakfast food which is rich in nutrients. Most often, you might have had it in the form of porridge (both sweet and savory). We too got in to this breakfast routine of having oats and ended up with buying different varieties of them like steel cut, rolled etc. For Tamil new year, I decided to make use of the oats, come on, how much can you have it as breakfast only :). I came across this Oats Payasam recipe and decided that it is going to be my special dish this year. Oats Payasam is a very simple dish but extremely tasty. It is made using steel cut oats, jaggery, ghee and nuts like cashews, pistachios and almonds.

Oats PayasamOats PayasamThis is my first time making the Oats Payasam and I am very happy with the outcome. It is very tasty and I find it similar to Aravana Payasam in taste, especially that crunchiness, served as prasadham in Sabarimala Temple back home. Try this sweet Payasam in honor of an even sweeter language, Tamil, on this special day and enjoy it with your loved ones 🙂

Also check out my Paal Payasam recipe here

Oats Payasam
Recipe type: Dessert
Cuisine: Indian
Cook time: 
Total time: 
Serves: 4
 
Ingredients
  • Steel cut oats – ½ cup
  • Water – 1 ½ cup
  • Milk – 3 cups ( I used 2% milk)
  • Jaggery – ½ to ¾th cup
  • Cashews – 7 nos
  • Pistachios and Almonds, roughly chopped, seperated – 1 tsp
  • Cardamom powder, freshly ground – 4 nos
Instructions
  1. Heat 1 and ½ cups water in a pan and add oats. (1:3 ratio – for 1 cup of oats 3 cups water)
  2. Cook in a medium flame until the water dries out completely for 10 minutes and transfer to a bowl.
  3. Meanwhile boil milk in another vessel.
  4. Once the milk is boiled, simmer and add ½ tsp roughly crushed almonds, pistachios and few cashews. Simmer it for couple of minutes stirring occasionally.
  5. Now add in the cooked oats and mix well. Simmer it for another couple of minutes.
  6. Meanwhile, add jaggery with very little water (1 tbsp) in the same pan used to cook oats.
  7. Add cardamom powder to oats.
  8. Cook jaggery until it dissolves completely and forms a syrup.
  9. Switch of the flame and add jaggery syrup to the oats mixture. Mix well until the jaggery syrup is well incorporated to the oats payasam.
  10. Fry cashews with ¼ tsp ghee and add them to the oats payasam. Sprinkle the remaining chopped nuts on top and serve hot or cold according to your taste. Enjoy! 🙂

Oats Payasam

Sweetened Khoya or Paalkova


Sweetened KhoyaAfter quite sometime, I am posting an Indian sweet variety that is called as Paalkova or Sweetened Khoya. It is a milk based sweet which also serves as a base ingredient for many other sweet varieties. Back home, the town of Srivilliputtur, which also happens to be my dad’s hometown, is famous for Paalkova. In ancient period, Srivilliputtur was a settlement of Yadava people, who in turn are descendants of Lord Krishna. Yadavas were cow herders by occupation and their settlement was called as Ayarpadi. So it is only fitting that Paalkova originated in this town that is known for the abundance of milk and cows. You literally can find a Paalkova shop at every other corner in the town. Since 1970s, the co-operative milk producers society and other vendors in Srivilliputtur started the production of Paalkova in a large scale and they still serve as the whole sale producers for other retailers throughout Tamilnadu.

Sweetened KhoyaPaalkova reminds me of so many sweet memories from my childhood. When I was little, me and my cousins go to Srivilliputtur to visit my grandma for the holidays. And every time we return home, there will always be a big pack of Paalkova amongst the luggage. That continued well in to my college days too. I had a standing request from my friends to bring back Paalkova after every holiday break :).

Preparation of Paalkova is a time consuming process and requires your attention often throughout the process. But it is worth the time and money when considering the end result – a creamy, rich and sweet Paalkova.I would suggest you continue with cooking other dishes (if any) as well, with one eye on Paalkova preparation too or else you will easily get bored and distracted. Since milk is the main ingredient here and you add sugar as well, you get satisfied very easily. Paalkova can also be served as a dessert after lunch or dinner. Try this tasty treat from my home town and enjoy its sweetness with your near and dear.


Sweetened Khoya or Paalkova
Cook time: 
Total time: 
Serves: 2
 
Ingredients
  • Full fat milk – 3 cups
  • Sugar – ¾ cup
Instructions
  1. Add milk in a wide open heavy bottomed pan (preferably non stick) and bring it to boil.
  2. Reduce the flame to medium-low and add sugar. Stir and scrape the sides.
  3. After 20 minutes, milk is reduced to half. Keep stiring and scraping the sides of the vessel from time to time.
  4. This is how the milk looks like after 30 minutes.
  5. Milk is now turned to rabdi consistency. You can serve it just like that by adding saffron to it. This rabdi can be used in many desserts like Shahi Tukda, Rasmalai, Malpua, Basunthi, and so on.
  6. After 50 minutes, milk has slowly evaporated and khoya is almost done. The color of the milk will be turned to slight yellow at this stage. Keep string and scraping in a low flame.
  7. After a good 60 to 65 minutes, milk evaporates all the moisture and start producing bubbles. Keep stirring and switch off the flame. Sweetened khoya or Paalkova is now ready. Transfer it to a container and bring it to room temperature. Khoya gets thicken when it reaches room temperature.
Notes
1.Always be very watchful while making khoya or Paalkova. And patience is required in making this dish.
2.Keep the flame in low once when the milk is reduced to half.
3.Keep stirring from time to time otherwise it will get burnt at the bottom.
4. You can also make unsweetened Khoya without adding sugar using the method described in the recipe.

Sweetened Khoya

Badushah


BadushaBadushah/Balushahi is a traditional dessert item popular in Indian, Nepali and Bangladeshi cuisines. I don’t have the historical facts but I do believe Badushah is an imported dessert variety, probably from the Mughal period. The name itself is not Indian since it has this Persian touch to it, Shahi which literally means royal. My own theory is that the original name was derived from the word Badshah which means King. Since it was found in royal menu eaten by kings, the sweet came to be known as Badushah. Sometimes, it is also referred to as India doughnuts but I don’t agree with that. The only commonality between doughnuts and Badushah are the ingredients. Both are made from all purpose flour (maida). But for doughnut we use butter and for Badushah we use ghee (clarified butter).

BadushaBadushaBadushah/Balushahi has an appearance that resembles stacked flakes. It is golden brown in color on the outside and very light brown in the inside (after the syrup is absorbed). It is not too sweet but becomes sweeter when you add the sugar syrup at the end of the preparation. Though it is a dessert from the royal menu :), it is not that hard to make except for certain pointers. For instance, like the addition of yoghurt when preparing the dough to make it soft and making sure that the syrup has a single string consistency (dont make it thick). Also, I would suggest using a somewhat deep bottomed vessel so that Badushahs get absorbed in the the sugar syrup easily.

Badusha041So, are you ready to try this awesome recipe in your kitchen? Do try it and experience the royal dessert right in your home.

Badushah
Recipe type: Dessert
Cuisine: Indian
Prep time: 
Cook time: 
Total time: 
Serves: 12 badushahs
 
Badushah/Balushahi is a traditional dessert item made using maida or all purpose flour and very popular in Indian, Nepali and Bangladeshi cuisines.
Ingredients
  • All purpose flour or maida - 2 cups
  • Baking soda - ¼ tsp
  • Salt - ¼ tsp
  • Ghee - ¼ cup
  • Yogurt – 2 tbsp
  • Oil – for deep frying
  • Almonds – 5 nos
for sugar syrup:
  • Sugar – 1 ½ cup
  • Water - 1 cup
  • Saffron strands – a pinch
  • Lemon juice – ¼ tsp
Instructions
  1. Sieve the flour, baking soda and salt together into a large bowl.
  2. Next add in the ghee and combine the flour and ghee to coarse crumbs using your hand.
  3. Add in the yogurt, knead just enough until all the ingredients come together.
  4. Cover the dough with a wet muslin cloth or in airtight container and allow it to rest for about 30 minutes.
  5. Divide the dough into 12 equal portions of large lemon size balls. Gently make a dent in the center with the thumb. Cover the dough portions with a wet cloth or airtight container and allow them to rest for another 15 minutes.
  6. Meanwhile combine sugar and water in a small sauce pan. Allow it to boil and add the saffron strands. Allow the mixture to simmer until you get a single thread consistency.
  7. Next, heat the oil for deep frying and add few balls at a time into the oil. Fry them on medium heat - The medium heat helps the Badushahs to cook evenly from the inside.
  8. When they start to float up to the surface flip over and fry until the bottom half is golden brown. Once both sides are browned well, drain and continue the same with the remaining dough portions and add them to the sugar syrup.
  9. Allow the Badushahs to rest in the sugar syrup until it gets well absorbed and coated all around. Leave it to rest for atleast fifteen minutes and then continue the same step for the rest of the Badushahs.
  10. Garnish the Badushahs with chopped almonds and serve them. Enjoy! 
Notes
1.You will know that the sugar syrup has reached the single thread when you touch the syrup between your fingers and you find it sticky.
2.Remember to fry the dough on medium heat and not high heat so it gets evenly cooked from the inside.

Badusha

Paal Payasam


Paal payasamToday is Father’s Day! A father is a hero to every daughter and Father’s day is a way to honor them for their love, unwavering support and kindness. So Happy Father’s Day to all fathers out there. On the occasion of this important day, I wanted to prepare something sweet that personifies their nature i.e.,  being sweet 🙂 I decided on Paal Payasam, a south Indian dessert item that is very tasty. I love the Paal Payasam that my MIL makes. The recipe that I have given below is my MIL’s.

Paal PayasamPaal Payasam is a classic dish that uses very few ingredients i.e., rice, sugar and milk. Paal Payasam is one of my favorite payasams (similar to pudding in general) and my sister’s too. Preparing this dish is time consuming but to allevate some of that I used whole milk because one of the steps in making Paal Payasam is to reduce the milk to half but using whole milk saves time since it is already thick.

144cPaal Payasam can either be served hot or cold but tastes excellent when served cold. Try this sweet dessert in your kitchen and I hope you too will enjoy it as much as I do 🙂

Paal Payasam
Recipe type: Dessert
Cuisine: Indian
Prep time: 
Cook time: 
Total time: 
Serves: 4 to 5 cups
 
Ingredients
  • Raw rice or basmati rice or seeraga samba rice – ½ cup
  • Ghee – 3 tbsp, divided
  • Milk – 1 liter
  • Sugar – 1 cup
  • Cashews – 1 tbsp
  • Cardamom powder – a generous pinch
Instructions
  1. Wash and soak the rice in water for half an hour. Later crush the rice using your hands and keep it aside.
  2. Heat a pan or pressure cooker and add a tbsp of ghee. Add the rice and fry until golden brown.
  3. Add a cup of milk and cook or pressure cook until the rice is well cooked. Add the remaining milk and boil until the milk is reduced to half and turns slight brown in color.
  4. Add sugar and mix well. Boil for another few minutes stirring occasionally.
  5. Heat the remaining ghee in a tempering ladle, fry the cashews until golden brown and add to the paayasam.
  6. Finish it off by adding cardamom powder. Serve cold and enjoy!
Notes
1.It takes a very long time around 45 minutes to reduce the milk. So I would suggest using whole milk to reduce your work.
2.Milk will not boil if you add clean marbles (golli gundu) to the milk.
3.Add or reduce sugar according to your own taste.
4.You could also add dates to this recipe which tastes excellent.

Paal Payasam

Banana bread

Banana BreadHi guys, Today I finally decided to make something with the ripe bananas that has been on the counter for the past two days. So zeroed in on Banana bread, a favorite of us. Banana Bread is a type of bread that is often served as an after meal snack. According to Wikipedia, Banana bread became popular in US in the 1930s after the advent of baking soda 🙂 and February 23rd is National Banana Bread Day. Generally, I am a fan of banana and like food items that has banana as one of the ingredients.
Banana breadBanana breadBanana bread is very easy to make and is very flavorful. In fact while I am writing this, Banana bread is getting baked in the oven and I could smell the divine smell of bananas and butter mixed together. Can’t wait to have a bite! If you have the ingredients sorted out, then baking the bread takes no time at all. There are different varieties to banana bread as well, like, chocolate chip banana bread, banana nut bread, banana raisin bread etc. Here I have given you the recipe for plain banana bread with cashews.
Banana breadHere comes the beep from the oven! Alright, enough of the stories. I guess its nom nom time and I am off to the kitchen. Hope you are too, to start making this wonderful, simple and flavorful dish, i.e. the Banana Bread 🙂

Banana bread
Recipe type: Dessert
Cuisine: American
Prep time: 
Cook time: 
Total time: 
Serves: 1 9x5x3 inch loaf
 
Ingredients
  • 1 ¾ cups all-purpose flour
  • 1 tsp baking soda
  • ¼ tsp salt
  • ½ cup (8 tbsp) unsalted butter, melted and cooled
  • ½ cup brown sugar
  • ½ cup granulated sugar
  • 2 eggs, beaten
  • 3 overripe large bananas, mashed
  • ⅓ cup any nuts, chopped, divided (I used cashews)
Instructions
  1. Preheat the oven to 350 degrees F (180 degrees C).
  2. Lightly grease a 9 X 5 inch loaf pan with butter on the sides and line the bottom with parchment sheet. Set aside.
  3. Mash the bananas, chop the nuts and beat the eggs.
  4. In a large bowl, sieve flour, baking soda and salt together.
  5. In a separate bowl, cream together butter and sugar.
  6. First add the sugar mixture into the flour mixture and mix well without any lumps. Then add in eggs and bananas and mix them with a wooden spoon or rubber spatula until the batter is thick and chunky (The important thing is not to over mix the batter. You do not want it smooth. Over mixing the batter will yield tough, rubbery bread).
  7. Mix half of the chopped nuts to the batter. Lightly fold the batter. Pour batter into the prepared loaf pan. Top it off with the remaining nuts.
  8. Bake in oven (preferably in the middle rack) for 60 to 65 minutes, until golden brown and a toothpick when inserted in the center comes out clean. Turn out onto a wire rack and allow them to cool.
  9. Serve warm or at room temperature. This bread can be frozen.

Banana bread

Banana Kesari

Banana kesariFirst of all, A very Happy Mother’s Day to all the lovely mothers out there 🙂 You are the best. As a tribute to moms and in a way representing their sweet nature, today I have given below a very popular south Indian sweet, Banana Kesari. Kesari is a south Indian delicacy which is often served as a dessert. It is made of sooji (semolina) and is also called as sooji halwa in north India. There are different varieties of Kesari like beet root, pineapple, banana, bread, fruit etc. Banana Kesari is a favorite of my HB (anything made from sooji for that matter :))
Banana kesari
Banana kesariBanana Kesari is very easy to prepare and involves minimal ingredients, i.e., banana, sooji, ghee, sugar and cashews. As with many sweet items, patience is the key here, especially when adding the sooji to the boiling water during the preparation. Believe it or not, I was not very good in making Kesari initially. In fact, my friends used to make fun of my Kesari but I have come a long way now such that I have started making different varieties in Kesari 🙂
Banana kesariOnce again, a very happy Mother’s day to all moms, new moms and expectant moms. As Rudyard Kipling said, “ God could not be everywhere, and therefore he made mothers”. Enjoy the sweet Banana Kesari with the sweetest person in the world, your Mother 🙂

Banana Kesari
Recipe type: Dessert
Cuisine: Indian
Prep time: 
Cook time: 
Total time: 
Serves: 4
 
Ingredients
  • Semolina – 1 cup
  • Ghee – 6 tbsp
  • Water – 2 ½ cups
  • Yellow food color – 1 tsp
  • Sugar – 1 cup
  • Banana, big, peeled, smashed – 1 no
  • Cardamom powder – 1 tsp
  • Cashews – 10 nos
Instructions
  1. Heat a nonstick tawa with a tbsp of ghee. Add in semolina and sauté until the raw smell disappears. It takes around 3 minutes. Remove and transfer to a bowl.
  2. In the same pan add a tbsp of ghee and fry the cashews until golden brown. Remove and keep aside.
  3. Add water in the same pan and bring it to boil. Add food color.
  4. When the water starts to boil, slowly add sautéed semolina little by little, stirring continuously to avoid lumps.
  5. When all the water is absorbed, add in sugar and banana. Mix well and add the remaining ghee.
  6. Finally add in the cardamom powder and fried cashews. Mix well. Add ghee if needed. Serve hot. Enjoy!!!
Notes
1.It is always best to use non stick tawa while making kesari.
2.Be very careful while adding semolina to the boiling water. make it quick and stir constantly to avoid lumps.
3.To make cardamom powder, grind together few whole green cardamoms with a tbsp of sugar.
4.You can substitute any fruits (pineapple, jackfruit, tutti frutti, plums, beetroot, etc) or even with bread and it is called bread halwa.

Banana kesari

Sago Payasam

sago payasamPayasam is a traditional south indian dessert. It is a very simple yet tasty dish that is always in the menu of marriage lunches and served during traditional festivals. There are different varieties of payasam based on the ingredients that you use, like lentil, sago, vermicelli etc. Here I have given the Sago-Vermicilli variety of payasam.
sago payasamsago payasam
sago payasamSago-Vermicilli Pasayam is the most popular among all payasams. As I had said earlier, it is always served in wedding lunches. One popular way of consuming it is with papad :). My dad and his siblings love to have it with sweet boondi (another south Indian snack item). I know it will be a sugar explosion but who cares when it tastes just awesome 😉
I had never tried making Sago-Vermicilli Payasam until recently. The ingredients used and the preparatory method may make it seem easier to make (and it is easy to make) but you need to be careful as well, especially for beginners. In my recipe I had included rose flavor because I like it and is commonly found in most other Indian desserts. Also I have included Saffron just to give the distinct color and enhance the flavor. Sago-Vermicilli Payasam can be served hot or chilled; it tastes awesome either way.
Try this yummy and sweet dessert in your kitchen and post me your experiences 🙂

5.0 from 1 reviews
sago payasam
Prep time: 
Cook time: 
Total time: 
Serves: 3
 
Ingredients
  • Milk – 3 ½ cups
  • Sago or javvarisi – ½ cup
  • Vermicelli or semiya – ¼ cup
  • Refined sugar – ½ cup
  • Ghee – 2 tbsp
  • Cashews – 8 to 10 nos
  • Raisins – 6 nos
  • Saffron – 2 to 3 strands.
  • Rose water or essence – 3 drops
Instructions
  1. Soak sago in water for 20 to 30 mins.
  2. Heat a small pan with ghee and roast cashews and raisins until the cashews turn golden brown. Keep it aside. In the same pan roast vermicelli for a minute or so and keep it aside.
  3. Soak saffron threads in a cup with 1 tbsp of warm milk.
  4. Boil two cups of water and add sago. Boil until the sagos turn translucent for about 15 to 20 minutes. Add vermicelli to the boiling water as well and cook for another couple of minutes until they are soft. Drain them.
  5. Heat a sauce pan and boil the milk. When the milk has boiled, simmer and reduce it to half the quantity.
  6. When the milk has reduced to half, add the cooked and drained sago and vermicelli. Mix well and allow them to set for about 5 minutes - Simmer the burner while adding sago and vermicelli.
  7. Add sugar and mix well. Finally add the saffron and fried cashews to the payasam. Switch off the flame and add few drops of rose essence. Refrigerate the payasam and serve the delicious cold Sago-Vermicilli payasam. 
Notes
1.I have read online that cooking sago and vermicelli directly to the boiling milk will curdle the milk. So I boiled them and strained the water before adding them to the milk.
2.Simmer the milk and add the cooked sago and vermicilli. Otherwise the milk will curdle as well.
3.Adding saffron and rose essence is completely optional. I added them just for the flavor.

sago payasam

Shahi Tukda

Shahi TukdaRecently, my sister in law visited us from Canada and we had a blast. During her stay at our home, I tried a north indian dessert item called the Shahi Tukda. Shahi Tukda roughly translates to ’Royal pieces’ (Shahi – royal, Tukda – pieces). I came across this recipe in my never ending search for interesting recipes. Shahi Tukda is a very sweet dish and best served when cold. There is a common misconception that Shahi Tukda and the popular Telangana dish, Double Ka Meetha are the same, but they are not.
Shahi TukdaShahi Tukda’s main ingredients are bread and raabdi. Raabdi is a syrup like substance that you would have seen in Rasamalai (yes, it is that same beige colored syrup in which the malai’ are dipped in). Shahi Tukda is easy to make and it involves fried bread dipped in thin sugar syrup and then pouring raabdi over it. Keep in mind that frying the bread in ghee tastes way better than frying it in oil. For a little bit healthier version of this dish, you can pan fry the bread (I know, what is healthy in deep frying or pan frying and with too much sugar- but hey, you do have to give in to your indulgence once in a while to enjoy life :)).
Shahi Tukda
Shahi TukdaShahi Tukda is a perfect dessert for those who love sweets a lot. It is very rich in flavor and taste. Do try this north indian ‘king’s’ dessert in your kitchen and let me know your comments and thoughts.
Shahi Tukda
Shahi Tukda

Shahi Tukda
Recipe type: Dessert
Cuisine: Indian
Cook time: 
Total time: 
Serves: 4
 
Ingredients
For sugar syrup:
  • ½ cup sugar
  • ½ cup water
For rabdi :
  • 1 litre whole milk
  • ⅓ cup sugar
  • A pinch of saffron strands
  • ¼ tsp cardamom powder
  • ½ tsp almonds, chopped
  • ½ tsp pistachios, chopped
Other ingredients:
  • Ghee to deep fry
  • 6 white bread slices
  • ½ tsp almonds, chopped for garnishing
  • ½ tsp pistachios, chopped for garnishing
  • Few saffron strands for garnishing
Instructions
  1. Mix water and sugar in a sauce pan. Heat it to make thin sugar syrup (one string consistency).
  2. While the sugar syrup is getting ready, boil the whole milk in a flat bottomed non stick pan. Once the milk is boiled, simmer it and stir occasionally until the milk reaches ⅓rd of its consistency. Add sugar, saffron and cardamom powder and mix well. Simmer for another 5 minutes and rabdi will be ready.
  3. Heat ghee in a pan and first cut the corners (brown parts) of the bread slices and then cut the bread cubes diagonally. When the ghee is hot, deep fry the bread slices until they turn golden brown. Place the deep fried breads in a plate lined with clean tissue.
  4. Pour some rabdi on a serving plate. Dip the bread slices one by one into the sugar syrup (do not soak) and place them on the same serving plate. Pour rabdi again on top of the bread pieces. Garnish with chopped nuts and few strands of saffron.
  5. Serve it warm or cold (refrigerated shahi tukda taste excellent).

Shahi Tukda