Pav Bhaji

Pav Bhaji
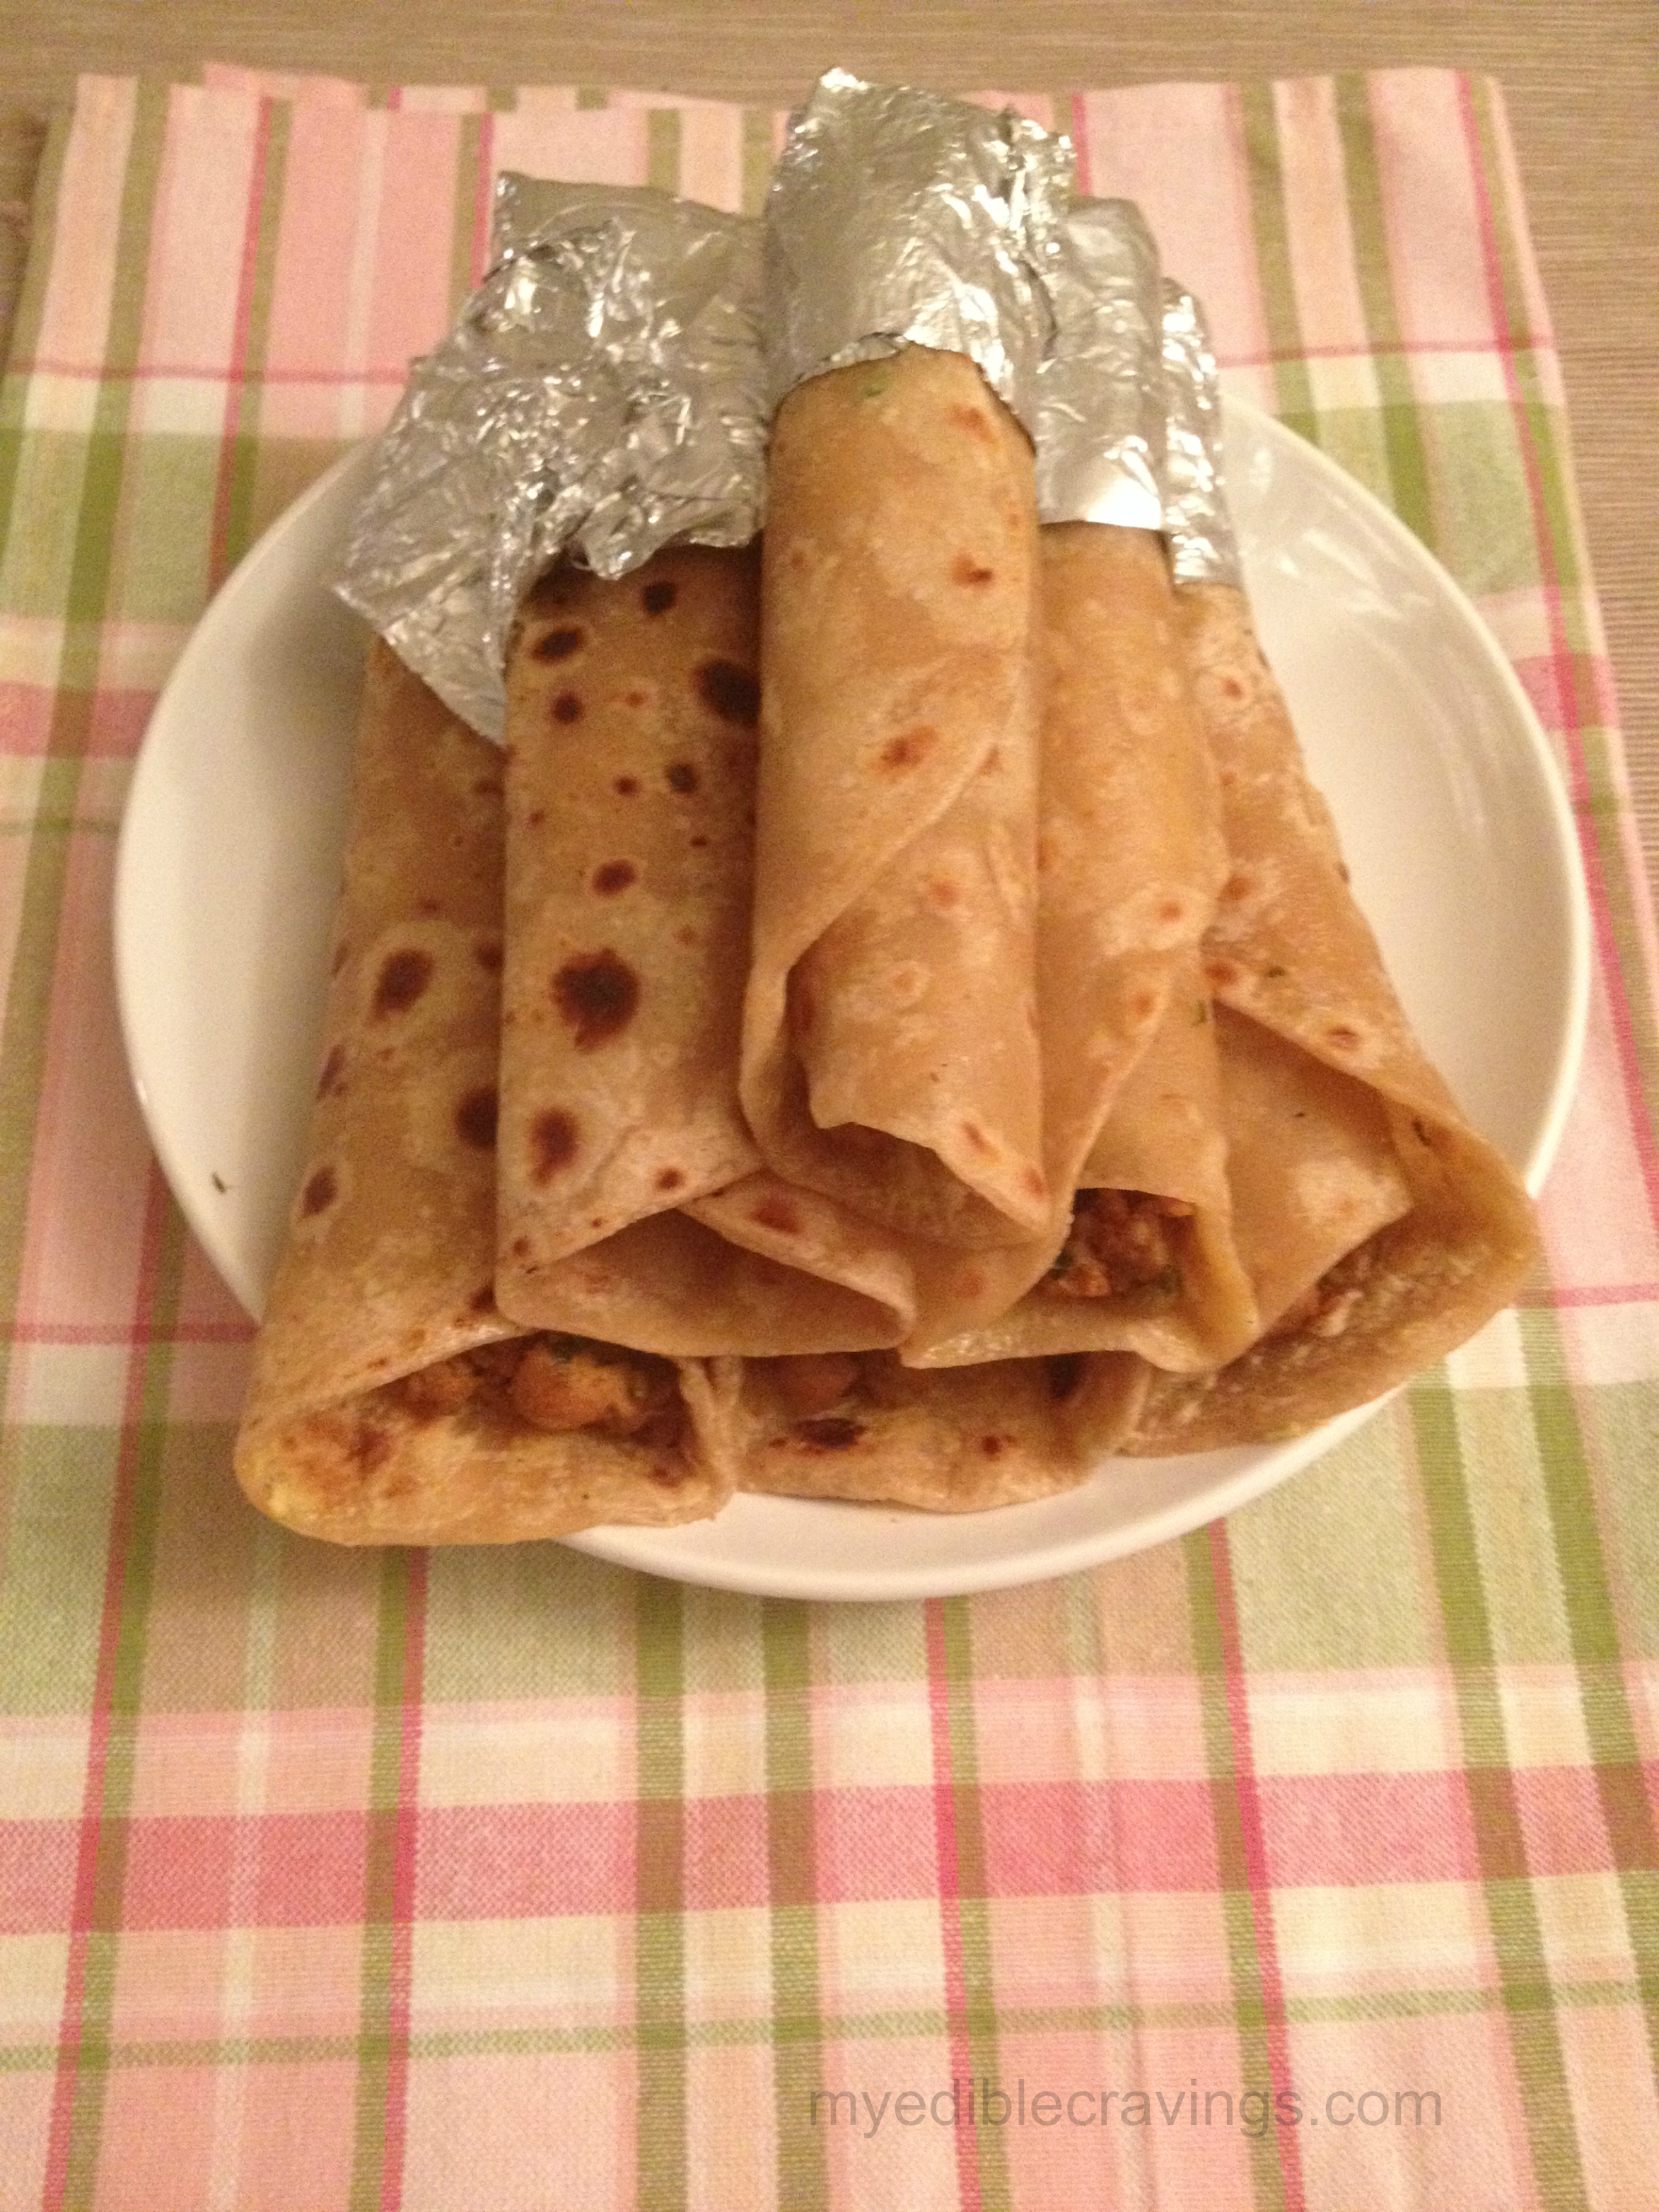
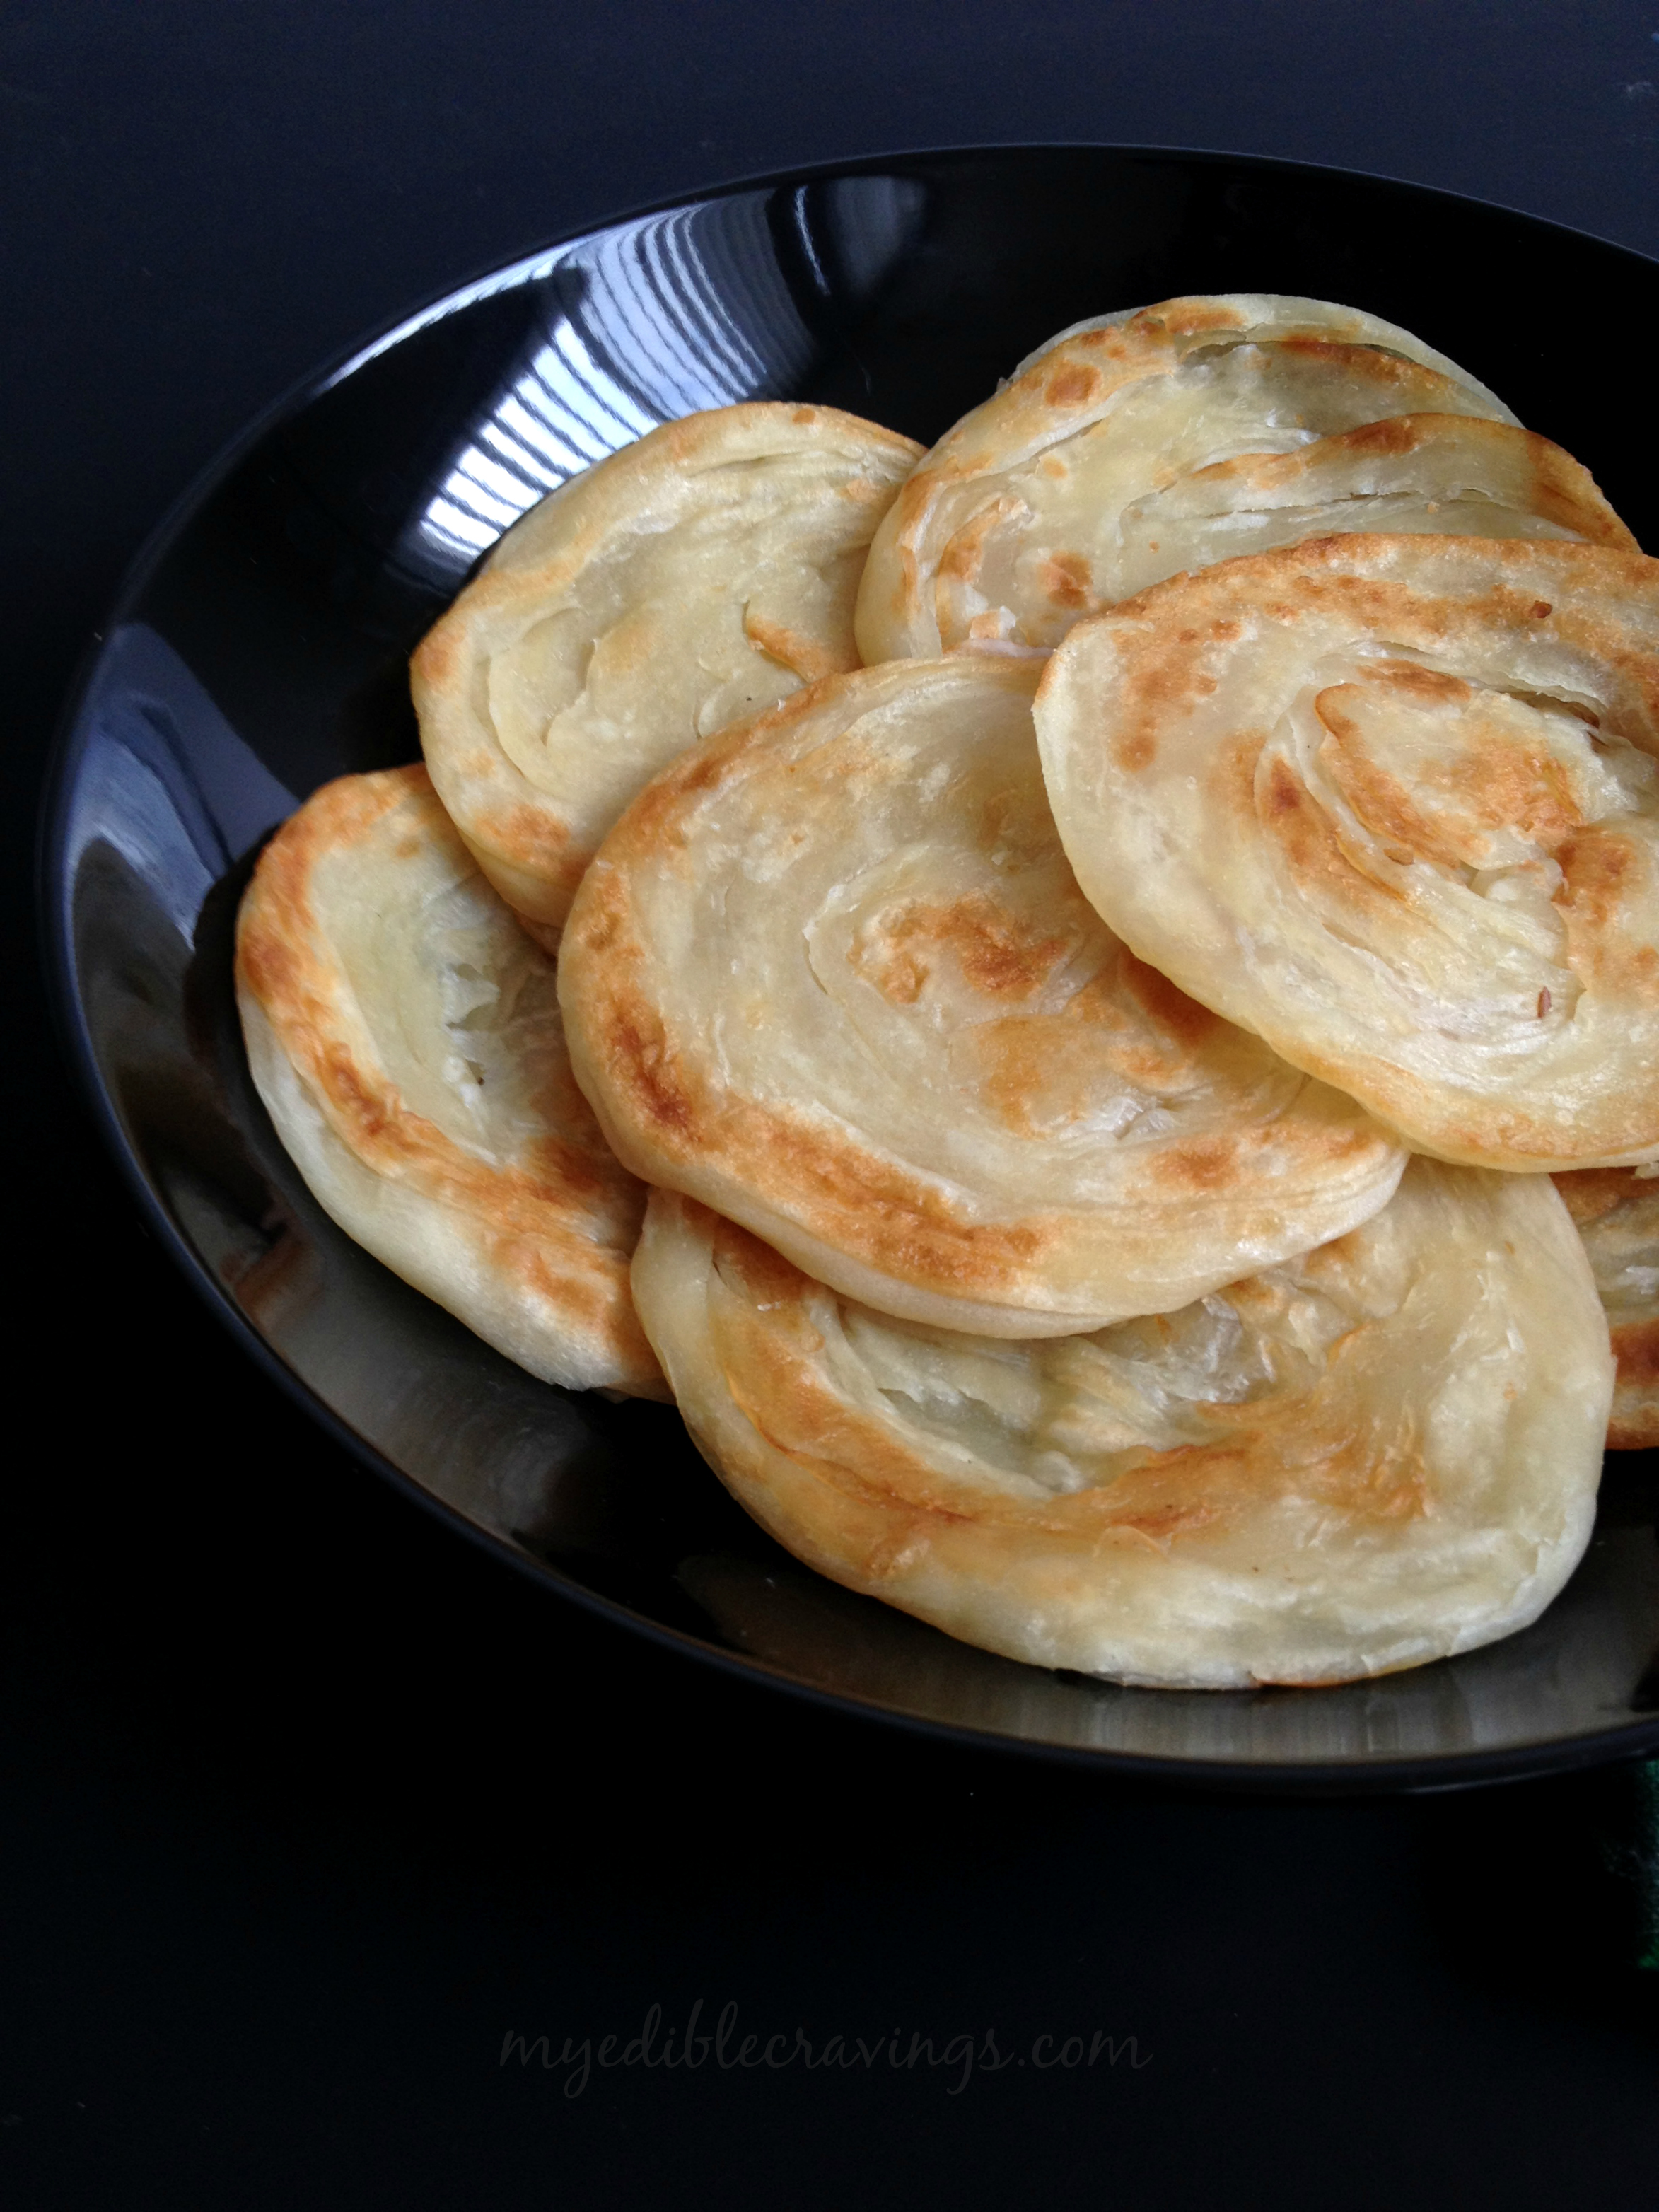
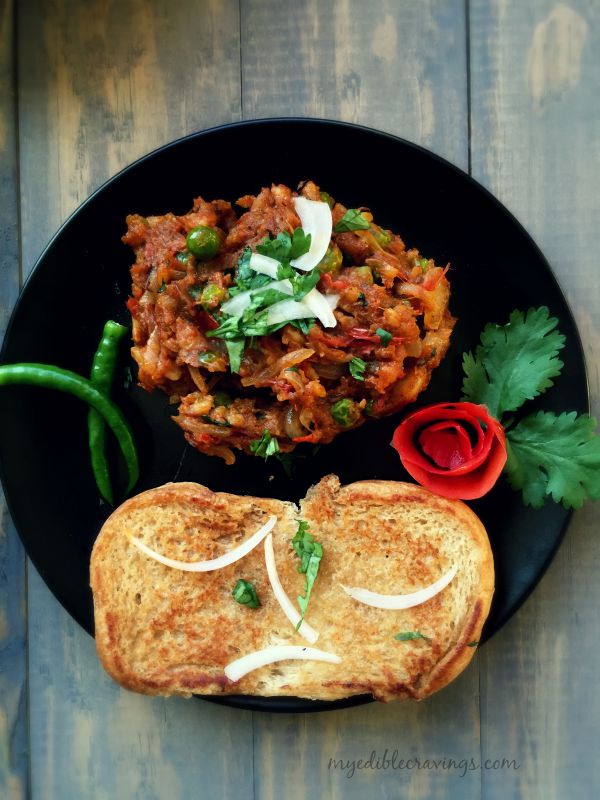
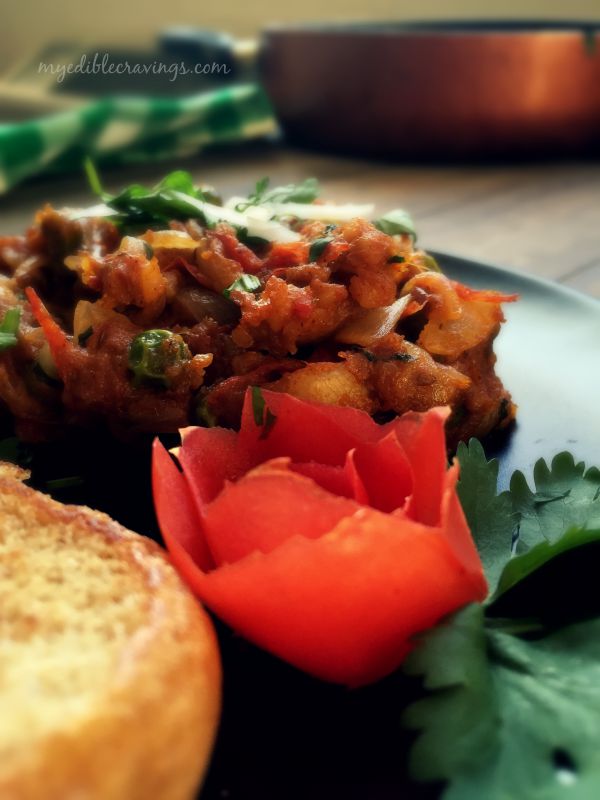
Pav Bhaji is synonymous to Mumbai, next only to Bollywood. It is a type of street food that is sold in road side eateries in India just like gyros in New York City. Pav Bhaji is made of toasted bread roll and spicy vegetable curry usually made of potatoes, green peas and onions.

Pav BhajiAs with most street foods, the ease of making is one of the pluses here, apart from the taste. Unlike most Indian dishes, you don’t have to follow a specific sequence while adding the spices or take care when slicing the onions (there are specific ways to cut the onions depending on the dish you are making in Indian cuisine). I would call the making of Pav Bhaji an orderly messiness :), where you know what ingredients to add and when but you don’t care about the way you add them.

Pav BhajiPav Bhaji is very easy to make. You can customize the bhaji (vegetable curry) to suit your taste, like the vegetables you want to use and the spice level in the curry. Having hot Pav Bhaji with a cup of tea or coffee on a rainy evening is an experience to live for 🙂

Pav Bhaji
Recipe type: Main
Cuisine: Indian
Prep time: 
Cook time: 
Total time: 
Serves: 3
 
Ingredients
  • Unsalted butter – 3 to 4 tbsp, divided
  • Cumin seeds – ½ tsp
  • Onion, slits – 1 no , divided
  • Potato, medium – 3 nos
  • Tomato, big, slits – 1 no
  • Green peas, cooked – ¼ cup (I used frozen peas)
  • Pav bhaji masala – 1 to 1 1 ½ tsp ( I used sakthi brand )
  • Salt as required
  • Red chilli powder – ½ tsp
  • Kashmiri chilli powder – ¼ tsp (optional)
  • Coriander powder - 1 tsp
  • Cilantro, finley chopped – 3 tbsp
Instructions
  1. Add enough water in a pressure cooker just to sink the potatoes and pressure cook for 2 whistles. Allow it to cool. Peel the skin and mash them using your clean hand or with a potato masher.
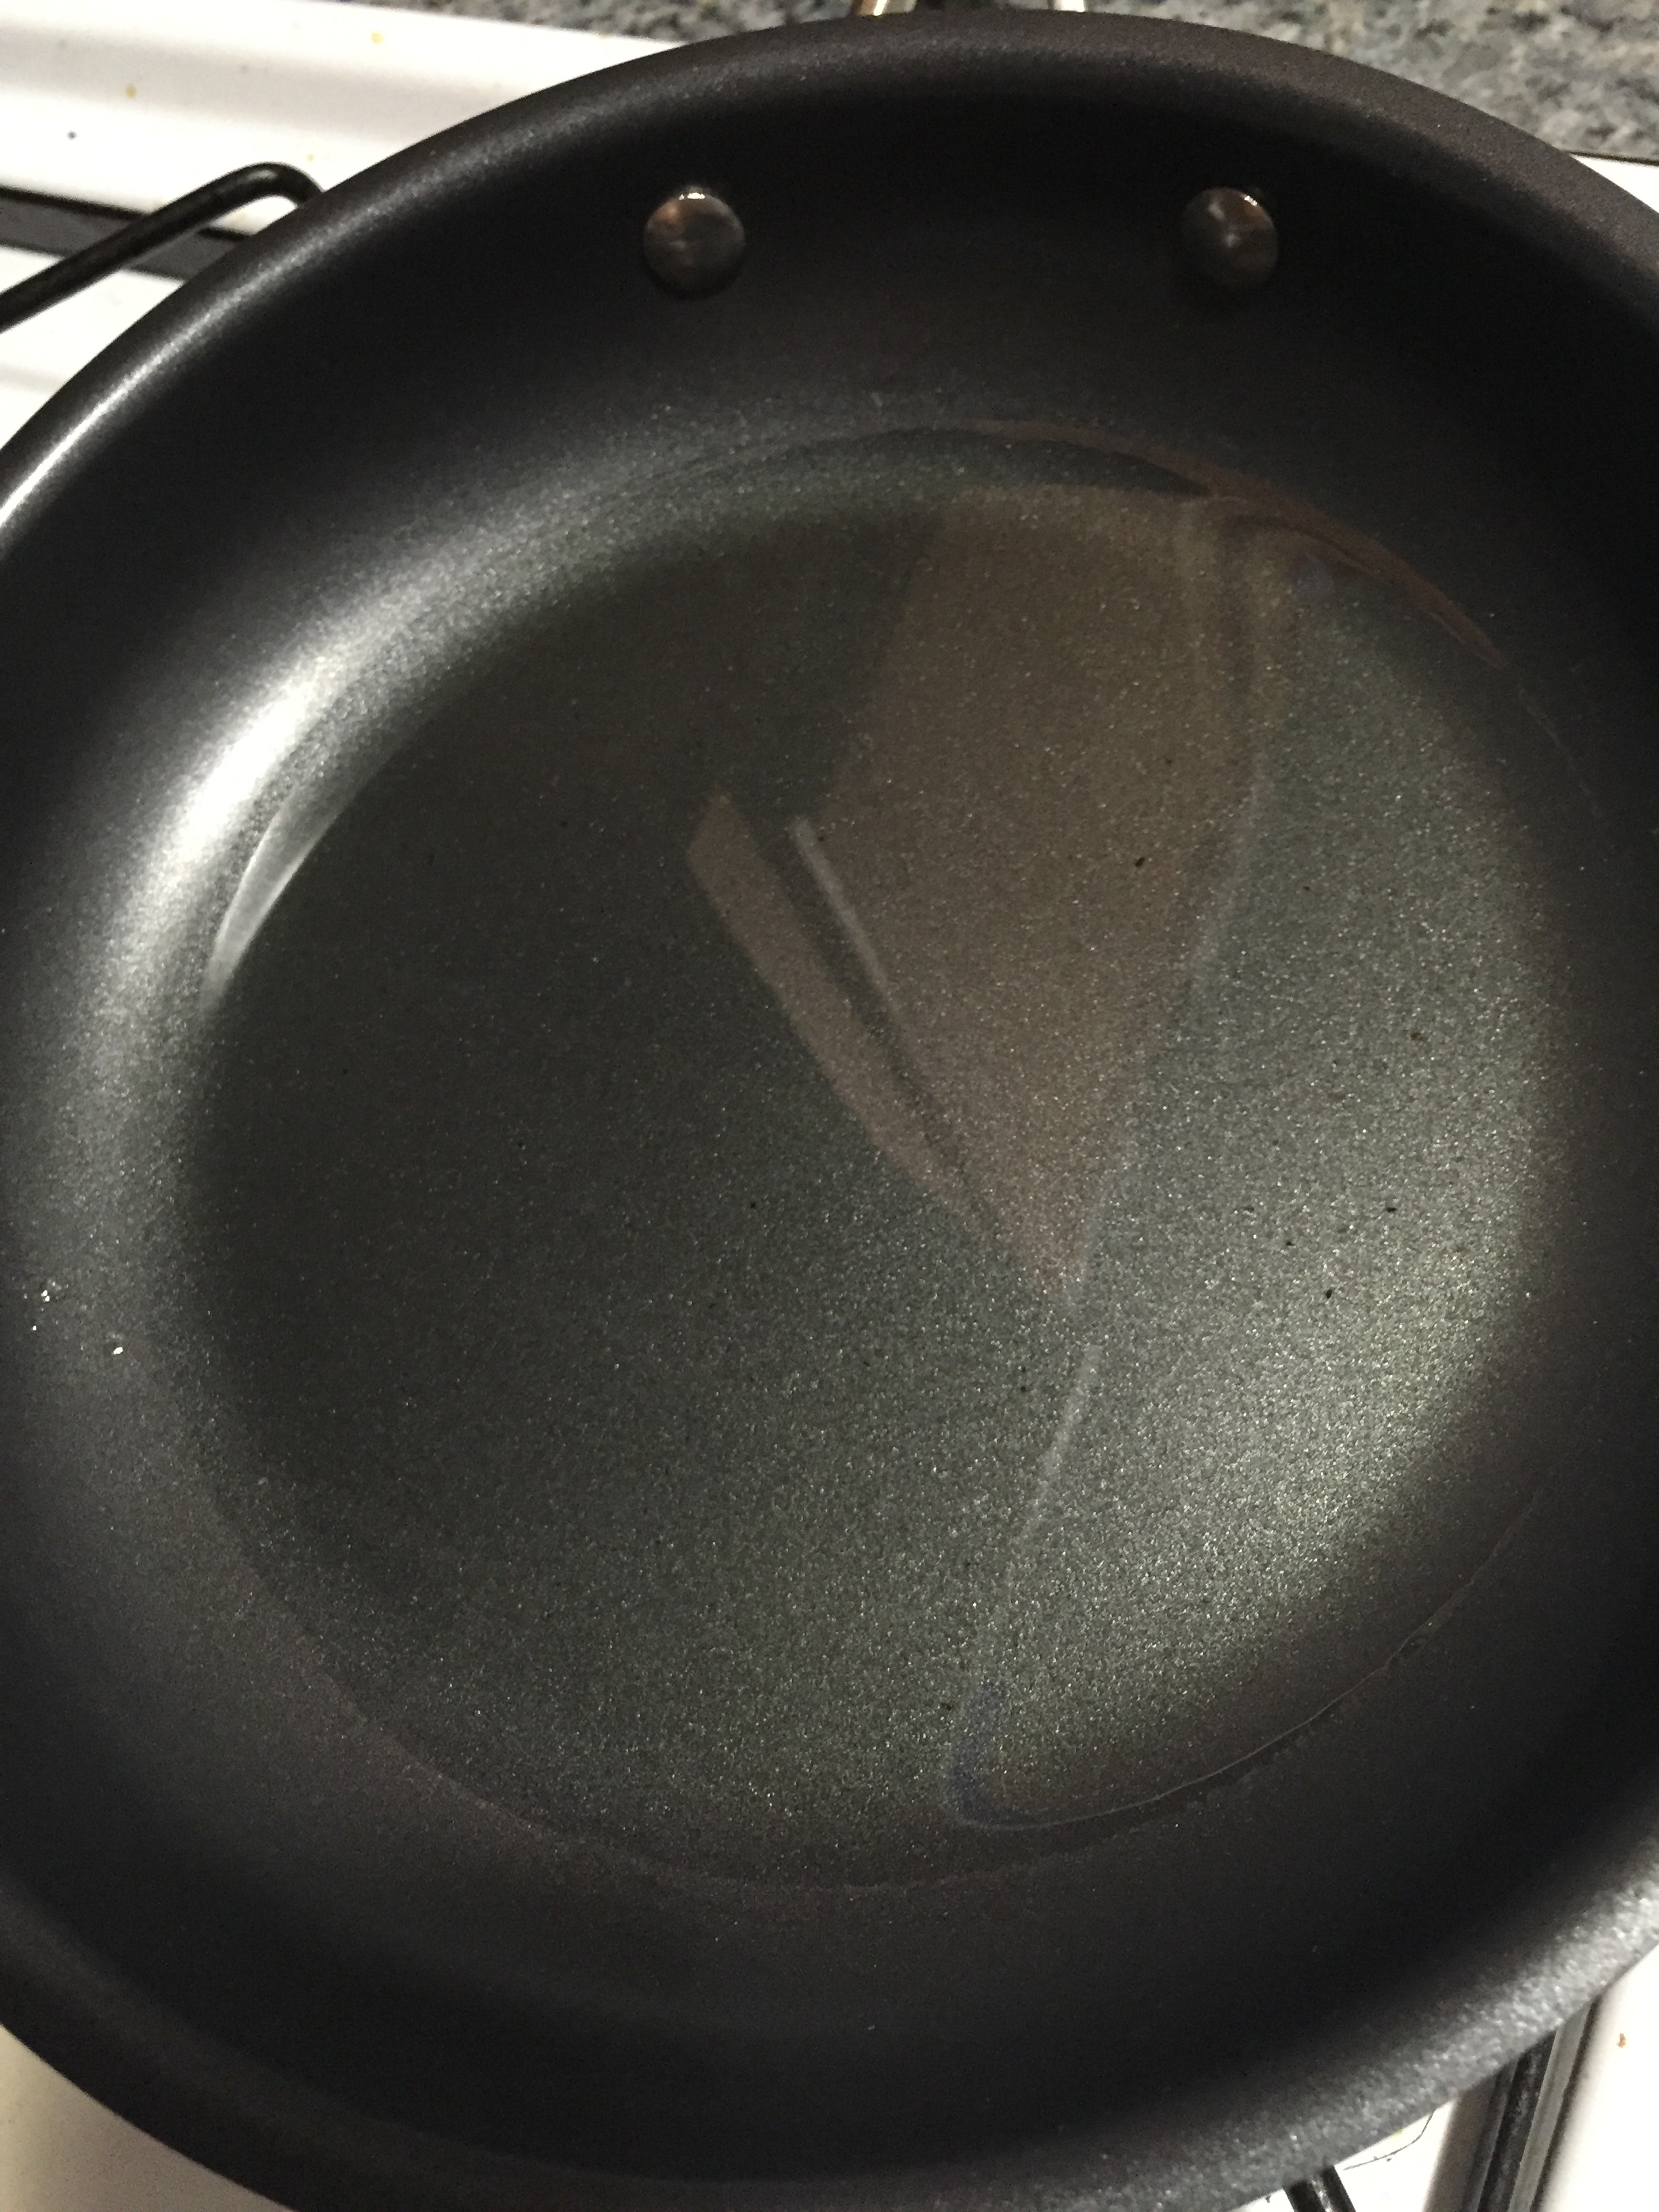
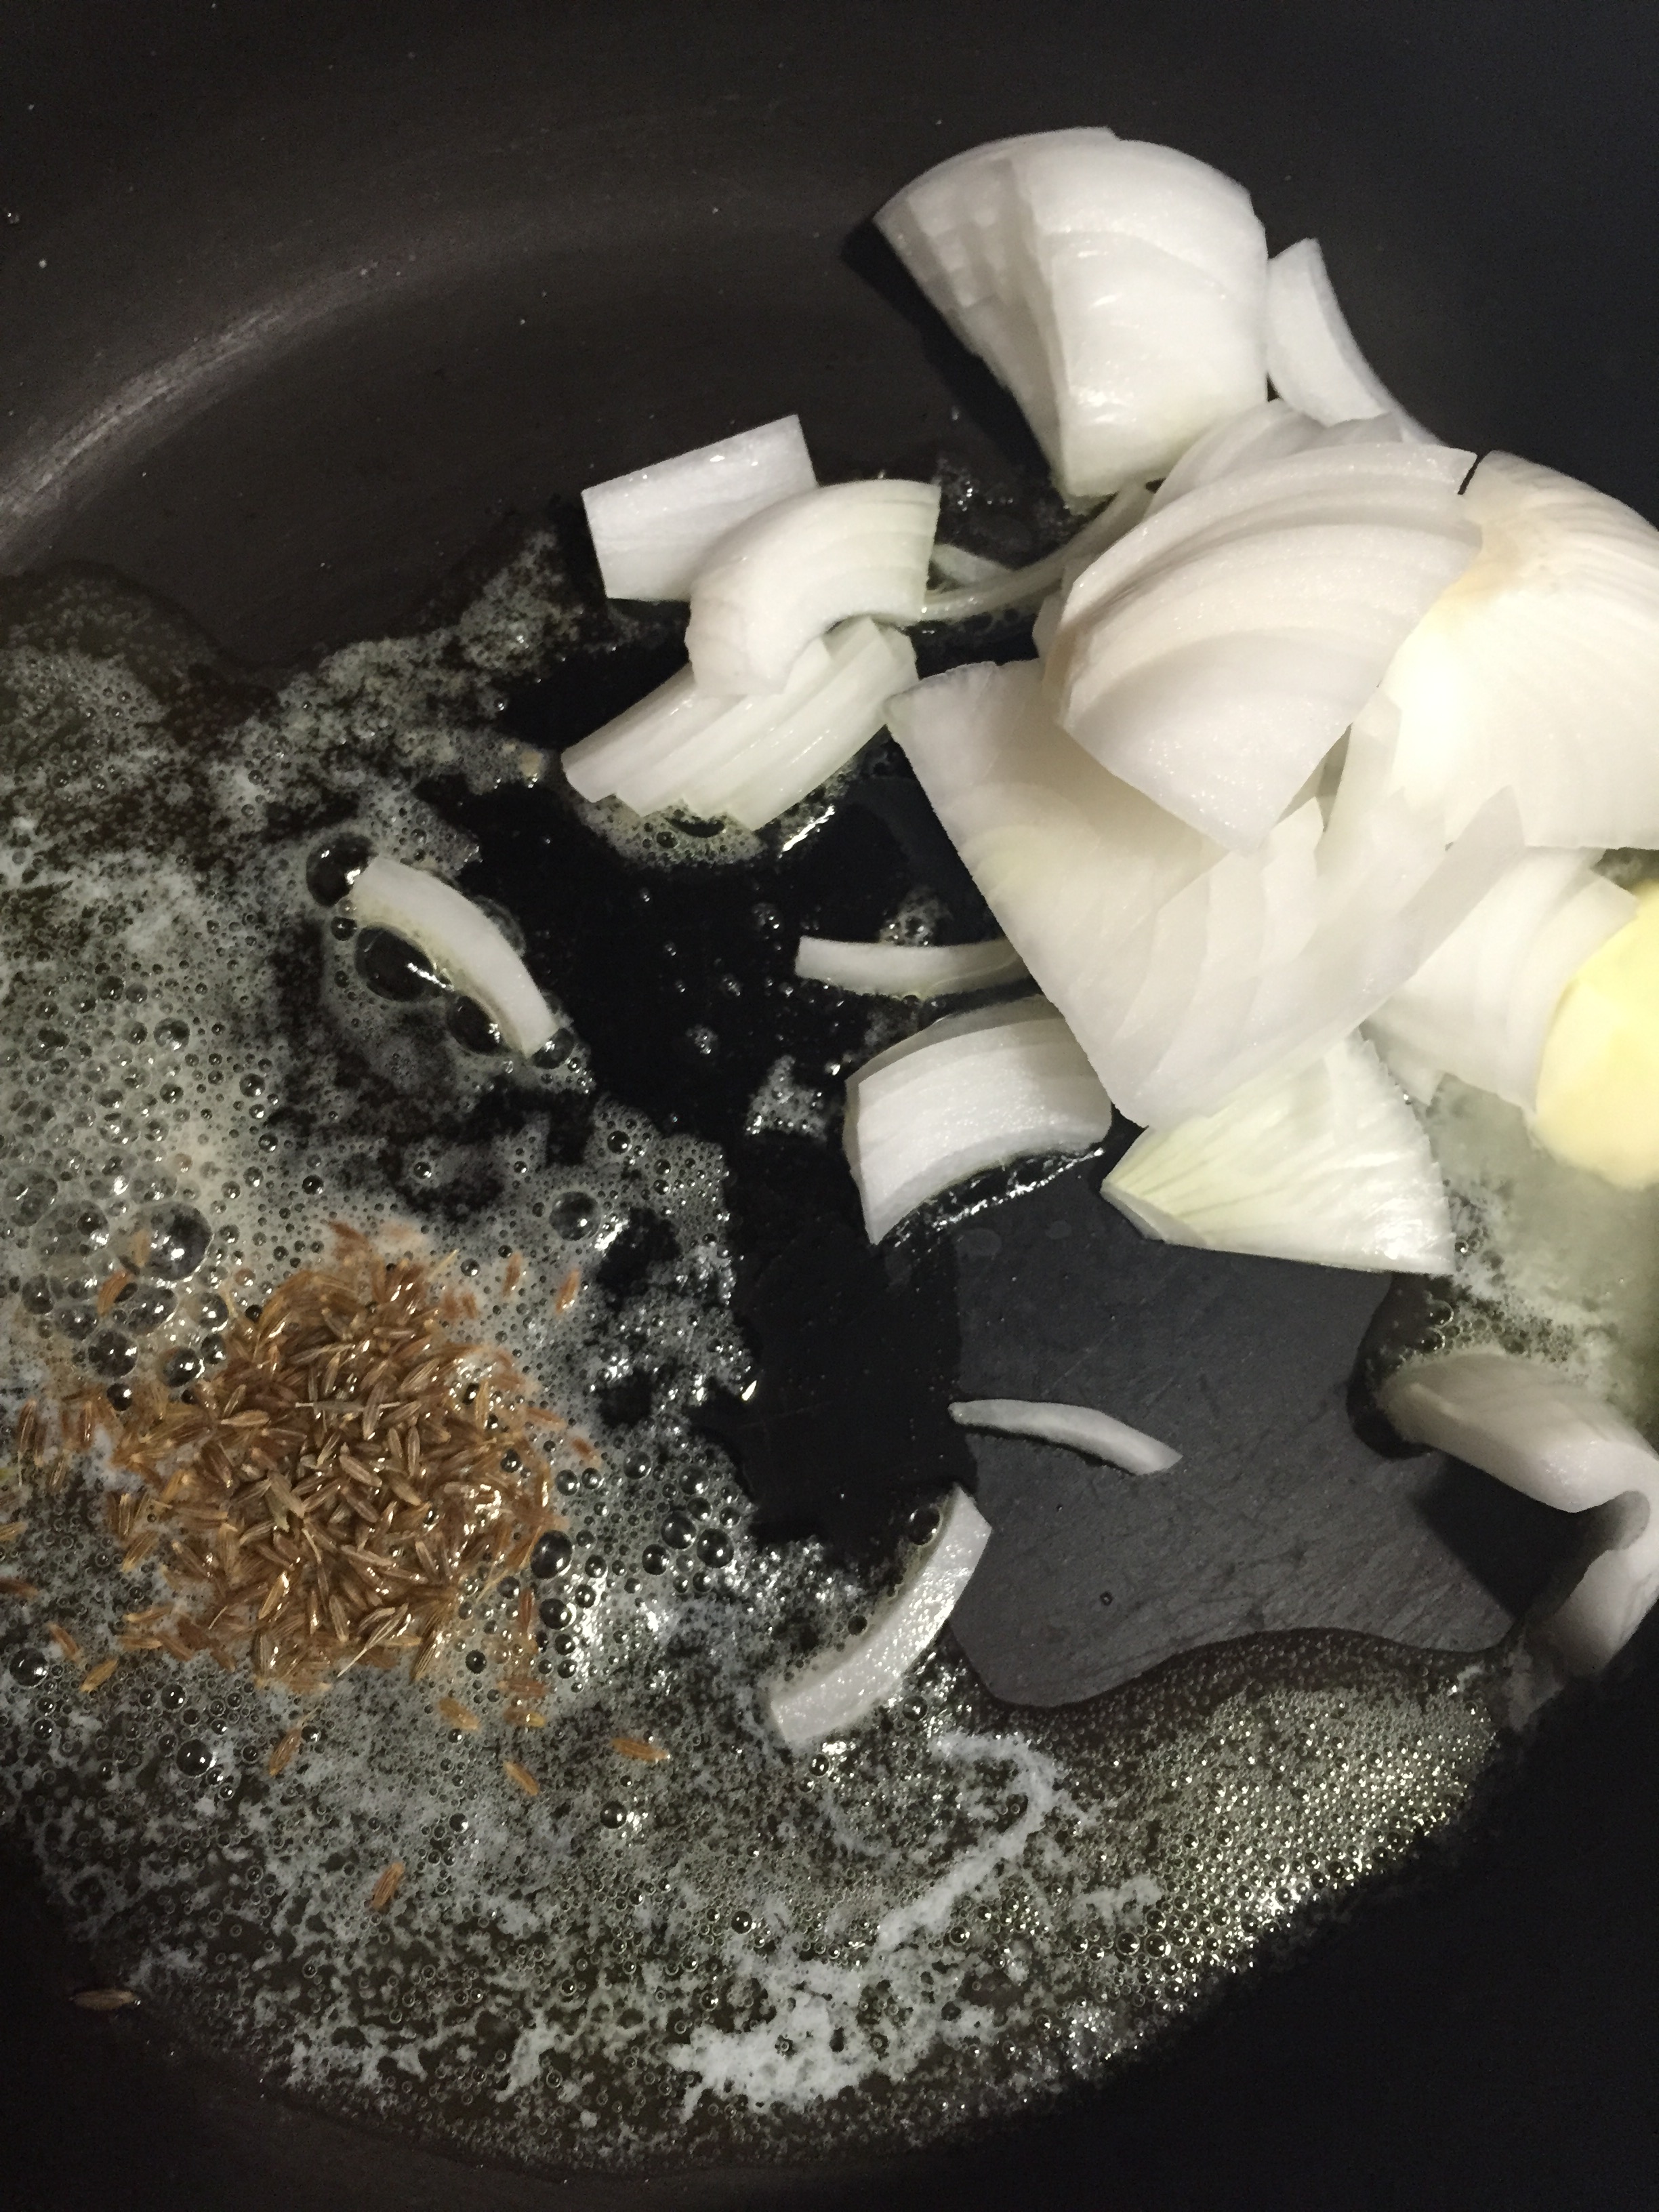
  2. Heat a flat pan and add 2 tbsp of butter. Add in cumin seeds when the butter starts to melt.
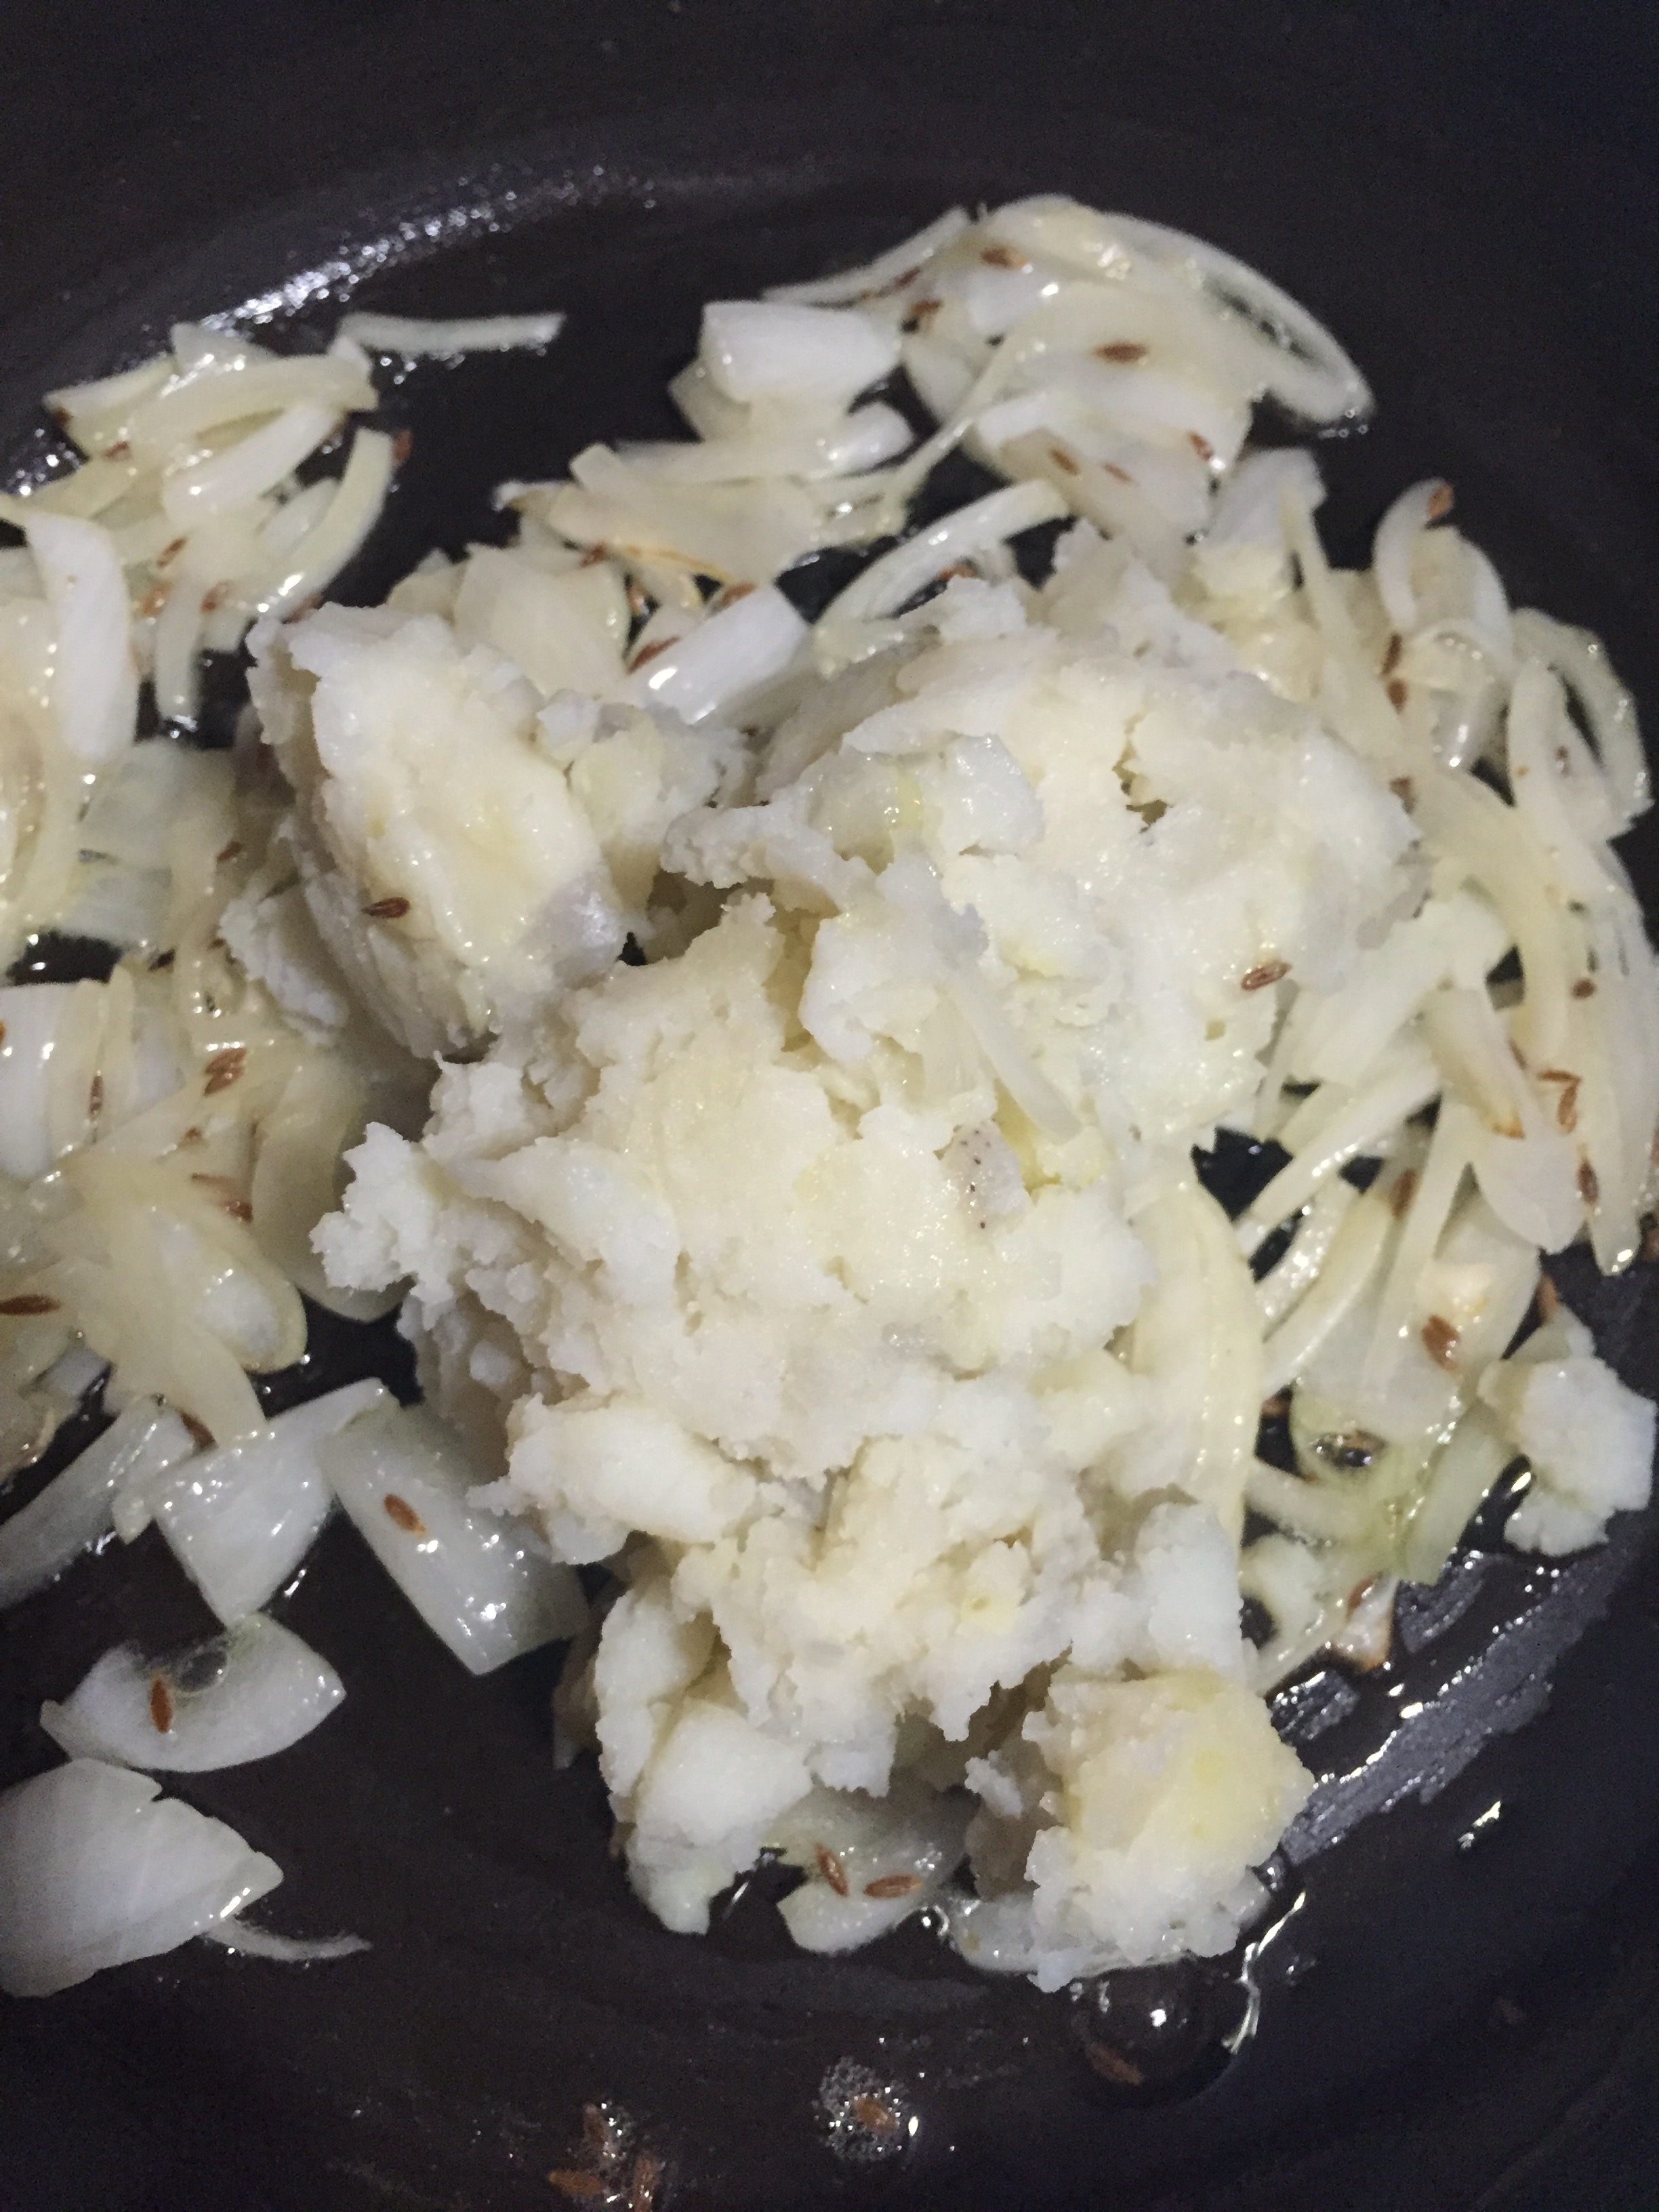
  3. Add ¾th of the thin sliced onions and sauté for few seconds until they turn translucent.
  4. Add the mashed potato and mix well. Add little salt at this stage.
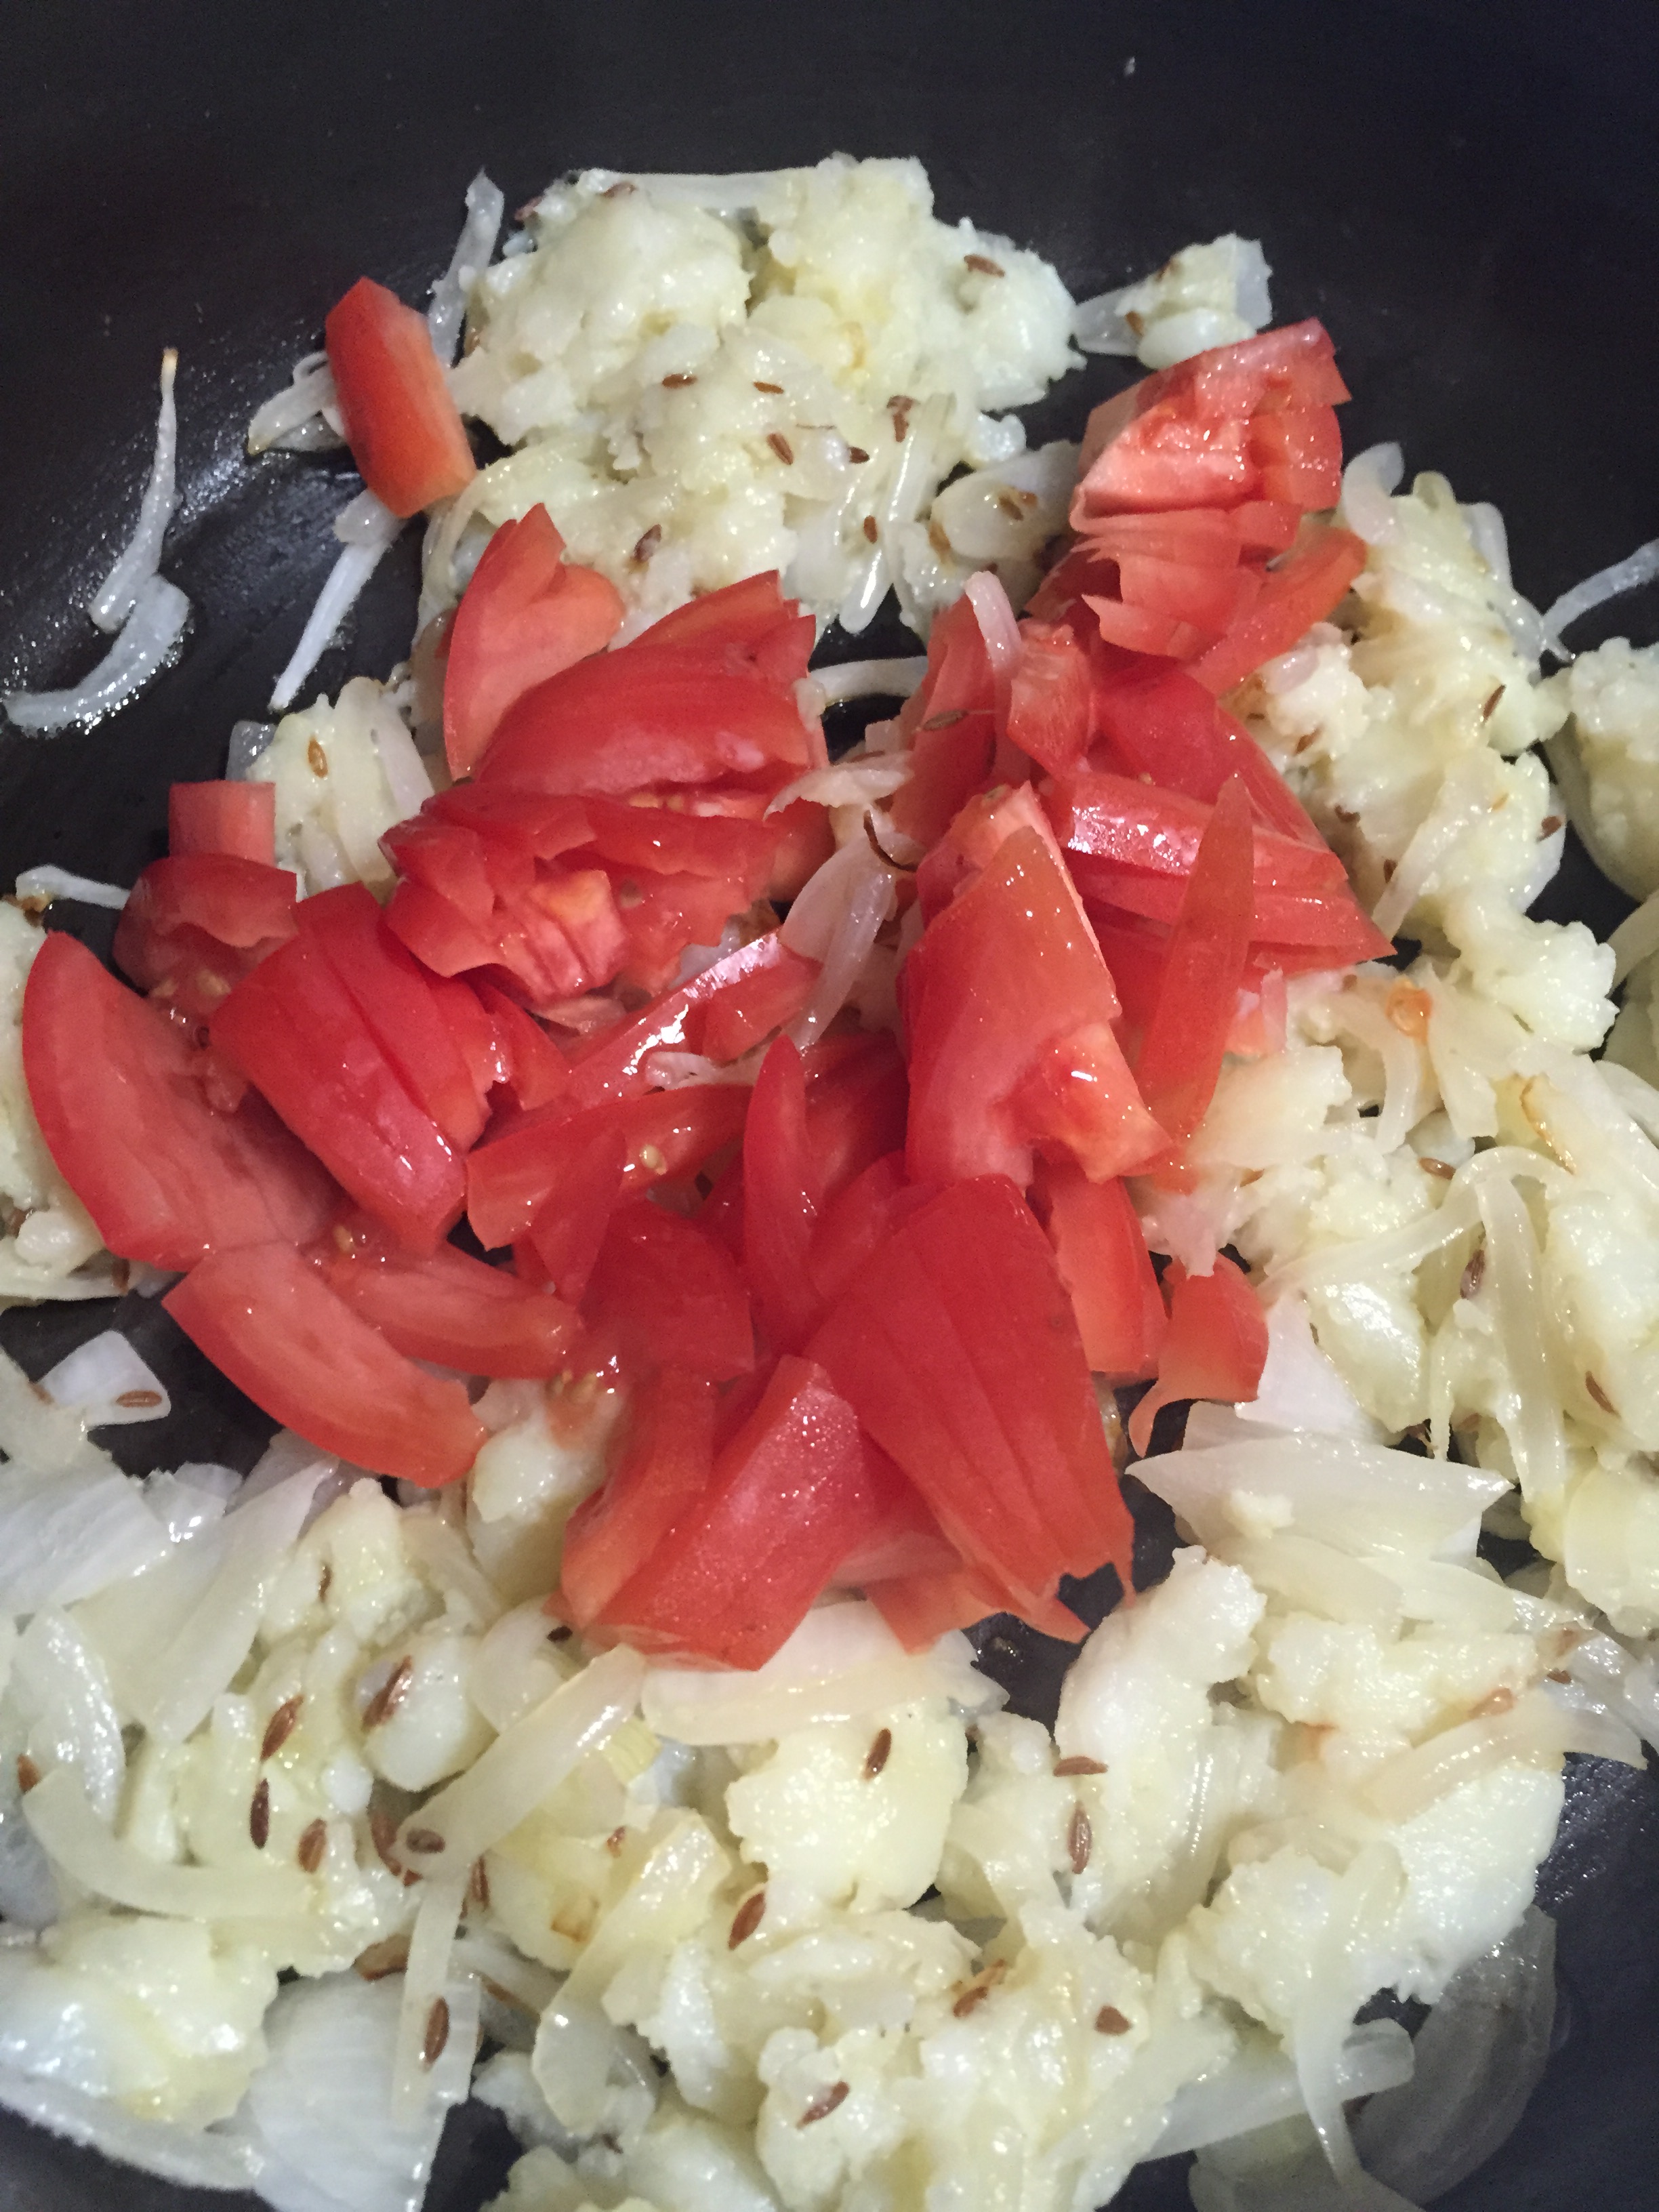
  5. Now add thin sliced tomato into the mixture and saute well for couple of minutes or until well blended with potatoes.
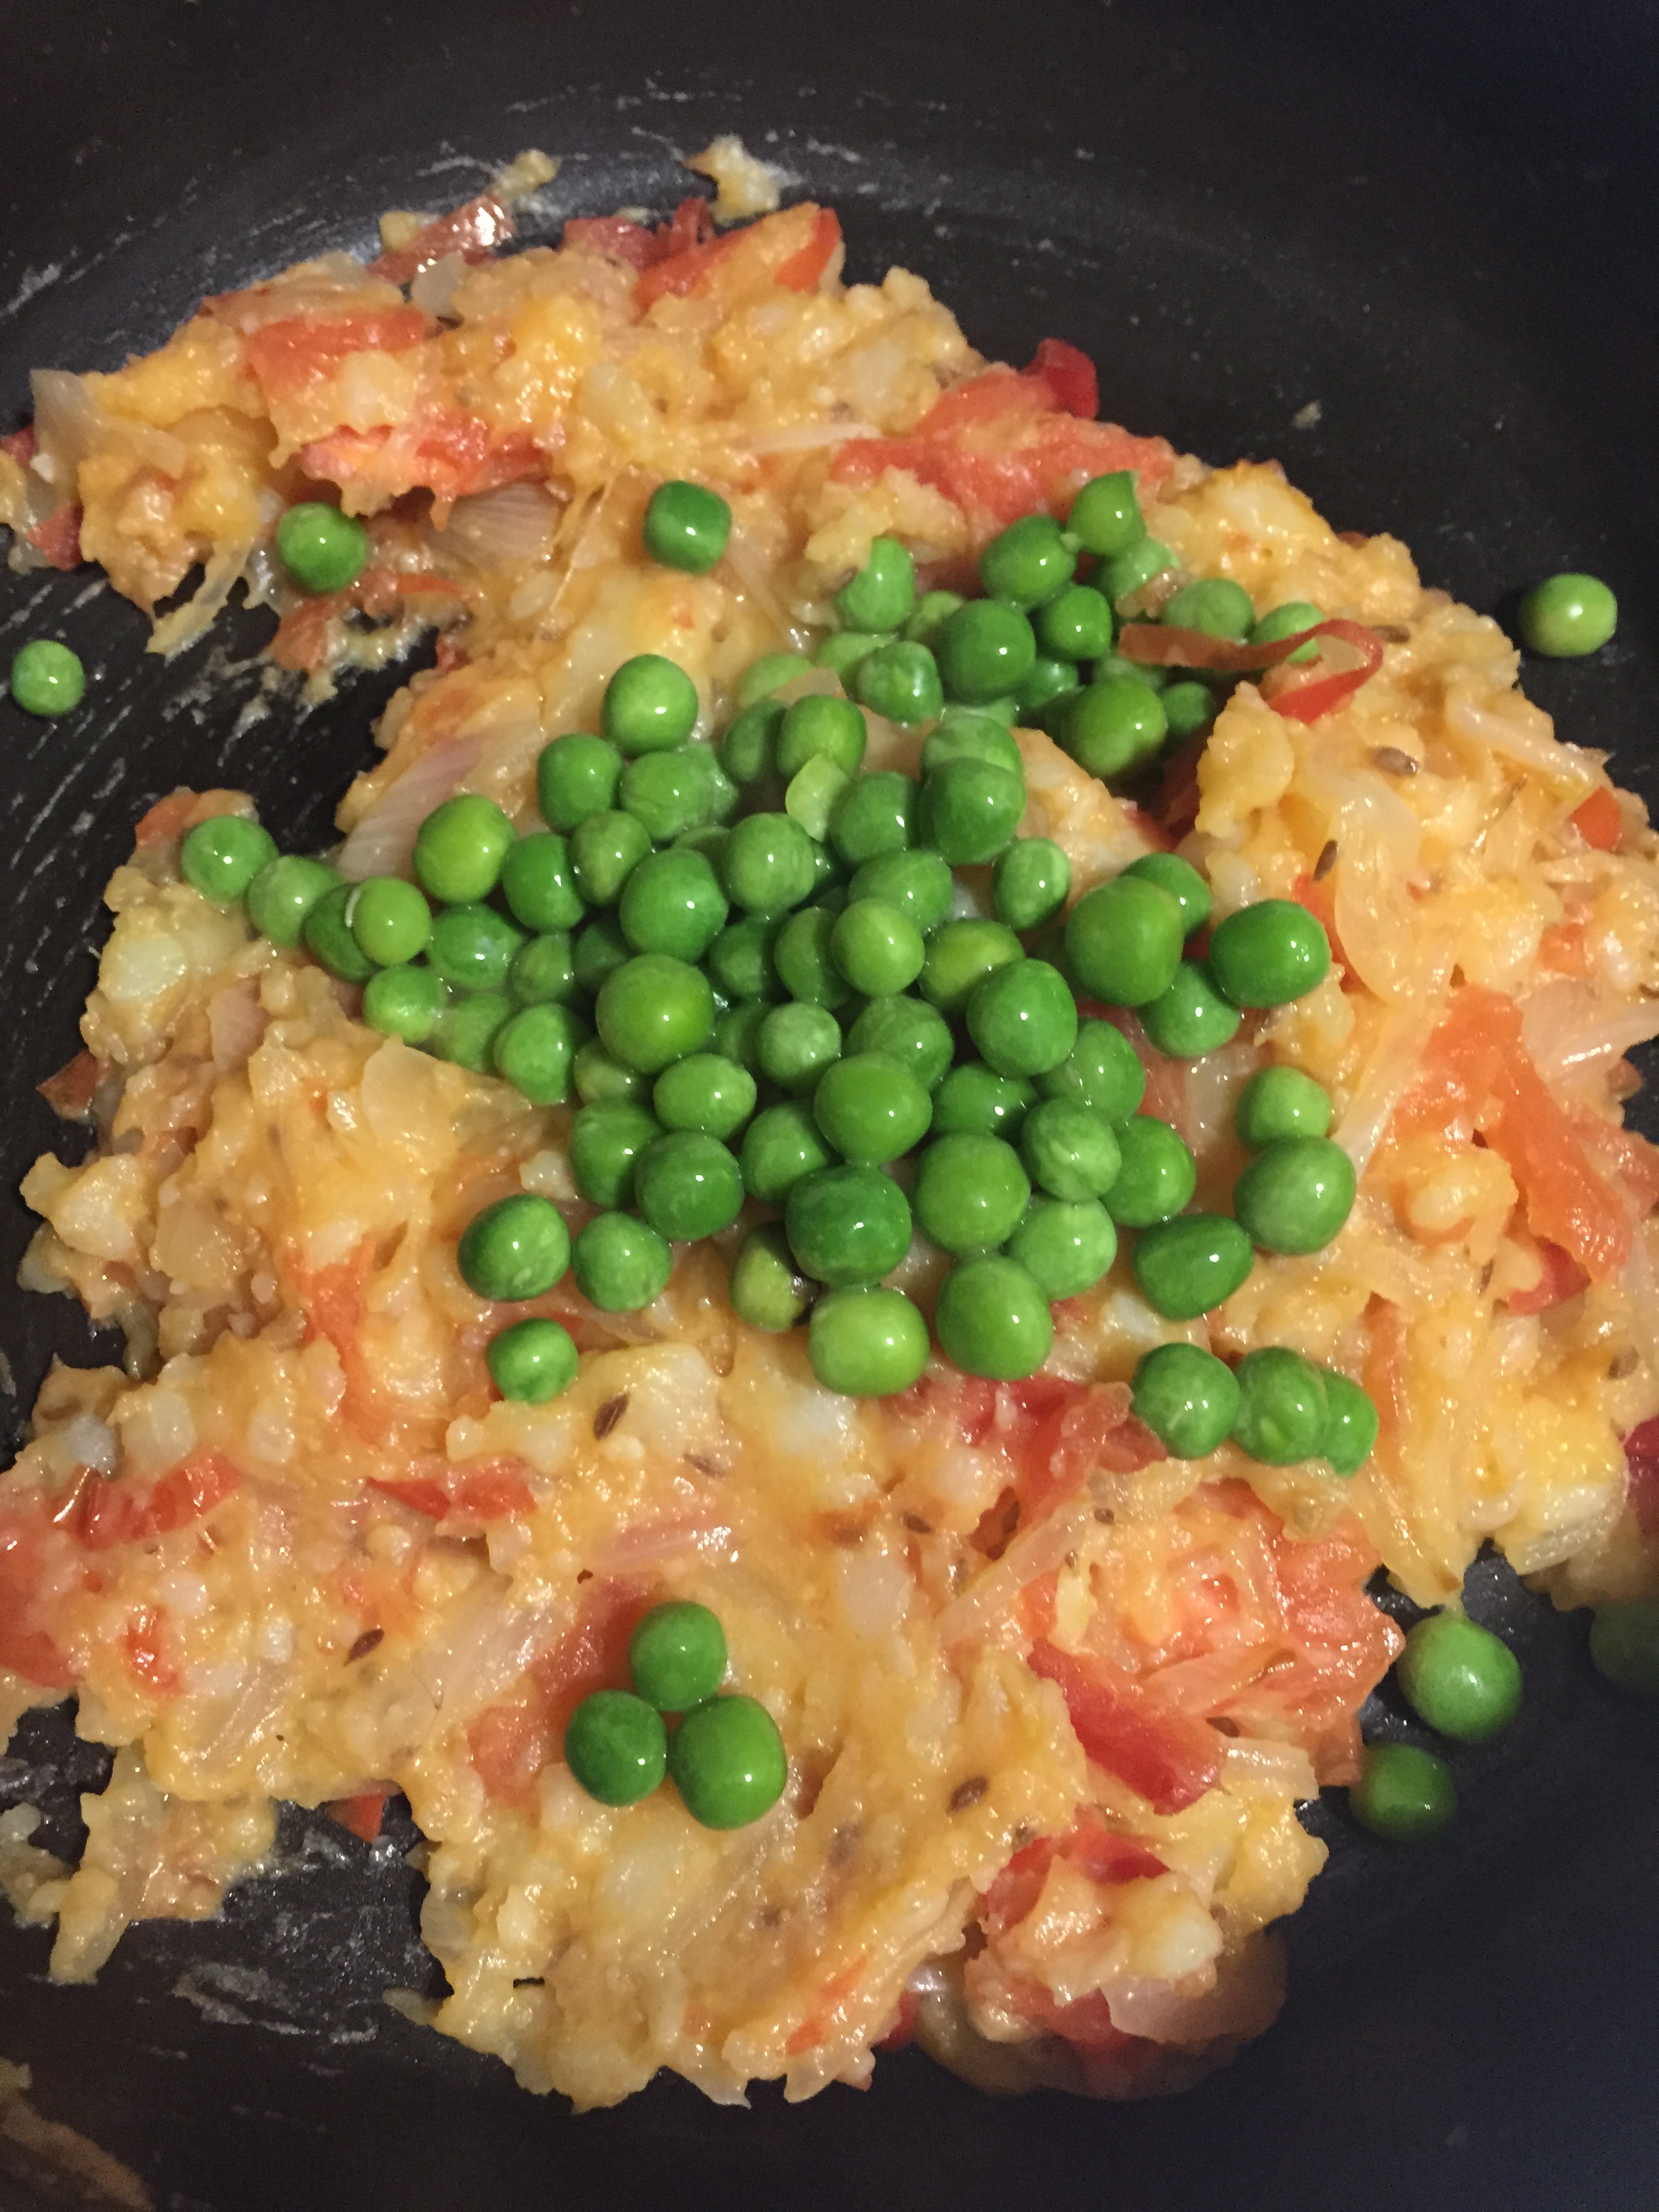
  6. Add in cooked green peas and mix well.
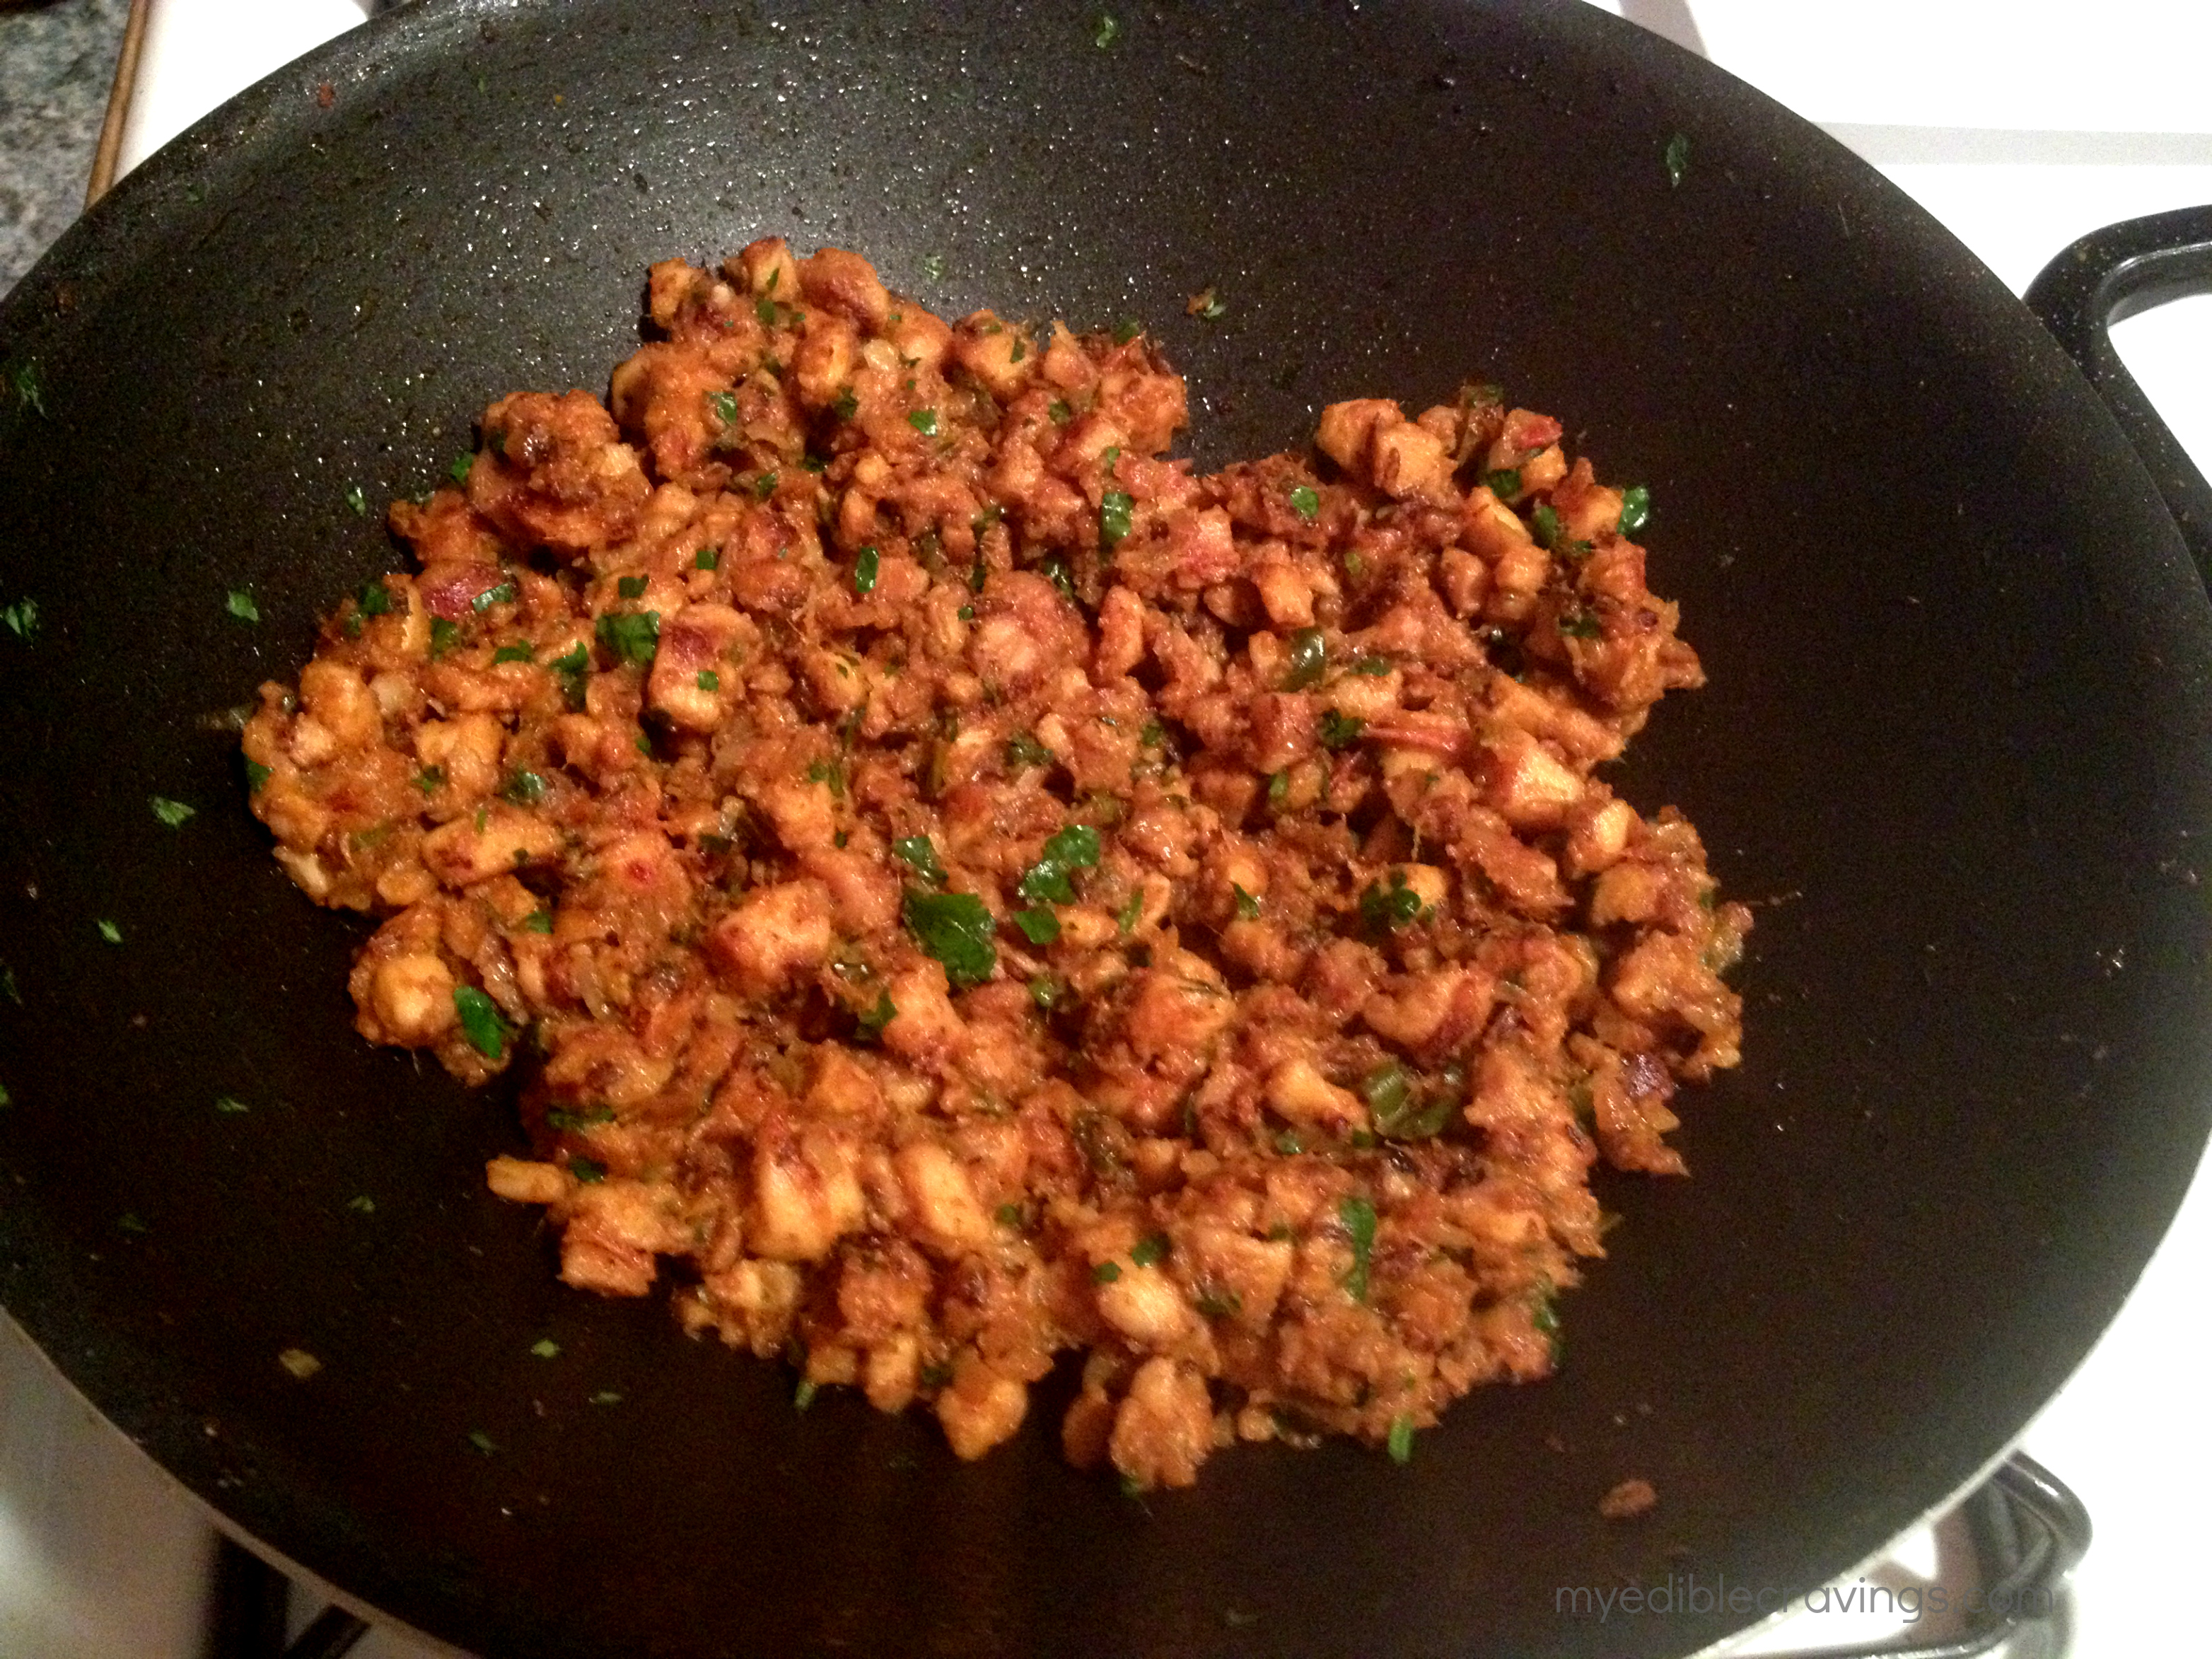
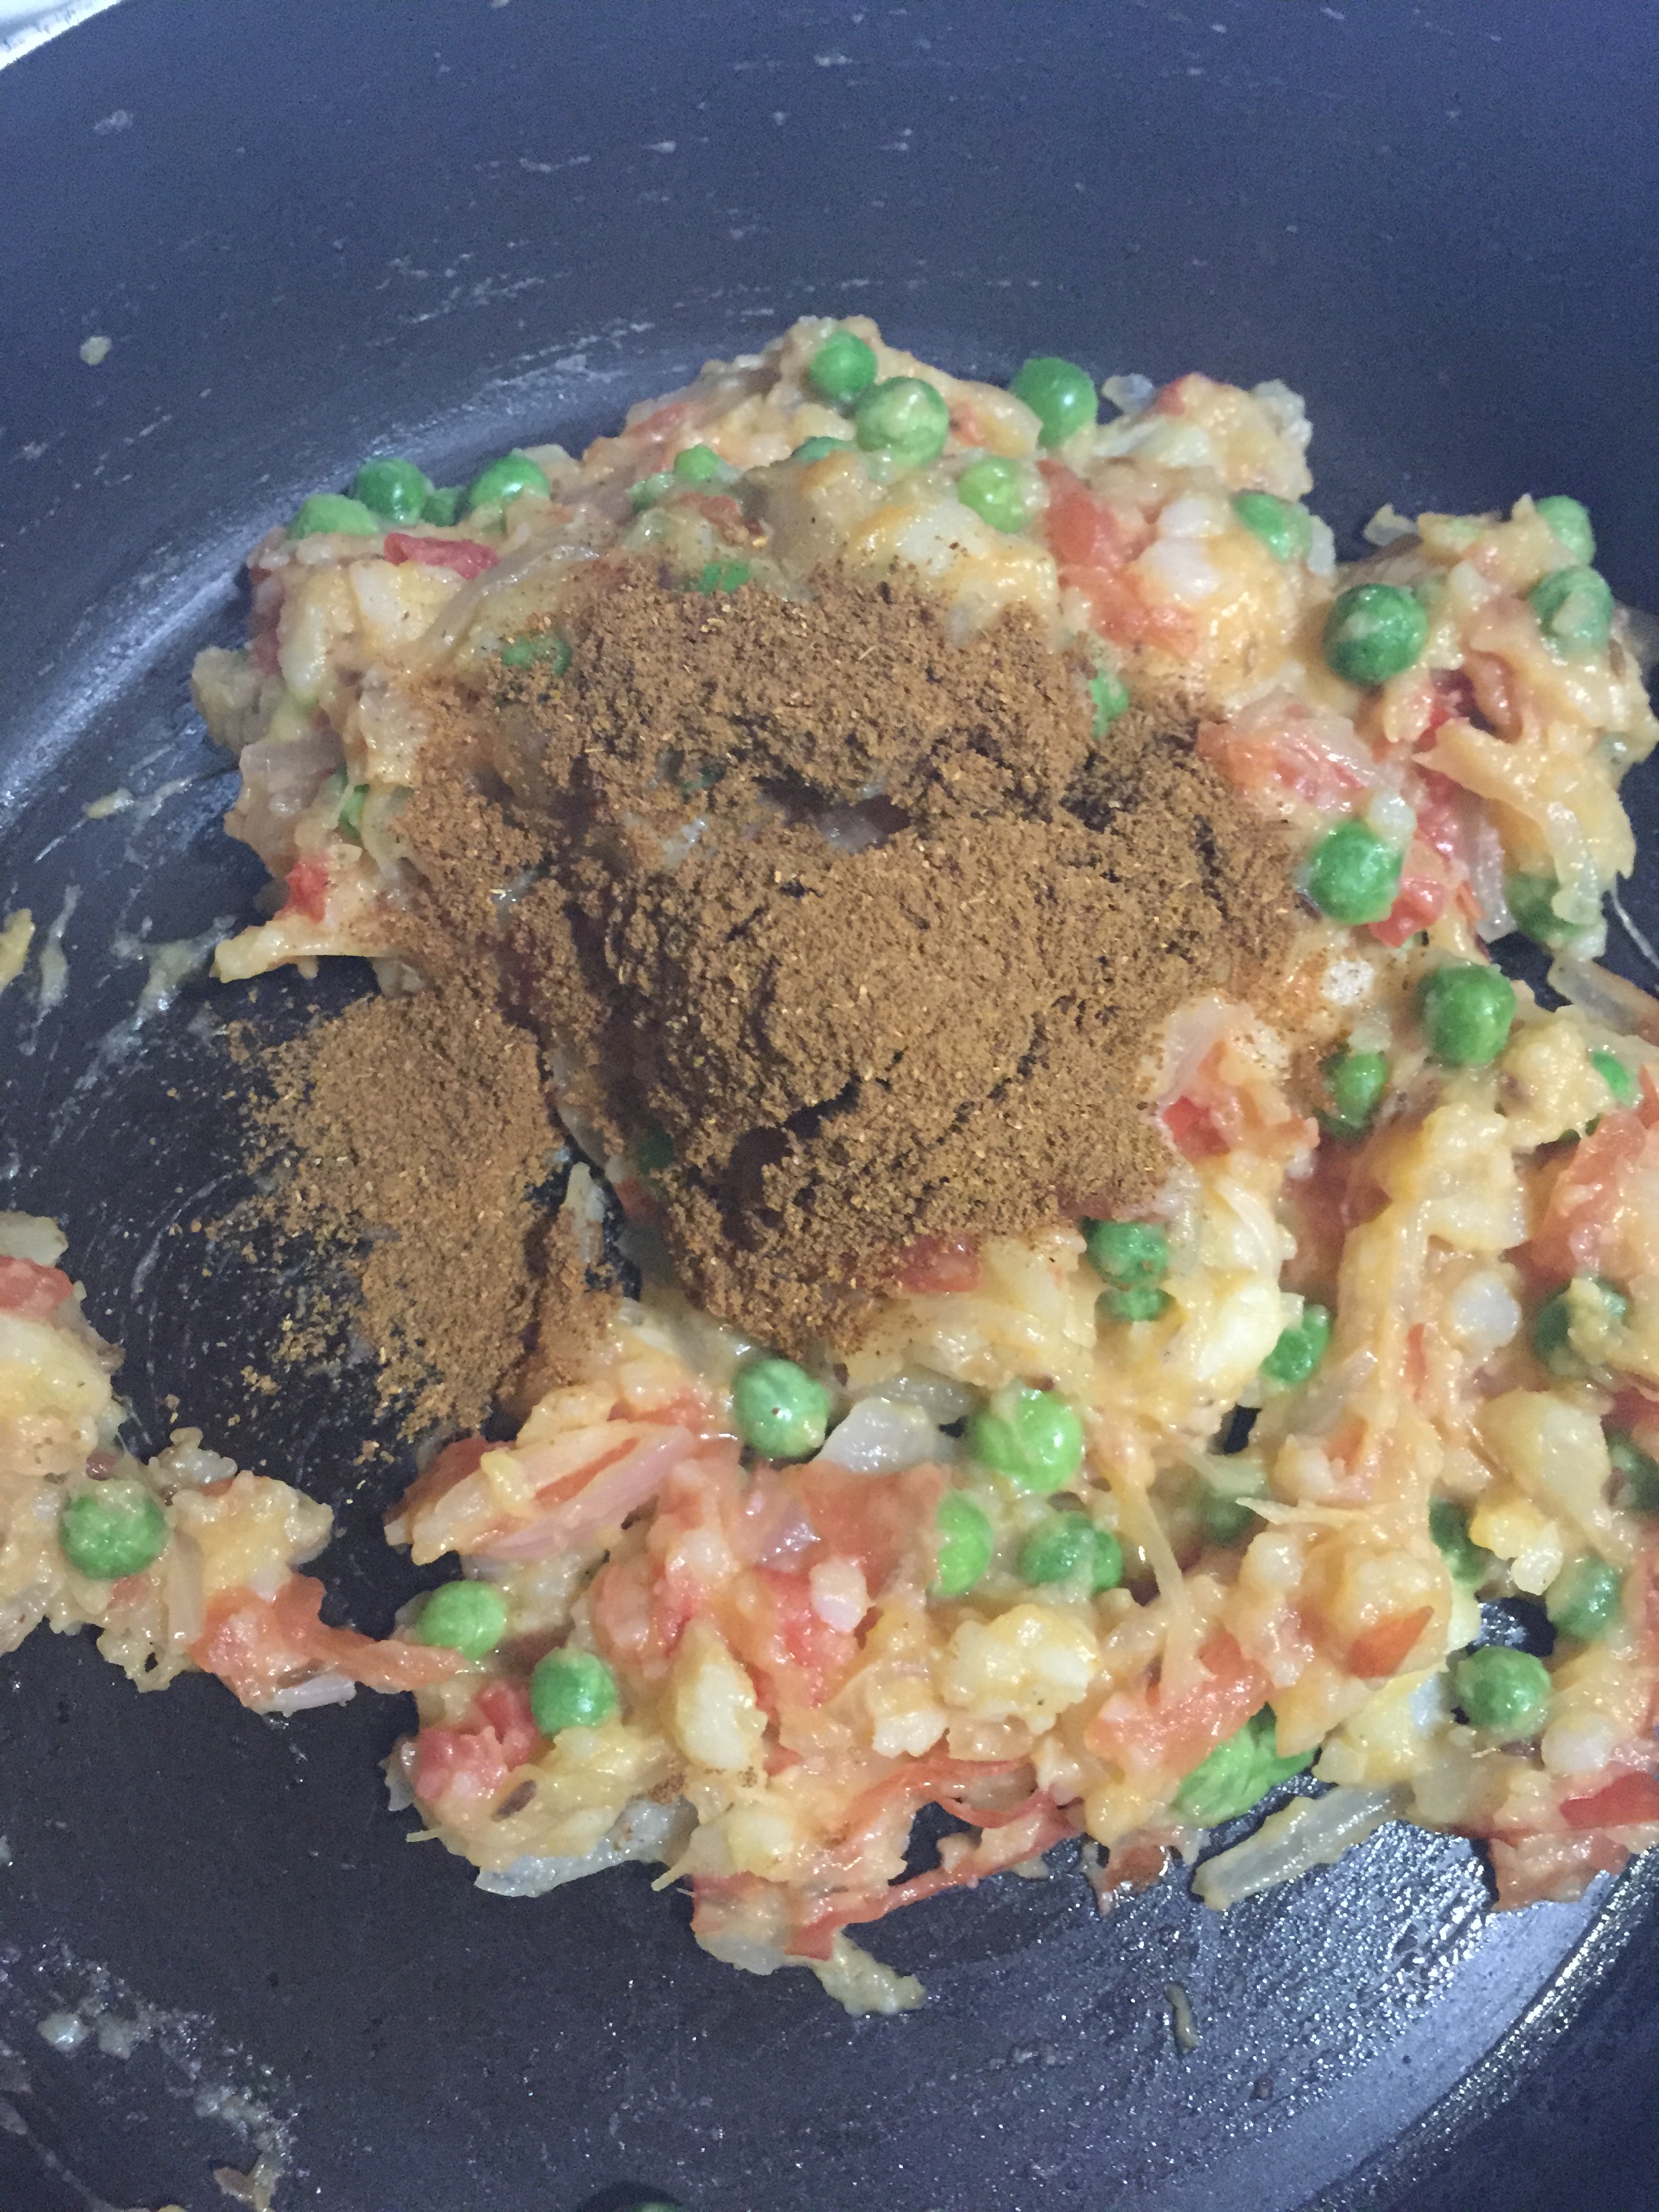
  7. Add in pav bhaji masala and mix well. Saute them for a minute.
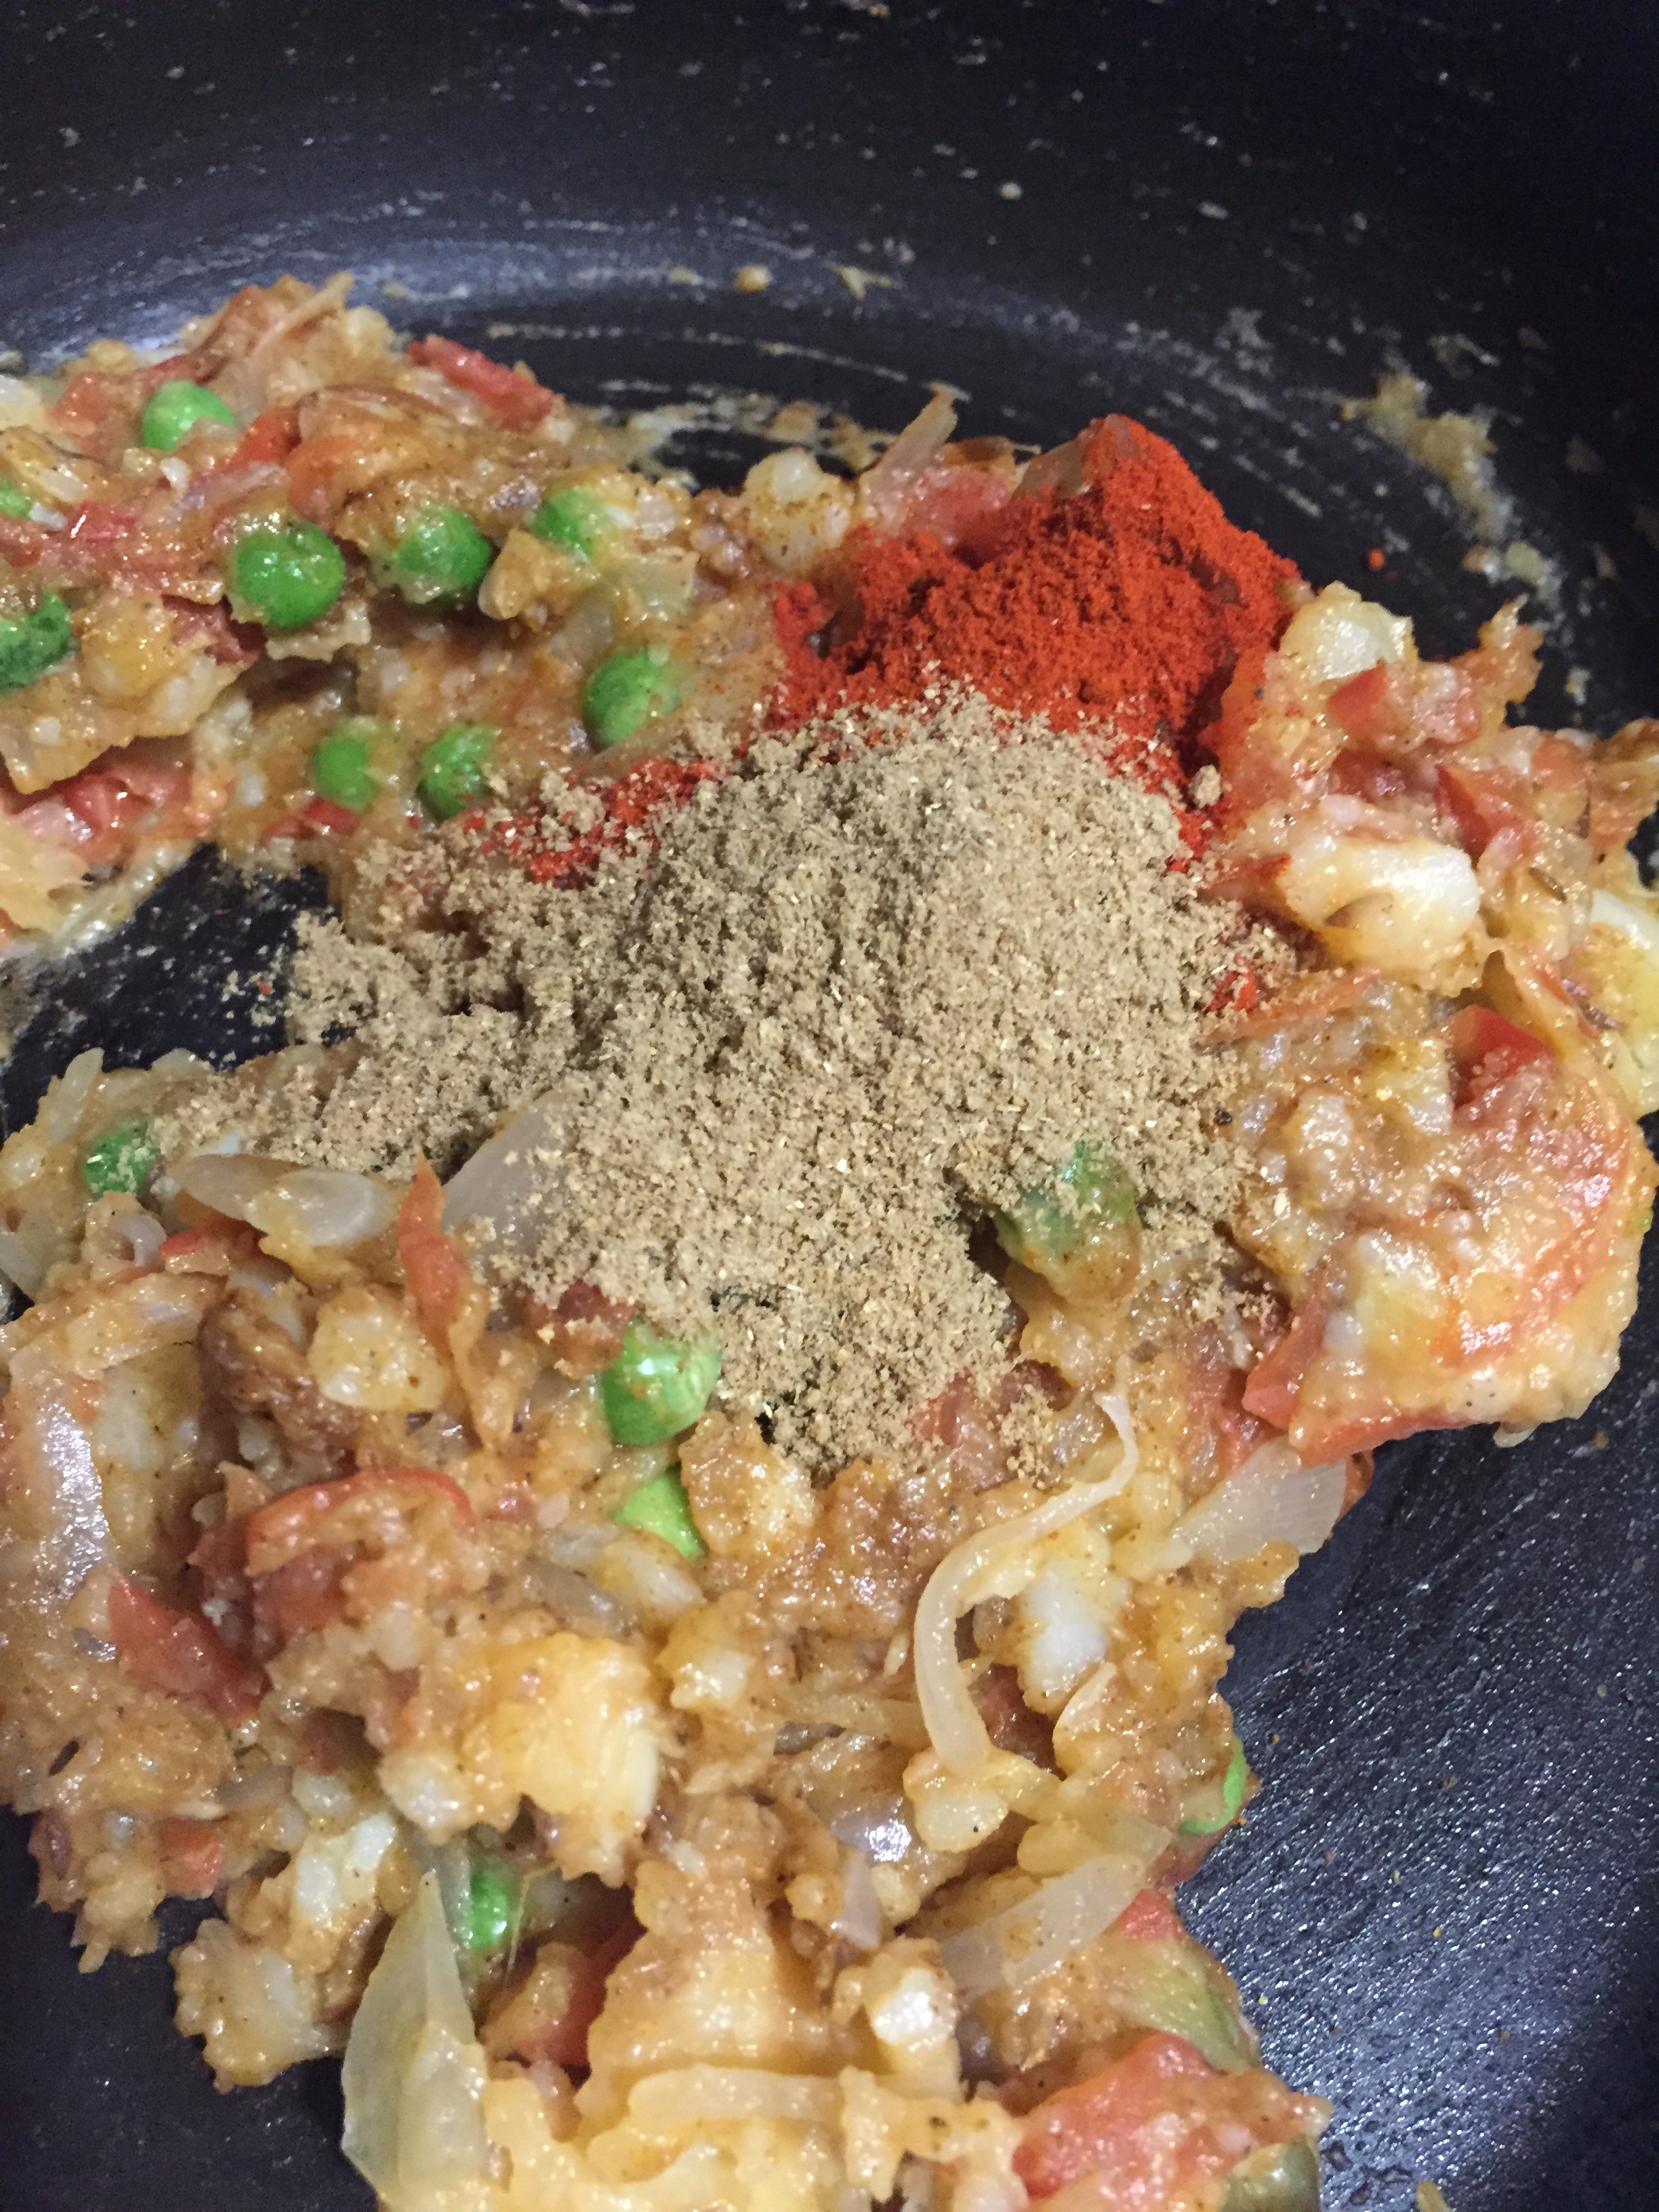
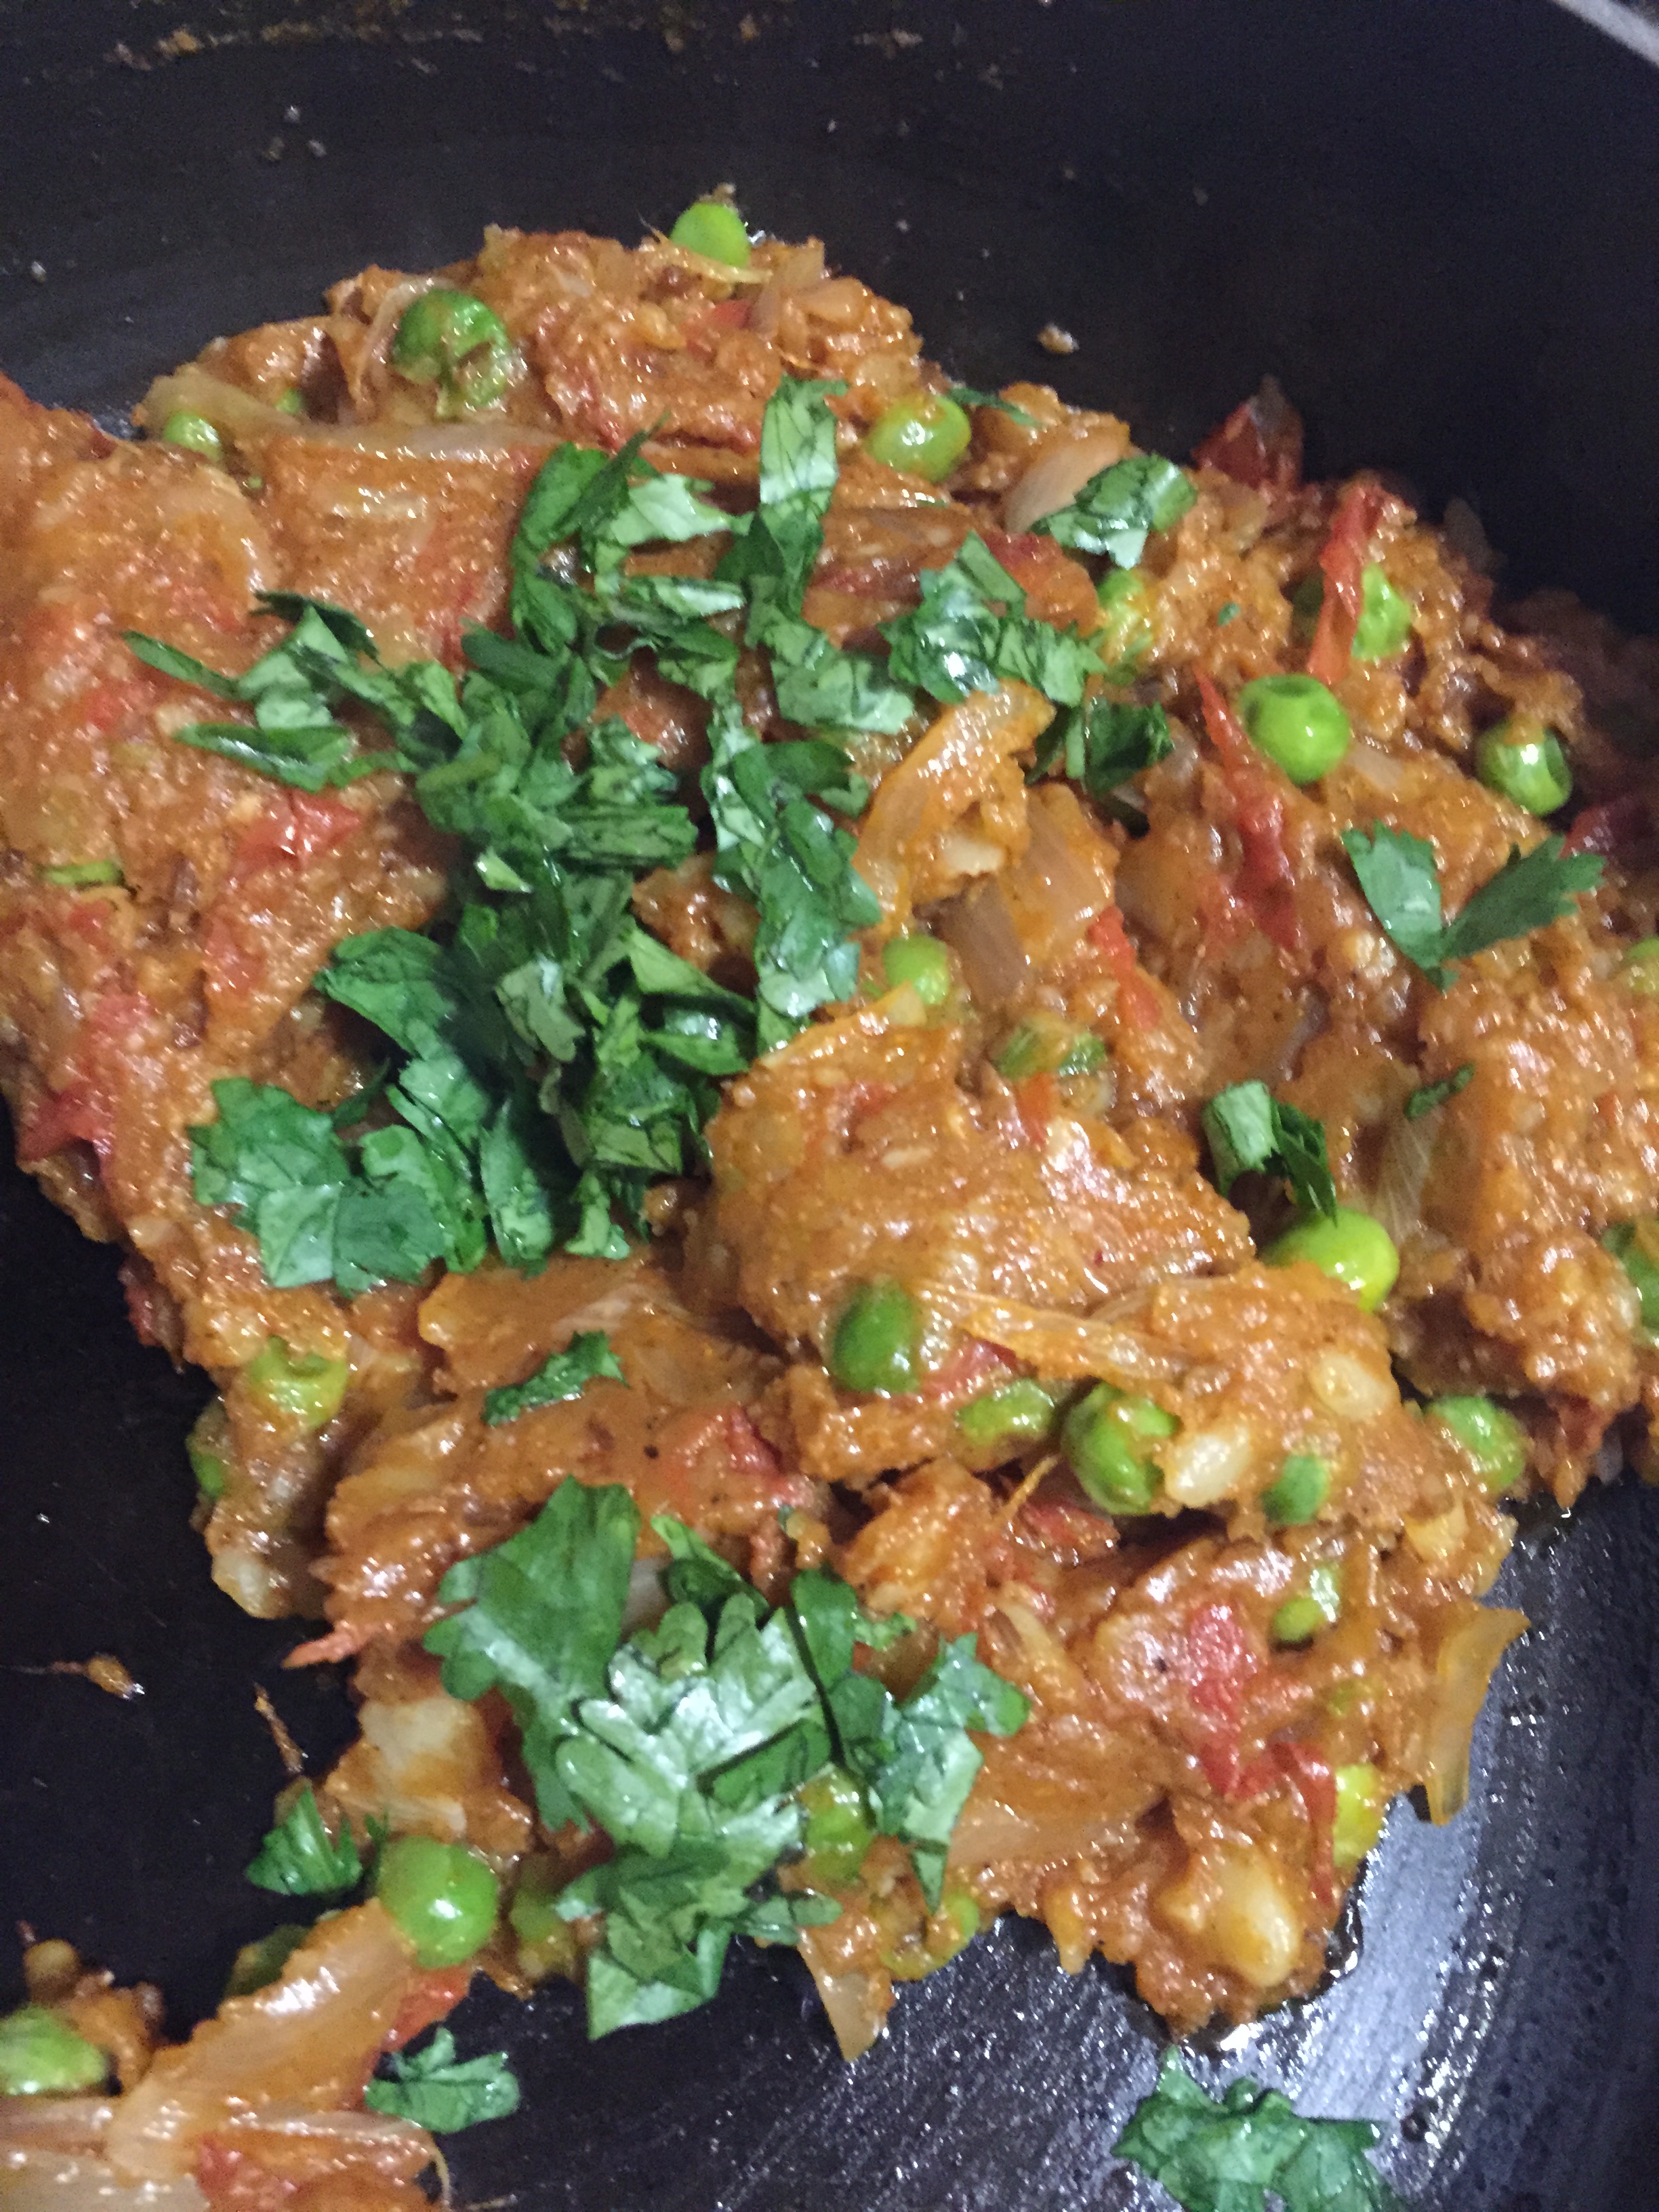
  8. And finally add in the rest of the masalas. Mix well until all the masalas are well coated. At this stage you could add some more butter if needed. Sauté and cook for another 5 minutes.
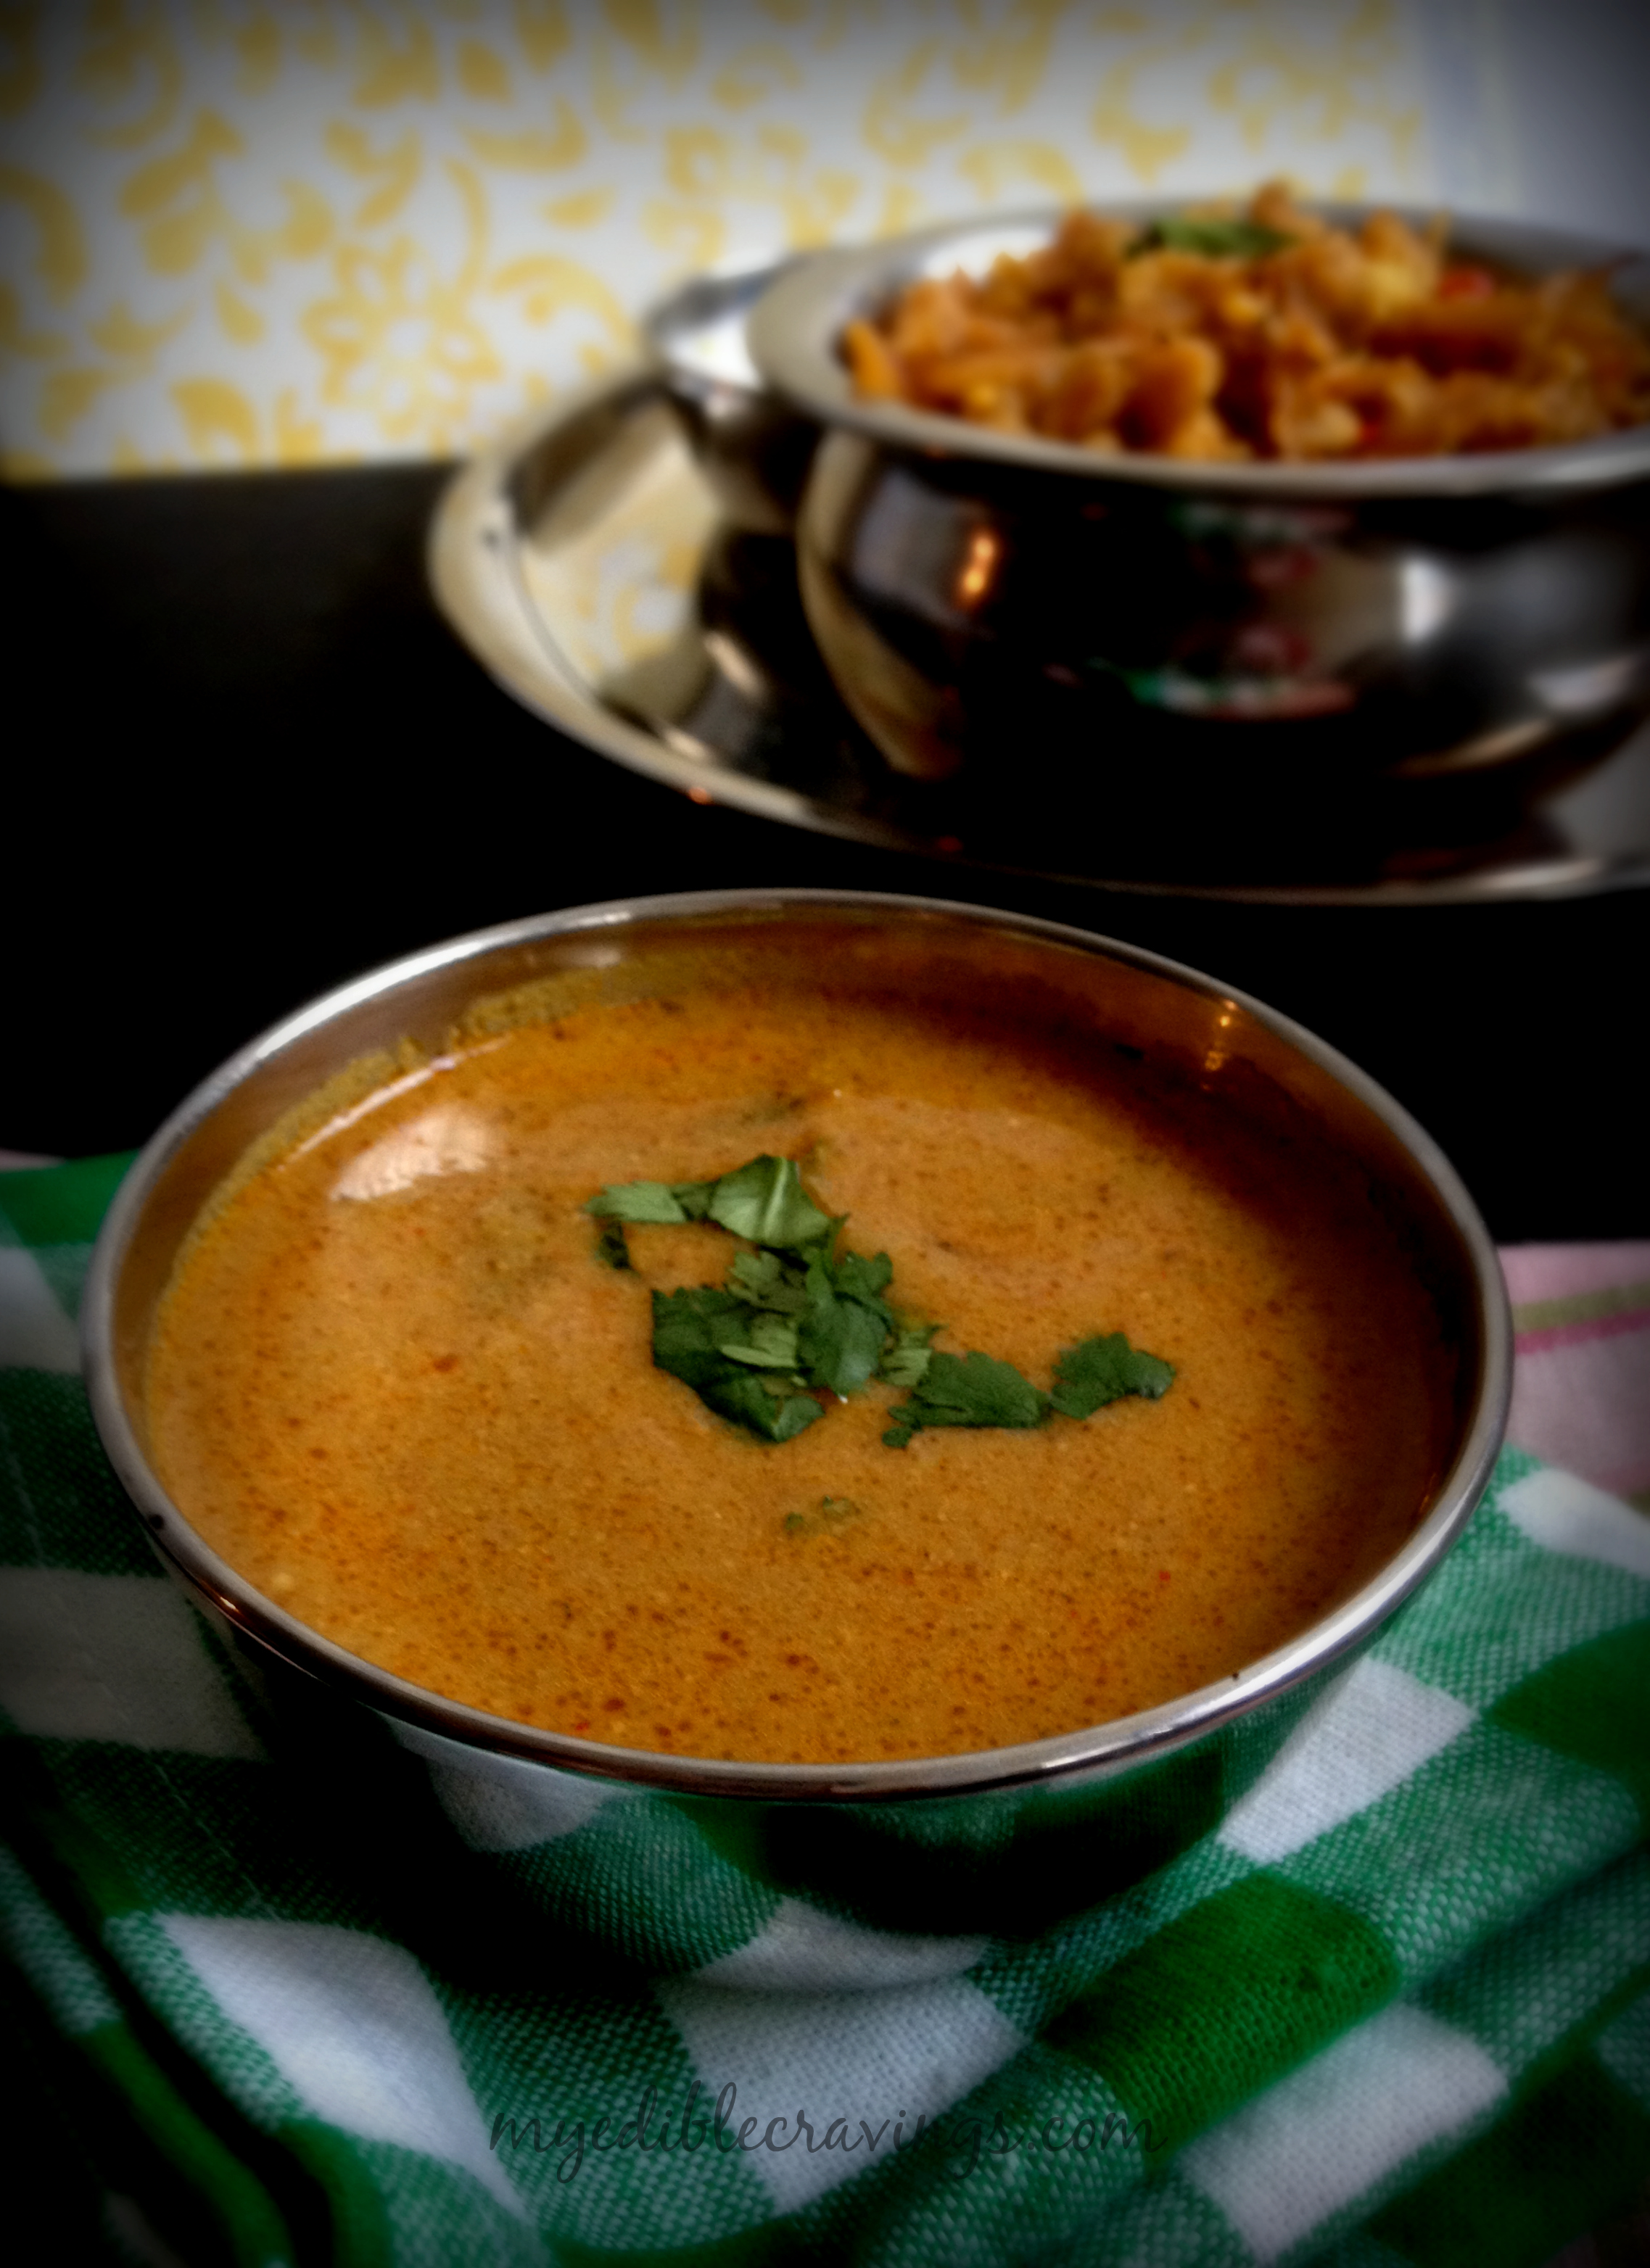
  9. Switch off the flame and garnish with finely chopped cilantro.
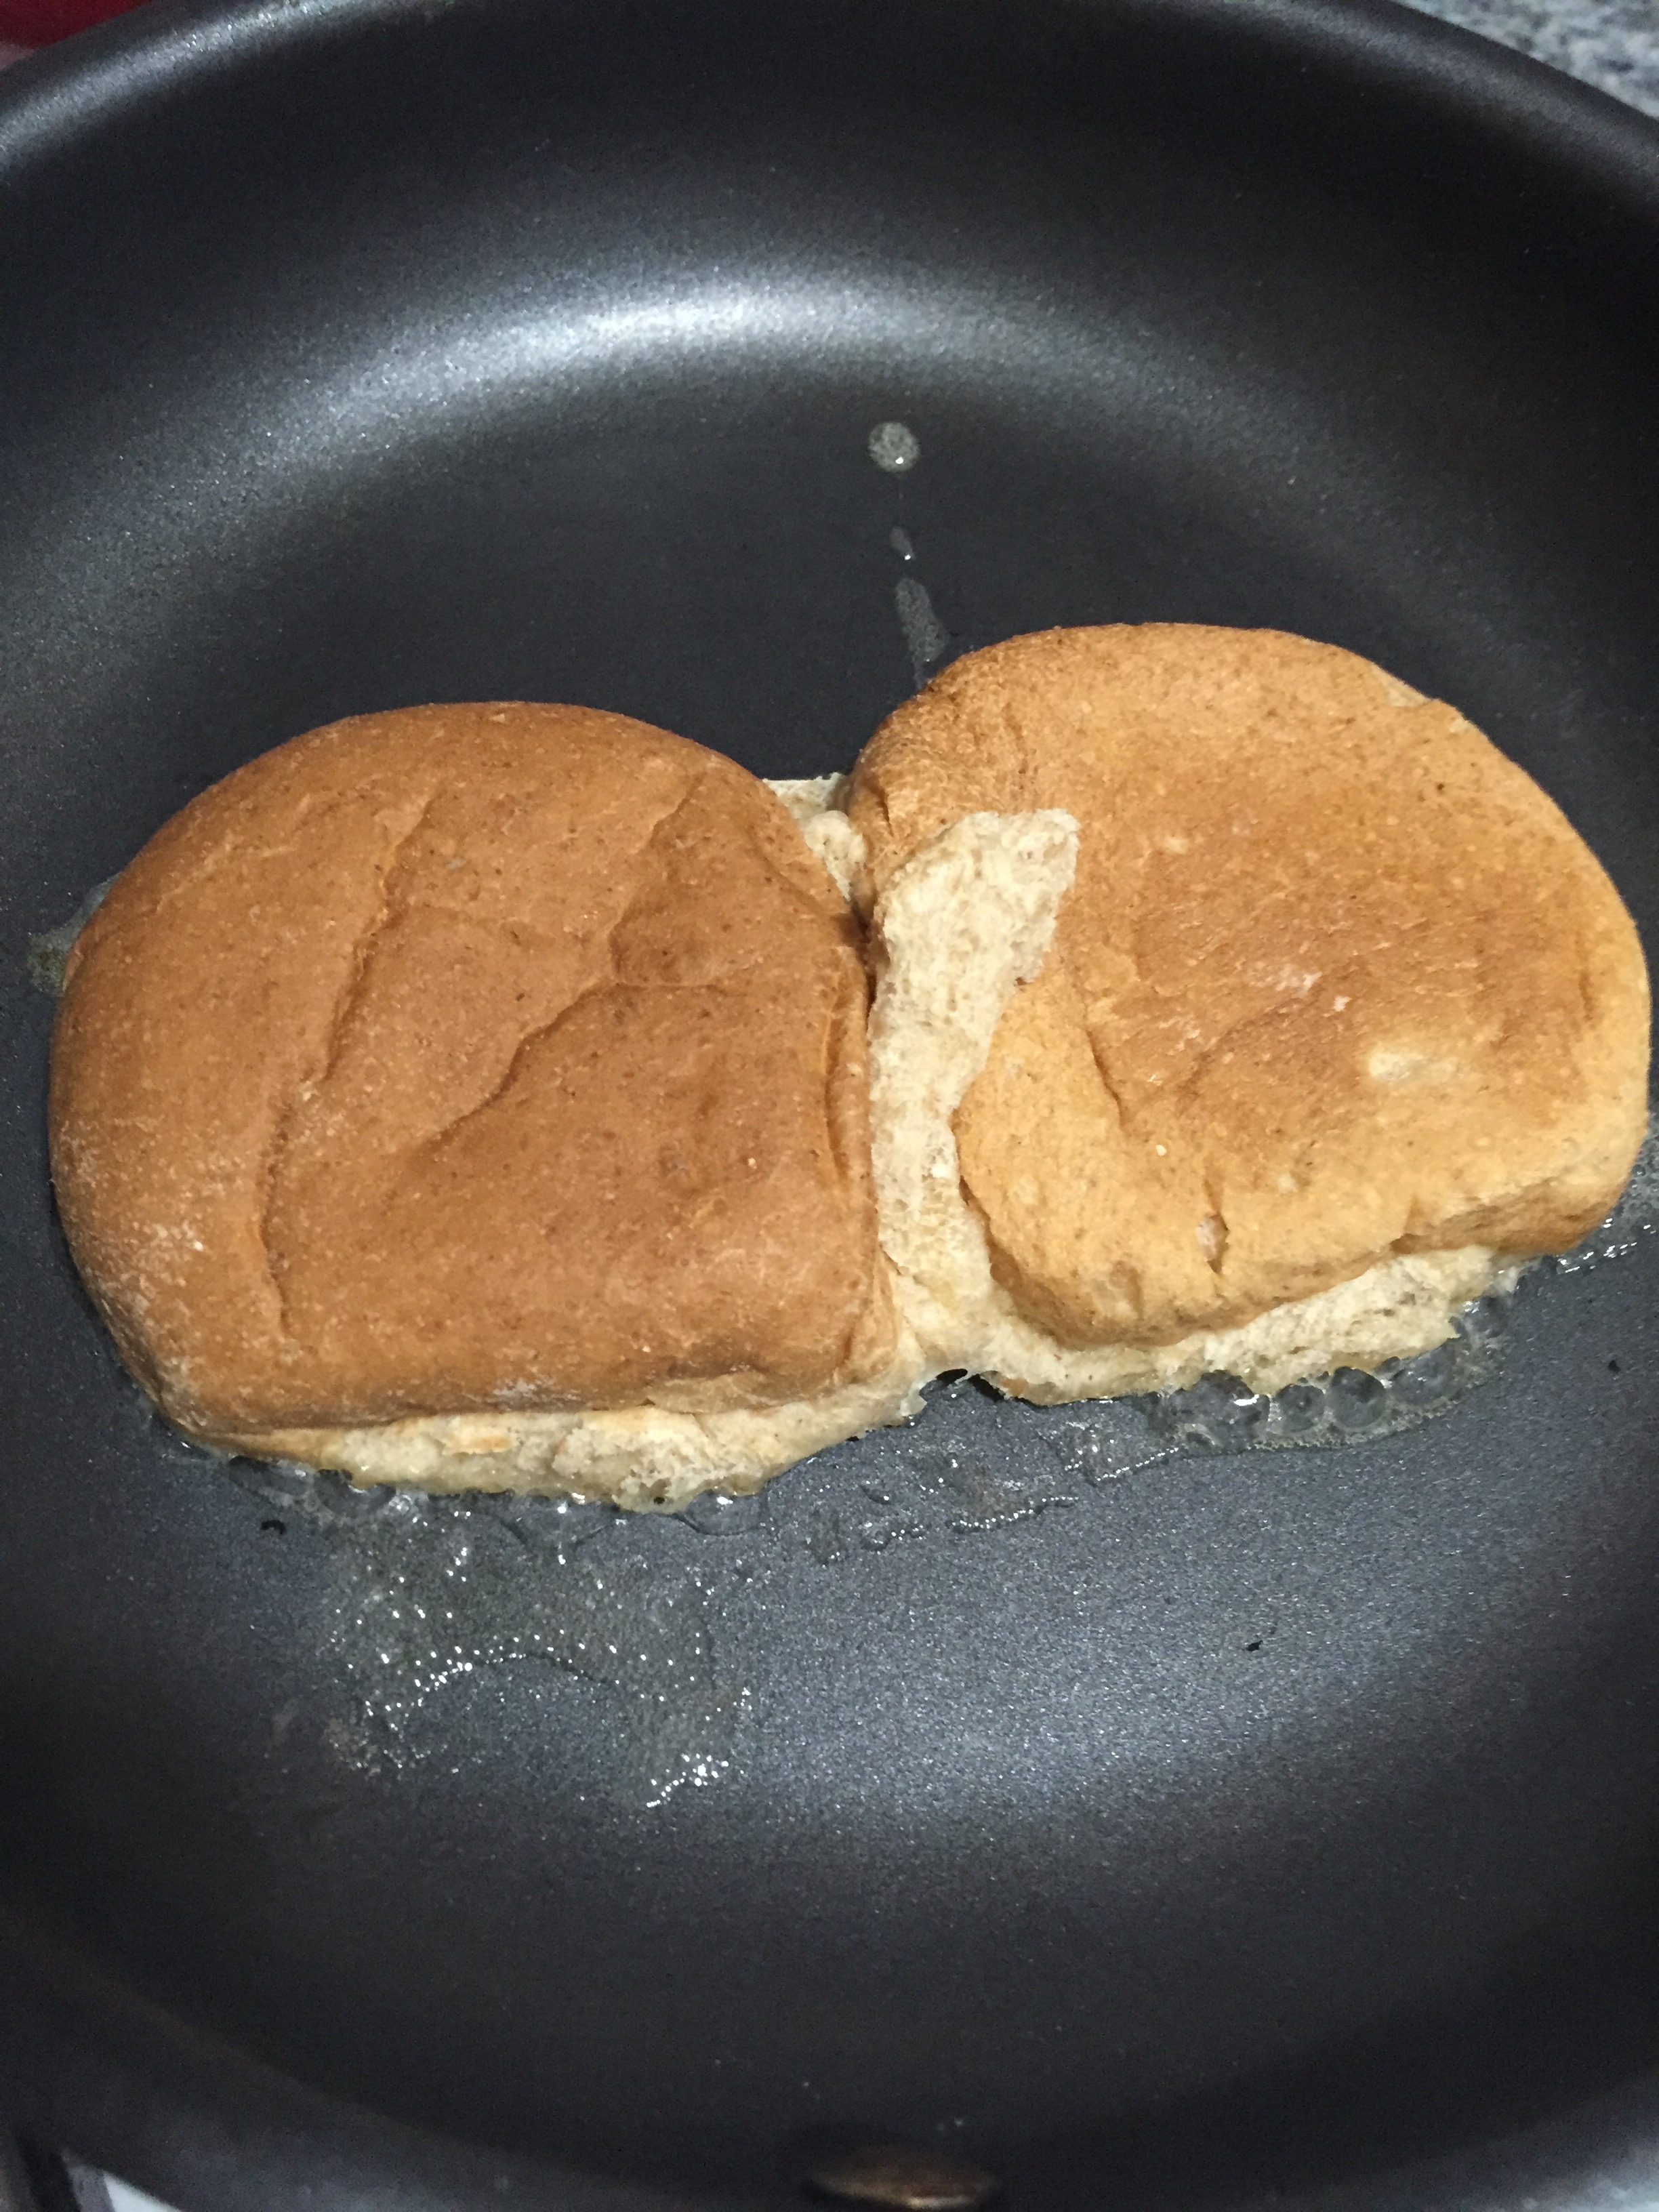
  10. Heat a small skillet and add very little butter. When the butter starts to melt, toast the pav ( I used Pepperidge wheat bread slider) on one side until they turn slightly brown.
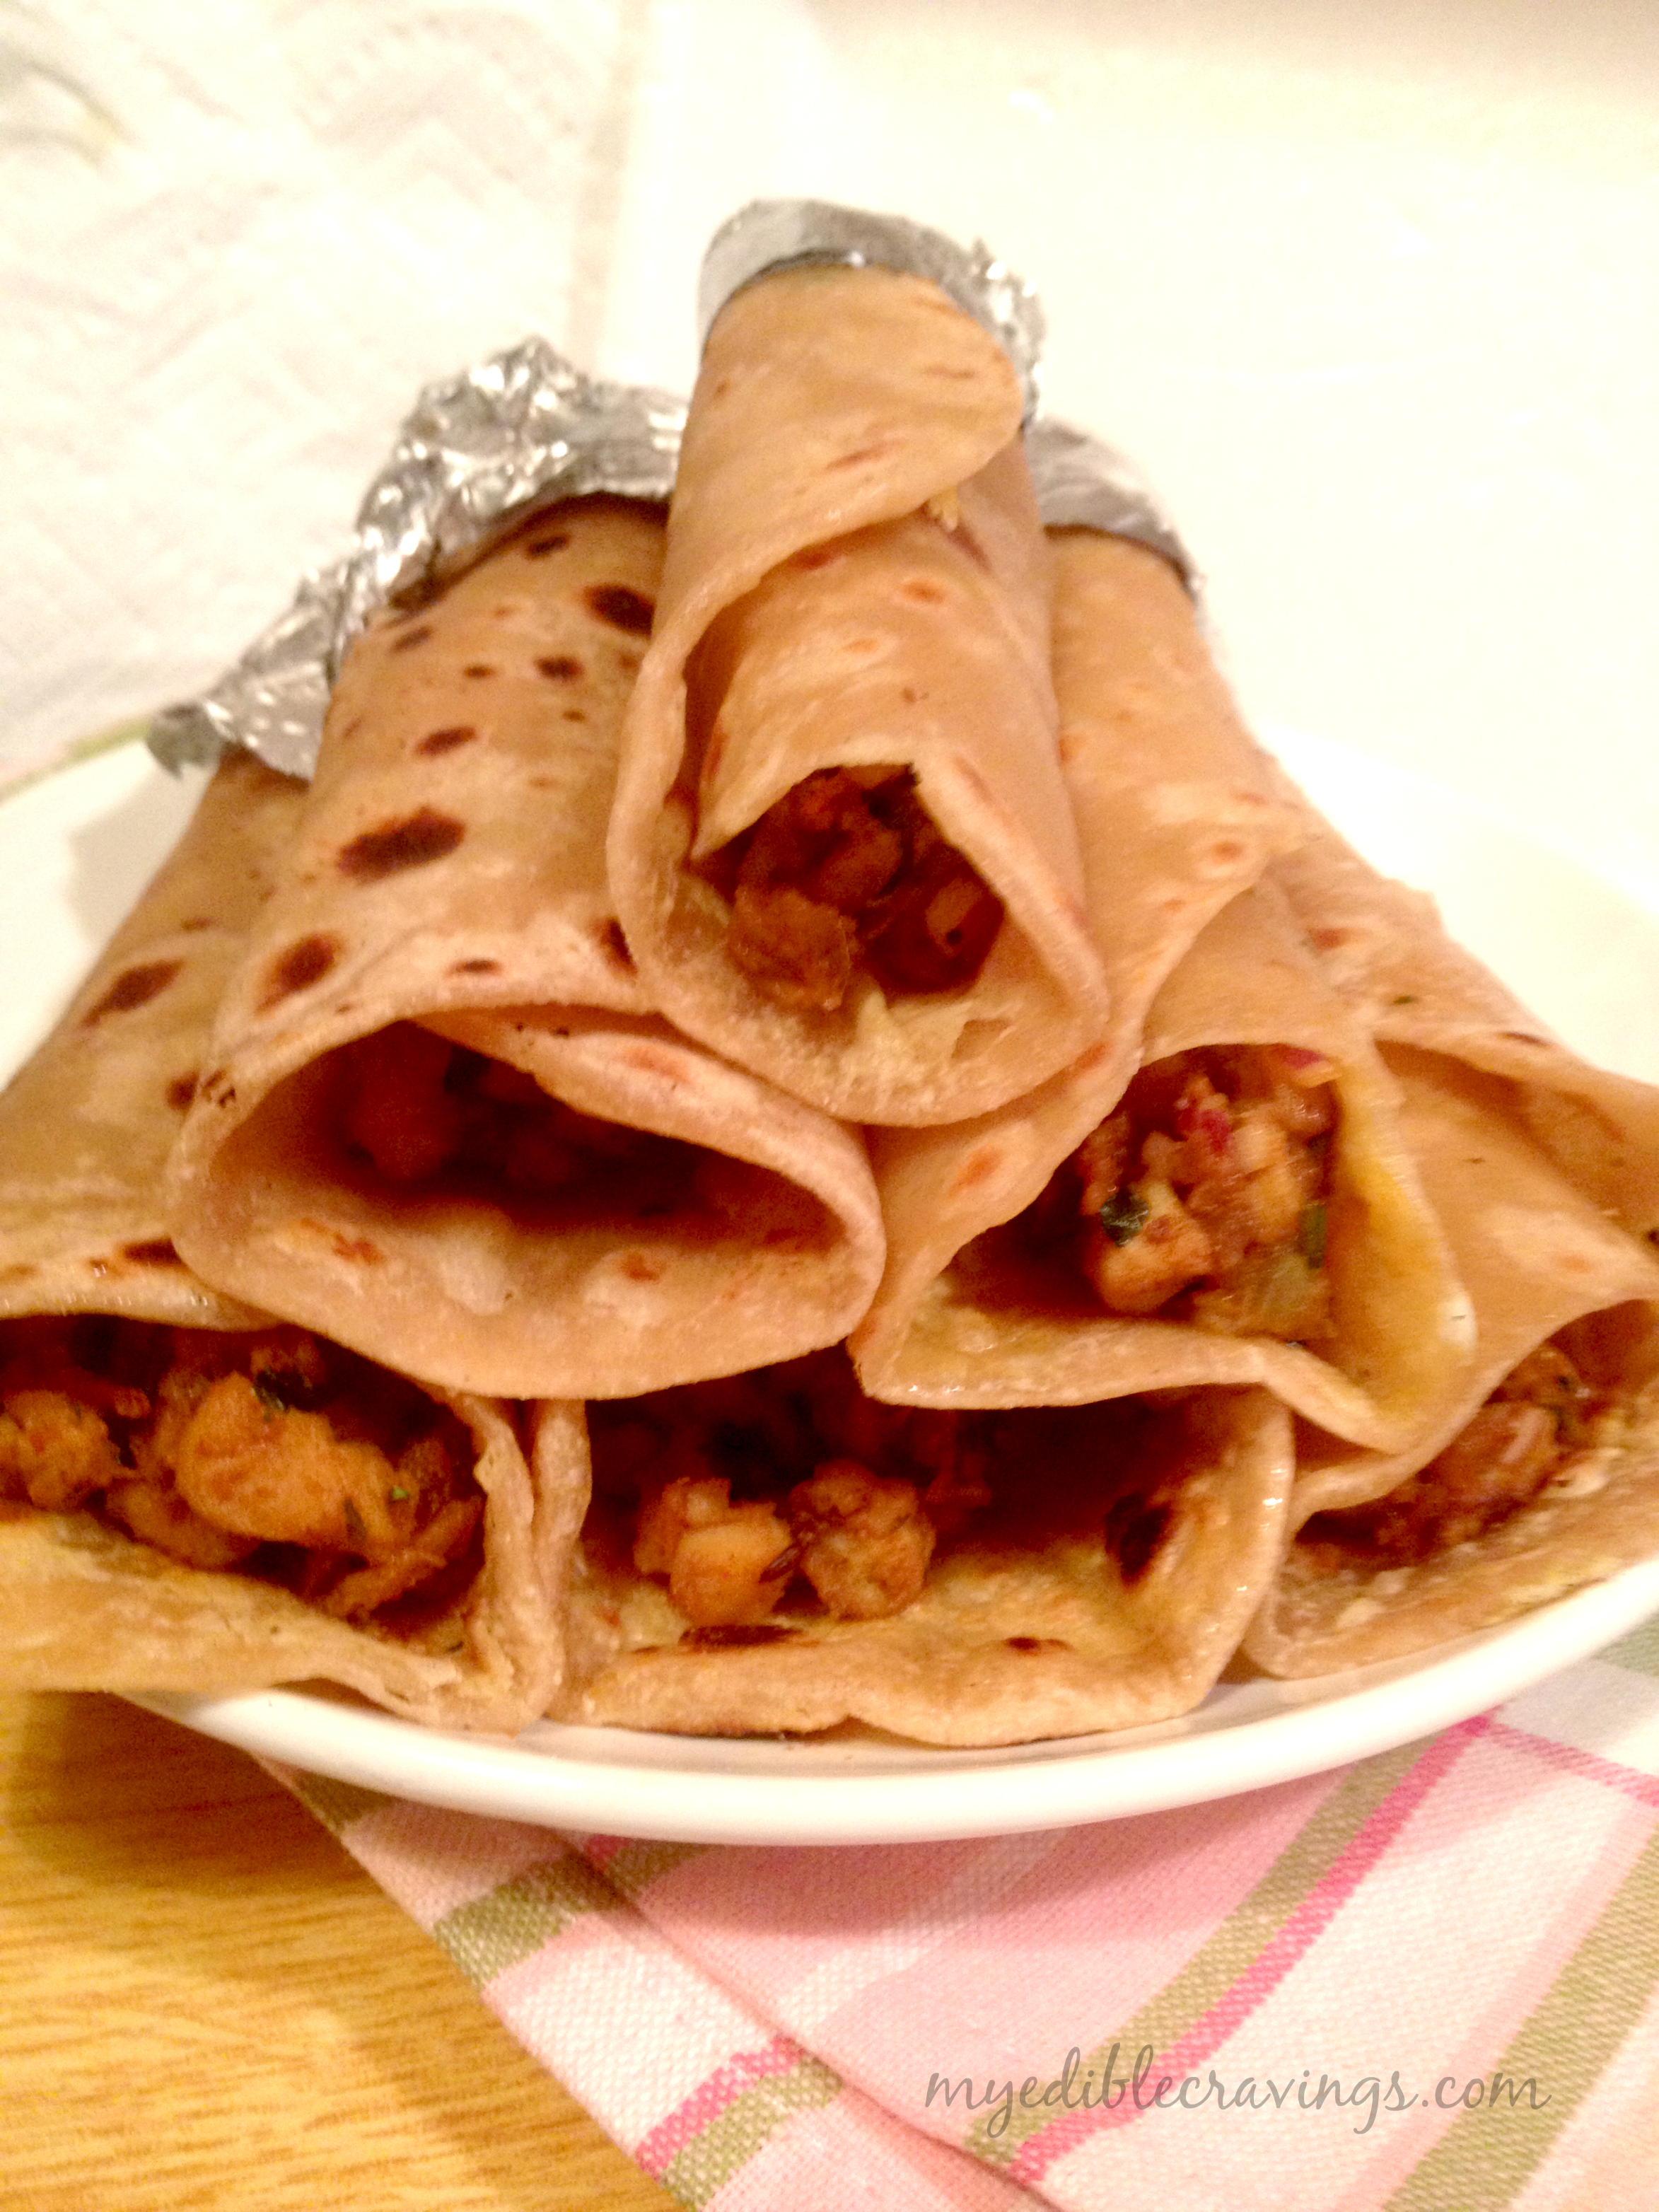
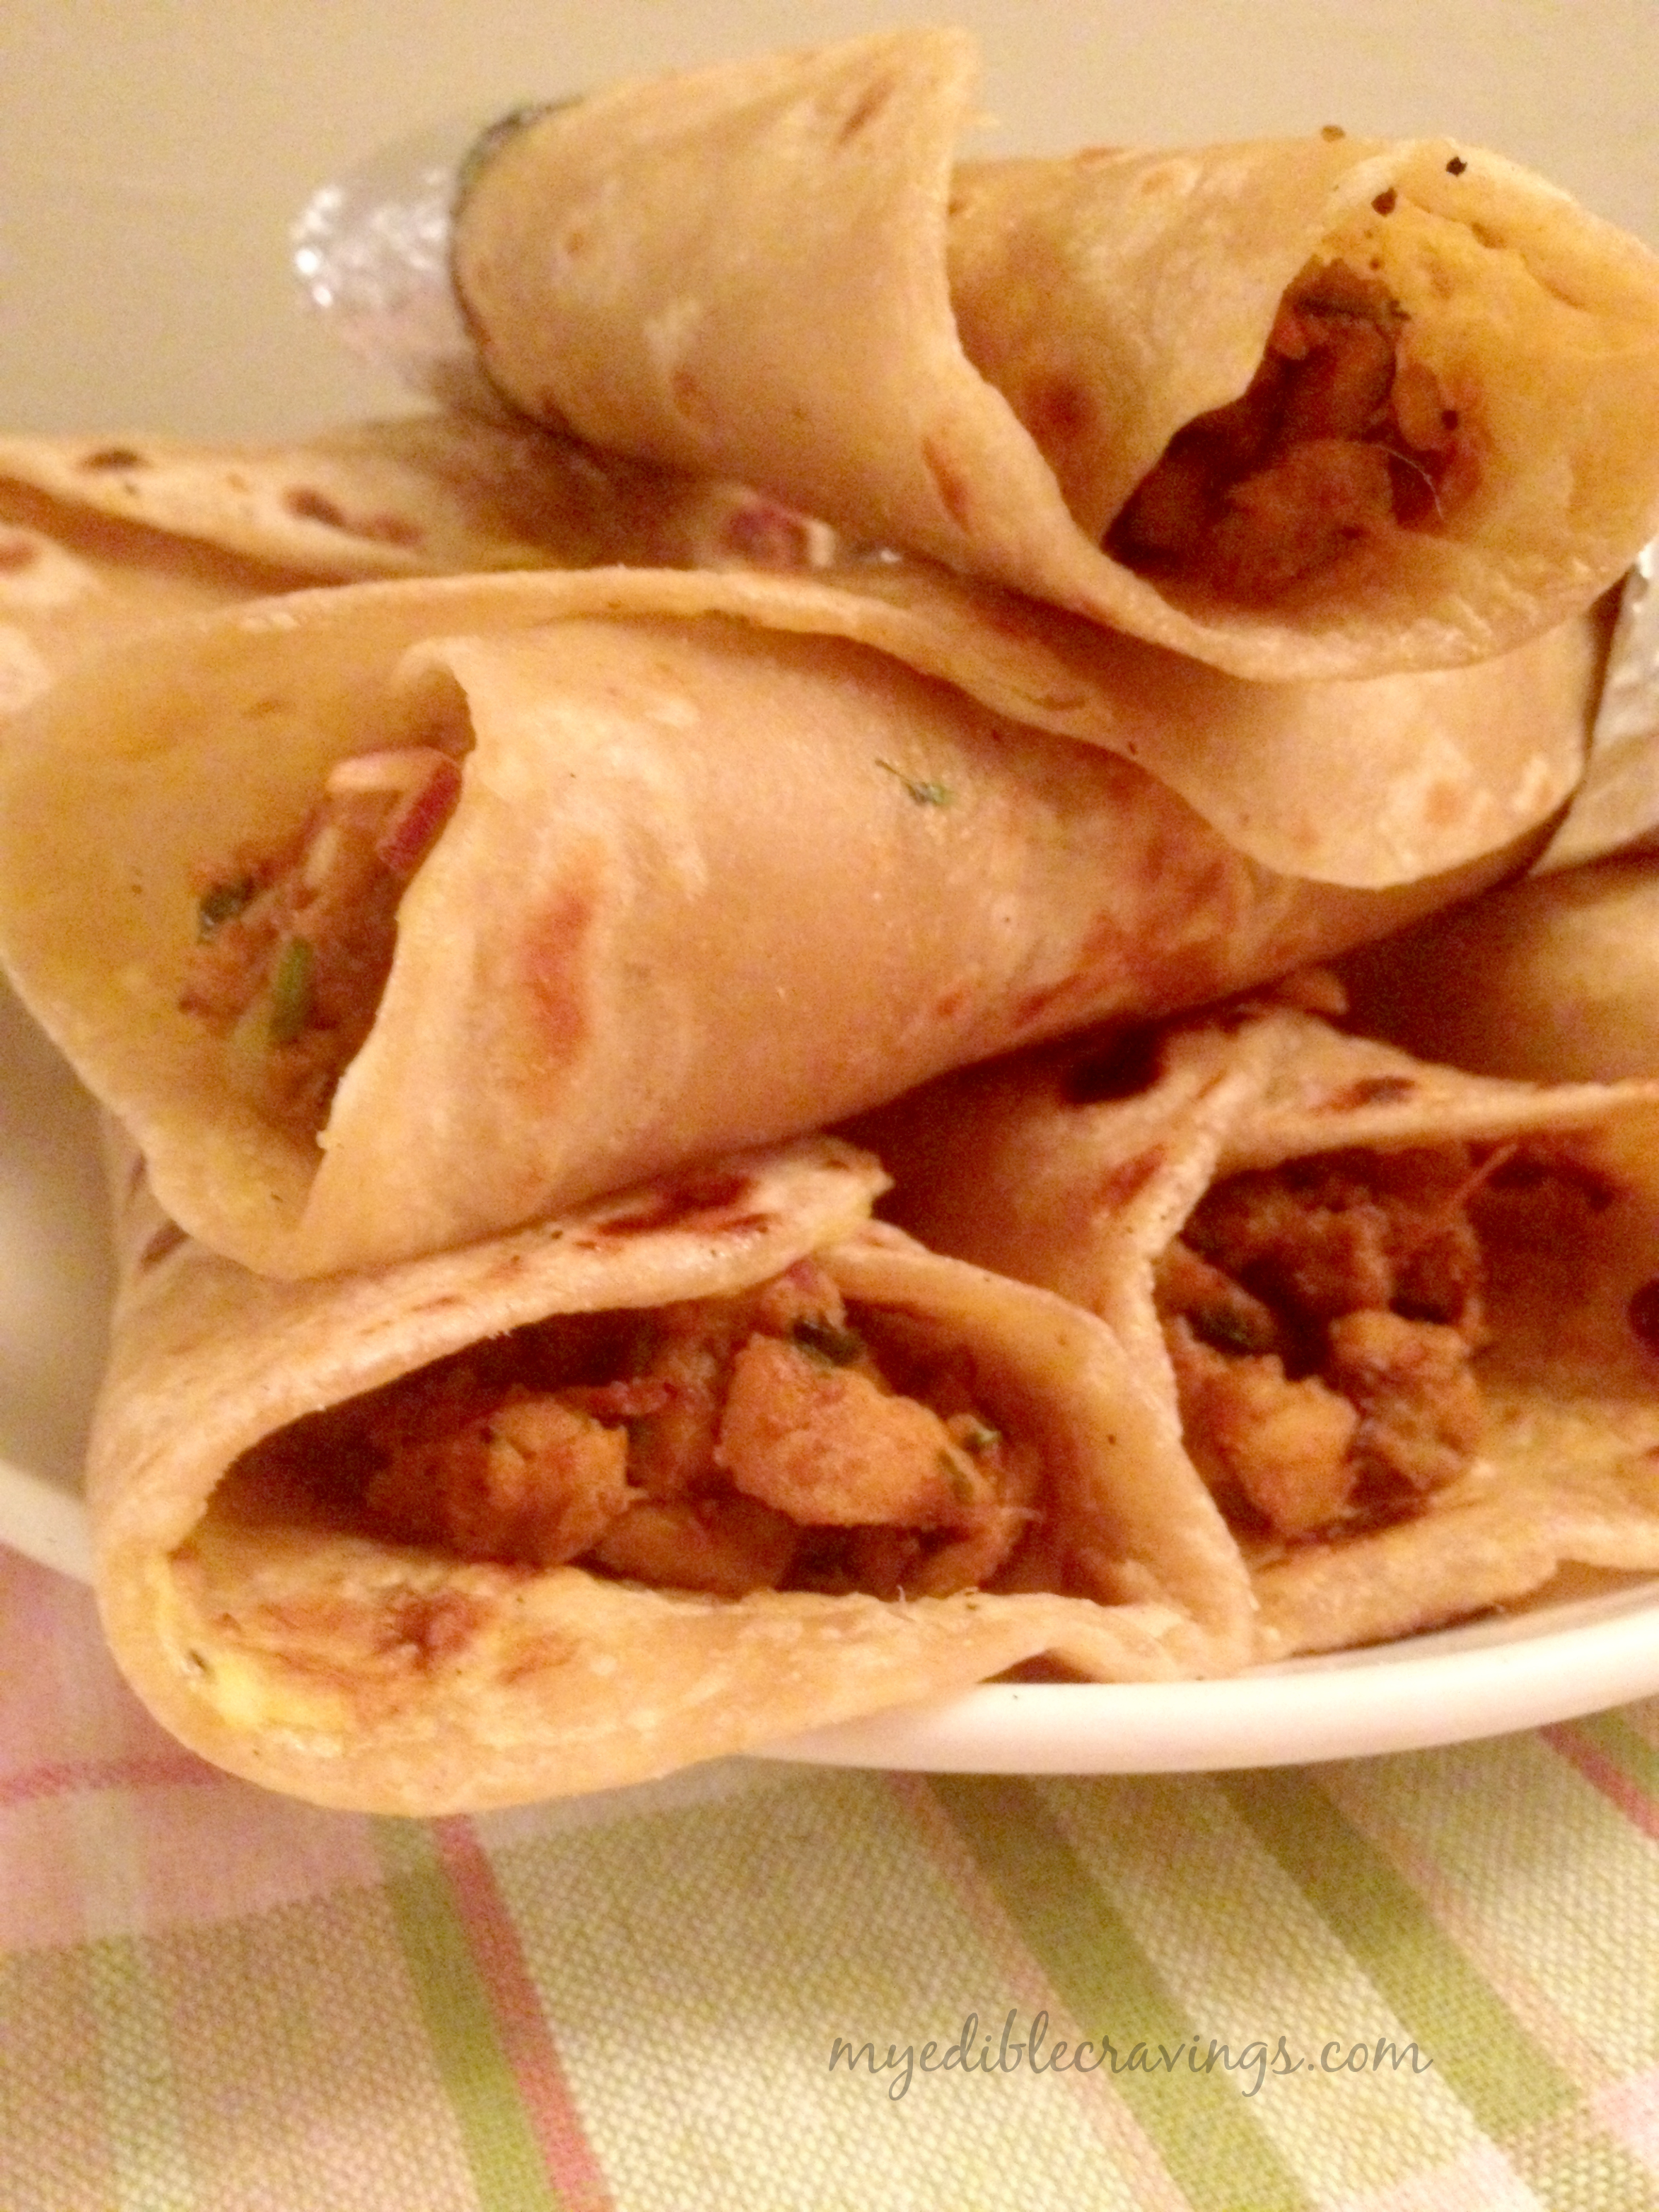
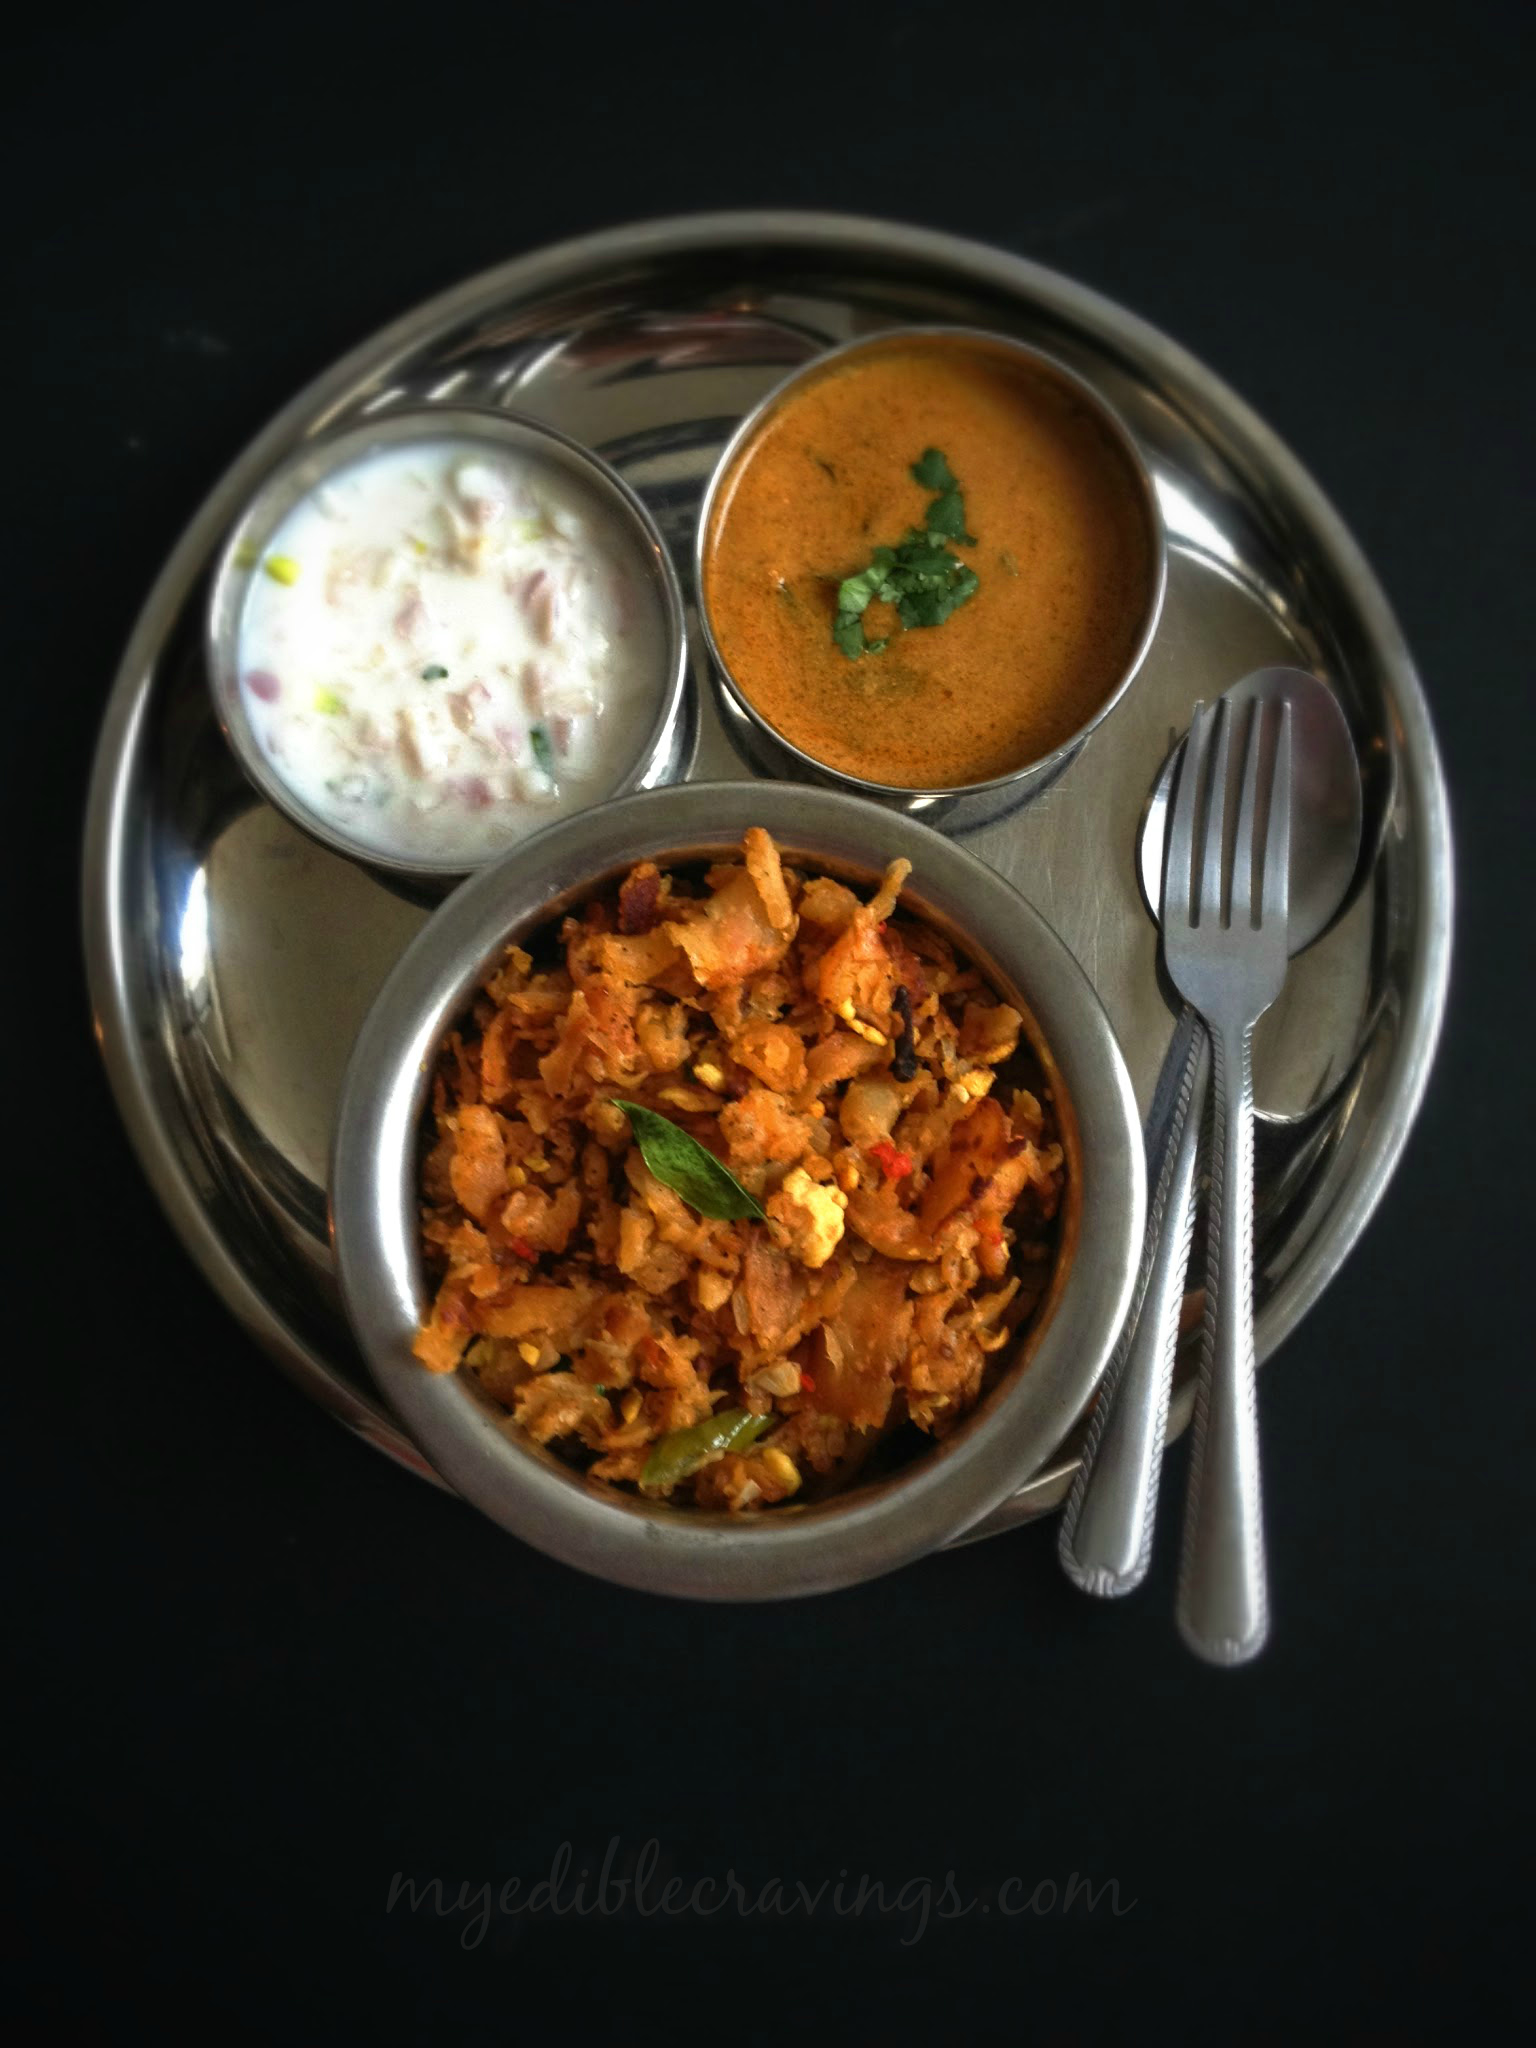
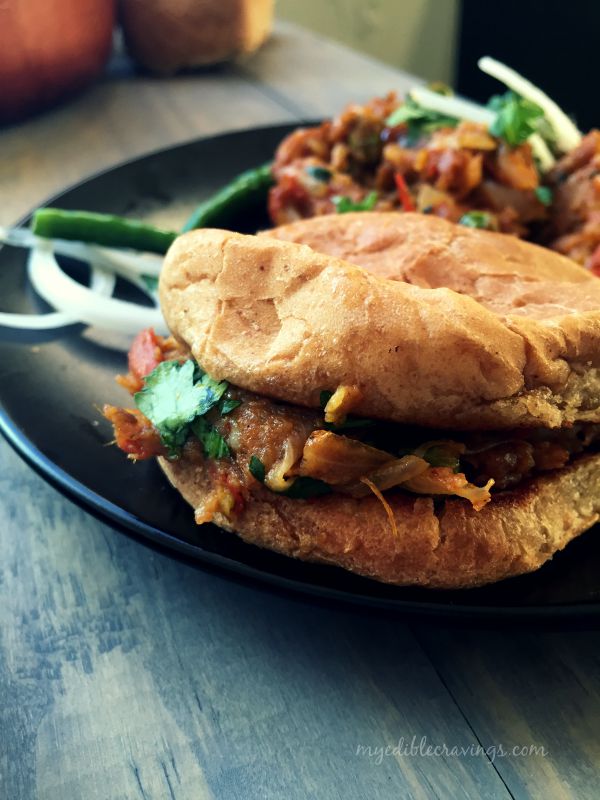
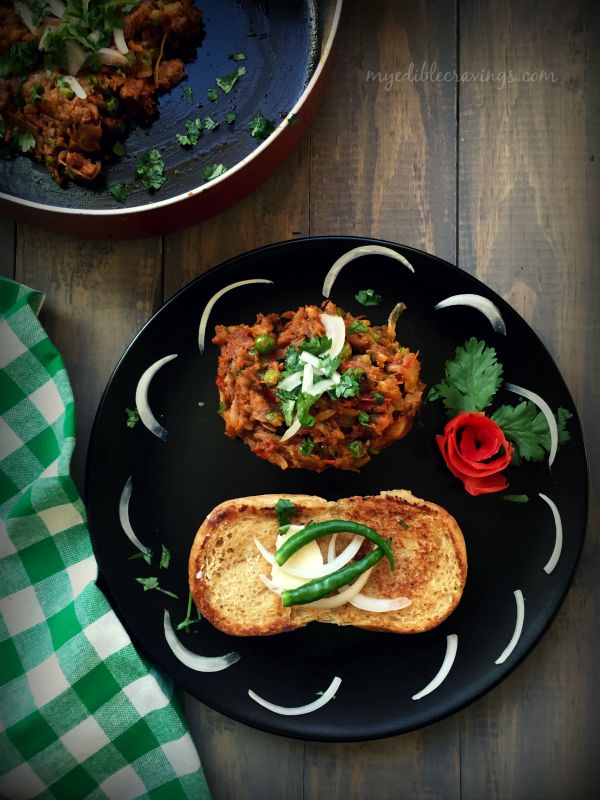
  11. Serve the pav along with bhaji with a thin slice of butter on top. I like to have it with some onions on the side as well. Enjoy! 
Notes
1.You do not need to finely chop the onions and tomatoes for this recipe.
2.I used kashmiri chilli powder just for the color. You can totally skip that.
3.You can just have them by filling the bhaji on the middle of the sliders with some onions. I like to have them by just taking a piece of pav/bread and scoop some bhaji with some onions.

Pav Bhaji

Fish Fry

Fish fry

Fish fry is the most popular dish among seafood in every Indian cuisine (as long as non vegetarian items are permissible). It is a very simple dish that stays true to its name i.e., fish that has been fried in oil. As I had mentioned in my fish gravy post, fish is one of my most favorite foods and anything made with it is a no brainer for me. I have been trying to make the perfect fish fry for quite some time and the problem for me was that I could not get the right fish variety. Most recently, I got to buy king fish (the one used back home for fish fry) and to my delight the fry I made from it turned out to be almost perfect ( 🙂 I will never say any of my dishes to be perfect since I always feel that there is still room for improvement) .

Fish fryFish fryFish fry is very popular back home and you can see vendors selling them along with other delicacies in beaches and as cart foods on streets. There are so many recipes to make fish fry but the one I have posted here is really simple. All you need are chilli powder, salt and lemon juice. For health conscious people out there, you can shallow fry instead of deep frying the fish. Fish fry with fish gravy is an awesome combination. You can also have it as an appetizer or as an evening snack  🙂

Fish fryTry this simple and tasty fish fry in your kitchen and do let me know which method you prefer, deep fried or shallow fried?

Fish Fry
Recipe type: Appetizer
Cuisine: Indian
Prep time: 
Cook time: 
Total time: 
Serves: 2 fish pieces
 
Ingredients
  • Red chilli powder – 1 ½ tsp
  • Salt as required
  • Lemon juice – 1 tsp
  • Fish – 2 pieces ( I used seer/king/vanjiram fish)
  • Oil – 2 tbsp
Instructions
  1. Wash the fish thoroughly with little turmeric powder to get rid of the raw smell.
  2. Make a thick paste of red chilli powder, salt and lemon juice. Check for salt and spiciness.
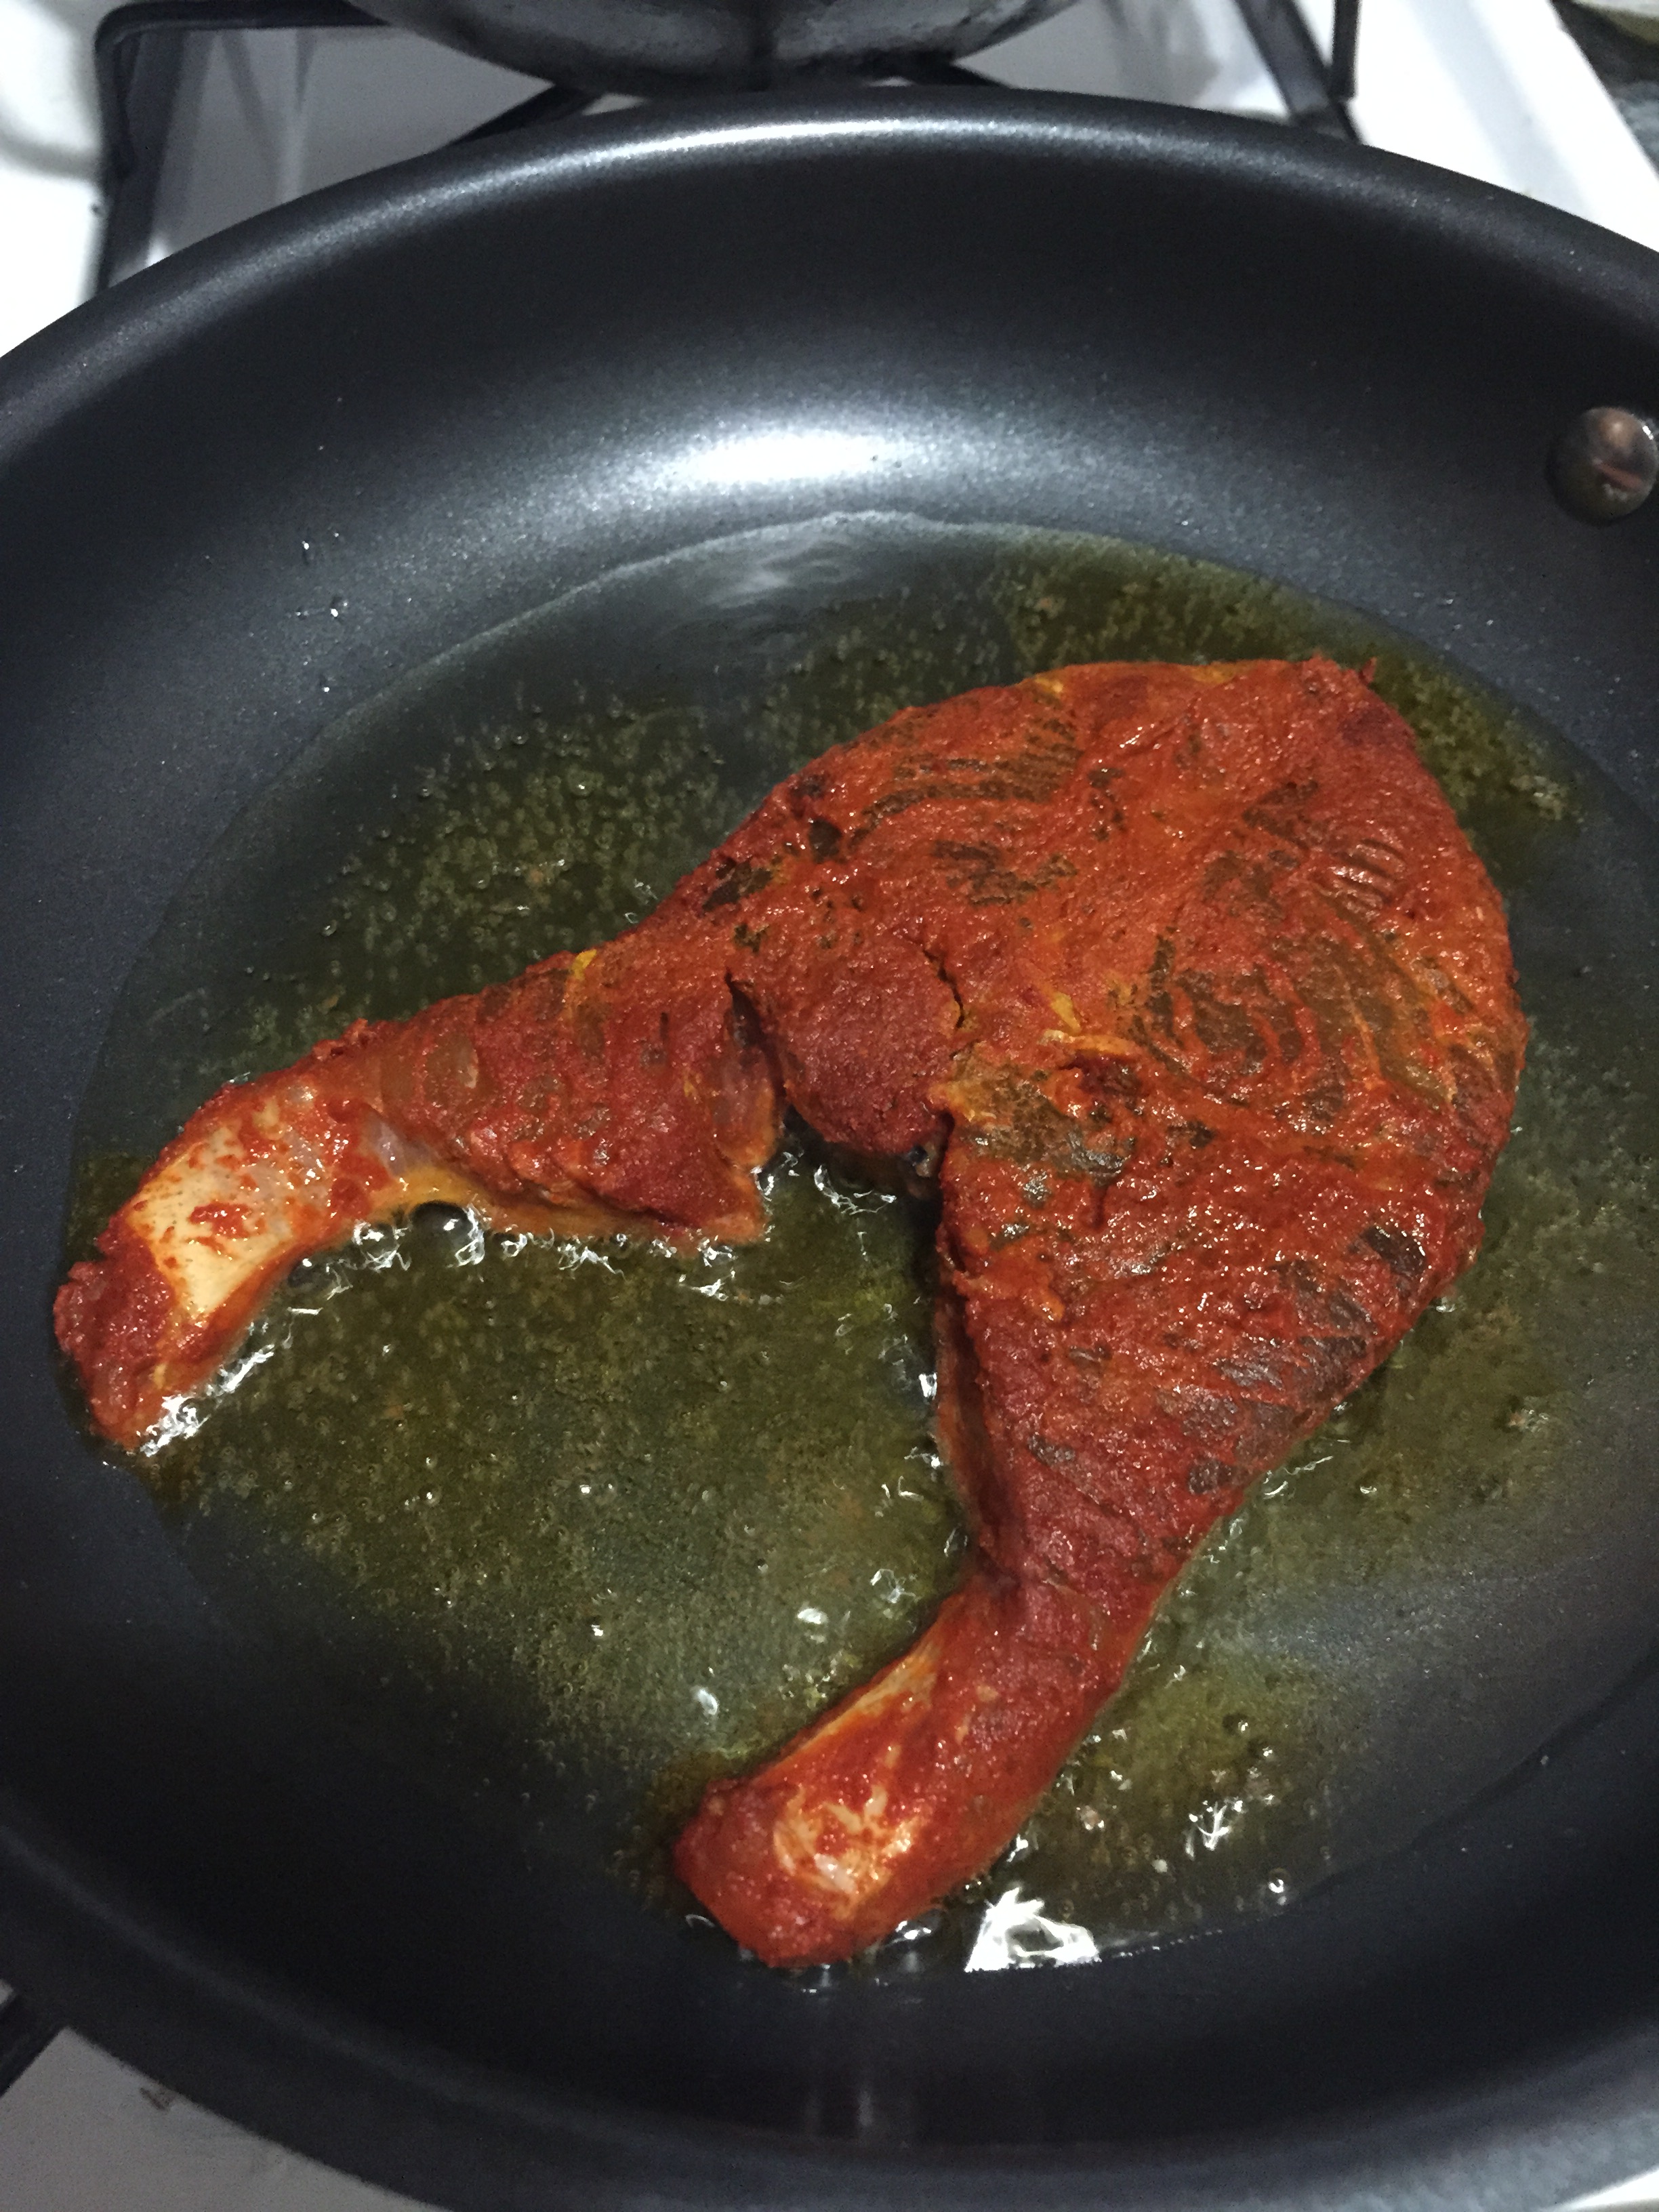
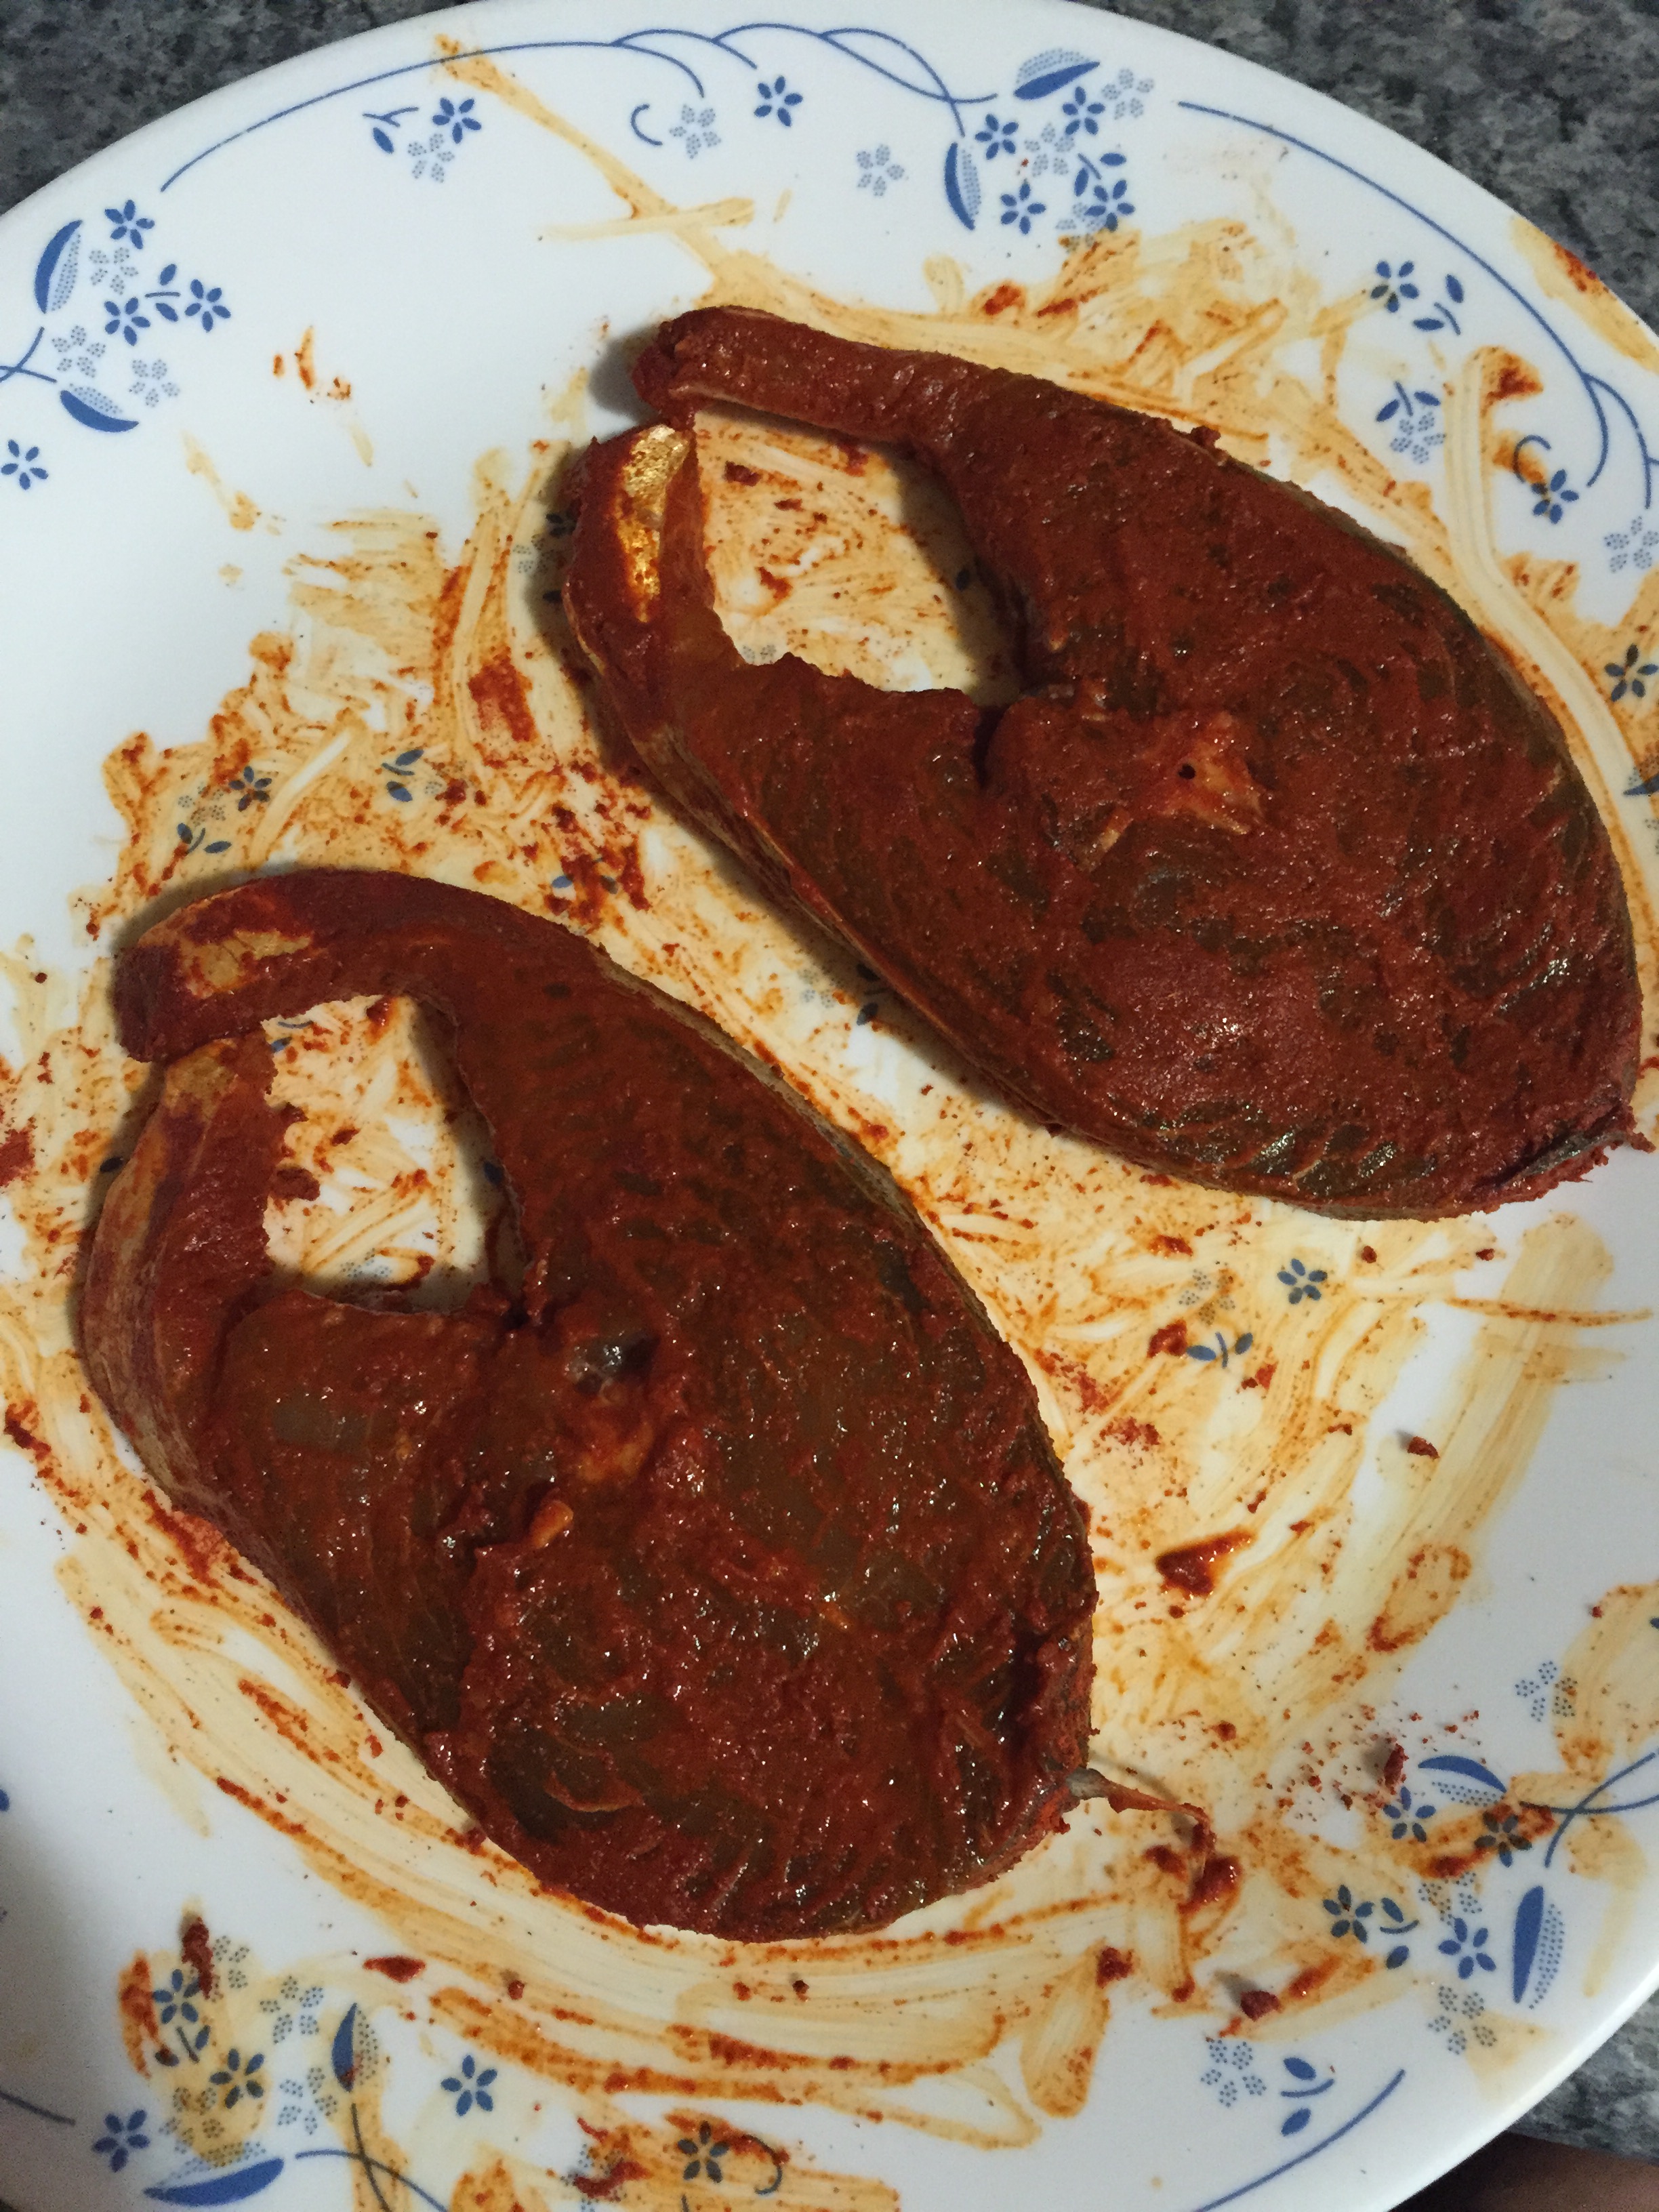
  3. Apply the paste on both the sides of the fish and leave it for at least half an hour.
  4. Heat oil in a flat pan, place the marinated fish on it and fry for a minute until one side is well fried.
  5. Flip over and cook the other side until crispy.
  6. Place it on a plate lined with tissue paper. Serve hot with spicy fish gravy and white rice or just have it as is! Enjoy! 

 Fish fry

Chicken Frankie

Chicken frankie I am very partial to non-vegetarian dishes in general and chicken in particular. There are numerous ways to cook chicken, be it an appetizer or an entree or a gravy, you name it and there is a recipe out there. Today, I am going to give you the recipe of one of my favorite chicken dishes, the Chicken Frankie. Chicken Frankie is a popular street food item in India. I was introduced to this amazing food item during my college days (sweet memories :)) There are a number of things that I miss from India like family, friends, mom’s food, marina beach, shopping malls etc and Chicken Frankie is one among them.

Chicken frankie
Chicken frankie Chicken Frankie is basically a type of stuffed roll made from chappati/paratha and chicken. I believe it has its origin from north India (not sure about the exact location but it might have been Mumbai) and is a recent entry to the street food scene in Chennai, India. Chicken Frankie is an easy dish to make. I would say the only time consuming part in the whole process is the slicing of chicken in to small pieces! You can customize Chicken Frankie to suit your own preference like substituting the meat with any vegetables or egg, altering the spiciness etc.

Chicken frankie Chicken frankie In the US, I am yet to have Chicken Frankie. Agreed, there are similar dishes but I haven’t seen them matching to the tastiness of Chicken Frankie. Interestingly, my HB has never had it back in India :). Hope you too would make it often after trying this delicious and tasty desi street food, the Chicken Frankie, in your home 😉

Frankie
Recipe type: Main
Cuisine: Indian
Prep time: 
Cook time: 
Total time: 
Serves: 6 frankies
 
Ingredients
for the stuffing:
  • Oil – 1 tbsp
  • Cumin seed – 1 tsp
  • Onion, medium, finely chopped – 1 no
  • Ginger garlic paste – 1 tbsp
  • Tomato, small, finely chopped – 1 no
  • Green chilli – 1 no
  • Sambar powder or red chilli powder – 1 tbsp
  • Salt as required
  • Chicken, cut to small pieces – ½ kg (500 grams)
  • Cilantro, finely chopped – 1 tbsp
Other ingredients:
  • Uncooked Chapathi or rotis – 6 nos
  • Eggs, beaten – 1 no
  • Chilli sauce – 2 tbsp (optional)
  • Onion, slits, washed – 1 no (optional)
  • Oil to smear around rotis
Instructions
  1. Heat oil in a tawa and add cumin seeds. When they start to sizzle add in finely chopped onion and sauté until they turn translucent. Add ginger garli paste and sauté until raw smell disappears. Add in chopped tomato and sauté until they turn mushy and leaves oil. Add salt and chilli or homemade sambar powder and give a quick stir. Finally add in the chicken pieces and stir to mix. Cover the lid and cook until the chicken is well done. Open the lid and cook until the excess water evaporates. Garnish with cilantro.
  2. Heat a flat griddle pan and cook roti on one side, apply or brush beaten egg all over using a spoon, smear oil on the sides and flip over. After a minute or two, flip over again (egg side) and place 2 tbsp of the cooked chicken, some onion slits and chilli sauce. Roll them over tightly and wrap aluminum foil on one end of the Frankie. Serve it hot.
Notes
1.Make chapathi dough with equal portion of wheat and all purpose flour.
2.You can make any stuffing of your choice. Vegetarians can make it with mushroom, cauliflower, paneer, etc.
3.Adding chilli sauce is completely optional.

Chicken frankie

Idiyappam Sevai

Idiyappam sevai
Idiyappam is an ancient tamil dish (also popular in South Indian cuisine) made from rice flour, salt and water. It is also called as noolputt in Malayalam, Semige in Kannada and String Hoppers in English. There is a special tool to make Idiyappam which squeezes the dough (mixture of rice, salt and water) in to strings which is then steam cooked (usually a pressure cooker is used back home). Idiyappam Sevai is a dish that is made from Idiyappam and is usually served for breakfast or as a tiffin item.
Myediblecravings
Idiyappam sevai
Normally, I am not a big fan of Idiyappam, especially the sweeter variety that is had with coconut milk. So my mom used to make Idiyappam Sevai to satisfy my highly selective appetite 🙂 Similar to the days when Upma is had in our home (I don’t like Upma as well ;)), my mom used to make Idiyappam Sevai just for me. I love Idiyappam Sevai very much and it is super easy to make. You only use 5 ingredients to prepare this dish. Idiyappam can be had as is or with some chutney variety like coconut, onion etc.
Try this ancient, wonderful and easy to prepare dish in your home and let me know your experience.

Idiyappam Sevai
Recipe type: Breakfast or Tiffin
Cuisine: Indian
Prep time: 
Cook time: 
Total time: 
Serves: 2
 
Ingredients
  • Oil – 1 tbsp
  • Fennel seeds – 1 tsp
  • Curry leaves – very few
  • Onion, medium, finely chopped – 1 no
  • Ginger garlic paste – 1 tbsp
  • Tomato, finely chopped – 1 no
  • Red chilli powder – 1 tbsp
  • Salt as required
  • Idiyappam (string hoppers), crumbled – 5 nos
Instructions
  1. Heat oil in a wide pan and season with fennel seeds and curry leaves.
  2. Add onion and sauté until they turn translucent.
  3. Add ginger garlic paste and sauté until the raw aroma disappears.
  4. Add chopped tomato and cook until oil they turn mushy.
  5. Add in red chilli powder and salt and cook until oil seperates.
  6. Finally add string hoppers, mix well and cook for a minute. Enjoy!

Idiyappam sevai
Idiyappam sevai

KOTHU PAROTTA | EGG KOTHU PAROTTA | CHICKEN KOTHU PAROTTA

egg kothu parottaKothu parotta is a tasty dish from my state, Tamilnadu. It is wildly popular in south Tamilnadu (Madurai, Virudhunagar districts). It is basically a dish made from minced parottas, eggs and meat (usually chicken).
egg kothu parottaKothu parotta is a special dish for me since it is the very first recipe that I tried in my life 🙂 I learned to prepare this dish from my mom. Back in my native, you can hear the distinct sound of mincing parottas on large open iron skillets (does not have handle and is set on top of an iron cauldron of fire) using spatulas in the evenings. I miss that sound badly 🙁 There are different varieties to make kothu parotta and there is one variety where you add gravy, called as chalna, to the minced parottas which tastes delicious – kothu parotta in restaurants are made this way and the chalna used is chicken based (yummy!
egg kothu parottaI personally like parotta more than chappati or poori and kothu parotta is my favorite. The Chalna used in kothu parotta, again has different varieties. I have tried different recipes and I believe I have narrowed it down to one particular recipe. I will post the recipe of soon. There are both vegetarian and non-vegetarian kothu parotta. I personally prefer the non-vegetarian one (for obvious reasons! – egg and chicken)
parotta chalna
Here is the recipe for the tasty and filling kothu parotta. Enjoy!

KOTHU PAROTTA | EGG KOTHU PAROTTA | CHICKEN KOTHU PAROTTA
Recipe type: Dinner
Cuisine: Indian
Prep time: 
Cook time: 
Total time: 
Serves: 2
 
Kothu parotta is a tasty dish from my state, Tamilnadu. It is wildly popular in south Tamilnadu (Madurai, Virudhunagar districts). It is basically a dish made from minced parottas, eggs and meat (usually chicken).
Ingredients
  • Oil – 1 !/2 tbsp
  • Onion (Finely chopped) – 1
  • Curry leaves – a sprig , divided
  • Tomato (Finely chopped,divided) – 1
  • Ginger garlic paste – 1 tbs
  • Green Chili (slits) – 3
  • Eggs – 2
  • Parotta – 4
  • Chalna – ½ cup
  • Salt as required
  • Black pepper powder – 1 tsp
Instructions
  1. Shred the parottas into very small pieces with the help of your hand.
  2. Heat a wok or a heavy bottomed kadai with oil, add chopped onion and curry leaves. sauté until the onion turns light brown/translucent.
  3. Add in ginger-garlic paste. Stir fry till the raw aroma of ginger-garlic disappears.
  4. Add chopped tomato and green chillies and sauté until the tomatoes are half cooked.
  5. Add in the minced parottas and mix well and move the parotta pieces to one side of the pan.
  6. Now add the beaten eggs along with salt on the side of the same pan and sauté (without mixing with the parottas) until the eggs are well cooked.
  7. Mix well the eggs and the parottas.
  8. Now comes the interesting part. Sprinkle chalna on top and mix well.
  9. When the chalna is well combined with the parotta pieces, sprinkle black pepper ,curry leaves and remaining ¼ tomato pieces on top. Sauté for a minute and switch off the flame.
Notes
1. Here I have given the restaurant touch by dividing the tomatoes. But it can also be added altogether.
2. Avoid adding more chalna to the parattos as it might turn soggy.
3. In case if you have added more chalna, sauté until the parottas comes to the desired consistency.
4. Adding black pepper at last is my mom’s touch. It adds taste and takes egg smell.
5. Vegetarians can add green peas and potato instead of eggs.

egg kothu parotta

CHICKEN 65

 chicken65

Chicken 65  is a popular chicken dish that was first invented in Tamilnadu, India. It is a popular street food, bar food and snack item.
Honestly, I don’t know the true origin of the name Chicken 65. There are so many anecdotes describing their invention. Popular among them are,

–         In 1965, the owner of the famous Buhari hotel in Chennai invented this recipe and hence the name Chicken 65.

–         In earlier days, there used to be a military canteen in Chennai whose menu item 65 was a popular chicken dish. The north Indian soldiers stationed there could not read the menu since it was in Tamil. So they always ordered as menu item 65 chicken i.e., Chicken 65.

So you guys decide which story sounds plausible (I personally choose the Buhari version 😉

chicken65

Nowadays, chicken 65 made in restaurants and street corners use various chemicals to bring out that reddish brown color and crispiness.  The recipe I have given here is home-made made from scratch straight from my mom’s kitchen.
On days when I feel lazy I use aachi chicken masala mix.
Try it out and let me know if you like it 🙂

CHICKEN 65
Recipe type: Lunch
Cuisine: Indian
Prep time: 
Cook time: 
Total time: 
Serves: 2 to 3
 
Chicken 65 is a popular chicken dish that was first invented in Tamilnadu, India. It is a popular street food, bar food and snack item.
Ingredients
  • Chicken – 250 grams / 0.5 lb
  • Corn flour – 1 tbsp
  • Rice flour – 1 tbsp
  • All purpose flour – 1 tbsp
  • Ginger- Garlic paste – 2 tbsp
  • Curry leaves – few
  • Kashmiri red chilli powder – 2 tbsp
  • Egg – 1
  • Tomato ketchup – 1 tsp
  • Soy sauce – 1 tsp
  • Salt as required
  • Oil for deep frying
Instructions
  1. Wash the chicken in running water, drain and marinate with the above given ingredients (Beat the egg before adding to the chicken) and leave it for half an hour.
  2. Heat oil in a frying pan, deep fry the marinated chicken and drain on a plate lined with paper napkin. Serve it hot or warm. Enjoy!


chicken65

INDO-CHINESE FRIED RICE

070Though fried rice is a Chinese delicacy, it is very popular in India as well. It is a popular street food there.  Fried rice in India is a fusion of Indian spices and Chinese method of preparation, aptly named as Indo-Chinese fried rice. Indo-Chinese fried rice has become so popular that I have seen them as a menu item in some Chinese restaurants here!080My inspiration for indo-chinese egg fried rice is my uncle. He is a very good cook and one of his specialties is egg fried rice. Whenever we visit them (Toronto, Canada), we can see it in the menu on one of the days.
068The recipe that I have given below is a tried and tested Indo-Chinese version.
Note:- Fried rice prepared in restaurants has ajinomoto as one of the ingredients but I personally don’t prefer using it and it is not healthy as well (read somewhere that it has carcinogenic properties). Also, the one time I used it, I did not notice any difference in the taste.071Delicious, right?

5.0 from 1 reviews
Egg Fried Rice (Indo – Chinese)
Recipe type: Lunch/Dinner
Cuisine: Chinese
Prep time: 
Cook time: 
Total time: 
Serves: 2
 
Indo-Chinese fried rice is a variation of regular chinese fried rice with indian spices. Check out the easy to prepare instructions and enjoy hot fried rice, Indian style!
Ingredients
  • Gingelly oil - 1 tbsp
  • Green Onion (thinly sliced, green & white separated) - ¼ cup
  • Garlic, minced - 1 tbsp
  • Ginger, minced - 1 tbsp
  • Red Bell Pepper - ¼ cup
  • Green peas - ½ cup
  • Carrots -1/4 cup
  • Cabbage - ¼ cup (optional)
  • Egg - 1
  • Cooked basmati rice (or any long grained variety) - 1 cup
  • Soy Sauce - 1 tbsp or to taste
  • White pepper – 1 tsp
  • Chilli garlic sauce – 1 tsp (I used sriracha)
Instructions
  1. Cook the rice and set aside to cool naturally or refrigerate it for at least 3 hours – Drizzle in few drops of gingely oil and mix the rice carefully until grains are easily separated. Do this once before it goes into the refrigerator.
  2. Make sure to keep all the ingredients ready before proceeding.
  3. Heat a wok or any deep frying pan (I would prefer non-stick) in high heat with gingely oil. Add in green onions(only white), ginger and garlic. Stir for 5-6 seconds or until the aroma aroma spreads.
  4. Add rest of the vegetables. Make sure nothing burns given that you are cooking in high flame. And you want the vegetables to be cooked but still crunchy (that’s the reason we chopped them into smaller and uniform pieces). Keep stirring for 40 - 50 seconds.
  5. Now it is time to add the eggs to the sides of the vegetables. Sauté the eggs until well cooked and scrambled (In restaurants they used to add the eggs once after the rice is added. But I prefer this way).
  6. Next add the cooked (refrigerated) rice. Stir until all the vegetables and eggs are combined.
  7. Next add the soy sauce, chilli sauce and white pepper. Stir for the flavors to combine. Make sure you don't stir it too much because that might make the rice mushy.
  8. Garnish with scallion greens. Serve hot with chilli chicken or butter chicken or any sides of your choice.
Notes
1. soak basmati rice in water for 20 minutes before boiling. For 1 cup of rice add 11/2 cups of water.
2. Refrigerate the cooked rice so that you can retain its texture while making fried rice.
3. Chinese foods are mostly (or as far as i know) cooked in high flame. so make sure you keep all the ingredients ready well before starting.
4. Non Vegetarian lovers could also add cooked minced meat right after the eggs are scrambled and before the rice is added. Vegetarians can skip this entire sequence.


078