Kadai Paneer

Kadai PaneerPaneer is a type of cheese that is common in South Asian cuisine. Paneer is made by curdling milk with the addition of lime or vinegar. Here in the US, cottage cheese or queso fresco (a variety of Mexican cheese) is the recommended substitutes. There are a variety of dishes made from paneer in north Indian cuisine. Here I have posted the recipe for one such popular dish called Kadai Paneer.
Kadai PaneerKadai Paneer
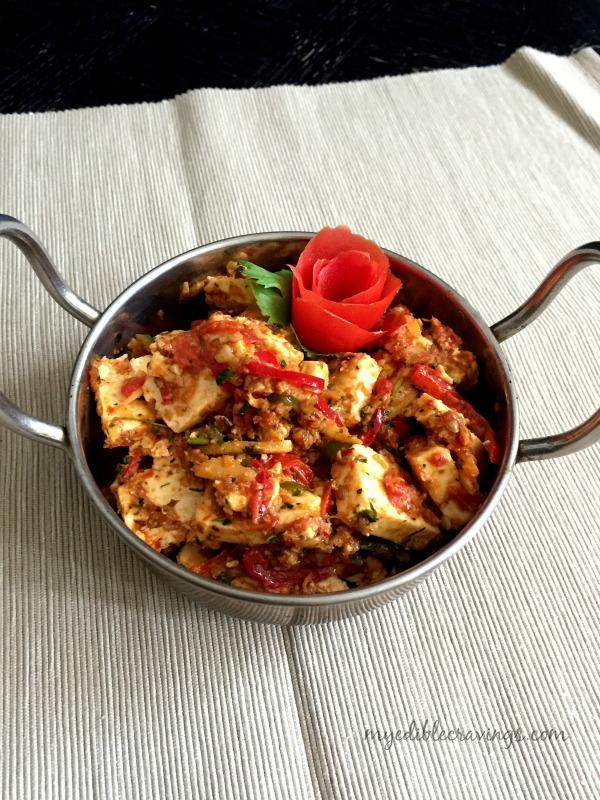
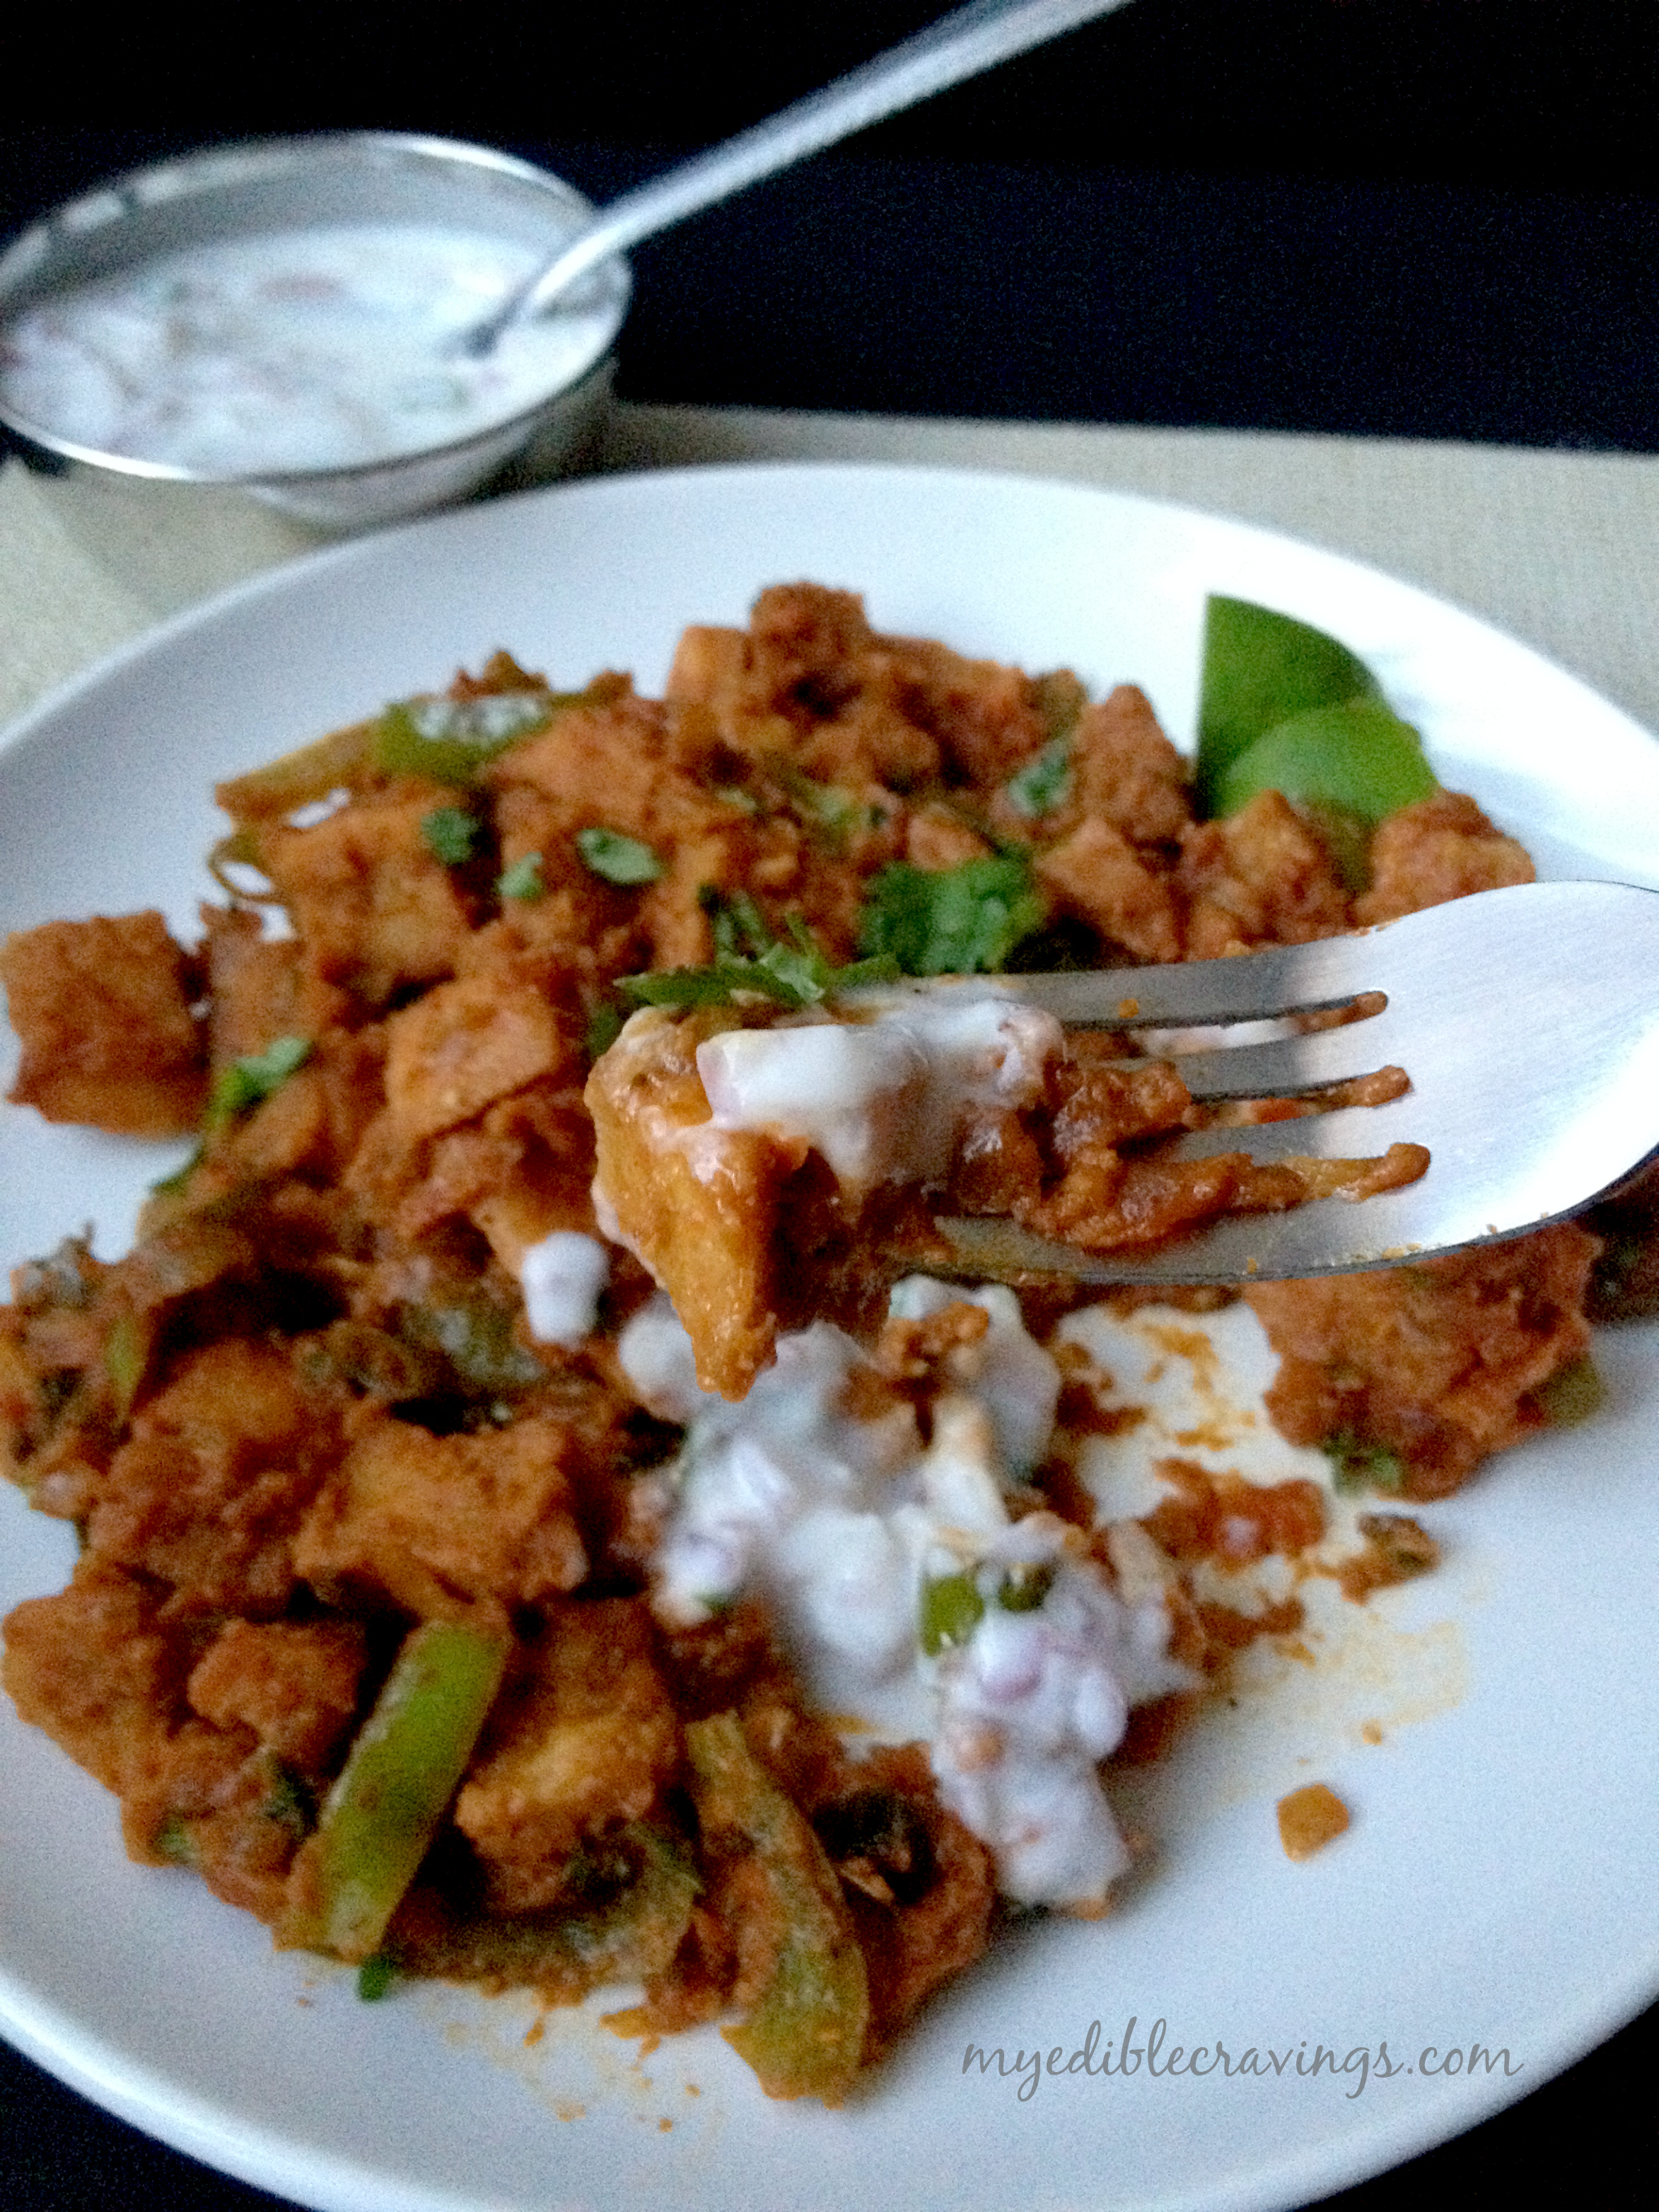
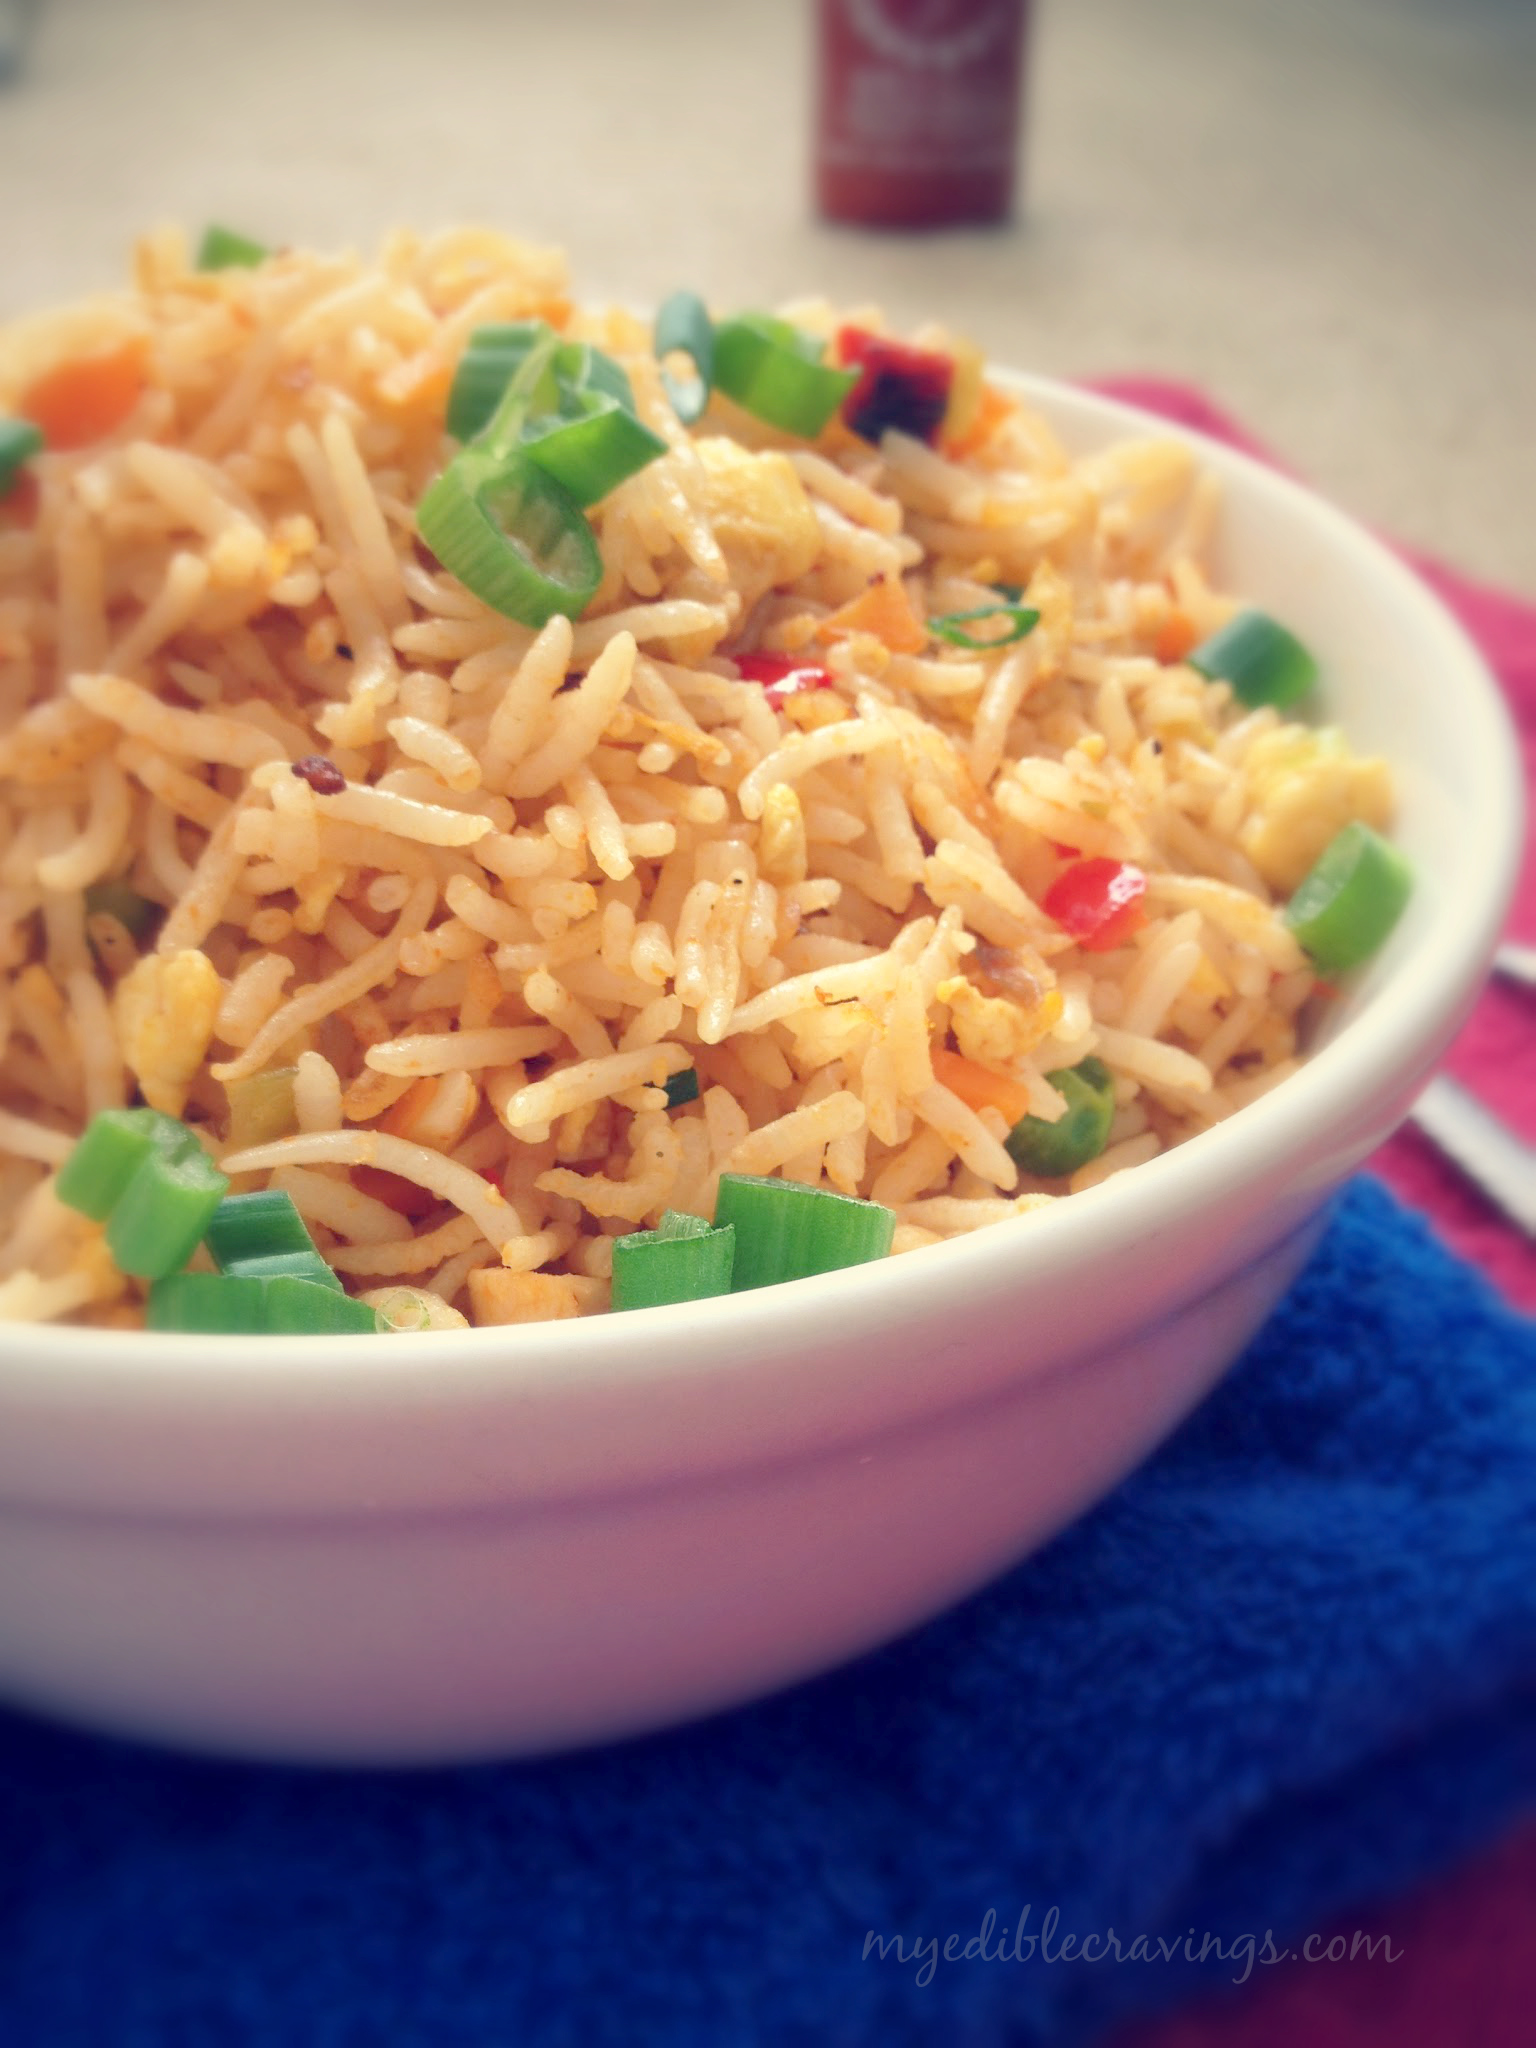
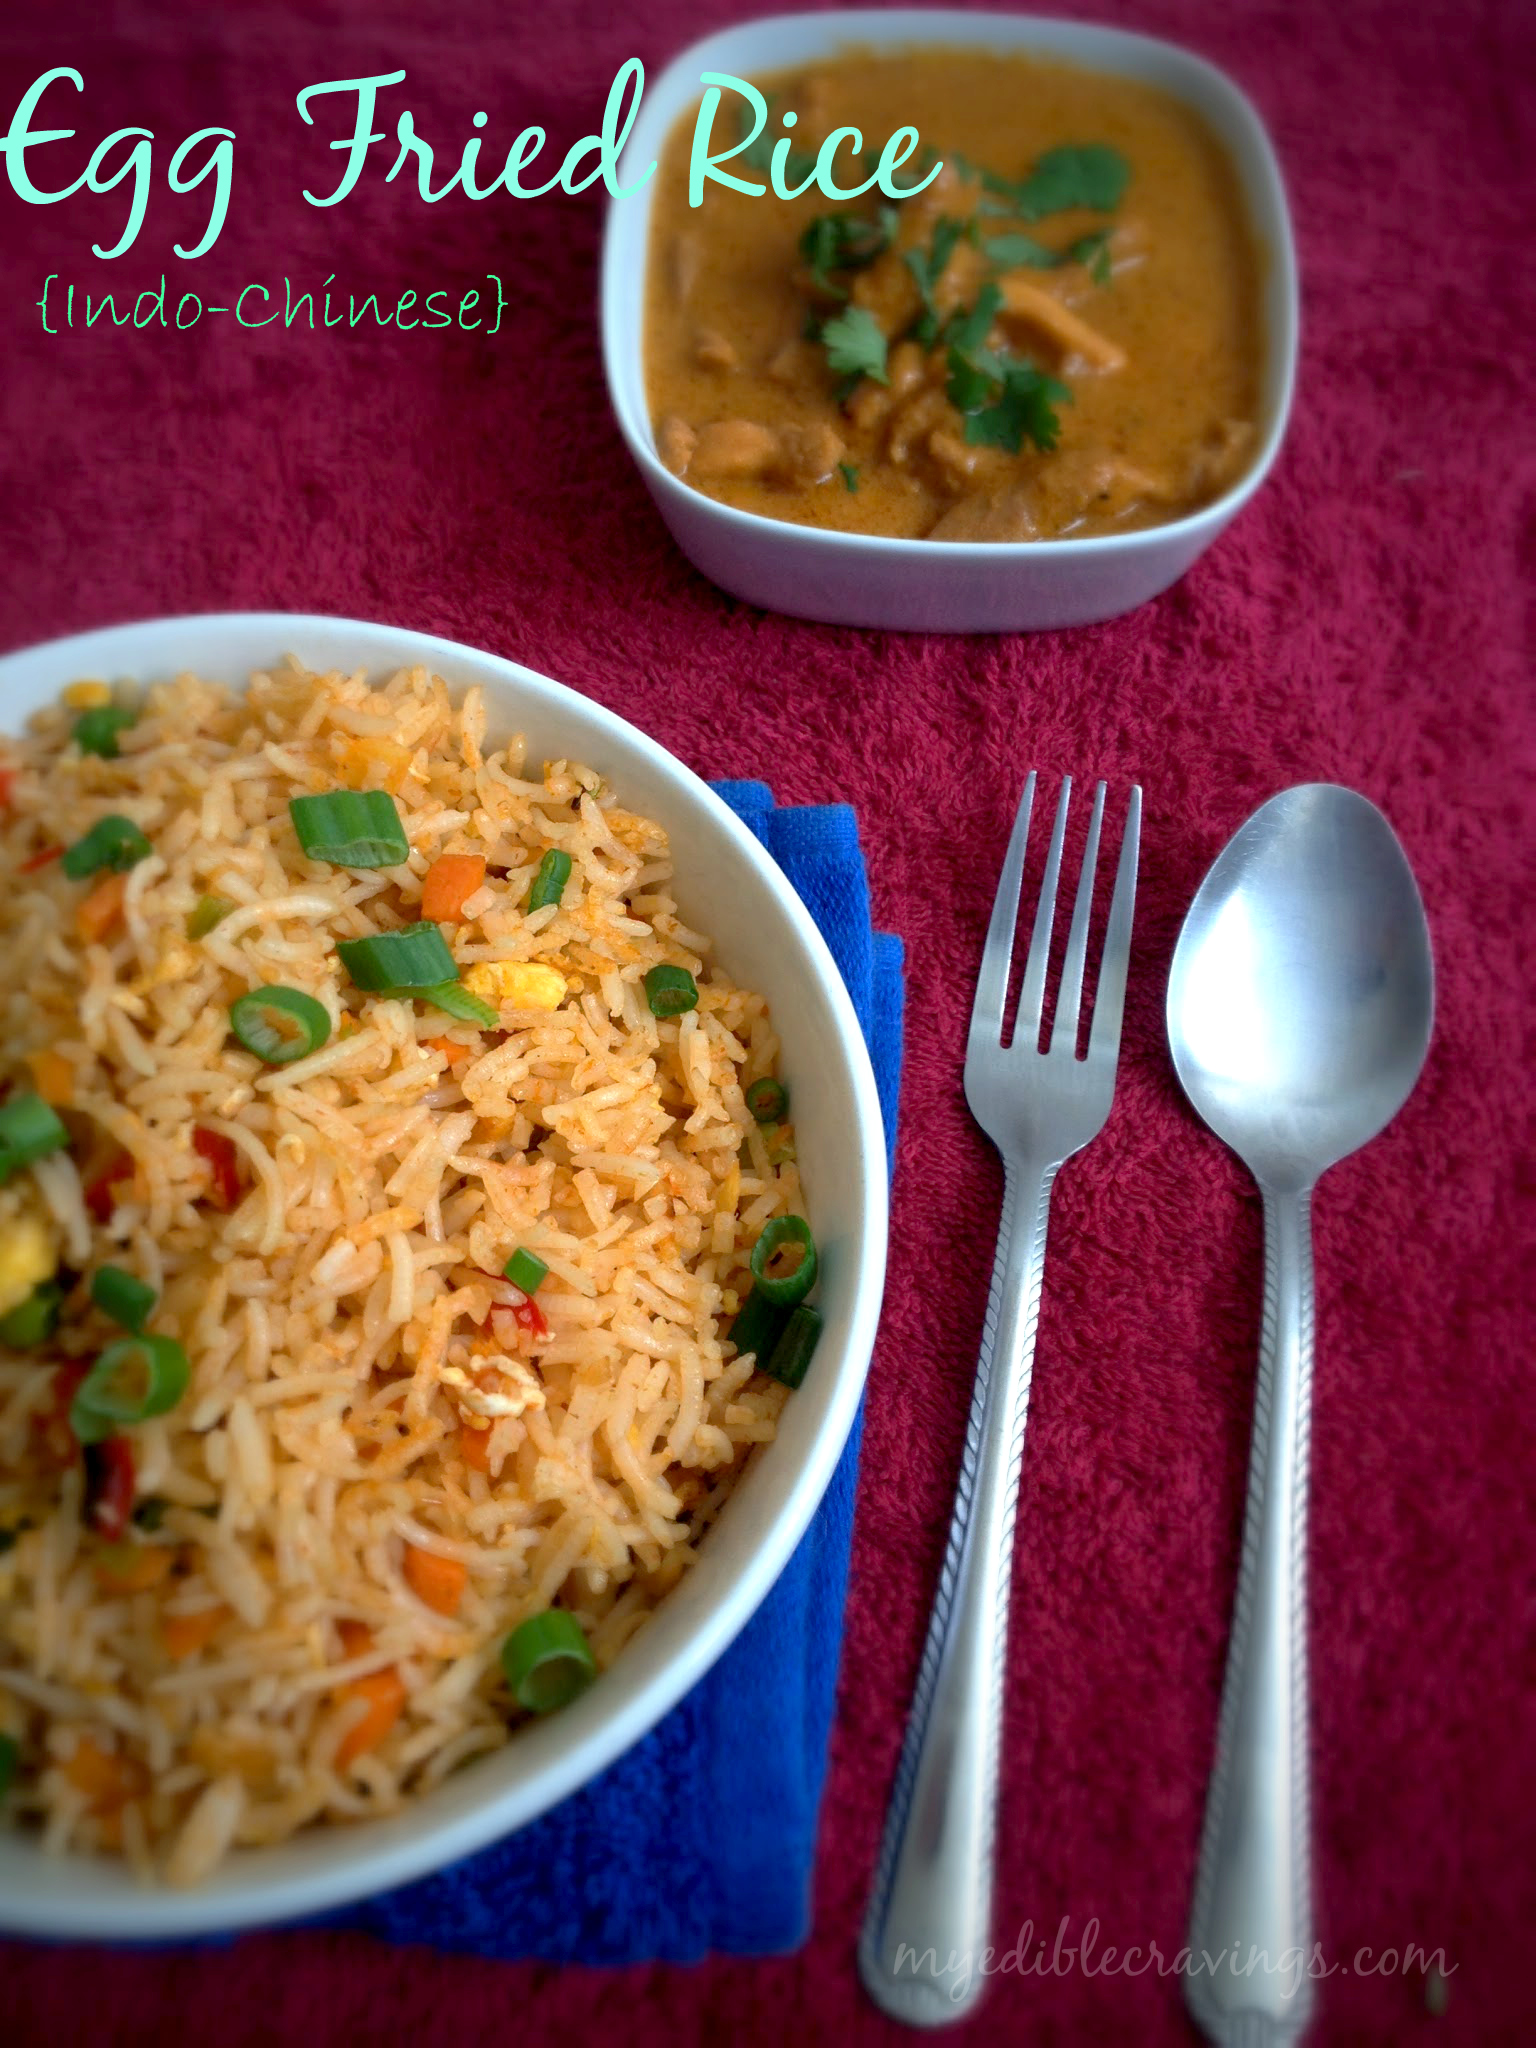
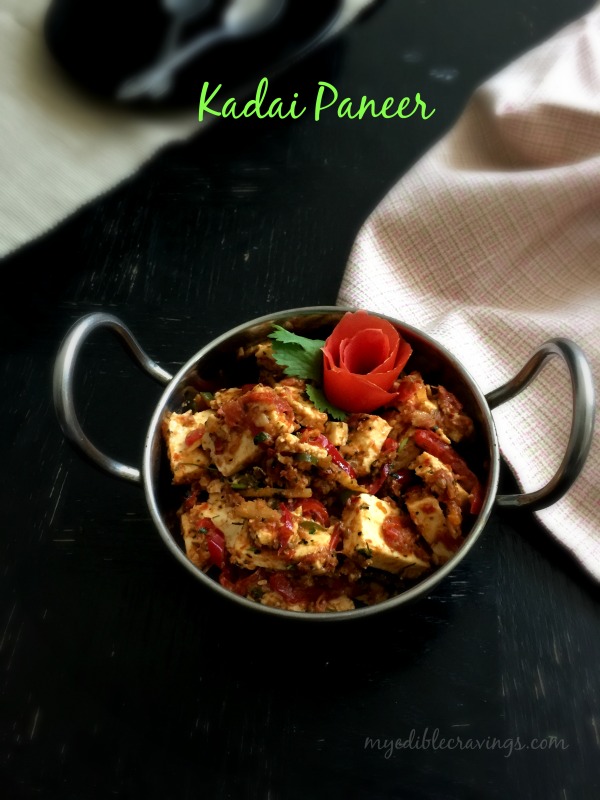
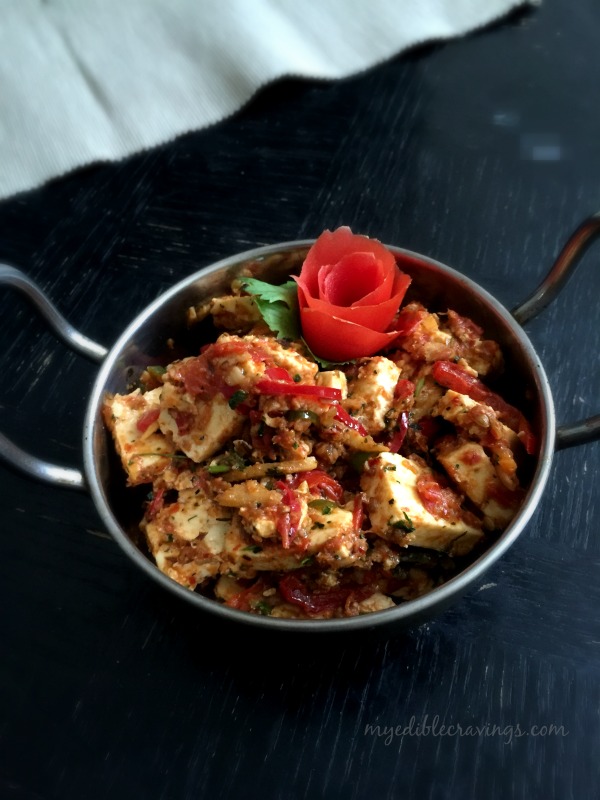
Kadai Paneer literally means paneer that is cooked in a cooking pot. It is a popular dish in Indian restaurants and often served during festivals and in functions. Kadai Paneer is one of the few dishes that I liked in the first taste. The recipe I have given below is of restaurant style Kadai Paneer. It is spicy and colorful dish (mainly because of the bell peppers) and goes well with chappati (or any Indian flatbreads), pulav/pulao etc.
Kadai Paneer
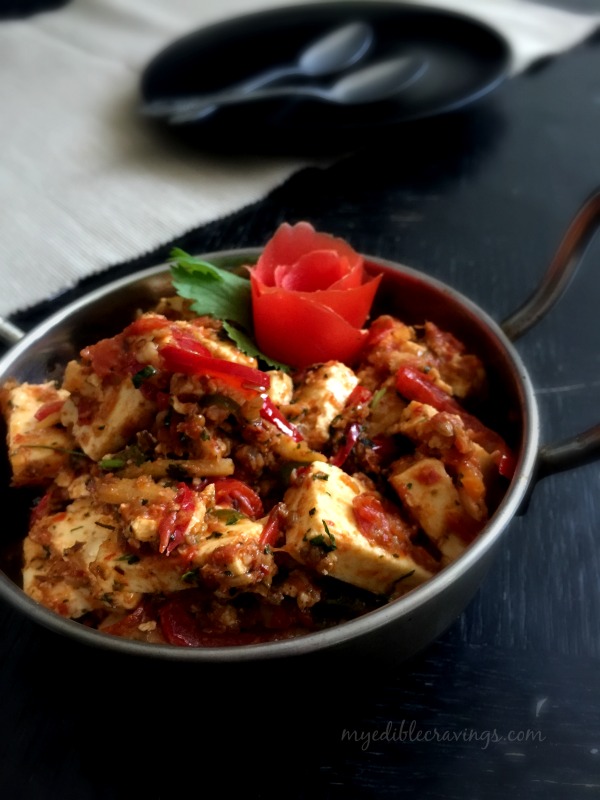
For Kadai Paneer, fresh ingredients are the key. You have to make the ingredients like crushed ginger garlic, coriander powder and chilli powder only when it is time for them to be added, unlike other recipes where they are prepared beforehand. Try this restaurant style Kadai Paneer and enjoy it with hot rotis on a lay afternoon like I do – It does feel heavenly. 🙂

Kadai Paneer
Recipe type: Main
Cuisine: Indian
Prep time: 
Cook time: 
Total time: 
Serves: 3
 
Ingredients
  • Cumin seed – a pinch
  • Onion, medium, finely chopped – ½ no
  • Garic cloves – 4 nos
  • Ginger – ¾”
  • Tomatoes, big, finely chopped – 2 nos
  • Coriander seeds – 1 tsp
  • Red chilli flakes – ½ tsp
  • Green or red bell pepper or capsicum, julienned – ½ no
  • Green chilli, finely chopped – 1 nos
  • Salt as required
  • Garam masala – a pinch
  • Paneer, cut to cubes – ½ pk
  • Kasthoori methi leaves or dry fenugreek leaves – 1 ½ tsp
  • Ginger, julienned – ¼ “
  • Cilantro, finely chopped - for garnishing
Instructions
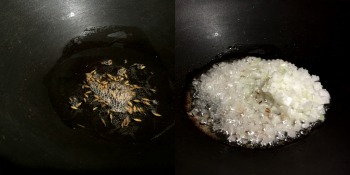
  1. Heat a kadai and add oil. When the oil is hot add cumin seeds. Wait until they start to sizzle. Add finely chopped onion. Sauté until they turn translucent. Meanwhile crush ginger and garlic in a motor and pestle.
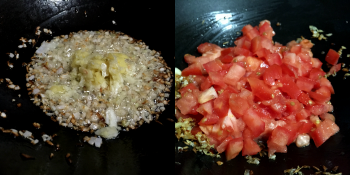
  2. Add the crushed ginger and garlic. Sauté until the raw smell disappears.
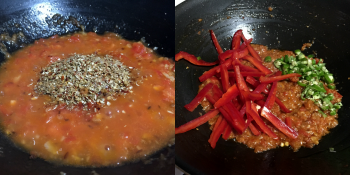
  3. Add in finely chopped tomato and sauté well in a low flame. Meanwhile coarsely pulse the coriander seed and red chilli flakes for very few seconds. See notes below.
  4. Add the coriander powder and mix well. Sauté and cook until oil separates.
  5. Add in the julienned capsicum and green chilli. Mix and sauté them for couple of minutes until capsicum is half cooked – you could add very little water if you feel the mixture is dry.
  6. Add salt and garam masala. Stir to mix.
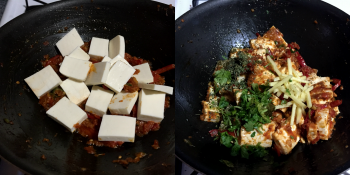
  7. Add in the paneer cubes and mix until the masala is well coated. Cook for 2 to 3 minutes and add kasthoori methi, julienned ginger and coriander leaves. Stir and cook for another couple of minutes and switch off the flame.
  8. Serve delicious kadai paneer with any pulao or roti. Enjoy!
Notes
1.Fresh ingredients are the key for this recipe. Make crushed ginger garlic and coriander powder then and there when needed.
2.I added chilli flakes so it took me only very few seconds to blend them to a coarse powder. You could also add one red chilli in place of chilli flakes.
3.The coriander mixture has to be coarse and do not blend it to fine powder.

Kadai Paneer

CHILLI IDLI | KAIMA IDLI

Chilli idli is a variation of the south Indian rice cakes called as Idli. Idli is ubiquitous in Tamilnadu and is one of the most common food items that you can find there (next only to rice). Chilli idli or kaima idli is basically a fried dish where you have fried idli pieces as the base ingredient.
chilli idliChilli idli is one of my favorite vegetarian dishes. It is very easy to prepare and can be done quickly as well. It is also a popular snack item but mainly served as a dinner dish in restaurants back home.
chilli idliIn you preparation, deep fry the idli pieces to give restaurant touch. Make sure to steam idlis six to eight hours ahead and store it in a refrigerator. So that the pieces will absorb less oil while frying. If you are health conscious like us, you could simply spray some cooking oil on top of the pieces and bake in the oven until the sides are crisp and change color. But I would say, once in a while you should skip all your calorie calculations and do it the tasty albeit not so healthy way ;).
CHILLI IDLI
Here is my version of restaurant style chilli idli 🙂

CHILLI IDLI | KAIMA IDLI
Recipe type: Dinner
Cuisine: Indian
Prep time: 
Cook time: 
Total time: 
Serves: 2
 
Chilli idli is a variation of the south Indian rice cakes called as Idli. Idli is ubiquitous in Tamilnadu and is one of the most common food items that you can find there (next only to rice). Chilli idli or kaima idli is basically a fried dish where you have fried idli pieces as the base ingredient.
Ingredients
  • Vegetable oil- for deep frying
  • Idli – 7 nos
  • Fennel seeds – 1 tsp
  • Curry leaves – a sprig
  • Onion – 1
  • Ginger-garlic paste – 1 tbs
  • Tomato, large – 1
  • Green chilli – 2
  • Green Capsicum or bell pepper, cut lengthwise – ½ cup
  • Red chilli powder – 1 tsp
  • Pav bhaji masala – 1 tsp
  • Coriander powder – 1 tbsp
  • Tomato ketchup – 1 tbsp
  • Salt as required
  • Garlic powder – 1 tsp (optional)
  • Onion powder – 1 tsp (optional)
  • Cashews – 1 tbsp
  • Cilantro, chopped – 2 tbsp
  • Lemon juice – 1 tbsp
Instructions
  1. Steam the idlis and refrigerate it at least for 6 hours.
  2. Heat oil in a frying pan, and meanwhile cut the idlis to desirable bite size pieces.
  3. Fry the idli pieces until it turns brown and crispy. Drain on a plate lined with paper napkin and set aside.
  4. Heat a pan with a tbsp of oil, season with fennel seeds and curry leaves.
  5. When they start to sizzle, add in the chopped onion. Sauté until the onions turn translucent. Add in ginger-garlic paste and stir fry until the raw aroma disappears.
  6. Now add in chopped tomato followed by slit chillis. Sauté for couple of minutes until the tomatoes are mushy without any chunks.
  7. Add bell pepper and give it a stir.
  8. Now in a low flame, add chilli powder, coriander powder, pav bhaji masala, salt and ketchup. Stir well until all the masalas are well mixed.
  9. Add in the fried idli pieces to the masala and give a good stir until the masalas are blended.
  10. Now add ¼ th cup of water and bring it to boil. When the water is completely absorbed, add in garlic and onion powder. Give it a stir. Switch off the flame.
  11. Garnish with fried cashews and chopped cilantro.
  12. Drizzle few drops of lemon juice on top before serving.
  13. Enjoy hot chilli idli with onion raitha!

CHILLI IDLI
What is your version of chilli idli?

INDO-CHINESE FRIED RICE

070Though fried rice is a Chinese delicacy, it is very popular in India as well. It is a popular street food there.  Fried rice in India is a fusion of Indian spices and Chinese method of preparation, aptly named as Indo-Chinese fried rice. Indo-Chinese fried rice has become so popular that I have seen them as a menu item in some Chinese restaurants here!080My inspiration for indo-chinese egg fried rice is my uncle. He is a very good cook and one of his specialties is egg fried rice. Whenever we visit them (Toronto, Canada), we can see it in the menu on one of the days.
068The recipe that I have given below is a tried and tested Indo-Chinese version.
Note:- Fried rice prepared in restaurants has ajinomoto as one of the ingredients but I personally don’t prefer using it and it is not healthy as well (read somewhere that it has carcinogenic properties). Also, the one time I used it, I did not notice any difference in the taste.071Delicious, right?

5.0 from 1 reviews
Egg Fried Rice (Indo – Chinese)
Recipe type: Lunch/Dinner
Cuisine: Chinese
Prep time: 
Cook time: 
Total time: 
Serves: 2
 
Indo-Chinese fried rice is a variation of regular chinese fried rice with indian spices. Check out the easy to prepare instructions and enjoy hot fried rice, Indian style!
Ingredients
  • Gingelly oil - 1 tbsp
  • Green Onion (thinly sliced, green & white separated) - ¼ cup
  • Garlic, minced - 1 tbsp
  • Ginger, minced - 1 tbsp
  • Red Bell Pepper - ¼ cup
  • Green peas - ½ cup
  • Carrots -1/4 cup
  • Cabbage - ¼ cup (optional)
  • Egg - 1
  • Cooked basmati rice (or any long grained variety) - 1 cup
  • Soy Sauce - 1 tbsp or to taste
  • White pepper – 1 tsp
  • Chilli garlic sauce – 1 tsp (I used sriracha)
Instructions
  1. Cook the rice and set aside to cool naturally or refrigerate it for at least 3 hours – Drizzle in few drops of gingely oil and mix the rice carefully until grains are easily separated. Do this once before it goes into the refrigerator.
  2. Make sure to keep all the ingredients ready before proceeding.
  3. Heat a wok or any deep frying pan (I would prefer non-stick) in high heat with gingely oil. Add in green onions(only white), ginger and garlic. Stir for 5-6 seconds or until the aroma aroma spreads.
  4. Add rest of the vegetables. Make sure nothing burns given that you are cooking in high flame. And you want the vegetables to be cooked but still crunchy (that’s the reason we chopped them into smaller and uniform pieces). Keep stirring for 40 - 50 seconds.
  5. Now it is time to add the eggs to the sides of the vegetables. Sauté the eggs until well cooked and scrambled (In restaurants they used to add the eggs once after the rice is added. But I prefer this way).
  6. Next add the cooked (refrigerated) rice. Stir until all the vegetables and eggs are combined.
  7. Next add the soy sauce, chilli sauce and white pepper. Stir for the flavors to combine. Make sure you don't stir it too much because that might make the rice mushy.
  8. Garnish with scallion greens. Serve hot with chilli chicken or butter chicken or any sides of your choice.
Notes
1. soak basmati rice in water for 20 minutes before boiling. For 1 cup of rice add 11/2 cups of water.
2. Refrigerate the cooked rice so that you can retain its texture while making fried rice.
3. Chinese foods are mostly (or as far as i know) cooked in high flame. so make sure you keep all the ingredients ready well before starting.
4. Non Vegetarian lovers could also add cooked minced meat right after the eggs are scrambled and before the rice is added. Vegetarians can skip this entire sequence.


078