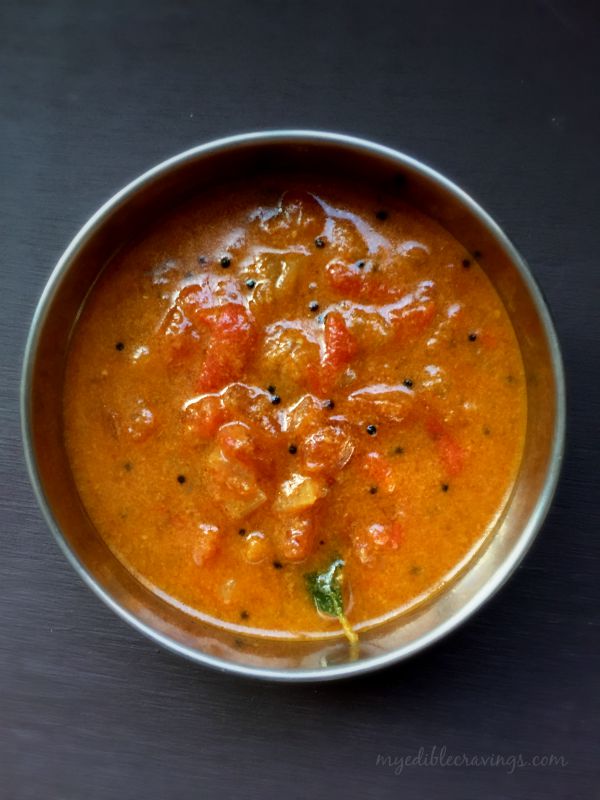
 It has been quite a while since I had posted a chutney recipe. Chutneys are a type of accompaniment that is specific to South Asian cuisine. It is similar to relish and mustards in western cuisines. The word chutney is derived from the Sanskrit word ‘Catni’ which means to lick (courtesy-Wikipedia). There are literally hundreds of varieties of chutneys made from a wide range of spices, vegetables and fruits. Today I have posted one such chutney variety made from tomato called the Tomato chutney or thakali chutney.
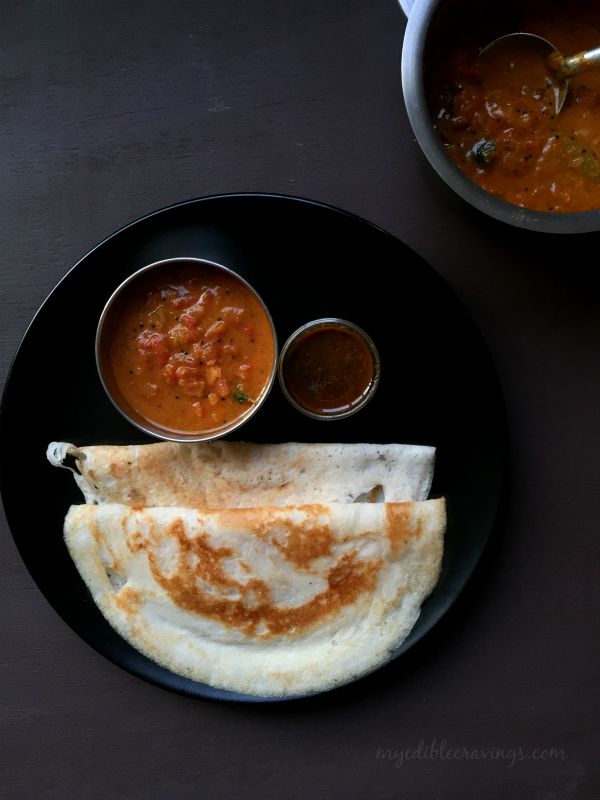
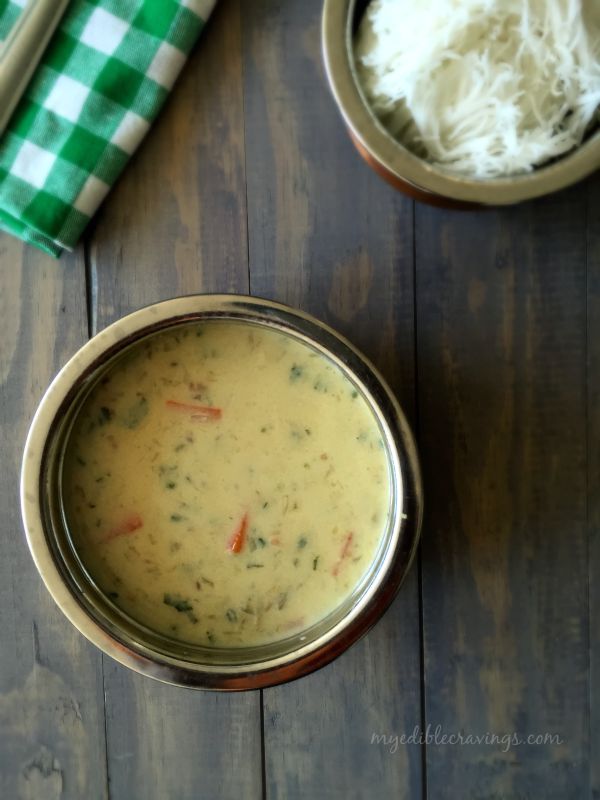
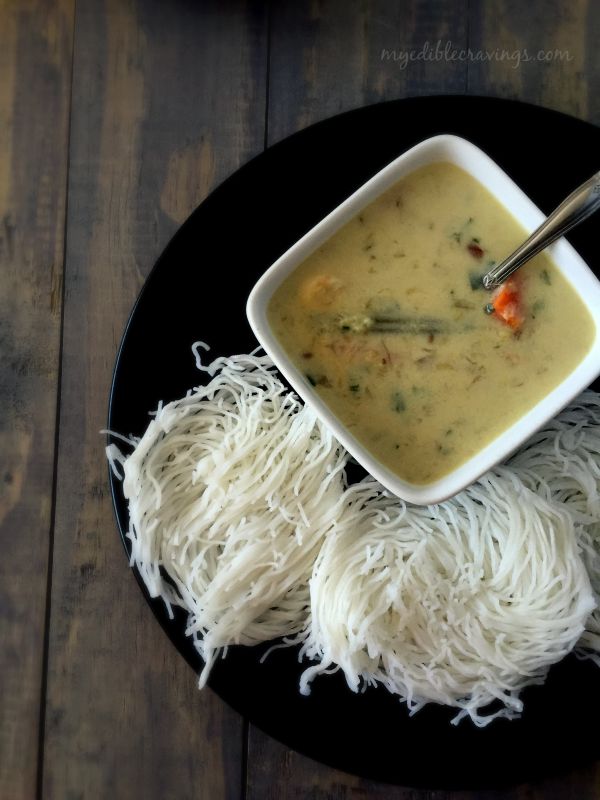
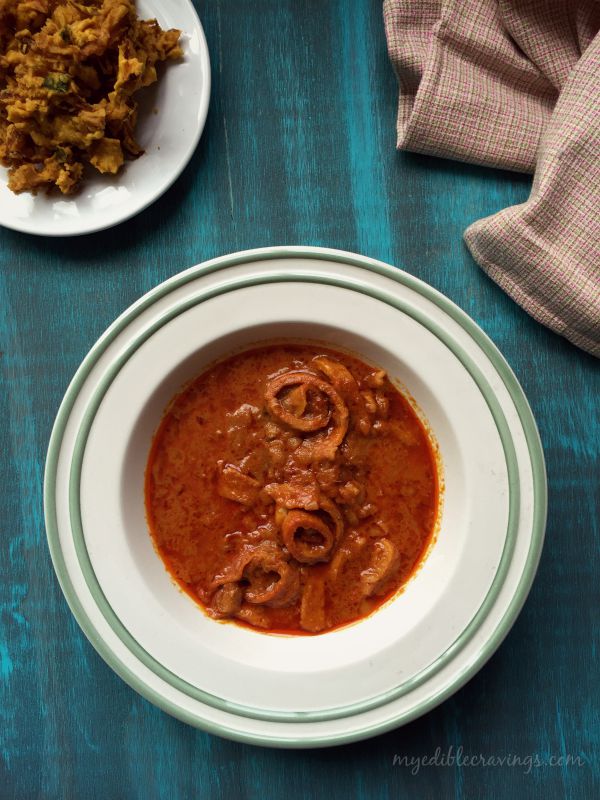
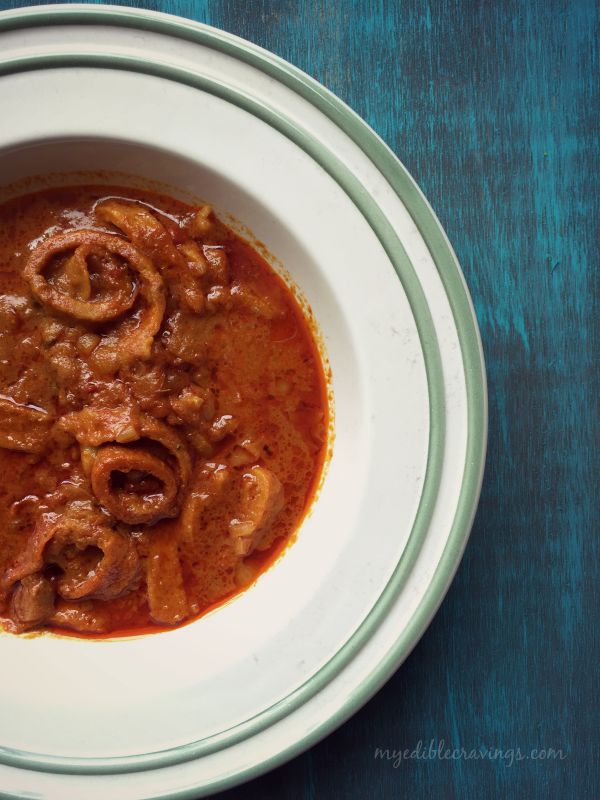
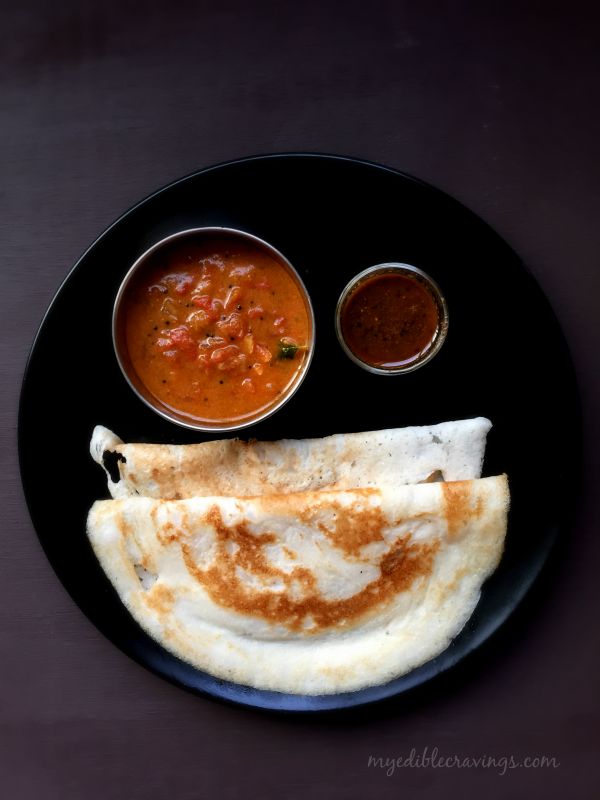
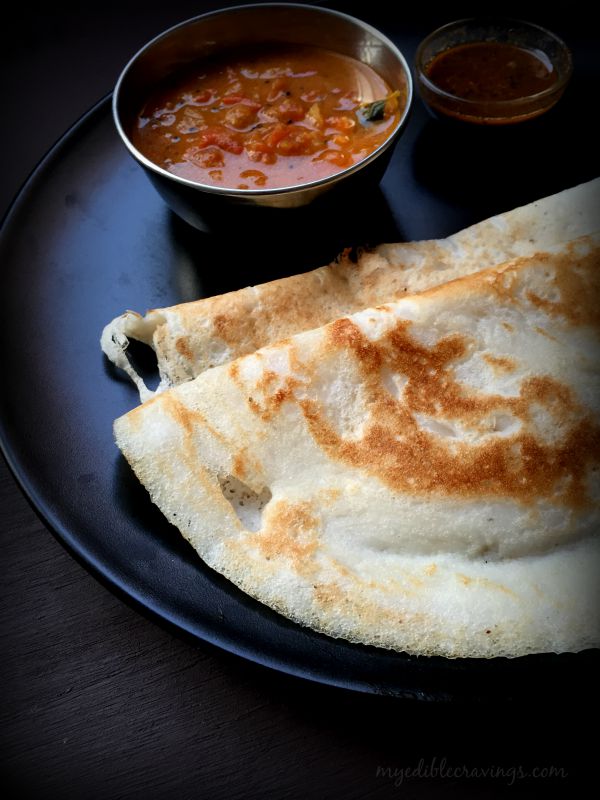 Tomato chutney is one of the most popular chutney varieties in south Indian cuisine. It is most often had for breakfast along with idli and dosa. Tomato chutney is very easy to make and uses very minimum ingredients. One interesting fact about chutneys in general is that they were originally used as a method of preserving food which was later adopted by Roman and British empires during colonization.
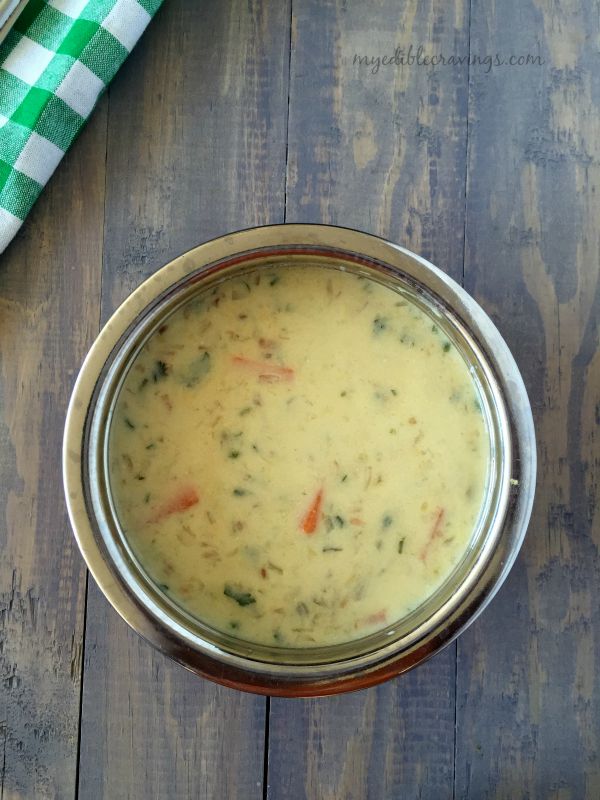
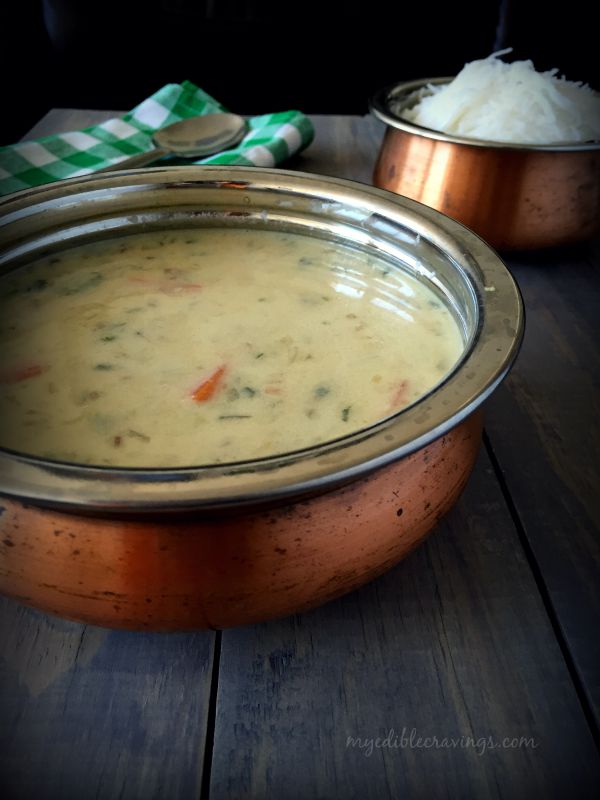
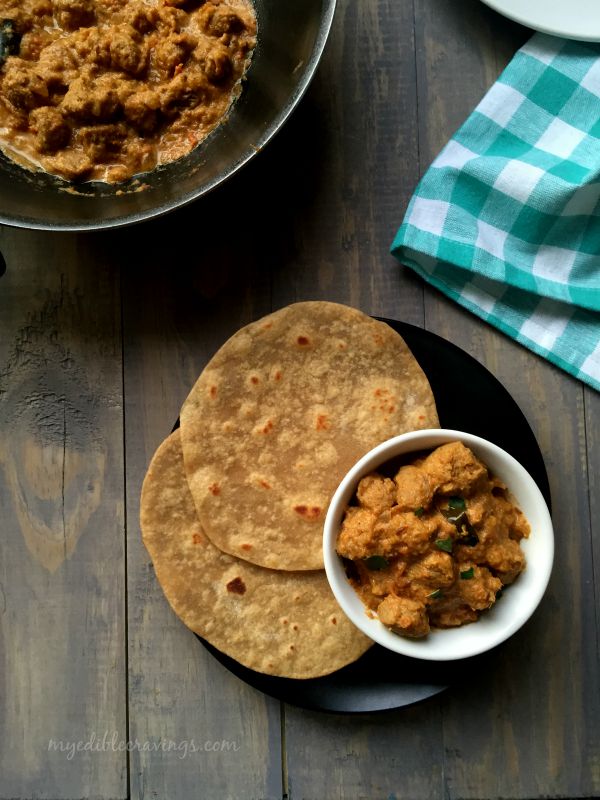
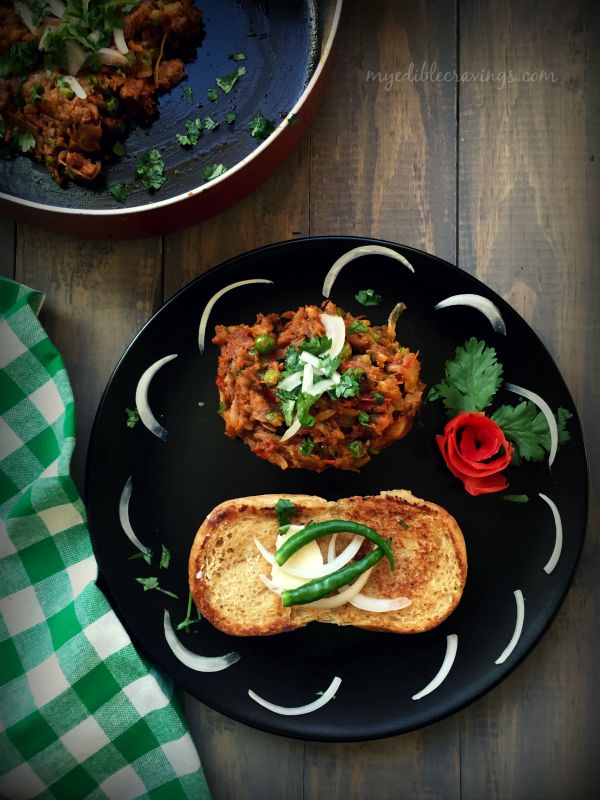
 Tomato chutney can be stored for three to four days (using the refrigerator). Also, you can customize the chutney to suite your palate by making it spicy or mild. Try this easy yet tasty chutney recipe in your home and have it with hot idlis or ghee roast along with idli podi.
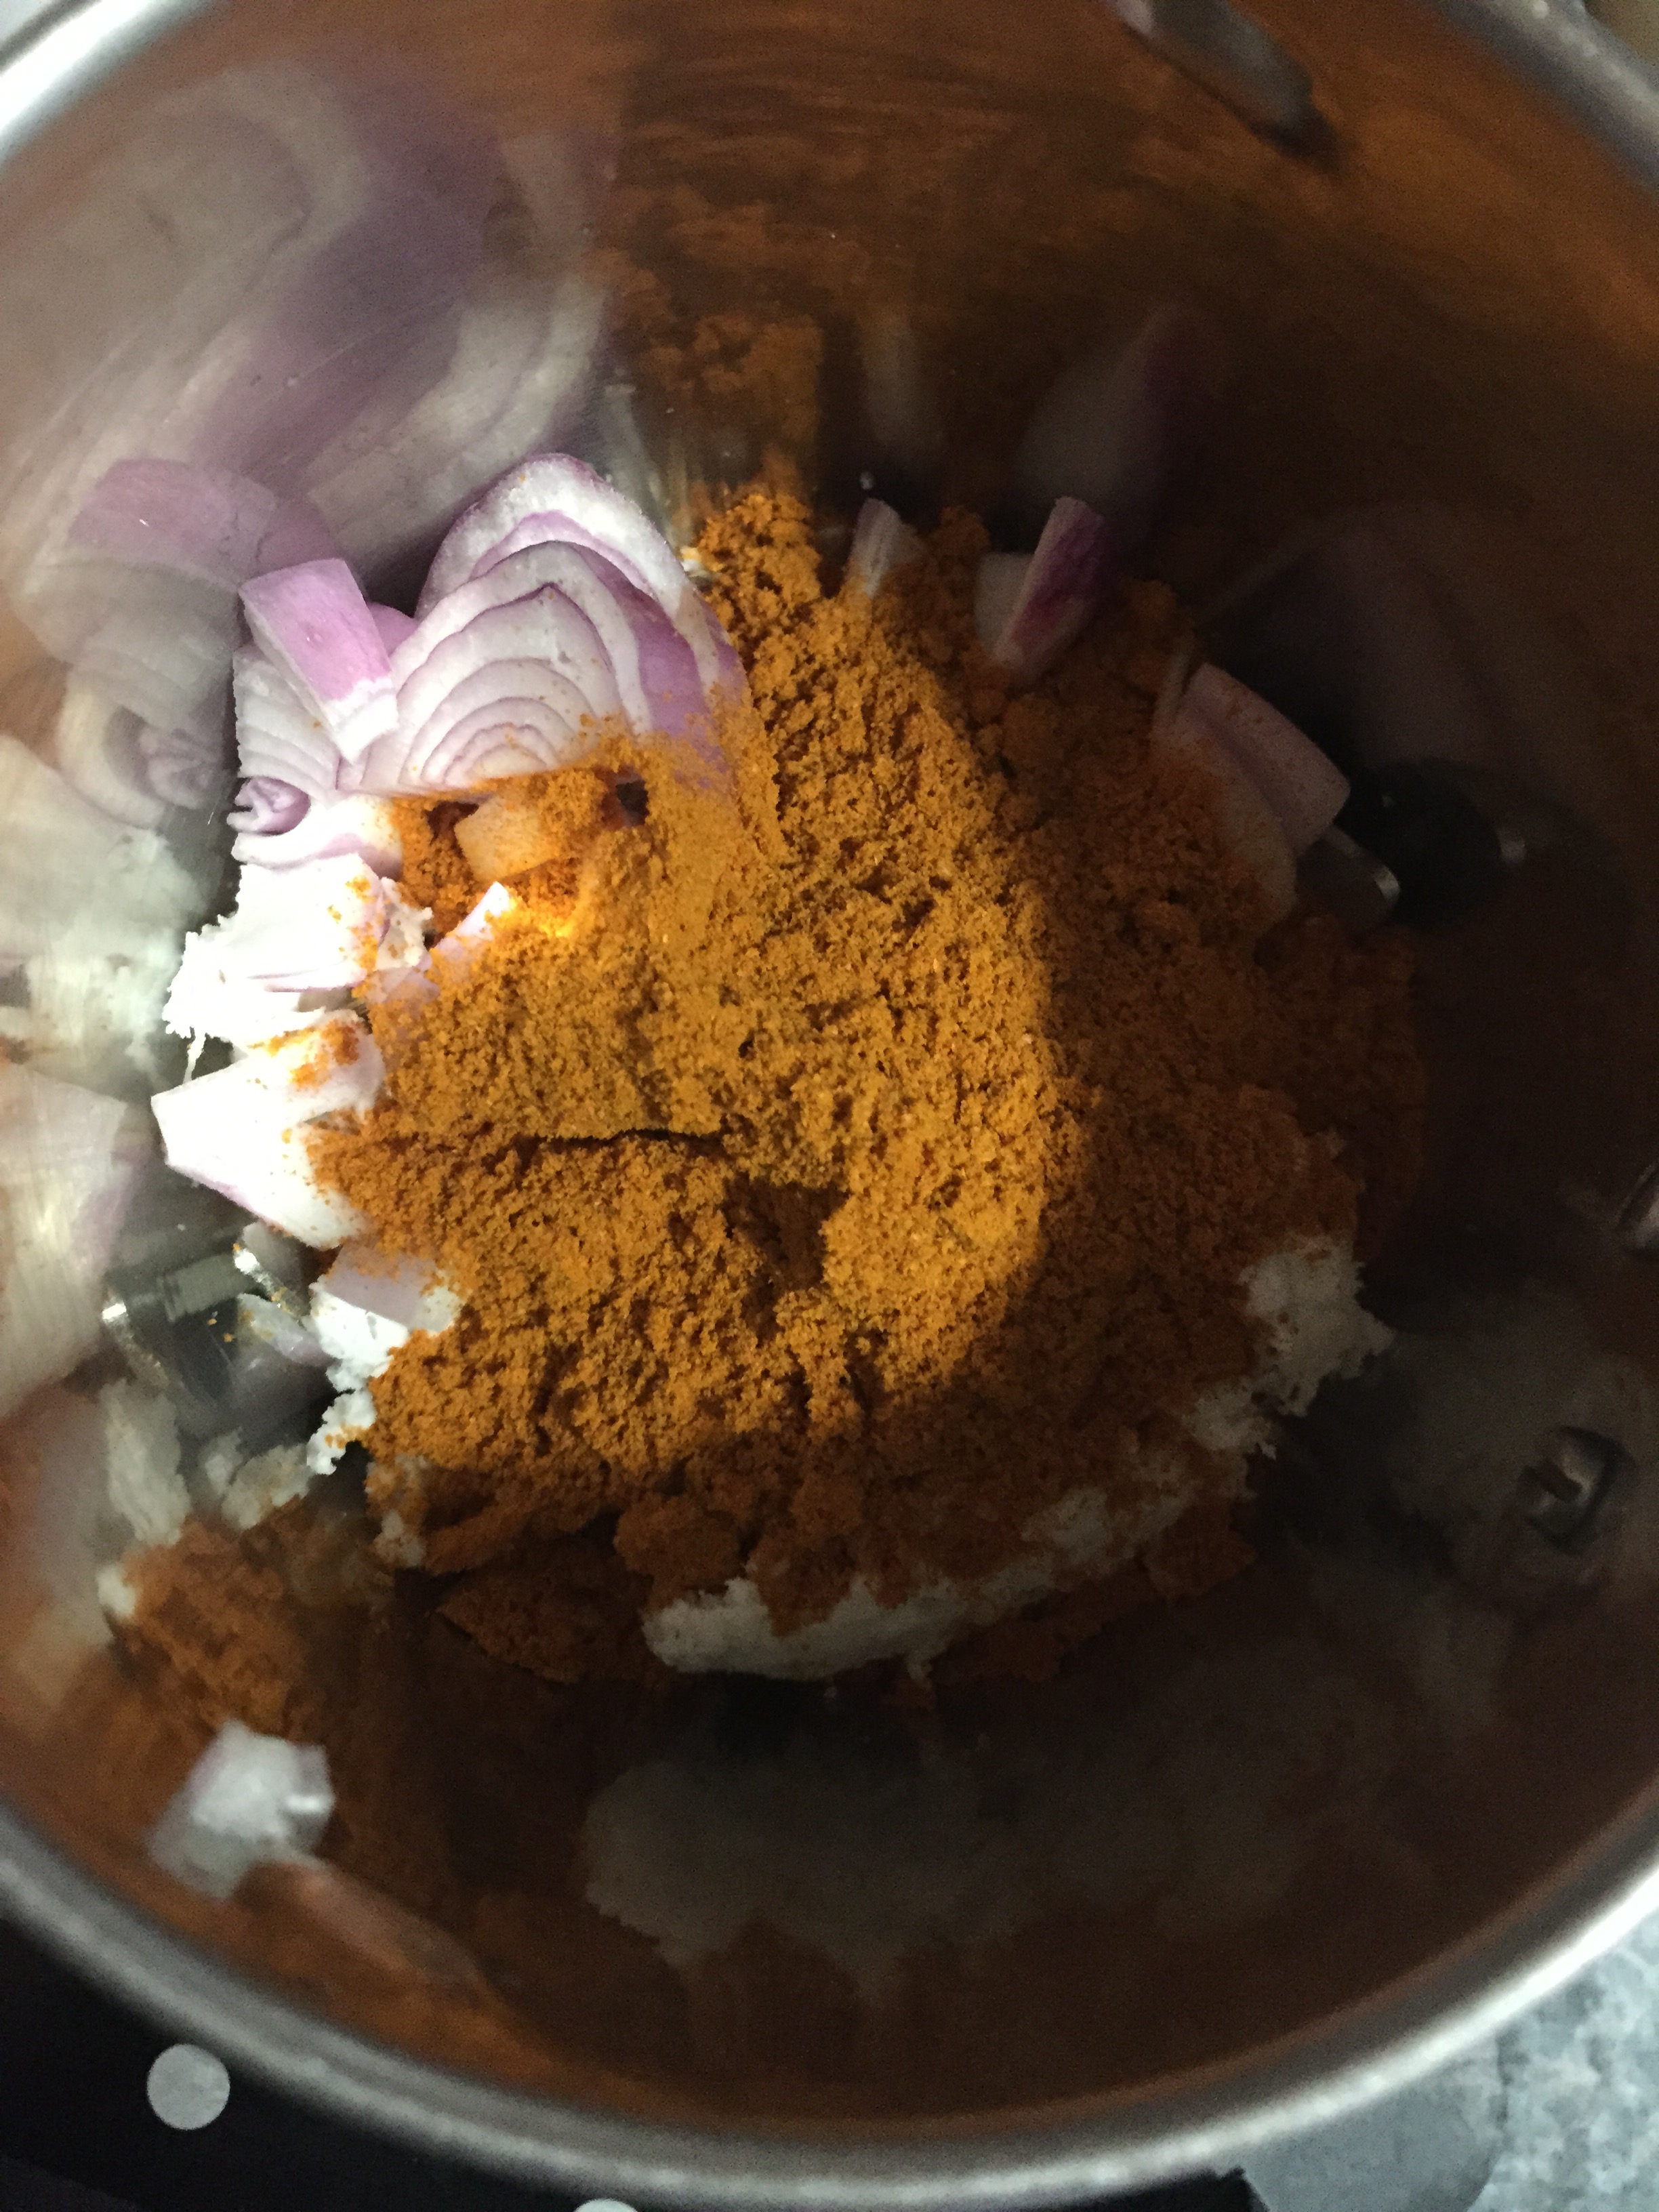
- Grated coconut – 2 tbsp
- Shallots – 2 nos
- Homemade sambar powder (veettu milagai podi) – 2 tbsp
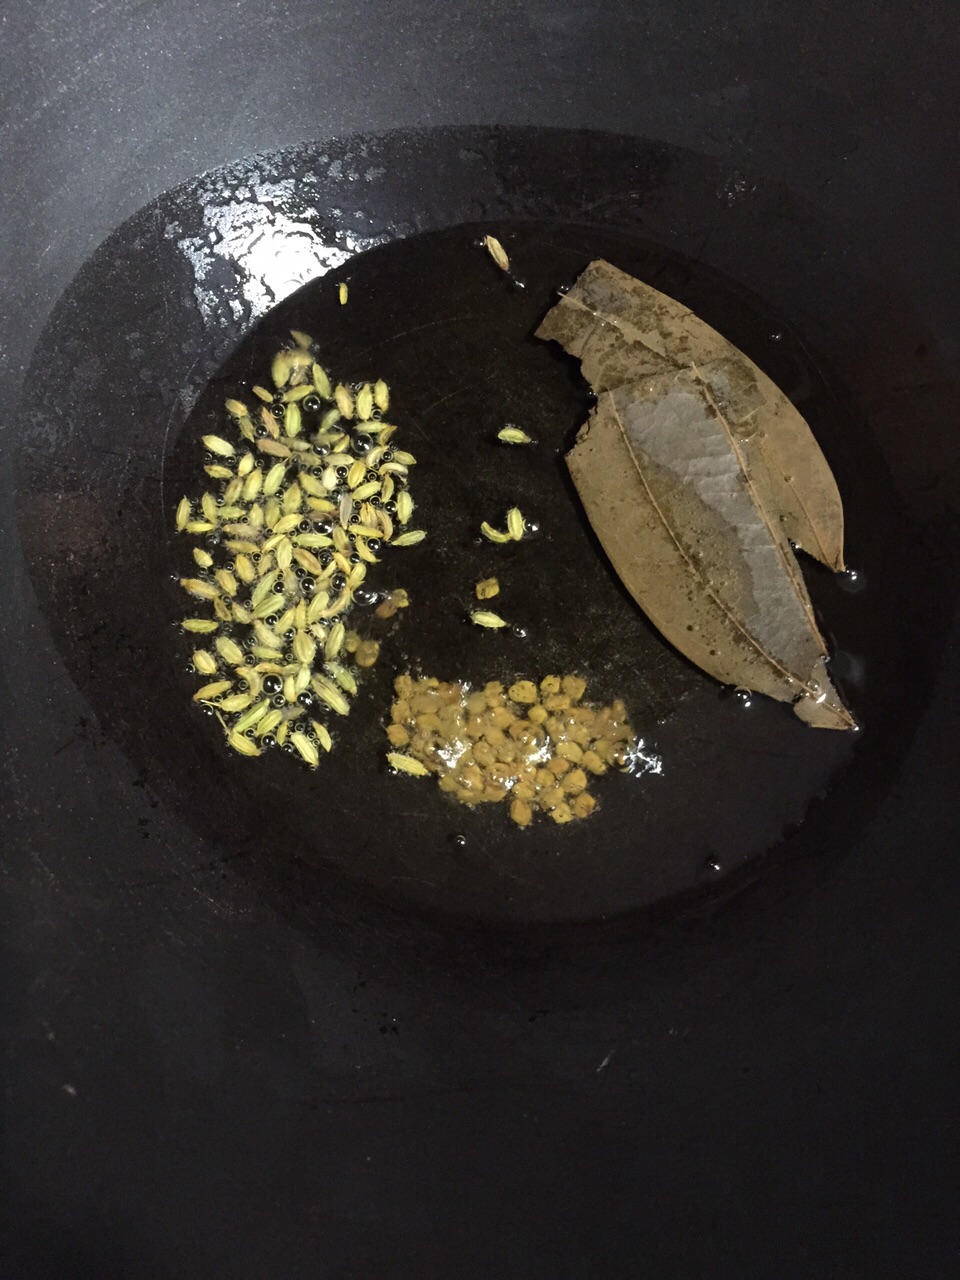
- Cumin seeds – ¼ tsp
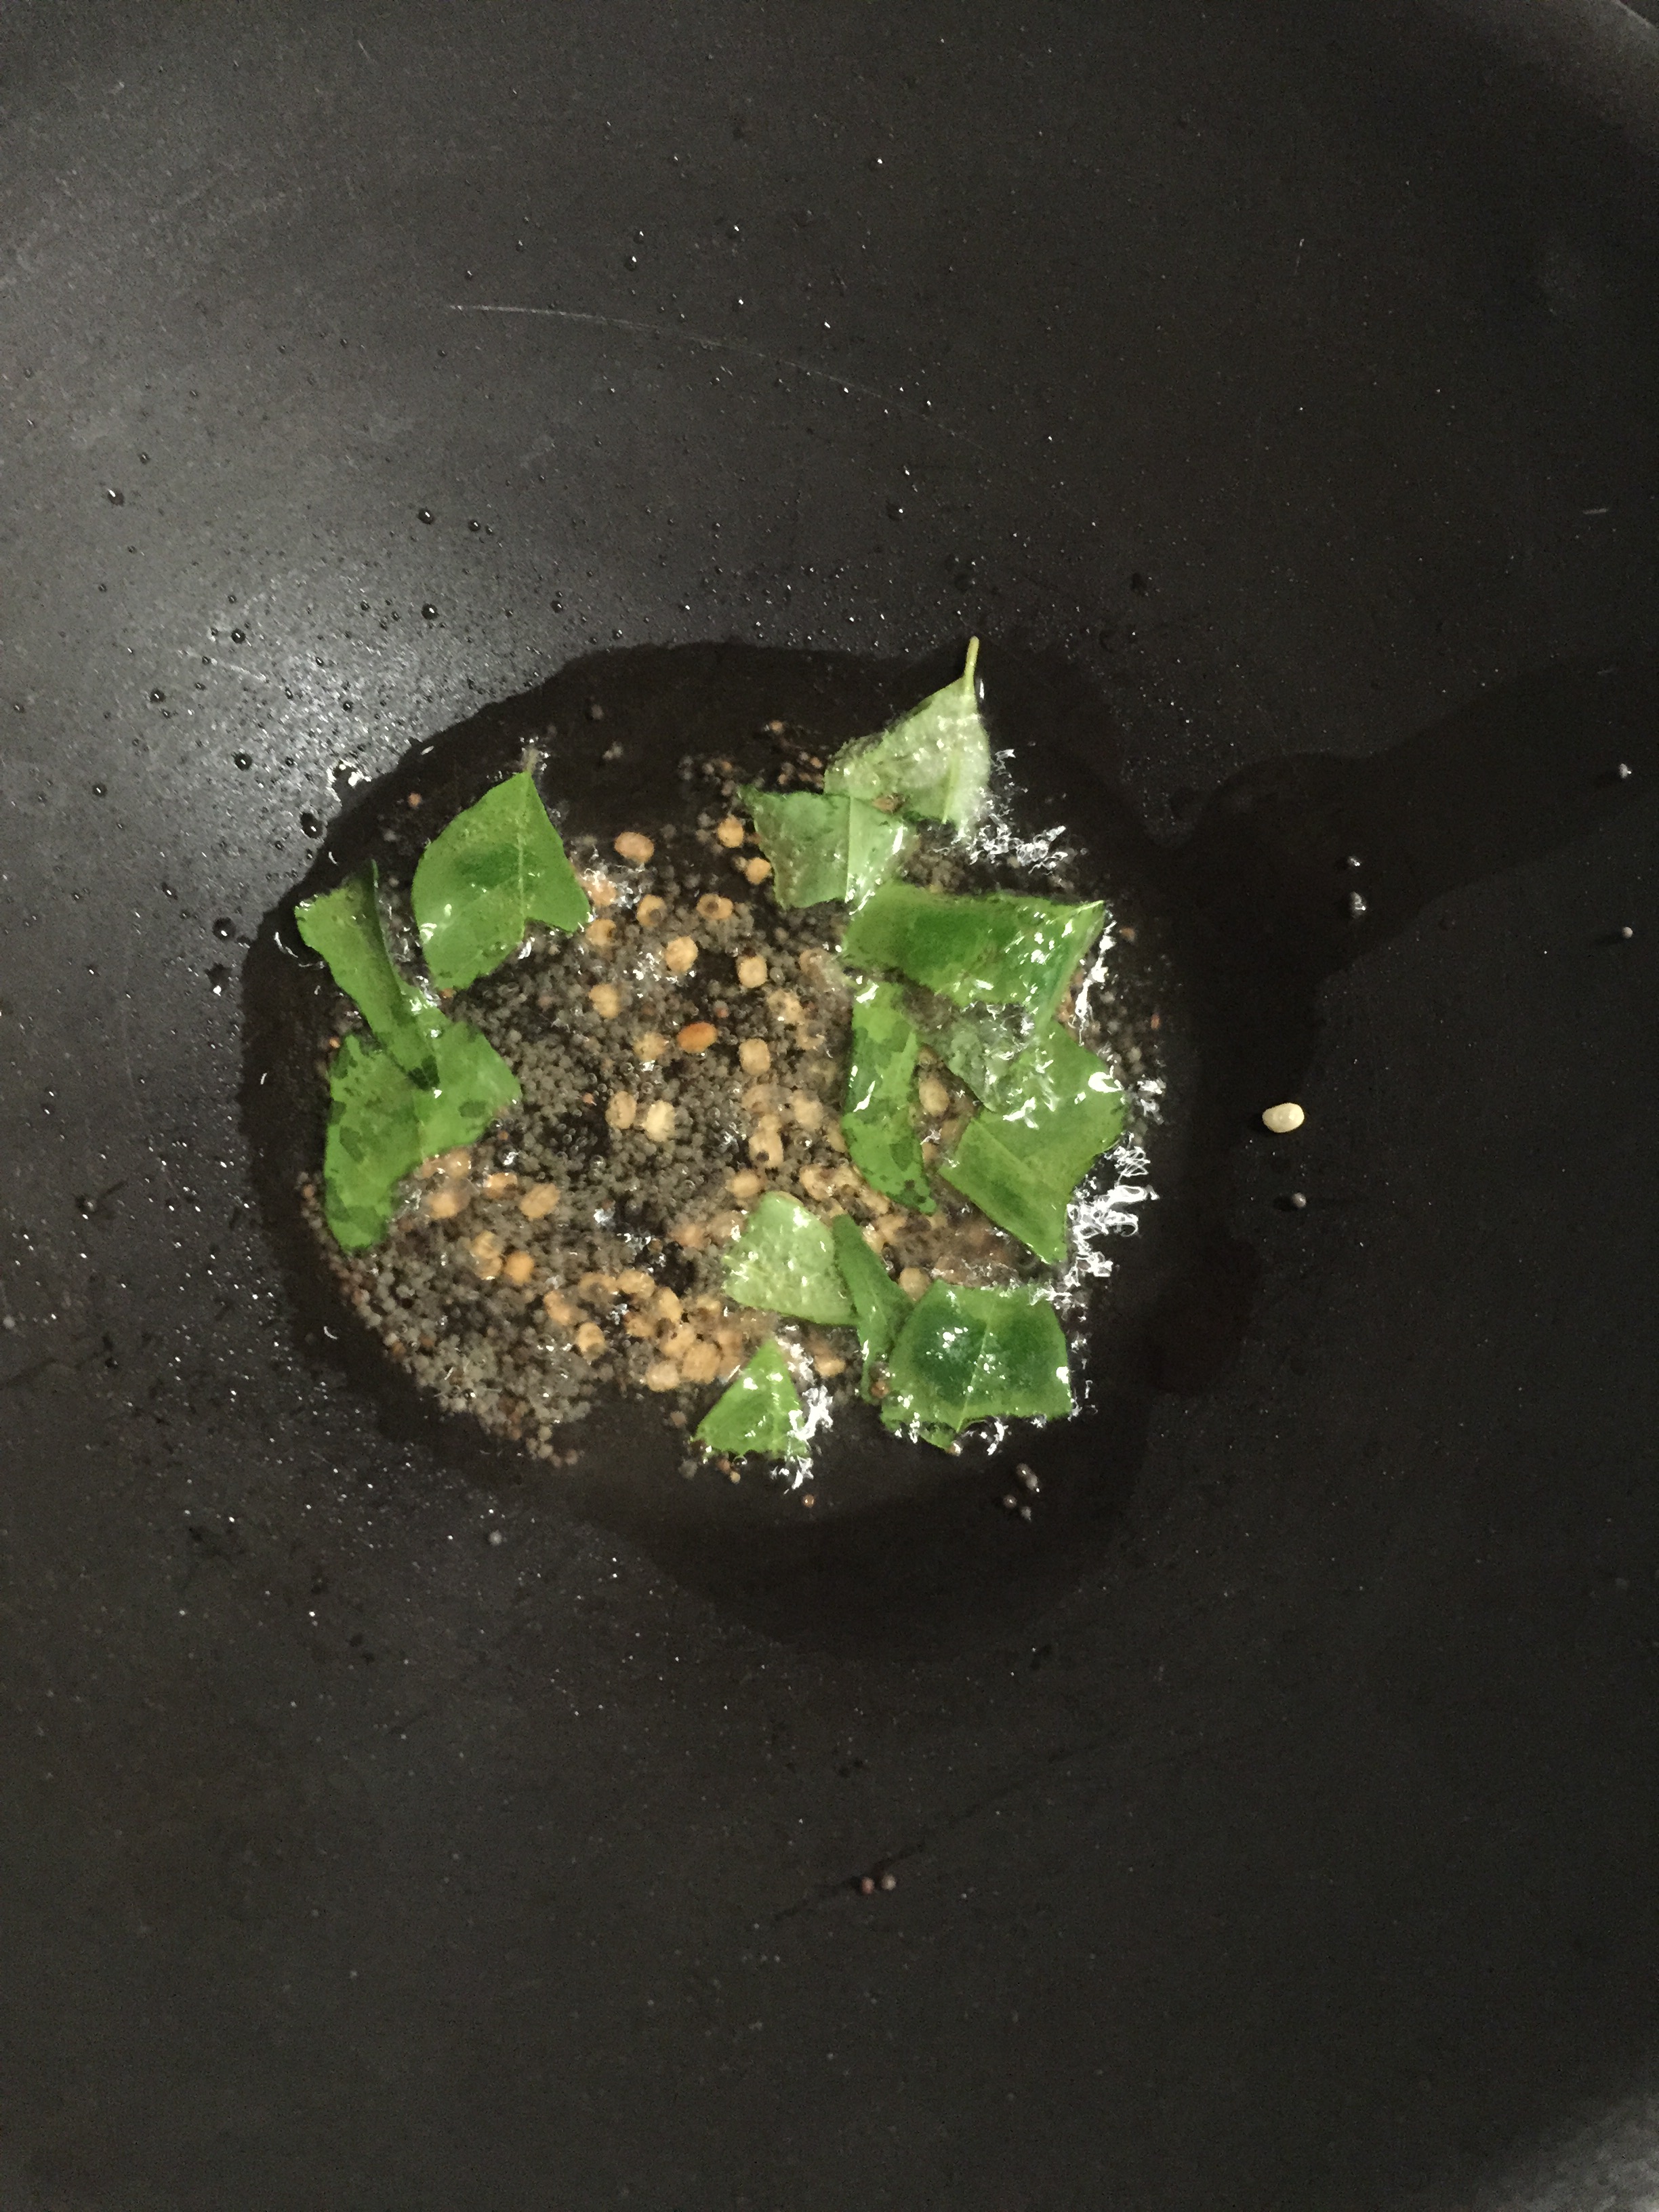
- Oil – 1 ½ tbsp
- Mustard seeds – ½ tsp
- Urad dal – ½ tsp
- Curry leaves – 5 nos
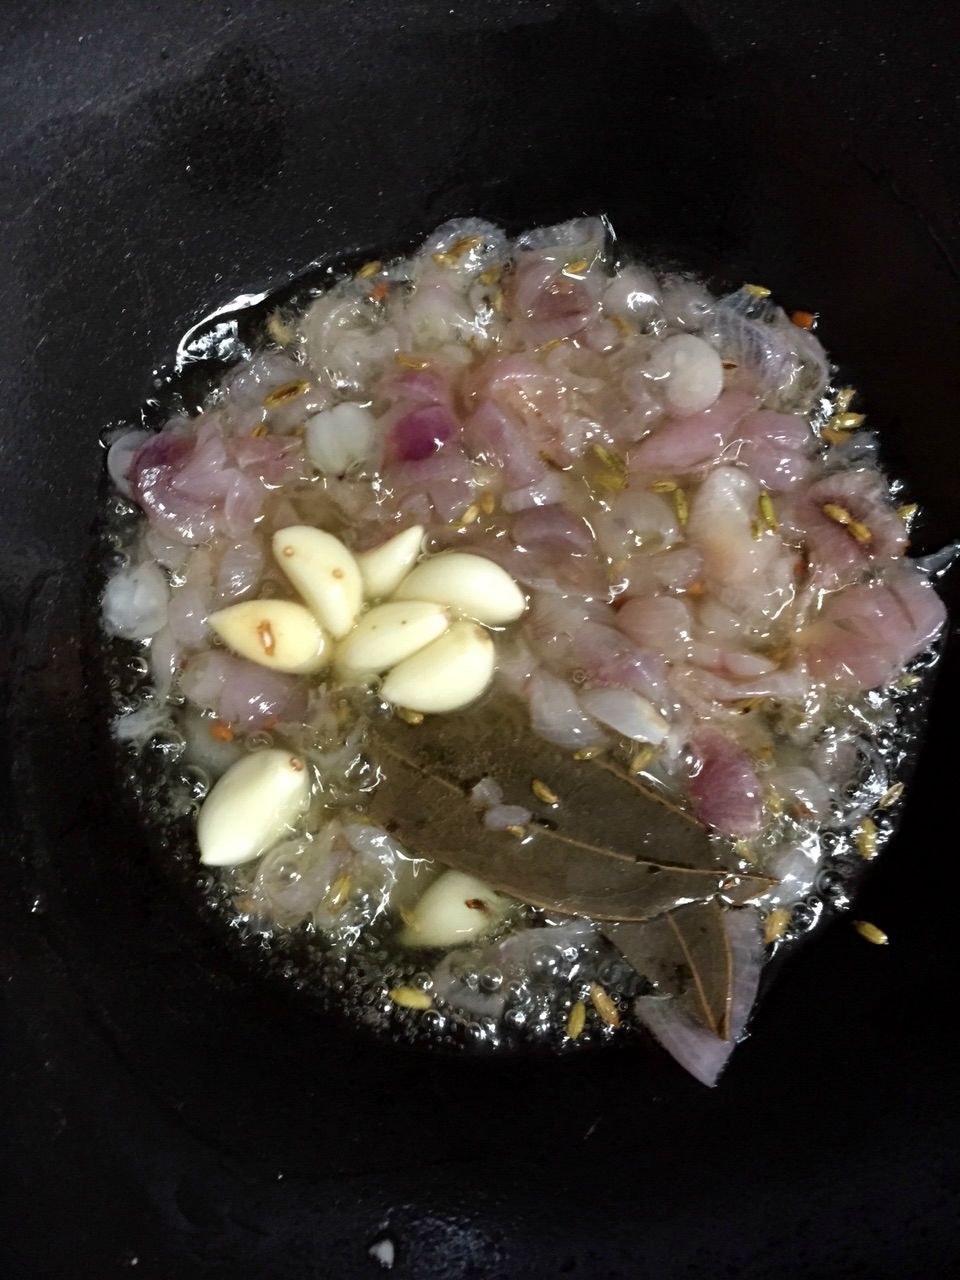
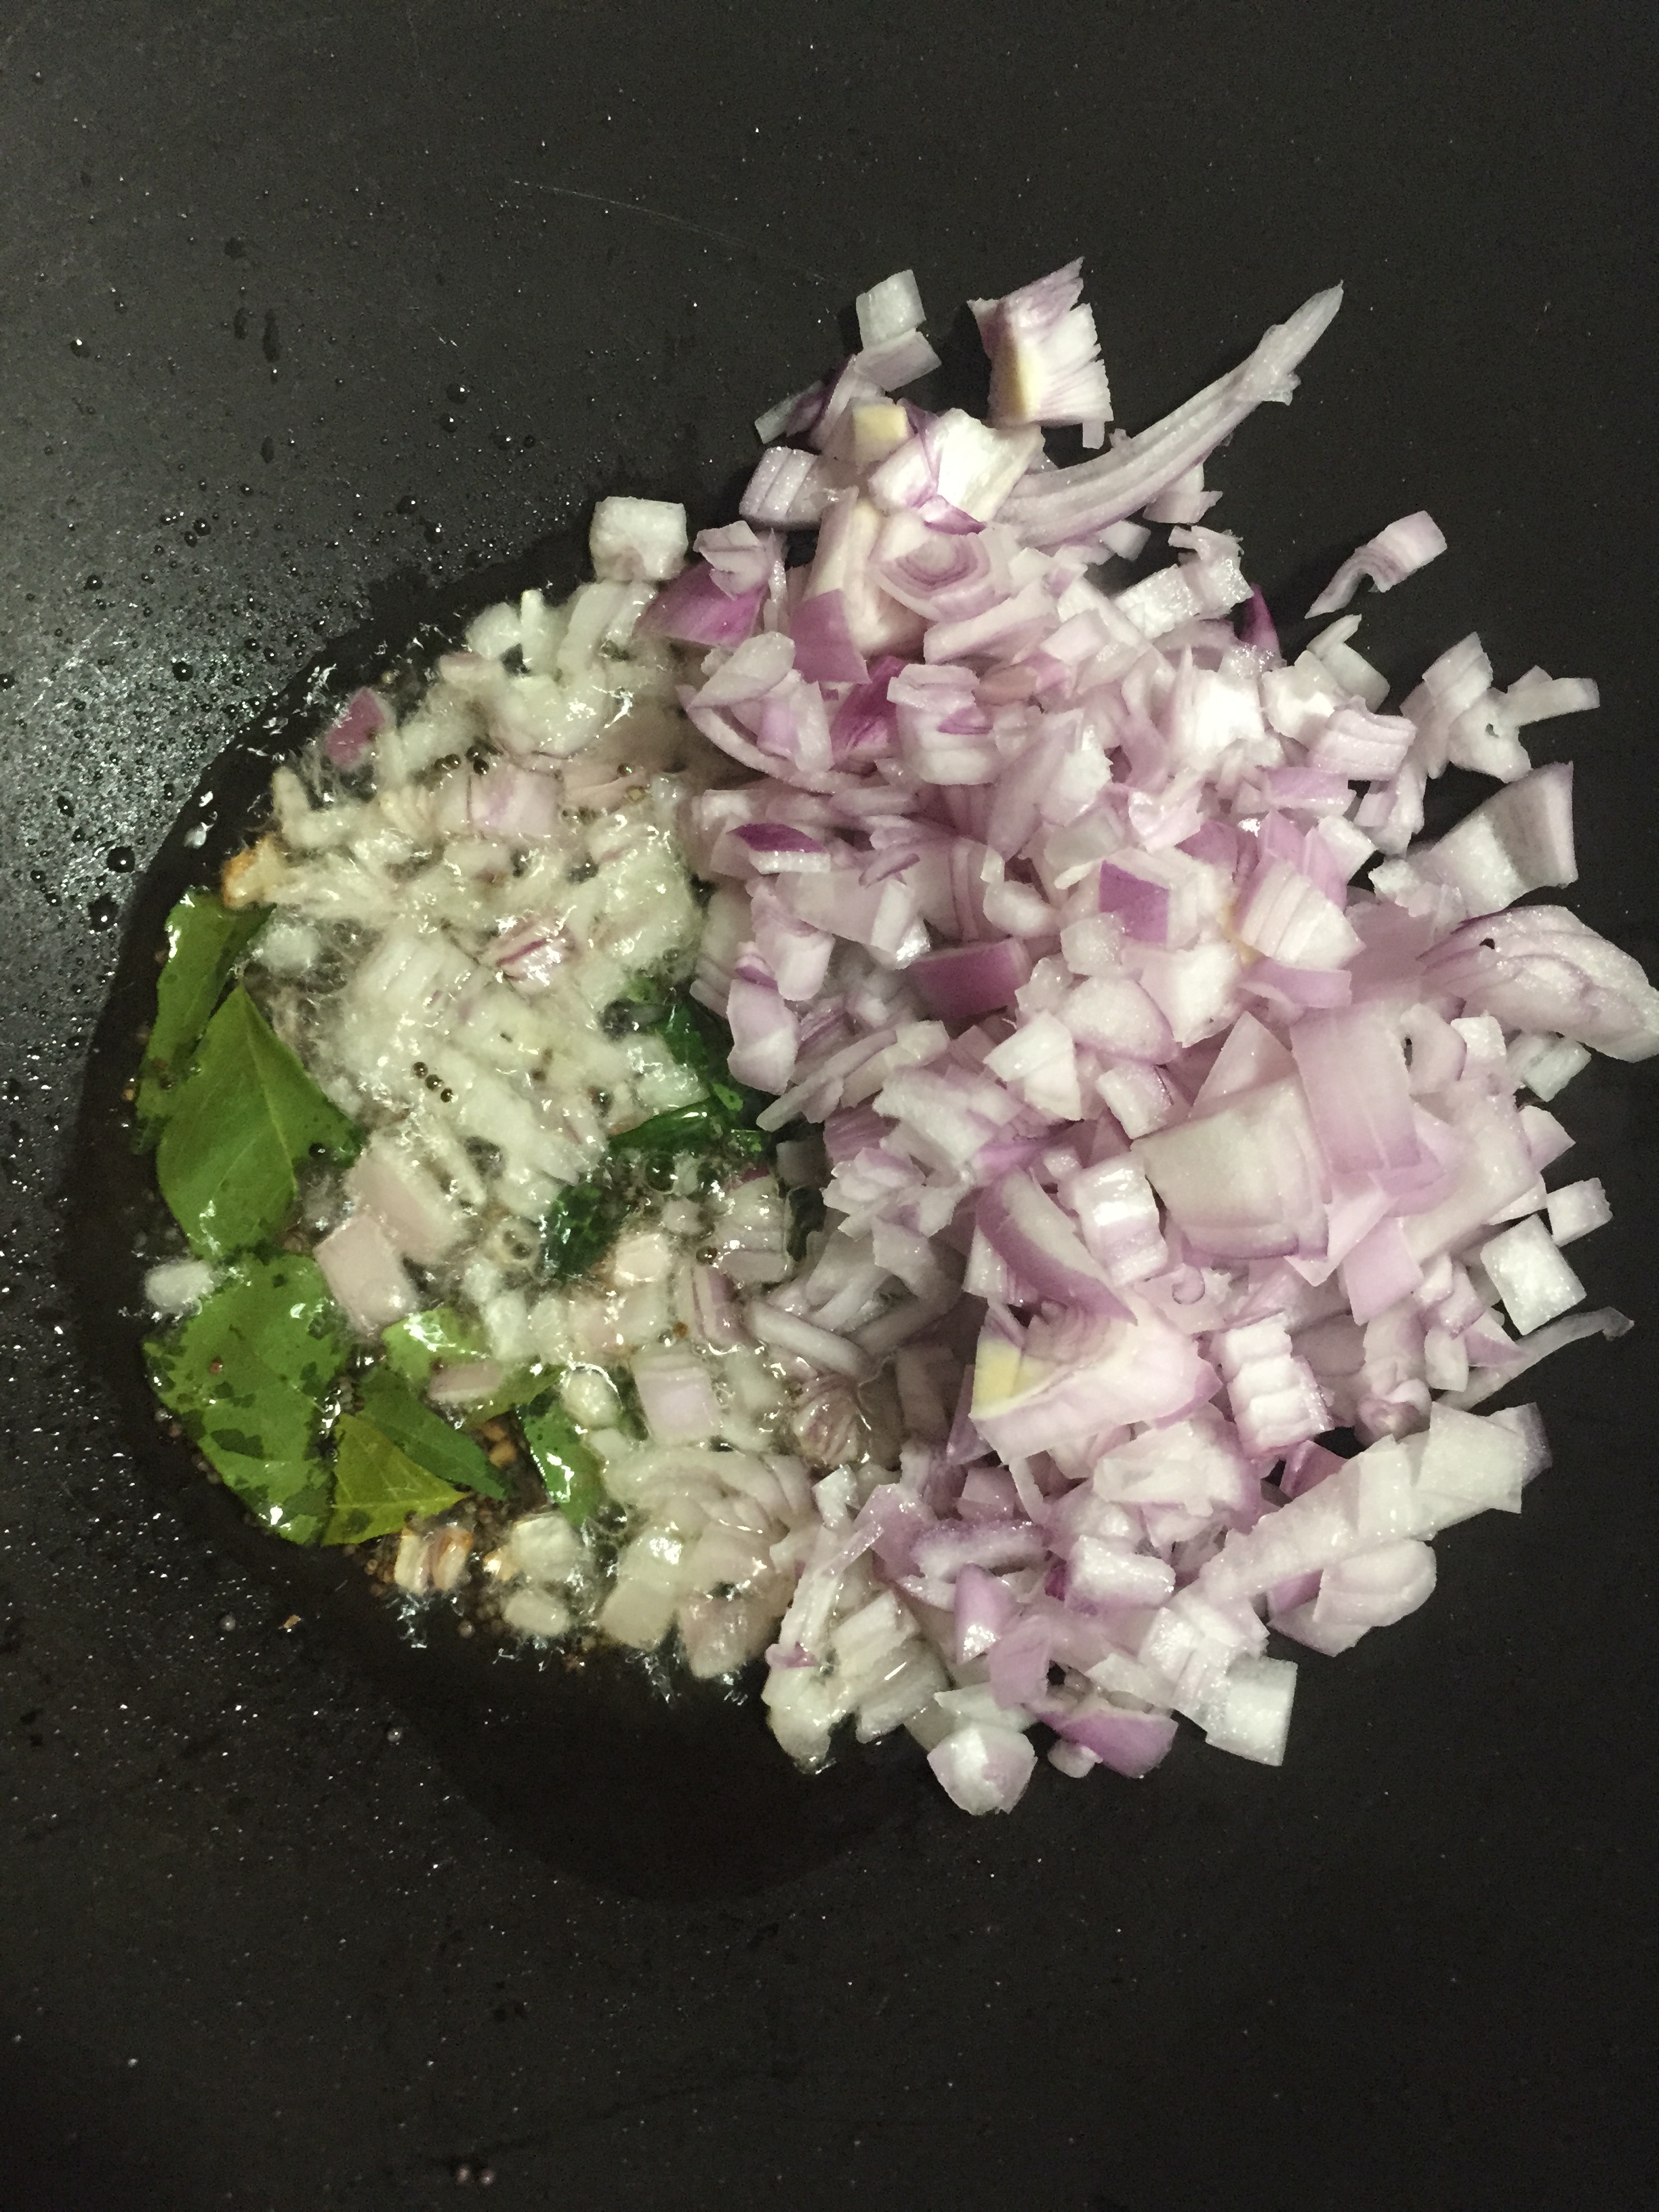
- Shallots, chopped – 9 nos
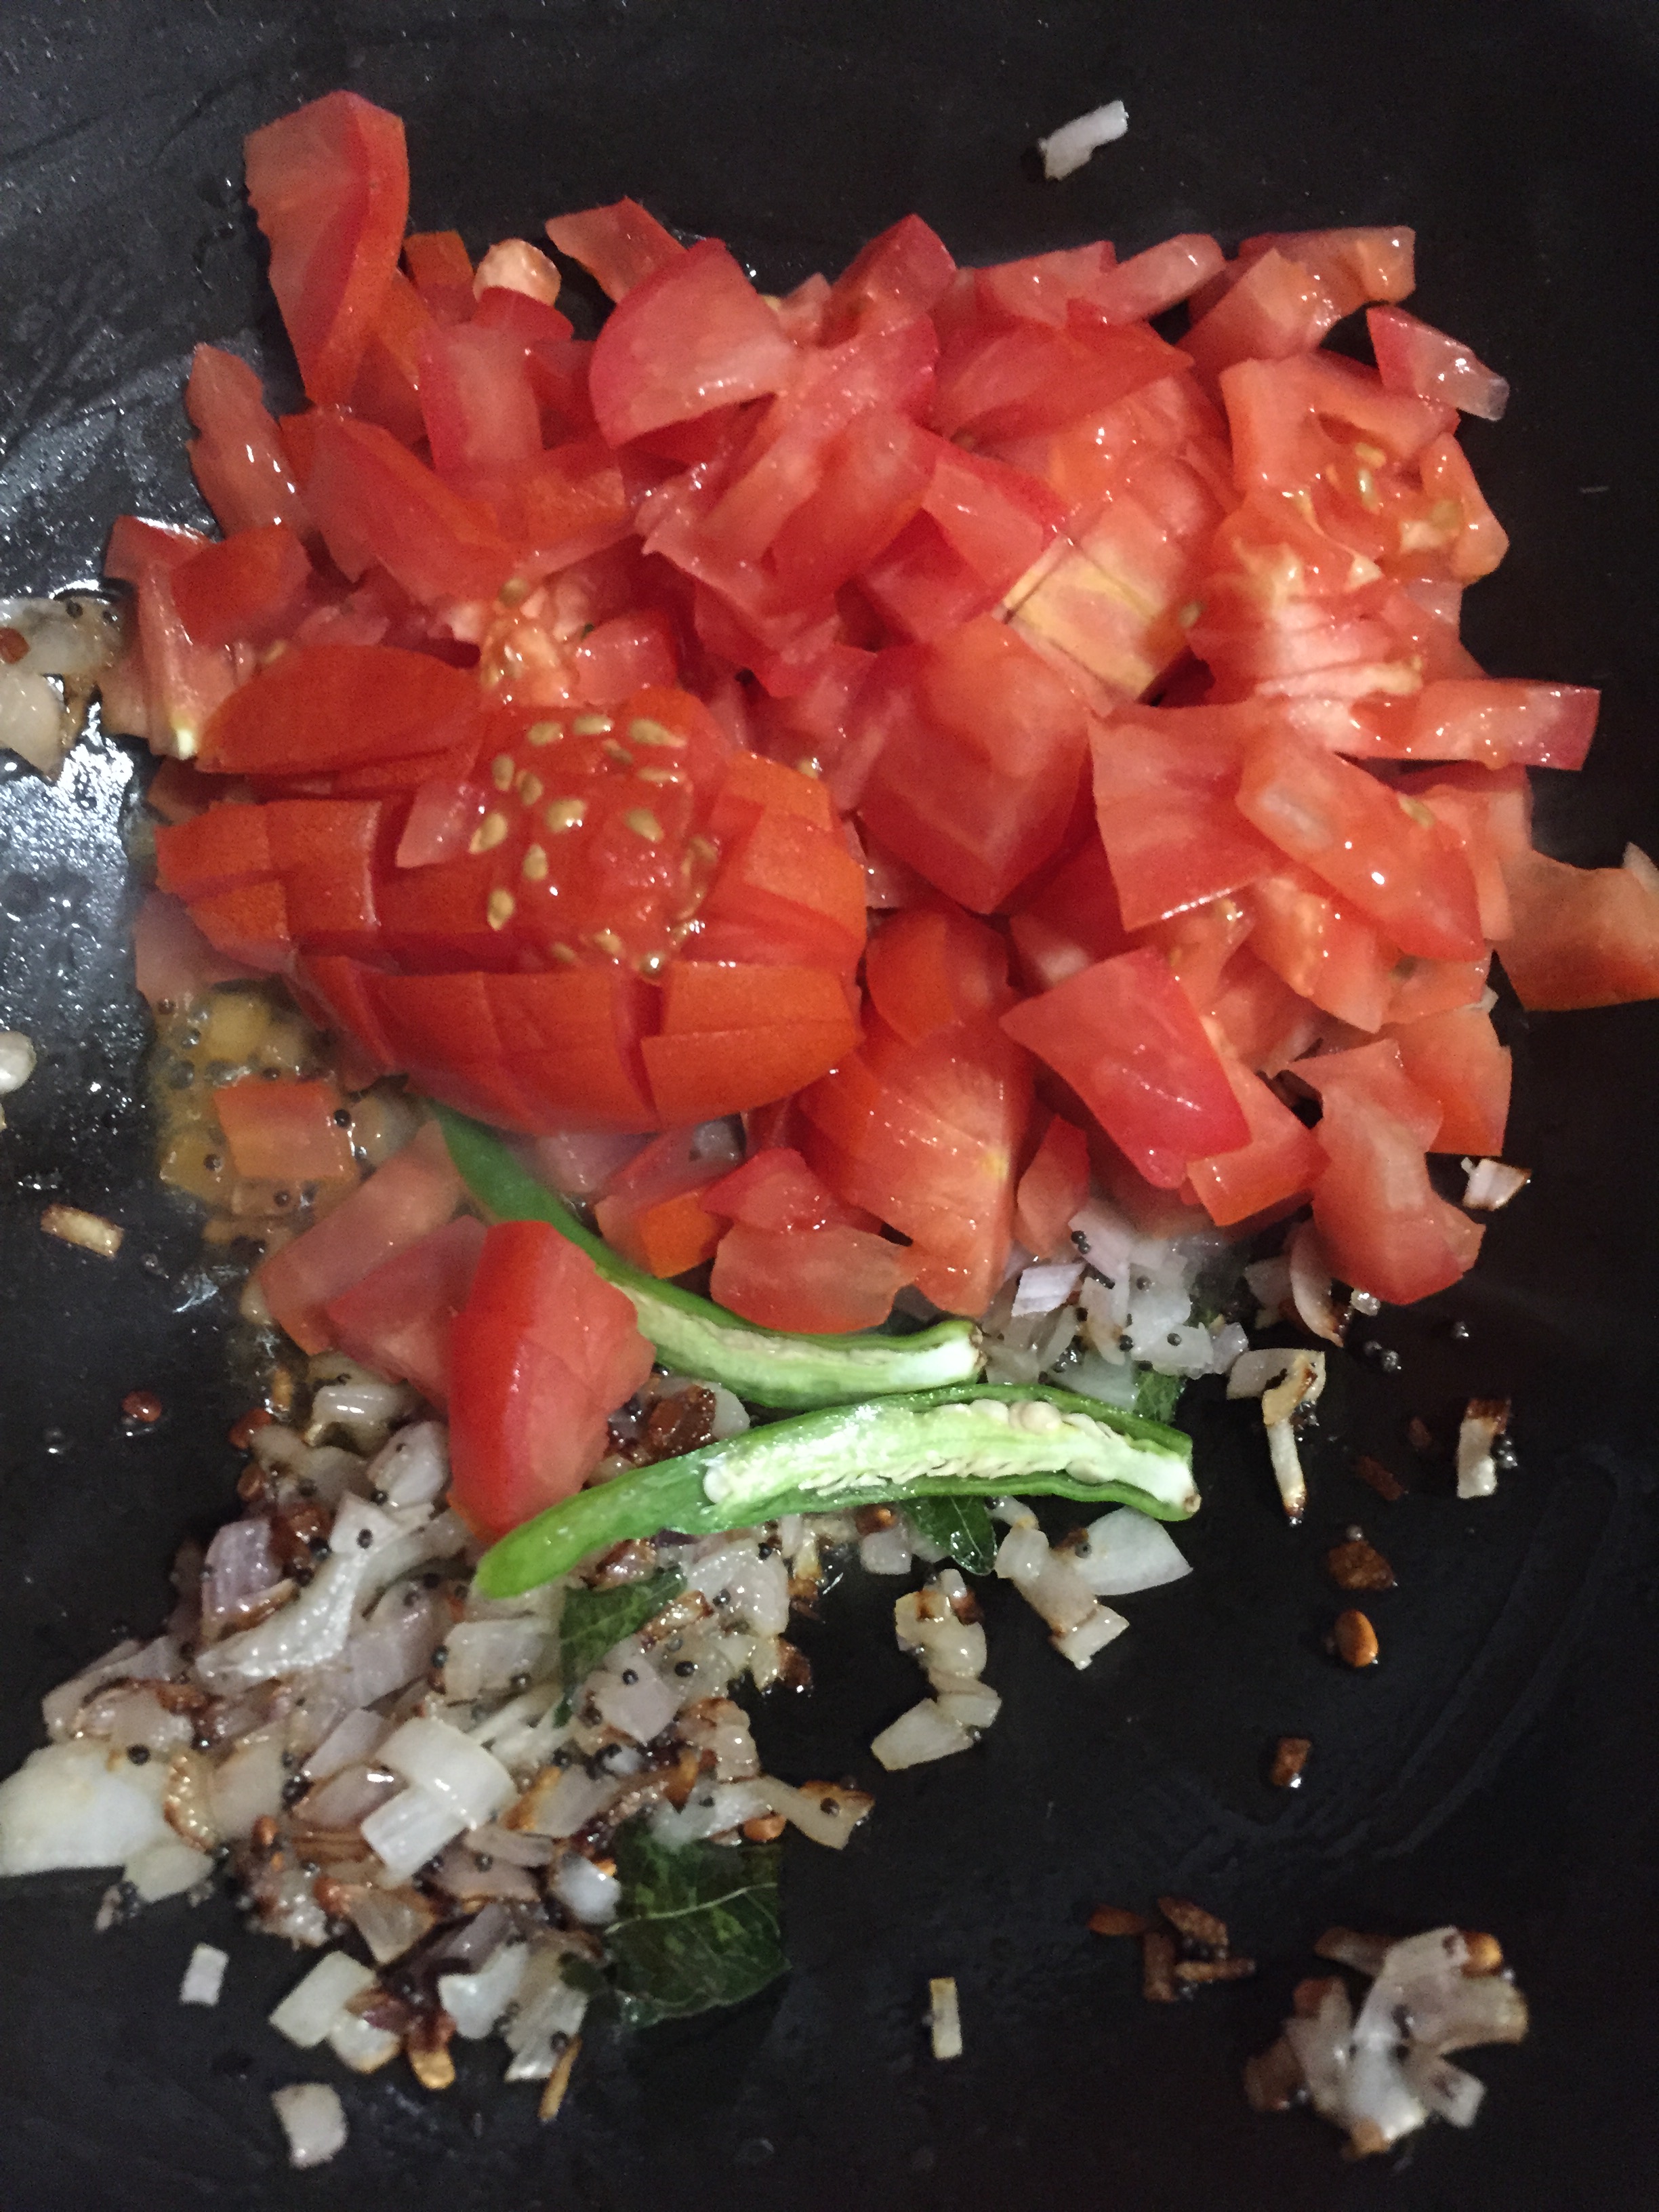
- Green chilli, slit – 1 no
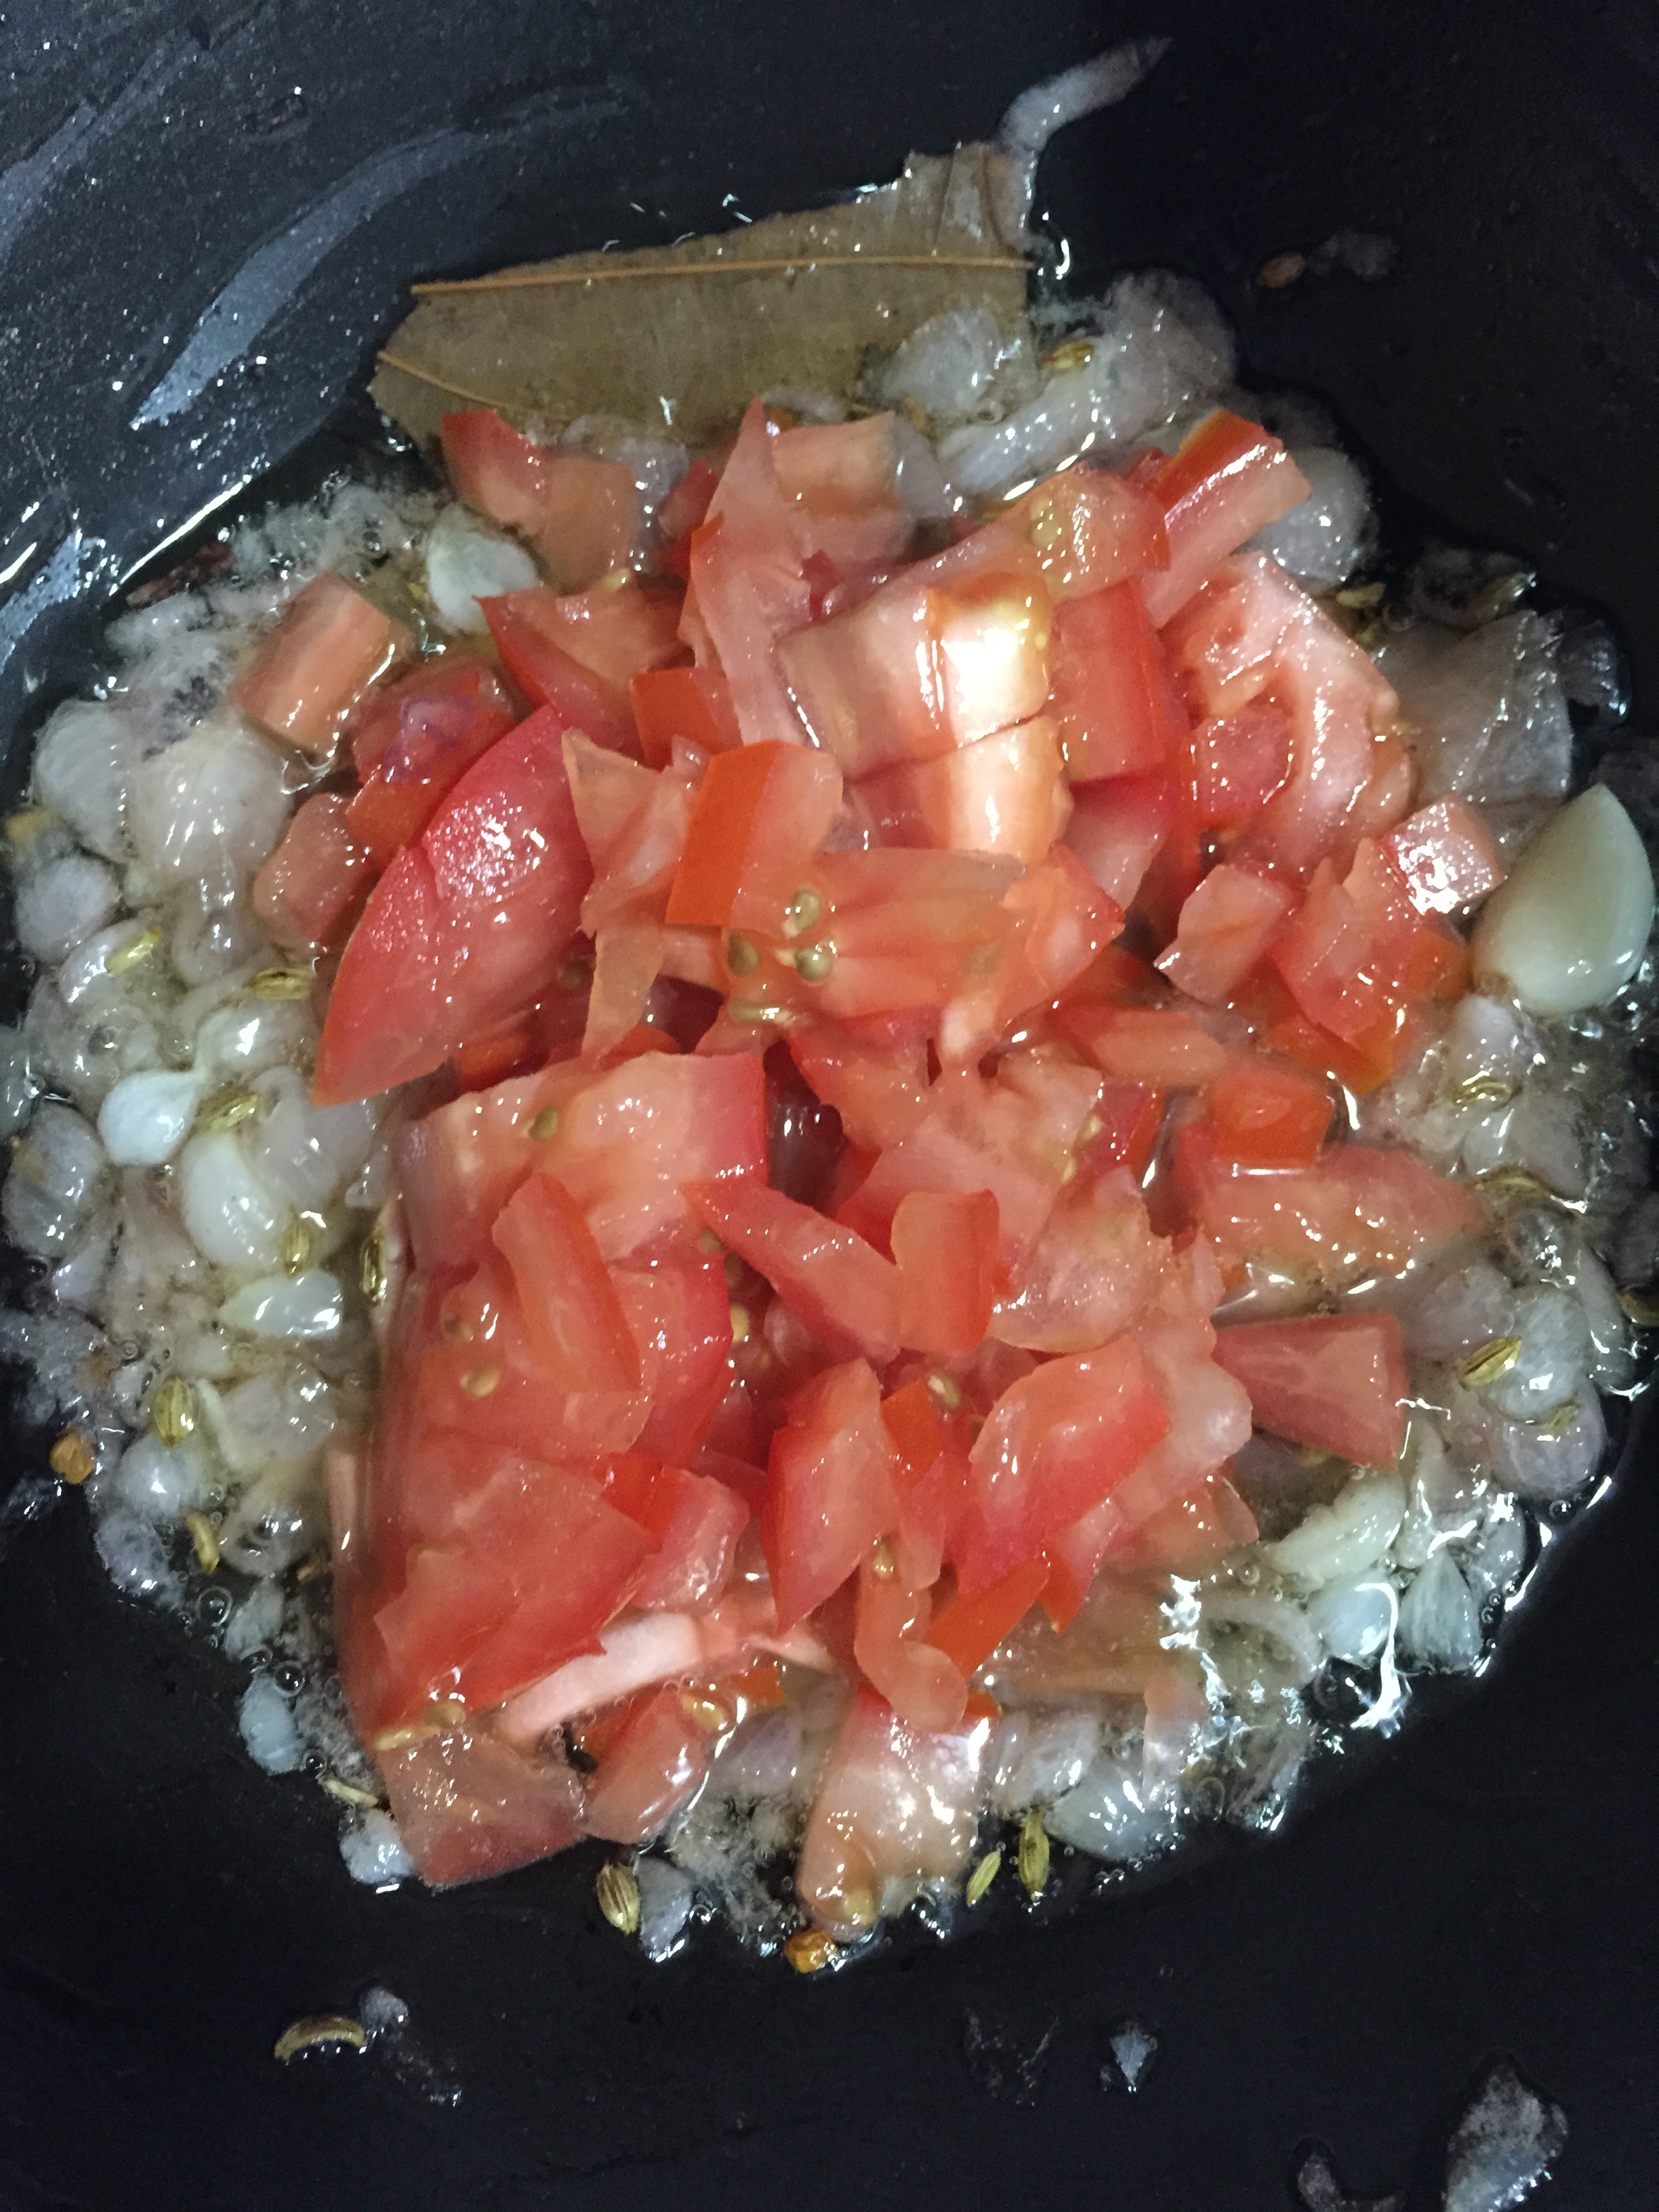
- Tomatoes, finely chopped – 2 nos
- Salt as required
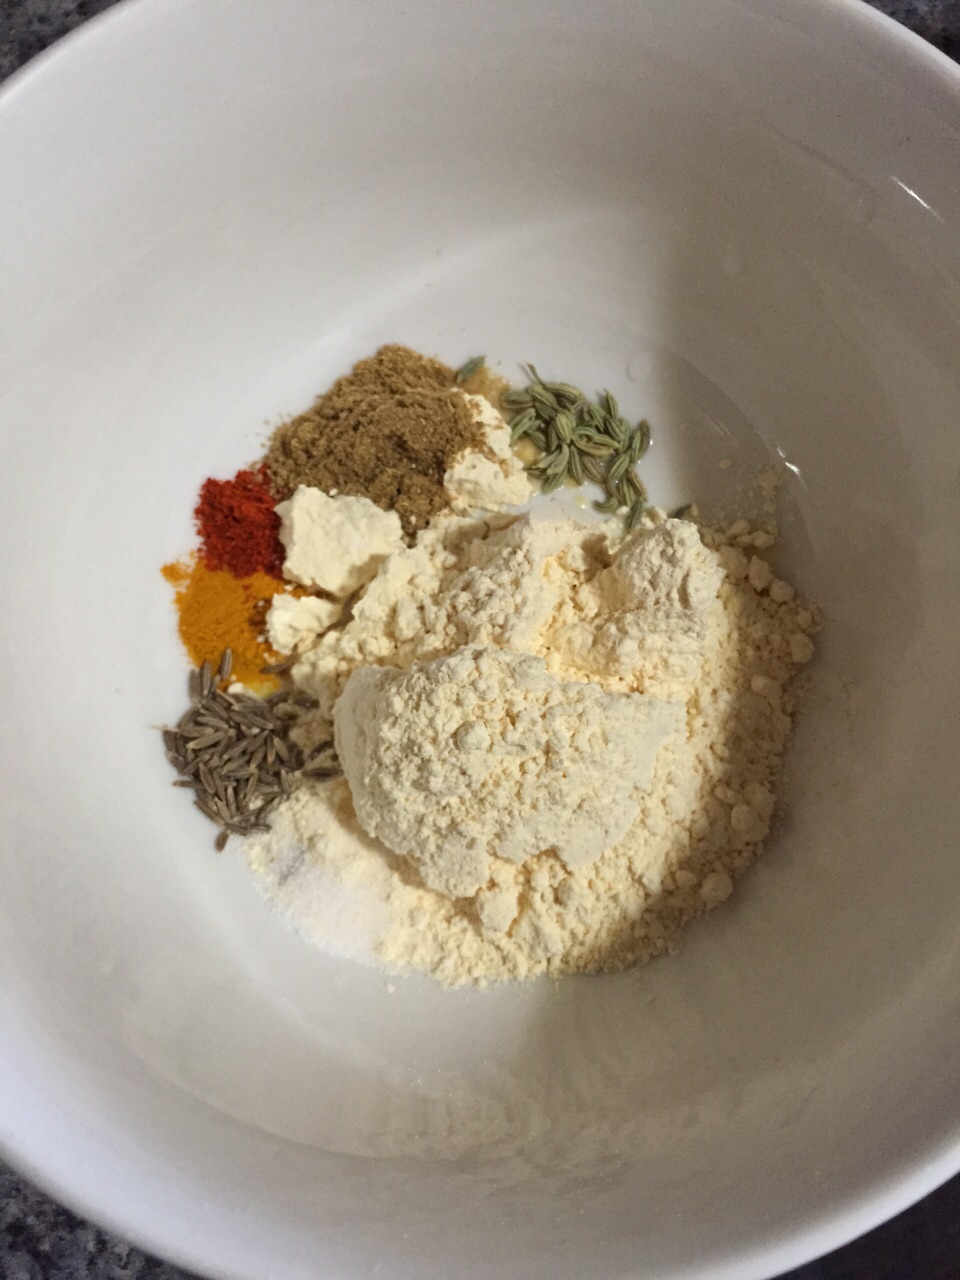
- Grind all the ingredients mentioned above to a fine paste and keep it aside.
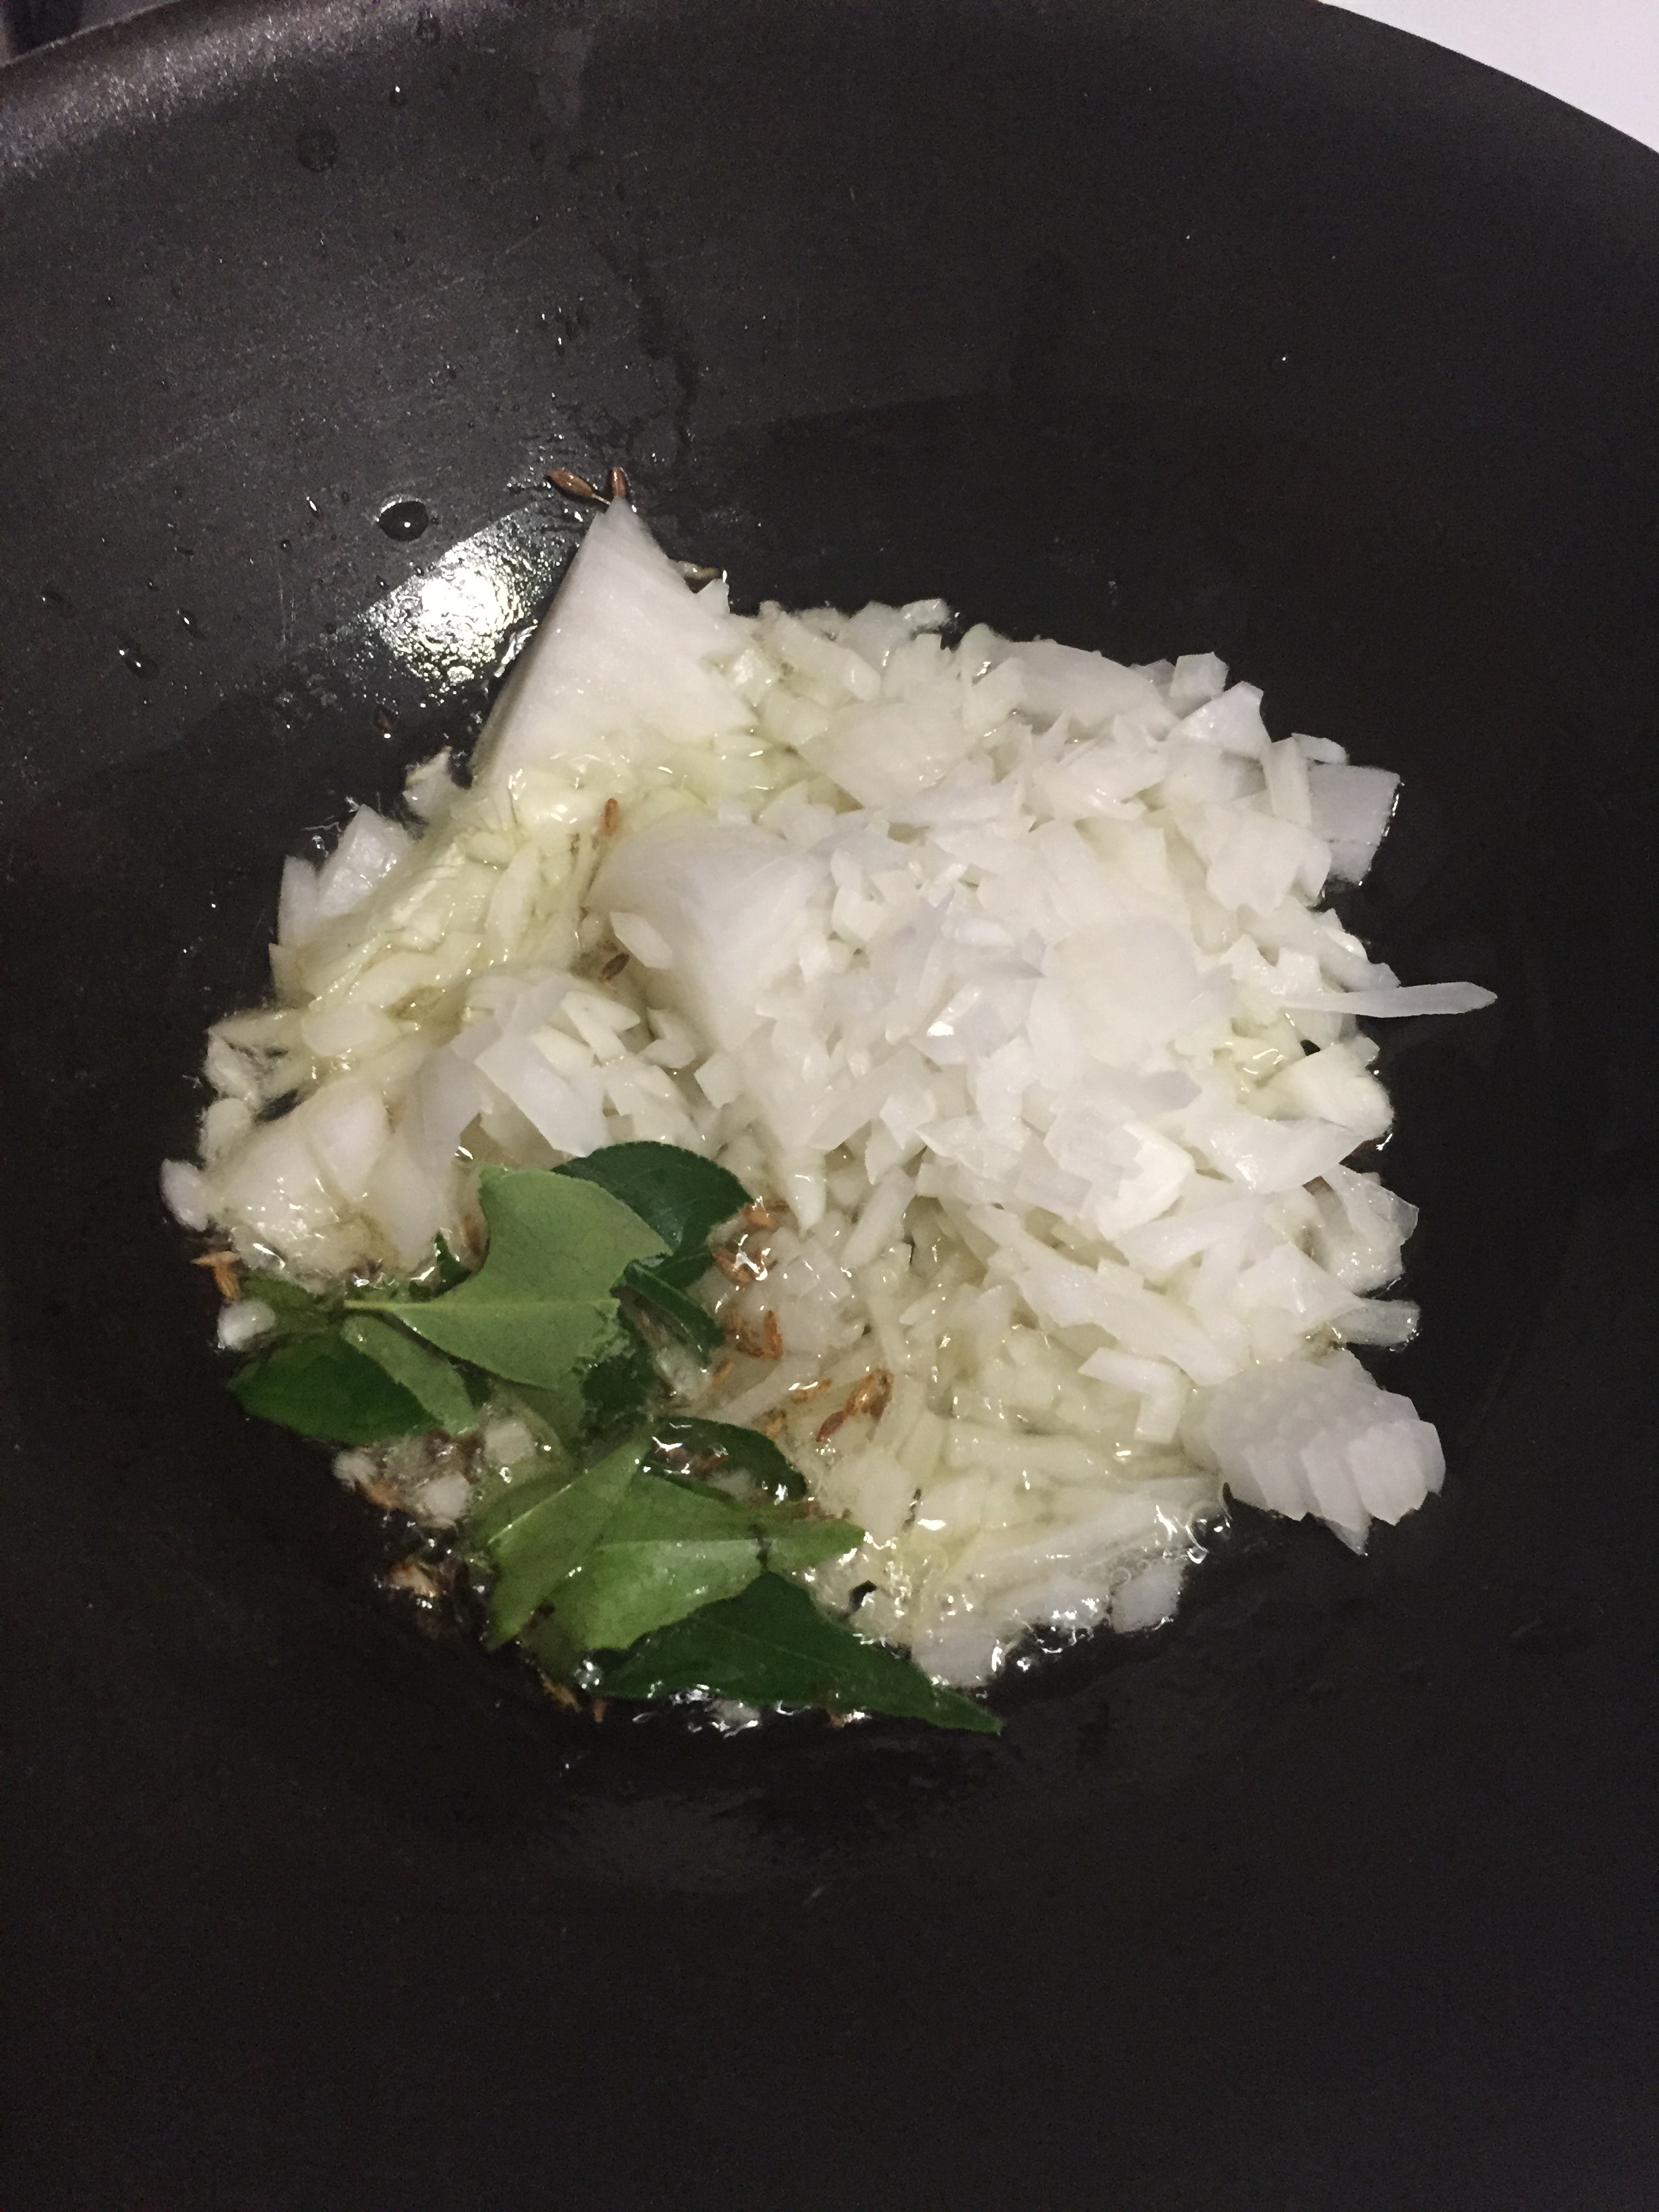
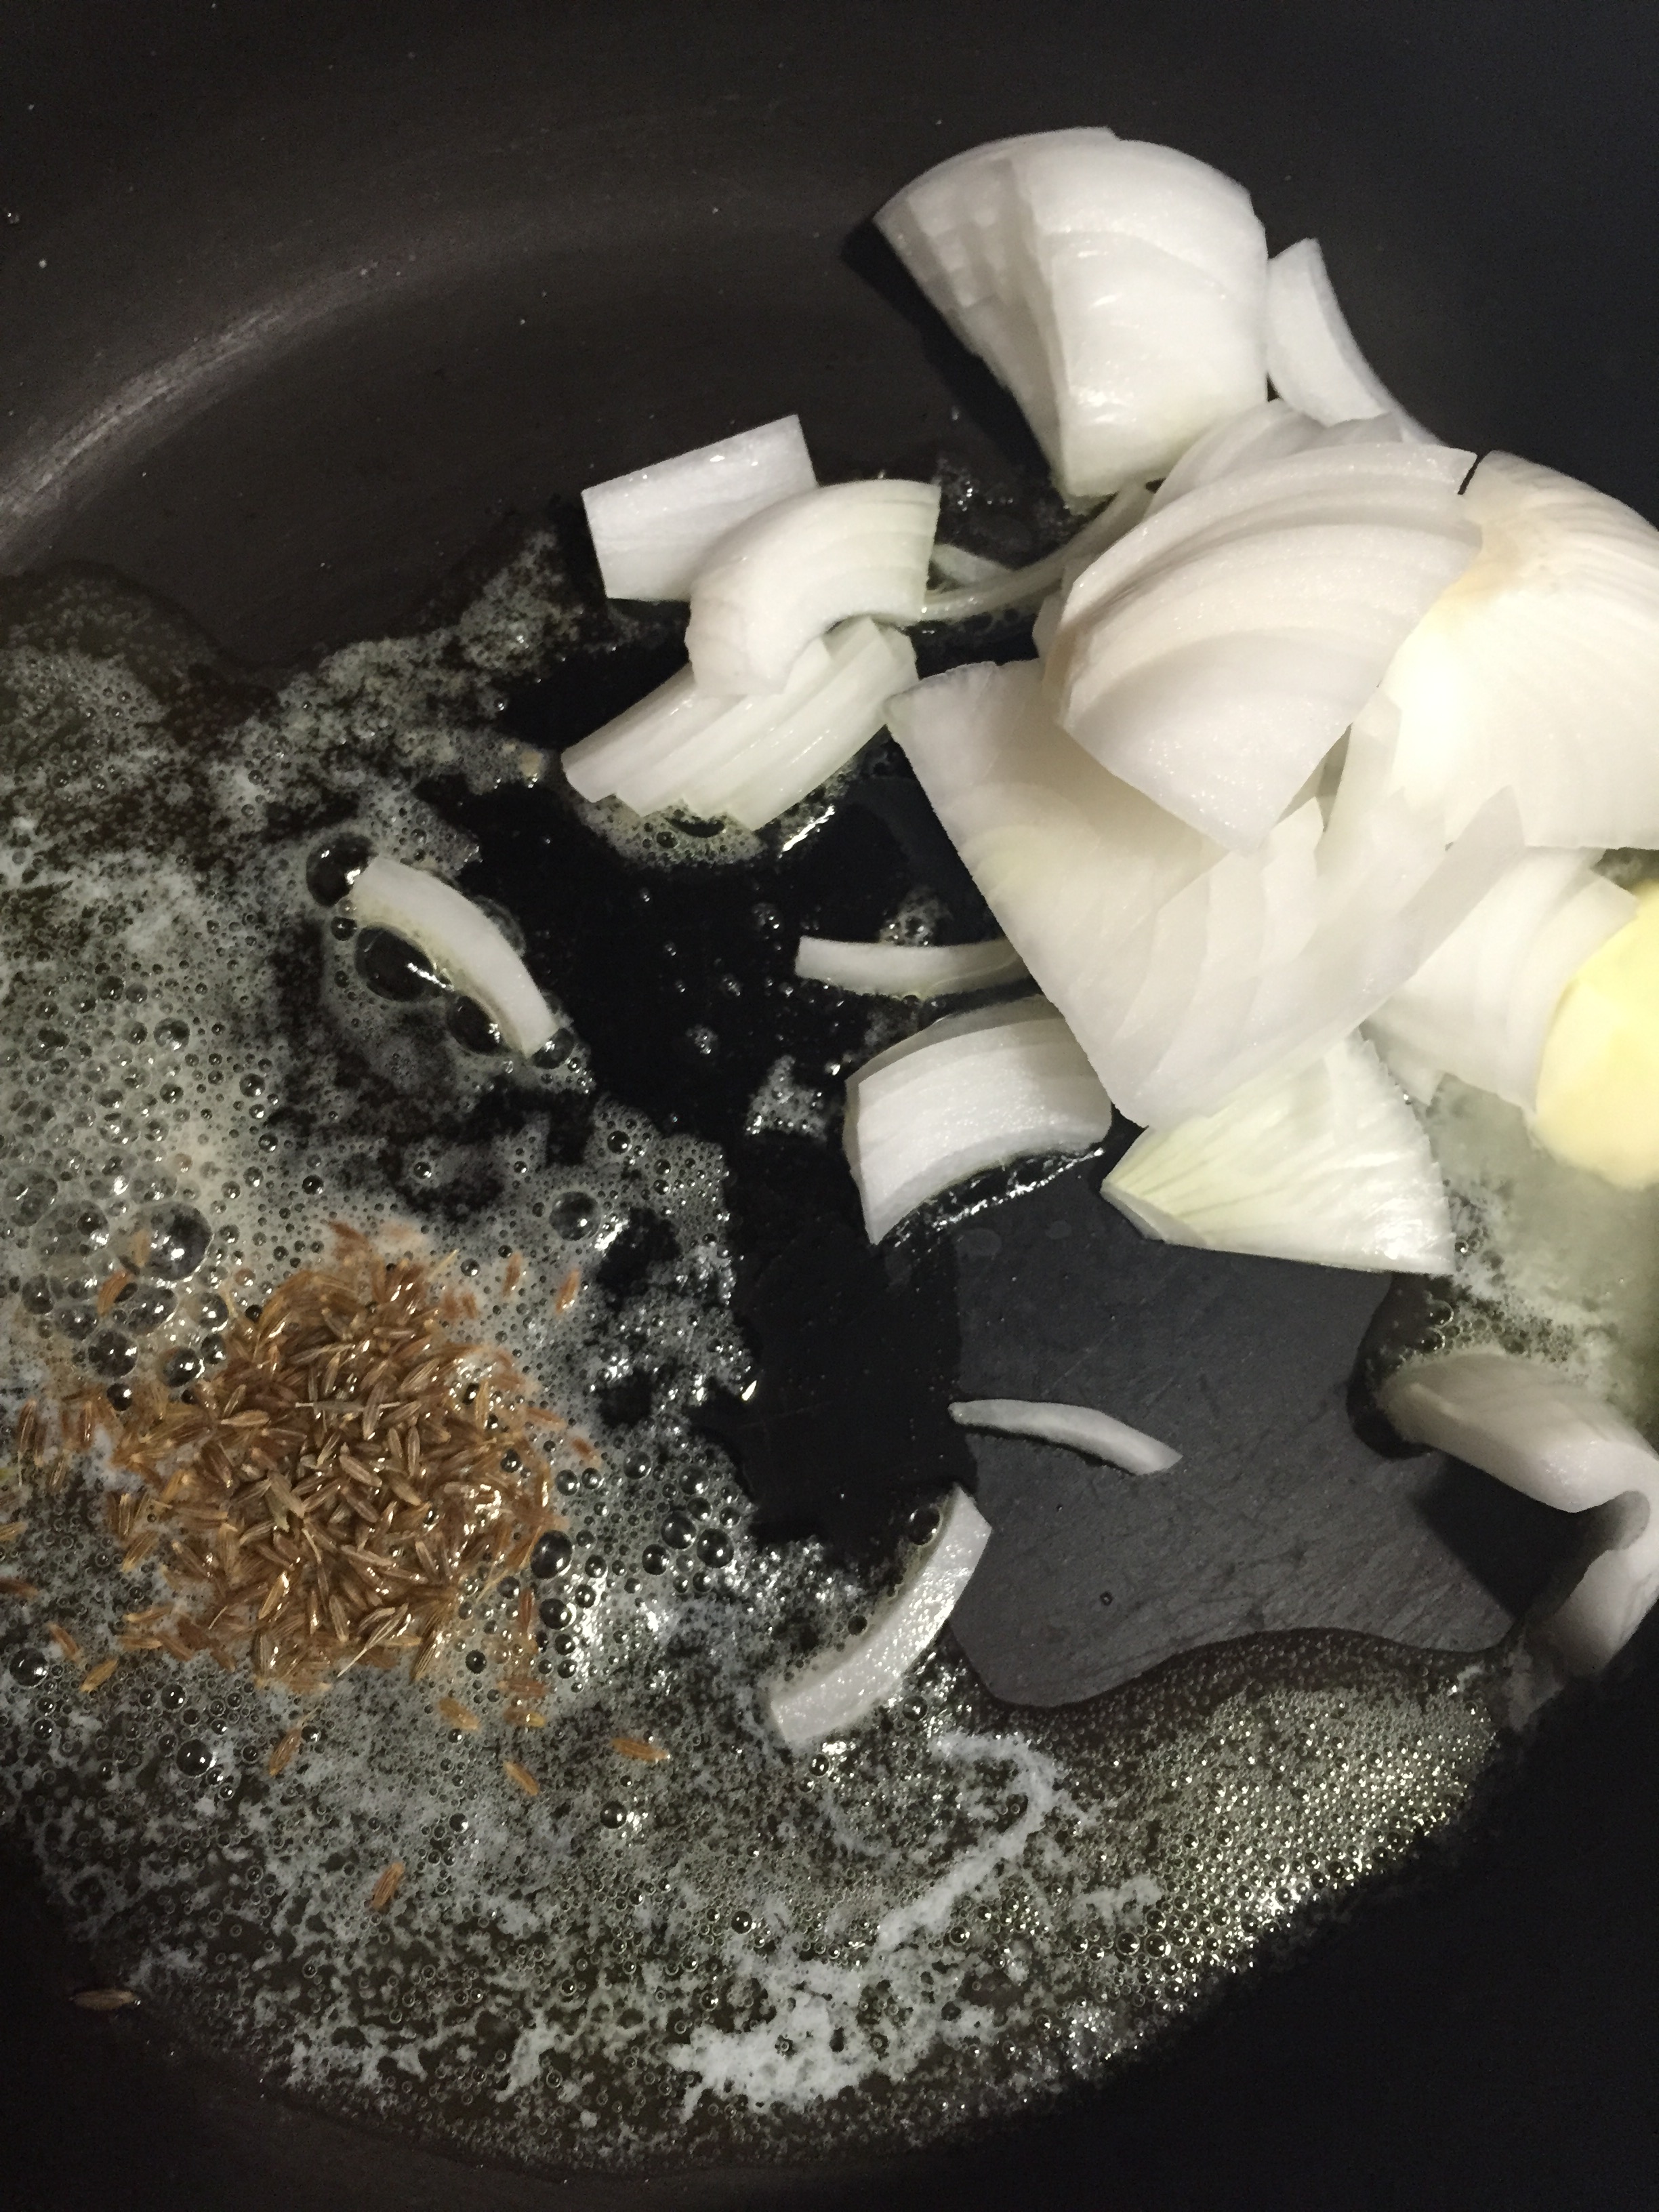
- Heat a pan with oil and add mustard and urad dal. When they start to splutter add curry leaves.
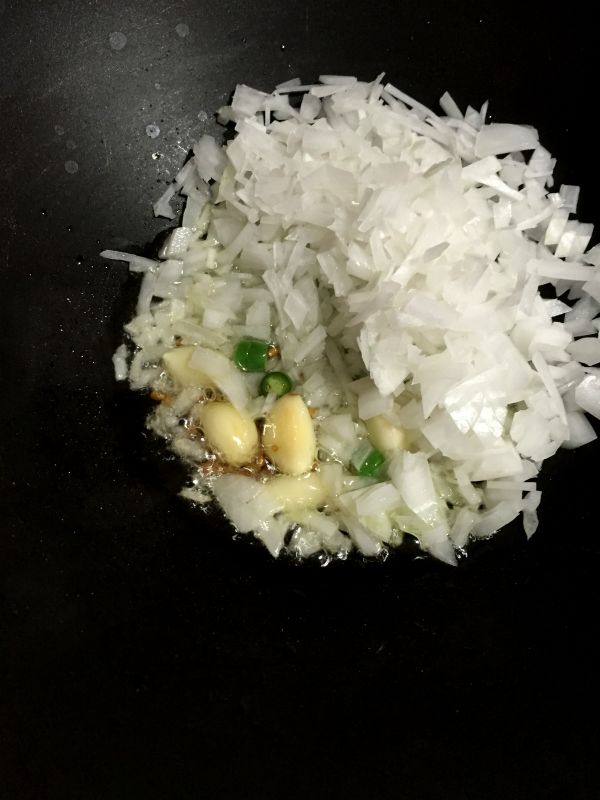
- Add chopped shallots and sauté until they turn translucent.
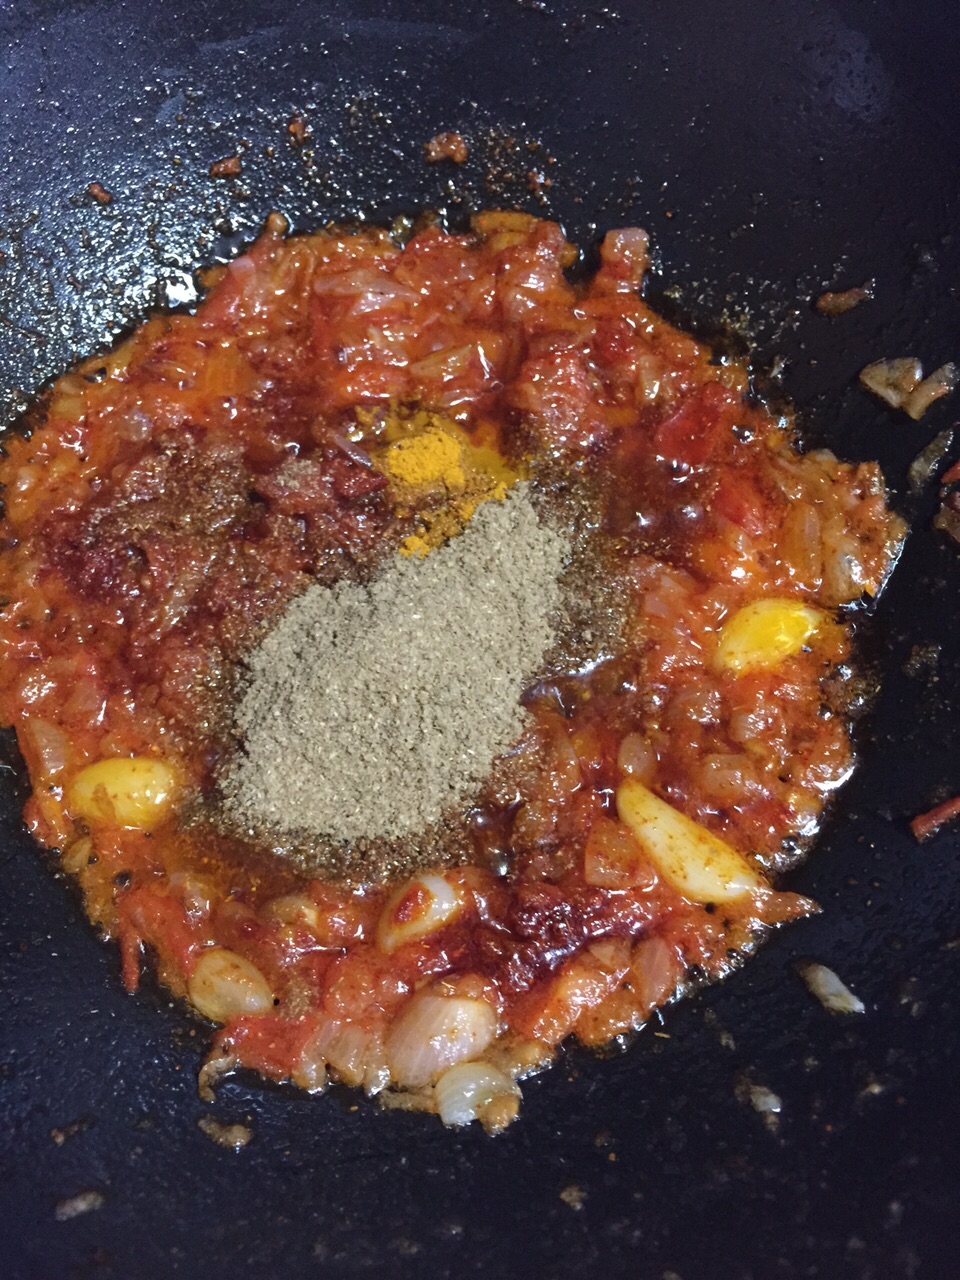
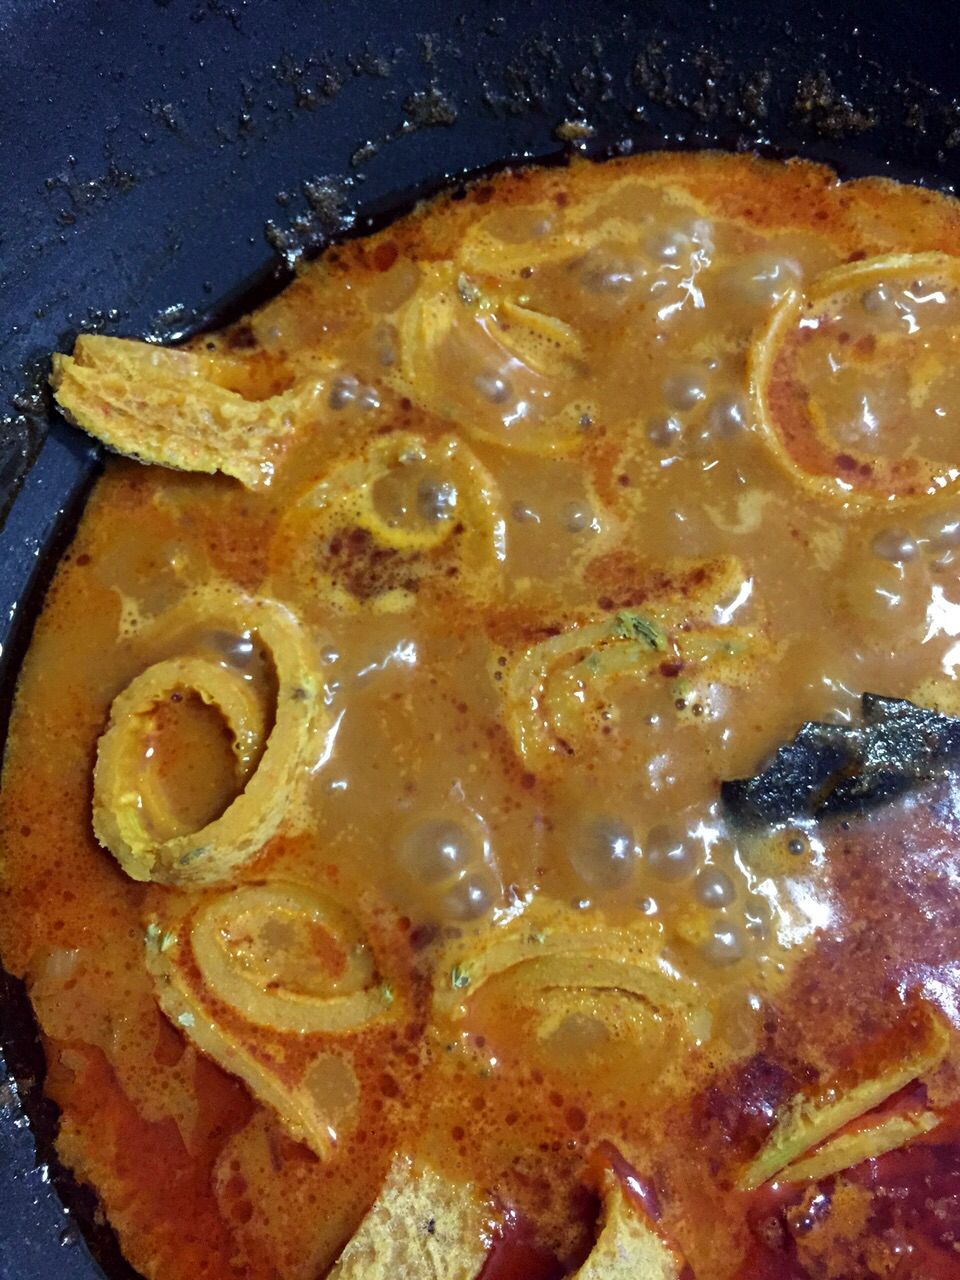
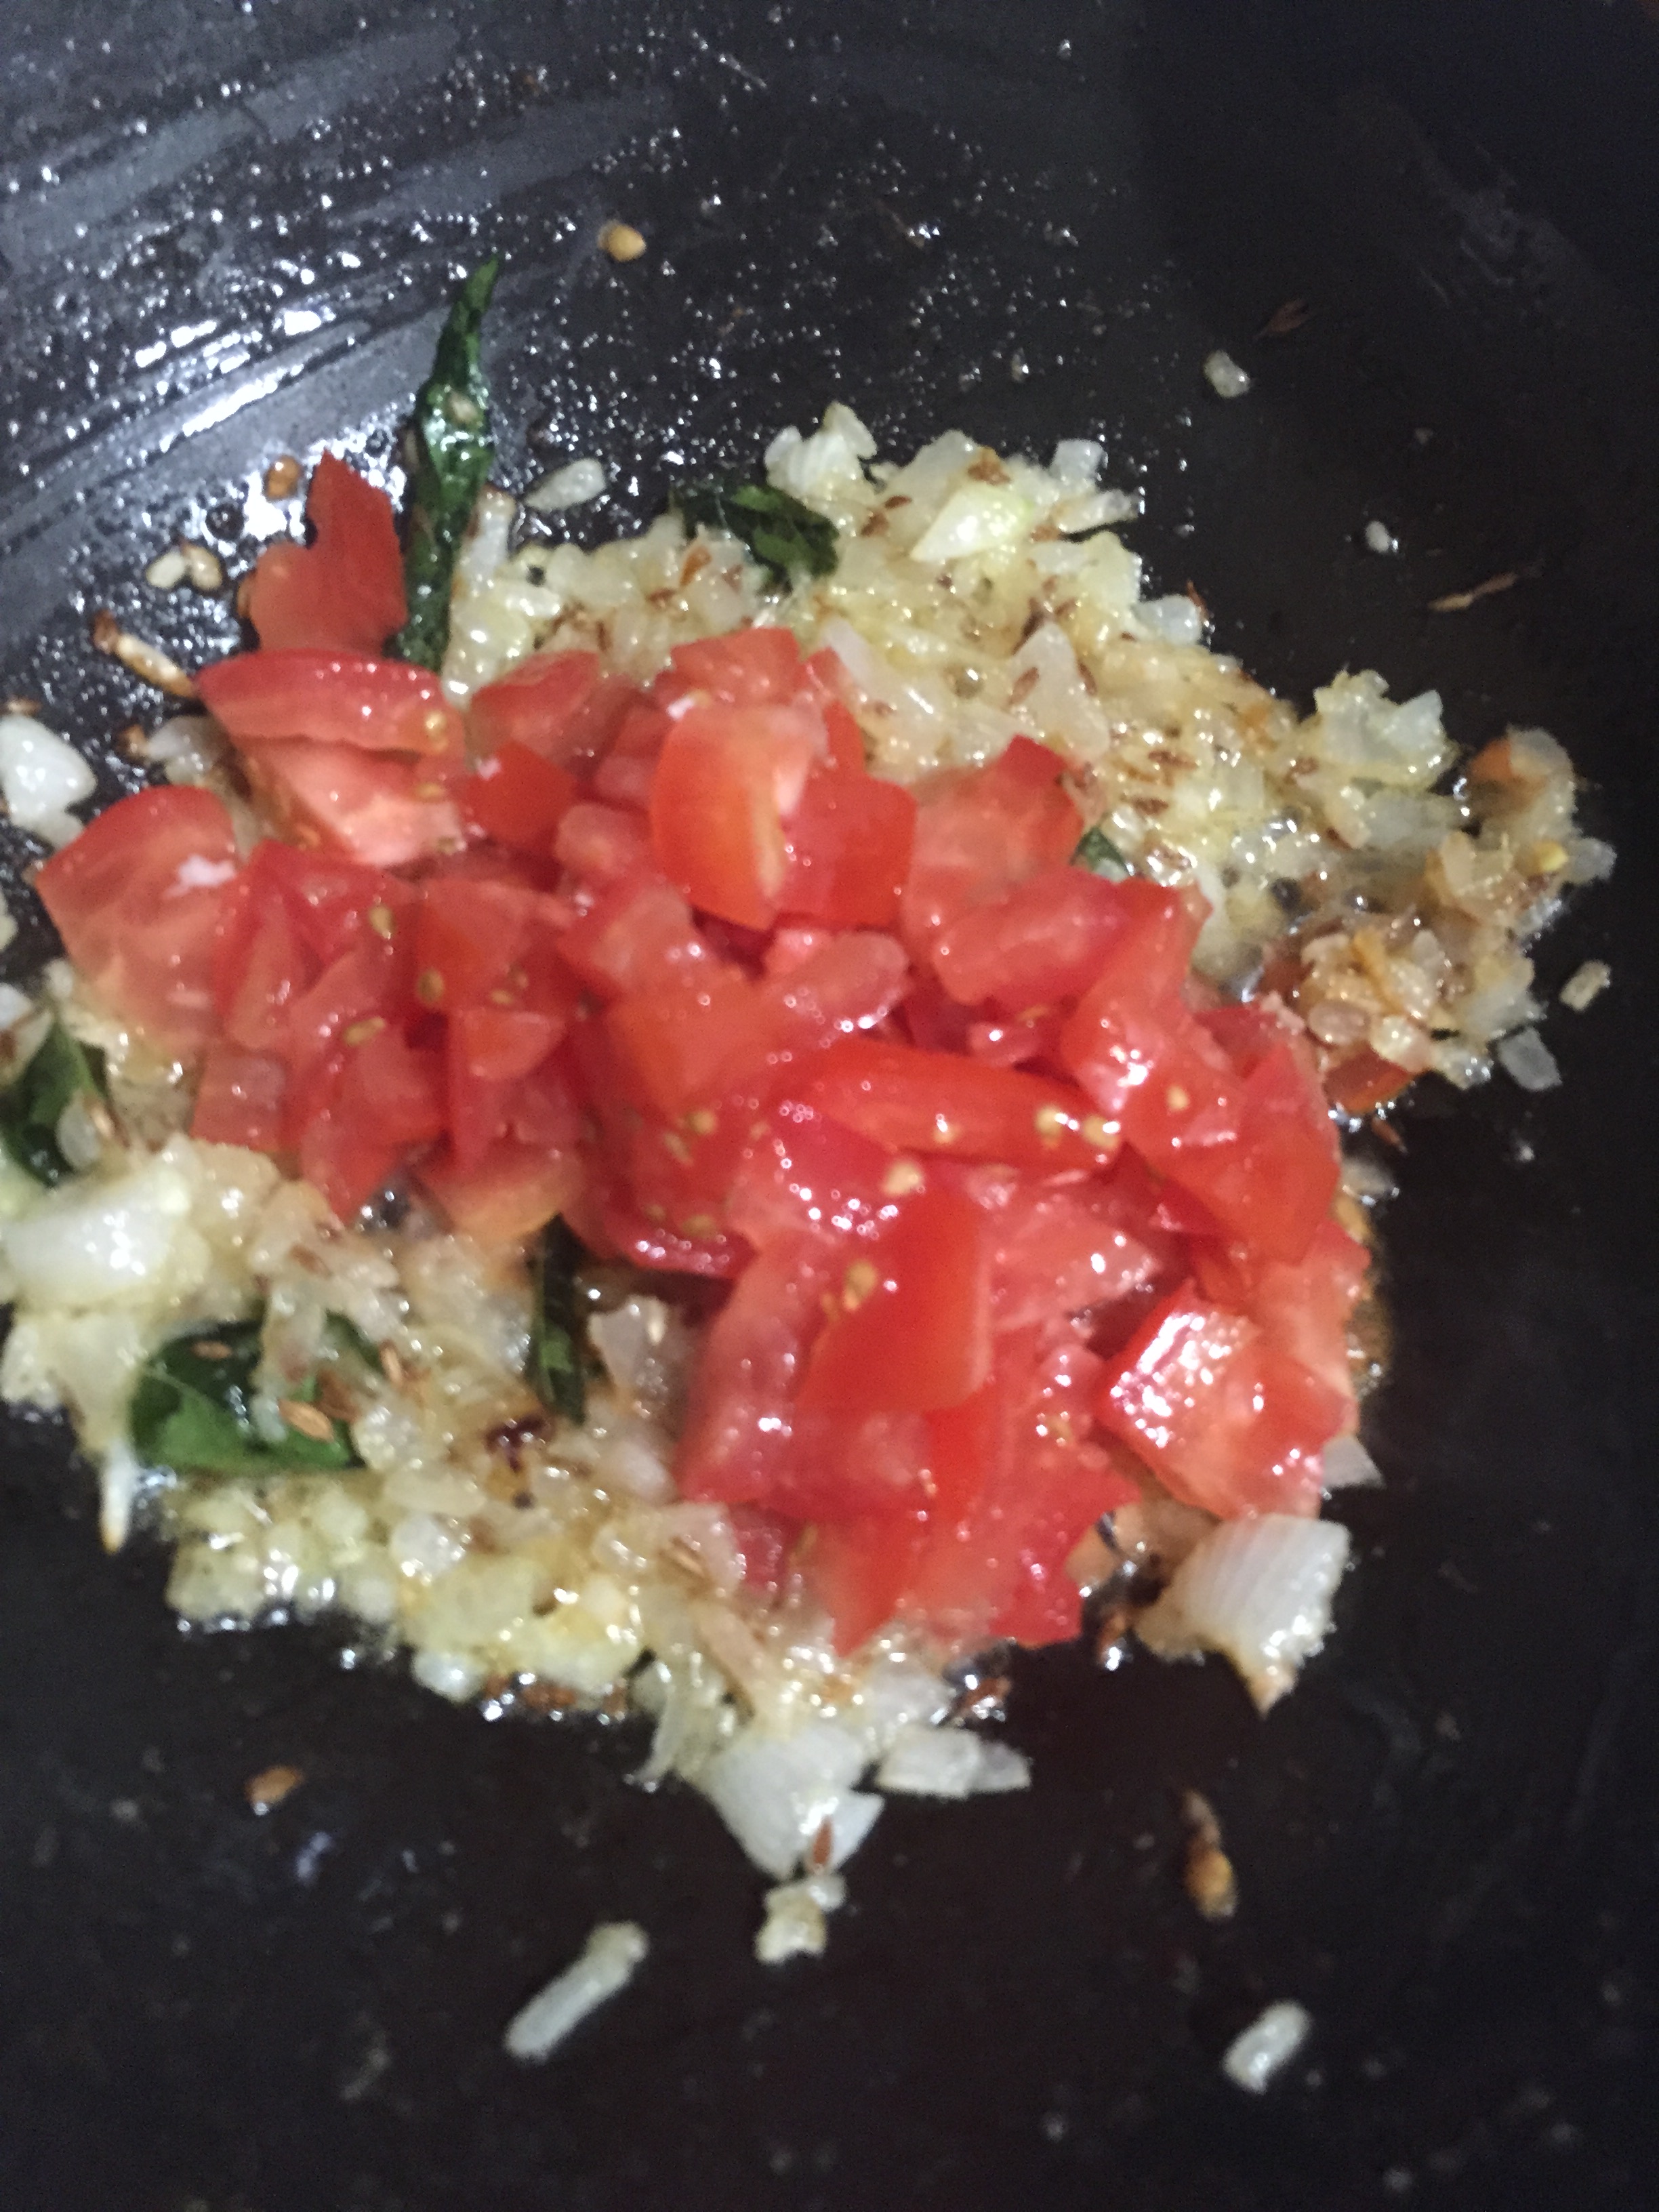
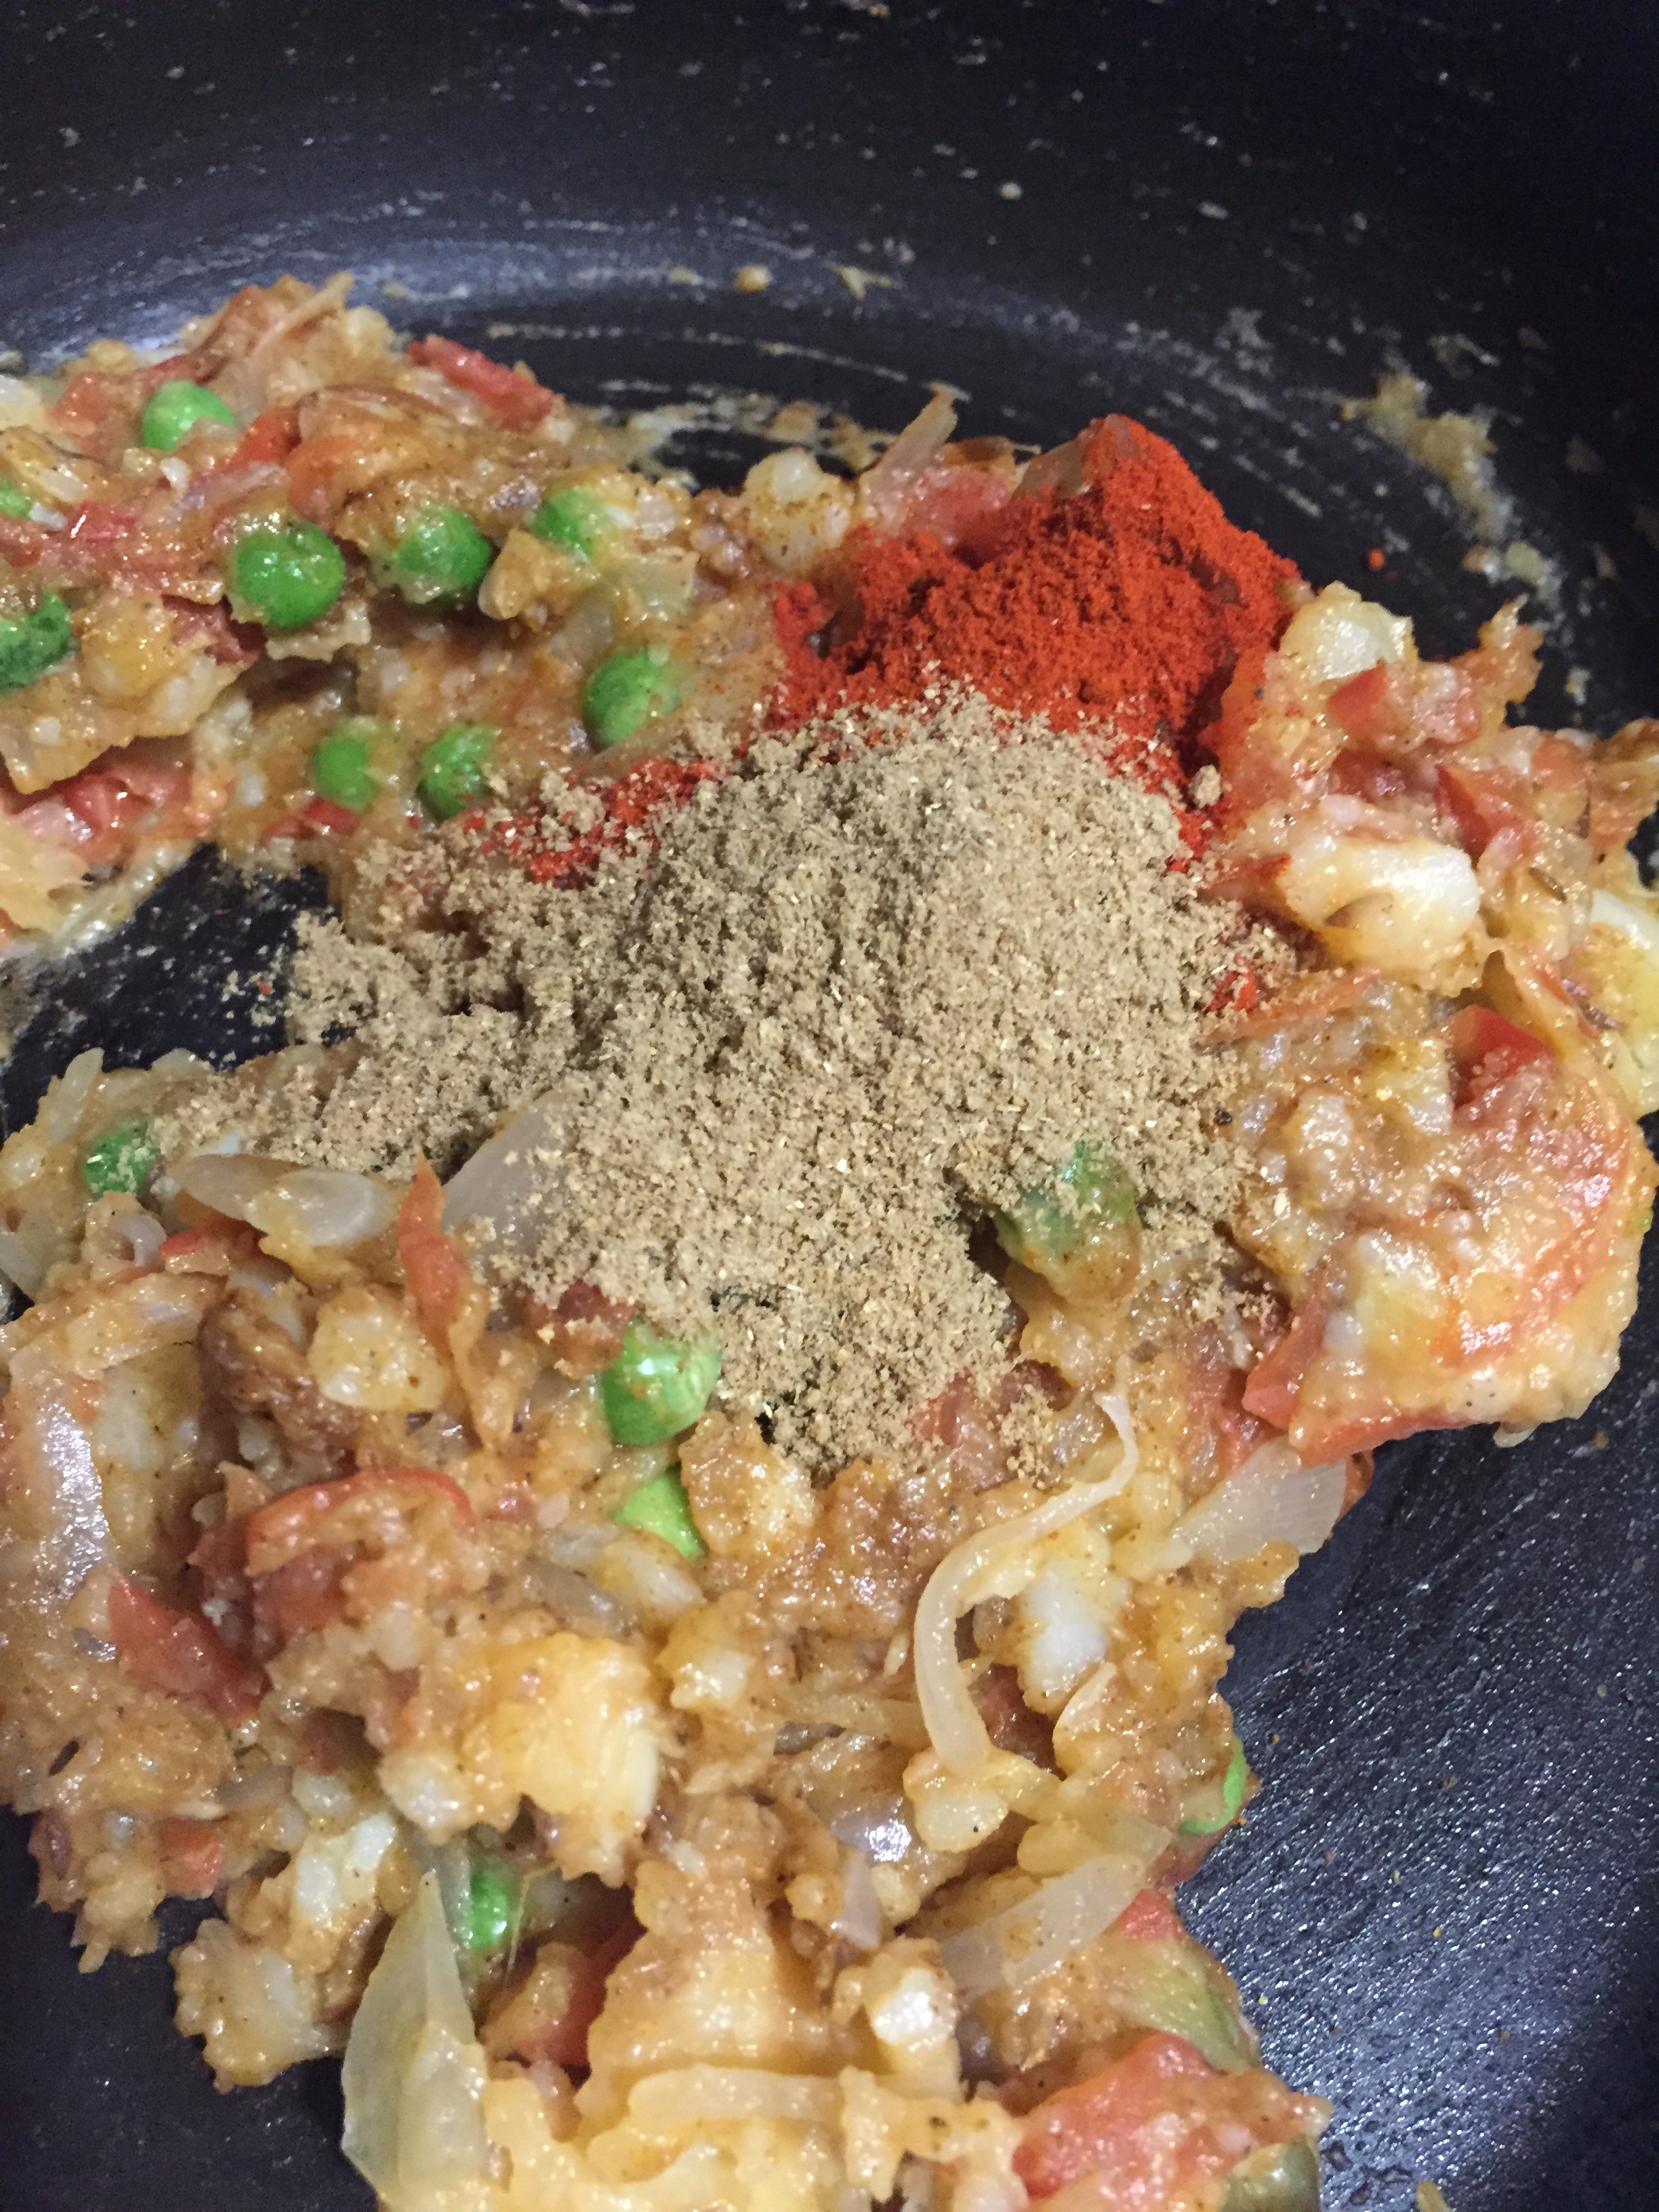
- Add slit green chilli and chopped tomatoes. Add enough salt and sauté well.
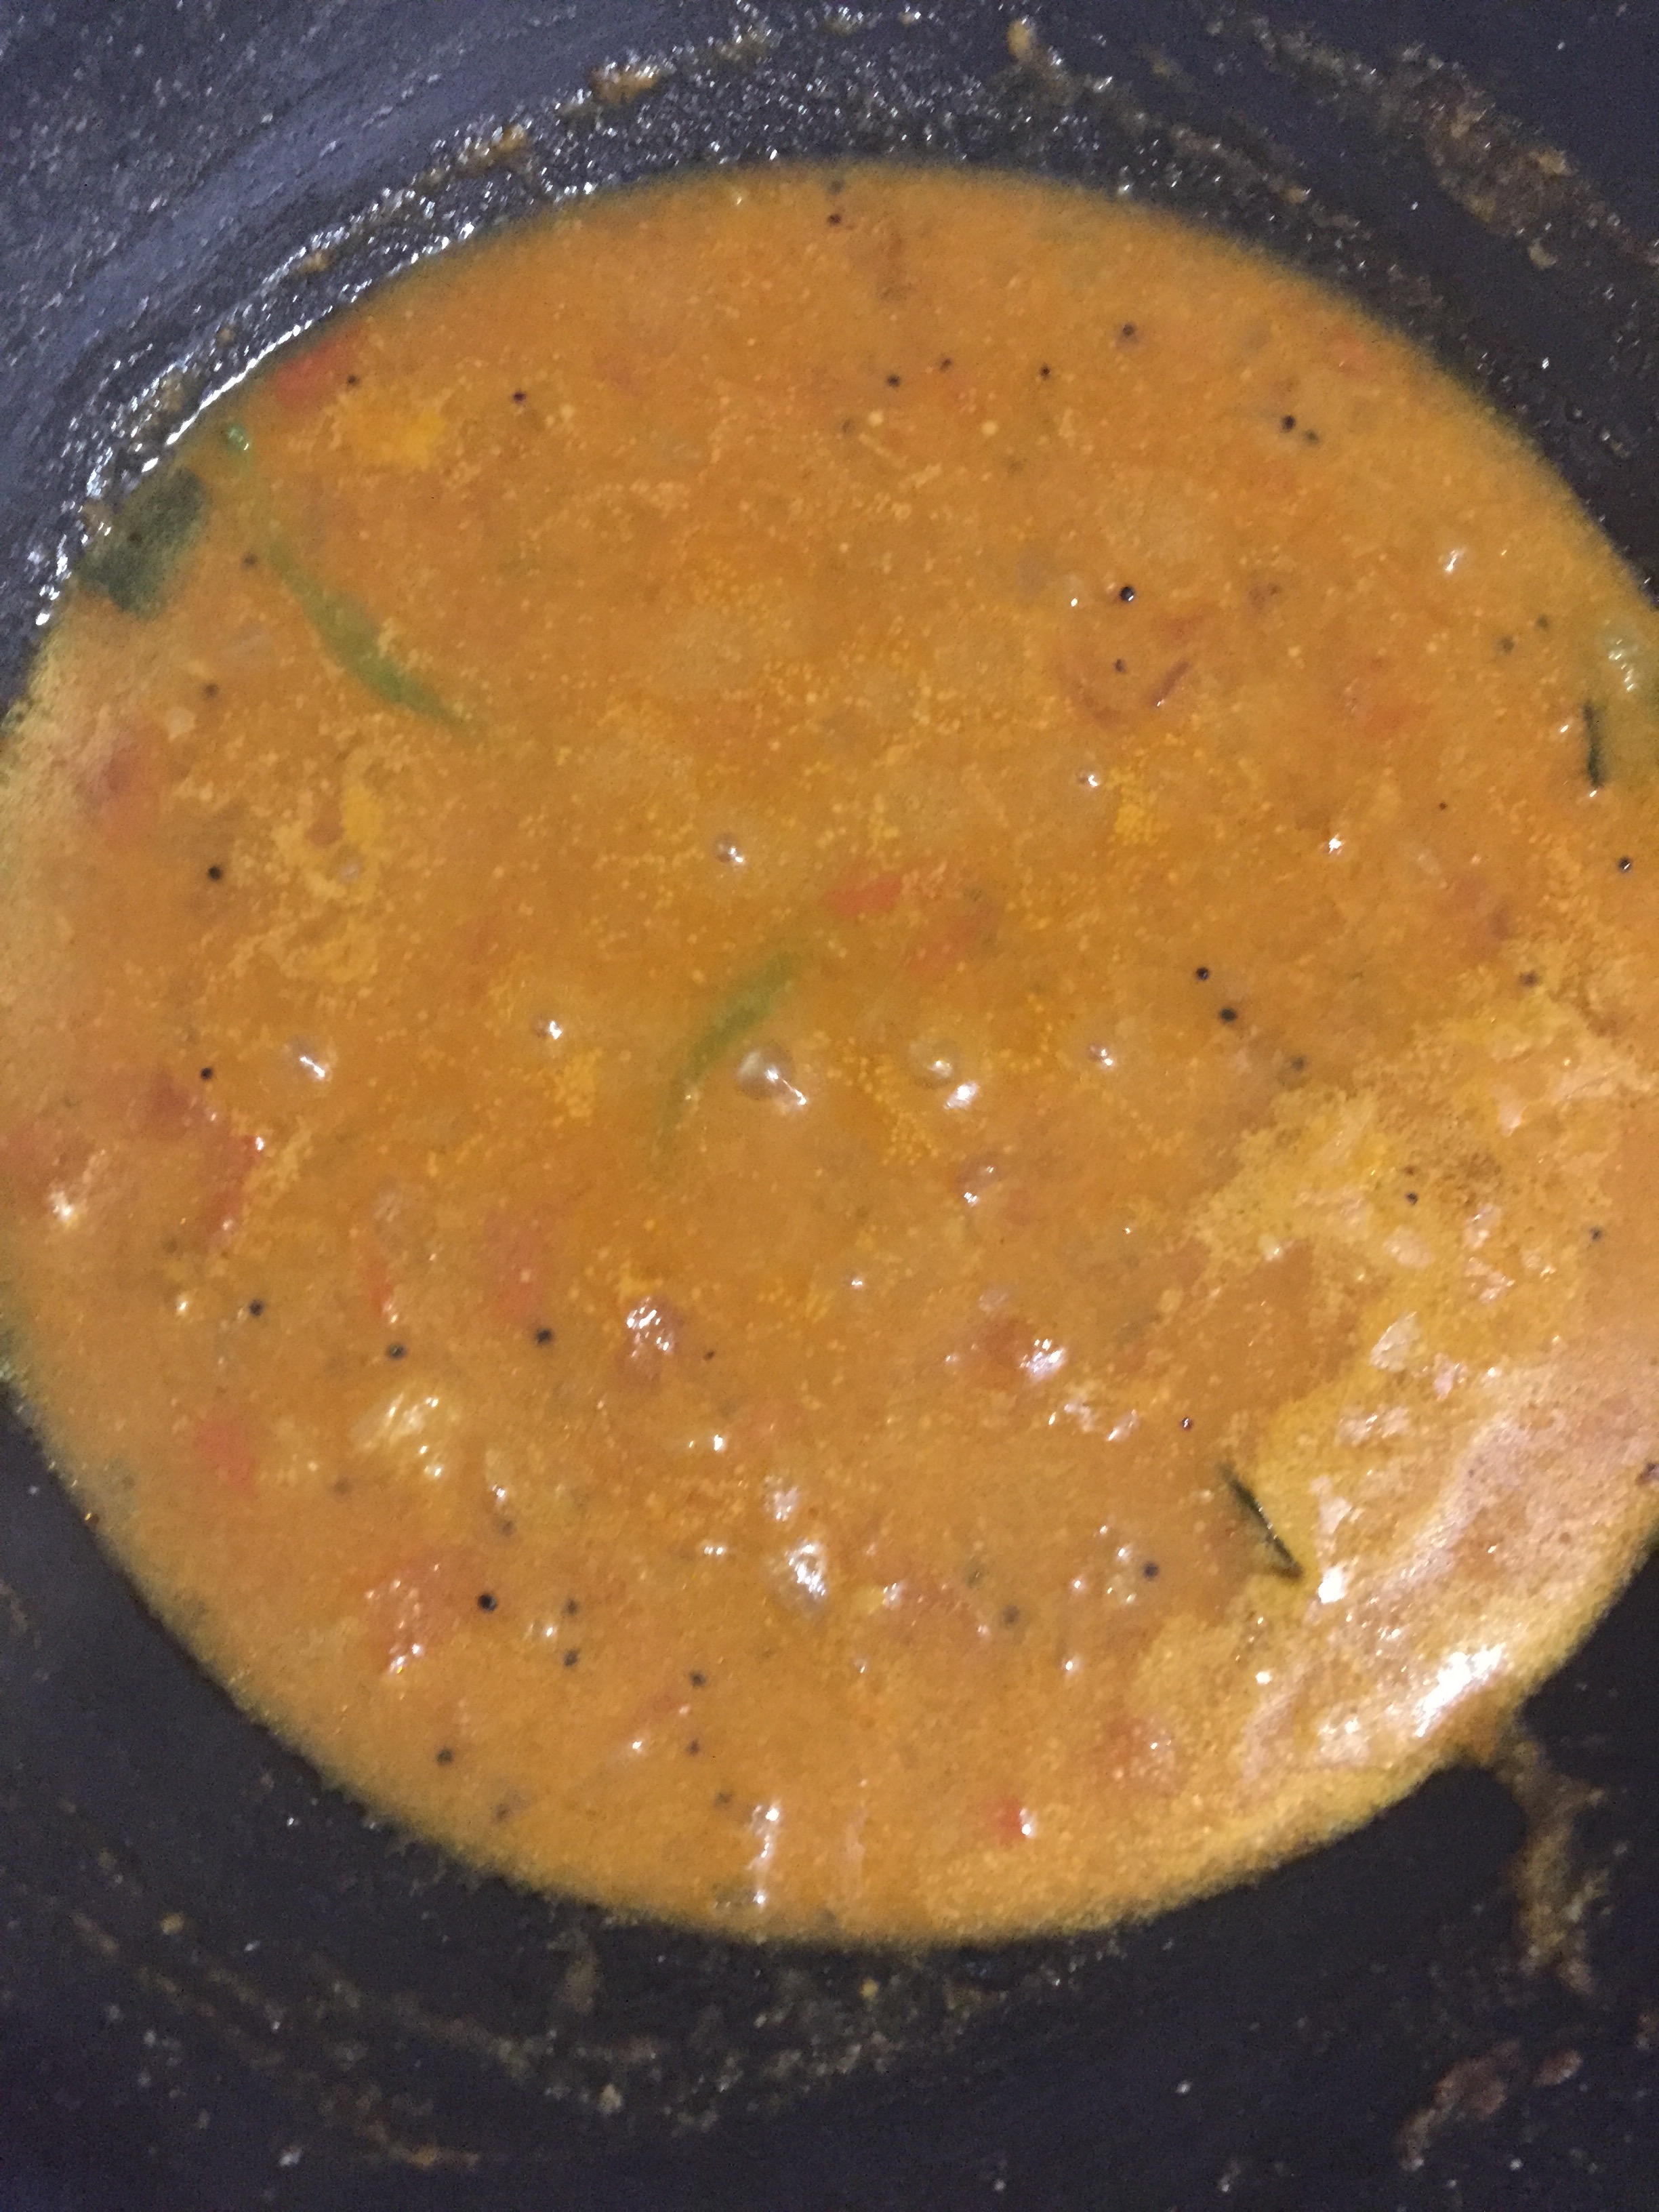
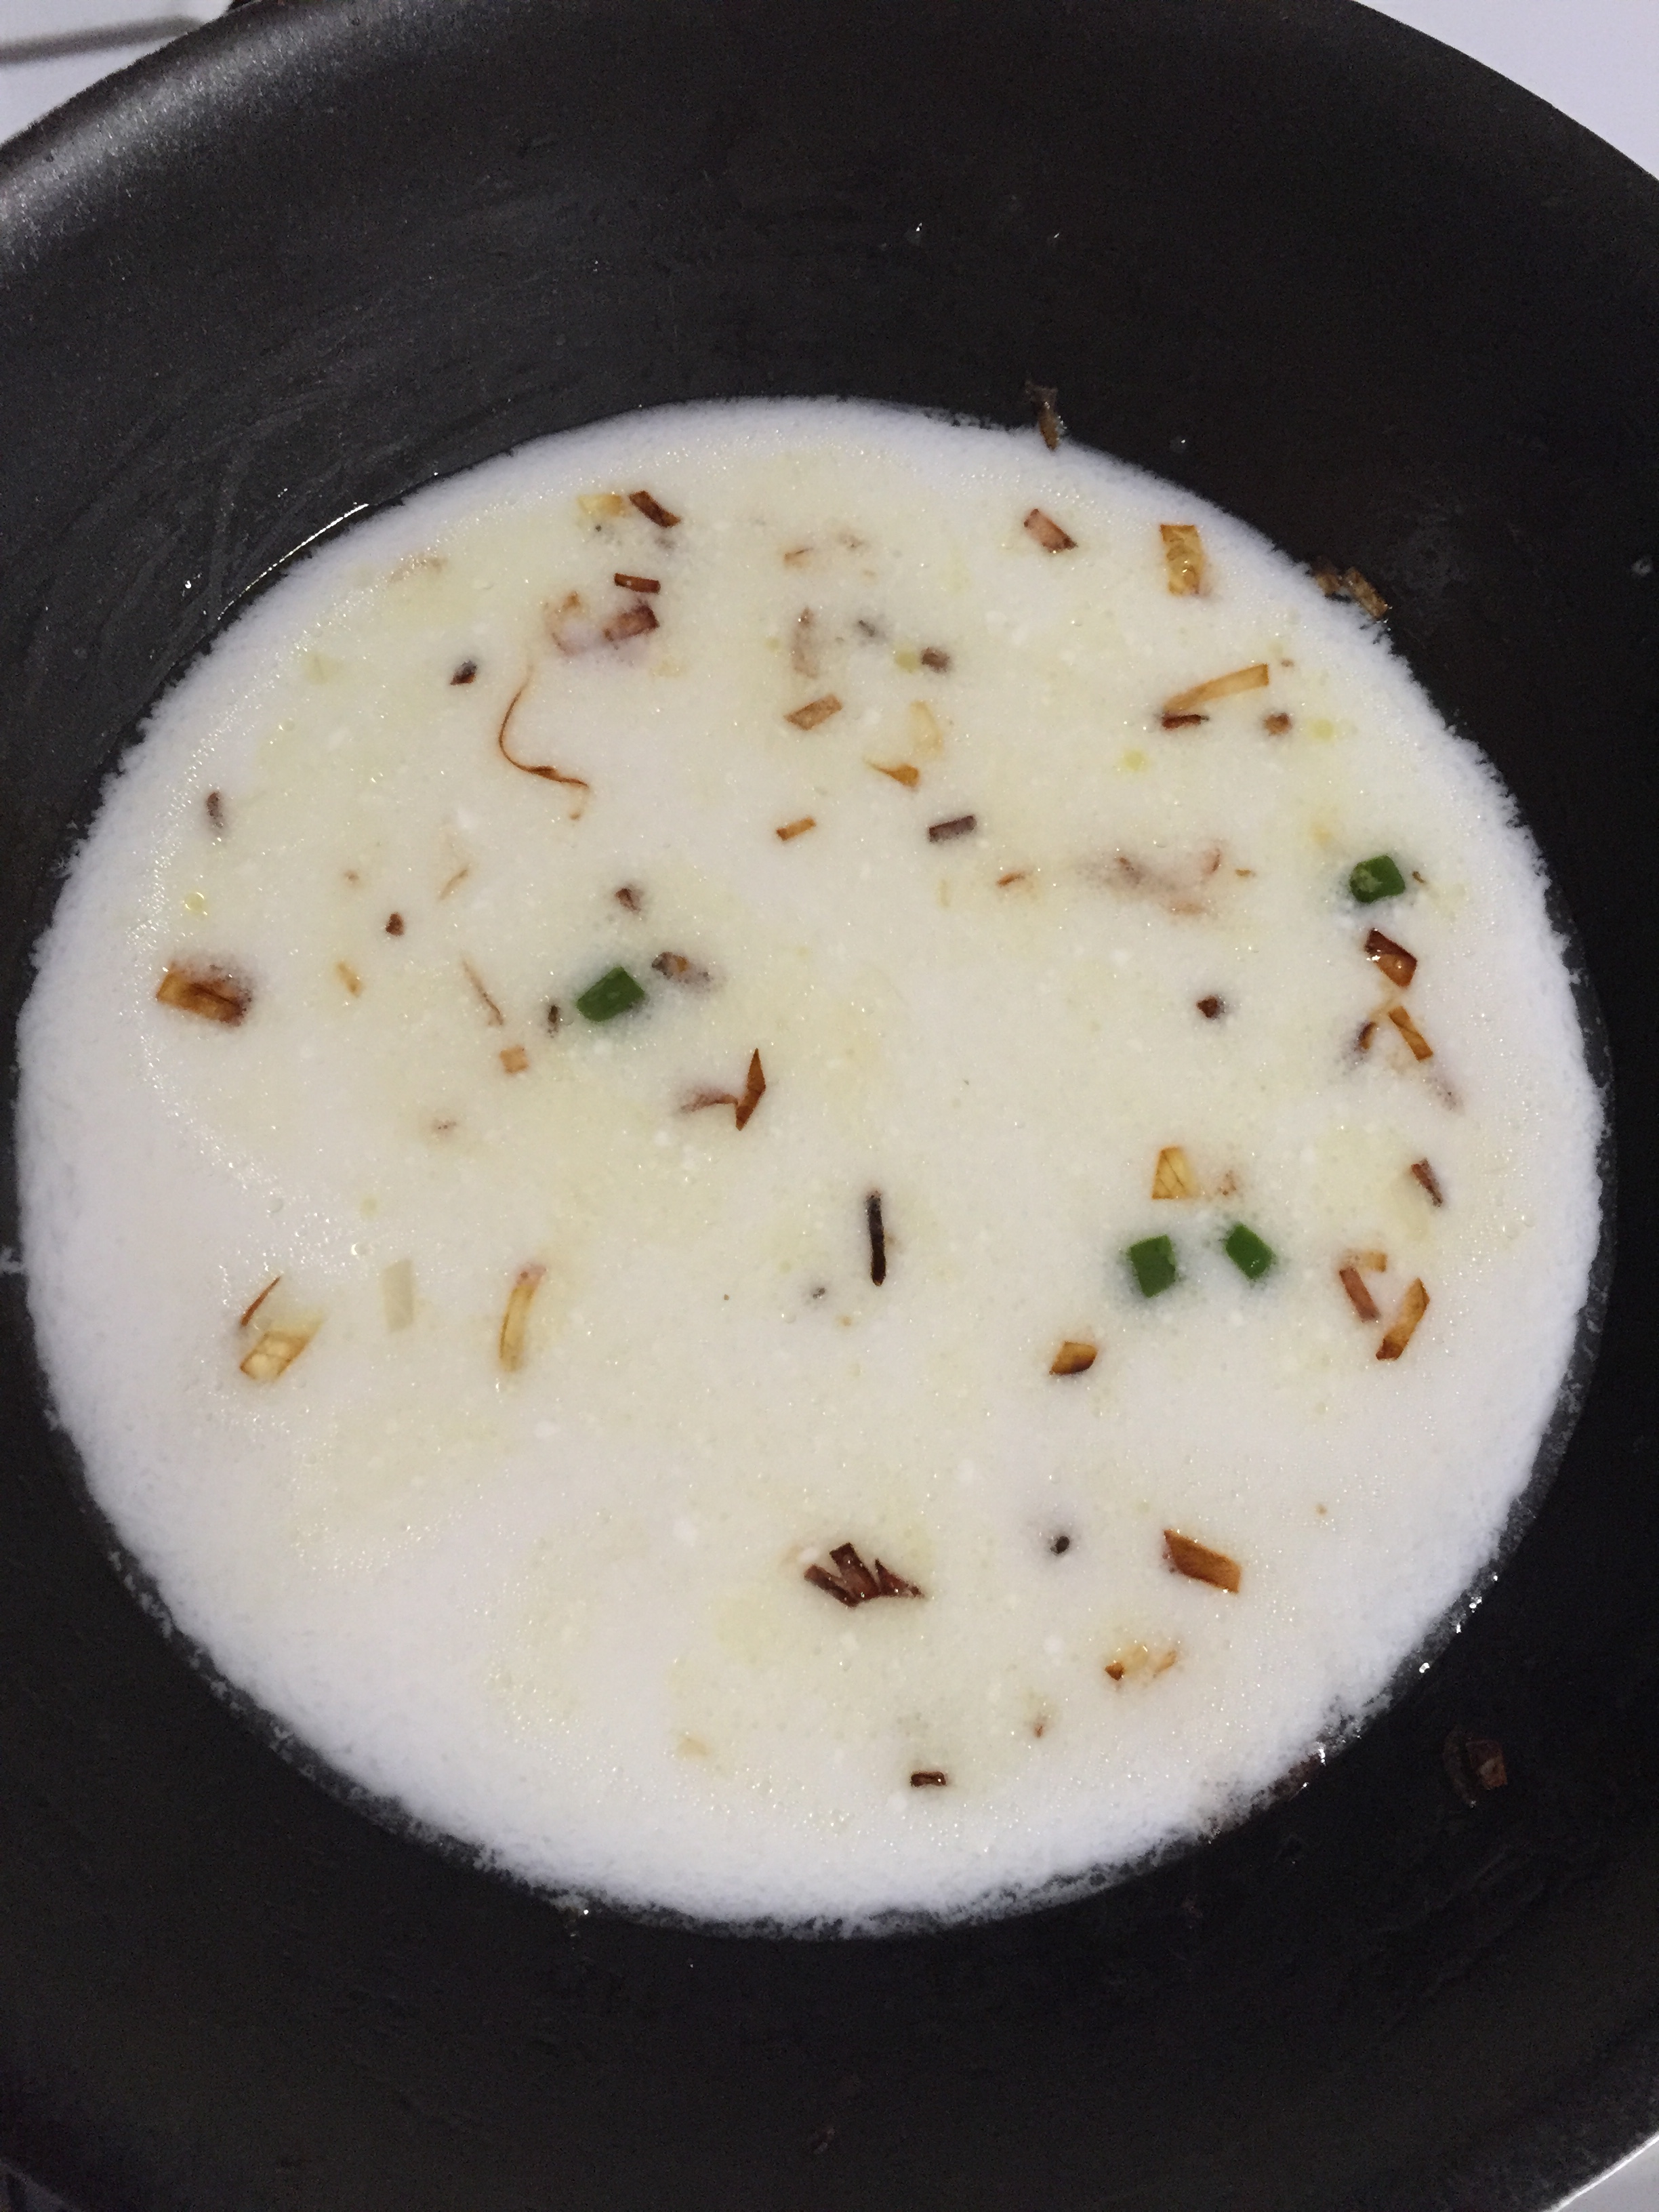
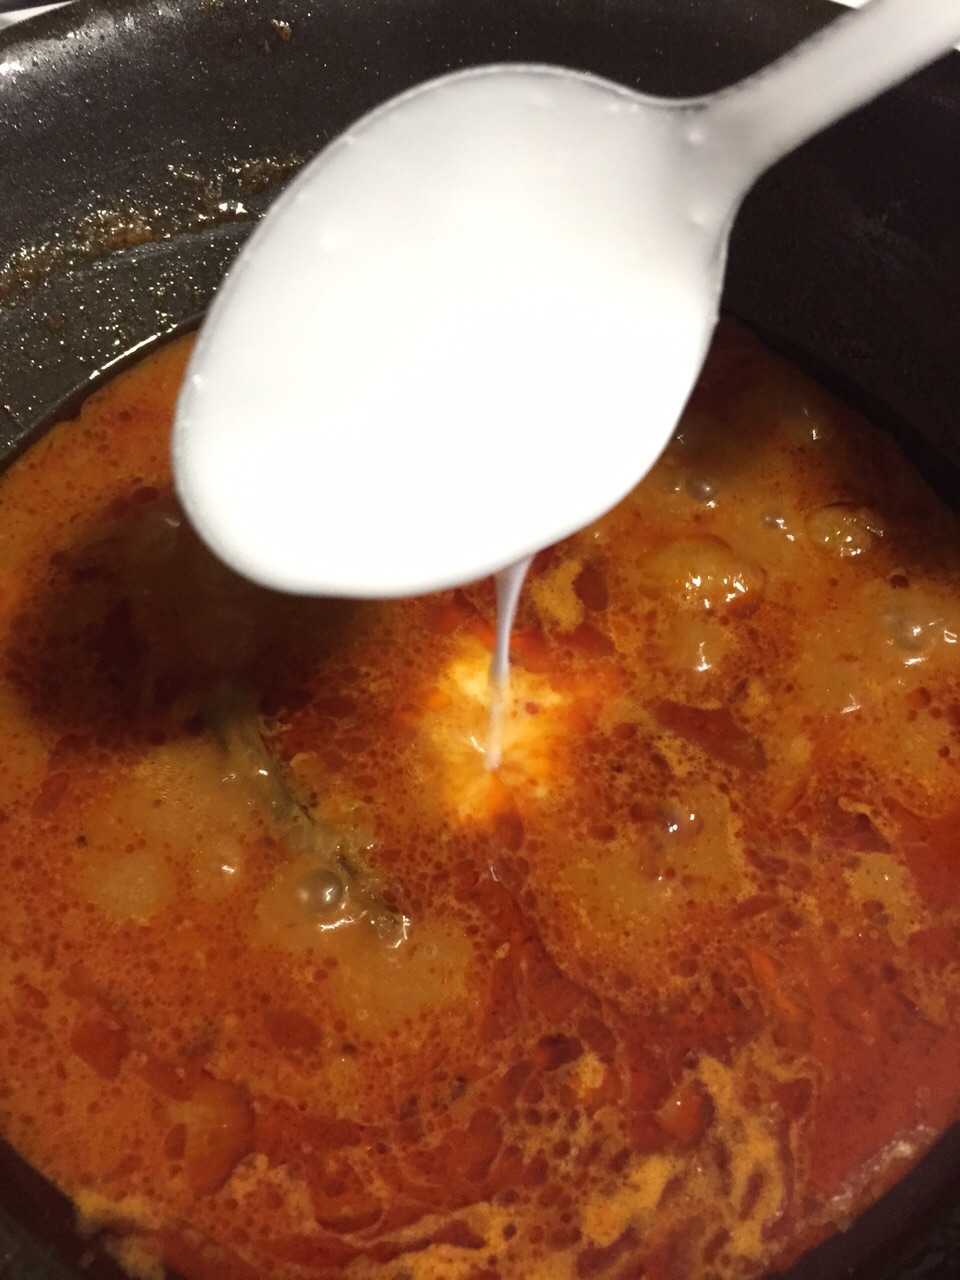
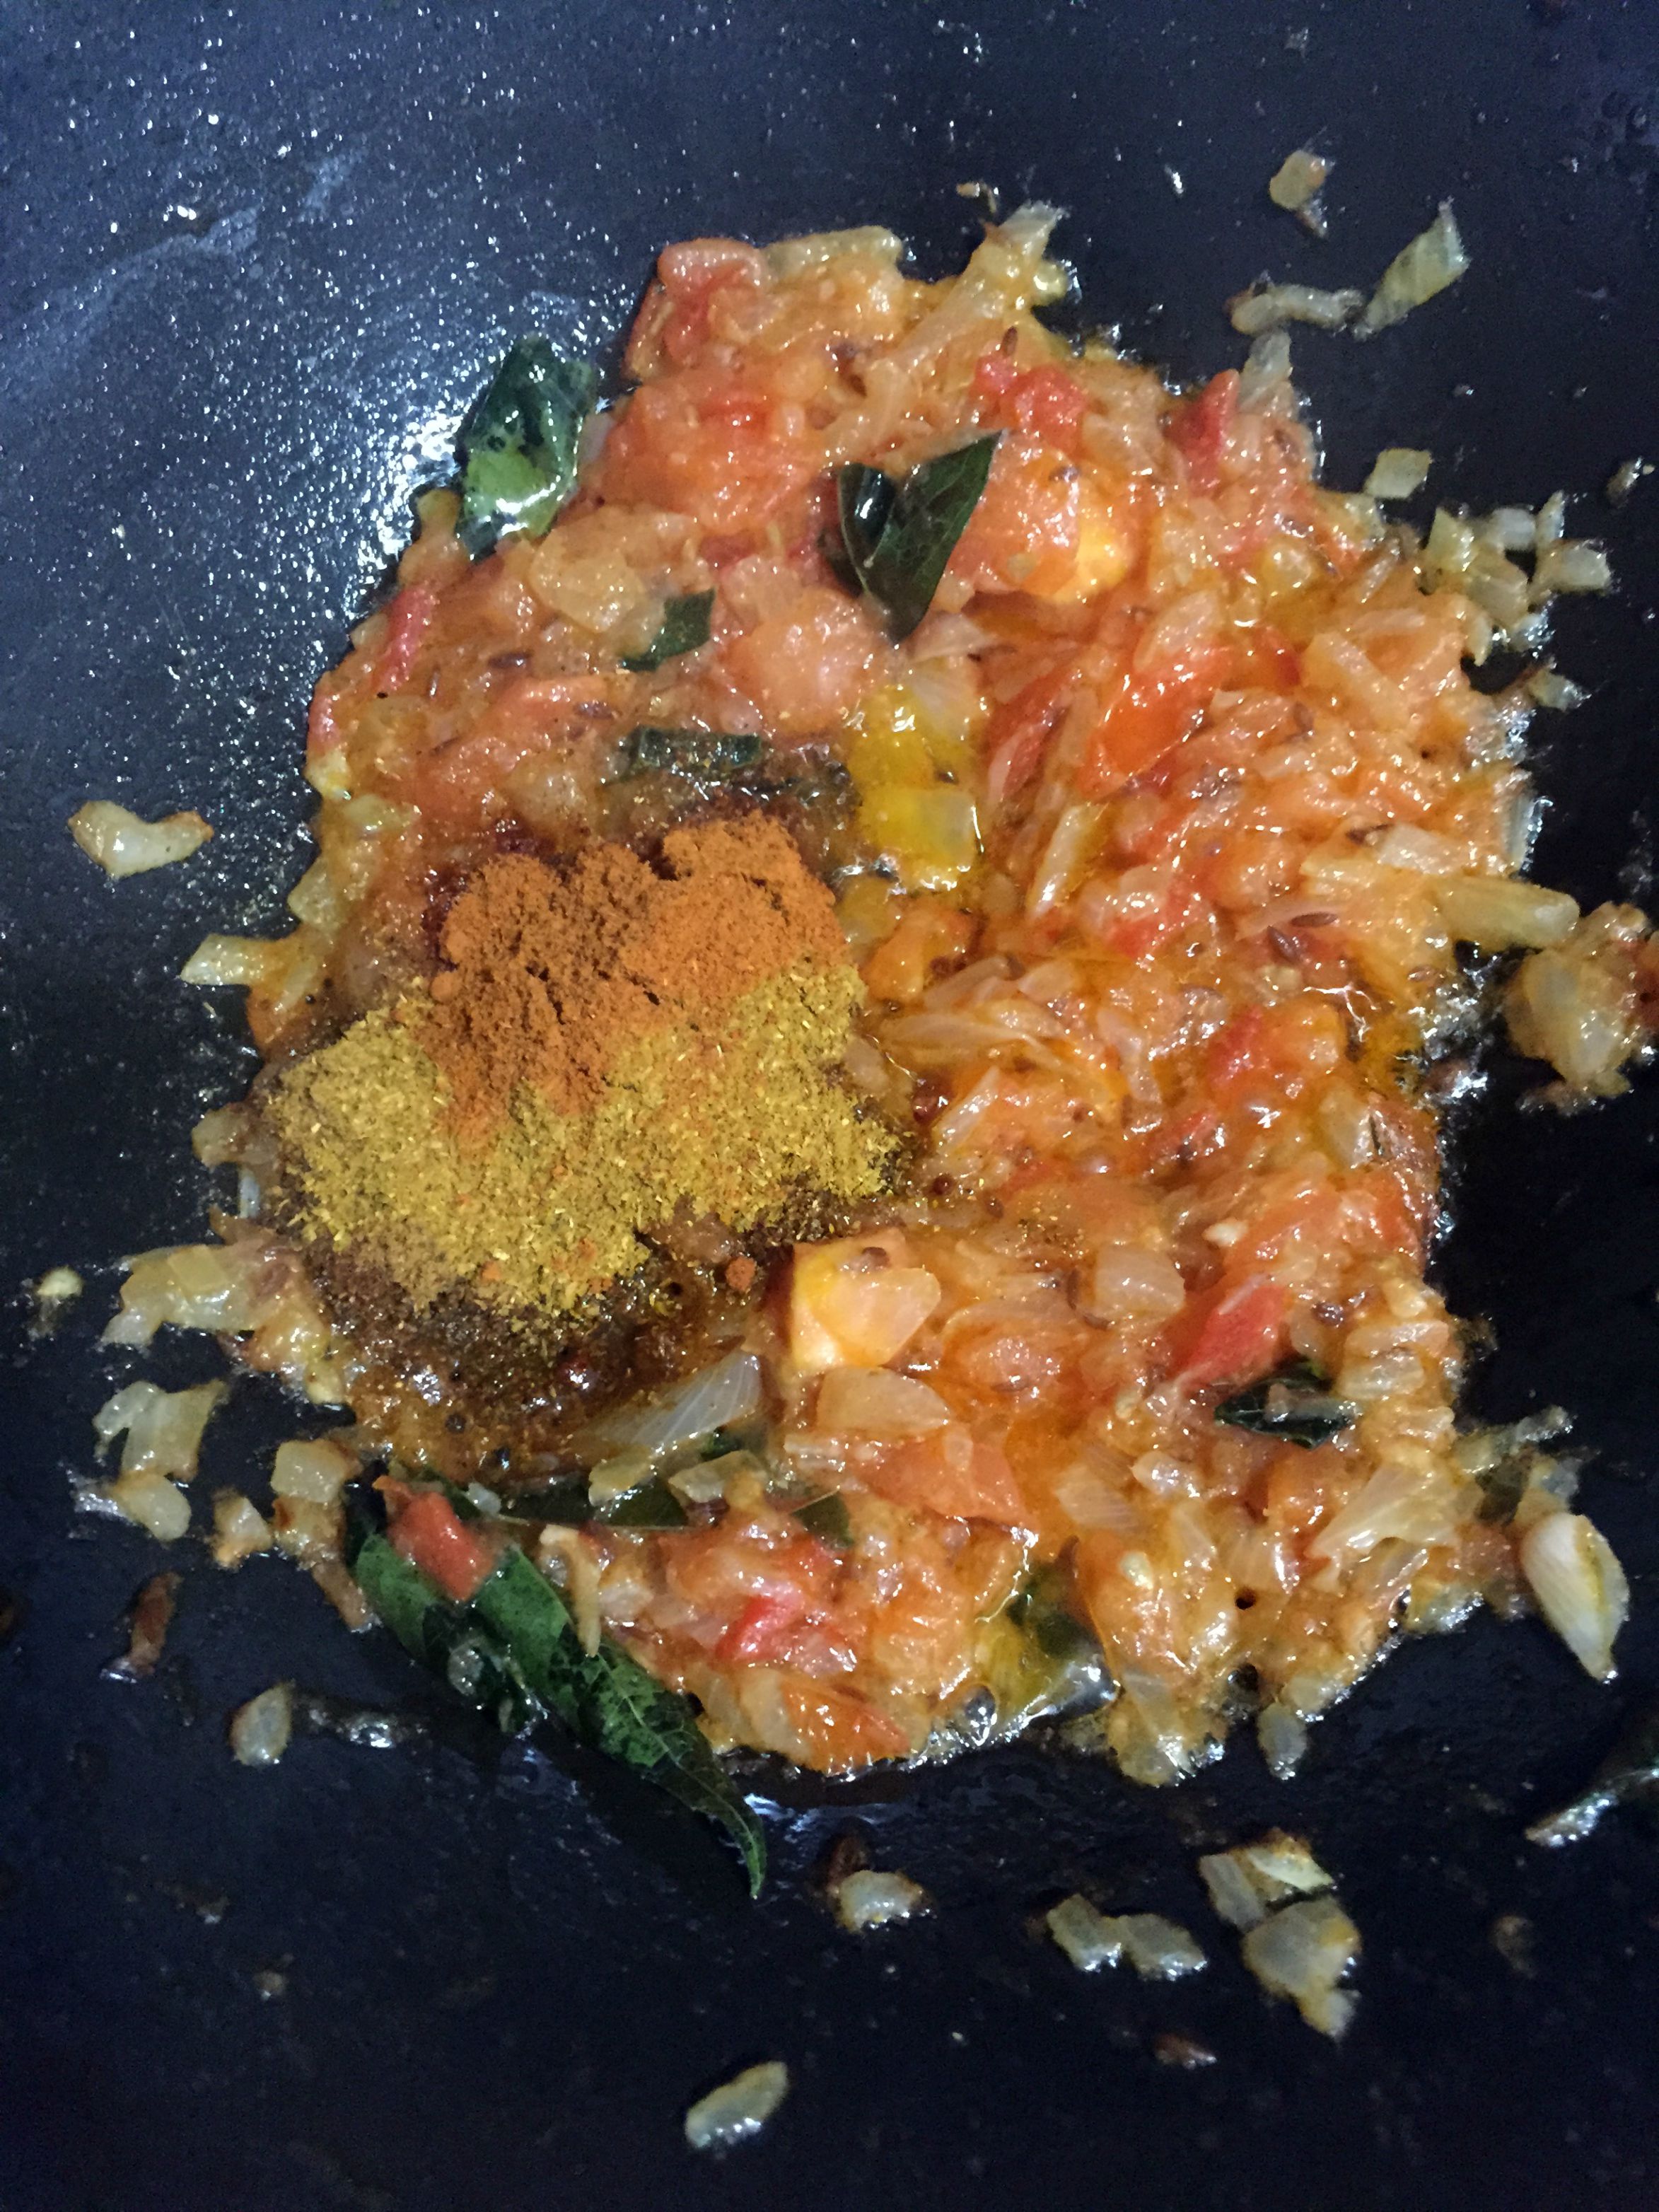
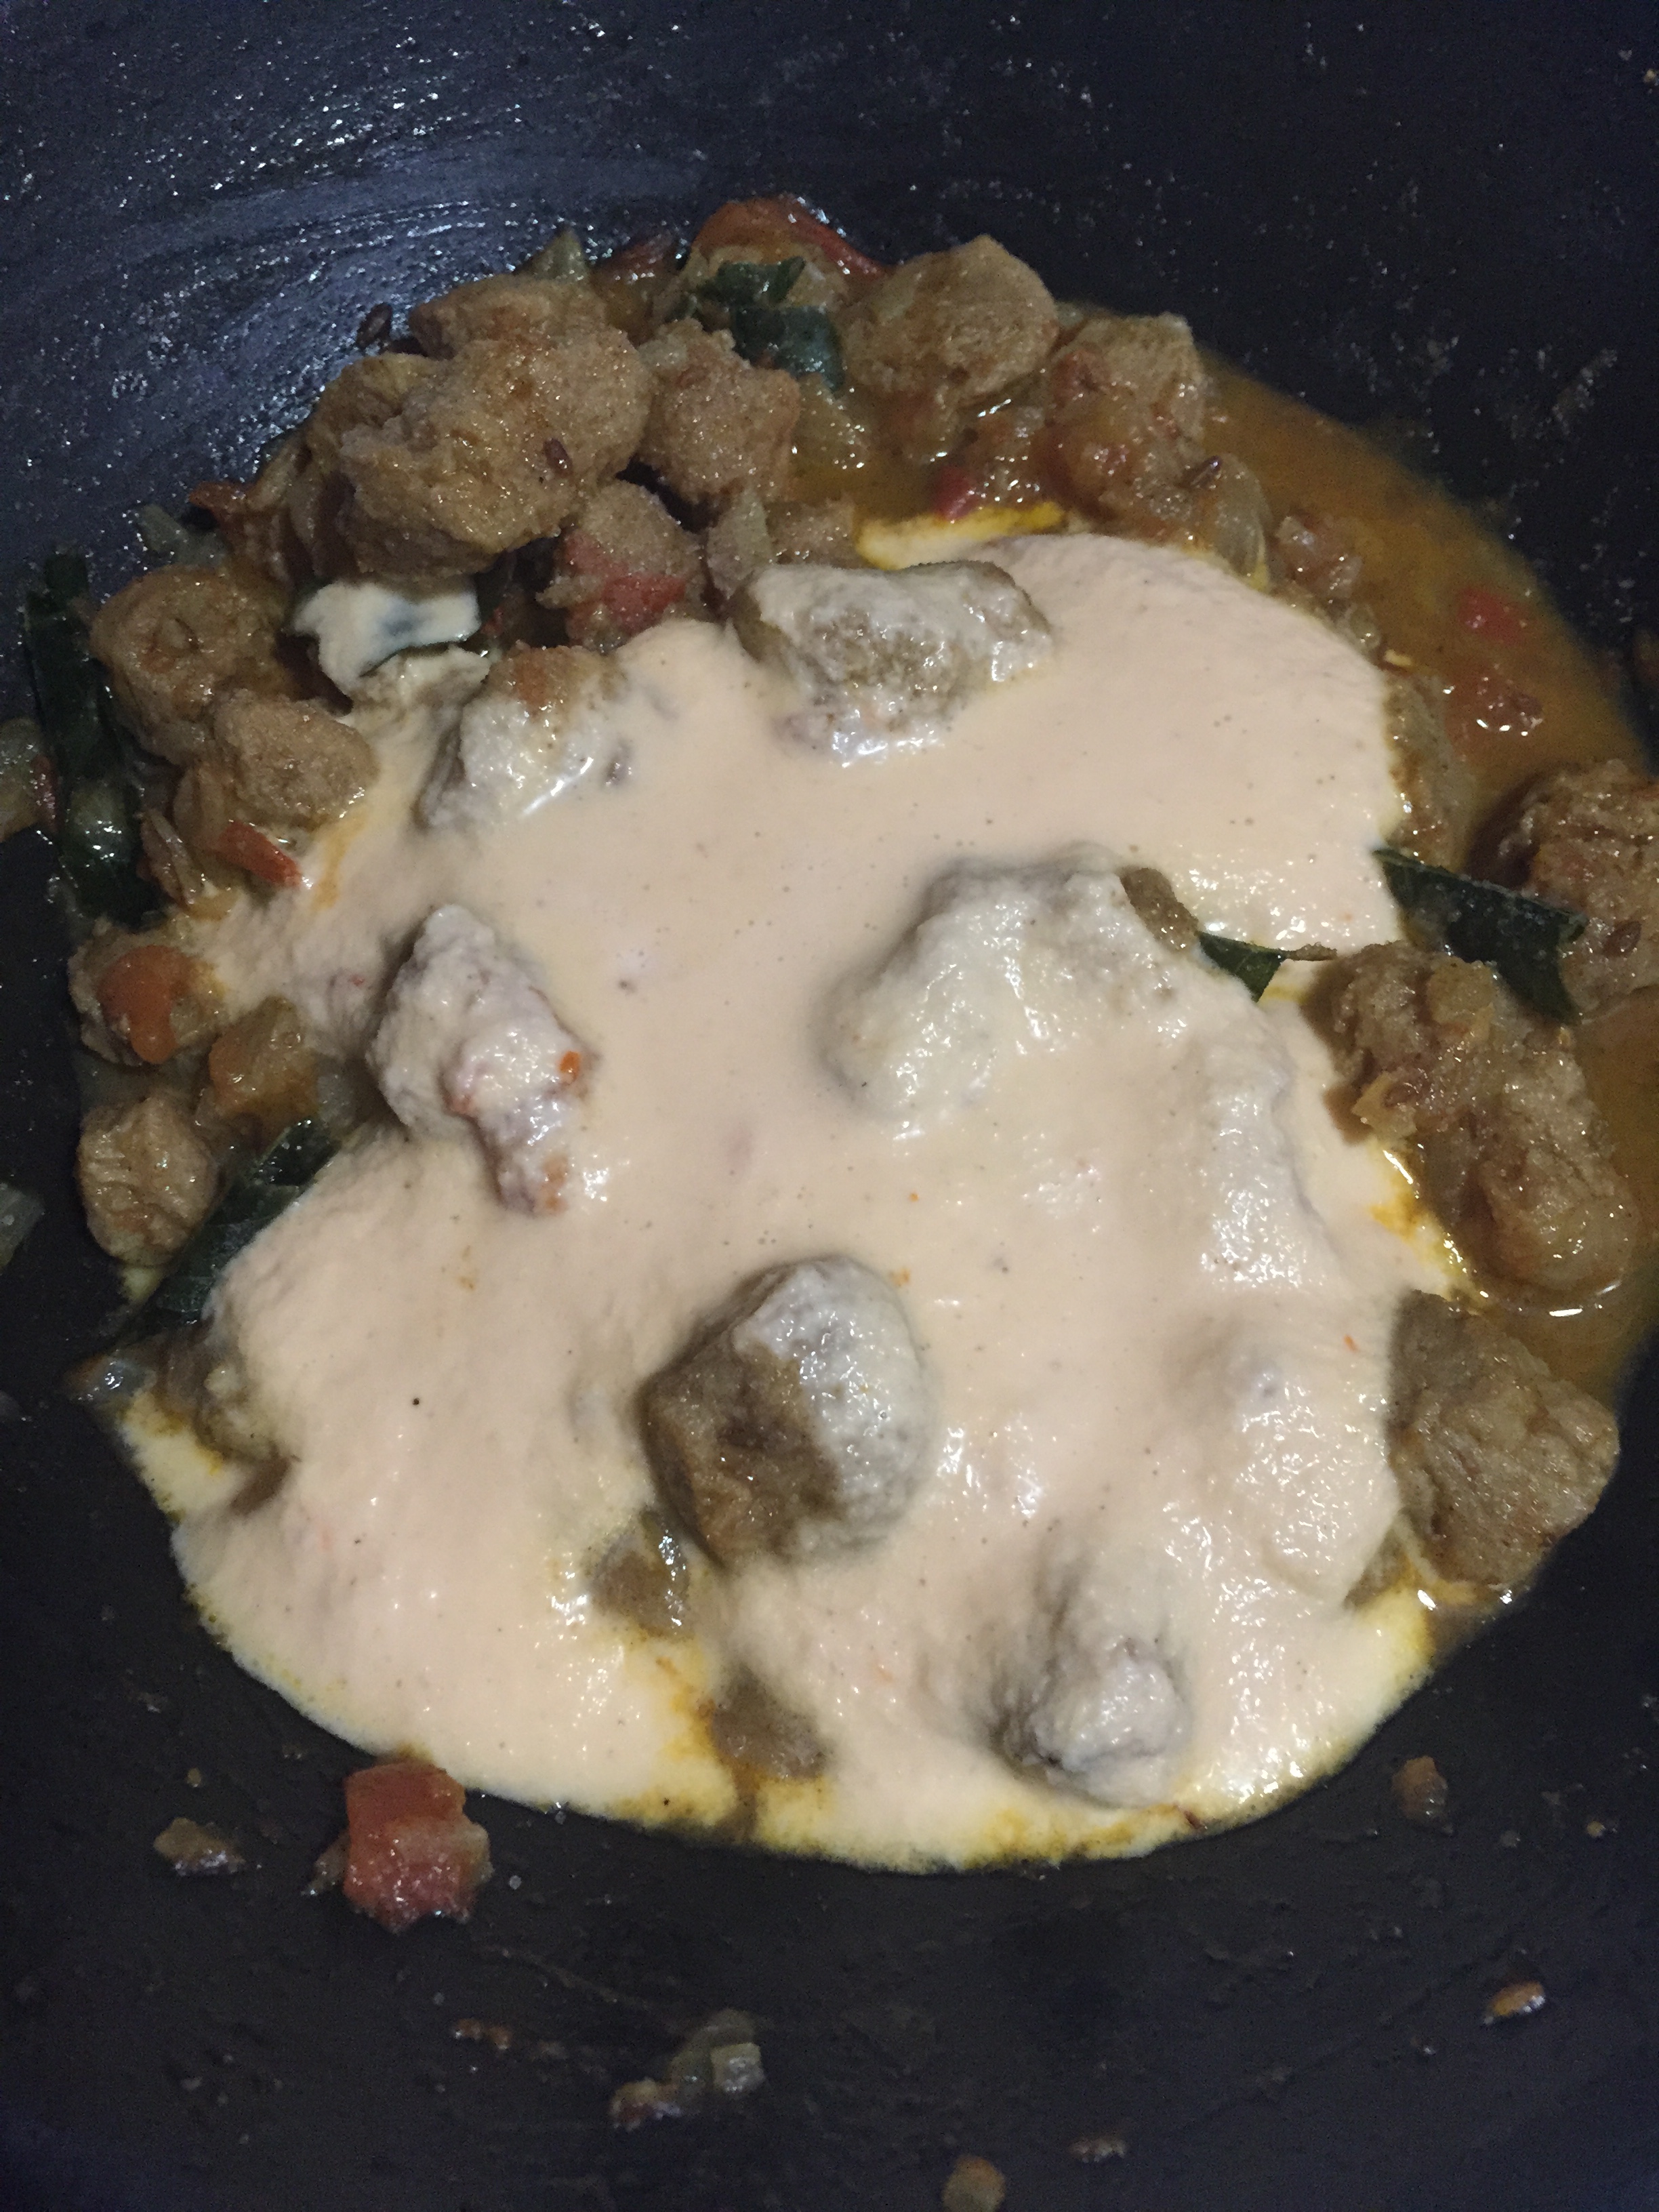
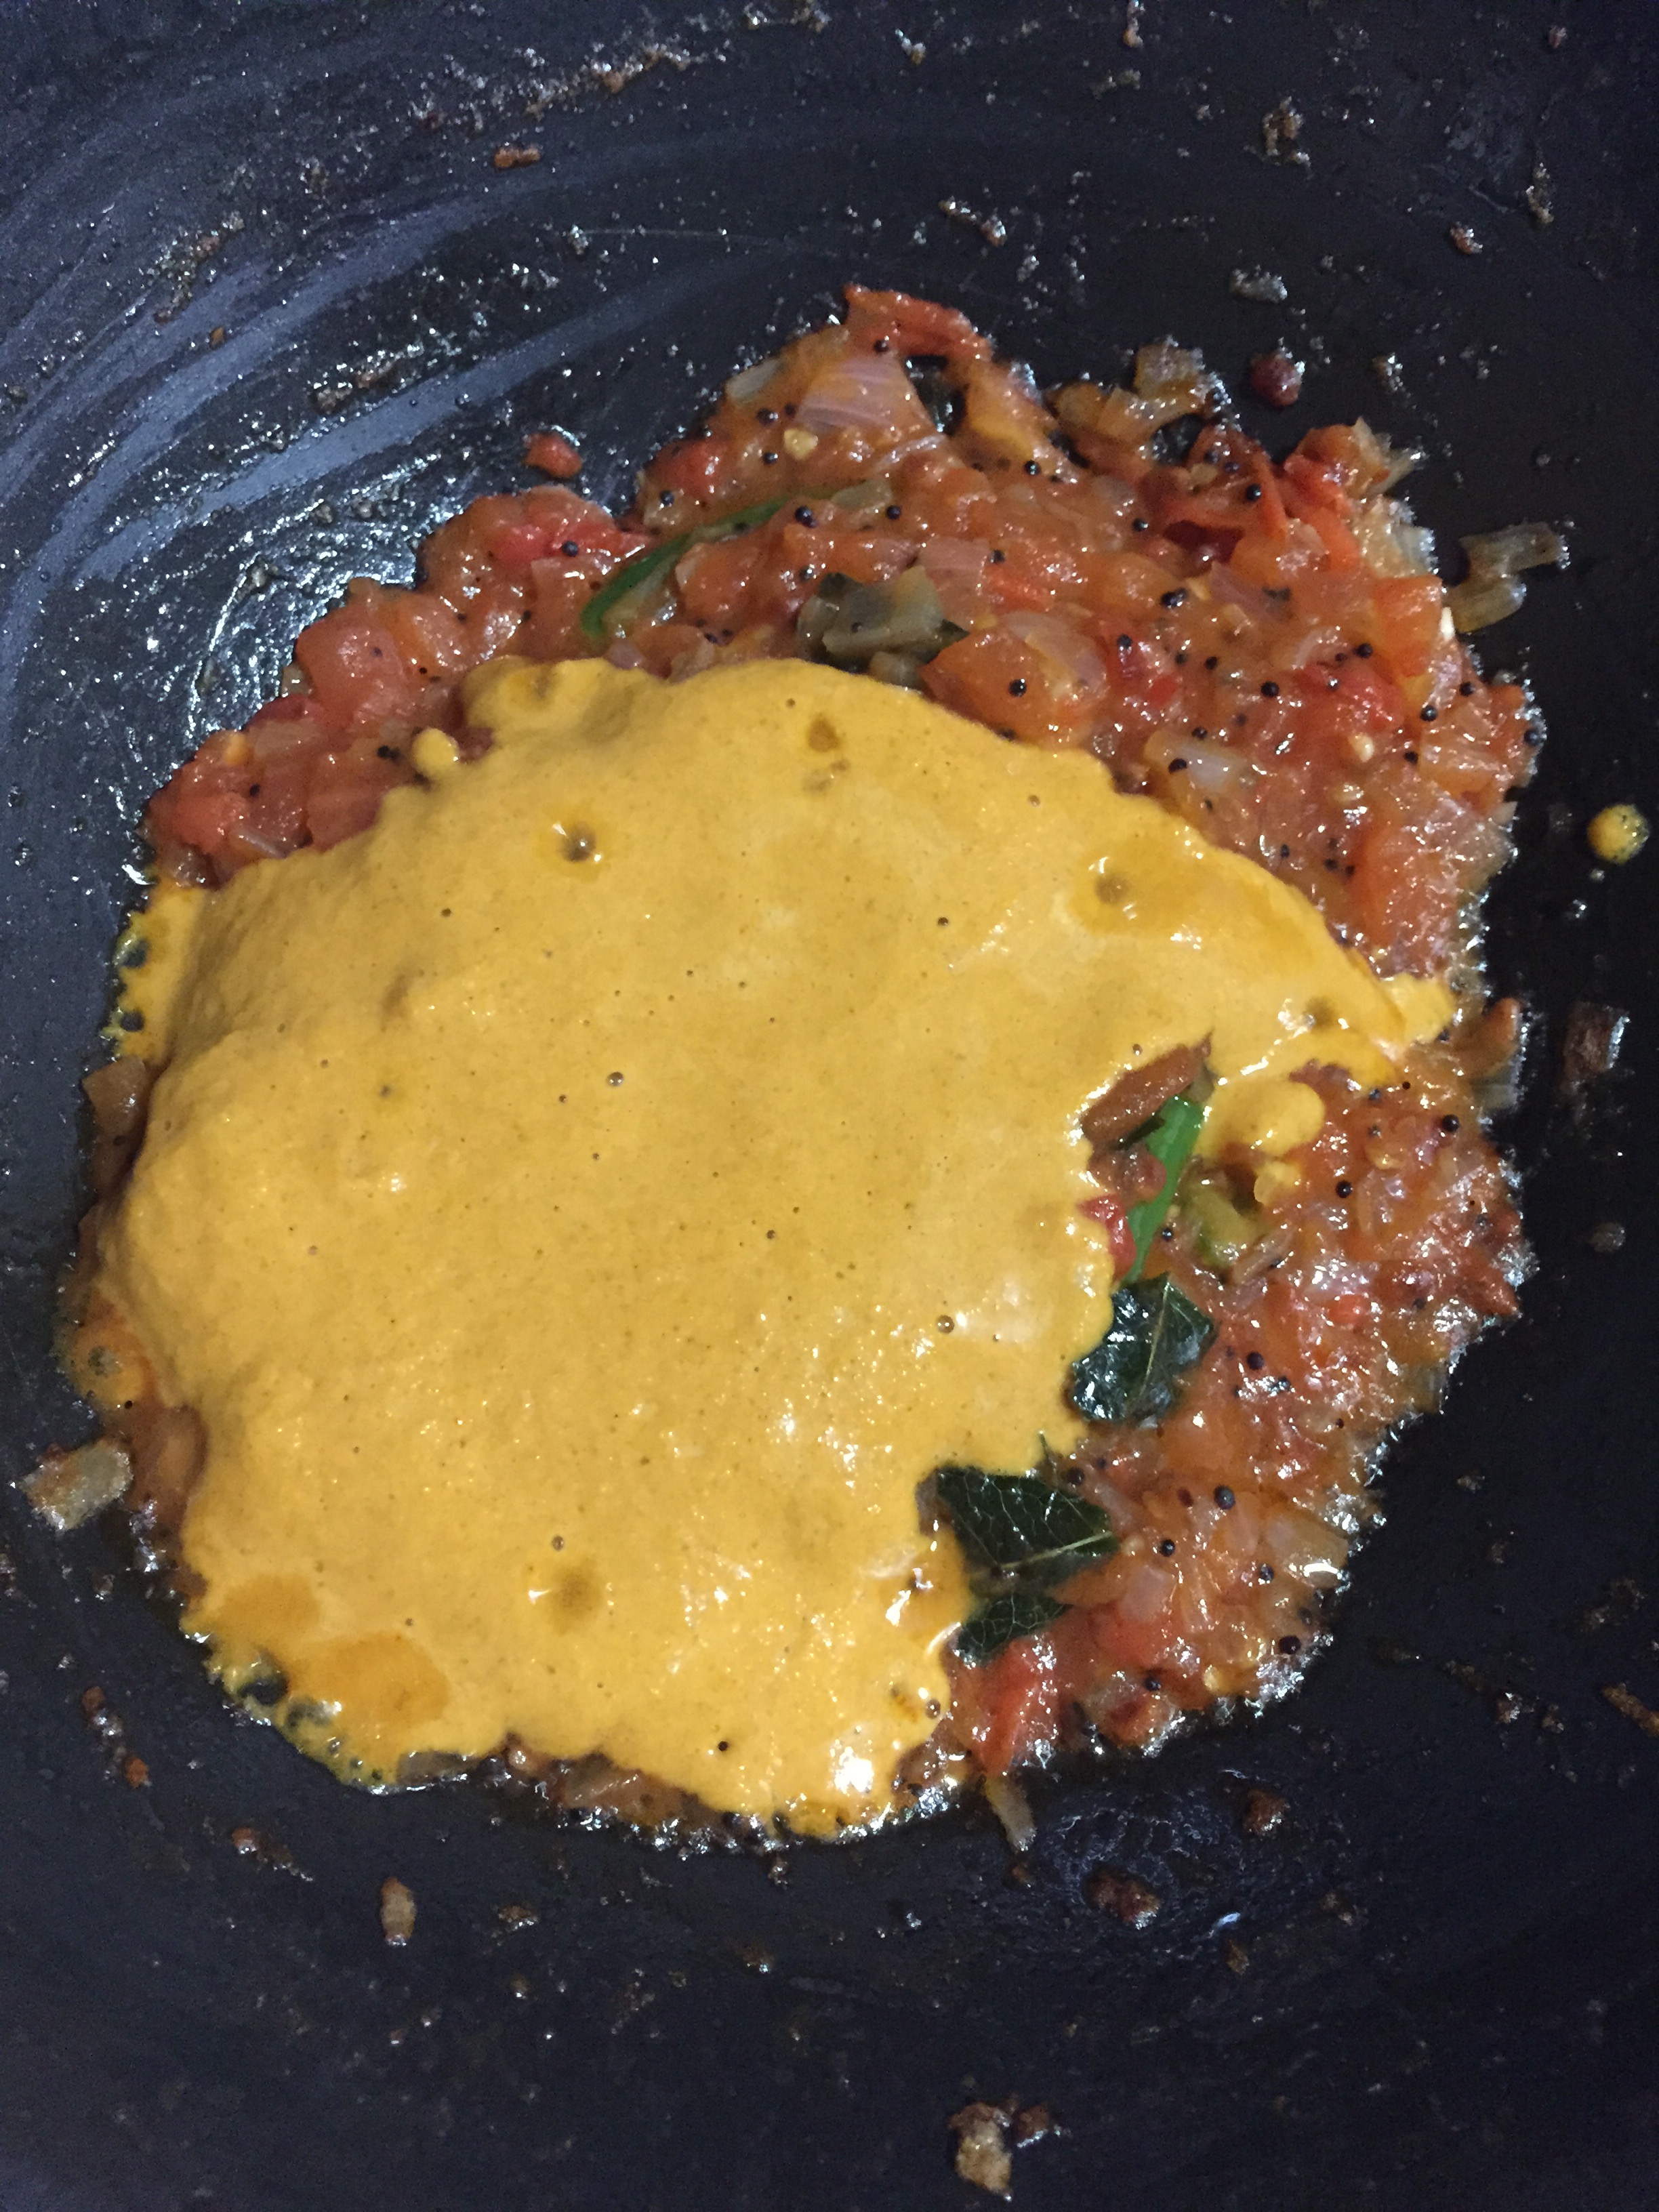
- Finally add the ground paste when the tomatoes turn mushy.
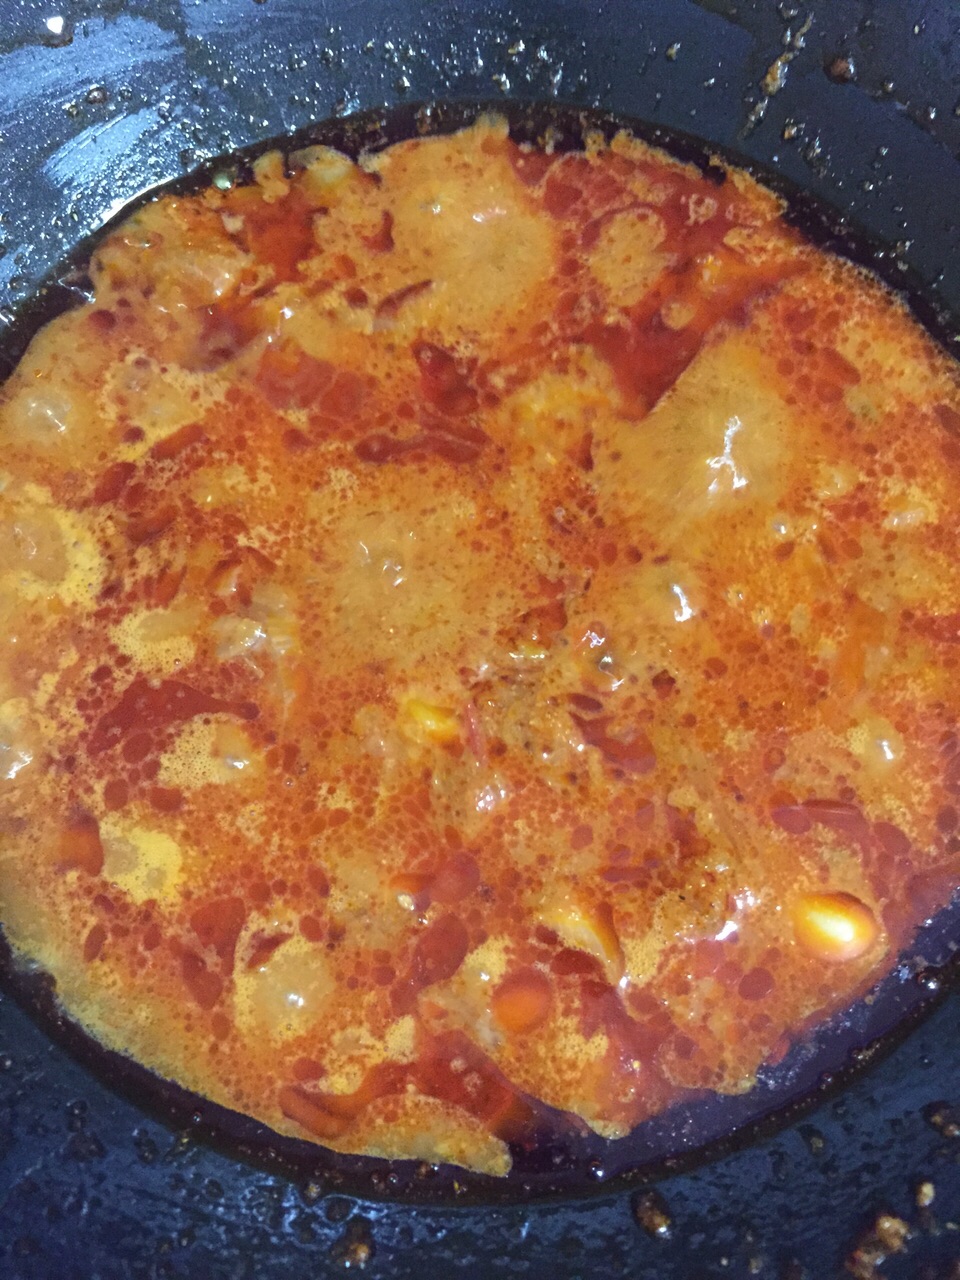
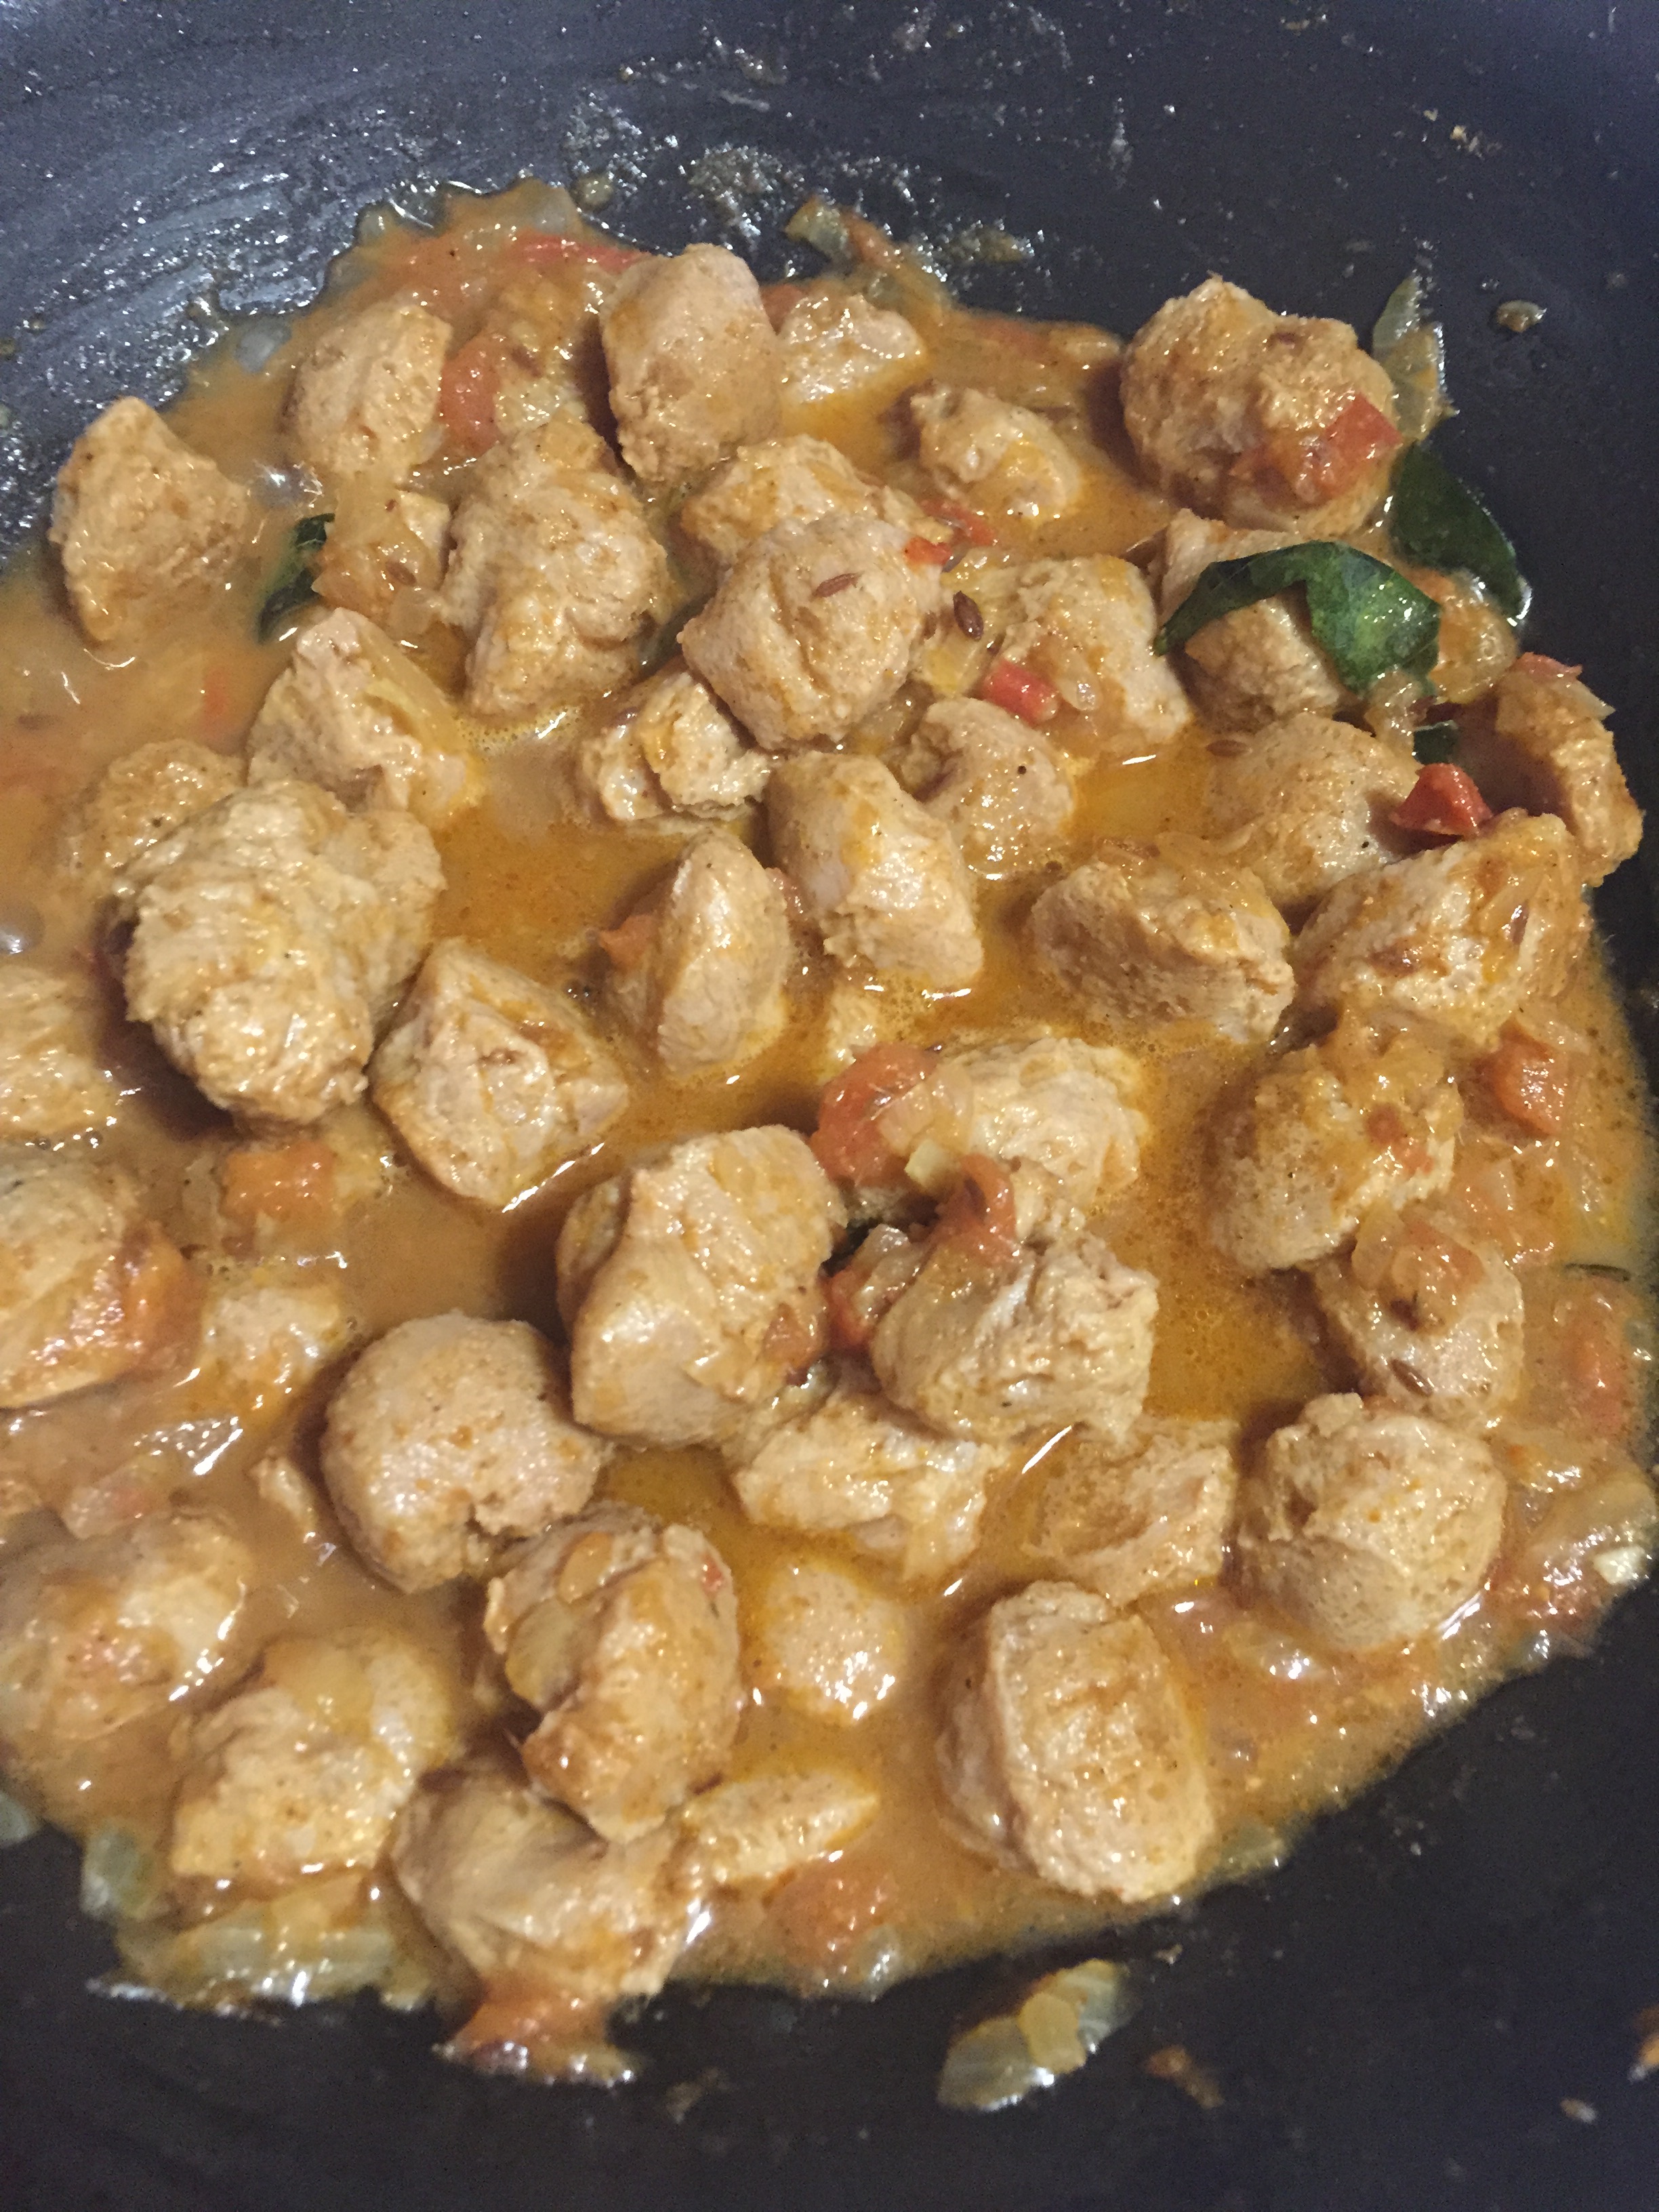
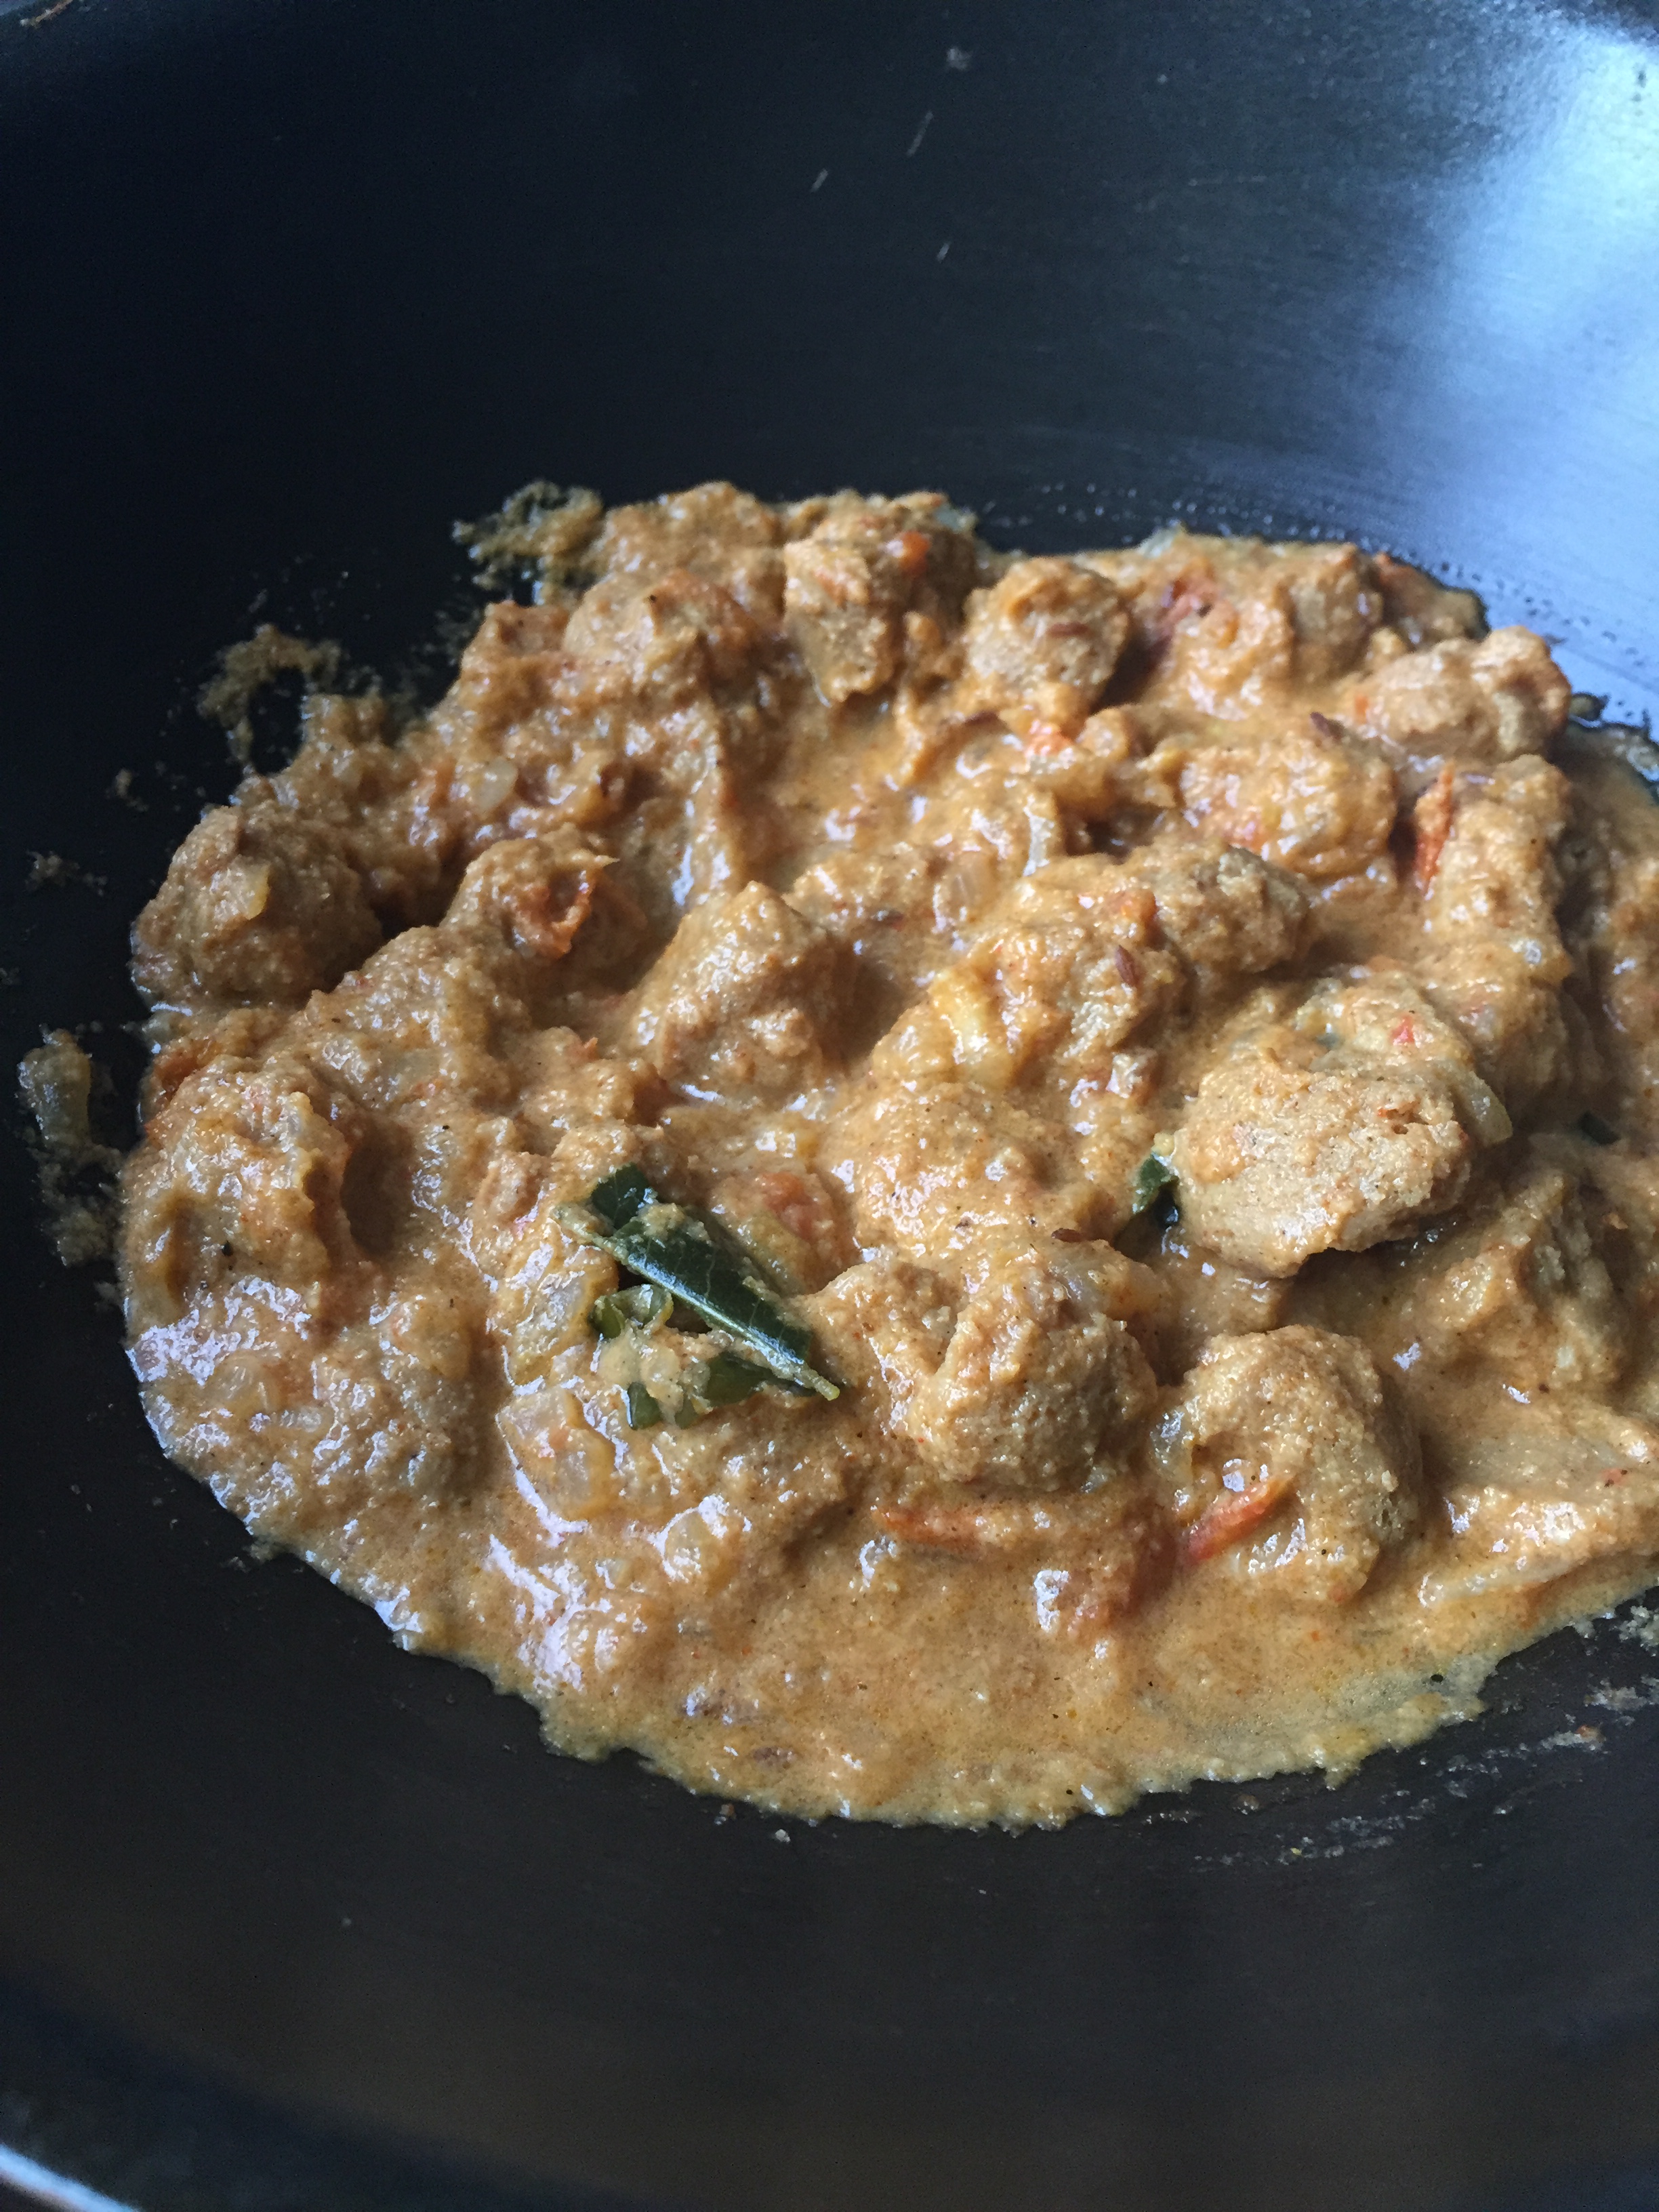
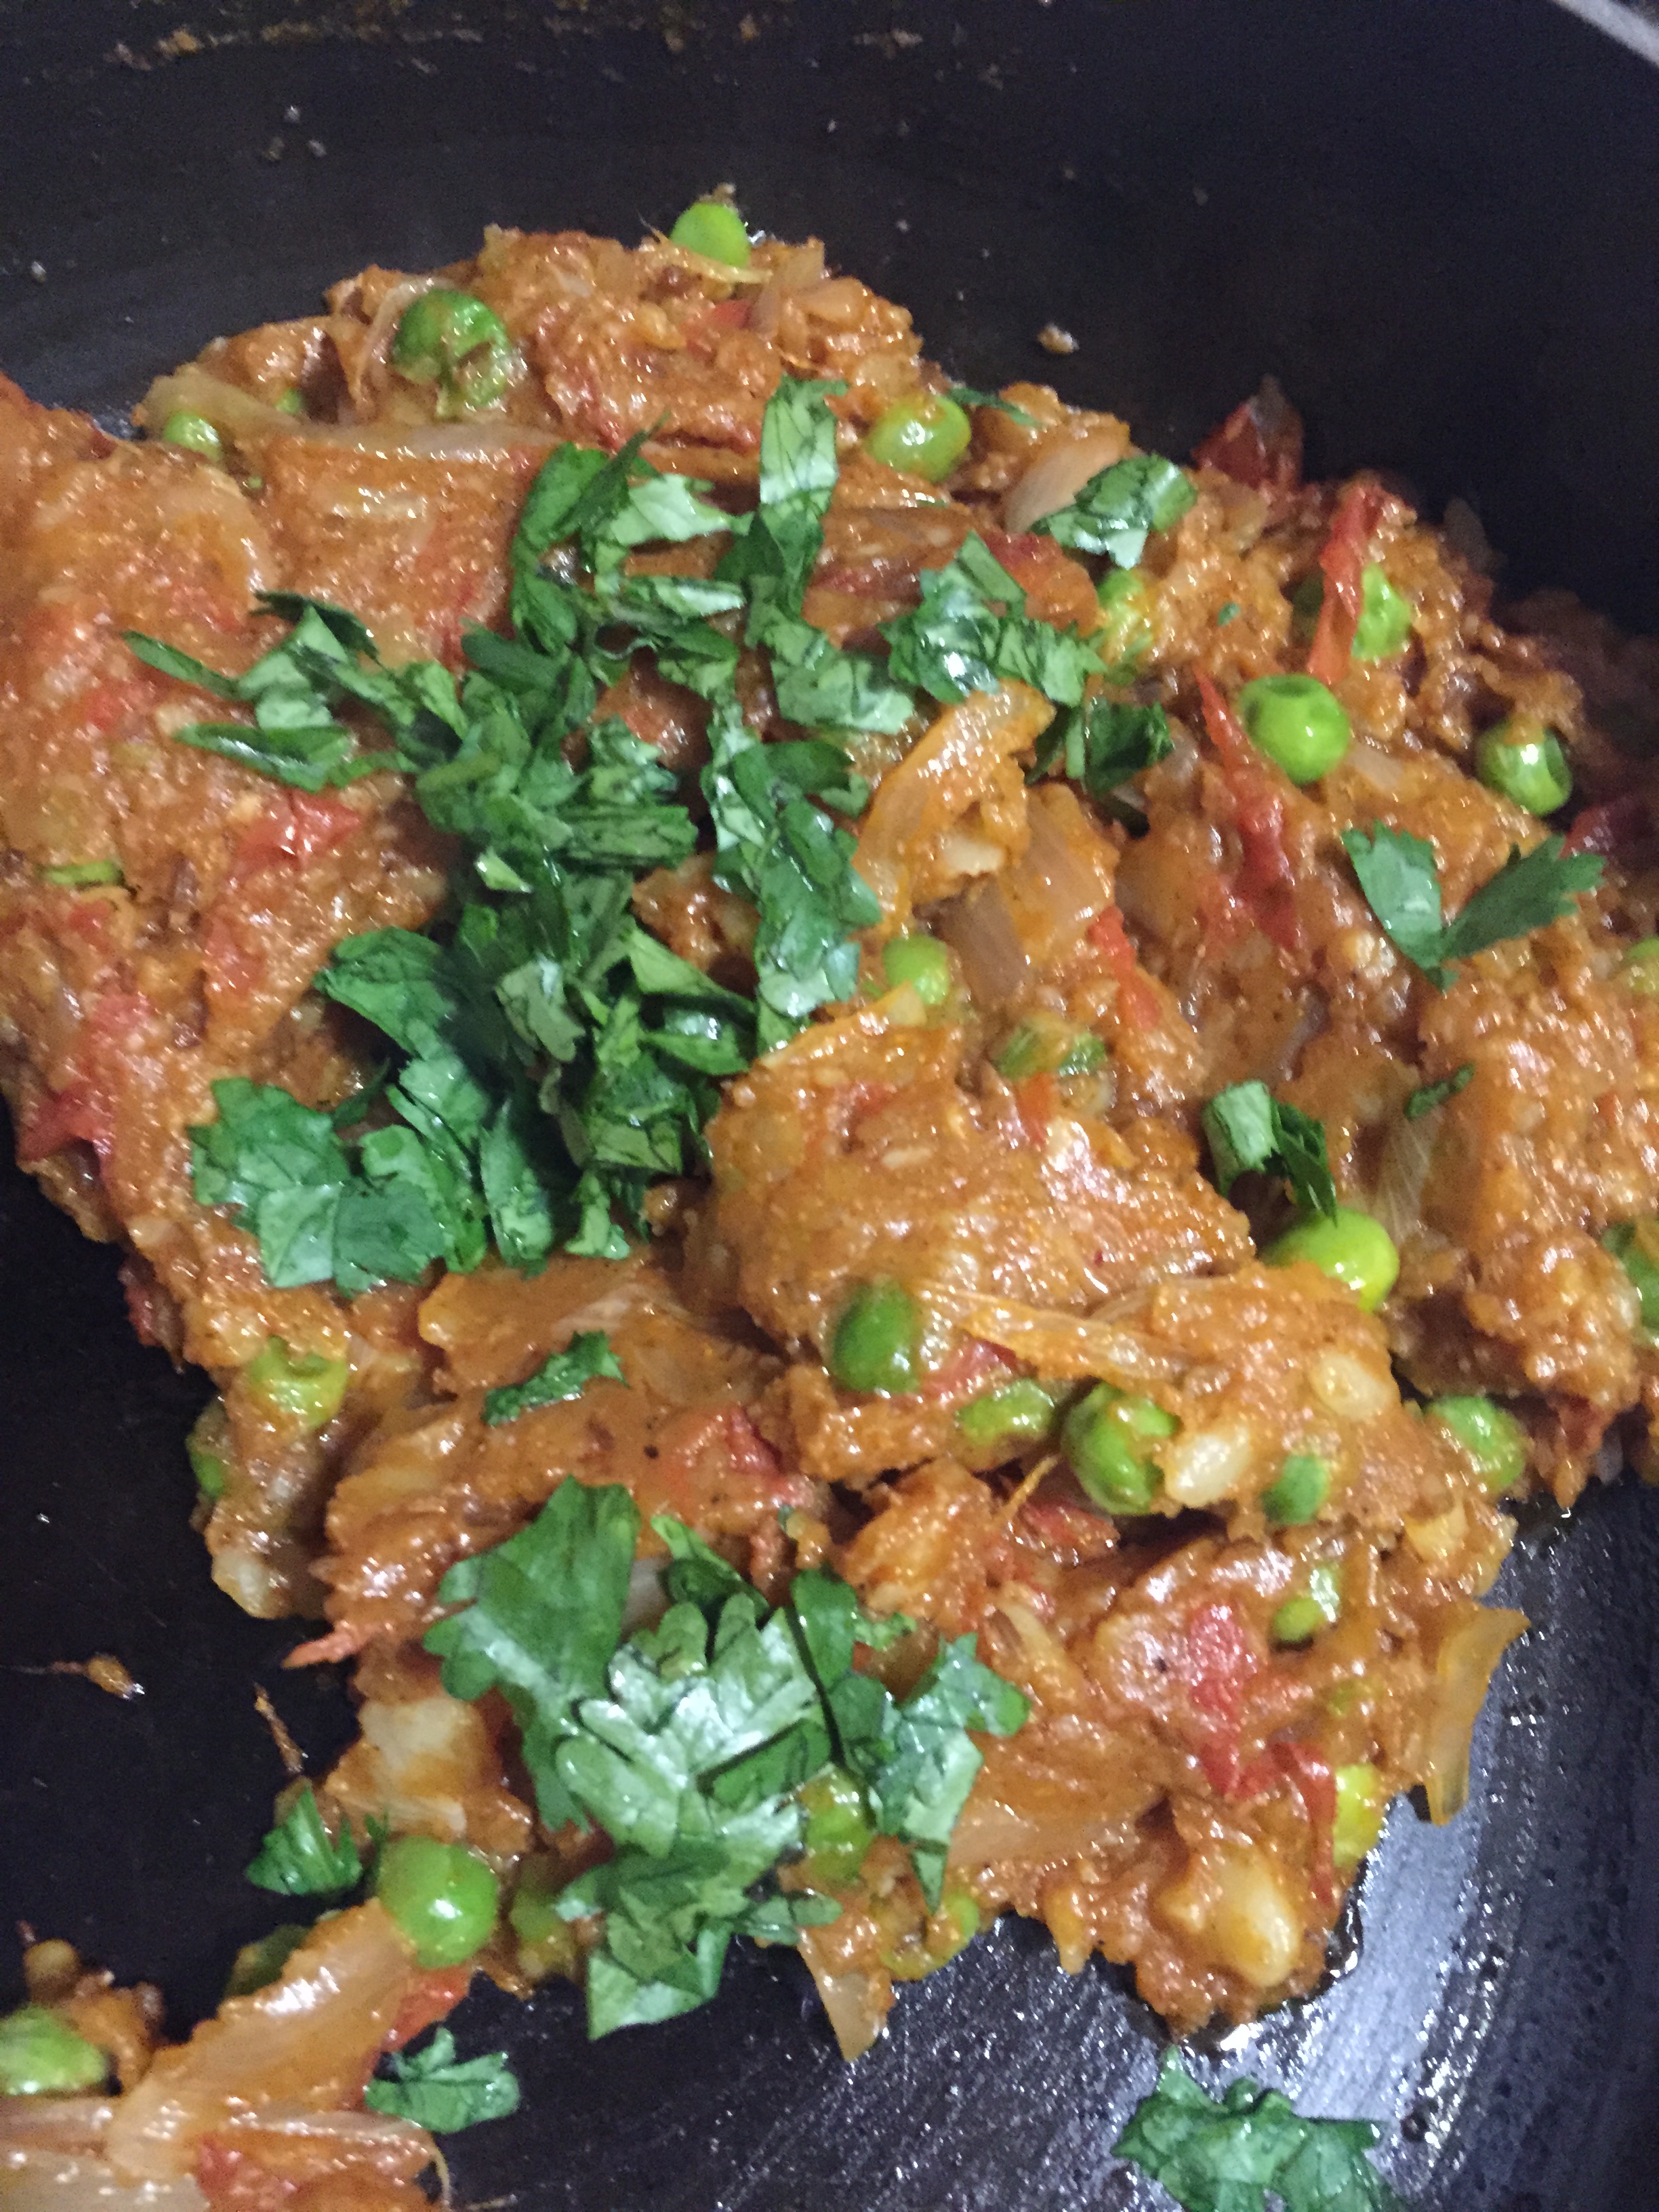
- Mix well and bring it to boil.
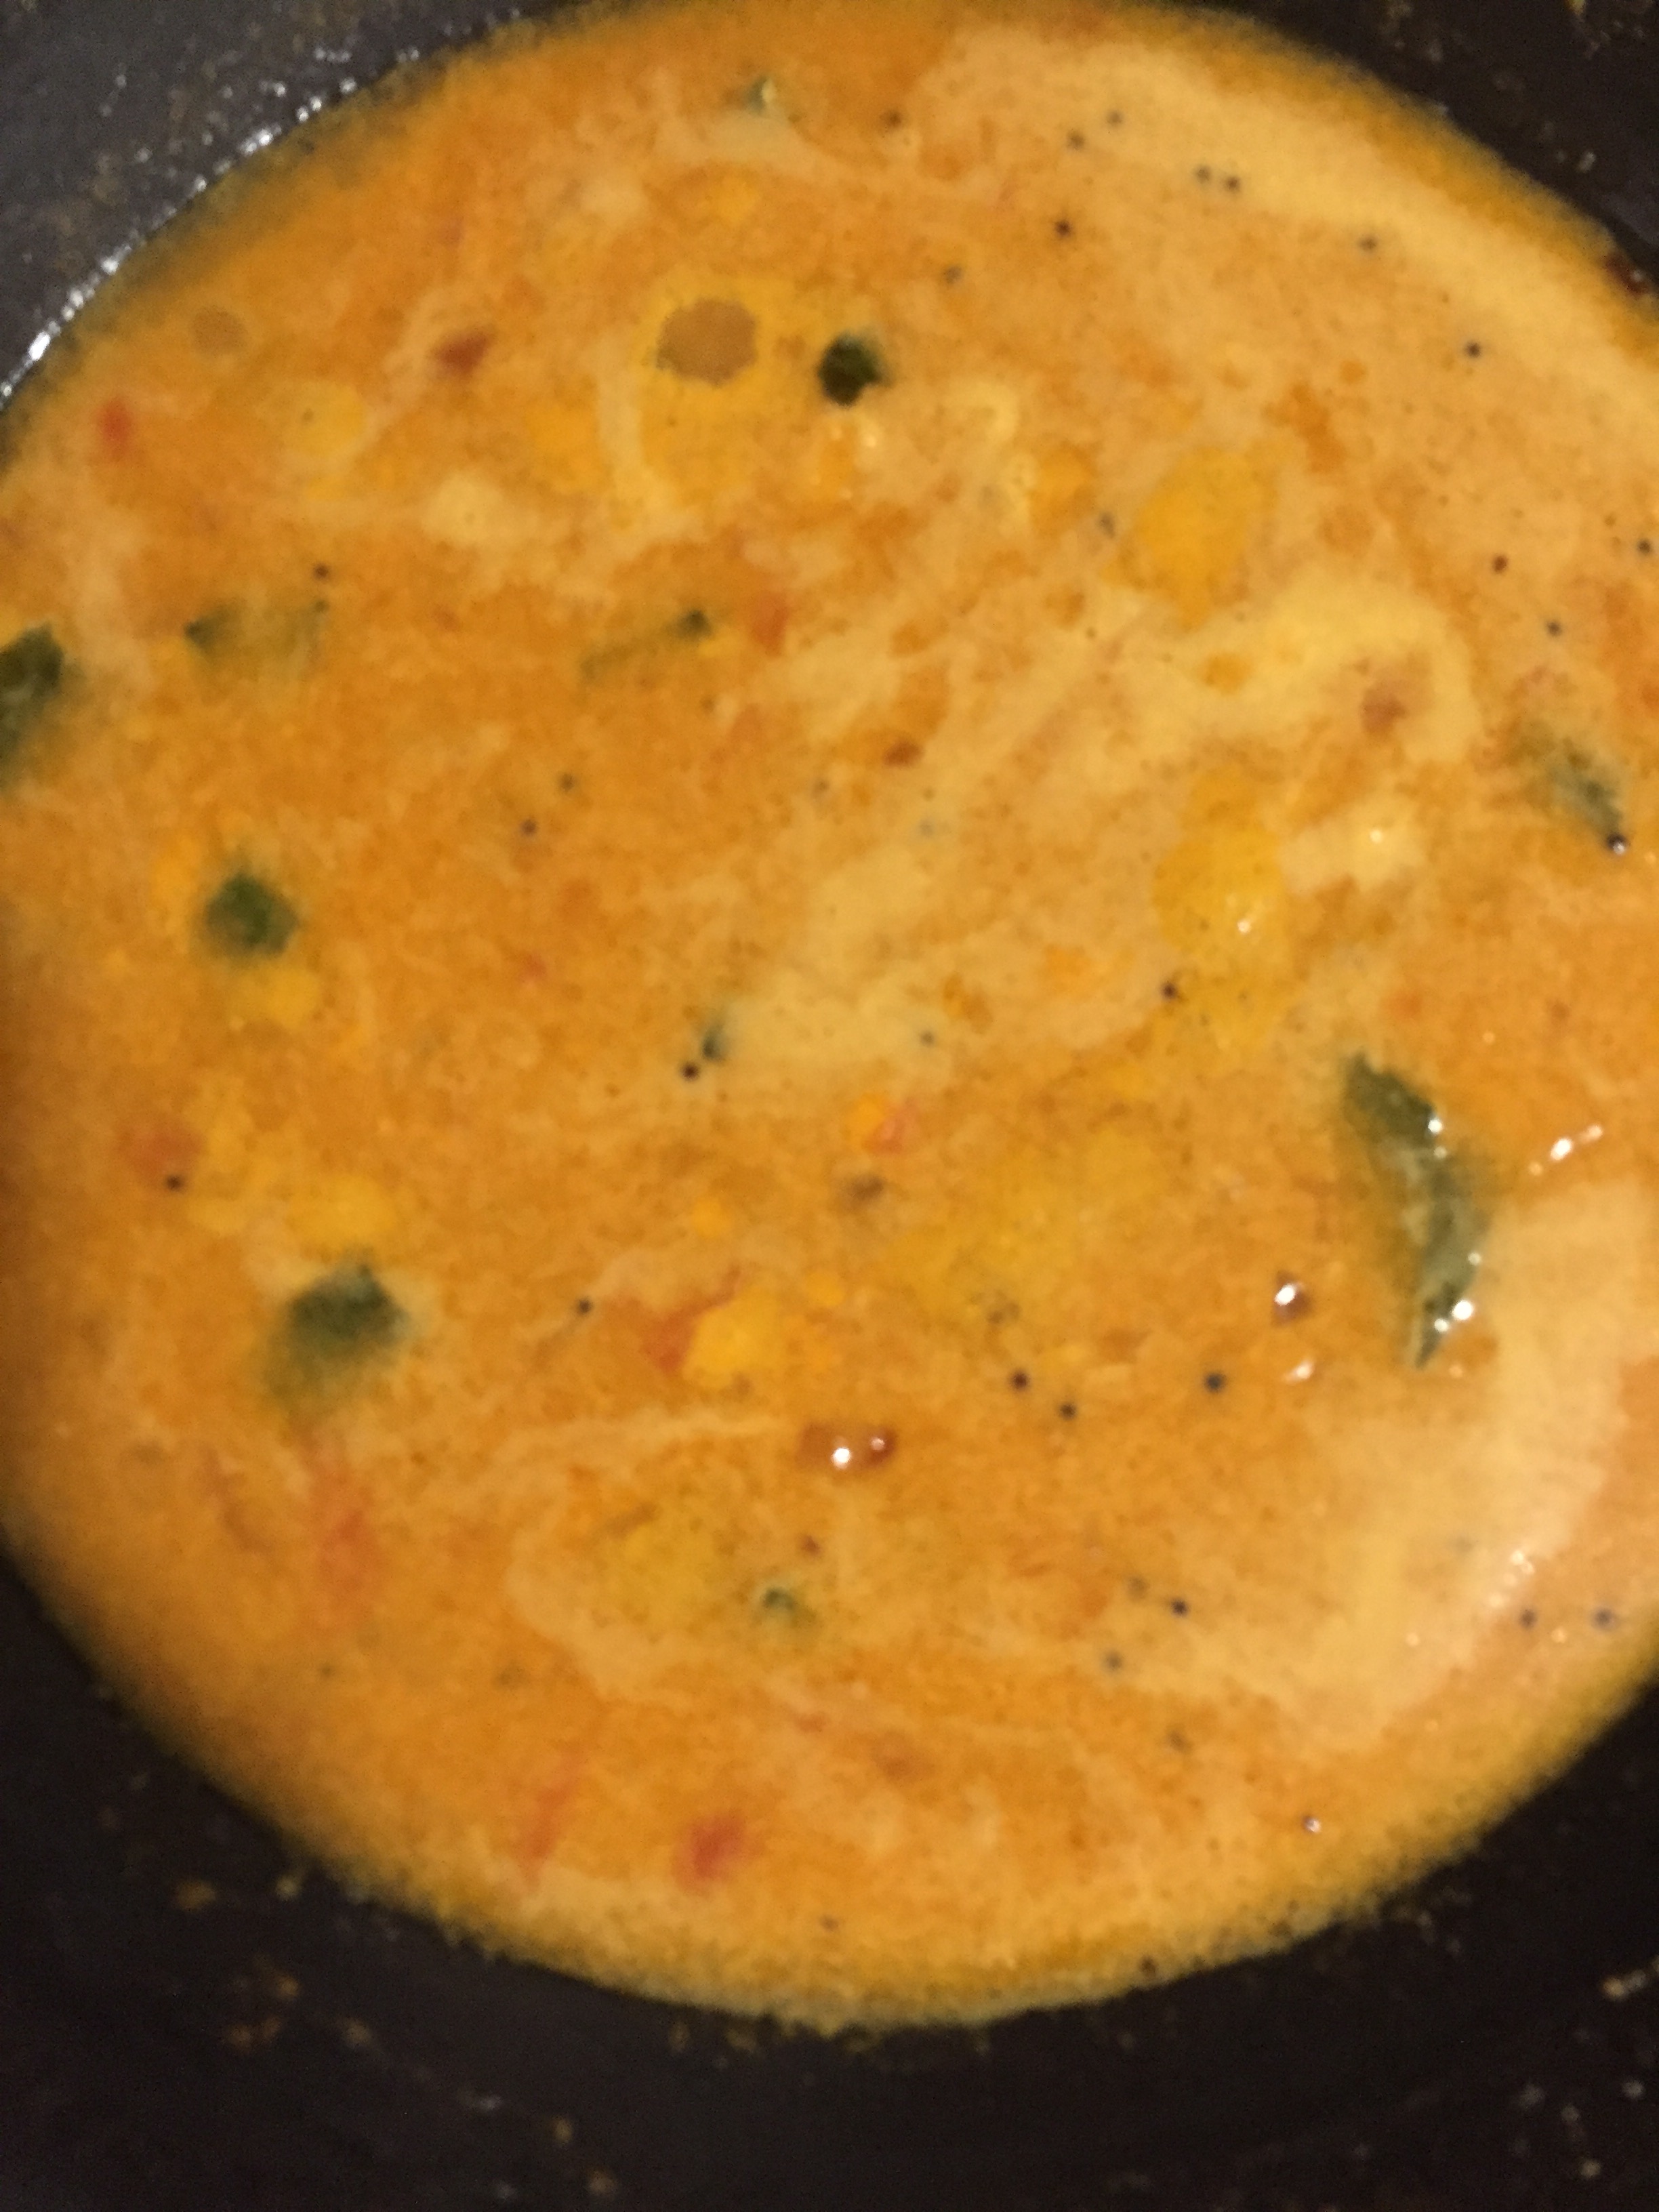
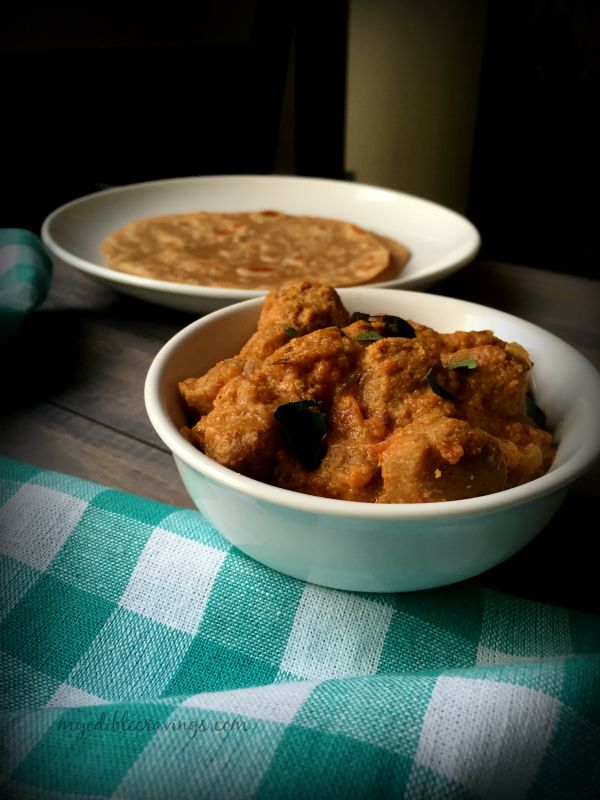
- Cook until the raw smell disappears or cook for one whistle in a pressure cooker. Enjoy tomato chutney with ghee roast and idli podi.