Dhaniya Chutney


Dhaniya chutney
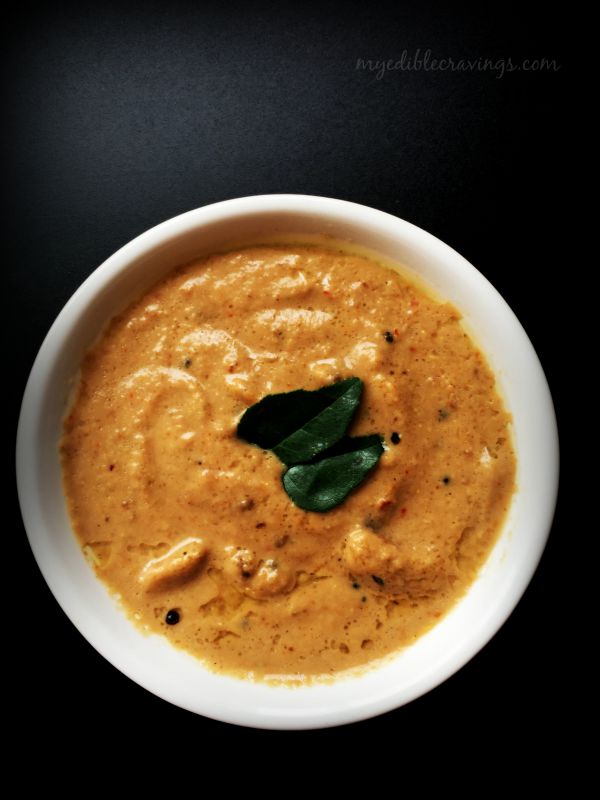
It has been a long since I have posted the recipe of a chutney variety. Chutney, as most of you might know, is a type of condiment in Indian cuisine. There are literally hundreds of varieties of chutneys. One among them is the Dhaniya chutney. Dhaniya is the Tamil name for coriander seeds. Coriander (also called as cilantro) seeds are mainly used as a flavor enhancement in Indian cuisine. It is one of the oldest known spices in the world.

Dhaniya chutneyDhaniya chutney
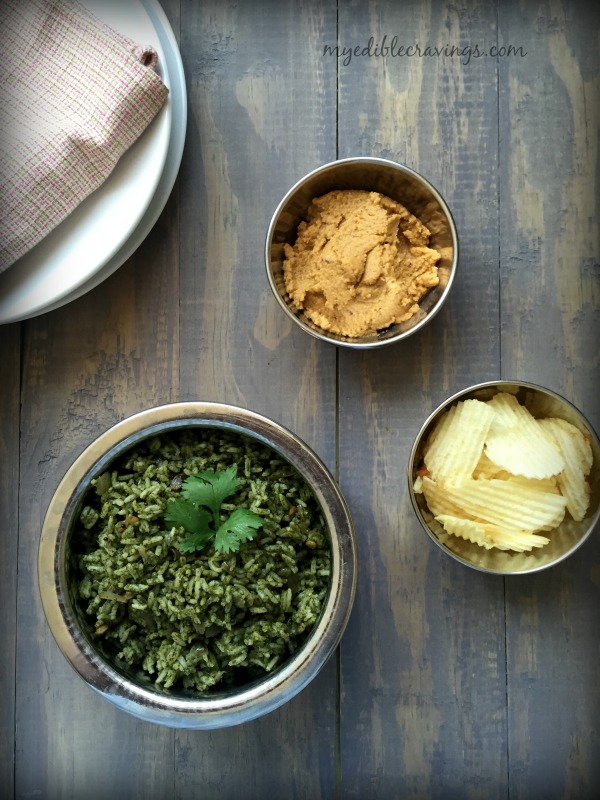
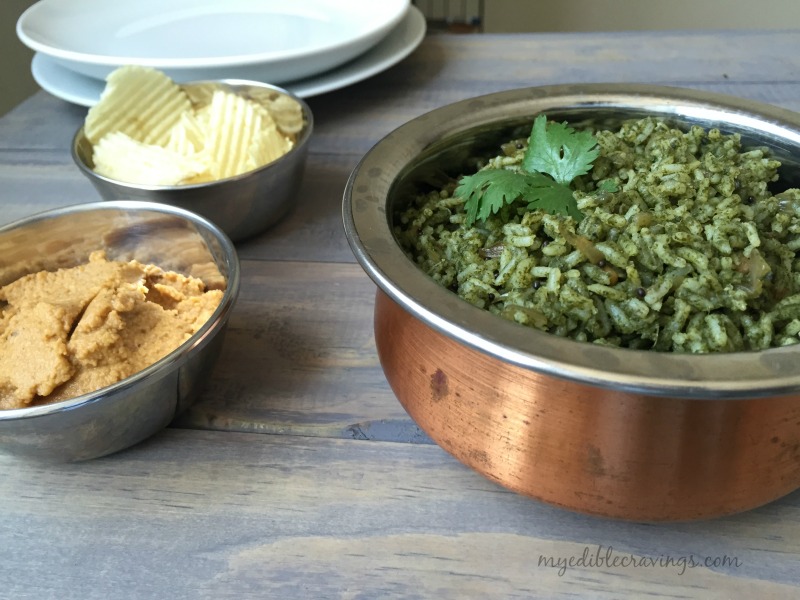
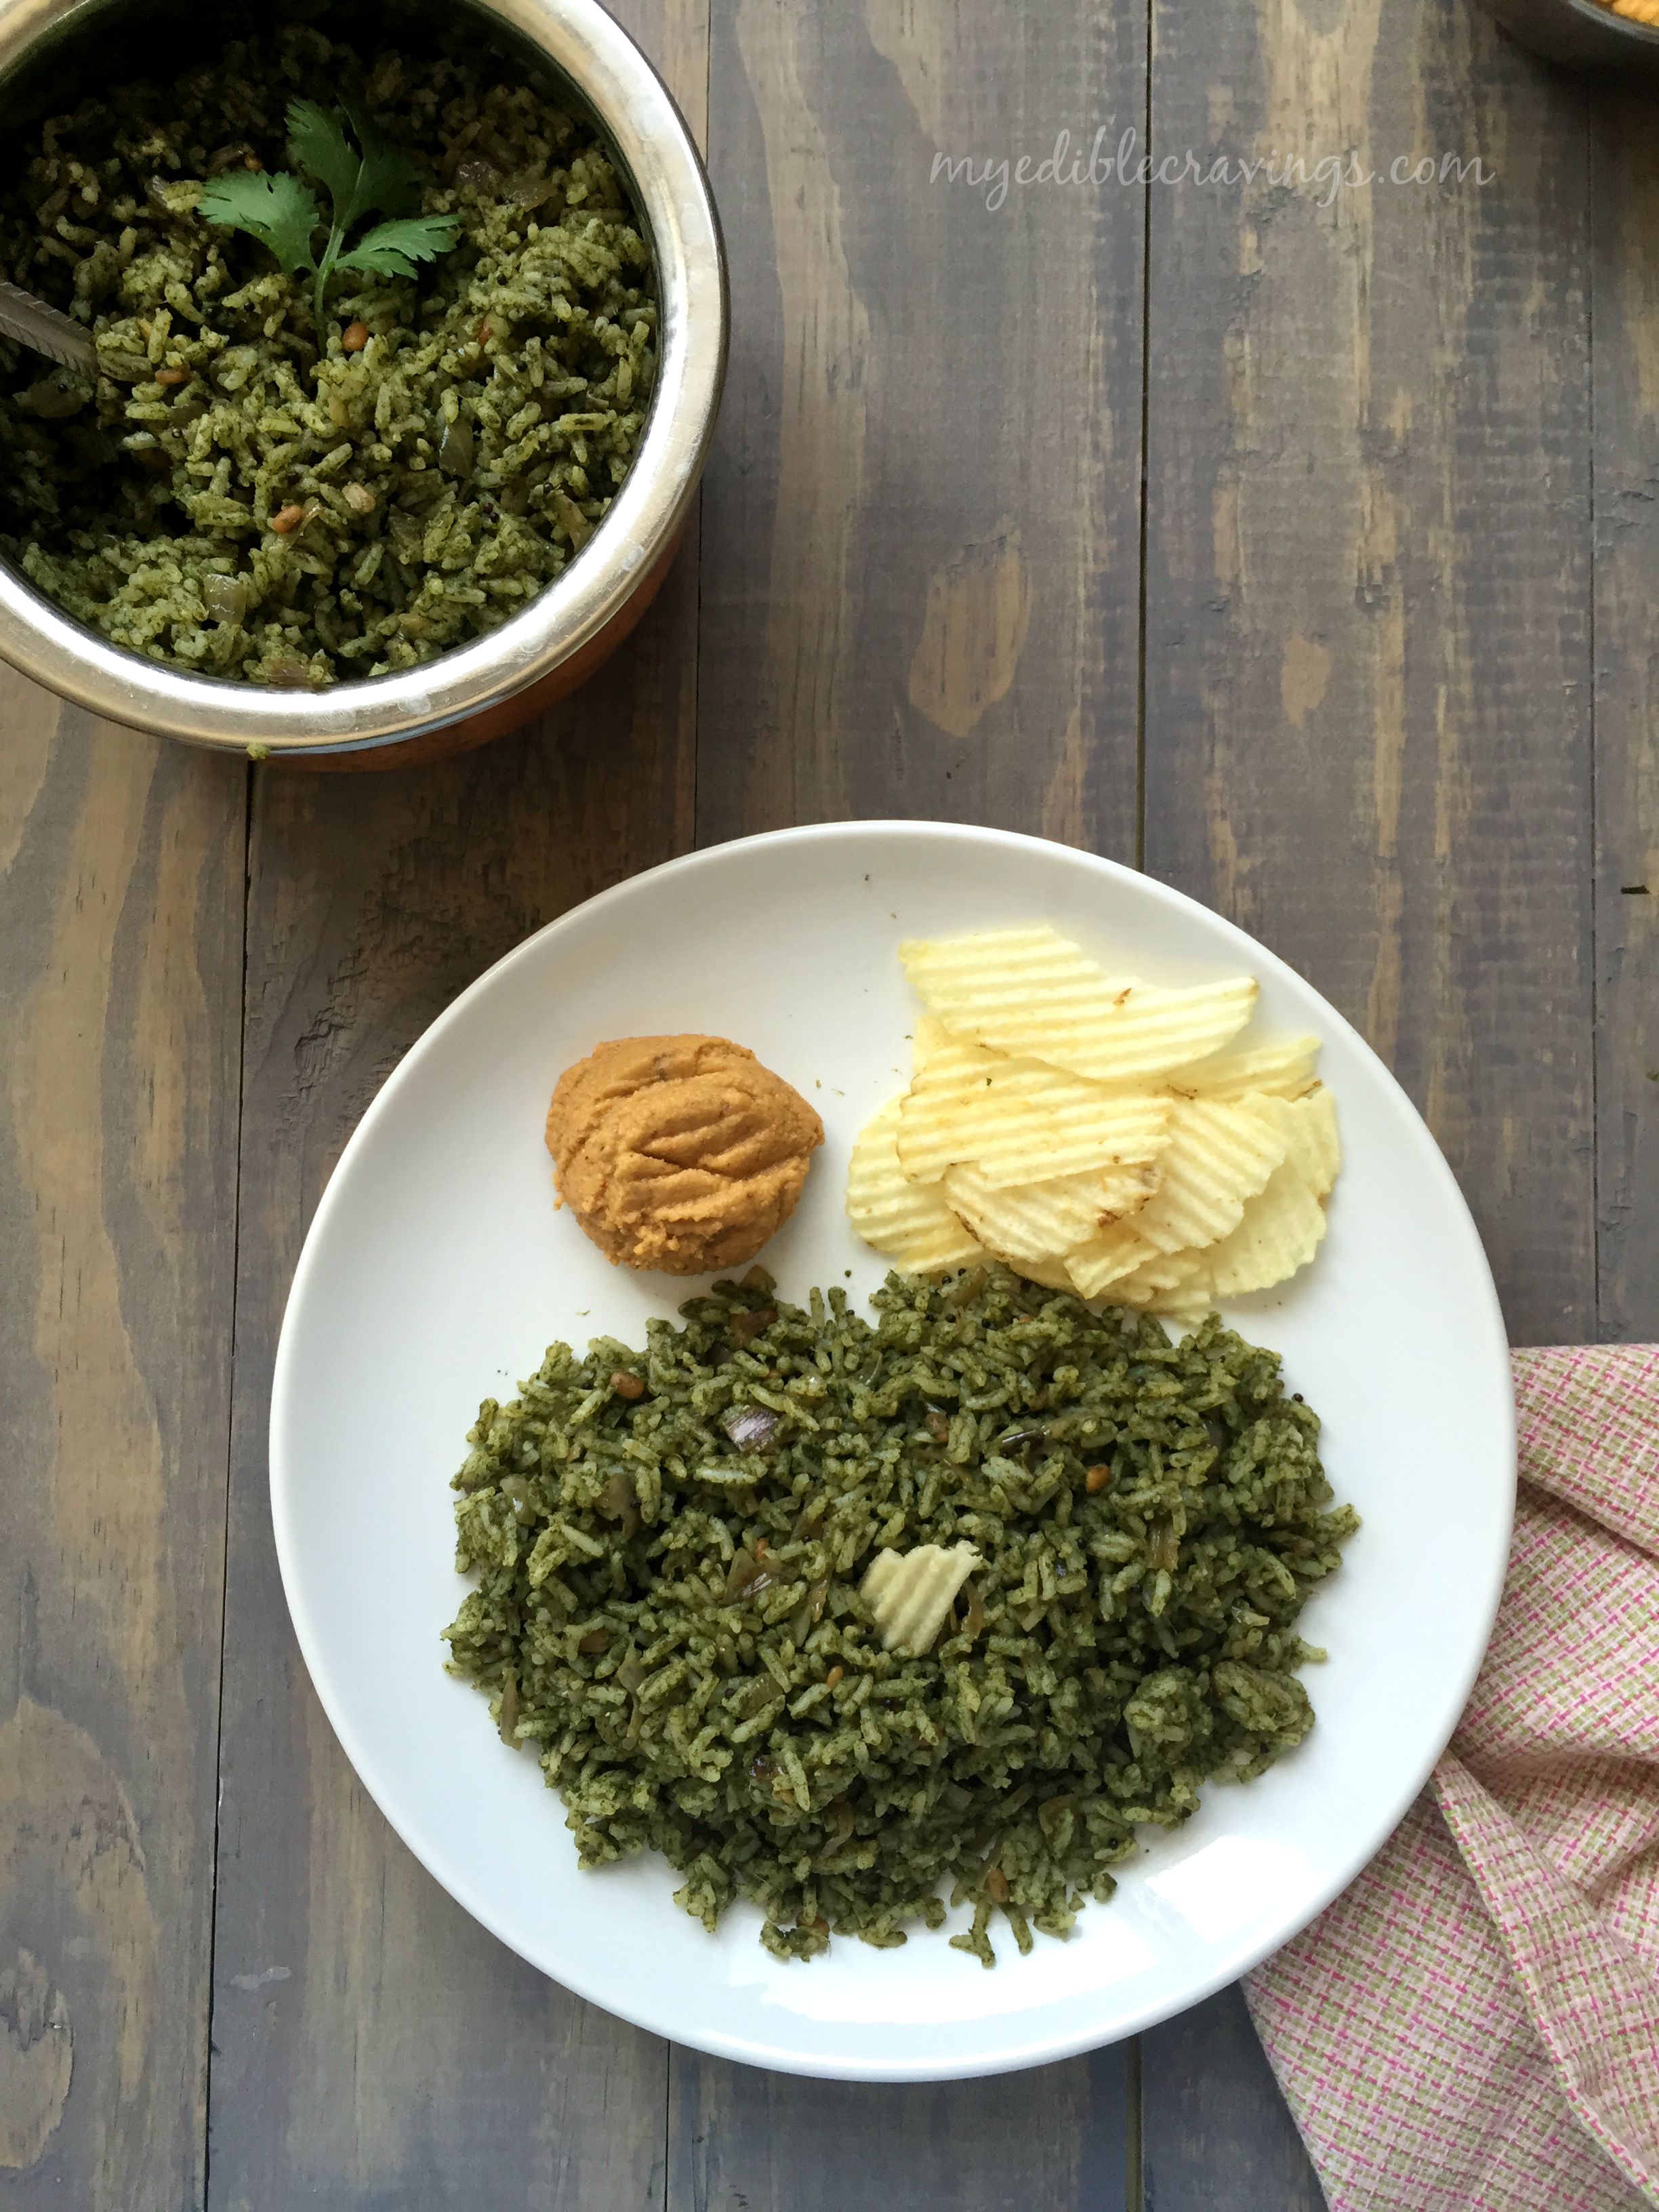
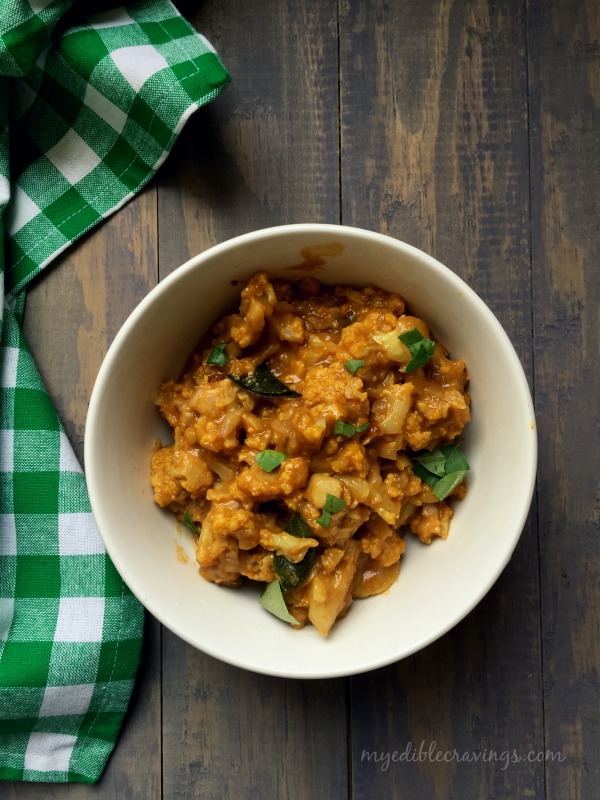
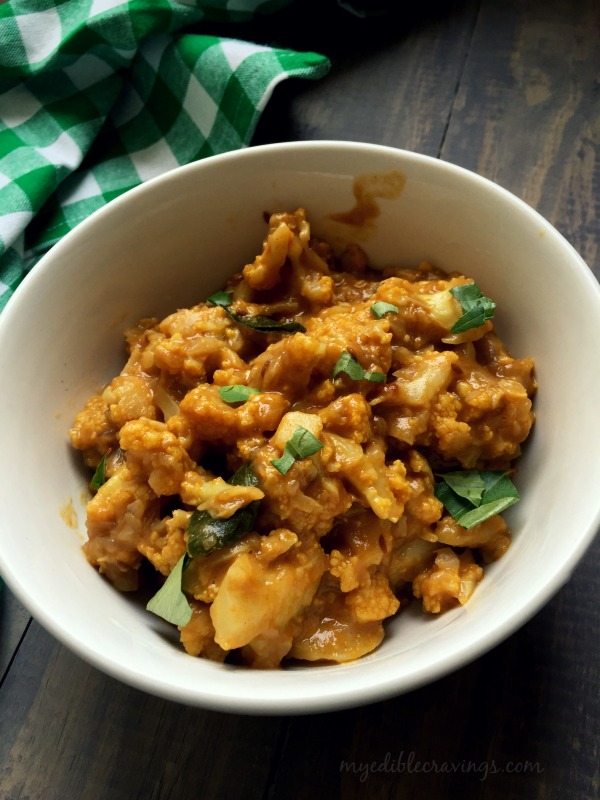
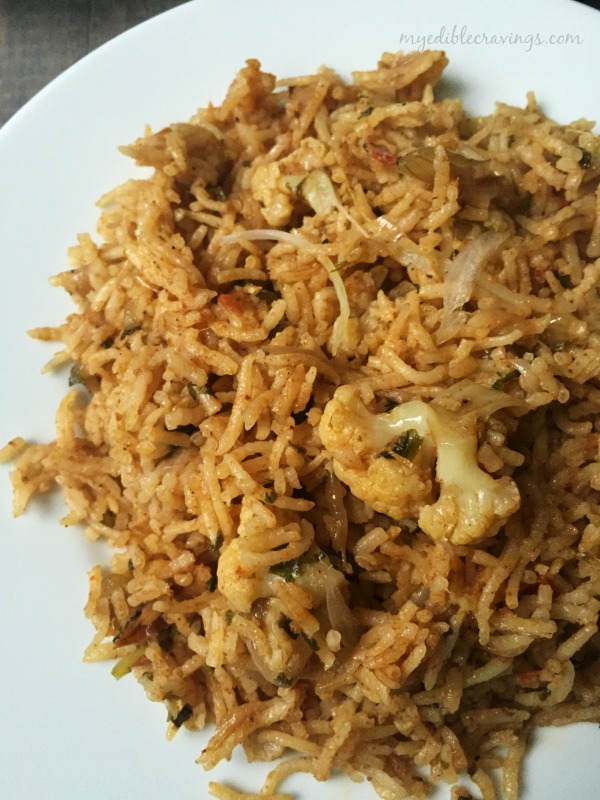
Coriander plant is one of those rare plant varieties from which you can consume both the leaves and fruits. Coriander seeds are actually dried coriander fruits. The chutney recipe I have posted here is a very good side dish for both idli and dosa. It is a healthy recipe since coriander seeds are known for their inflammatory properties and is also subscribed for stomach ailments. Having a healthy breakfast is the key to a happy and productive day ahead and what is better than idli and Dhaniya chutney to start the day!

Dhaniya chutney
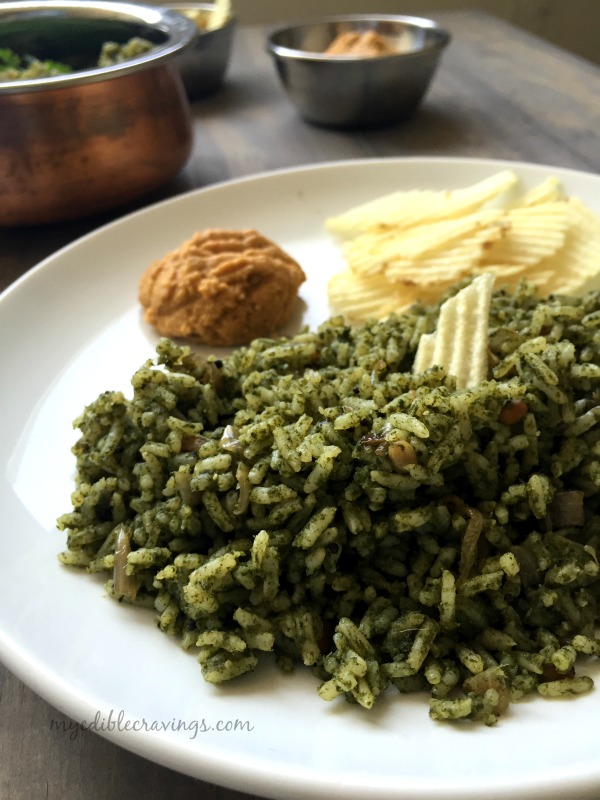
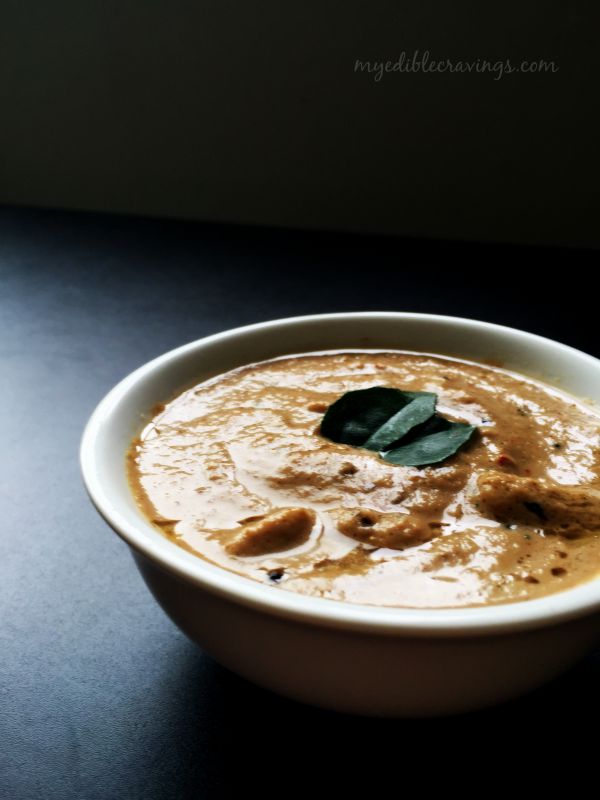
Try this healthy and tasty chutney and let me know which one you like to have it with, idli or dosa? 🙂

Dhaniya Chutney
Recipe type: Breakfast
Cuisine: Indian
Prep time: 
Cook time: 
Total time: 
Serves: 3
 
Ingredients
  • Oil – 1 tbsp
  • Urad dal – 2 tbsp
  • Dhaniya or coriander seed – 1 tbsp
  • Shallots – 6 nos
  • Red chilli – 2 nos
  • Curry leaves – 5 nos
  • Tamarind – small gooseberry size
  • Grated coconut – 1 tbsp
  • Salt as required
For the seasoning:
  • Oil – 1 tbsp
  • Mustard seeds – ½ tsp
  • Urad dal – ½ tsp
  • Curry leaves – 5 nos
Instructions
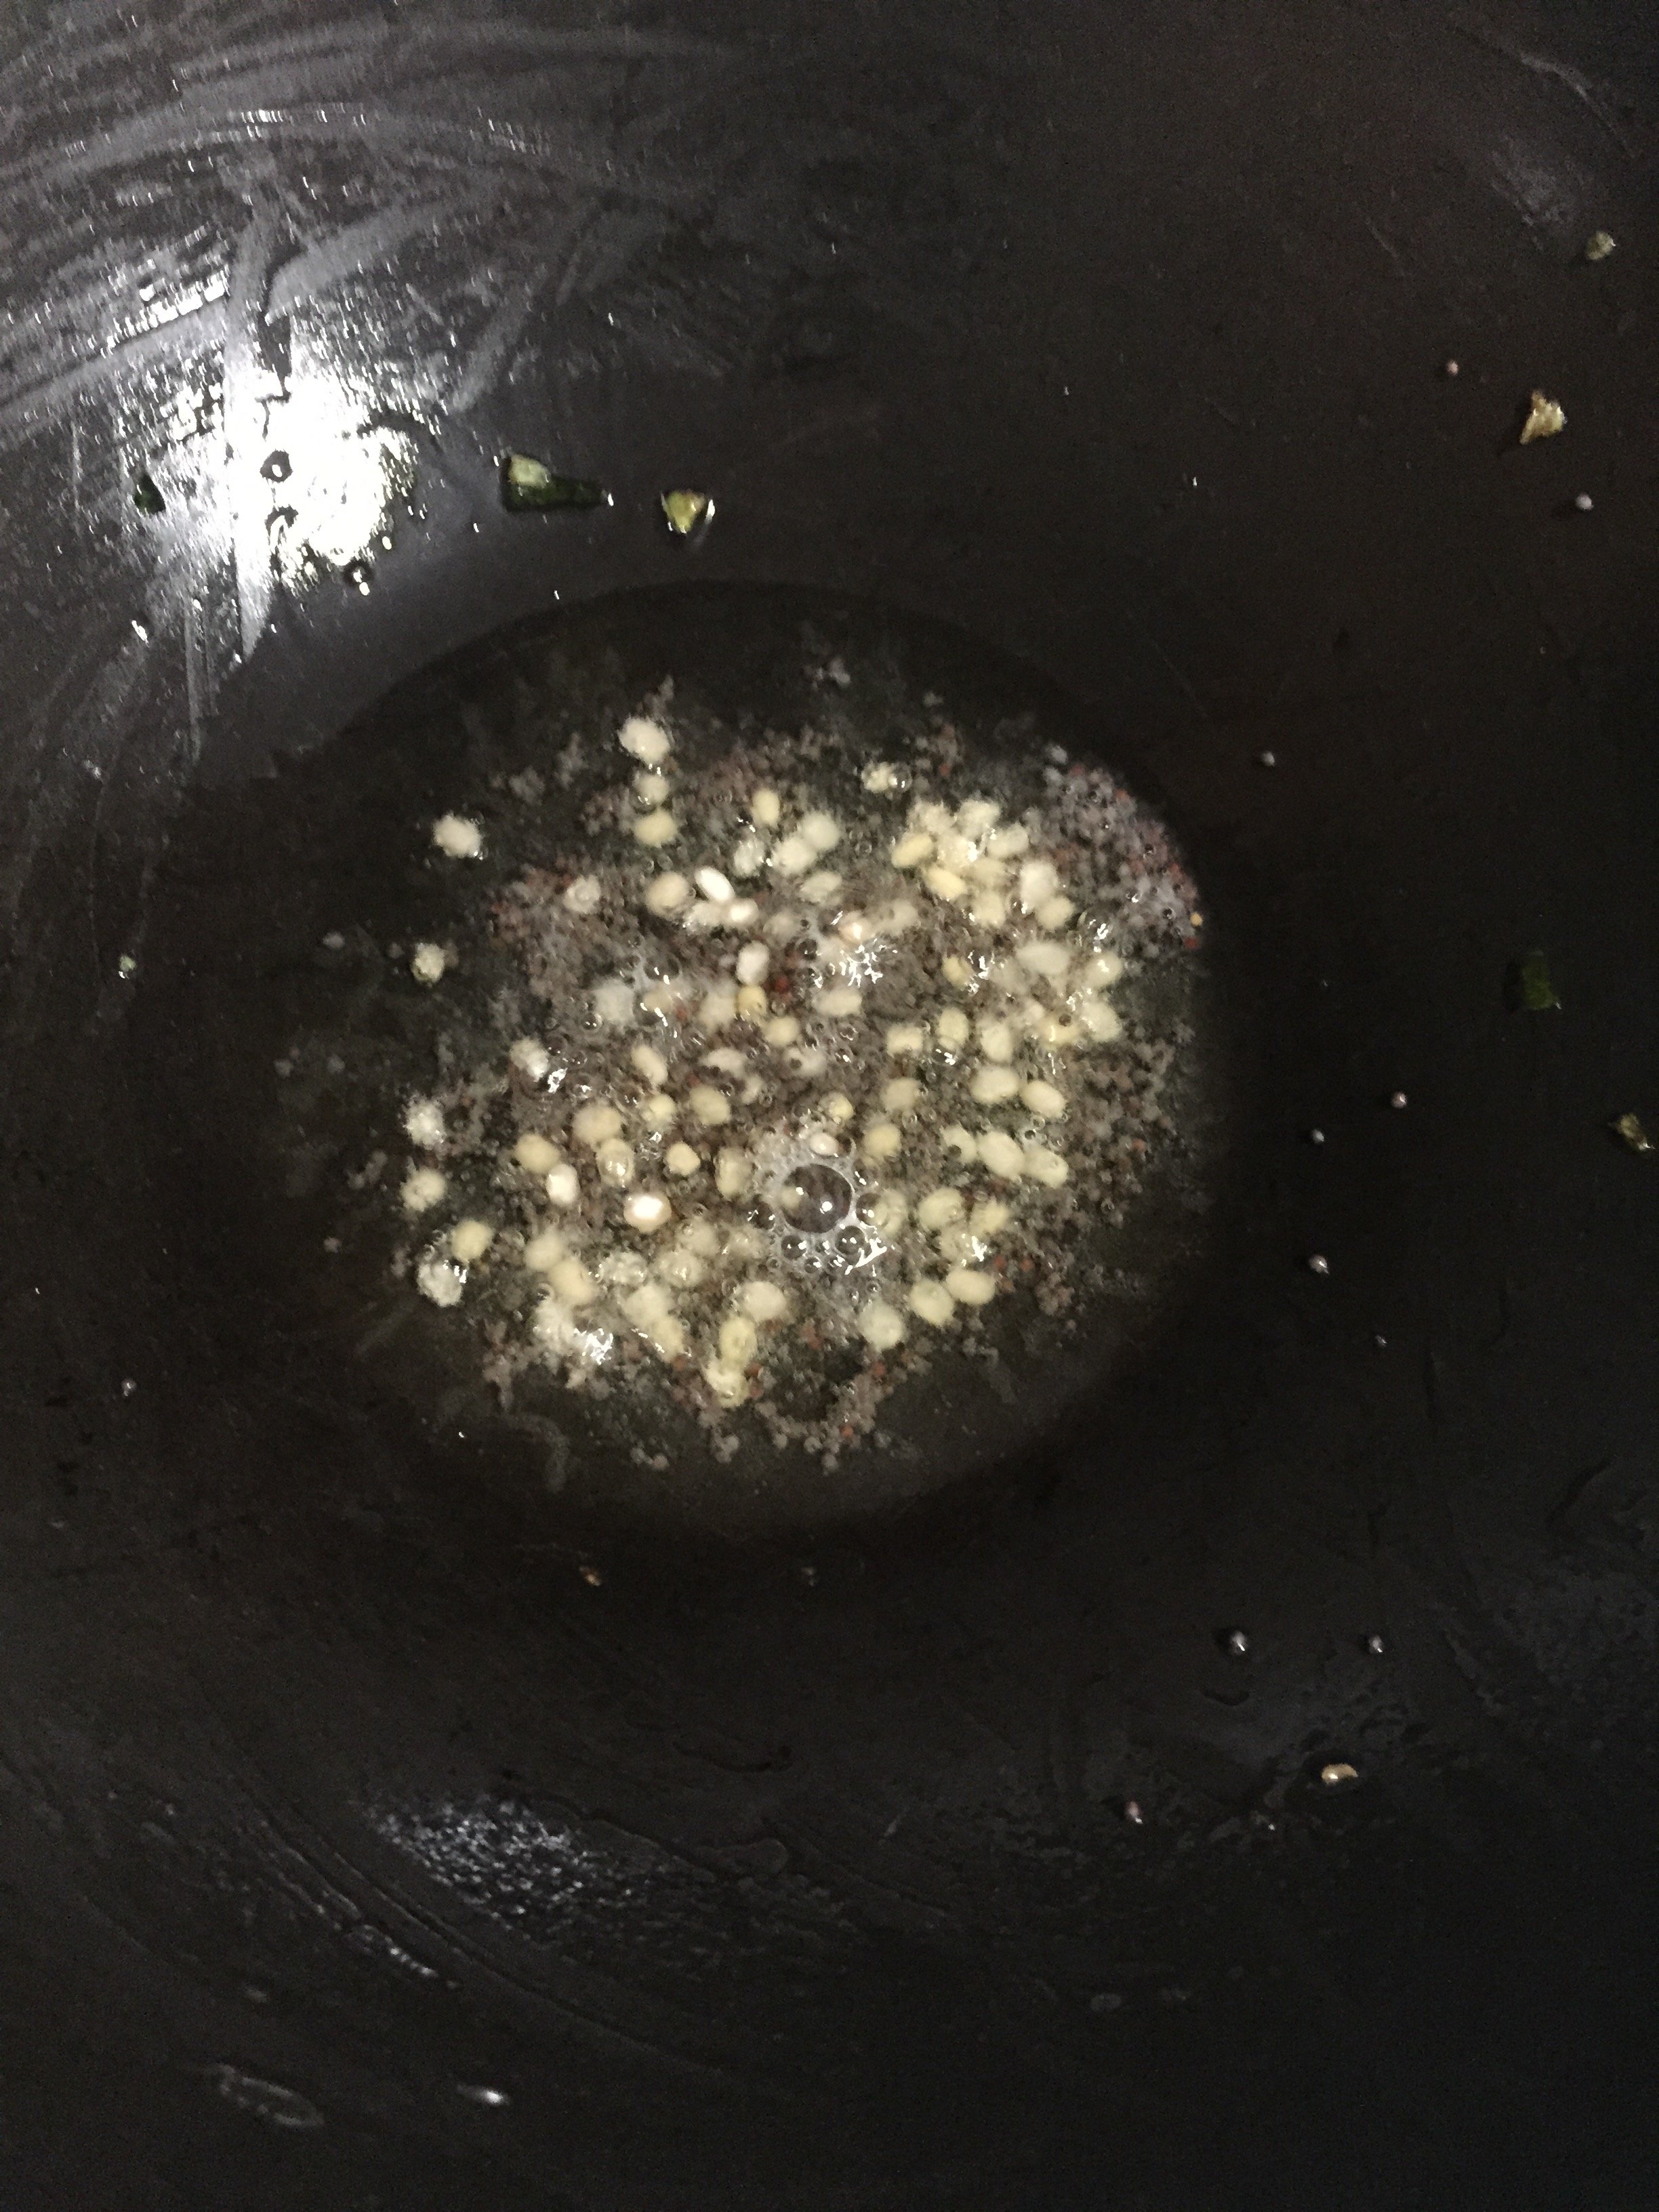
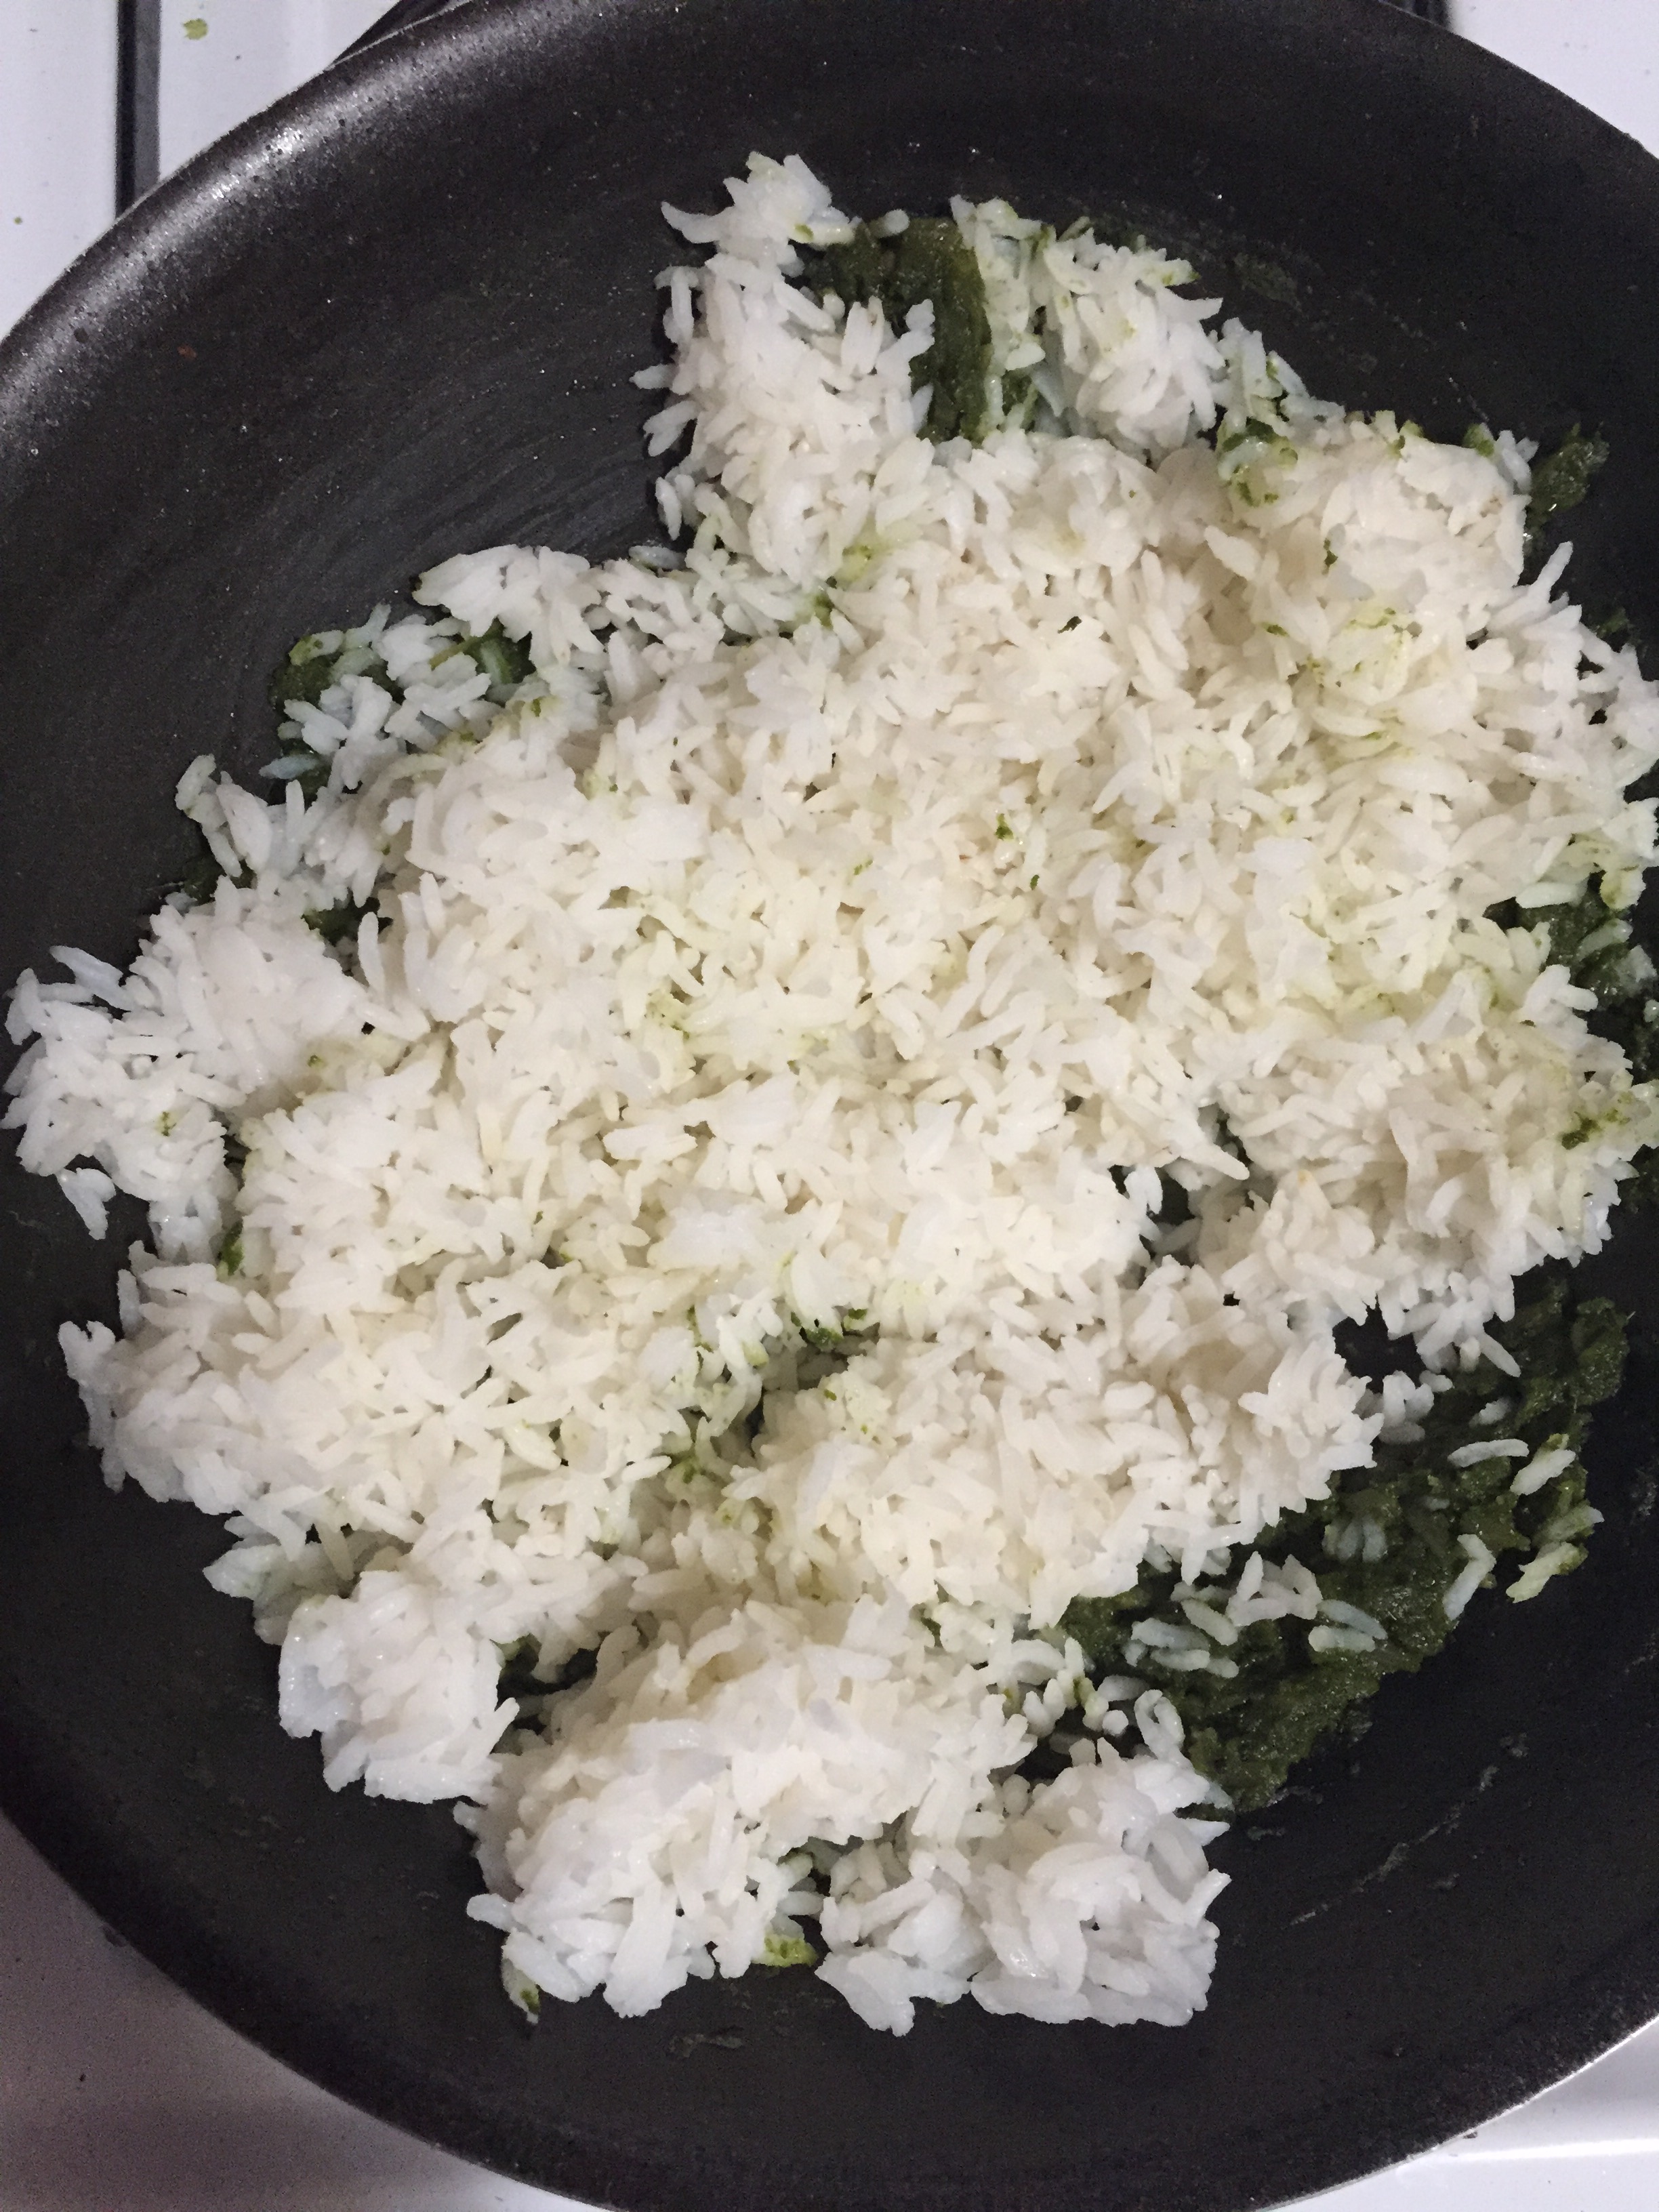
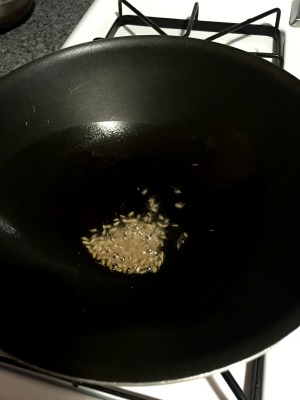
  1. Heat a kadai with a tbsp of oil. Add in whole urad dal and sauté until they turn slightly brown.
  2. Add in coriander seeds and fry for few seconds or until the urad dal turn golden brown.
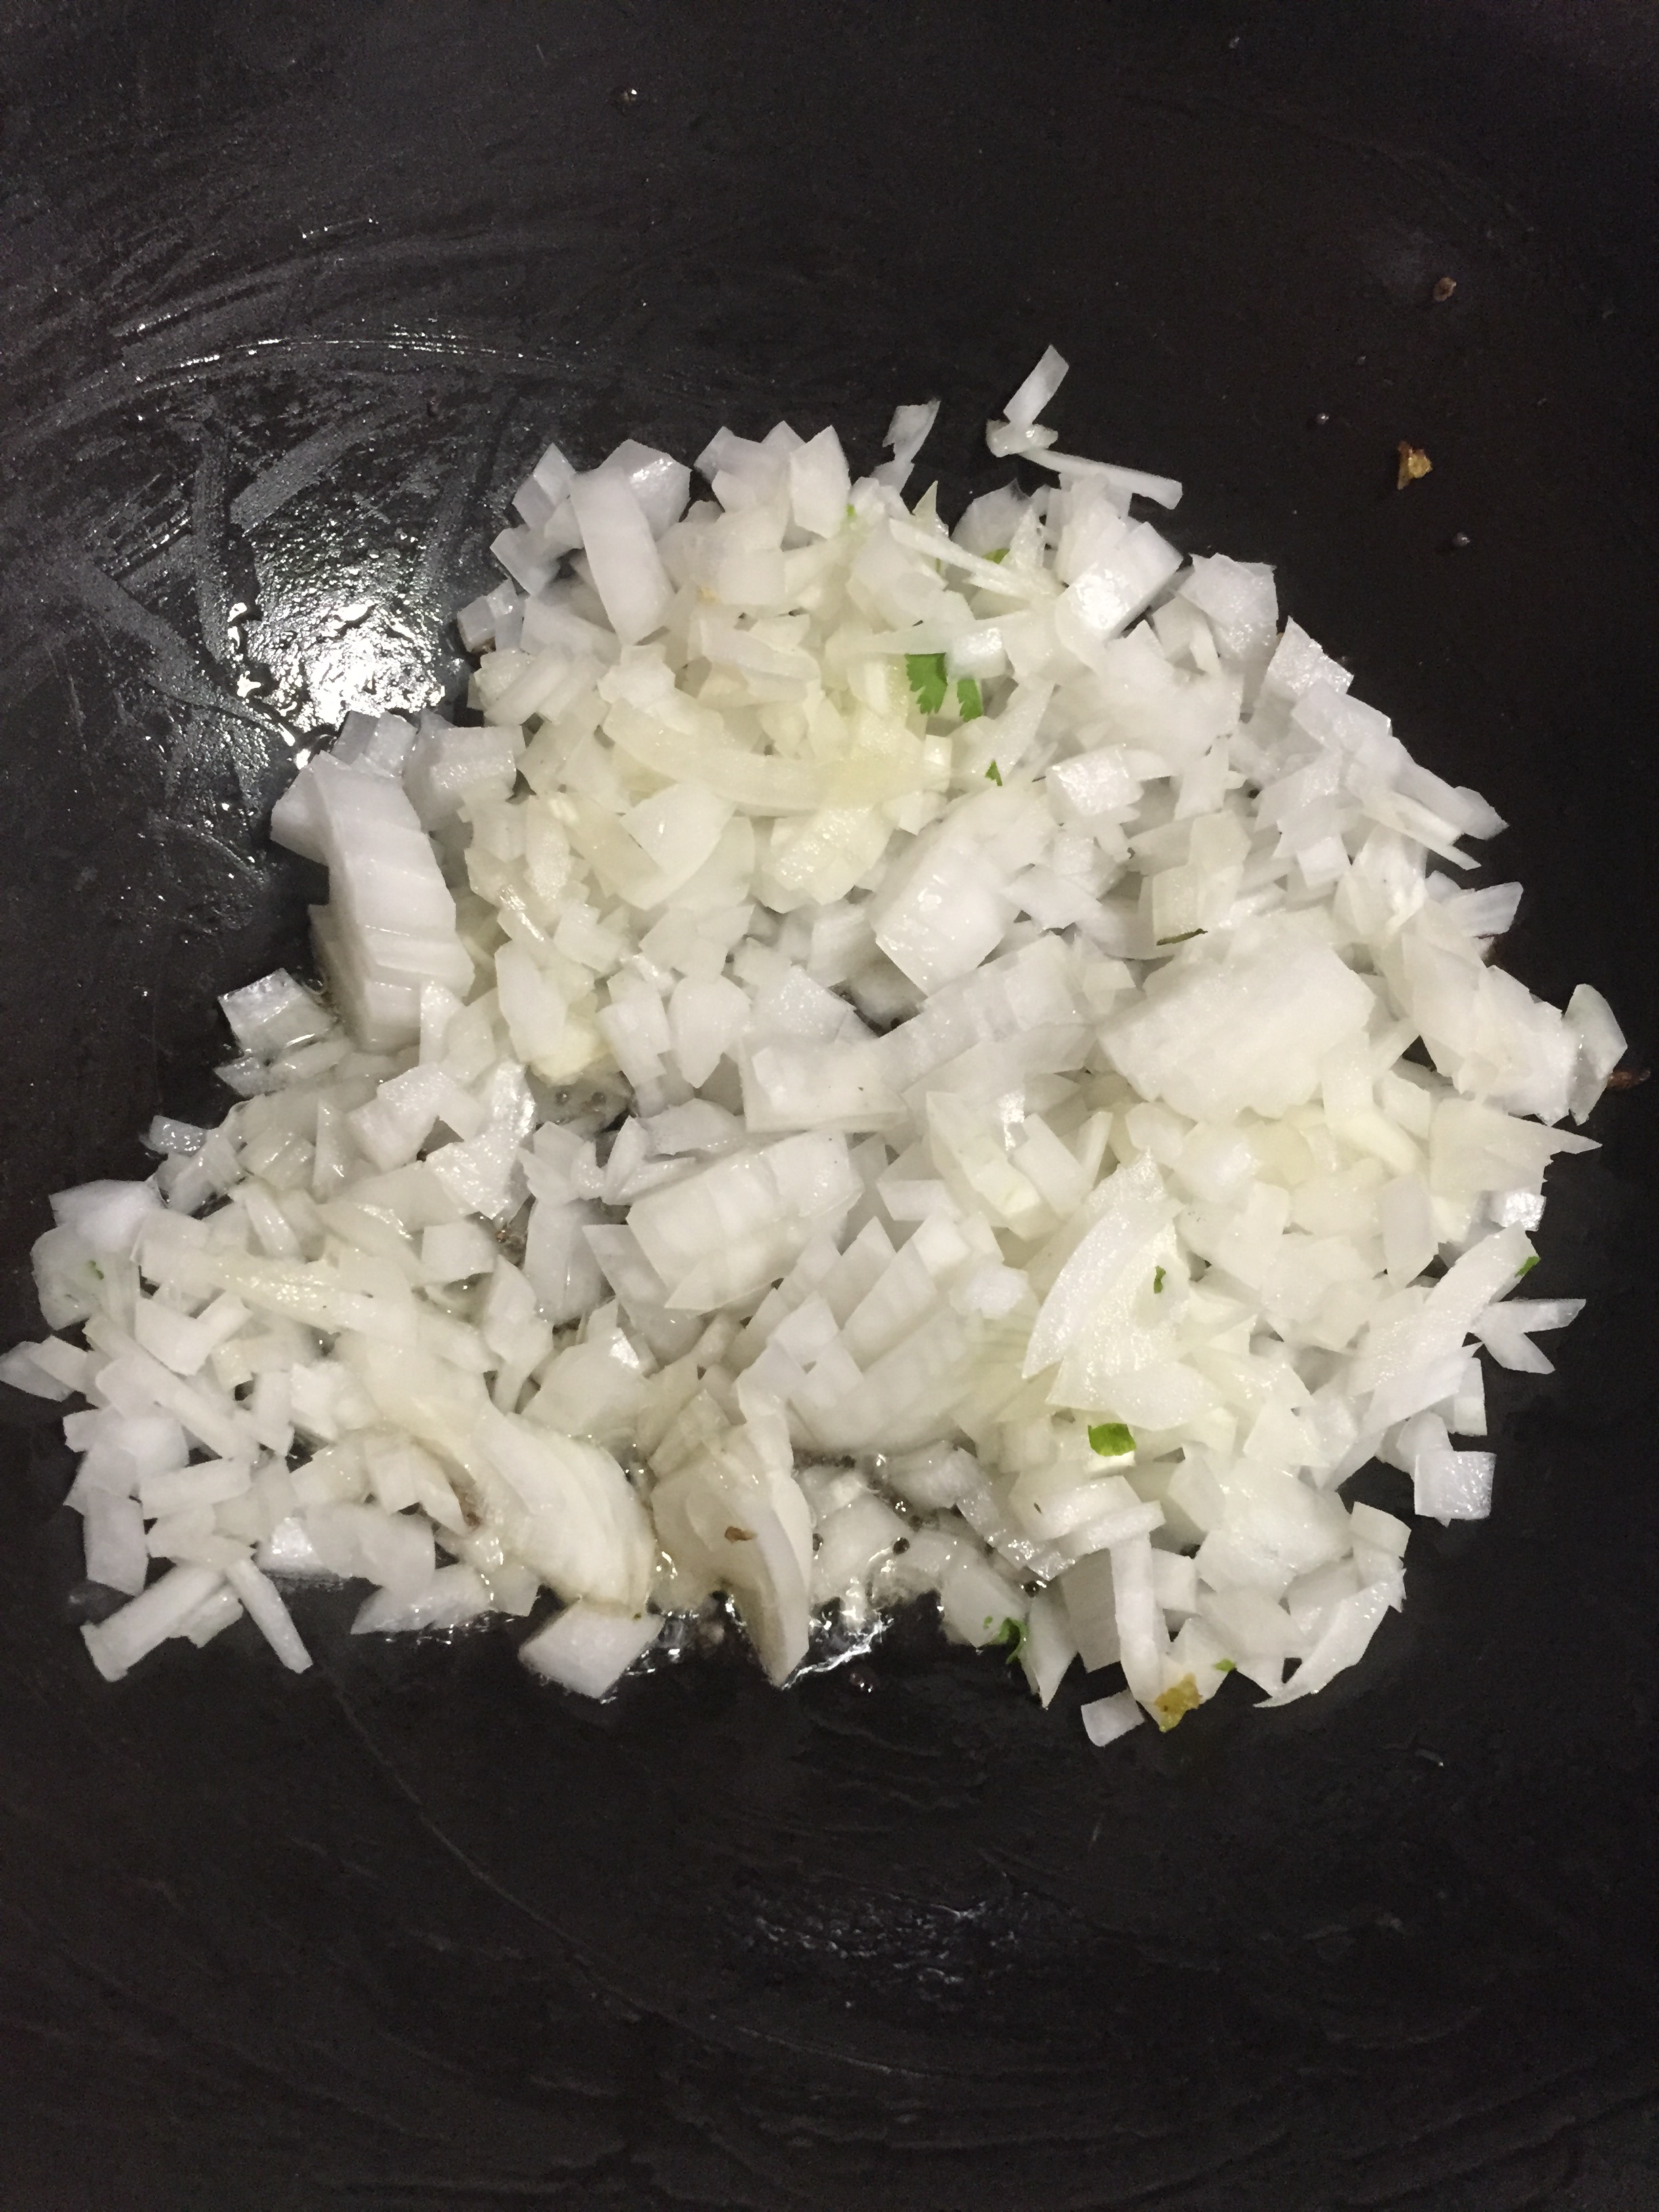
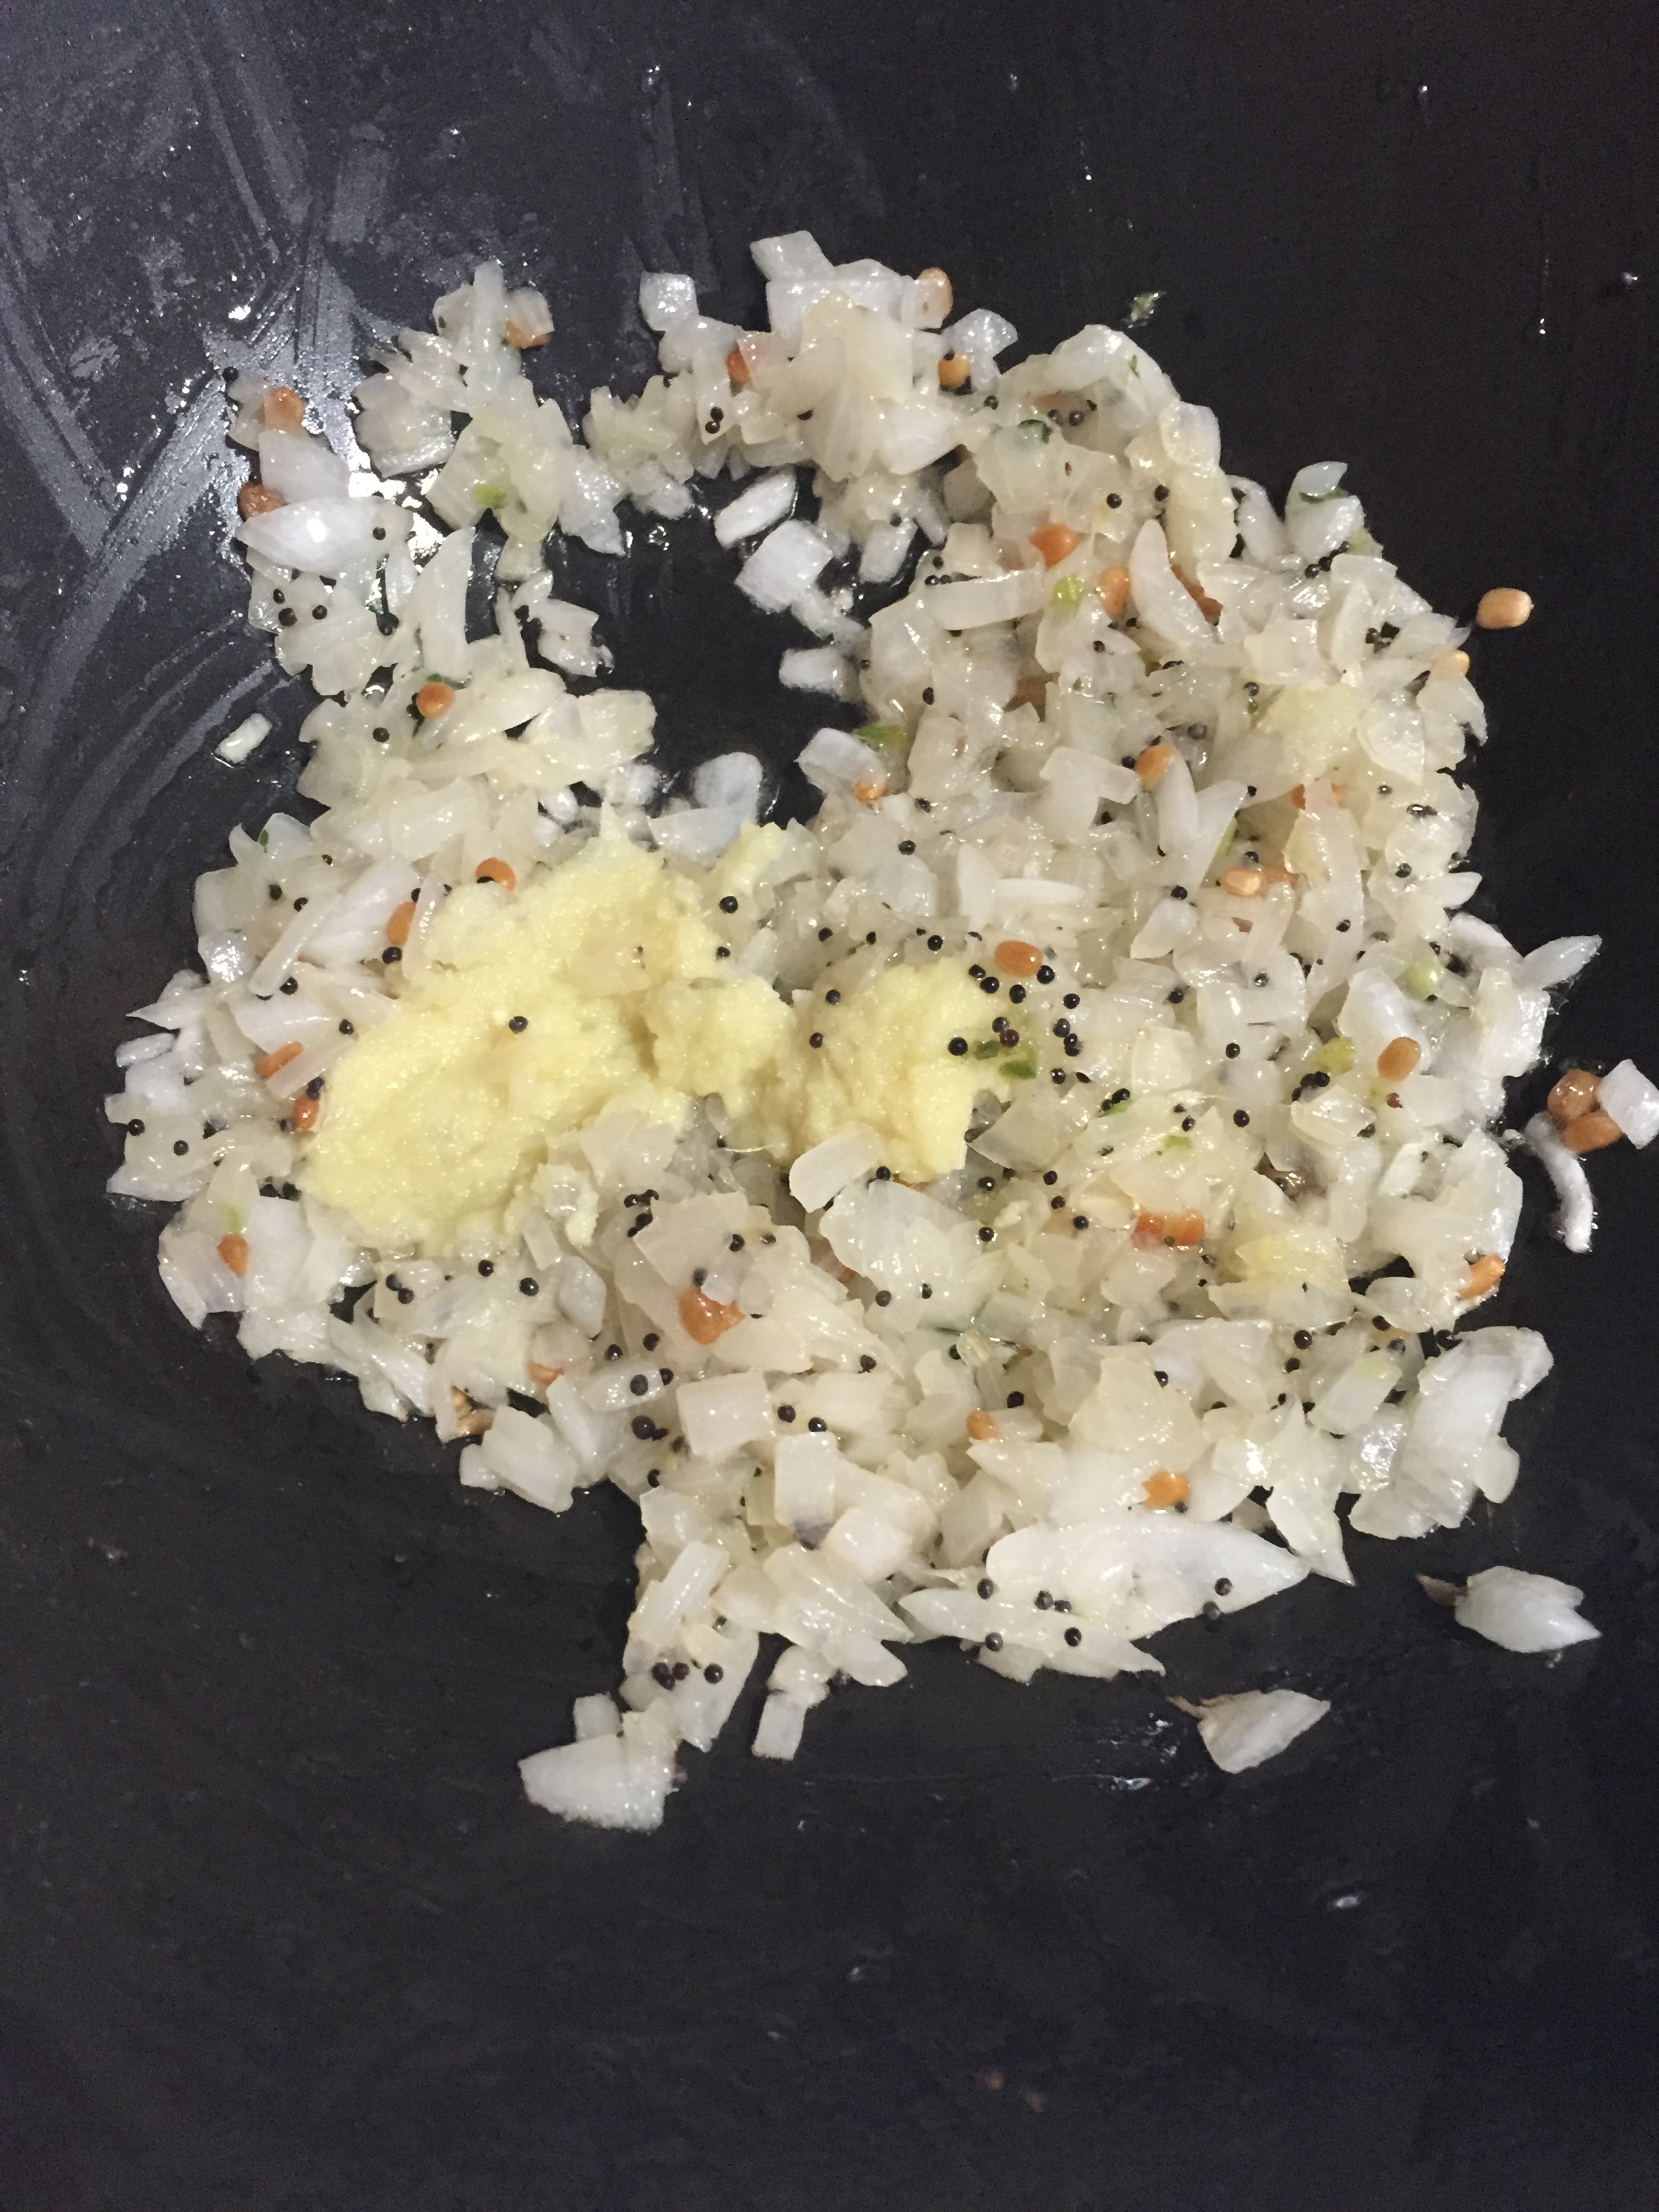
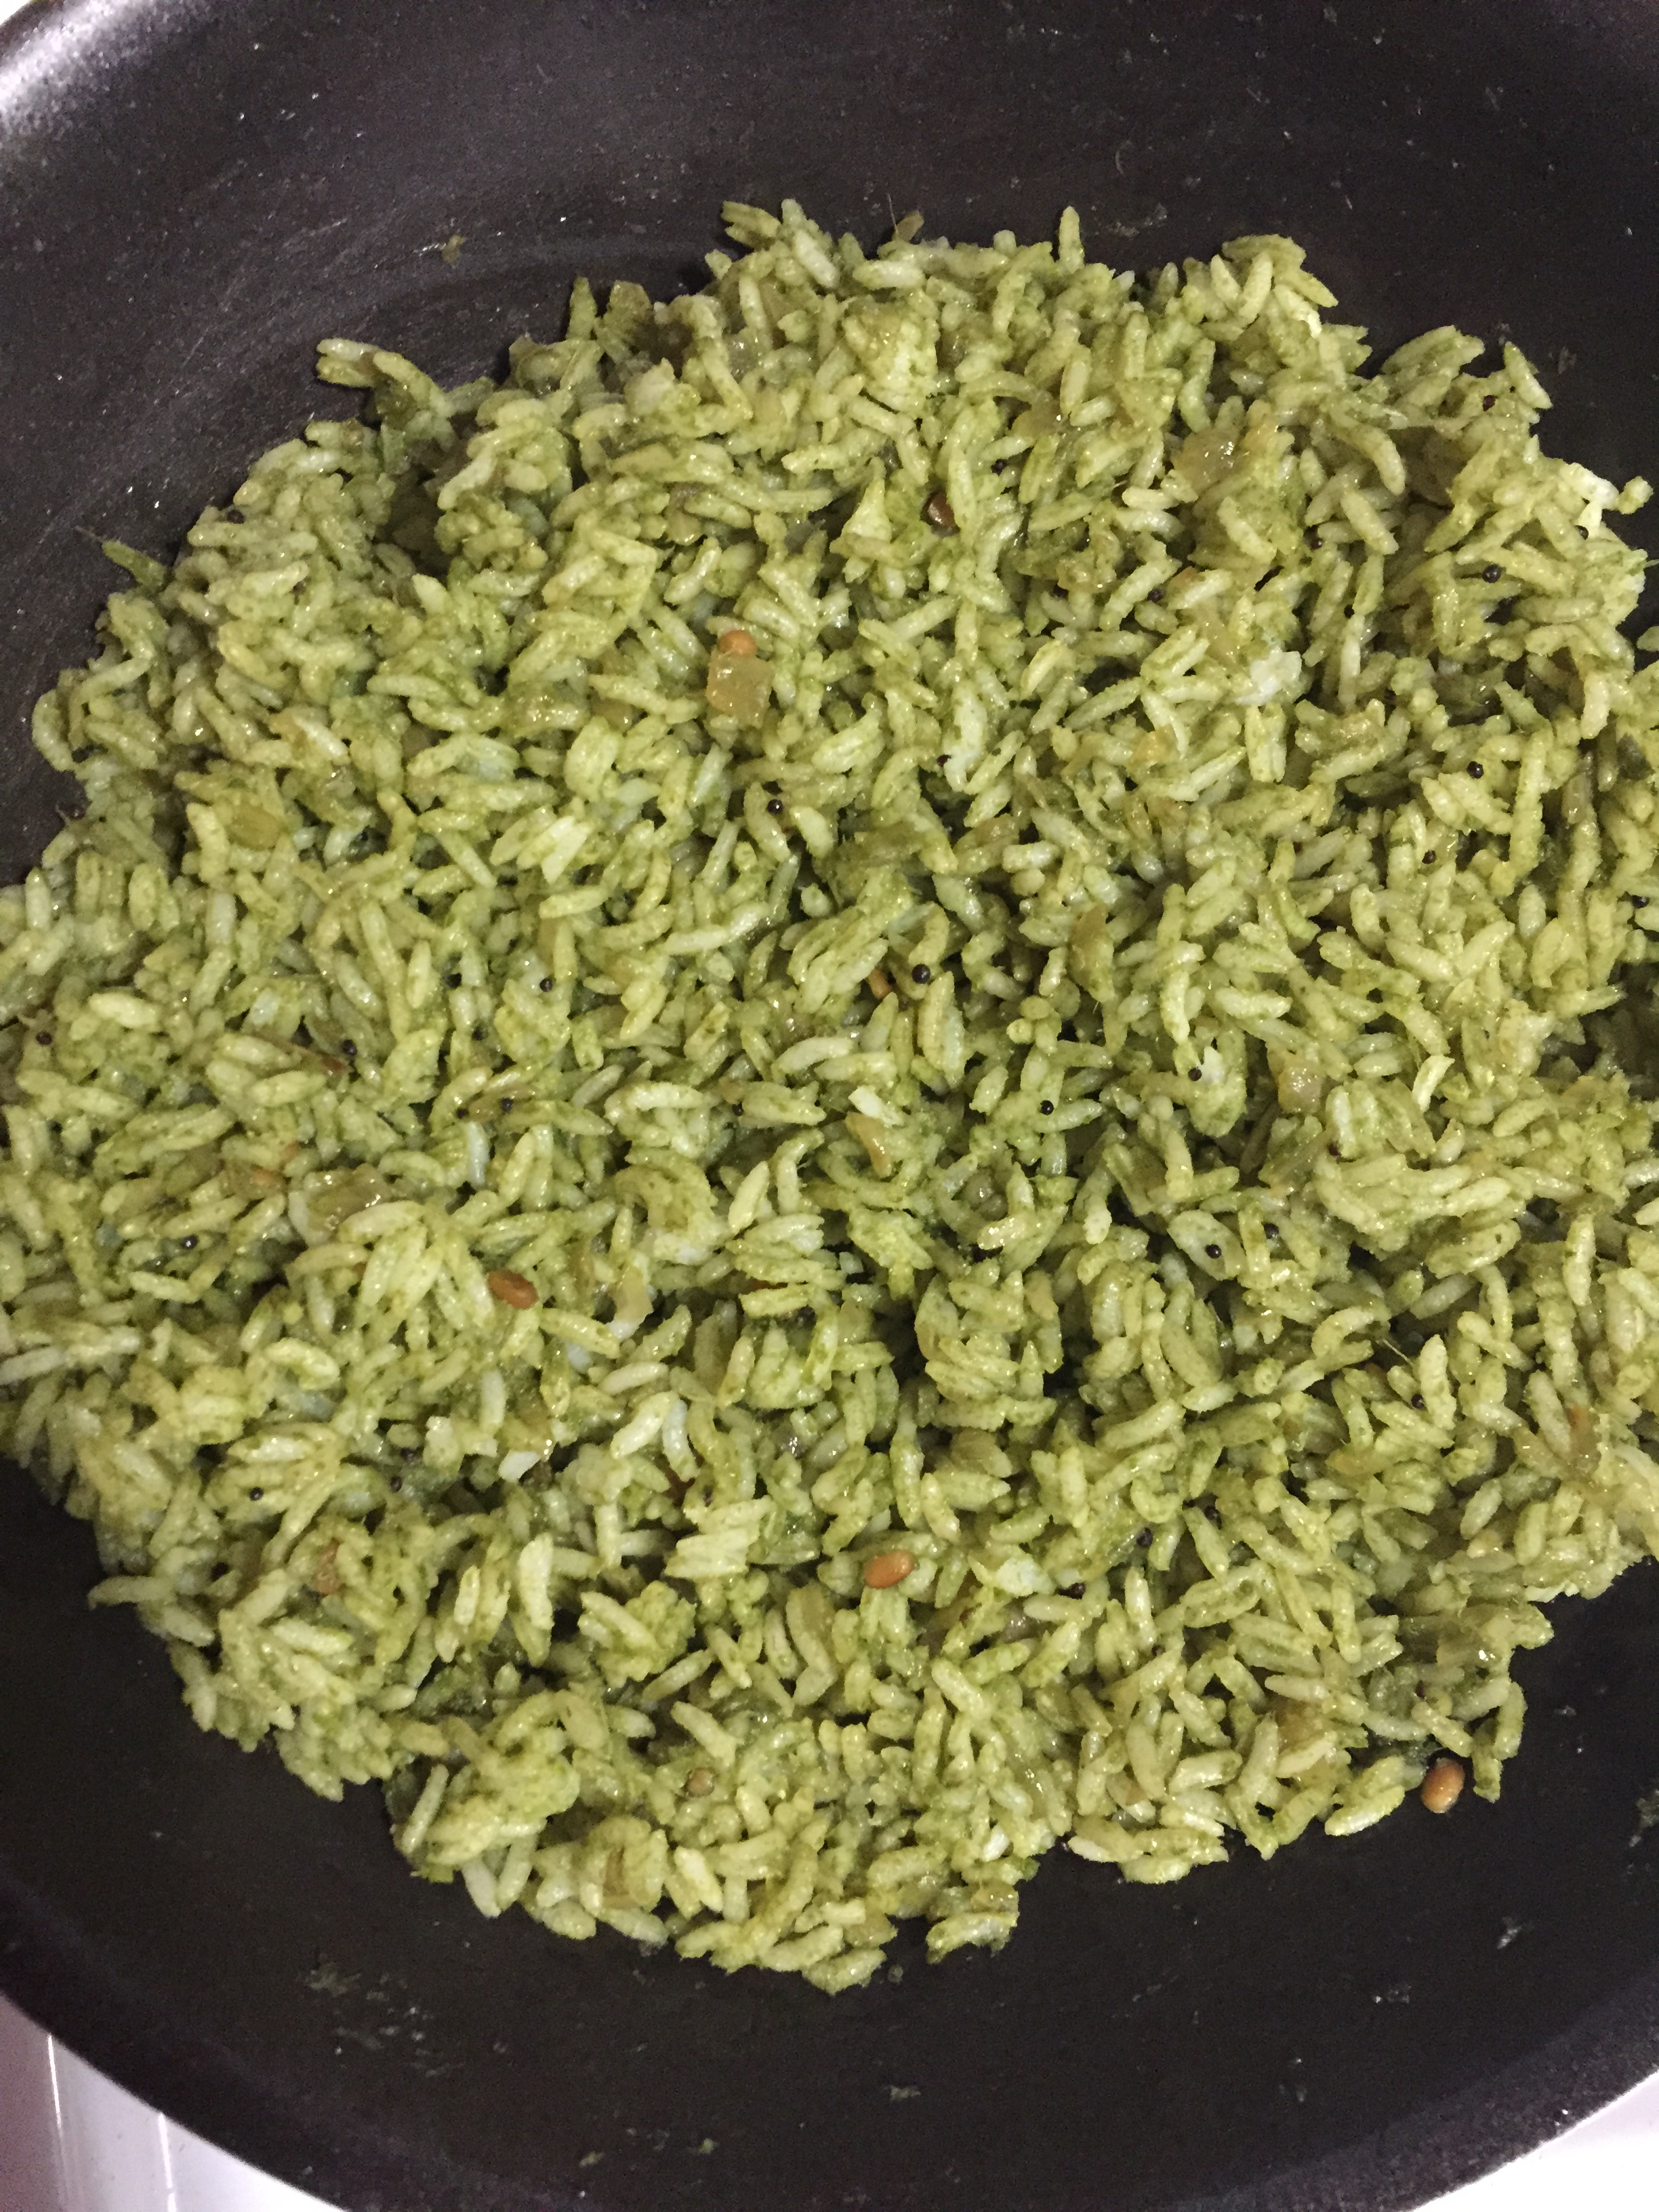
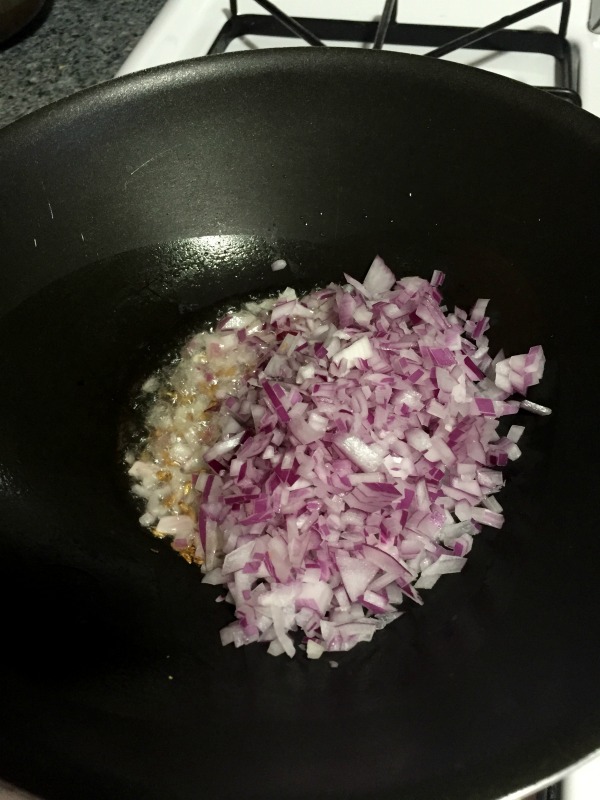
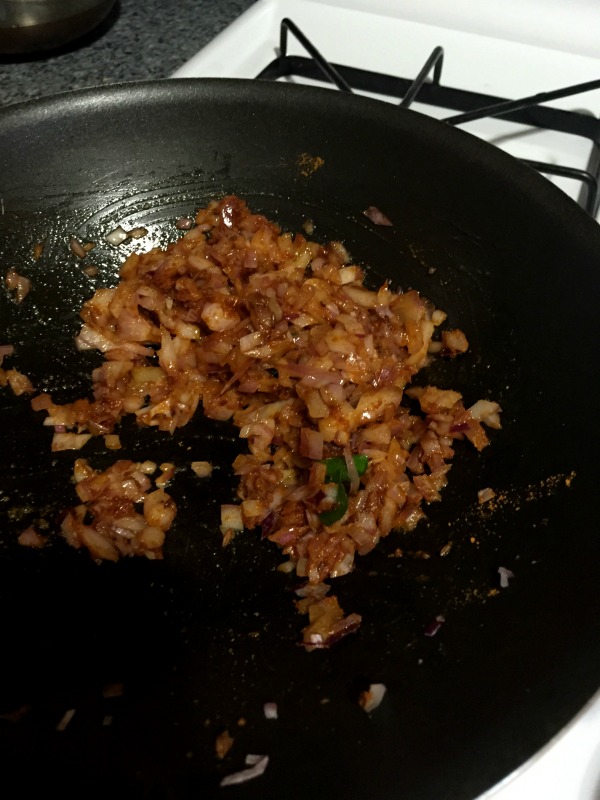
  3. Now add shallots, curry leaves and red chilli. Sauté until the onions turn translucent or the raw smell disappears.
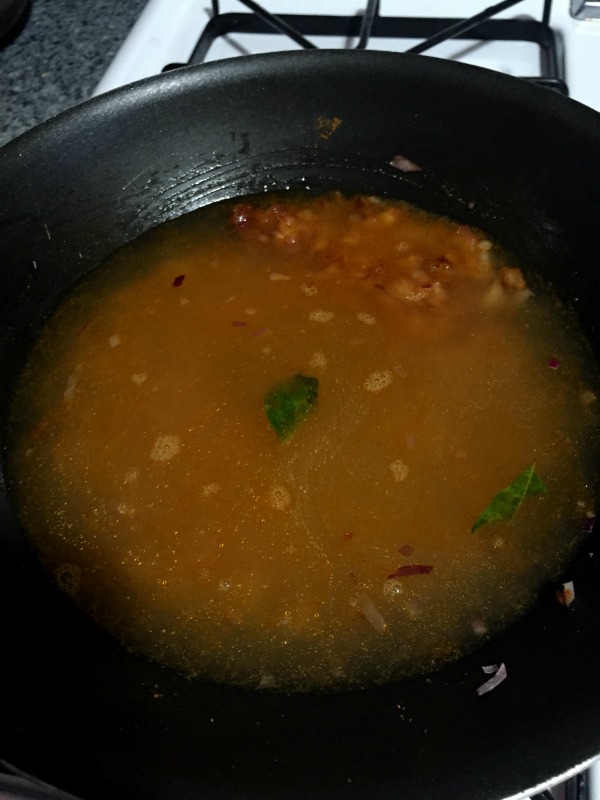
  4. Finally add the tamarind and give a quick stir. Switch off the flame and add grated coconut and salt.
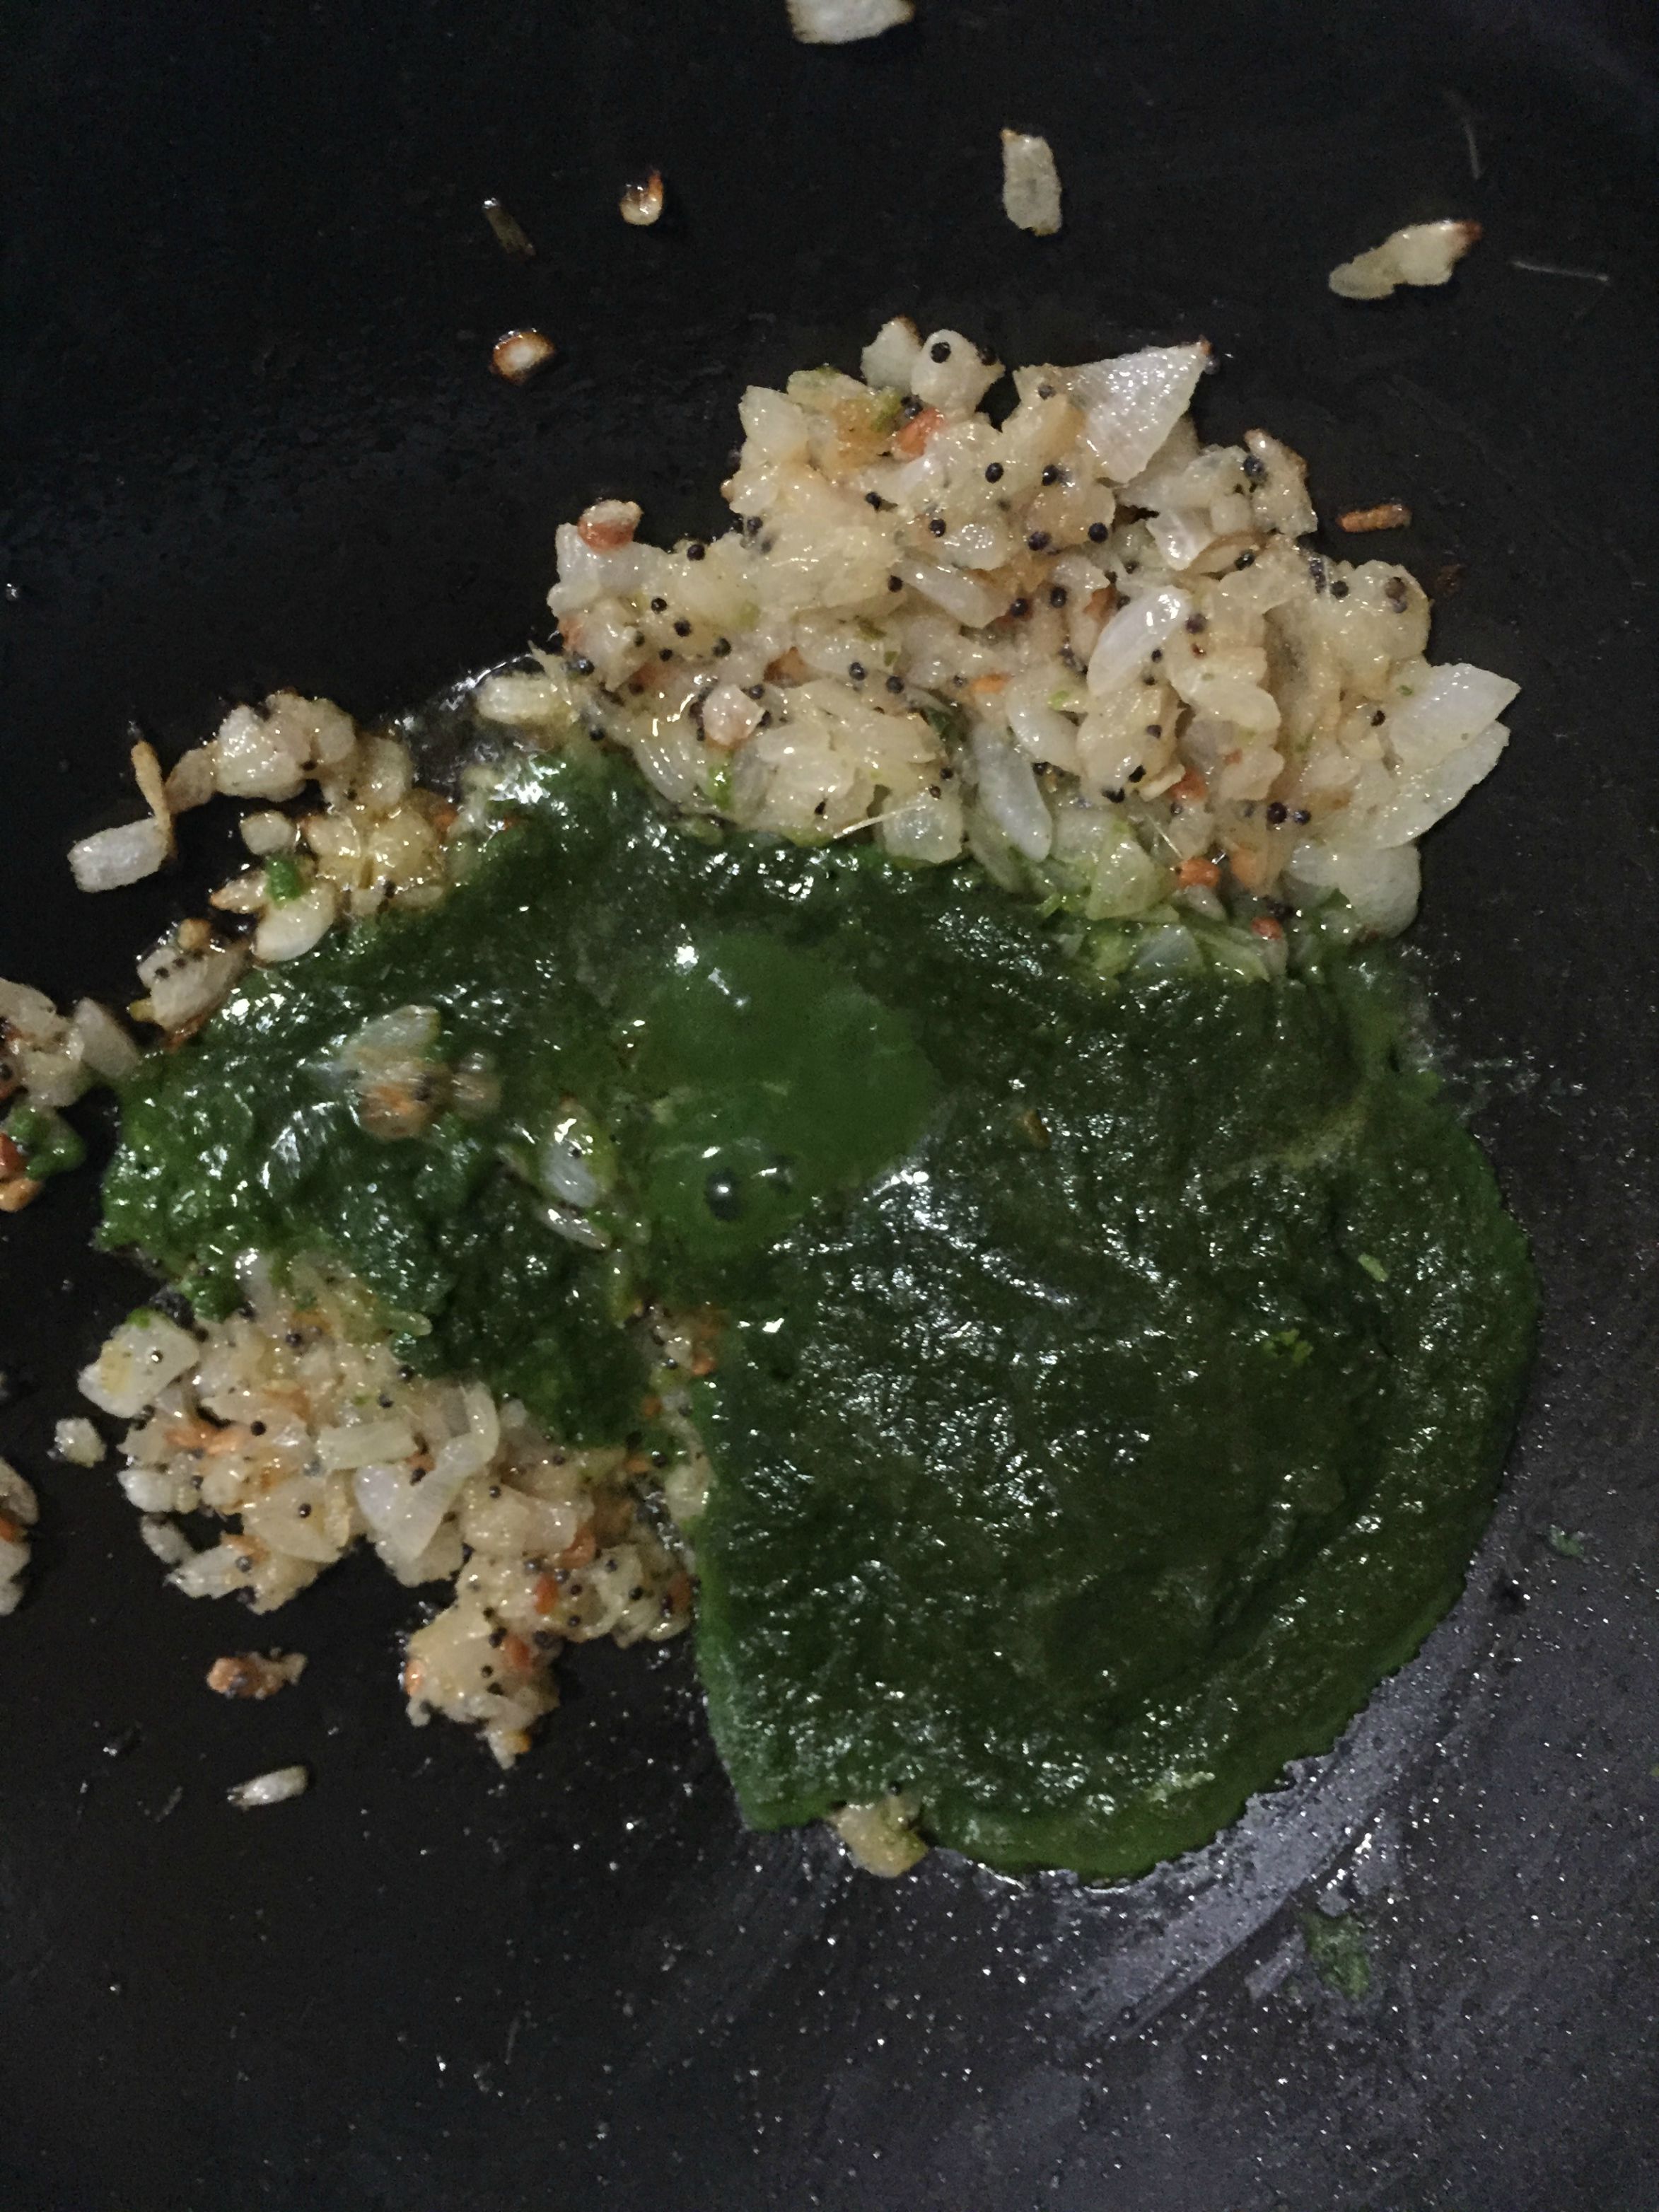
  5. Grind them to a coarse paste in a chutney form.
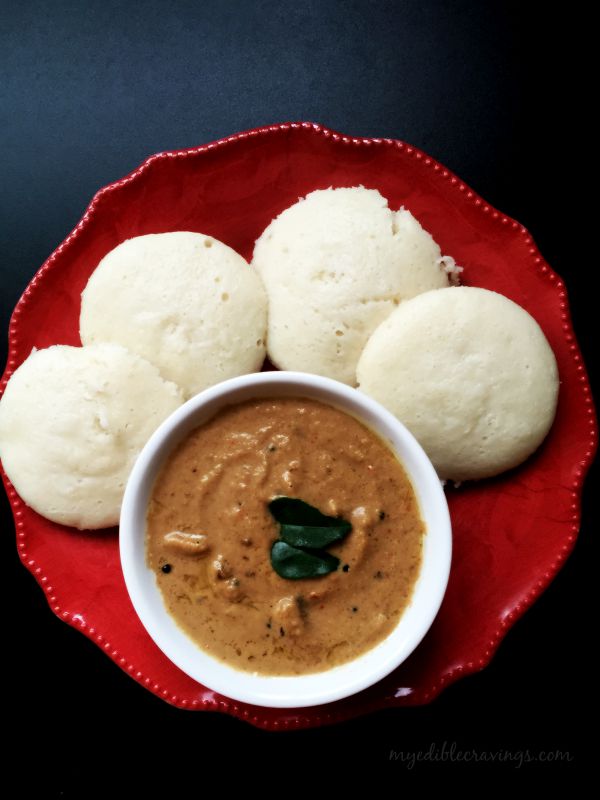
  6. Season the Dhaniya chutney with mustard, urad dal and curry leaves. Serve the Dhaniya chutney along with hot idlis /dosas and Enjoy. 

 Dhaniya chutney


Badushah


BadushaBadushah/Balushahi is a traditional dessert item popular in Indian, Nepali and Bangladeshi cuisines. I don’t have the historical facts but I do believe Badushah is an imported dessert variety, probably from the Mughal period. The name itself is not Indian since it has this Persian touch to it, Shahi which literally means royal. My own theory is that the original name was derived from the word Badshah which means King. Since it was found in royal menu eaten by kings, the sweet came to be known as Badushah. Sometimes, it is also referred to as India doughnuts but I don’t agree with that. The only commonality between doughnuts and Badushah are the ingredients. Both are made from all purpose flour (maida). But for doughnut we use butter and for Badushah we use ghee (clarified butter).

BadushaBadushaBadushah/Balushahi has an appearance that resembles stacked flakes. It is golden brown in color on the outside and very light brown in the inside (after the syrup is absorbed). It is not too sweet but becomes sweeter when you add the sugar syrup at the end of the preparation. Though it is a dessert from the royal menu :), it is not that hard to make except for certain pointers. For instance, like the addition of yoghurt when preparing the dough to make it soft and making sure that the syrup has a single string consistency (dont make it thick). Also, I would suggest using a somewhat deep bottomed vessel so that Badushahs get absorbed in the the sugar syrup easily.

Badusha041So, are you ready to try this awesome recipe in your kitchen? Do try it and experience the royal dessert right in your home.

Badushah
Recipe type: Dessert
Cuisine: Indian
Prep time: 
Cook time: 
Total time: 
Serves: 12 badushahs
 
Badushah/Balushahi is a traditional dessert item made using maida or all purpose flour and very popular in Indian, Nepali and Bangladeshi cuisines.
Ingredients
  • All purpose flour or maida - 2 cups
  • Baking soda - ¼ tsp
  • Salt - ¼ tsp
  • Ghee - ¼ cup
  • Yogurt – 2 tbsp
  • Oil – for deep frying
  • Almonds – 5 nos
for sugar syrup:
  • Sugar – 1 ½ cup
  • Water - 1 cup
  • Saffron strands – a pinch
  • Lemon juice – ¼ tsp
Instructions
  1. Sieve the flour, baking soda and salt together into a large bowl.
  2. Next add in the ghee and combine the flour and ghee to coarse crumbs using your hand.
  3. Add in the yogurt, knead just enough until all the ingredients come together.
  4. Cover the dough with a wet muslin cloth or in airtight container and allow it to rest for about 30 minutes.
  5. Divide the dough into 12 equal portions of large lemon size balls. Gently make a dent in the center with the thumb. Cover the dough portions with a wet cloth or airtight container and allow them to rest for another 15 minutes.
  6. Meanwhile combine sugar and water in a small sauce pan. Allow it to boil and add the saffron strands. Allow the mixture to simmer until you get a single thread consistency.
  7. Next, heat the oil for deep frying and add few balls at a time into the oil. Fry them on medium heat - The medium heat helps the Badushahs to cook evenly from the inside.
  8. When they start to float up to the surface flip over and fry until the bottom half is golden brown. Once both sides are browned well, drain and continue the same with the remaining dough portions and add them to the sugar syrup.
  9. Allow the Badushahs to rest in the sugar syrup until it gets well absorbed and coated all around. Leave it to rest for atleast fifteen minutes and then continue the same step for the rest of the Badushahs.
  10. Garnish the Badushahs with chopped almonds and serve them. Enjoy! 
Notes
1.You will know that the sugar syrup has reached the single thread when you touch the syrup between your fingers and you find it sticky.
2.Remember to fry the dough on medium heat and not high heat so it gets evenly cooked from the inside.

Badusha

Coriander Rice


Coriander RiceIt has been quite a while since I had posted a recipe for a rice variety. The recipe that I have posted today is a specialty of my MIL. It is called as the Coriander/Cilantro rice. As the name suggests, the main ingredient here is coriander. It is a very simple and tasty dish.

Coriander RiceCoriander in general has many medicinal properties. It is used for obesity treatment, skin care and is also recommended for diabetic people. So Coriander rice is a healthy dish but you normally don’t find them in restaurant menus (maybe because it is healthy :)).

Coriander RiceOn days when you don’t feel like cooking but still want to have something healthy, Coriander rice is an apt choice. Try this simple and tasty variety rice in your kitchen and let me know what side dish you would prefer with it (I like it with simple potato chips and kadalaiparuppu thogaiyal 🙂 )

Coriander Rice
Prep time: 
Cook time: 
Total time: 
Serves: 2
 
Ingredients
  • Oil – 1 tsp
  • Mustard seeds – ½ tsp
  • Urad dal – ½ tsp
  • Onion, medium, finely chopped – 1 no
  • Ginger garlic paste – 1 tbsp
  • Raw rice – ¾ cup
  • Salt as required
  • Ghee – 1 tsp
to Grind:
  • Coriander leaves or cilantro – a bunch (1 ½ cups tightly packed)
  • Green chillies – 5 nos
  • Chutney:
  • Oil – ½ tsp
  • Asafetida, solid – 1 “
  • Red chilli – 1 no
  • Garlic clove – 1 no
  • Gram dal – 2 tbsp
  • Curry leaves – 4 nos
  • Grated coconut – 1 tsp
  • Salt as required
Instructions
  1. Wash and grind cilantro and green chillies to a fine paste.
  2. Wash and cook the rice adding enough salt to it and set aside.
  3. Heat a pan with little oil and season with mustard and urad dal.
  4. When they start to sizzle add in finely chopped onions. Sauté onions until they turn translucent.
  5. Add in ginger garlic paste and sauté until the raw smell disappears.
  6. Add the ground cilantro paste and stir until the raw smell disappears. Add enough salt and switch off the flame.
  7. Now add the cooked rice to the coriander paste and mix well until all the rice are well coated with the paste.
  8. Drizzle a few drops of ghee and serve hot with kadalai paruppu thogaiyal on the side.
  9. Kadalaparuppu thogaiyal-
  10. Heat a pan and dry roast asafetida for just few seconds. Transfer it to a plate.
  11. Heat the same pan with oil and add red chilli. Sauté until it changes color and transfer it as well to the plate.
  12. Add garlic clove and sauté until it turns translucent and transfer it to the plate.
  13. Add gram dal and sauté until the aroma spreads or until they turn golden brown.
  14. Switch off the flame and add grated coconut, curry leaves and salt.
  15. Grind everything together to a coarse paste by adding very little water.

025

Mushroom Corn Ki Jugalbandi


Mushroom Corn Ki Jugal BandiJugalbandi is a musical word related to Indian classical music referring to duet performance of two solo musicians. The word literally means “entwined twins” (courtesy:- Wikipedia). You might be wondering why I am talking about classical music in a food blog 🙂 That is because the dish I have given here today is a mix of two distinct ingredients that makes up an absolutely delicious dish called the Mushroom-Corn Ki Jugalbandi.

Mushroom Corn Ki Jugal BandiMushroom-Corn Ki Jugalbandi is a north Indian sabzi variety which is prepared using mushroom and corn with a touch of cream. My HB is a big fan of this dish and it is an amazing side dish for pulao, naan, chappati and many more. Since our diet mainly consists of chapati, I am always on the lookout for new side dishes. So when I came across this recipe online I immediately tried it out and got absolutely hooked. The corn in this dish gives a crunchiness to it and the hint of cream gives a mild sweetness as well. Trust me, it is an irresistible combination 🙂

Mushroom Corn Ki Jugal BandiMushroom Corn Ki Jugal BandiMushroom Corn Ki Jugalbandi is a pretty rich dish because of the cream but goes well with chappati as mentioned above because it complements with the lightness of chappati. Do try this delicious dish in your kitchen and let me know to what main entree dish does it pair well with.

Mushroom Corn Ki Jugal Bandhi
Recipe type: Main
Cuisine: Indian
Prep time: 
Cook time: 
Total time: 
Serves: 4
 
Ingredients
  • Oil – 1 tbsp
  • Cinnamon stick – 1”
  • Cloves – 2 nos
  • Cardamom – 3 nos
  • Onion, medium, finely chopped – 1 no
  • Ginger garlic paste – 1 tbsp
  • Tomato, finely chopped – 1 no
  • Turmeric powder – ½ tsp
  • Red chilli powder – 1 tsp
  • Coriander powder – 1 ½ tsp
  • Cashew paste - 4 tbsp (from 10 nos of cashews)
  • Mushroom, cut to four – 1 cup
  • Sweet corn pod – 1 cup
  • Fresh cream – 1 tbsp
  • Cilantro, finely chopped – 1 tbsp
Instructions
  1. Soak cashews in water for 10 minutes and blend them to fine paste.
  2. Heat oil in a flat wide pan and season with cinnamon, cardamom and cloves.
  3. Add in finely chopped onion and sauté until they turn translucent.
  4. Add ginger garlic paste and sauté until the raw smell disappears.
  5. Add finely chopped tomato and sauté until thay turn mushy.
  6. Now add in all the masala powders (turmeric, chilli, coriander) and salt. Give a quick stir.
  7. Add very little water like ½ a cup and bring it to boil until the raw smell of the masalas disappear.
  8. Add in the cashew paste and sauté until the gravy leaves oil.
  9. Now add in the freshly chopped mushrooms and corn. Mix well and cook for 5 to 10 minutes or until the mushrooms are well cooked.
  10. Finish it off by adding fresh cream. Mix well and garnish with freshly chopped cilantro. Serve hot as a side for chapathi, pulao or jeera rice.
Notes
Add equal amount of chopped onions and tomatoes.
Add the masala powder in 1:2:3 ratio.

Mushroom Corn Ki Jugal Bandi

Chocolate Chip Cookie

Chocolate Chip Cookie

Today I am posting one of the most popular snack/dessert items in the US, the Chocolate Chip Cookie. The Chocolate Chip Cookie was first invented in the United States in Massachusetts. The original recipe consisted of dough composed of butter and both white and brown sugar. Since then there had been numerous variations of this iconic snack. I had already posted White Chocolate Cashew cookie here in my blog and this is my second cookie variety 🙂

Chocolate Chip CookieChocolate Chip CookieI had been wanting to bake Chocolate Chip Cookie for some time but did not really pursue it. But today at the gym, I came to know that it was international chocolate day, (see the irony here, chocolate in gym 🙂 ) and what better day to bake Chocolate Chip cookie than today? Also, happy chocolate day to all chocolate lovers!:)

Chocolate Chip CookieChocolate Chip CookieChocolate Chip cookie is so decadent but there are certain nuances in its preparation. They are, use the right amount of flour, melt the butter completely before mixing it with the flour and do not over bake.

Chocolate Chip CookieChocolate Chip cookie has so many variants like I had mentioned above. You can customize according to your taste, like, substituting chocolate chips with macadamia nuts or M&Ms, add peanut butter to the dough etc. So, are you ready to try this amazing and delectable Chocolate Chip Cookie in your home? Do try and post your comments.


Chocolate Chip Cookie
Recipe type: Dessert
Cuisine: American
Prep time: 
Cook time: 
Total time: 
Serves: 22
 
Ingredients
  • 1 ½ cup all purpose flour
  • ½ tsp baking soda
  • ¼ tsp salt
  • 8 tbsp unsalted butter (1 stick)
  • ½ cup granulated white sugar
  • ¼ cup packed light brown sugar
  • 1 tsp pure vanilla extract
  • 1 large egg (room temperature)
  • ¾ cup chocolate chip
Instructions
  1. Pre heat the oven to 350 degrees Fahrenheit or 180 degrees Celsius. Melt the butter in the microwave oven for 40 seconds or until it reaches liquid form and bring it to room temperature.
  2. Sieve flour, baking soda and salt together into a small bowl and set aside.
  3. Bring the melted butter to the large bowl and add white and brown sugar. Beat well until creamy.
  4. Add in vanilla extract and mix well.
  5. Add the eggs and beat until well combined.
  6. Add the dry ingredients, using spatula mix well until crumbles form or to the dough consistency.
  7. Finally add the chocolate chips and carefully mix them.
  8. Allow it to cool in the refrigerator for about 5 to 10 minutes. Bunch up the dough to 22 small balls and place the rolls on the cookie sheet.
  9. Bake for about 9 to 11 minutes until the cookies are puffy and barely golden. Do not over bake the cookies.
  10. Allow them to cool on the cooling rack for 30 minutes. Enjoy! 🙂
Notes
Few tips that I have learnt to bake the best chocolate chip cookie are
1.Melt the butter completely and bring it to room temperature.
2. Add enough flour such that dough doesn't stick to your hand while making bunches.
3. Use bunching up approach instead of rolling them out in the palm of your hand. This will get you a defined lumpy mounds of chocolate chips which looks more appealing.
4. Don't Over bake the cookies. Doing so you might loose the moist and soft texture of the cookies.

Chocolate Chip Cookie

Cauliflower Gravy

033c

Today, I have given you a recipe that I learned from my MIL. It is the Cauliflower Gravy. This is my third recipe with cauliflower as the main ingredient (the other two are Cauliflower Crust Bread and Cauliflower Fry). I have heard about this dish often from my HB. He always says that it tastes like chicken gravy but I did not get a chance to taste it until recently. And I totally agree with my HB’s assumption. It does taste like Chicken gravy!

034cCauliflower Gravy is a very easy dish to make and one of the main ingredients in preparing this dish, other than cauliflower, is raw rice water (further explanation about it can be found here) and roasted gram dal powder. Cauliflower Gravy can be had with almost all main entree dishes. It can be had with just rice, as a side dish for chappati or eat as is :). No wonder it is one of the most favorite dishes of my HB.

Try this wonderful and very tasty dish in your kitchen and do let me know your thoughts.  🙂

Cauliflower Gravy
Recipe type: Main
Cuisine: Indian
Prep time: 
Cook time: 
Total time: 
Serves: 20
 
Ingredients
  • Oil – 1 tbsp
  • Cumin seeds – 1 tsp
  • Curry leaves – 6 nos
  • Shallots, finely chopped – 6 nos
  • Sambar powder or veetu milagai podi – 1 ½ tbsp
  • Raw rice water or kalani thanni – 2 to 3 cups
  • Cauliflower, medium, blanched – 1 no or 2 cups
  • Salt as required
  • Roasted gram dal powder or pottu kadalai podi – 1 tbsp
Instructions
  1. Boil enough water with salt and turmeric powder and blanche the cauliflower florets for couple of minutes. Strain the florets and set aside.
  2. Heat oil in a tawa and season with cumin seeds. Add curry leaves.
  3. Add onions when the curry leaves start to sizzle. Sauté until the onions turn translucent.
  4. Add in sambar powder and salt. Give a quick stir.
  5. Add raw rice water and bring it to boil or until the gravy gets thick.
  6. Add the blanched florets to the gravy and cook until all the water is absorbed and florets are well cooked.
  7. Finish it off with roasted gram dal powder and give a quick stir. Switch off the flame when the roasted gram dal powder is well blended with the gravy. Enjoy! 🙂

 036c

Bread Boo


Bread BooBread Boo is a tasty dish made from, as you might have guessed it already, bread. It is a savory item and is very easy to make. I have had this dish made by my mom and my MIL. Bread Boo involves minimum ingredients and I would categorize it as a quick-fix breakfast; something prepared in minutes with less effort.

Bread BooBread BooIt had been quite a while since I had eaten Bread Boo until when my MIL made it for me recently. And all my childhood memories came back when I had it. When I was a kid, I was not a big fan of sweetness in general. I always preferred spices and savory items (I still do!). So whenever it was bread and jam for breakfast at our home, my Mom used to prepare Bread Boo for me (my mom tries to make us eat by keeping these different kinds of names 😀 ).

Bread BooFor those who don’t prefer sweet dishes and for those who want variety in their breakfast, Bread Boo is an ideal choice. Also, you can substitute any type of bread in this recipe like raisin bread, wheat bread, oatmeal bread etc. Try this tasty and easy Bread Boo in your kitchen and let me know if it is a tasty breakfast indeed 🙂

Bread Boo
Recipe type: Breakfast
Cuisine: Indian
Prep time: 
Cook time: 
Total time: 
Serves: 2 to 3
 
Bread Boo is a tasty dish made from bread. It is a savory item and is very easy to make.
Ingredients
  • Oil – 1 tbsp
  • Onion, medium, chopped – 1 no
  • Ginger garlic paste – 1 tsp
  • Tomato, small – 1 no
  • Salt as required
  • Homemade sambar powder – ½ tbsp
  • Red chilli powder – ¼ tsp
  • Garam masala – a generous pinch
  • Bread slices – 6 nos
  • Cilantro, chopped – 1 tbsp
Instructions
  1. Toast the breads slightly, either in a toaster or on a flat pan. Cool them down to room temperature and break or cut to bite size pieces.
  2. Heat a tawa with oil and add finely chopped onions. Sauté until they turn translucent.
  3. Add ginger garlic paste and fry till the raw smell disappears.
  4. Add in tomato and sauté until they turn mushy.
  5. When the tomatoes are well cooked add in all the masala powders ( sambar, red chilli and garam masala) .
  6. Finally add all the toasted bread pieces. Mix well until the masalas are well coated.
  7. Switch off the flame and garnish with chopped cilantro. Enjoy!
Notes
You could also add beaten eggs to this dish just after the tomatoes are well cooked and before the masala powders are added.

Bread Boo

Chicken Lo Mein


Chicken Lo MeinChicken Lo Mein is a Chinese noodles dish made with wheat flour noodles and chicken. Lo Mein is the Cantonese name for stirred noodles. Traditionally Lo Mein is a variation of another dish called the Wonton noodle soup. Lo Mein is a popular take-out in American Chinese restaurants. It is also sometimes called as Chow Mein but the preparation of this dish very different from that of Lo Mein since with Chow Mein, the noodles are made crispy by frying.

Chicken Lo MeinI love Chinese food but normally prefer fried rice and what not. I got hooked to noodles variety only recently. Like said in my earlier posts, I am always on the lookout for dishes from different cuisines which I can try in my kitchen. And now I had the opportunity to cook an authentic dish from Chinese cuisine. The Chicken Low Mein recipe I had given below is a very easy to make and the end result is totally worth the effort.

Chicken Lo MeinChicken Lo Mein has a slight sweetness to it because of the brown sugar but also has spiciness as well at the same time. It is an apt dish to be served for both lunch and dinner. Try this popular Chinese dish in your home and let me know your experience 🙂

Chicken Lo Mein
Recipe type: Main
Cuisine: Chinese
Prep time: 
Cook time: 
Total time: 
Serves: 2
 
Ingredients
For the sauce:
  • Sesame oil – 1 tbsp
  • Sriracha hot sauce – 1 tbsp
  • Garlic cloves, minced – 3 nos
  • Soy sauce – ¼ cup
  • Water – 2 tbsp
  • Brown sugar – 1 ½ tbsp
  • Cornstarch – 2 tbsp
For Chicken:
  • Olive oil – 1 tbsp
  • Broccoli, small – 1 no ( or 2 cups of florets)
  • Chicken thighs, cut to bite size pieces – 500 grams
  • For the Lo-Mein:
  • Lo Mein noodles – 4 oz
  • Olive oil - 2 tbsp
  • Unsalted butter - 1 tbsp
  • Eggs, large, lightly beaten - 2 nos
  • Ginger, minced - 1 tsp
  • Red chilli flakes, crushed - ½ tsp
  • Carrots, shredded - ½ cup
  • Snow peas - ½ cup
  • Garlic, minced - 3 cloves
  • Green onions, sliced thinly – 2 nos
  • Salt to taste
Instructions
  1. Step 1:
  2. In a small bowl combine and whisk together sesame oil, hot sauce, garlic, soy sauce, water, sugar, and cornstarch; set the sauce aside.
  3. In a large bowl, add many ice cubes and prepare ice bath for broccoli. So that the broccoli retain its color after blanching.
  4. Step 2:
  5. Bring water in a sauce pan along with little salt to boil. Add the broccoli and blanch them for 4 minutes. Immediately transfer them to the ice bath to stop the cooking process.
  6. Heat a large skillet with olive oil in medium high heat. Add the chicken pieces and cook until changes to white/brown color. Add the blanched broccoli, reduce the flame to medium and add the sauce. Stir to coat ingredients and cook for about 5 to 7 minutes or until the sauce has thickened. Transfer it to a bowl.
  7. Step 3:
  8. Meanwhile bring water in the sauce pan along with little salt to boil. Add the noodles and boil for 10 minutes. Simmer it and cook for another 15 minutes or until the noodles are well cooked. Make sure the noodles don’t stick before adding to the water. Drain the noodles and set aside.
  9. Step 4:
  10. Heat the large skillet and add butter in medium low flame. Add the minced ginger and sauté for few seconds or until raw smell disappears. Add the crushed pepper and cook for couple of seconds. Add in the eggs, stir gently and cook for about 3 minutes or until well done.
  11. Sauté carrot and snow peas with very little olive oil in a small flat skillet. And add it to the eggs.
  12. Add the chicken and broccoli to the eggs as well.
  13. Finally add the drained noodles to the skillet, stir until everything is coated well with the sauce. Sprinkle with green onions and serve hot.
Notes
Soy sauce has a lot of sodium, so taste before you add any to the finished product.

Chicken Lo Mein

Paal Payasam


Paal payasamToday is Father’s Day! A father is a hero to every daughter and Father’s day is a way to honor them for their love, unwavering support and kindness. So Happy Father’s Day to all fathers out there. On the occasion of this important day, I wanted to prepare something sweet that personifies their nature i.e.,  being sweet 🙂 I decided on Paal Payasam, a south Indian dessert item that is very tasty. I love the Paal Payasam that my MIL makes. The recipe that I have given below is my MIL’s.

Paal PayasamPaal Payasam is a classic dish that uses very few ingredients i.e., rice, sugar and milk. Paal Payasam is one of my favorite payasams (similar to pudding in general) and my sister’s too. Preparing this dish is time consuming but to allevate some of that I used whole milk because one of the steps in making Paal Payasam is to reduce the milk to half but using whole milk saves time since it is already thick.

144cPaal Payasam can either be served hot or cold but tastes excellent when served cold. Try this sweet dessert in your kitchen and I hope you too will enjoy it as much as I do 🙂

Paal Payasam
Recipe type: Dessert
Cuisine: Indian
Prep time: 
Cook time: 
Total time: 
Serves: 4 to 5 cups
 
Ingredients
  • Raw rice or basmati rice or seeraga samba rice – ½ cup
  • Ghee – 3 tbsp, divided
  • Milk – 1 liter
  • Sugar – 1 cup
  • Cashews – 1 tbsp
  • Cardamom powder – a generous pinch
Instructions
  1. Wash and soak the rice in water for half an hour. Later crush the rice using your hands and keep it aside.
  2. Heat a pan or pressure cooker and add a tbsp of ghee. Add the rice and fry until golden brown.
  3. Add a cup of milk and cook or pressure cook until the rice is well cooked. Add the remaining milk and boil until the milk is reduced to half and turns slight brown in color.
  4. Add sugar and mix well. Boil for another few minutes stirring occasionally.
  5. Heat the remaining ghee in a tempering ladle, fry the cashews until golden brown and add to the paayasam.
  6. Finish it off by adding cardamom powder. Serve cold and enjoy!
Notes
1.It takes a very long time around 45 minutes to reduce the milk. So I would suggest using whole milk to reduce your work.
2.Milk will not boil if you add clean marbles (golli gundu) to the milk.
3.Add or reduce sugar according to your own taste.
4.You could also add dates to this recipe which tastes excellent.

Paal Payasam

Vegetable Biriyani

Vegetable Biriyani

Vegetable Biriyani is the vegetarian counterpart of the more popular Biriyani, which generally refers to the variety with meat. Back home, during family functions like marriages, baby showers etc we don’t normally serve meat in the menu. But to mark the grandeur of the function we serve vegetable Biriyani as one the dishes.

Vegetable BiriyaniVegetable Biriyani is popular in my home state, Tamilnadu. Honestly, I have not seen it in any other part of India. I would say it is a healthy dish since you add vegetables (English vegetables like carrot, beans, potatoes, peas etc) in abundance. You can also add fried bread pieces and that tastes good too.

Vegetable BiriyaniVegetable BiriyaniThe recipe for Vegetable Biriyani that I have given below does not have coconut milk as one of the ingredients and it tastes just as good as the one with coconut milk added. I have slightly modified Mom’s recipe and have presented it here. Try this tasty and rich Vegetable Biriyani in your home and let me know your experience:)

Vegetable Biriyani
Recipe type: Main
Cuisine: Indian
Prep time: 
Cook time: 
Total time: 
Serves: 4
 
Ingredients
  • Ghee + olive oil - 2 tspn + 2 tbsp
  • Homemade biriyani powder + big bay leaf - 1 tsp + ½
  • Onions, small – 2 nos
  • Freshly ground ginger garlic paste - 1 ¼ tbsp (I used organic garlic from trader’s joe)
  • Big ripe tomatoes - 1 ¼ nos
  • Cauliflower, medium sized potato (cut and soaked in turmeric water) - ½ + ½
  • Green chilli, long, slits - 9 nos
  • Chopped mint and coriander leaves - ½ cup
  • Salt - 1 ¾ spoon
  • Sakthi biriyani powder - ½ tsp
  • Coriander powder – 1 ¼ tsp
  • Homemade sambar powder - ½ spoon
  • Aachi red chilli powder - ¾ tsp
  • Garam masala powder - a generous pinch
  • Water, used to soak rice - 3 cups
  • Basmati rice - 2 cups
For garnishing:
  • Chopped mint and cilantro - 1 tbsp
  • Sakthi biriyani powder - a pinch
  • Ghee - a tsp
Instructions
  1. Wash and soak basmati rice in water for 45 minutes. Drain and save the water.
  2. Chop the vegetables and soak it in turmeric water.
  3. Cut and chop onions, tomatoes, mint and cilantro.
  4. Heat a pressure cooker with ghee and oil. Add biriyani powder and bay leaf.
  5. Increase the flame to medium and add onions. Sauté until they turn translucent. add ginger garlic paste and sauté until raw smell disappears. Add tomatoes and cook for a couple of minutes. When they turn mushy add in the vegetables. Stir for a minute and add in green chillies, chopped mint and cilantro. Stir well for a couple of minutes and add all the masala powders. Mix well and add water. check for salt and bring it to boil. Add the soaked rice and allow them to boil. When the water is ¾ th observed and when you see the rice on top, garnish with mint, cilantro, sakthi biriyani powder and ghee especially on the sides. Cover the lid and dum cook in low flame for 10 minutes.
  6. After 10 minutes open the lid and check if the rice and vegetables are well cooked and all the water is observed.
  7. Serve hot with any raitha of your choice. Enjoy!!! 
Notes
1.Always use freshly ground ginger garlic paste to reach a good taste.
2.You can substitute olive oil with vegetable oil.
3.I tried using organic garlic for this recipe. You could use the regular one.

Vegetable Biriyani