Dal makhani

Dal makhani
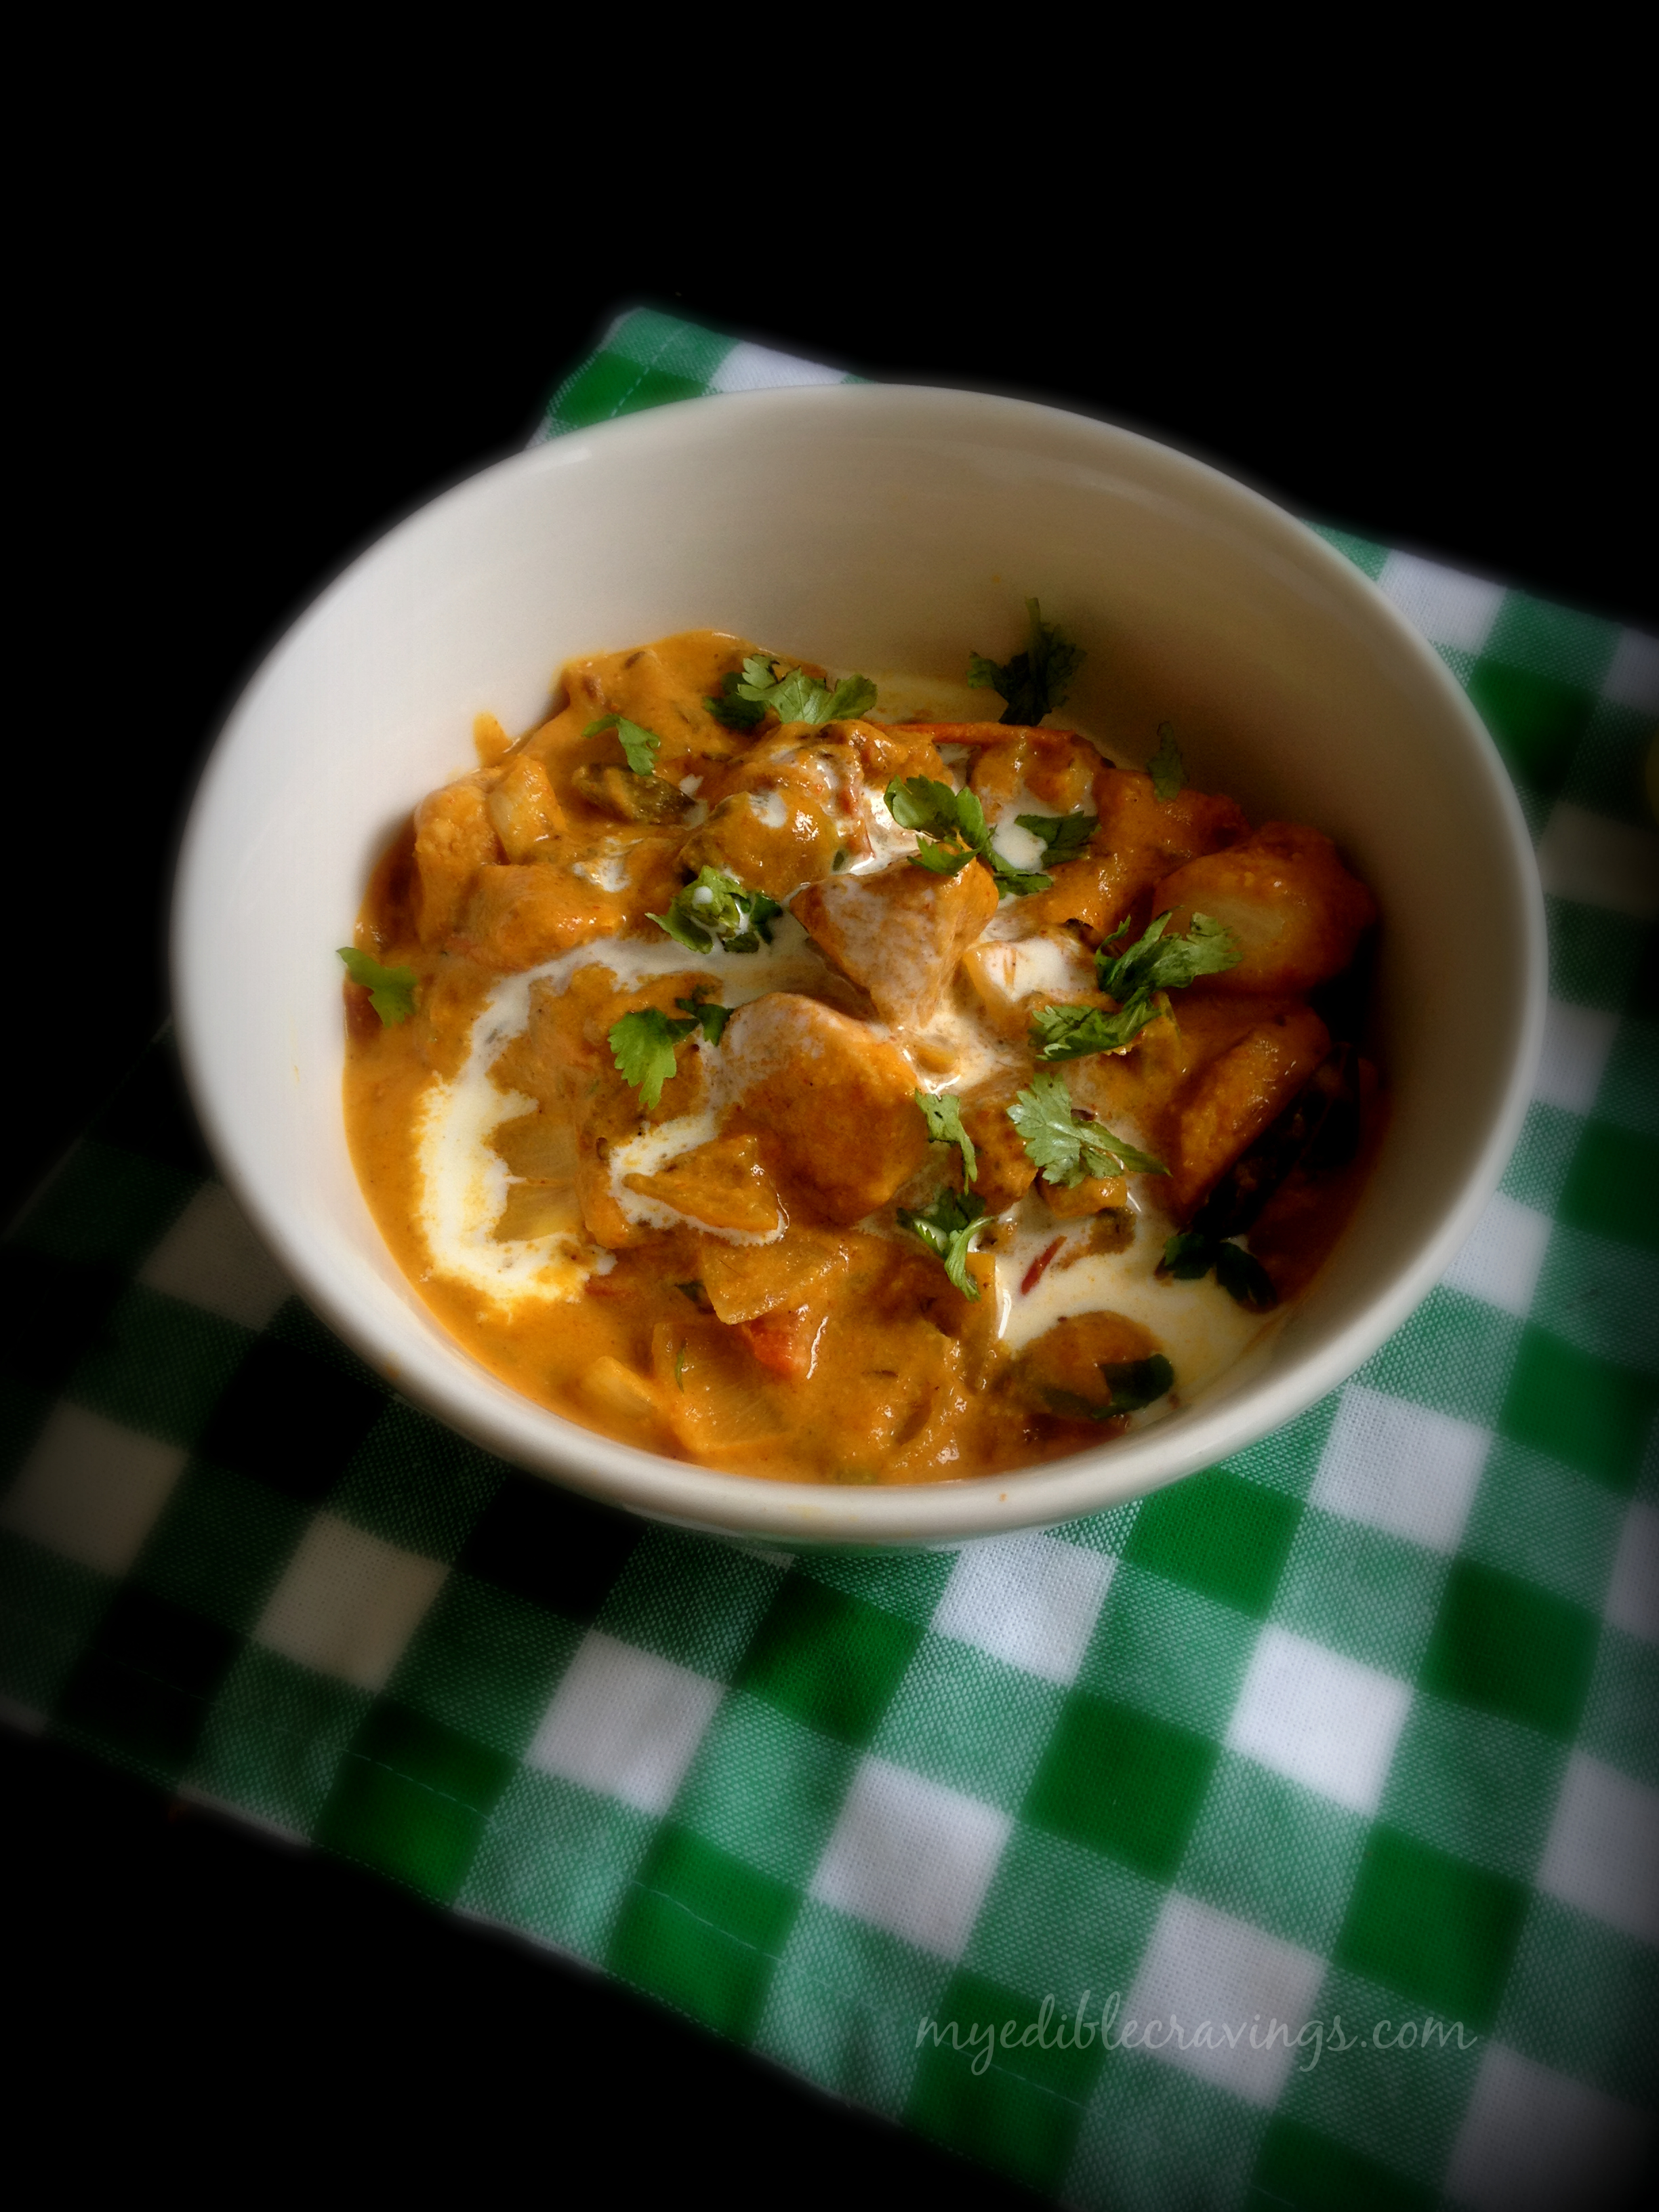
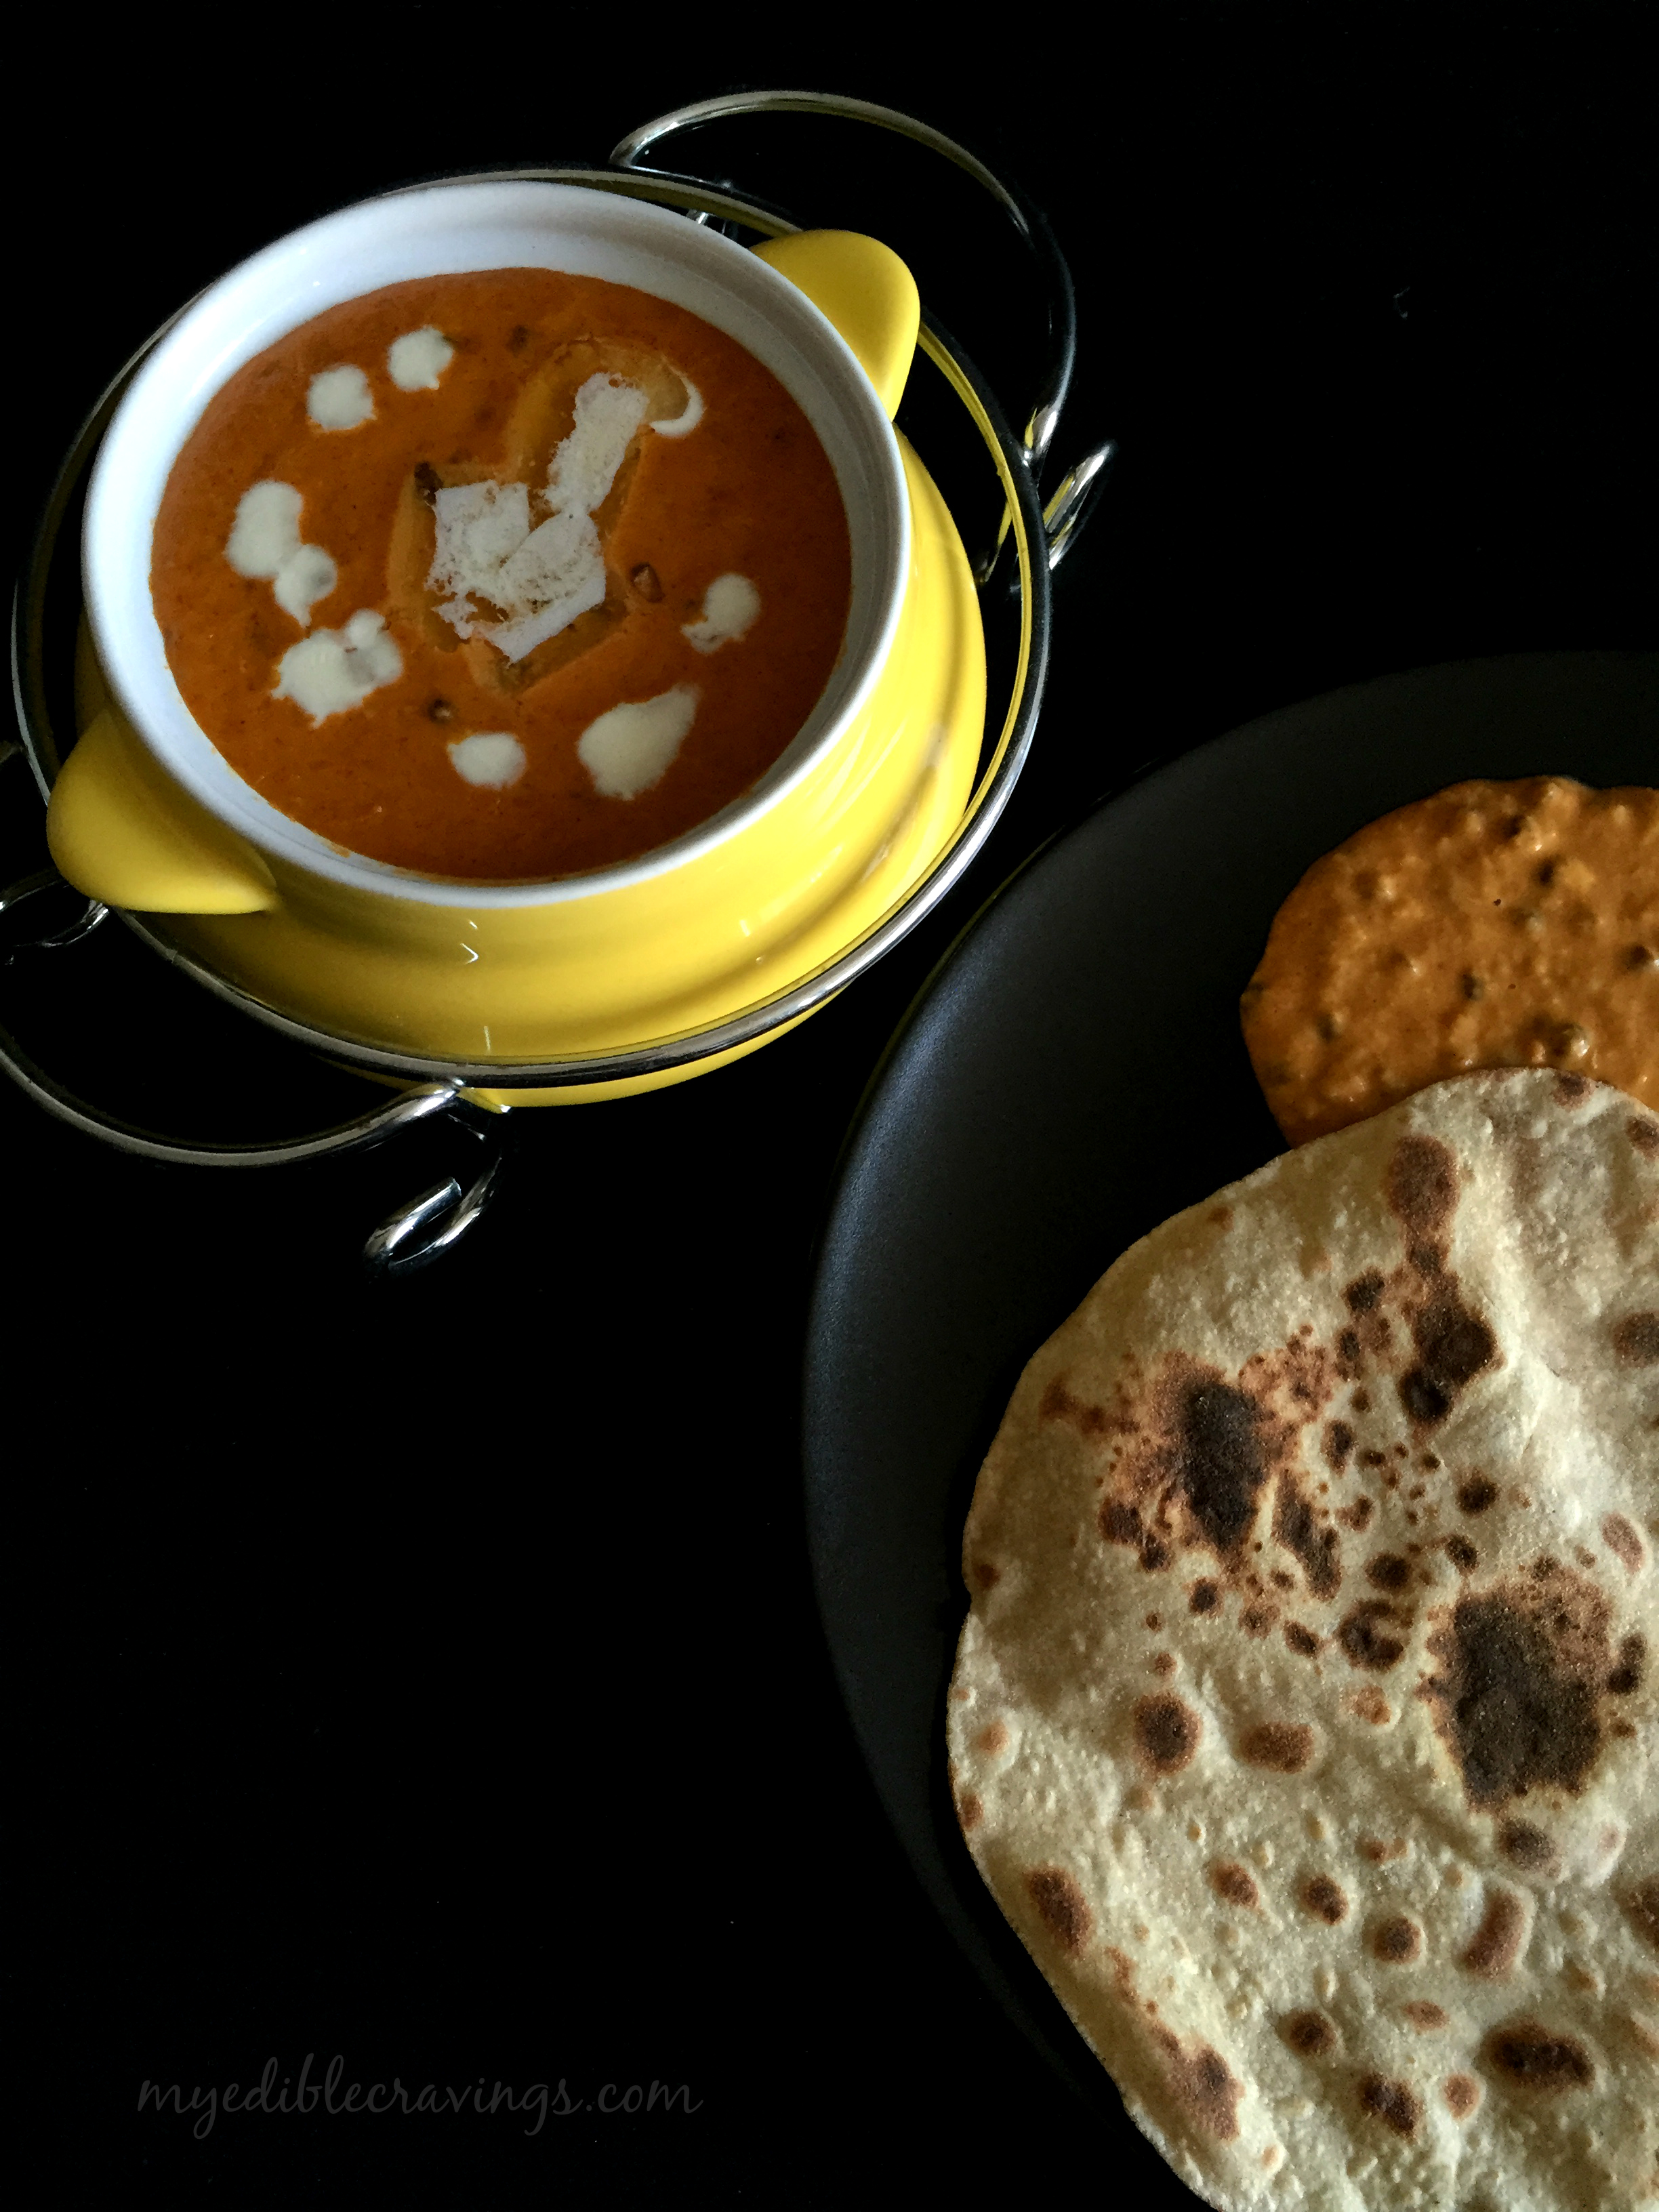
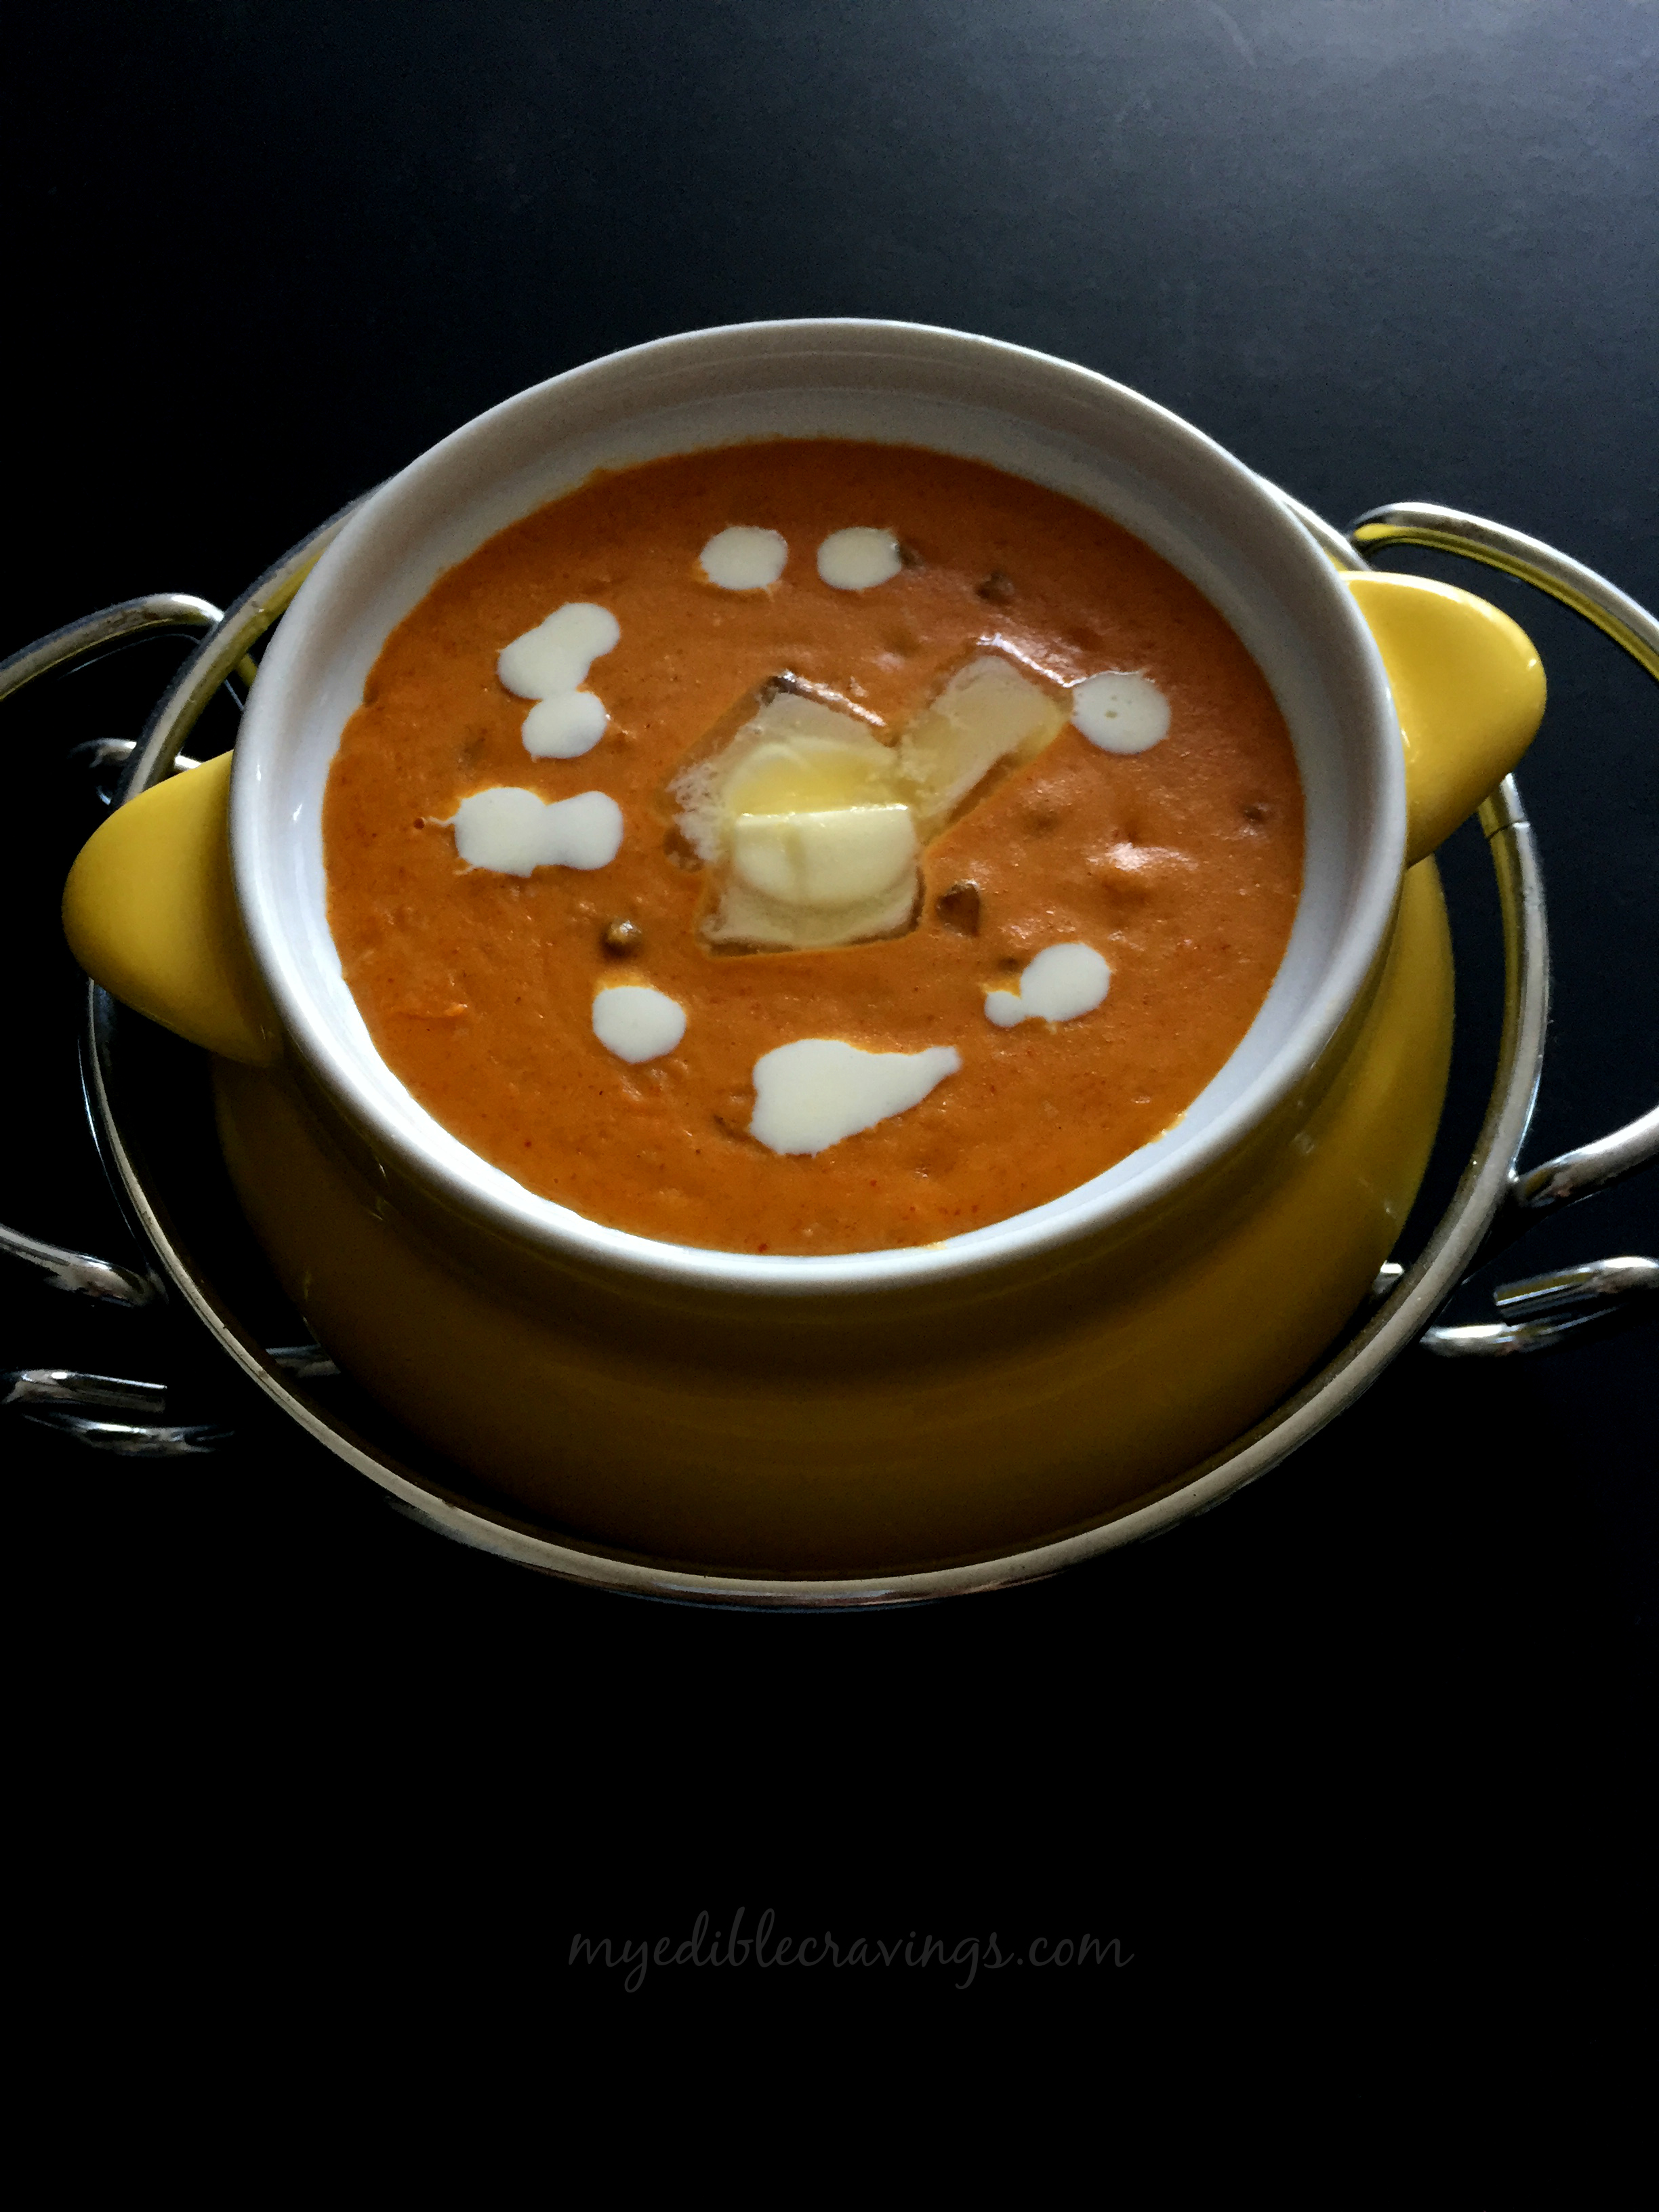
Dal Makhani is a popular north Indian dish that has its origin in Punjab. It literally means ‘buttery lentils’. It is supposed that the original Dal makhani recipe has only black gram lentil (urad) in it. Makhani means buttery and so it is butter and cream along with urad dal. As per Wikipedia, Dal Makhani became popular after the partition, thanks to the Punjabi diaspora. It is a typical punjabi dish that can be found in almost all Dhabas (roadside eateries, very popular in North India) and in Indian restaurants here in the US.
Dal makhani
Dal makhani
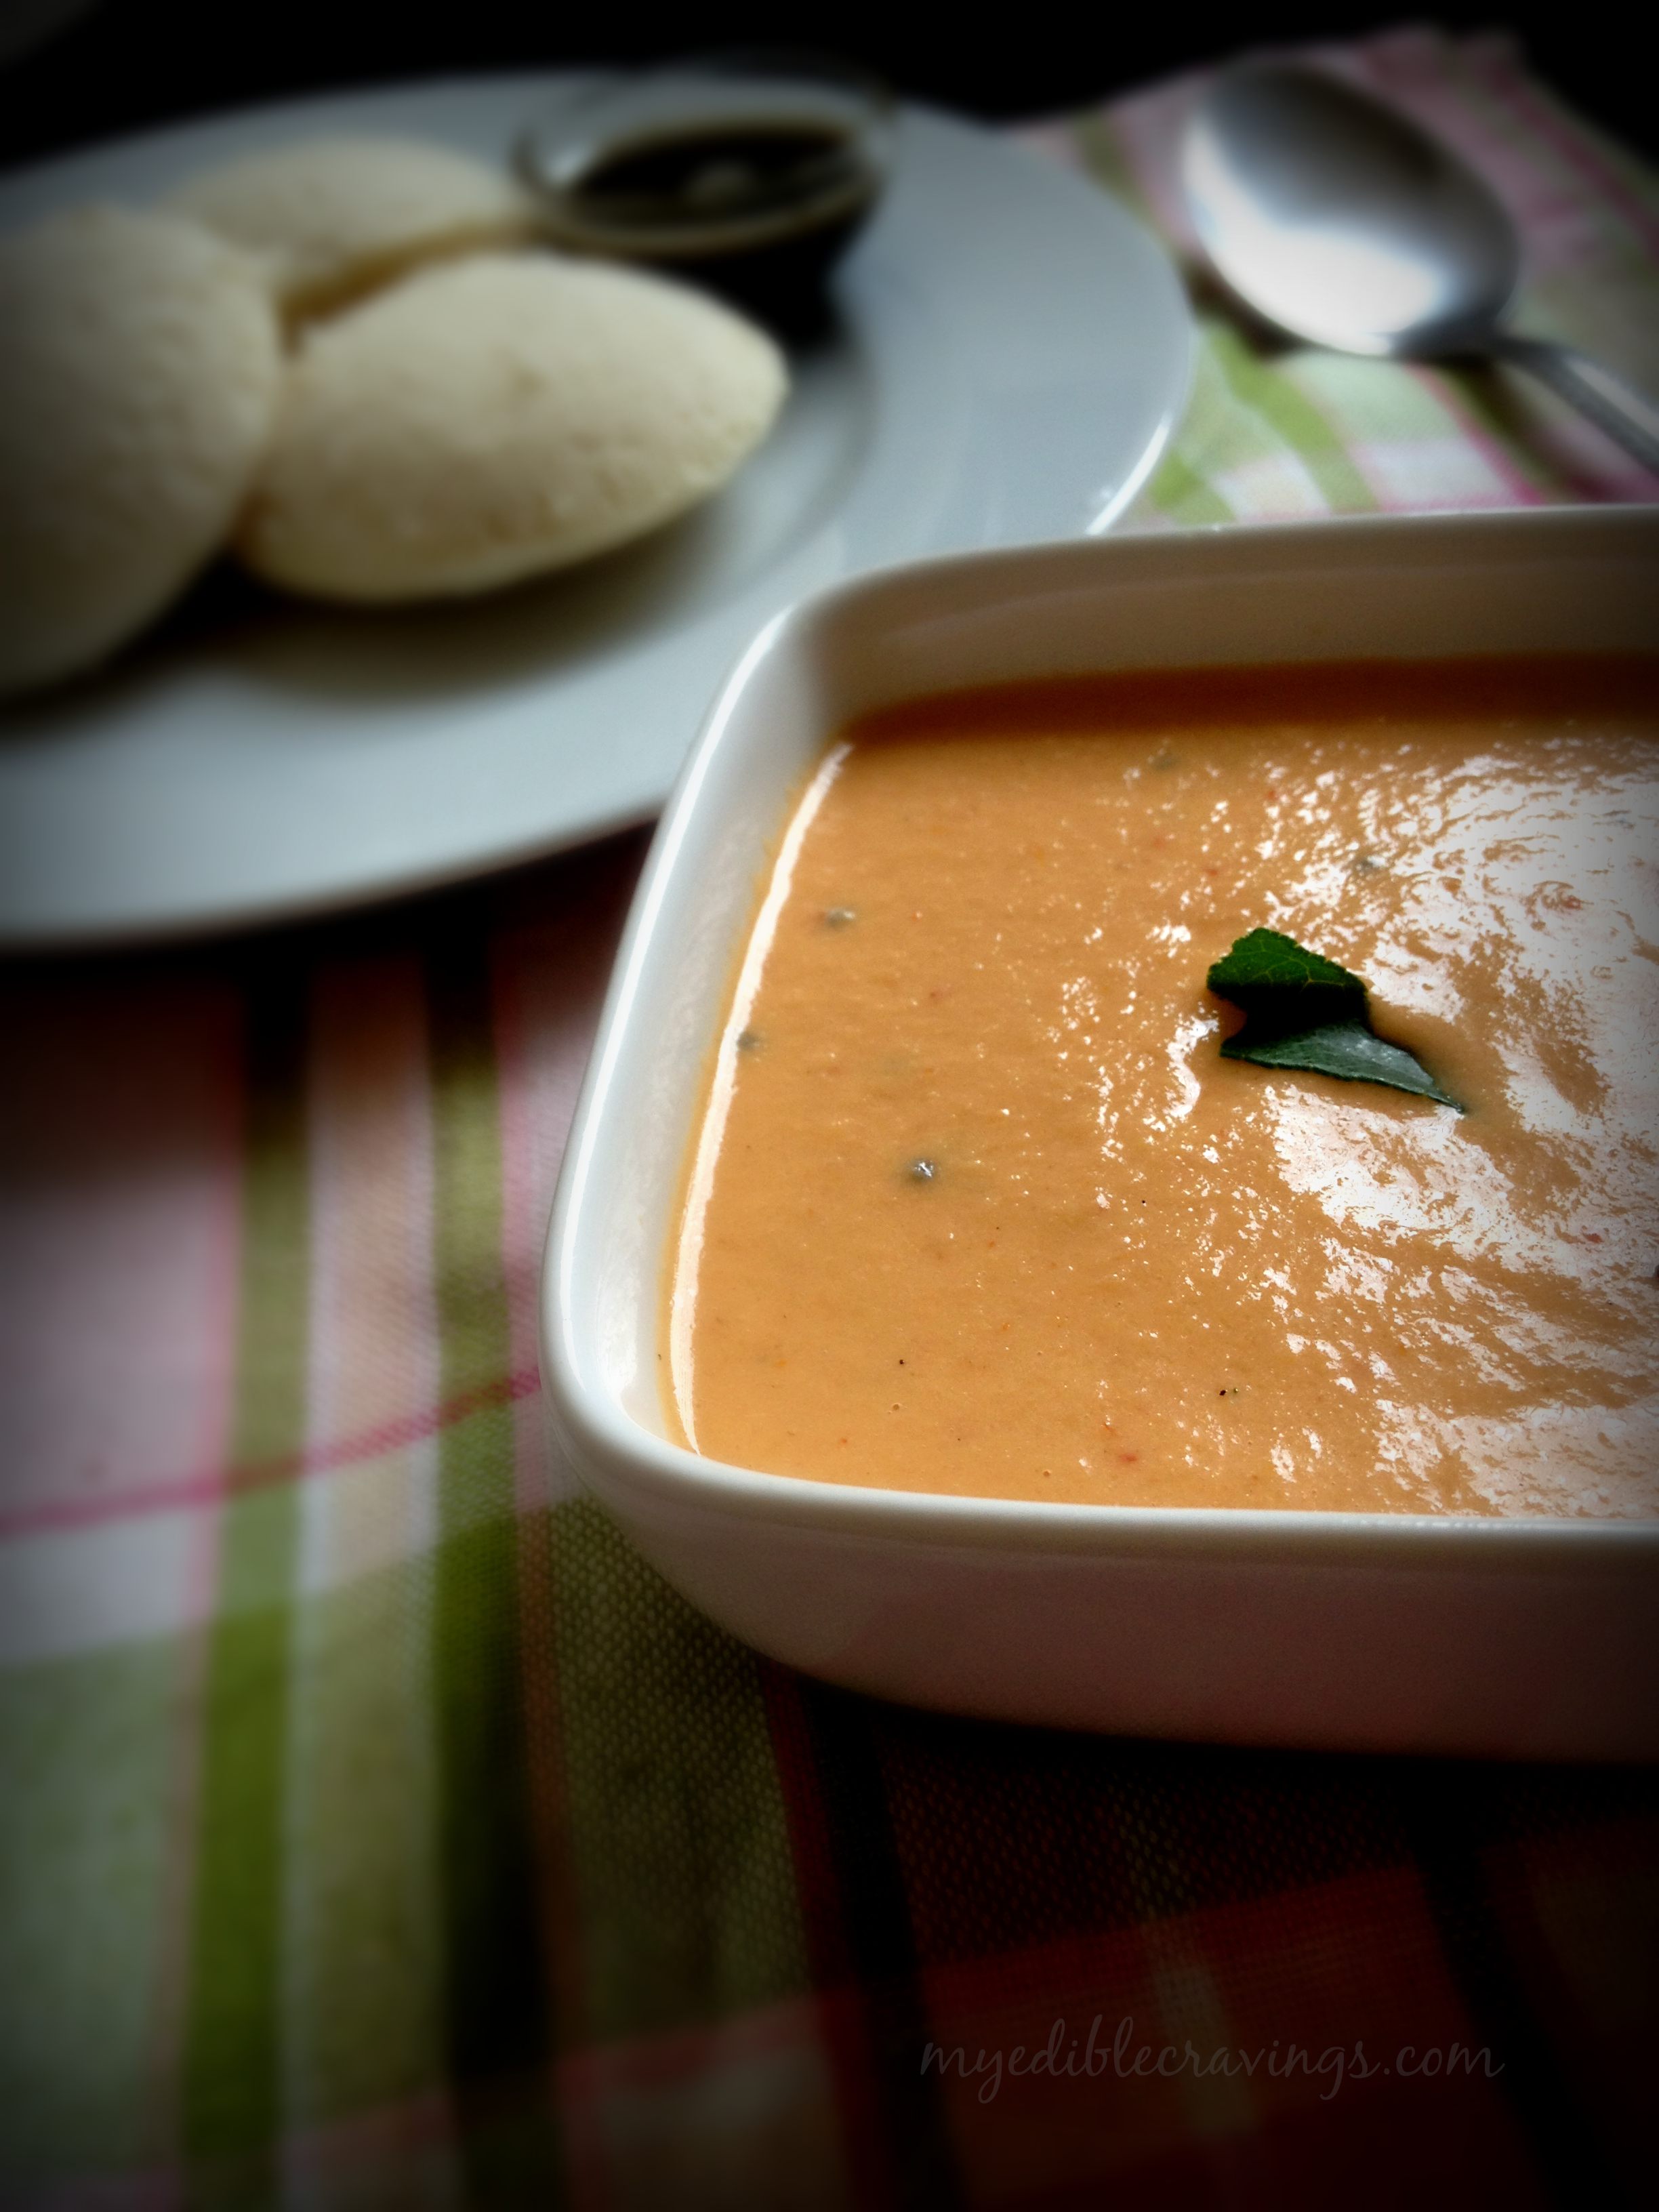
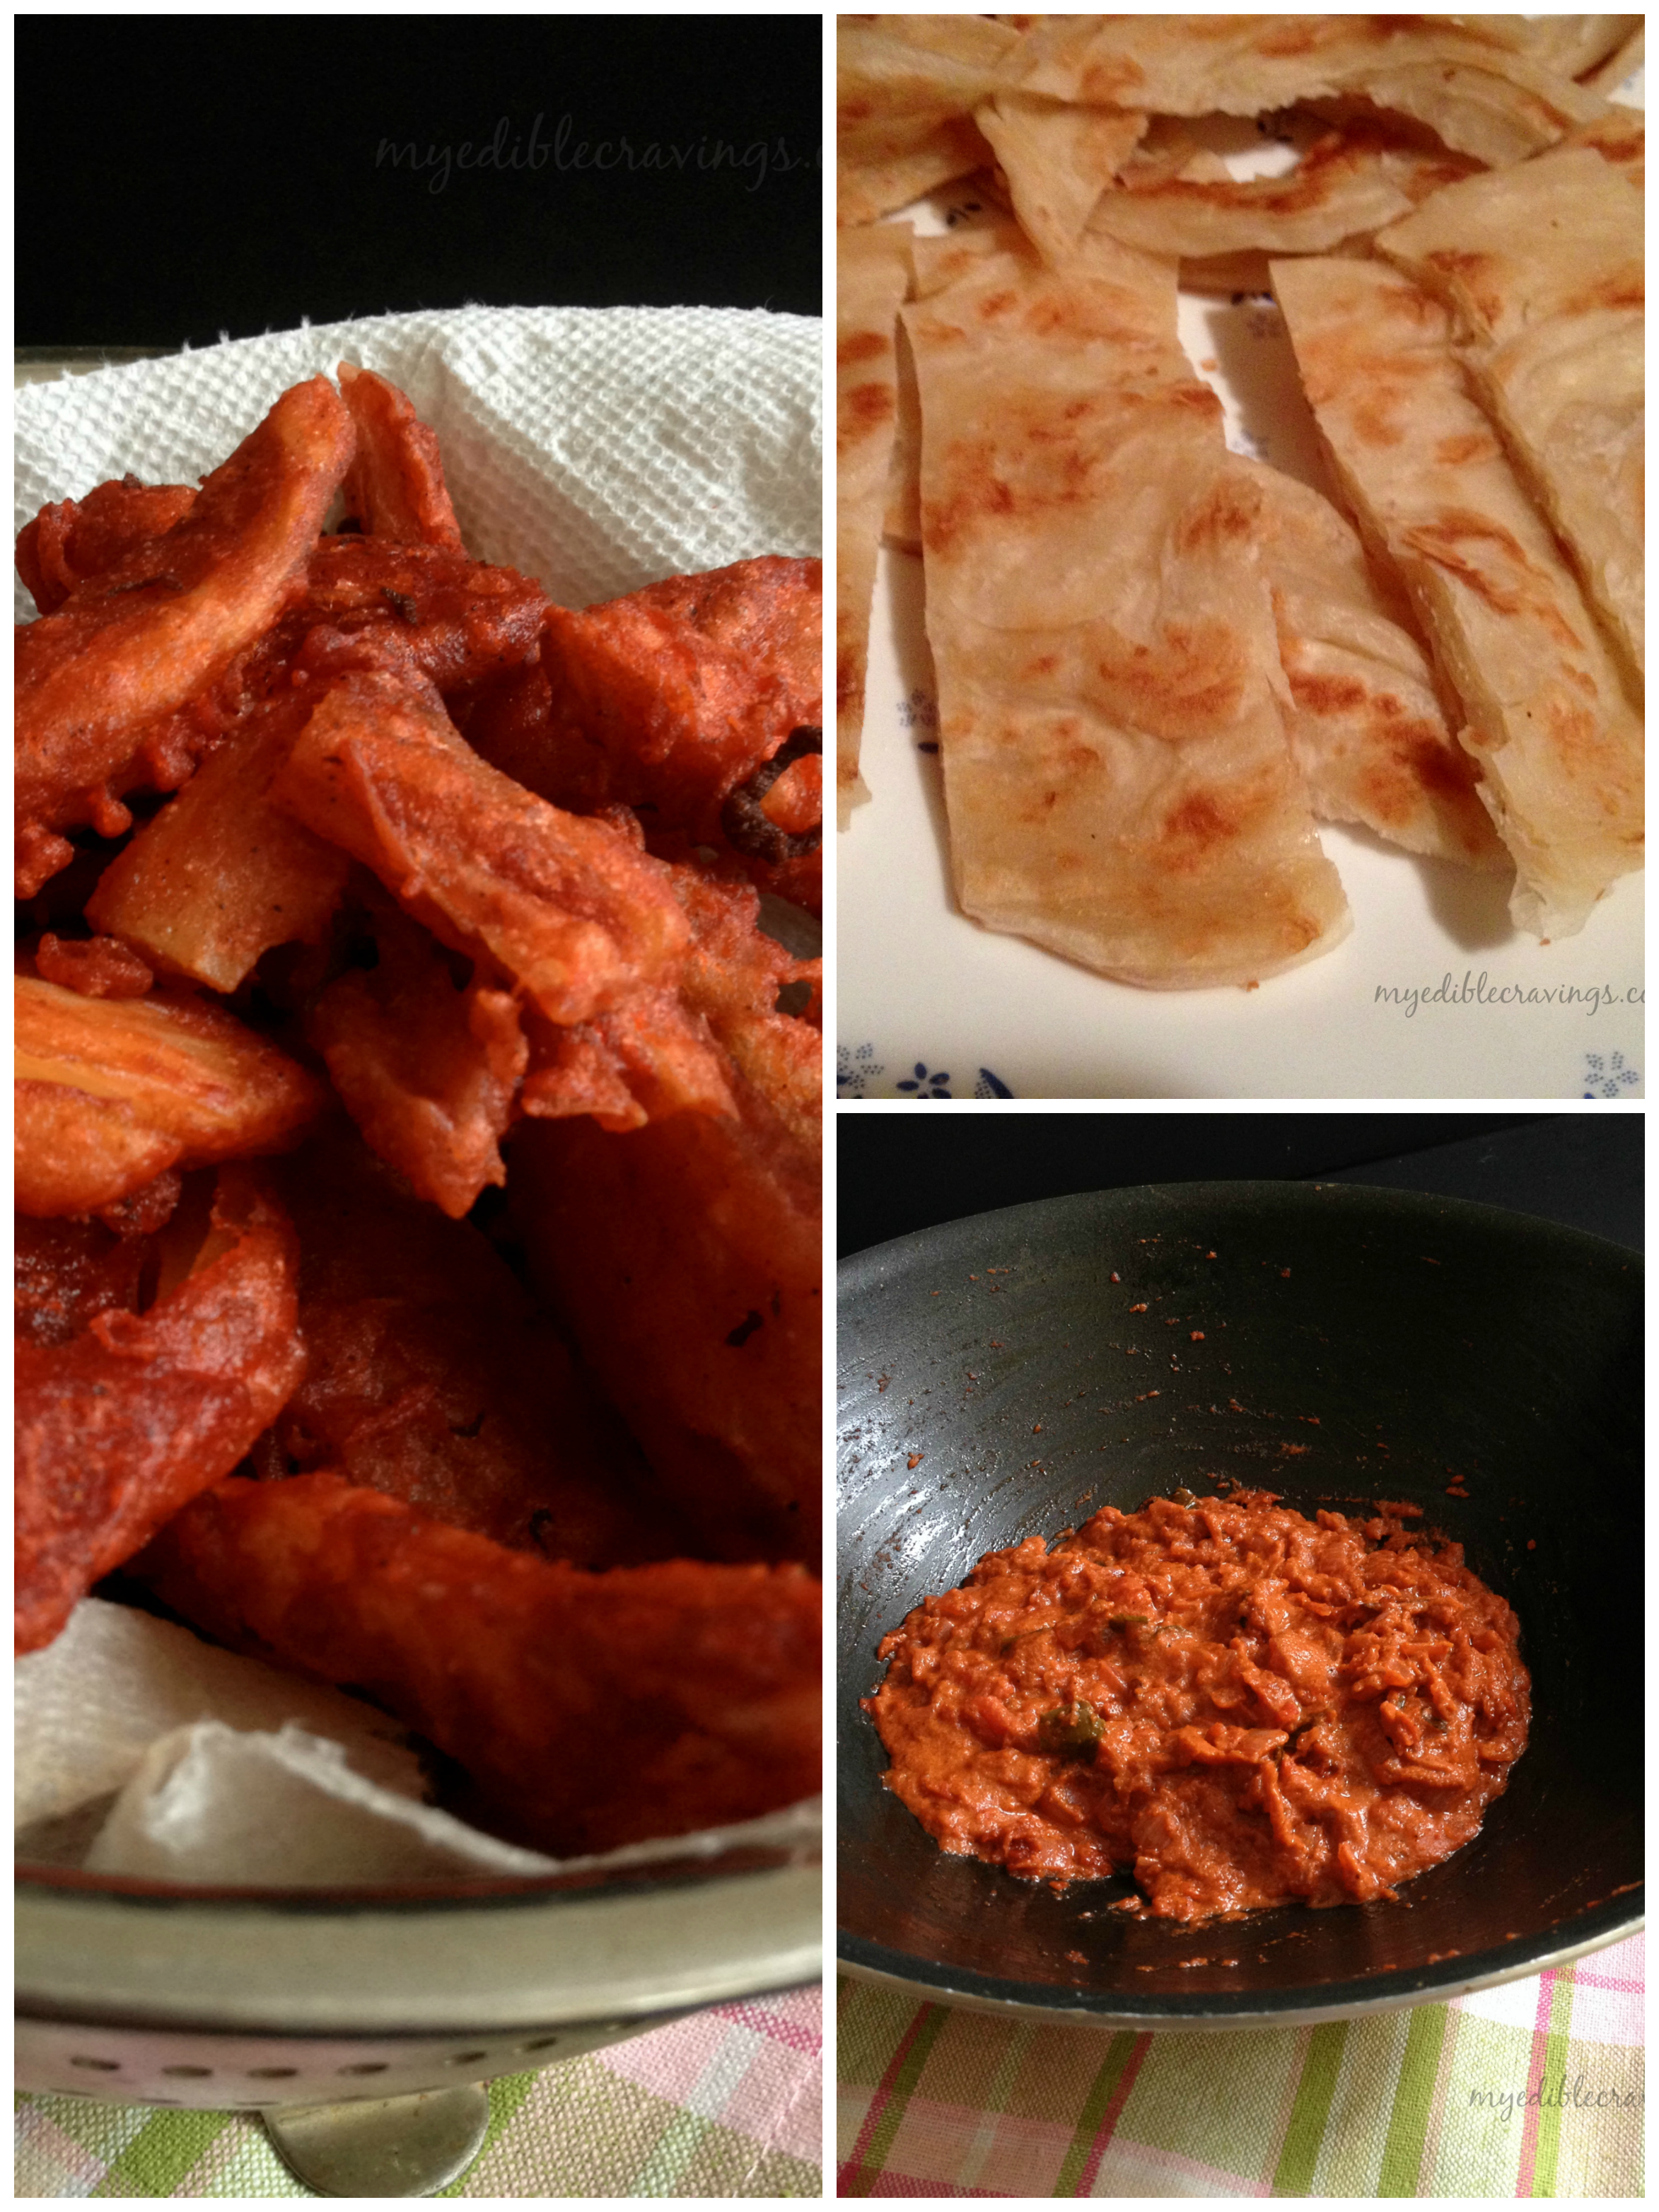
There are so many varieties of sauces like cashew, tomato, white sauce, curry sauce, rogan josh, buna, madrasi etc and Makhani is one among them. Through out my experience with cooking different dishes, I have noticed that most often cooking a recipe can be broadly defined as first preparing a sauce/gravy and then adding the main ingredient, the one that defines the dish, to it. This method of preparation of dishes is particularly useful in restaurants where a variety of sauces are prepared first and then different recipes are cooked using those sauces. And Dal Makhani is prepared the same way as well; you first prepare the Makhani and then add lentil (urad dal here) to it.
Dal makhani
Dal makhani
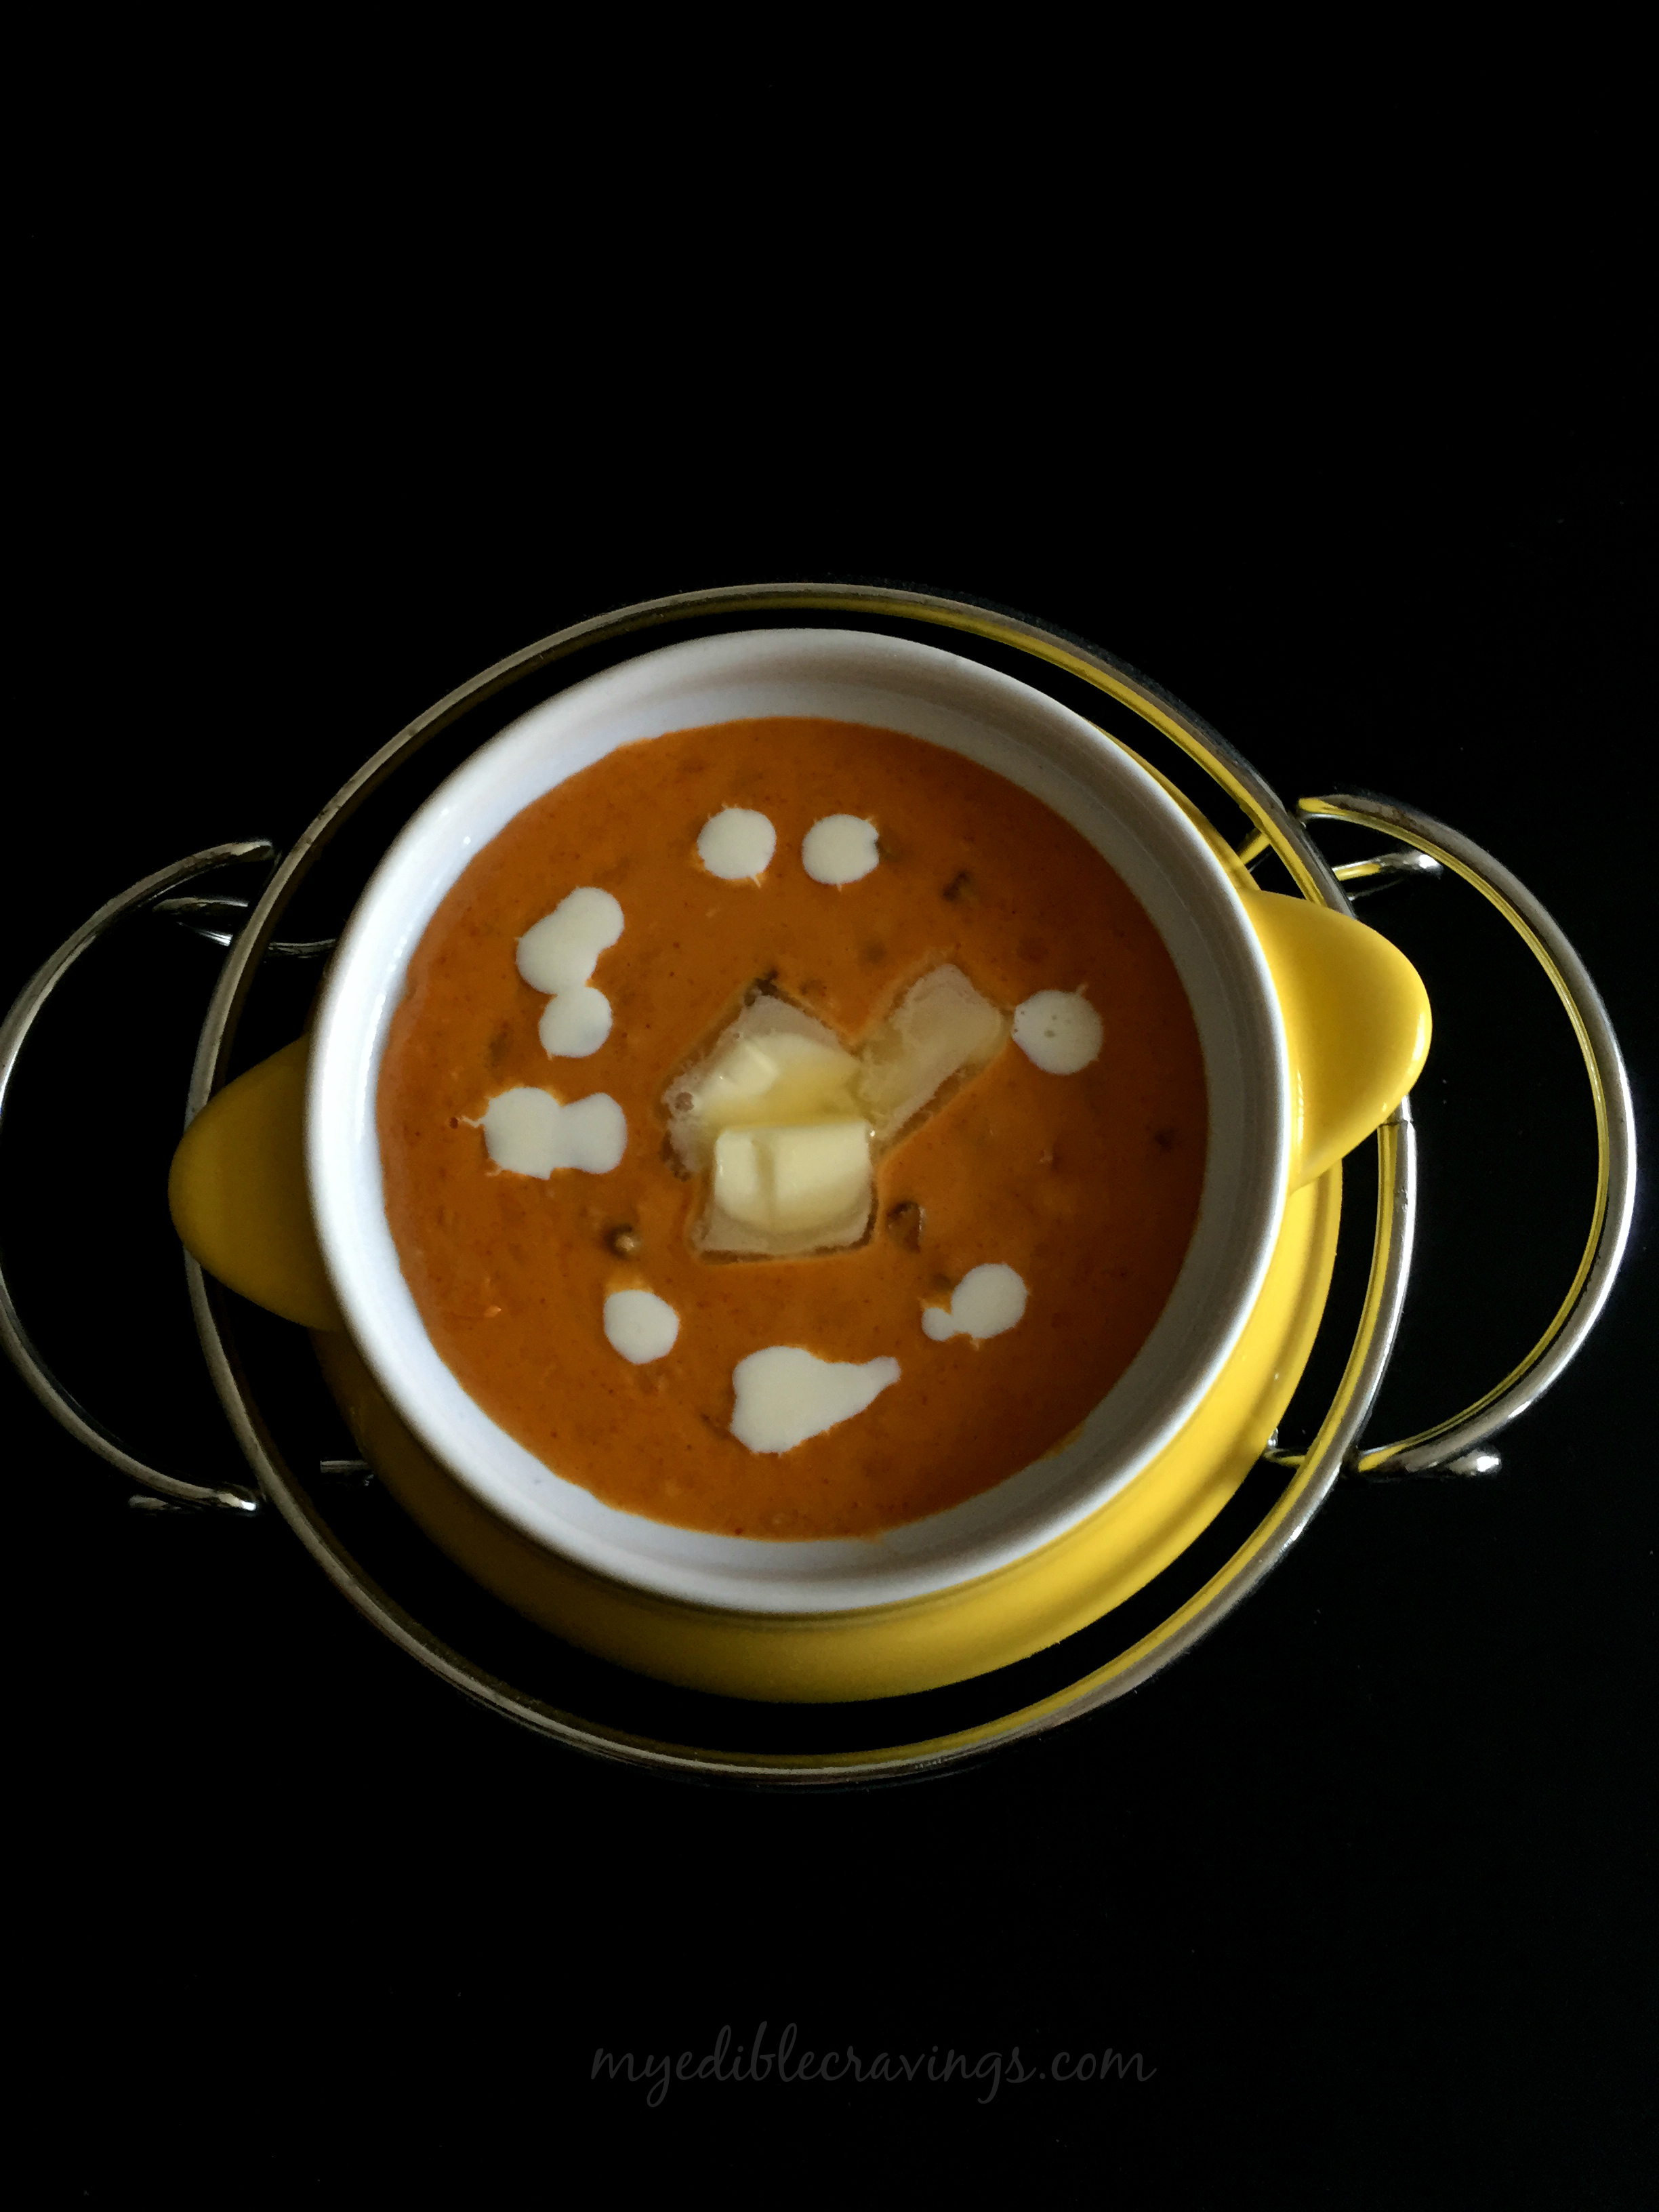
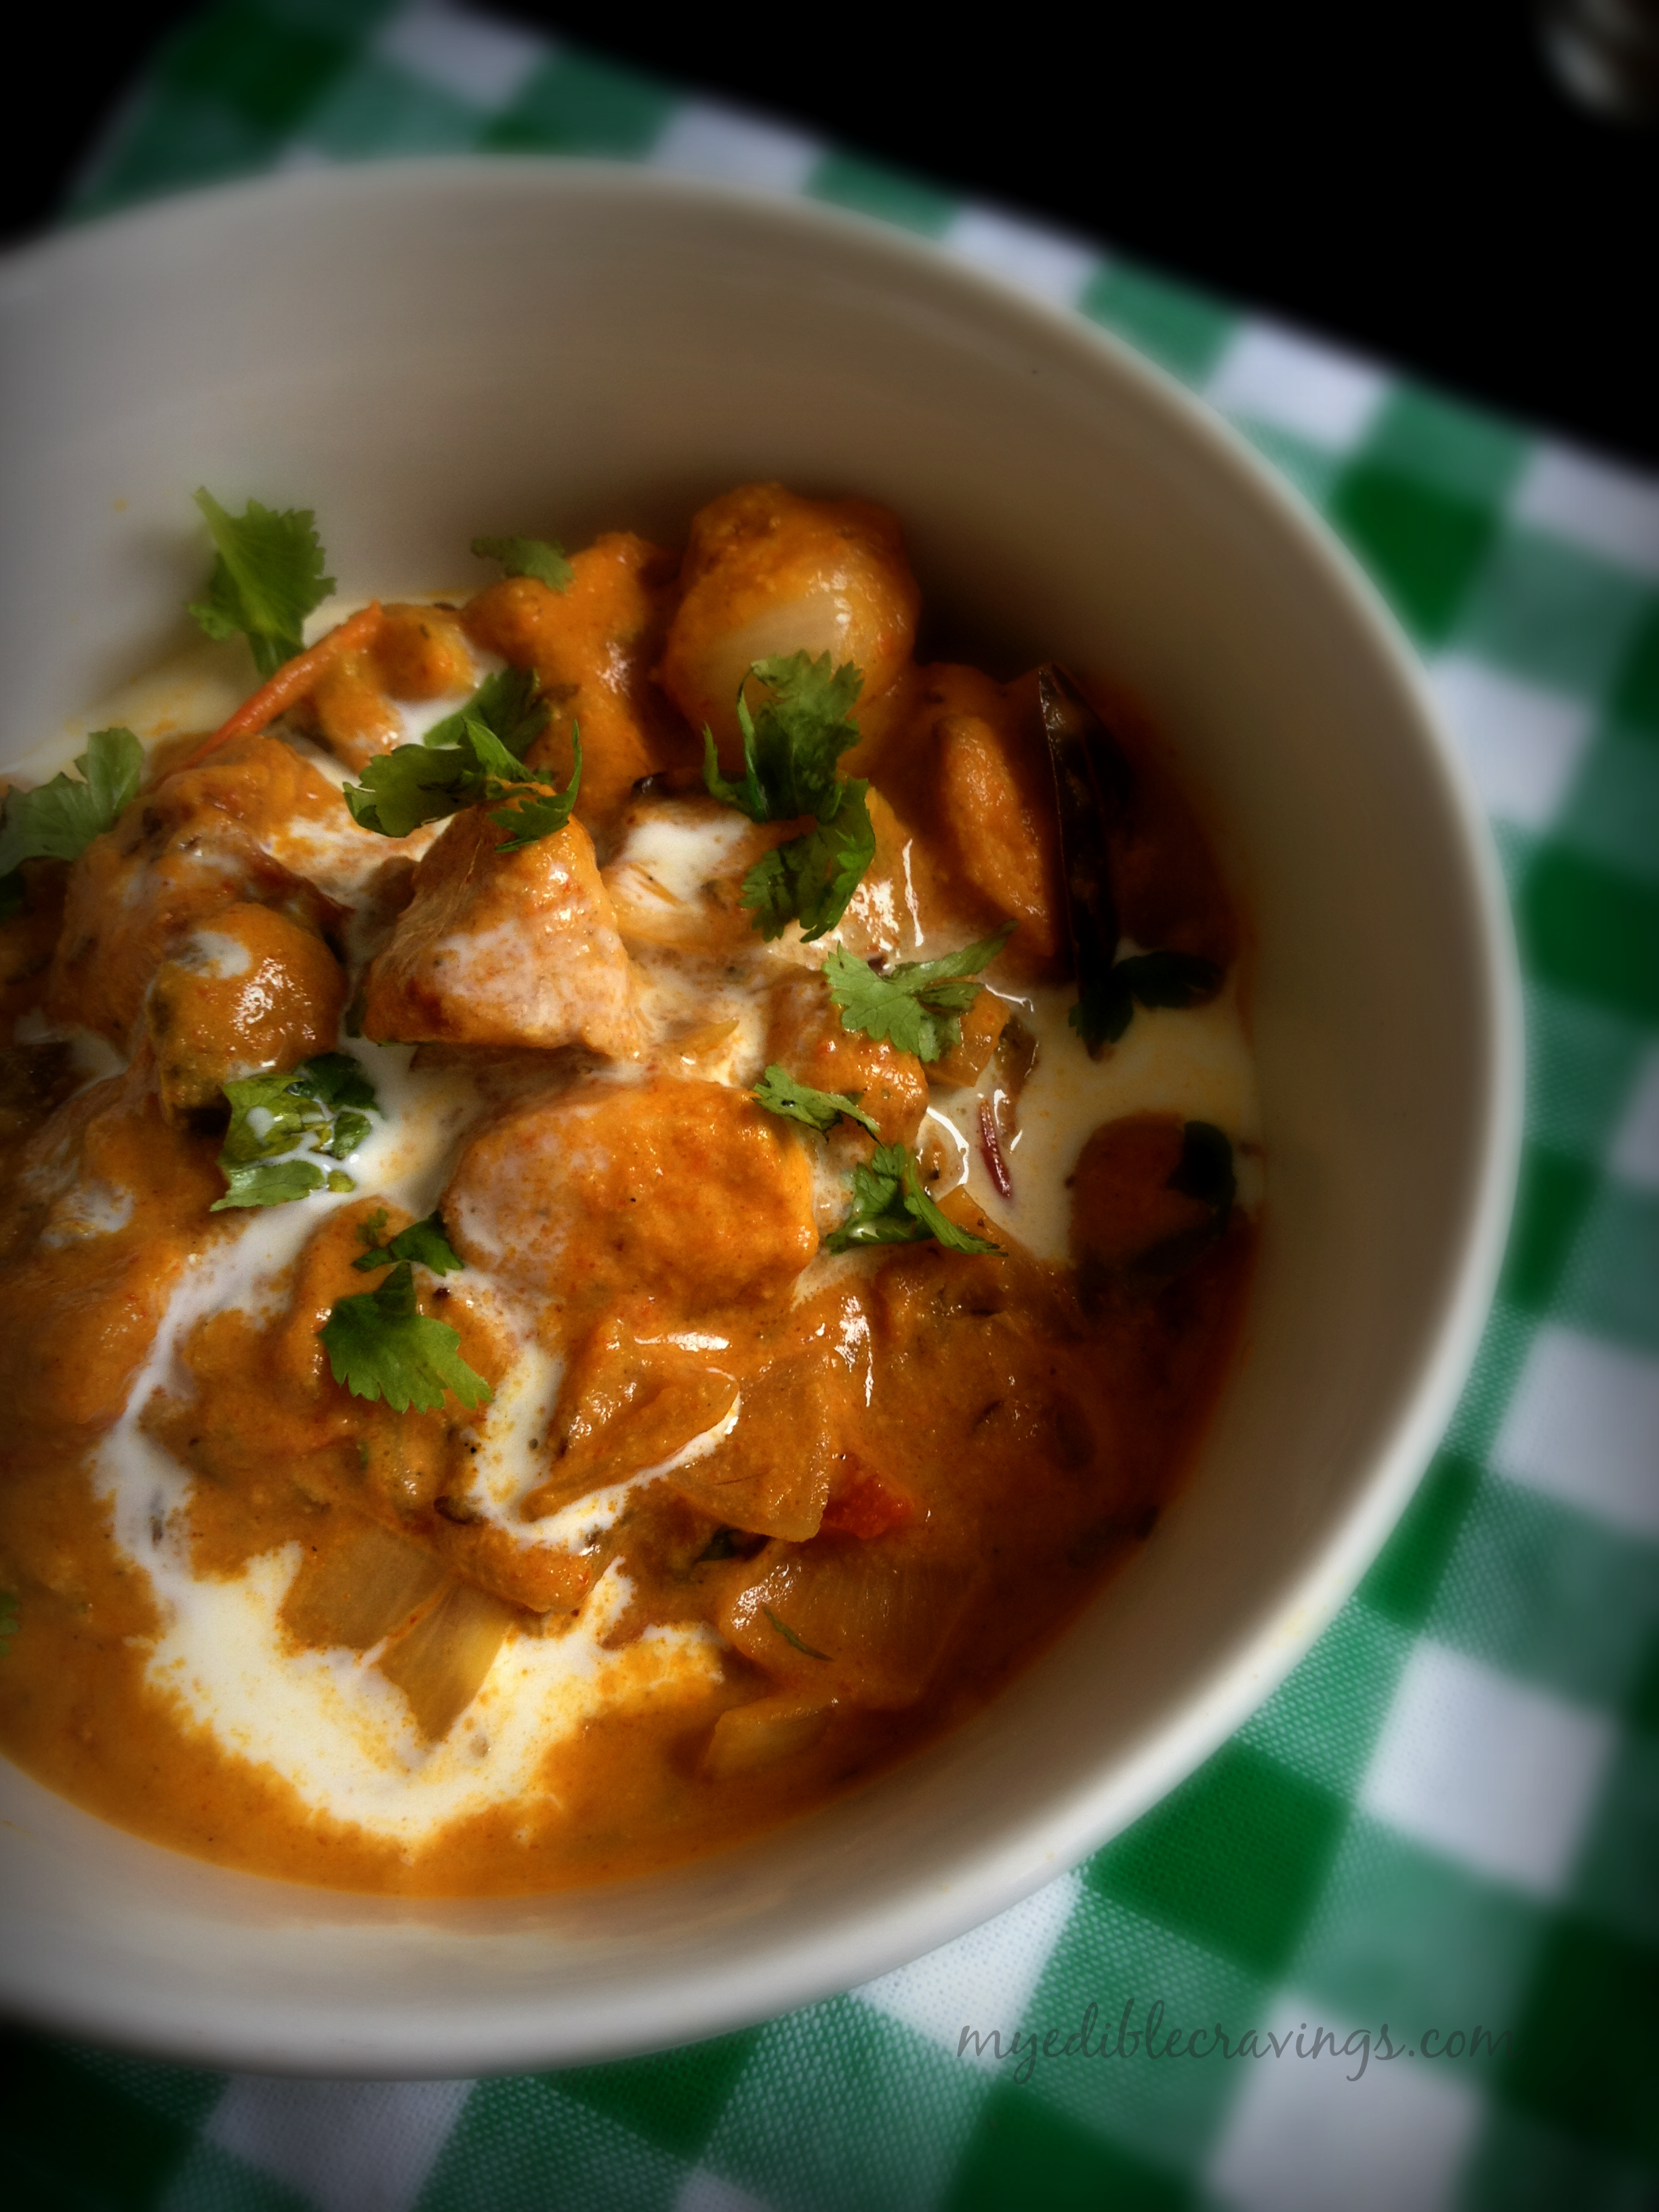
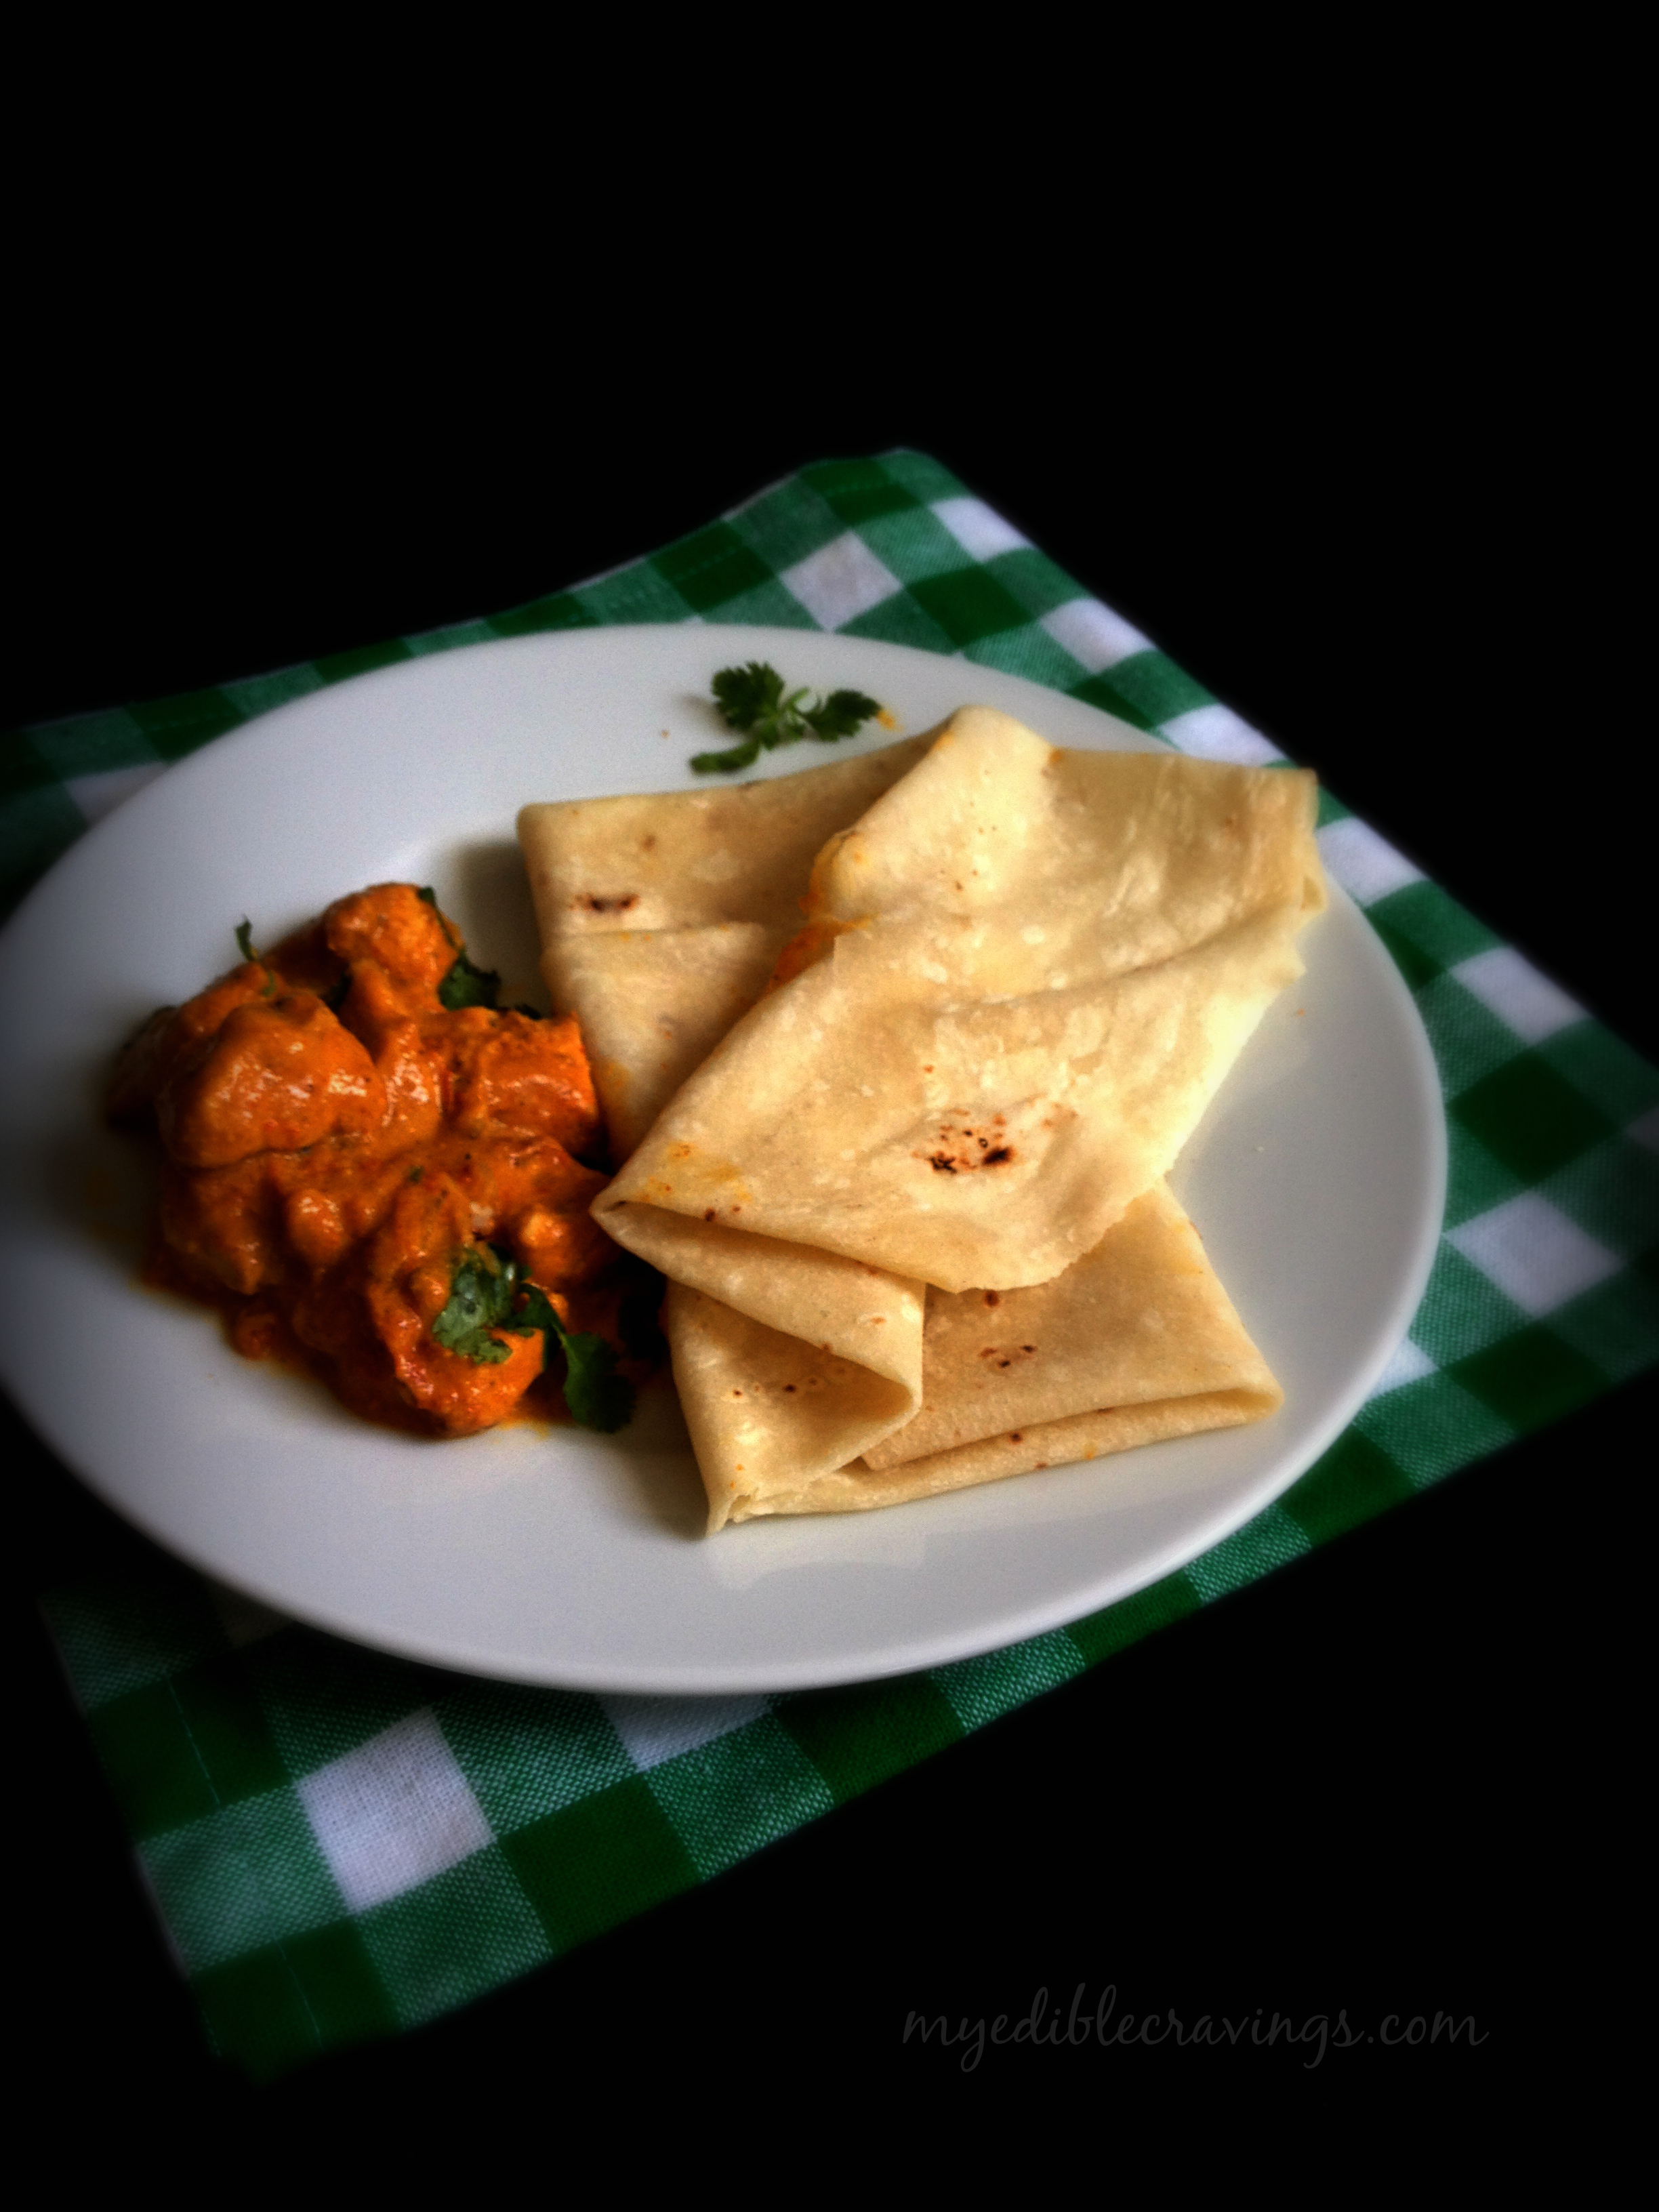
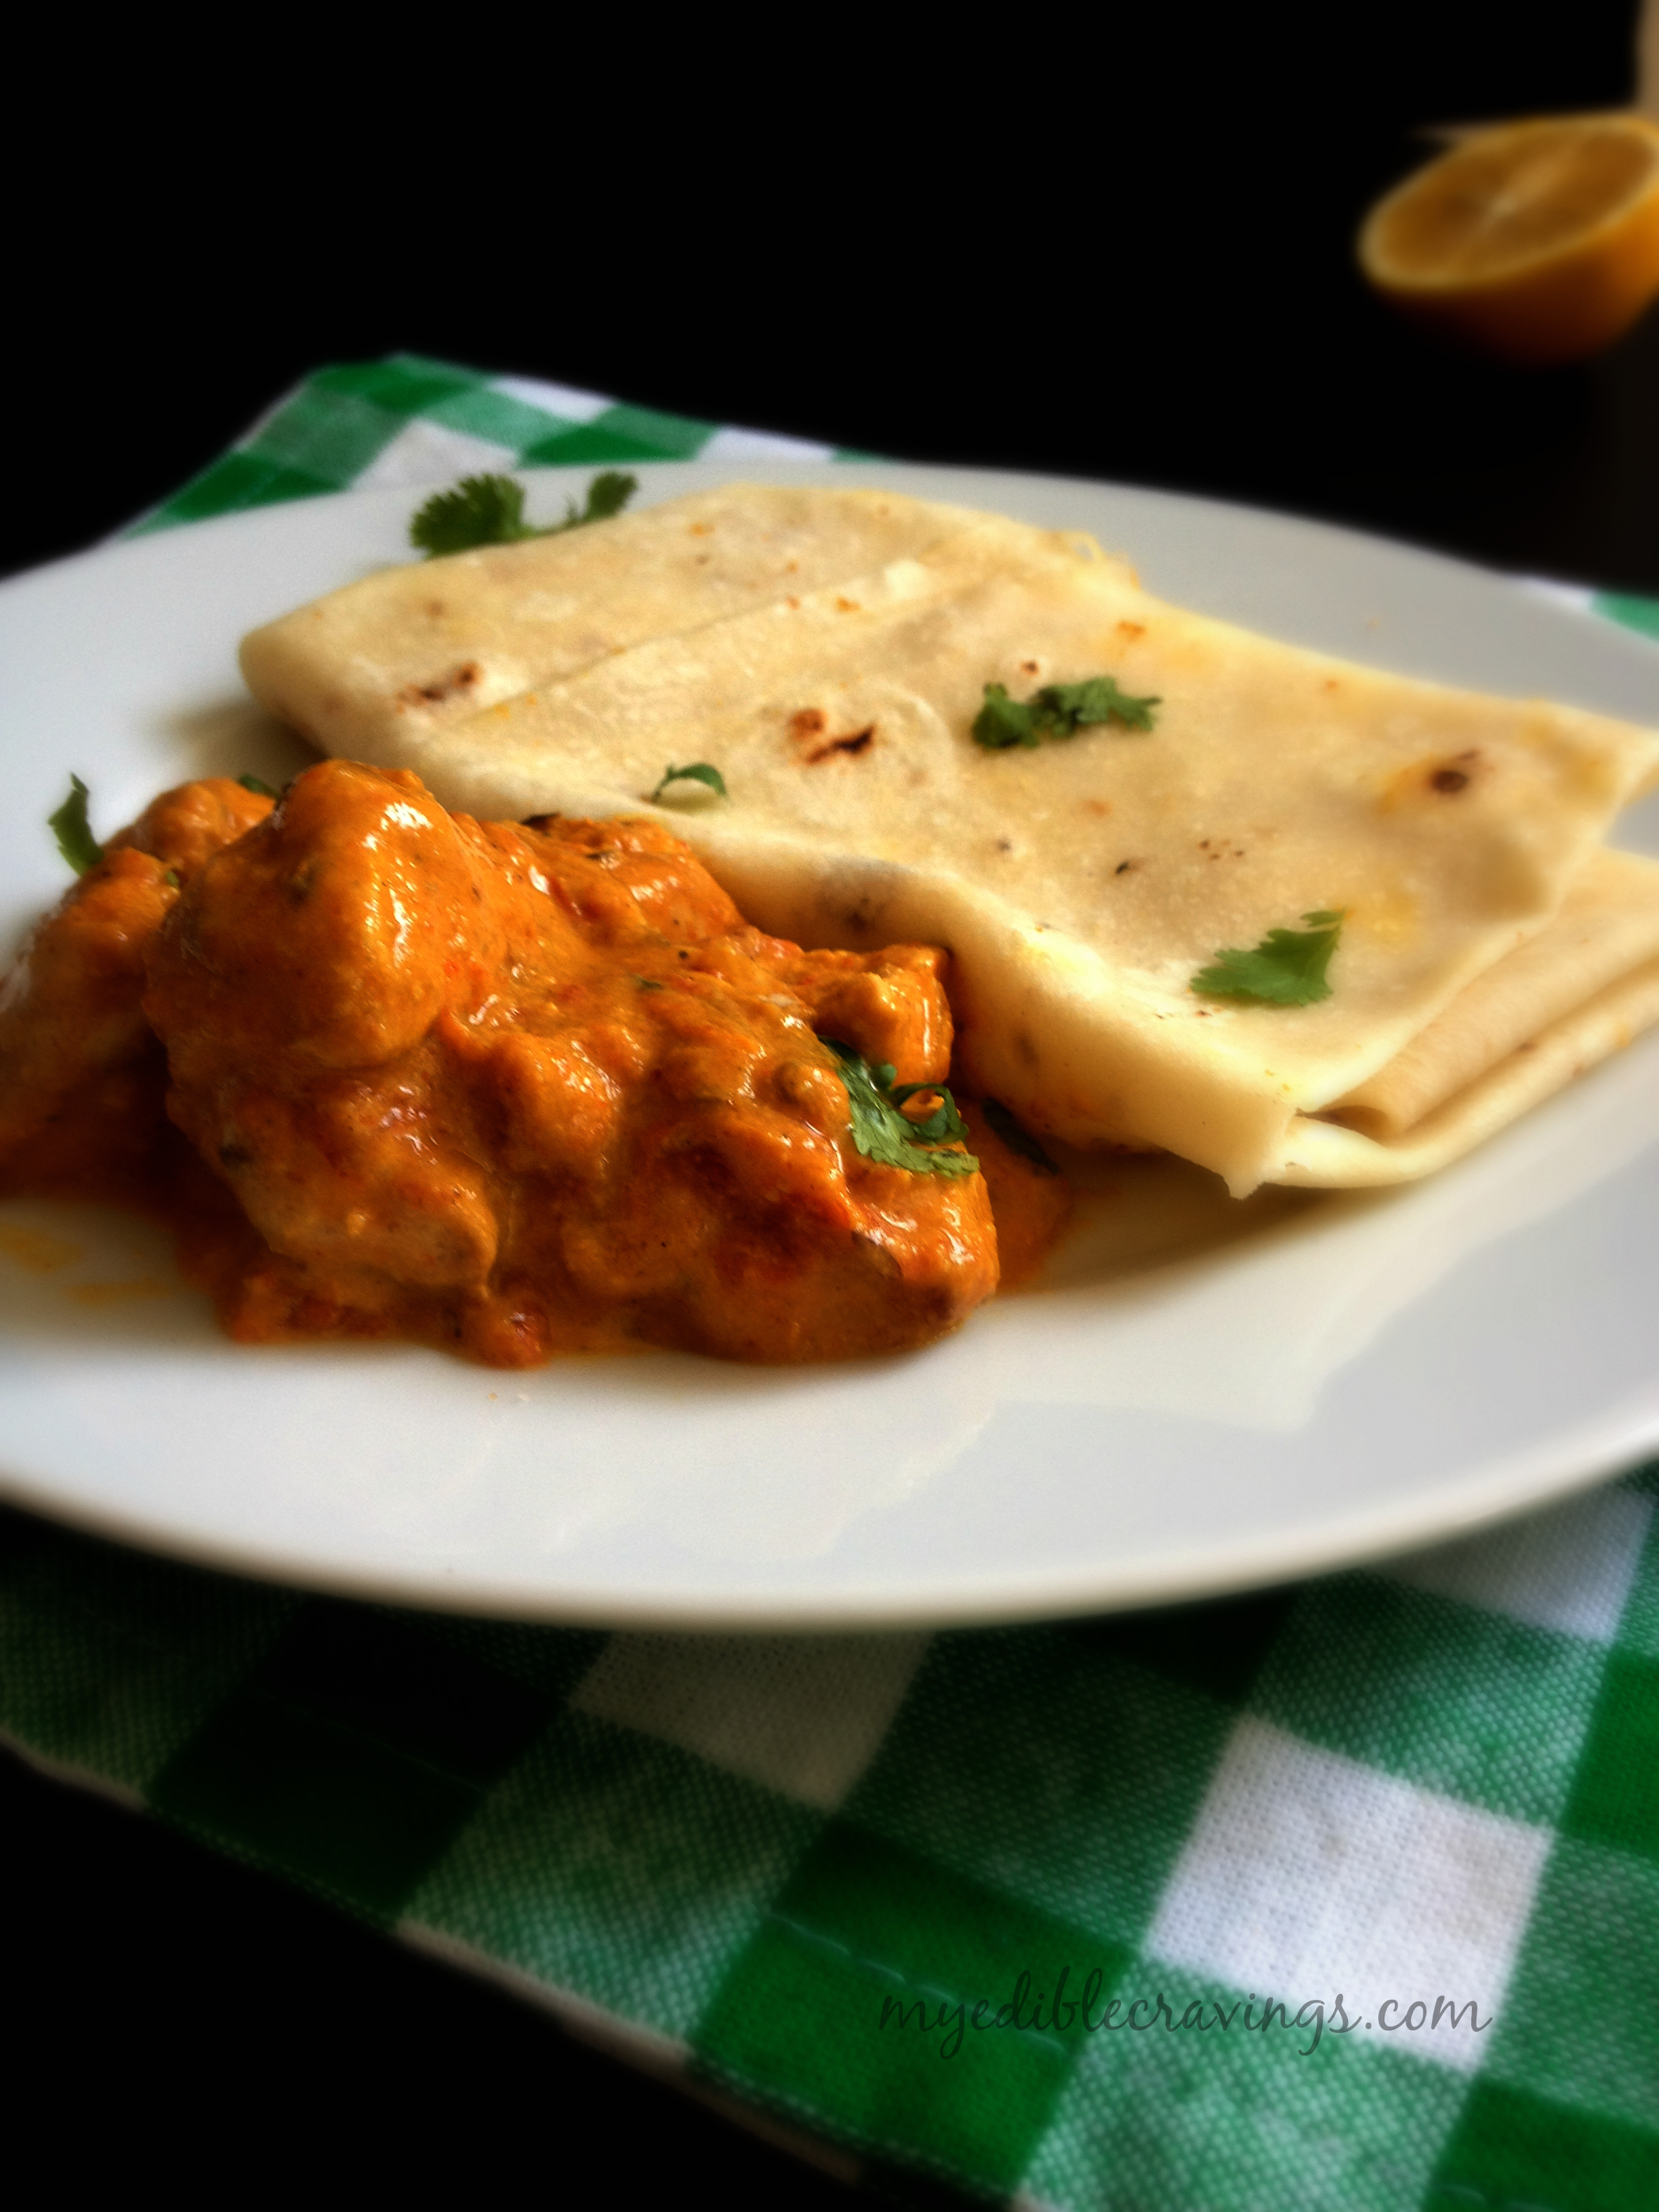
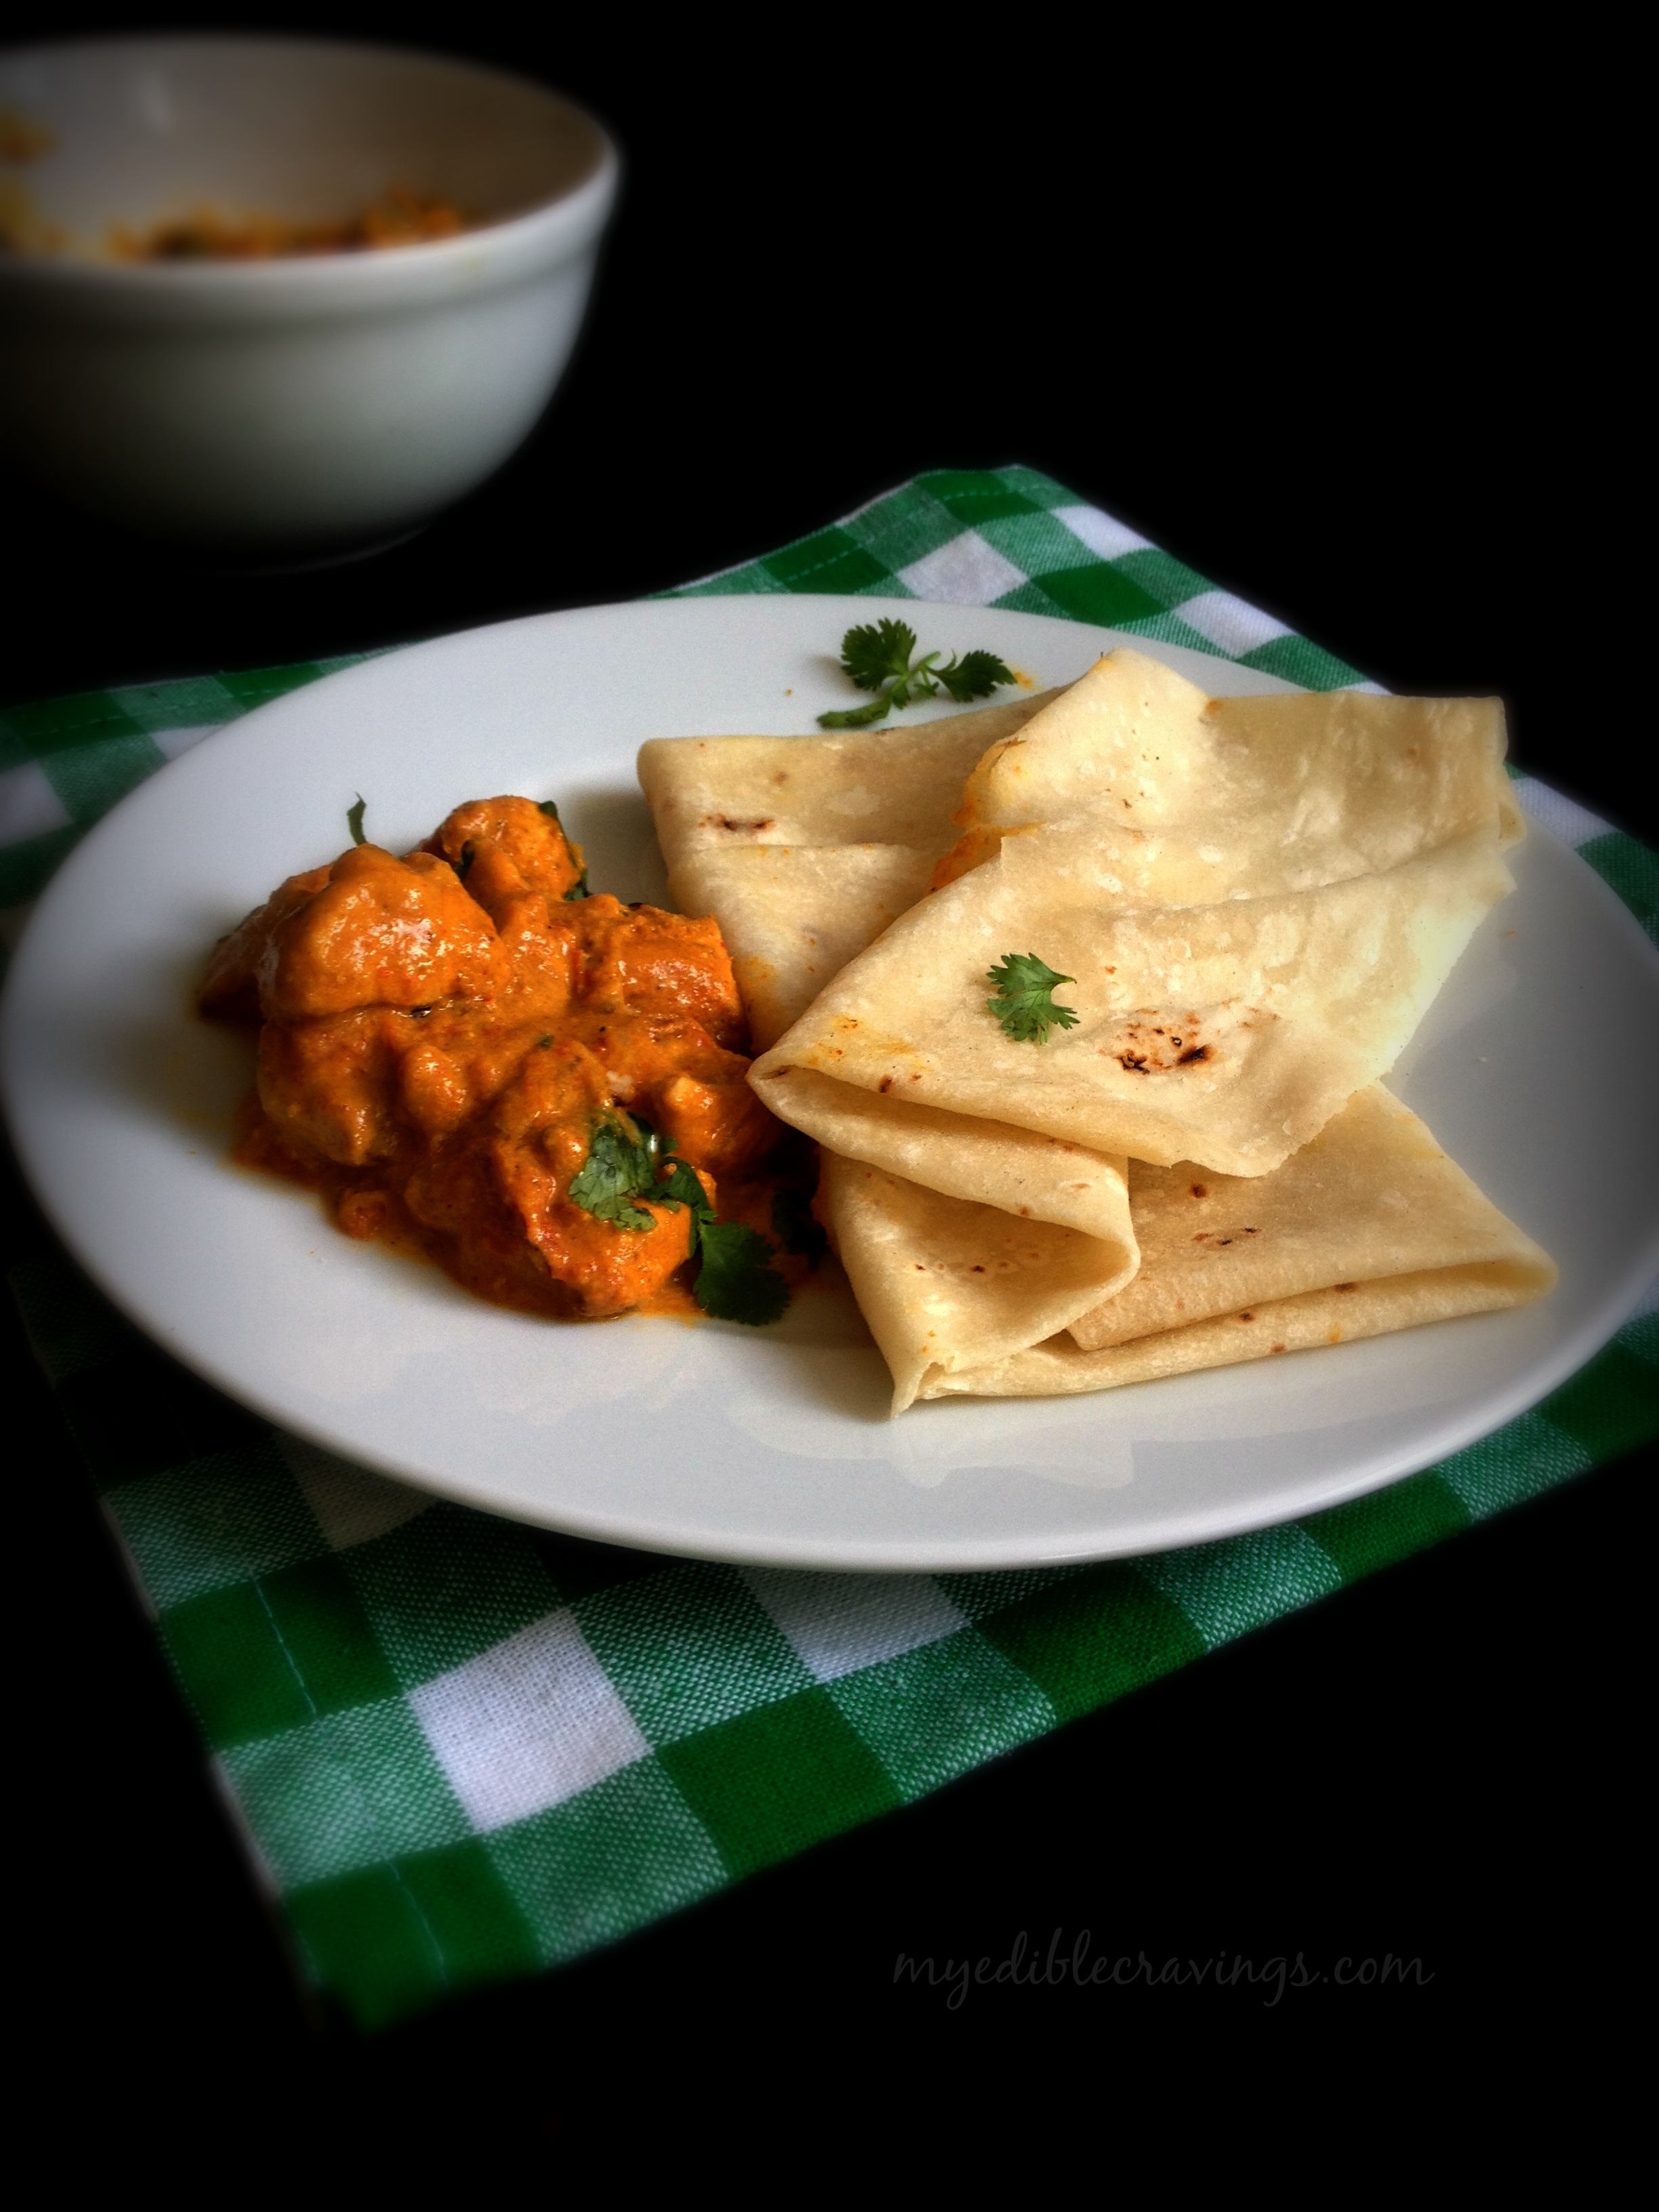
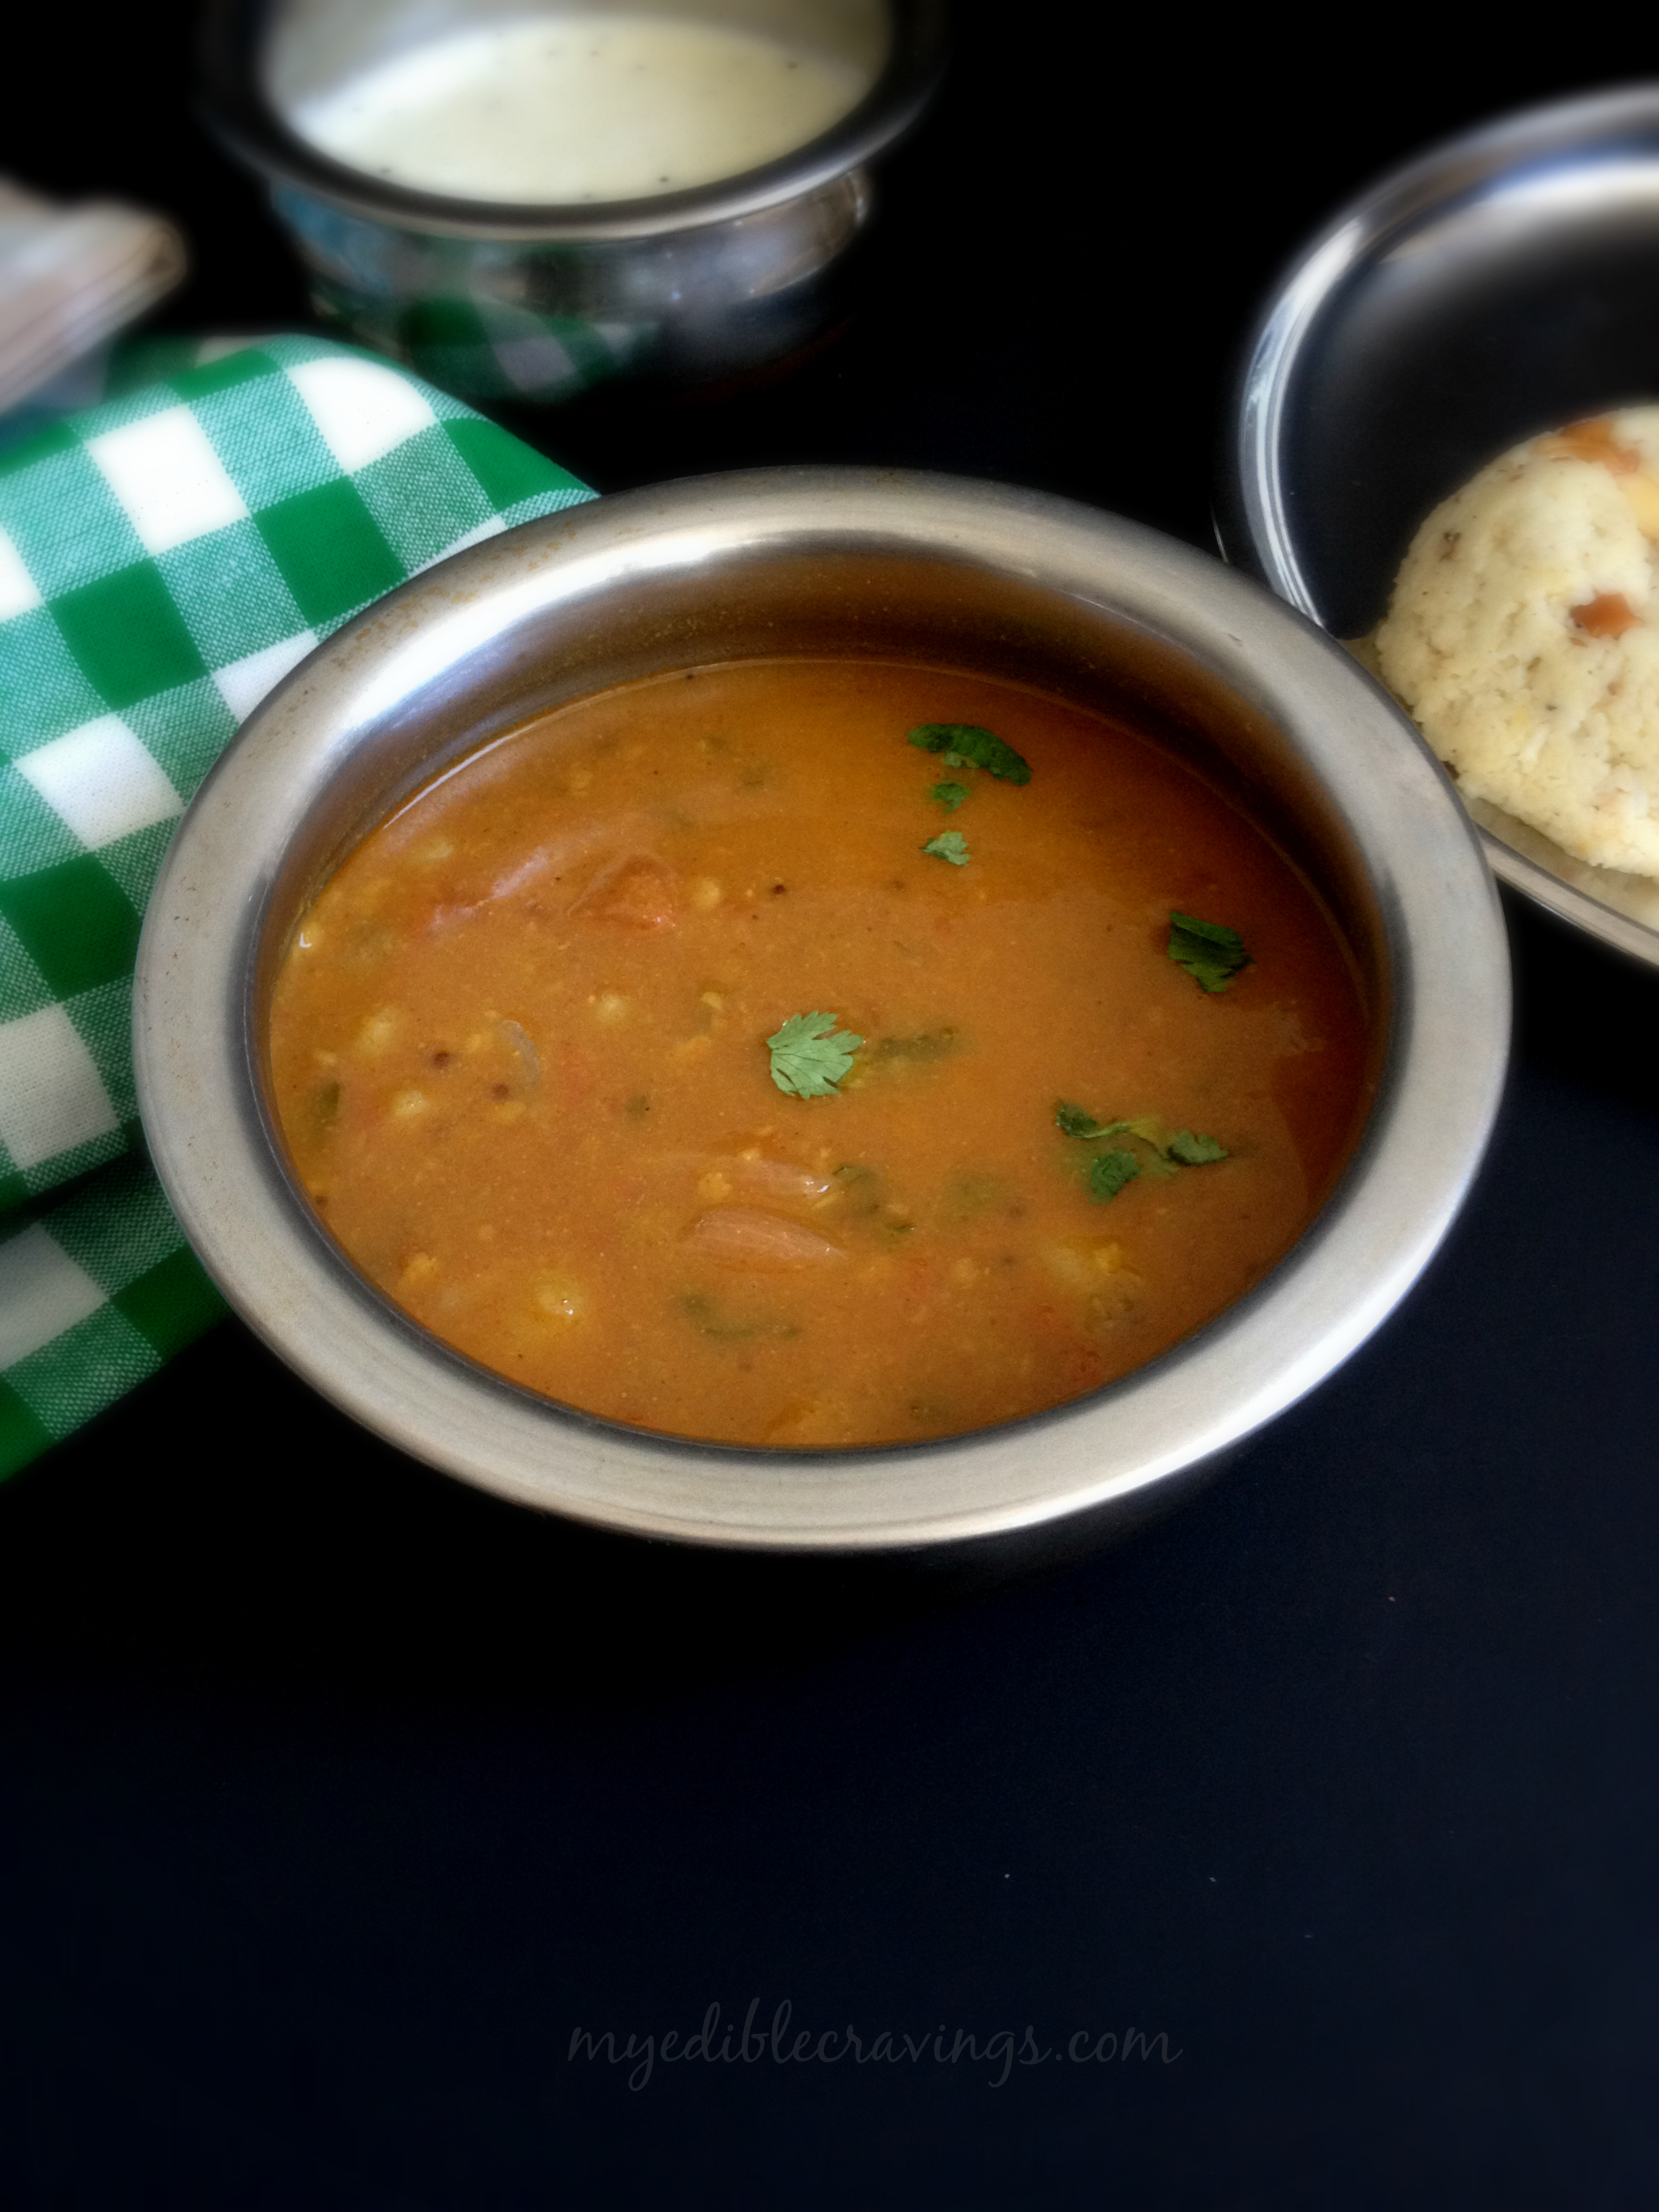
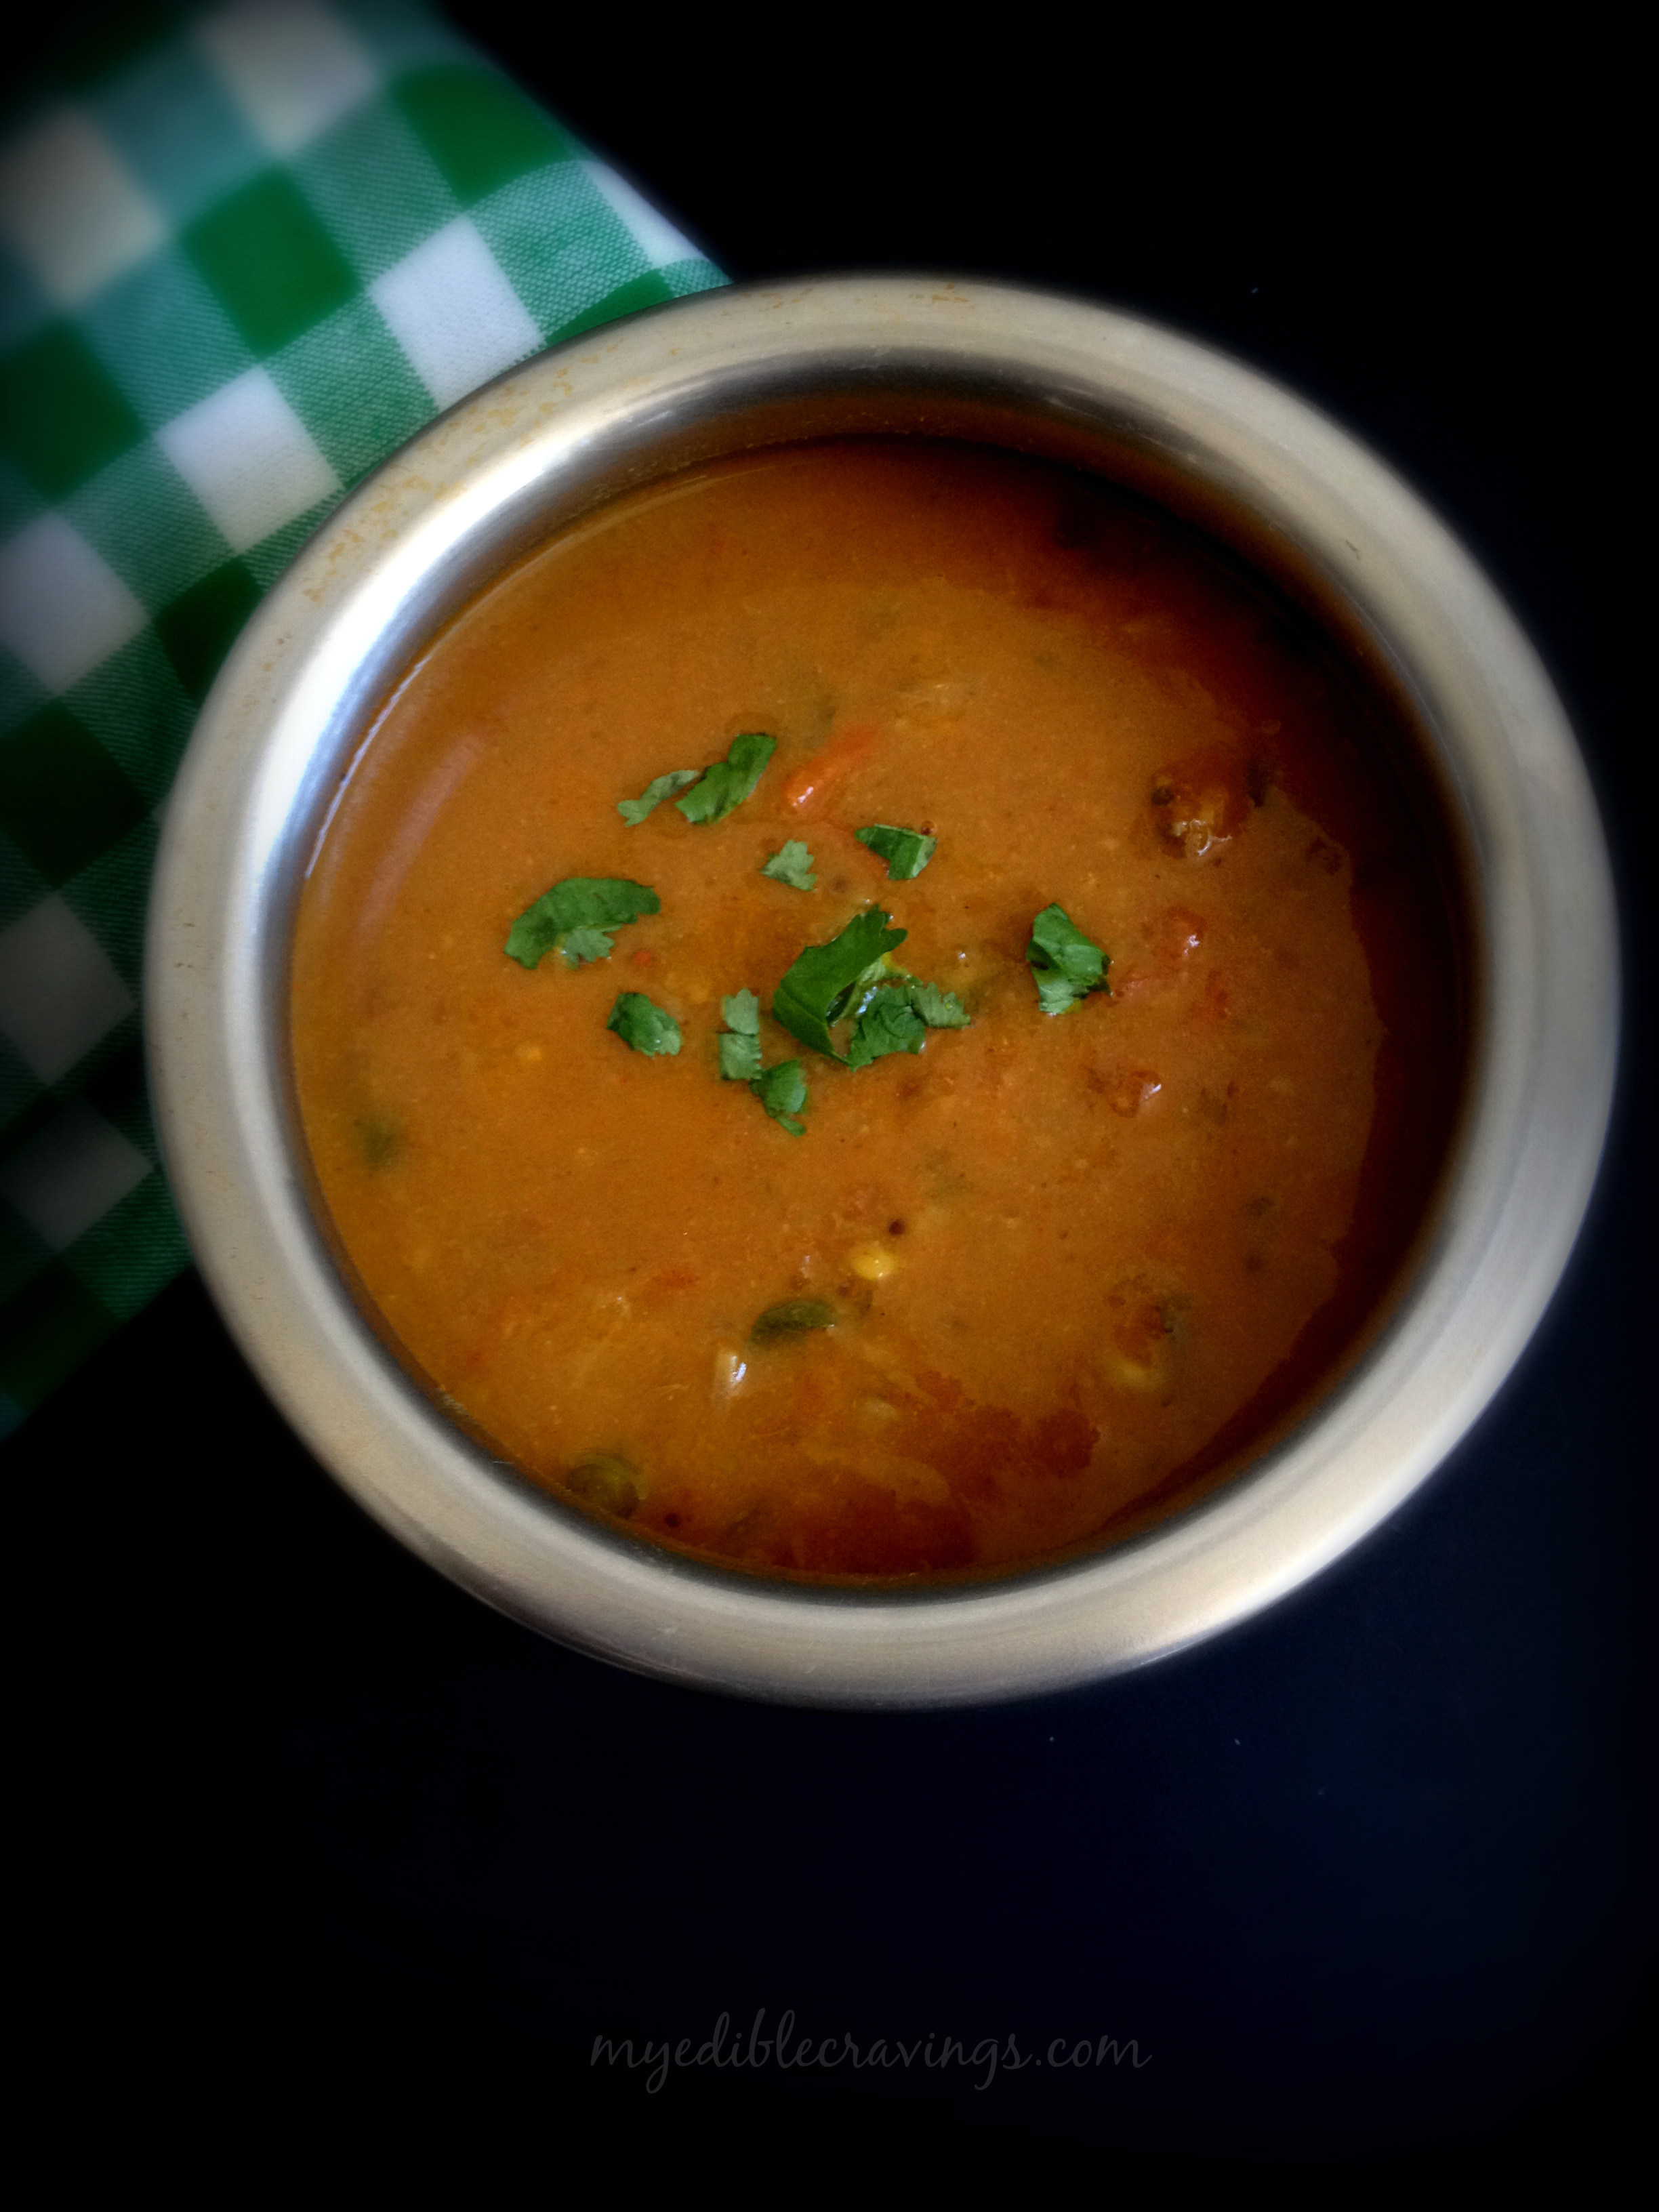
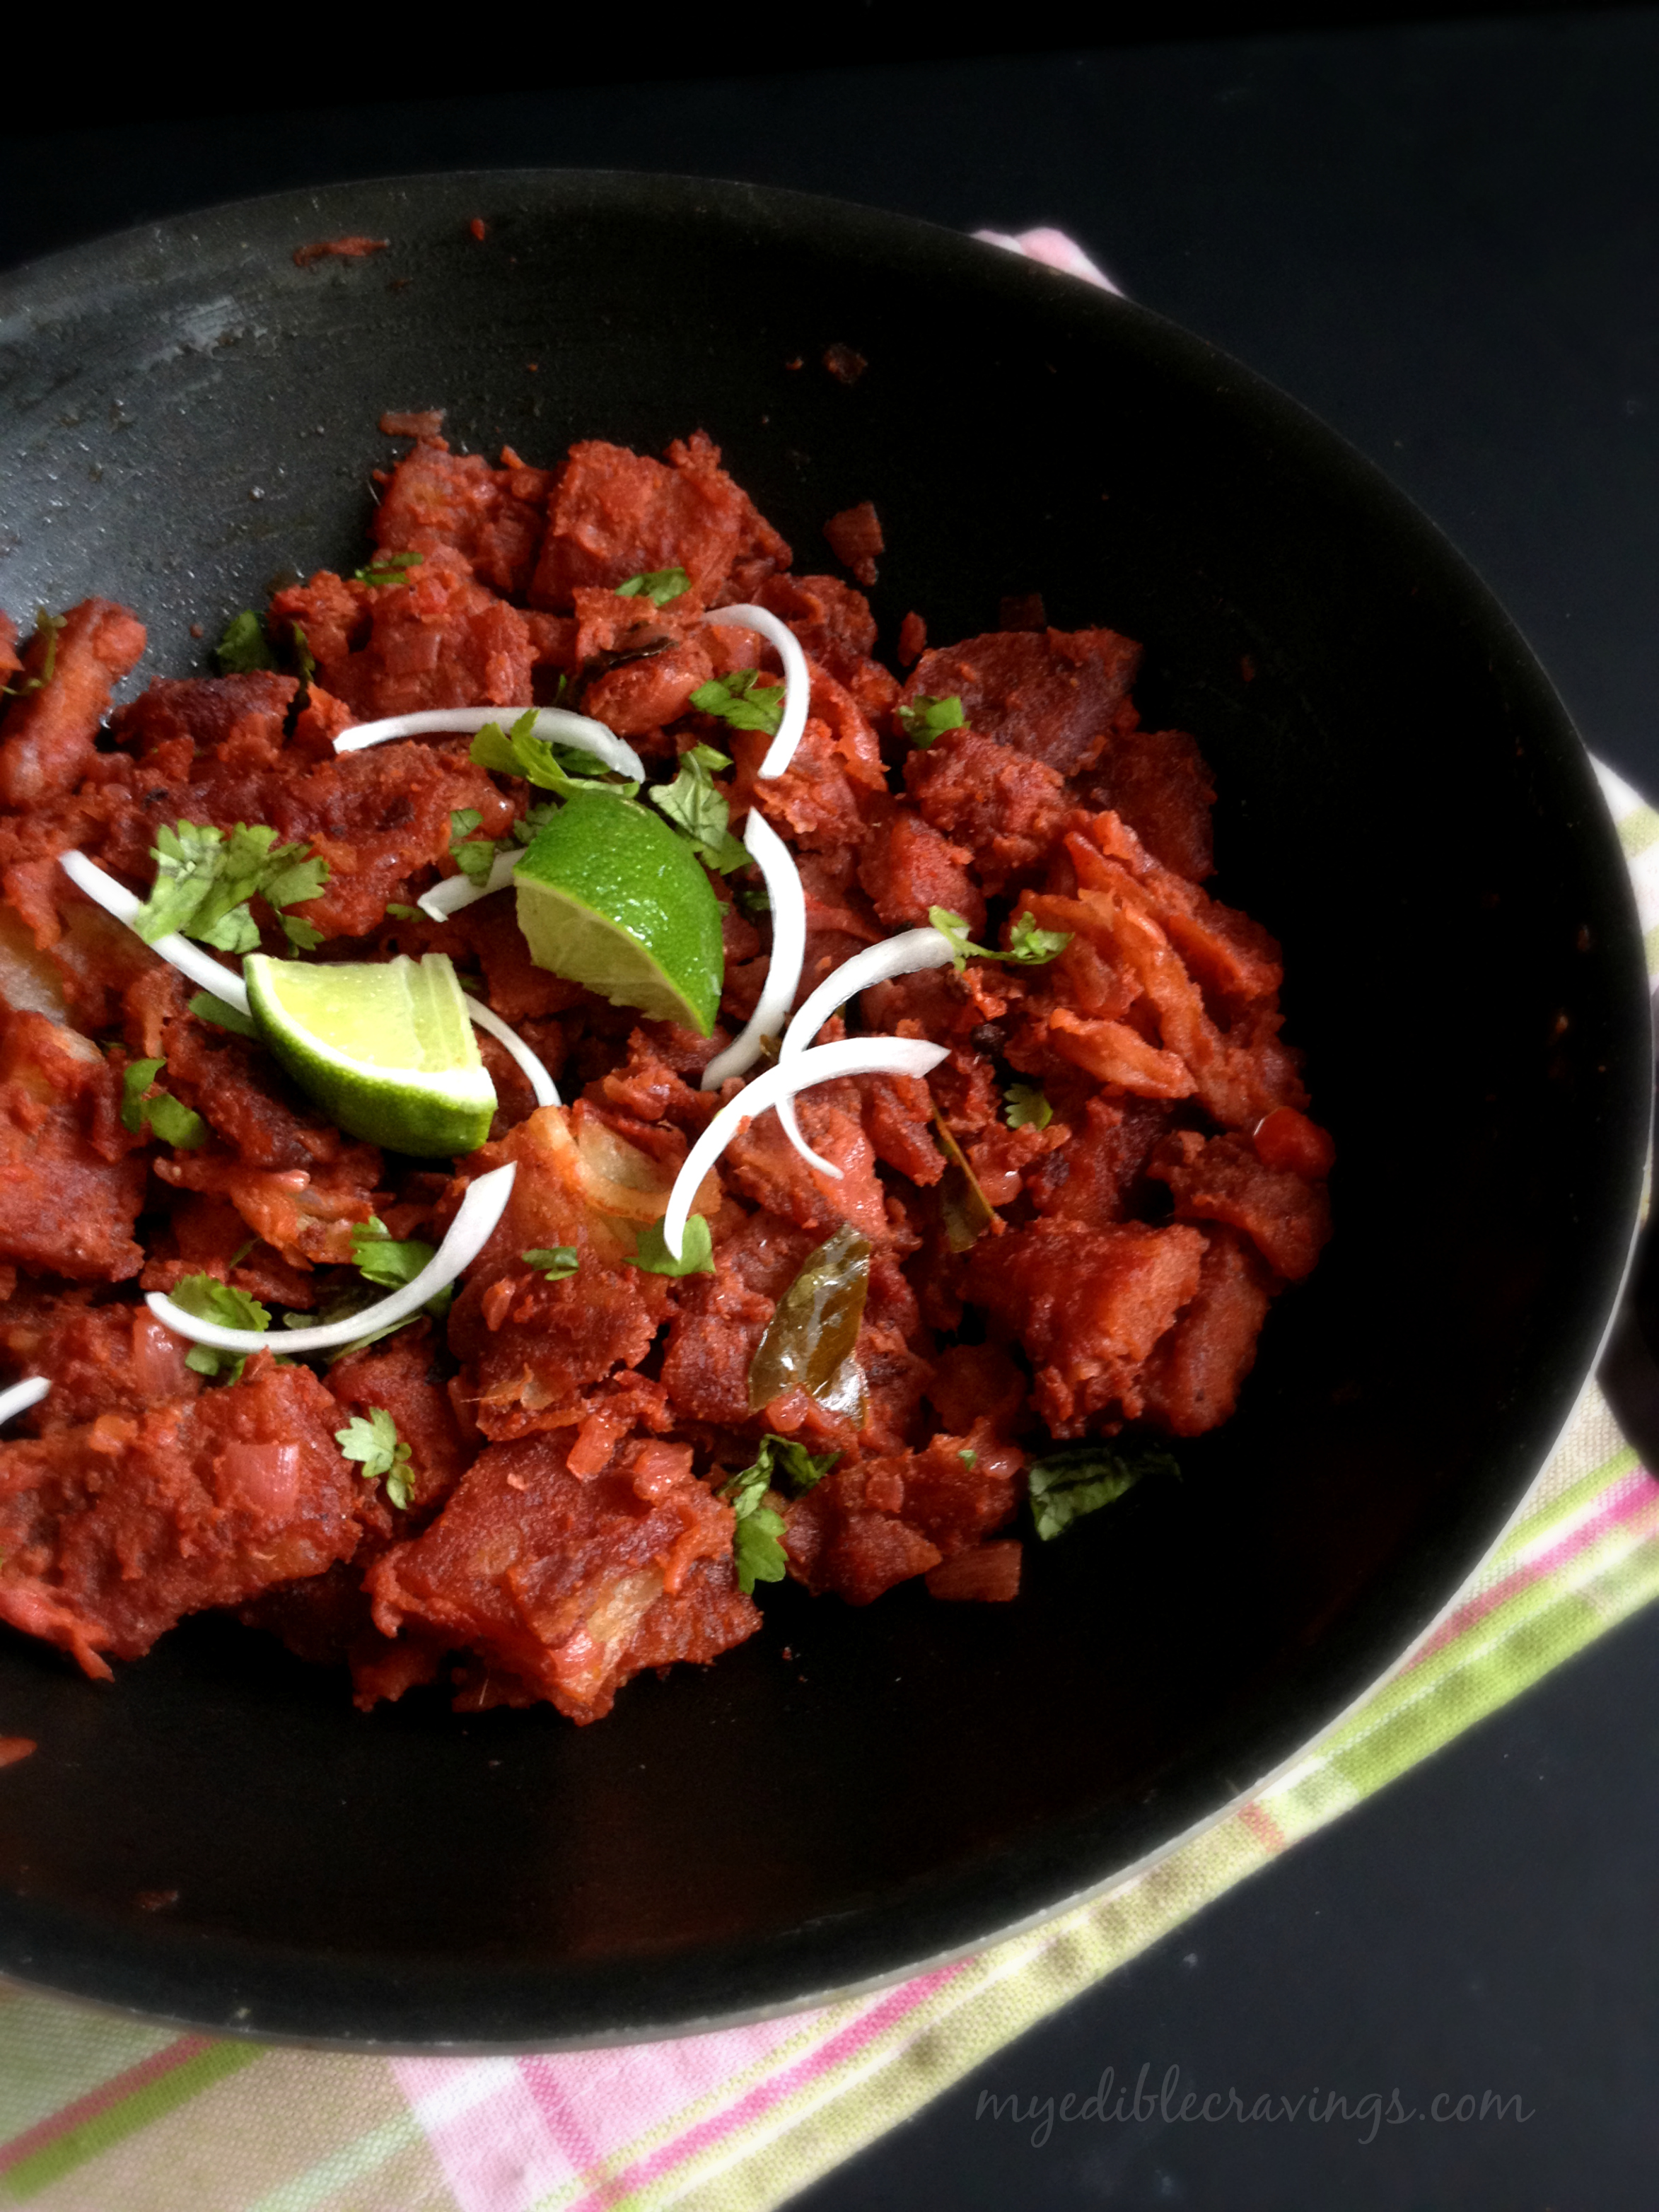
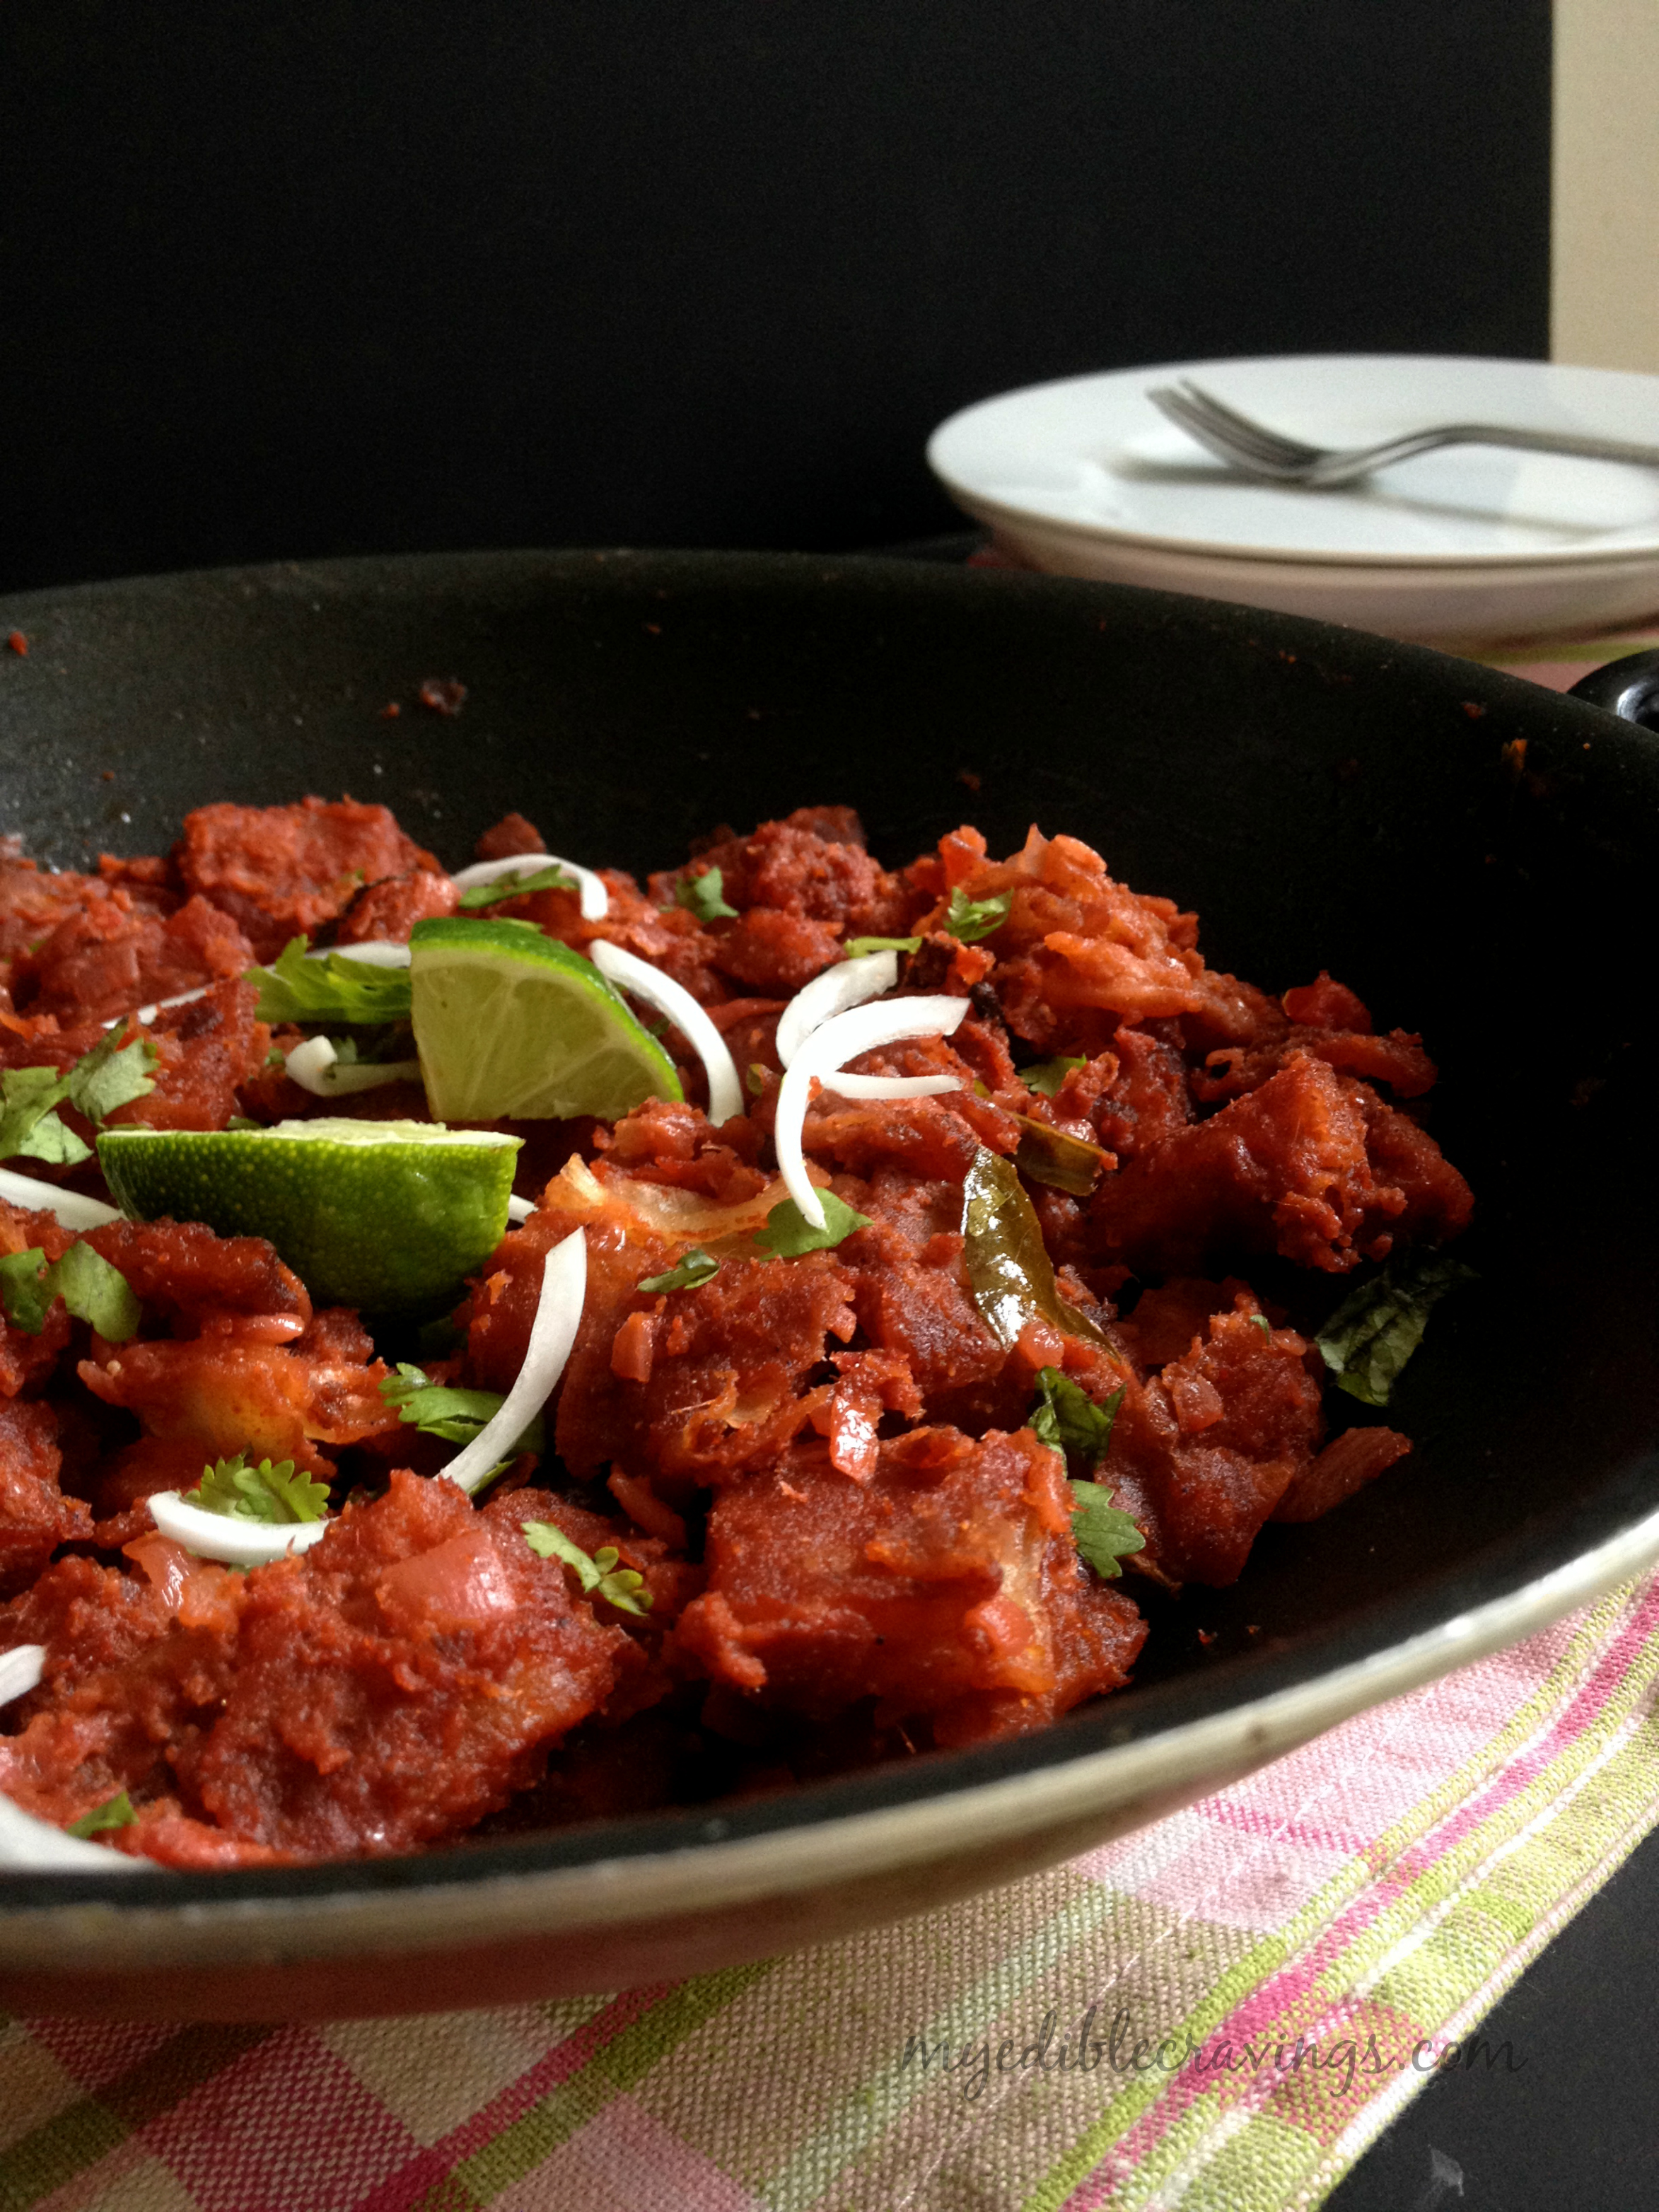
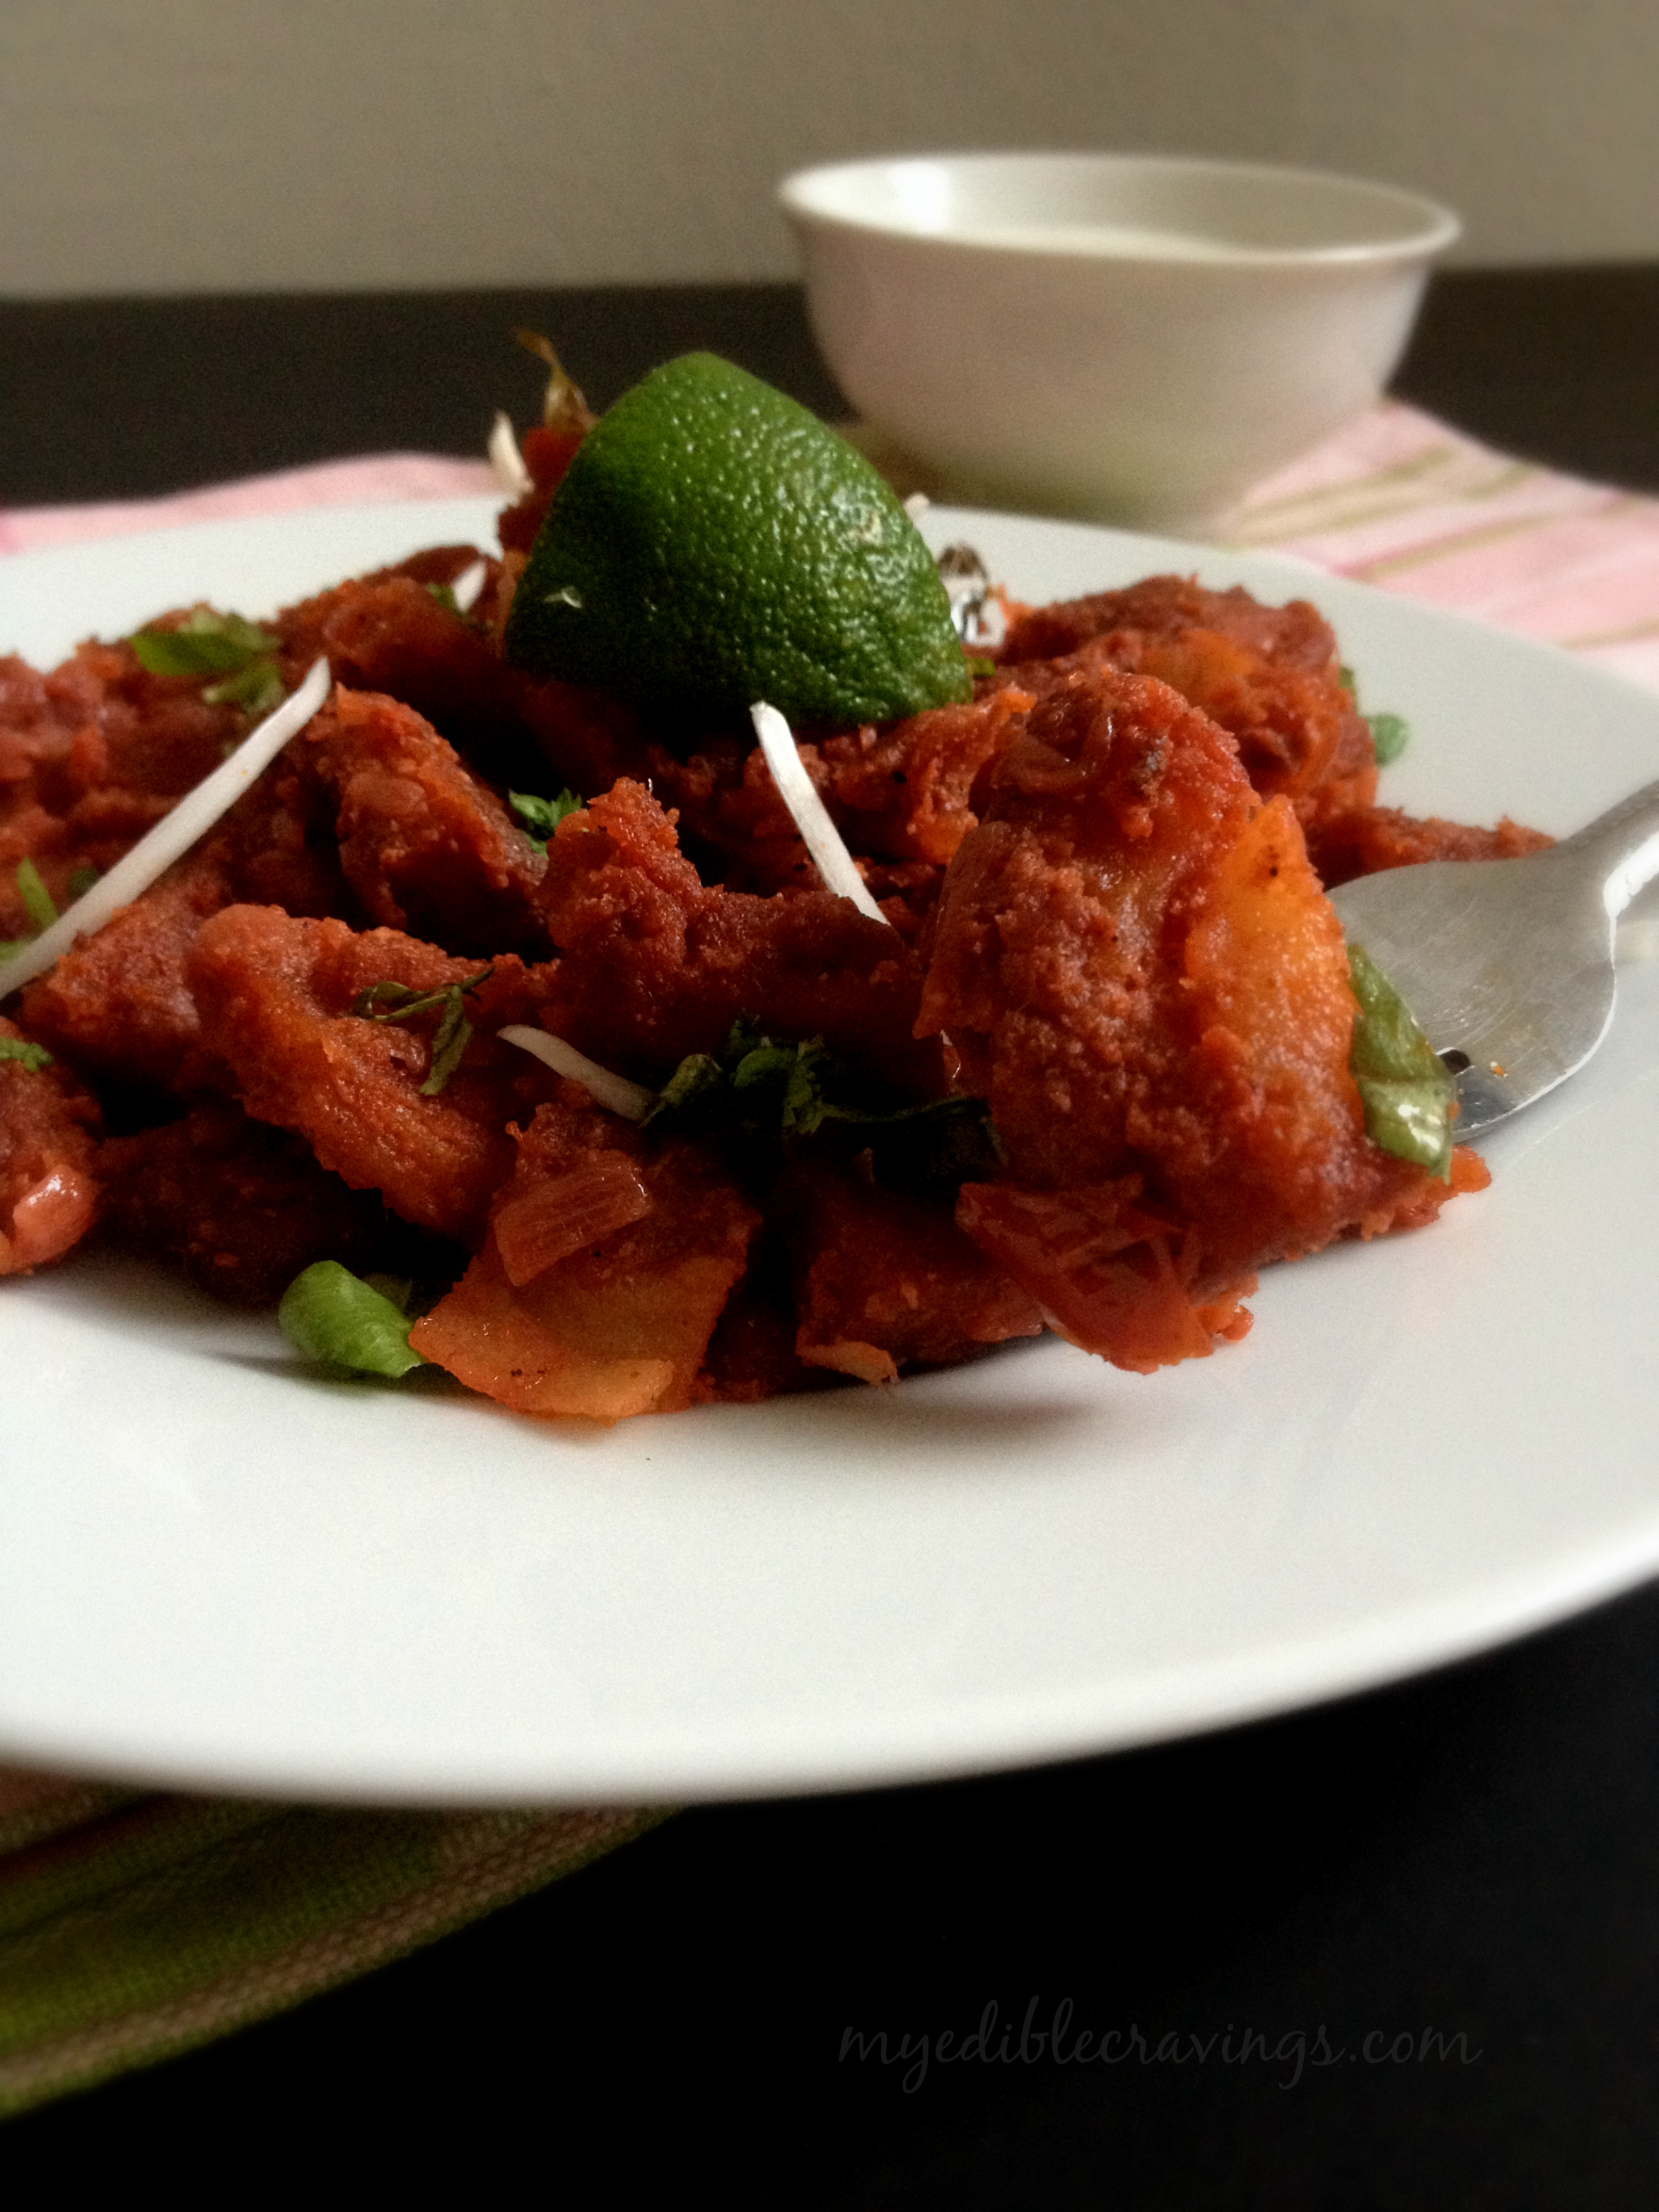
Dal Makhani is a very rich and flavorful dish. This is mainly because of the lentils which gives you a fullness when eaten due to the high protein content. Hence it is a healthy dish as well. Dal Makhani goes well with almost all entree items like rice, chappati, paratha, naan etc. Also, it is very easy to make. So without further delay, go prepare this easy and tasty punjabi dish in your kitchen and let me know your comments 🙂

Dal makhani
Recipe type: Main
Cuisine: Indian
Prep time: 
Cook time: 
Total time: 
Serves: 4
 
Ingredients
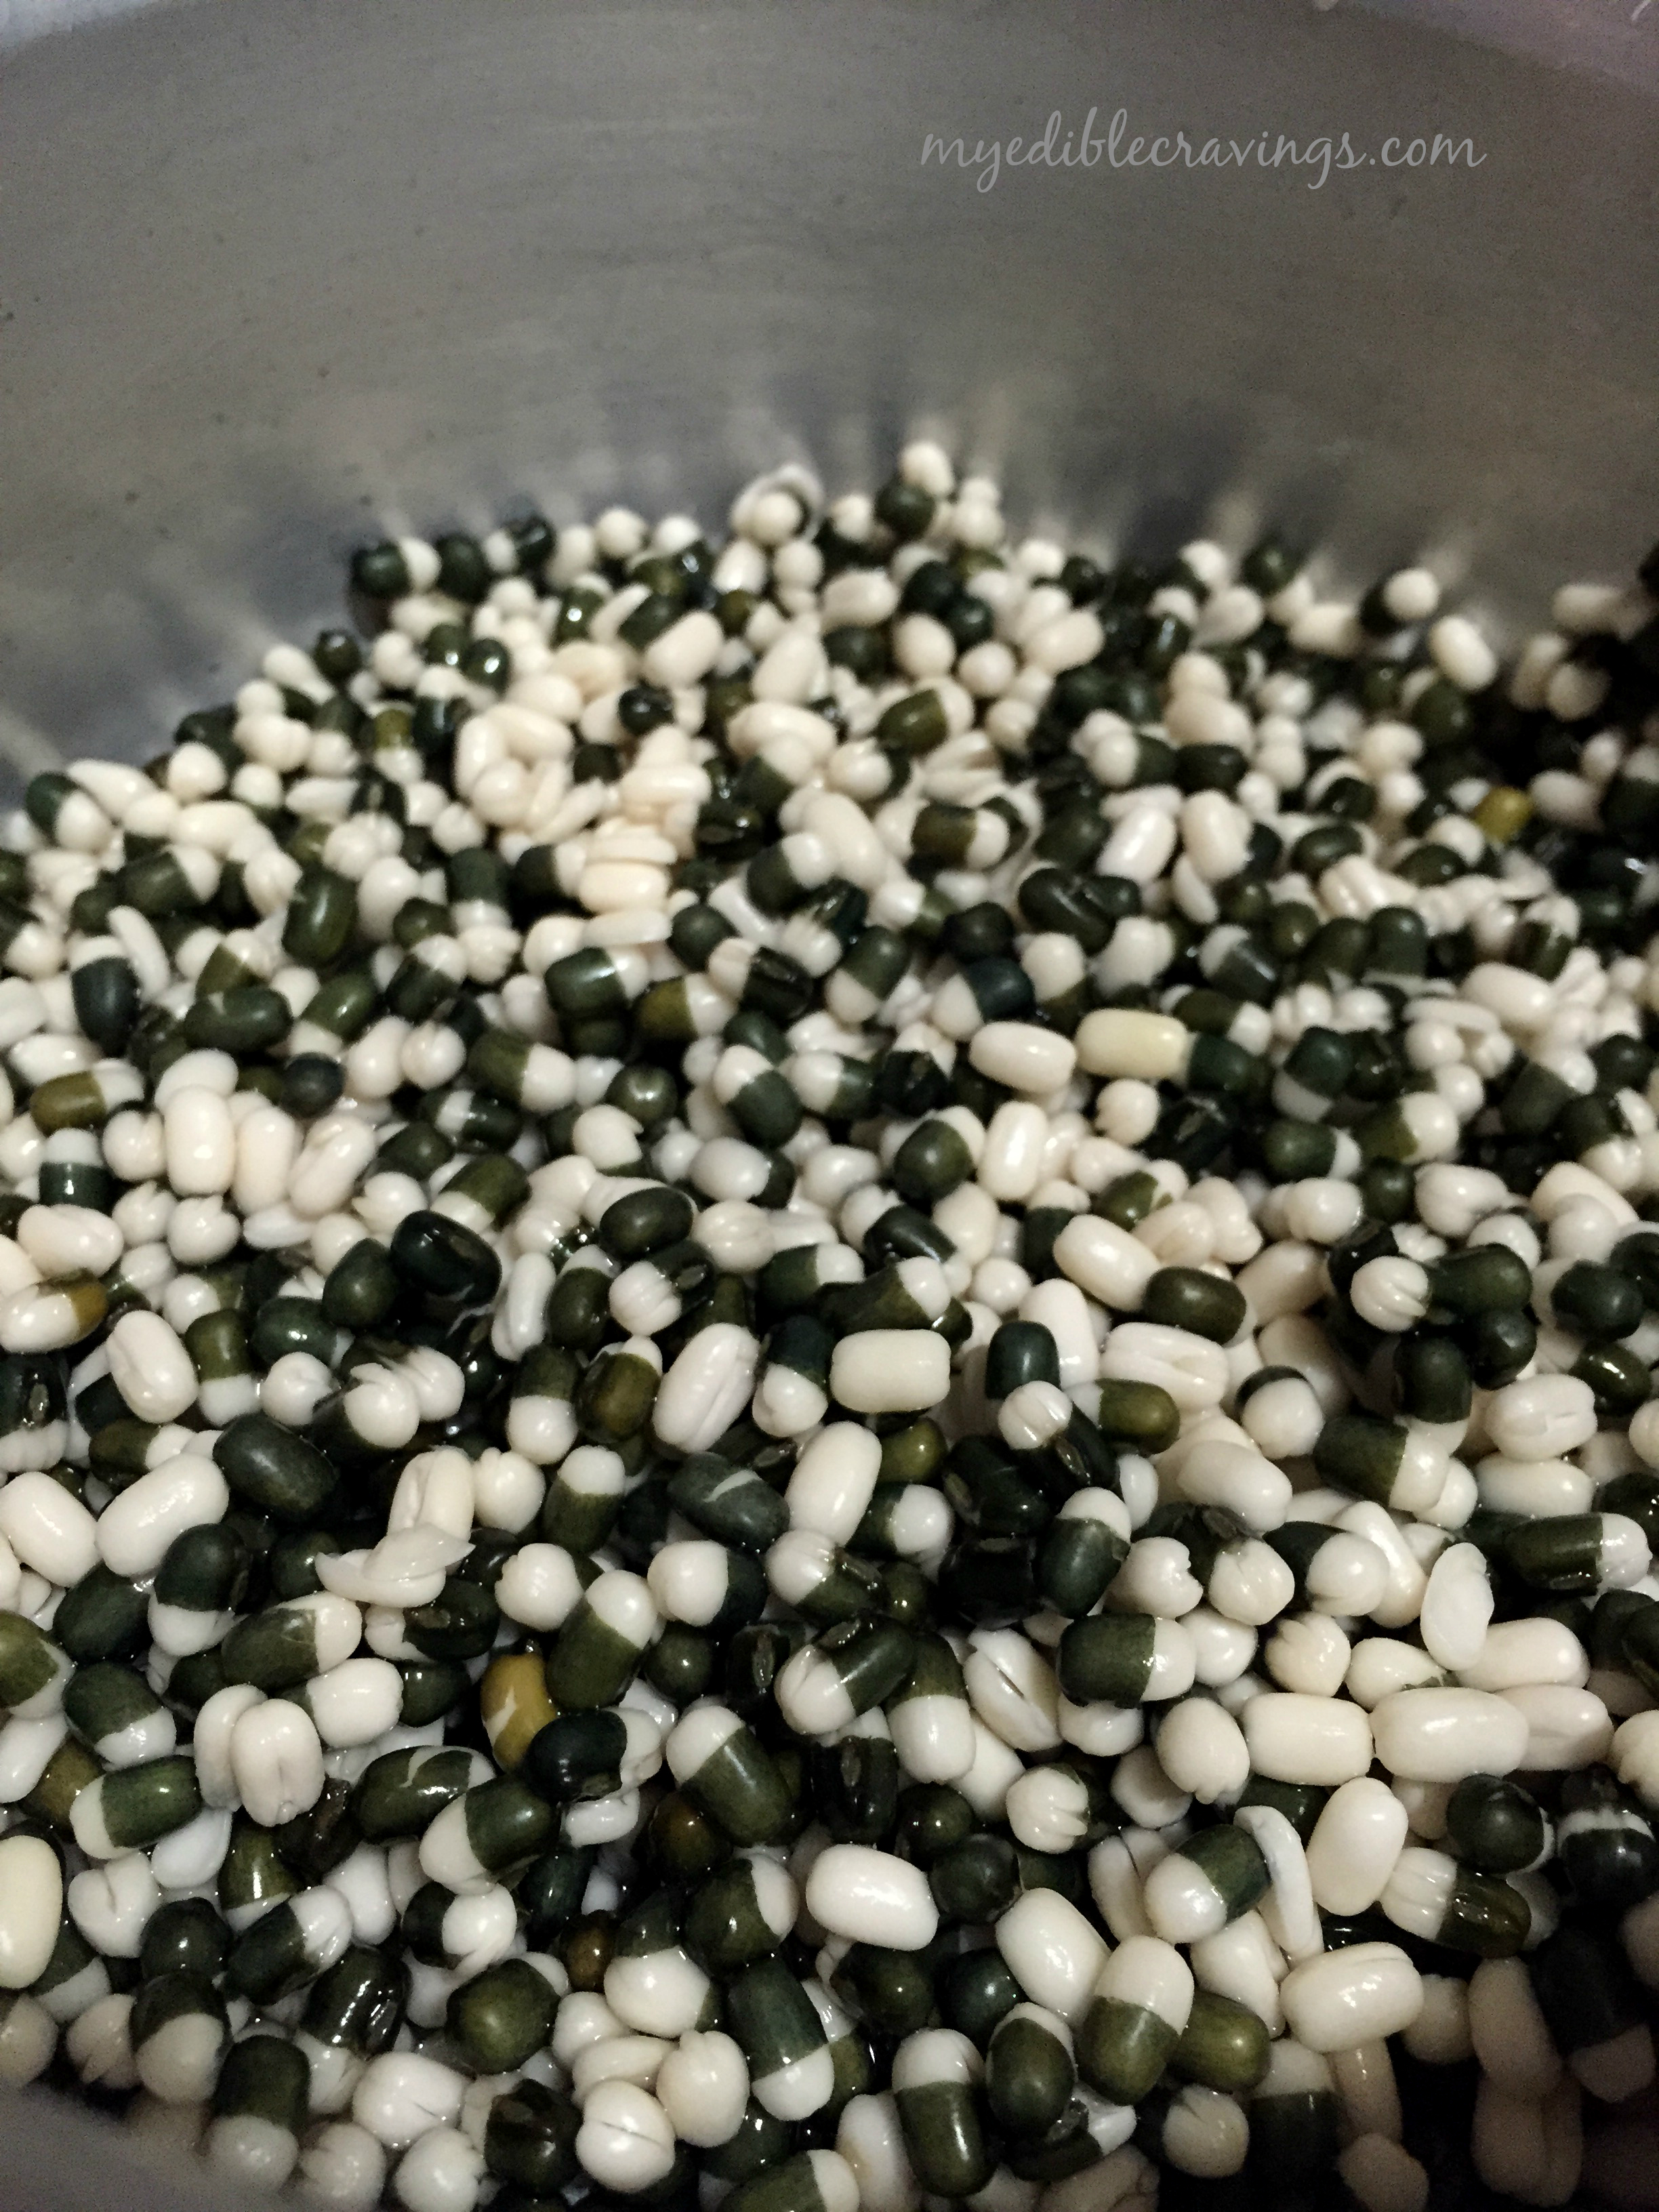
  • Black gram dal – 1 cup
  • Ginger garlic paste – 1 tbsp
  • Kashmiri red chilli powder – 1 ¼ tbsp
  • Unsalted butter – 5 tbsp (120 gr)
  • Tomato, large, pureed – 2 ½ nos (pureed to 1 cup)
  • Fresh cream – 4 to 5 tbsp (250 gr)
  • Salt as required
Instructions
  1. Soak dal in water for 8 hours or overnight.
  2. Rub the dal using your two hands and filter the skins. Repeat this for 5 to 8 times until 70% of the skin is removed.
  3. Add 3 cups of water and ½ tsp salt and pressure cook the dal for 5 whistles.
  4. Transfer the dal into a thick bottomed non stick sauce pan and bring them to boil. Add ginger garlic paste, chilli powder and butter. Cook until the butter is melted, mixed and well blended.
  5. Add in tomato puree and fresh cream. Mix well and add enough salt.
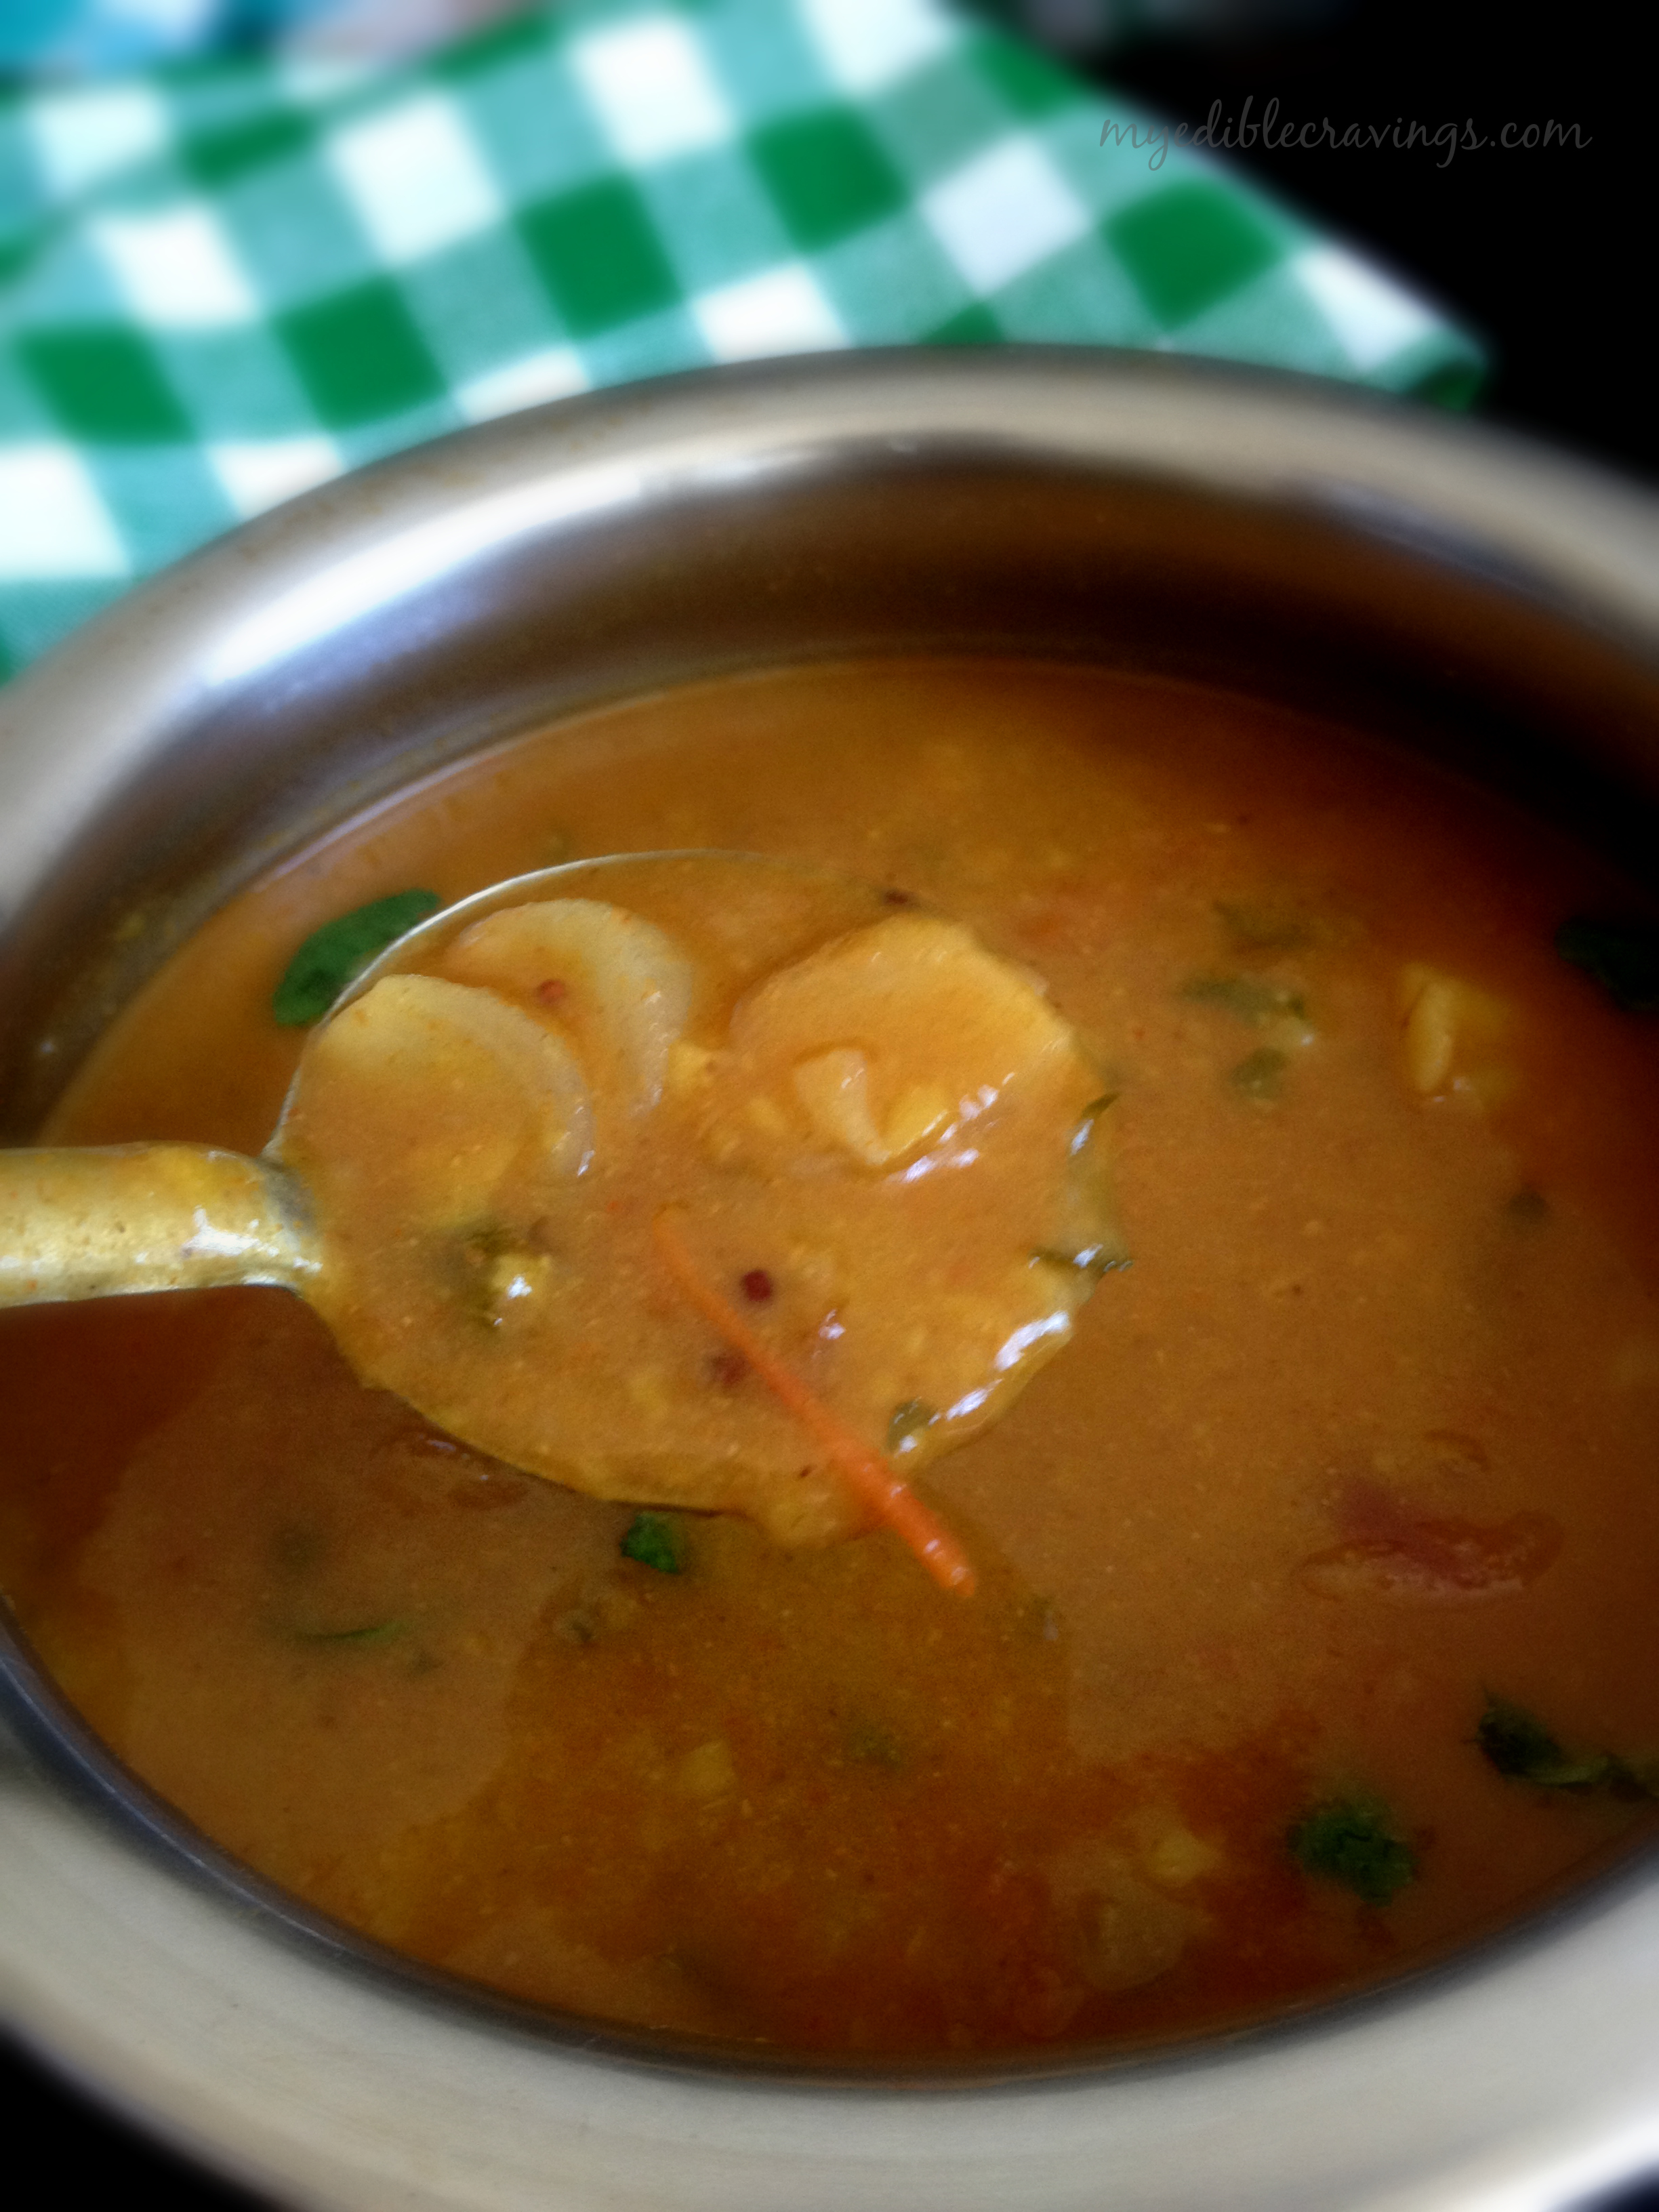
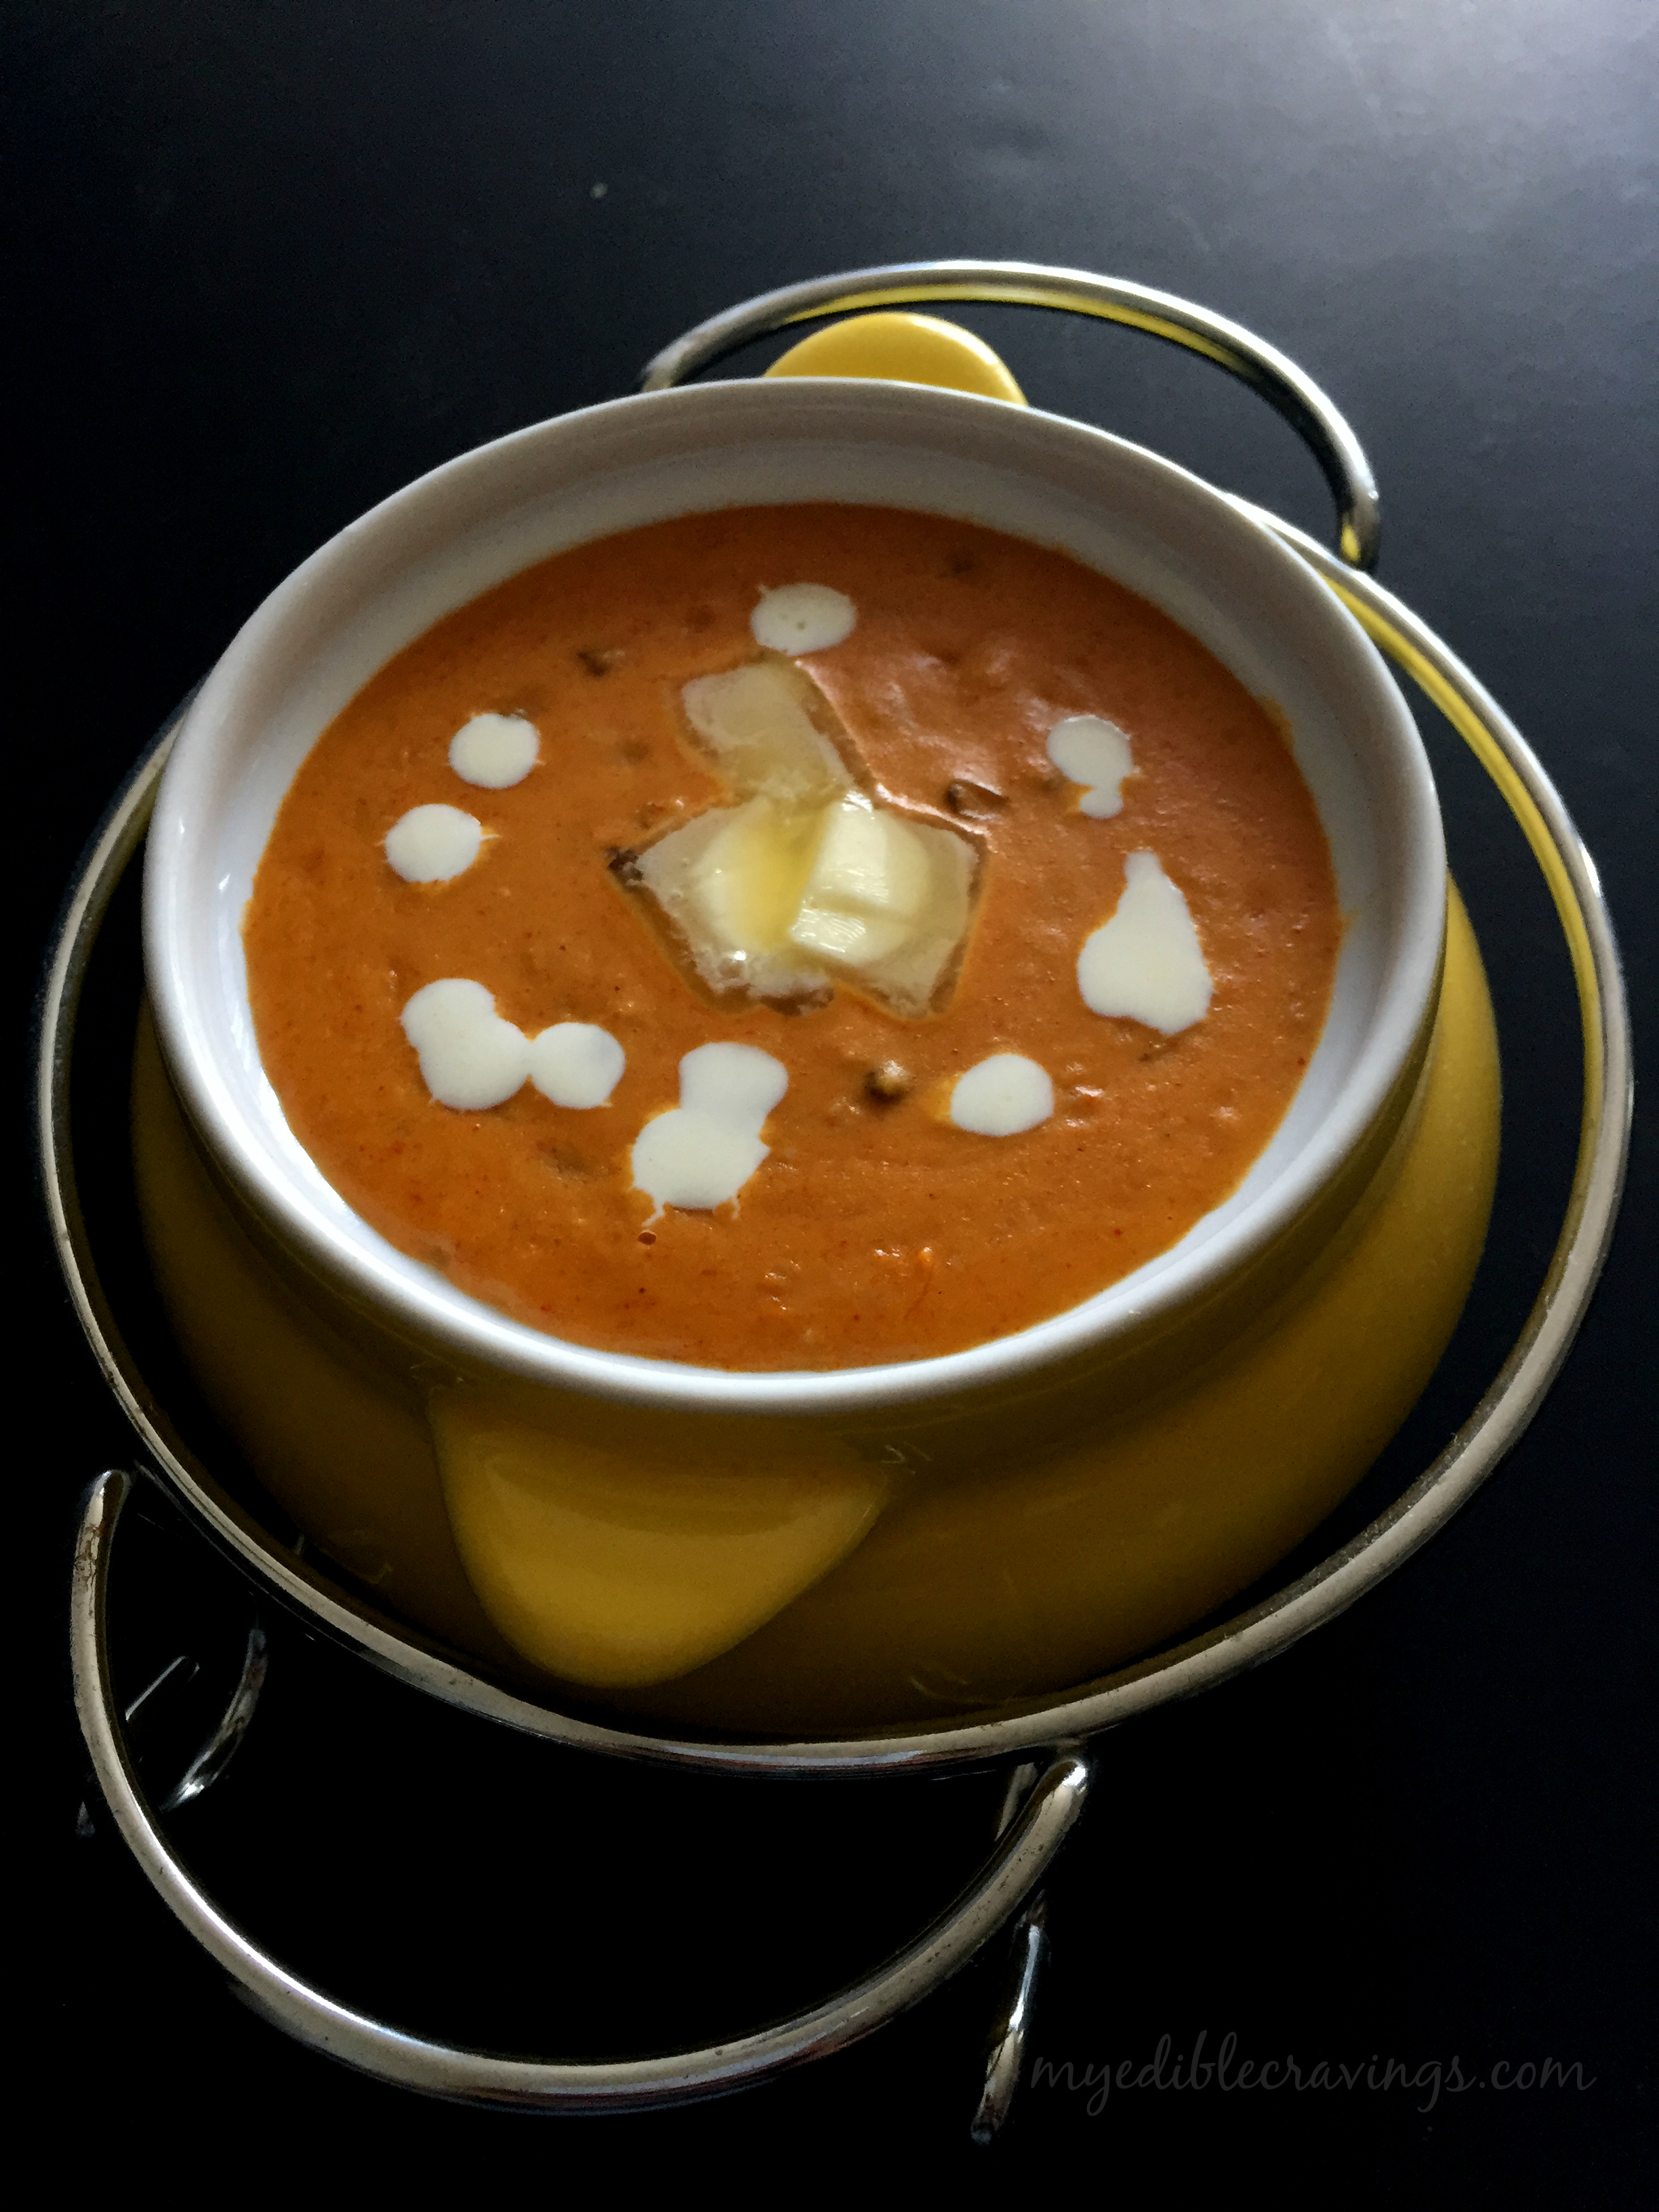
  6. Bring the dal makhani to boil in a low to medium flame. Cook for around 20 to 25 minutes until a thin glaze is formed at the top.
  7. Serve it hot with a dollop of butter on top. It goes excellent with naan, rotis and other Indian flat bread varieties.
To make tomato puree:
  1. Heat a sauce pan with a tbsp of oil. Add in roughly chopped tomatoes and very little salt. Sauté until oil seperates.
  2. Allow it to cool and make a thick puree adding very little water.
Notes
1.Amount of dal and tomato puree should be 1:1 ratio (equal).
2.Use non stick pan to make this dal makhani dish to avoid the dal sticking at the bottom.
3.could also add rajma and other kinds of dal to this dish. i have tried both and all tasted equally good.

Dal makhani

Idiyappam Sevai

Idiyappam sevai
Idiyappam is an ancient tamil dish (also popular in South Indian cuisine) made from rice flour, salt and water. It is also called as noolputt in Malayalam, Semige in Kannada and String Hoppers in English. There is a special tool to make Idiyappam which squeezes the dough (mixture of rice, salt and water) in to strings which is then steam cooked (usually a pressure cooker is used back home). Idiyappam Sevai is a dish that is made from Idiyappam and is usually served for breakfast or as a tiffin item.
Myediblecravings
Idiyappam sevai
Normally, I am not a big fan of Idiyappam, especially the sweeter variety that is had with coconut milk. So my mom used to make Idiyappam Sevai to satisfy my highly selective appetite 🙂 Similar to the days when Upma is had in our home (I don’t like Upma as well ;)), my mom used to make Idiyappam Sevai just for me. I love Idiyappam Sevai very much and it is super easy to make. You only use 5 ingredients to prepare this dish. Idiyappam can be had as is or with some chutney variety like coconut, onion etc.
Try this ancient, wonderful and easy to prepare dish in your home and let me know your experience.

Idiyappam Sevai
Recipe type: Breakfast or Tiffin
Cuisine: Indian
Prep time: 
Cook time: 
Total time: 
Serves: 2
 
Ingredients
  • Oil – 1 tbsp
  • Fennel seeds – 1 tsp
  • Curry leaves – very few
  • Onion, medium, finely chopped – 1 no
  • Ginger garlic paste – 1 tbsp
  • Tomato, finely chopped – 1 no
  • Red chilli powder – 1 tbsp
  • Salt as required
  • Idiyappam (string hoppers), crumbled – 5 nos
Instructions
  1. Heat oil in a wide pan and season with fennel seeds and curry leaves.
  2. Add onion and sauté until they turn translucent.
  3. Add ginger garlic paste and sauté until the raw aroma disappears.
  4. Add chopped tomato and cook until oil they turn mushy.
  5. Add in red chilli powder and salt and cook until oil seperates.
  6. Finally add string hoppers, mix well and cook for a minute. Enjoy!

Idiyappam sevai
Idiyappam sevai

Chicken Tikka Masala

Chicken Tikka MasalaChicken Tikka Masala is a quintessential north Indian dish that has wide popularity here in US as well. Tikka means small pieces of meat mixed with spices. So Chicken Tikka Masala is a dish made of small pieces of chicken cooked with spices in a gravy.
Chicken Tikka MasalaTraditionally, Chicken Tikka Masala is made first by baking chicken tikka (here is the recipe for Chicken Tikka) using skewers in a tandoor (cylindrical clay or metal oven) and then using that tikka to prepare the gravy (masala). In my preparation method given below, I had used conventional oven for baking the chicken tikka. The taste of Chicken Tikka Masala is mostly dependent on the marinade that you make.
Chicken Tikka MasalaAs I had mentioned earlier, Chicken Tikka Masala is universally popular and is very easy to make. The origin of this dish is unclear, with various proponents claiming its invention. In fact there was even a motion set to be passed in the UK parliament to give geographically protected status for Chicken Tikka Masala in the UK (Glasgow, I believe). Good that it did not happen since I personally believe that Chicken Tikka Masala originated in India (ofcourse :))
Chicken Tikka MasalaI would say Chicken Tikka Masala is two dishes combined in to one, i.e., chicken tikka and the Chicken Tikka Masala. You can serve the chicken tikka as is as an appetizer and the Chicken Tikka Masala as an entree dish.Try this widely popular and very tasty Indian 🙂 dish and let me know your wonderful experiences, as always…

Chicken tikka masala
Recipe type: Main
Cuisine: Indian
Prep time: 
Cook time: 
Total time: 
Serves: 3
 
Ingredients
  • Cashews – 1 tbsp (soaked in water for half an hour)
  • Cinnamon stick – 1”
  • Cloves – 3 nos
  • Green Cardamom – 2 nos
  • Bay leaf – 1 no
  • Cumin seeds – 1 tbsp
  • Onion – 1 no (cut into cubes)
  • Ginger garlic paste – 1 tbsp
  • Tomato – 1 no (cut into cubes)
  • Green pepper – 1 no (cut into cubes)
  • Green chilli – 3 nos
  • Coriander powder – 1 tbsp
  • Cumin powder – ½ tsp
  • Kashmiri chilli powder – ½ tbsp
  • Turmeric powder – ½ tsp
  • Salt – as required
  • Cooked chicken tikka – 1 cup
  • Lemon juice – 2 tbsp
  • Fresh cream – 2 to 3 tbsp
  • Coriander leaves – for garnishing
Instructions
  1. Add soaked cashews with few pieces of onions and tomatoes in a blender, make a paste and keep it aside.
  2. Heat a wide open pan with a tbsp of oil. Add cumin seeds and whole spices. Once you get the nice aroma of cumin seeds and whole spices, add chopped onions. Sauté it and cook till the onions turns brown.
  3. Add a tbsp of ginger-garlic paste and stir fry till the raw aroma of ginger-garlic disappears
  4. Add the chopped tomatoes and green pepper. Cook the tomatoes until they are soft and pulpy.
  5. Add coriander powder, kashmiri red chilli powder, cumin powder, turmeric, salt and little water. Sauté for a minute.
  6. Add cashew paste. Cook until the oil oozes out.
  7. Now add in the cubes of cooked chicken tikka and mix well. Pour in some water if the mixture is dry.
  8. Add in cream and sprinkle some chopped coriander leaves and lime juice and mix it well.
  9. The tasty chicken tikka masala is ready to be served with hot butter naan or rumali roti.

Chicken Tikka Masala

Dum ka chicken

Dum ka chcikenDum Ka Chicken is the latest dish that I came across, courtesy from one of our friends. It is a very tasty and sumptuous dish made using chicken. As the name suggests, the chicken is dum cooked (cooked in a sealed pot) which I have explained in the cooking instructions below. Dum Ka Chicken is one of the easiest dishes that I have ever cooked and it is one of the many reasons for it to be my most favorite dish in recent memory.
Dum ka chcikenDum Ka chicken is a Hyderabadi nawab dish meaning it’s a royal dish :). As I had mentioned above, it is very easy to make. All you need to do is marinate the chicken overnight and then cook it using dum method the next day. Also, it is, as I would like to say, an one pot dish, meaning, you just need to use one utensil during the entire preparation i.e., you use the same pot in which the chicken is marinated to cook as well. You can also prepare Dum Ka Chicken using a conventional oven.
Dum ka chcikenDum Ka Chicken is very rich in flavor and goes well with almost any entree items like rice, chapati, paratha, naan etc. Do try this royal, very tasty, simple (I am running out of adjectives :)) dish and post your wonderful comments!

Dum ka chicken
Recipe type: Main
Cuisine: Indian
Prep time: 
Cook time: 
Total time: 
Serves: 4
 
Ingredients
To make a paste:
  • Chironji or charoli- 1 tbsp
  • Cashews– 1 tbsp
  • Green chilli – 4 nos
Other ingredients:
  • Cinnamon stick – 1”
  • Green cardamom – 3 nos
  • Cloves – 3 nos
  • Shahi jeera – ½ tsp
  • Ginger garlic paste – 1 tbsp
  • Lemon juice – from half a lemon
  • Yogurt – ½ cup (2 tbsp)
  • Turmeric powder – ½ tsp
  • Chilli powder – 1 tbsp
  • Coriander powder – 1 ½ tbsp
  • Garam masala – ½ tsp
  • Cumin powder – ½ tsp
  • Mint, finely chopped – ½ cup
  • Cilantro, finely chopped – ½ cup
  • Onion , big, sliced – 1 to 2 nos
  • Olive Oil – 2 tbsp
  • Salt
  • Chicken – 750 grams
  • Water – 1 ½ cup
Instructions
Step 1: Marination
  1. Add all the above given ingredients in a deep thick bottomed sauce pan.
  2. Make a paste of the above given ingredients and add it to the pan.
  3. Heat oil and deep fry the onions to golden brown. Add them to the marinade.
  4. Mix everything together and check for salt and spices.
  5. Add the chicken to the marinade and mix well.
  6. Finally add water and mix well. Cover the lid and refrigerate it overnight.
Step 2:
Dum cooking – Stove top method
  1. Next day seal the lid with dough or aluminium foil and tightly close the pan (This method is called dumming). Cook in medium to medium low flame for 10 minutes.
  2. Meanwhile heat a dosa pan in another burner. After ten minutes transfer the sauce pan on to the dosa pan and reduce the flame. Cook in low flame for 40 minutes.
  3. Switch off the flame and leave it for another 20 minutes.
  4. After 20 minutes open the lid and check if the chicken is well cooked. By this time chicken should be juicy and cooked well.
  5. Enjoy dum ka chicken with white rice and egg on the side! 
Dum cooking – Conventional oven method
  1. Marinate the chicken in any oven safe pan.
  2. Preheat the oven to 180 degrees F.
  3. Cover the pan with aluminum foil and then close the lid.
  4. Cook on the stove top for 20 minutes in low flame. And then place it in the oven and cook for 2 hours and 30 minutes. Enjoy! 
Notes
1.Use the same oil you used to fry the onions. It enhances the taste of the gravy.
2.And I recommend to always use freshly fried onions and not the store bought.
3.If you are calorie conscious then you can shallow fry the onions with olive oil or vegetable oil and add it to the marinade.
4.Mint and cilantro quantity is equal to one handful amount.
5.Chironji or charoli is a nut that can be found in any Indian grocery store.

Dum ka chciken

Cauliflower fry

Cauliflower fry
Cauliflower is one of those vegetables that is not often found in South Indian palate (especially Tamilnadu). It is a low fat, low in carbohydrates but rich in fiber vegetable. Cauliflower fry is one of the many varieties prepared using this vegetable. I came across this recipe when searching for a supplement to our diet (and yes we start a diet system many times a year, but sticking to one is a different story  🙂 )
Cauliflower fry
The main specialty about this Cauliflower fry is the way it is cooked. Though it is called a fry, I actually use a conventional oven to cook. It is a very tasty dish, trust me. When you are uncertain about what side dish to prepare for Chappati or Naan etc remember this wonderful Cauliflower fry.
Cauliflower fry
For those who don’t have an oven, you can cook this dish using a stove as well. Try this simple, delicious and healthy dish in your kitchen and tell me your experience. 🙂

Cauliflower fry
Recipe type: Main
Cuisine: Indian
Prep time: 
Cook time: 
Total time: 
Serves: 4
 
Ingredients
To bake:
  • Cauliflower florets – 2 to 3 cups
  • Olive oil – 5 tbsp
  • Tomato paste or puree, thick – 4 tbsp (I used hunt’s)
  • Garlic cloves, minced – 1 tbsp
  • Kashmiri red chilli powder – 1 tbsp
  • Black pepper powder – 1 tsp
  • Coriander powder – 2 tbsp
  • Turmeric powder – ½ tsp
  • Garam masala - ½ tsp
  • Salt – ½ tsp
For the seasoning:
  • Oil – 2 tbsp
  • Mustard seeds – ½ tsp
  • Curry leaves – a sprig
  • Green chilli, slits – 4 nos
  • Ginger, julienned – 1 tbsp
  • Onion, big, slits – 1 no
  • Kashmiri red chilli powder – ½ tbsp
  • Red chilli powder – ½ tsp (optional)
  • Coriander powder – 1 tbsp
  • Dry fenugreek leaves or kasthoori methi, crushed – 1 tbsp
  • Spring onions or scallions – 1 to 2 tbsp
Instructions
  1. Preheat the oven to 400 degrees F and mix all the above ingredients in a large aluminium pan given under 'To bake'. Place it inside the oven and cook for 30 to 45 minutes until the cauliflowers are crunchy (stirring in between). For those who do not have conventional oven, just fry it in a pan on the stove until they are nicely done.
  2. Meanwhile heat oil in a flat pan and season with mustard, urad dal, curry leaves and green chillies. When they start to splutter add onions and sauté until they turn translucent.
  3. Add julienned ginger.
  4. Add all the powders (coriander, chilli, salt, turmeric) and kasthoori methi. Add oven baked or stove cooked cauliflower. Sauté well and cook for 10 minutes.
  5. Garnish with scallions and cilantro.
Notes
!To make tomato puree at home:
Roughly chop the tomatoes and sauté with little onion until they leave oil. Blend them to make a thick paste.

Cauliflower fry

TIFFIN SAMBAR

Tiffin sambar
Tiffin sambar!? I know, right! What is Tiffin sambar? Back home, in restaurants, the sambar served for tiffin items (like idli, dosa etc or to keep it simple, anything that is not rice :)) has a different consistency and taste than that is served with rice during lunches (unless the people in that restaurant is really lazy and serve the same for both tiffin and rice ;)). This variety that is served with tiffin is called as the Tiffin sambar (‘Tiffin saptaacha’ – Had your tiffin?, Tiffin saapidalama – Shall we have tiffin?, are common talk in my native, referring to either breakfast or dinner)
Tiffin Sambar
There are many different varieties of sambar like, Murungai sambar, Kathirikka sambar, Araithuvitta sambar etc and Tiffin sambar is one among them. One advantage with sambar varieties in general is that you can add any vegetable that you want to to the recipe. And in Tiffin sambar, potatoes or drumsticks are added. In my home, my mom usually prepares it for breakfast and calls it as avasara (quick) sambar since it can be prepared in a short while. I still remember my mom stacking up thin dosas with tiffin sambar poured in between for my lunch while in school. It was very popular among my friends.
Tiffin Sambar
Tiffin sambar is one of the recent recipes that I have started to cook and is fast getting to be an ‘often cooked’ recipe. Dosa with Tiffin sambar or Idlis soaked in Tiffin sambar, also called as Sambar idli are some of the dishes that you must have from Tamilian cuisine. So is it going to be Tiffin sambar for breakfast tomorrow in your home? What say? 🙂

TIFFIN SAMBAR
Recipe type: Main
Cuisine: Indian
Prep time: 
Cook time: 
Total time: 
Serves: 4
 
Ingredients
  • Toor dal – ¼ cup
  • Vegetable (potato,drumstick,carrot) - 1 no
  • Shallots – 10 nos
  • Green chilli – 2 nos
  • Tomato – 1 no
  • Tamarind – small gooseberry size
  • Turmeric powder – ¼ tsp
  • Jaggery – a small piece
  • Asafoetida – a generous pinch
  • Curry leaves – few
  • Cilantro – for garnishing
  • Ghee – 1 tsp
  • Salt as required
To roast and grind:
  • Channa dal – 1 tbsp
  • Coriander seeds – ¾ tbsp
  • Red chillies – 3 nos
  • Fenugreek seeds – ½ tsp
  • Cumin seeds – ½ tsp
To temper:
  • Oil – 2 tsp
  • Mustard seeds – ½ tsp
  • Jeera – 1 tsp
  • Curry leaves – a sprig
Instructions
  1. Soak tamarind in water for half an hour and extract the juice. Add two cups of water to it and keep it aside.
  2. Soak toor dal for an hour. Wash the potato or drumstick and cut to desired pieces. Pressure cook the dal with a cup of water, turmeric powder, asaofetida, few drops of sesame oil and potato or drumstick for 4 whistles. When done, allow it to cool, peel off the skin and set aside. Mash the dal with the help of a ladle and set aside.
  3. Now heat a kadai or a pan with few drops of oil and roast the ingredients altogether given above, stirring constantly. When they turn light brown, add cumin seeds at last and give it a stir. Do not over roast it. Let it cool and blend to a powder.
  4. Heat oil in a sauce pan and temper the above ingredients. Add a pinch of asaofetida snd shallots. Sauté until the onion turns translucent. Add green chillies and tomato and sauté for a couple of minutes.
  5. Add the tamarind juice and bring it to boil. Add few curry leaves, cilantro, salt, turmeric powder and asafoetida. Again bring it to boil.
  6. Add the potato and cook for another couple of minutes.
  7. Sprinkle the sambar powder on top stirring constantly – Do not add sambar powder as a whole as it might form lumps.
  8. Add the cooked dal and stir well. Now you can add water according to your desired consistency. Add jaggery and garnish with curry leaves and cilantro. Switch off the flame. Enjoy it with hot idlis, dosas and ven pongal! 

Tiffin Sambar

KADALAI PARUPPU CHUTNEY

Kadalai paruppu chutney Kadalai Paruppu chutney or chana dal chutney is a popular side dish to idli and dosa in south Indian homes. It is my HB’s favorite chutney.  I normally prefer onion chutney  but do try other varieties as well. During my recent visit to India, my MIL prepared Kadalai Paruppu chutney and after having it, I realized how much I missed it. And now, it has joined to my list of chutneys to go for when there is a time constraint 🙂 Kadalai paruppu chutney Kadalai Paruppu chutney, though is had with idli and dosa, it really goes well with idli. It is easy to make and tasty as well. Kadalai Paruppu chutney with idli, podi and gingely oil is a combination that has to be tried at least once :). As I had mentioned above, even though it is popular in South Indian homes, I have never seen it served in restaurants!? (or I might not have recognized it when served ;)) Kadalai paruppu chutney The main ingredient in Kadalai Paruppu chutney, as the name suggests, is kadalai paruppu. As with all other tasty dishes, there is a slight drawback to this chutney as well, i.e., fat. Kadalai paruppu is one of the grams that is used to extract oil and hence the fat content. However, having tasty chutneys once in a while is a welcome relief to otherwise mundane dishes, what say? Do try this recipe in your home and share your thoughts.

KADALAI PARUPPU CHUTNEY | CHANA DAL CHUTNEY
Recipe type: Breakfast
Cuisine: Indian
Cook time: 
Total time: 
Serves: 3
 
Ingredients
  • Oil – ½ tbsp
  • Chana dal or kadalai paruppu – 2 tbsp
  • Shallots – 3 nos
  • Red chilli – 2 nos
  • Tomato – 1 no
  • Grated coconut – 1 tbsp
  • Salt as required
To temper:
  • Oil- ½ tbsp
  • Mustard seeds – ½ tsp
  • Urad dal – ½ tsp
  • Curry leaves – 5 nos
Instructions
  1. Heat a flat pan with oil and add chana dal (kadalai paruppu). Stir for a minute and add roughly chopped shallots. Sauté well and add red chilli and chopped tomato.
  2. Add salt and sauté for couple of minutes.
  3. Allow them to cool and blend it along with grated coconut.
  4. Transfer the kadalai paruppu chutney to a serving bowl and do the seasoning. Enjoy it with hot idlis along with idli podi on the side!
Notes
Do not fry the chana dal for so long. Add onions before the chana dal turn brown. The right state is when the chana dal turns white around the corners.

Kadalai paruppu chutney

CHILLI PAROTTA

Chilli parotta
Chilli parotta is an amazing dish that is a worthy contender to its non vegetarian counterpart, Kothu parotta. Chilli parotta is a vegetarian entree made with shredded parottta and masala (in a paste form).
Chilli parotta
My earliest recollection of chilli parotta are those family outings where my dad used to get me chilli parotta to be had at home – only for me to finish it off on the way home:). I don’t recall having chili parotta of similar taste since then, of course, except for the one I make ;). Also, my HB is a very big fan of my recipe that he had declared that he has never tasted this good anywhere else!!!
Chilli parotta
There is a healthier version of chili parotta too where you don’t deep fry the parotta but just add it as is. Restaurants deep fry the parotta and to be honest, deep frying the parotta makes a huge difference in the taste. Normally, you don’t need a side dish for chili parotta but onion raitha goes well with it.
Chilli parotta
Try this awesome dish at your home and let me know your comments.

4.0 from 1 reviews
CHILLI PAROTTA
Recipe type: Dinner
Cuisine: Indian
Prep time: 
Cook time: 
Total time: 
Serves: 2
 
Ingredients
For the batter:
  • All purpose flour – 1 cup
  • Garam masala powder – 1 tsp
  • Ginger garlic paste – 1 tsp
  • Chicken 65 masala – 1 tsp
  • Salt – ½ tsp (couple of pinches)
  • Red food color – a pinch
To grind:
  • Coconut – 3 tbsp (1/2 cup)
  • Cashews – 1 tbsp
  • Poppy seeds – 2 tbsp
For the masala:
  • Oil – 2 tbsp
  • Whole spices – 4 cardamom, 1” cinnamon, 4 cloves
  • Onion, medium, chopped – 1 no
  • Curry leaves – ½ a sprig
  • Tomato, medium size, chopped – ½
  • Ginger – Garlic paste – 1 tbsp
  • Garam masala powder – 1 tsp
  • Chicken 65 masala – 1 ½ tsp
  • Water – 1 cup
  • Salt as required
  • Red food color – a pinch
  • Oil – to deep fry
  • Parottas, cut lengthwise – 4 nos
  • Cilantro – for garnishing
  • Lemon juice – 1 tbsp
Instructions
Step 1:
  1. Mix all the batter ingredients given above with enough water and make a thick batter – Batter should not be too thick or too thin. The right consistency is the bajji batter.
  2. Grind the above ingredients to a thick paste and keep it ready.
Step 2:
  1. Heat a wide pan with oil and add the whole spices. When they start to sizzle add in the chopped onions and curry leaves together.
  2. When the onions turn translucent add in the chopped tomato and sauté well for a couple of minutes.
  3. Now add in the ginger – garlic paste. Sauté until the raw aroma disappears. Add all the powders give a quick stir and add a cup of water. Add salt and food color and bring them to boil.
  4. Add the ground coconut paste to the masala and sauté well. cook until they blend together and ooze out on the rim.
Step 3:
  1. Heat oil in another pan to deep fry the parattas.
  2. While the oil is getting hot, cut the parottas lengthwise.
  3. Dip the parotta pieces one by one to the batter and deep fry them. Repeat for all the parotta pieces – Do not soak the parottas for more than a second. Just dip it and deep fry it right away. Otherwise the parottas become more soggy and it would be hard to hold while frying.
  4. Drain on a plate lined with paper napkin and allow them to cool.
Step 4:
  1. Cut the fried parottas to the desired size pieces.
  2. Heat the masala that is made in step 2. Add in the fried parotta pieces to the masala and mix well.
  3. Switch off the flame when the masala is well blended with the parottas.
  4. Garnish with cilantro. Drizzle few drops of lemon juice on top and serve it hot. Enjoy the chilli parotta with onion raitha on the side!

Chilli parotta

KOTHU CHILLI DOSA

Kothu chilli dosa
Tired of having the same old idli and dosa? Worried about what chutney to make for dosa or idli? Worry not, kothu chilli dosa will save the day. Kothu chilli dosa is a variety of dosa made with regular dosa and masala.
007
I came across kothu chilli dosa recipe on the internet and was intrigued by it. Naturally, I tried it right away and it turned out to be awesome. Kothu chilli dosa is easy to make and most importantly does not require any sort of accompaniment, like chutney or sambar to it. Also, for health conscious folks out there, you can customize your masala with vegetables like broccoli or zucchini instead of potato.
Kothu chilli dosa
Kothu chilli dosa can be made using regular dosa batter or a substitute that consists of gram flour. I personally prefer dosa batter and the recipe below uses the same. Having shredded kothu chilli dosa with onions sprinkled over is a taste that you should try at least once 🙂
And without further delay, here is the recipe for the wonderful kothu chilli dosa.

5.0 from 1 reviews
KOTHU CHILLI DOSA
Recipe type: Dinner
Cuisine: Indian
Prep time: 
Cook time: 
Total time: 
Serves: 2
 
Ingredients
  • Dosas (preferably uthapam) – 5
  • Oil – 3 tbsp
  • Onion, chopped – 1 no , divided
  • Ginger- Garlic paste – 1 tbsp
  • Tomato, medium size, chopped – 1 no
  • Green chilli, chopped – 2 nos
  • Coriander powder – 1 tbsp
  • Red chilli powder – 1 tbsp
  • Cumin powder – ½ tsp
  • Turmeric powder – ½ tsp
  • Lemon juice – 1 tbsp
  • Salt as required
  • Cilantro , chopped – 5 tbsp
Instructions
  1. Shred the dosas to desired size pieces and keep it aside.
  2. Heat a pan with oil and add onions. Sauté until they turn translucent - Add enough oil so that you don’t have to add water later on.
  3. Add in ginger – garlic paste and sauté until the raw aroma disappears. Now add the chopped green chillies and cilantro. Give it a stir and add tomatoes.
  4. Reduce the flame and cook the tomatoes well (without any chunks). Add all the powders and give a quick stir. Cook until the oil ooze out – Do not add water.
  5. Finally add in the shredded dosa pieces to the tomato sauce and give it a stir. Switch off the flame when the dosas are well blended with the tomato sauce. Garnish with chopped cilantro.
  6. Sprinkle few drops of lemon juice and onions on top and serve it hot. Enjoy!
Notes
1.Add enough oil in the beginning so that you don’t have to add water later on.
2.Having the kothu chilli dosa with onions adds more taste to this dish.

Kothu chilli dosa

Coriander chutney

Coriander chutney
Coriander chutney or Kothamalli chutney (in my native language) is a simple and healthy recipe. It is mainly had with idli or dosa -popular south Indian breakfast items. Coriander chutney can also be had with puliyogare, whose recipe can be found here. Coriander has many health benefits like reducing skin inflammation, subside nausea etc.
Coriander chutney
Coriander chutney is the go-to recipe while traveling or when out for a picnic. In olden days, puliogare was always the food that was taken with while traveling because it can be retained for like 2 days or so. And coriander chutney was the common accompaniment, hence the apt recipe while traveling. I feel nostalgic while writing this because when I was a kid, whenever we visit our grandma, my mom used to prepare puliyogare and coriander chutney to eat while traveling.
Coriander chutney
There are two different recipes for making coriander chutney. I have posted one below and will publish the other soon. The recipe that I have given here is my mom’s and it tastes yummy. There is another variation of coriander chutney that is used in bread sandwich. That one just has coriander and green chilli.

Try this healthy and easy to make recipe along with puliyogare and let me know your comments.

Coriander chutney
Recipe type: Breakfast / Dinner
Cuisine: Indian
Cook time: 
Total time: 
Serves: 2
 
Ingredients
  • Urad dal – 1 tbsp
  • Coriander seeds – ½ tbsp
  • Green chilli – 1
  • Tamarind – small gooseberry size
  • Grated coconut – 1 tbsp
  • Cilantro – a bunch (1 cup)
  • Salt as required
For the seasoning:
  • Oil – 1 tsp
  • Mustard seeds- 1 tsp
  • Urad dal – 1 tsp
  • Curry leaves – 5 nos
Instructions
  1. Dry roast urad dal and coriander seeds until they change color. Allow them to cool.
  2. Grind them with all the above ingredients together adding little water.
  3. Season with mustard, urad dal and curry leaves.