 Today, I have posted a kind of healthy dessert variety that you don’t find normally in restaurants or bakeries. It is called as the Zucchini bread. As the name suggests it is made from zucchini, a relative to pumpkins 🙂 Zucchini is also called as summer squash and is of European origin, mainly from Italy. You can make a number of dishes from zucchini like fritters, fries, as a topping in pizzas (it tastes yummy 🙂 ) etc.
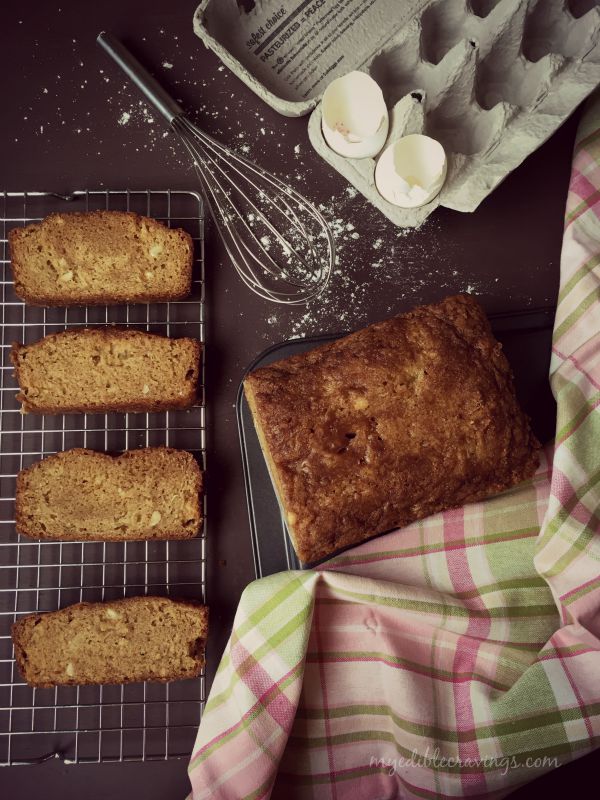
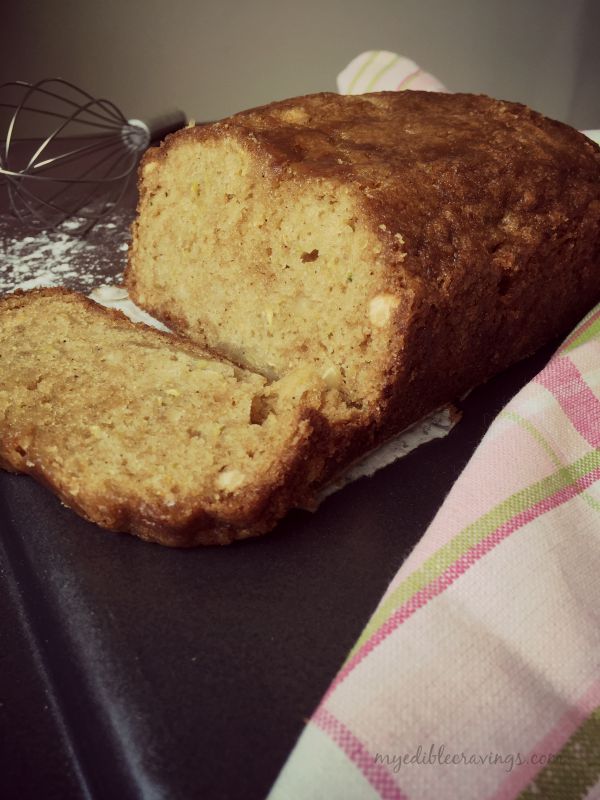
 Zucchini bread is a very easy to make bread variety and can be had as snack and for breakfast as well. Zucchini, as with all vegetables, is rich in nutrients especially vitamin A and very low in calories. I first had zucchini bread in a vegan restaurant and liked the taste so much. Believe me, you cannot identify that it is zucchini bread unless someone tells you that 🙂
 Zucchini bread, as said above, is a very good breakfast dish, especially for children who normally do not like to eat vegetables (which covers 95% of them :)). Try this tasty bread variety and let me know your comments.
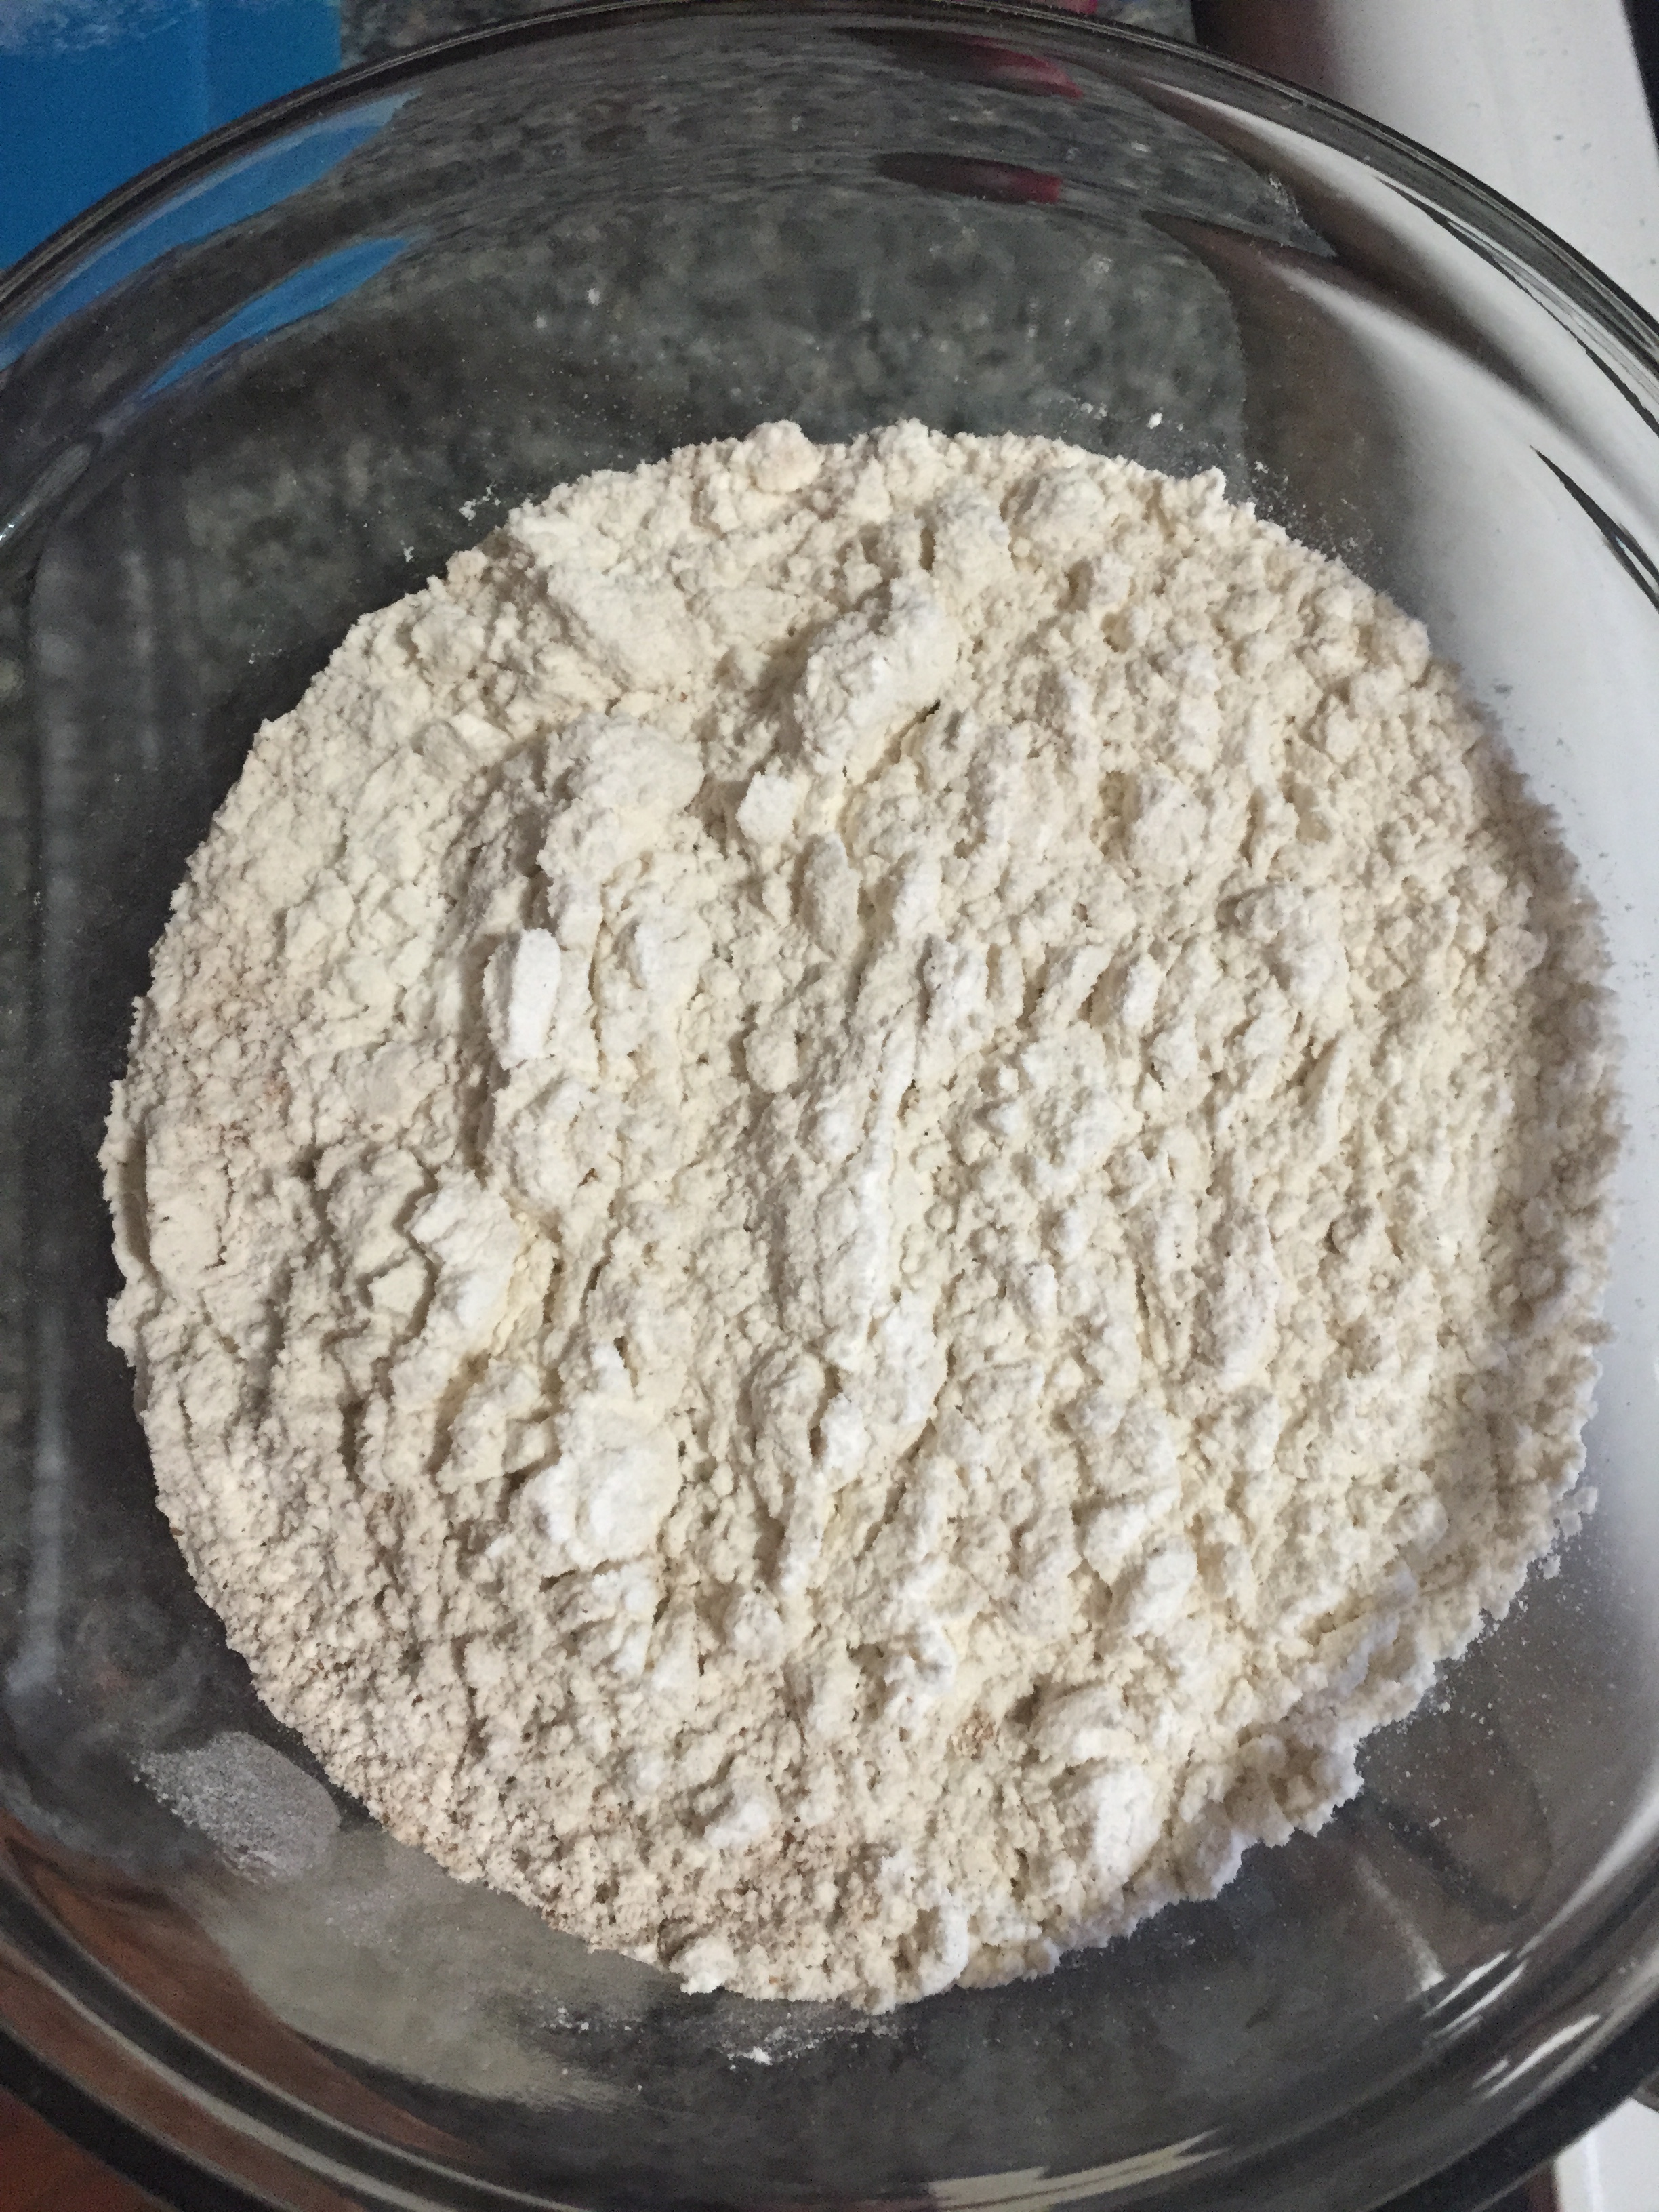
- 1 ½ cups bread flour or all purpose flour
- ½ tsp salt
- ½ tsp baking soda
- ½ tsp baking powder
- ¼ tsp ground cinnamon
- ½ cup vegetable oil
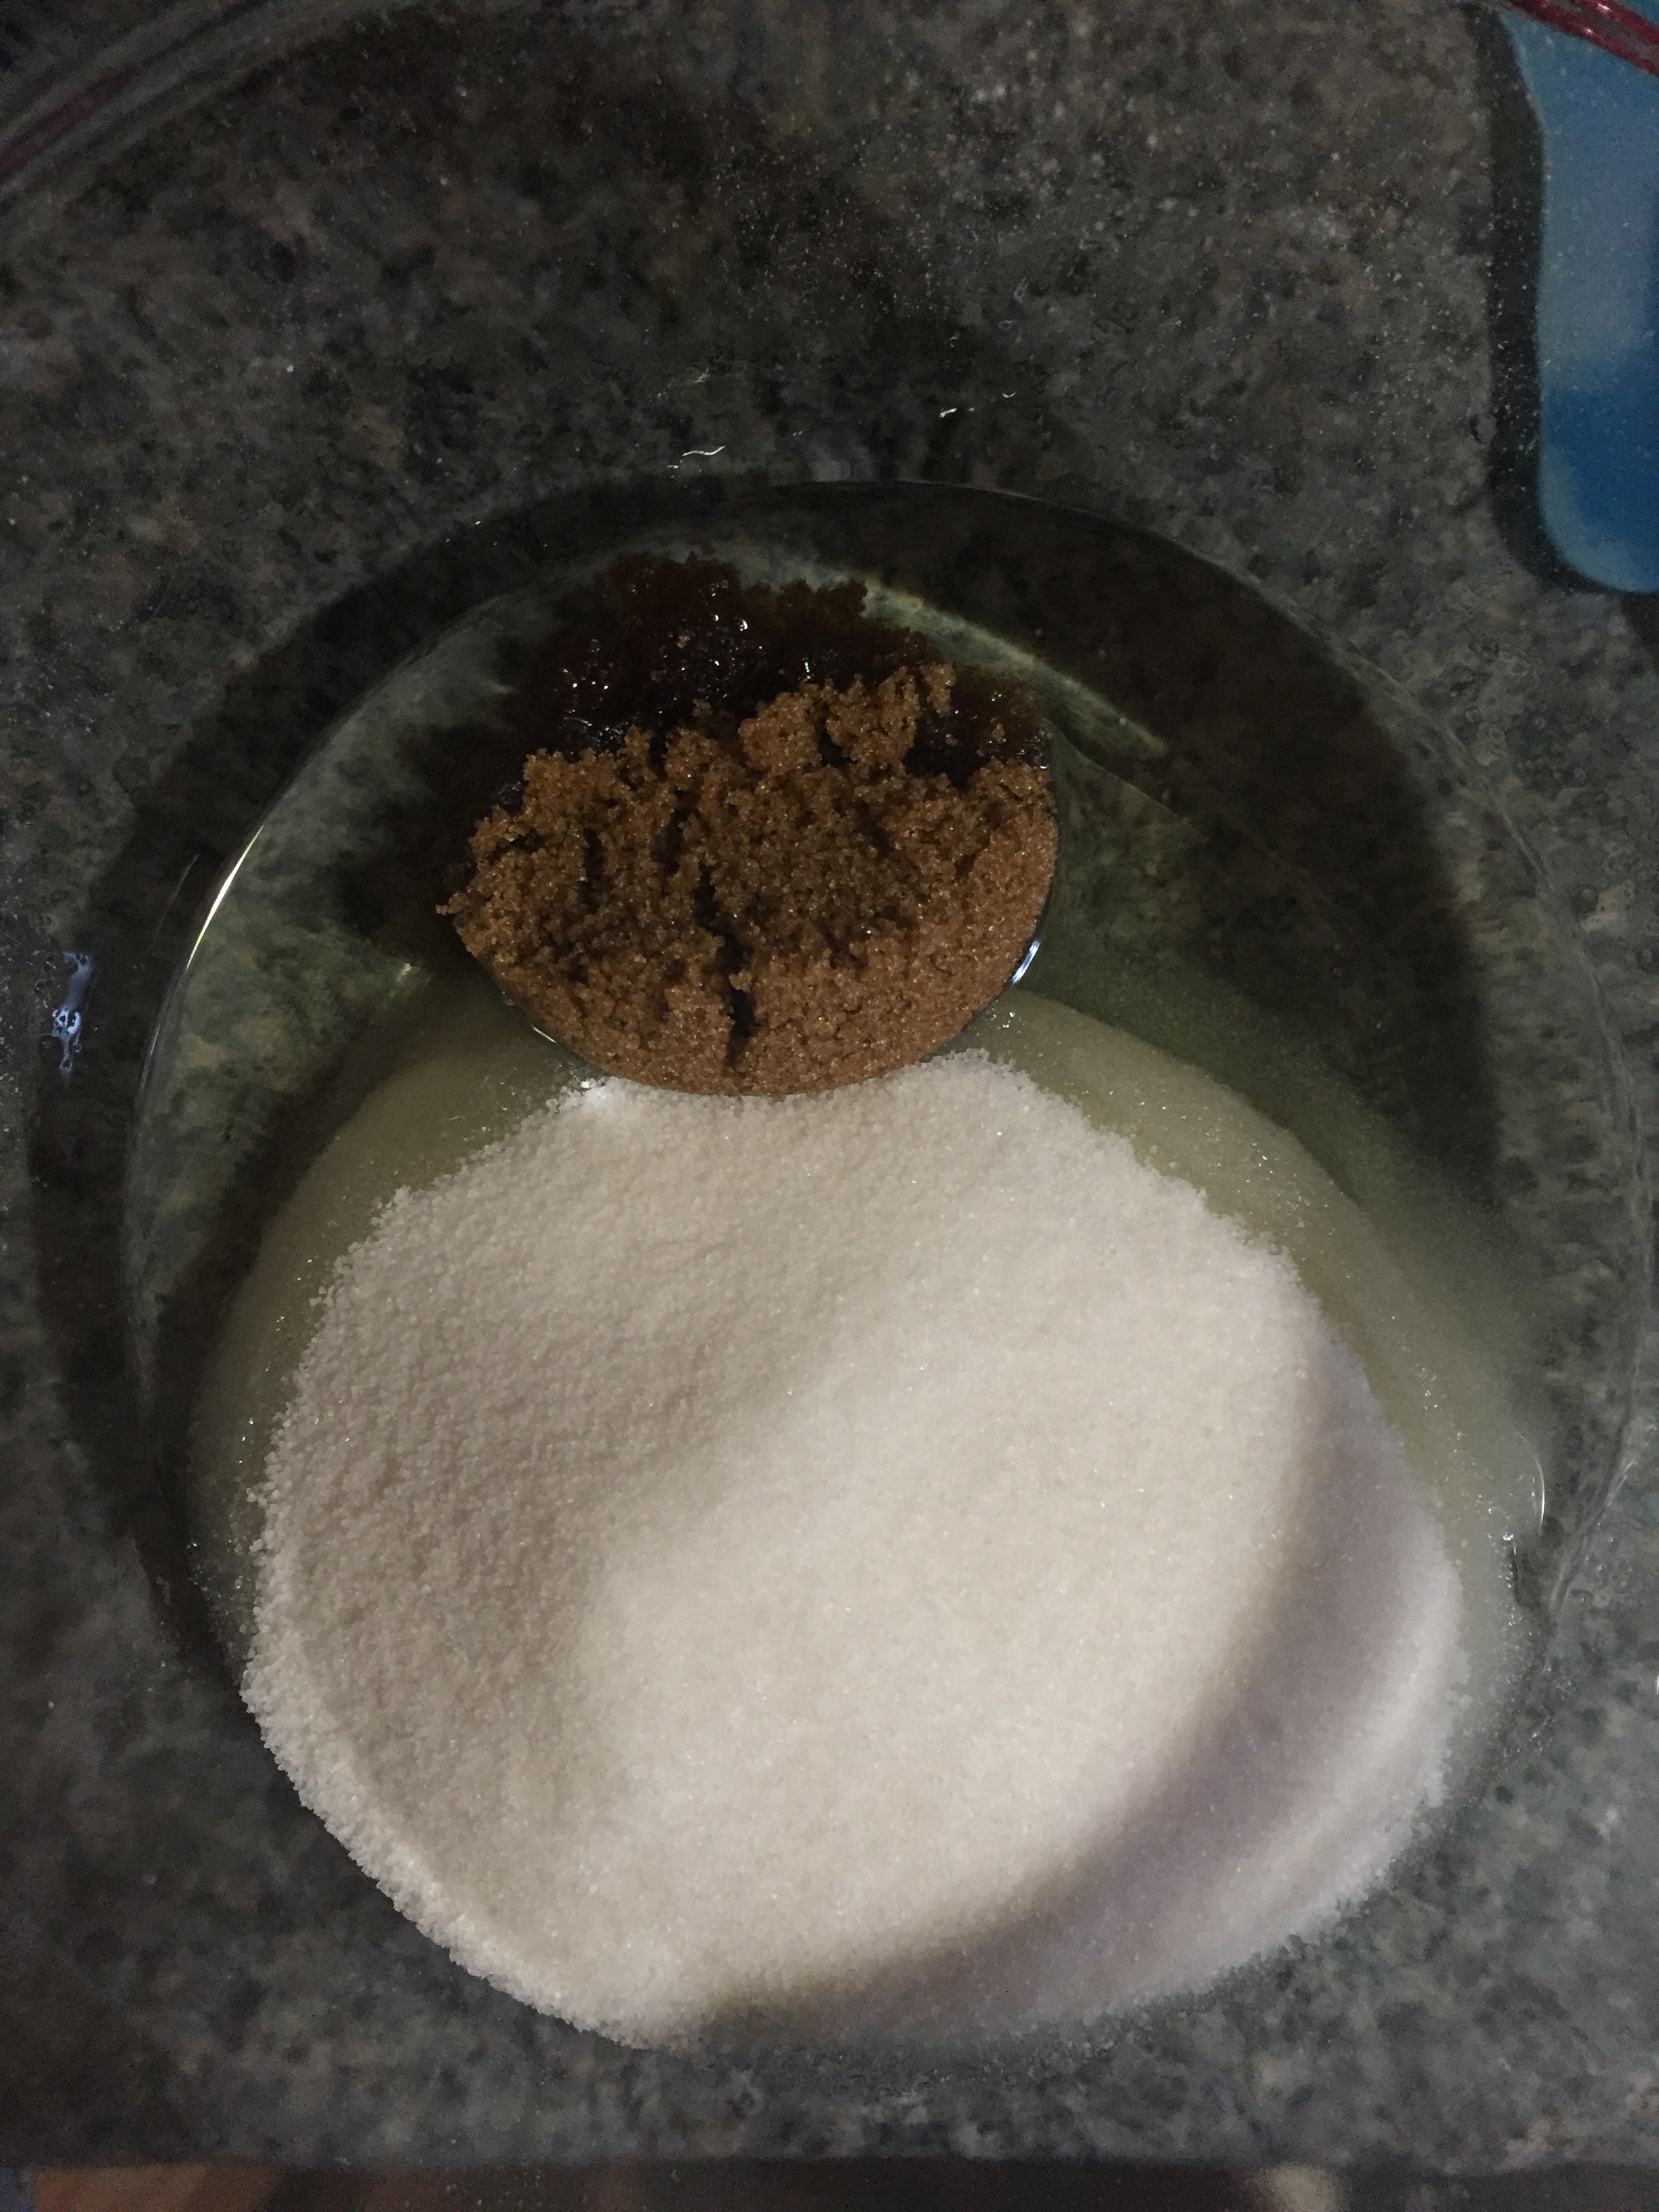
- 1 cup white sugar
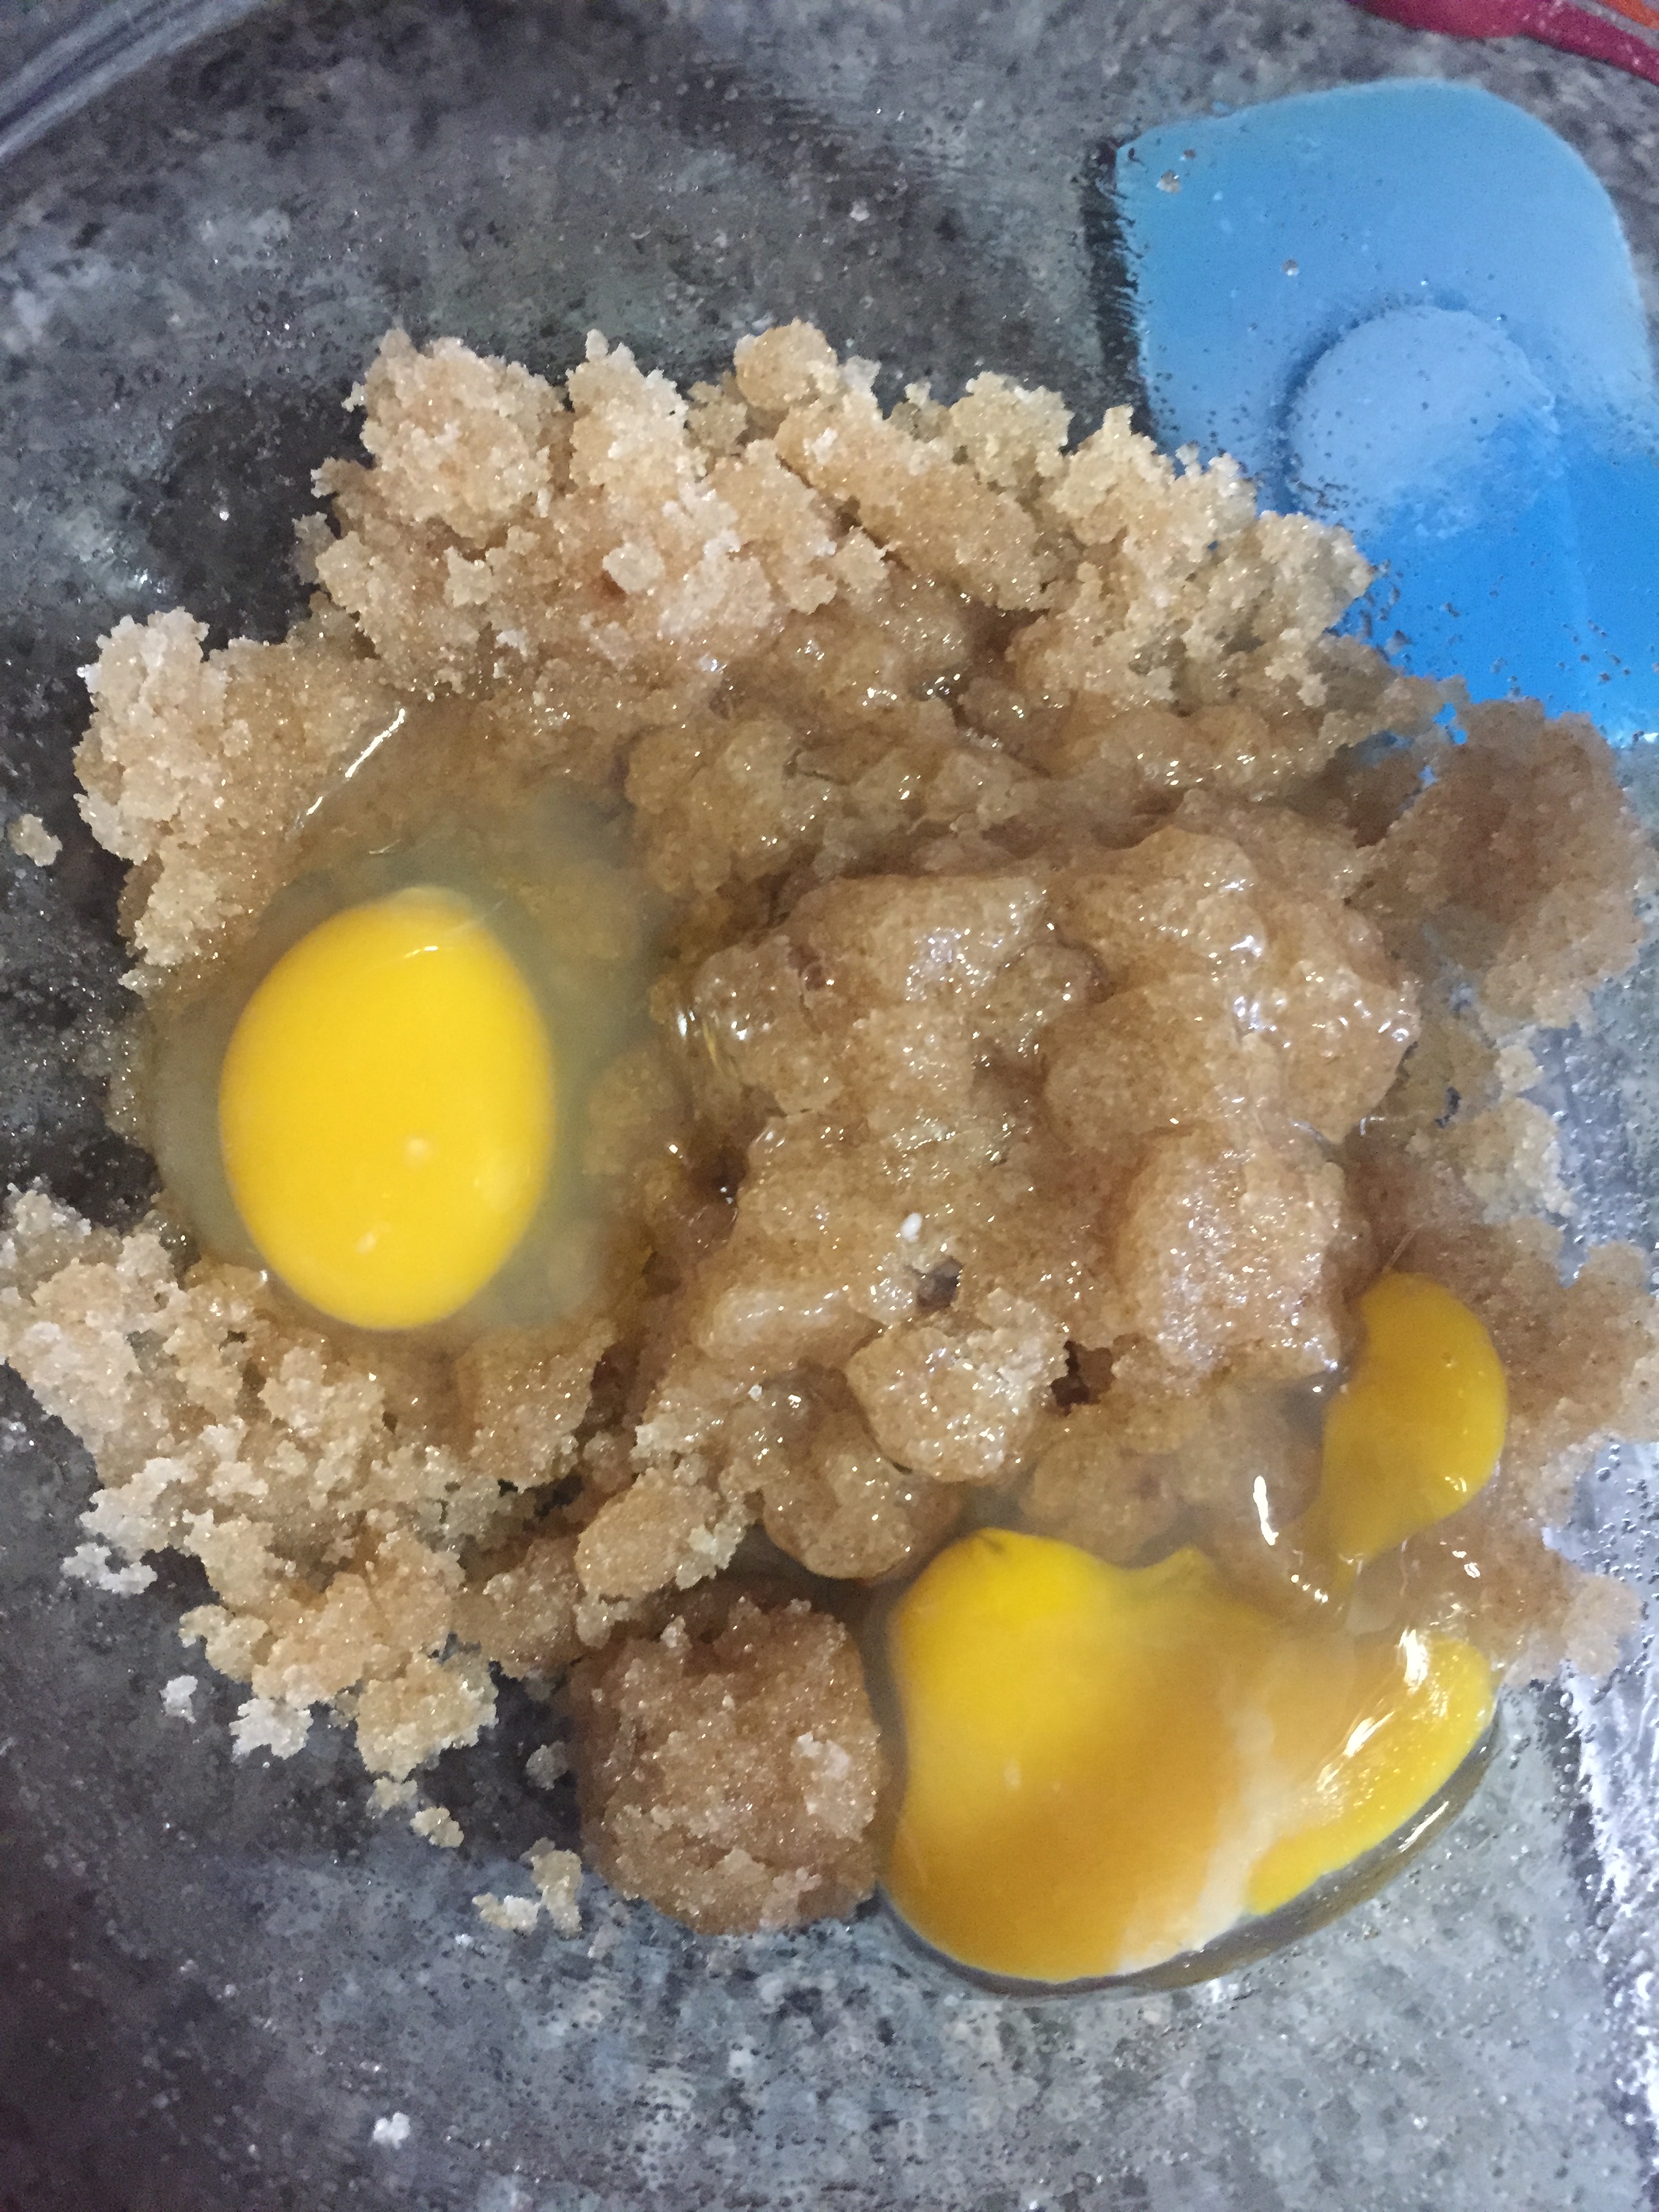
- ¼ cup brown sugar
- 2 eggs, room temperature
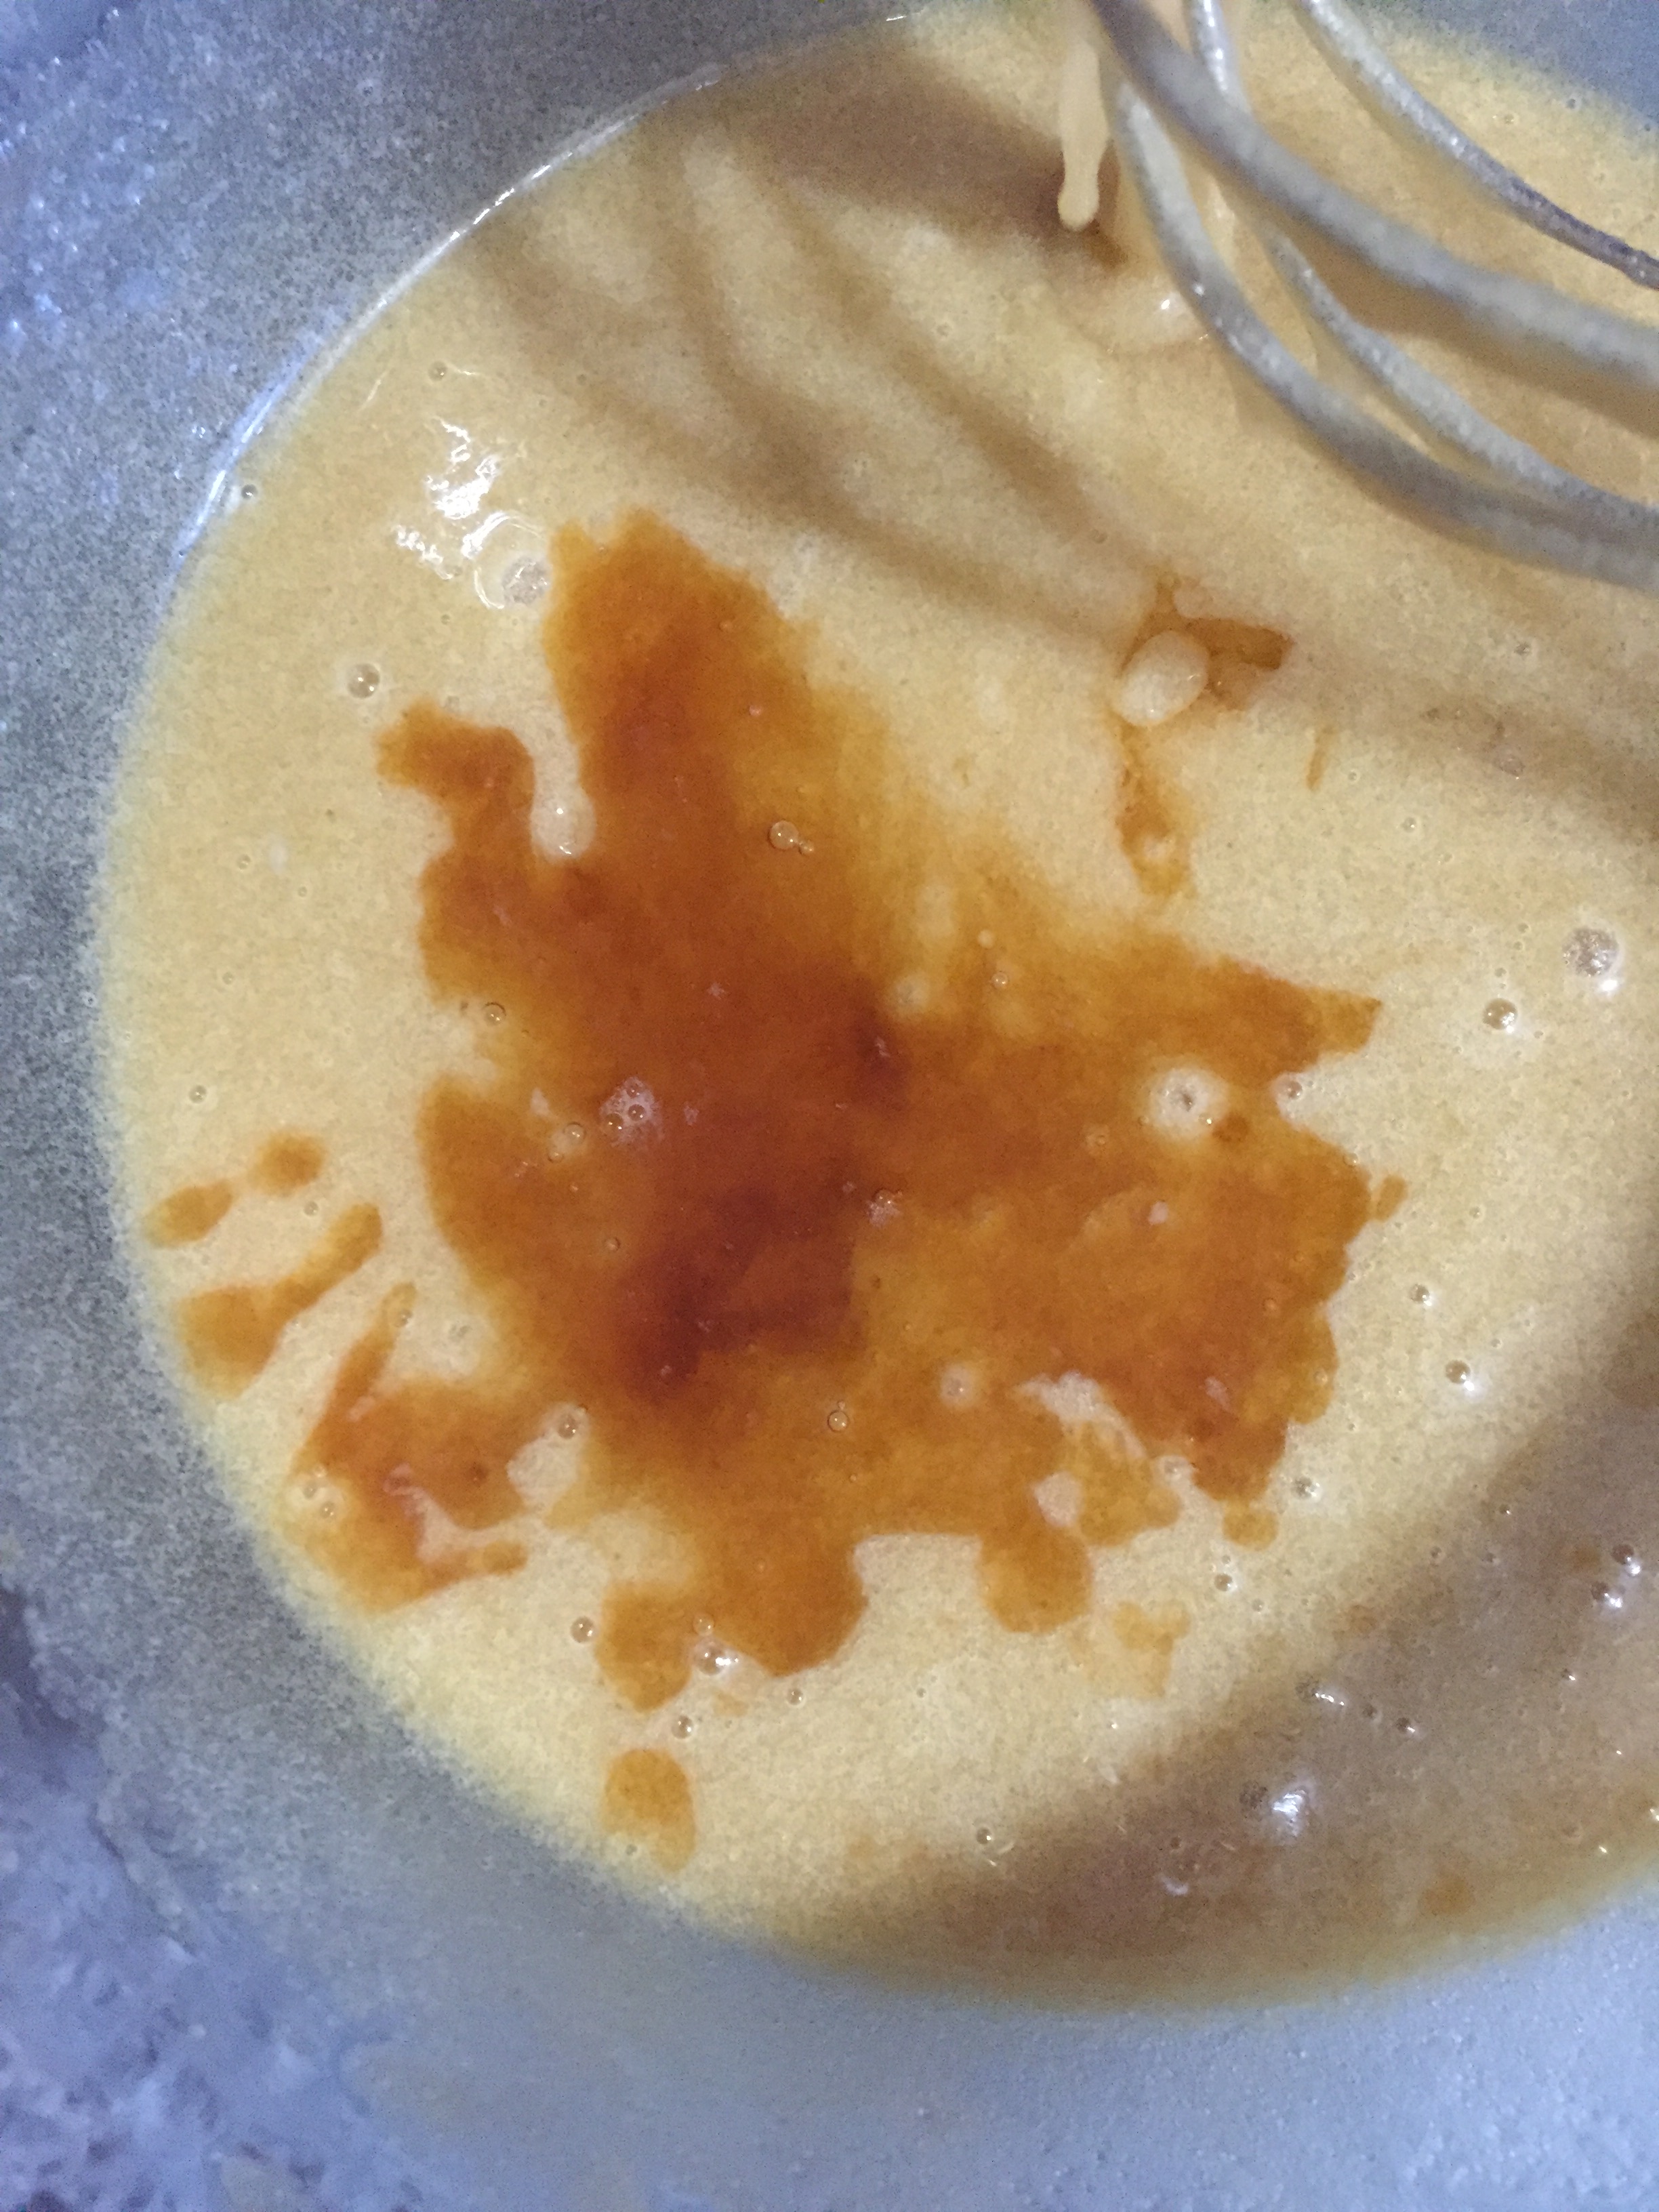
- 1 ½ tsp vanilla extract
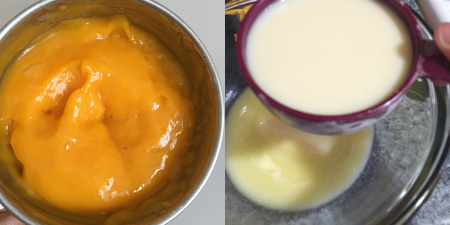
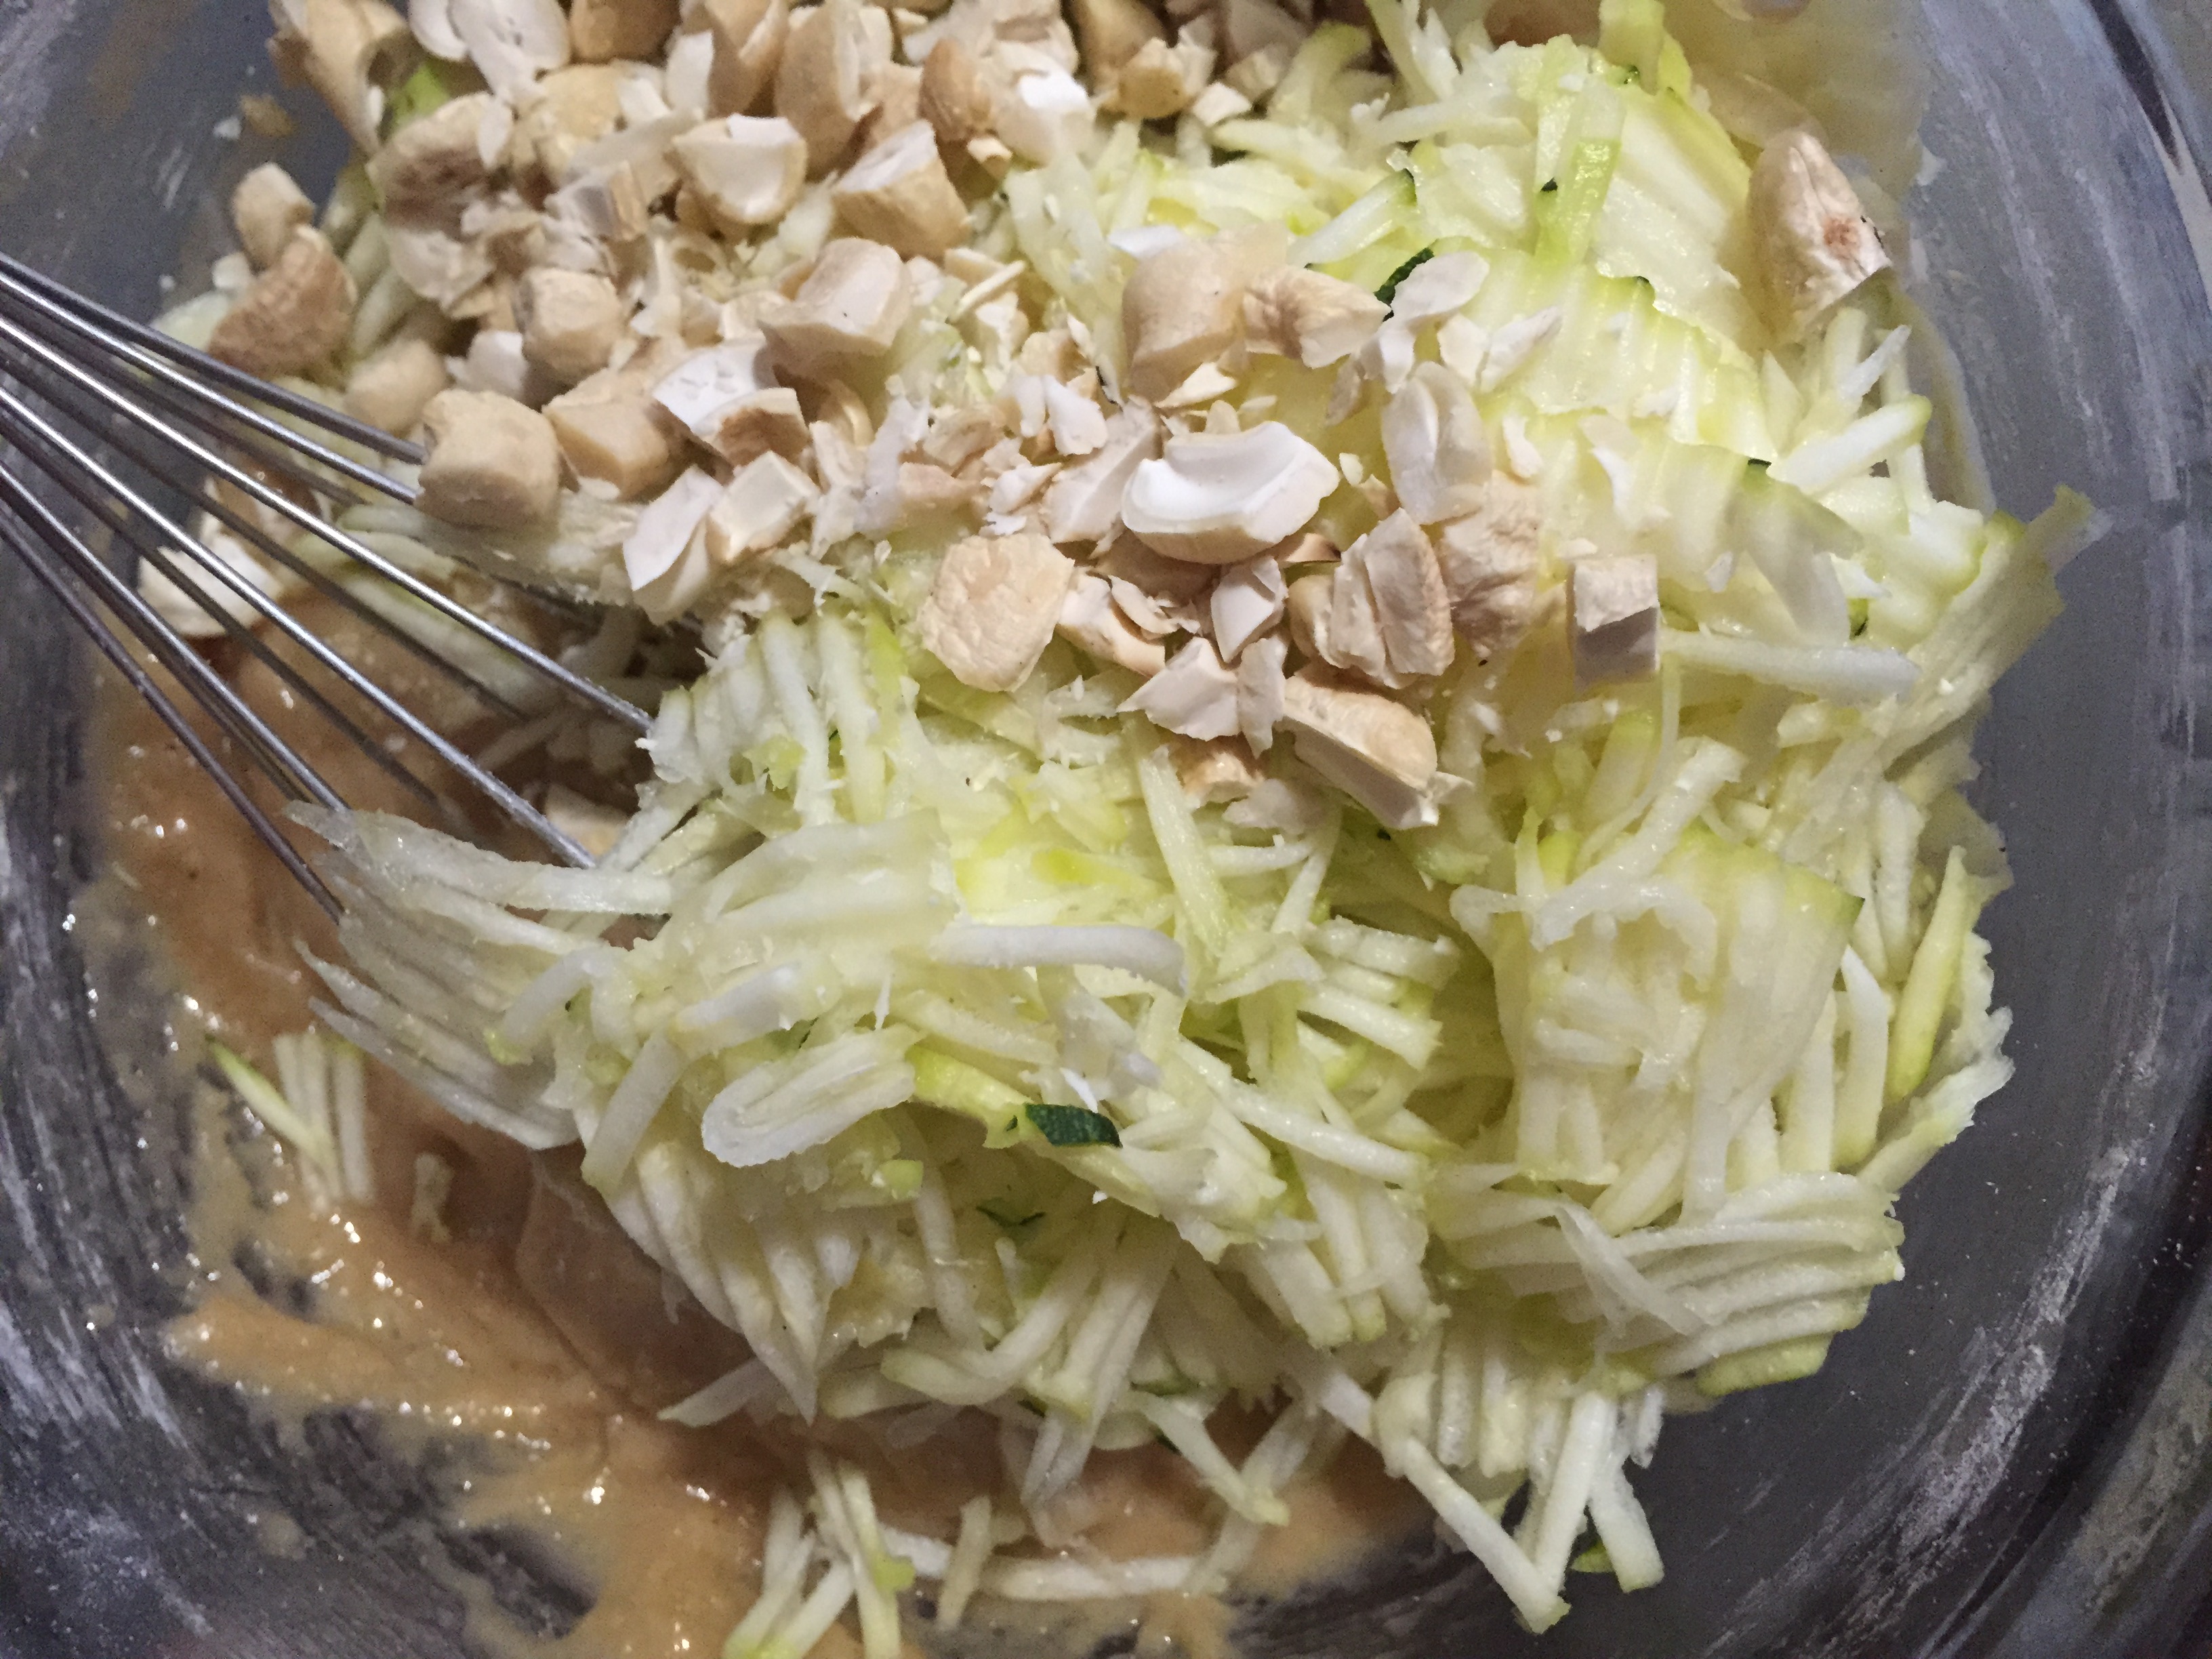
- 1 cup grated zucchini
- ½ cup chopped walnuts (or any nuts of your choice)
- Preheat the oven to 350 degrees Fahrenheit or 180 degrees Celsius.
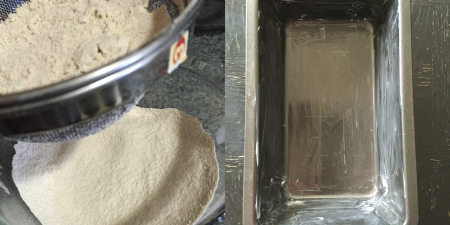
- Grease a loaf pan (9 x 5 x 3 inches) with butter or oil on the bottom and all four sides and line the bottom with parchment paper.
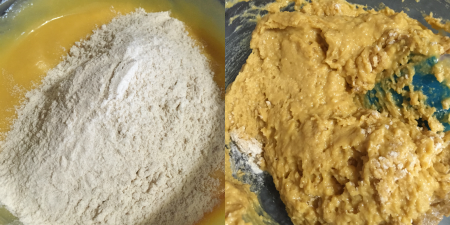
- Sieve all the dry ingredients together into a small bowl.
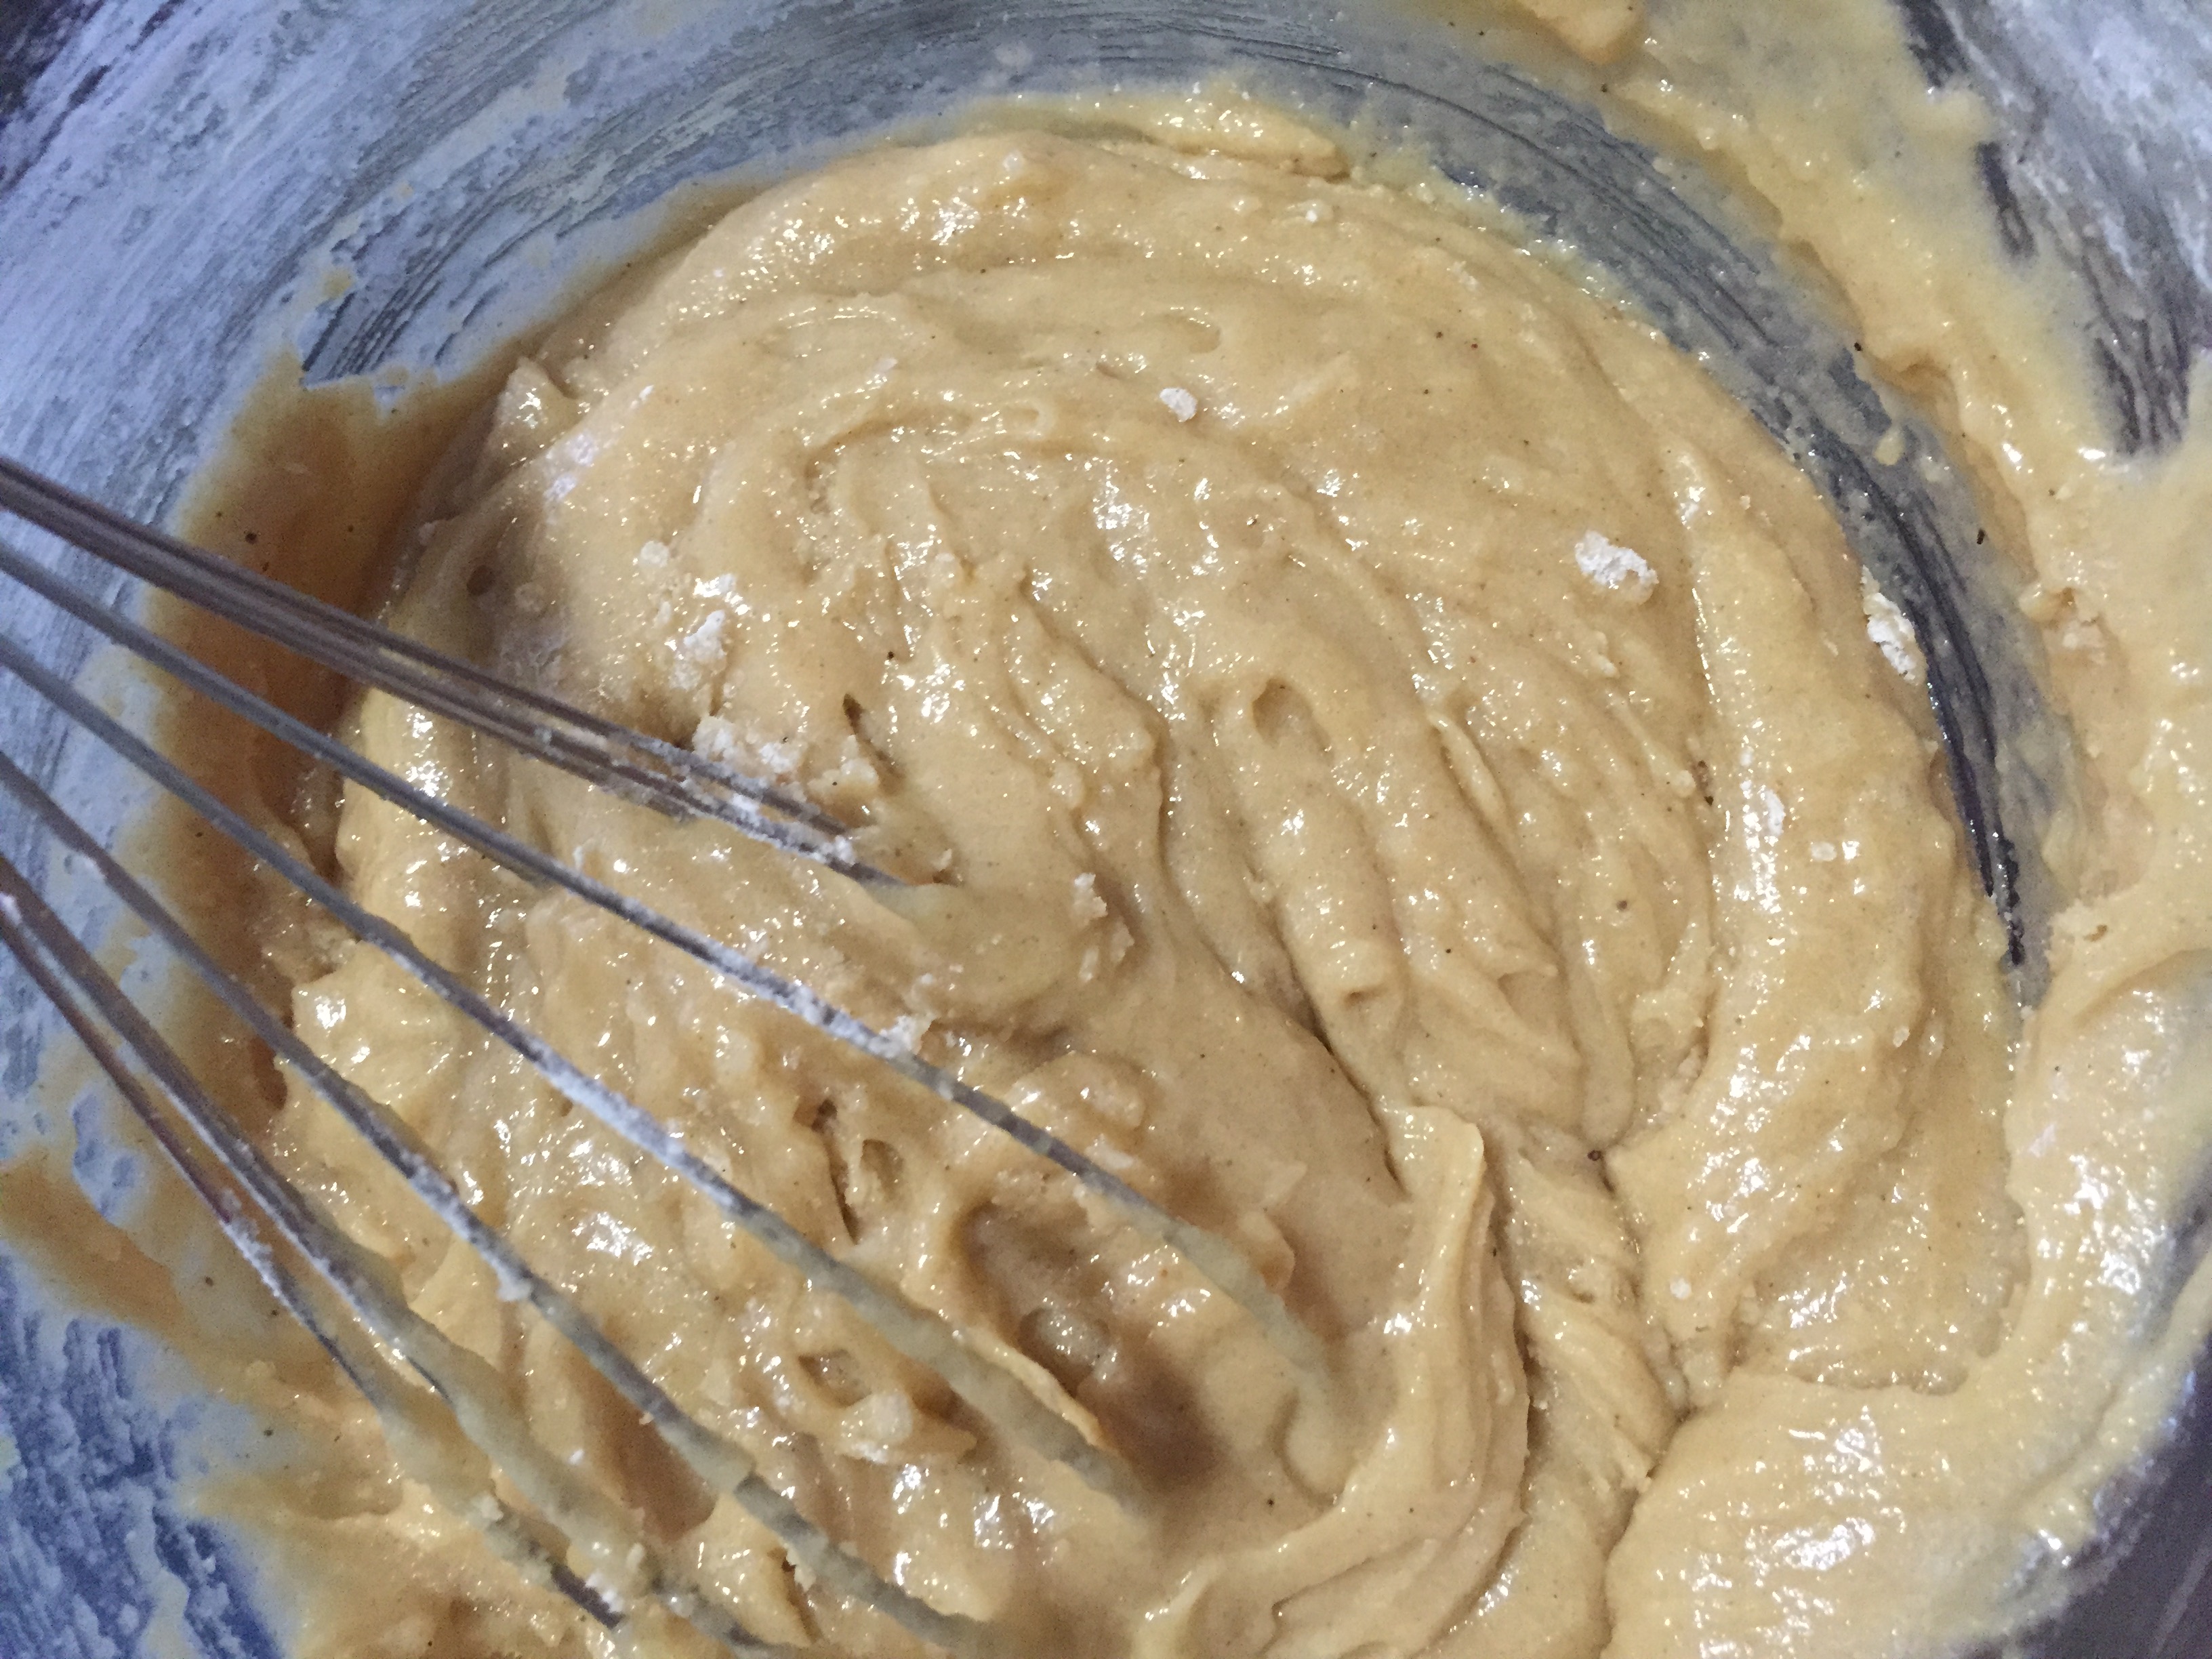
- Combine oil and sugars to the large bowl. Mix well until well combined.
- Add in the eggs and beat well until creamy consistency.
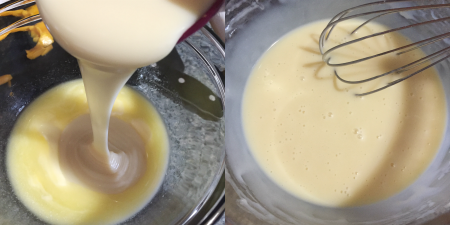
- Add and beat the vanilla extract.
- Now combine the dry ingredients into the wet ingredients. Mix well without any lumps.
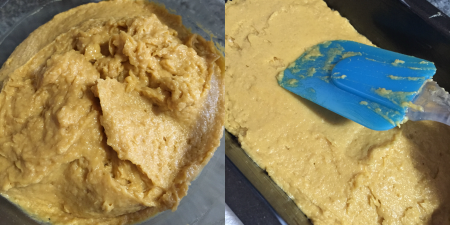
- Finally add in the grated zucchini and chopped walnuts into the mixture and mix well.
- Pour batter into prepared loaf pan. Shake the pan and even the batter on top using spatula.
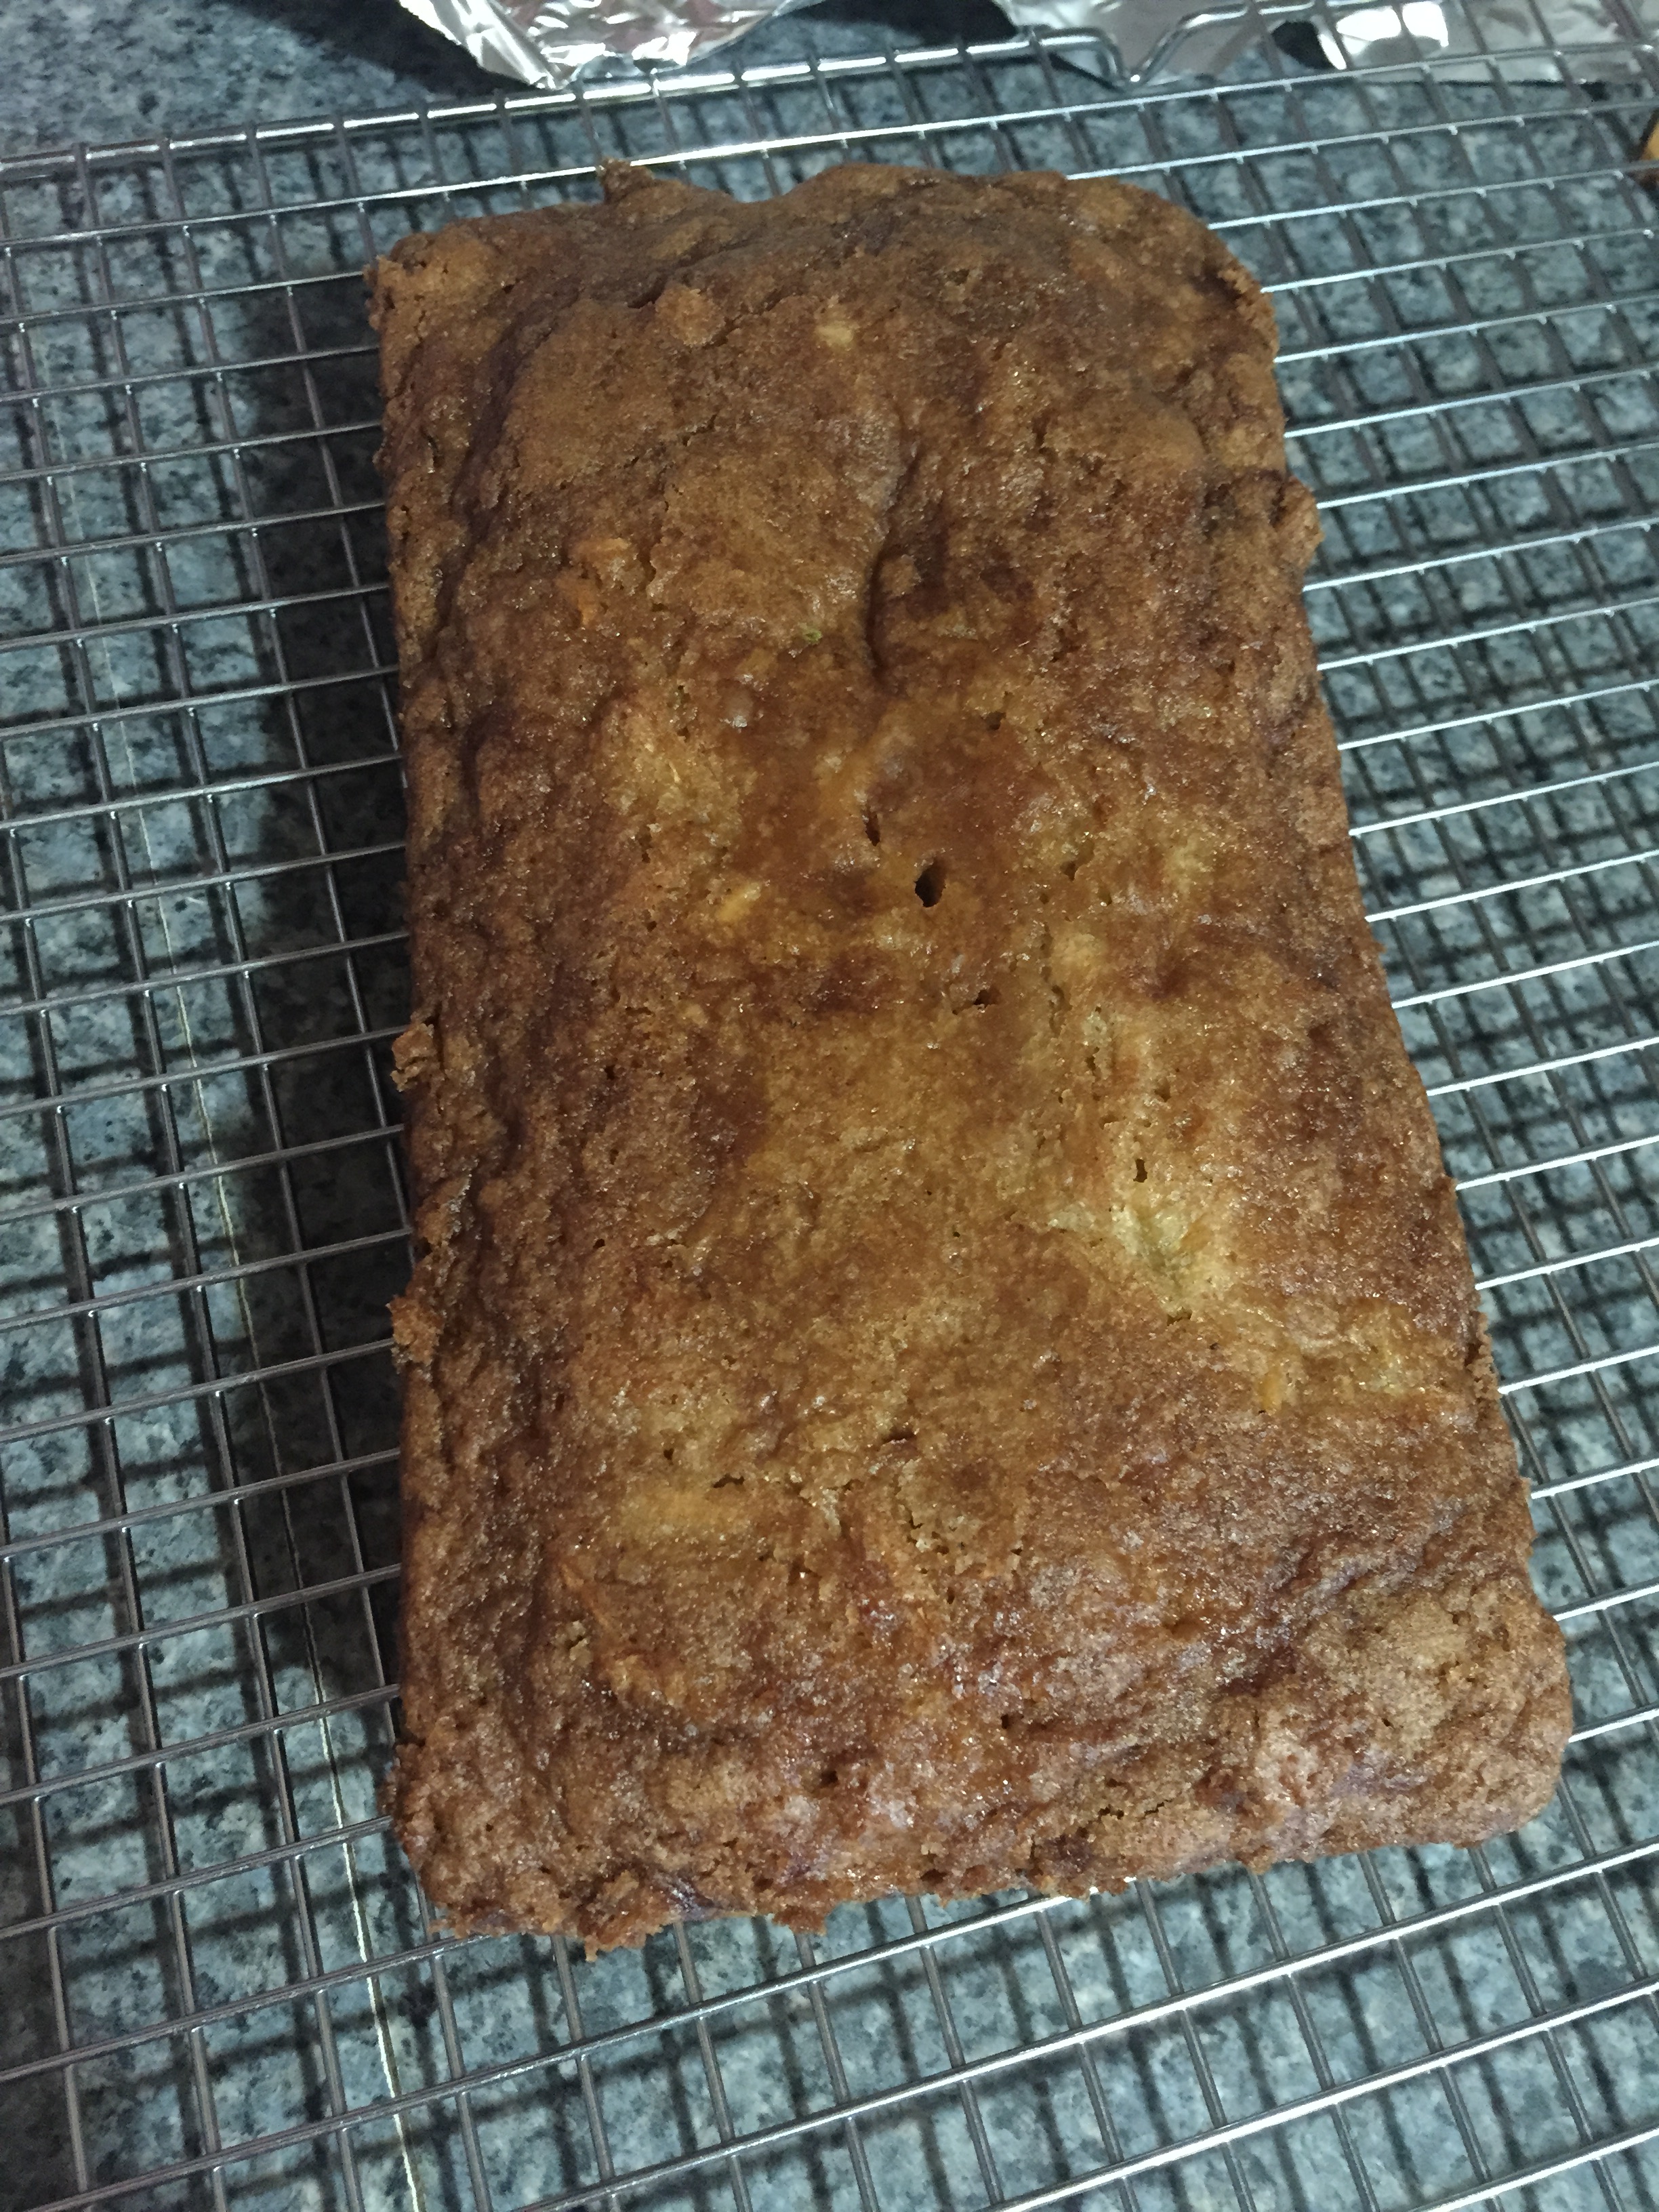
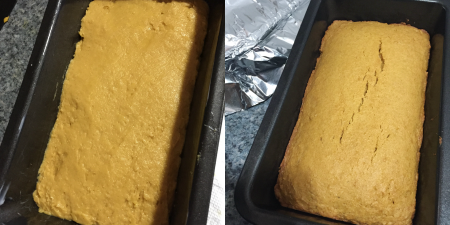
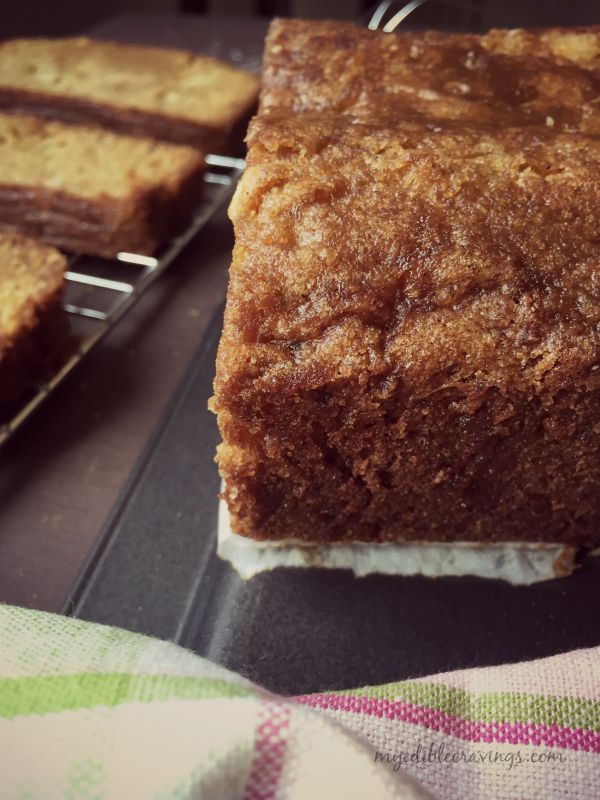
- Bake in oven (preferably in the middle rack) for 55 minutes, until golden brown and a toothpick inserted in the center comes out clean – I covered the pan with aluminum foil after 35 minutes when it starts to brown on top.
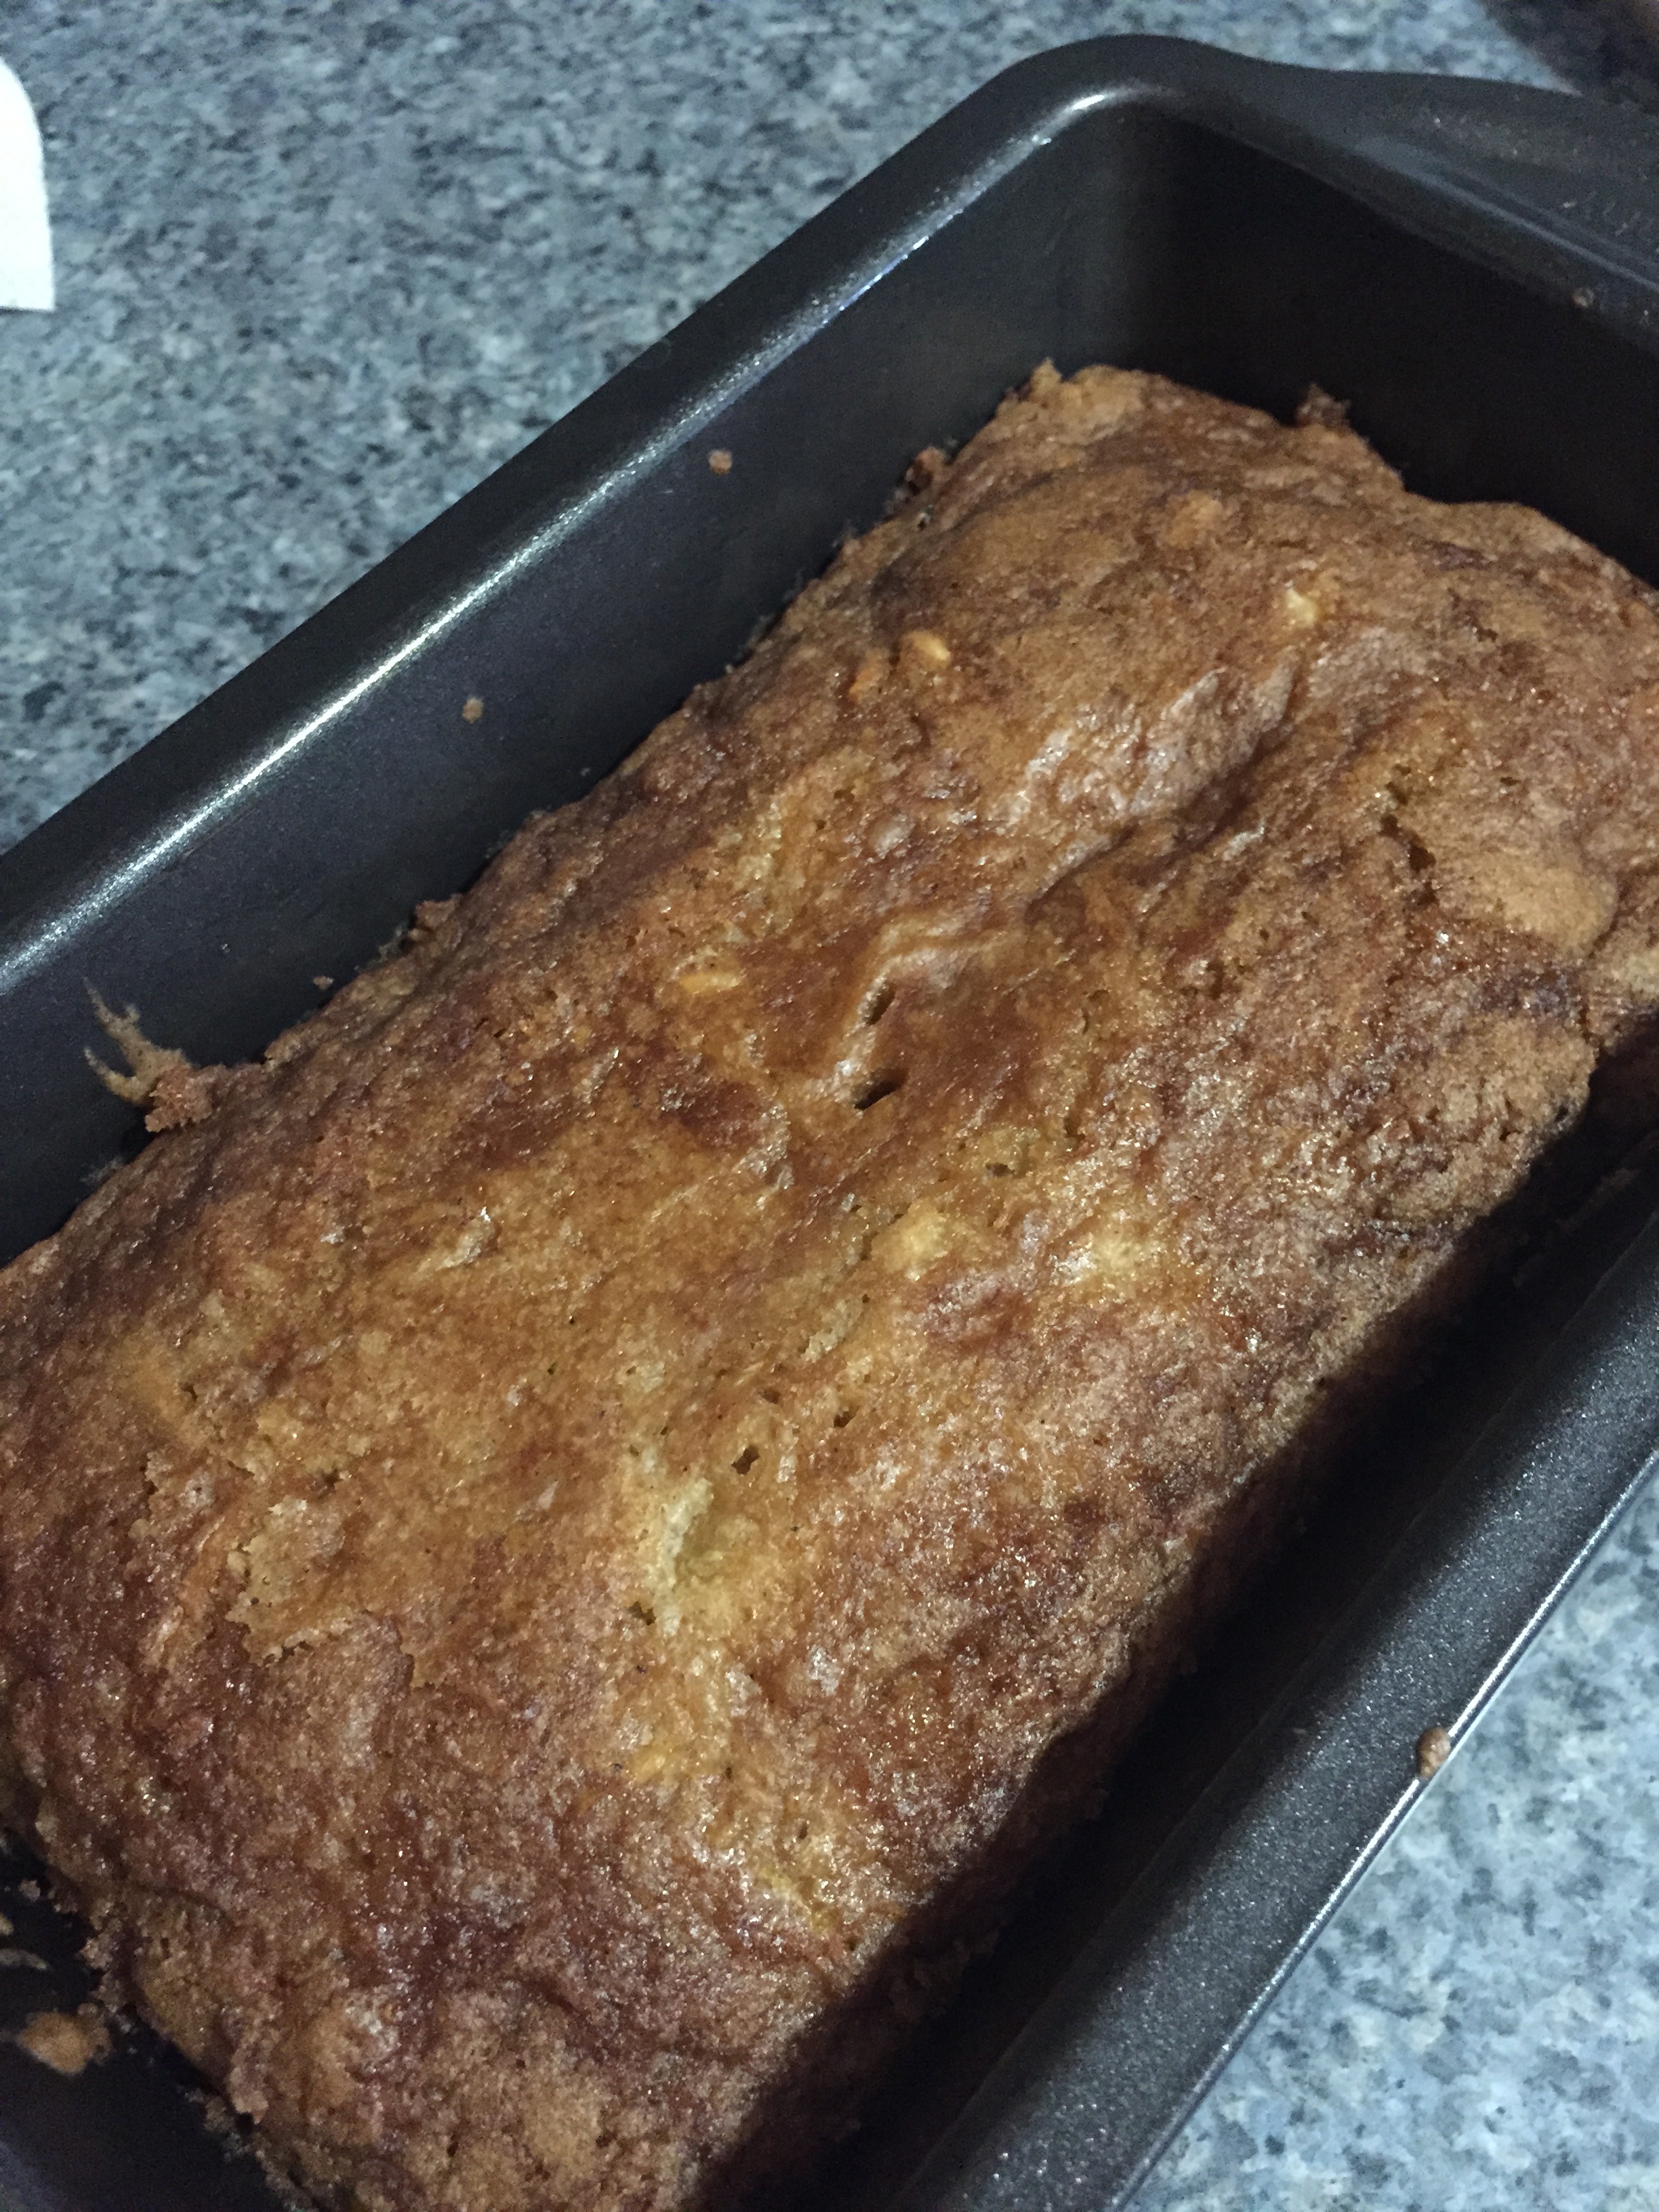
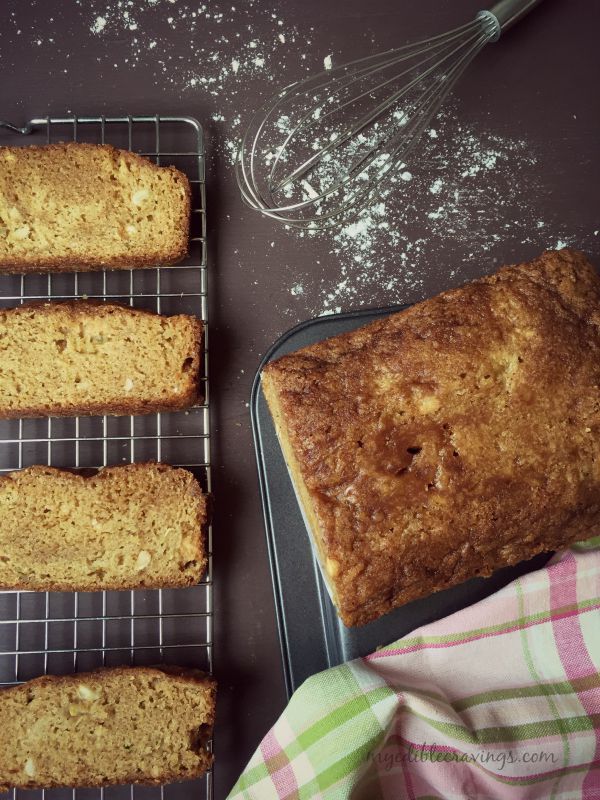
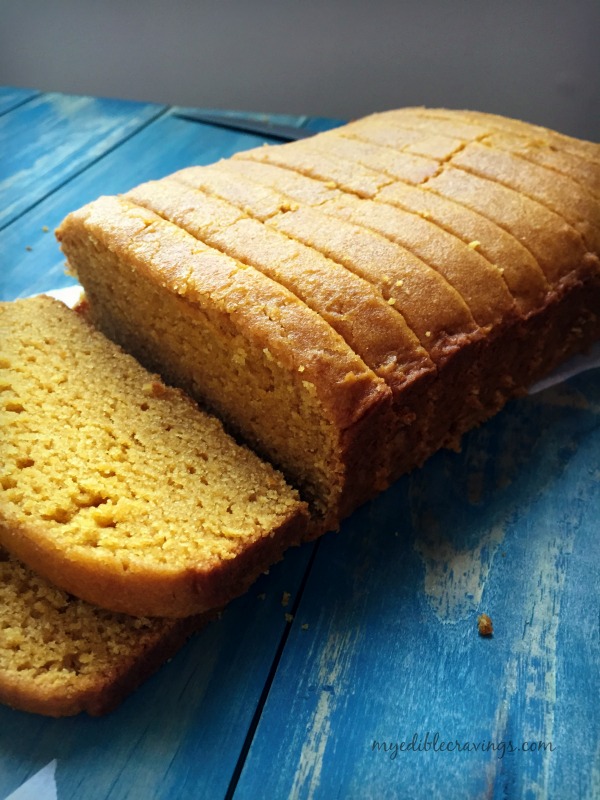
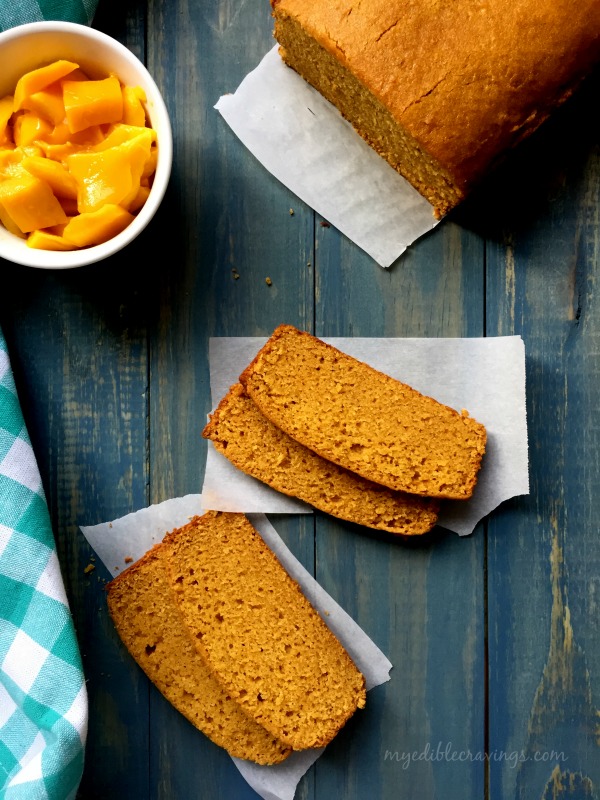
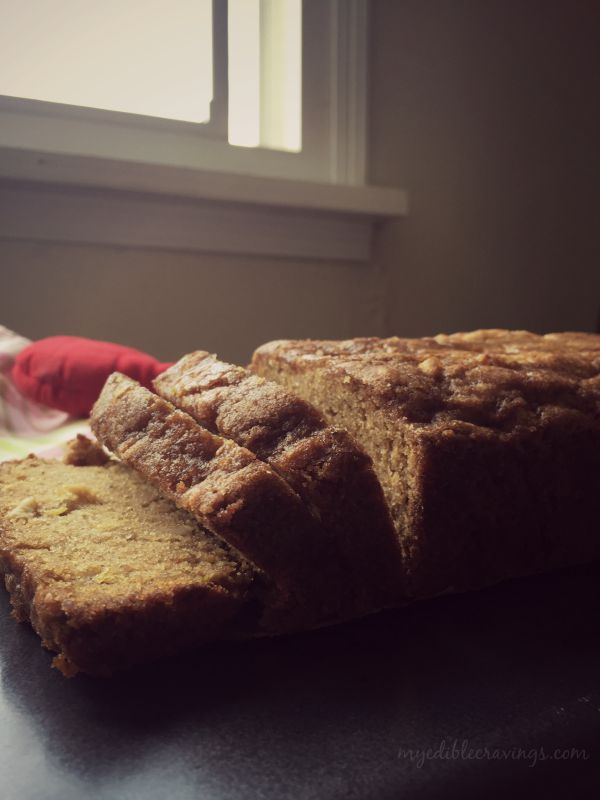
- Turn out onto a wire rack and allow them to cool. Serve the yummy zucchini bread as hot or cold for a breakfast or brunch or as evening snack. Enjoy!