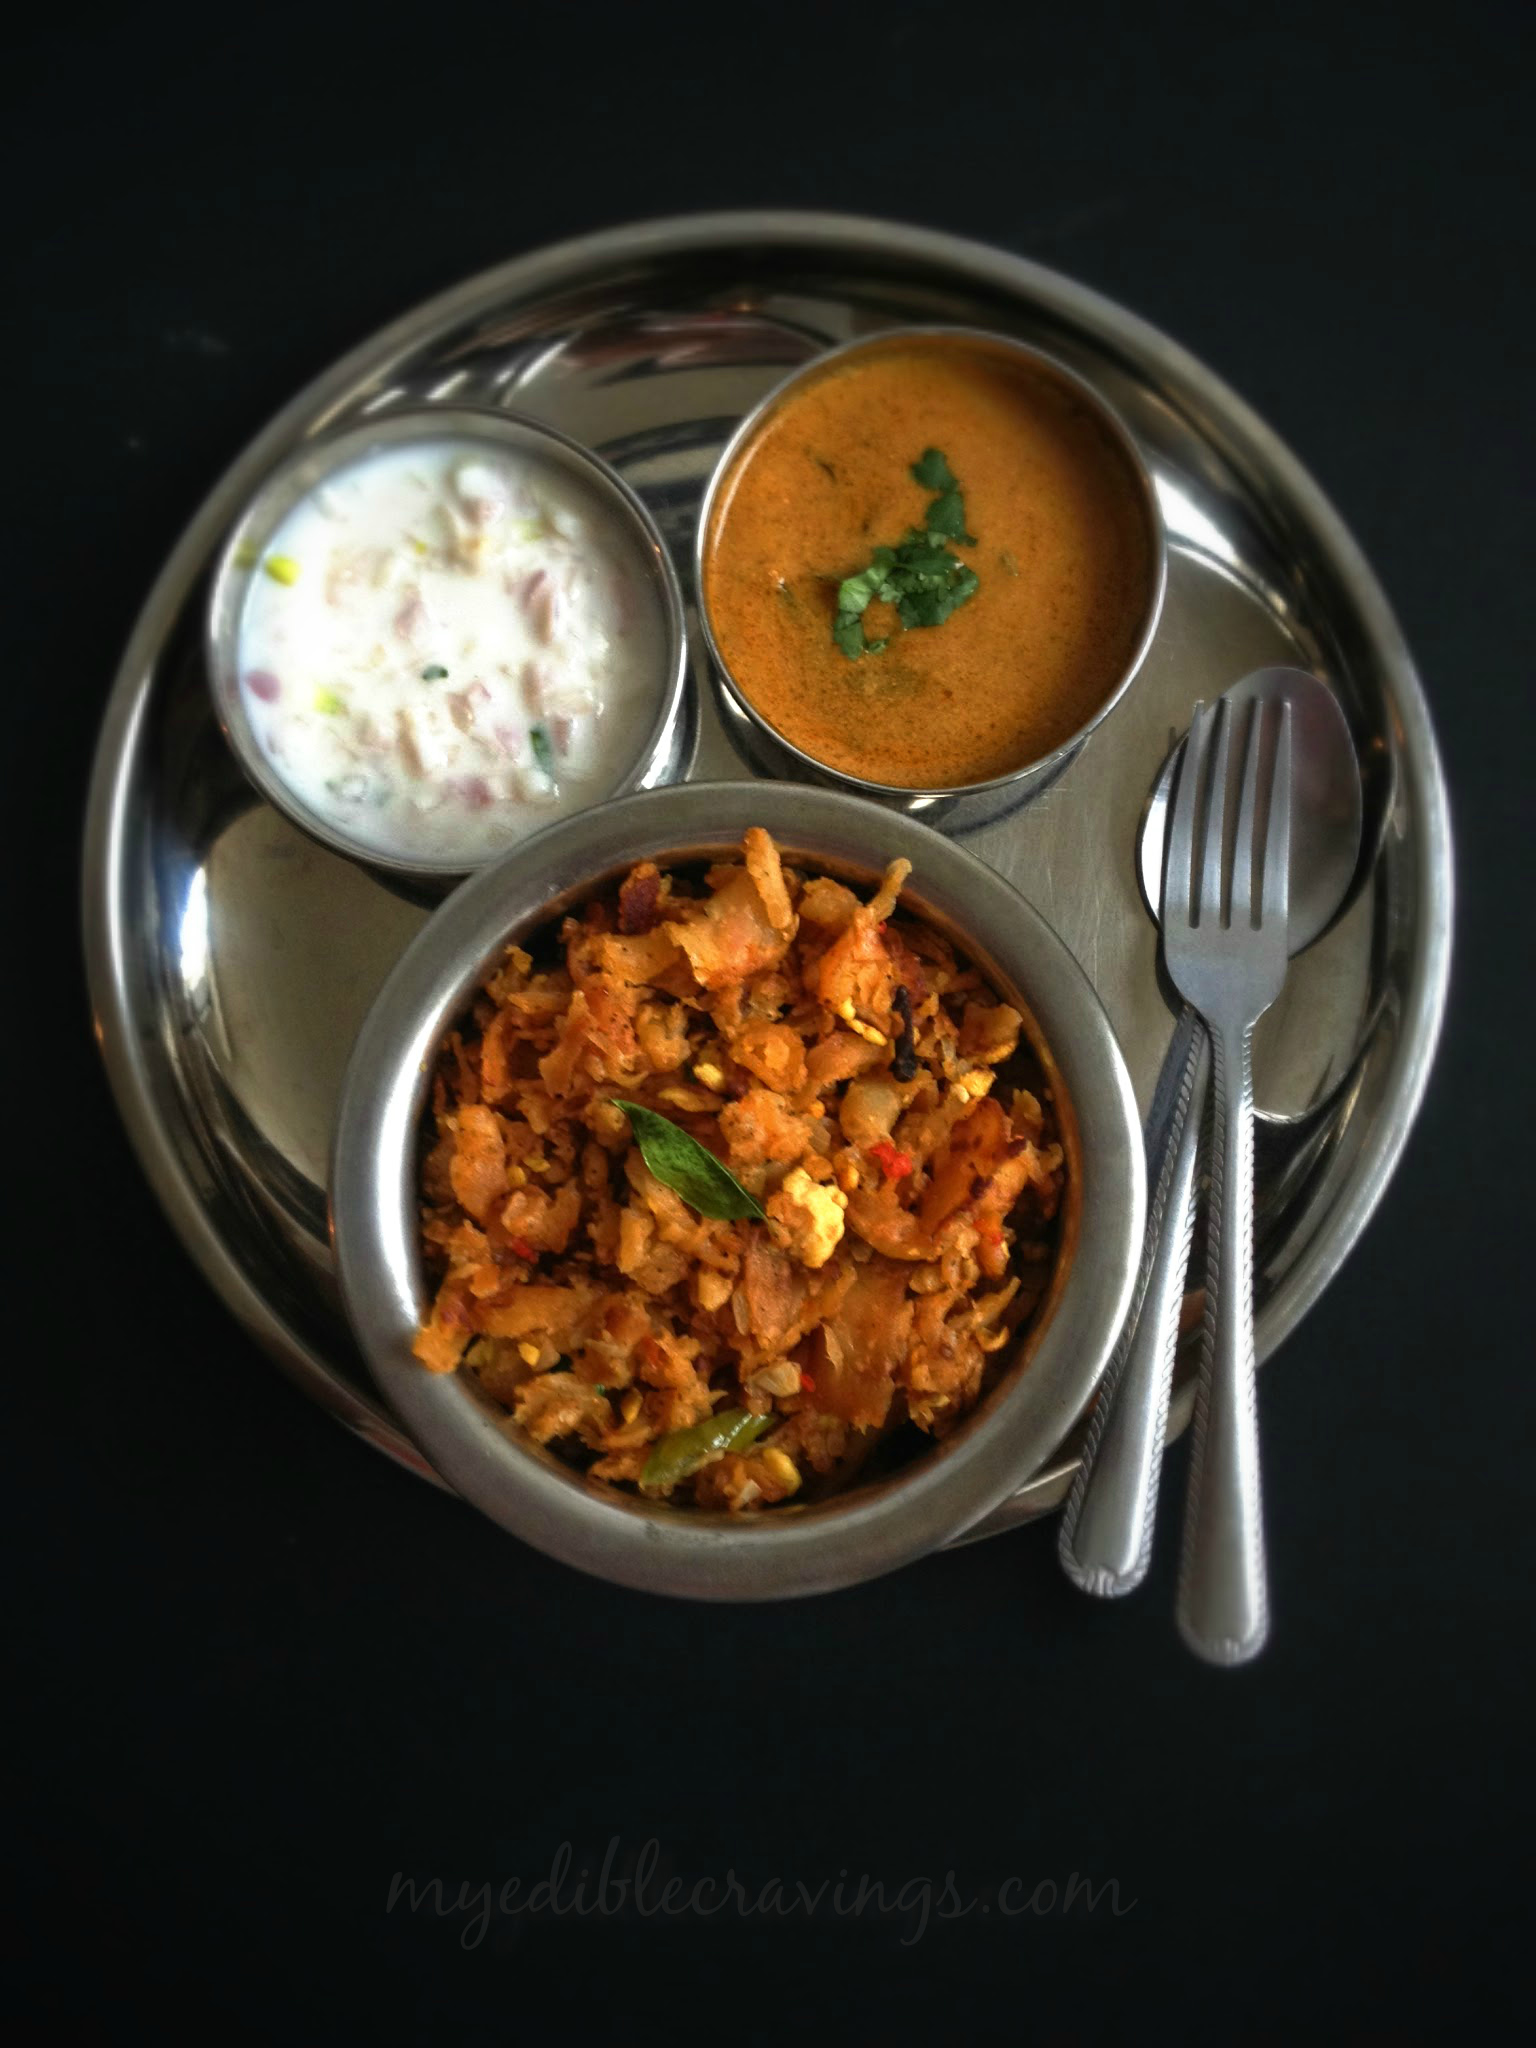
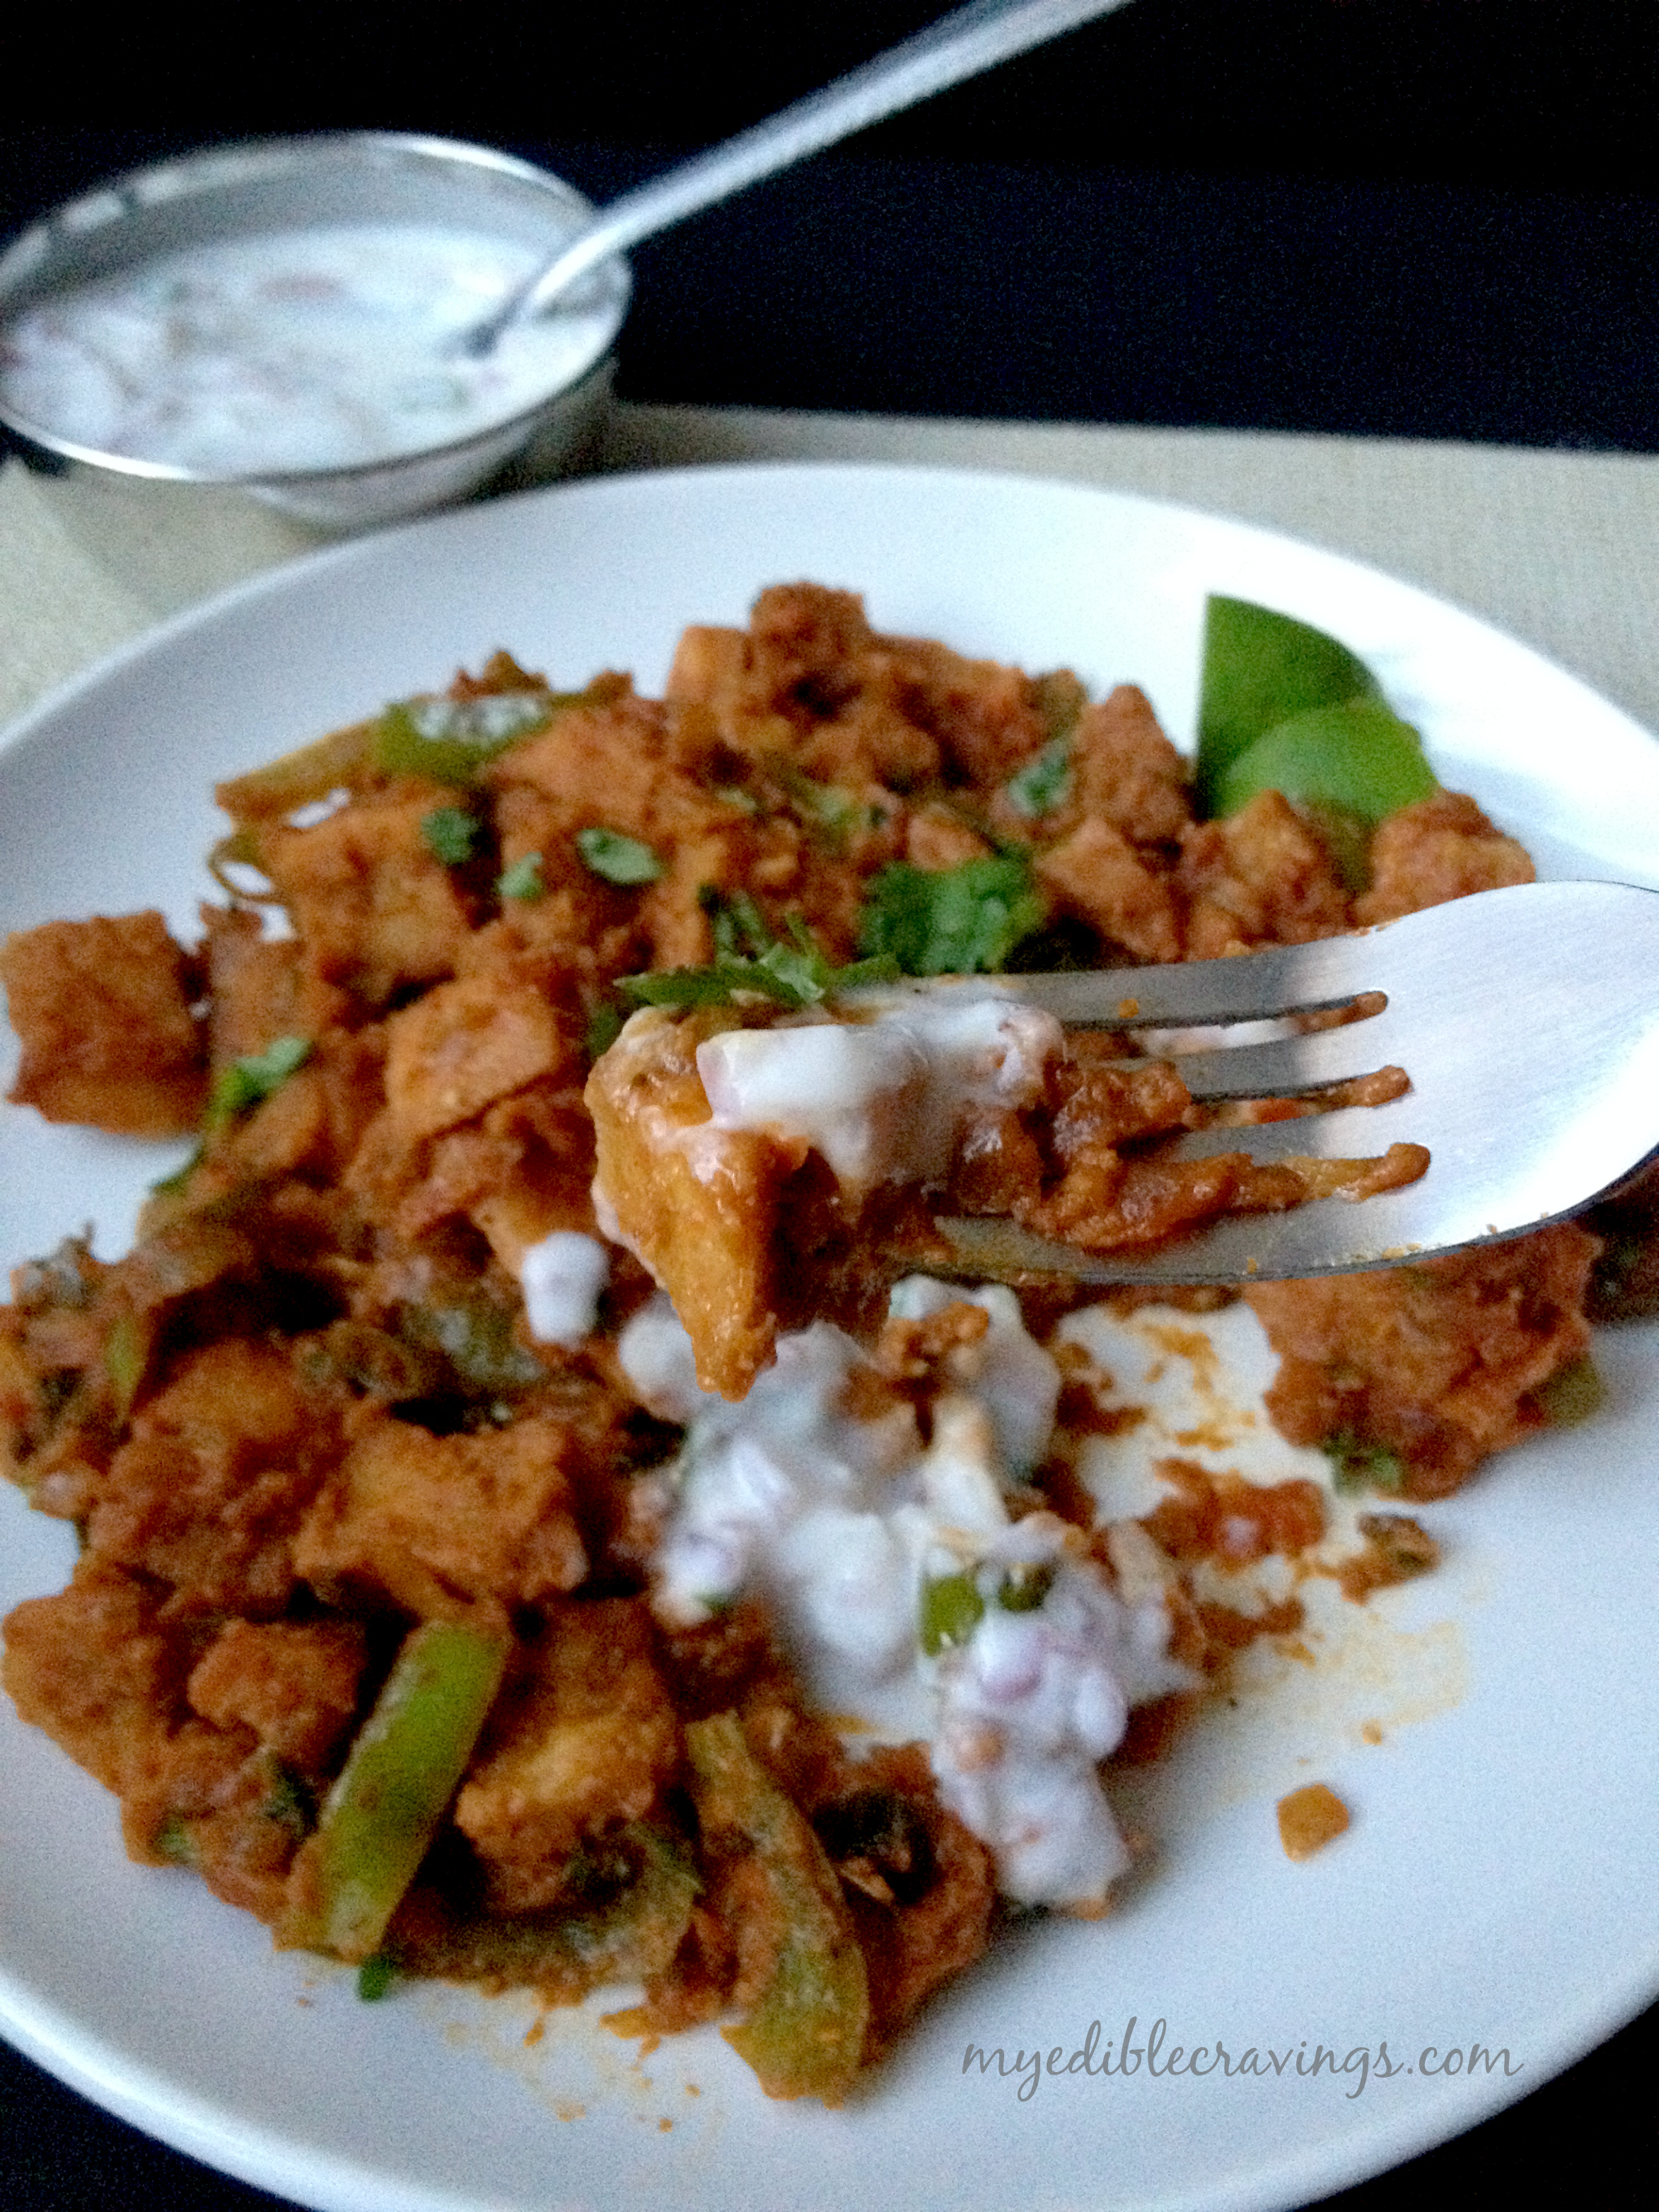
Kothu parotta is a tasty dish from my state, Tamilnadu. It is wildly popular in south Tamilnadu (Madurai, Virudhunagar districts). It is basically a dish made from minced parottas, eggs and meat (usually chicken).
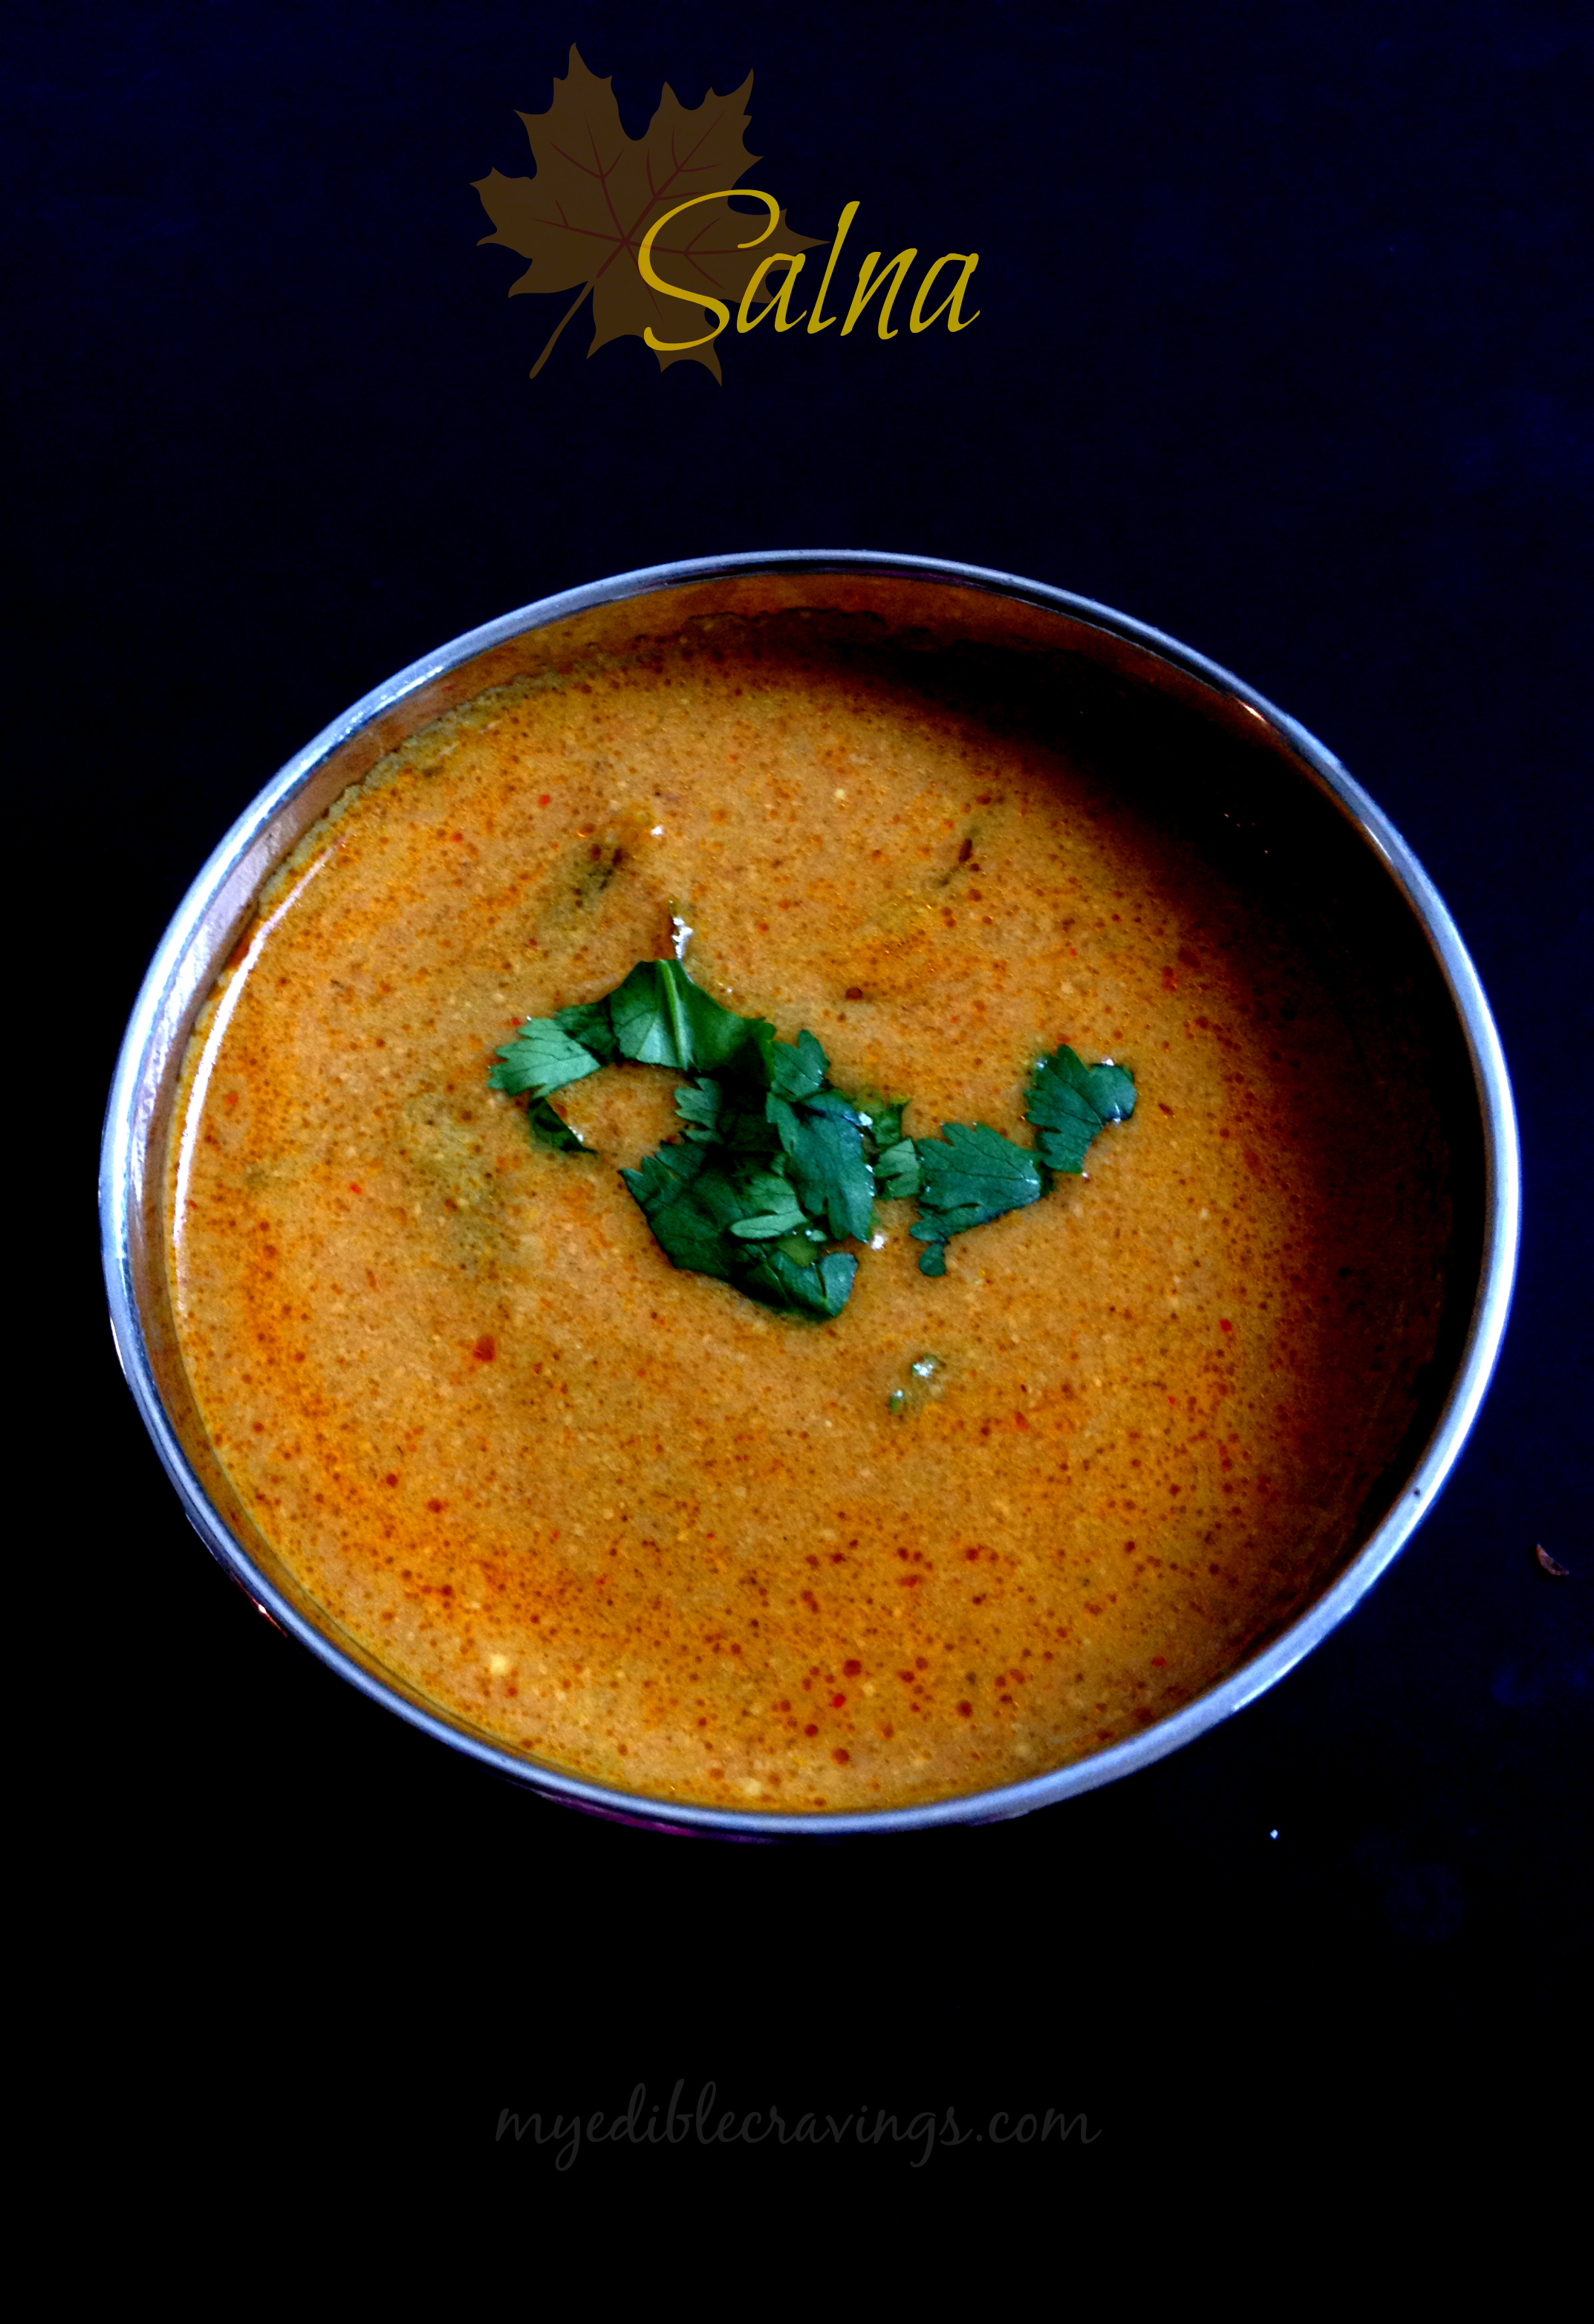
 Kothu parotta is a special dish for me since it is the very first recipe that I tried in my life 🙂 I learned to prepare this dish from my mom. Back in my native, you can hear the distinct sound of mincing parottas on large open iron skillets (does not have handle and is set on top of an iron cauldron of fire) using spatulas in the evenings. I miss that sound badly 🙁 There are different varieties to make kothu parotta and there is one variety where you add gravy, called as chalna, to the minced parottas which tastes delicious – kothu parotta in restaurants are made this way and the chalna used is chicken based (yummy!
 I personally like parotta more than chappati or poori and kothu parotta is my favorite. The Chalna used in kothu parotta, again has different varieties. I have tried different recipes and I believe I have narrowed it down to one particular recipe. I will post the recipe of soon. There are both vegetarian and non-vegetarian kothu parotta. I personally prefer the non-vegetarian one (for obvious reasons! – egg and chicken)

Here is the recipe for the tasty and filling kothu parotta. Enjoy!
- Oil – 1 !/2 tbsp
- Onion (Finely chopped) – 1
- Curry leaves – a sprig , divided
- Tomato (Finely chopped,divided) – 1
- Ginger garlic paste – 1 tbs
- Green Chili (slits) – 3
- Eggs – 2
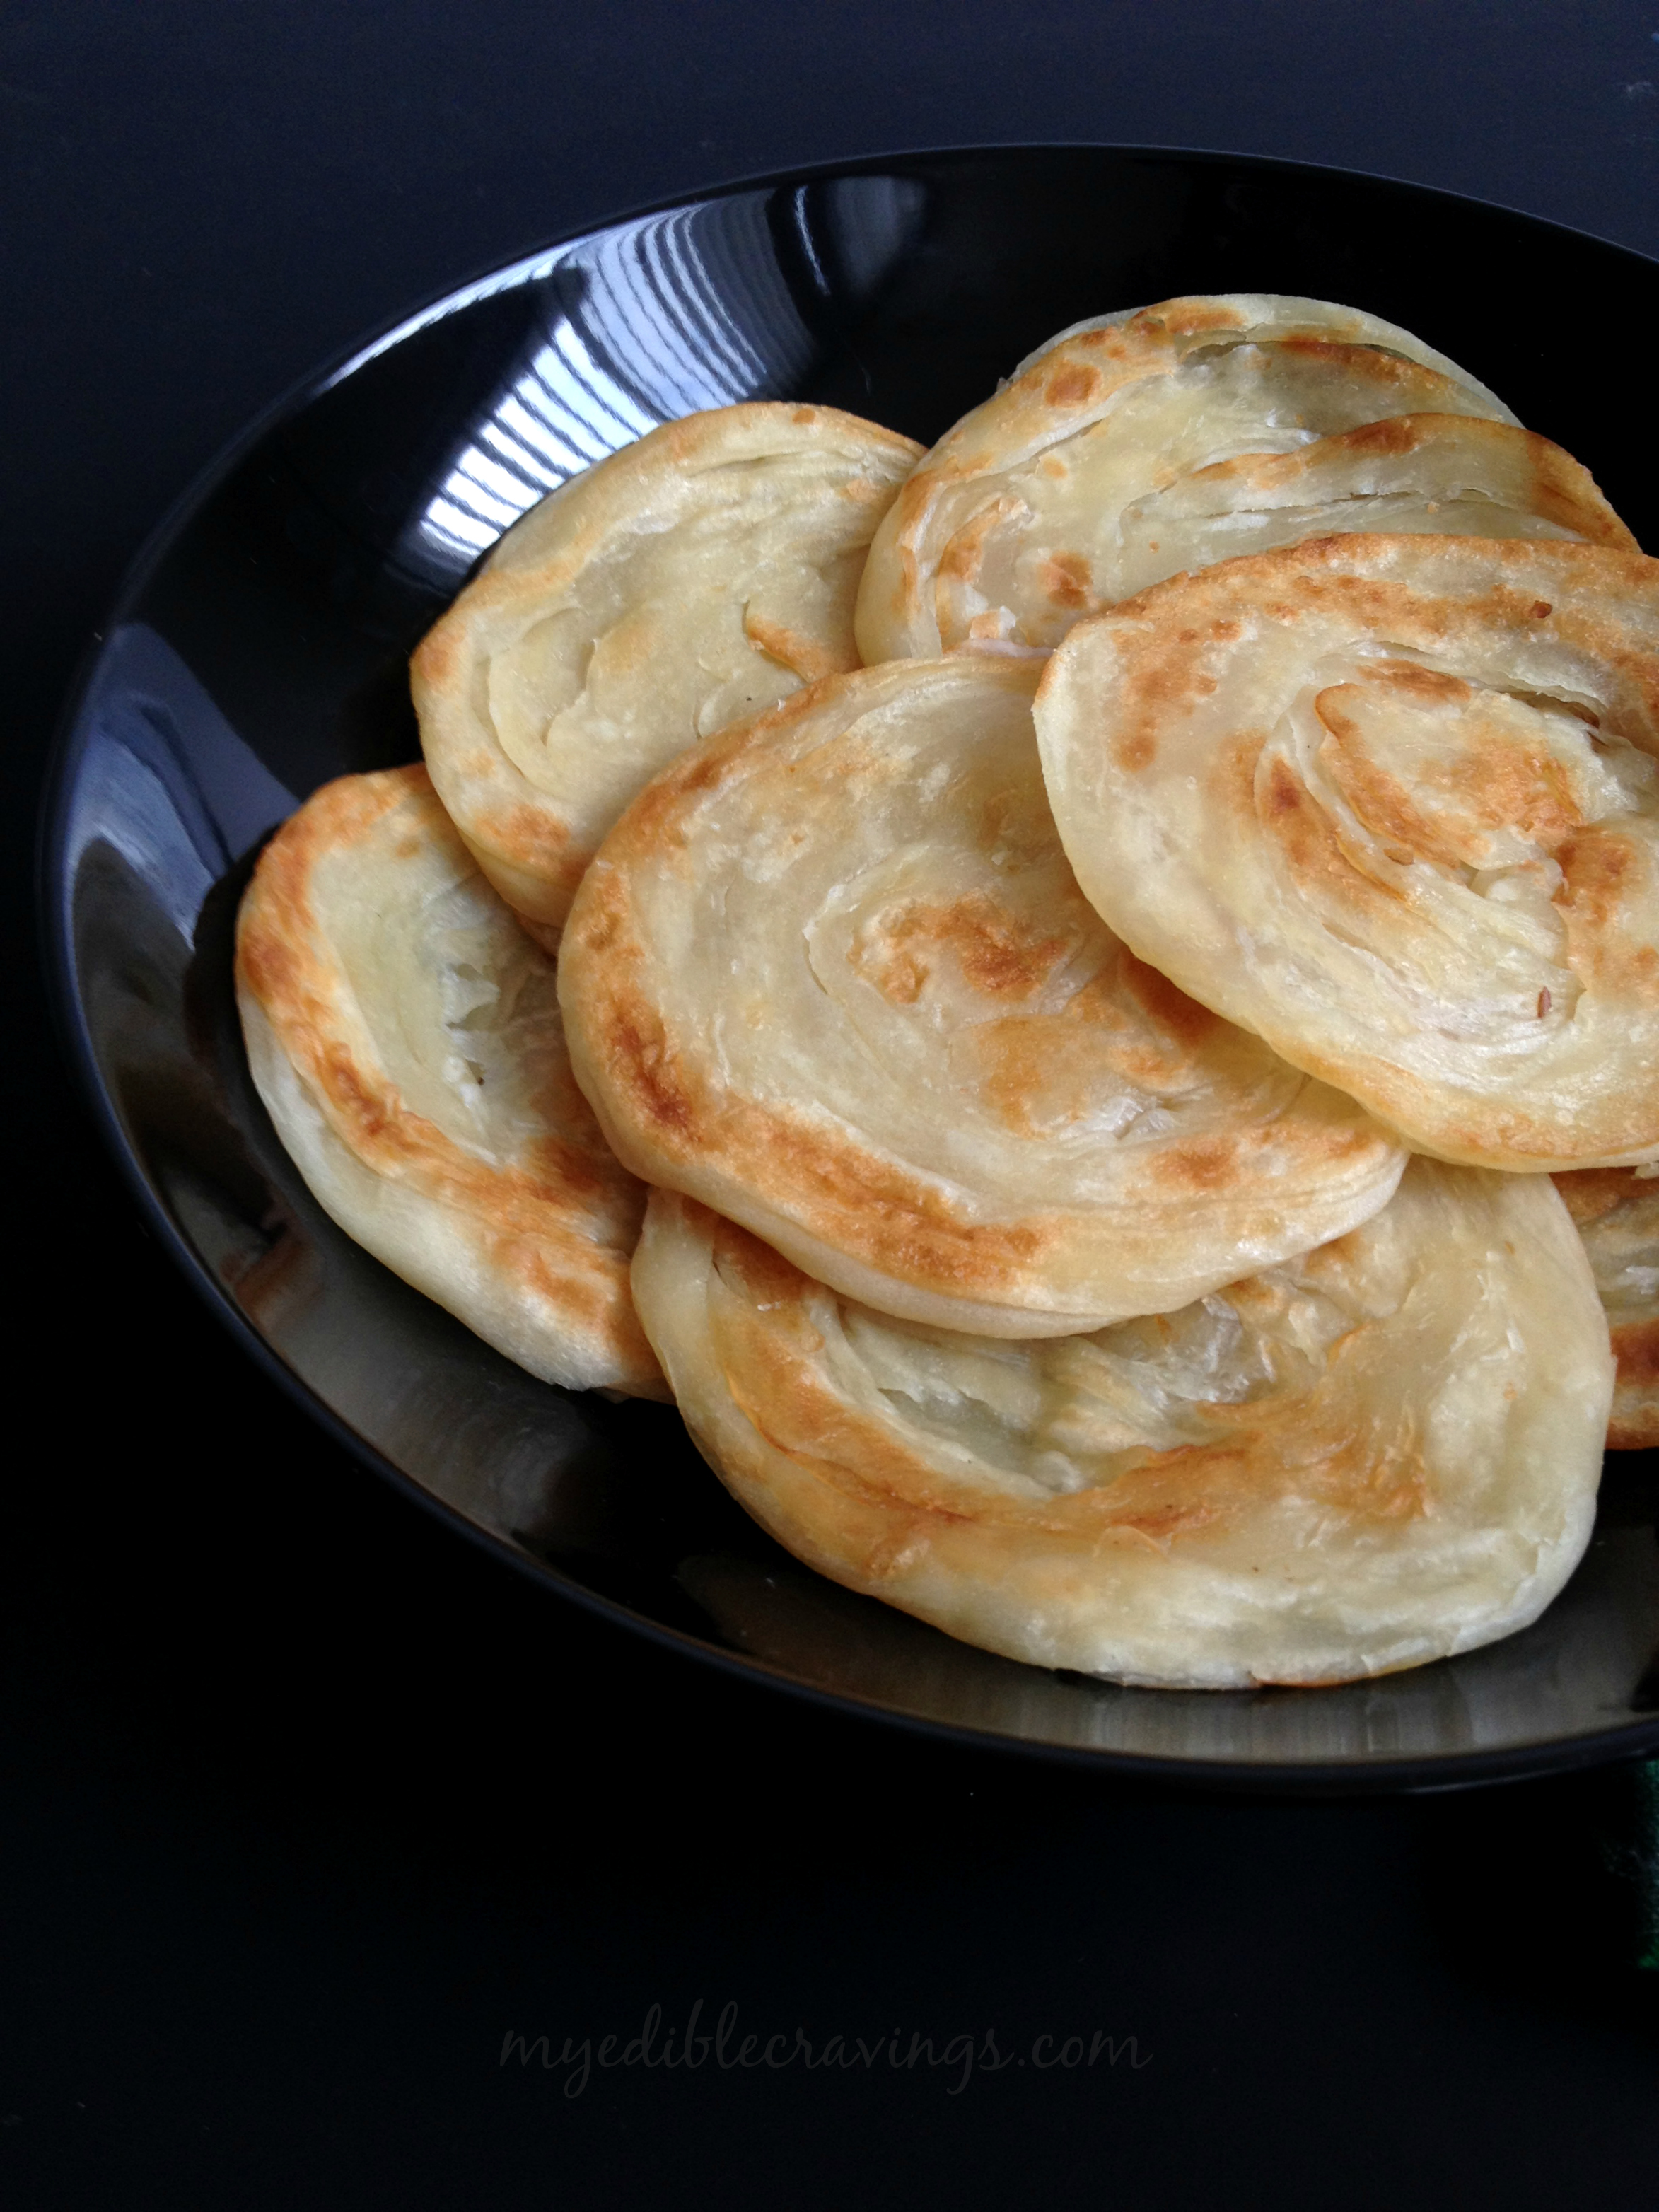
- Parotta – 4
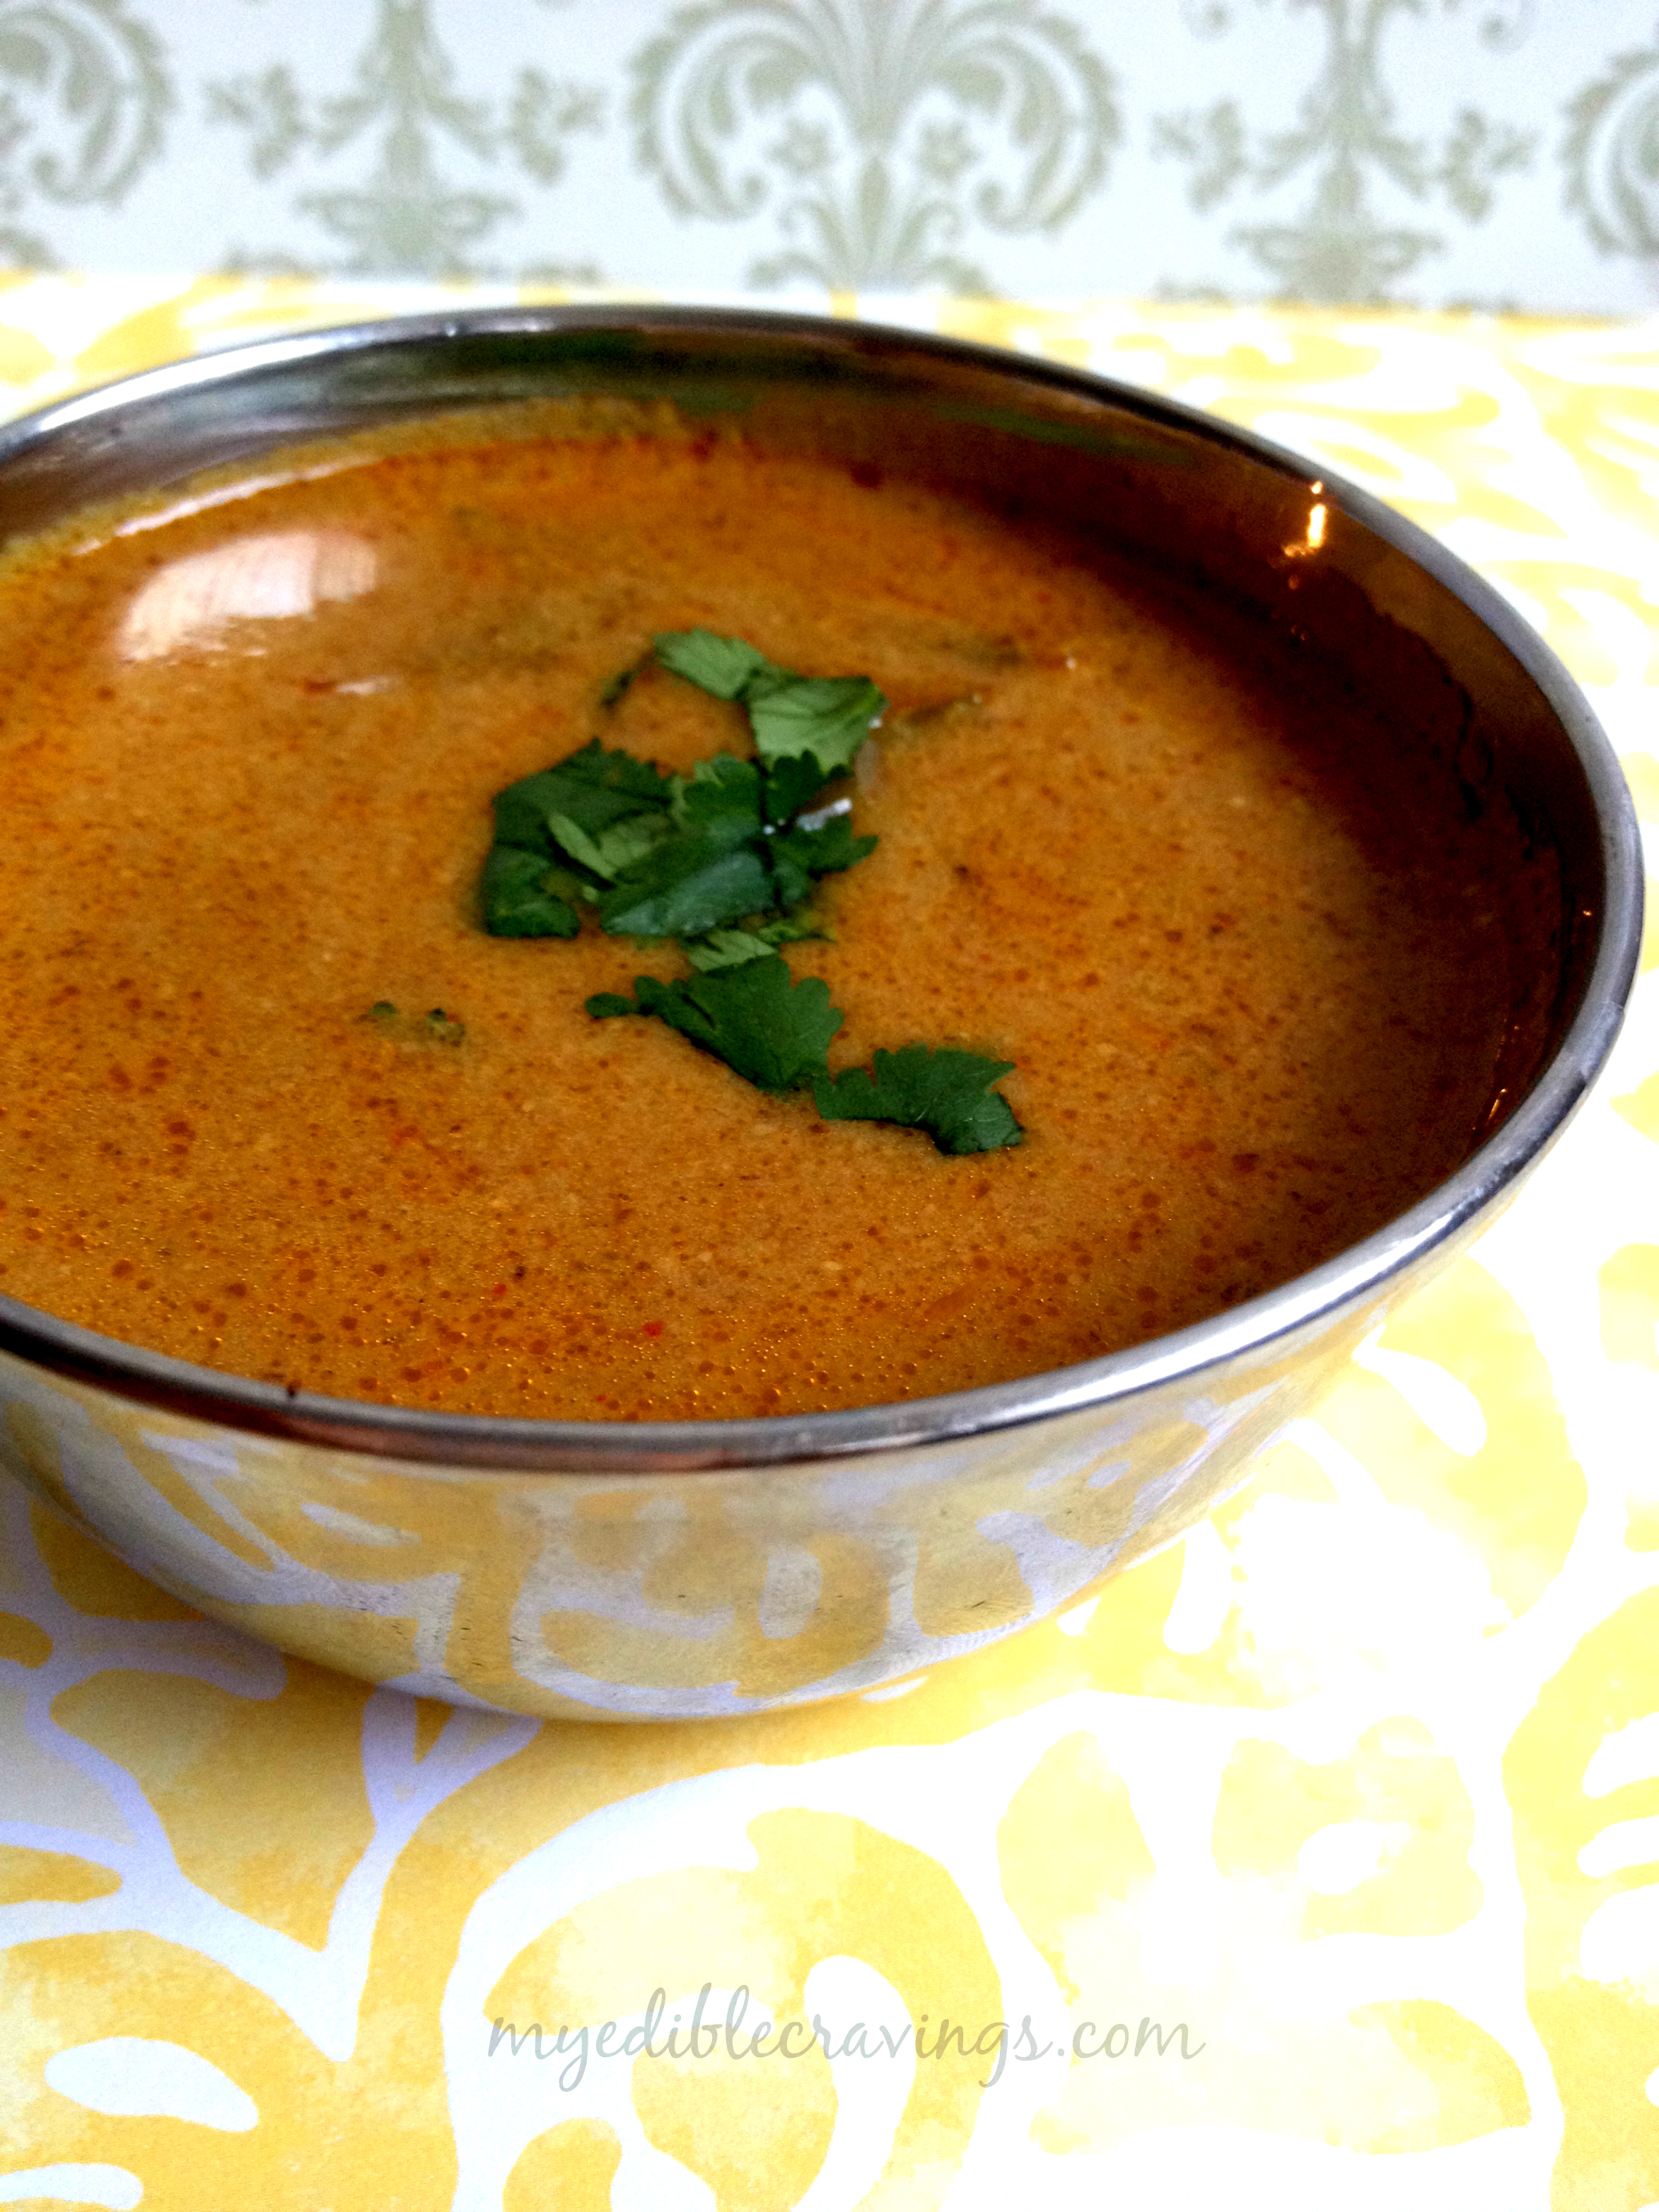
- Chalna – ½ cup
- Salt as required
- Black pepper powder – 1 tsp
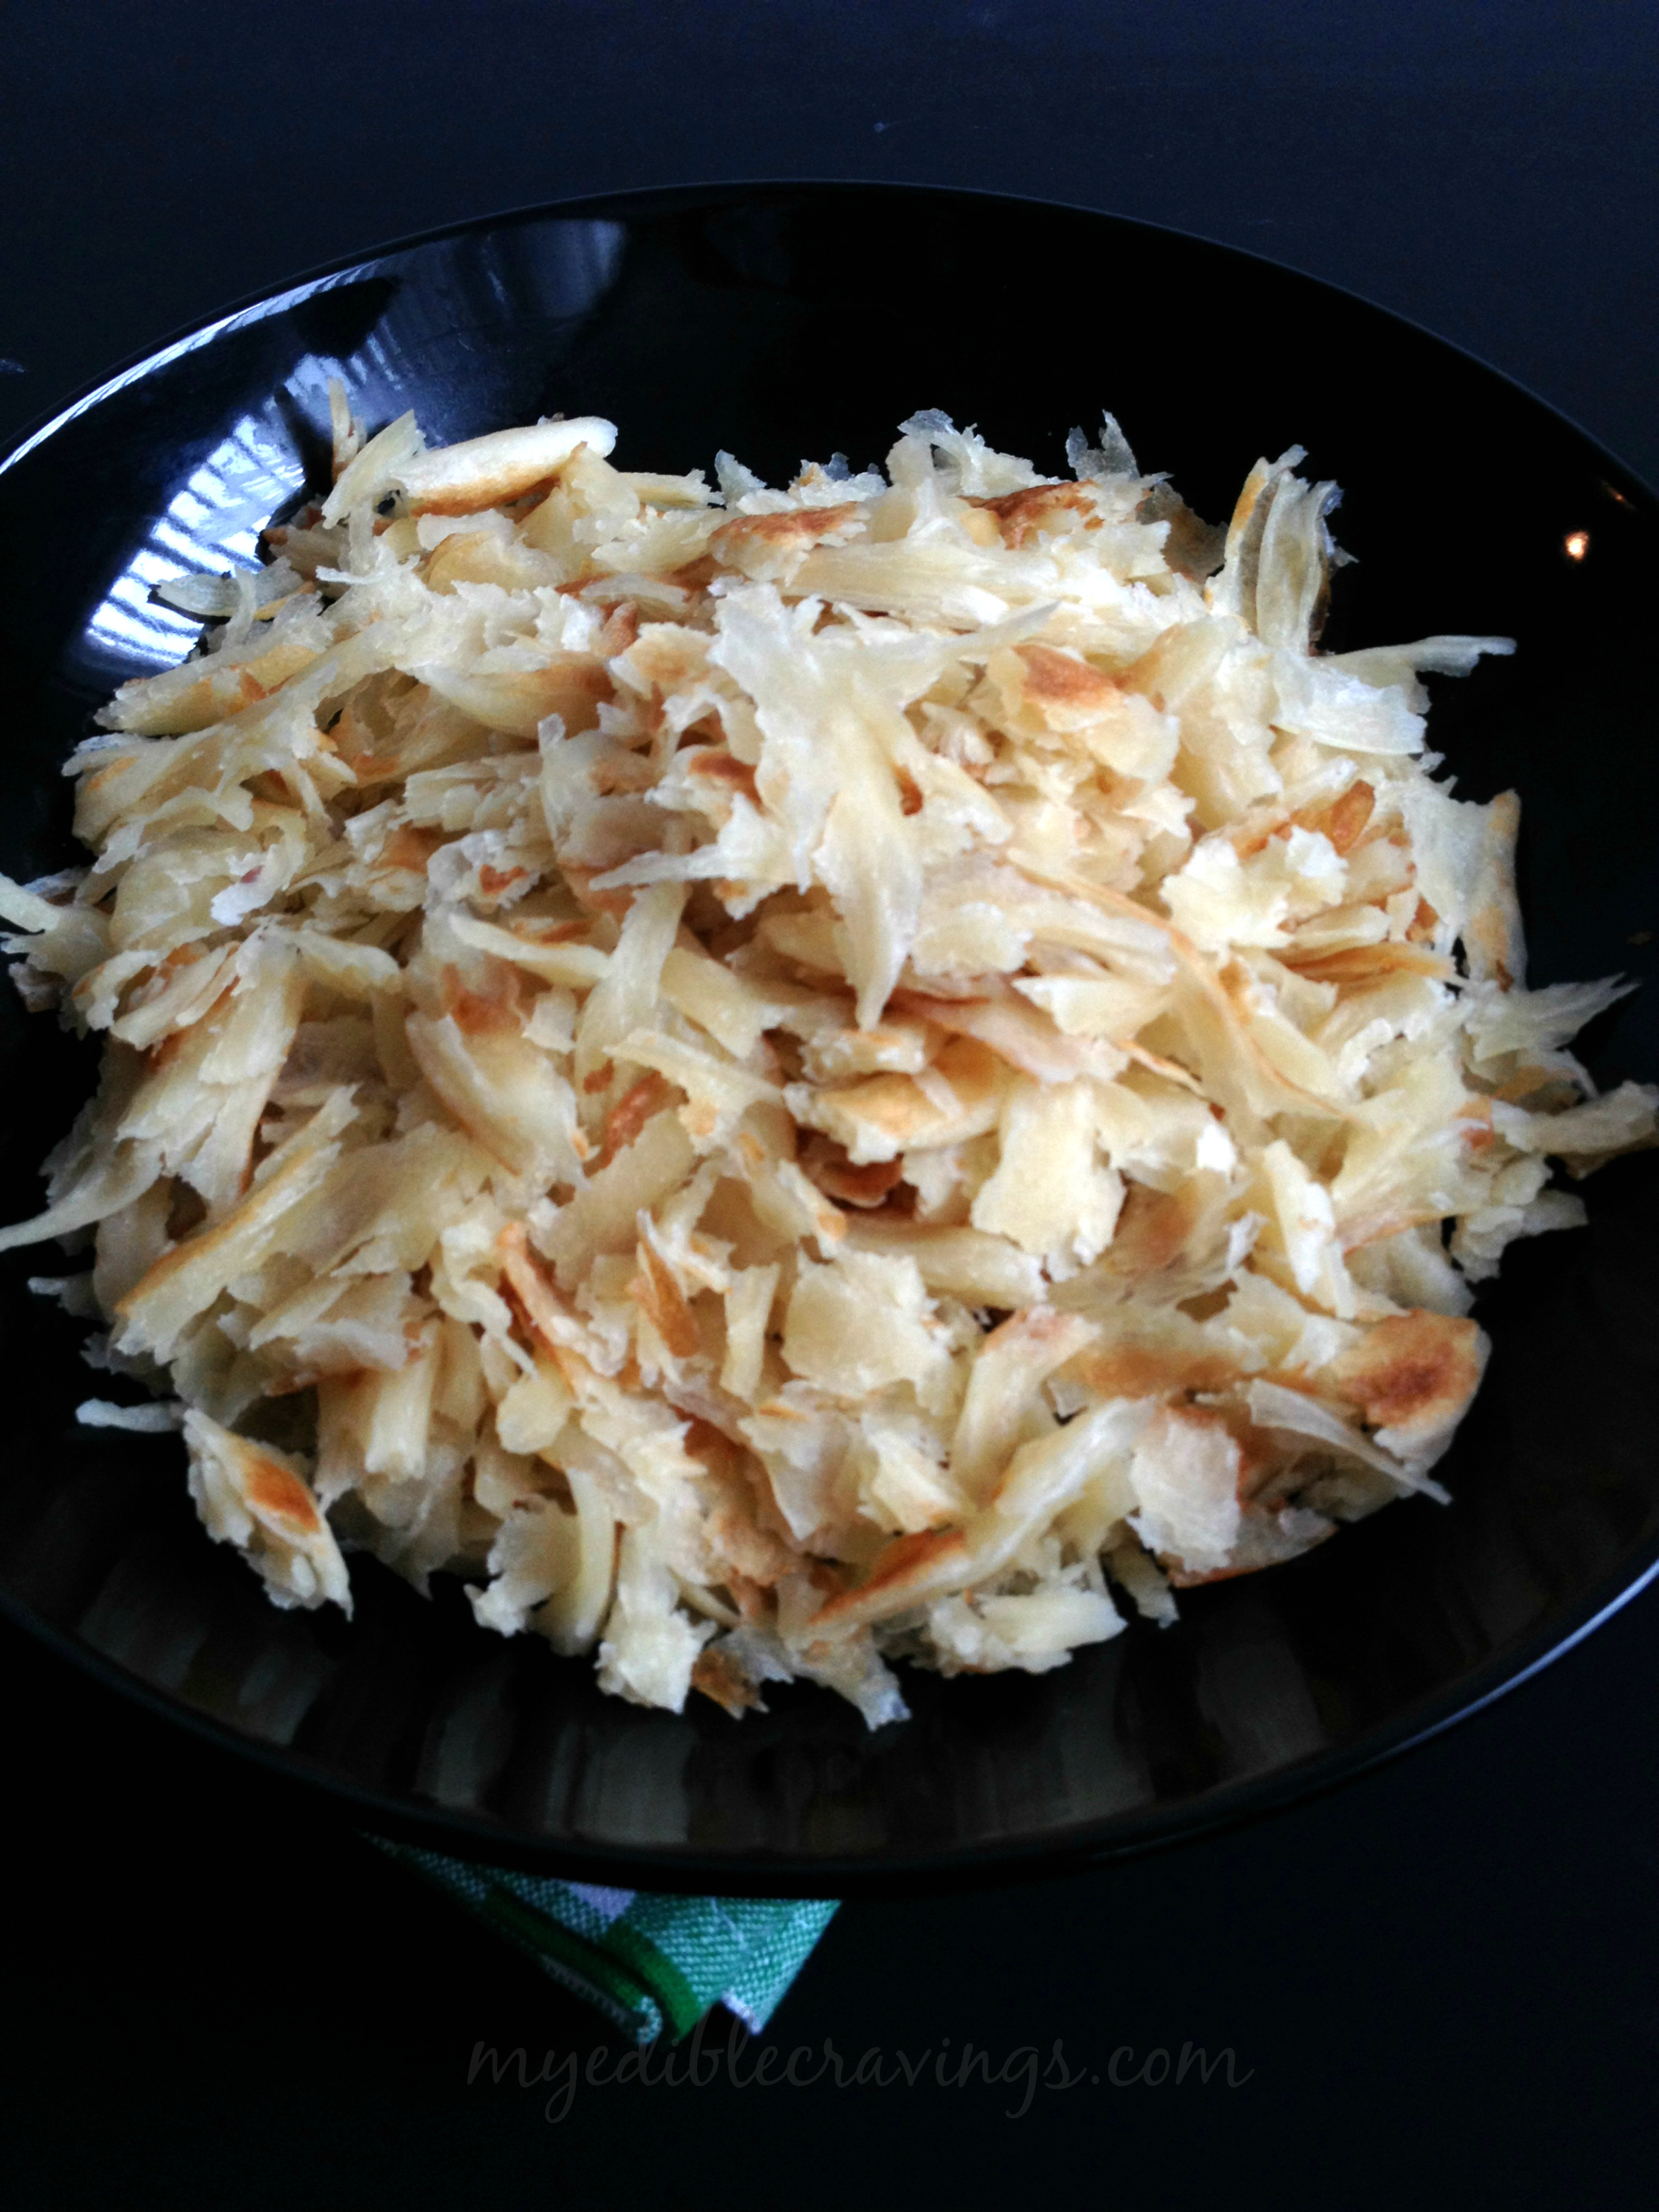
- Shred the parottas into very small pieces with the help of your hand.
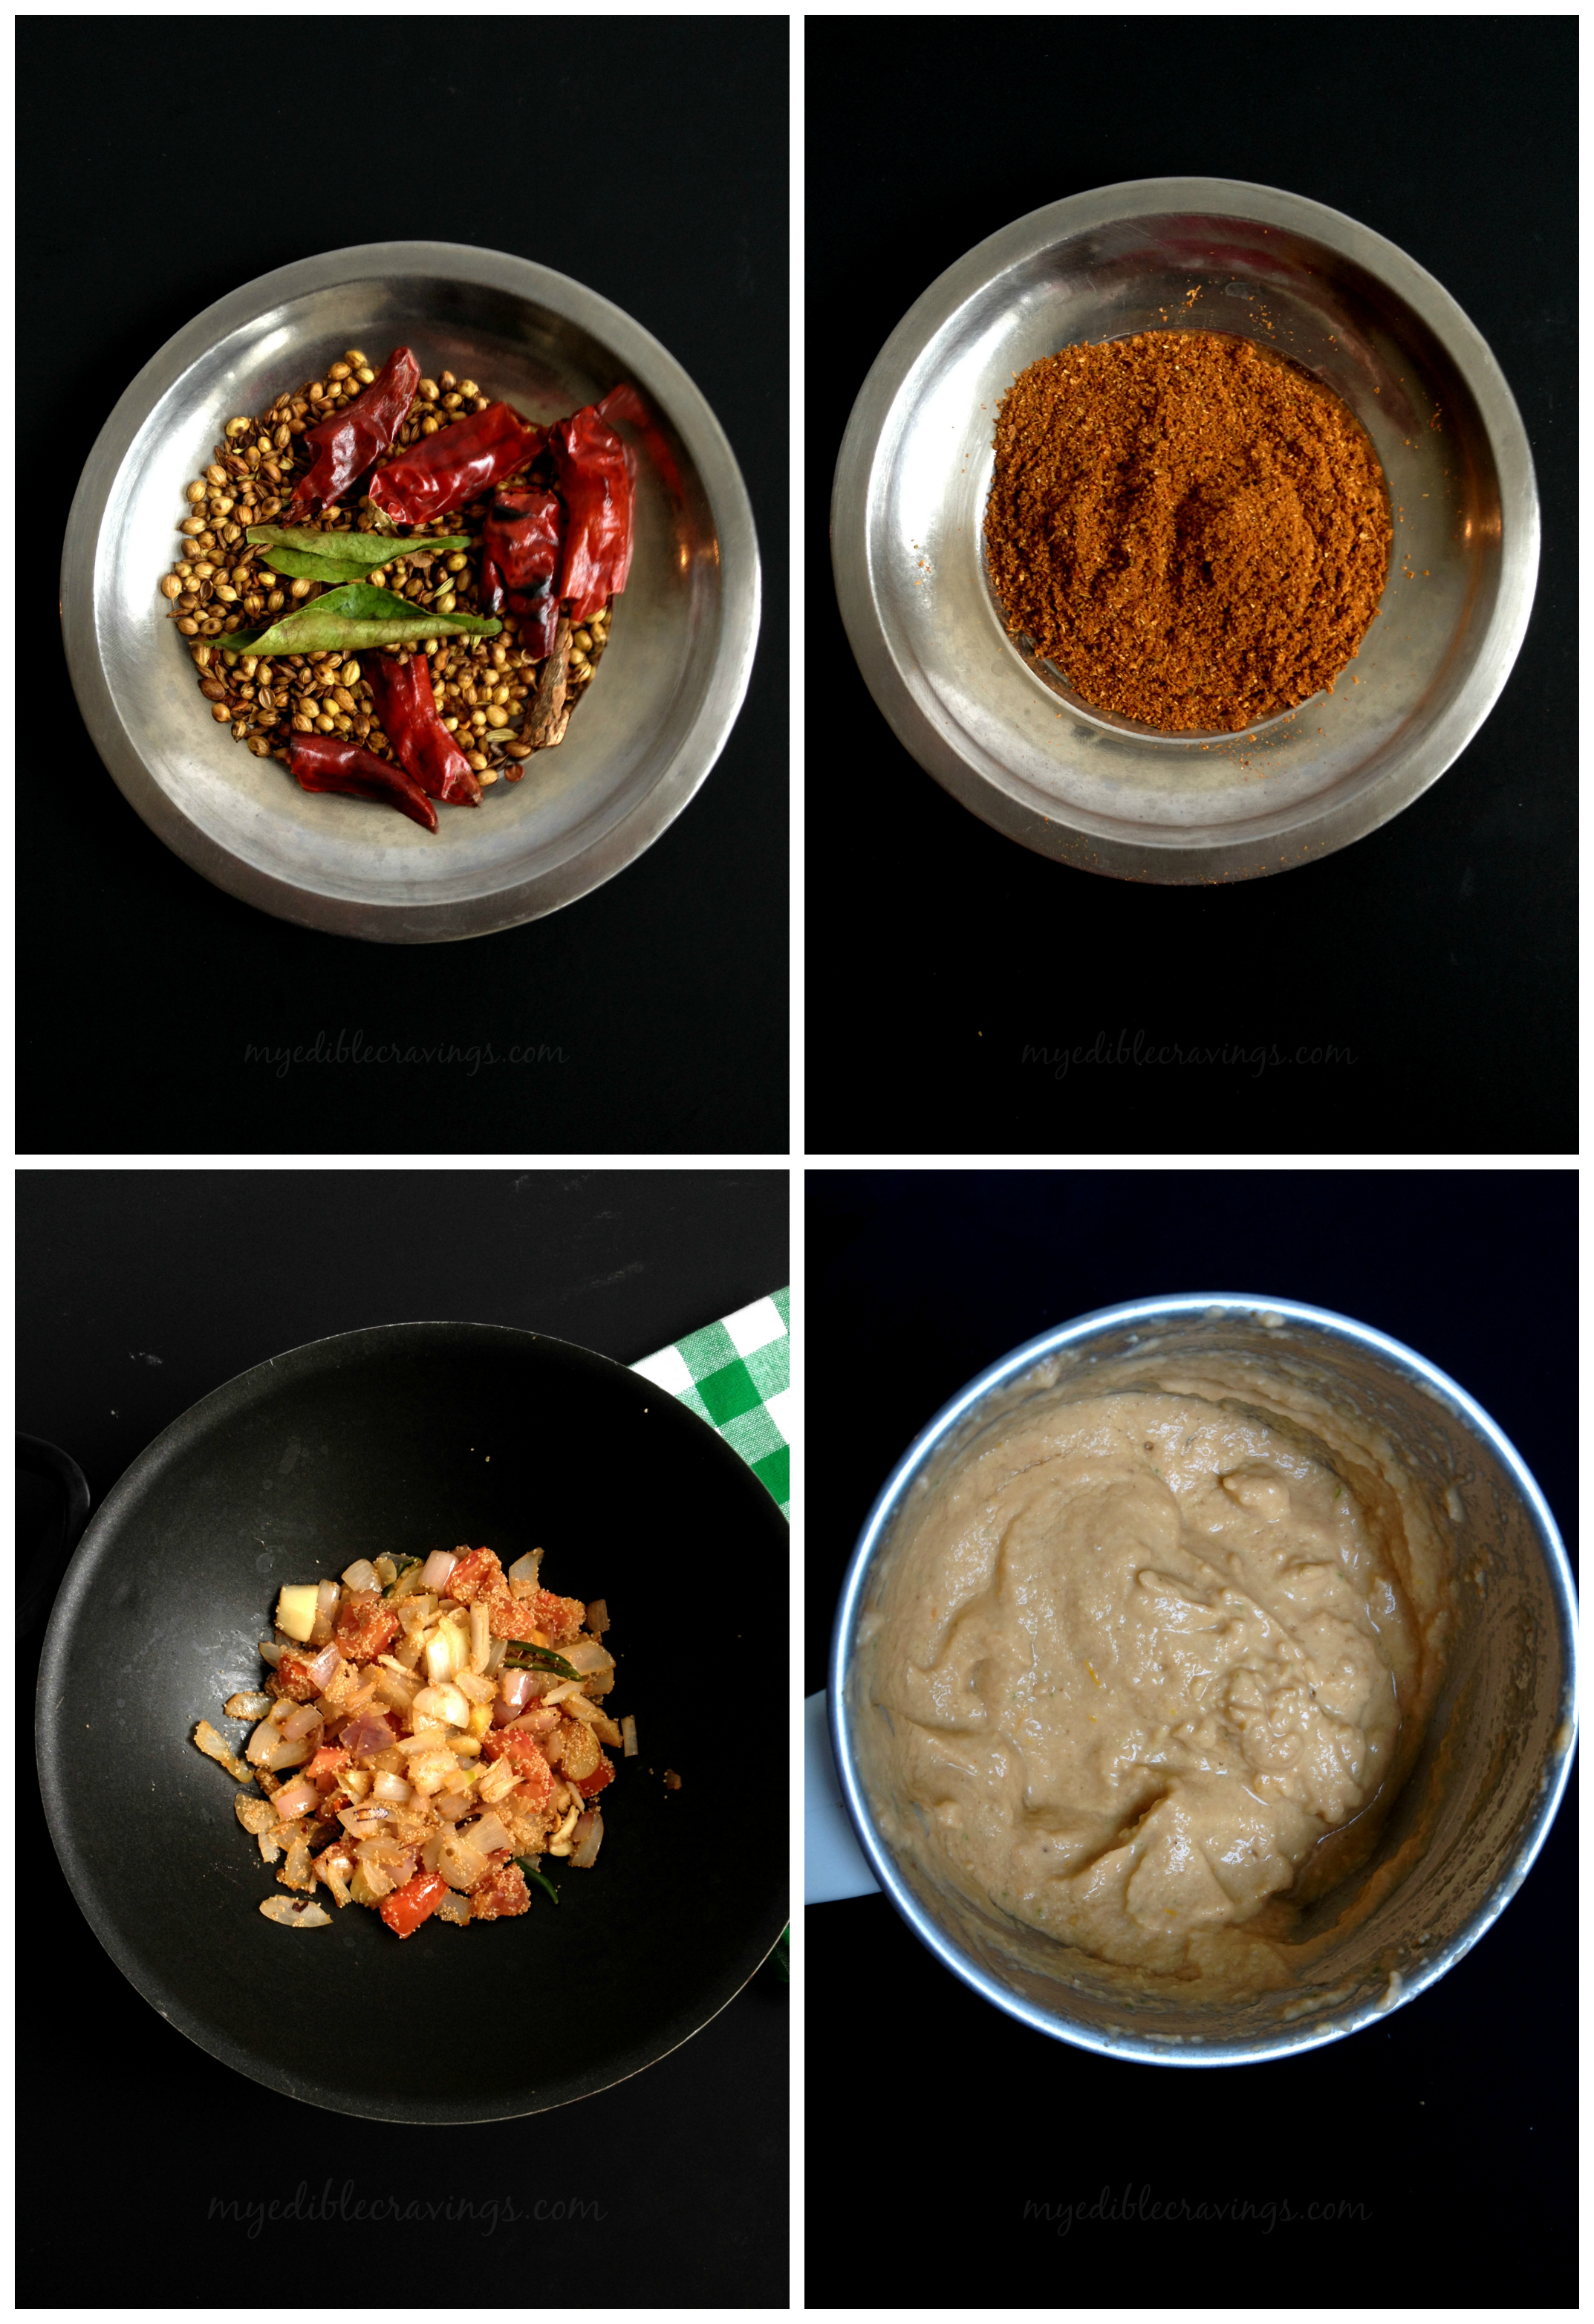
- Heat a wok or a heavy bottomed kadai with oil, add chopped onion and curry leaves. sauté until the onion turns light brown/translucent.
- Add in ginger-garlic paste. Stir fry till the raw aroma of ginger-garlic disappears.
- Add chopped tomato and green chillies and sauté until the tomatoes are half cooked.
- Add in the minced parottas and mix well and move the parotta pieces to one side of the pan.
- Now add the beaten eggs along with salt on the side of the same pan and sauté (without mixing with the parottas) until the eggs are well cooked.
- Mix well the eggs and the parottas.
- Now comes the interesting part. Sprinkle chalna on top and mix well.
- When the chalna is well combined with the parotta pieces, sprinkle black pepper ,curry leaves and remaining ¼ tomato pieces on top. Sauté for a minute and switch off the flame.
2. Avoid adding more chalna to the parattos as it might turn soggy.
3. In case if you have added more chalna, sauté until the parottas comes to the desired consistency.
4. Adding black pepper at last is my mom’s touch. It adds taste and takes egg smell.
5. Vegetarians can add green peas and potato instead of eggs.