CHICKEN TIKKA

Chicken Tikka Chicken Tikka is a popular north Indian dish made of small pieces of boneless chicken. The work Tikka means pieces (in Hindi). The peparation method for making chicken tikka is unique in the sense that the chicken pieces are baked in a clay oven called Tandoor. Given that we can’t have tandoors at home (atleast most of us, including me :)), conventional oven is a good alternative. It still tastes great baking the chicken tikka in an oven. Chicken Tikka 
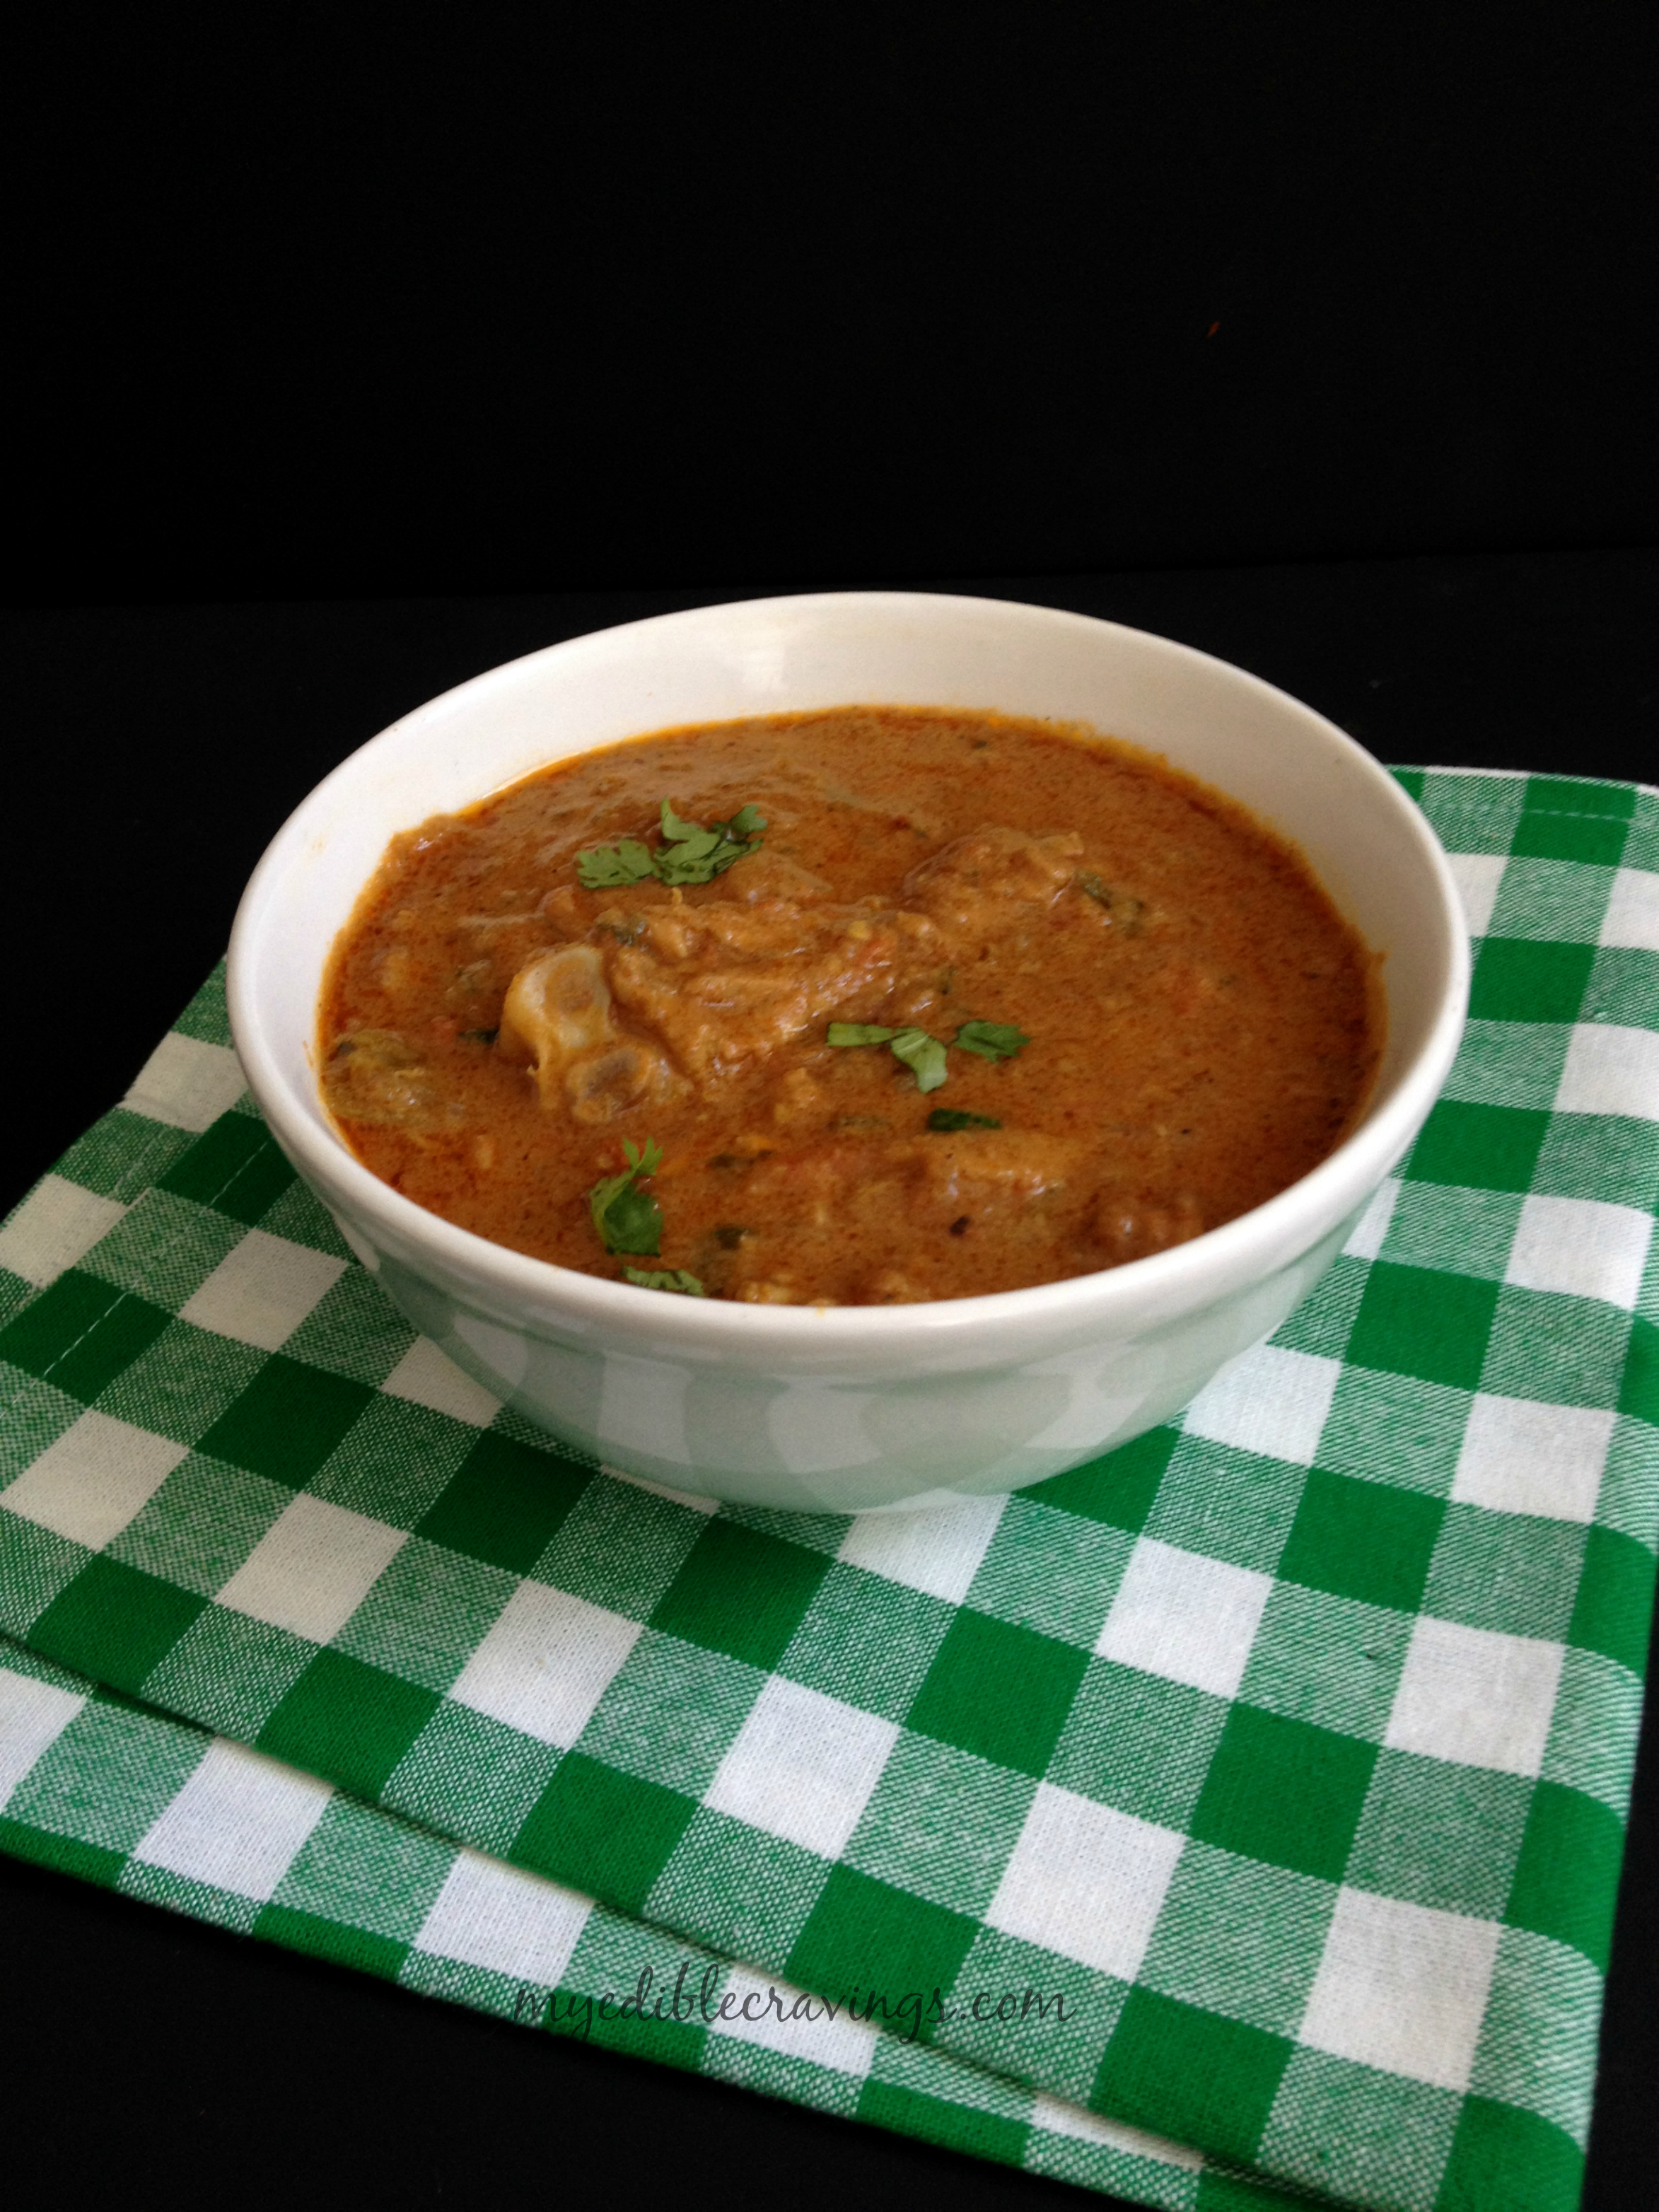
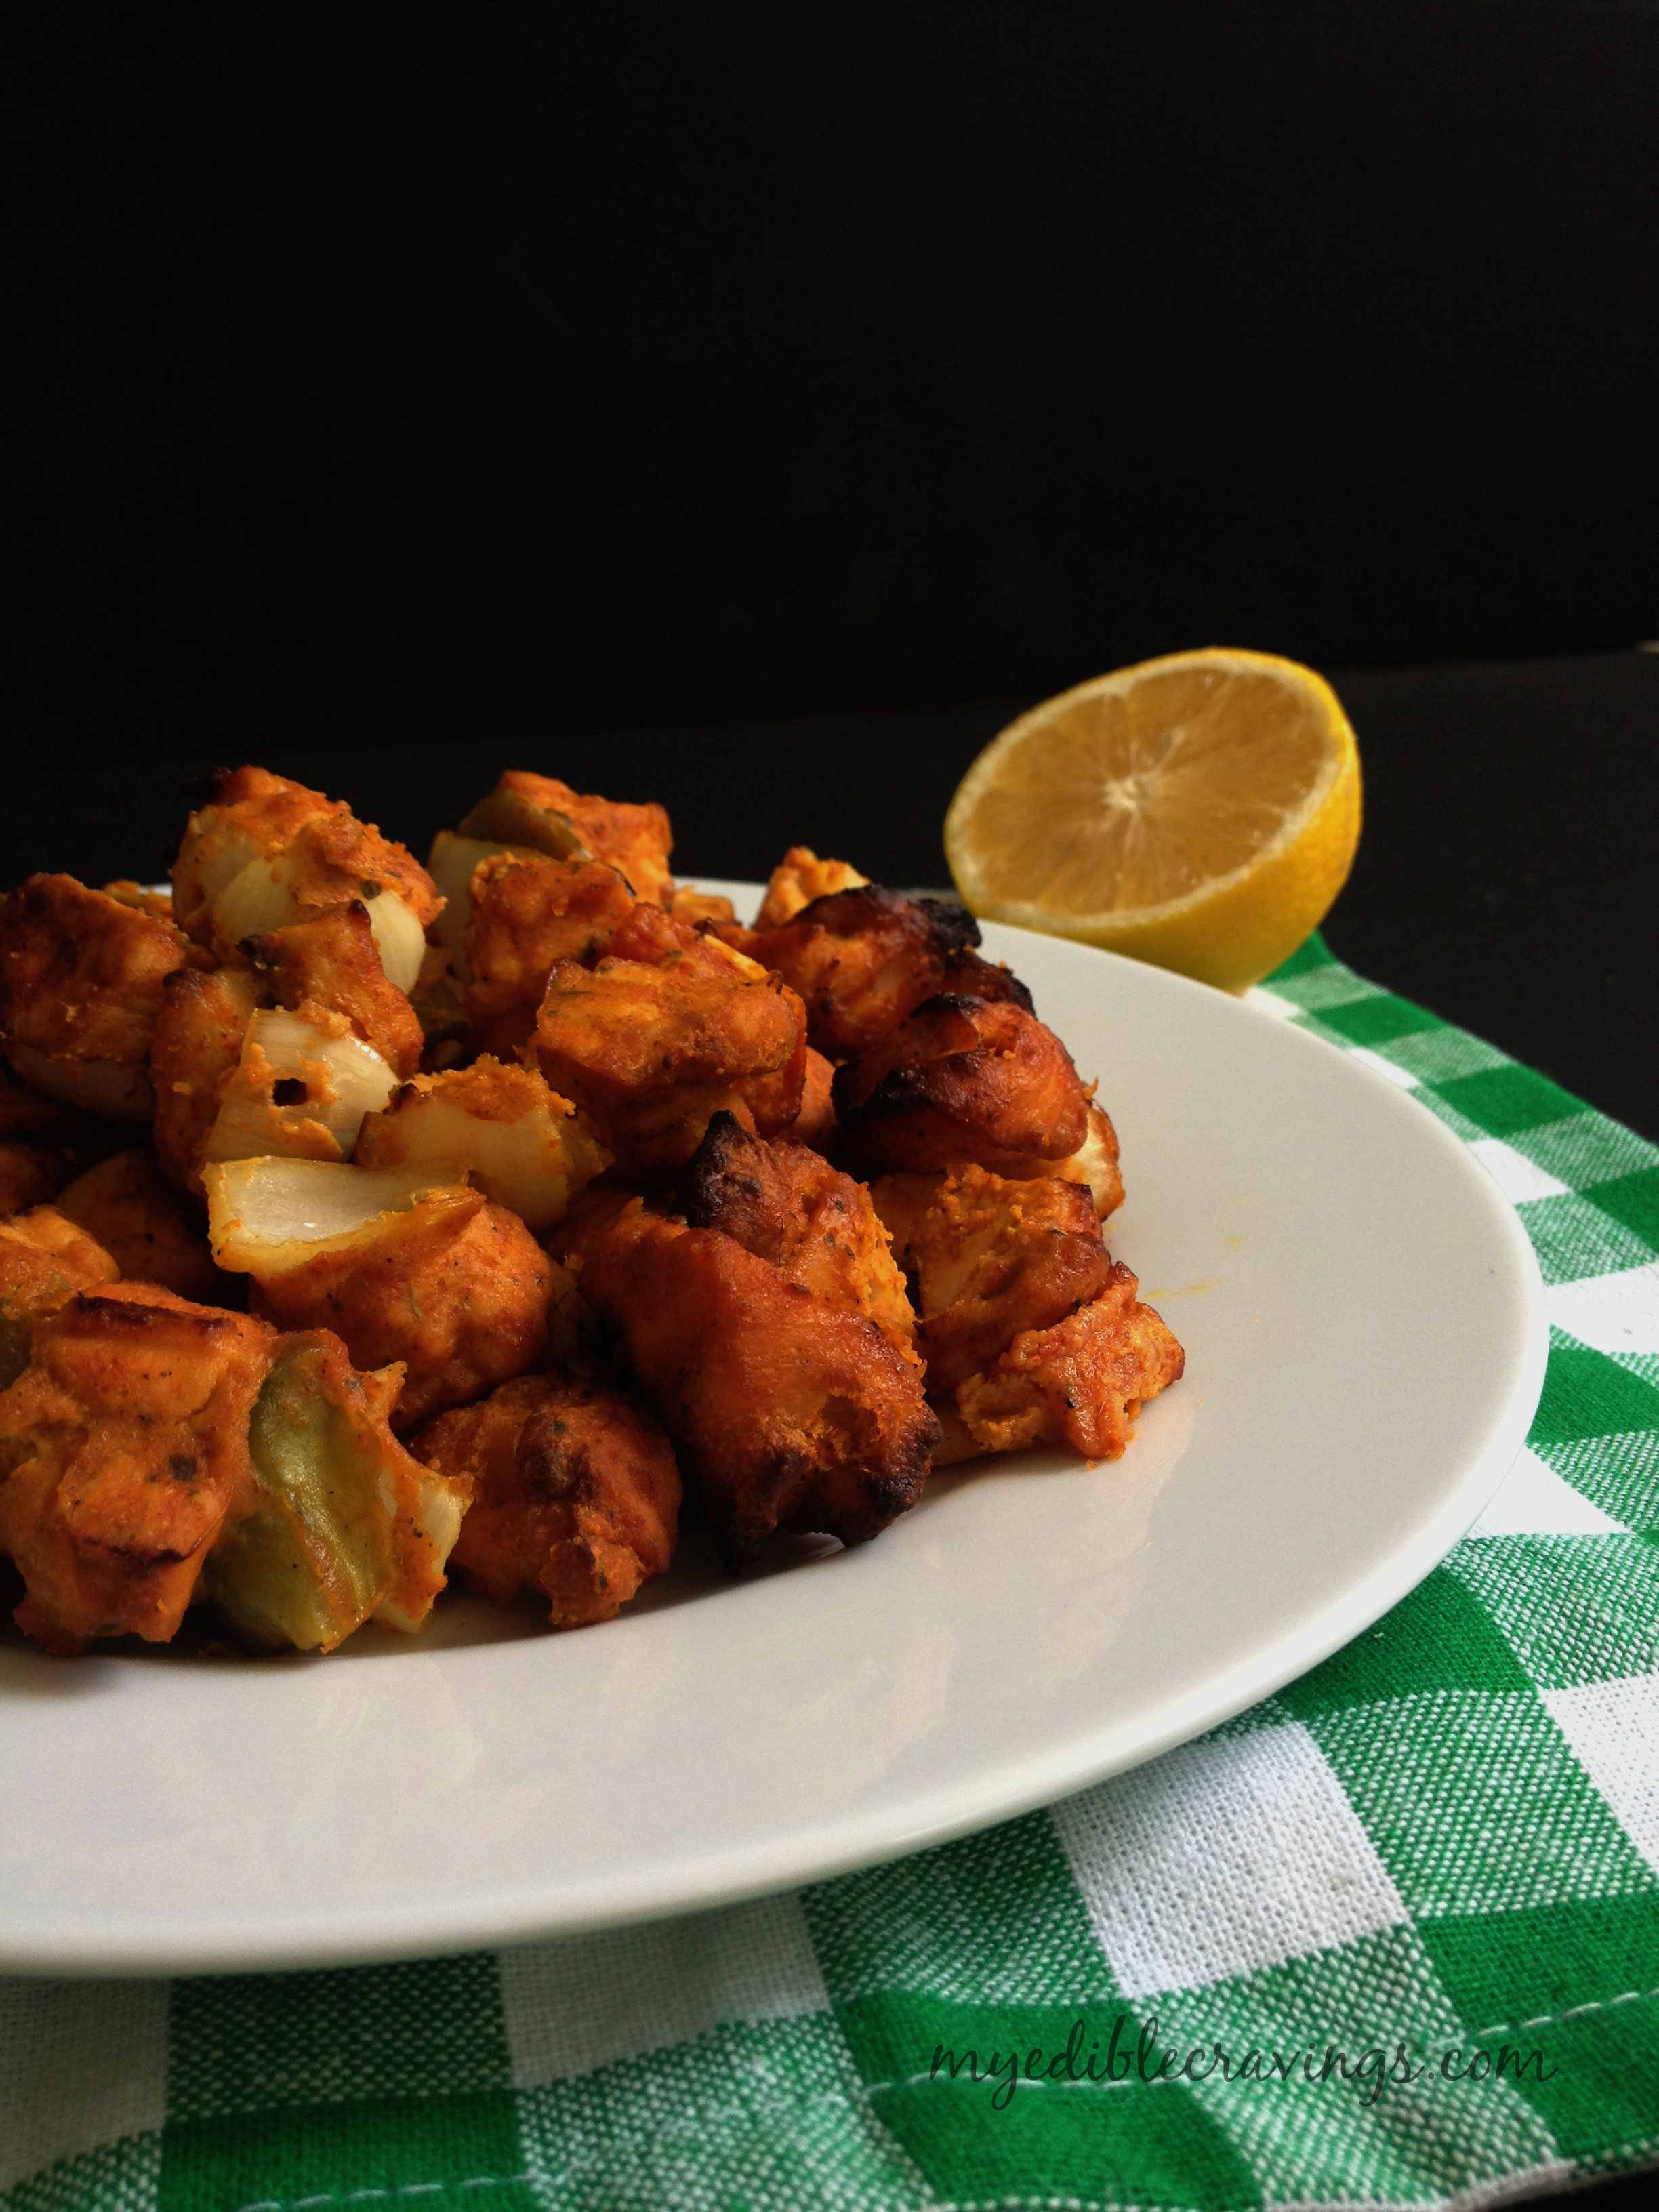
Chicken Tikka is also the base for another popular dish called the Chicken Tikka masala, a tasty gravy. One of the main pain points for making chicken tikka masala, apart from the Tandoor is the moisture content in the chicken. Make sure to remove all moisture from the chicken tikka and the marinating ingredients as well. I usually marinate the chicken overnight which given the chicken tikka a nice flavor given that the masala gets absorbed by the chicken through the night. Chicken Tikka 
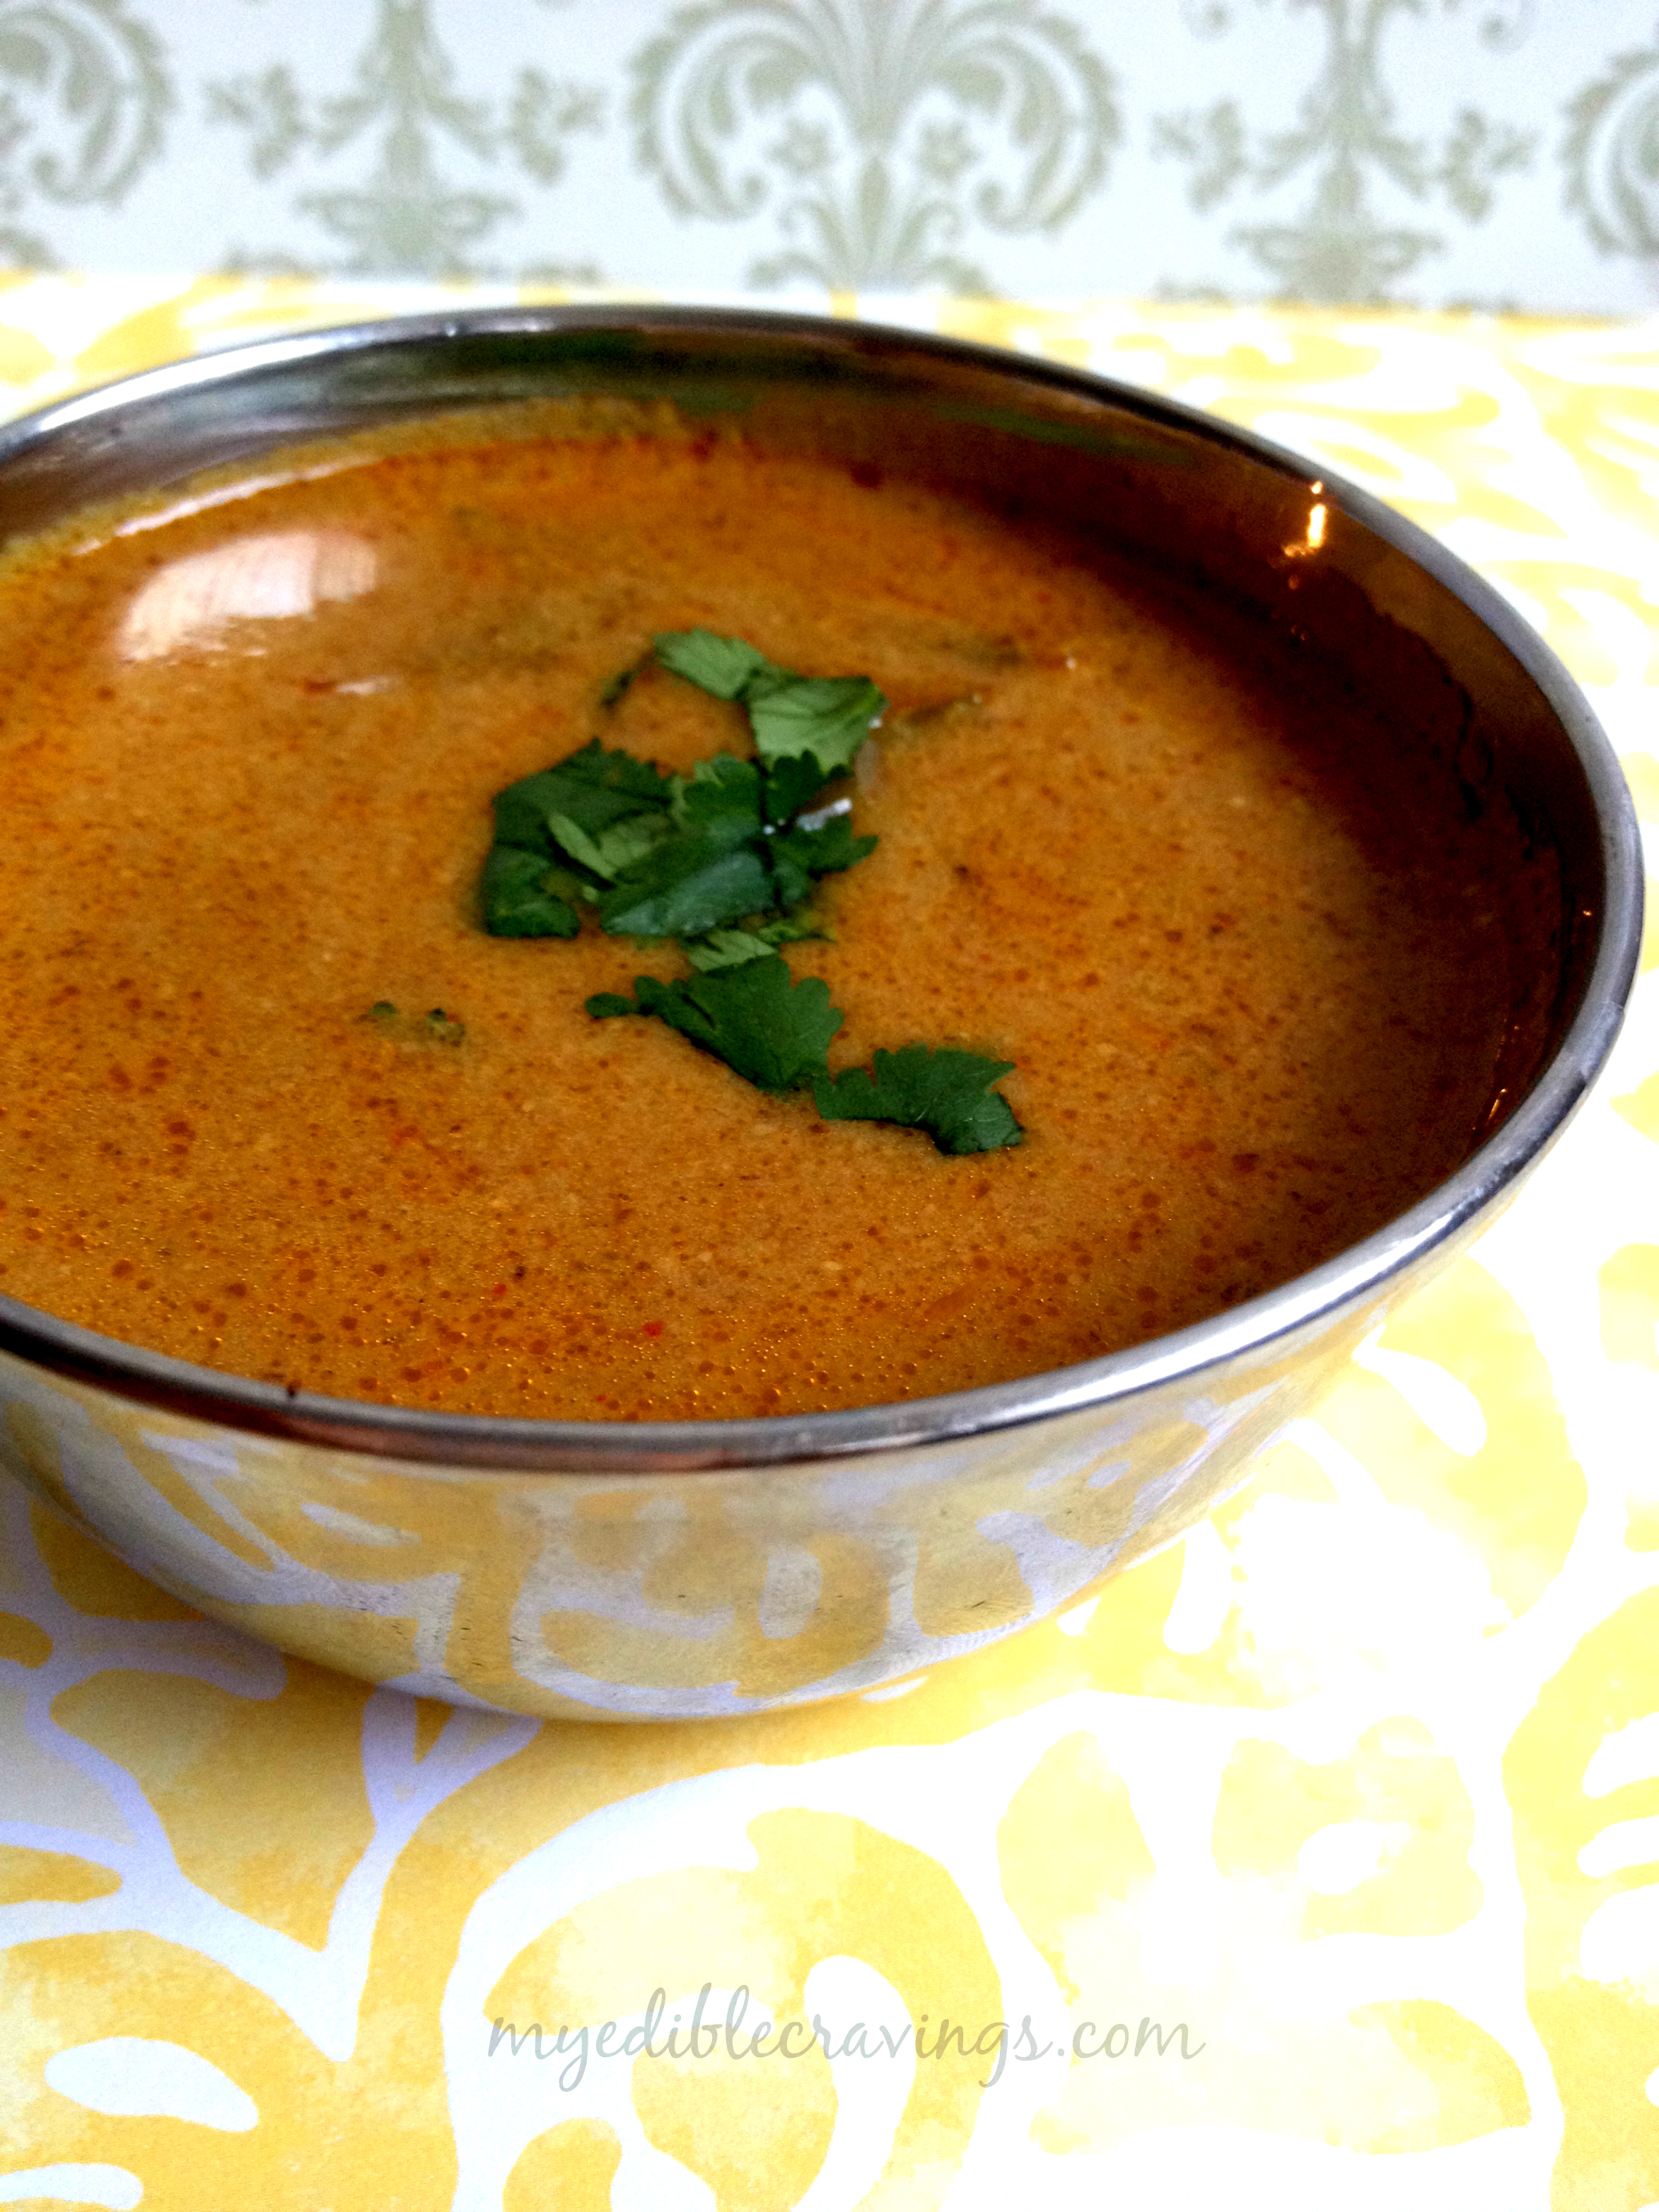
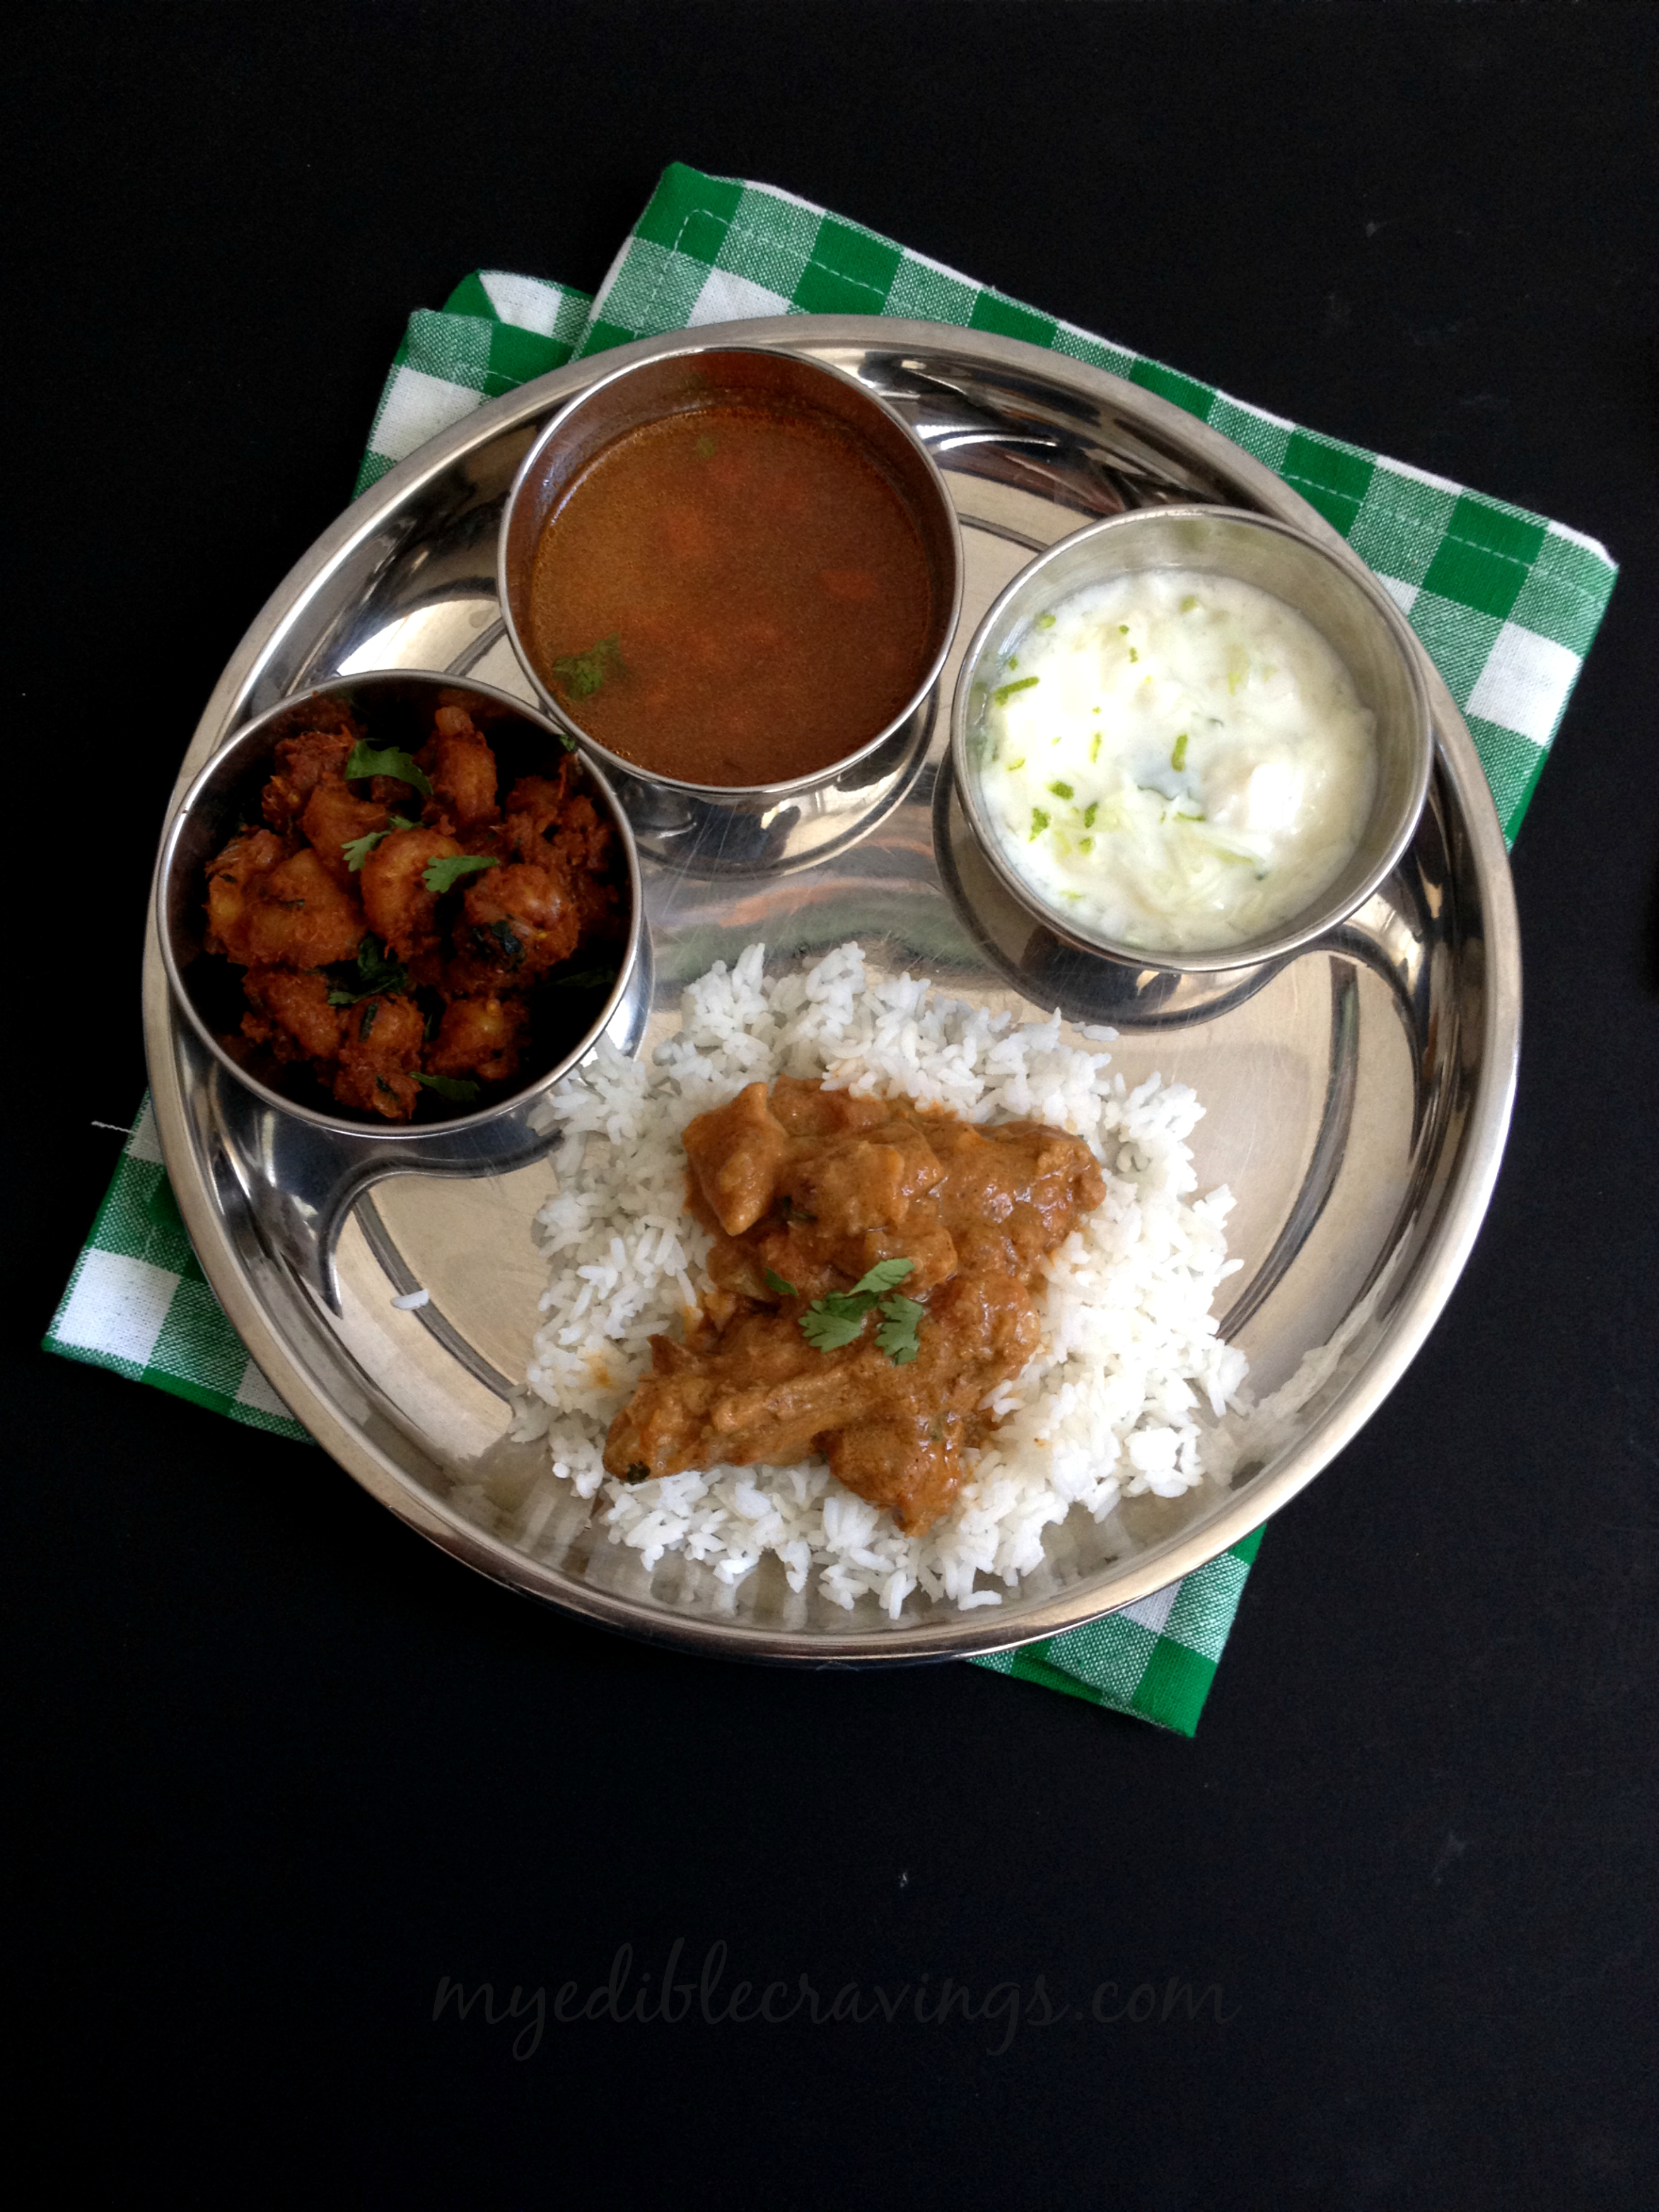
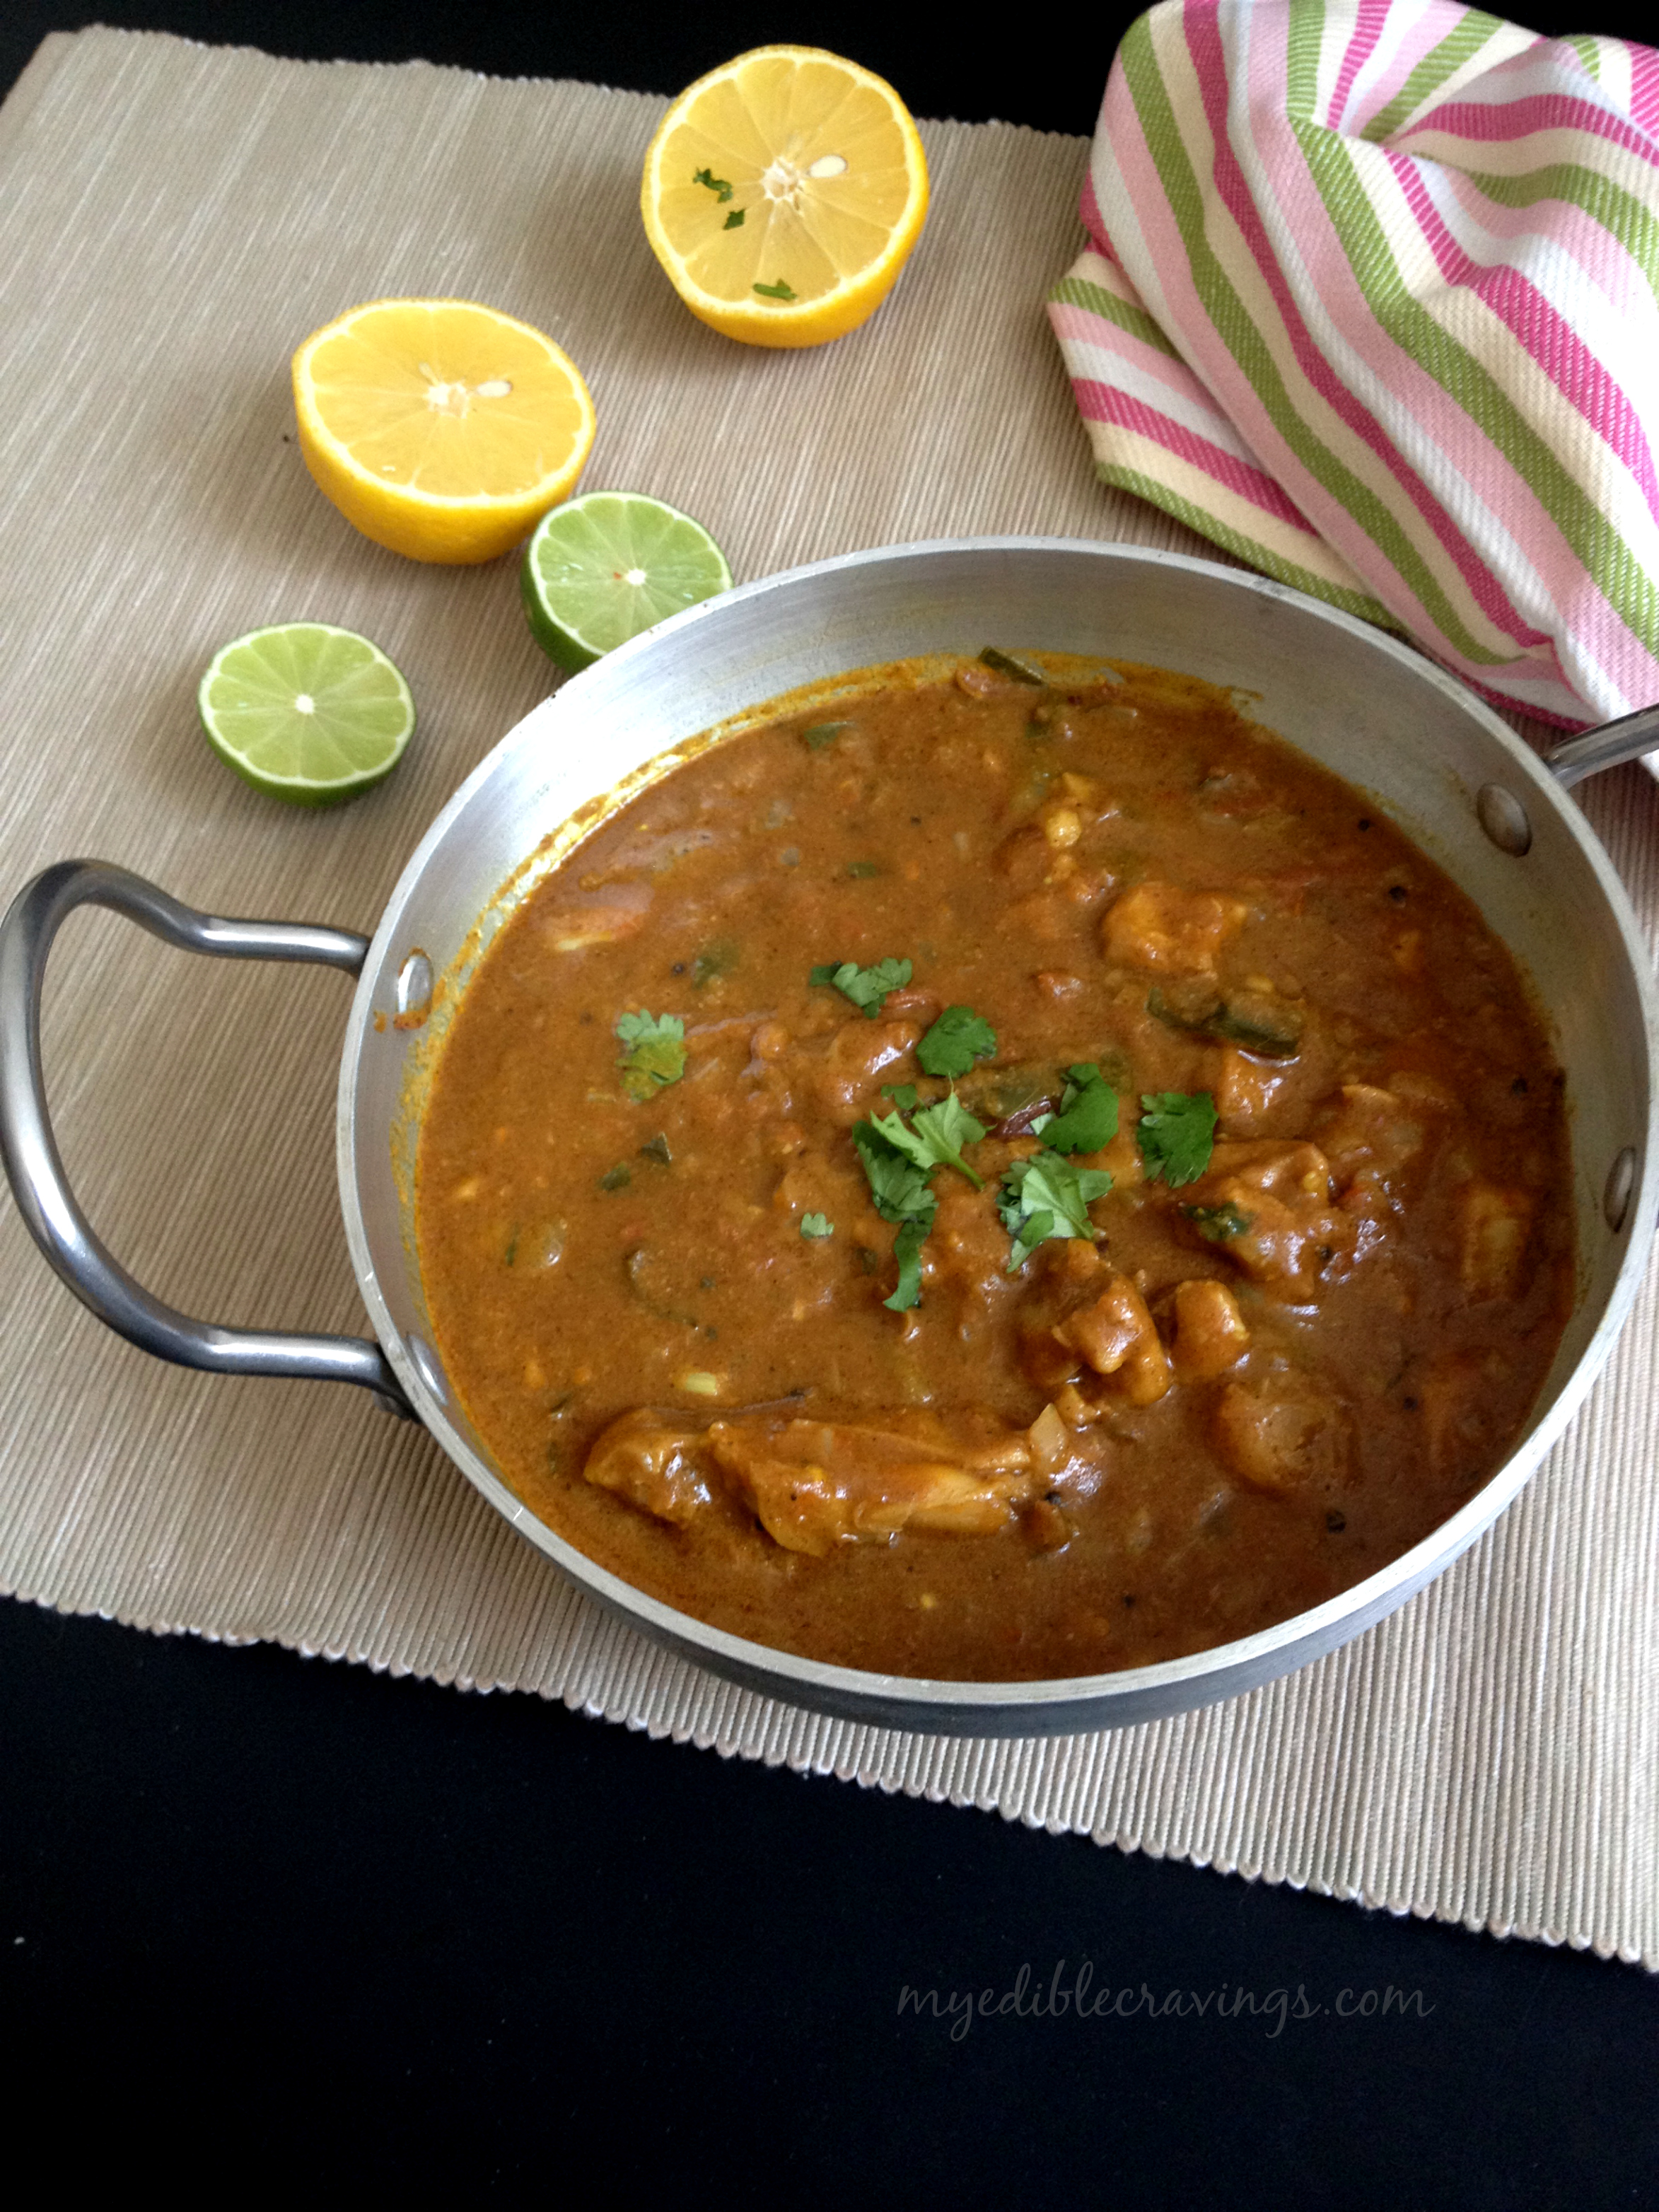
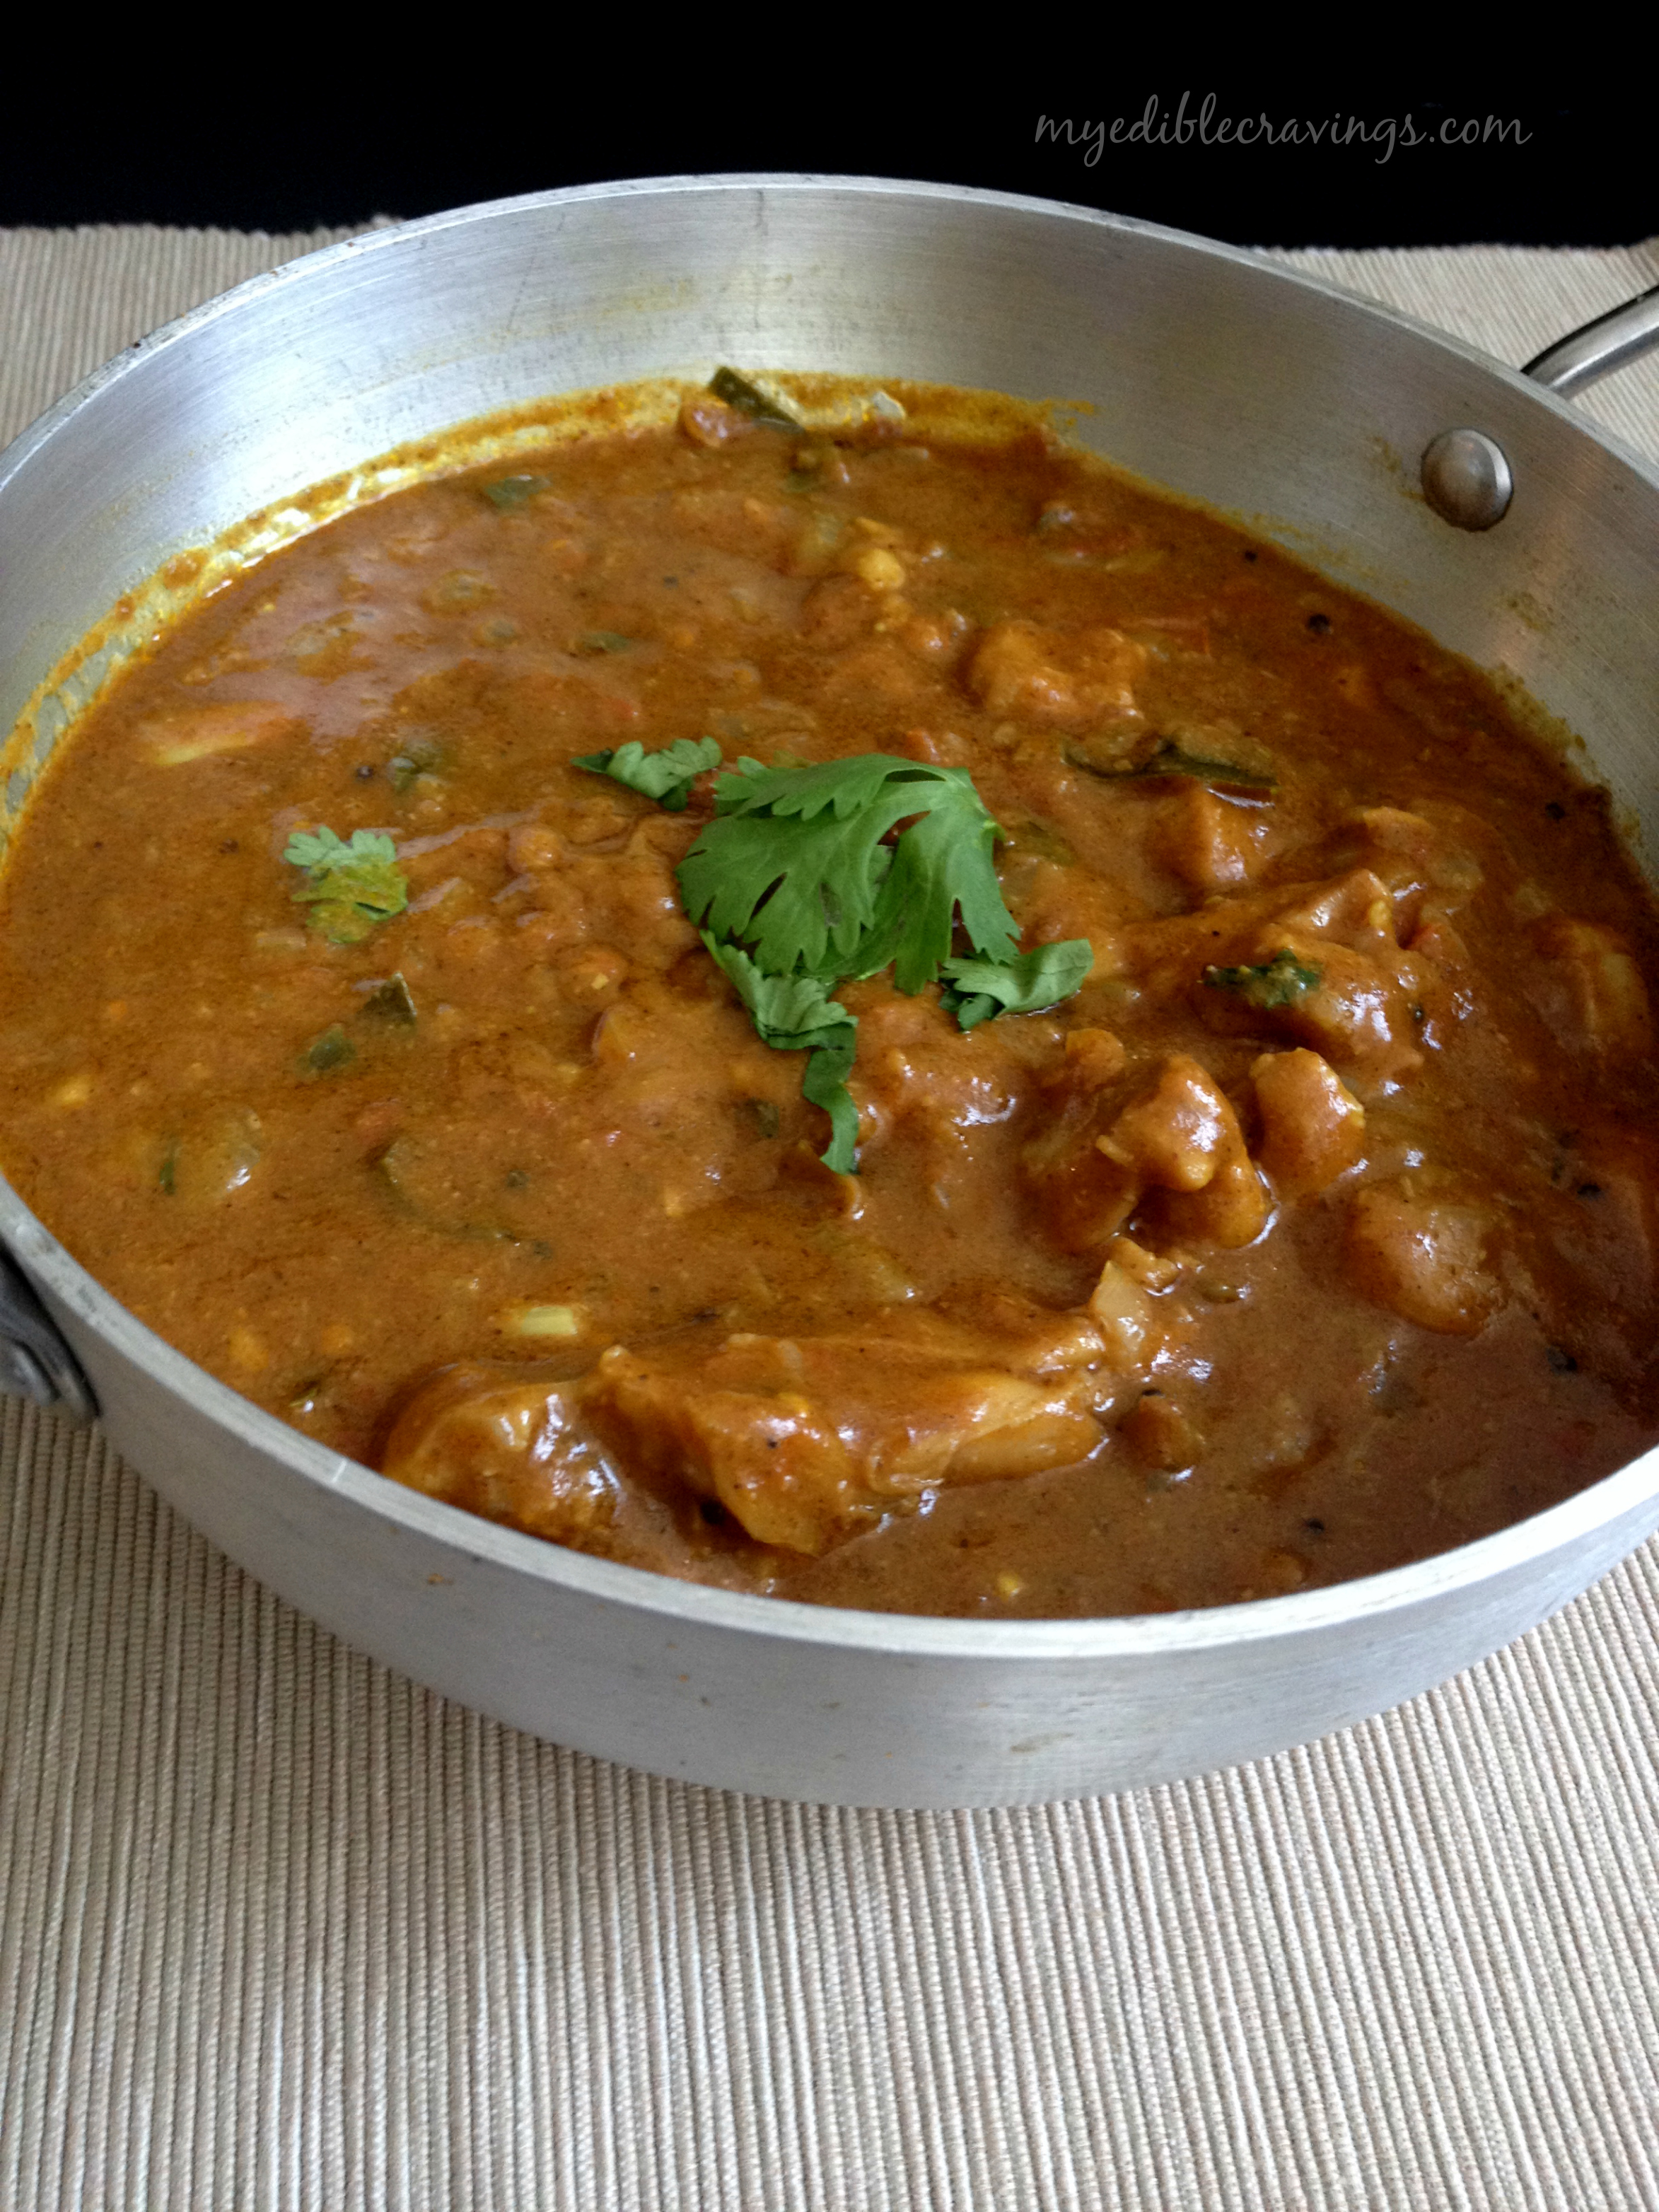
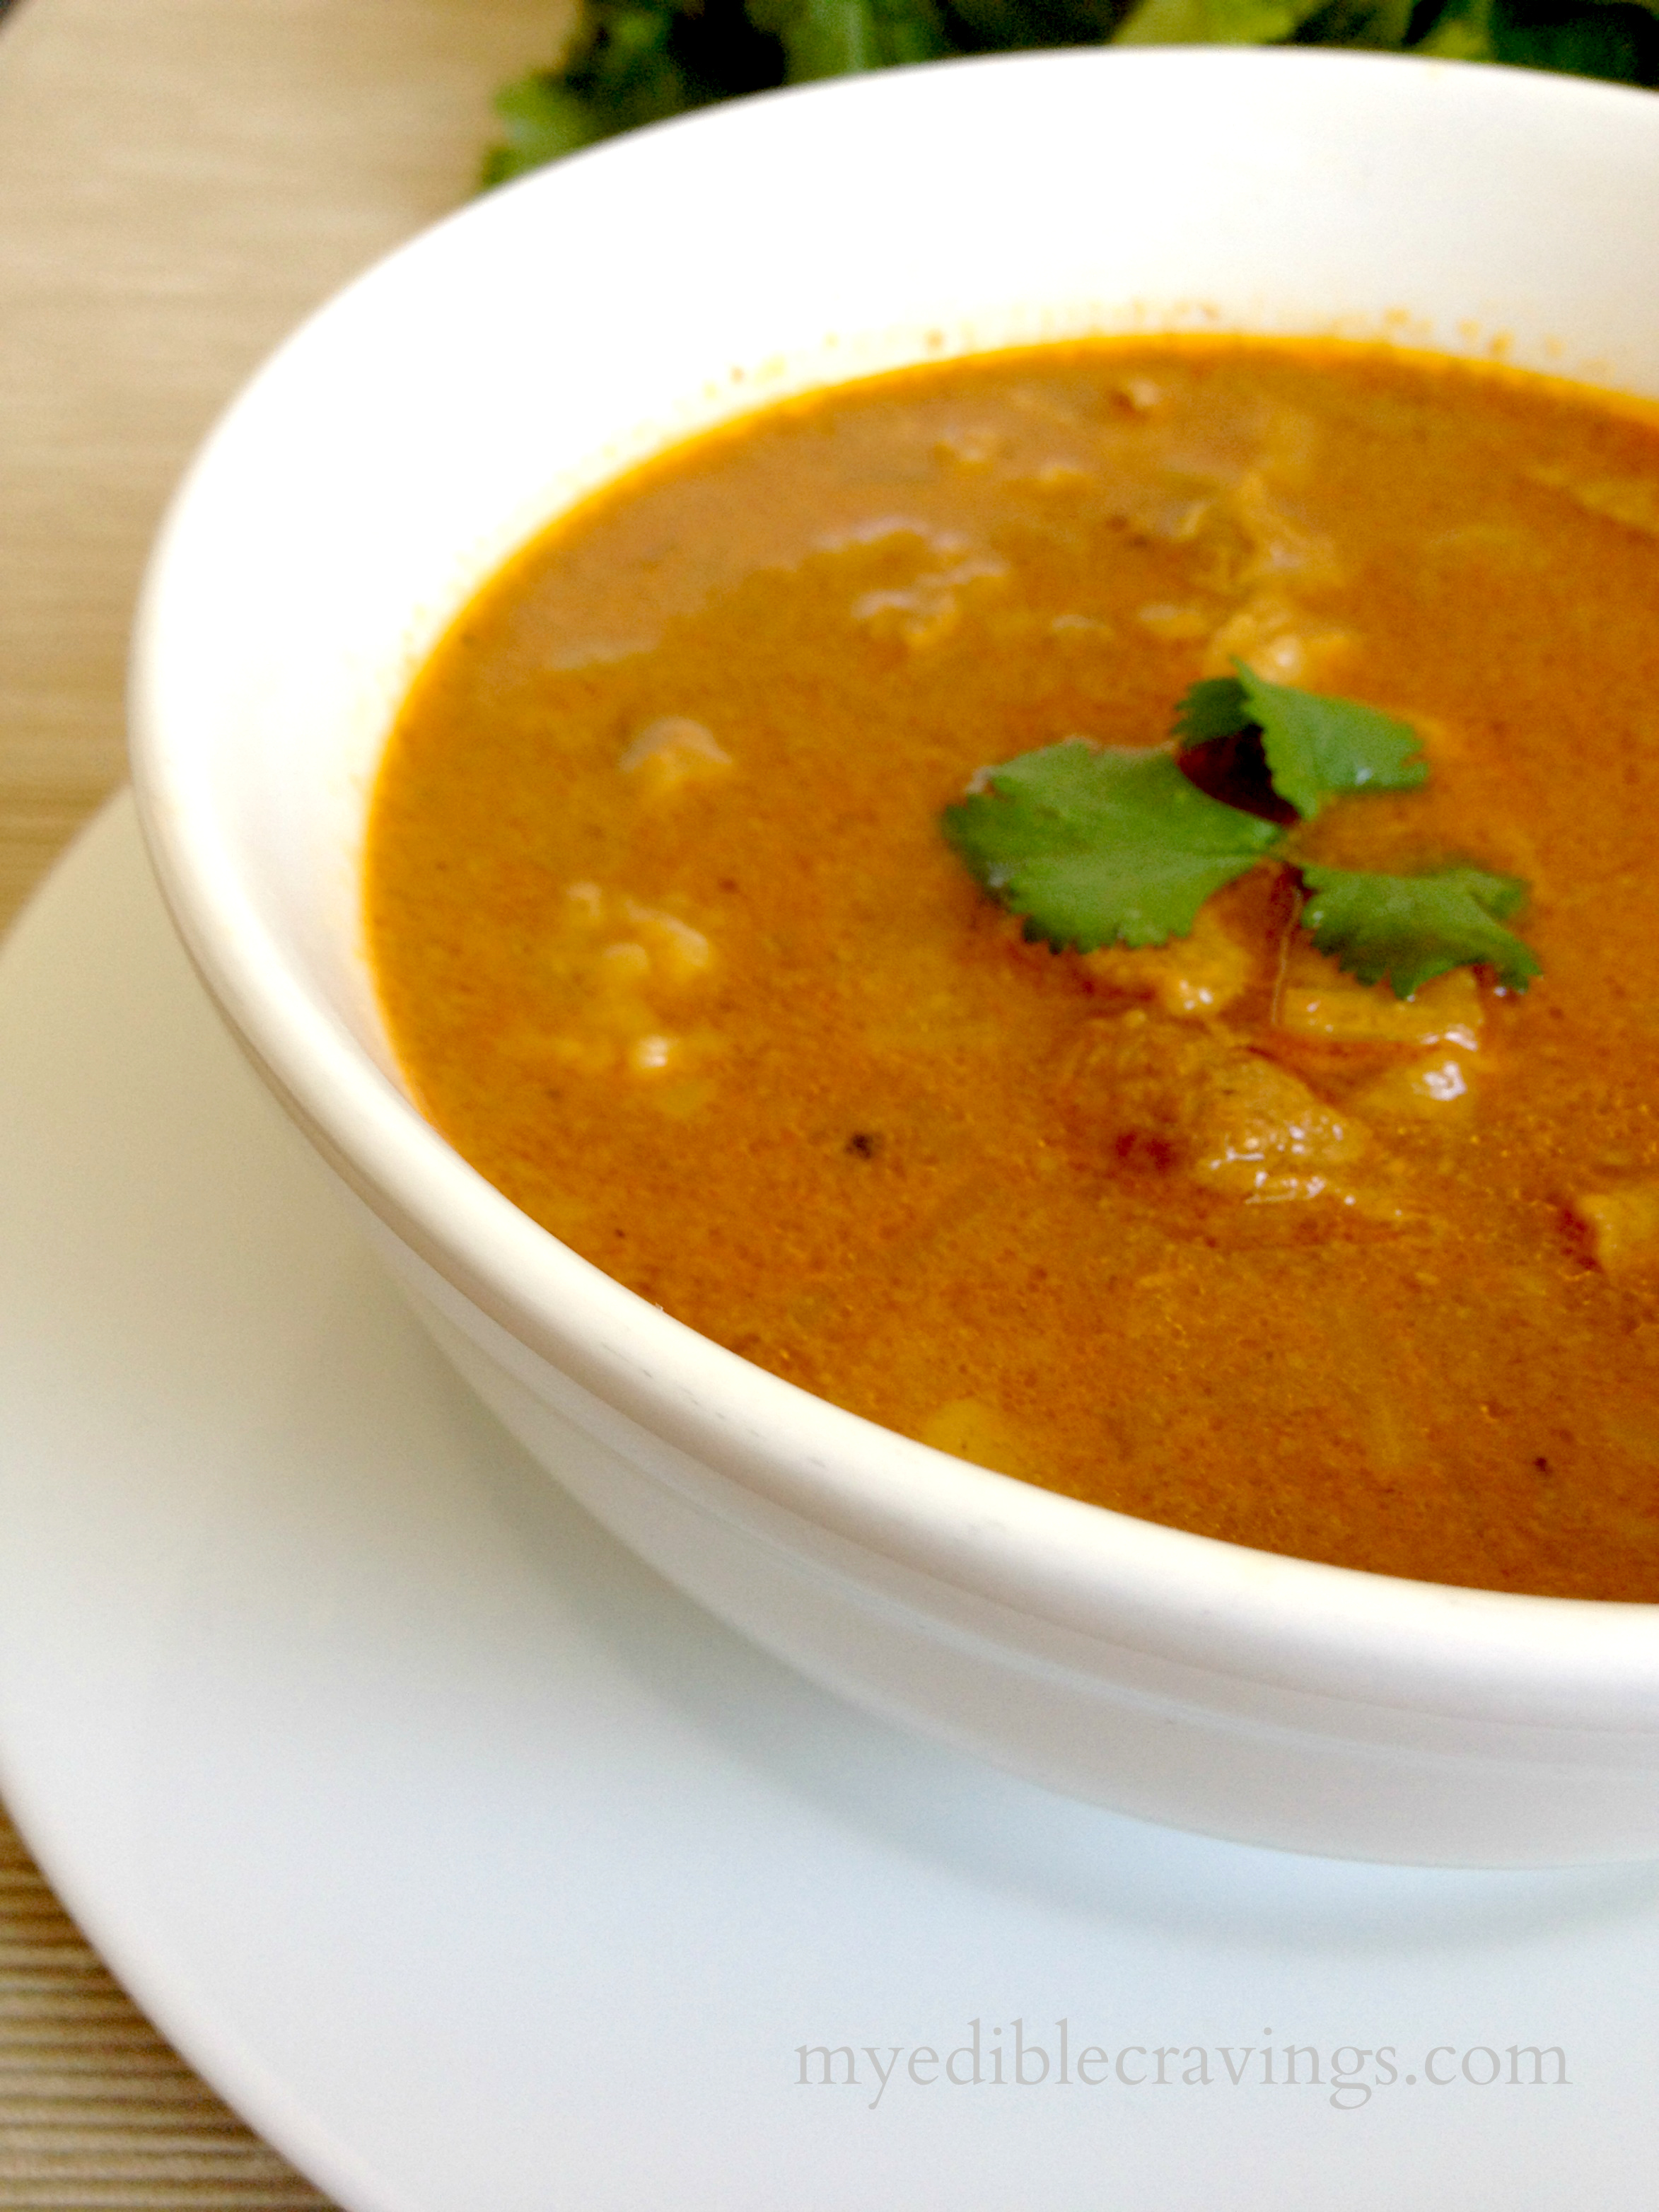
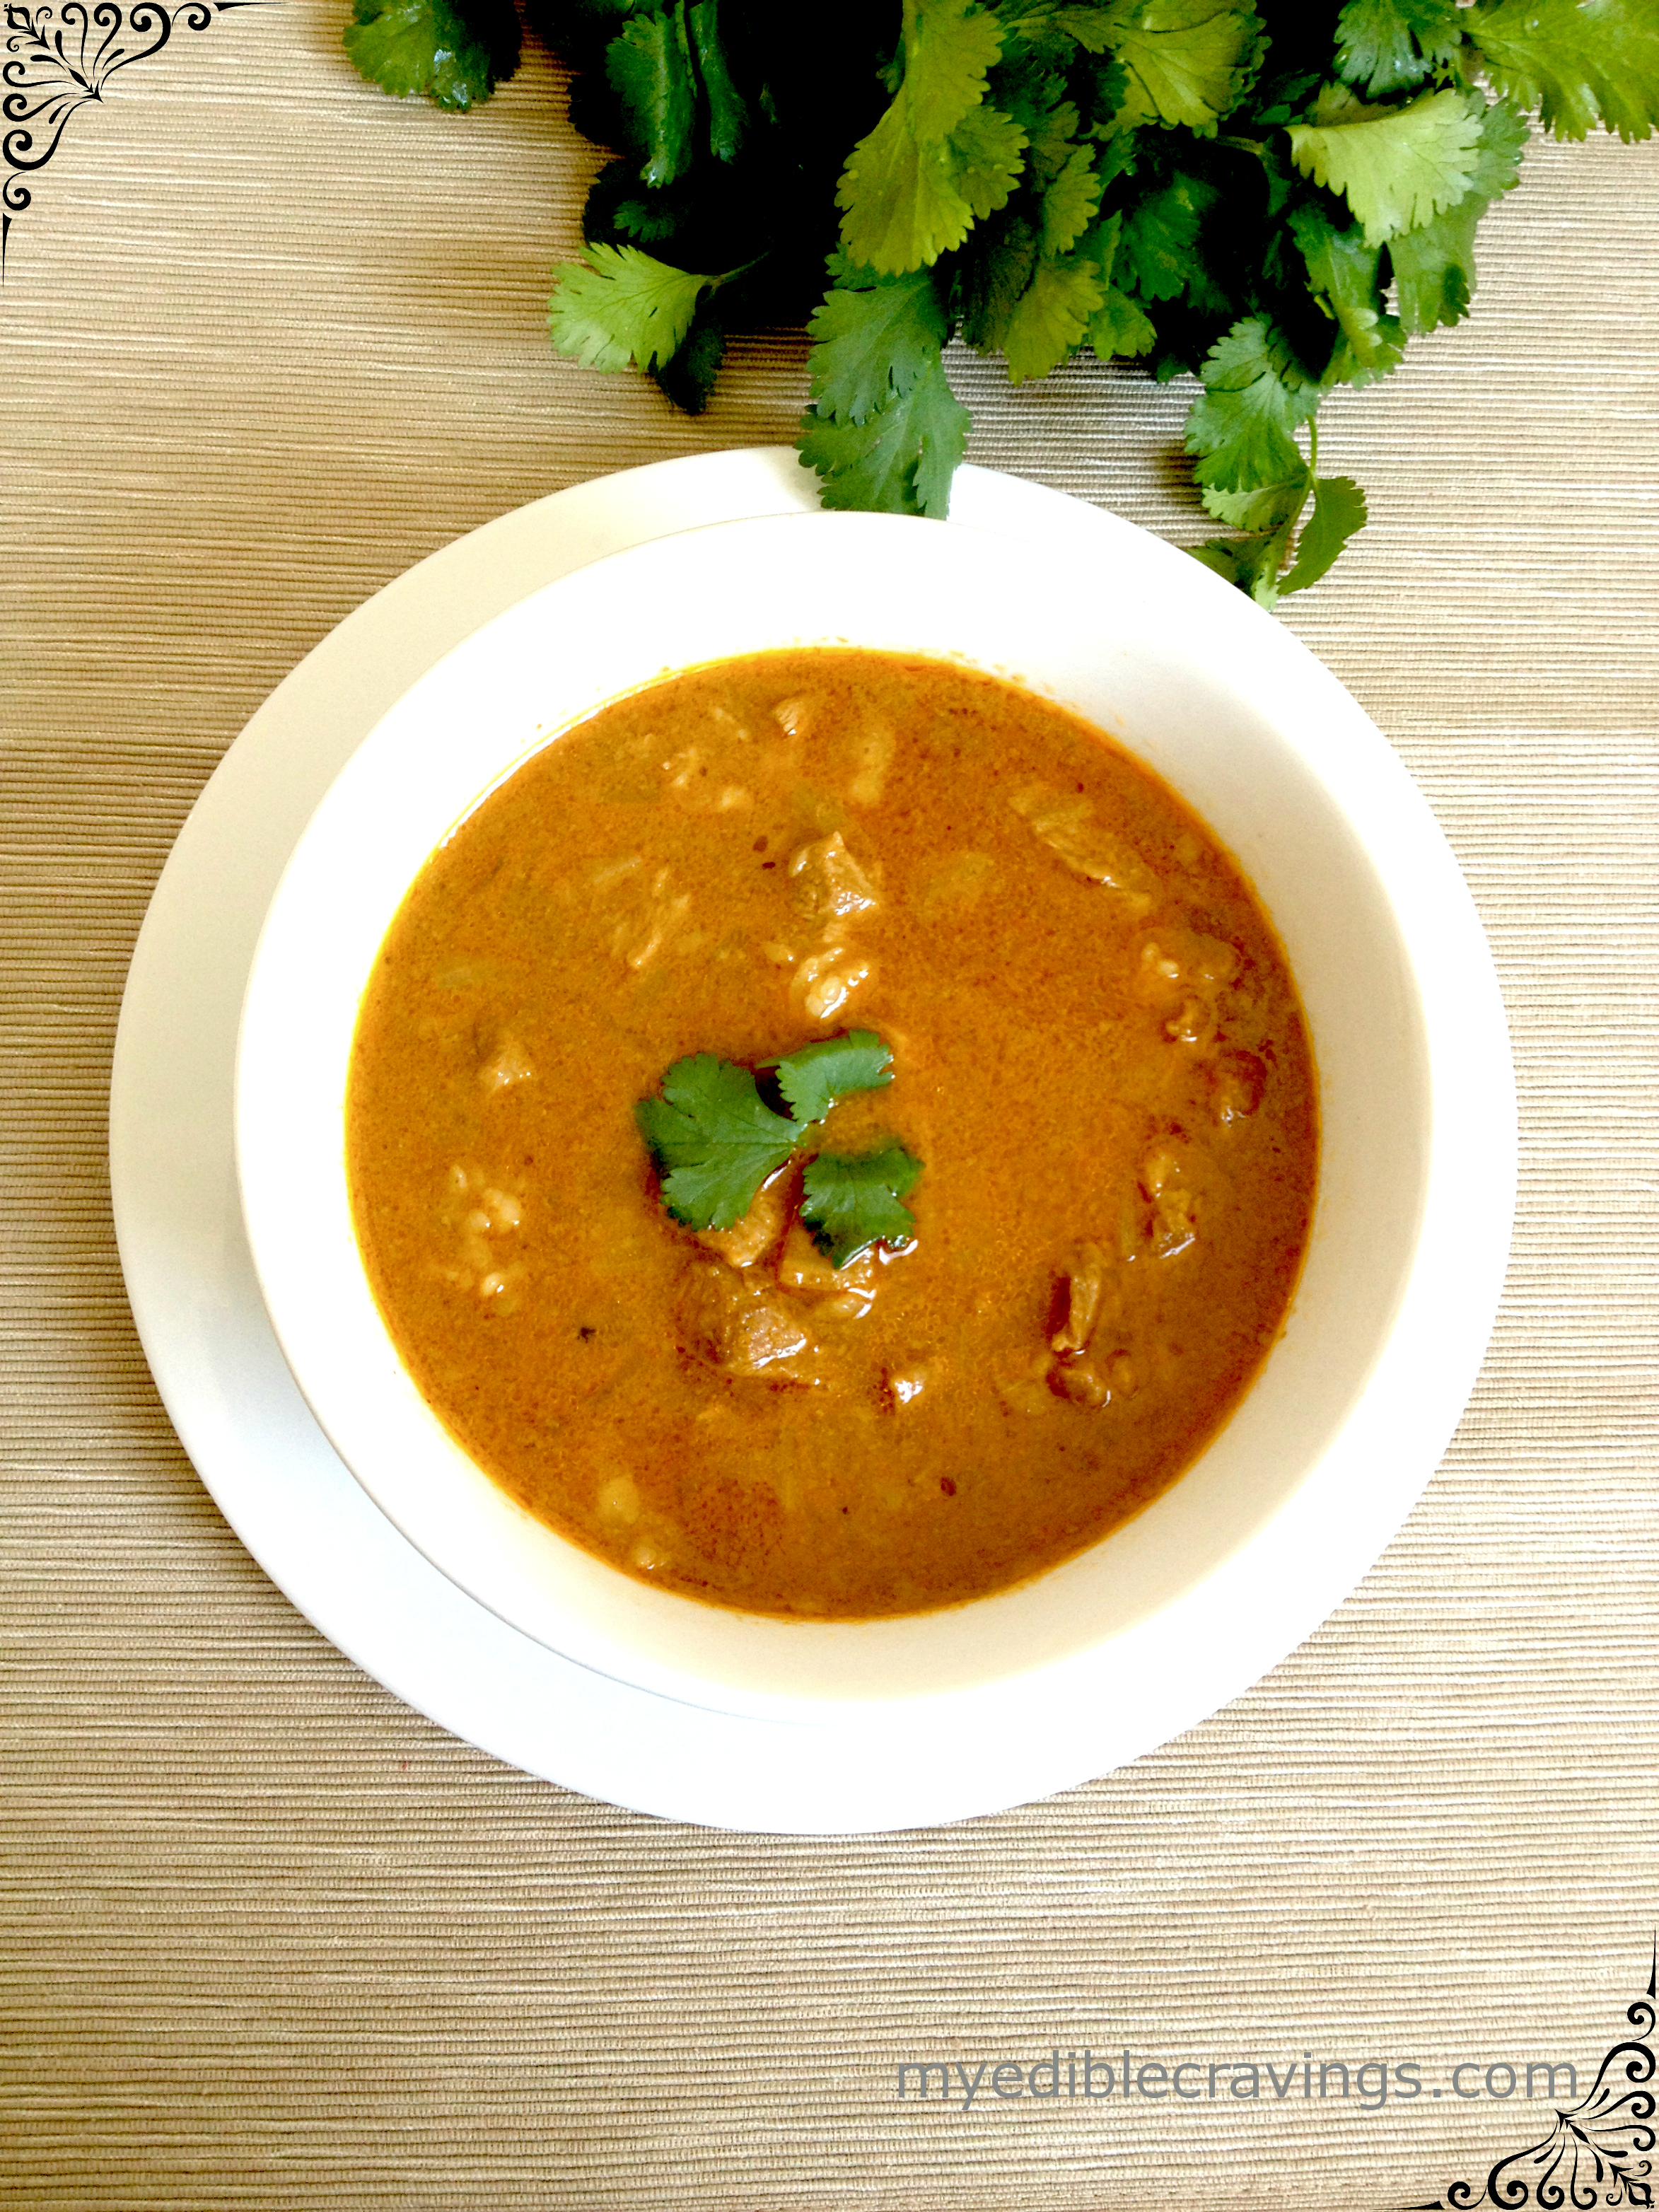
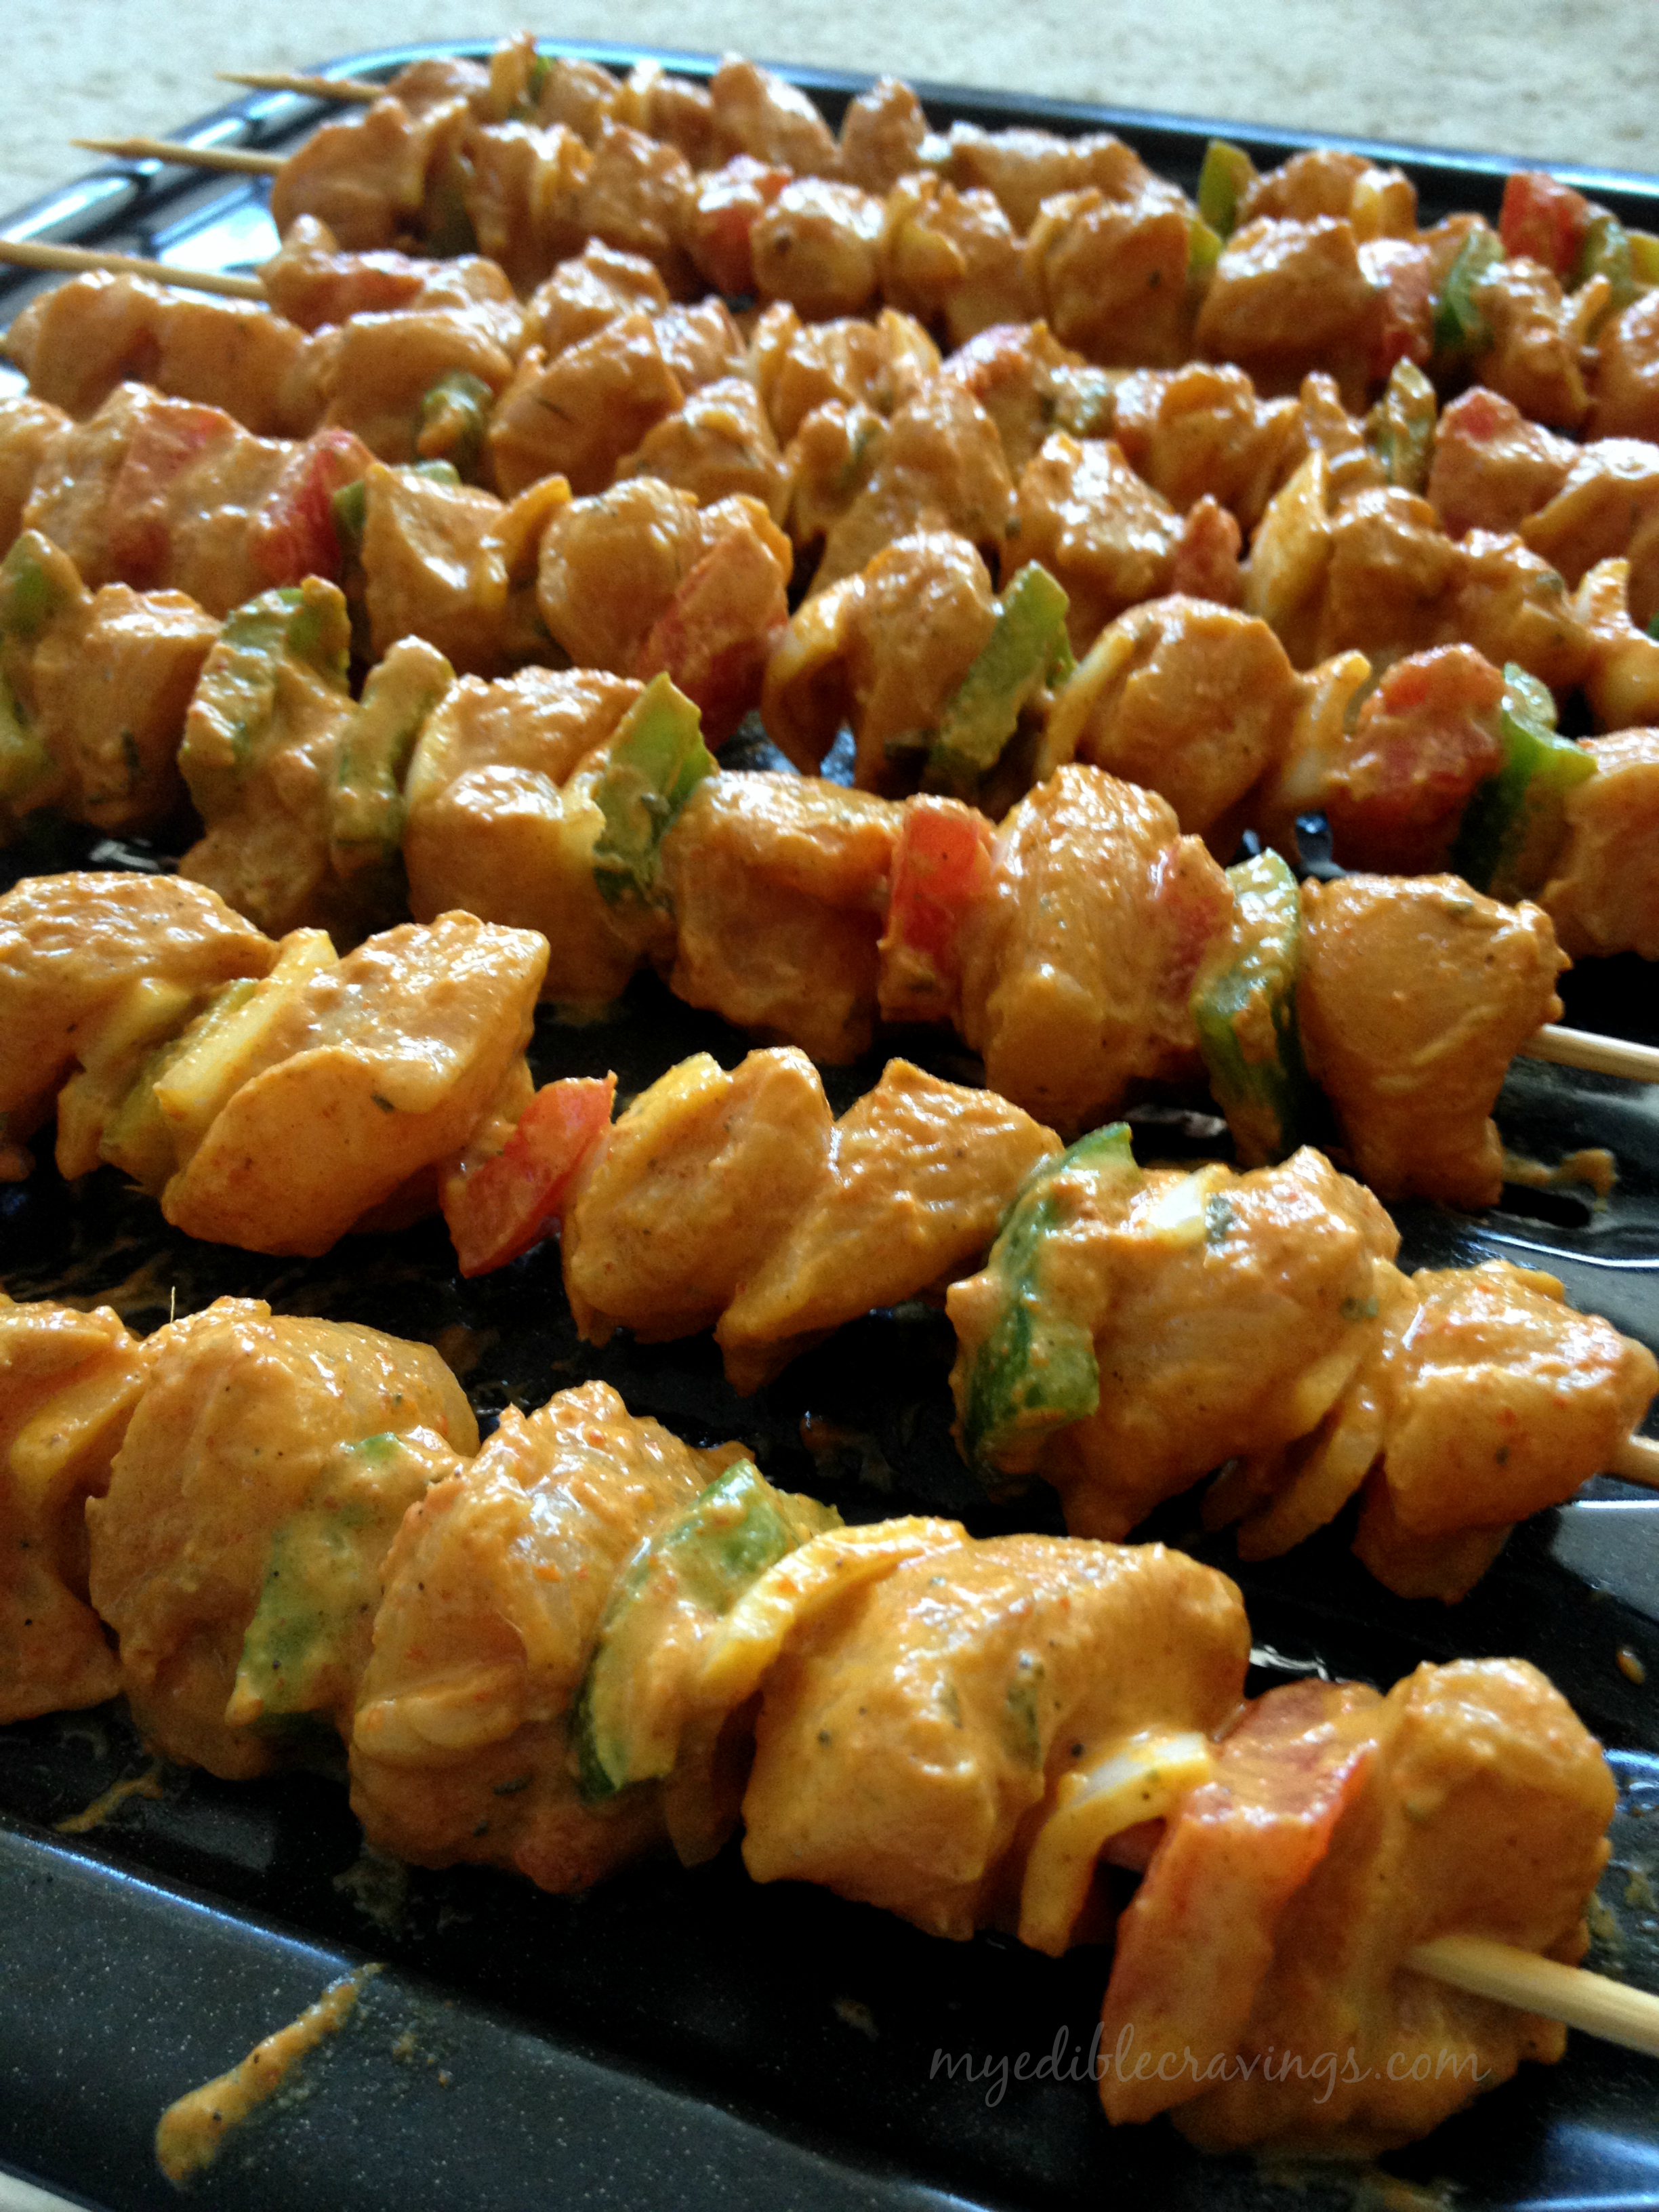
Chicken tikka is very popular in overseas Indian restaurants and as far I have seen, it is one of the most popular indian dishes among foreigners (along with naan). Also, given its dual benefit of having it as a dry item as well as a gravy (chicken tikka masala), it is one of the go-to dishes in functions like weddings, get-togethers and also in hotel buffets. Chicken Tikka 
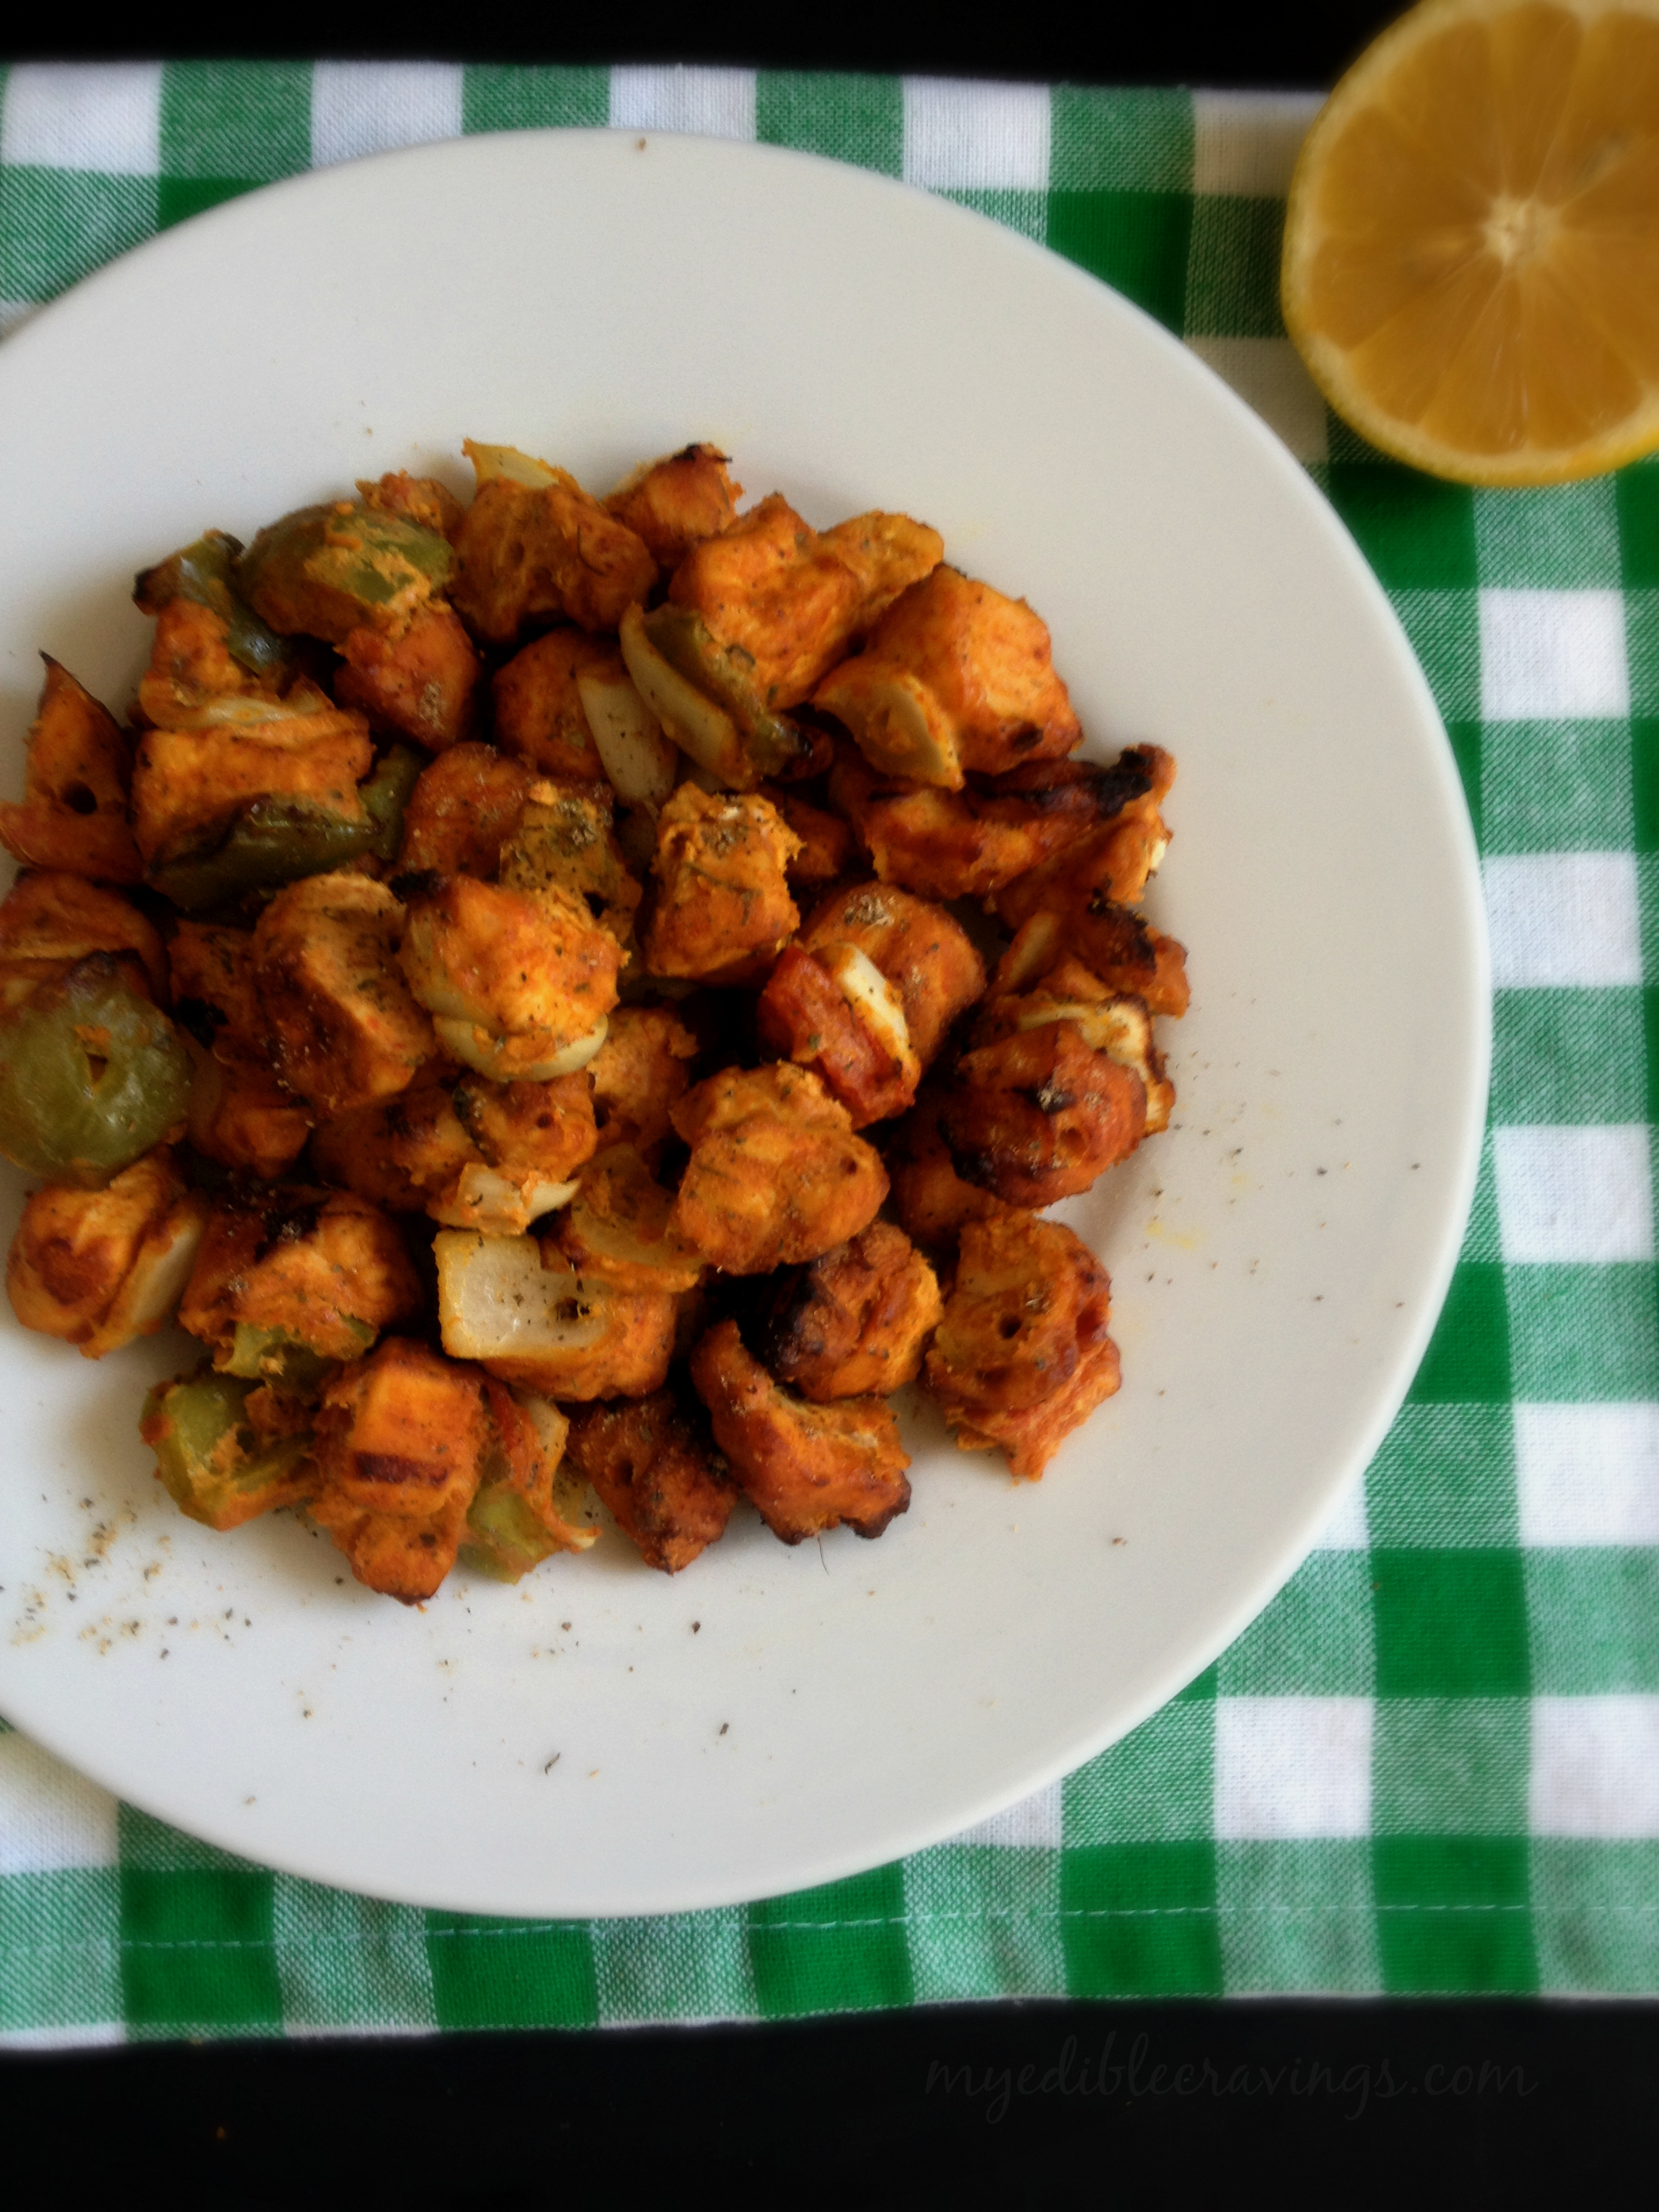
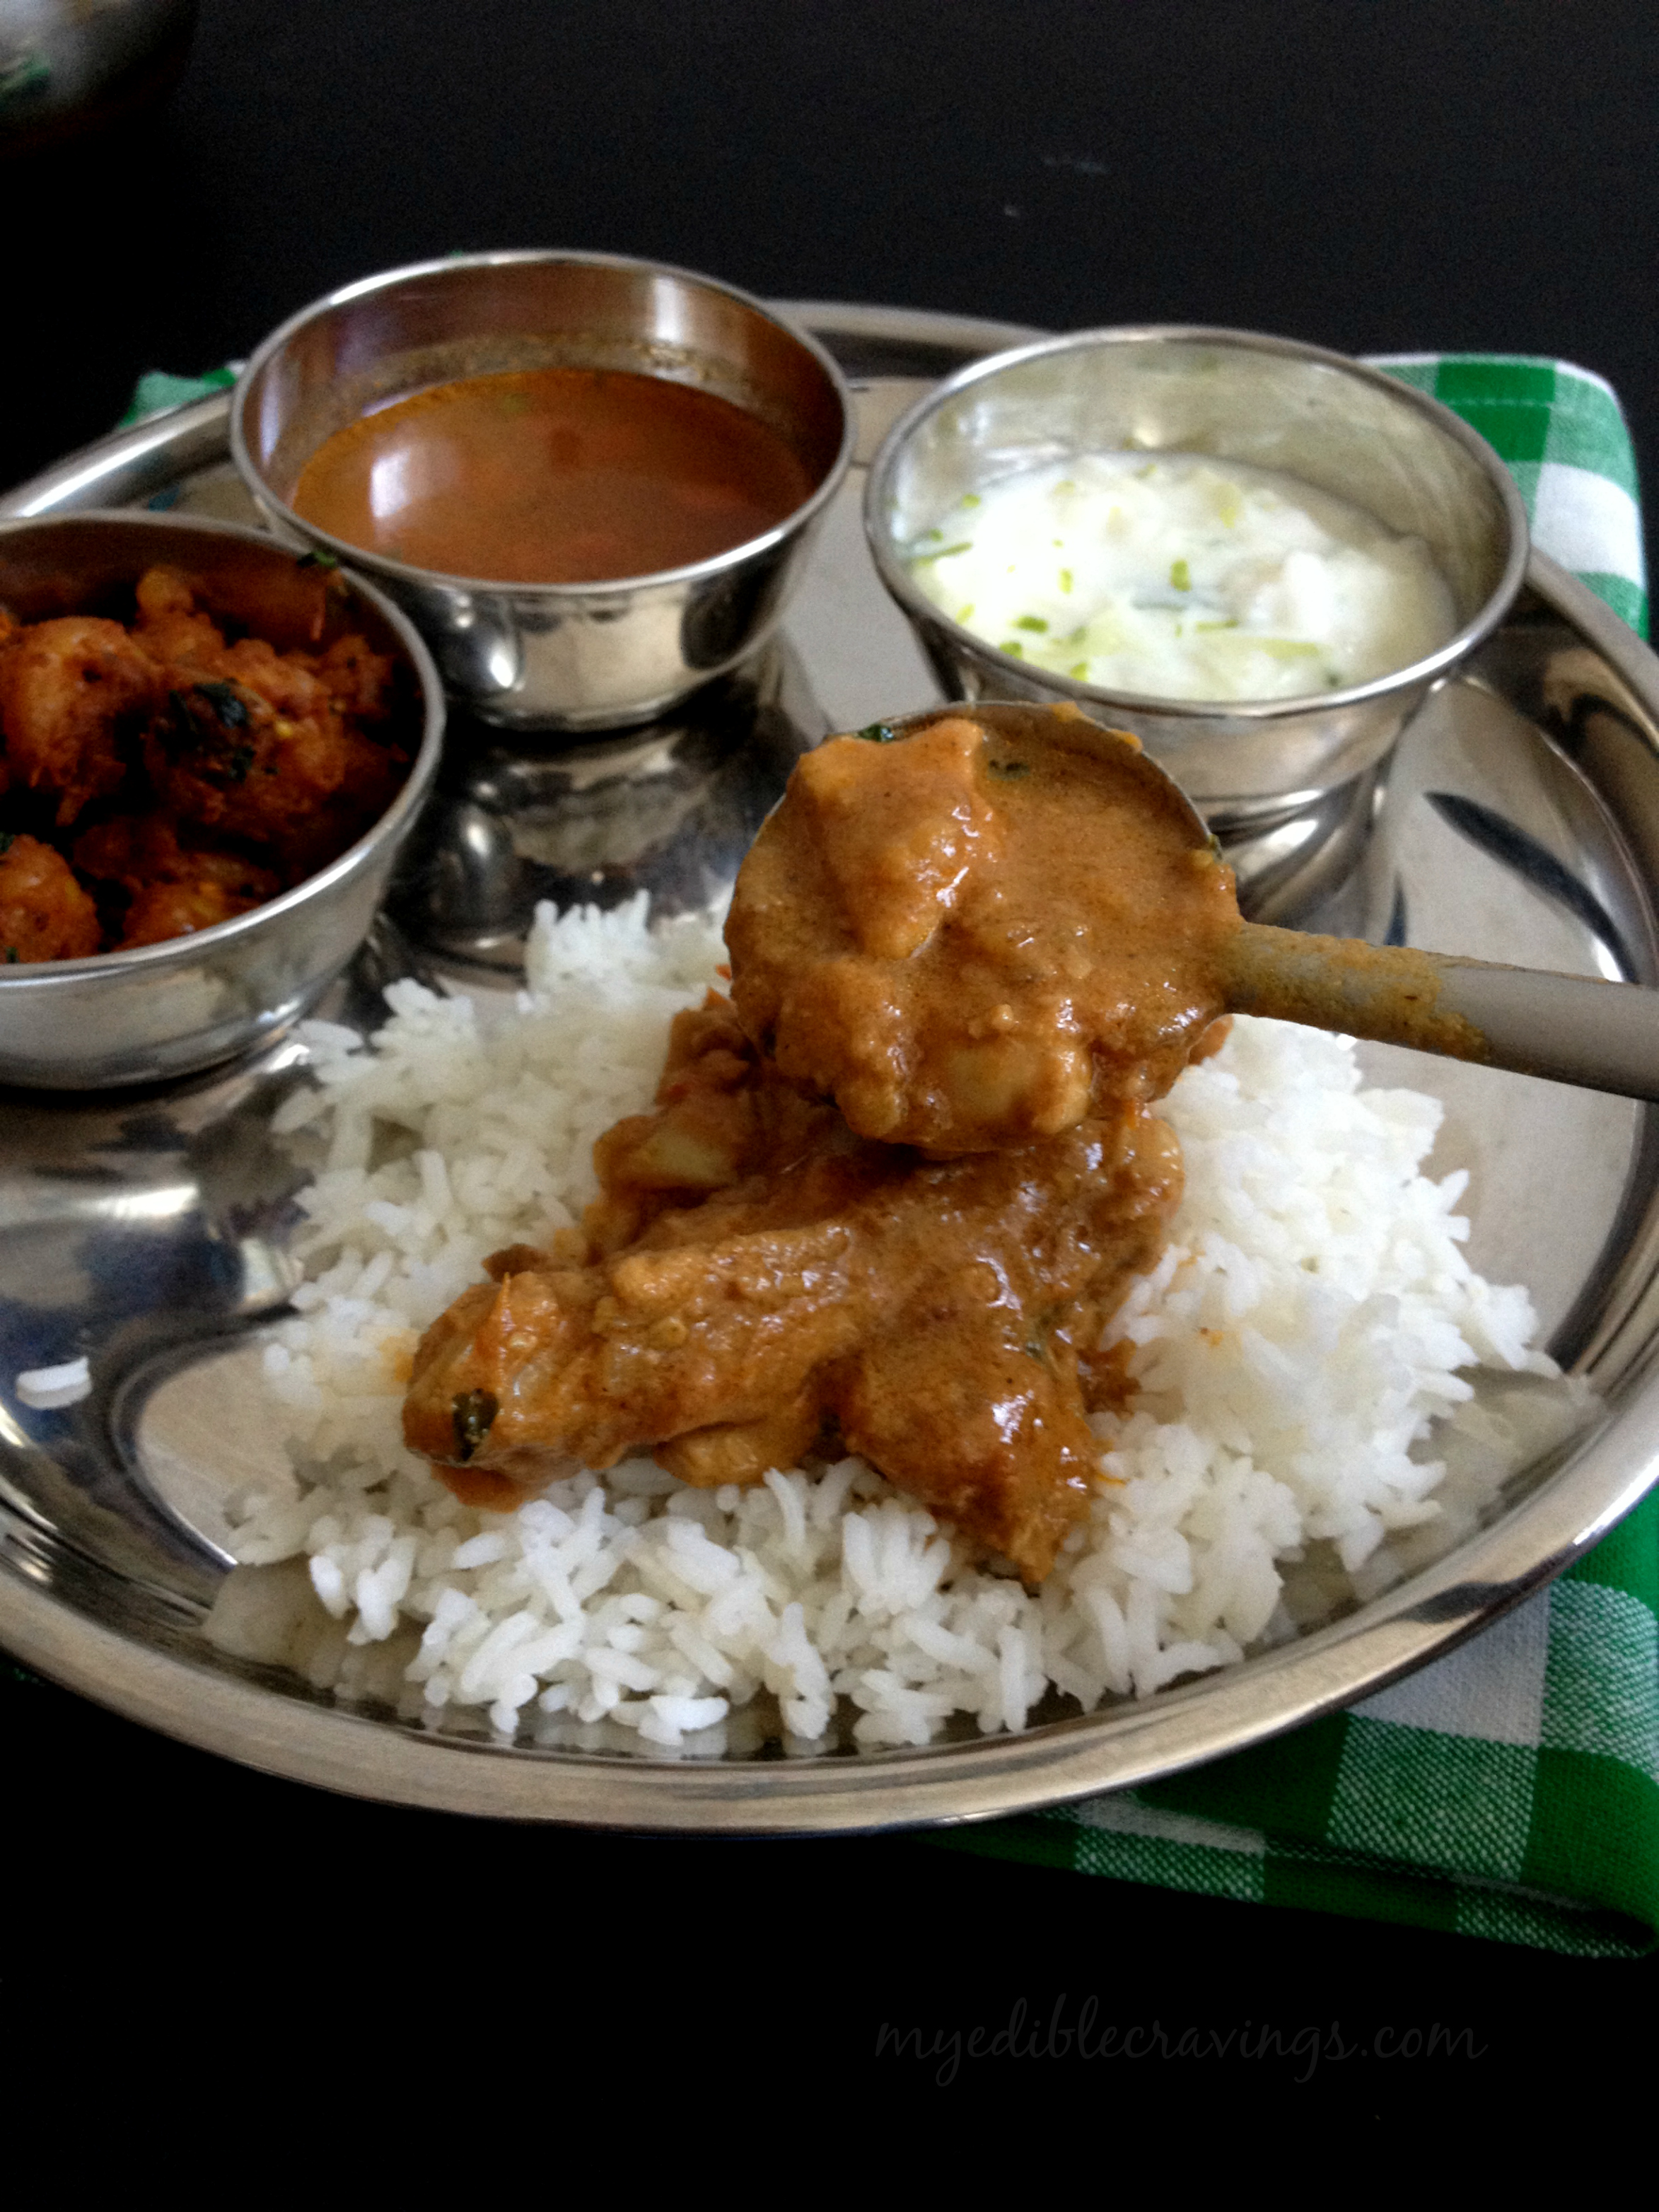
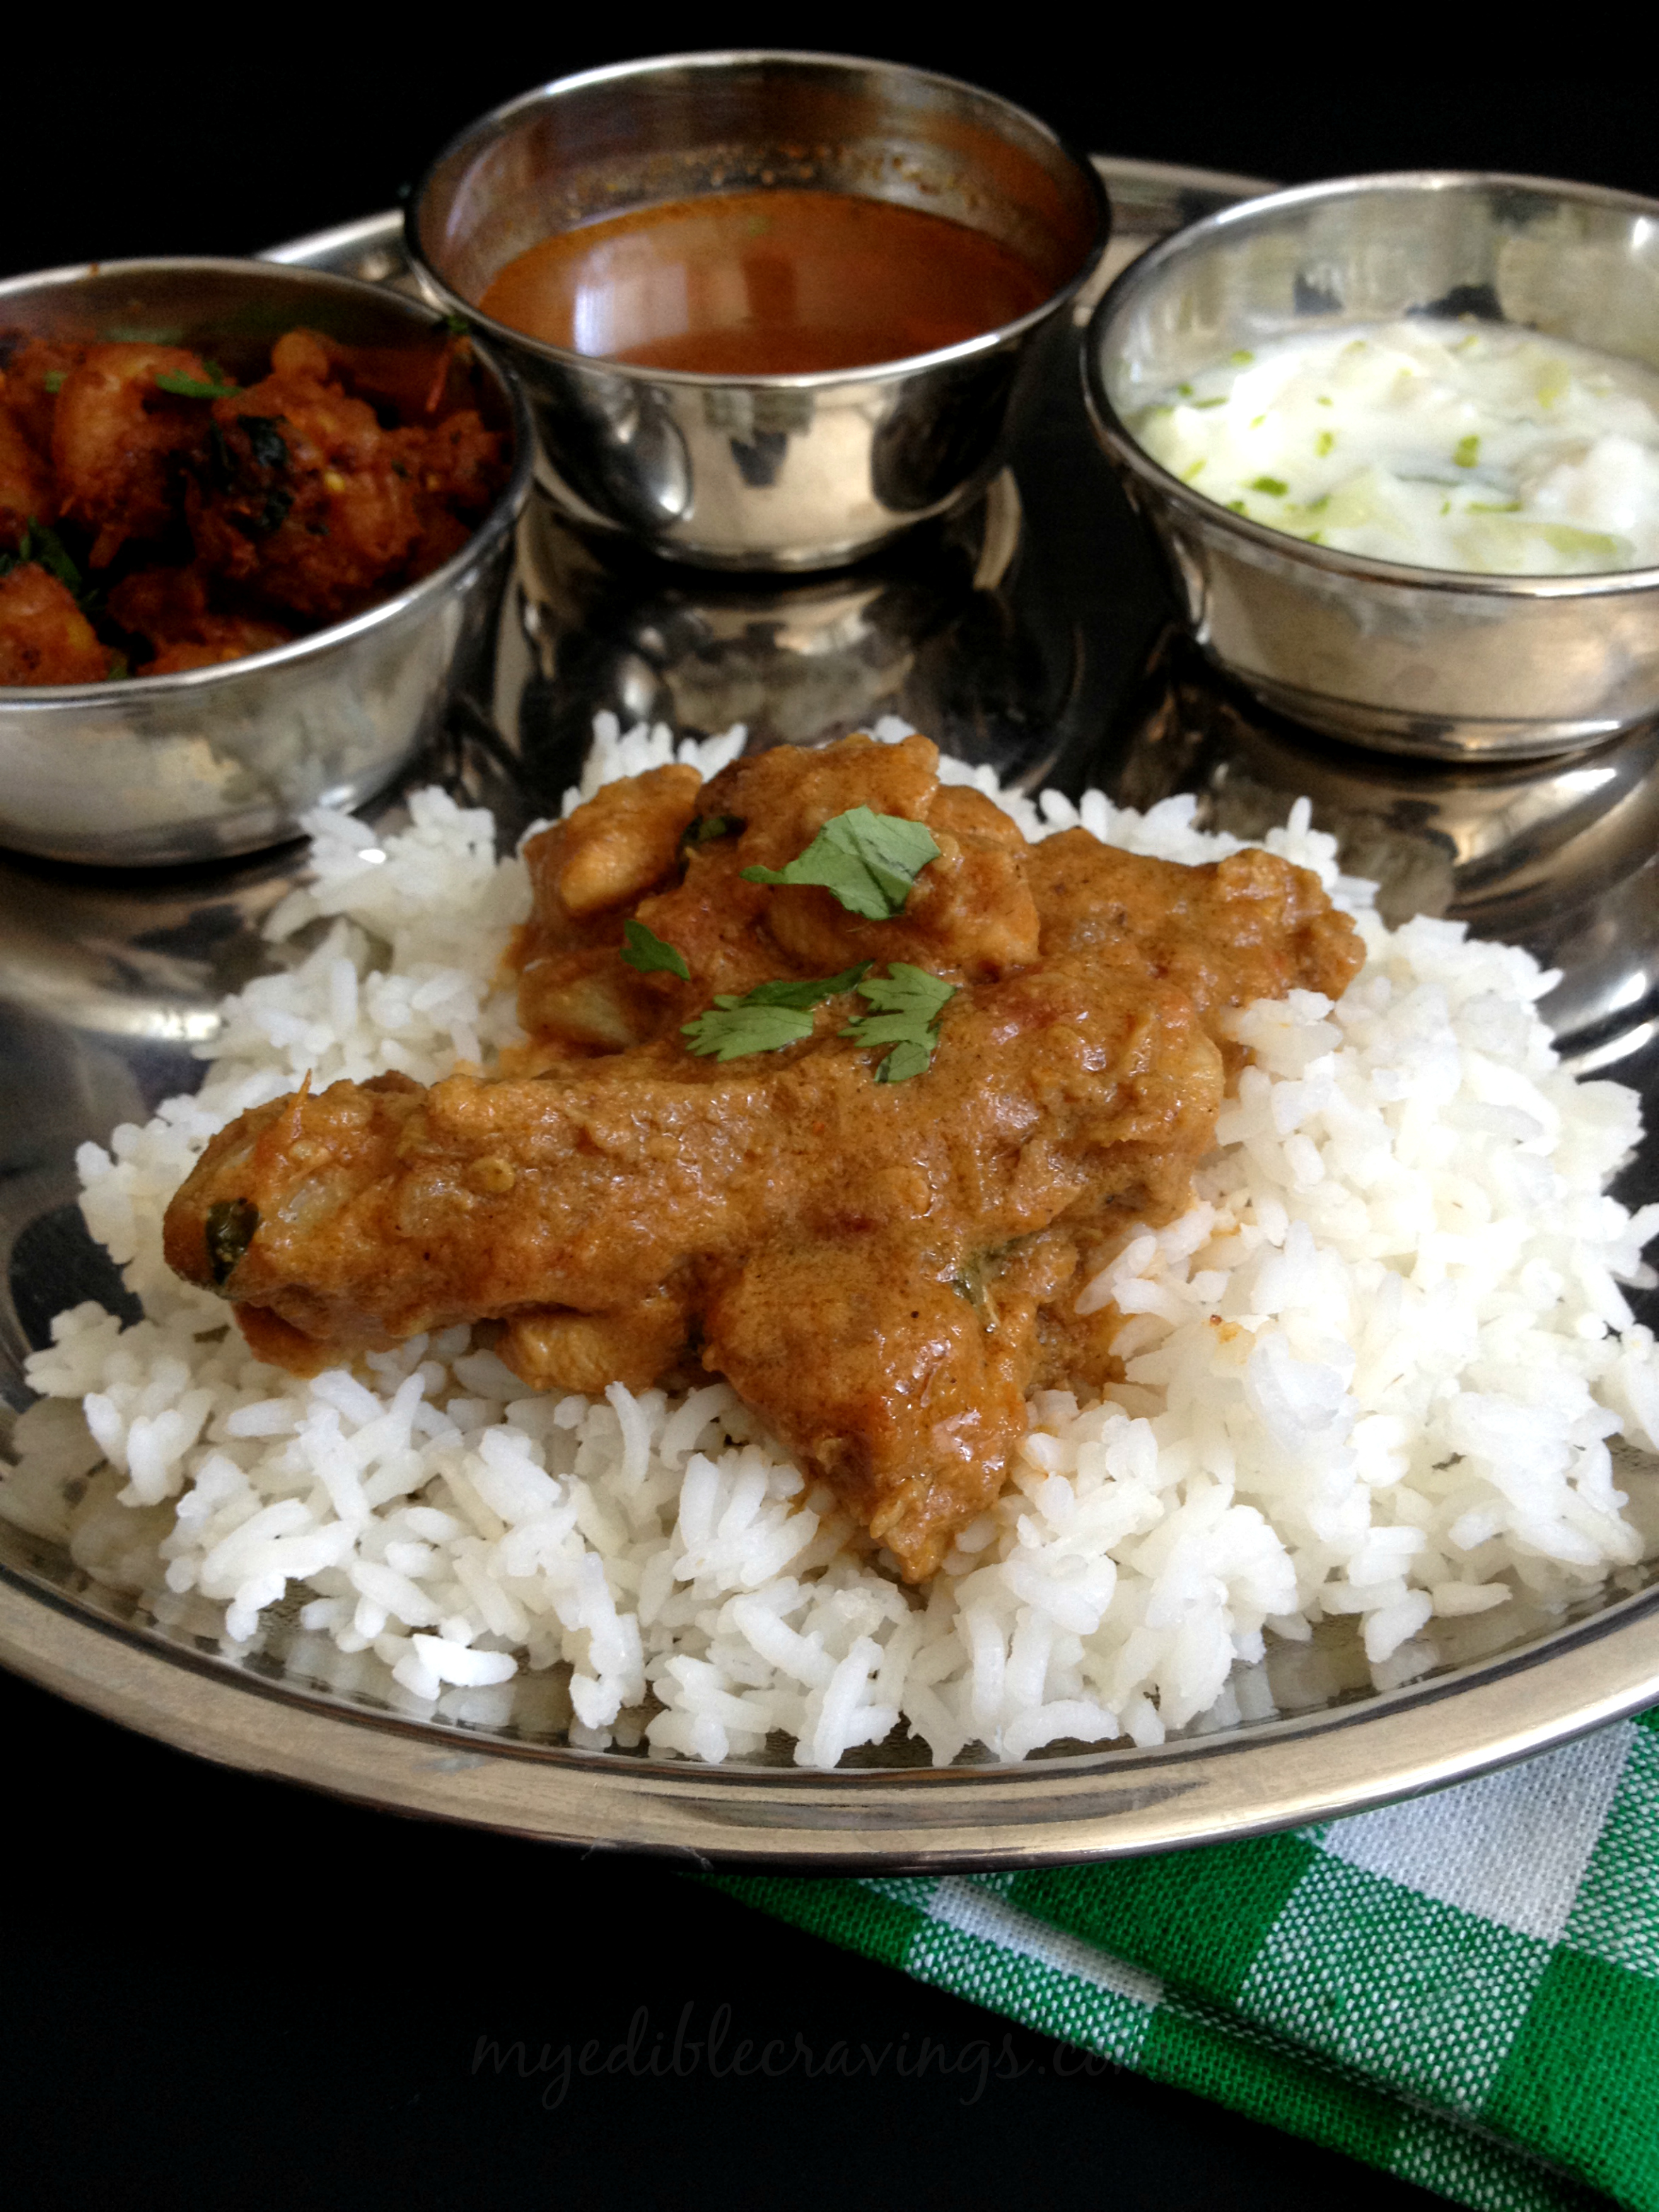
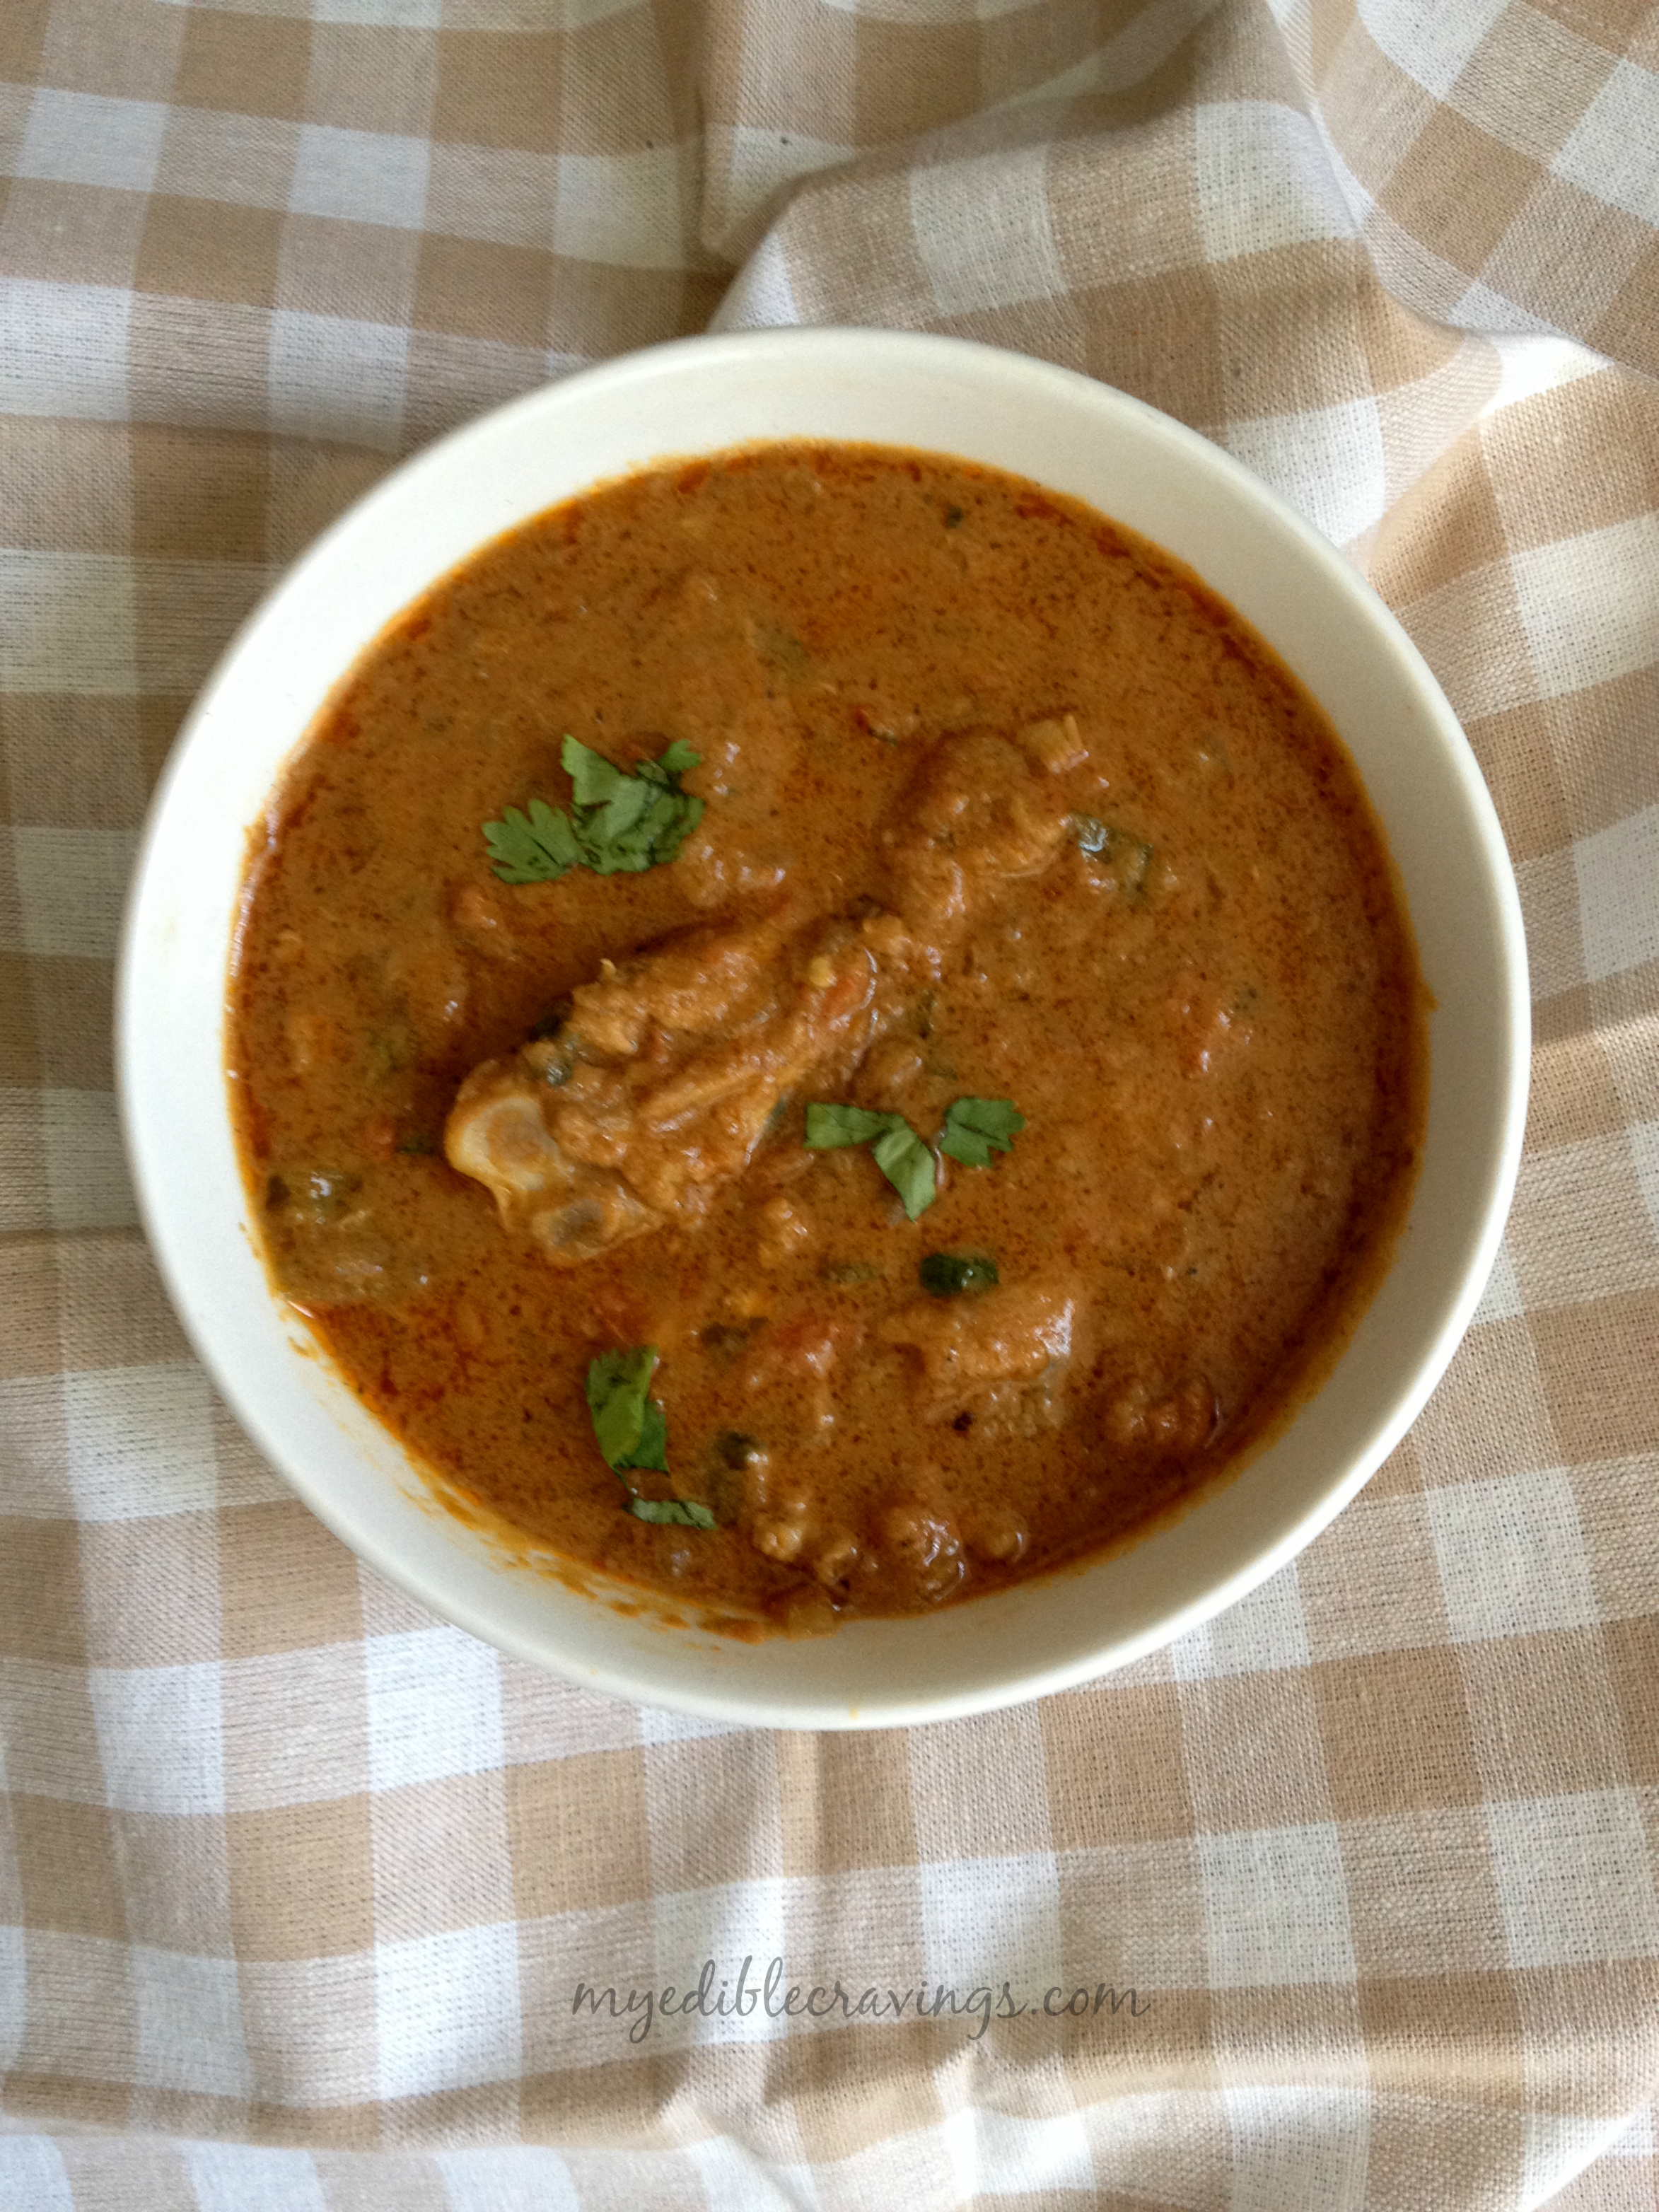
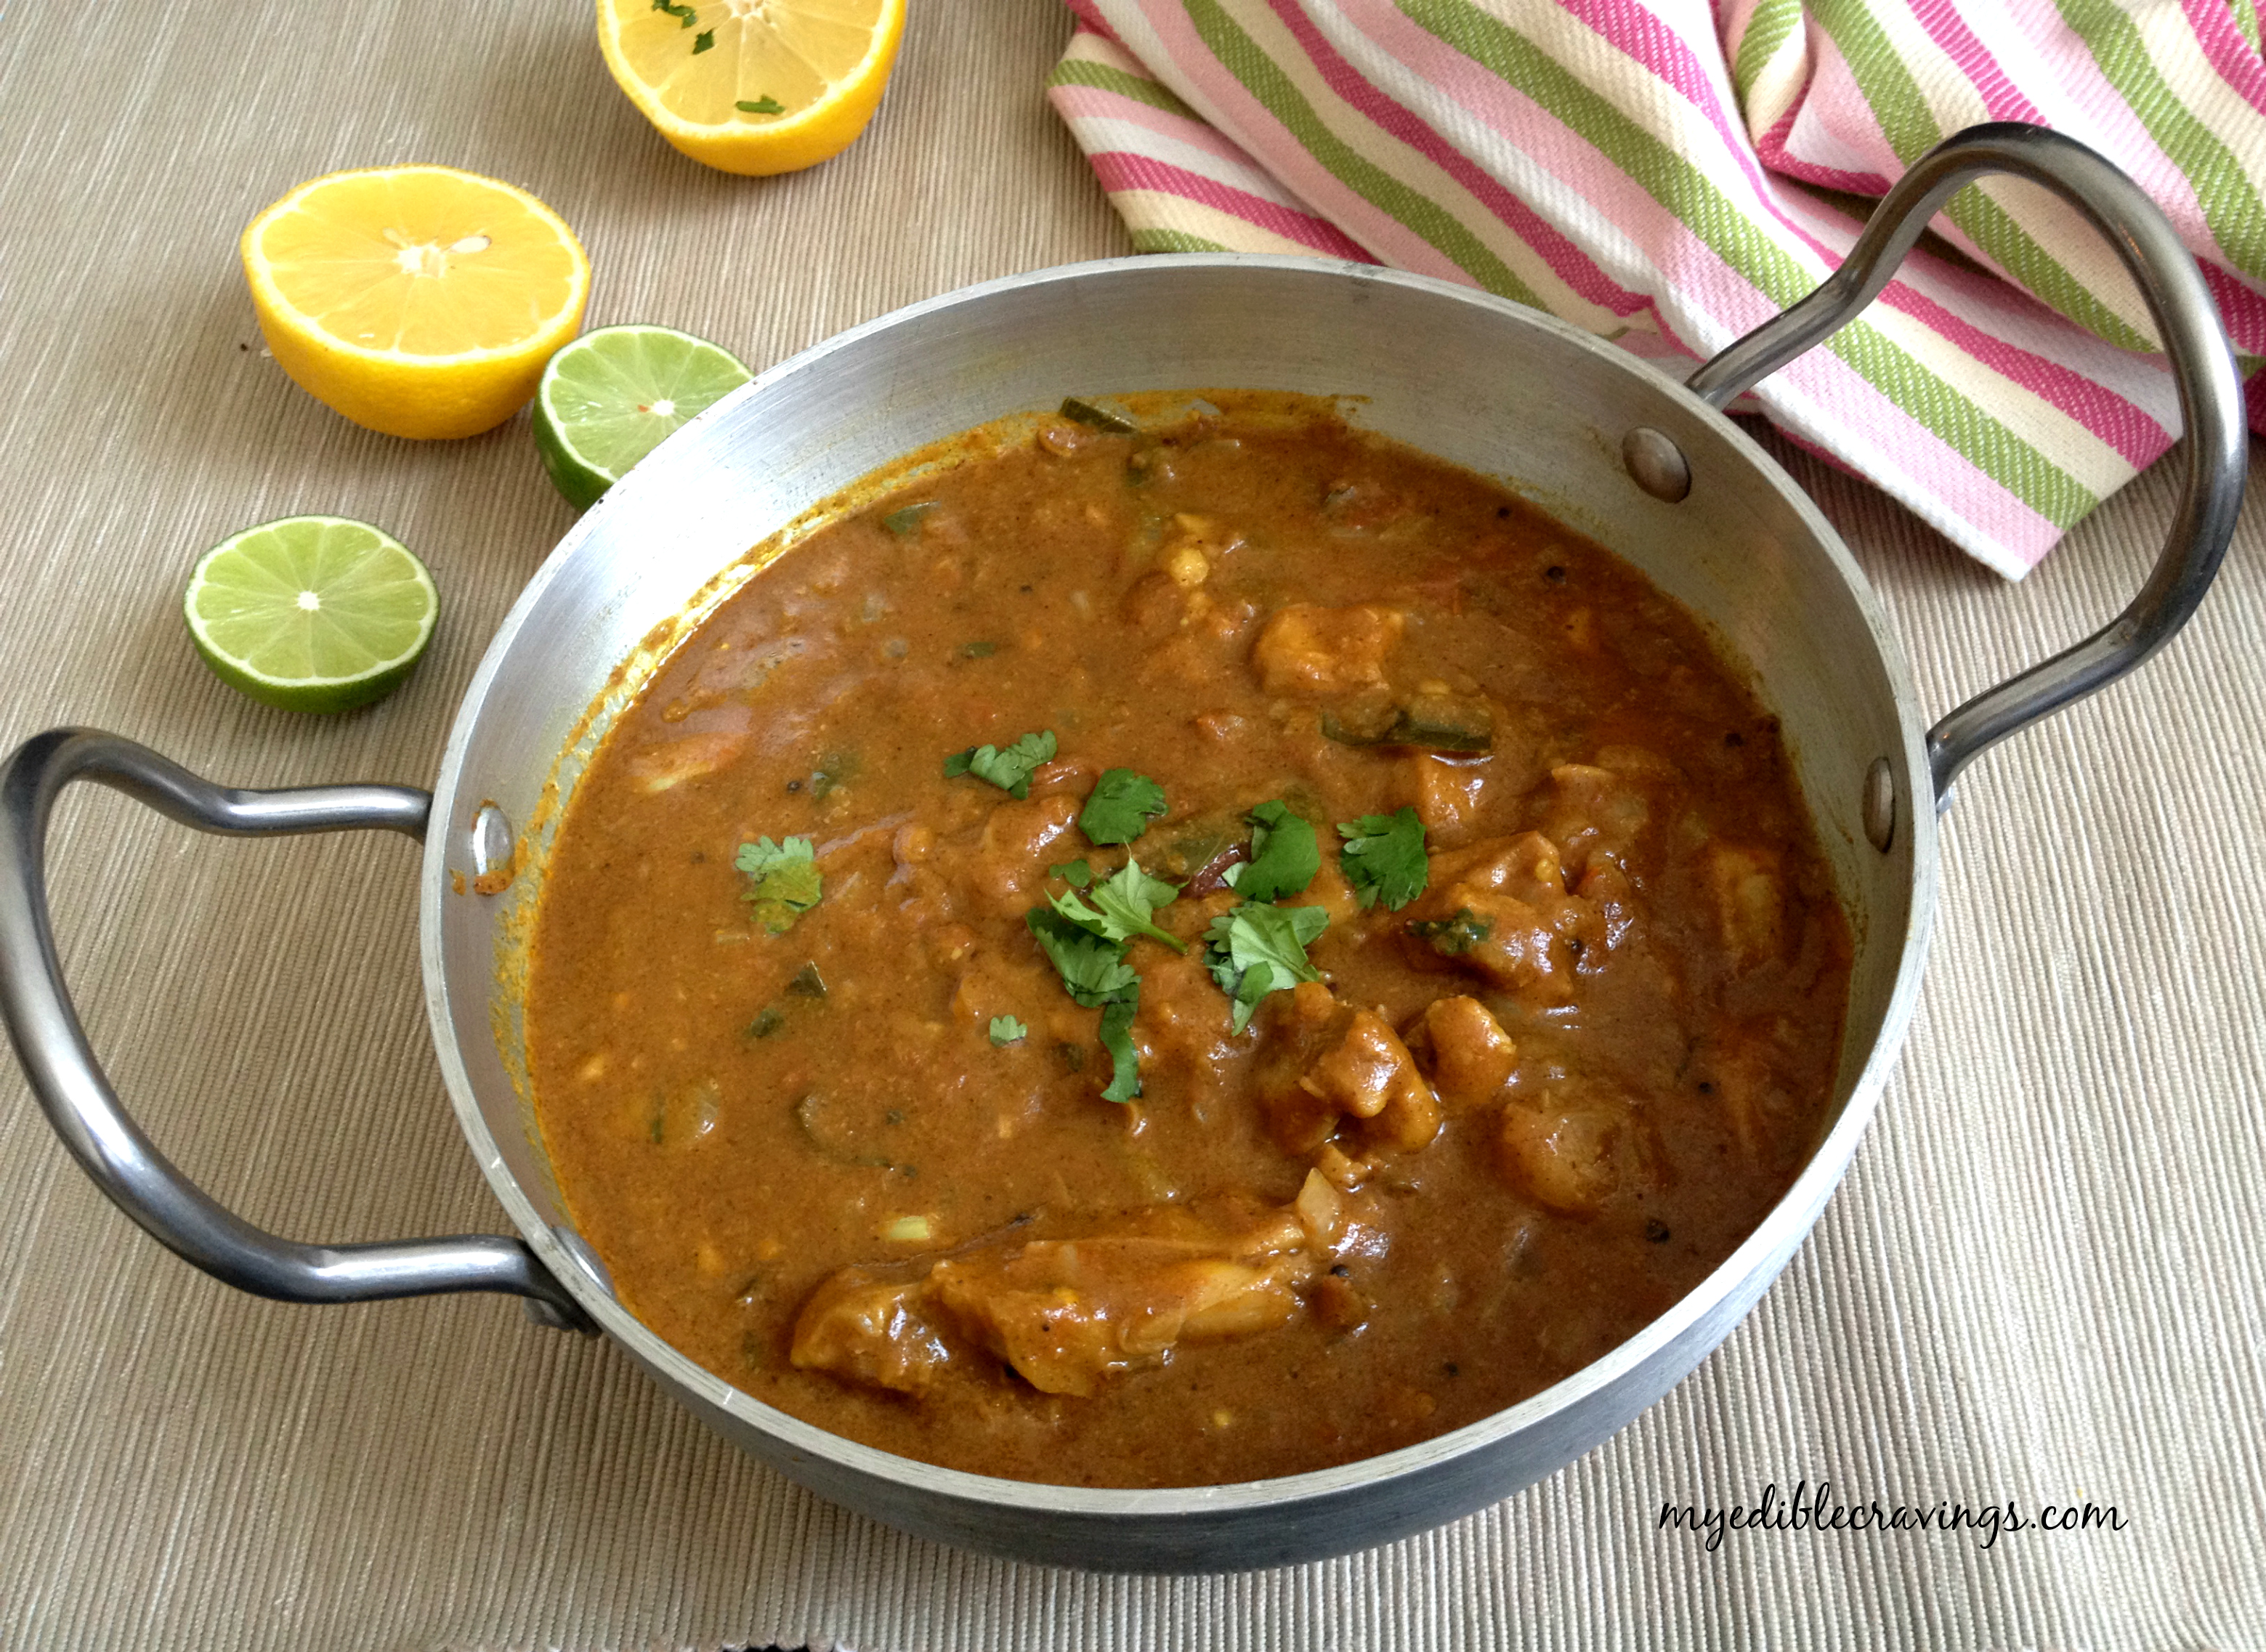
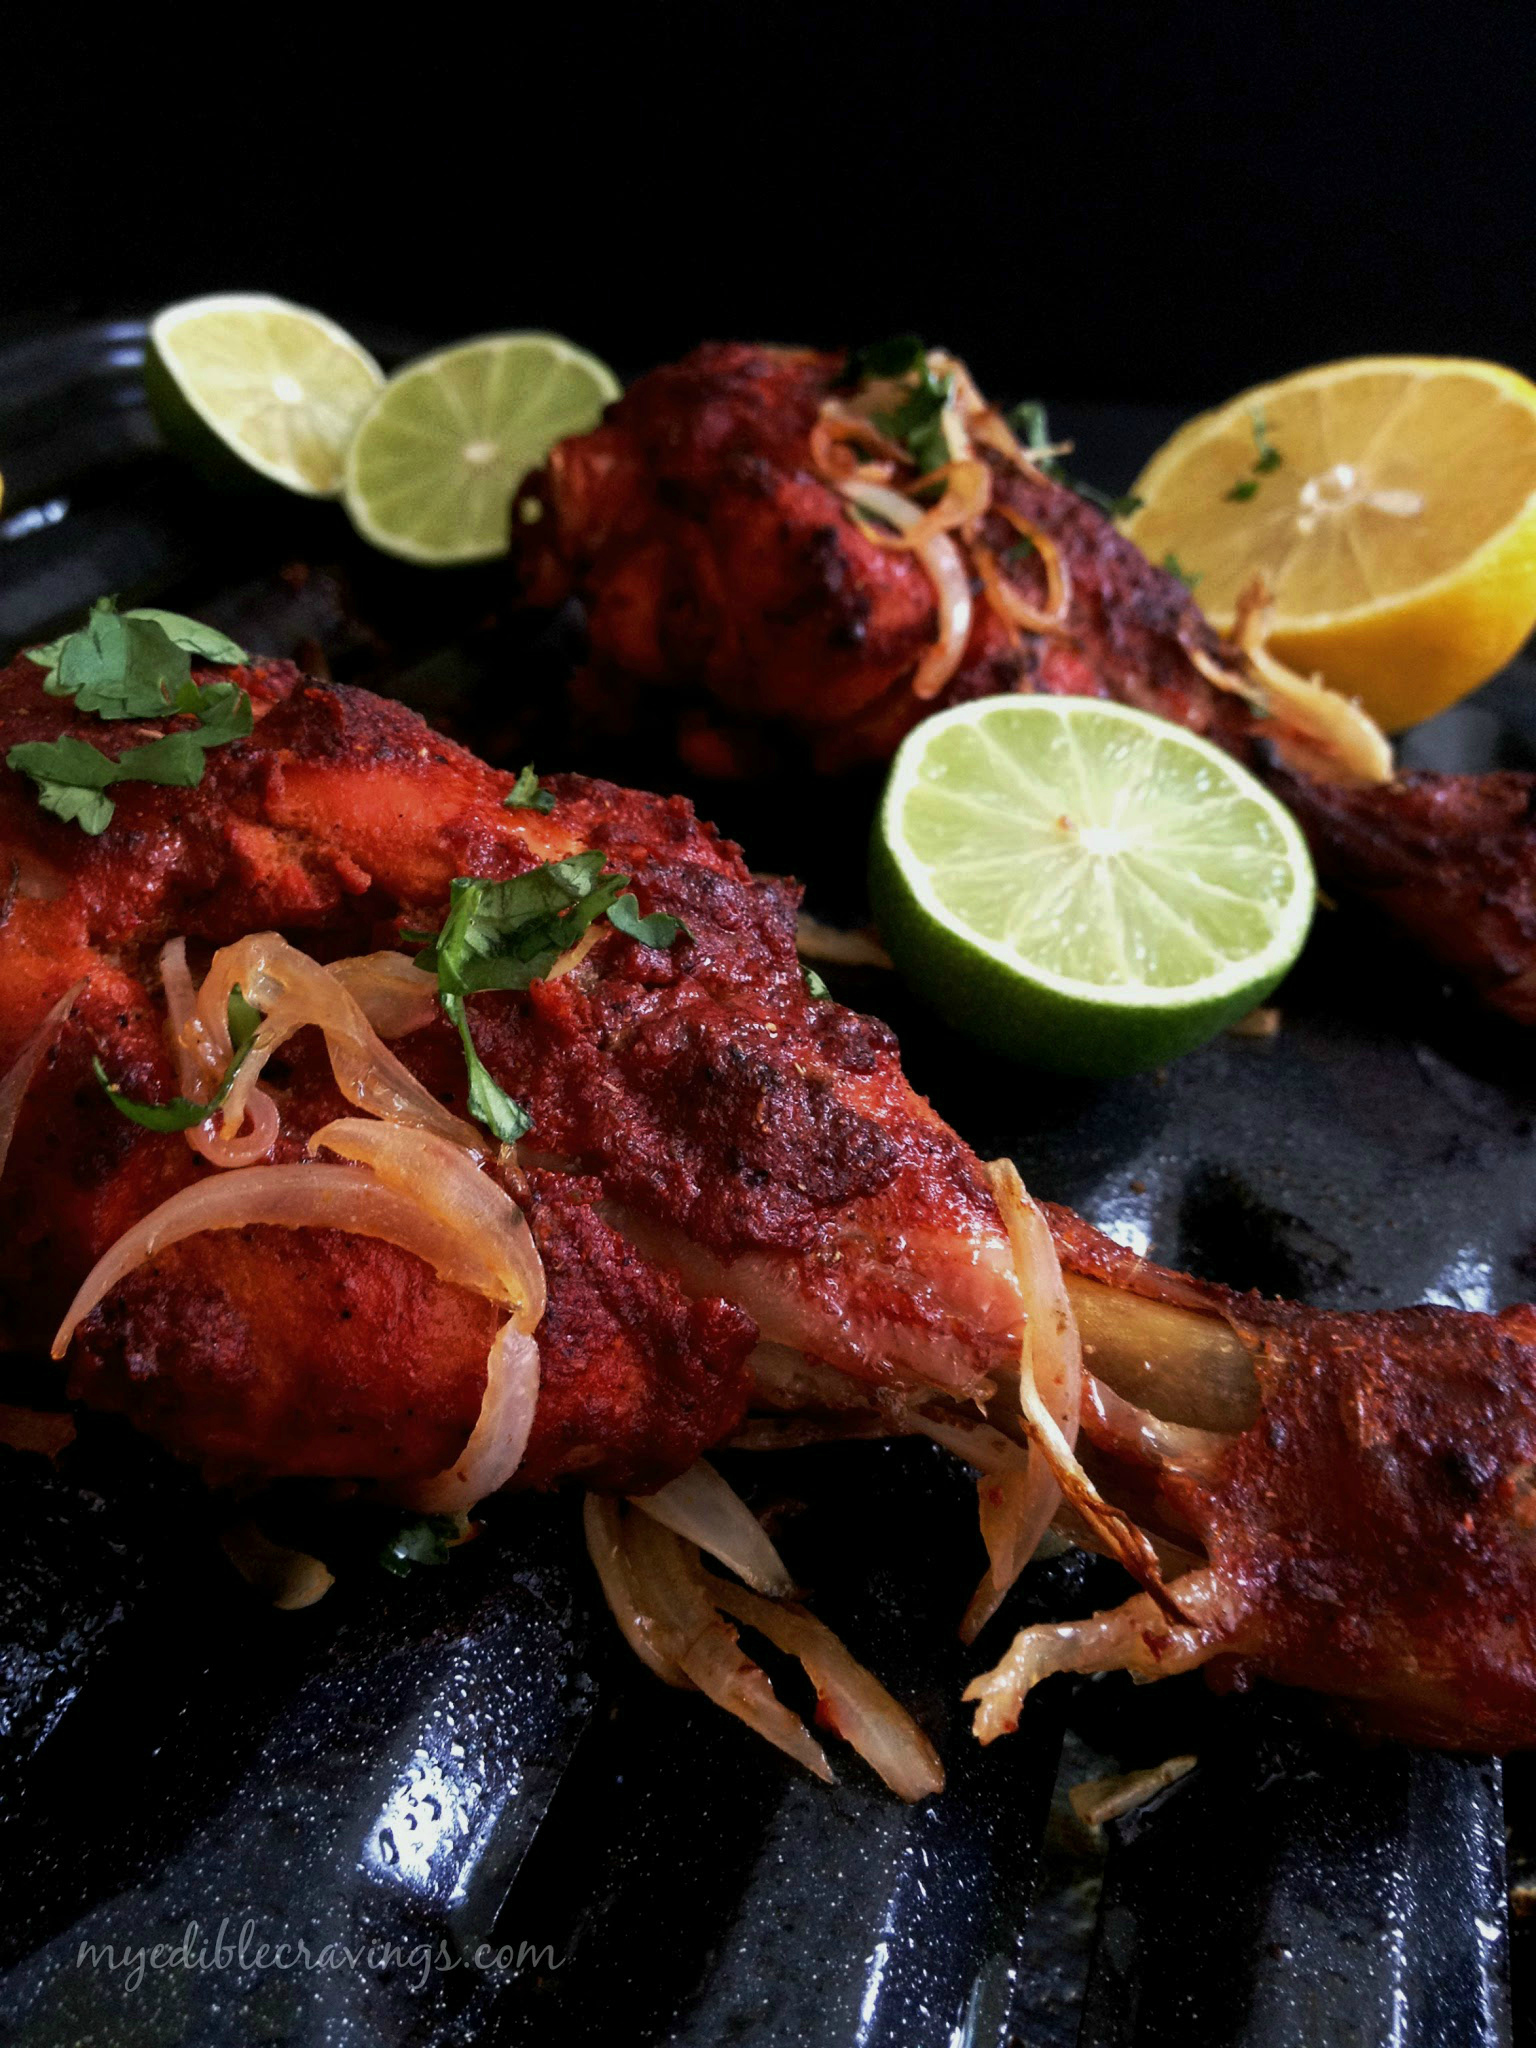
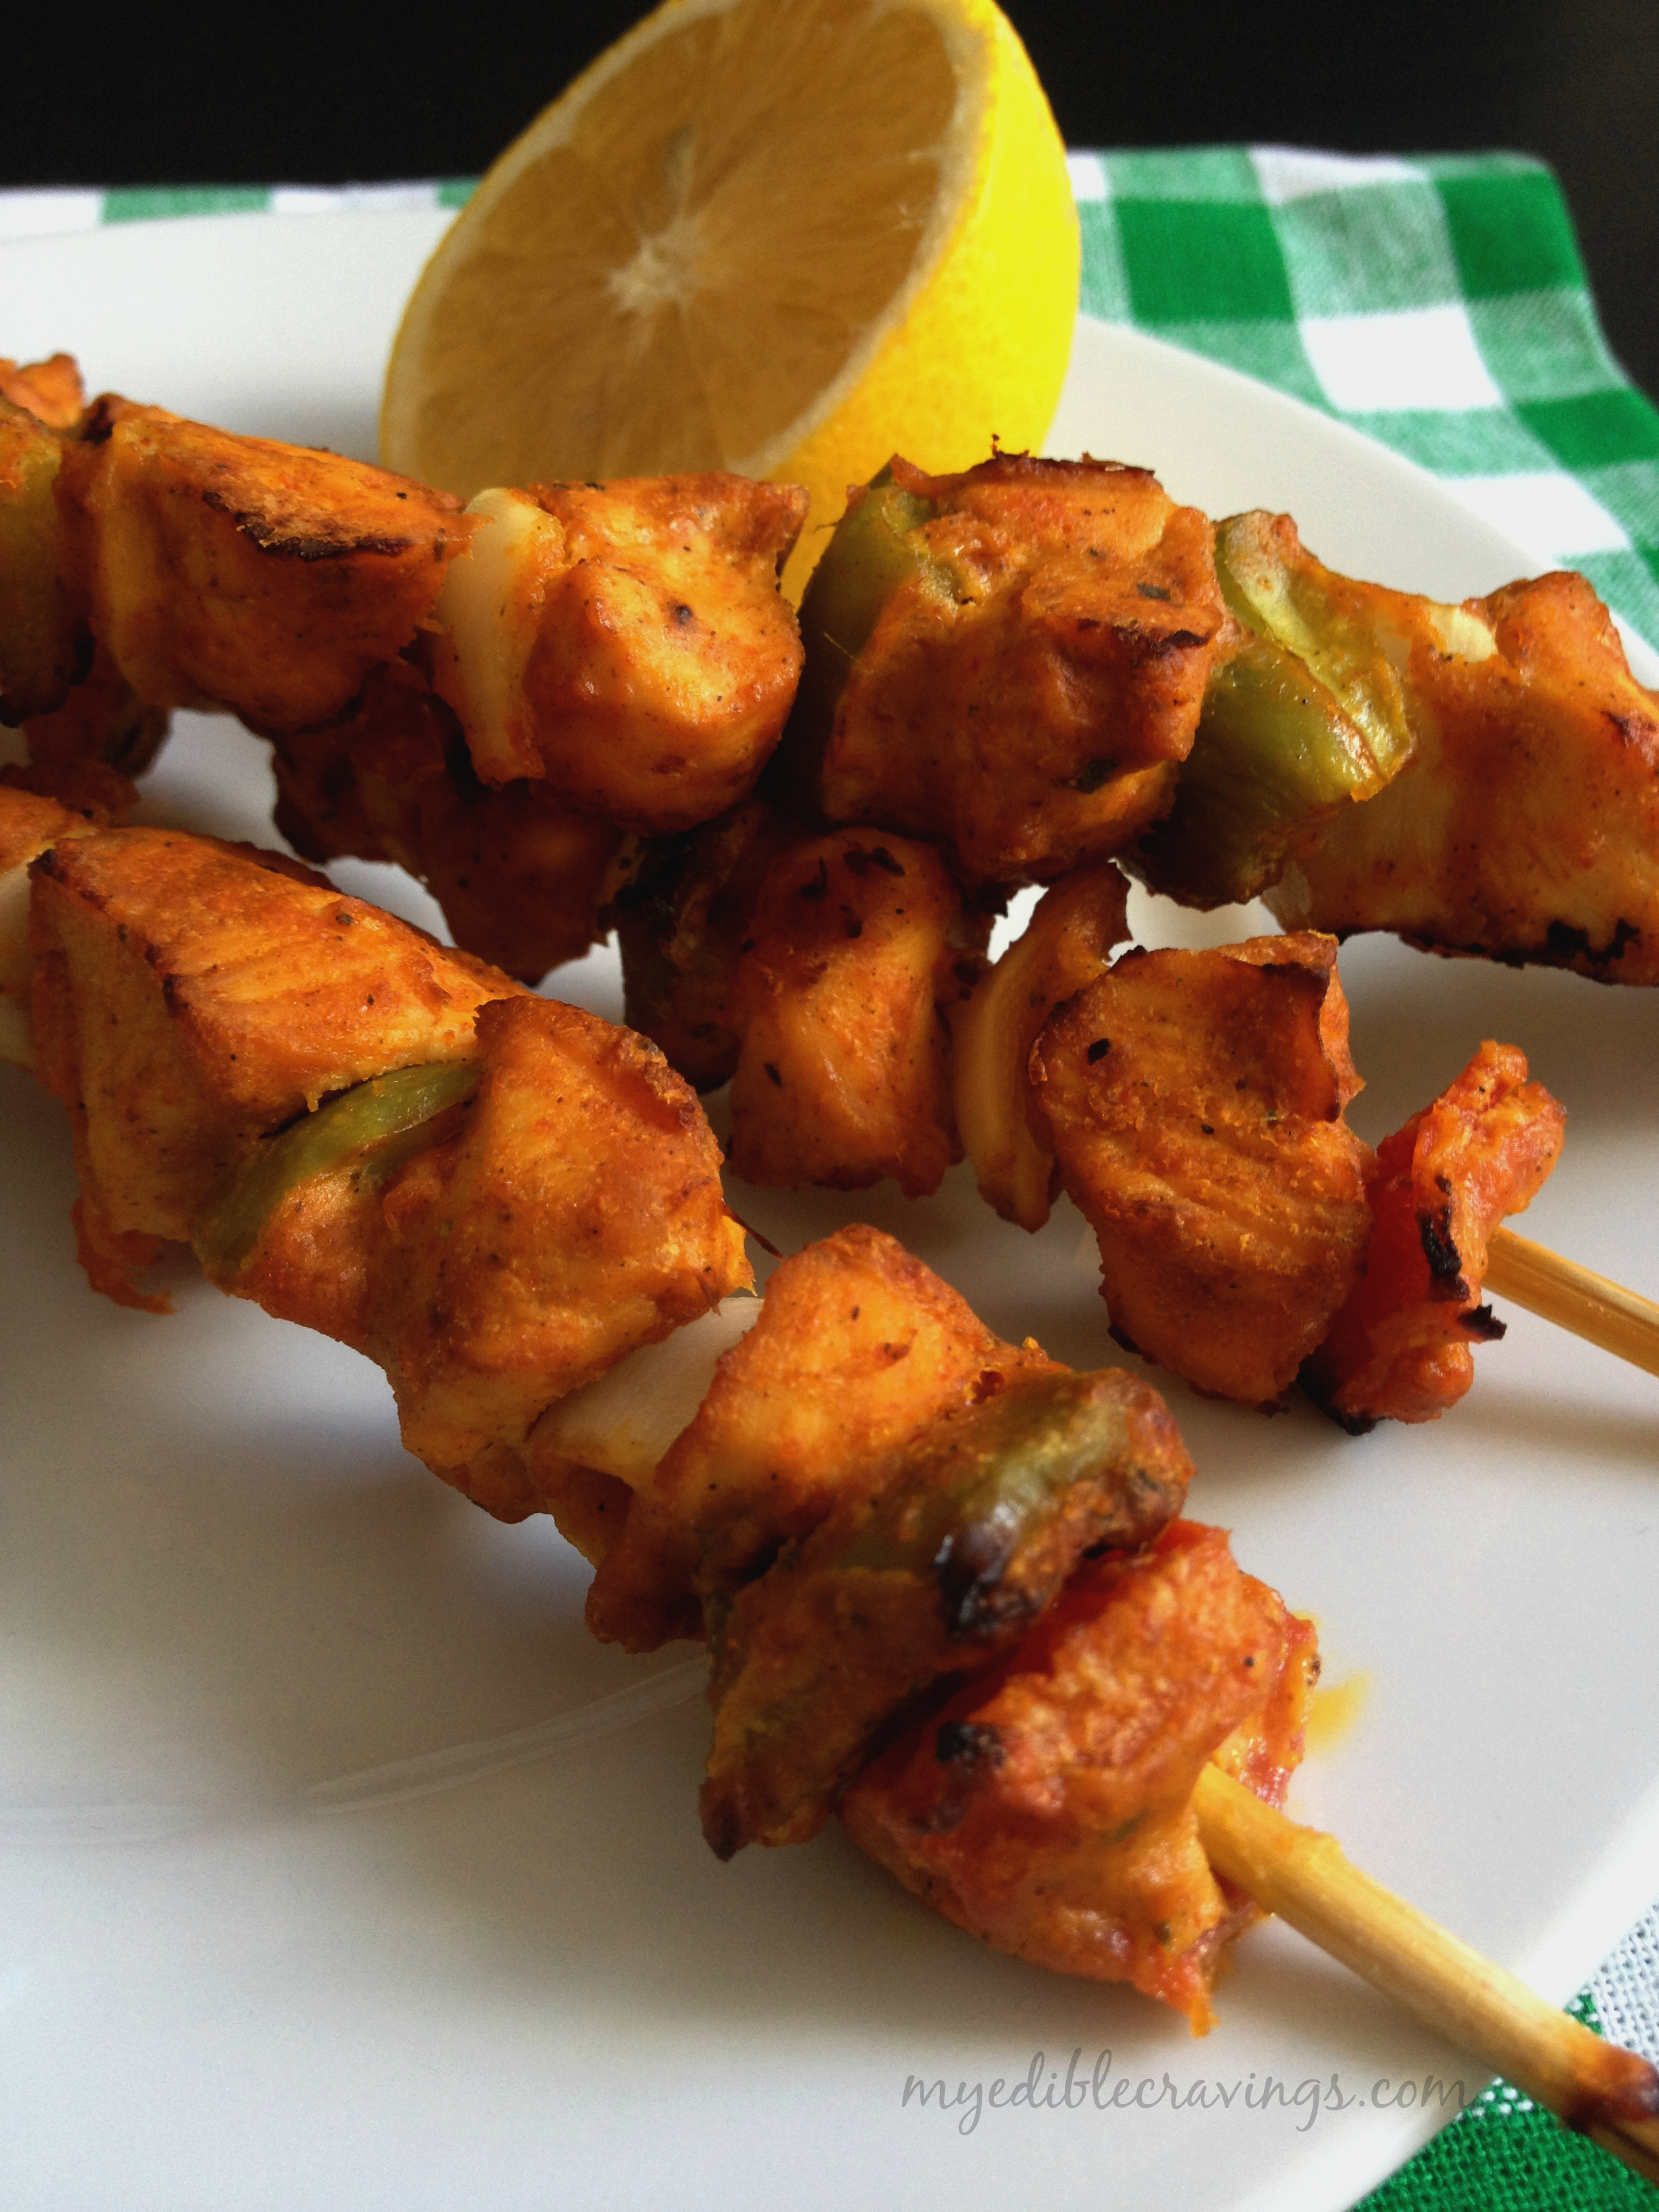
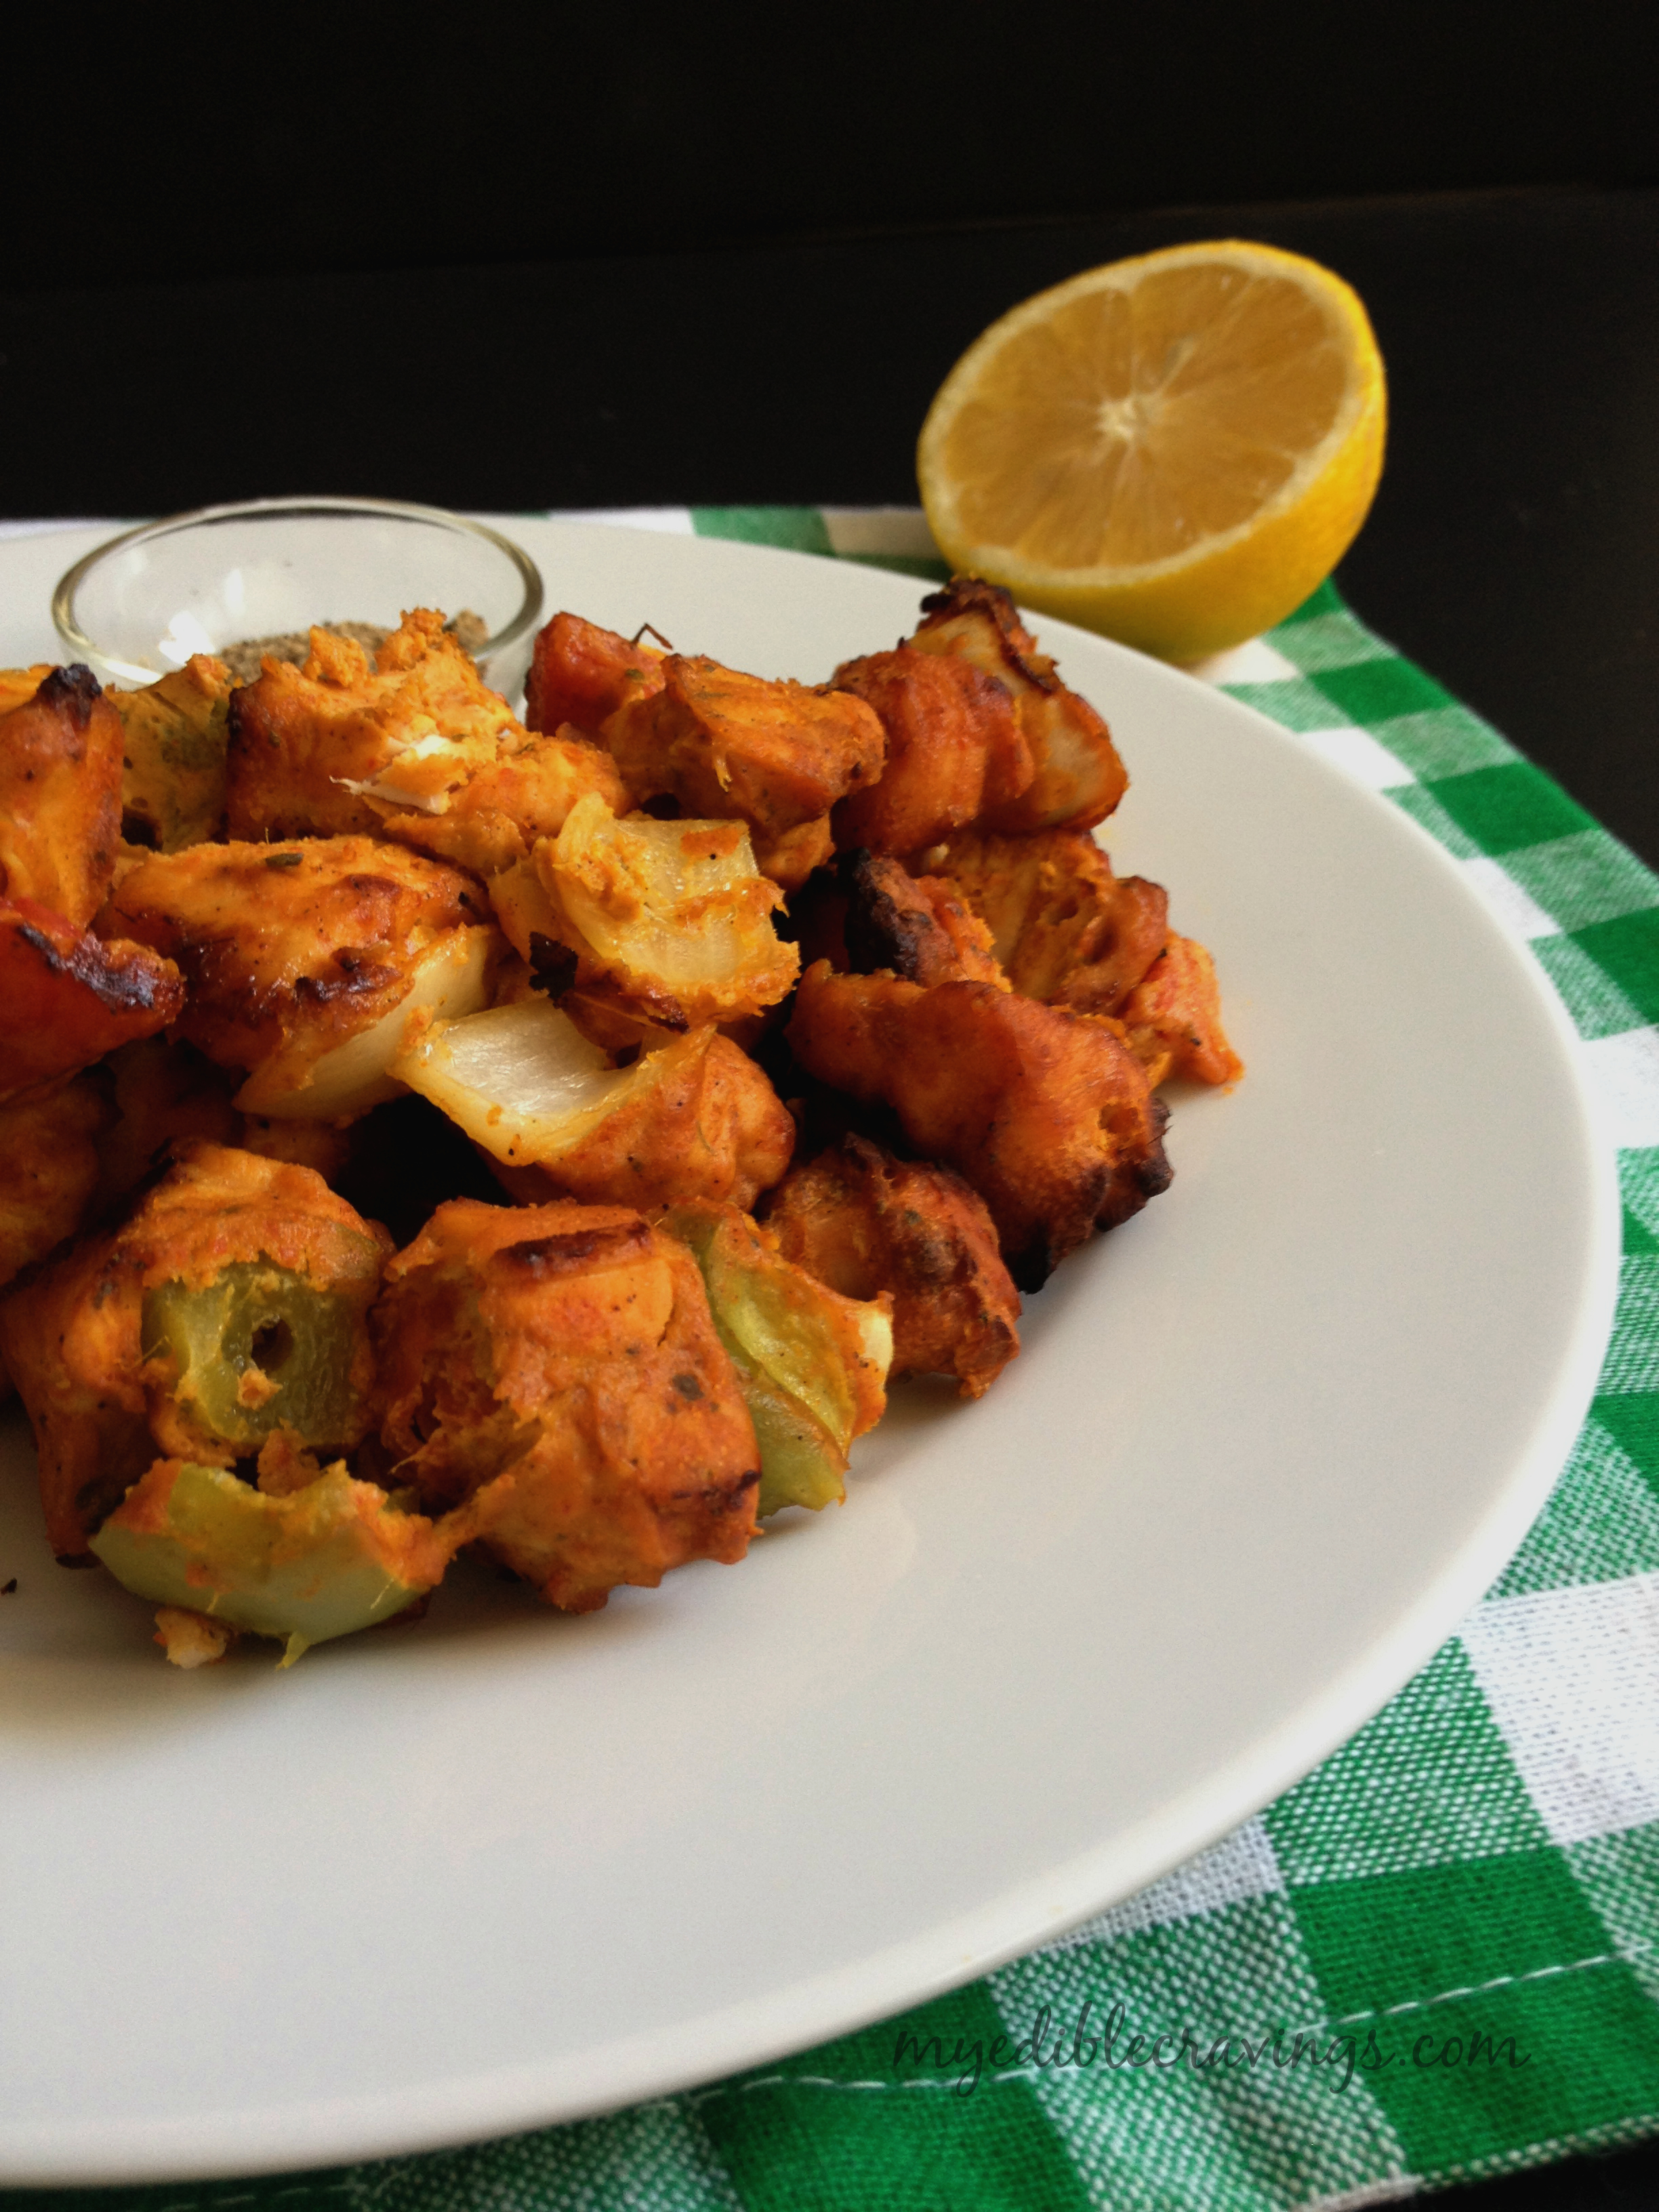
Hot Chicken Tikka with a squeeze of lemon juice and coriander chutney tastes like heaven and can make anyone drool just by a glimpse of it. Here is the recipe to this wonderful dish. Let me know your thoughts and comments on your experience with Chicken tikka!

CHICKEN TIKKA
Recipe type: Lunch
Cuisine: Indian
Cook time: 
Total time: 
Serves: 3
 
Ingredients
Marinade #1 :
  • Chicken thighs – 800 grms
  • Ginger & garlic paste – ½ tbs
  • Kashmiri red chilli powder – 1 tbs
  • Salt – a pinch
  • Lemon juice – 1 tbs
Marinade #2:
  • Gram flour – 2 tbs
  • Kashmiri chilli powder – ½ tsp
  • Ginger & garlic paste – 1 tbs ( squeeze all the moisture )
  • Turmeric powder – 1 tsp
  • Salt – 1 tsp
  • Garam masala – ½ tsp
  • Cardamom powder – a pinch
  • Dry Fenugreek leaves / Kasthuri methi – 1 /2 tbs
  • Oil – 2 tbs
  • Yogurt – 3 /4 cup (extract all the moisture with the help of muslin/cheese cloth)
  • Onion – 1 (cut into cubes)
  • Tomato – 1 (cut into cubes)
  • Bell pepper – 1 (cut into cubes)
Chat masala mix:
  • Chat masala – 1 tbs
  • Dry mint leaves – 1 tbs (crushed)
Instructions
  1. Wash and cut the chicken pieces into small tikka (uniform) size cubes. (smaller sizes are just good). Pat it dry with the clean tissue.
  2. Marinate the chicken given under marination #1 and leave for 20 minutes in the refrigerator.
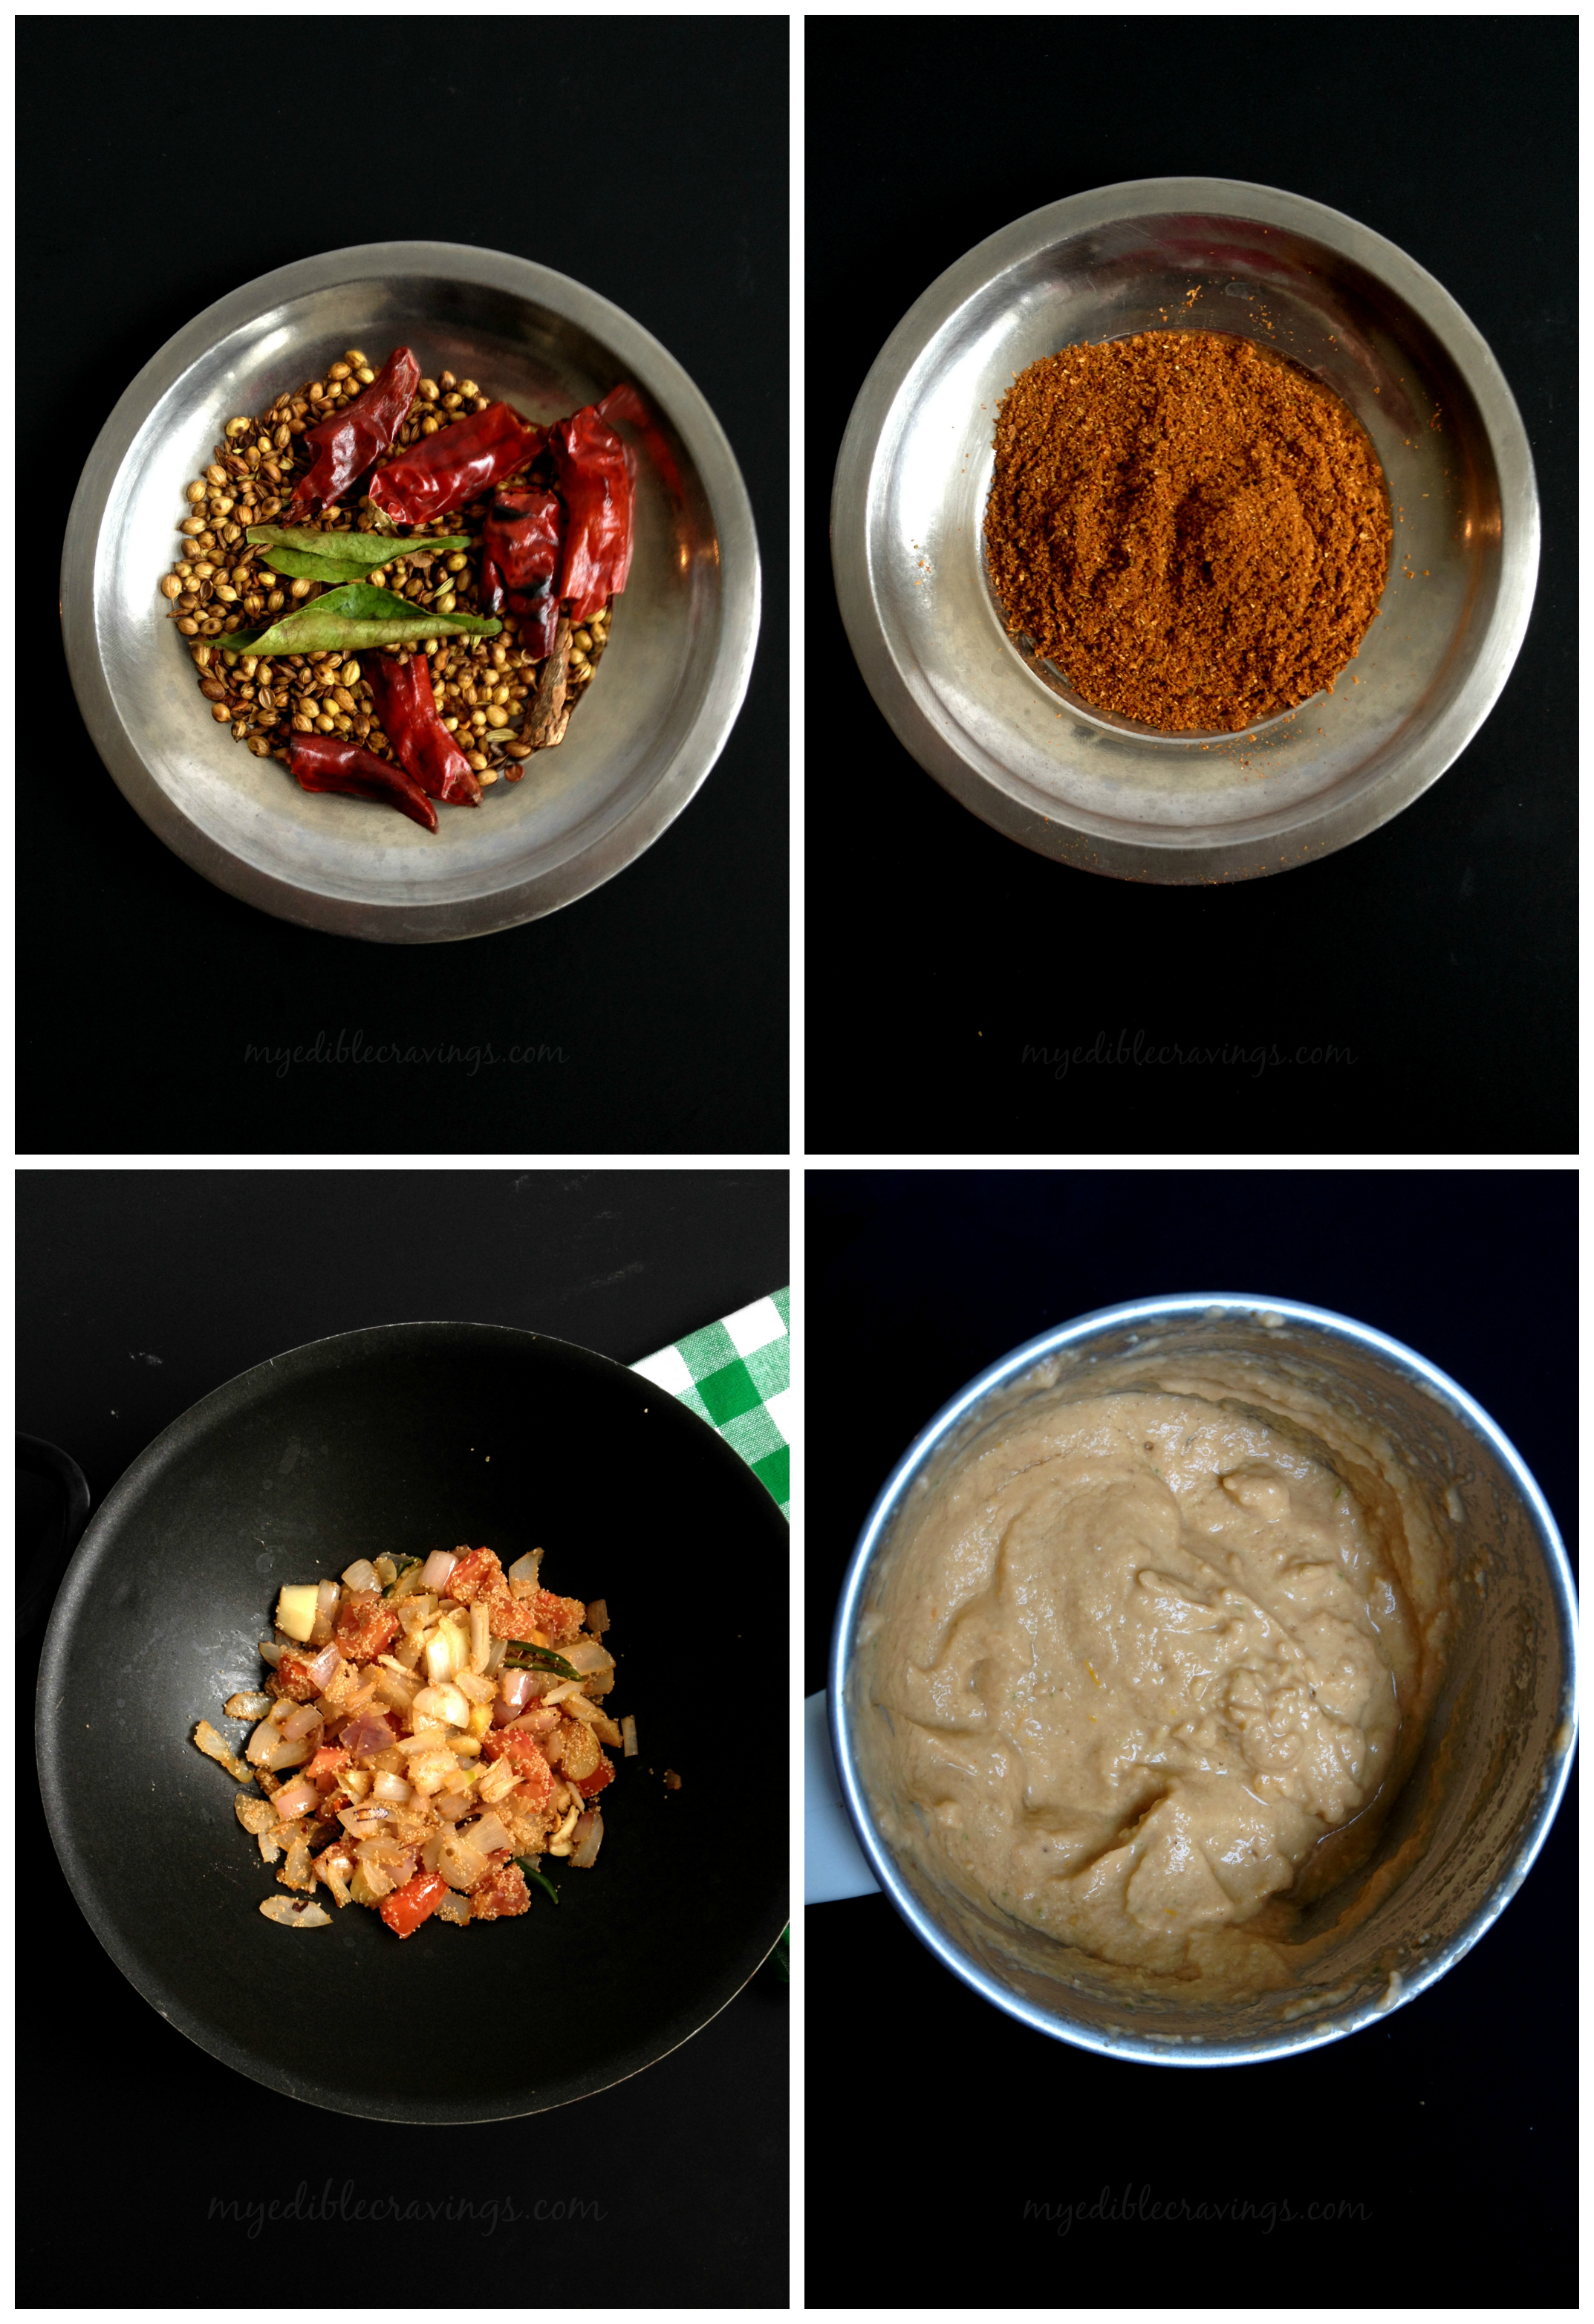
  3. Now cook the gram flour in a wide pan with a tbs of oil (in a medium flame). Keep stirring the gram flour for a couple of minutes and switch off the flame.
  4. Mix the ingredients given under marination #2 and check the salt and spices.
  5. Now mix marination #1 and #2 all together and leave it for at least 3 hours or refrigerate overnight.
  6. Soak the wooden skewers in water for 20 minutes (So that it don’t get burnt while you put it in the oven). While skewers are soaking, bring chicken to room temperature
  7. Preheat the oven to 450°F or max and put in in boiler mode.
  8. Brush a broiler pan lightly with oil.
  9. Divide chicken among skewers (about 4 cubes per skewer) followed by a piece each of onion, bell pepper and tomato cube in between the chicken cubes, leaving an ⅛-inch space between cubes.
  10. Repeat the step on each skewers. Brush oil on top of the chicken and arrange skewers across pan. The chicken is now skewered and ready to be grilled.
  11. Place the pan inside the oven and cook for 20 minutes. (checking between 8 to 10 minutes)
  12. Remove the pan, turn over the skewer and brush the chicken cubes with little oil on top.
  13. Now remove the rack from the oven and place it one layer up (closer to the filament), place the pan on the rack and broil for another 5 minute or until browned in spots.
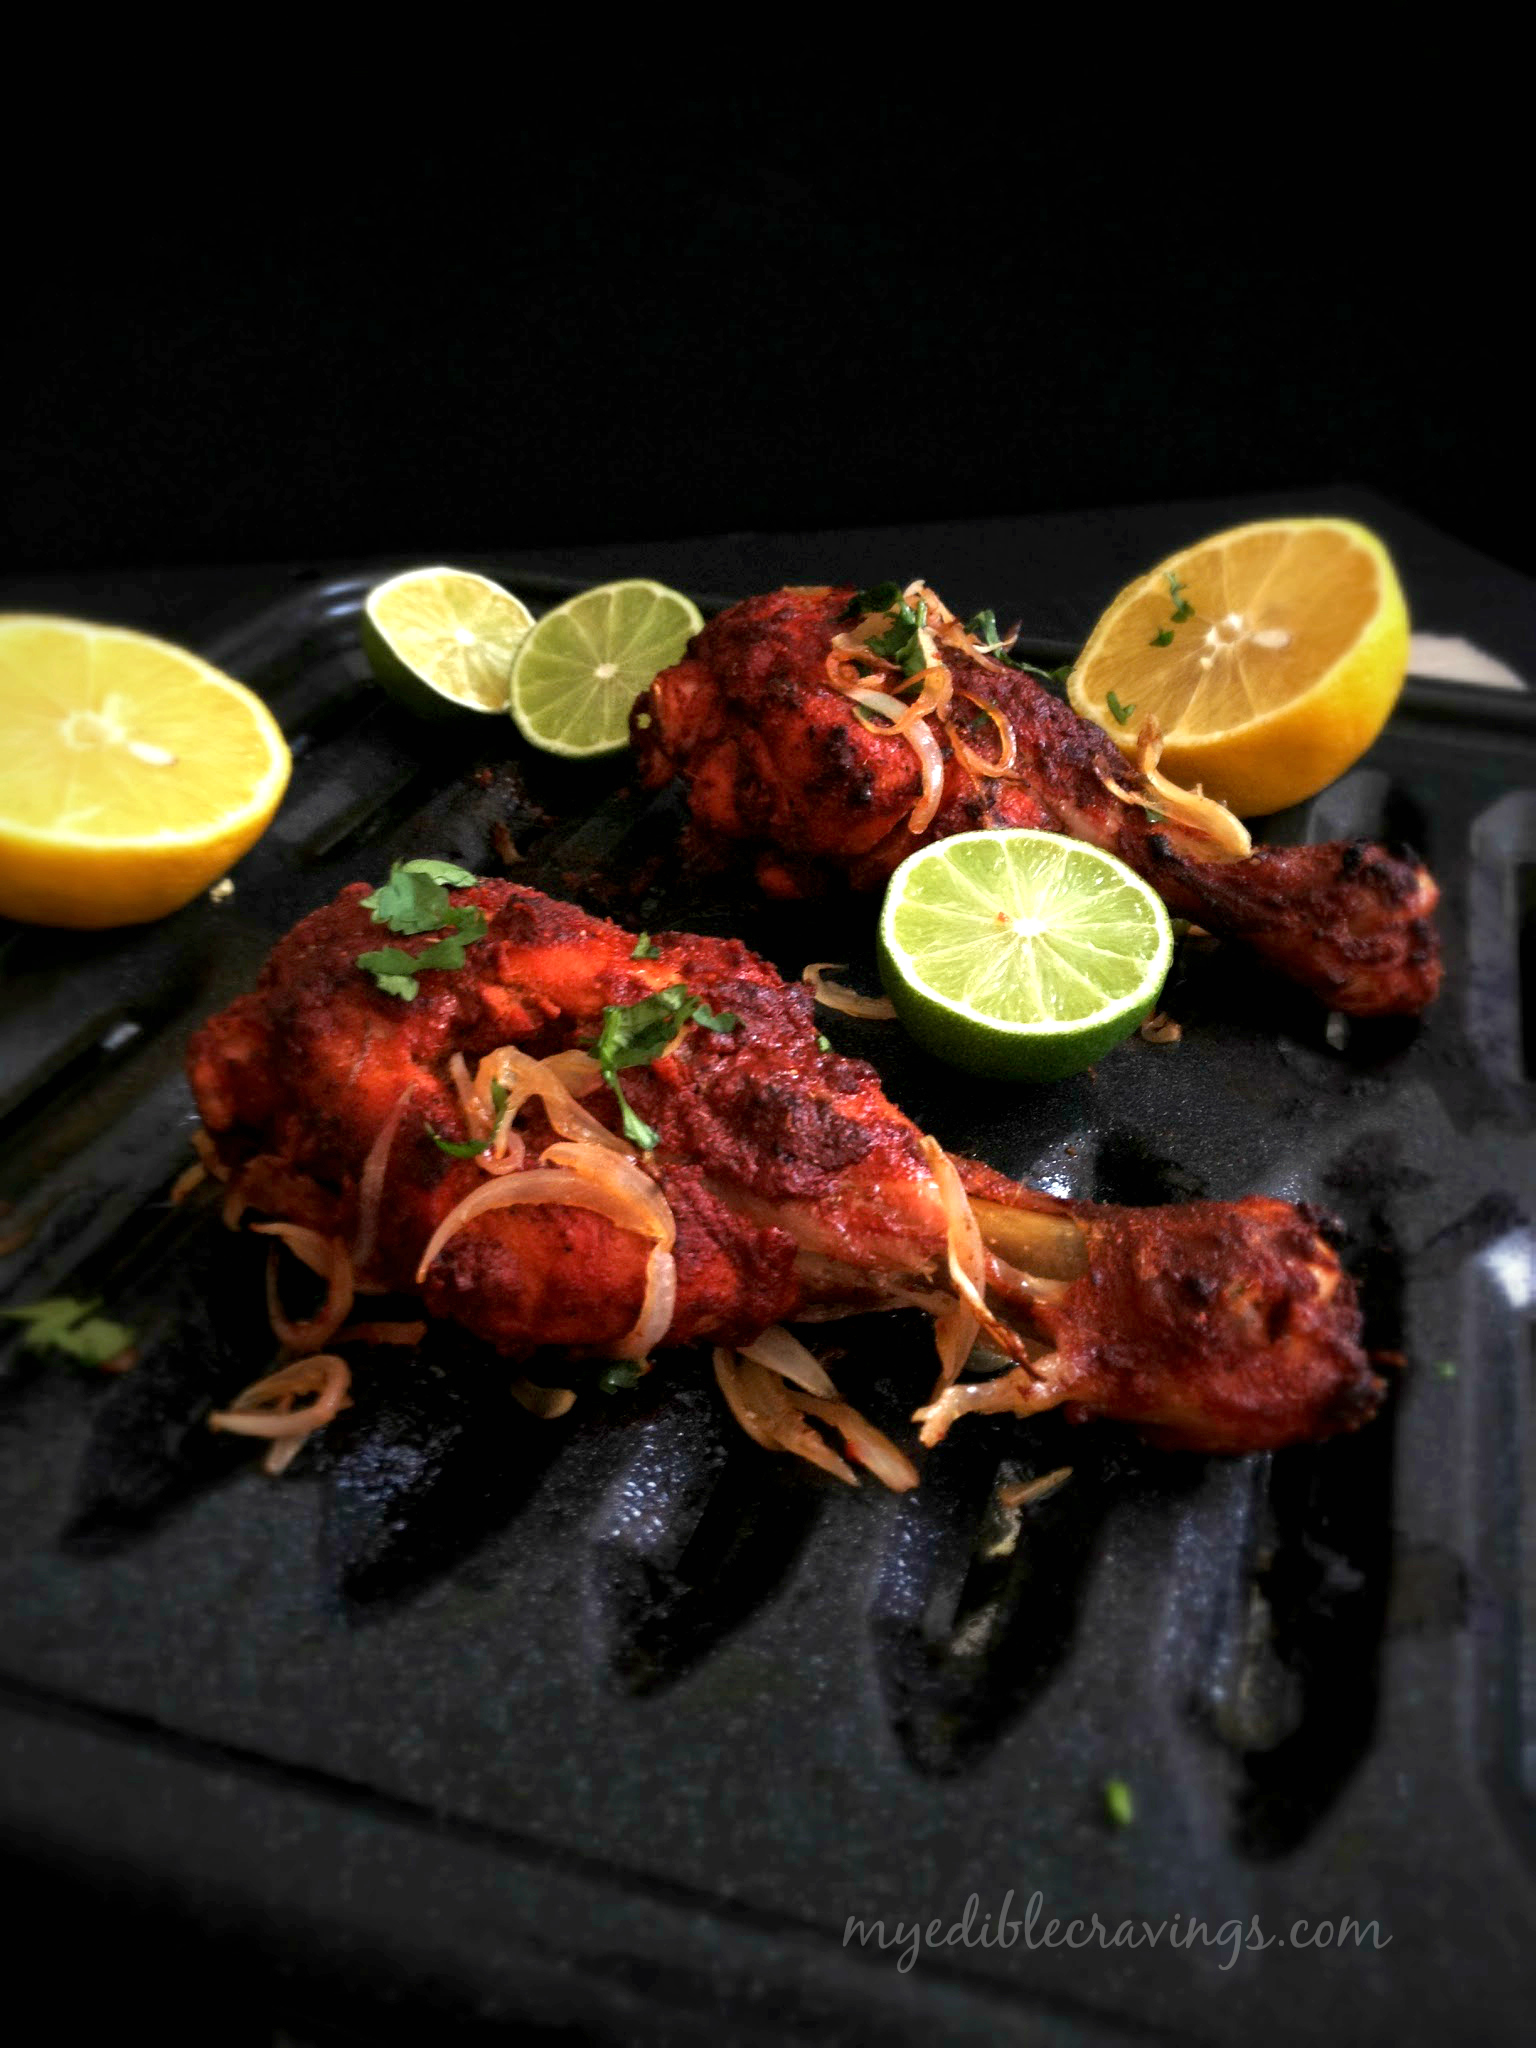
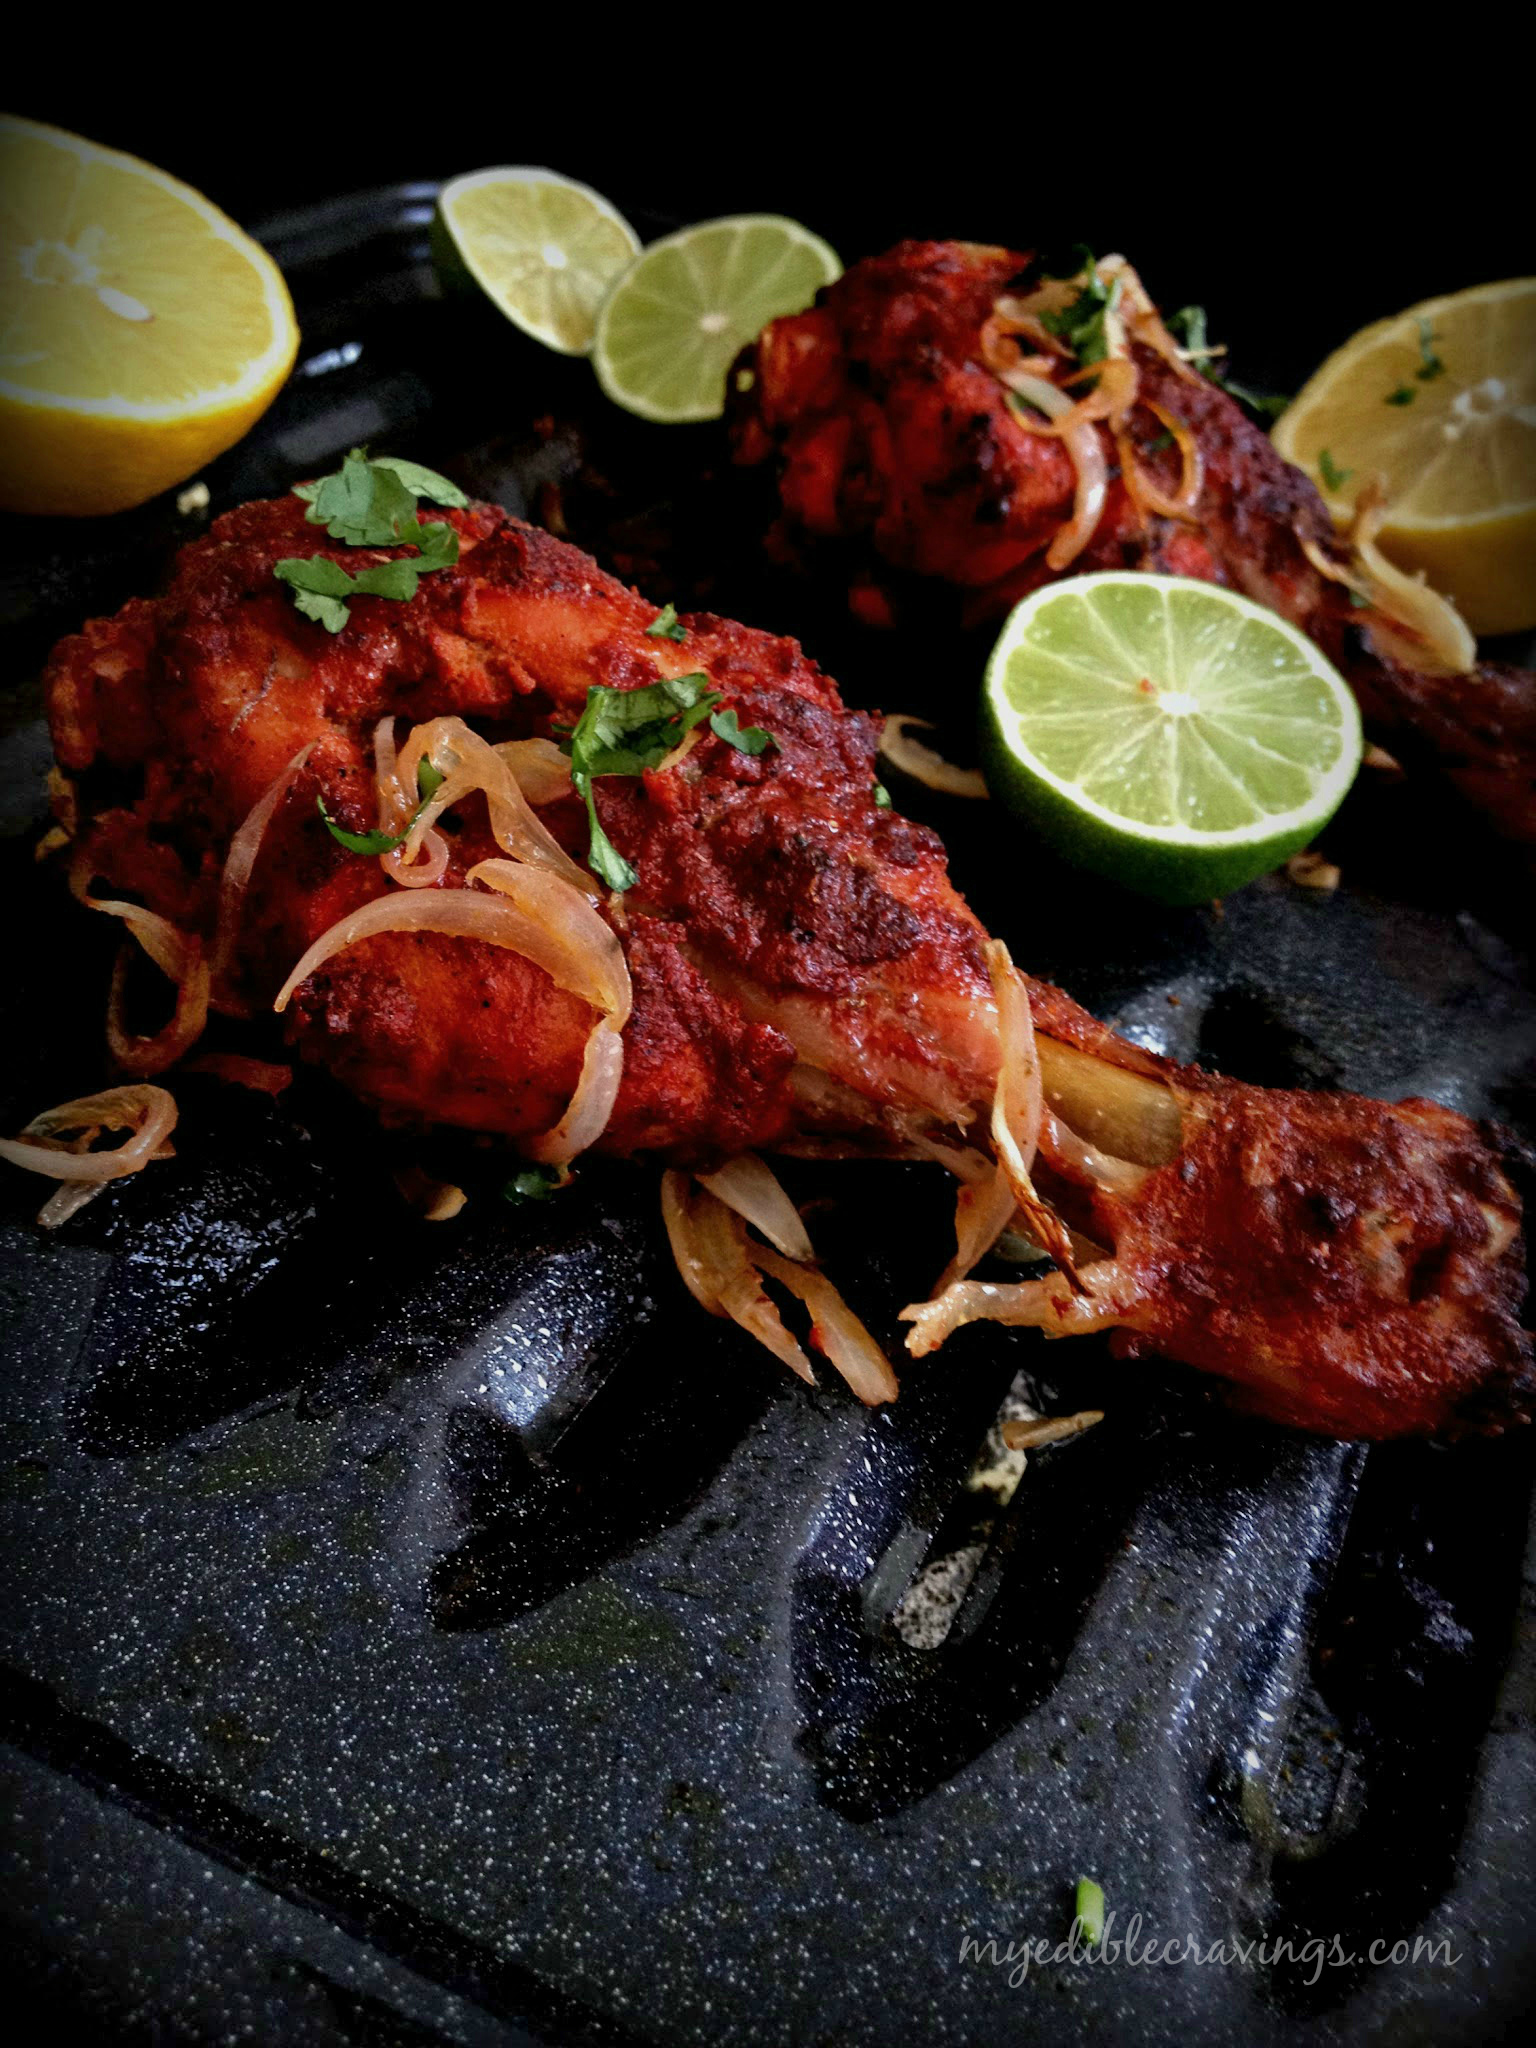
  14. The nice and juicy chicken tikka is now ready.
  15. Mix chat masala and dry mint leaves and make a powder.
  16. Sprinkle little bit of the chat masala mix and lime juice on top of the kabab.
  17. Chicken tikka can be eaten with green coriander chutney served with onion rings and lemon,

Chicken Tikka

CHALNA |SALNA

Salna
Chalna is a popular Tamilian dish that is had mainly with parotta (again, a tamilian take on north Indian paratha). It is also known as saervai in Chennai. Chalna is also used as an ingredient for kothu parotta in restaurants. It is mainly added to compensate the dryness of parotta.
SalnaBack in my home state, Chalna served in restaurants is watery but mine is a little bit thick. I personally like to have it with dosa as well. Chalna poured over shredded parotta is a common sight in restaurants back home and having it like that tastes so good 🙂 There are different varieties of Chalna; plain, vegetarian, non-vegetarian etc. The recipe I had given here is plain. In vegetarian Chalna, potato is added and in non-vegetarian version, meat (chicken or mutton – mainly bones) is added.
SalnaThe Chalna recipe that I had given here is the end product of numerous trials and errors and is the best version to date, guaranteed! So, do try this wonderful recipe in your kitchen and let me know your experiences.

CHALNA |SALNA
Recipe type: Breakfast / Dinner
Cuisine: Indian
Prep time: 
Cook time: 
Total time: 
Serves: 2
 
Ingredients
For the powder:
  • Oil - 2 drops
  • Coriander seeds - 1 ½ tbsp
  • Cumin seeds -3/4 tbsp
  • Red chillies – 4 nos
  • Whole green chilli – 2nos (don’t cut)
  • Curry leaves- 6 to 7 nos
  • Cinnamon stick - 1 “
  • Fennel seeds- ½ tsp
For the Paste:
  • Oil - ½ tbsp
  • Big onion - 1
  • Shallots - 2 nos
  • Ginger - a small piece
  • Garlic - 2 cloves
  • Poppy seeds – 1 tbsp
  • Cashews – 3 nos
  • Green chillies – the same above sautéed ones.
  • Ripen tomato – 1 (roughly chopped)
  • Grated coconut – 1 ½ tbsp
Other ingredients:
  • Gingelly oil – 2 tbsp
  • Cinnamon – 1”
  • Clove -1
  • Fennel seeds – 2 pinch
  • curry leaves – 6 nos
  • turmeric powder – ½ tsp
  • salt as required
  • Chicken – ¼ kg
  • Water – 1 to 1 ½ cup
  • Chopped cilantro for garnishing
Instructions
Step 1:
  1. Heat oil in a pan and add in coriander seeds, cumin seeds, red chillies, whole green chillies and curry leaves one by one. Sauté for 40 seconds. Add in cinnamon and fennel seeds. Give a quick stir and switch off the flame.
  2. Remove the green chillies and keep aside. Allow the above mixture to cool and make a powder.
Step 2:
  1. Heat oil in a pan and add in roughly chopped onion, shallots, ginger and garlic. Sauté for few seconds. Add in poppy seeds and cashews and green chillies (the same above sautéed ones). Give a stir and add roughly chopped tomato. Sauté for few seconds and switch off the flame. Allow it to cool and make a paste.
Step 3:
  1. Grind coconut separately to a fine paste.
Step 4:
  1. Heat oil in a small pressure cooker and add in cinnamon, clove and fennel seeds. When they start to sizzle add in curry leaves and give a stir.
  2. Now add in the ground onion paste and sauté for few seconds. Add the ground masala powder along with turmeric powder and salt and sauté until the color changes and oil separates.
  3. Add in the chicken pieces and stir well until the paste is well blended. Add water and mix well. cover the lid and cook for a whistle. When done add in the coconut paste and bring it to a boil – at this stage you will start to notice oil in the rim. Check salt and switch off the flame. Garnish with chopped cilantro.
  4. Serve hot with plain parotta or roti or kothu parotta or idli or dosa. Enjoy!
Notes
Vegetarians can add vegetables instead of chicken or simply make plain chalna. I tried both and it tasted heavenly.

Salna

You might also like

Kothu Parotta
egg kothu parotta

Chicken Kuzhambu

Chicken KuzhambuThere are certain recipes that always remain our favorites and we can never be tired of cooking them over and over again. One such recipe that I cook often, and of course, enjoyed by my family and friends, is the Chicken kuzhambu, south Tamilnadu style. It’s better than any restaurant recipe, guaranteed!
Chicken KuzhambuChicken gravy was the first non-vegetarian dish that I cooked and it turned out well the very first time!:). If you had been a regular visitor to my site, I had mentioned earlier about my Mom’s cookbook diary that she had given me after my marriage. This chicken kuzhambu recipe is from that. It is a simple yet tasty dish that is cooked at least once in two months in my kitchen and is my HB’s favorite as well.
Chicken KuzhambuYou can have chicken kuzhambu with biriyani, white rice, chappati or dosa! It goes well with almost every main course item…Many of my friends, after trying my chicken kuzhambu had mentioned that the sambar powder that I use makes the difference!
Chicken KuzhambuTry this recipe in your home and let me know your thoughts!

5.0 from 1 reviews
Chicken Kuzhambu
Recipe type: Lunch
Cuisine: Indian
Prep time: 
Cook time: 
Total time: 
Serves: 4
 
Ingredients
To marinate:
  • Chicken – ½ kg (with bones)
  • Sambar powder or veettu milagai podi (Homemade) – 2 tbs
  • Ginger & Garlic paste – ½ tbs
  • Salt – 1 tsp
To grind:
  • Grated coconut – 1½ tbs
  • Shallot – 1
Other ingredients:
  • Biriyani powder – 1 tbs
  • Onion (big) – 1
  • Tomato (medium) – 1½
  • Green chilli – 2 (slits)
  • Ginger & Garlic paste – ½ tbs
  • Coriander leaves – for garnishing
Instructions
  1. Wash the chicken pieces in running water and marinate it with given ingredients.
  2. Grind the above given ingredients to a paste and keep it aside.
  3. Heat a thick bottomed pan with a tbs of oil. Add biriyani powder and chopped onions. Sauté until onions turn translucent.
  4. Add ginger & garlic paste. Stir fry till the raw aroma of ginger-garlic disappears.
  5. Add chopped tomato and slit green chilli. Sauté until the tomatoes are mushy.
  6. Add in the marinated chicken pieces and give it a stir.
  7. Add the ground coconut paste with required salt, mix well (you could add water now according to your preference. I usually don’t add water as the chicken itself ooze out lots of water). Close the lid and cook for 10 to 15 minutes stirring in between or until oil oozes out.
  8. When the chicken is well cooked, switch off the flame and garnish with finely chopped coriander leaves.
  9. Serve hot chicken gravy with biriyani or white rice and any chicken / mutton fry of your choice.
Notes
1.I use homemade biriyani powder (blend of whole spices) for this recipe. Please follow the above link for its recipe.
2.If u don't have sambar powder, you can use regular red chilli powder as well. But the homemade sambar powder makes the difference.

143

MUNIYANDI VILAS CHICKEN KUZHAMBU

Muniyandi Vilas chicken kuzhambu, as the name suggests, is a variety of chicken kuzhambu that is served in Muniyandi Vilas restaurants in Tamilnadu. It has a unique flavor and is spicy as well. Muniyandi Vilas chicken kuzhambu when served with hot rice and some chicken or mutton side dish will surely fill your appetite (it sure does mine!)
MUNIYANDI VILAS CHICKEN KUZHAMBUMuniyandi Vilas is a very popular restaurant name in Tamilnadu. There are numerous non vegetarian restaurants with this name, in fact you can find at least one restaurant with this name in all major towns and cities in Tamilnadu. To my knowledge there is no Muniyandi Vilas chain of restaurants (but I might wrong; though I haven’t heard about one) but surprisingly the chicken kuzhambu served in restaurants named Muniyandi Vilas tend to have a similarity in their taste 🙂 So, when I say Muniyandi Vilas chicken kuzhambu, it is that generalized version that I am talking about.
MADURAI MUNIYANDI VILAS KUZHAMBUMuniyandi Vilas chicken kuzhambu is easy to make and is a dish with a variety of spices serving as ingredients. This kuzhambu goes well with chapatti, dosa and idli as well (along with rice which I had mentioned in the first paragraph). So try this authentic tamil recipe at your home and let me know your thoughts 🙂
085

5.0 from 1 reviews
MUNIYANDI VILAS CHICKEN KUZHAMBU
Recipe type: Lunch
Cuisine: Indian
Prep time: 
Cook time: 
Total time: 
Serves: 4
 
Muniyandi Vilas chicken kuzhambu, as the name suggests, is a variety of chicken kuzhambu that is served in Muniyandi Vilas restaurants in Tamilnadu. It has a unique flavor and is spicy as well. Muniyandi Vilas chicken kuzhambu when served with hot rice and some chicken or mutton side dish will surely fill your appetite
Ingredients
To dry roast and grind:
  • Red chillies – 6 nos
  • Coriander seeds – 2 tbsp
  • Raw rice – 1 tsp
  • Black peppercorns - 1 tsp
  • Cumin seeds - 1 tsp
  • Fennel seeds – ½ tsp
  • Poppy seeds –1 tsp
  • Split roasted gram – 1 tsp
  • Cinnamon sticks – 1”
  • Cloves – 2 nos
  • Cardamom – 1
  • Grated coconut - 1 tsp
Other ingredients:
  • Big onion, finely chopped – 1 no
  • Tomato, chopped – 1 no
  • Green chillies, finely chopped – 1 no
  • Ginger, crushed – 1”
  • Garlic, crushed – 3 to 4 cloves
  • Chicken – ½ kg or 1 pound
  • Turmeric powder – ½ tsp
  • Fresh ground coconut paste or coconut milk – 1 tbsp
  • Bay leaf – 2 nos
  • Dry red chilli – 2 nos
  • Mustard seeds – ½ tsp
  • Sesame oil – 3 tbsp
  • Salt as required
  • Cilantro, chopped – for garnishing
  • Curry leaves – a sprig
Instructions
  1. Cut the chicken to desired sizes and wash it thoroughly in running water.
  2. Heat a pan and dry roast the above ingredients until slightly brown. Let it cool and make a powder.
  3. Heat sesame oil in a pan and season with bay leaves, mustard seeds, red chillies and curry leaves. When they start to sizzle add chopped onions and green chillies. Sauté until the onions are translucent.
  4. Now add in crushed ginger and garlic. Sauté until the raw smell disappears.
  5. Add in the chopped tomatoes and sauté until they turn mushy.
  6. Add the chicken pieces, give it a stir and cook for about 3 minutes covered.
  7. When the chicken pieces turn white add turmeric powder,salt and ground masala paste. Sauté until the masalas are well combined with the chicken and leaves oil.
  8. Now add the ground coconut paste along with a cup of water. Cover and cook the gravy in a low flame for about 10 minutes or until the oil separates.
  9. Garnish with cilantro.
  10. Enjoy with hot rice or biriyani or go traditional with parathas.


DRUMSTICK TANDOORI CHICKEN

There are certain events that happen very rarely in your life and my HB cooking is certainly one of those. And boy does he cook! The other day he tried his hand in the kitchen and the end product was a delicious tandoori chicken!
DRUMSTICK TANDOORI CHICKENTandoori chicken is a very famous chicken dish from north India. All restaurants in the US have tandoori chicken in their menu and is well known among Americans.
DRUMSTICK TANDOORI CHICKENIn fact, there are so many tandoori chicken recipes out there posted by Americans in the internet. Tandoori chicken is one of the healthiest chicken recipes since it does not involve too much oil (oil is added only at the end of preparation).
DRUMSTICK TANDOORI CHICKENMy HB’s recipe is an adaption of VareVah chef’s recipe. It is very simple and easy to make. One main advantage of this recipe is that you don’t have to marinate the chicken for hours like in other chicken recipes. Do try it in your home and let me know your experiences 🙂

DRUMSTICK TANDOORI CHICKEN
Recipe type: Lunch
Cuisine: Indian
Prep time: 
Cook time: 
Total time: 
Serves: 3
 
Ingredients
  • Drumstick chicken – 2
  • Red chilli powder – 1 to 2 tbsp
  • Salt as required
  • Lemon juice – 4 tbsp
  • Curd - 2 tbsp
  • Ginger garlic paste - tbsp
  • Pepper powder – ½ tsp
  • Garam masala powder – ½ tsp
  • Turmeric powder – ½ tsp
  • Cumin powder – ½ tsp
  • Coriander powder – 1 tbsp
  • Dry fenugreek leaves (kasthoori methi) – 1 tbsp
  • Cooking oil/ spray
Instructions
  1. Wash the drumstick chicken thoroughly in running water and dab it with tissue/towel. Make few gashes in the chicken
  2. Mix a tbsp of red chilli powder, a tsp of salt and lemon juice and make it in to a paste. Rub this paste on chicken and make sure it is well applied on the cuts that had made on the chicken.
  3. Preheat the oven to 420 °F.
  4. Mix yogurt, ginger-garlic paste, chilli powder, half a tsp each of salt, pepper powder , kasthoori methi leaves(crushed with your palms), garam masala, turmeric powder, cumin powder, a tbsp of coriander powder and 2 tbsp of lime juice and make a thick paste without any lumps. Add red color to the marination (always mix food color with little water and add to your dish).
  5. Place the marinated chicken on the tandoori pan, spray cooking oil on top of the chicken and cook for 20 minutes. Remove the pan, turn over the chicken and brush them with little oil on top. Cook for another 10 minutes.
Notes
Try to use thick yogurt for marination in order to get thick marinade.


CHICKEN 65

 chicken65

Chicken 65  is a popular chicken dish that was first invented in Tamilnadu, India. It is a popular street food, bar food and snack item.
Honestly, I don’t know the true origin of the name Chicken 65. There are so many anecdotes describing their invention. Popular among them are,

–         In 1965, the owner of the famous Buhari hotel in Chennai invented this recipe and hence the name Chicken 65.

–         In earlier days, there used to be a military canteen in Chennai whose menu item 65 was a popular chicken dish. The north Indian soldiers stationed there could not read the menu since it was in Tamil. So they always ordered as menu item 65 chicken i.e., Chicken 65.

So you guys decide which story sounds plausible (I personally choose the Buhari version 😉

chicken65

Nowadays, chicken 65 made in restaurants and street corners use various chemicals to bring out that reddish brown color and crispiness.  The recipe I have given here is home-made made from scratch straight from my mom’s kitchen.
On days when I feel lazy I use aachi chicken masala mix.
Try it out and let me know if you like it 🙂

CHICKEN 65
Recipe type: Lunch
Cuisine: Indian
Prep time: 
Cook time: 
Total time: 
Serves: 2 to 3
 
Chicken 65 is a popular chicken dish that was first invented in Tamilnadu, India. It is a popular street food, bar food and snack item.
Ingredients
  • Chicken – 250 grams / 0.5 lb
  • Corn flour – 1 tbsp
  • Rice flour – 1 tbsp
  • All purpose flour – 1 tbsp
  • Ginger- Garlic paste – 2 tbsp
  • Curry leaves – few
  • Kashmiri red chilli powder – 2 tbsp
  • Egg – 1
  • Tomato ketchup – 1 tsp
  • Soy sauce – 1 tsp
  • Salt as required
  • Oil for deep frying
Instructions
  1. Wash the chicken in running water, drain and marinate with the above given ingredients (Beat the egg before adding to the chicken) and leave it for half an hour.
  2. Heat oil in a frying pan, deep fry the marinated chicken and drain on a plate lined with paper napkin. Serve it hot or warm. Enjoy!


chicken65

CHICKEN BIRIYANI

Chicken biriyani is a very popular Indian rice variety. Chicken biriyani is made with lots of spices which makes it more flavorful.037This is one of my most favorite dishes from my mom’s kitchen. Interestingly, I was not aware of its hold on me before my marriage. It all started after I moved here to U.S when I realized how much I was missing all those wonderful dishes back home and my mom’s biriyani was the one which I craved more.
042She prepares all the ingredients (from ginger-garlic paste to Biriyani powder) fresh right before making biriyani. Maybe that’s the secret of her recipe 😉 The fresh aroma of samba rice, homemade biriyani powder and ginger-garlic paste spreads through the whole house…ummmm..

  • If you are diet conscious, you can reduce the coconut milk ratio to 1 cup (i.e for 1 cup of rice, add 1 cup each of water and coconut milk) or entirely omit it and replace it with 2 cups of water. But coconut milk makes big difference in preparing this biriyani.
  • If you are using store bought coconut milk add just a couple of spoons. As they are very thick, adding more will overwhelm the taste of dish with coconut taste.
  • Do not add extra water as the chicken itself will release water.

032
And before proceeding, I’m warning you this food tempts you to make it again and again. 🙂

Mom’s Chicken Biriyani
Recipe type: Lunch
Cuisine: Indian
Prep time: 
Cook time: 
Total time: 
Serves: 2
 
Chicken biriyani is a very popular Indian rice variety. Chicken biriyani is made with lots of spices which makes it more flavorful.
Ingredients
Biriyani powder/masala:
  • Cloves – 10
  • Star anise – 2
  • Black Pepper – 15 nos
  • Green cardamom – 8
  • Cinnamon sticks – 1", 4 nos
  • Javetri – 1 flower
Other ingredients:
  • Ghee – 2 tbs
  • Coconut oil – 1 tsp
  • Biriyani powder – 1 tbs
  • Bay leaf – 1 (big)
  • Big Onion – 1 (cut into slits)
  • Ginger & Garlic paste – 1 tbs
  • Tomatoes – 1 (chopped)
  • Green chilli – 5 (slits)
  • Cilantro – handful (chopped)
  • Mint leaves – handful (chopped)
  • Coriander powder – 1 tbs
  • Red Chilli powder – 1 tsp
  • Garam masala powder – ½ tsp
  • Turmeric powder – 1 tsp
  • Salt – as required
  • Chicken – 1 lb or ½ kg (with bone)
  • Samba or Basmati rice – 1 cup
  • Coconut milk – 2 cups
Instructions
  1. Wash the chicken in running water. Marinate it with a tsp each of salt, turmeric powder and chilli powder and a tbs of ginger-garlic paste for 15 minutes.
  2. Wash the rice and keep it aside (if you are using basmati rice, wash and soak it in water for half an hour).
  3. Blend all the ingredients together given under biriyani masala and make a powder (you can store this biriyani powder in a small air tight container and use it for several days).
  4. Exract the coconut milk (if using homemade) and keep it ready.
  5. Heat the pressure cooker with a tsp of coconut oil and a tbs of ghee. Add in biriyani masala and slit onion. Sauté well.
  6. When onions turn slightly brown, add ginger & garlic paste. Stir fry till the raw aroma of ginger-garlic disappears.
  7. Add chopped tomato and sauté until mushy.
  8. Add all the greens (slit green chillies, chopped mint and cilantro) and sauté it for a minute.
  9. Now in a low flame, add in all the masala powders ( chilli powder, coriander powder and garam masala powder ) along with salt.
  10. Add in the chicken pieces and give it a stir.
  11. Add the coconut milk, mix well and bring it to a boil.
  12. Now check salt and add the washed (soaked) rice. Mix it well (make sure not to break the rice grains). Allow it to boil.
  13. When the water or coconut milk starts to boil, close the lid and cook for 3 whistles.
  14. When done open the lid, add a tbs of ghee and give it a stir (again, be careful not to break the grains while stirring) and close the lid.
  15. After ten minutes, serve hot chicken biriyani with onion raitha and any chicken / mutton gravy of your choice.
Notes
1. If you are diet conscious, you can reduce the coconut milk ratio to 1 cup (i.e for 1 cup of rice, add 1 cup each of water and coconut milk) or entirely omit it and replace it with 2 cups of water. But coconut milk makes big difference in preparing this biriyani.
2. If you are using basmati rice, then the ratio will be different i.e for 1 cup of rice 1 ½ cups of water.
3. If you are using store bought coconut milk add just a couple of spoons. As they are very thick, adding more will overwhelm the taste of dish with coconut taste.
4. Do not add extra water as the chicken itself will release water.

Chicken Biriyani

DINDIGUL THALAPAKATTI MUTTON BIRIYANI|LAMB BIRIYANI

Thalapakatti mutton biriyani is a delicious and very popular biriyani in dindigul. The speciality of thalapakatti biriyani is to blend all the ingredients.IMG_2821Biriyani is a rice-based dish known for its distinct aroma and flavor. It is made with spices, rice, chicken, mutton or vegetables. There are different varieties of biriyani, in Tamilnadu, mostly differentiated based on geographical location. Spices are the key ingredients in this dish. I am positive that at least one in every 5 people in Tamilnadu would have tried this wonderful dish at least once in their life time (and the population of Tamilnadu is 7.2 million, so figure!)IMG_2811Briyani for me, always reminds my mom and I m a very big fan of her Chicken Biriyani which is very popular among my friends and relatives.  Also biriyani is my HB’s favorite dish. So I started to learn many varieties and Dindigul Thalapakatti Biriyani is one among them.IMG_2812 (1)The recipe for this biriyani is different in the sense that here we blend all the ingredients to a fine paste unlike other varieties. This gives it a unique taste and the reason for its wide popularity.  You could also try this recipe using chicken (But mutton seems more tastier. 😉  )Here are few tips

  • I used store bought coconut milk which is very thick so I just used couple of spoons. If you are using homemade coconut milk, then add 2 cups of coconut milk and 2 cups of water.
  • If you are using chicken, extend the marination time to an hour and simply add the marinated chicken directly to the masalas without      pre cooking it.
  • Avoid adding lots of mint and cilantro to this recipe, as it might make the dish green color. We don’t want our biriyani turn into mint rice. 😉

DINDIGUL THALAPAKATTI MUTTON BIRIYANI|LAMB BIRIYANI
Recipe type: Lunch
Cuisine: Indian
Prep time: 
Cook time: 
Total time: 
Serves: 4
 
Thalapakatti mutton biriyani is a delicious and very popular biriyani in dindigul. The speciality of thalapakatti biriyani is to blend all the ingredients.
Ingredients
To marinate
  • Mutton /Lamb – ¾ kg
  • Chilli powder – 1 tsp
  • Ginger garlic paste – 1 tsp
  • Salt – a pinch
For boiling mutton
  • Marinated Mutton - ¾ kg
  • Ginger – an inch (crushed)
  • Water – 4 cups
For the Masala Paste
  • Shallots – 4 (if small use 6 nos)
  • Mint Leaves – handful
  • Cilantro – handful.
  • Green chillies – 3, long
Other ingredients:
  • Cloves – 3 nos
  • Cinnamon - 2"
  • Cardamom – 2 nos
  • Bay Leaf - 1 long
  • Samba Rice – 2 cups
  • Onion – ½ medium
  • Tomato - 1 big
  • Ginger & Garlic paste - 1 tsp
  • Green Chillies - 2
  • Oil – 1 tbs
  • Ghee – 1 tbs
  • Coconut Milk, thick – 2 spoons (I use store bought which is very thick)
  • Salt – as required
  • Lemon Juice - 1 tsp
Instructions
  1. Wash the mutton pieces in running water. Marinate for 10 minutes and pressure cook it with ginger and water for three to four whistles. Once done, allow the pressure to be released. Drain the mutton / lamb pieces and save the stock (later we are going to substitute this stock for water while making biriyani).
  2. Blend cilantro, mint leaves and green chillies together and shallots separately into a fine paste.
  3. In a pressure cooker, heat oil, add all the wholes spices. When the aroma spreads, add in ground shallot and sauté until the raw smell goes. Now add the ginger-garlic paste and do the same.
  4. Then add the onion and green chillies, sauté until onion turns translucent. Add chopped tomatoes and sauté well. Once the tomatoes get soft, add the ground mint masala to it and cook well till the oil comes out.
  5. Now add the drained mutton pieces and sauté well to make sure the pieces are well coated with masala. Add coconut milk, water (mutton stock) and adjust salt.
  6. Add rice, stir well and bring it to boil. Close the lid and pressure cook for three whistles.
  7. Wait for the pressure to be released, add a tbs of ghee, stir the rice carefully without breaking the grains, cover the lid and dum for 15 mins.
  8. Serve hot with Onion raitha and any chicken / mutton gravy of your choice.

 
IMG_2812
Tempting isn’t it?!?! 😉
Hope everyone gets to try this recipe at least once and enjoy the same!!!

MUTTON GRAVY | MUTTON KUZHAMBU | LAMB CURRY

002No ginger, no garlic, no tomatoes and yet a delicious dish.
Do any of you know that we could actually make a non vegetarian dish without adding any of those above ingredients? Well here it is!!!
mutton gravyI was not a fan of mutton (besides my mom’s Mutton Chukka) until I tried this delicious mutton gravy at my MIL’s place. She has this traditional cooking style where she uses ammi kal (Flat bed manual grinding stone) to grind all the masalas. This gives an exotic taste which I love. It is a very simple recipe, in fact all you need is mustard seeds, onion and ground masala!
027Here I have used a blender to prepare the masala . My MIL had given me a small ammi kal but I didn’t bring it back with me, which I regret now. Anyways, the outcome was more or less similar to hers and I hope that you enjoy the dish as well.
025Yummy!!!

MUTTON GRAVY | MUTTON KUZHAMBU | LAMB CURRY
Recipe type: Lunch
Cuisine: Indian
Prep time: 
Cook time: 
Total time: 
Serves: 4
 
Simple traditional mutton gravy which you wouldn't have tasted anywhere. Make this lip smacking mutton kuzhambu with the simple steps and enjoy.
Ingredients
  • Mutton / Lamb – 1 kg ( 2.12 lb)
  • Gingelly oil – 1 tbs
  • Coriander seeds - 2 tbs
  • Pepper - 10
  • Cumin seeds - 1 tbs
  • Red chillies - 6
  • Grated Coconut- 1 to 2 tbs
  • Ginger – an inch
  • Shallots - 7
  • Vegetable oil - 1 tbs
  • Salt to taste
Instructions
  1. In a sauté pan, roast coriander seeds, pepper, cumin seeds and red chillies with very little oil.
  2. Wait until the mixture cools down. Then grind the mixture and make it into a paste.
  3. Grind coconut separately.
  4. In a pressure cooker, add gingelly oil and sauté the mutton until it turns white color.
  5. Then add crushed ginger along with enough water (2 cups) and pressure cook the mutton for 6 whistles (it takes 15 whistles in India)
  6. Drain the mutton and save the drained water. Add the ground mixtures (coconut & coriander) to the drained water and mix well.
  7. Finally in a sauce pan, add vegetable oil and season it with mustard and onion.
  8. Add the above drained water mixture and allow it to boil.
  9. Then add the cooked mutton along with salt and bring it to boil.


023

INDO-CHINESE FRIED RICE

070Though fried rice is a Chinese delicacy, it is very popular in India as well. It is a popular street food there.  Fried rice in India is a fusion of Indian spices and Chinese method of preparation, aptly named as Indo-Chinese fried rice. Indo-Chinese fried rice has become so popular that I have seen them as a menu item in some Chinese restaurants here!080My inspiration for indo-chinese egg fried rice is my uncle. He is a very good cook and one of his specialties is egg fried rice. Whenever we visit them (Toronto, Canada), we can see it in the menu on one of the days.
068The recipe that I have given below is a tried and tested Indo-Chinese version.
Note:- Fried rice prepared in restaurants has ajinomoto as one of the ingredients but I personally don’t prefer using it and it is not healthy as well (read somewhere that it has carcinogenic properties). Also, the one time I used it, I did not notice any difference in the taste.071Delicious, right?

5.0 from 1 reviews
Egg Fried Rice (Indo – Chinese)
Recipe type: Lunch/Dinner
Cuisine: Chinese
Prep time: 
Cook time: 
Total time: 
Serves: 2
 
Indo-Chinese fried rice is a variation of regular chinese fried rice with indian spices. Check out the easy to prepare instructions and enjoy hot fried rice, Indian style!
Ingredients
  • Gingelly oil - 1 tbsp
  • Green Onion (thinly sliced, green & white separated) - ¼ cup
  • Garlic, minced - 1 tbsp
  • Ginger, minced - 1 tbsp
  • Red Bell Pepper - ¼ cup
  • Green peas - ½ cup
  • Carrots -1/4 cup
  • Cabbage - ¼ cup (optional)
  • Egg - 1
  • Cooked basmati rice (or any long grained variety) - 1 cup
  • Soy Sauce - 1 tbsp or to taste
  • White pepper – 1 tsp
  • Chilli garlic sauce – 1 tsp (I used sriracha)
Instructions
  1. Cook the rice and set aside to cool naturally or refrigerate it for at least 3 hours – Drizzle in few drops of gingely oil and mix the rice carefully until grains are easily separated. Do this once before it goes into the refrigerator.
  2. Make sure to keep all the ingredients ready before proceeding.
  3. Heat a wok or any deep frying pan (I would prefer non-stick) in high heat with gingely oil. Add in green onions(only white), ginger and garlic. Stir for 5-6 seconds or until the aroma aroma spreads.
  4. Add rest of the vegetables. Make sure nothing burns given that you are cooking in high flame. And you want the vegetables to be cooked but still crunchy (that’s the reason we chopped them into smaller and uniform pieces). Keep stirring for 40 - 50 seconds.
  5. Now it is time to add the eggs to the sides of the vegetables. Sauté the eggs until well cooked and scrambled (In restaurants they used to add the eggs once after the rice is added. But I prefer this way).
  6. Next add the cooked (refrigerated) rice. Stir until all the vegetables and eggs are combined.
  7. Next add the soy sauce, chilli sauce and white pepper. Stir for the flavors to combine. Make sure you don't stir it too much because that might make the rice mushy.
  8. Garnish with scallion greens. Serve hot with chilli chicken or butter chicken or any sides of your choice.
Notes
1. soak basmati rice in water for 20 minutes before boiling. For 1 cup of rice add 11/2 cups of water.
2. Refrigerate the cooked rice so that you can retain its texture while making fried rice.
3. Chinese foods are mostly (or as far as i know) cooked in high flame. so make sure you keep all the ingredients ready well before starting.
4. Non Vegetarian lovers could also add cooked minced meat right after the eggs are scrambled and before the rice is added. Vegetarians can skip this entire sequence.


078