Hyderabad Dum Chicken Biriyani

040Happy Ramzan! And as with other special occasions and holidays, I wanted to post something new and something that relates to the special occasion. That is when I realized that I have not posted one of my favorite recipes, the Hyderabad Dum Chicken Biriyani. It is one of the most famous varieties of biriyani, not only in India but throughout the world. As the name suggests,Hyderabad Dum Biriyani originated in Hyderabad back when Nizams ruled the princely state. The ‘Dum’ in the name refers to a special type of cooking using pressure.
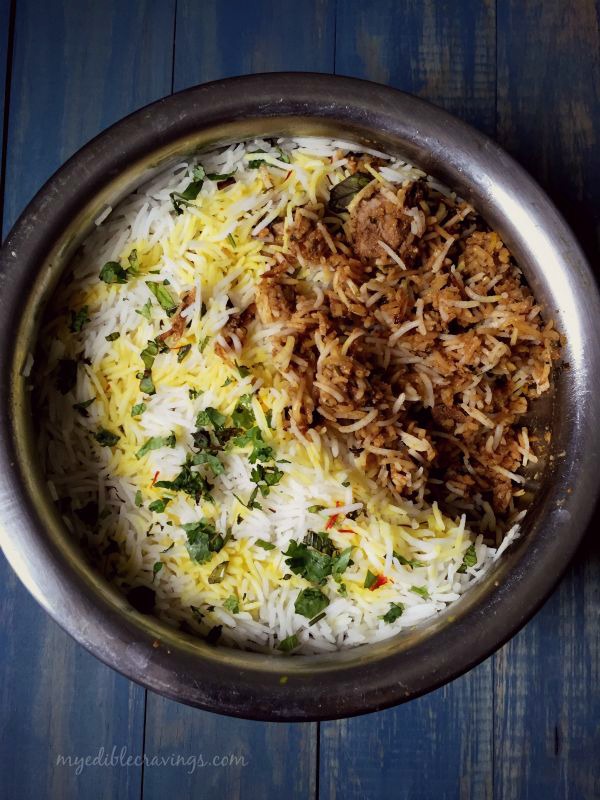
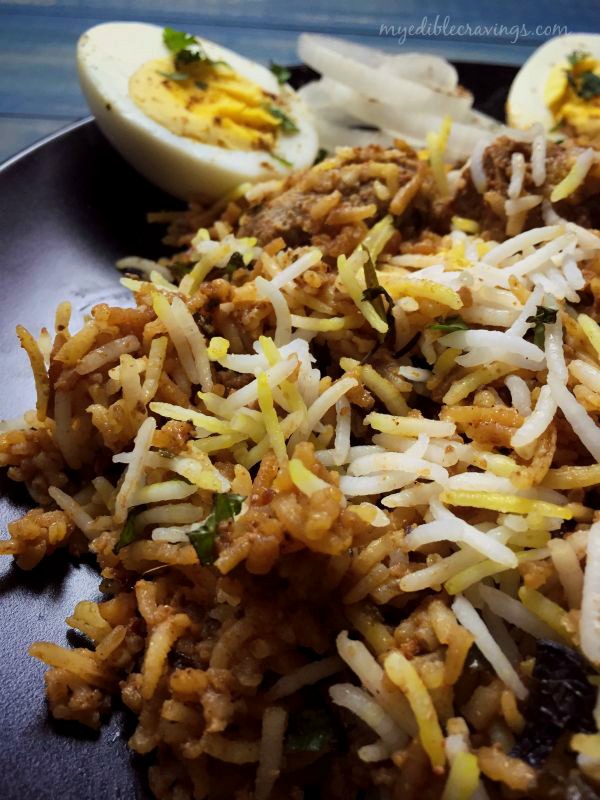
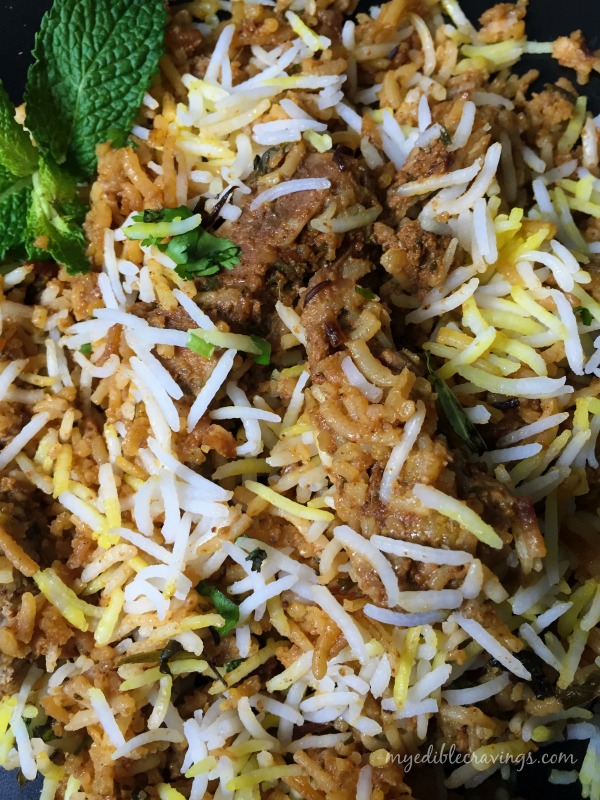
hyderabad dum chicken biriyanihyderabad dum chicken biriyaniI first had Hyderabad Dum Chicken Biriyani only after coming here. Btw, this is the most popular variety of Biriyani here. In fact, I have had other type of Biriyani only once and that too in New York! Since I like it very much I don’t have much to complain about 🙂 Hyderabad Dum Chicken Biriyani differs from other varieties mainly because of the way it is cooked. We do a layering of chicken (or any other meat) and rice in alternate fashion and then ‘Dum’ cook it. The Biriyani is made using basmati rice and can be had as is or with any chicken/mutton gravy. Either way, It tastes yummy, always 🙂

hyderabad dum chicken biriyanihyderabad dum chicken biriyanihyderabad dum chicken biriyaniThough I have had Hyderabad Dum Chicken Biriyani here in the US, I really want to try it out in the place of its origin, Hyderabad. It has been one of the things to do in my India checklist for quite sometime now. Here I have posted the recipe using chicken but you can also use lamb or mutton as well. I can keep going on and on about Hyderabad Dum Biriyani but I want you to try this recipe in your home and experience the awesomeness 🙂

Hyderabad Dum Chicken Biriyani
Recipe type: Main
Cuisine: Indian
Prep time: 
Cook time: 
Total time: 
Serves: 3
 
Ingredients
For the marinade:
To make powder:
  • Cinnamon – 3 1” pieces
  • Cardamom – 5
  • Cloves – 5
  • Star anise – ½ to 1
  • Javetri – ½ to 1
  • Black pepper – 10 nos
  • Sea weed – 1 tsp
  • Bay leaf – 1 2” leaf (small one)
  • To make a Paste:
  • Ginger garlic paste – 1 ½ tsp
  • Green chillies – 5 nos (coarsely blend)
  • Other ingredients:
  • Oil – ¼ cup
  • Yogurt – 3 to 4 tsp
  • Lemon juice – from half lemon
Powders:
  • Turmeric powder – ¼ tsp (do not add too much it would change the color of the biriyani)
  • Chilli powder – 1 tsp (or according to your taste)
  • Coriander powder – 2 to 2 ½ tsp (used from the box’s plastic spoon)
  • Garam masala – ½ to 1 tsp
  • Salt – as required ( I added ¾ p.tsp)
  • Mint & coriander leaves – ½ cup
  • Fried onions, small – 1
  • Chicken – 1 to 1⅓ kg
To cook rice:
  • Good quality Basmati rice – 2 cups ( US measurement)
  • Water – sufficient amount
  • Shahi jeera – 3 pinches
  • Bay leaves, big – 2 nos
  • Oil – 1 tbsp ( I use the oil that is used to fry onions)
  • Salt – as required
For garnishing :
  • Mint & cilantro, finely chopped – ¾ cup
  • Onion, small to medium, fried – 1 no
  • Saffron - a generous pinch
  • Warm milk – ⅓ cup
  • Ghee – 2 to 3 tsps
  • Chapathi dough – to dum or aliminium foil
Instructions
Step 1:
  1. First blend the things and keep it ready. Grind the spices coarsely such that sea weed is coarse and others are blend to fine powder. Add them to the mixing bowl. Blend ginger and garlic to a fine paste without adding water. keep it aside. Blend green chillies to a coarse paste.
  2. Make few cross deep slits on the washed chicken pieces. The slits has to touch the bones.
  3. Add the spice powders (turmeric, chilli, coriander, garam masala), enough salt, lemon juice, green chilli paste, ginger garlic paste, ground garam masala spices (if you haven’t add already) and yogurt to the mixing bowl. Mix well and check for salt – this is the right time to check salt for your marinade and adjust according to your taste.
  4. Add the chicken, chopped mint and cilantro and oil to the mixing bowl, mix well and refrigerate overnight.
Step 2:
  1. Heat enough oil in a kadai and fry the onions until golden brown – I used 1 ½ small sized onion for the whole biriyani.
  2. Add ⅓ of the fried onions to the marinated chicken. Mix well and keep it aside.
  3. Soak saffron strands in warm milk and keep it aside.
  4. Arrange all the chicken pieces in a biriyani handi or any large thick bottomed sauce pan. Arrange in such a way that all the pieces touch the base of the vessel. This is layer 1.
step 3:
  1. Soak the rice for at least 20 minutes. Boil enough water in a large deep vessel to cook the rice. When the water starts to boil add shahi jeera, bay leaves, oil (used to fry onions) and salt. Check for salt at this time. – adding salt right now is the very important step in making this dum biriyani. The water has to be little salty.
  2. Add the soaked rice to the boiling water. Cook until the rice grains starts to dance on top. That’s when you know the rice is 70% cooked. Filter half of the 70% cooked rice, drain all the excess water and layer it on top of the chicken layer. Garnish with some fried onions, chopped cilantro and mint on top. This is Layer 2.
  3. When the rice is 100% cooked, strain all the excess water completely and layer them again on top of layer 2. Garnish with the remaining fried onions, mint and cilantro. Add drops of saffron milk on top to give color and nice aroma to the biriyani. Finally spread few tsps of ghee on top. This is layer 3 - Always stay close while cooking the rice by boiling method. Because rice cooks really quick in this method.
  4. Now fill the rim of the lid with chapathi dough and cover it tightly without leaving any gap or holes. Otherwise if you are using a flat plate (without handle) as a lid, cover the plate and place some weight (fill water in a large vessel or 5 ltr cooker) on top.
step 4:
  1. Place the biriyani handi or vessel on stove top and cook on high flame for 5 minutes (Meanwhile heat a dosa pan in a medium flame in a separate burner) and on low flame for 10 to 15 minutes.
  2. After overall 15 to 20 minutes of cooking on direct flame, take out the handi and place it on top of the hot dosa pan which is still on medium flame. Allow the biriyani to dum for 20 minutes.
  3. Switch off the flame and leave it for 10 minutes.
  4. Open the lid and check if the chicken is well cooked. The chicken texture has to be juicy and well done. The chicken should be completely cooked by now. Enjoy the yummy chicken dum biriyani with onion or mint raitha and salna! 
Notes
Tips:
1.Always use 1 ½ kg of chicken for 1 kg of rice. Here I used 2 cups (1/2 kg) of rice so I used 1 to 1⅓ kg (3 pounds) of chicken (ask for chicken (leg) pieces for biriyani at Indian meat shops).
2.Do not add too much of turmeric powder while marinating the chicken as it would change the color of the biriyani.
3.Always stay close while cooking the rice by boiling method. Because rice cooks very quickly in this method.
4.Do not add too much yogurt while marinating otherwise your biriyani becomes soggy.
5.Fried onion gives color for the biriyani. Always make fresh fried onions at home to get the best aroma and flavor on the biriyani. do not stir fry or shallow fry but deep fry with less oil.
6.Increase or decrease the quantity of the spices and other ingredients according to the quantity of biriyani you make. More the quantity, more the taste.
7.Cooking time differs for mutton biriyani. Tenderize the mutton for 3 hours or for at least an hour before marinating. Same cooking method. Dum it for extra 10 minutes. So that total cooking time will be 45 minutes.
hyderabad dum chicken biriyani

Anganan Biriyani

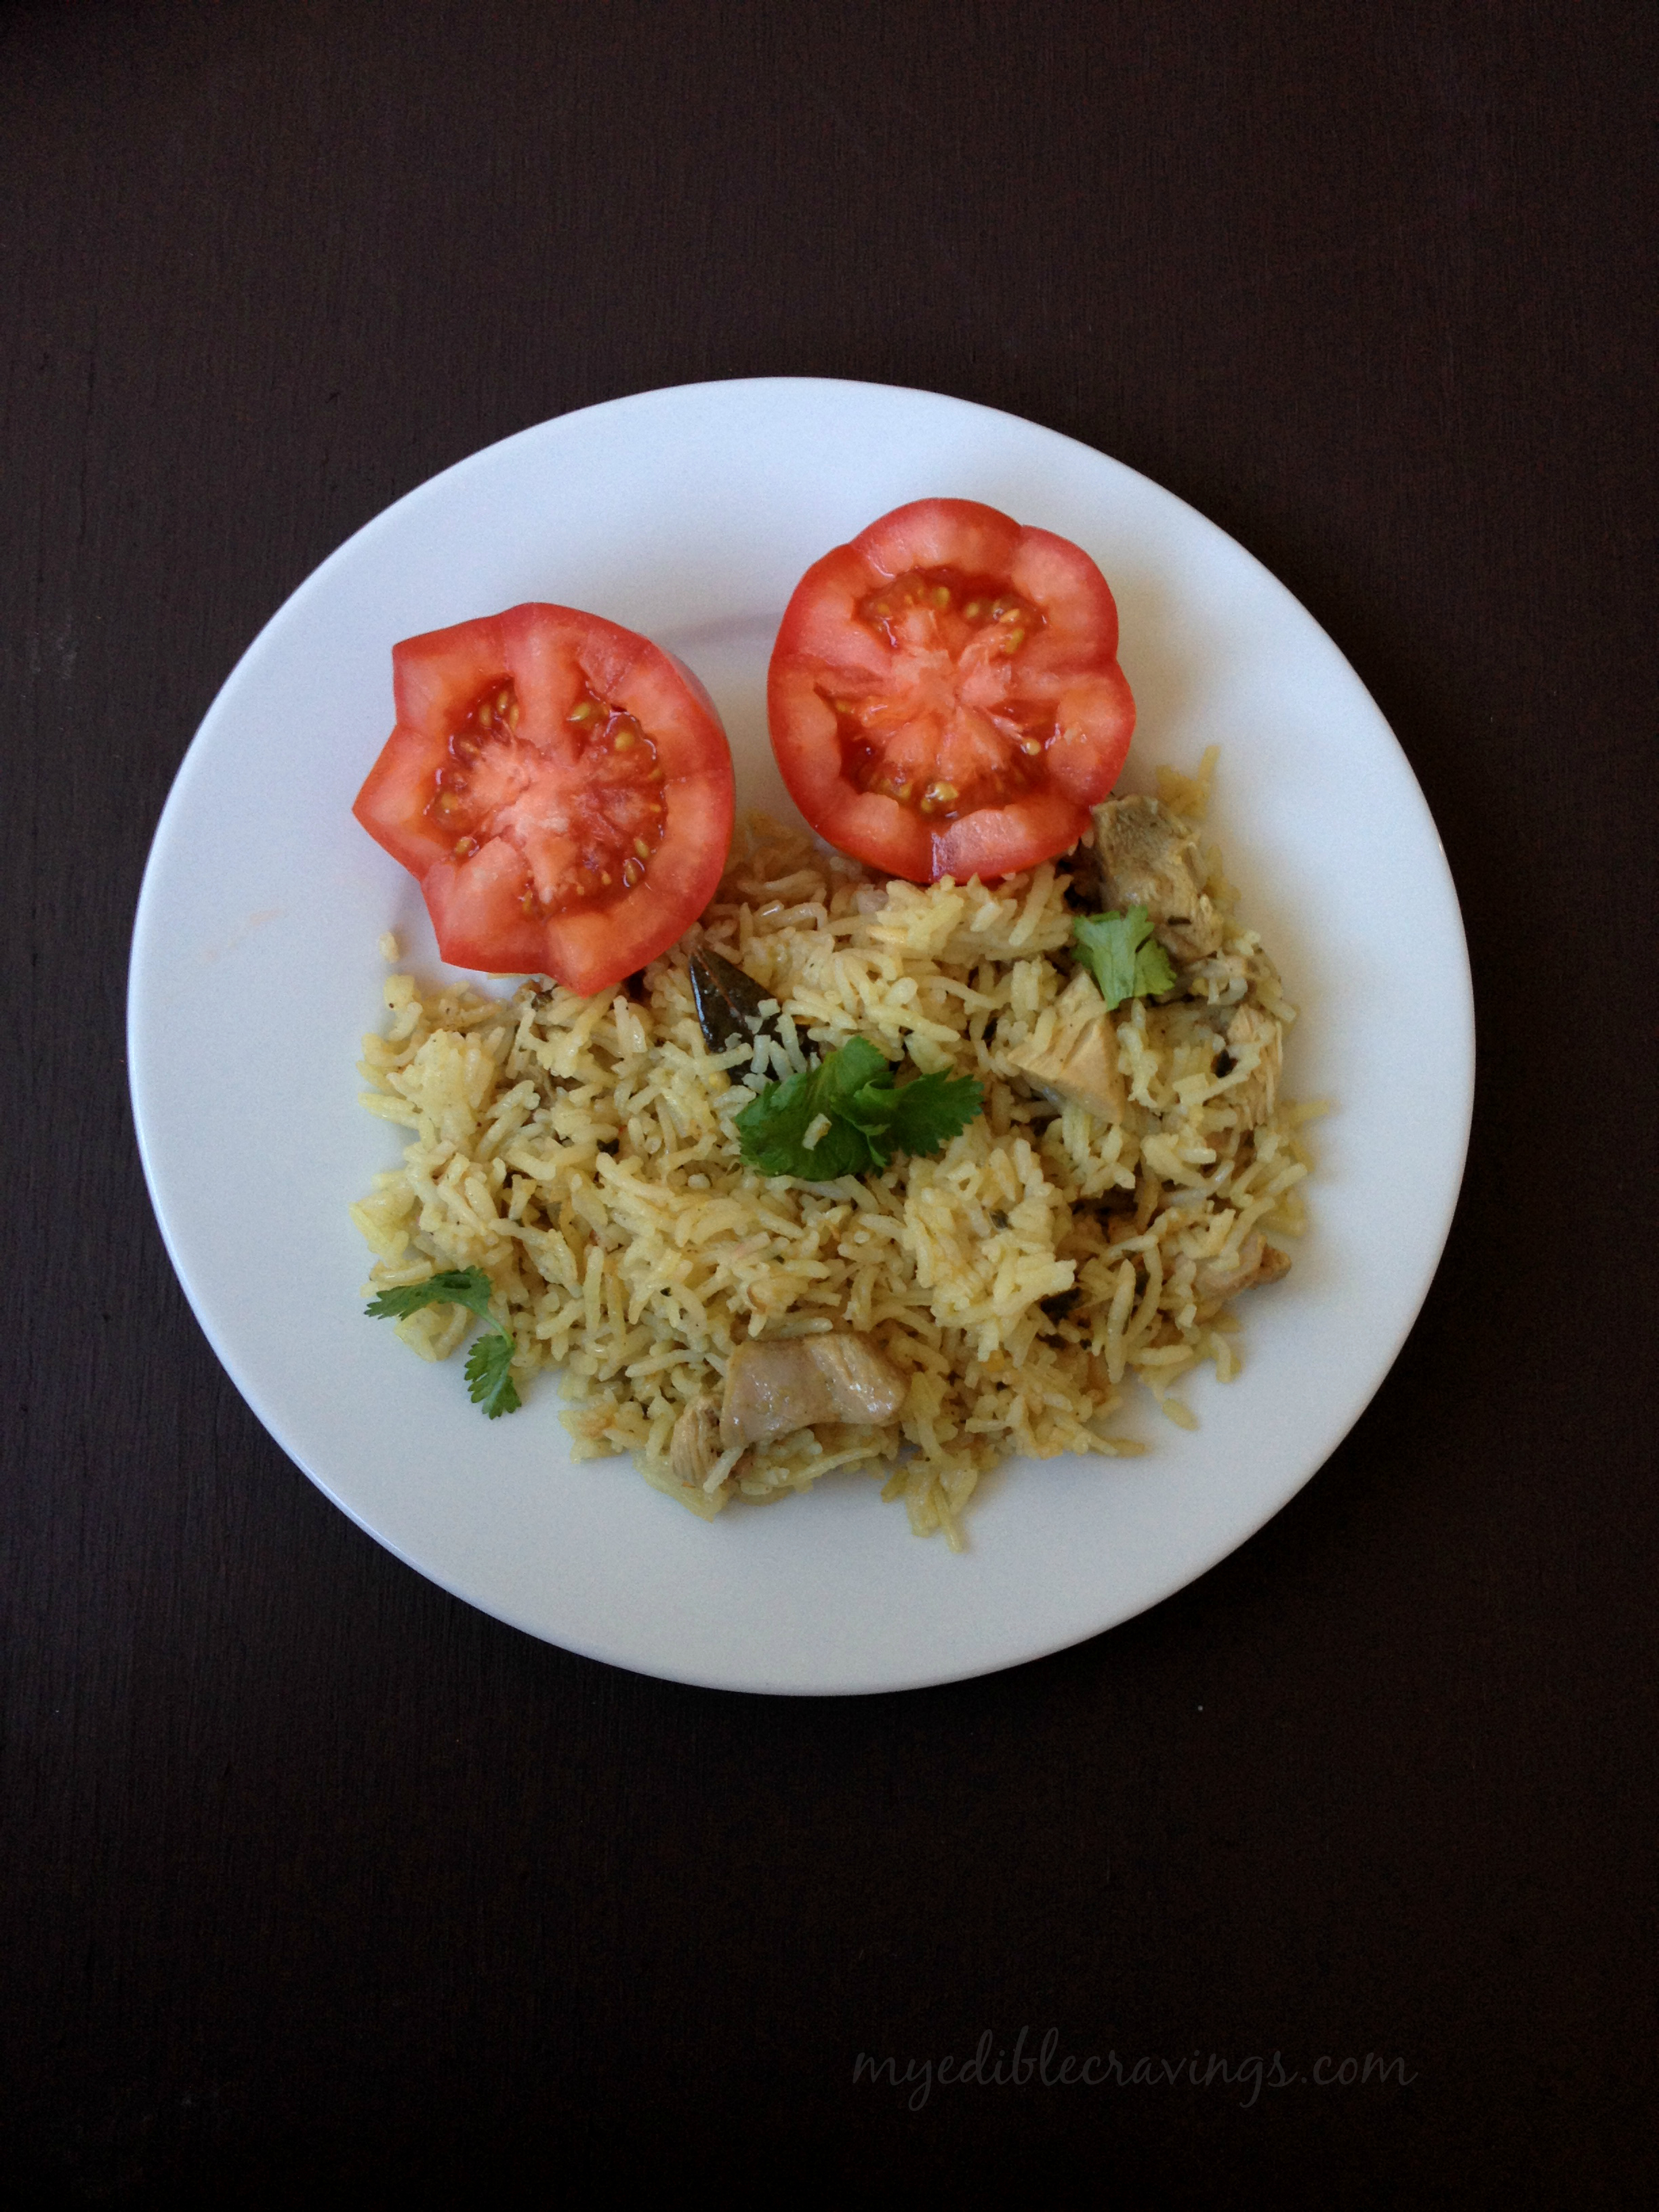
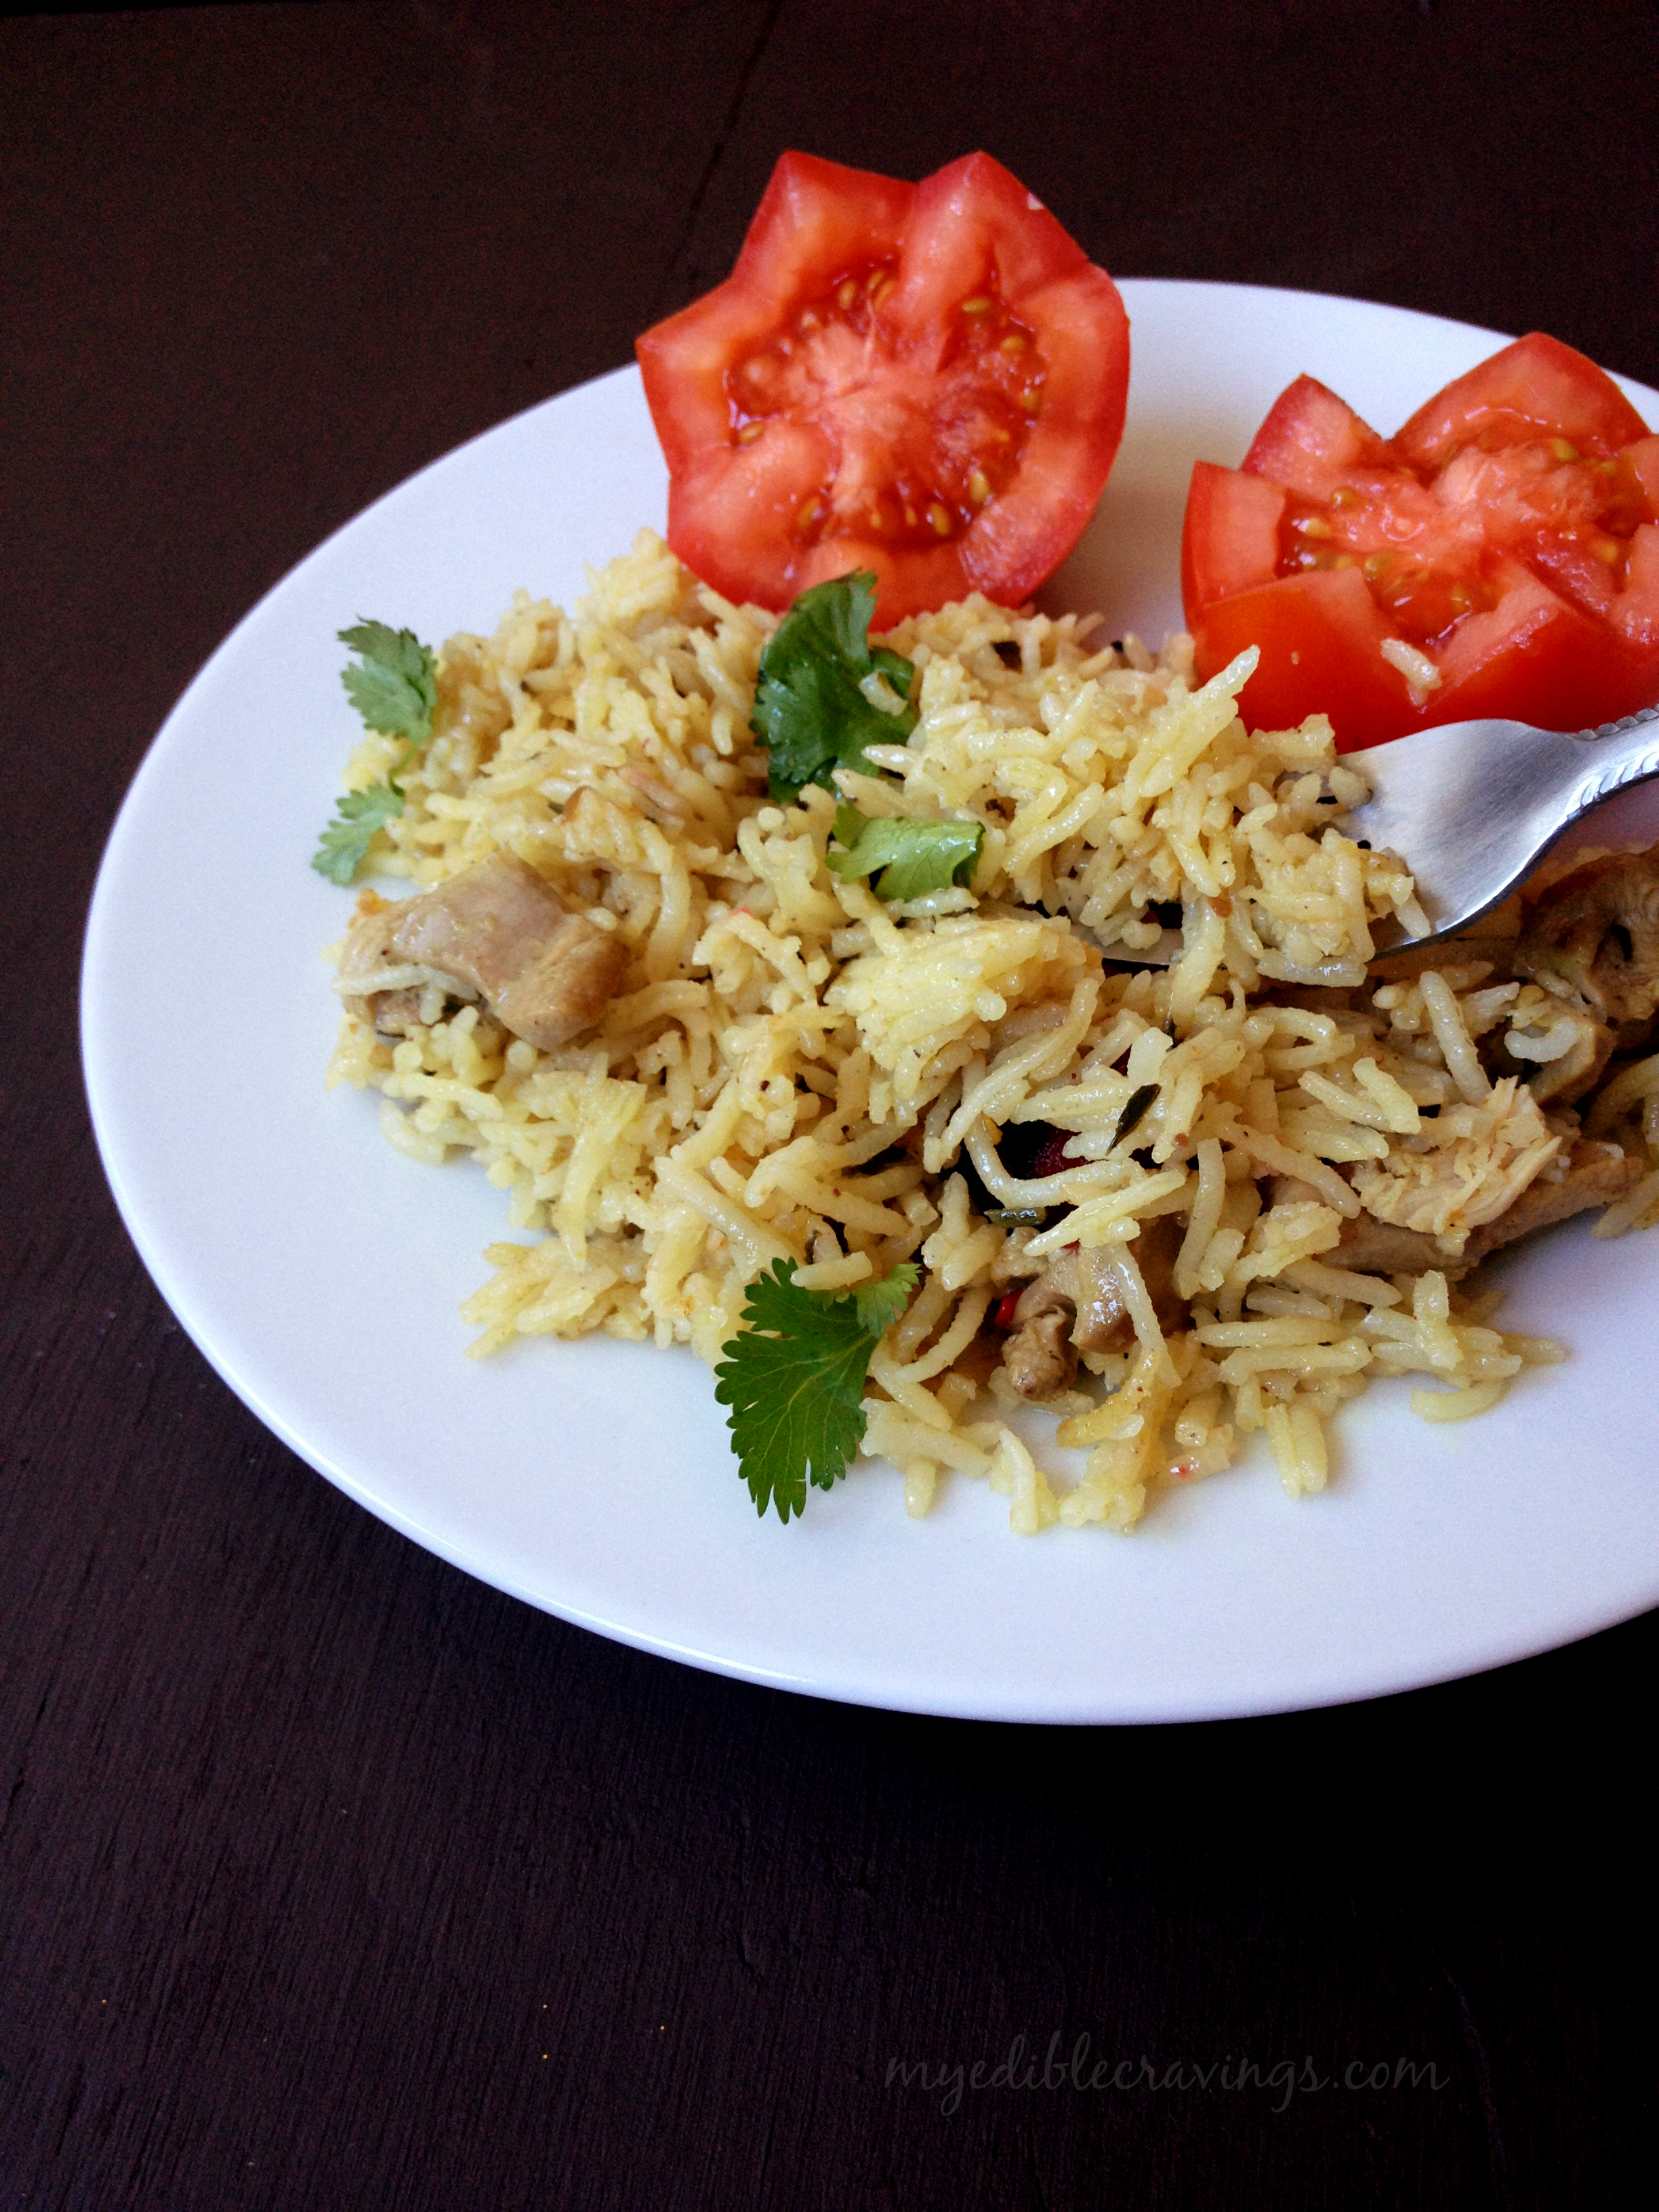
Anganan BiriyaniCoimbatore is a southern city in my home state of Tamilnadu. It is popularly known as Manchester of the south due to its textile industry. When you think of Coimbatore, the first that comes to your mind is the lilting Tamil (Kongu Tamil) accent spoken by the people there. I have had the fortune to hear that from friends at college. Thanks dears. Since mine is a food blog and I do know of a popular dish from Coimbatore, I would like to share that here. The dish is the famous Coimbatore Anganan Biriyani.Anganan BiriyaniAnganan BiriyaniAnganan Briyani is a very light biriyani in the sense that you won’t feel that usual heaviness that you have after eating biriyani. That is because of the less masala that you use in this variety. I have never had Anganan Biriyani back in India but seems that my HB had had (of course he did since it is ‘BIRIYANI’ ;)) It has been a while since I had made this variety of Biryani. I was going through my recipe collection the other day and came across it and here I am posting the recipe. The recipe below is for chicken biriyani and you can modify it other types like mutton or fish as desired.Anganan BiriyaniTry this Coimbatore specialty Anganan Biriyani at your home and experience the lightness that I talked about earlier. And yes, my HB did say that my version of Anganan biriyani tasted similar to the original! As always share your comments and experience below. Now, I am off to make Anganan Biriyani and until then, ciao 🙂

Anganan Biriyani
Prep time: 
Cook time: 
Total time: 
Serves: 3 or 4
 
Ingredients
To grind and marinate:
  • Shallots – 6 nos
  • Green chillies – 4 nos
  • Lemon juice – 1 tbsp
  • Ginger garlic paste – 1 tbsp
  • Cinnamon stick – 1”
  • Cardamom – 2 nos
  • Cloves – 3 nos
  • Mace or javetri – ½
  • Star anise – 1 no
  • Turmeric powder – ¼ tsp
  • Yogurt – 2 tbsp
Other ingredients:
  • Oil – 3 to 4 tbsp
  • Cinnamon stick – 1”
  • Cardamom – 2 nos
  • Cloves -2 nos
  • Green chillies, slits – 5 nos
  • Mint, finely chopped – 1 cup
  • Onion, big, slits – 1 no
  • Chicken – 750 grams
  • Salt as required
  • Water – 3 cups (1:1/2 ratio, for 1 cup of rice add 1½ cups of water)
  • Seeraga samba rice – 2 cups (I used basmati)
Instructions
  1. Wash and soak the rice in water for 30 minutes. Drain and save the water.
  2. Grind all the given ingredients under ‘to grind’ and make a fine paste – marinade.
  3. Make few deep slits until the bone on either side of the chicken and marinate with the above paste.
  4. Heat a pressure cooker with enough oil. Add in the whole garam masalas and allow them to sizzle. Add green chillies, mint and onions. Sauté until the onions turn translucent.
  5. Add the marinated chicken. Stir to mix and sauté for a couple of minutes.
  6. Add enough salt and water. Cook for 15 minutes until the chicken is ¾th cooked.
  7. Check for saltiness and add the rice, carefully mixing it and bring it to boil. When the water is ¾th absorbed or you see the rice on top, lower the flame and garnish with chopped cilantro and ghee.
  8. Close the lid and dum cook (without whistle) for 10 minutes and switch off the flame. After 10 minutes, serve it hot with any raitha and gravy on the side. Enjoy! 
Notes
You don’t have to soak samba rice in water before you cook. And here the water ratio is 1:2, i.e for 1 cup of rice add 2 cups of water.

 
Anganan Biriyani

Thalasseri Biriyani

Thalasseri Biriyani
Thalasseri Biriyani
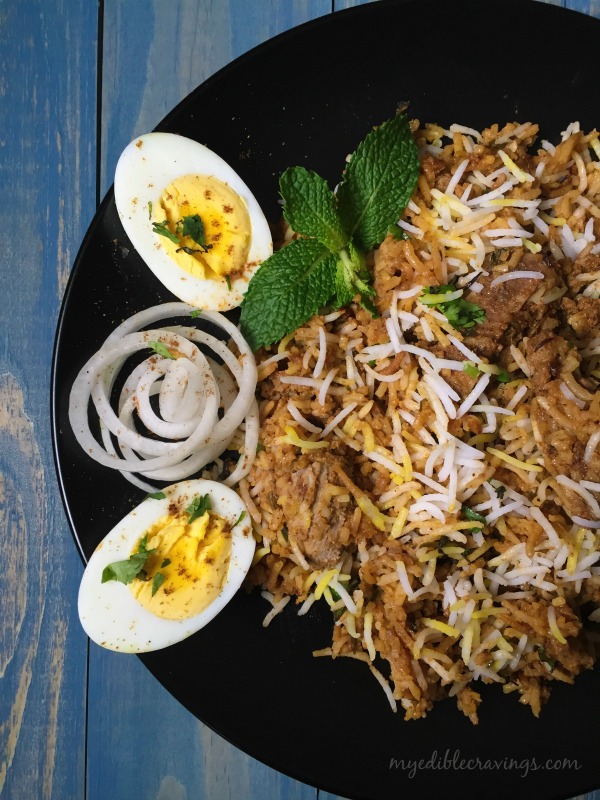
Biriyani in general is a wonderful dish and is one of the most famous dishes from India. As many of you know, there are many varieties of biriyani like thalappakatti, anjappar, mughalai, hyderabadi, ambur etc. Today I have given you the recipe of a biriyani variety from Kerala called as the Thalasseri biriyani.
Thalasseri Biriyani
Thalasseri Biriyani
There is a story behind me making Thalasseri biriyani. To be frank, I had not even thought about this variety. When we went for Indian grocery shopping recently, I came across a rice variety called the Kalajeera rice. It closely resembled Seeraga Sambha rice variety from my state in India, Tamilnadu. Biriyani prepared in Tamilnadu use this rice variety and it literally adds an amazing taste to biriyani. So when I saw this rice variety I assumed kalajeera must be the name of Seeraga Sambha in Kerala and I was eager to try it out. But when I open the rice bag, I did not smell that distinct aroma that emanates from Seeraga Sambha rice and realized that I made a mistake. Still I did not want to waste a bag of rice just because it was not the variety that I want. Then I came across Thalasseri biriyani recipe. It is a very popular biriyani variety in Kerala and kalajeera rice is used to prepare it.
Thalasseri Biriyani
Thalasseri biriyani is a little bit similar to Hyderabadi biriyani except that we use tomatoes here. Also, if making a chicken variant of this biriyani, we need to cook the chicken first in tomato based gravy and then use that gravy with chicken to do the layering. Don’t get anxious by the number of steps given below; it is easy to prepare Thalasseri biriyani.

Thalasseri Biriyani
Recipe type: Main
Cuisine: Indian
Prep time: 
Cook time: 
Total time: 
Serves: 3
 
Ingredients
To marinate :
  • Chicken - 500 grams or ½ kg
  • Red chilli powder – 1 tbsp
  • Turmeric powder – ½ tsp
  • Salt – ¼ tsp
  • Lemon juice – 2 tbsp
  • Ginger garlic paste – ½ tbsp (optional)
To make rice:
  • Ghee – 2 tbsp
  • Bay leaf – 1 no
  • Cloves - 3 nos
  • Cinnamon – 1”
  • Cardamom – 2 nos
  • Fennel seeds – ¼ tsp
  • Onion, big, sliced – 1 no
  • Kala jeera rice or Basmati rice – 1½ cups (soaked in water for 20 minutes)
  • Water – 2 ¼ cup ( 1 : 1 ½ )
  • Salt as required
To make gravy:
  • Ghee – 2 tbsp
  • Onion, big, sliced – 1 no
  • Green chillies, slits – 4 nos
  • Ginger garlic paste – 1 tbsp
  • Tomato, big, chopped – 1 ½ nos (if medium – 2 nos)
  • Cilantro & mint leaves, chopped – a handful
  • Garam masala – ½ tbsp
  • Sakthi biriyani masala – ½ tbsp (optional)
  • Yogurt – 2 to 3 tbsp
  • Salt as required
  • Fried chicken
For the toppings:
  • Cilantro, finely chopped – 1 to 2 tbsp
  • Onions, medium, sliced, deep fried – ½ to 1 no
  • Ghee – 1 tbsp
  • Garam masala – a generous pinch
  • Saffron, soaked in warm milk – a pinch
  • Food color – a pinch (optional)
Instructions
Step 1:
  1. Make a paste of the given ingredients ‘to marinate’. - Try to extract excess water in ginger garlic paste before adding to the marinated paste. Marinate the chicken with the paste and leave it for at least an hour.
  2. Heat enough oil in a deep flat pan and shallow fry the marinated chicken.
Step 2:
  1. Heat ghee in a deep flat sauce pan (which has a tight lid) and all the whole garam masalas (bay leaves, cloves, cinnamon, cardamom and fennel seeds).
  2. When they start to sizzle, add sliced onions and sauté well. Cook until the onion turns slight brown.
  3. Add the rice, enough water and salt. Close the lid, simmer and cook for 5 to 10 minutes until the rice is ¾ th done – do not add excess water in this stage, or else you will not get the right texture.
  4. When the rice is done, transfer them carefully to another container and keep it aside.
Step 3:
  1. Heat ghee in the same thick bottomed sauce pan (which you used to cook rice), add onions and sauté well. When the onions turn translucent, add ginger garlic paste and cook until the raw smell disappears. Add green chilli slits and stir well.
  2. Add the chopped tomatoes and cook until they turn mushy.
  3. When the tomatoes are well cooked, add freshly chopped coriander and mint leaves.
  4. Add yogurt, garam masala powder, biriyani masala and salt. Stir well and finally add the chicken. Mix well, cover and cook for another five minutes until the gravy is well blended with the chicken and forms the semi gravy.
  5. Check salt and switch off the flame.
Step 4:
  1. Heat a dosa pan and keep it ready.
  2. Meanwhile layer the cooked rice on top of the gravy.
  3. Sprinkle the freshly chopped cilantro and lemon juice on top.
  4. Layer the remaining rice and sprinkle the remaining cilantro, garam masala(optional), fried onions, saffron milk and food color.
  5. Cover the lid- the lid has to be really tight.
  6. Place the sauce pan on top of the dosa pan, simmer and cook for 10 minutes.
Notes
1. I used the same sauce pan to cook the rice (step 2) as well as to make gravy (step 3) and to dum the biriyani (step 4) as my pan was very thick. You could also cook the rice in pressure cooker. But make sure the rice is ¾th cooked.
2. Try not to use store bought fried onions instead deep fry the onions at home. This will enhance the flavor to the biriyani.

Thalasseri Biriyani

CHICKEN BIRIYANI

Chicken biriyani is a very popular Indian rice variety. Chicken biriyani is made with lots of spices which makes it more flavorful.037This is one of my most favorite dishes from my mom’s kitchen. Interestingly, I was not aware of its hold on me before my marriage. It all started after I moved here to U.S when I realized how much I was missing all those wonderful dishes back home and my mom’s biriyani was the one which I craved more.
042She prepares all the ingredients (from ginger-garlic paste to Biriyani powder) fresh right before making biriyani. Maybe that’s the secret of her recipe 😉 The fresh aroma of samba rice, homemade biriyani powder and ginger-garlic paste spreads through the whole house…ummmm..

  • If you are diet conscious, you can reduce the coconut milk ratio to 1 cup (i.e for 1 cup of rice, add 1 cup each of water and coconut milk) or entirely omit it and replace it with 2 cups of water. But coconut milk makes big difference in preparing this biriyani.
  • If you are using store bought coconut milk add just a couple of spoons. As they are very thick, adding more will overwhelm the taste of dish with coconut taste.
  • Do not add extra water as the chicken itself will release water.

032
And before proceeding, I’m warning you this food tempts you to make it again and again. 🙂

Mom’s Chicken Biriyani
Recipe type: Lunch
Cuisine: Indian
Prep time: 
Cook time: 
Total time: 
Serves: 2
 
Chicken biriyani is a very popular Indian rice variety. Chicken biriyani is made with lots of spices which makes it more flavorful.
Ingredients
Biriyani powder/masala:
  • Cloves – 10
  • Star anise – 2
  • Black Pepper – 15 nos
  • Green cardamom – 8
  • Cinnamon sticks – 1", 4 nos
  • Javetri – 1 flower
Other ingredients:
  • Ghee – 2 tbs
  • Coconut oil – 1 tsp
  • Biriyani powder – 1 tbs
  • Bay leaf – 1 (big)
  • Big Onion – 1 (cut into slits)
  • Ginger & Garlic paste – 1 tbs
  • Tomatoes – 1 (chopped)
  • Green chilli – 5 (slits)
  • Cilantro – handful (chopped)
  • Mint leaves – handful (chopped)
  • Coriander powder – 1 tbs
  • Red Chilli powder – 1 tsp
  • Garam masala powder – ½ tsp
  • Turmeric powder – 1 tsp
  • Salt – as required
  • Chicken – 1 lb or ½ kg (with bone)
  • Samba or Basmati rice – 1 cup
  • Coconut milk – 2 cups
Instructions
  1. Wash the chicken in running water. Marinate it with a tsp each of salt, turmeric powder and chilli powder and a tbs of ginger-garlic paste for 15 minutes.
  2. Wash the rice and keep it aside (if you are using basmati rice, wash and soak it in water for half an hour).
  3. Blend all the ingredients together given under biriyani masala and make a powder (you can store this biriyani powder in a small air tight container and use it for several days).
  4. Exract the coconut milk (if using homemade) and keep it ready.
  5. Heat the pressure cooker with a tsp of coconut oil and a tbs of ghee. Add in biriyani masala and slit onion. Sauté well.
  6. When onions turn slightly brown, add ginger & garlic paste. Stir fry till the raw aroma of ginger-garlic disappears.
  7. Add chopped tomato and sauté until mushy.
  8. Add all the greens (slit green chillies, chopped mint and cilantro) and sauté it for a minute.
  9. Now in a low flame, add in all the masala powders ( chilli powder, coriander powder and garam masala powder ) along with salt.
  10. Add in the chicken pieces and give it a stir.
  11. Add the coconut milk, mix well and bring it to a boil.
  12. Now check salt and add the washed (soaked) rice. Mix it well (make sure not to break the rice grains). Allow it to boil.
  13. When the water or coconut milk starts to boil, close the lid and cook for 3 whistles.
  14. When done open the lid, add a tbs of ghee and give it a stir (again, be careful not to break the grains while stirring) and close the lid.
  15. After ten minutes, serve hot chicken biriyani with onion raitha and any chicken / mutton gravy of your choice.
Notes
1. If you are diet conscious, you can reduce the coconut milk ratio to 1 cup (i.e for 1 cup of rice, add 1 cup each of water and coconut milk) or entirely omit it and replace it with 2 cups of water. But coconut milk makes big difference in preparing this biriyani.
2. If you are using basmati rice, then the ratio will be different i.e for 1 cup of rice 1 ½ cups of water.
3. If you are using store bought coconut milk add just a couple of spoons. As they are very thick, adding more will overwhelm the taste of dish with coconut taste.
4. Do not add extra water as the chicken itself will release water.

Chicken Biriyani