Bread Halwa

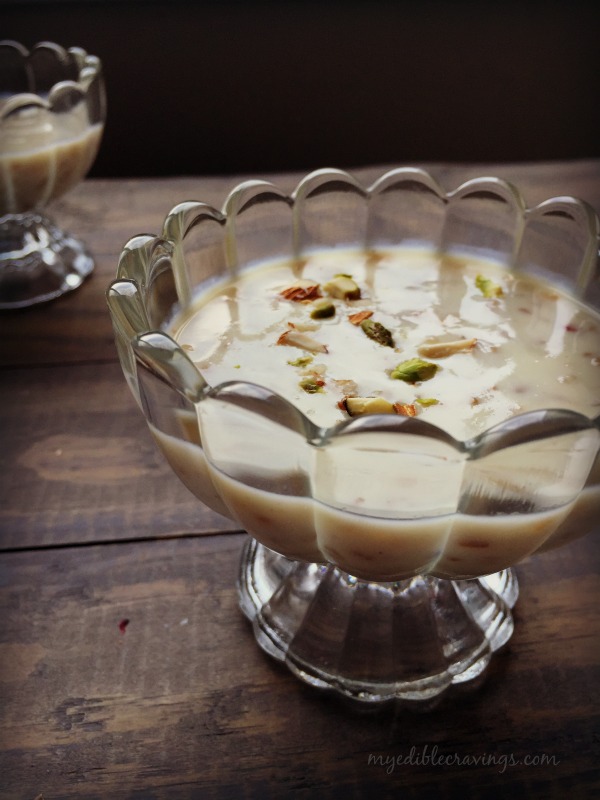
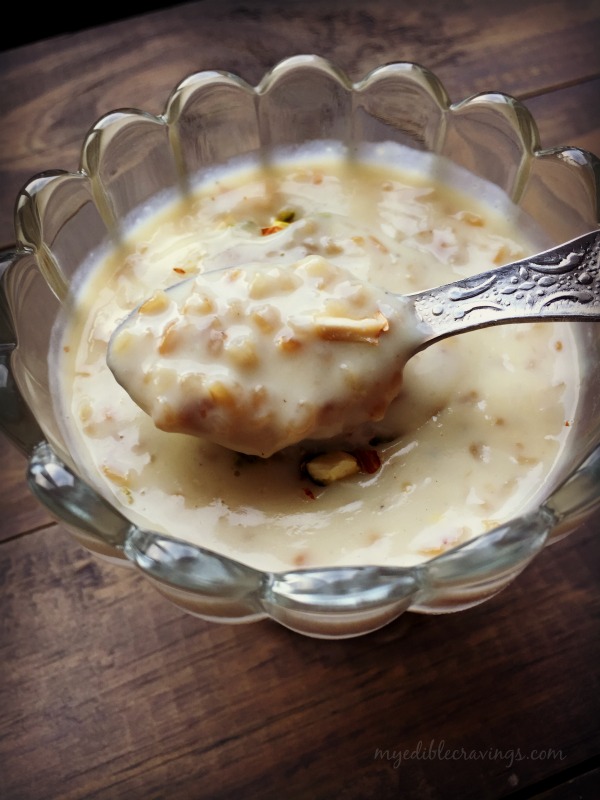
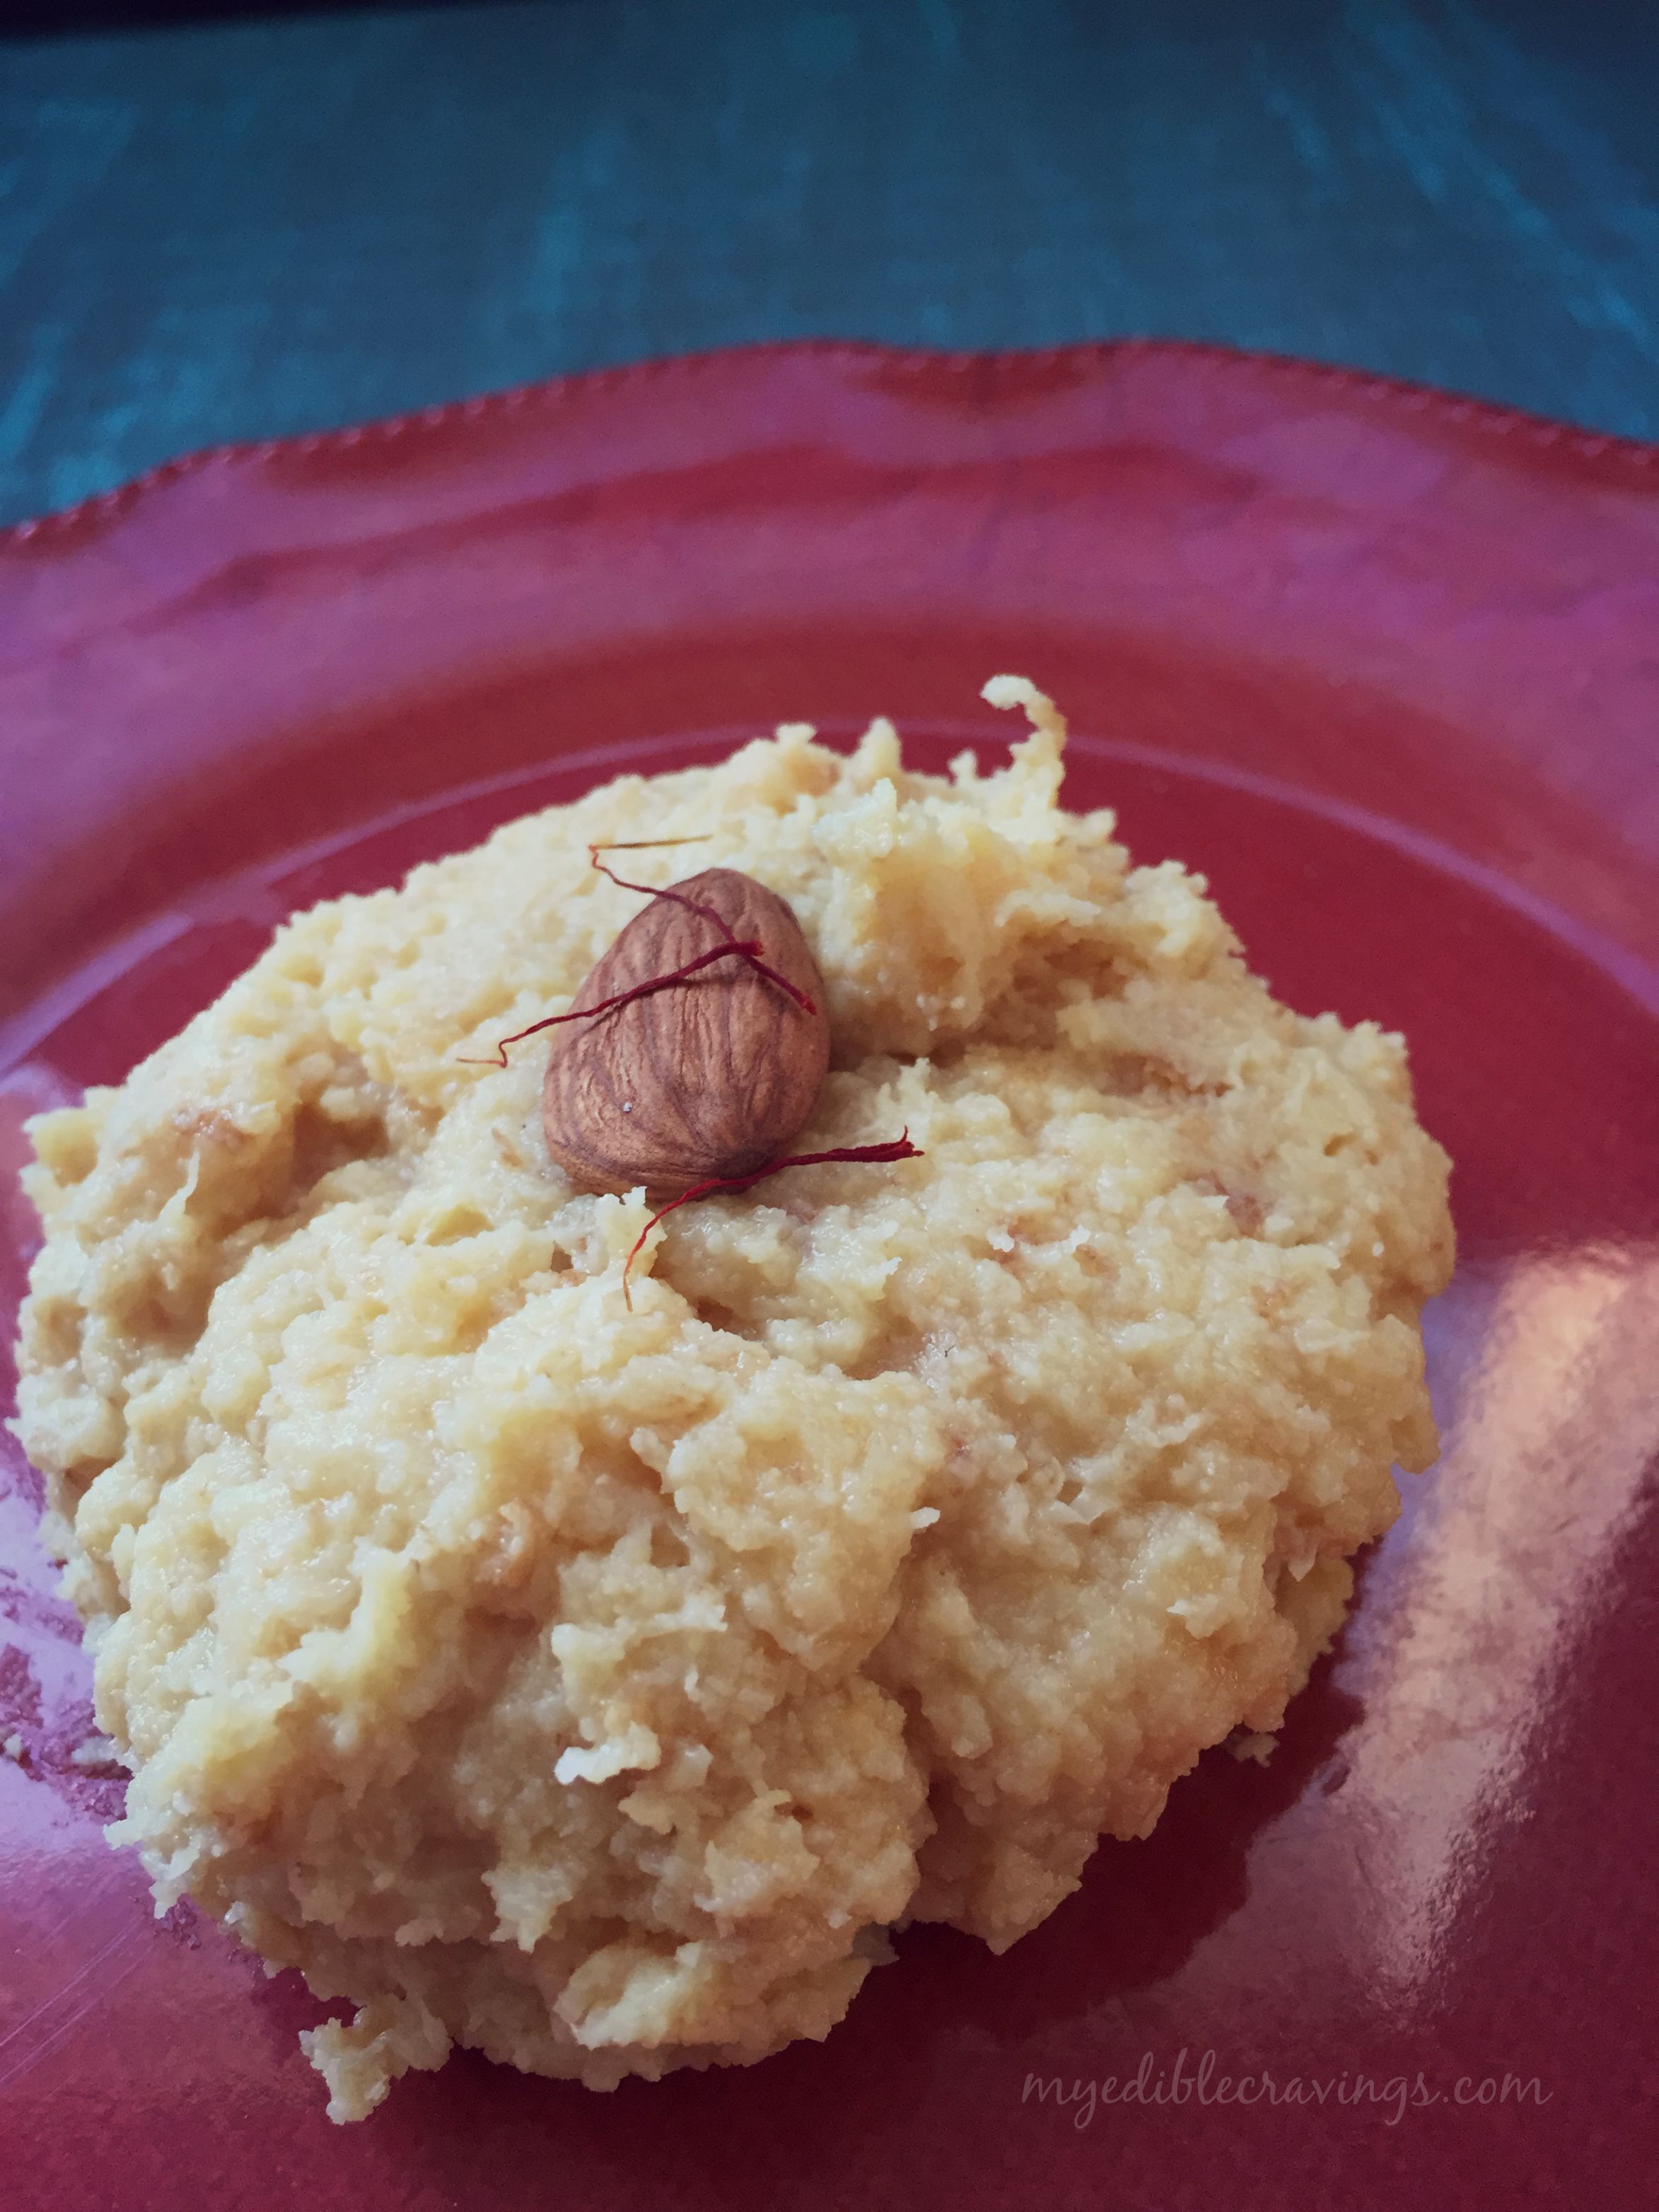
bread halwaHappy Fathers day!!! For every son and daughter out there, Dad is their hero and role model and I am no different. I love my dad. As always, like any other special days, I wanted to make something sweet that personifies my dad. I also wanted it to be something that I haven’t made so far. So after some deliberation and searching, I made Bread Halwa. I have had bread halwa before, my mom’s (yummy!) and from this restaurant (Ananda’s) near (Rajapalayam) my home town in India which is famous for its Bread halwa.

bread halwabread halwaHalwa is a popular Indian sweet which literally means sweetness. There are so many varieties of Halwa, like, Wheat halwa (the original), muscut halwa, semolina halwa, carrot halwa, bread halwa, beetroot halwa, Asoka halwa etc. Halwa is the only sweet that I love to have hot (but not the bread halwa, though :)) Back home, there is this town in my state called Tirunelveli which is famous for its halwa (especially from one particular shop called Iruttukadai). Also, there is another restaurant (Nanban Mess) in Kuttralam, a popular tourist town in Tamilnadu famous for its waterfalls, that makes one of the most delicious halwa out there. Having a bath at the waterfalls and then breakfast and halwa at that restaurant is a ritual which we never forget to follow while there. I simply love it 🙂

bread halwaGenerally, I don’t like fried food or any dish that involves frying. That was one of the main reasons why I did not try making bread halwa for a long time. All the recipes that I came across involved frying the bread. But when I came across a recipe that did not involve frying I tried it at once and the result was extremely tasty :D. The Bread Halwa recipe I have posted here is extremely easy to make and it takes no time at all, infact you can make it in less than 15 minutes tops. Care should be taken while cooking as you don’t want to overcook the halwa else it will get harder because of the bread used. Try out this Bread Halwa and you won’t be disappointed, I guarantee!

Bread Halwa
Recipe type: Dessert
Cuisine: Indian
Prep time: 
Cook time: 
Total time: 
Serves: 4
 
Ingredients
  • White Bread slices – 6 (I used pepperidge sandwich bread)
  • Ghee – ¼ cup
  • Milk – 1 cup
  • Sugar – 1 cup
  • Rose water – ¼ tsp
  • Pistachios, chopped – for garnishing
Instructions
  1. Boil milk and allow it to cool.
  2. Cut the soft crust on all four sides of the bread.
  3. Roughly chop the bread slices and soak them in milk. Mash the bread with clean hand without any lumps.
  4. Heat a thick nonstick pan and add ⅛ cup ghee and add the mashed bread.
  5. Cook in medium flame and stir constantly for few minutes until it doesn’t stick on the sides.
  6. Add sugar in low to medium flame and mix well. Add the remaining ghee at this stage. Stir constantly until the halwa consistency. It only takes a couple of minutes.
  7. Switch off the flame and serve hot or cold garnishing with pistachios. Enjoy! 🙂
Notes
1.Always make this bread halwa in low to medium flame.
2.This dish will be cooked real quick. So do not overcook otherwise you won’t get the desired consistency.
3.I used US measurements for this recipe.

bread halwa

Oats Payasam

Oats PayasamHappy Tamil New Year, everyone! Missing home :(. It is a tradition all over the world to make special dishes on special occasions like festivals, celebrations etc and Tamilians are no exception to that. Though it is not a big occasion like Deepavali or Pongal, Tamil New Year is still celebrated widely back home. You get to watch lots of programmes in cable television, you get a Government holiday and get to eat scrumptious food:) Now lets concentrate a little bit more on that last word, after all this is a food blog and I am foodie (hope you are too :)) I make it a habit of preparing something new, usually a sweet dessert on all special occasions and holidays. And I try not to make the same dish for two different occasions. This year, I tried a new type of Payasam or Kheer made from oats called the Oats Payasam and am sharing the recipe for it here.

Oats PayasamOats PayasamOats, as you all might know is a popular breakfast food which is rich in nutrients. Most often, you might have had it in the form of porridge (both sweet and savory). We too got in to this breakfast routine of having oats and ended up with buying different varieties of them like steel cut, rolled etc. For Tamil new year, I decided to make use of the oats, come on, how much can you have it as breakfast only :). I came across this Oats Payasam recipe and decided that it is going to be my special dish this year. Oats Payasam is a very simple dish but extremely tasty. It is made using steel cut oats, jaggery, ghee and nuts like cashews, pistachios and almonds.

Oats PayasamOats PayasamThis is my first time making the Oats Payasam and I am very happy with the outcome. It is very tasty and I find it similar to Aravana Payasam in taste, especially that crunchiness, served as prasadham in Sabarimala Temple back home. Try this sweet Payasam in honor of an even sweeter language, Tamil, on this special day and enjoy it with your loved ones 🙂

Also check out my Paal Payasam recipe here

Oats Payasam
Recipe type: Dessert
Cuisine: Indian
Cook time: 
Total time: 
Serves: 4
 
Ingredients
  • Steel cut oats – ½ cup
  • Water – 1 ½ cup
  • Milk – 3 cups ( I used 2% milk)
  • Jaggery – ½ to ¾th cup
  • Cashews – 7 nos
  • Pistachios and Almonds, roughly chopped, seperated – 1 tsp
  • Cardamom powder, freshly ground – 4 nos
Instructions
  1. Heat 1 and ½ cups water in a pan and add oats. (1:3 ratio – for 1 cup of oats 3 cups water)
  2. Cook in a medium flame until the water dries out completely for 10 minutes and transfer to a bowl.
  3. Meanwhile boil milk in another vessel.
  4. Once the milk is boiled, simmer and add ½ tsp roughly crushed almonds, pistachios and few cashews. Simmer it for couple of minutes stirring occasionally.
  5. Now add in the cooked oats and mix well. Simmer it for another couple of minutes.
  6. Meanwhile, add jaggery with very little water (1 tbsp) in the same pan used to cook oats.
  7. Add cardamom powder to oats.
  8. Cook jaggery until it dissolves completely and forms a syrup.
  9. Switch of the flame and add jaggery syrup to the oats mixture. Mix well until the jaggery syrup is well incorporated to the oats payasam.
  10. Fry cashews with ¼ tsp ghee and add them to the oats payasam. Sprinkle the remaining chopped nuts on top and serve hot or cold according to your taste. Enjoy! 🙂

Oats Payasam

Dhoodh Shahi Murgh

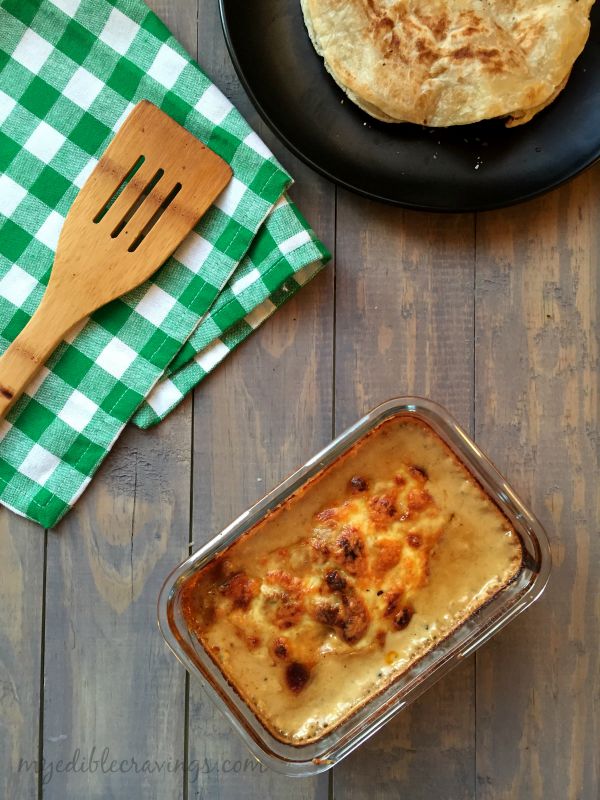
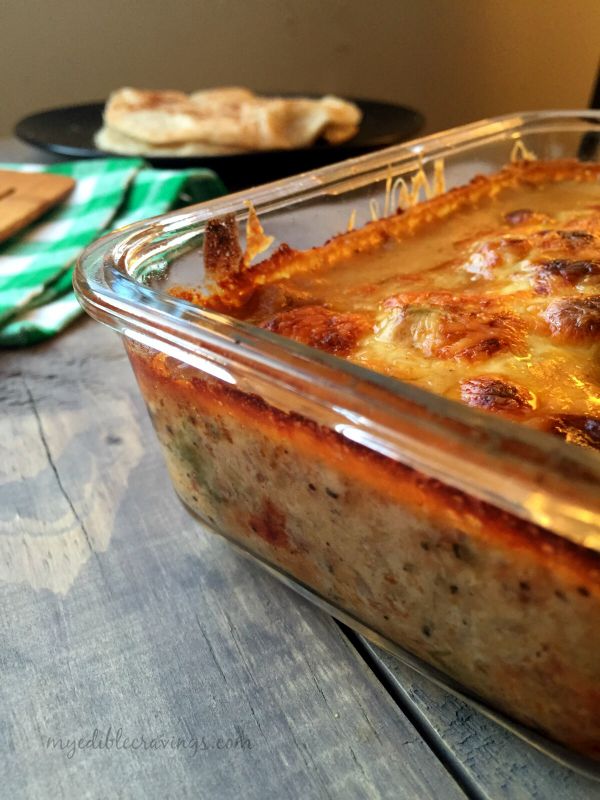
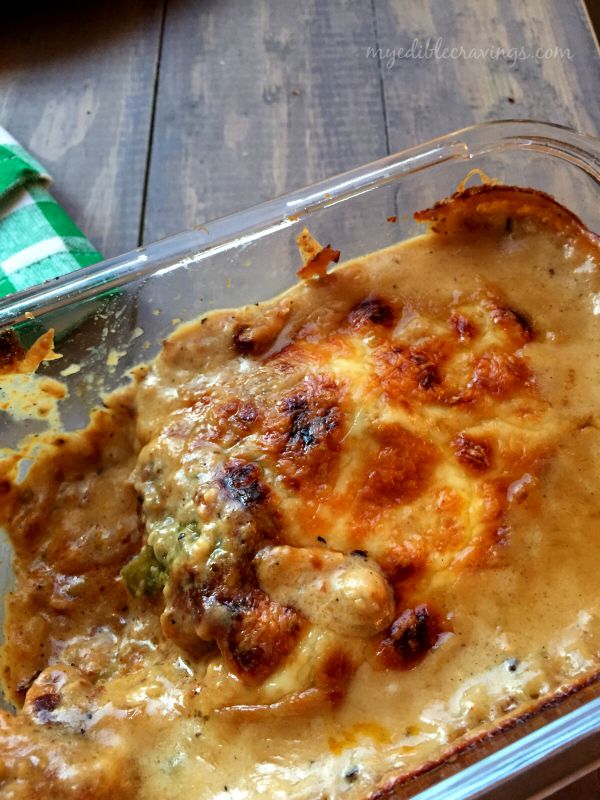
Creamy ChickenI am always interested in trying out different recipes and am on the lookout for the same. That is how I found today’s recipe, an unique chicken gravy that is a sort of fusion dish (will elaborate on this shortly) I would say. It is called the Doodh Shahi Murg which means chicken cooked with milk. The main ingredients in this recipe, apart from milk are, koya and heavy cream.

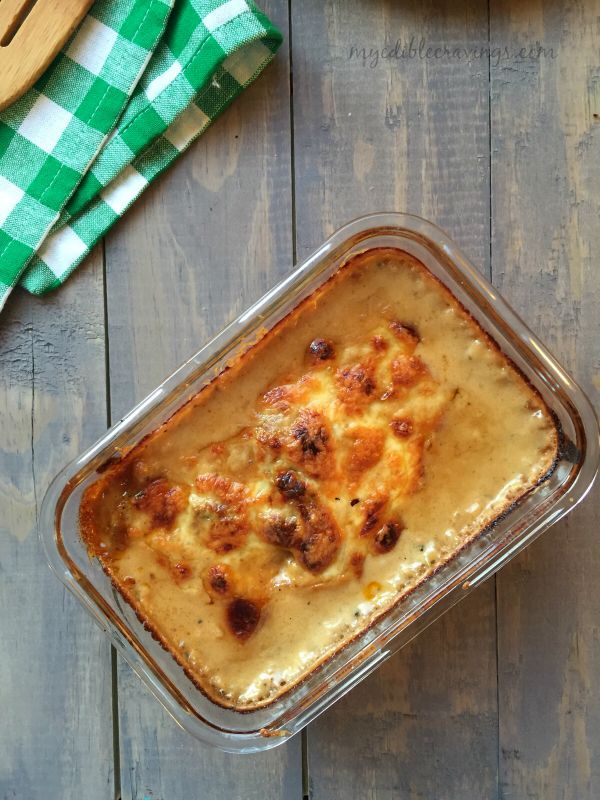
creamy chickenDoodh Shahi Murgh is a rich gravy that makes you feel heavy even when had in small servings. The preparation of this dish is unique in the sense that the ingredients used are all Indian but the cooking method closely resembles continental style i.e., similar to pasta or cannelloni. In Doodh Shahi Murgh, the meat (chicken) is first cooked (shallow fried here), then a layering gravy made from milk, khoya and heavy cream is poured over the chicken and then baked. The resulting Doodh Shahi Murgh is a mouth watering, rich chicken gravy.

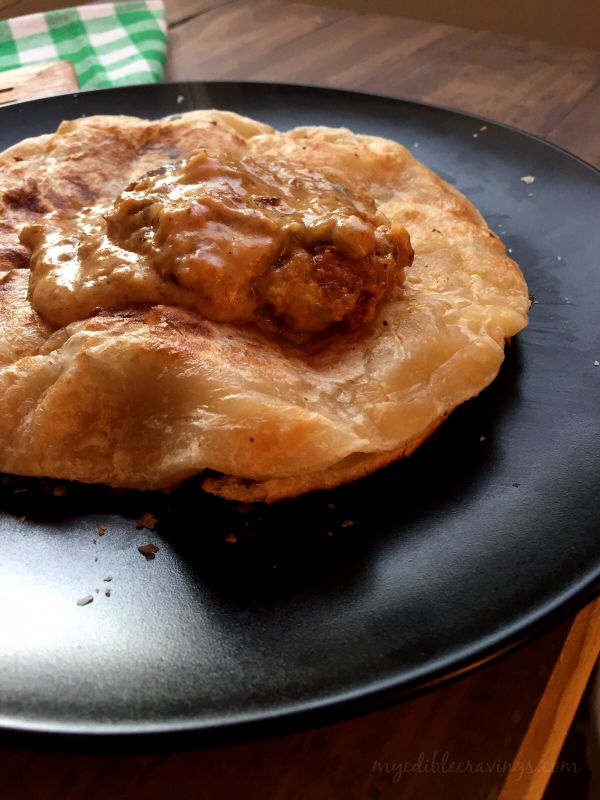
Chicken dhoodh shahi murghcreamy chickenDoodh Shahi Murgh is an excellent accompaniment for naan, chappathi, parotta etc. It has a slight sweetness to it because of the milk and koya. I admit that the time taken to prepare Doodh Shahi Murgh is a bit longer than most other gravies but do believe me when I say that the taste is worth all the time spent. Try this exotic, rich Doodh Shahi Murgh in your kitchen and do let me know your favorite accompaniment to it.


Chicken Dhoodh Shahi Murgh
Recipe type: Main
Cuisine: Fushion
Prep time: 
Cook time: 
Total time: 
Serves: 4
 
Ingredients
To marinate:
  • Chicken – 1 cup
  • Ginger garlic paste – 1 tbsp
  • Turmeric powder – ½ tsp
  • Lemon juice – from 1 lemon
  • Cumin powder – a generous pinch
  • Salt as required
  • Red chilli powder – 1 tsp
  • Garam masala powder – 1 tsp
  • Hung yoghurt, beaten – ½ cup
For the gravy:
  • Ghee – 1 tbsp
  • Green chilli slits – 2 nos
  • Onion, medium, finely chopped – 1 no
  • Cashew paste – 2 tbsp
  • Sweetened khoya – 1 to 1 ½ tbsp
  • Milk – 1 cup
  • Cumin powder – ½ tsp
  • Cardamom powder – a pinch
  • White pepper powder – ½ tsp
  • Black pepper powder, freshly ground – ½ tsp
  • Salt – a generous pinch
  • Fresh cream – 1 tbsp
  • Grated cheddar cheese – for garnishing
Instructions
  1. Wash the chicken pieces and drain all the excess water. Add in ginger garlic paste, turmeric powder, lemon juice and mix well.
  2. Now add cumin powder, salt and garam masala powder. And again mix well.
  3. Finally add the beaten hung yoghurt, mix well and leave it for at least 20 minutes.
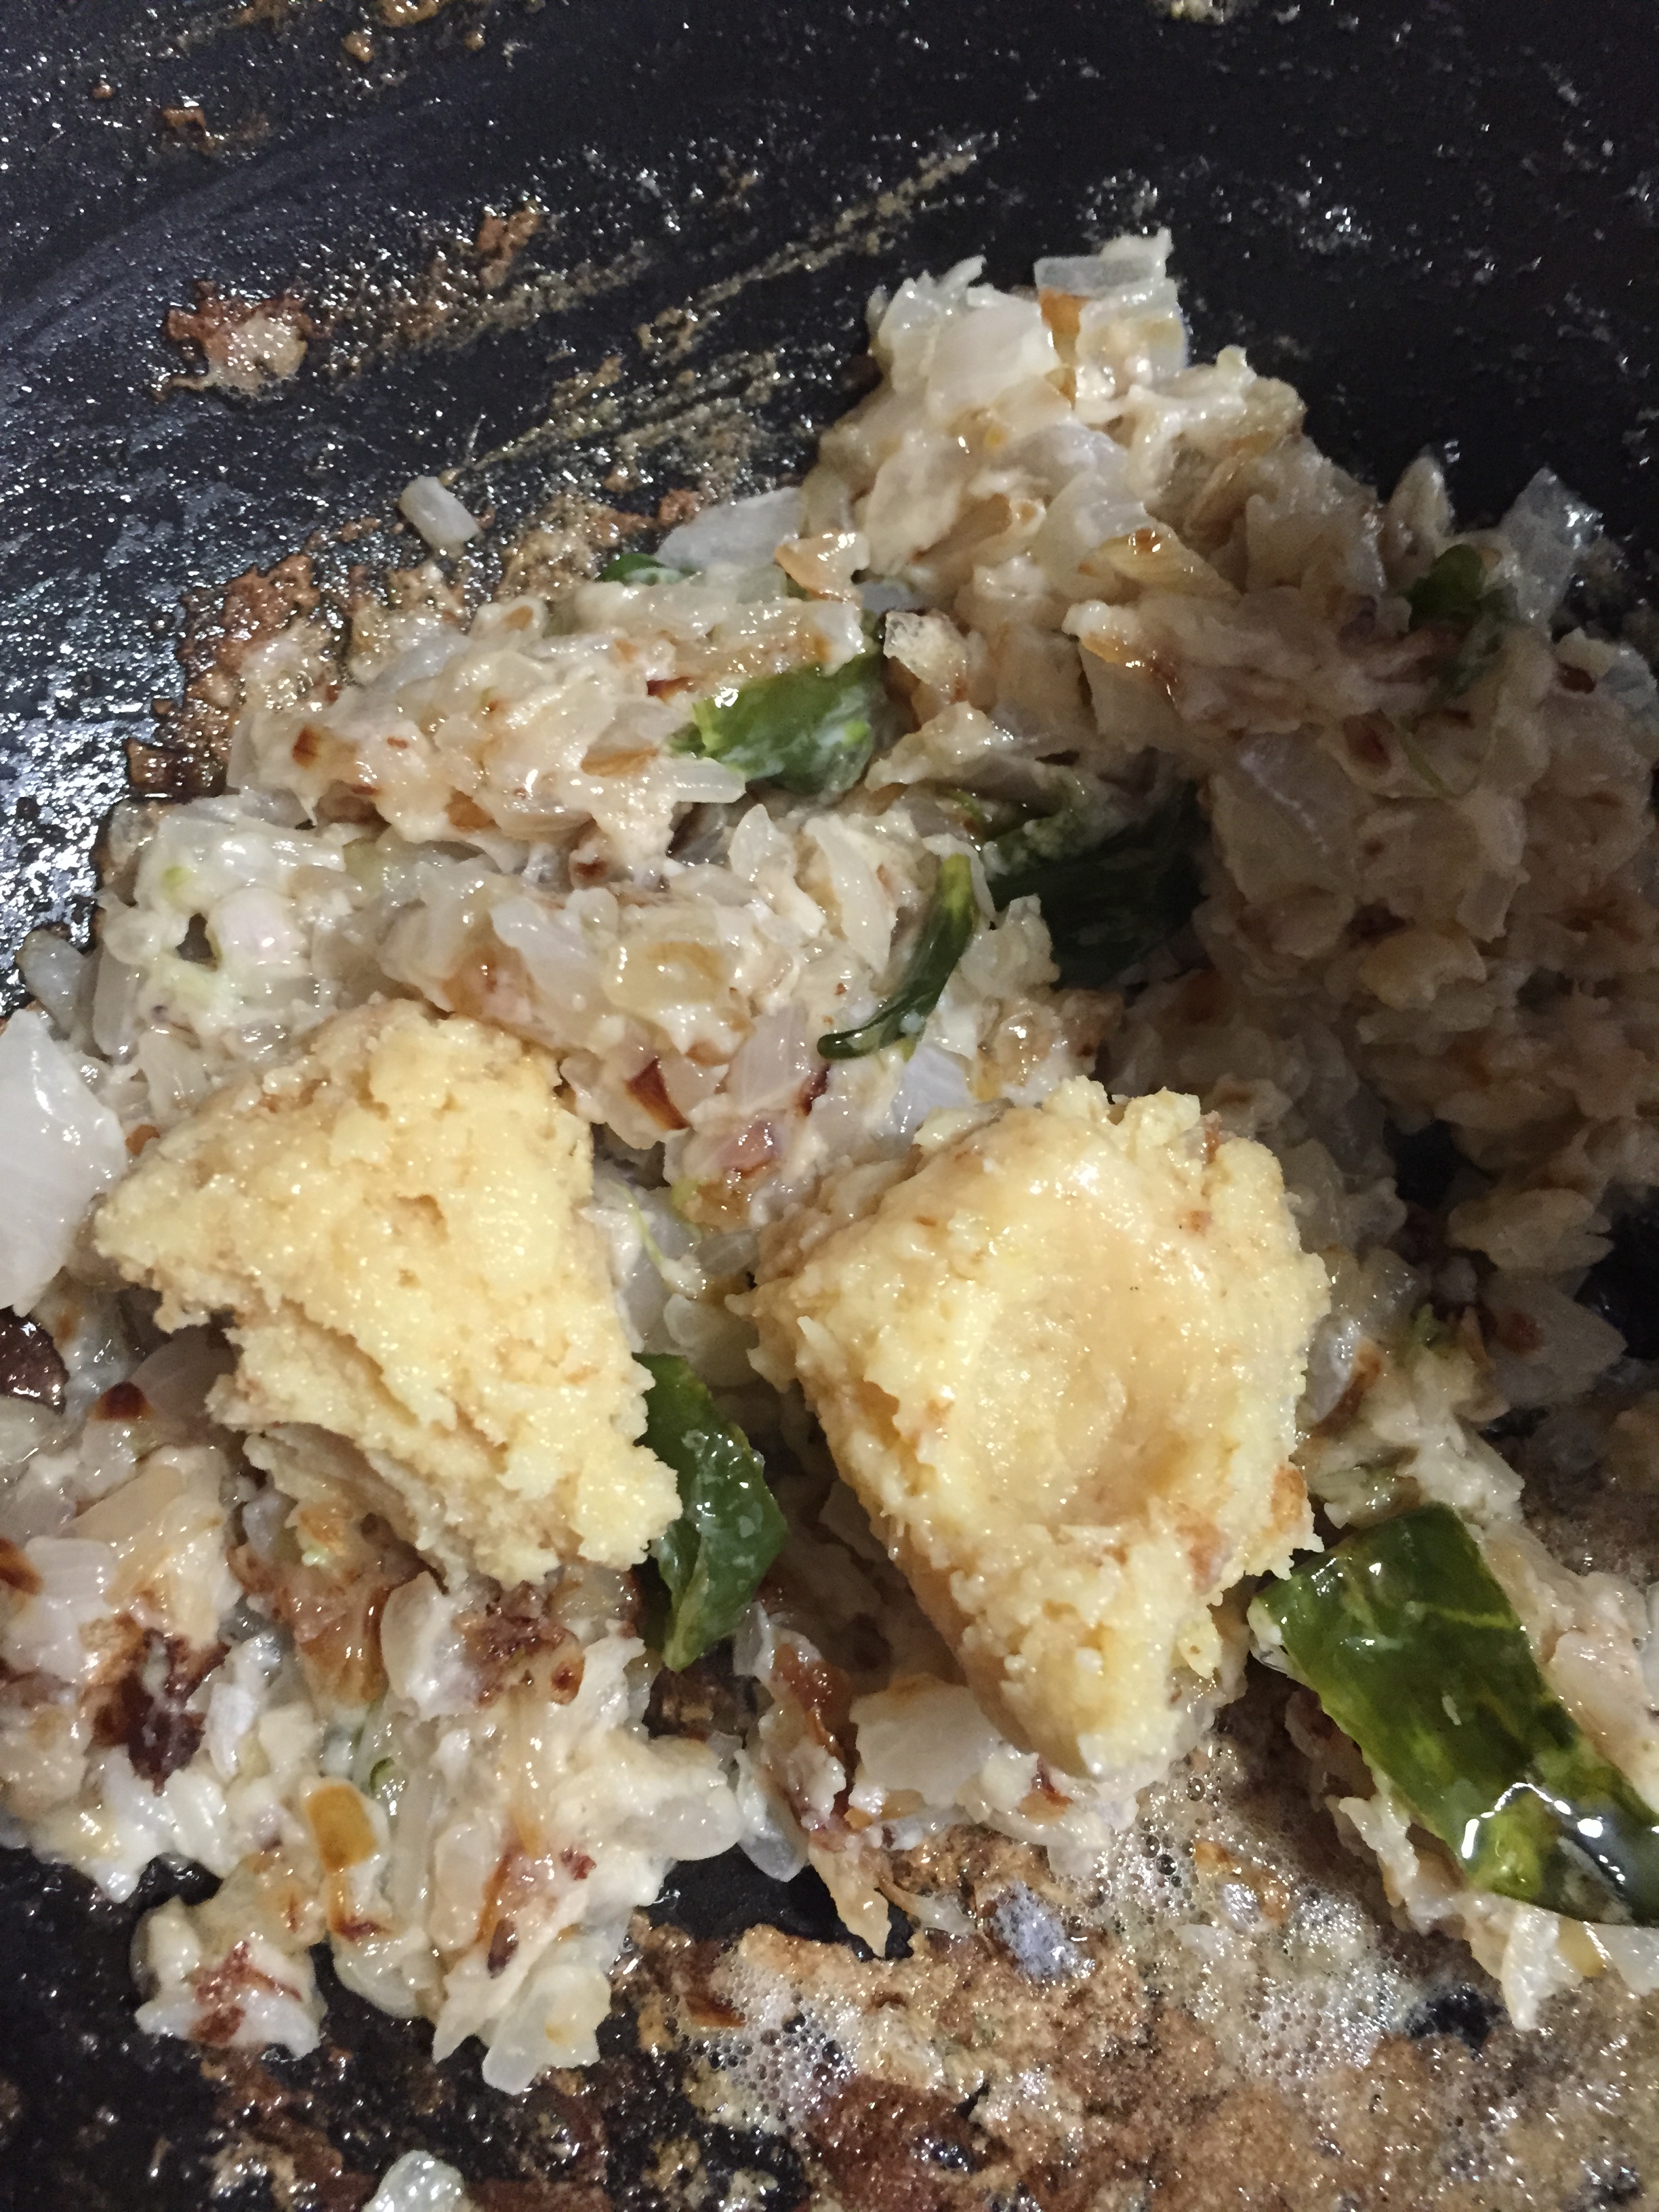
  4. Heat a wide pan with oil and add green chillies. Sauté well until the outer layer turn white.
  5. Add in finely chopped onions and sauté until they turn translucent or golden brown.
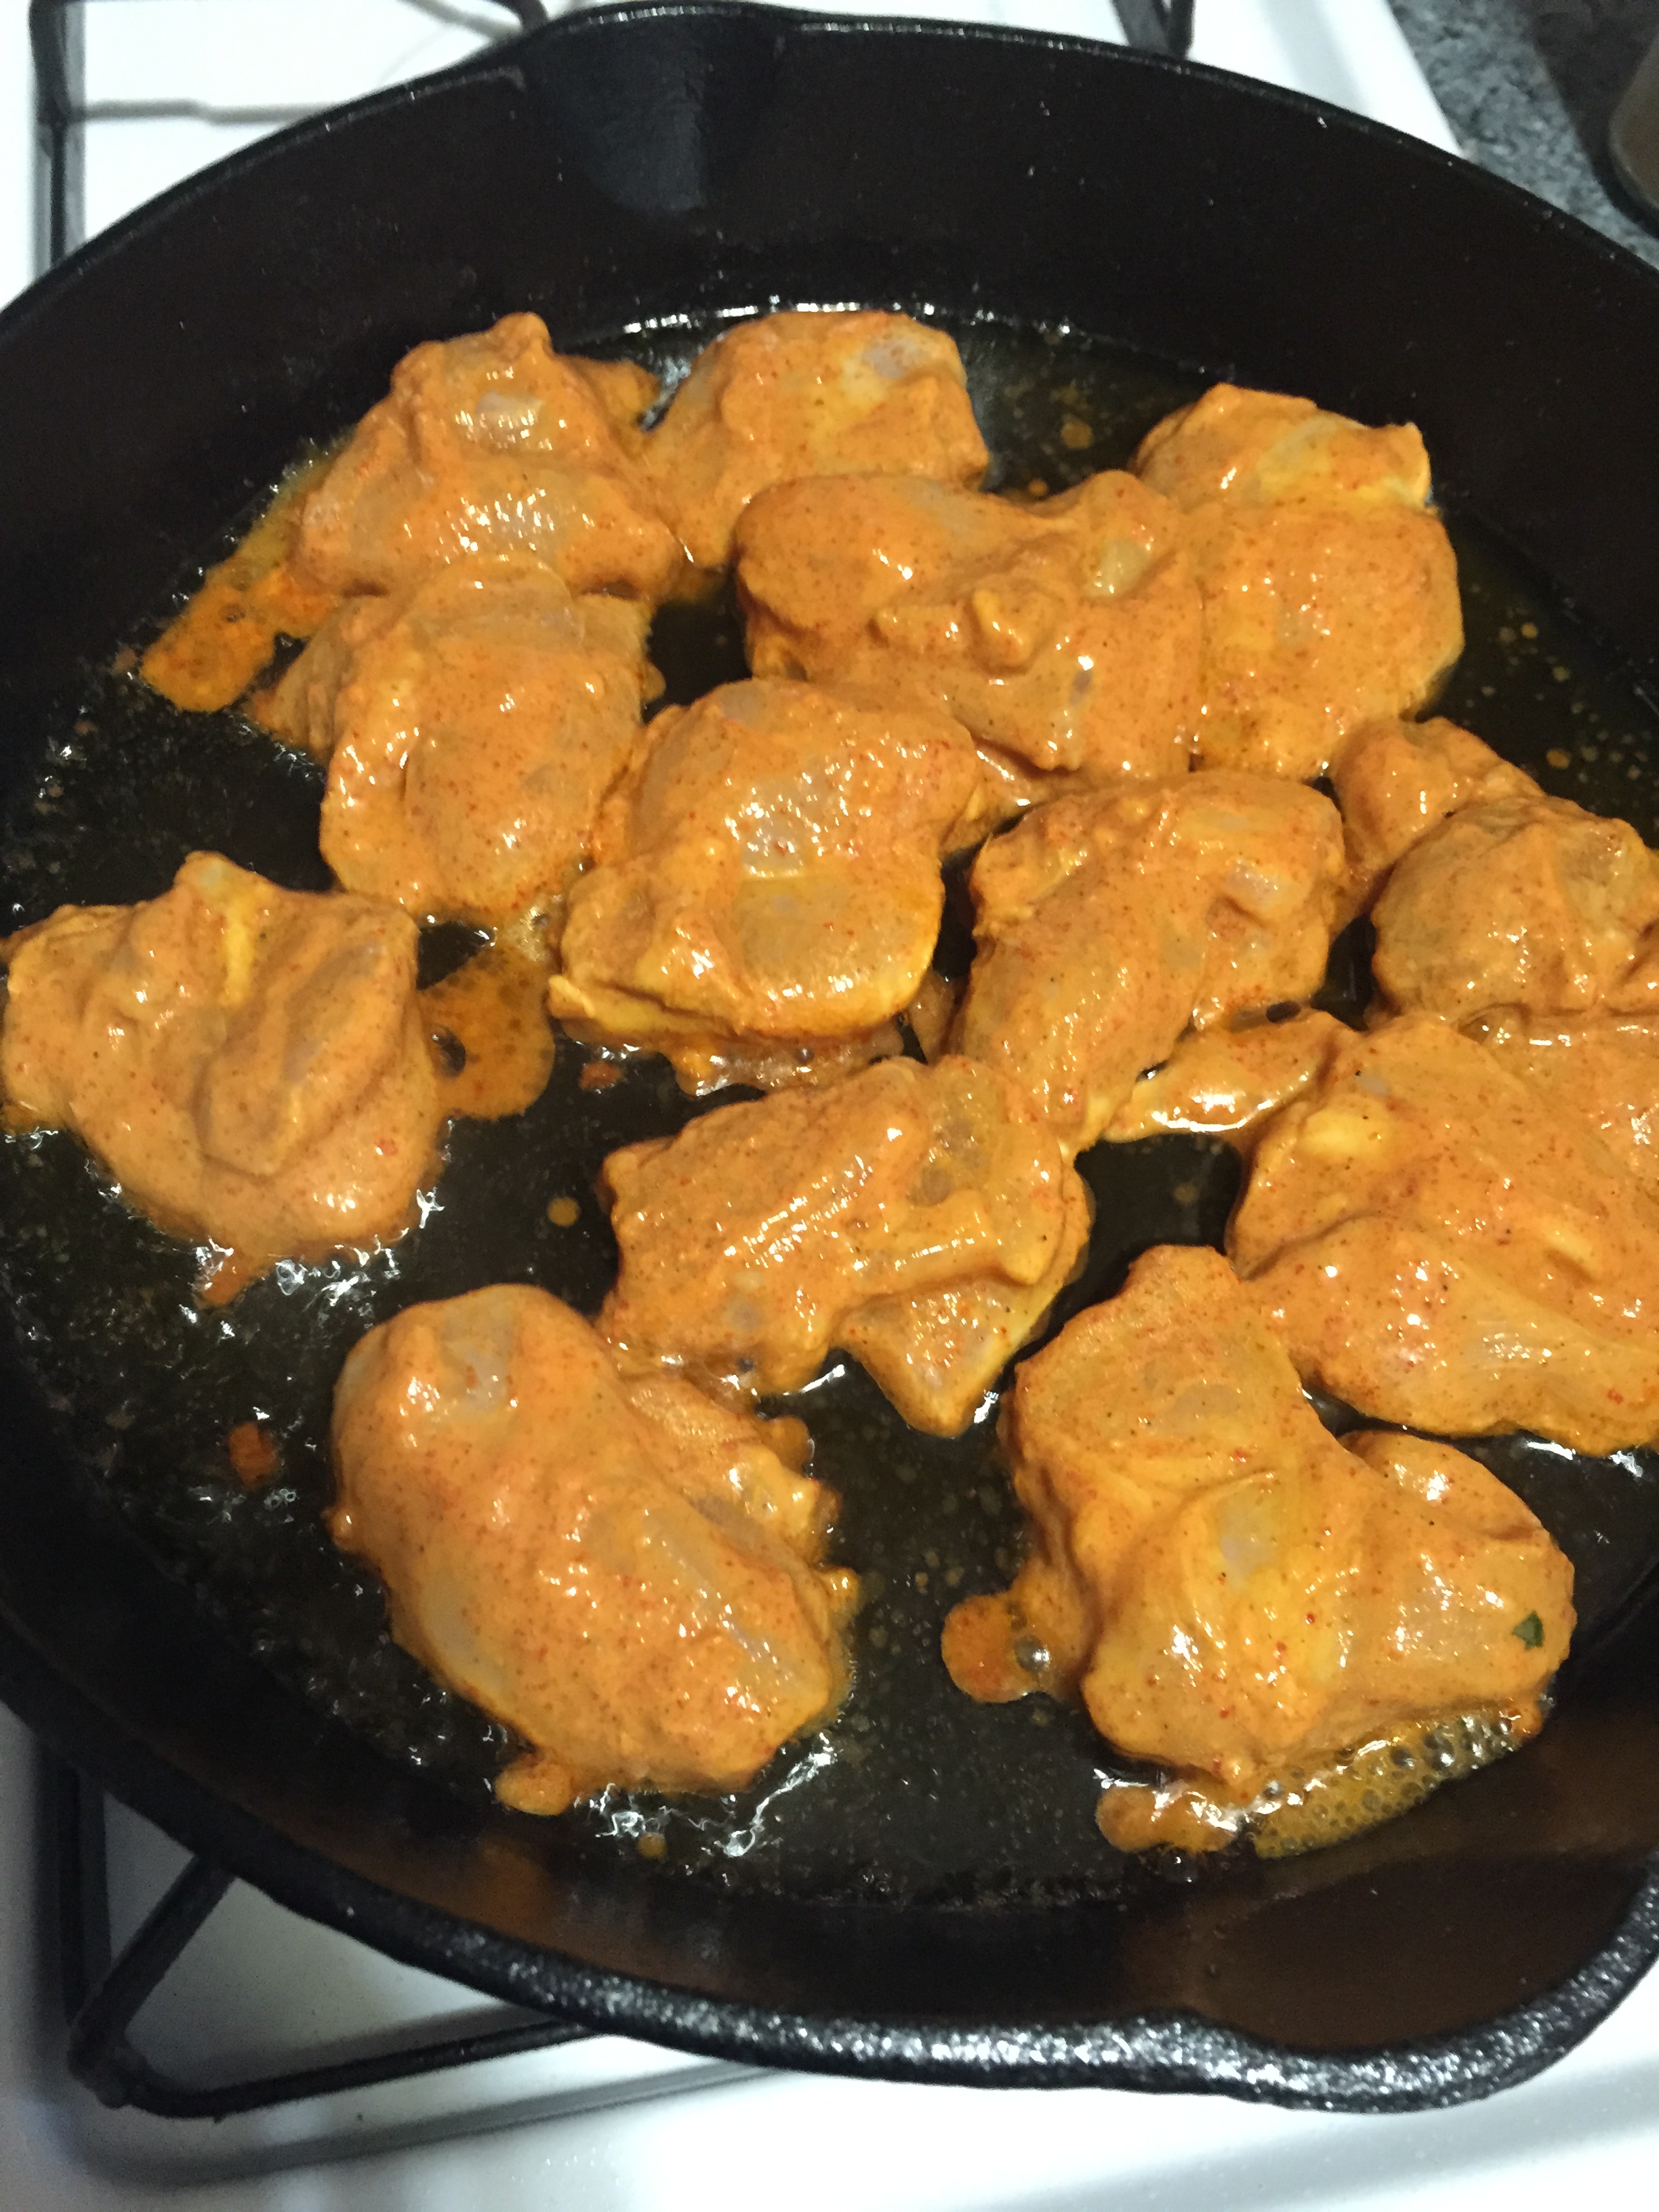
  6. Meanwhile heat a flat skillet with 2 tbsp of oil and add marinated chicken one by one onto the skillet. Shallow fry the chicken pieces until one side is done.
  7. Now in a low flame add in cashew paste and mix well. Cook until the raw smell disappears stirring constantly. Cashew paste tends to stick to the bottom. So constant stirring is required.
  8. Meanwhile check if the chicken pieces are cooked on one side and flip them to cook on the other side.
  9. Add in sweetened khoya when the raw smell of cashew disappears. Mix well.
  10. Now add a cup of milk and mix well. Cook for a minute.
  11. Add cumin powder, cardamom powder, pepper powder and salt. Mix well and cook until the sauce is semi thick and well cooked. Switch off the flame.
  12. Add a tbsp of fresh cream to the sauce and mix it well.
  13. Preheat the oven to 500 degrees Fahrenheit or 320 degrees Celsius.
  14. By the time your chicken will be well cooked on both sides. Take out the chickens using tongs and place them on a oven safe flat bowl.
  15. Pour the sauce on top of the chicken pieces and make a layer.
  16. Grate the cheddar cheese on top of the sauce.
  17. Place the bowl inside the oven and leave for 10 minutes or until you see the cheese melt and turns golden brown on top. Enjoy this creamy chicken dhoodh shahi murgh with parotta or romali roti! 
Notes
To make hung yoghurt, place your strainer lined with muslin cloth or paper towel inside of a bowl. Pour enough amount of yoghurt in. place it in the refrigerator for an hour. Or just rotate the muslin cloth and gently squeeze the excess water (i.e. Whey) using your hand.

creamy chicken

Sweetened Khoya or Paalkova


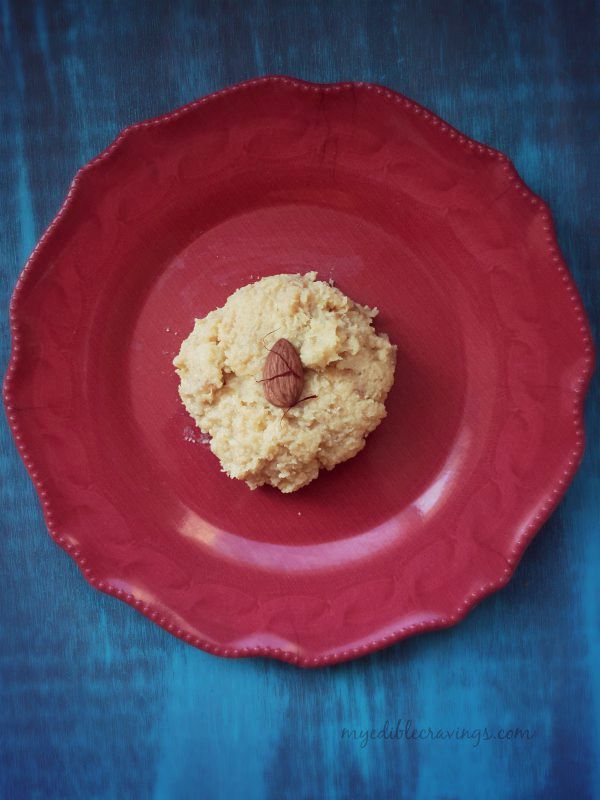
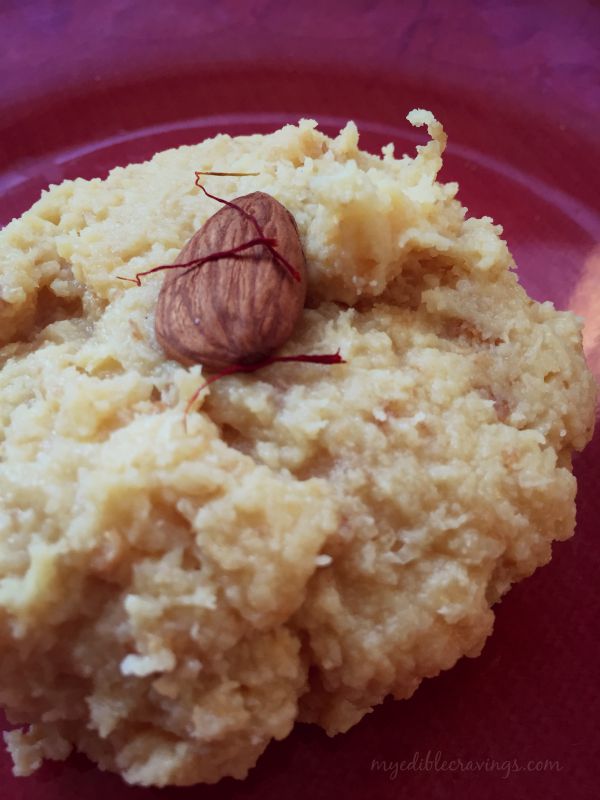
Sweetened KhoyaAfter quite sometime, I am posting an Indian sweet variety that is called as Paalkova or Sweetened Khoya. It is a milk based sweet which also serves as a base ingredient for many other sweet varieties. Back home, the town of Srivilliputtur, which also happens to be my dad’s hometown, is famous for Paalkova. In ancient period, Srivilliputtur was a settlement of Yadava people, who in turn are descendants of Lord Krishna. Yadavas were cow herders by occupation and their settlement was called as Ayarpadi. So it is only fitting that Paalkova originated in this town that is known for the abundance of milk and cows. You literally can find a Paalkova shop at every other corner in the town. Since 1970s, the co-operative milk producers society and other vendors in Srivilliputtur started the production of Paalkova in a large scale and they still serve as the whole sale producers for other retailers throughout Tamilnadu.

Sweetened KhoyaPaalkova reminds me of so many sweet memories from my childhood. When I was little, me and my cousins go to Srivilliputtur to visit my grandma for the holidays. And every time we return home, there will always be a big pack of Paalkova amongst the luggage. That continued well in to my college days too. I had a standing request from my friends to bring back Paalkova after every holiday break :).

Preparation of Paalkova is a time consuming process and requires your attention often throughout the process. But it is worth the time and money when considering the end result – a creamy, rich and sweet Paalkova.I would suggest you continue with cooking other dishes (if any) as well, with one eye on Paalkova preparation too or else you will easily get bored and distracted. Since milk is the main ingredient here and you add sugar as well, you get satisfied very easily. Paalkova can also be served as a dessert after lunch or dinner. Try this tasty treat from my home town and enjoy its sweetness with your near and dear.


Sweetened Khoya or Paalkova
Cook time: 
Total time: 
Serves: 2
 
Ingredients
  • Full fat milk – 3 cups
  • Sugar – ¾ cup
Instructions
  1. Add milk in a wide open heavy bottomed pan (preferably non stick) and bring it to boil.
  2. Reduce the flame to medium-low and add sugar. Stir and scrape the sides.
  3. After 20 minutes, milk is reduced to half. Keep stiring and scraping the sides of the vessel from time to time.
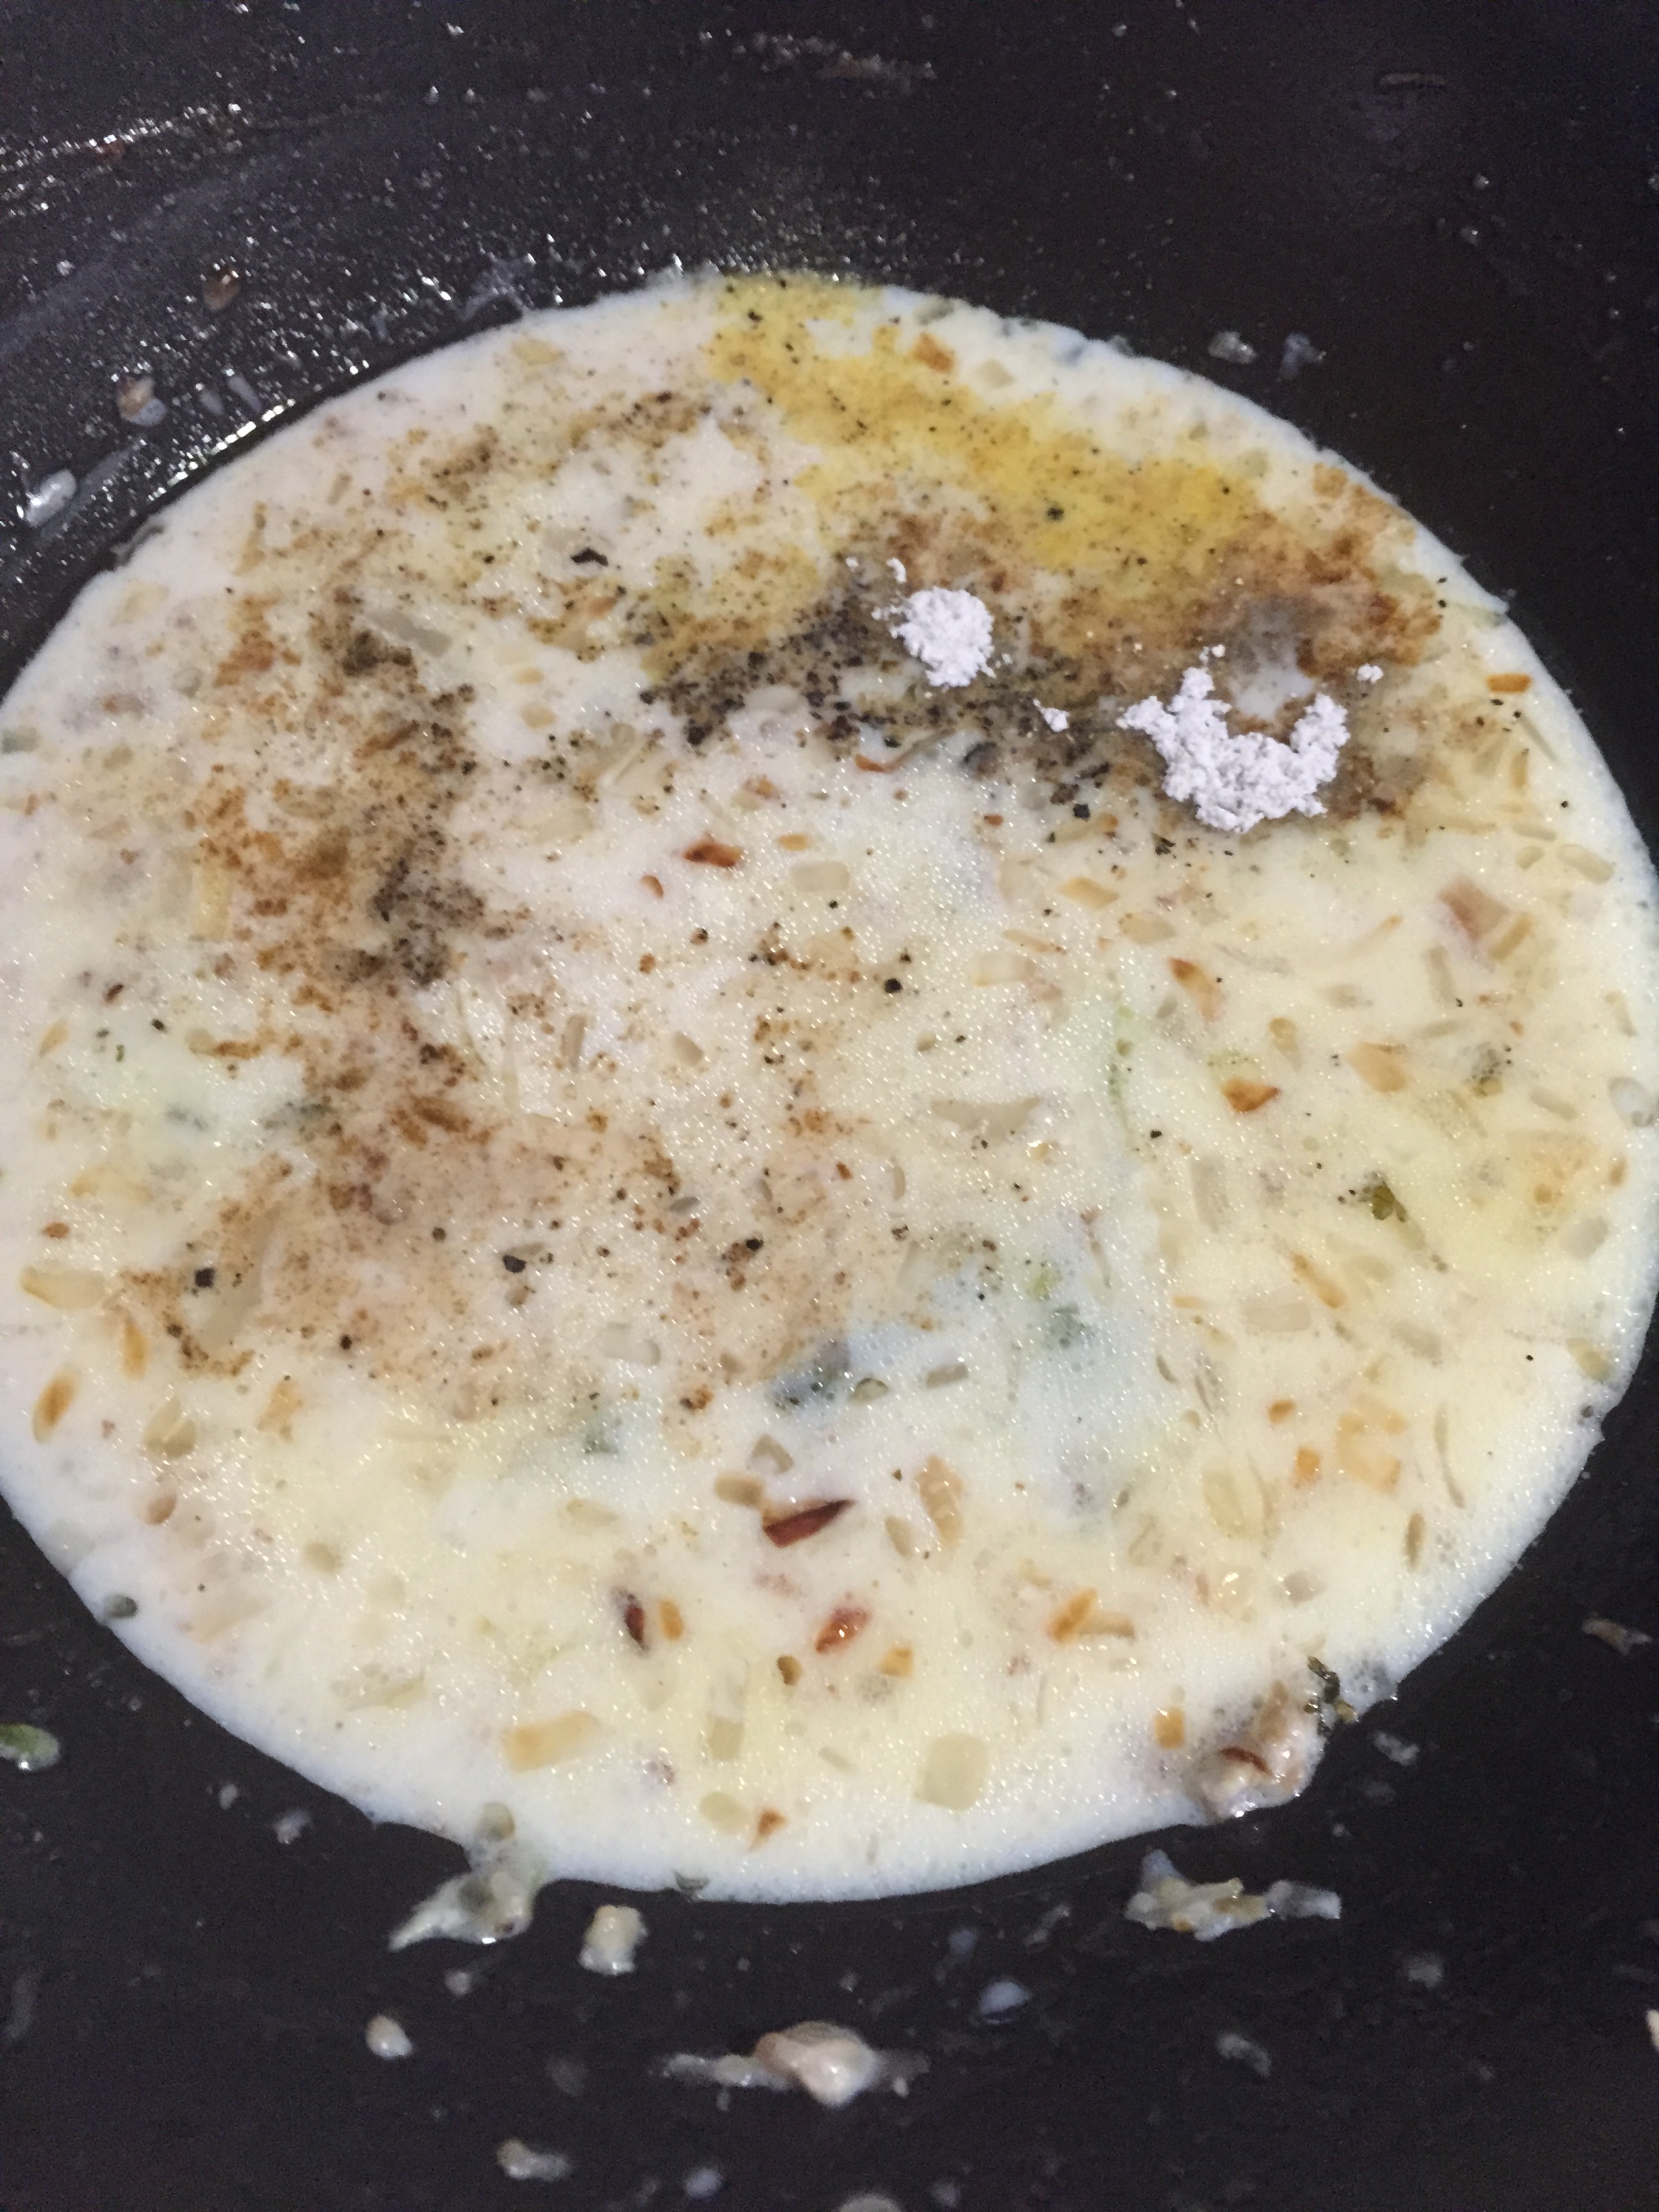
  4. This is how the milk looks like after 30 minutes.
  5. Milk is now turned to rabdi consistency. You can serve it just like that by adding saffron to it. This rabdi can be used in many desserts like Shahi Tukda, Rasmalai, Malpua, Basunthi, and so on.
  6. After 50 minutes, milk has slowly evaporated and khoya is almost done. The color of the milk will be turned to slight yellow at this stage. Keep string and scraping in a low flame.
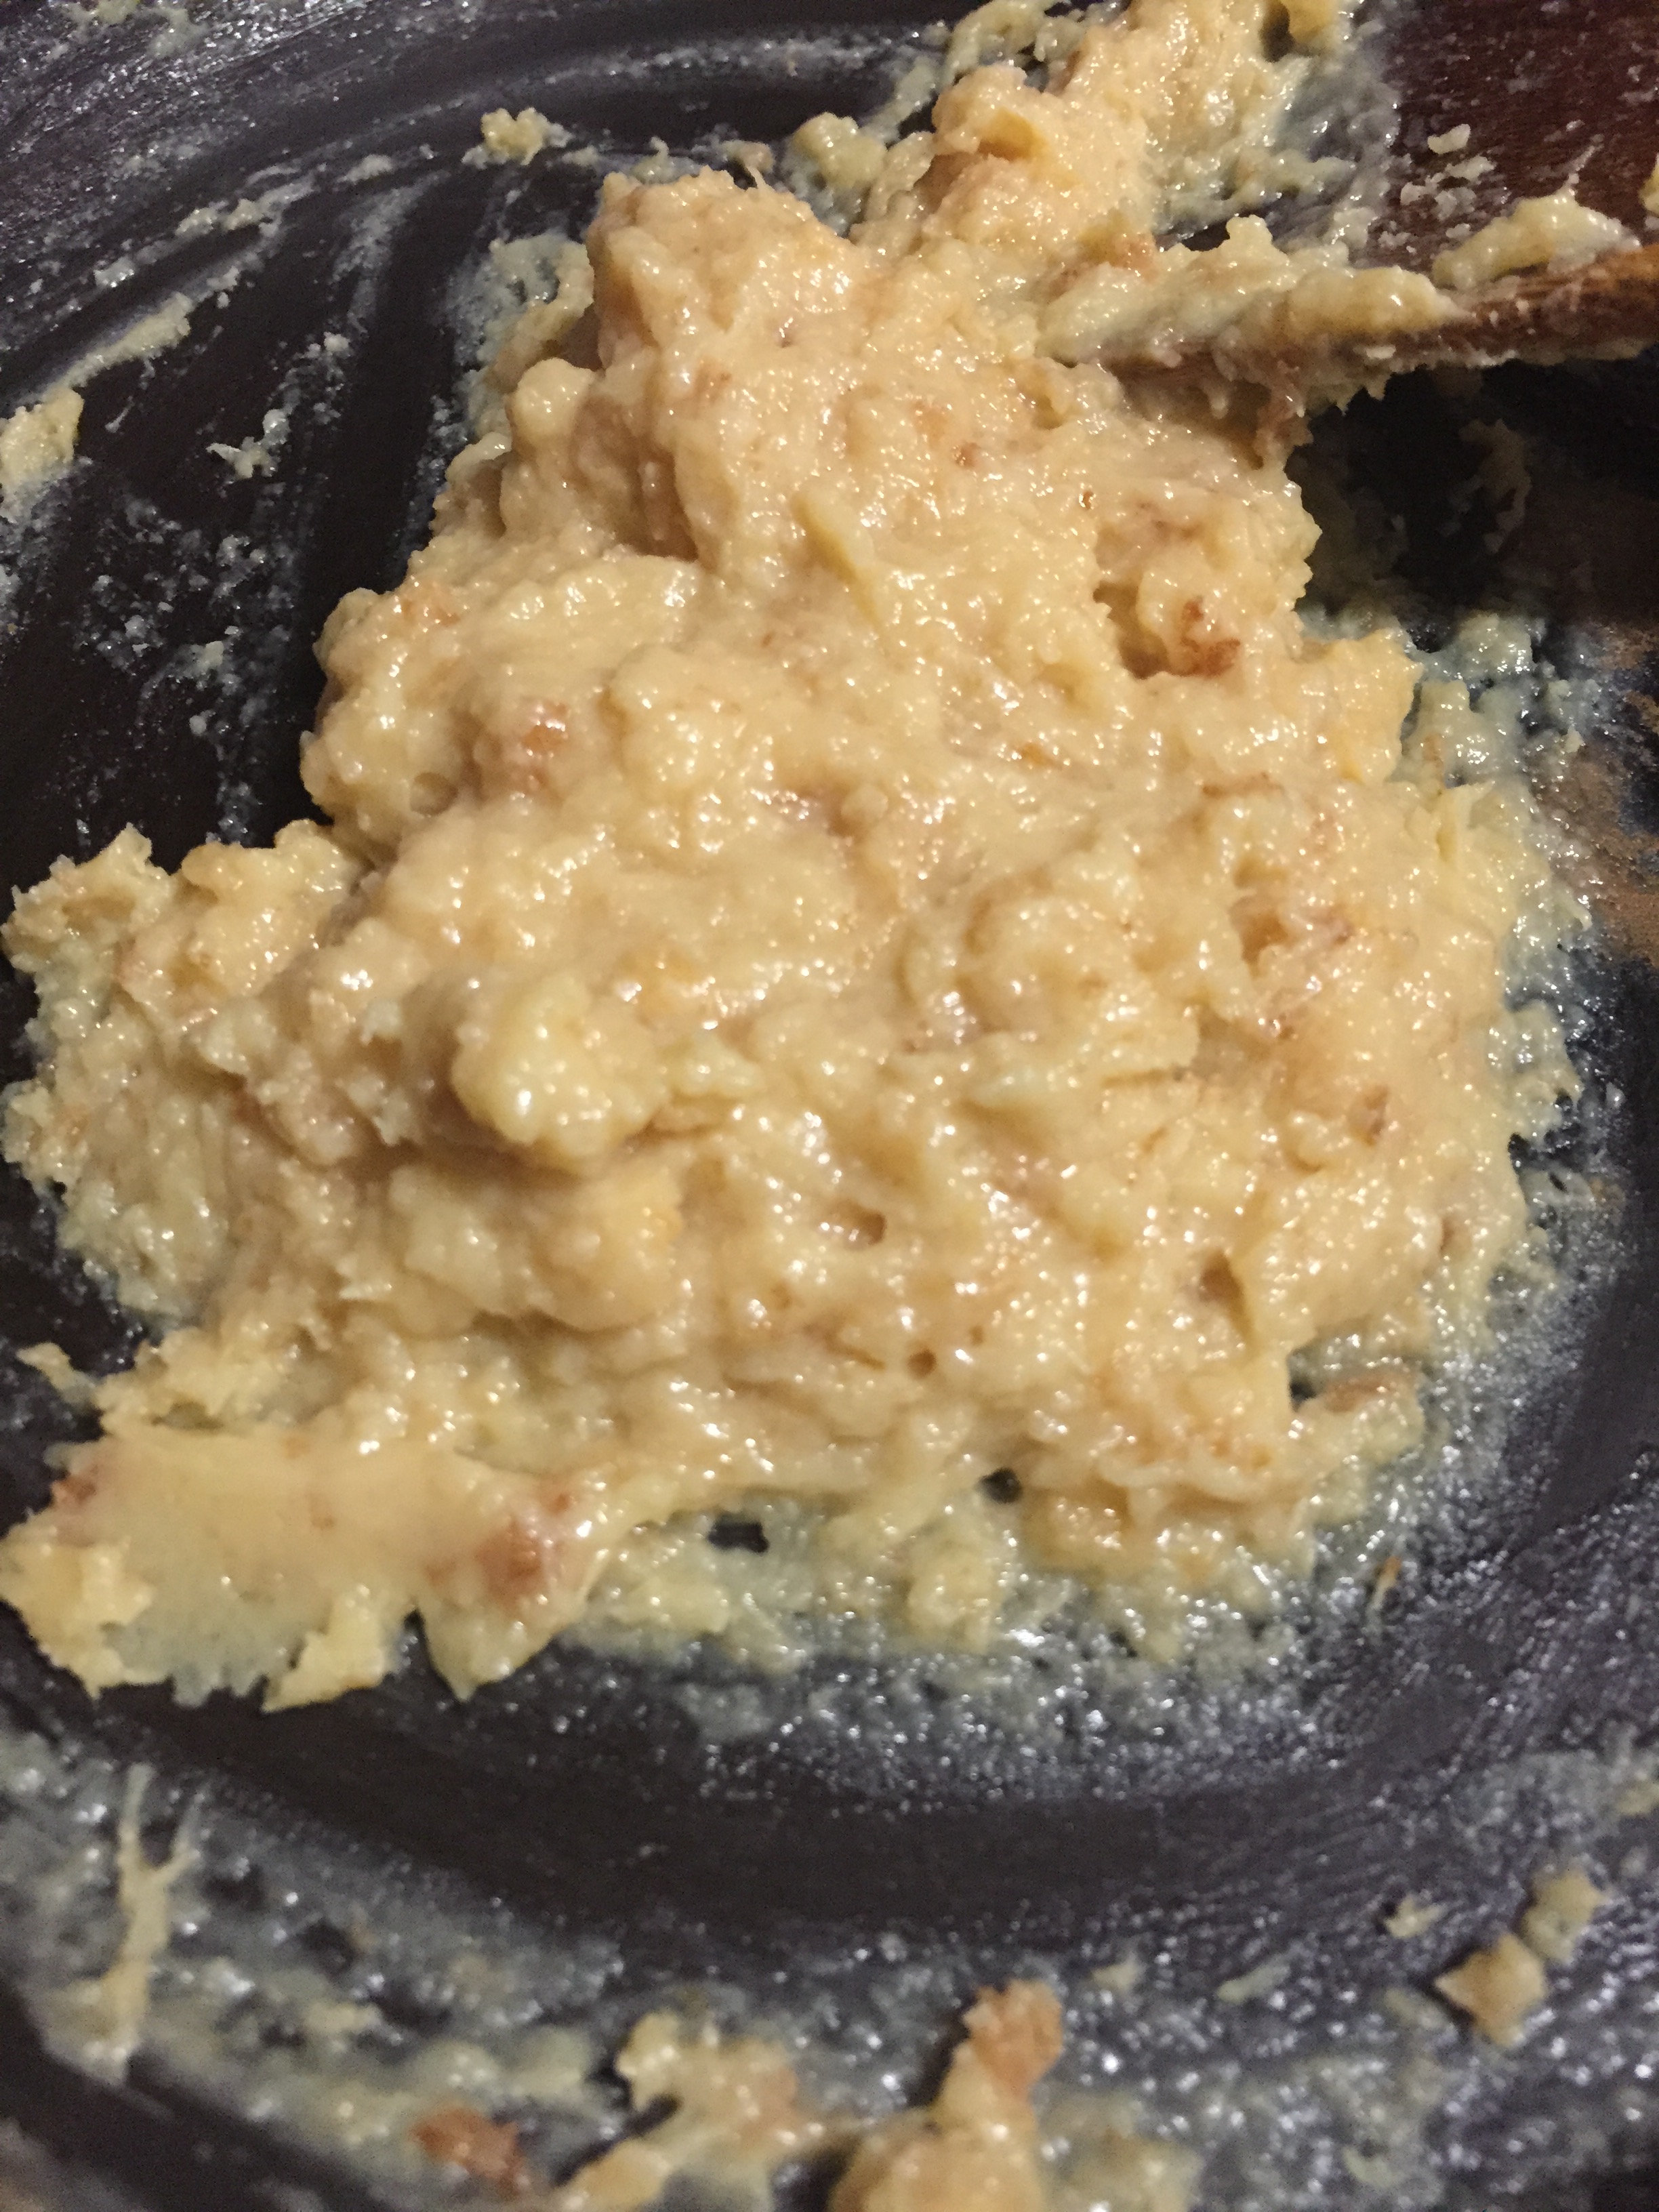
  7. After a good 60 to 65 minutes, milk evaporates all the moisture and start producing bubbles. Keep stirring and switch off the flame. Sweetened khoya or Paalkova is now ready. Transfer it to a container and bring it to room temperature. Khoya gets thicken when it reaches room temperature.
Notes
1.Always be very watchful while making khoya or Paalkova. And patience is required in making this dish.
2.Keep the flame in low once when the milk is reduced to half.
3.Keep stirring from time to time otherwise it will get burnt at the bottom.
4. You can also make unsweetened Khoya without adding sugar using the method described in the recipe.
Sweetened Khoya

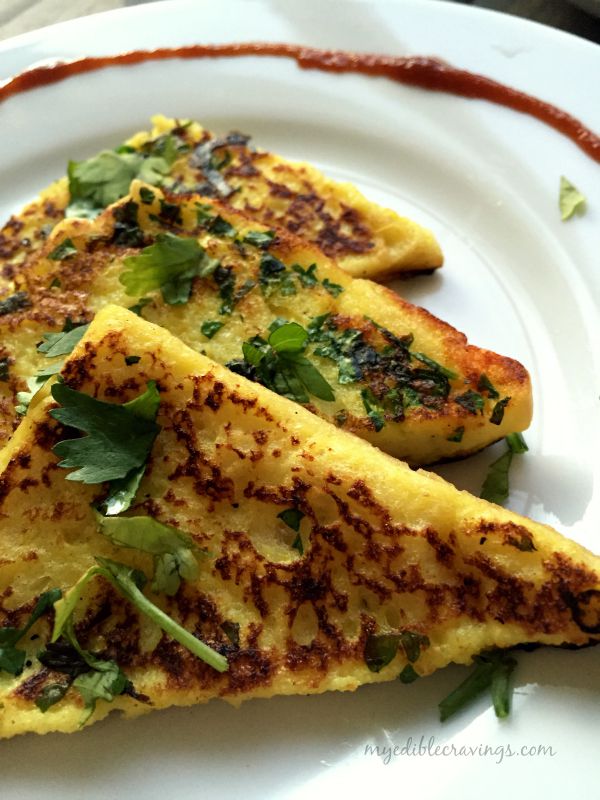
Spicy Bread Toast

Spicy Bread Toast

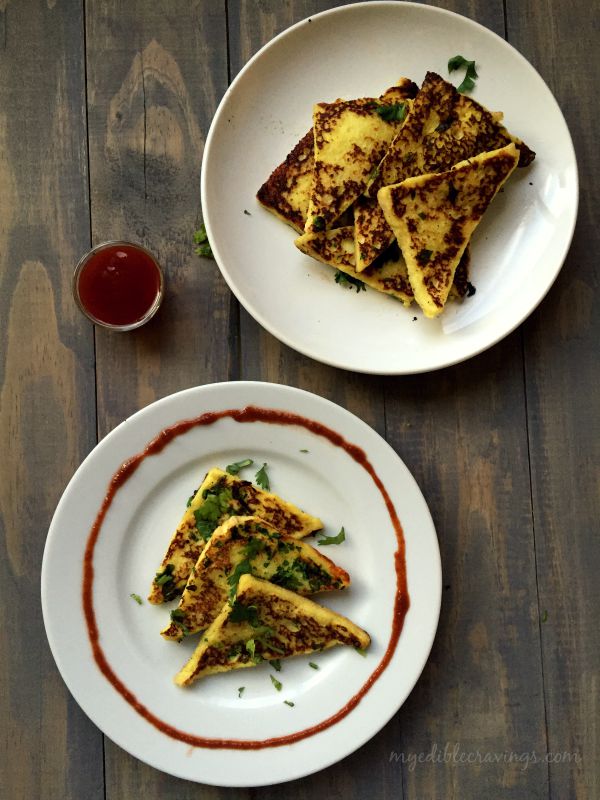
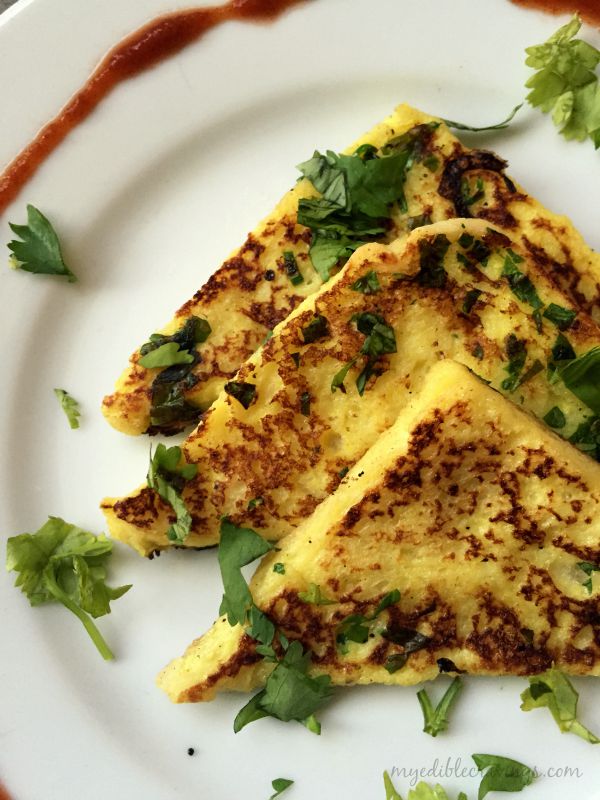
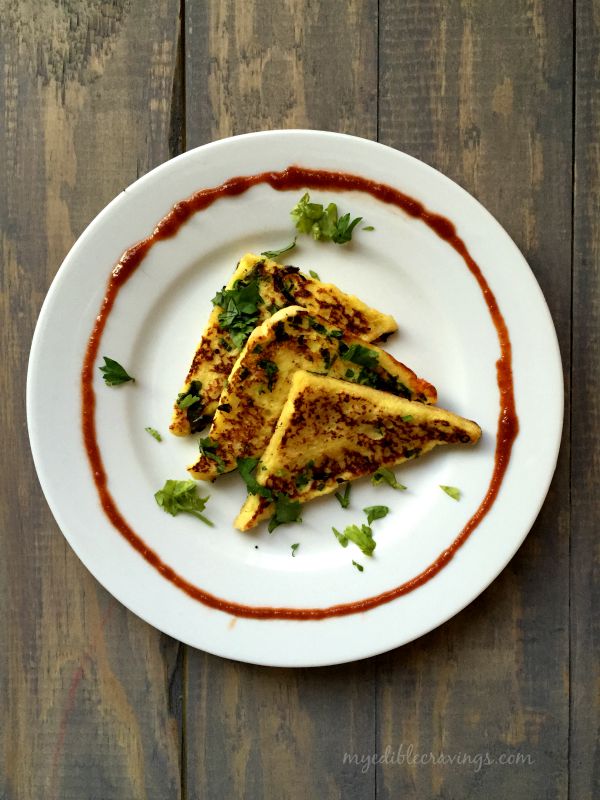
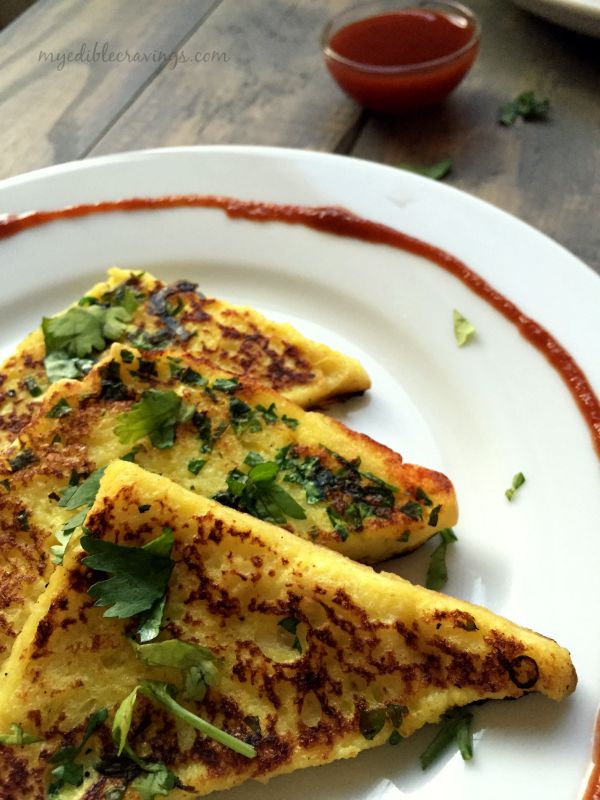
Bread is a staple food for most of the population in the world. It is one of those food items that you can find anywhere. Irrespective of the country, people or its culture. Also, there are hundreds of varieties to it, from normal white bread to rye, sesame, cauliflower etc. There are countless varieties of dishes that you can prepare from bread. One such variety is the Spicy Bread toast. It is a very simple and tasty dish made from a minimum number of ingredients.
Spicy Bread ToastSpicy Bread ToastSpicy bread toast is made from egg, cilantro, turmeric, pepper, green chillies and ginger garlic paste. It literally takes 15 minutes to prepare this dish, right from preparing the egg mixture to toasting the bread dipped in that mixture. Spicy bread toast is an excellent dish for kids and it’s healthy as well, with the absence of jam or spread to have it being the main reason. It is a pretty heavy (I know, it doesn’t look like it but trust me 🙂 ) dish and breakfast is the right time to have calorie rich food to get you through the day!

Spicy Bread ToastI must give a special shout out to my HB here because he is the one who prepared Spicy bread toast the first time we tried (but I was the one who found the recipe 🙂 ) and it turned out to be excellent. Try this simple and tasty dish and enjoy it for breakfast or dinner.

Spicy Bread Toast
Recipe type: Breakfast
Prep time: 
Cook time: 
Total time: 
Serves: 10 bread slices
 
Ingredients
  • Eggs – 2
  • Milk – ½ cup
  • Salt – ½ tsp or as required
  • Black pepper powder – ¼ tsp
  • Turmeric powder – ¼ tsp
  • Ginger garlic paste – ½ tsp
  • Green chilli, finely chopped – 2 nos
  • Cilantro, finely chopped – 1 tbsp
  • Breads – 10 slices
Instructions
  1. Beat all the above ingredients except bread in a medium bowl and leave it for 30 minutes.
  2. After 30 minutes, cut the edges of the bread slices and cut the breads diagonally.
  3. Heat a flat pan, dip a bread piece into the beaten egg mixture and toast them. Smear very few drops of oil around the toast. Flip them and toast the other side of the bread until golden brown.
  4. Repeat the above step for the rest of the bread pieces. Enjoy the hot and spicy bread toast along with tomato chilli sauce as a snack or breakfast or dinner. 
Notes
1.Leave the beaten egg mixture to rest for at least 20 minutes before making the toast. So that all the ingredients are well set and combined.
2.Carefully cut the sides of the bread without pressing the breads too hard at the center.
3.Dip the bread just for a second and tost them on the pan. Do not dip the bread slices too much or your toast becomes soggy.
4.Same way smear few drops of oil while toasting the bread to avoid sogginess.

Spicy Bread Toast

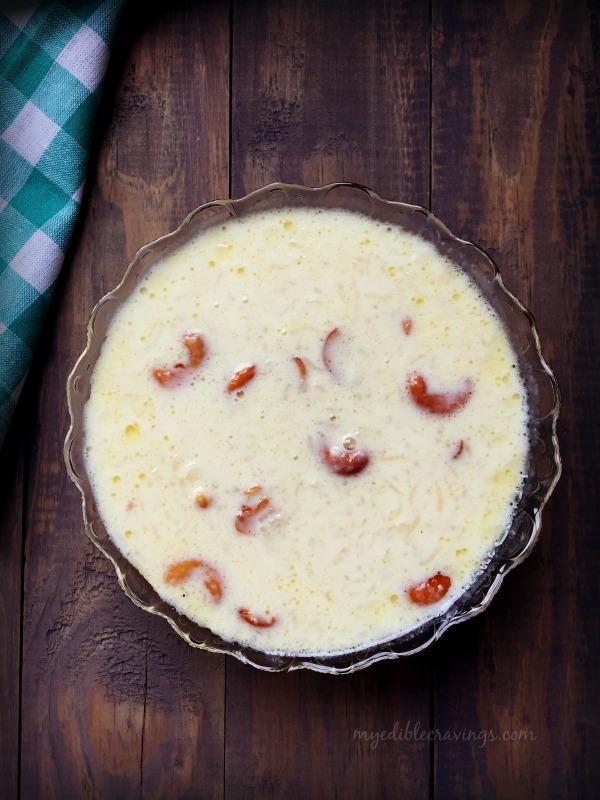
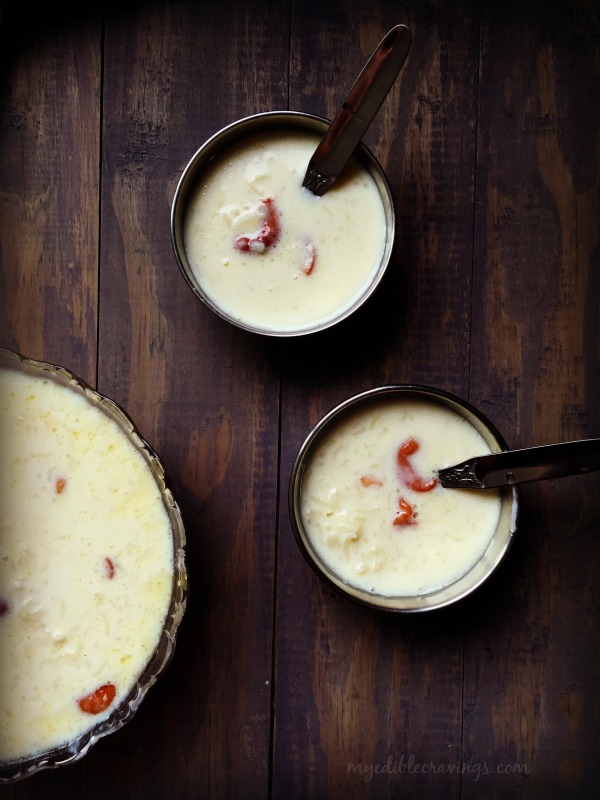
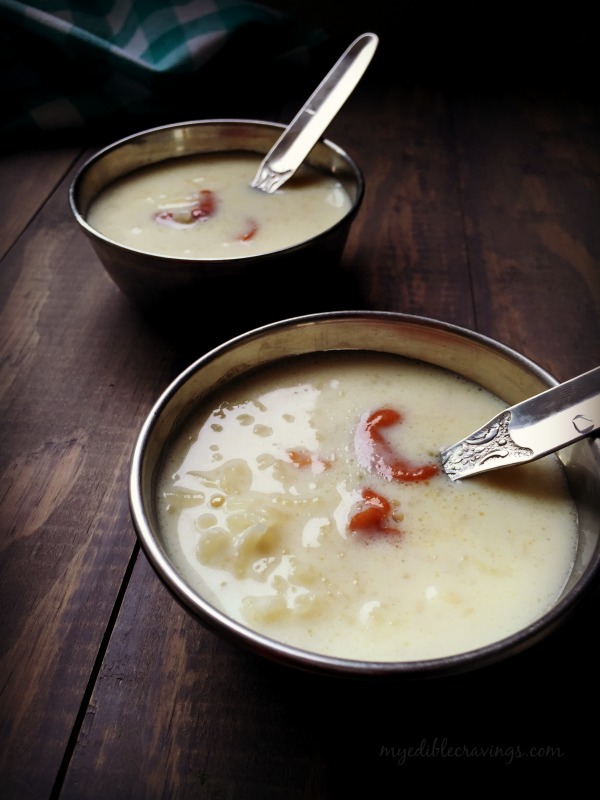
Paal Payasam


Paal payasamToday is Father’s Day! A father is a hero to every daughter and Father’s day is a way to honor them for their love, unwavering support and kindness. So Happy Father’s Day to all fathers out there. On the occasion of this important day, I wanted to prepare something sweet that personifies their nature i.e.,  being sweet 🙂 I decided on Paal Payasam, a south Indian dessert item that is very tasty. I love the Paal Payasam that my MIL makes. The recipe that I have given below is my MIL’s.

Paal PayasamPaal Payasam is a classic dish that uses very few ingredients i.e., rice, sugar and milk. Paal Payasam is one of my favorite payasams (similar to pudding in general) and my sister’s too. Preparing this dish is time consuming but to allevate some of that I used whole milk because one of the steps in making Paal Payasam is to reduce the milk to half but using whole milk saves time since it is already thick.

144cPaal Payasam can either be served hot or cold but tastes excellent when served cold. Try this sweet dessert in your kitchen and I hope you too will enjoy it as much as I do 🙂

Paal Payasam
Recipe type: Dessert
Cuisine: Indian
Prep time: 
Cook time: 
Total time: 
Serves: 4 to 5 cups
 
Ingredients
  • Raw rice or basmati rice or seeraga samba rice – ½ cup
  • Ghee – 3 tbsp, divided
  • Milk – 1 liter
  • Sugar – 1 cup
  • Cashews – 1 tbsp
  • Cardamom powder – a generous pinch
Instructions
  1. Wash and soak the rice in water for half an hour. Later crush the rice using your hands and keep it aside.
  2. Heat a pan or pressure cooker and add a tbsp of ghee. Add the rice and fry until golden brown.
  3. Add a cup of milk and cook or pressure cook until the rice is well cooked. Add the remaining milk and boil until the milk is reduced to half and turns slight brown in color.
  4. Add sugar and mix well. Boil for another few minutes stirring occasionally.
  5. Heat the remaining ghee in a tempering ladle, fry the cashews until golden brown and add to the paayasam.
  6. Finish it off by adding cardamom powder. Serve cold and enjoy!
Notes
1.It takes a very long time around 45 minutes to reduce the milk. So I would suggest using whole milk to reduce your work.
2.Milk will not boil if you add clean marbles (golli gundu) to the milk.
3.Add or reduce sugar according to your own taste.
4.You could also add dates to this recipe which tastes excellent.

Paal Payasam

Sago Payasam

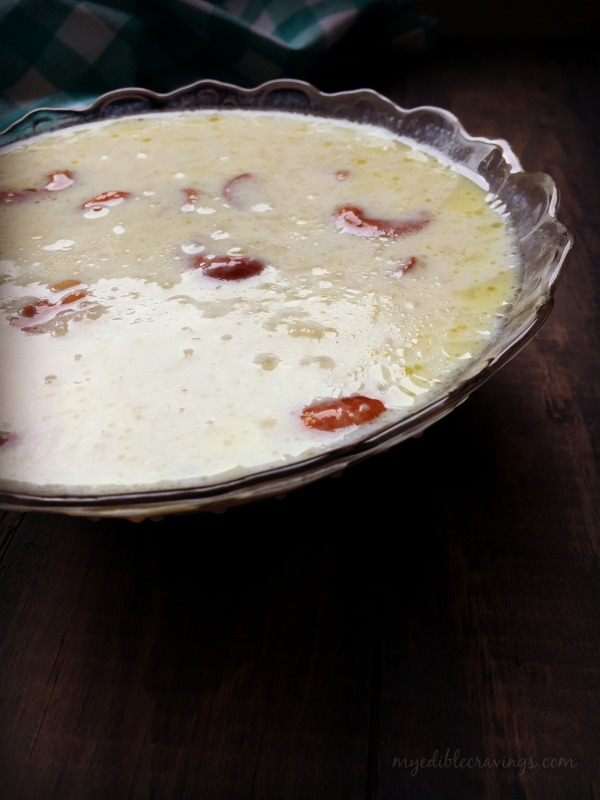
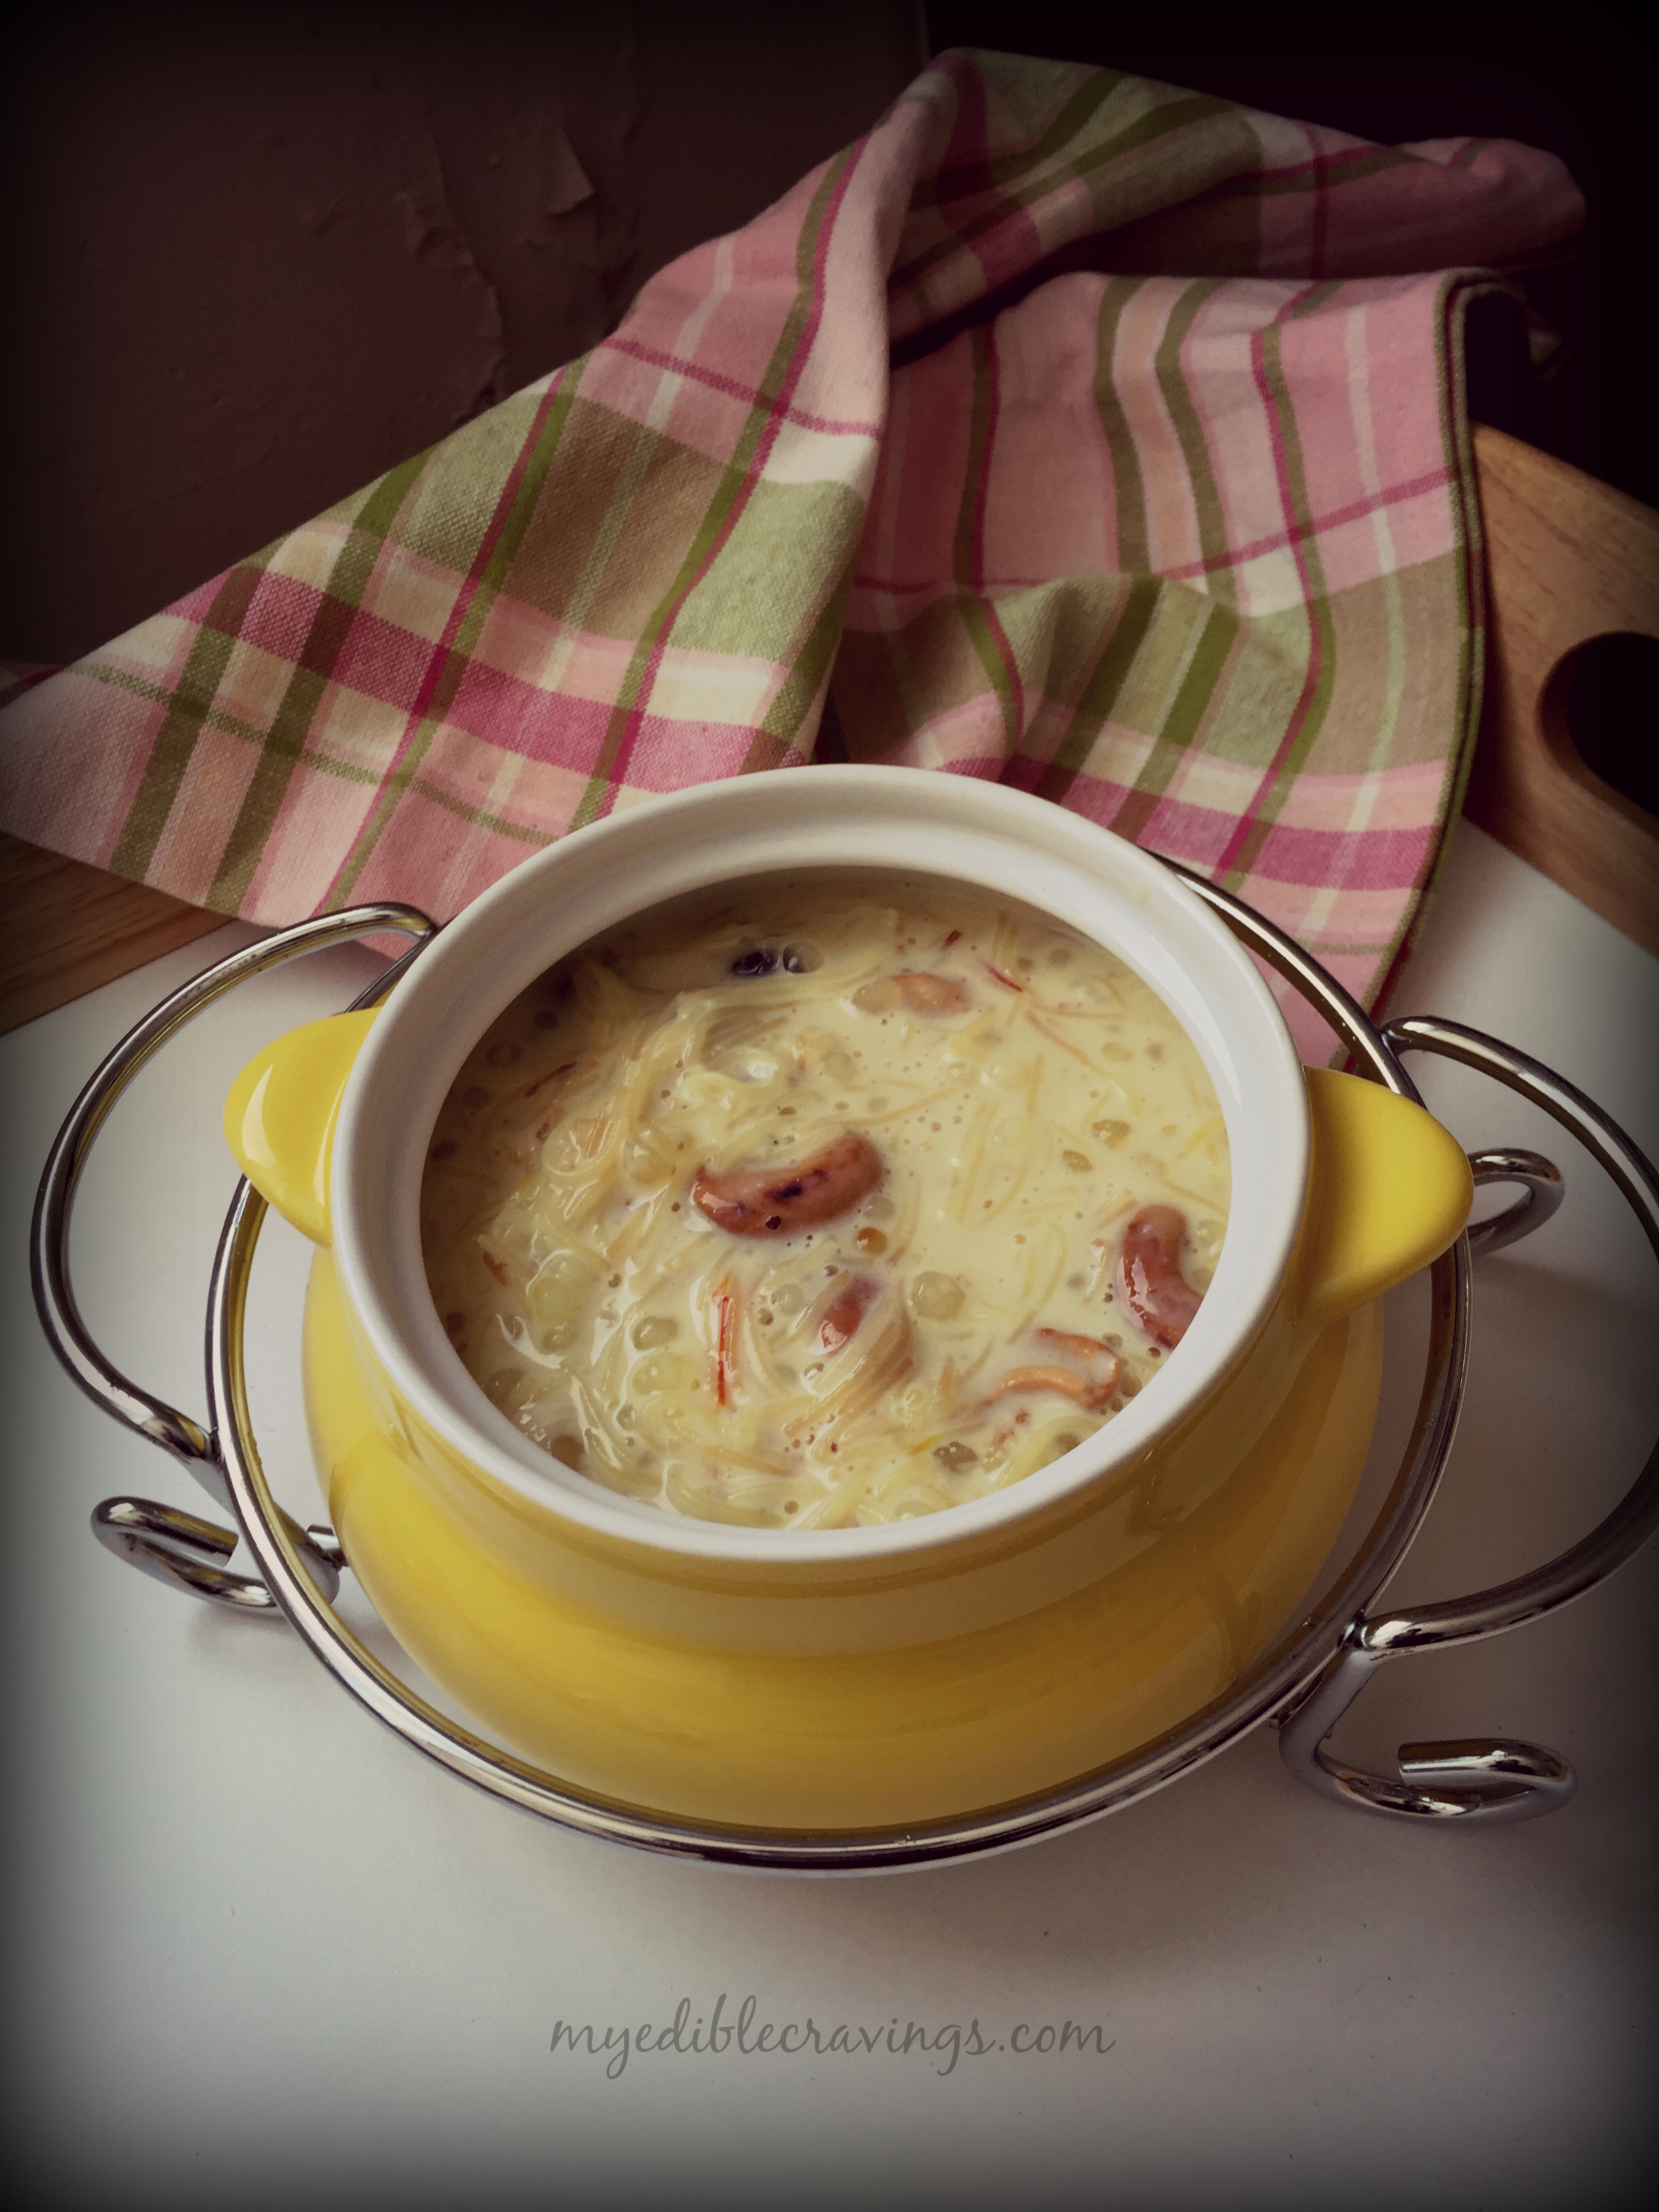
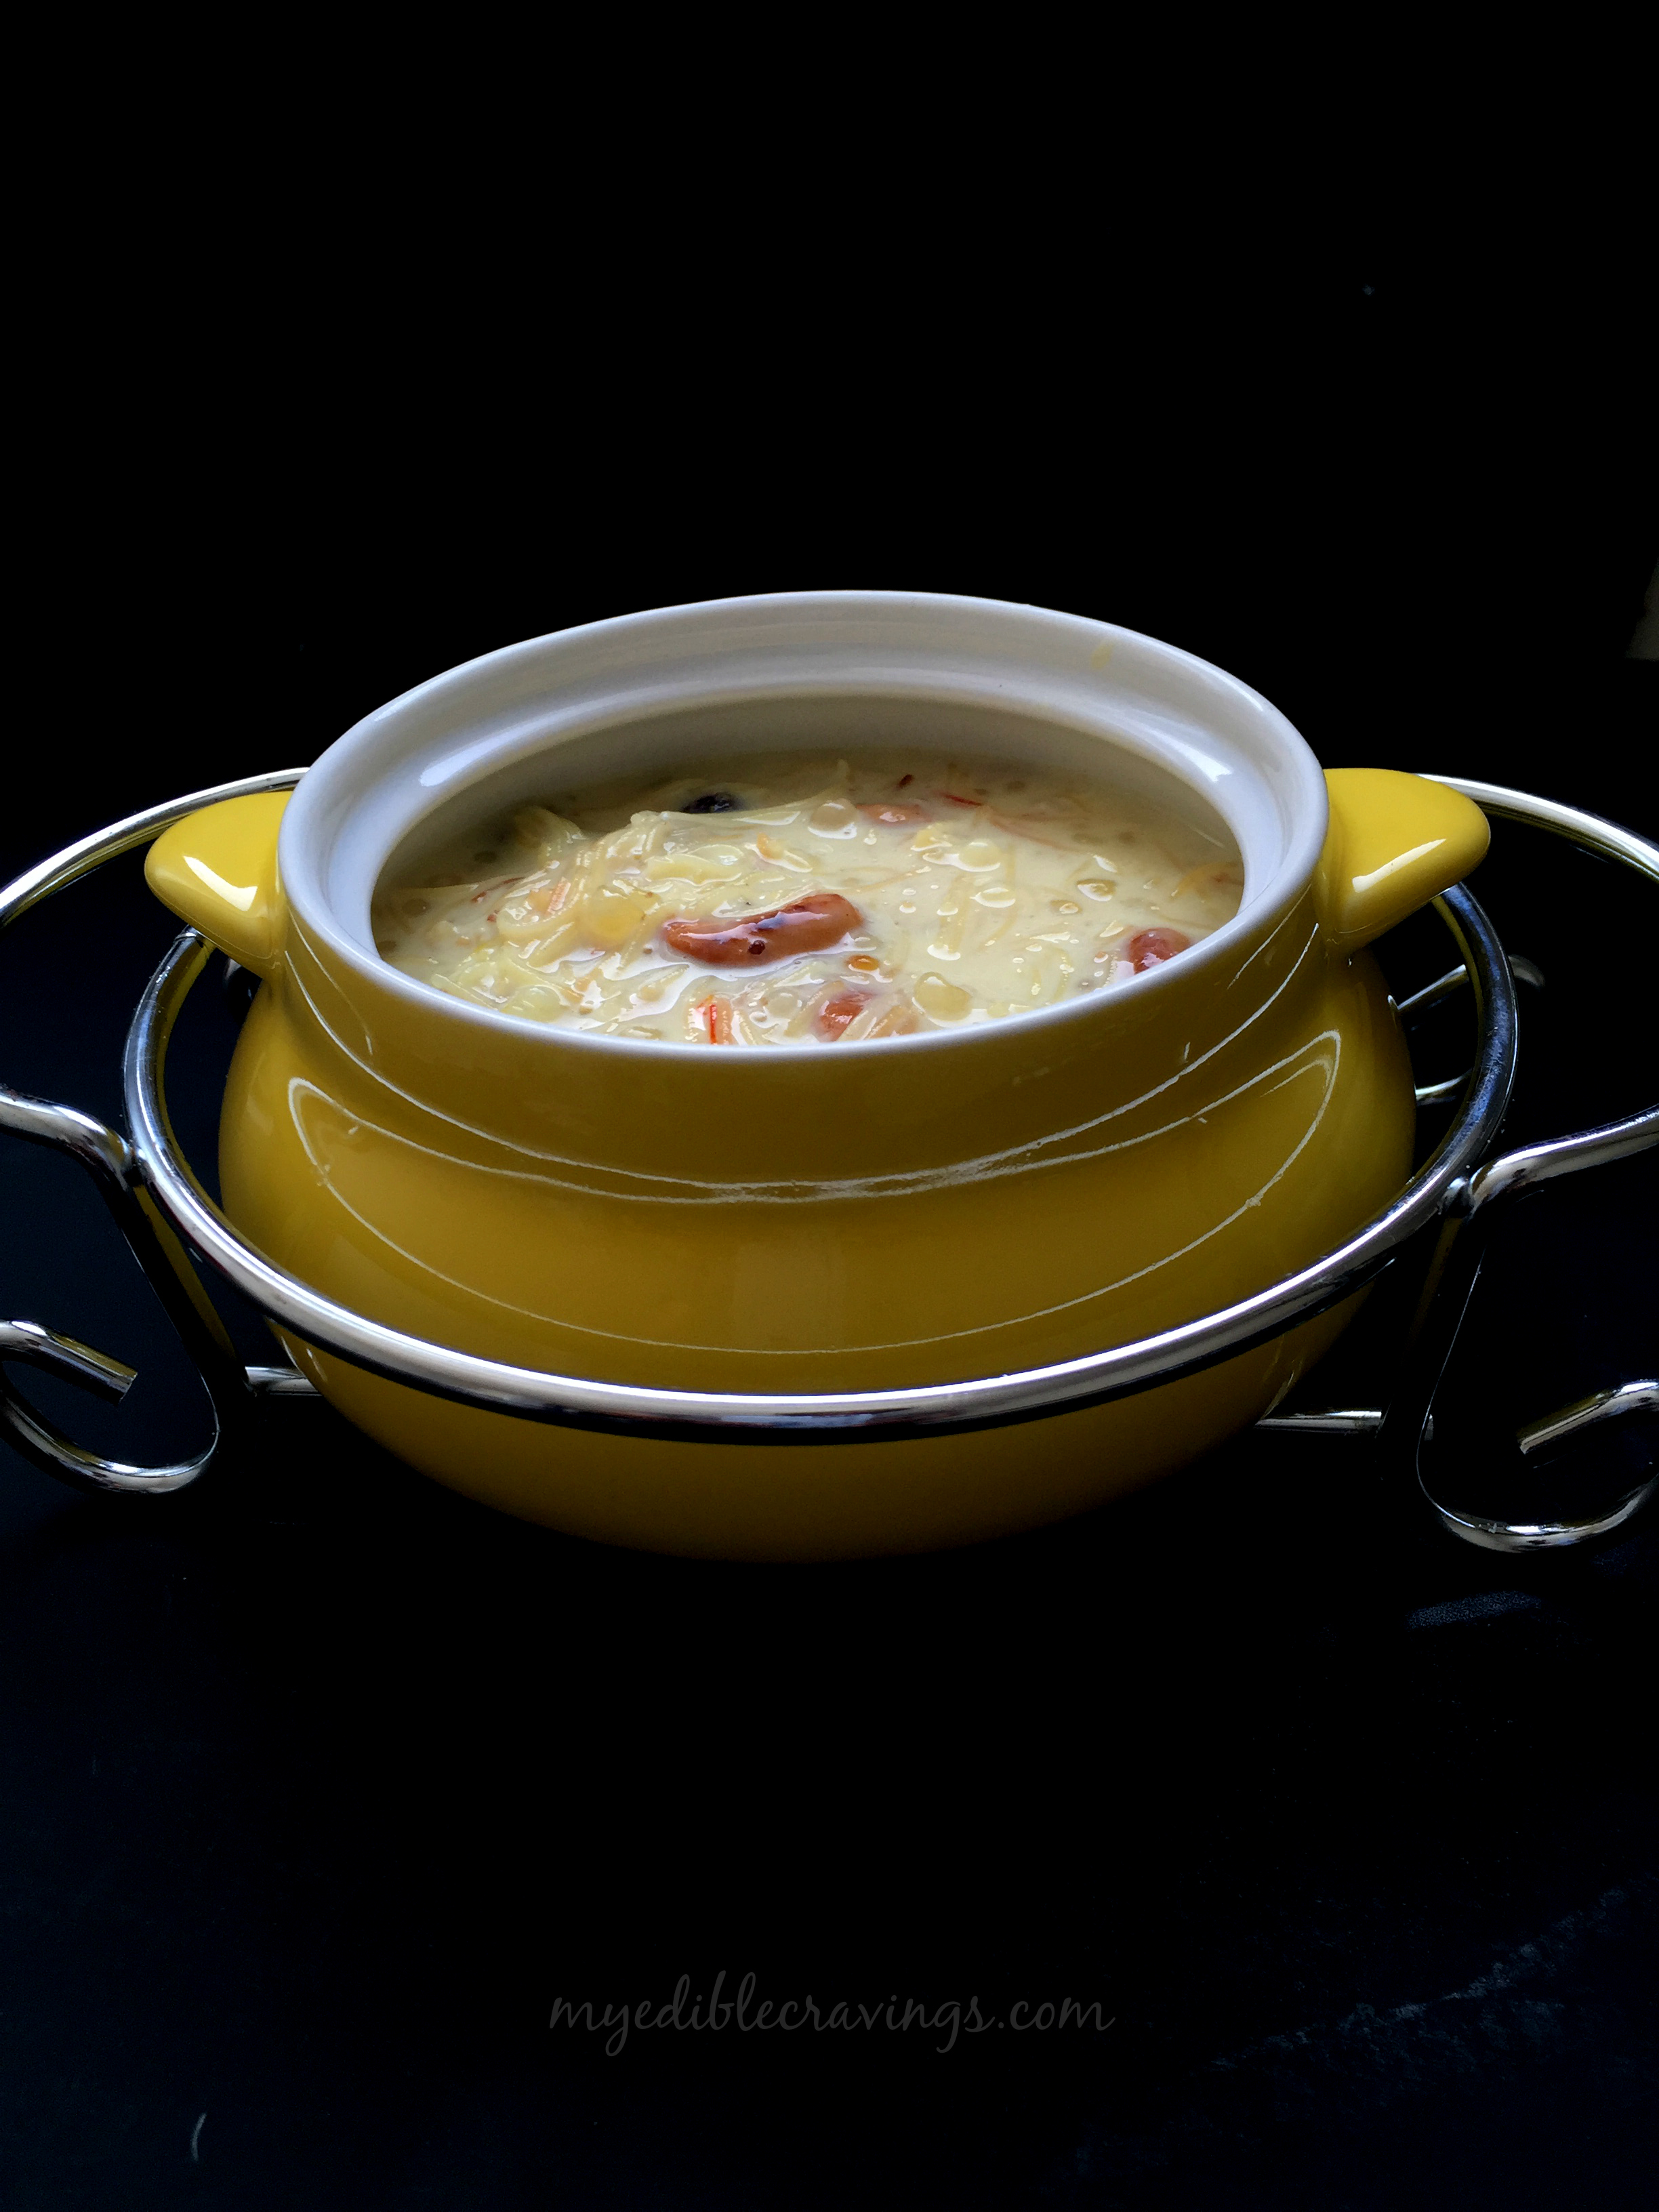
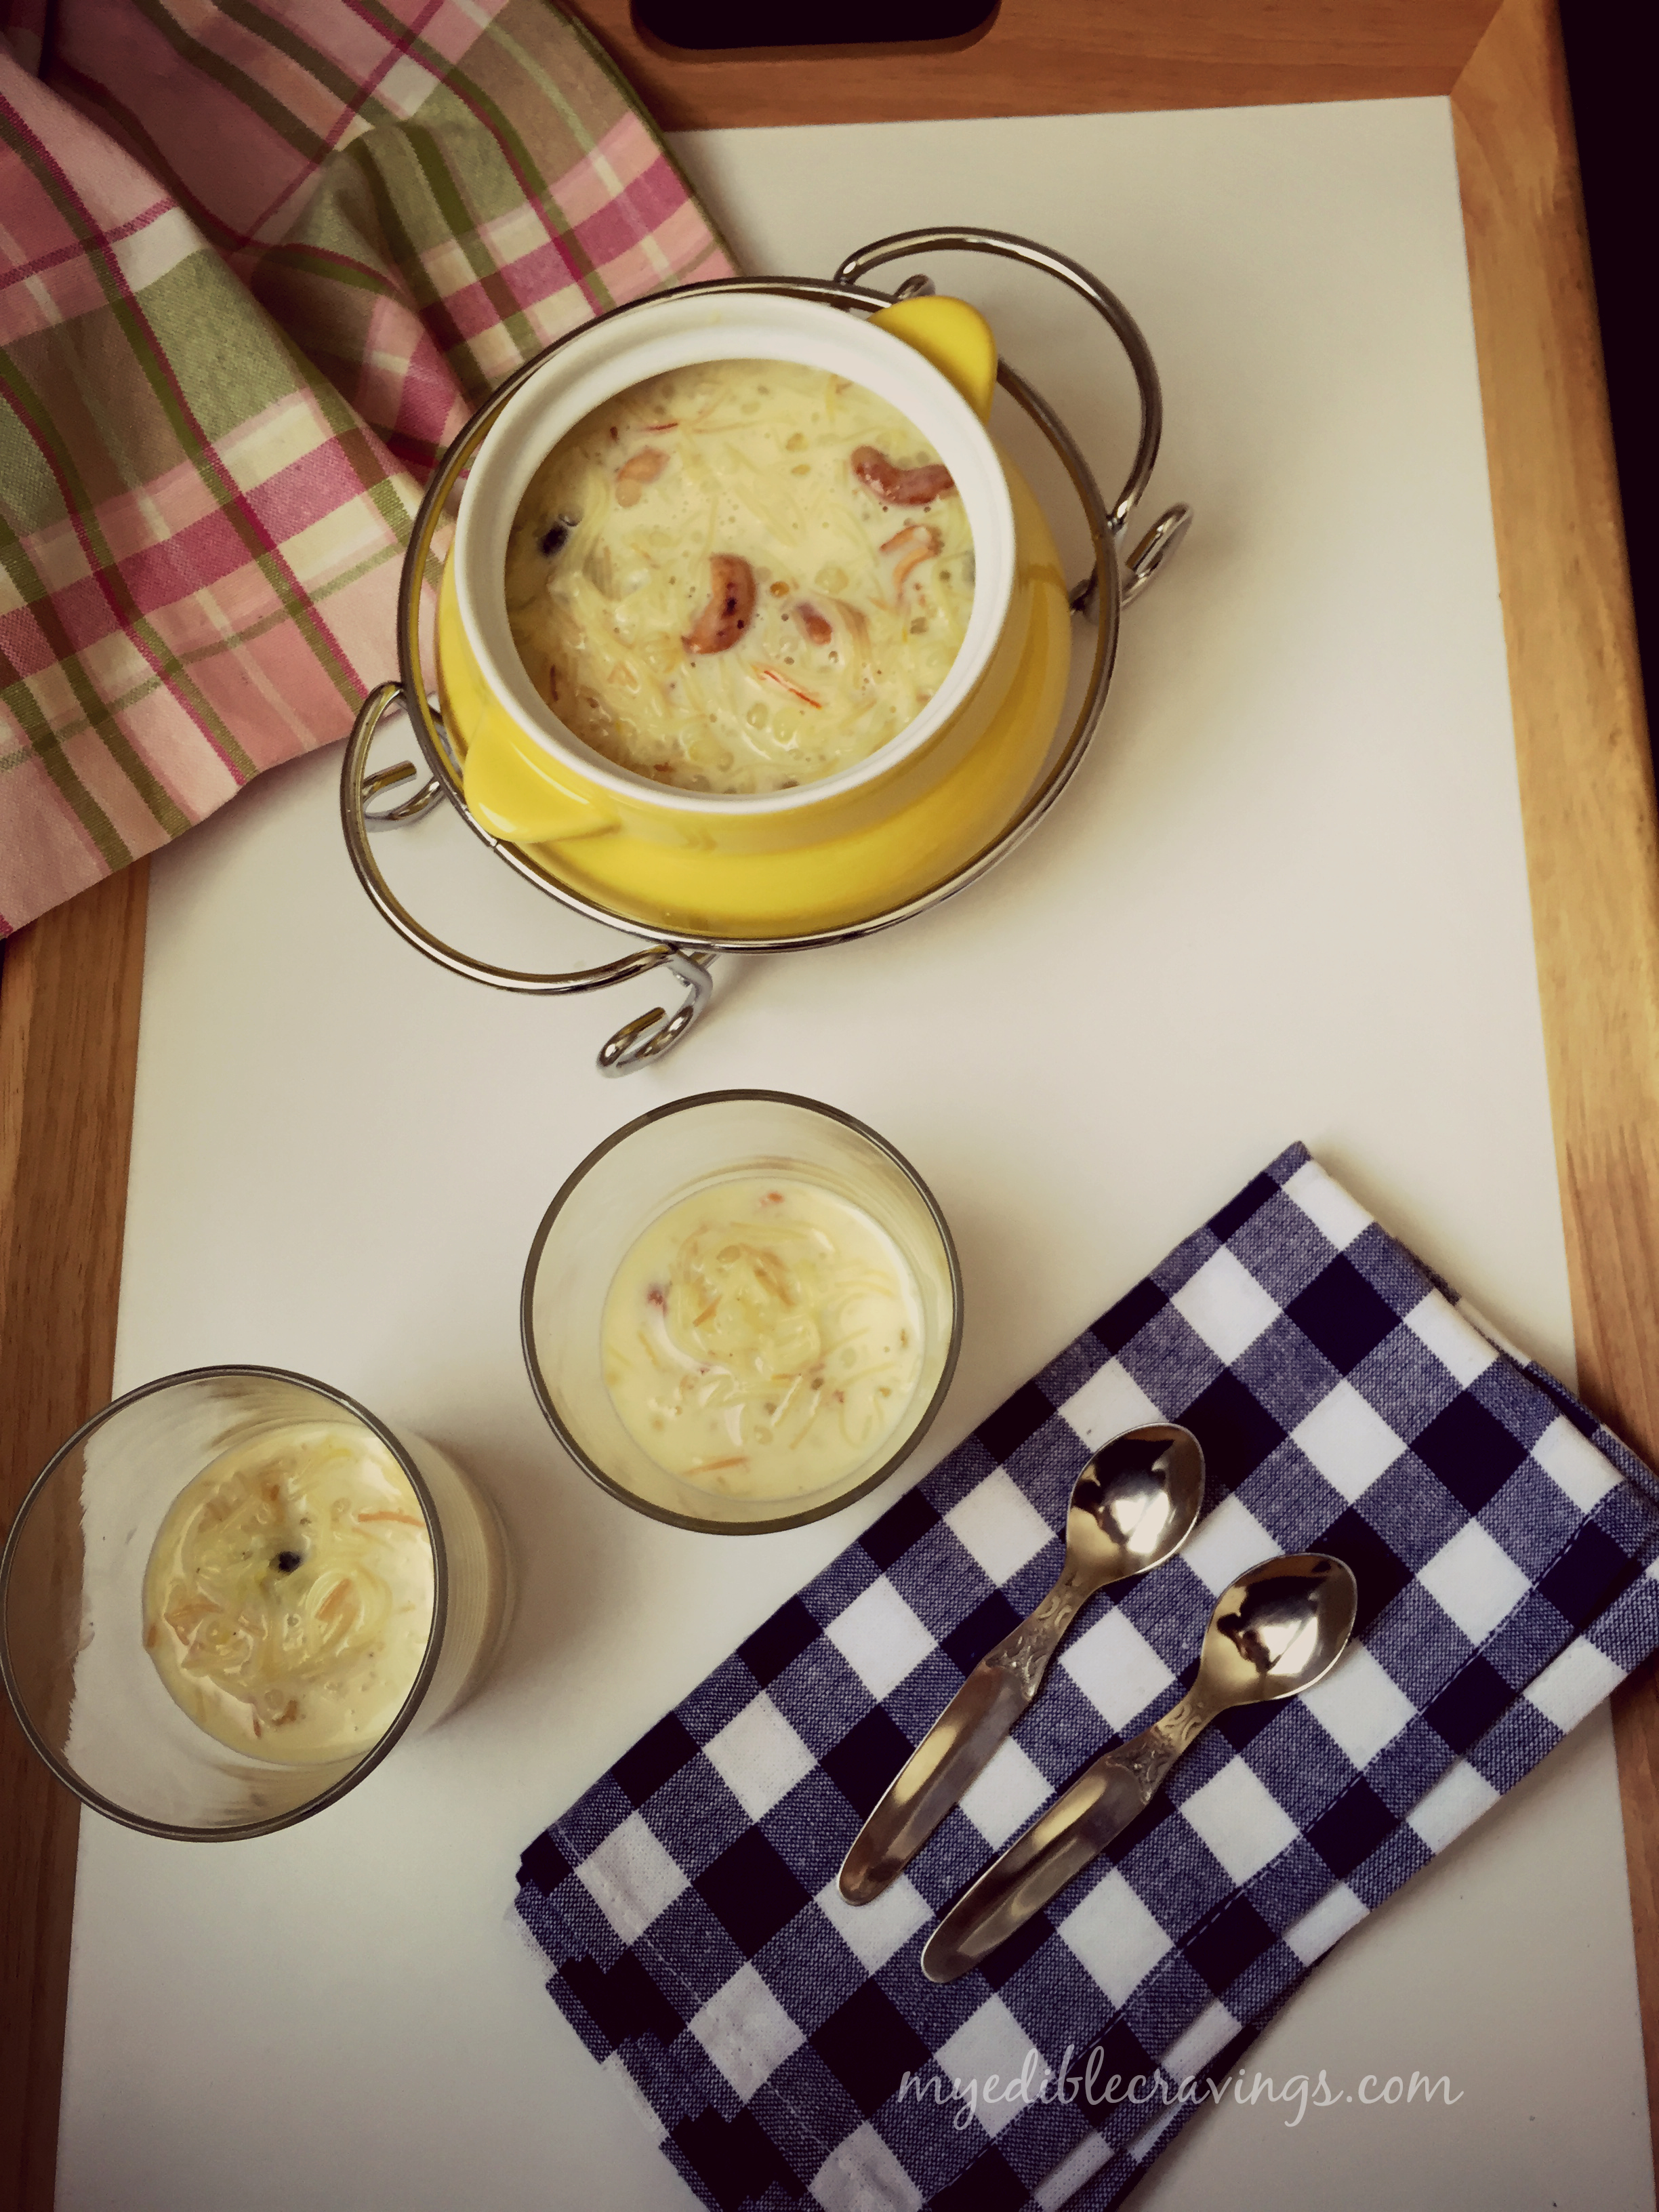
sago payasamPayasam is a traditional south indian dessert. It is a very simple yet tasty dish that is always in the menu of marriage lunches and served during traditional festivals. There are different varieties of payasam based on the ingredients that you use, like lentil, sago, vermicelli etc. Here I have given the Sago-Vermicilli variety of payasam.
sago payasamsago payasam
sago payasamSago-Vermicilli Pasayam is the most popular among all payasams. As I had said earlier, it is always served in wedding lunches. One popular way of consuming it is with papad :). My dad and his siblings love to have it with sweet boondi (another south Indian snack item). I know it will be a sugar explosion but who cares when it tastes just awesome 😉
I had never tried making Sago-Vermicilli Payasam until recently. The ingredients used and the preparatory method may make it seem easier to make (and it is easy to make) but you need to be careful as well, especially for beginners. In my recipe I had included rose flavor because I like it and is commonly found in most other Indian desserts. Also I have included Saffron just to give the distinct color and enhance the flavor. Sago-Vermicilli Payasam can be served hot or chilled; it tastes awesome either way.
Try this yummy and sweet dessert in your kitchen and post me your experiences 🙂

5.0 from 1 reviews
sago payasam
Prep time: 
Cook time: 
Total time: 
Serves: 3
 
Ingredients
  • Milk – 3 ½ cups
  • Sago or javvarisi – ½ cup
  • Vermicelli or semiya – ¼ cup
  • Refined sugar – ½ cup
  • Ghee – 2 tbsp
  • Cashews – 8 to 10 nos
  • Raisins – 6 nos
  • Saffron – 2 to 3 strands.
  • Rose water or essence – 3 drops
Instructions
  1. Soak sago in water for 20 to 30 mins.
  2. Heat a small pan with ghee and roast cashews and raisins until the cashews turn golden brown. Keep it aside. In the same pan roast vermicelli for a minute or so and keep it aside.
  3. Soak saffron threads in a cup with 1 tbsp of warm milk.
  4. Boil two cups of water and add sago. Boil until the sagos turn translucent for about 15 to 20 minutes. Add vermicelli to the boiling water as well and cook for another couple of minutes until they are soft. Drain them.
  5. Heat a sauce pan and boil the milk. When the milk has boiled, simmer and reduce it to half the quantity.
  6. When the milk has reduced to half, add the cooked and drained sago and vermicelli. Mix well and allow them to set for about 5 minutes - Simmer the burner while adding sago and vermicelli.
  7. Add sugar and mix well. Finally add the saffron and fried cashews to the payasam. Switch off the flame and add few drops of rose essence. Refrigerate the payasam and serve the delicious cold Sago-Vermicilli payasam. 
Notes
1.I have read online that cooking sago and vermicelli directly to the boiling milk will curdle the milk. So I boiled them and strained the water before adding them to the milk.
2.Simmer the milk and add the cooked sago and vermicilli. Otherwise the milk will curdle as well.
3.Adding saffron and rose essence is completely optional. I added them just for the flavor.

sago payasam