Beetroot Quinoa

Beetroot QuinoaToday’s recipe is a continuation of my resolution to post healthy recipes as much as I can, going forward. Beetroot Quinoa is a dish made from a well known legume, beetroot and a not so common grain variety called the Quinoa. Like I had described in one of my earlier posts, Quinoa is a South American grain crop well known for its edible seeds. Quinoa is a super food that is rich in calories and easily digestible. Beetroot, as you may all know, is a very good source of iron and vitamins.
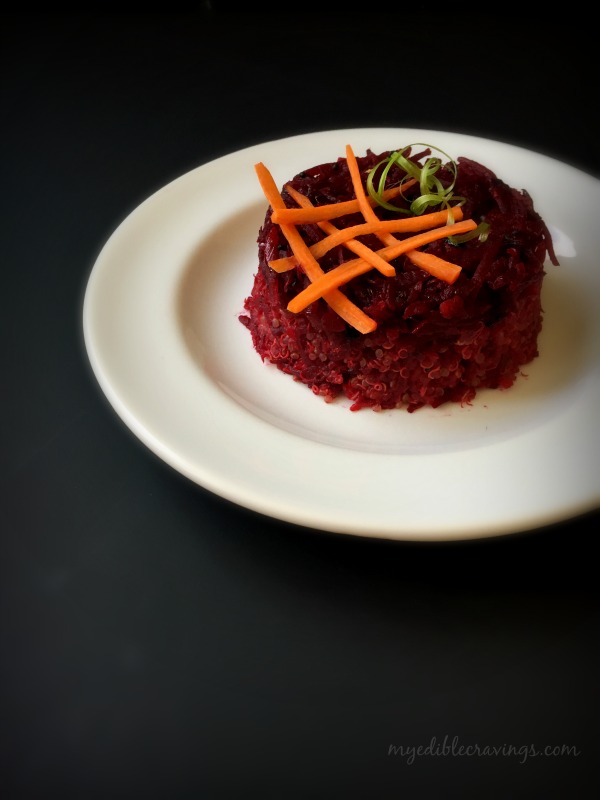
beetroot quinoaBeetroot Quinoa is a very easy dish to make. It literally takes 15 minutes to prepare. Also, with the way it’s made, you can either have Beetroot Quinoa as is or have the cooked beetroot only with rice. Beetroot Quinoa is a cold food and can be retained by refrigeration, making it the go-to food for bachelors and single ladies that is if you want to have healthy food, if not there is always pasta and noodles :). Also, it is a very good menu for lunch box, especially for kids 🙂

Beetroot quinoaFor those who worry about getting Quinoa back home, no worries, Quinoa is quite popular there and is called as (Seemai Thinai, literally known as foreign grain 🙂 ). Don’t miss out trying this truly healthy food which I believe will be a good alternative to have once in a while amongst the mundane dishes that we have often.

Beetroot Quinoa
Recipe type: Main
Cuisine: Indian
Prep time: 
Cook time: 
Total time: 
Serves: 2
 
Ingredients
  • Olive oil or cooking oil – 1 tbsp
  • Mustard seeds – ¼ tsp
  • Urad dal – ¼ tsp
  • Curry leaves – half sprig
  • Onion, finely chopped – 1 no
  • Green chilli, finely chopped – 2 nos
  • Beetroot, medium, grated – 1 cup
  • Quinoa – 1 cup
  • Salt as required
Instructions
  1. Wash and drain quinoa using strainer. Pressure cook for 3 whistles adding 1 ½ cups water and enough salt.
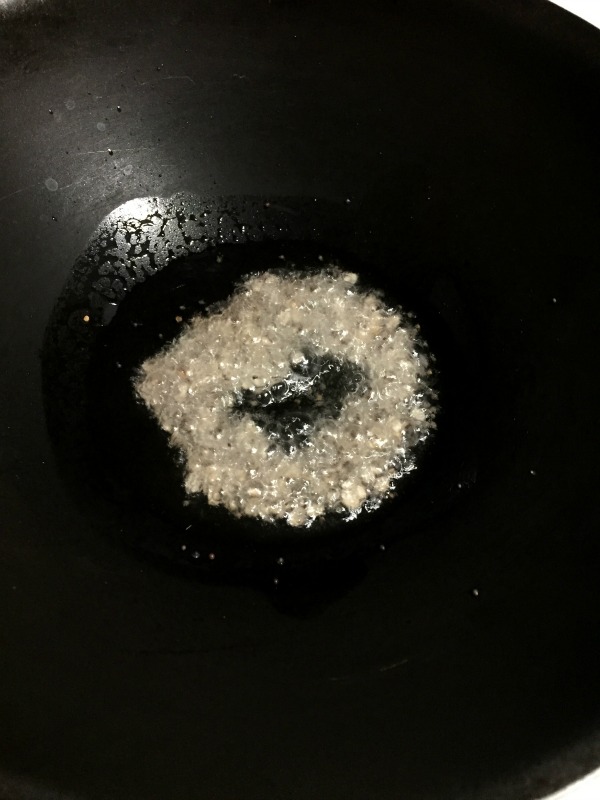
  2. Heat a pan and add oil. Season with mustard seeds and urad dal.
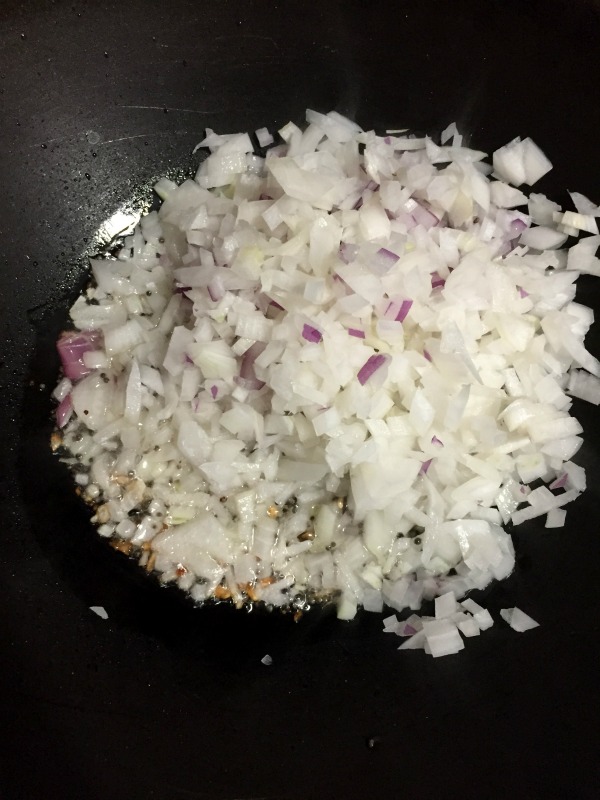
  3. Add finely chopped onions and sauté until they turn translucent.
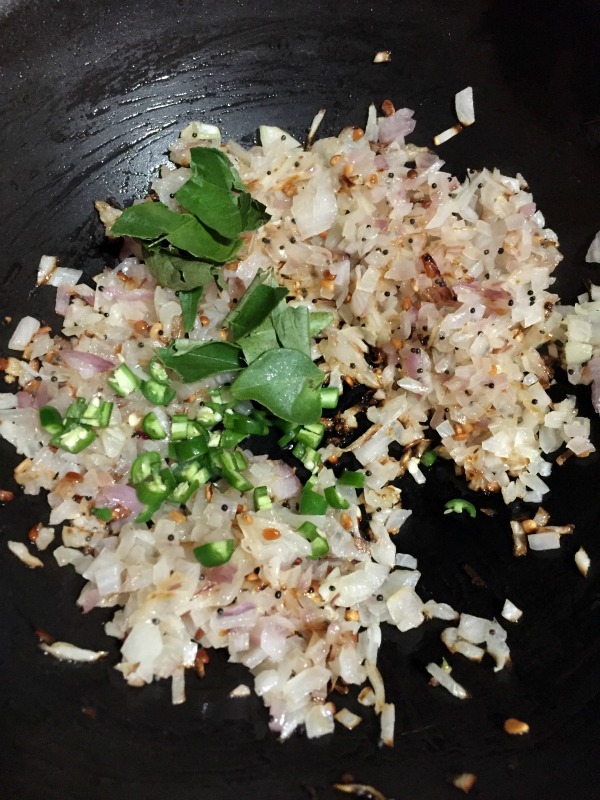
  4. Add chopped green chilli, and curry leaves. Give a quick stir.
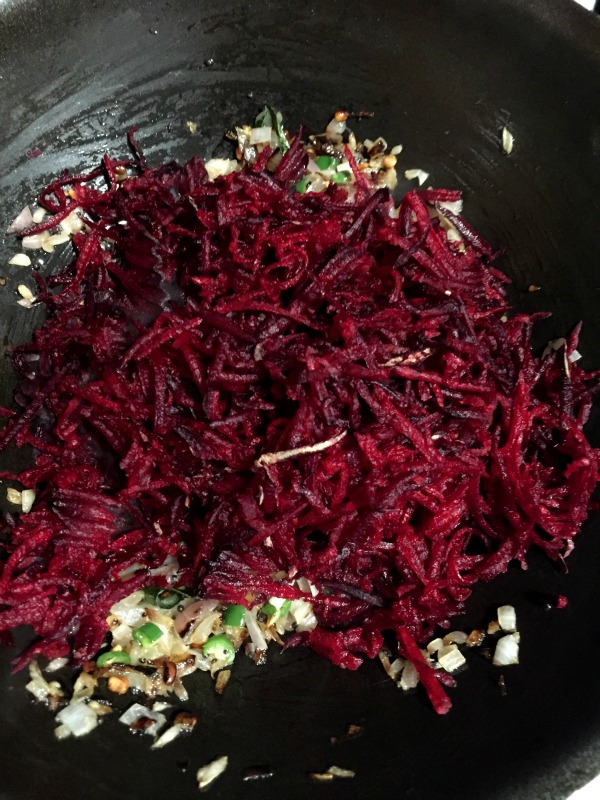
  5. Now add in finely grated beetroot. Add enough salt and sauté well. Drizzle few drops of water (2 tbsp) on top, cover and cook for 5 to 8 minutes.
  6. Open the lid and sauté until all the water is absorbed. you can have this as a side or poriyal.
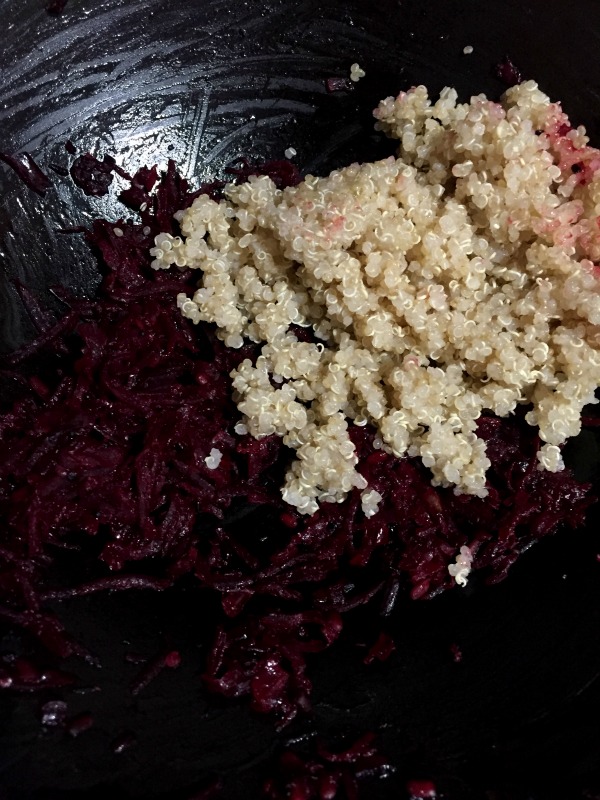
  7. Finally add cooked quinoa and mix well. Enjoy the yummy beetroot quinoa with papad! 
Notes
you can substitute quinoa and add rice instead.i.e beetroot rice.

Beetroot Quinoa

Boiled Rice

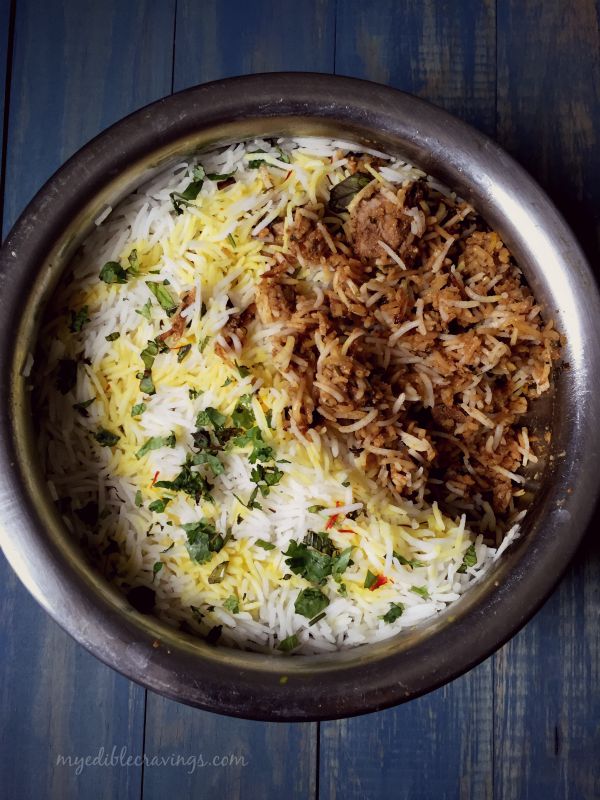
Hyderabadi biriyaniToday I am posting an important process that is most often an intermediary step during the preparation of dum biriyani, hyderabadi biriyani, fried rice, etc. Boiling rice is a traditional process of cooking rice that was in existence before the advent of pressure cookers.

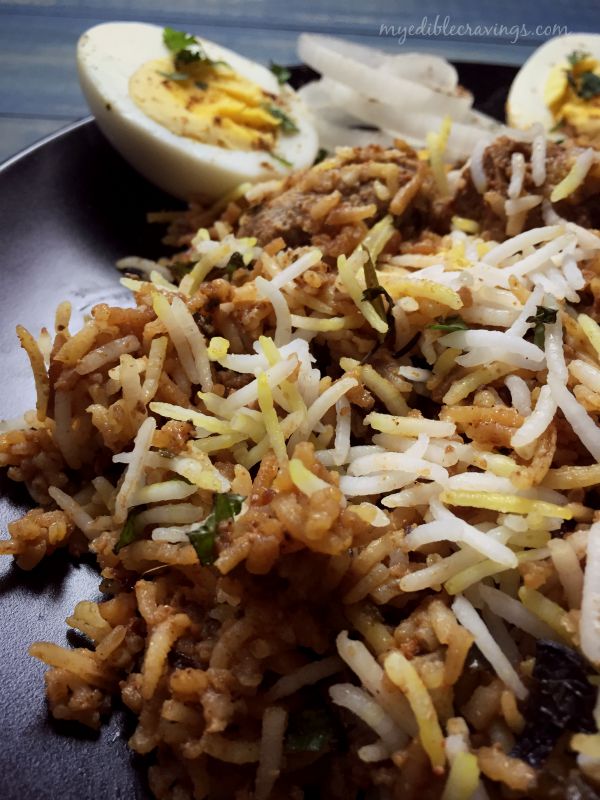
hyderabadi biriyaniBoiling rice is a simple yet an efficient process where even the byproduct, i.e., the water (vadi kanchi) is consumed as well.

The main purpose of boiling rice is to make the rice fluffy when cooked. Make sure to add salt while the water boils. Constant checking of the texture of the rice is necessary.

Boiled Rice
Recipe type: Main
Cuisine: Indian
Prep time: 
Cook time: 
Total time: 
Serves: 2
 
Ingredients
  • Basmati rice – 1 cup
  • Water – as required
  • Salt - ½ to 1 tsp or as required
Instructions
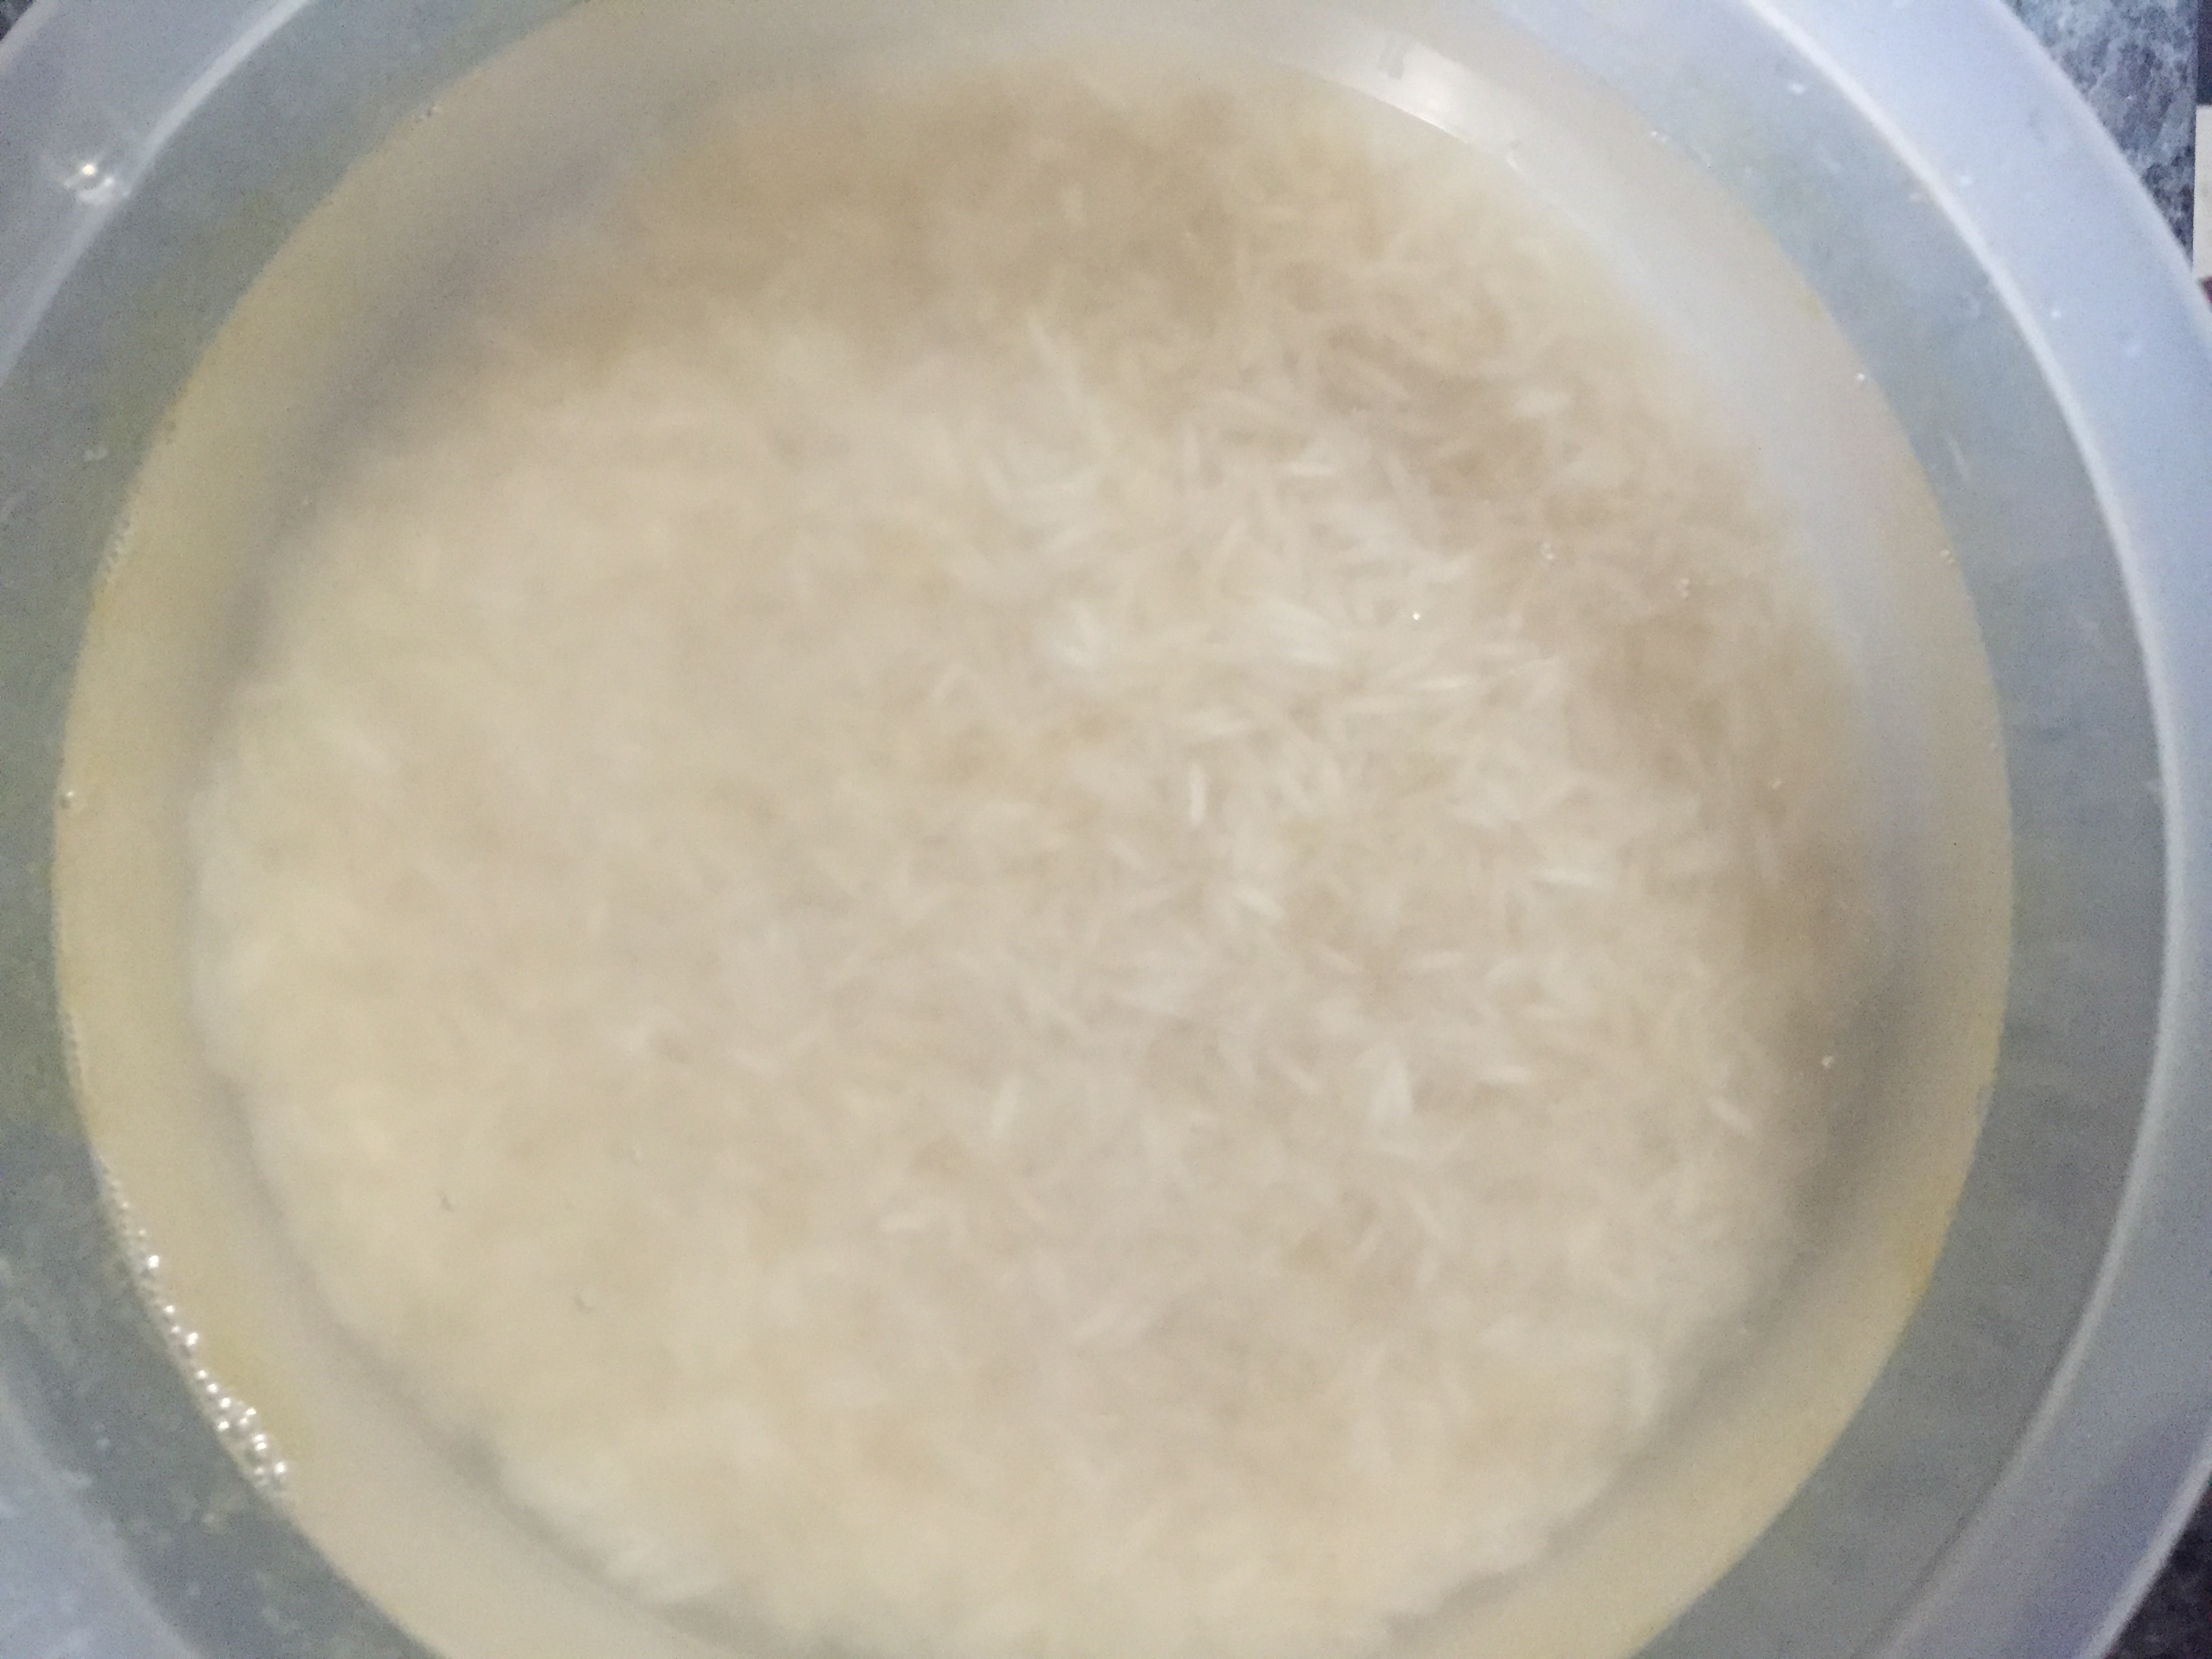
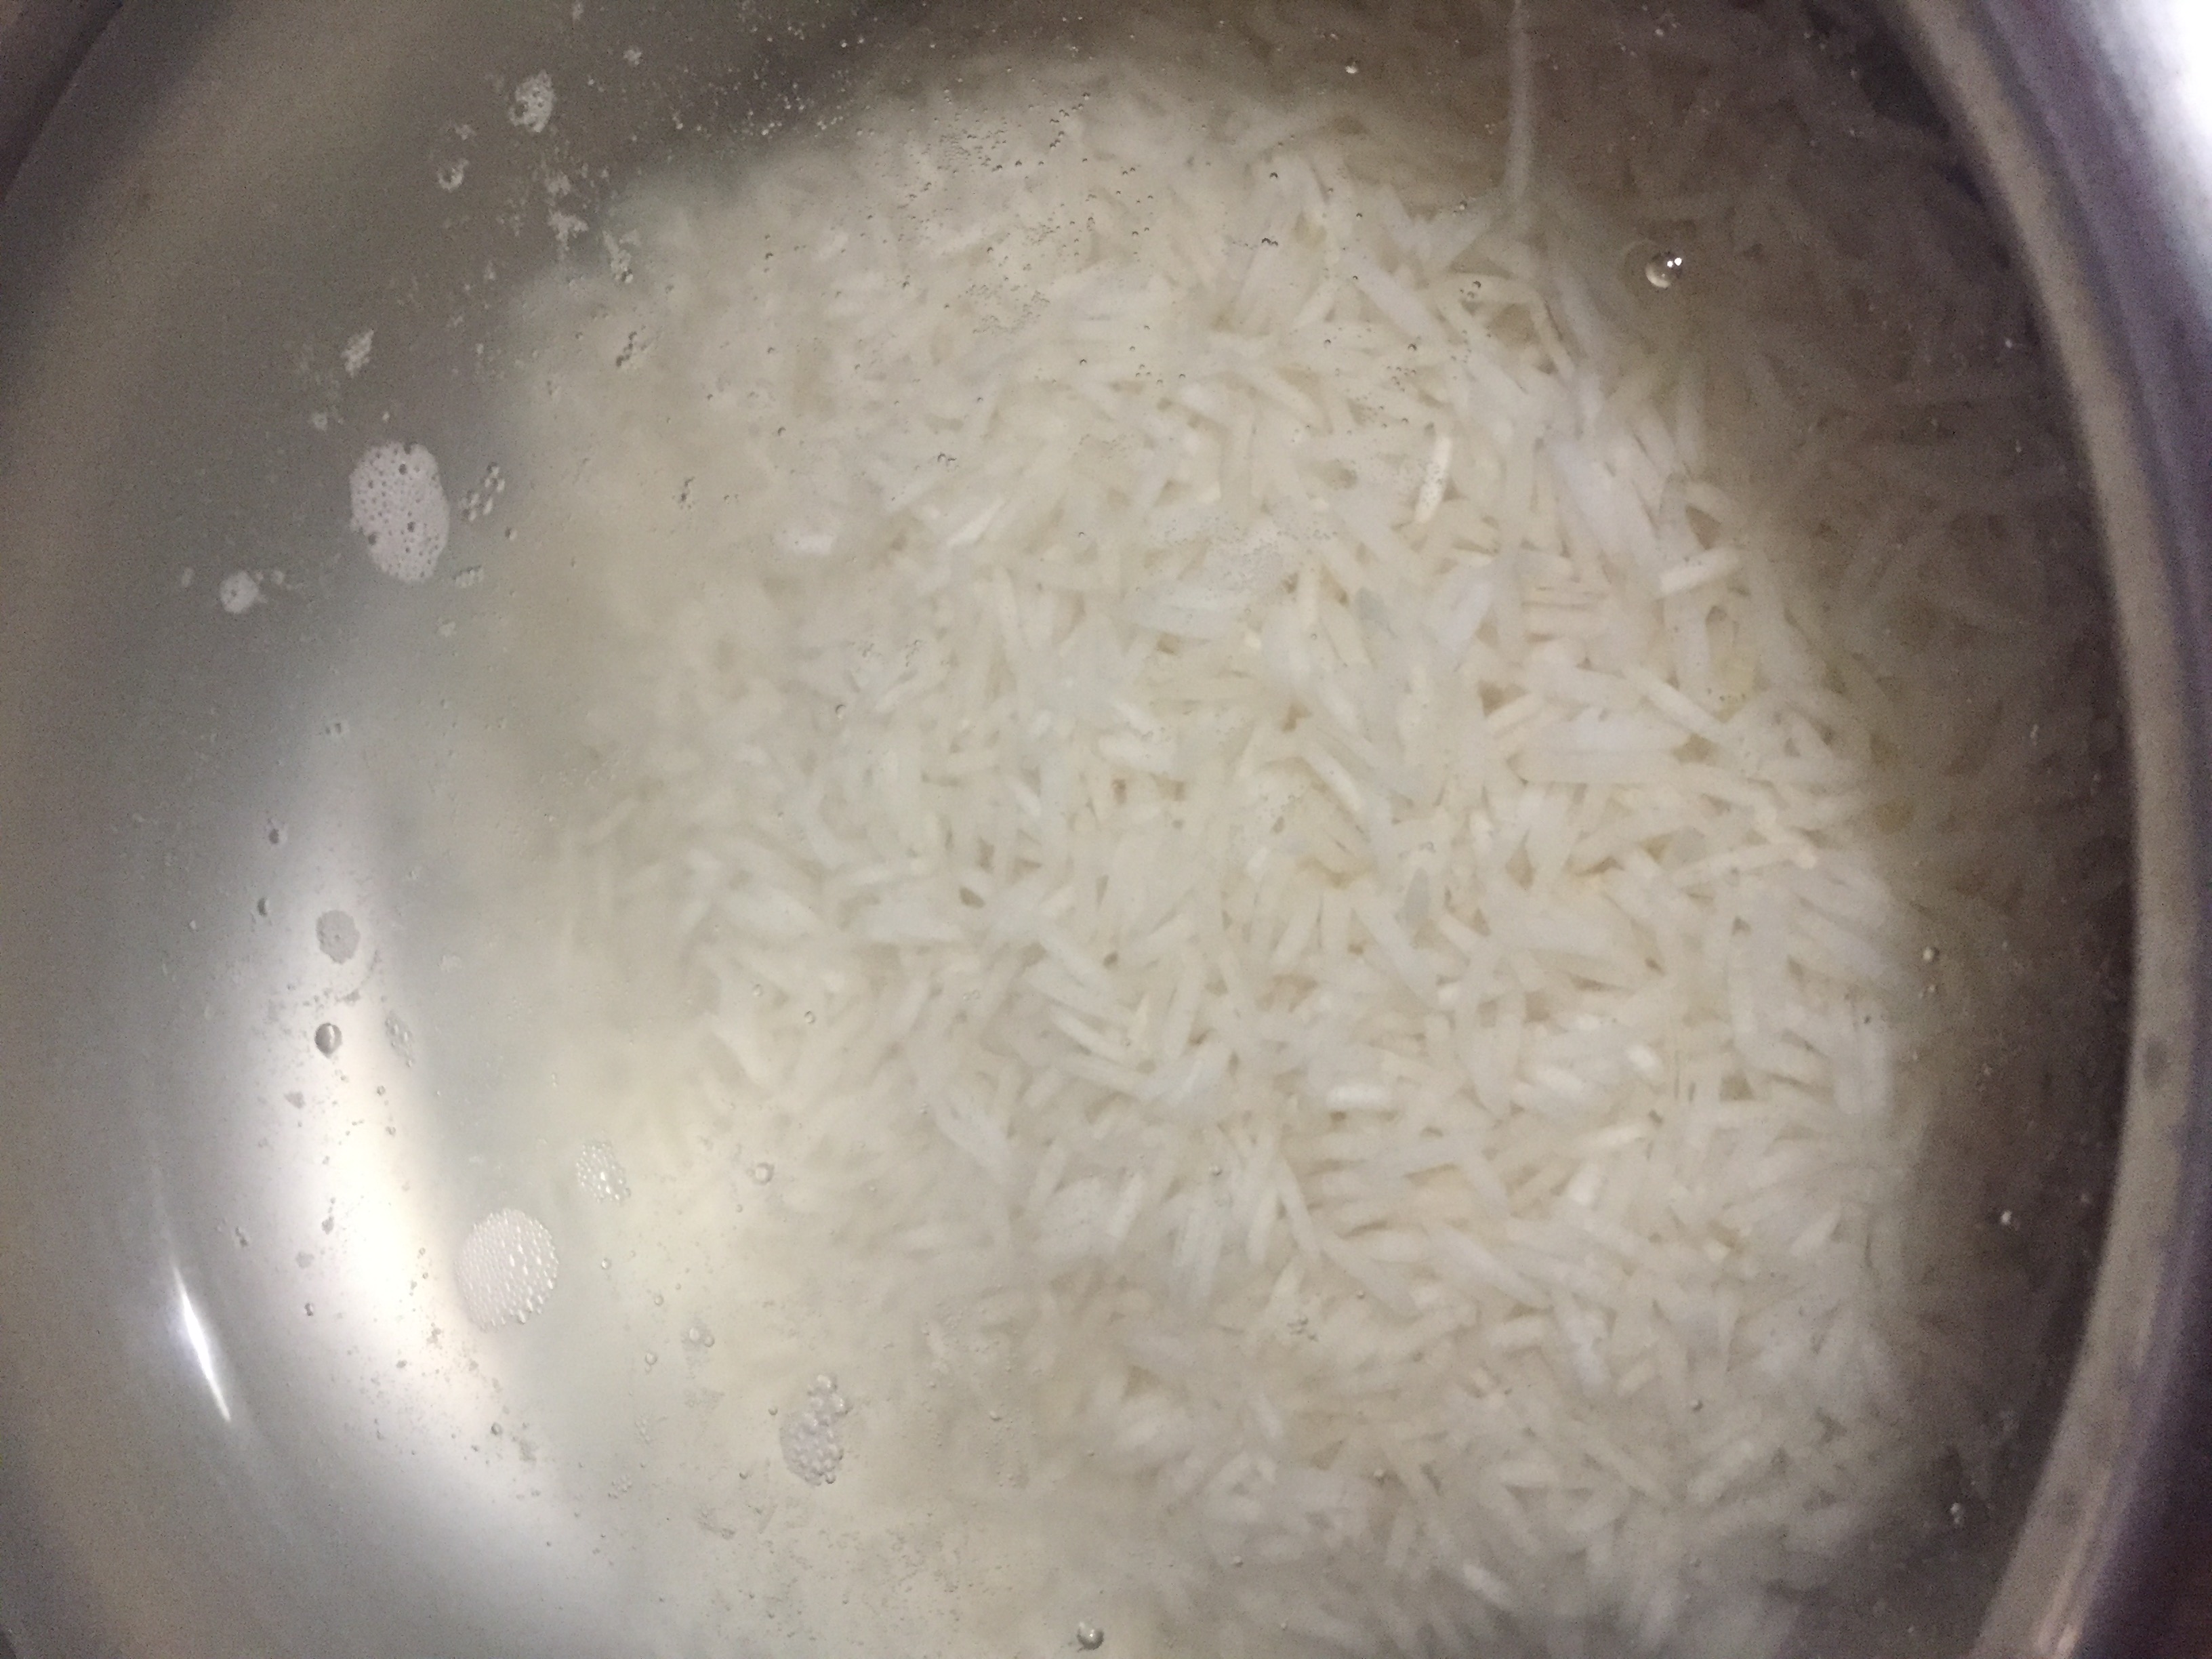
  1. Wash and soak the rice for 25 minutes. Drain the water and keep it aside.
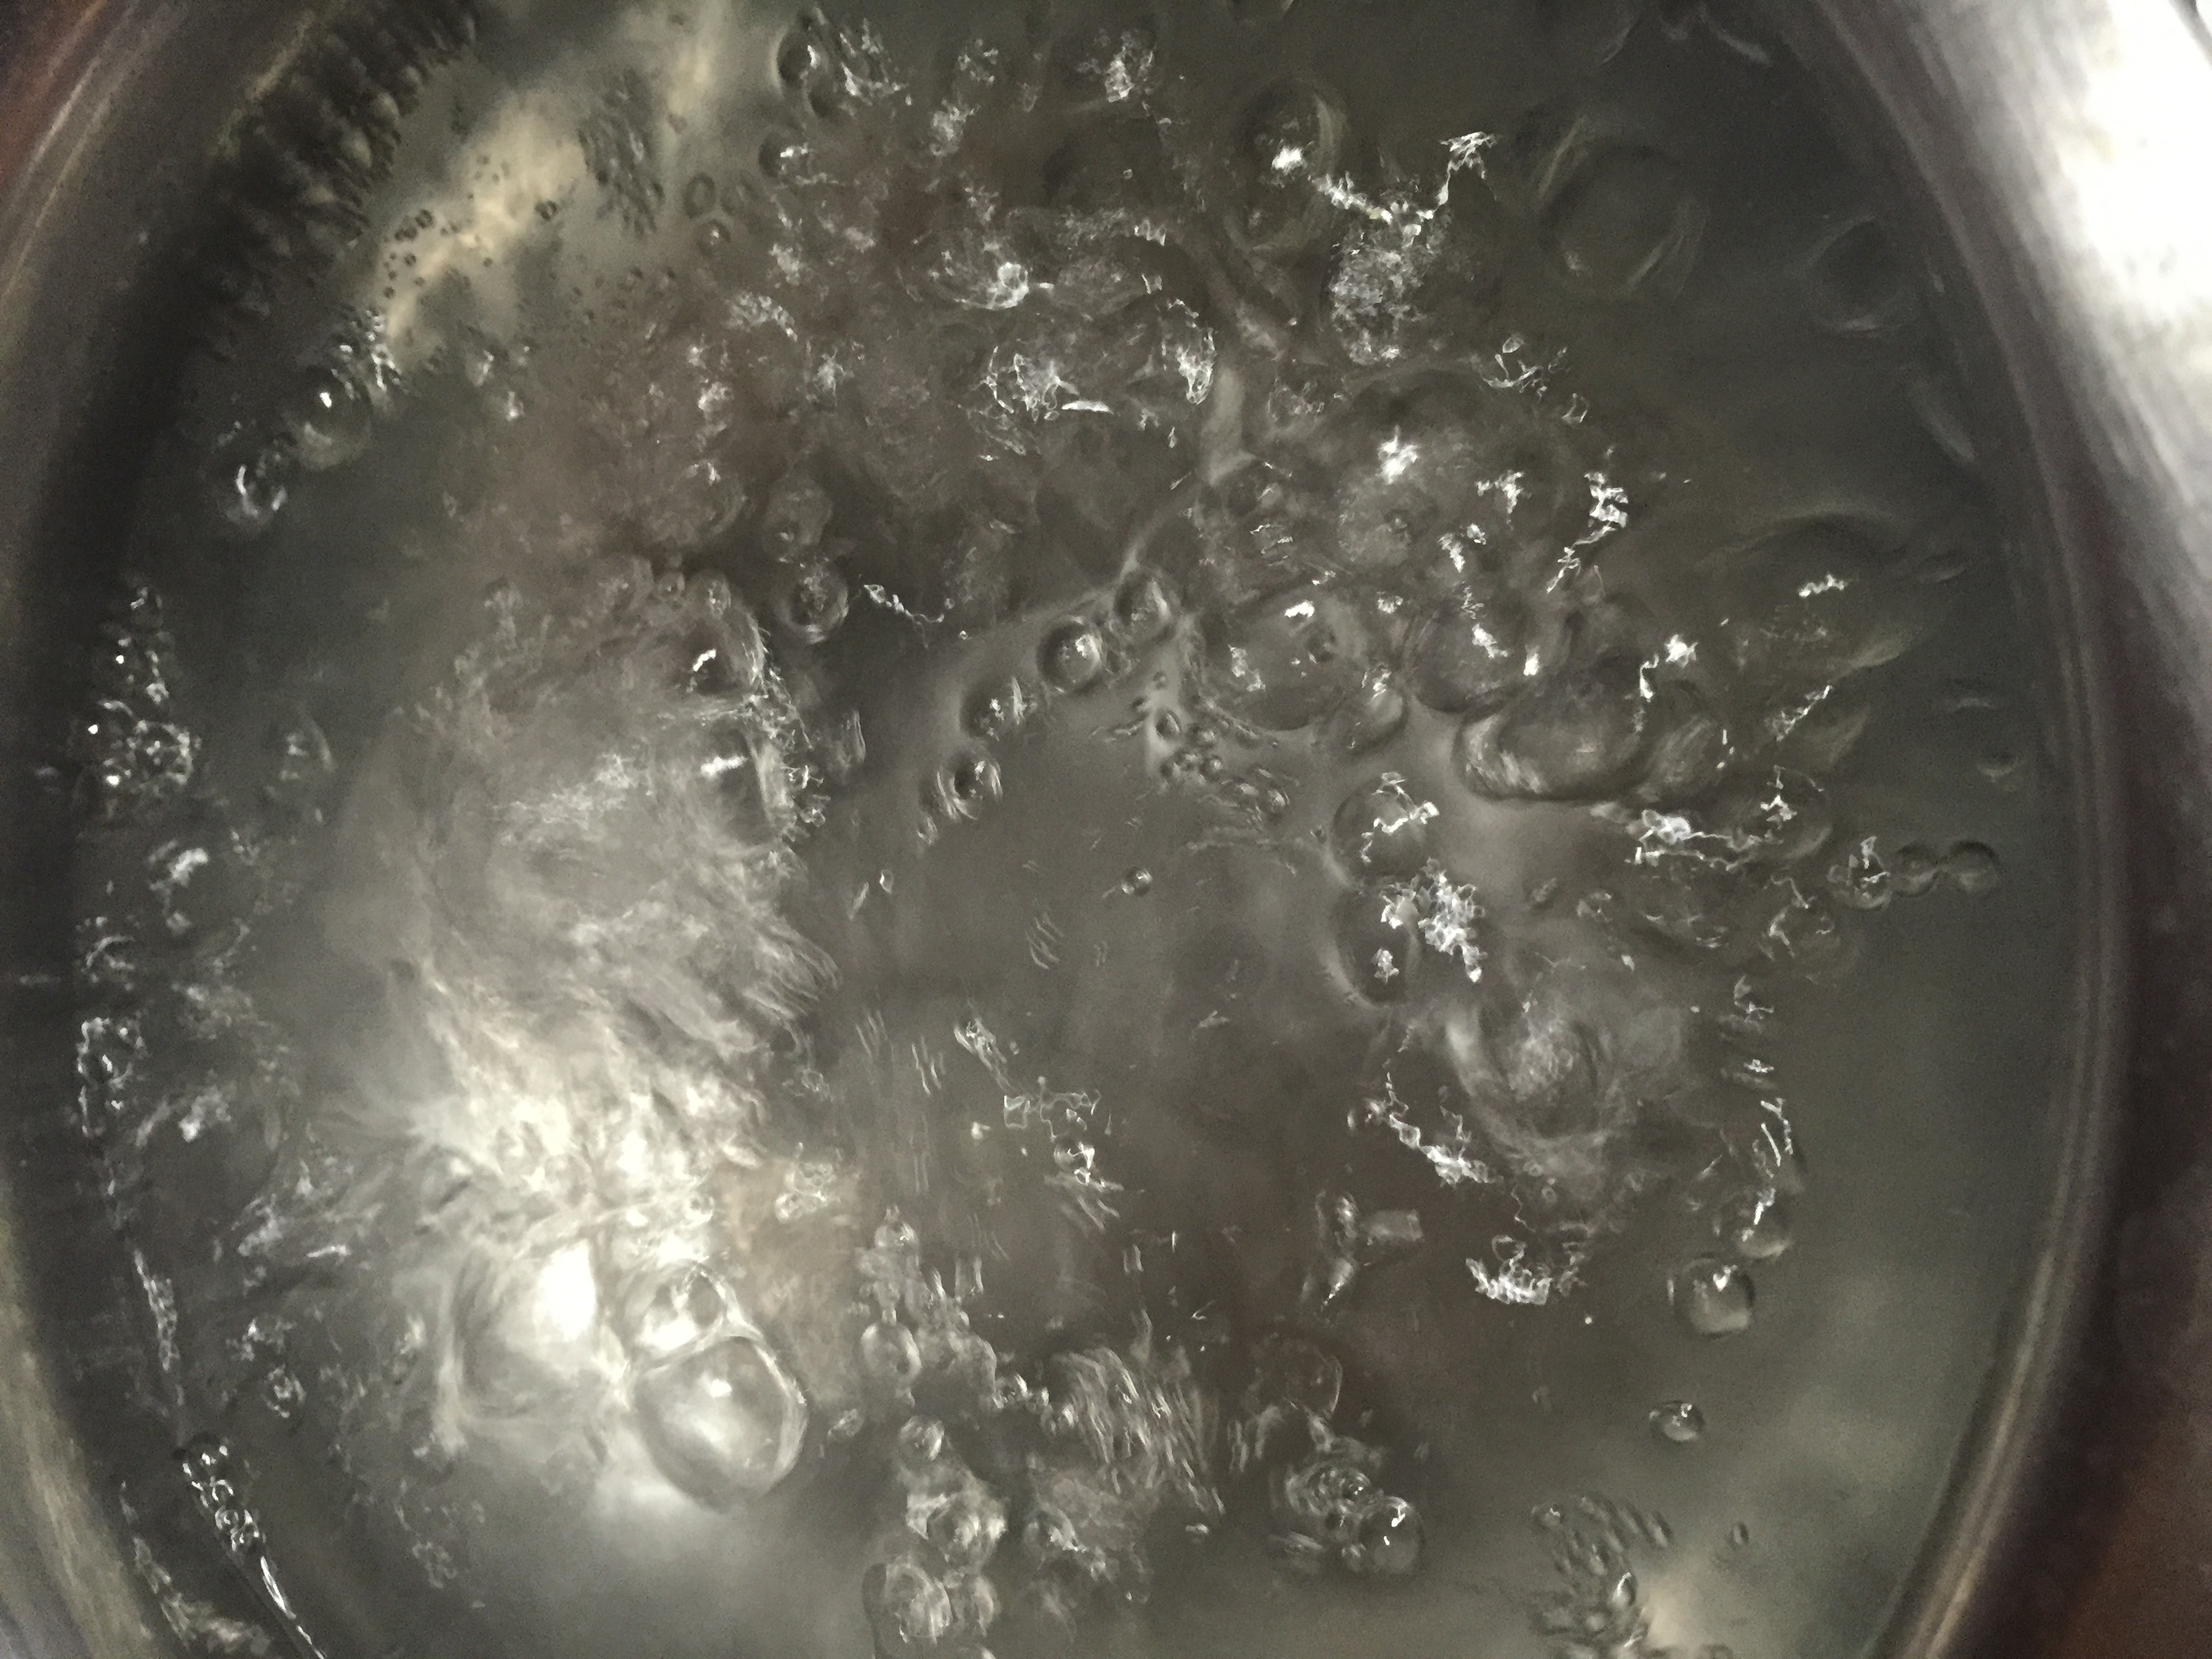
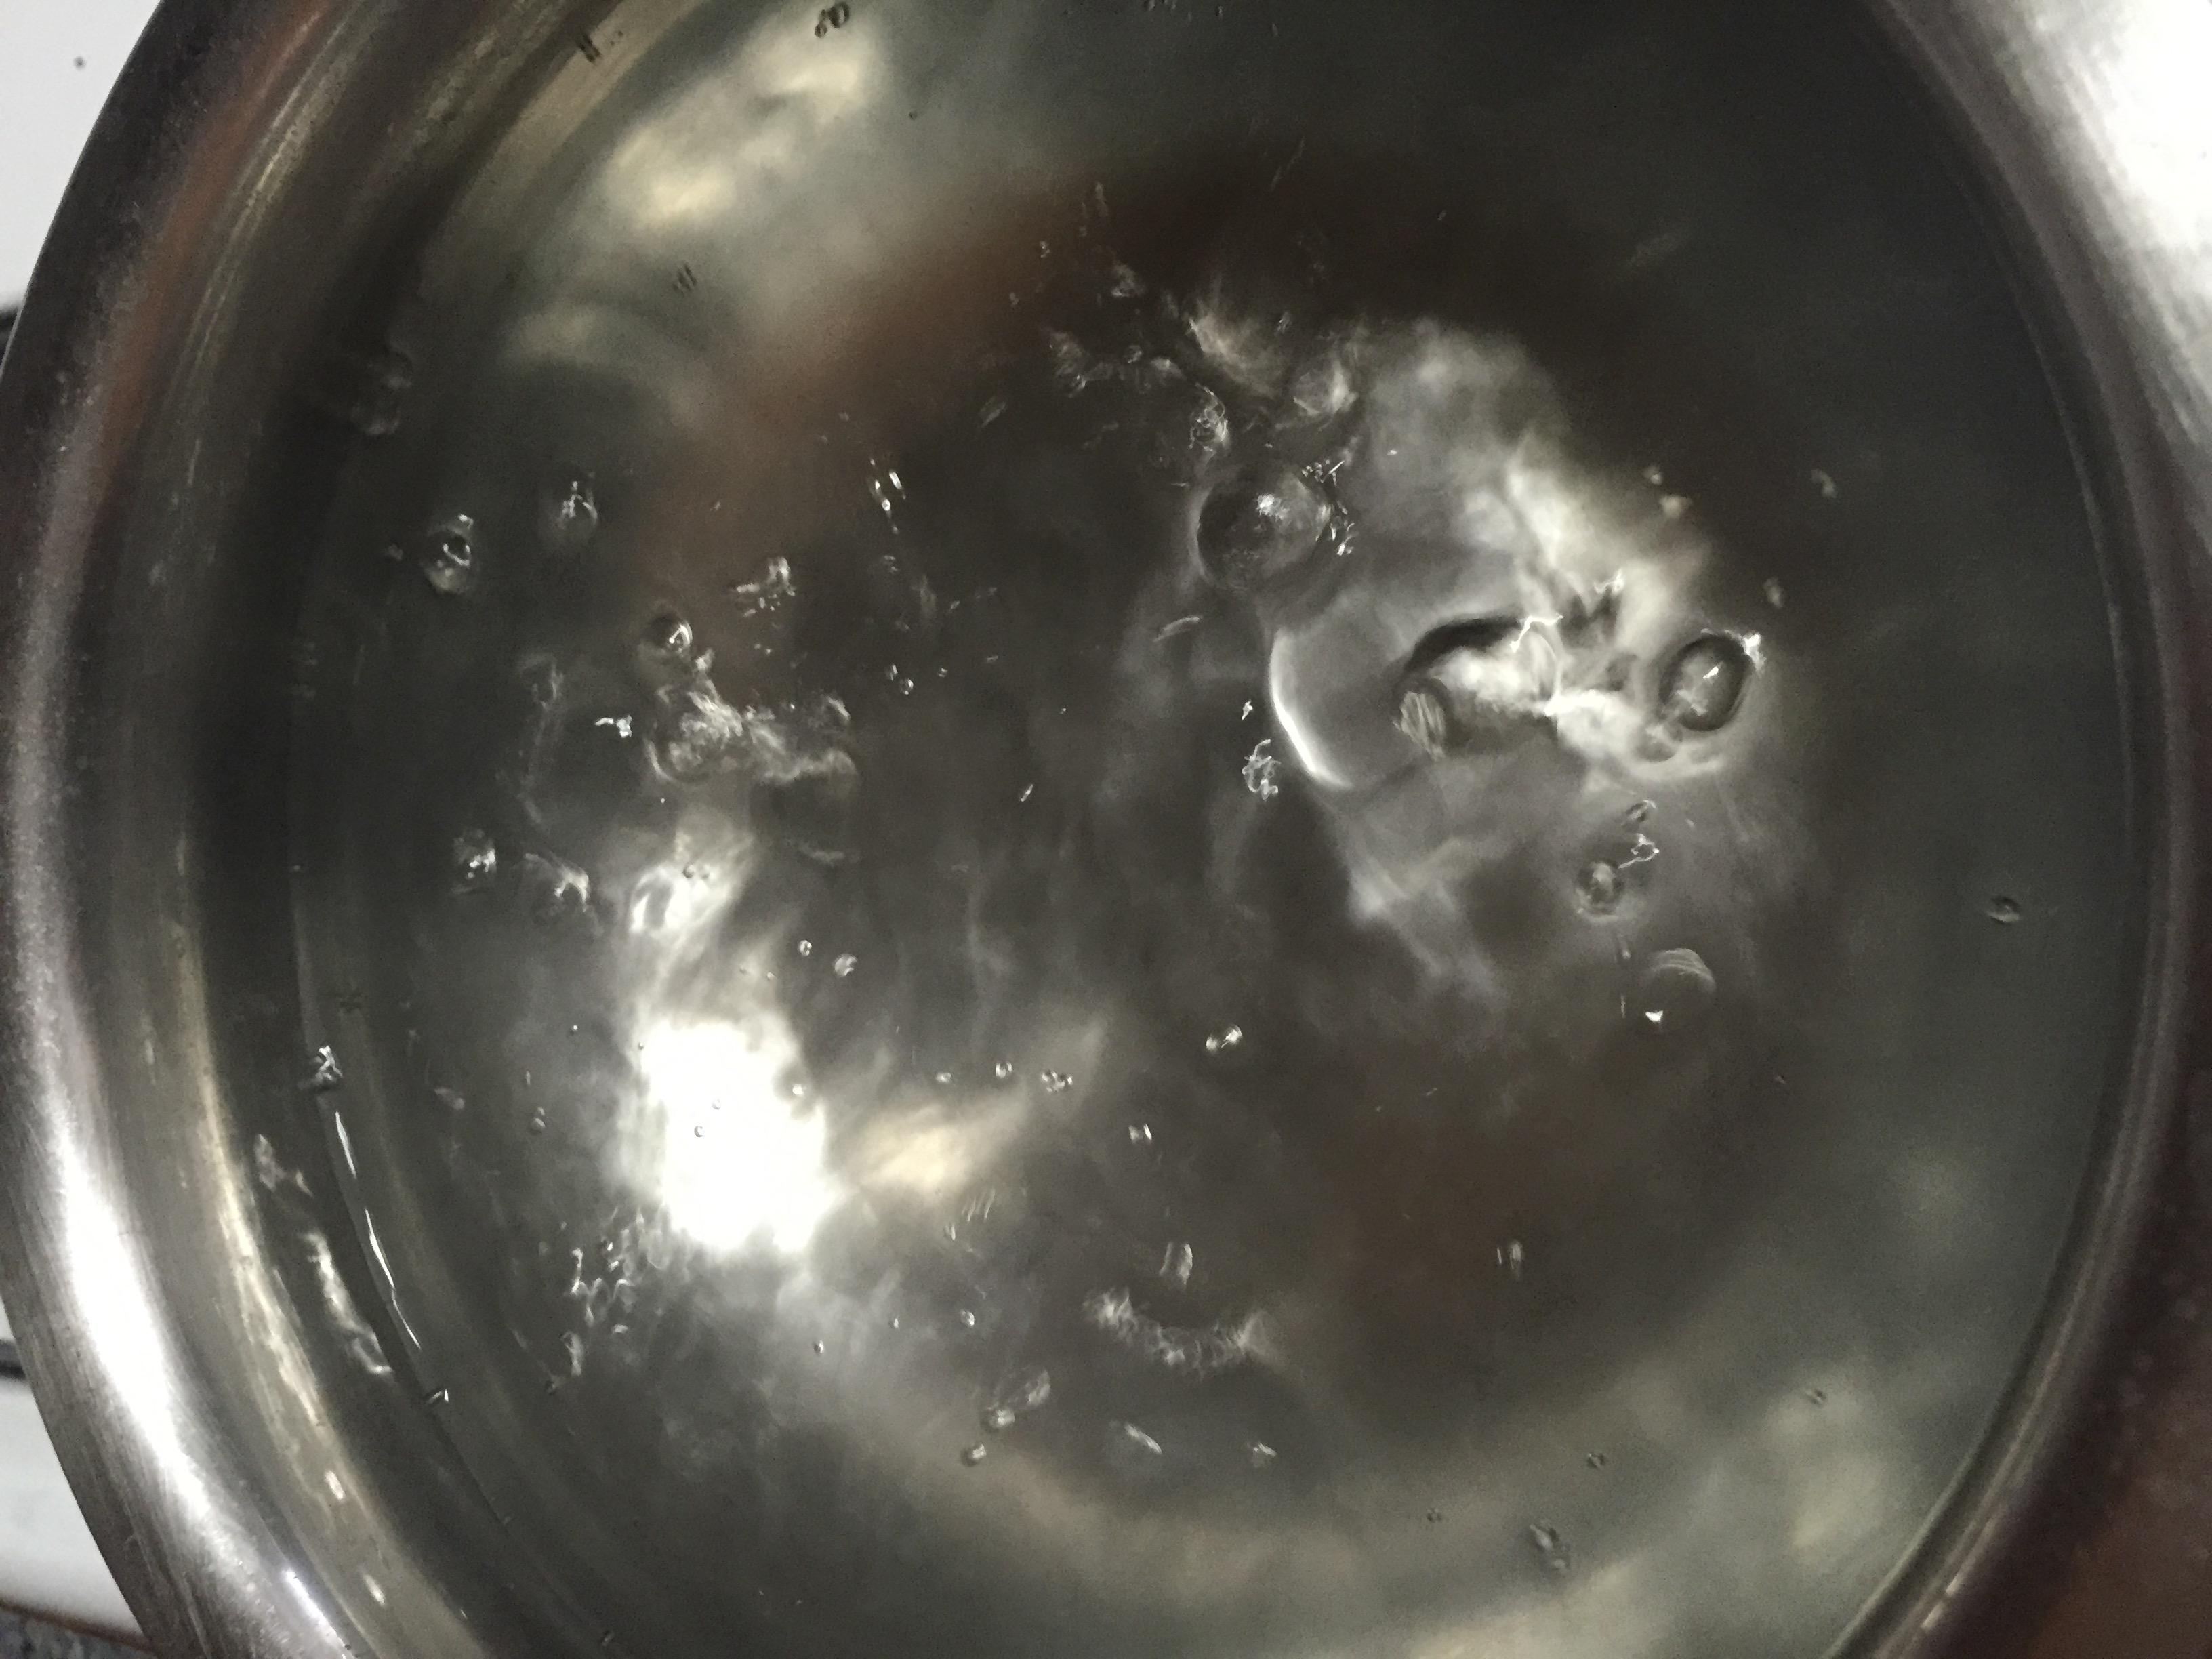
  2. Collect enough water in a wide open, thick bottomed vessel and bring it to boil in a high flame.
  3. When the water starts to boil, simmer the flame to medium low. Add enough salt and again bring it boil. If your making biriyani, add shahi jeera, bay leaf and oil at this stage. Check for the salt. Water has to be salty.
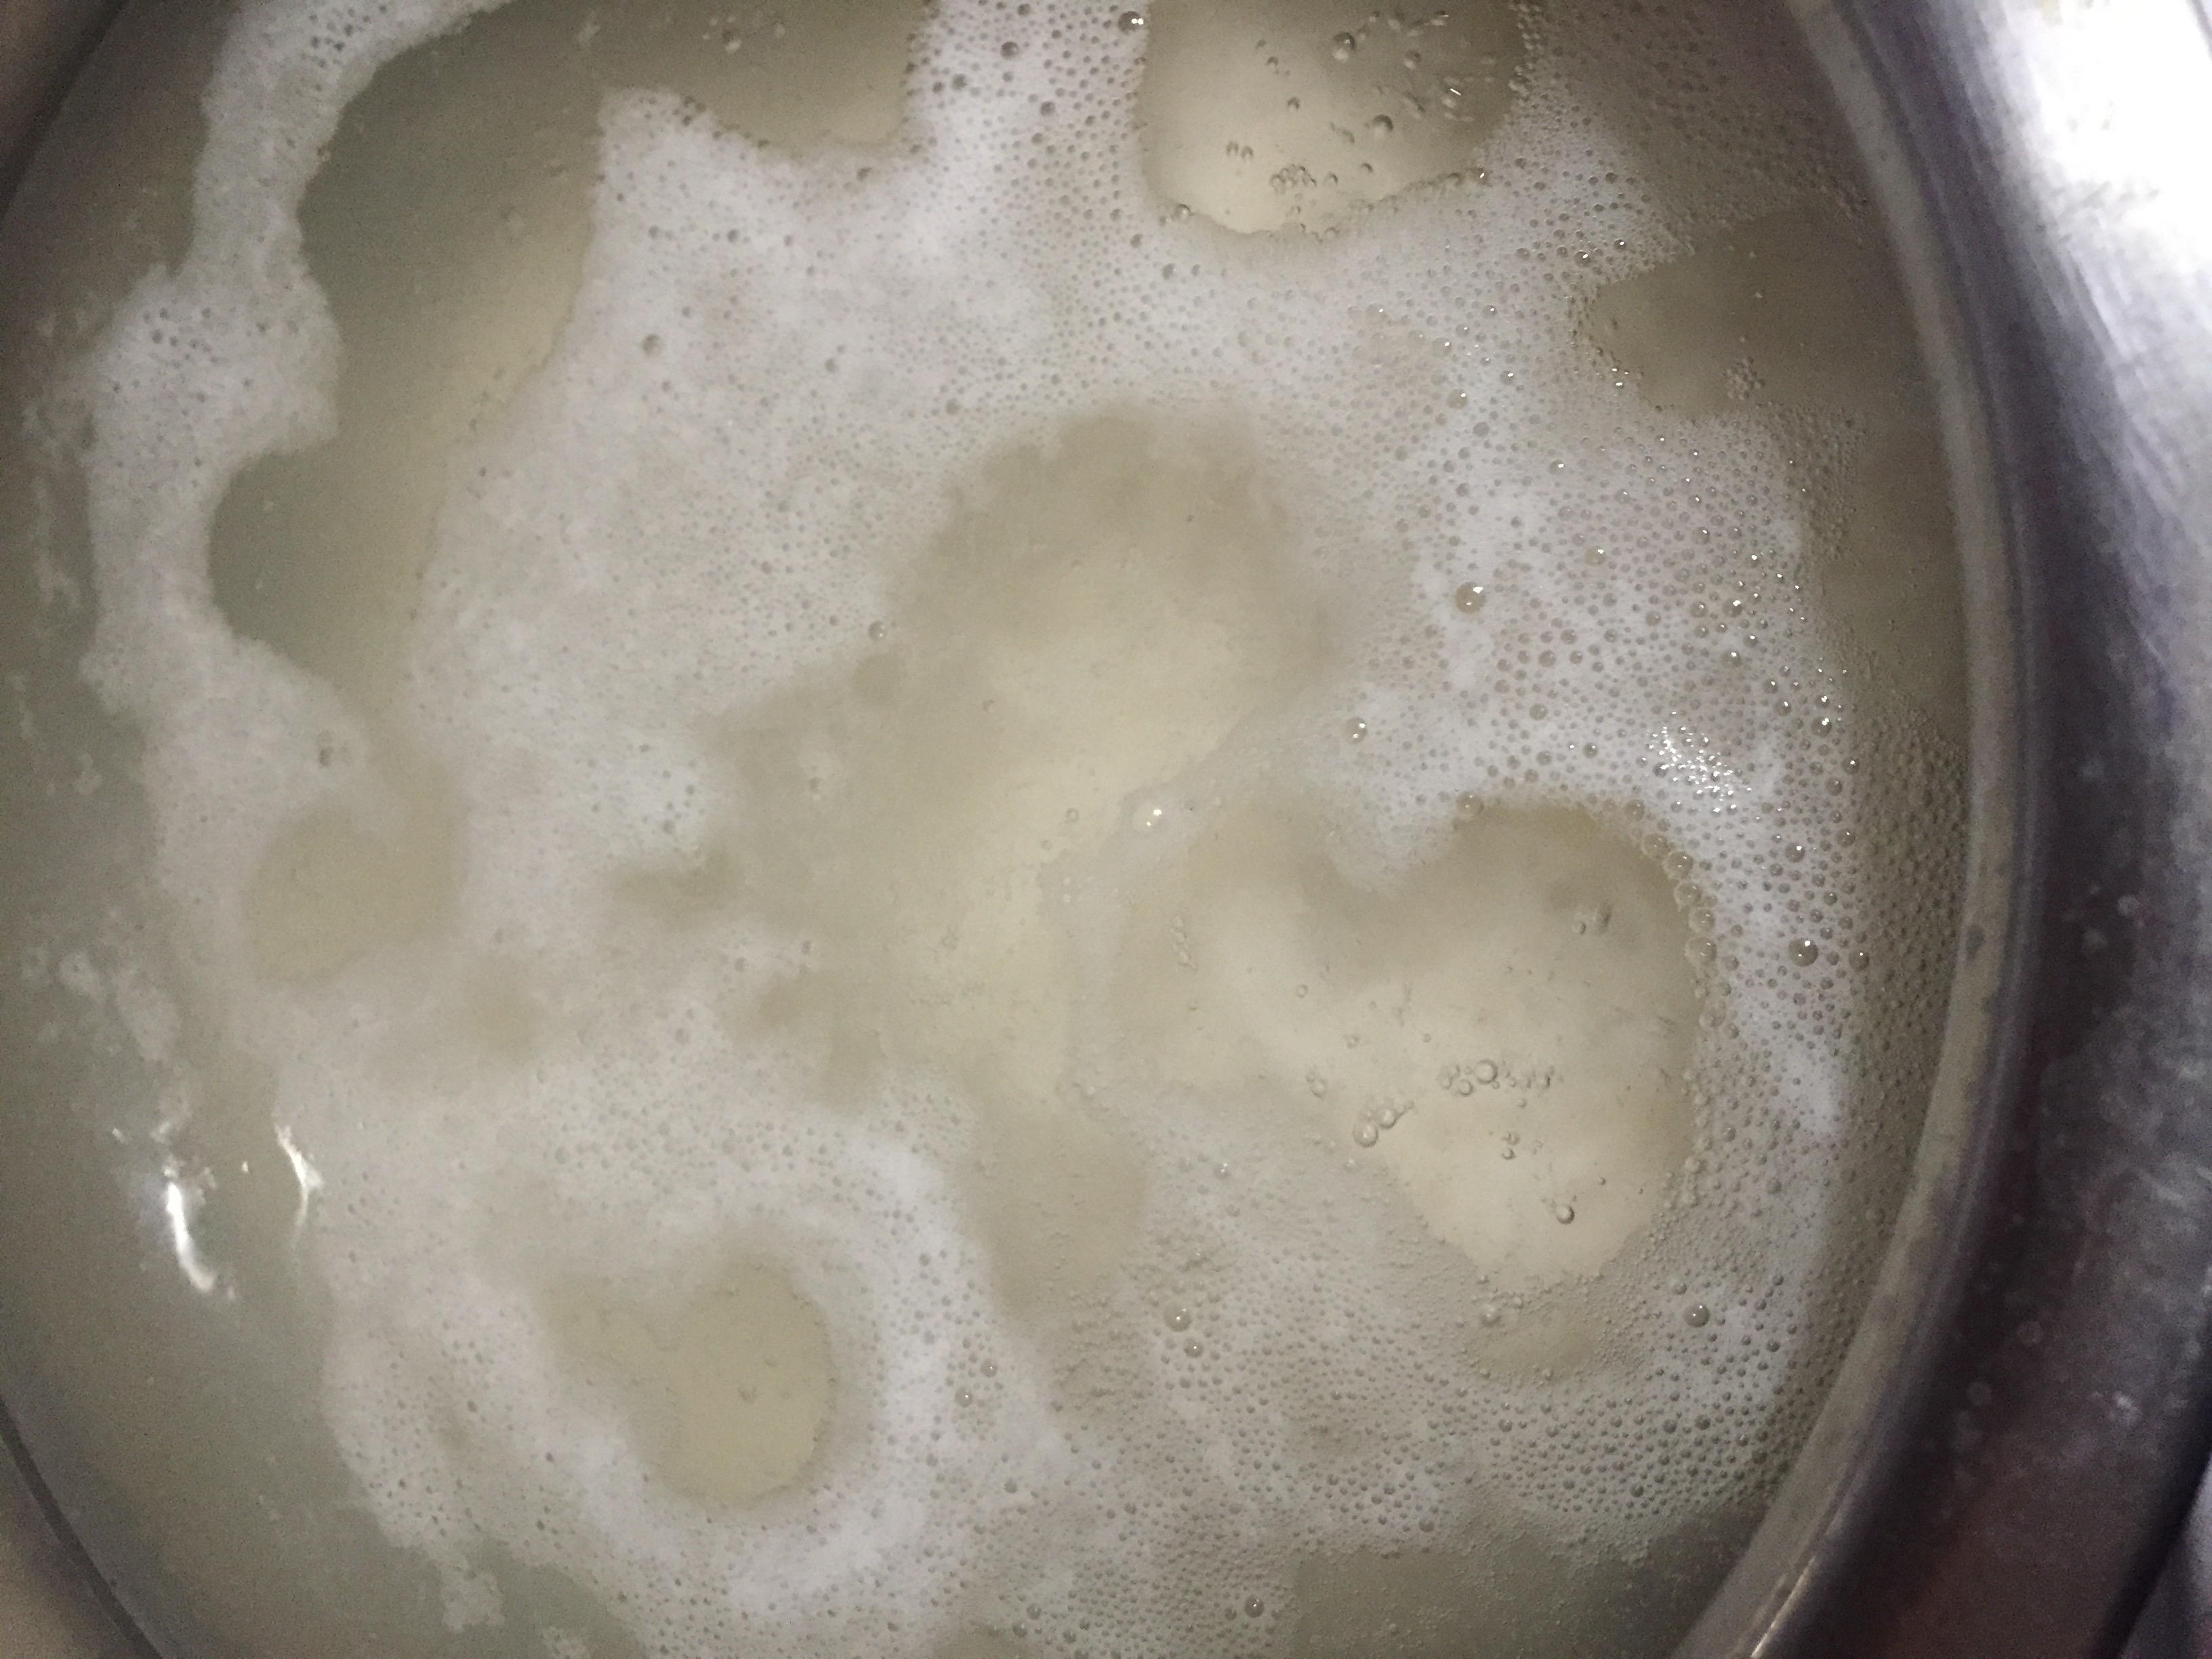
  4. Add the soaked rice to the boiling water and stand aside. Wait until froth is formed and the rice starts to dance on top. At this time rice would have cooked 70%. It takes only a minute so be sure to stand next to it and switch off the flame. Remaining 30% will be cooked in the hot water itself. Leave it for a minute and check if the rice is completely cooked by pressing in between your finger or tasting it.
  5. Meanwhile take a strainer and place it on top of a wide vessel.
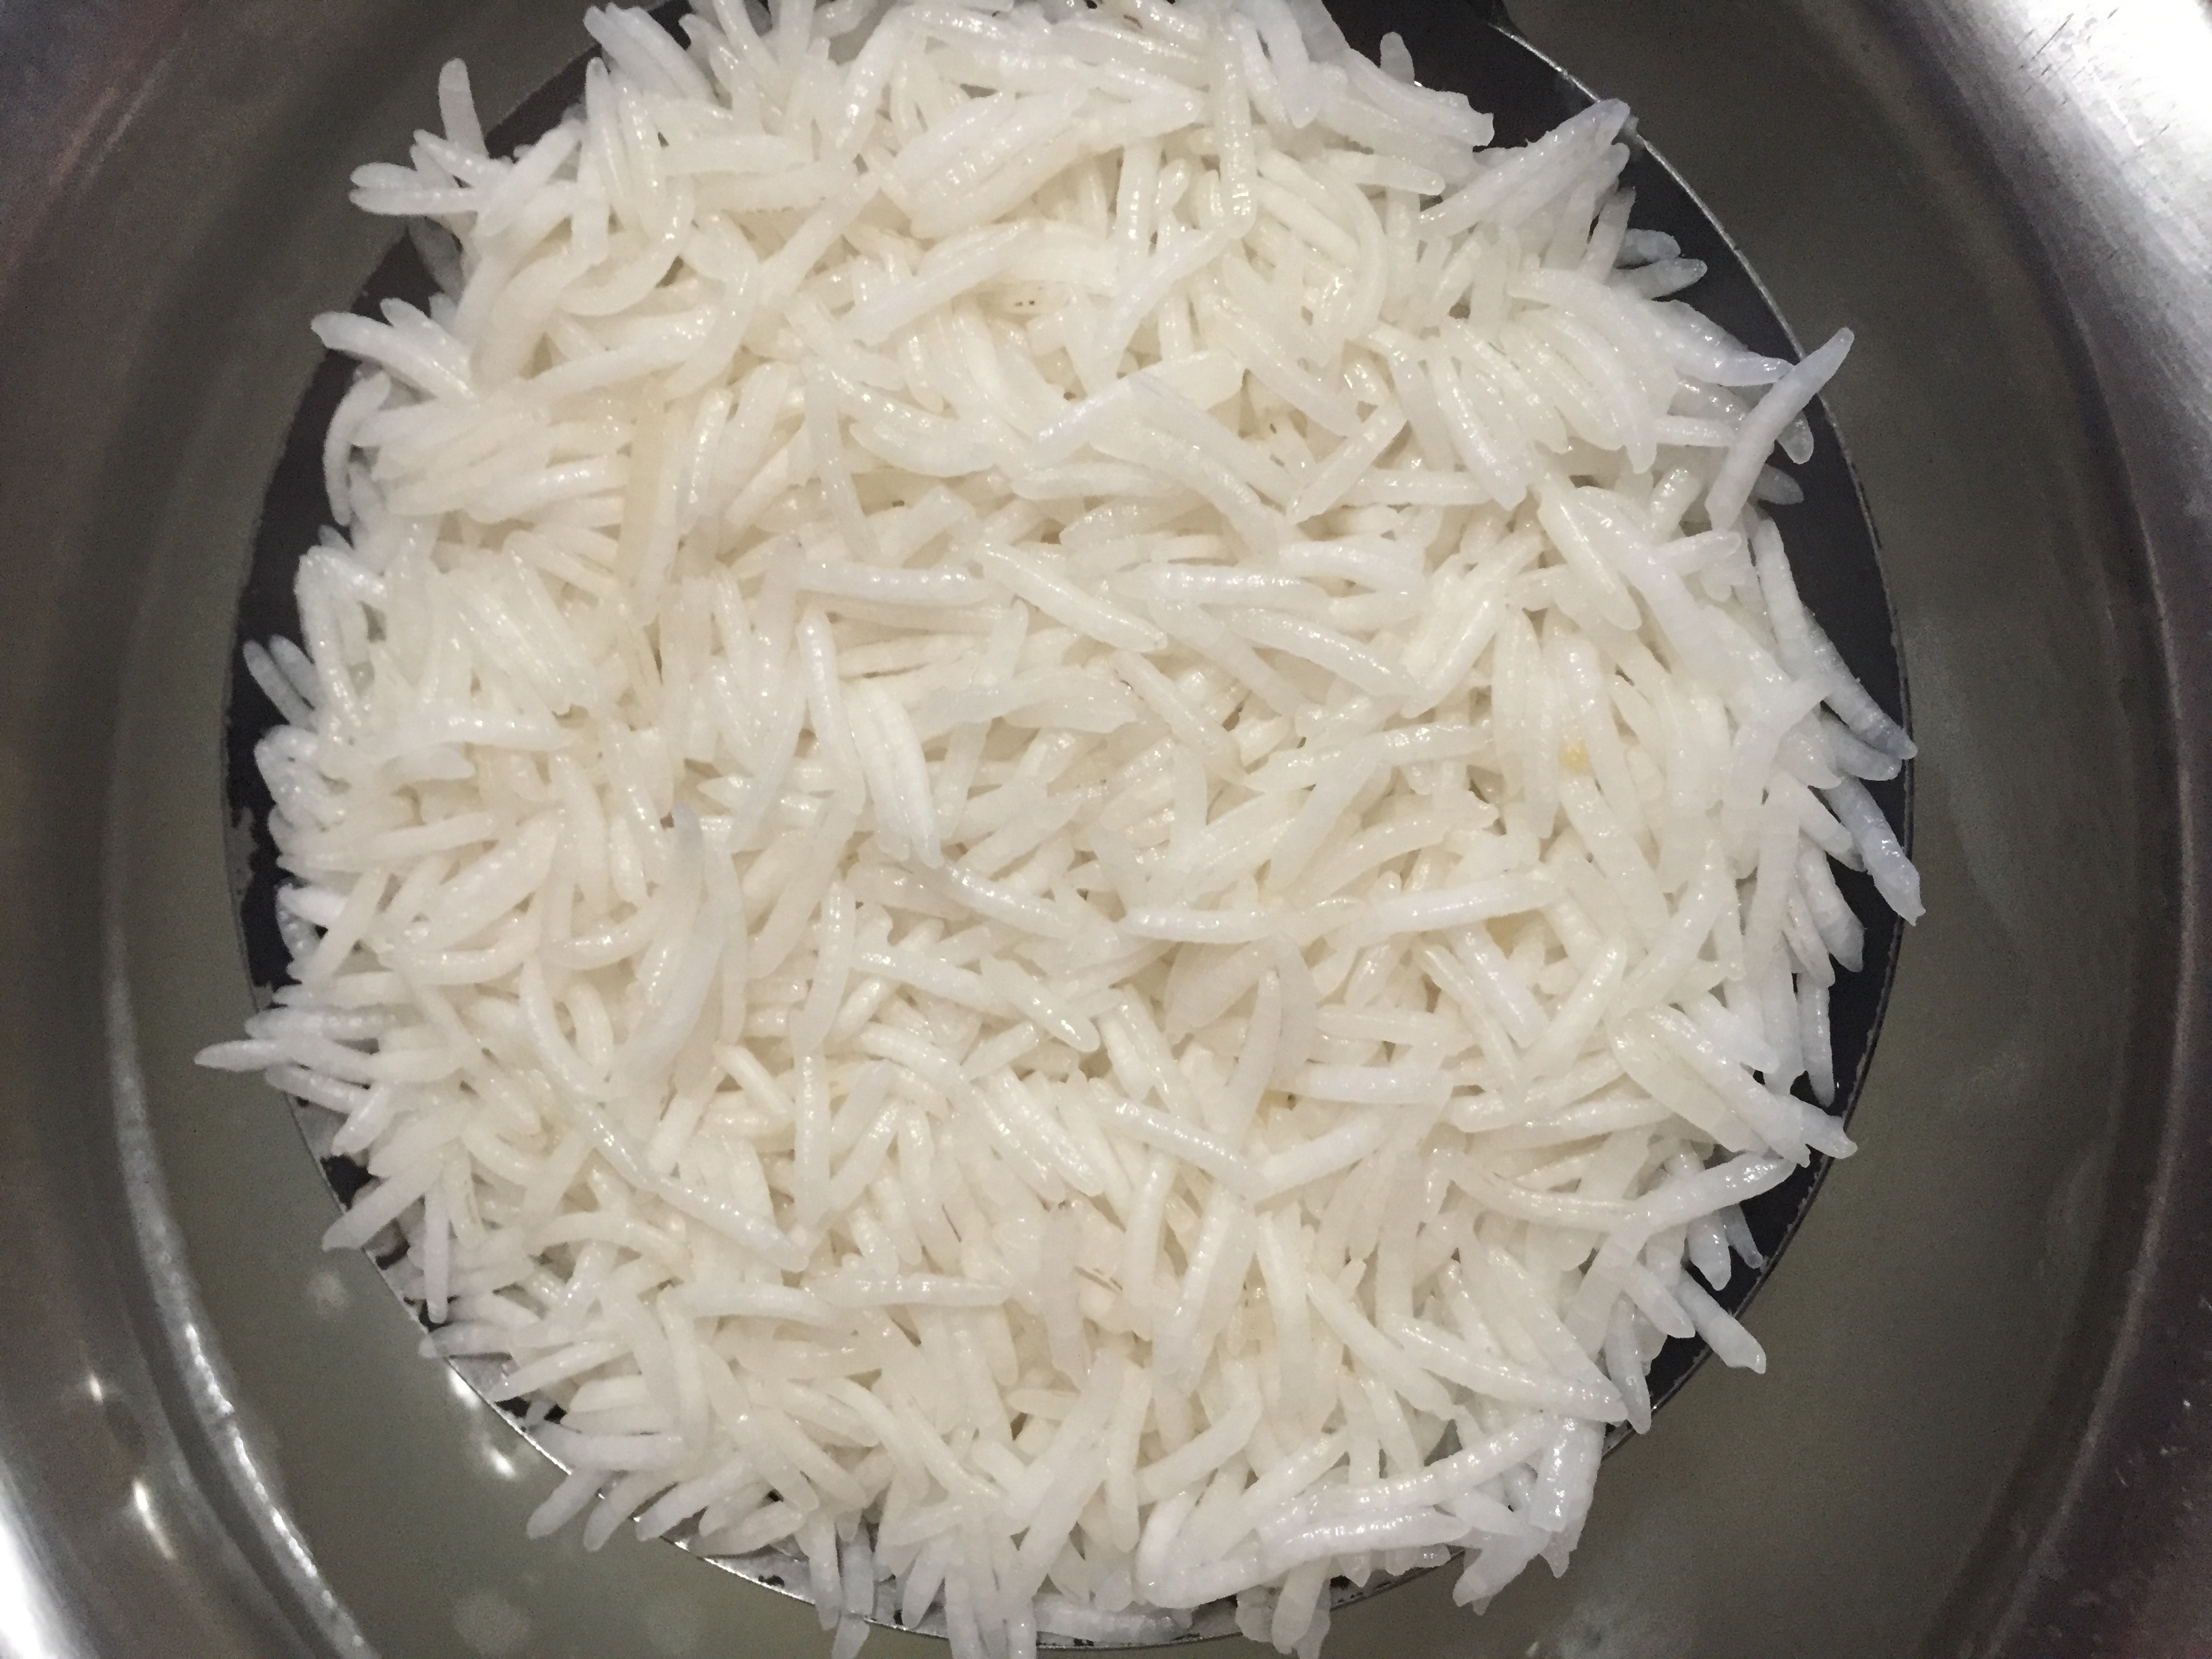
  6. Immediately pour the cooked rice into the strainer and completely strain the water.
  7. Leave it for about 5 minutes until all the water is completely strained.
  8. Use this beautifully cooked boiled rice for making fried rice, hyderabadi biriyani, etc.

Egg Fried Rice

Coriander Rice


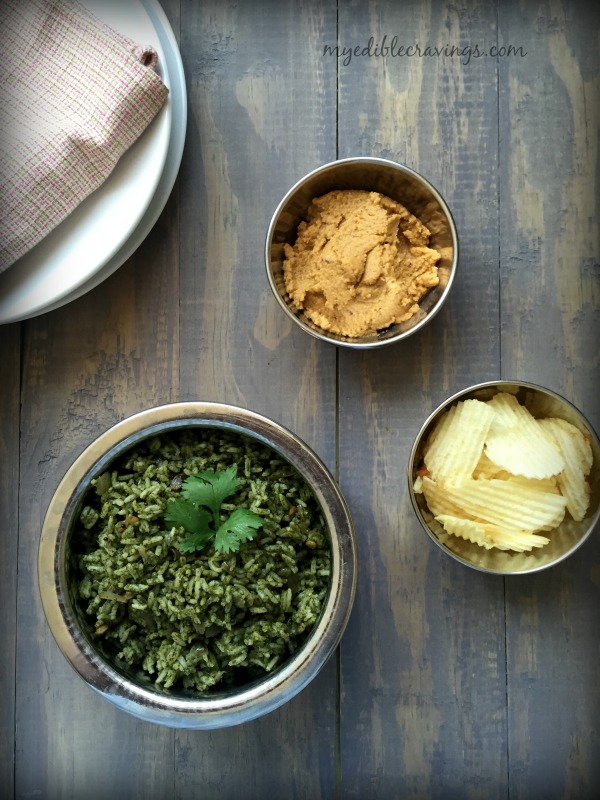
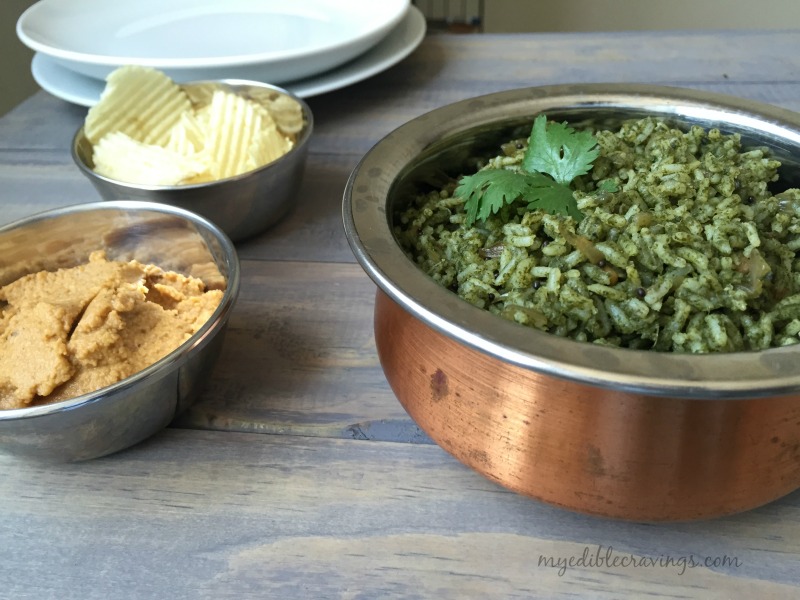
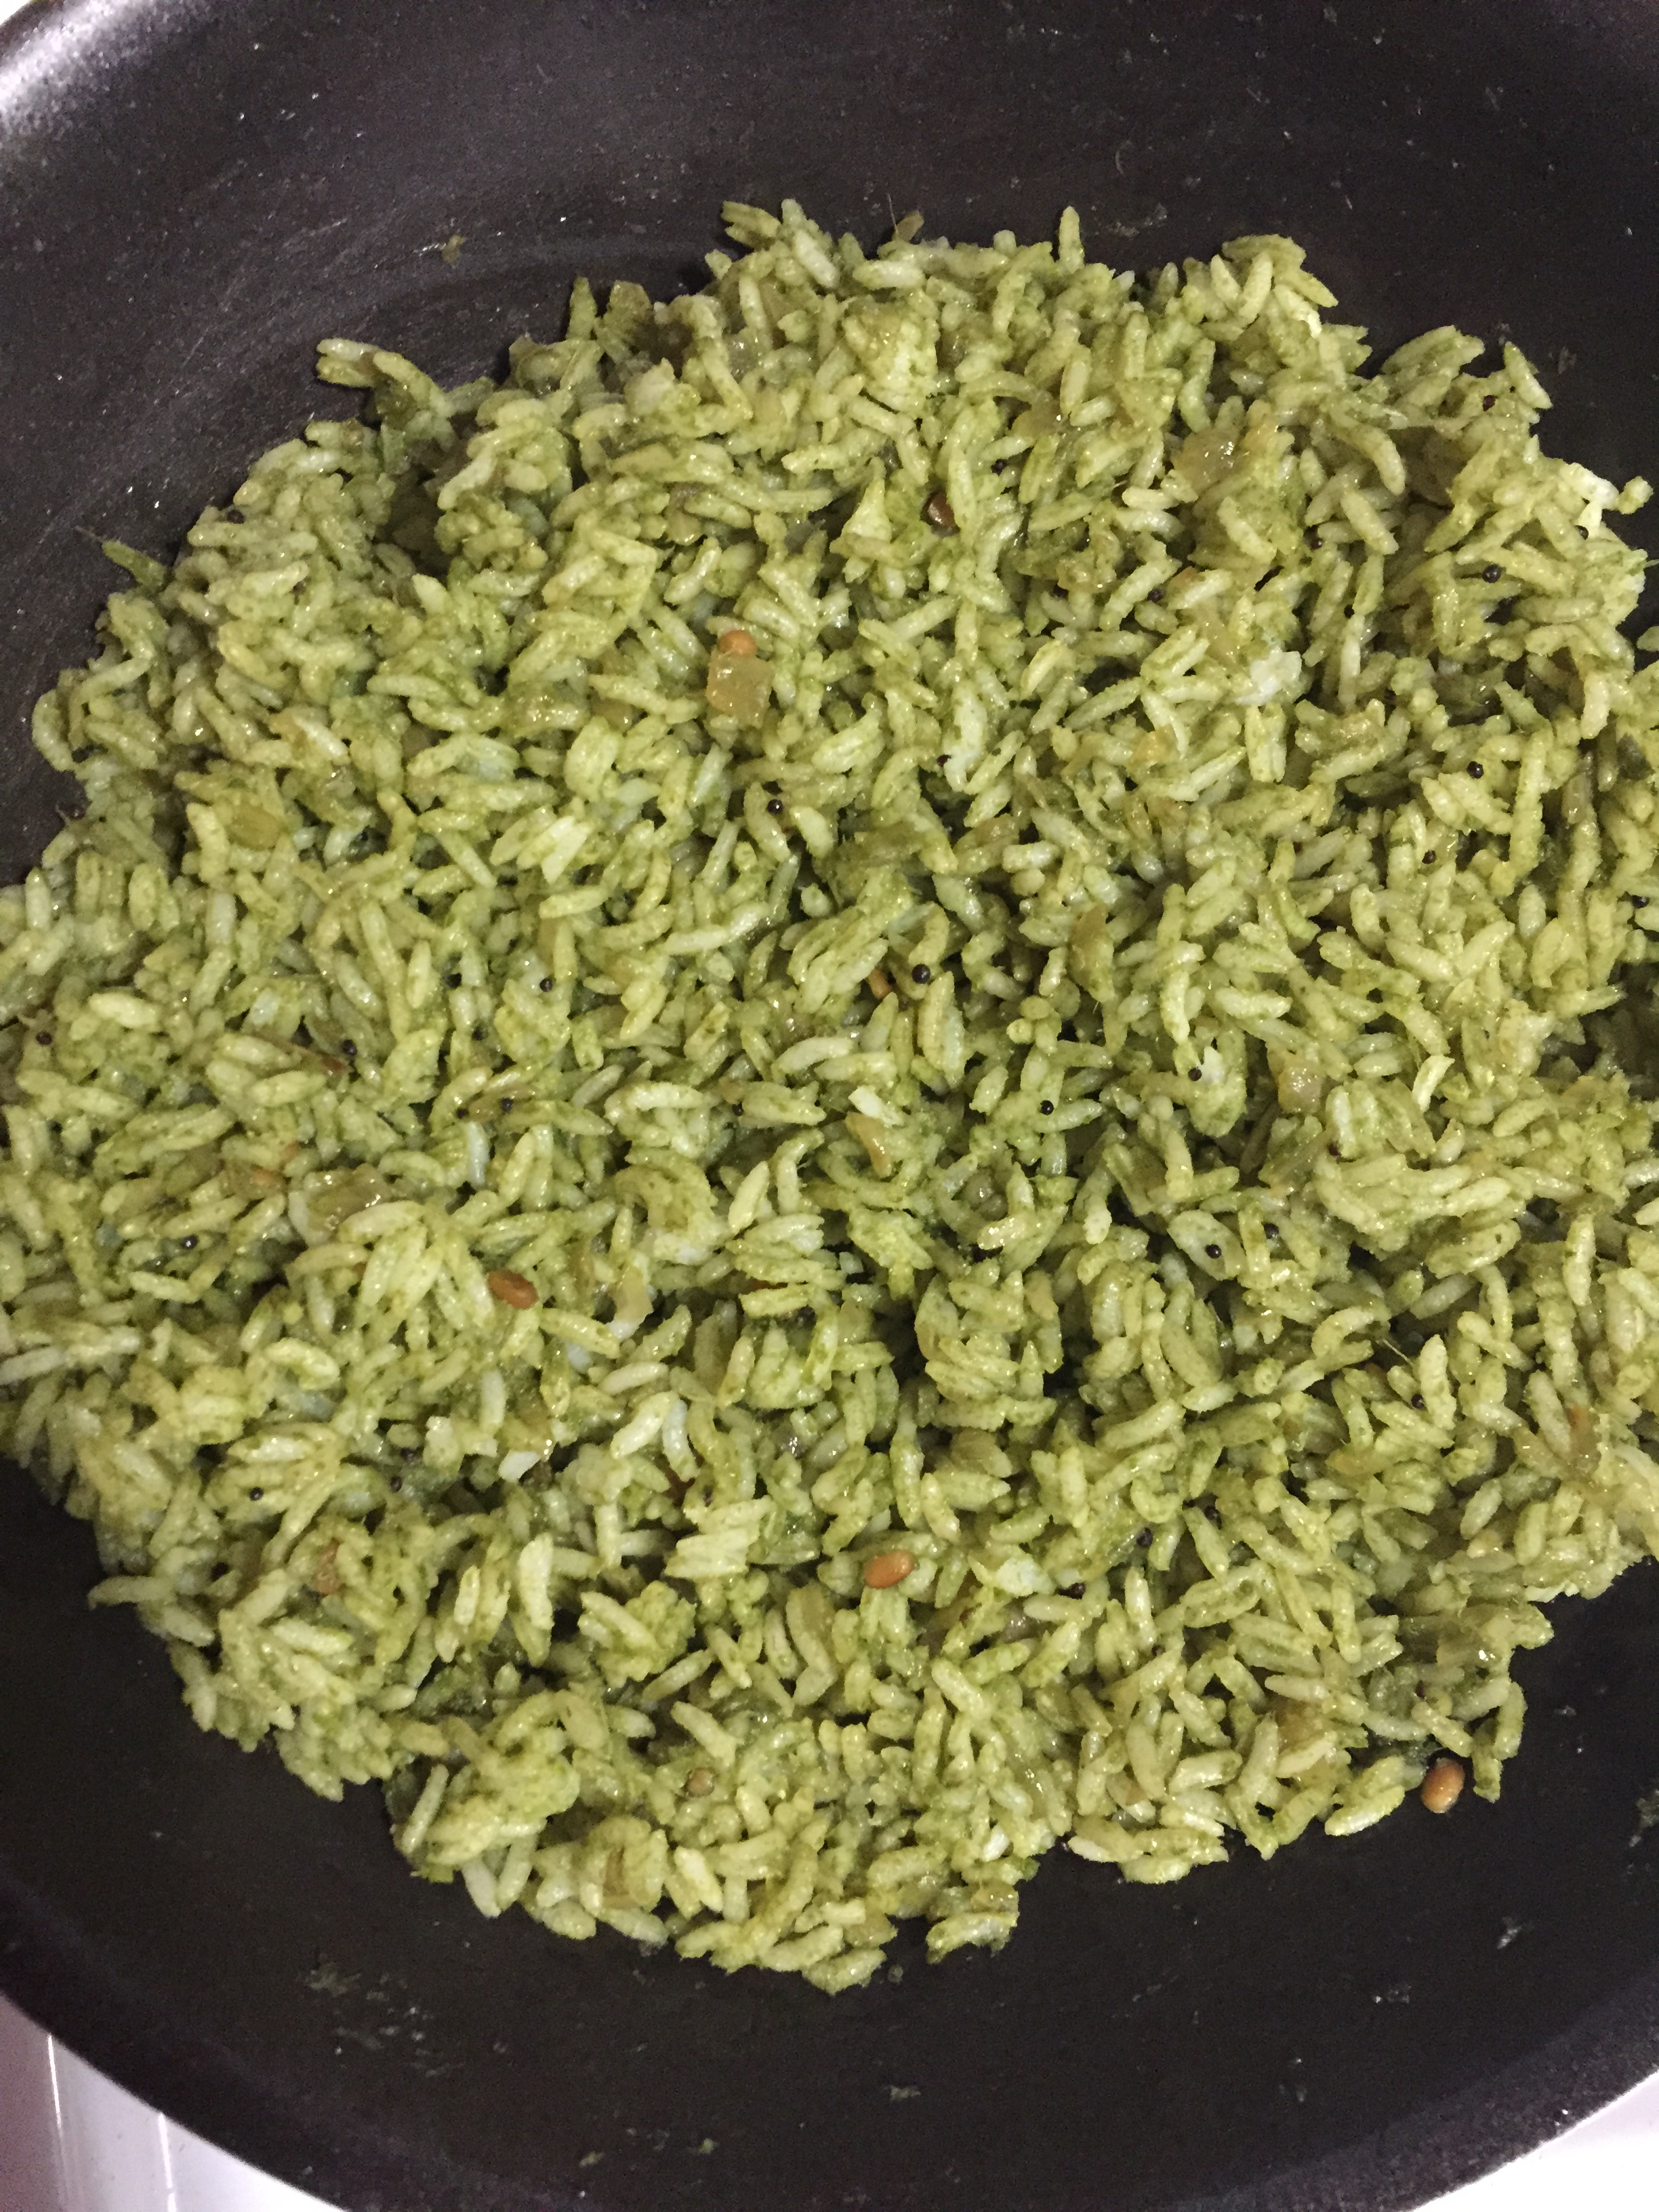
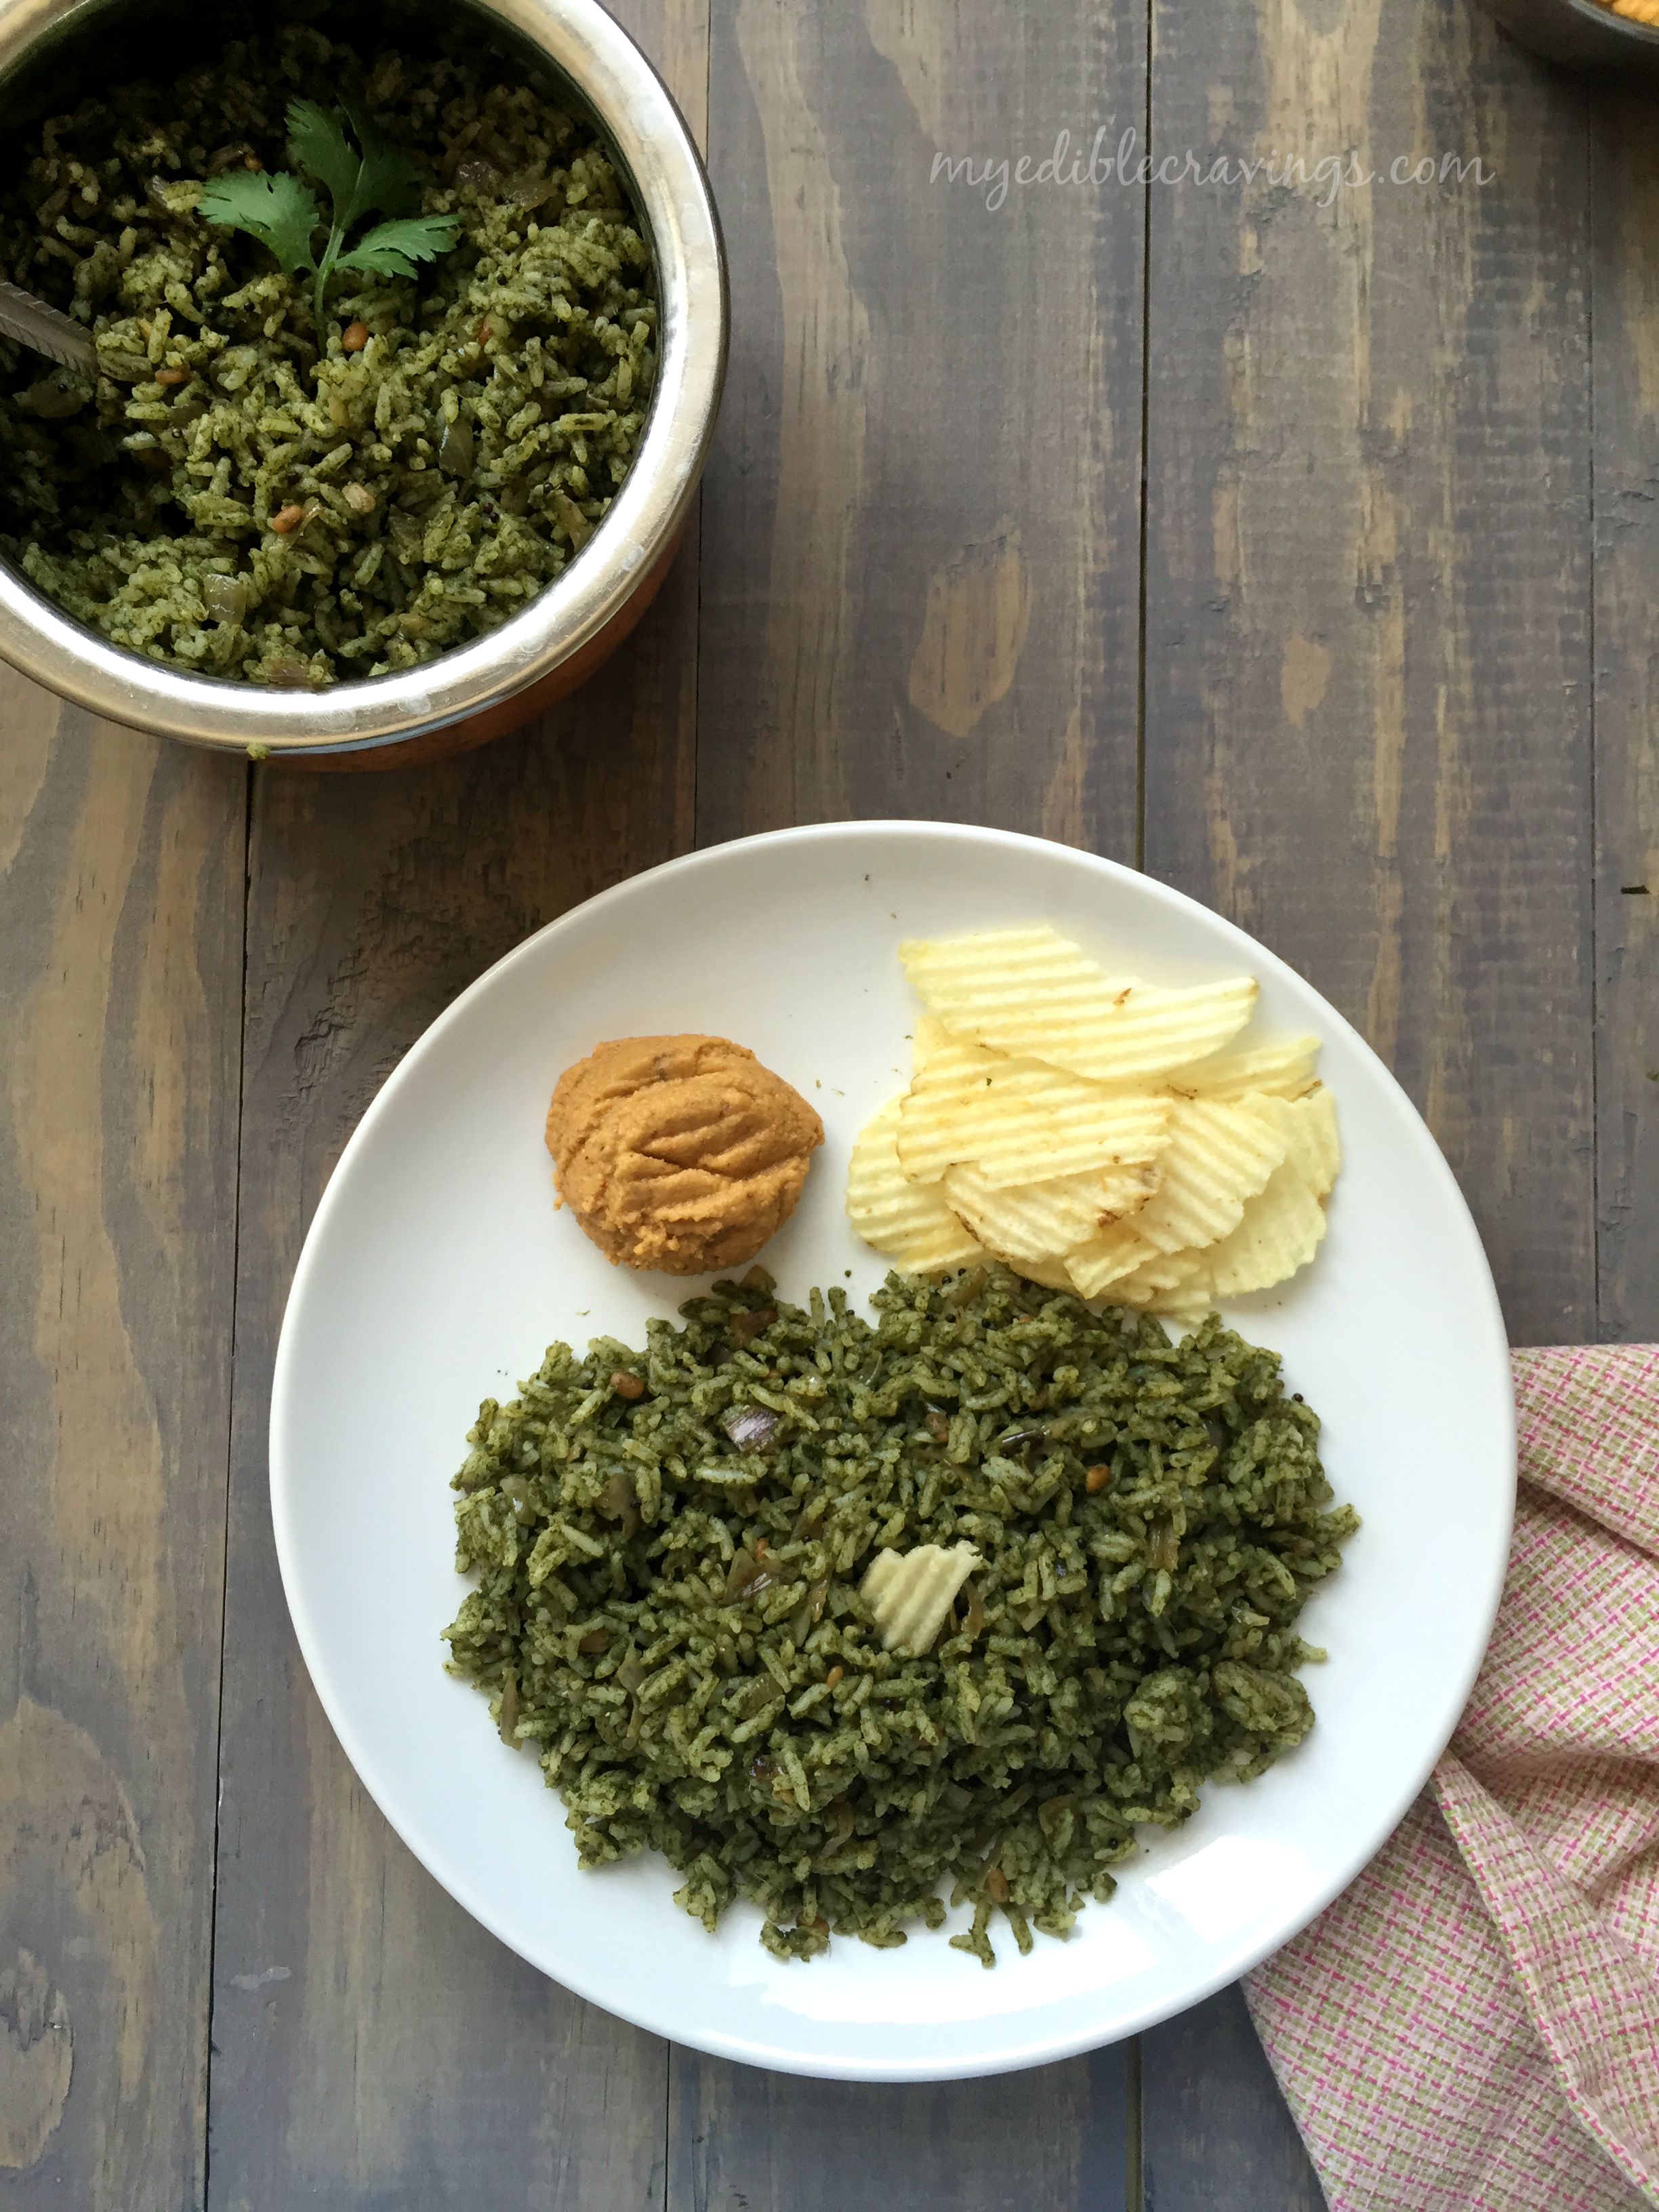
Coriander RiceIt has been quite a while since I had posted a recipe for a rice variety. The recipe that I have posted today is a specialty of my MIL. It is called as the Coriander/Cilantro rice. As the name suggests, the main ingredient here is coriander. It is a very simple and tasty dish.

Coriander RiceCoriander in general has many medicinal properties. It is used for obesity treatment, skin care and is also recommended for diabetic people. So Coriander rice is a healthy dish but you normally don’t find them in restaurant menus (maybe because it is healthy :)).

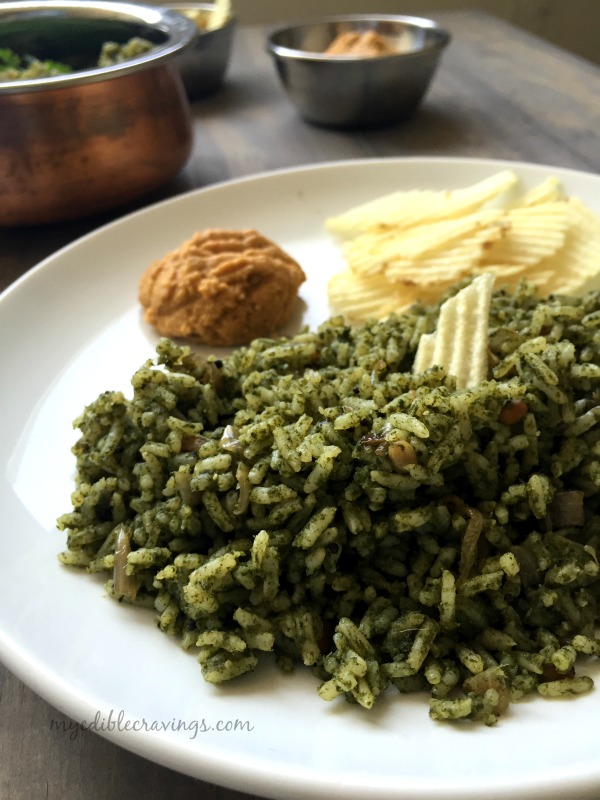
Coriander RiceOn days when you don’t feel like cooking but still want to have something healthy, Coriander rice is an apt choice. Try this simple and tasty variety rice in your kitchen and let me know what side dish you would prefer with it (I like it with simple potato chips and kadalaiparuppu thogaiyal 🙂 )

Coriander Rice
Prep time: 
Cook time: 
Total time: 
Serves: 2
 
Ingredients
  • Oil – 1 tsp
  • Mustard seeds – ½ tsp
  • Urad dal – ½ tsp
  • Onion, medium, finely chopped – 1 no
  • Ginger garlic paste – 1 tbsp
  • Raw rice – ¾ cup
  • Salt as required
  • Ghee – 1 tsp
to Grind:
  • Coriander leaves or cilantro – a bunch (1 ½ cups tightly packed)
  • Green chillies – 5 nos
  • Chutney:
  • Oil – ½ tsp
  • Asafetida, solid – 1 “
  • Red chilli – 1 no
  • Garlic clove – 1 no
  • Gram dal – 2 tbsp
  • Curry leaves – 4 nos
  • Grated coconut – 1 tsp
  • Salt as required
Instructions
  1. Wash and grind cilantro and green chillies to a fine paste.
  2. Wash and cook the rice adding enough salt to it and set aside.
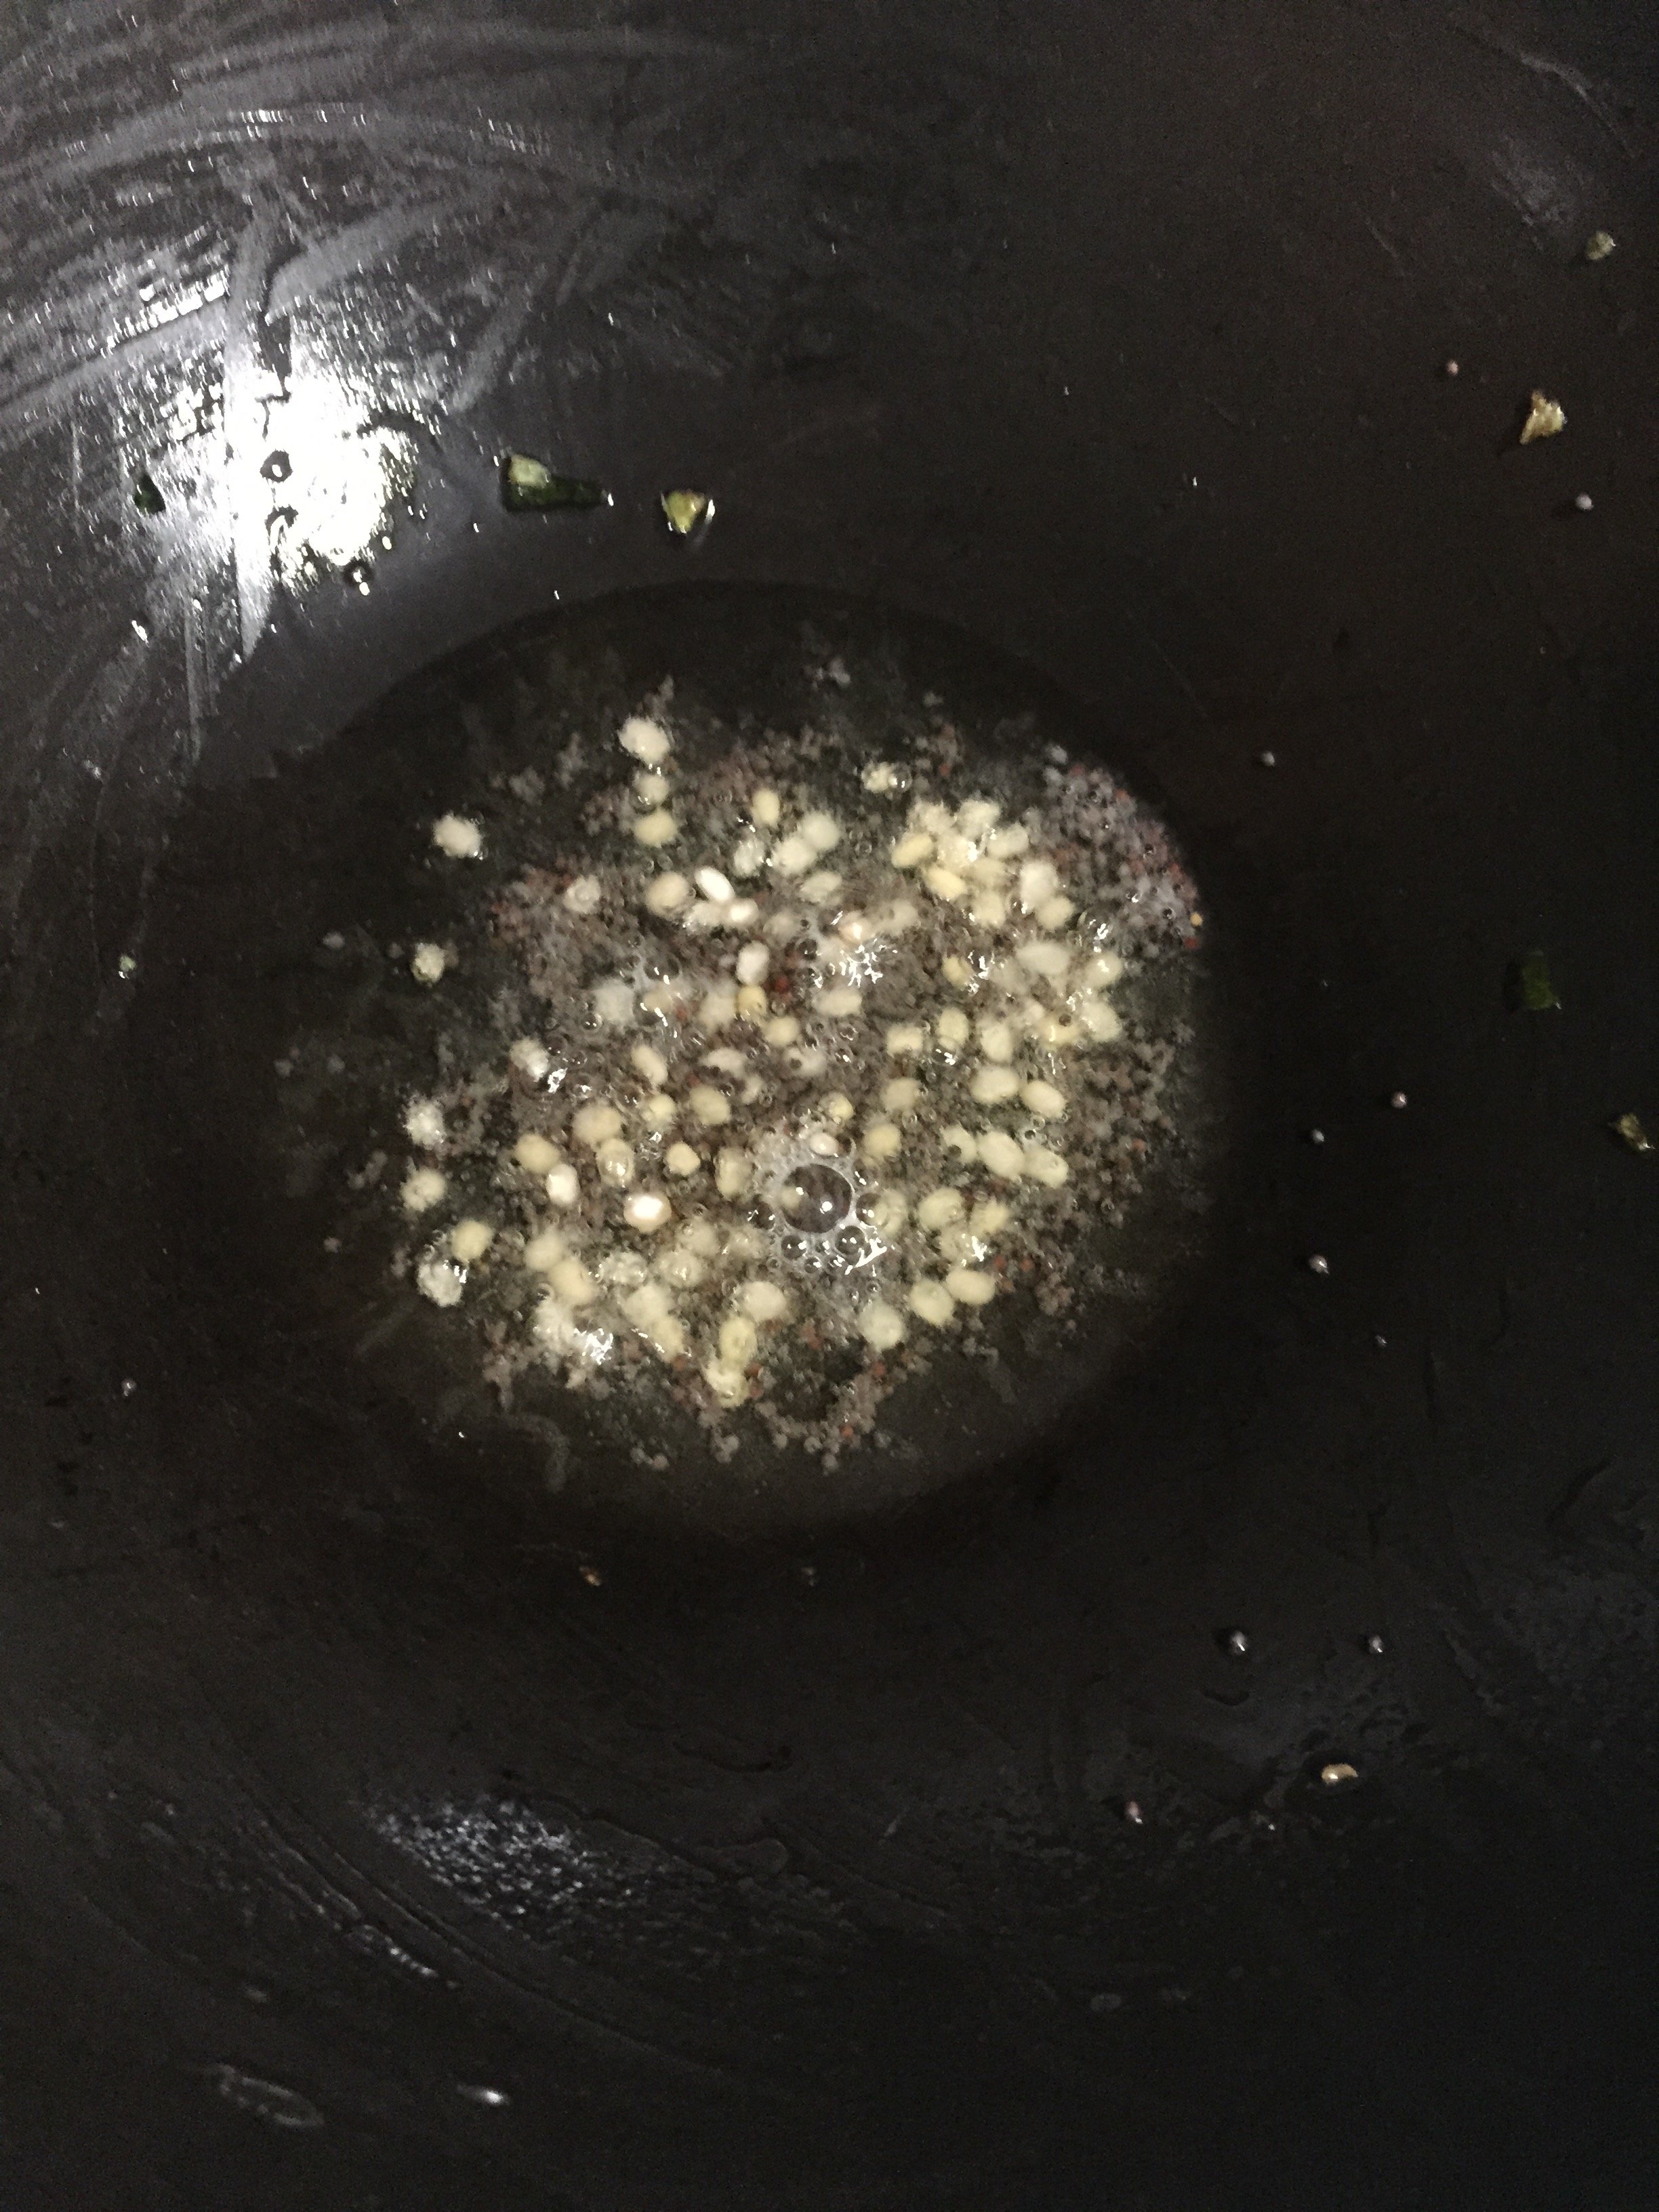
  3. Heat a pan with little oil and season with mustard and urad dal.
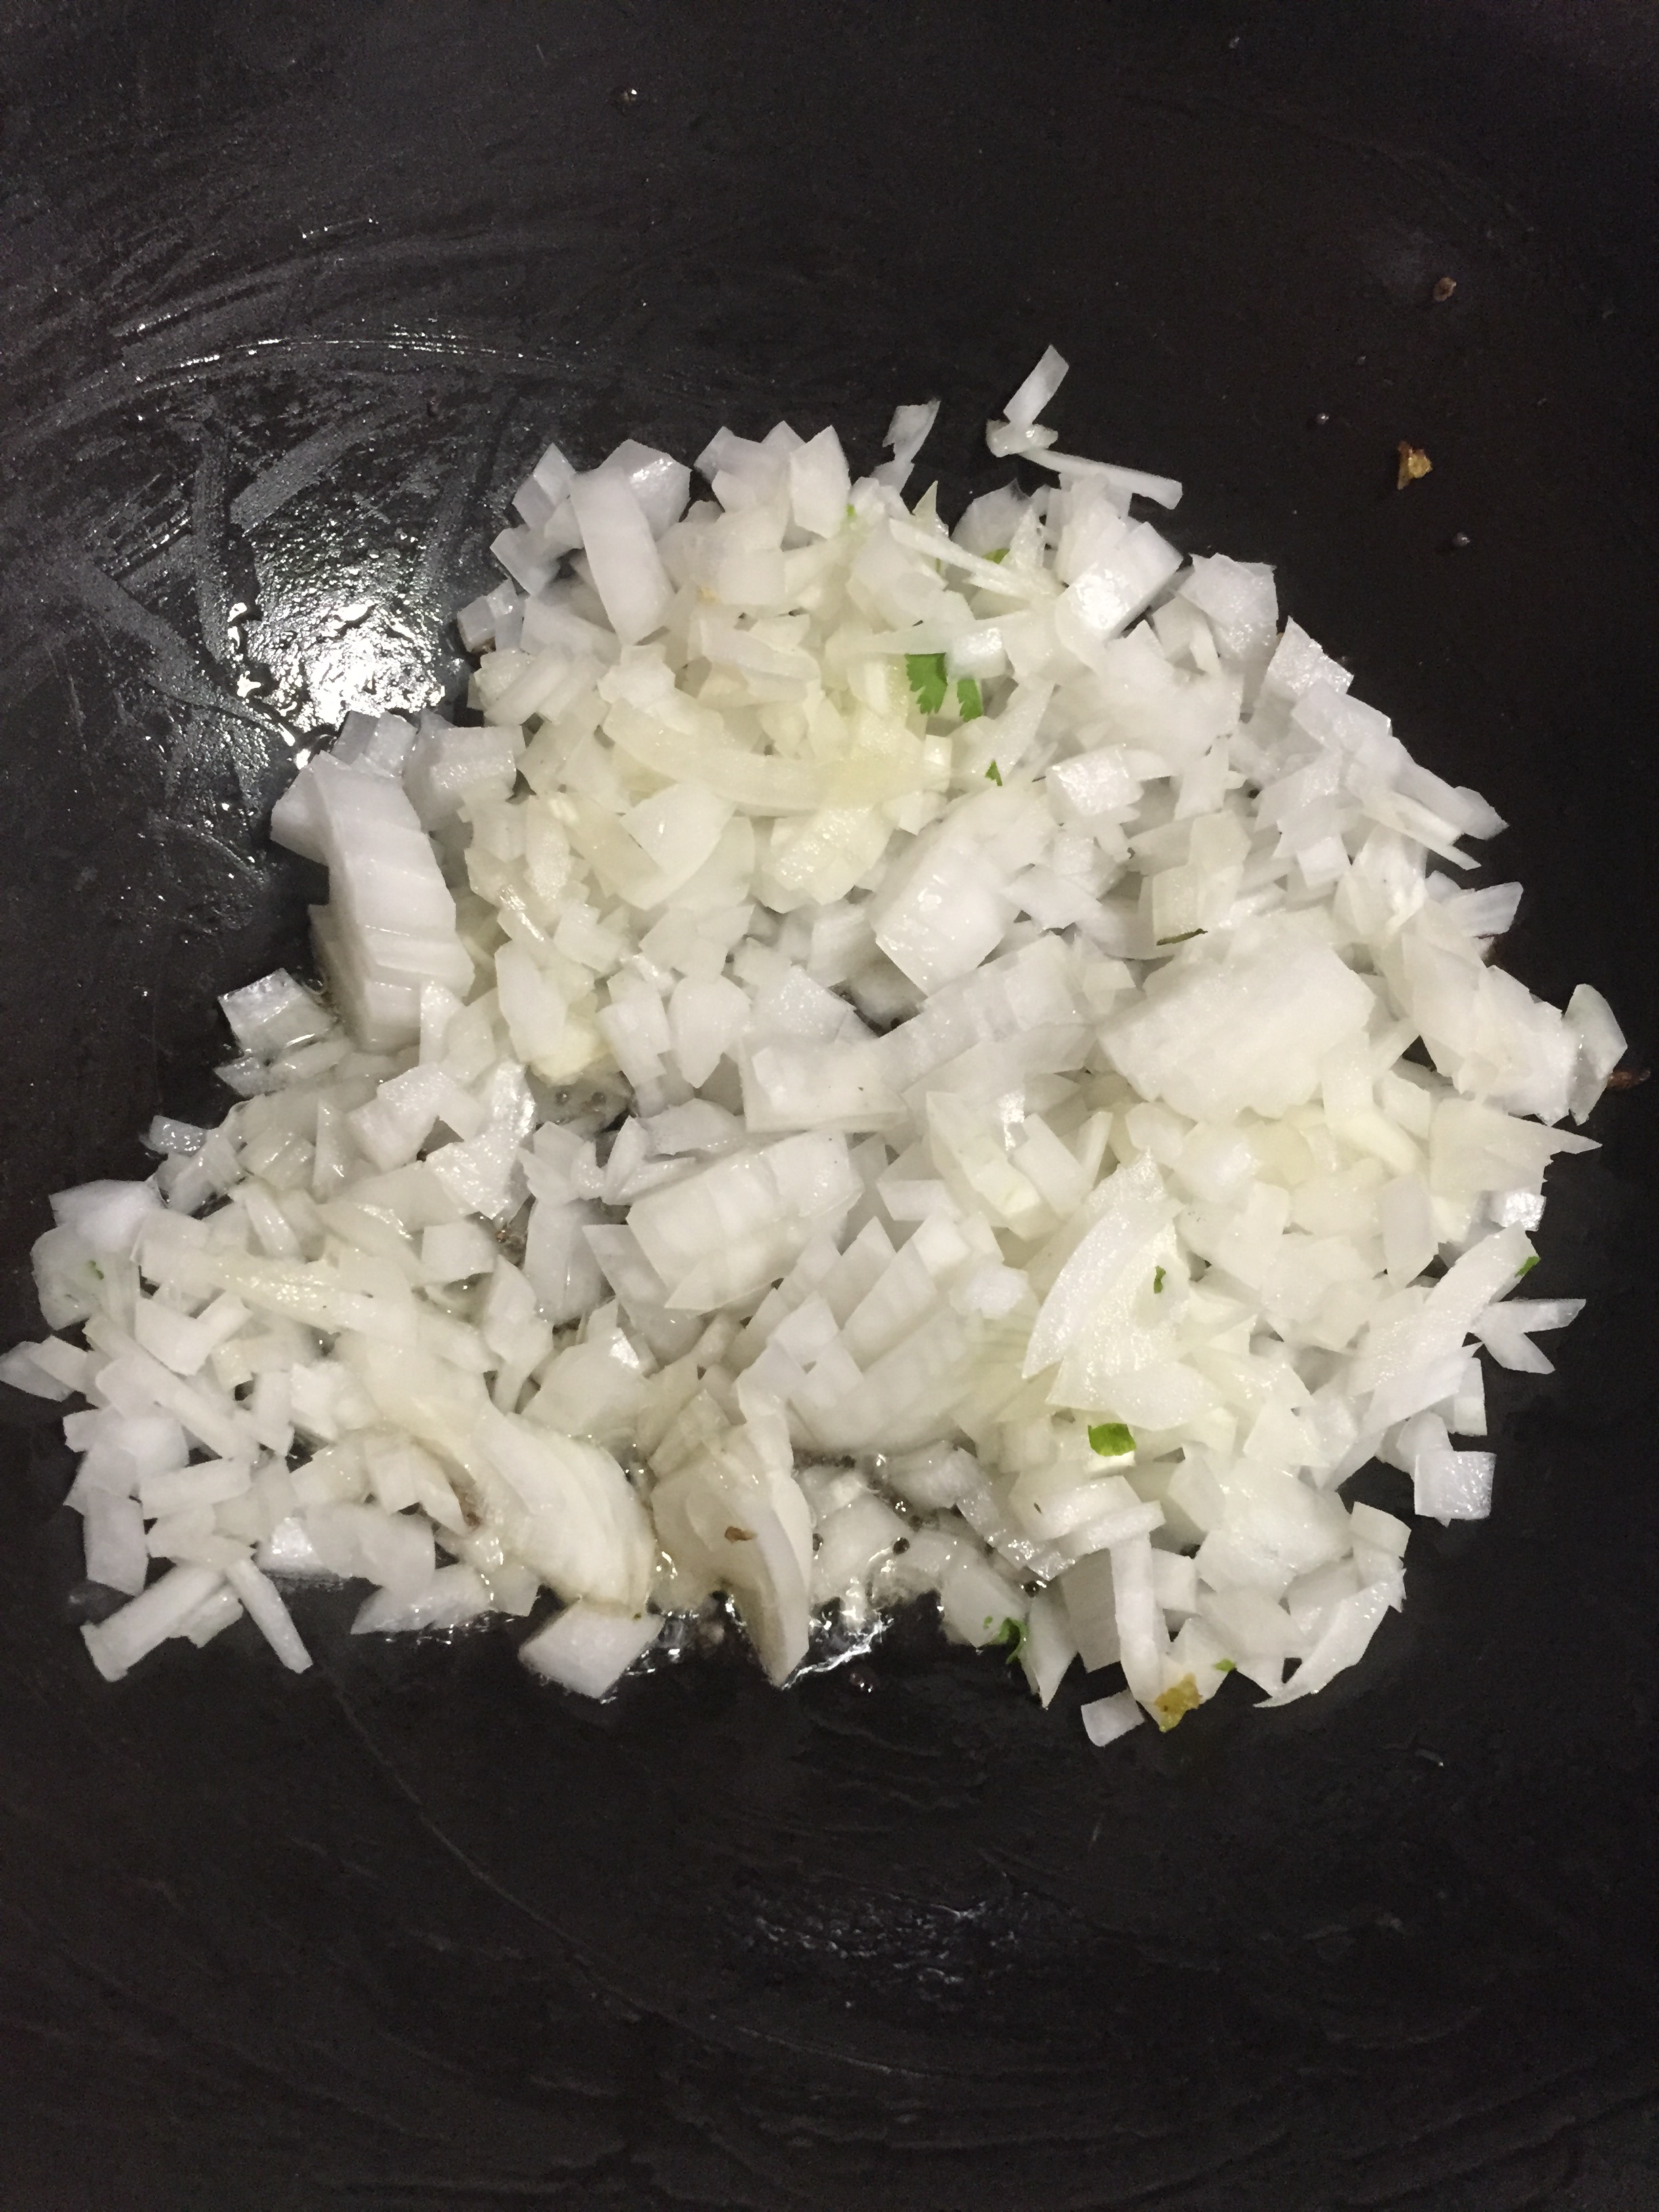
  4. When they start to sizzle add in finely chopped onions. Sauté onions until they turn translucent.
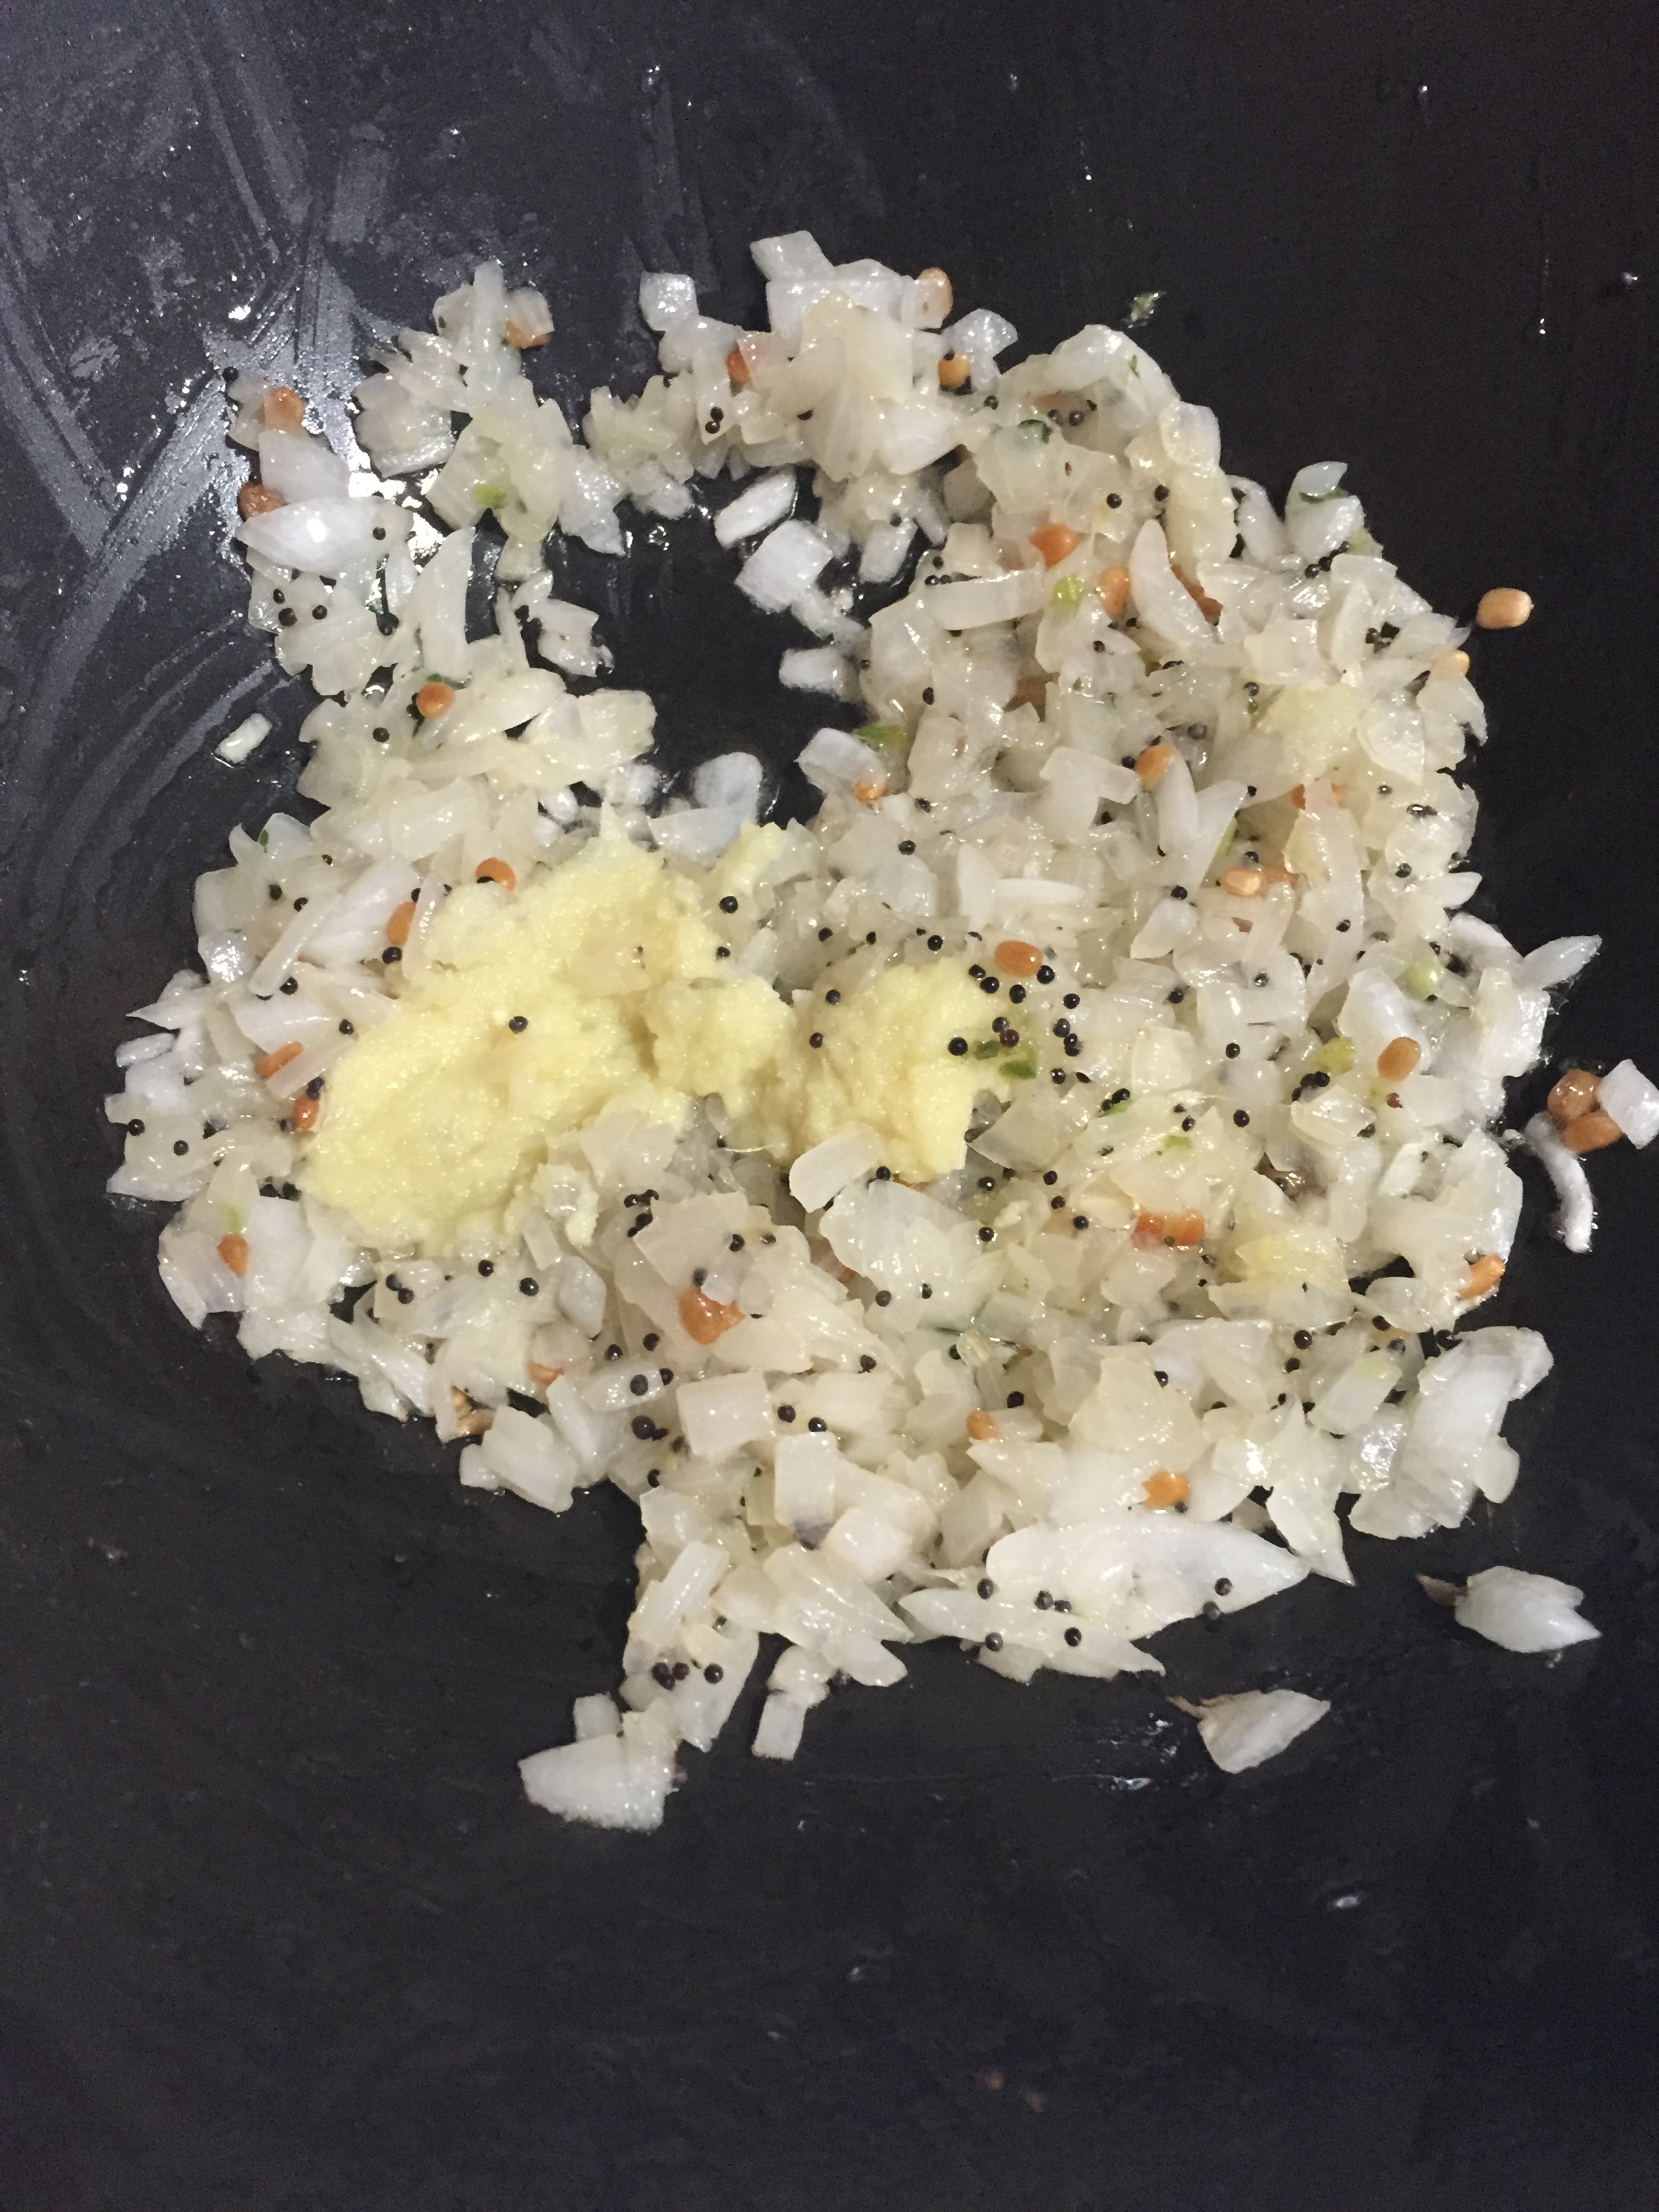
  5. Add in ginger garlic paste and sauté until the raw smell disappears.
  6. Add the ground cilantro paste and stir until the raw smell disappears. Add enough salt and switch off the flame.
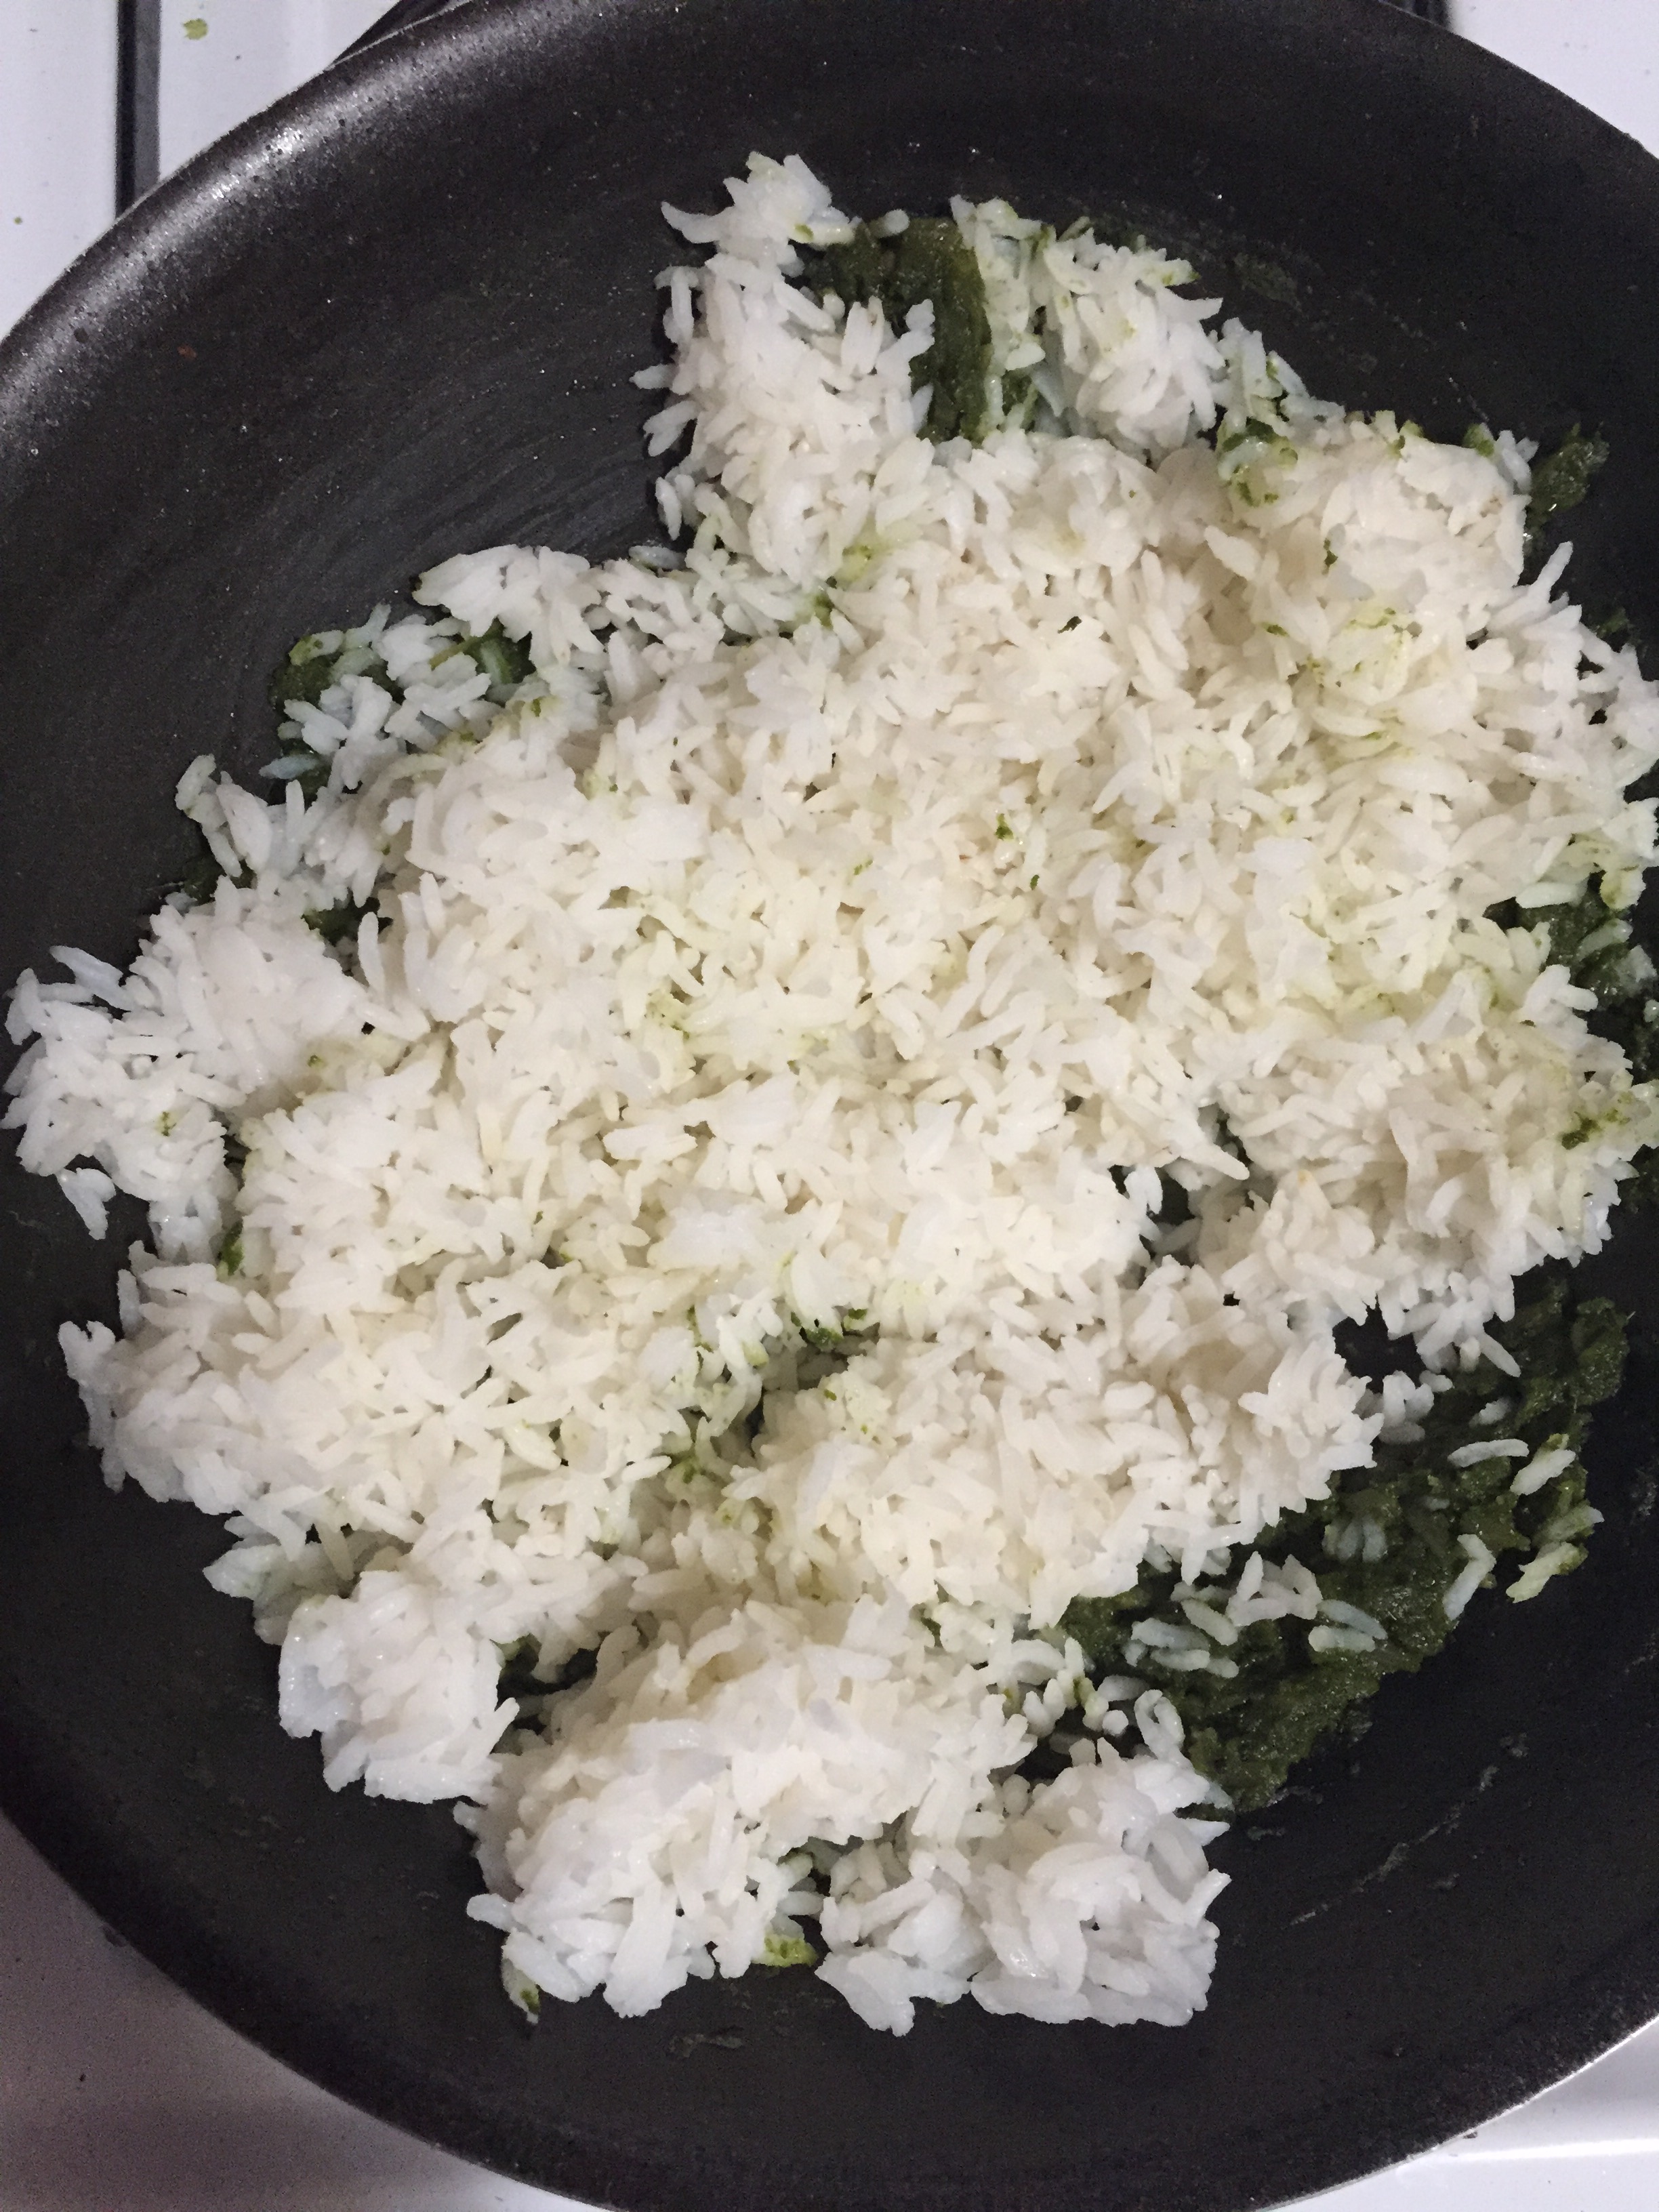
  7. Now add the cooked rice to the coriander paste and mix well until all the rice are well coated with the paste.
  8. Drizzle a few drops of ghee and serve hot with kadalai paruppu thogaiyal on the side.
  9. Kadalaparuppu thogaiyal-
  10. Heat a pan and dry roast asafetida for just few seconds. Transfer it to a plate.
  11. Heat the same pan with oil and add red chilli. Sauté until it changes color and transfer it as well to the plate.
  12. Add garlic clove and sauté until it turns translucent and transfer it to the plate.
  13. Add gram dal and sauté until the aroma spreads or until they turn golden brown.
  14. Switch off the flame and add grated coconut, curry leaves and salt.
  15. Grind everything together to a coarse paste by adding very little water.

025

Vegetable Biriyani

Vegetable Biriyani

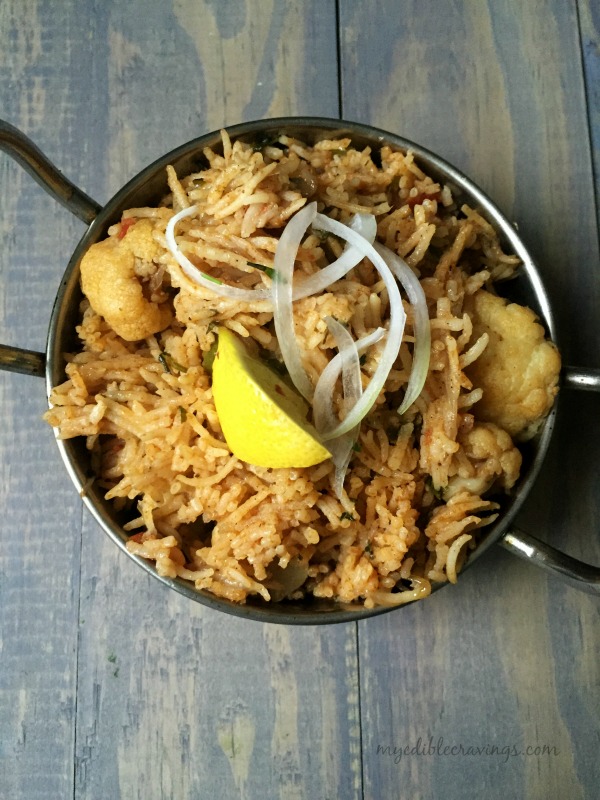
Vegetable Biriyani is the vegetarian counterpart of the more popular Biriyani, which generally refers to the variety with meat. Back home, during family functions like marriages, baby showers etc we don’t normally serve meat in the menu. But to mark the grandeur of the function we serve vegetable Biriyani as one the dishes.

Vegetable BiriyaniVegetable Biriyani is popular in my home state, Tamilnadu. Honestly, I have not seen it in any other part of India. I would say it is a healthy dish since you add vegetables (English vegetables like carrot, beans, potatoes, peas etc) in abundance. You can also add fried bread pieces and that tastes good too.

Vegetable BiriyaniVegetable BiriyaniThe recipe for Vegetable Biriyani that I have given below does not have coconut milk as one of the ingredients and it tastes just as good as the one with coconut milk added. I have slightly modified Mom’s recipe and have presented it here. Try this tasty and rich Vegetable Biriyani in your home and let me know your experience:)

Vegetable Biriyani
Recipe type: Main
Cuisine: Indian
Prep time: 
Cook time: 
Total time: 
Serves: 4
 
Ingredients
  • Ghee + olive oil - 2 tspn + 2 tbsp
  • Homemade biriyani powder + big bay leaf - 1 tsp + ½
  • Onions, small – 2 nos
  • Freshly ground ginger garlic paste - 1 ¼ tbsp (I used organic garlic from trader’s joe)
  • Big ripe tomatoes - 1 ¼ nos
  • Cauliflower, medium sized potato (cut and soaked in turmeric water) - ½ + ½
  • Green chilli, long, slits - 9 nos
  • Chopped mint and coriander leaves - ½ cup
  • Salt - 1 ¾ spoon
  • Sakthi biriyani powder - ½ tsp
  • Coriander powder – 1 ¼ tsp
  • Homemade sambar powder - ½ spoon
  • Aachi red chilli powder - ¾ tsp
  • Garam masala powder - a generous pinch
  • Water, used to soak rice - 3 cups
  • Basmati rice - 2 cups
For garnishing:
  • Chopped mint and cilantro - 1 tbsp
  • Sakthi biriyani powder - a pinch
  • Ghee - a tsp
Instructions
  1. Wash and soak basmati rice in water for 45 minutes. Drain and save the water.
  2. Chop the vegetables and soak it in turmeric water.
  3. Cut and chop onions, tomatoes, mint and cilantro.
  4. Heat a pressure cooker with ghee and oil. Add biriyani powder and bay leaf.
  5. Increase the flame to medium and add onions. Sauté until they turn translucent. add ginger garlic paste and sauté until raw smell disappears. Add tomatoes and cook for a couple of minutes. When they turn mushy add in the vegetables. Stir for a minute and add in green chillies, chopped mint and cilantro. Stir well for a couple of minutes and add all the masala powders. Mix well and add water. check for salt and bring it to boil. Add the soaked rice and allow them to boil. When the water is ¾ th observed and when you see the rice on top, garnish with mint, cilantro, sakthi biriyani powder and ghee especially on the sides. Cover the lid and dum cook in low flame for 10 minutes.
  6. After 10 minutes open the lid and check if the rice and vegetables are well cooked and all the water is observed.
  7. Serve hot with any raitha of your choice. Enjoy!!! 
Notes
1.Always use freshly ground ginger garlic paste to reach a good taste.
2.You can substitute olive oil with vegetable oil.
3.I tried using organic garlic for this recipe. You could use the regular one.

Vegetable Biriyani

Quinoa


lemon quinoa

Quinoa (pronounced as Kin-wa) is a product of South America and is a relative of spinach and beets. It looks like a variety of grain but actually is grown as plants. The part we eat is the seed which is gluten-free. You can even eat the leaves of a quinoa plant!

While no single food can supply all the essential life sustaining nutrients, quinoa comes as close as any other in the plant or animal kingdom. That’s because quinoa is what’s called a complete protein, meaning it contains all nine of the essential amino acids, which cannot be made by the body and therefore must come from food.

quinoaThere are different varieties of quinoa but red, white and black quinoas are the most widely available. Among these white quinoa is the most popular variety. Red quinoa is more often used in salads. Black quinoa has sweeter taste. I have had only white quinoa so far. I find its taste closely resembling to rice but much healthier as mentioned above. I have given a detailed description of what quinoa is because I was not sure about the prevalence of this super food among people and wanted to create awareness as well.

lemon quinoaQuinoa is very easy to cook and there are no special instruction as far as cooking is concerned. Just follow the same steps that you normally do for cooking rice. Below I have given the recipe for lemon quinoa which is very similar to lemon rice except that we substitute quinoa for rice. You can also alter this recipe to make tamarind quinoa just like tamarind rice. My dear friends have been requesting for a while to post quinoa recipes and I can’t wait to share the interesting recipes that I have in store.  🙂

Quinoa
Recipe type: Main
Cuisine: Indian
Prep time: 
Cook time: 
Total time: 
Serves: 2
 
Ingredients
  • Quinoa – 1 cup
  • Water - 1 ½ cups
  • Salt as required
  • Oil – 1 tbsp
  • Mustard seeds – ½ tsp
  • Urad dal – ½ tsp
  • Curry leaves - a sprig
  • Red chilli – 3 nos
  • Asafetida or hing – a generous pinch
  • Turmeric powder – ¼ tsp
  • Lemon, big – 1 no (or 2 if small)
Instructions
  1. Wash the quinoa thoroughly in water, add 1 ½ or 2 cups of water and enough salt and pressure cook for three whistles.
  2. Squeeze the juice of lemon and keep it ready. Heat a tempering ladle with oil and temper with mustard and urad dal. When they start to sizzle, add split red chillies and curry leaves. Add turmeric powder and hing. Switch off the flame and add lemon juice.
  3. Add the tempering to the cooked quinoa. Mix well and serve it hot with potato fry or chips on the side. Enjoy! 

lemon quinoa

Sambar Rice

Sambar riceSambar rice is a south indian dish similar to Bisibela bath but has a different method of preparation. As the name suggests, it is a mixture of rice and sambar. Sambar is a mainstay in southern cuisine and is popular all over India as well (especially those north Indian celebrities who always make it a point to say that their favorite dish from Tamilnadu is Sambar ;))
Sambar rice
Sambar riceSambar rice is one of my most recent favorite dishes. I came across this recipe online while searching, as usual, for a new recipe to try. This particular one caught my attention because of the way it was prepared. In Bisibela bath, you put all vegetables, along with dal and rice and cook them together. But here in Sambar rice, you prepare the rice and sambar separately and mix them together later (I would suggest doing this right before serving).
Sambar rice
Sambar riceSambar rice always reminds me of my college days when it was served during our industrial visits (those days, huh :)) One good thing about sambar rice is that you don’t need a side dish. It tastes just fine with only chips or pickle. Enjoy this favorite dish by cooking it in your kitchen and as always post your comments

Sambar Rice
Prep time: 
Cook time: 
Total time: 
Serves: 3
 
Ingredients
  • Rice – 1 cup
  • Toor dal – ½ cup
  • Tamarind – marble size
  • Drumstick – 1 no
  • Other vegetables , chopped – ½ cup (carrot, potato, brinjal)
  • Shallots – 10 nos
  • Tomato, chopped – 1 no
  • Sambar powder (sakthi) – ½ tbsp
  • Homemade sambar powder – ½ tsp
  • Turmeric powder – ⅛ tsp
  • Asafetida – ¼ tsp
  • Curry leaves – a sprig
  • Cilantro, chopped – 2 tbsp
To roast & grind :
  • Red chillies – 3 nos
  • Channa dal – 1 tbsp
  • Coriander seeds – 1 & ½ tsp
  • Fenugreek seeds – ¼ tsp
  • Grated coconut – 2 tbsp
To temper:
  • Oil – 1 tbsp
  • Mustard seeds – ½ tsp
  • Cumin seeds – 1 tsp
  • Asafetida – ¼ tsp
Instructions
  1. Cook the rice. Soak tamarind in water and extract the juice.
  2. Soak toor dal in water for an hour and pressure cook for 5 whistles. When done mash it and keep aside.
  3. Heat few drops of oil in a pan and roast the above given ingredients except coconut. Roast until they turn golden brown. Roast coconut separately. Allow them to cool and blend all together to a fine powder.
  4. Heat a pan with a tbsp of oil and temper the given ingredients. Add shallots and curry leaves. Sauté until onions turn translucent.
  5. Add tomatoes and fry till they become soft.
  6. Add the tamarind extract and bring it to boil.
  7. Now add turmeric powder, sambar powders, asafetida and all the vegetables.
  8. When the vegetables are cooked. Sprinkle all the ground sambar powder on top slowly, stirring constantly. Switch off the flame- Do not add sambar powder as aheap as it might form lumps. Sprinkle little by little.
  9. Add the sambar to the cooked rice along with dal and mix well (without breaking the veggies).
  10. Add 2 tbsp of ghee and garnish with cilantro.
  11. Enjoy the hot sambar rice with fryums and pickle! 


Sambar rice

PULIYOGARE |PULIYODHARAI |PULIKAACHAL RECIPE|TAMARIND RICE

A traditional spicy and tangy puliyogare recipe which you can easily make at home.

Puliyogare

Temples always bring back fond memories to me; beautiful sculptures, devotional songs, the divine atmosphere and the one of a kind prashadam-puliyogare! During my childhood days, I never forget to get to bring back some puliyogare (if the visit was to the Lord Vishnu temple).
PuliyogareThe puliyogare version that I love the most (after the temple prashadam, of course!) is my mom’s. I always get excited when she makes it at home 🙂 . It is also very popular among my friends and my mom always prepares some for me to take back after my visit to home during my college days.
PuliyogarePuliyougarae/puliyodharai goes well with coriander chutney, paruppu vada or chips. The base ingredient called as pulikachal, can be prepared well in advance (as far as one week earlier). Whenever you feel lazy or don’t feel like trying out anything new, just mix some pulikaachal with white rice and tasty puliyogare can be prepared in no time.
PuliyogareThough it doesn’t look like the temple prashadam, it tastes yummy!

PULIYOGARAE
Recipe type: Lunch
Cuisine: Indian
Prep time: 
Cook time: 
Total time: 
Serves: 3
 
A traditional spicy and tangy puliyogare recipe which you can easily make at home.
Ingredients
  • Coriander seeds - 2 tbs
  • Fenugreek seeds- 1 tsp
  • Hing( solid) - 1 small piece
  • Turmeric powder -1/2 tsp for color
  • Pepper -10
  • Red chilly -7
  • Curry leaves- handful
  • Tamarind - lemon size
  • Gingelly oil – 2 to 3 tbs
  • Salt as required
Instructions
Puliyogarae powder:
  1. Heat a pan, dry roast coriander seeds, pepper and fenugreek for few seconds until fenugreek seeds turn golden brown. (make sure not to burn the mixture). Now add hing atlast. Switch off the flame and take the pan off the stove (as the heat from the stove might burn the mixture).
  2. Wait until the mixture cools down and grind to a fine powder (shelf life for this powder is 2 months).
Tamarind paste:
  1. Soak lemon size tamarind in hot water for 10 to 15 minutes and drain the juice.
  2. Heat a tawa and add the tamarind juice with enough salt, bring it to boil. Add turmeric powder when the mixture starts to boil and wait until it gets thicken. Switch off the flame when the tamarind paste is ready.
Pulikaachal:
  1. Heat a pan and add gingelly oil (meanwhile break the red chillies into smaller pieces and keep it ready). When the oil is hot, season it with mustard seeds, urad dal, few curry leaves and red chillies(peanut and chenna dhal are optional)
  2. Add little puliyogarae powder to the seasoning and immediately add the tamarind paste.
  3. Add in the remaining puliyogarae powder to the mixture and boil it until oil separates.
Puliyogarae:
  1. You can now mix the pulikachal with steamed rice in small quantities depending upon how tangy and how spicy you want the rice to be. Your Tamarind Rice is now ready. Serve puliyogare with coriander chutney or it goes well even with potato chips.

Puliyogare