Cauliflower Gravy

033c

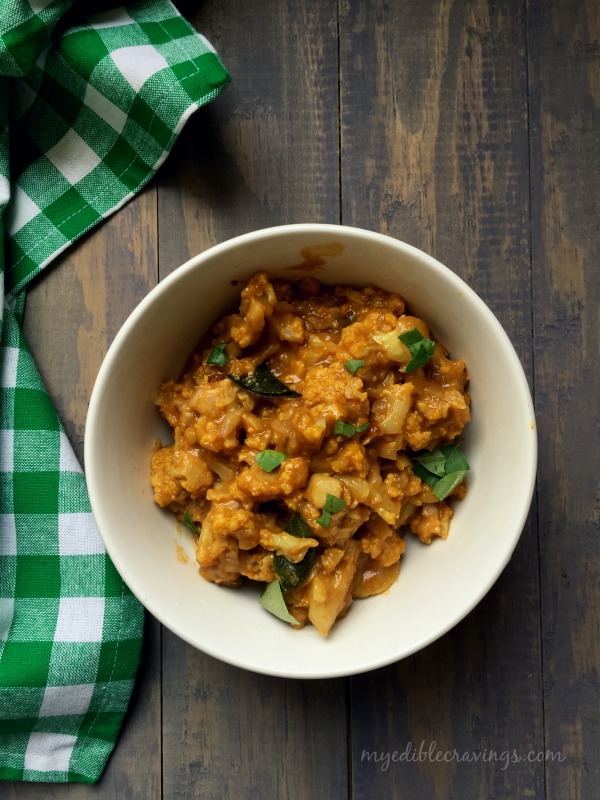
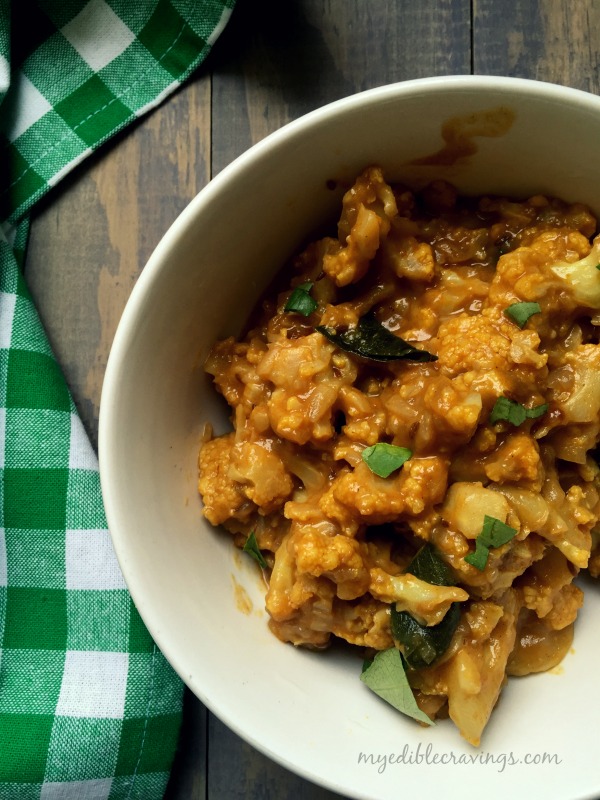
Today, I have given you a recipe that I learned from my MIL. It is the Cauliflower Gravy. This is my third recipe with cauliflower as the main ingredient (the other two are Cauliflower Crust Bread and Cauliflower Fry). I have heard about this dish often from my HB. He always says that it tastes like chicken gravy but I did not get a chance to taste it until recently. And I totally agree with my HB’s assumption. It does taste like Chicken gravy!
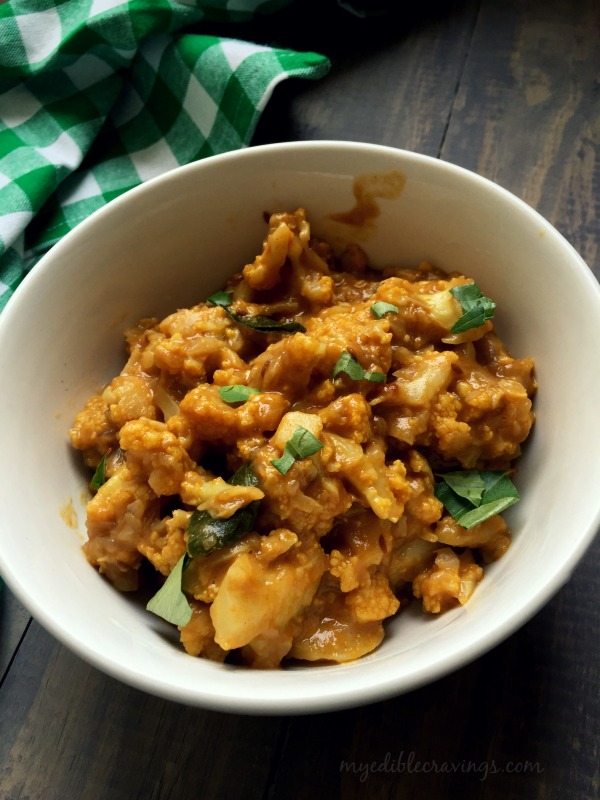
034cCauliflower Gravy is a very easy dish to make and one of the main ingredients in preparing this dish, other than cauliflower, is raw rice water (further explanation about it can be found here) and roasted gram dal powder. Cauliflower Gravy can be had with almost all main entree dishes. It can be had with just rice, as a side dish for chappati or eat as is :). No wonder it is one of the most favorite dishes of my HB.

Try this wonderful and very tasty dish in your kitchen and do let me know your thoughts.  🙂

Cauliflower Gravy
Recipe type: Main
Cuisine: Indian
Prep time: 
Cook time: 
Total time: 
Serves: 20
 
Ingredients
  • Oil – 1 tbsp
  • Cumin seeds – 1 tsp
  • Curry leaves – 6 nos
  • Shallots, finely chopped – 6 nos
  • Sambar powder or veetu milagai podi – 1 ½ tbsp
  • Raw rice water or kalani thanni – 2 to 3 cups
  • Cauliflower, medium, blanched – 1 no or 2 cups
  • Salt as required
  • Roasted gram dal powder or pottu kadalai podi – 1 tbsp
Instructions
  1. Boil enough water with salt and turmeric powder and blanche the cauliflower florets for couple of minutes. Strain the florets and set aside.
  2. Heat oil in a tawa and season with cumin seeds. Add curry leaves.
  3. Add onions when the curry leaves start to sizzle. Sauté until the onions turn translucent.
  4. Add in sambar powder and salt. Give a quick stir.
  5. Add raw rice water and bring it to boil or until the gravy gets thick.
  6. Add the blanched florets to the gravy and cook until all the water is absorbed and florets are well cooked.
  7. Finish it off with roasted gram dal powder and give a quick stir. Switch off the flame when the roasted gram dal powder is well blended with the gravy. Enjoy! 🙂

 036c

Vegetable Biriyani

Vegetable Biriyani

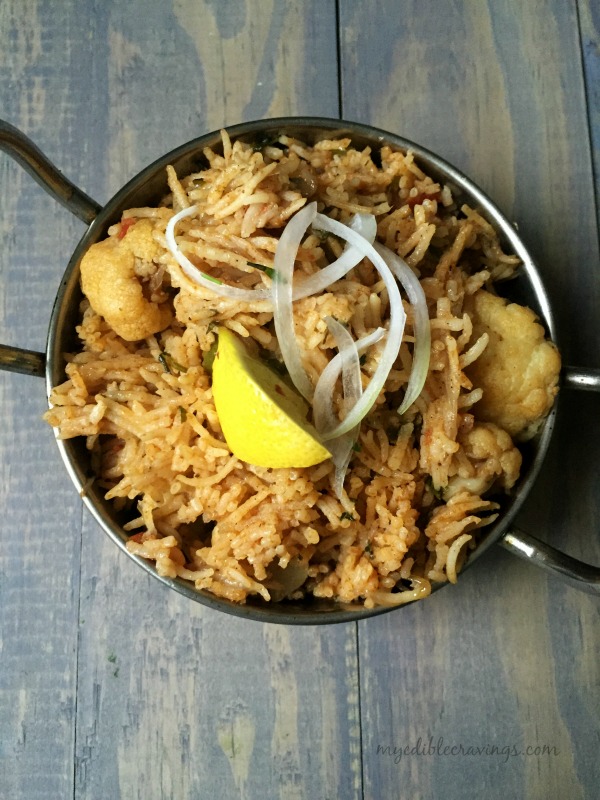
Vegetable Biriyani is the vegetarian counterpart of the more popular Biriyani, which generally refers to the variety with meat. Back home, during family functions like marriages, baby showers etc we don’t normally serve meat in the menu. But to mark the grandeur of the function we serve vegetable Biriyani as one the dishes.

Vegetable BiriyaniVegetable Biriyani is popular in my home state, Tamilnadu. Honestly, I have not seen it in any other part of India. I would say it is a healthy dish since you add vegetables (English vegetables like carrot, beans, potatoes, peas etc) in abundance. You can also add fried bread pieces and that tastes good too.

Vegetable BiriyaniVegetable BiriyaniThe recipe for Vegetable Biriyani that I have given below does not have coconut milk as one of the ingredients and it tastes just as good as the one with coconut milk added. I have slightly modified Mom’s recipe and have presented it here. Try this tasty and rich Vegetable Biriyani in your home and let me know your experience:)

Vegetable Biriyani
Recipe type: Main
Cuisine: Indian
Prep time: 
Cook time: 
Total time: 
Serves: 4
 
Ingredients
  • Ghee + olive oil - 2 tspn + 2 tbsp
  • Homemade biriyani powder + big bay leaf - 1 tsp + ½
  • Onions, small – 2 nos
  • Freshly ground ginger garlic paste - 1 ¼ tbsp (I used organic garlic from trader’s joe)
  • Big ripe tomatoes - 1 ¼ nos
  • Cauliflower, medium sized potato (cut and soaked in turmeric water) - ½ + ½
  • Green chilli, long, slits - 9 nos
  • Chopped mint and coriander leaves - ½ cup
  • Salt - 1 ¾ spoon
  • Sakthi biriyani powder - ½ tsp
  • Coriander powder – 1 ¼ tsp
  • Homemade sambar powder - ½ spoon
  • Aachi red chilli powder - ¾ tsp
  • Garam masala powder - a generous pinch
  • Water, used to soak rice - 3 cups
  • Basmati rice - 2 cups
For garnishing:
  • Chopped mint and cilantro - 1 tbsp
  • Sakthi biriyani powder - a pinch
  • Ghee - a tsp
Instructions
  1. Wash and soak basmati rice in water for 45 minutes. Drain and save the water.
  2. Chop the vegetables and soak it in turmeric water.
  3. Cut and chop onions, tomatoes, mint and cilantro.
  4. Heat a pressure cooker with ghee and oil. Add biriyani powder and bay leaf.
  5. Increase the flame to medium and add onions. Sauté until they turn translucent. add ginger garlic paste and sauté until raw smell disappears. Add tomatoes and cook for a couple of minutes. When they turn mushy add in the vegetables. Stir for a minute and add in green chillies, chopped mint and cilantro. Stir well for a couple of minutes and add all the masala powders. Mix well and add water. check for salt and bring it to boil. Add the soaked rice and allow them to boil. When the water is ¾ th observed and when you see the rice on top, garnish with mint, cilantro, sakthi biriyani powder and ghee especially on the sides. Cover the lid and dum cook in low flame for 10 minutes.
  6. After 10 minutes open the lid and check if the rice and vegetables are well cooked and all the water is observed.
  7. Serve hot with any raitha of your choice. Enjoy!!! 
Notes
1.Always use freshly ground ginger garlic paste to reach a good taste.
2.You can substitute olive oil with vegetable oil.
3.I tried using organic garlic for this recipe. You could use the regular one.

Vegetable Biriyani

Cauliflower fry

Cauliflower fry
Cauliflower is one of those vegetables that is not often found in South Indian palate (especially Tamilnadu). It is a low fat, low in carbohydrates but rich in fiber vegetable. Cauliflower fry is one of the many varieties prepared using this vegetable. I came across this recipe when searching for a supplement to our diet (and yes we start a diet system many times a year, but sticking to one is a different story  🙂 )
Cauliflower fry
The main specialty about this Cauliflower fry is the way it is cooked. Though it is called a fry, I actually use a conventional oven to cook. It is a very tasty dish, trust me. When you are uncertain about what side dish to prepare for Chappati or Naan etc remember this wonderful Cauliflower fry.
Cauliflower fry
For those who don’t have an oven, you can cook this dish using a stove as well. Try this simple, delicious and healthy dish in your kitchen and tell me your experience. 🙂

Cauliflower fry
Recipe type: Main
Cuisine: Indian
Prep time: 
Cook time: 
Total time: 
Serves: 4
 
Ingredients
To bake:
  • Cauliflower florets – 2 to 3 cups
  • Olive oil – 5 tbsp
  • Tomato paste or puree, thick – 4 tbsp (I used hunt’s)
  • Garlic cloves, minced – 1 tbsp
  • Kashmiri red chilli powder – 1 tbsp
  • Black pepper powder – 1 tsp
  • Coriander powder – 2 tbsp
  • Turmeric powder – ½ tsp
  • Garam masala - ½ tsp
  • Salt – ½ tsp
For the seasoning:
  • Oil – 2 tbsp
  • Mustard seeds – ½ tsp
  • Curry leaves – a sprig
  • Green chilli, slits – 4 nos
  • Ginger, julienned – 1 tbsp
  • Onion, big, slits – 1 no
  • Kashmiri red chilli powder – ½ tbsp
  • Red chilli powder – ½ tsp (optional)
  • Coriander powder – 1 tbsp
  • Dry fenugreek leaves or kasthoori methi, crushed – 1 tbsp
  • Spring onions or scallions – 1 to 2 tbsp
Instructions
  1. Preheat the oven to 400 degrees F and mix all the above ingredients in a large aluminium pan given under 'To bake'. Place it inside the oven and cook for 30 to 45 minutes until the cauliflowers are crunchy (stirring in between). For those who do not have conventional oven, just fry it in a pan on the stove until they are nicely done.
  2. Meanwhile heat oil in a flat pan and season with mustard, urad dal, curry leaves and green chillies. When they start to splutter add onions and sauté until they turn translucent.
  3. Add julienned ginger.
  4. Add all the powders (coriander, chilli, salt, turmeric) and kasthoori methi. Add oven baked or stove cooked cauliflower. Sauté well and cook for 10 minutes.
  5. Garnish with scallions and cilantro.
Notes
!To make tomato puree at home:
Roughly chop the tomatoes and sauté with little onion until they leave oil. Blend them to make a thick paste.

Cauliflower fry

CAULIFLOWER CRUST BREAD

Cauliflower crust breadCauliflower Crust Bread, interestingly, this dish is not a bread as the name implies. It is more of a pizza like variety and it tastes yummy! This is one of those dishes that I came across in my eternal search for different dinner recipes.
Cauliflower crust breadCaulifower Crust Bread is an easy to make dish and is comparatively healthier than Pizza. It is a very mild dish and hence kids friendly. The first time I made Cauliflower Crust Bread, the quantity was very less since I had used just a quarter of the cauliflower (I am bit cautious when trying out new dishes ;)) and I realy felt sorry for not making enough. It is that good.
Cauliflower crust breadAnd here is the recipe for Cauliflower Crust Bread. It goes well with marinara sauce (home made or store bought, doesn’t matter). Do try this one in your home and let me know how it tastes 🙂

CAULIFLOWER CRUST BREAD
Recipe type: Dinner
Cuisine: Italian
Prep time: 
Cook time: 
Total time: 
Serves: 6
 
Caulifower Crust Bread, interestingly, this dish is not a bread as the name implies. It is more of a pizza like variety and it tastes yummy!
Ingredients
  • Cauliflower (medium) -1
  • Cooking oil / olive oil - 2 tsp
  • Garlic cloves ( grated or minced) - 6
  • Eggs – 2 (lightly beaten)
  • Mozzarella cheese (low-fat cheese is fine) - 16 oz
  • Dried Italian herb seasoning - 1 tsp (freshly grated and divided)
  • salt and pepper - 3 pinch each
  • Cooking spray
  • Marinara sauce, for serving (optional)
Instructions
  1. Preheat the oven to 350F and line two 8" x 8" square cake pan with parchment paper so that the excess paper hangs over the sides; lightly spray the parchment paper with cooking spray (I used one 8" x 8" square cake pan and 9” x 9” loaf pan , cake pan crust was thin, whereas loaf pan’s crust was little thick).
  2. Grate the cauliflower (you should have about ½ a bowl of riced cauliflower) and microwave (uncovered) until softened, about 6 to 8 minutes, stirring occasionally (don’t add water); cool slightly.
  3. While the cauliflower cooks, cook garlic in a small skillet (stir constantly) with little oil on a low flame until fragrant (about 30 seconds to 1 minute).cool slightly.
  4. To the bowl with the softened cauliflower, add the garlic, egg, ¾ of the cheese (reserving ¼ for topping later), ¼ teaspoon of the dried Italian herb seasoning (reserving ¼ teaspoon for topping later), and a pinch of salt and pepper. Stir to combine and then spread in the prepared pans.
  5. Bake until the loaf sides turn golden brown (for about 30 minutes). Line a baking sheet with a piece of parchment paper; use the parchment paper to lift the loaf out of the loaf pan and carefully flip it over onto the lined baking sheet (so the bottom is on top). Bake for another 10 minutes.
  6. Preheat the broiler. Cut the loaf cross-wise into pieces. Slightly separate the pieces and sprinkle the cheese on top along with the remaining ¼ teaspoon dried Italian herb seasoning. Broil a couple minutes until the cheese is melted and golden in spots. Take out of the oven. Let it cool for 10 minutes (so that the crust will harden a bit and makes it easier to hold like a thin-crust pizza) and enjoy!
Notes
You could also use this cauliflower crust recipe for making pizza base instead of all-purpose flour.
Nutrition Information
Serving size: 2 pieces


Cauliflower crust bread