Chocolate Chip Cookie

Chocolate Chip Cookie

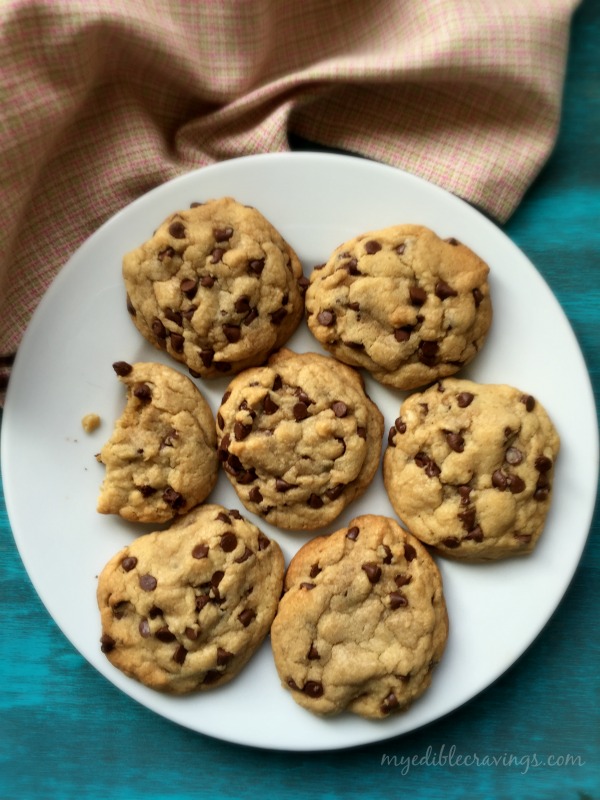
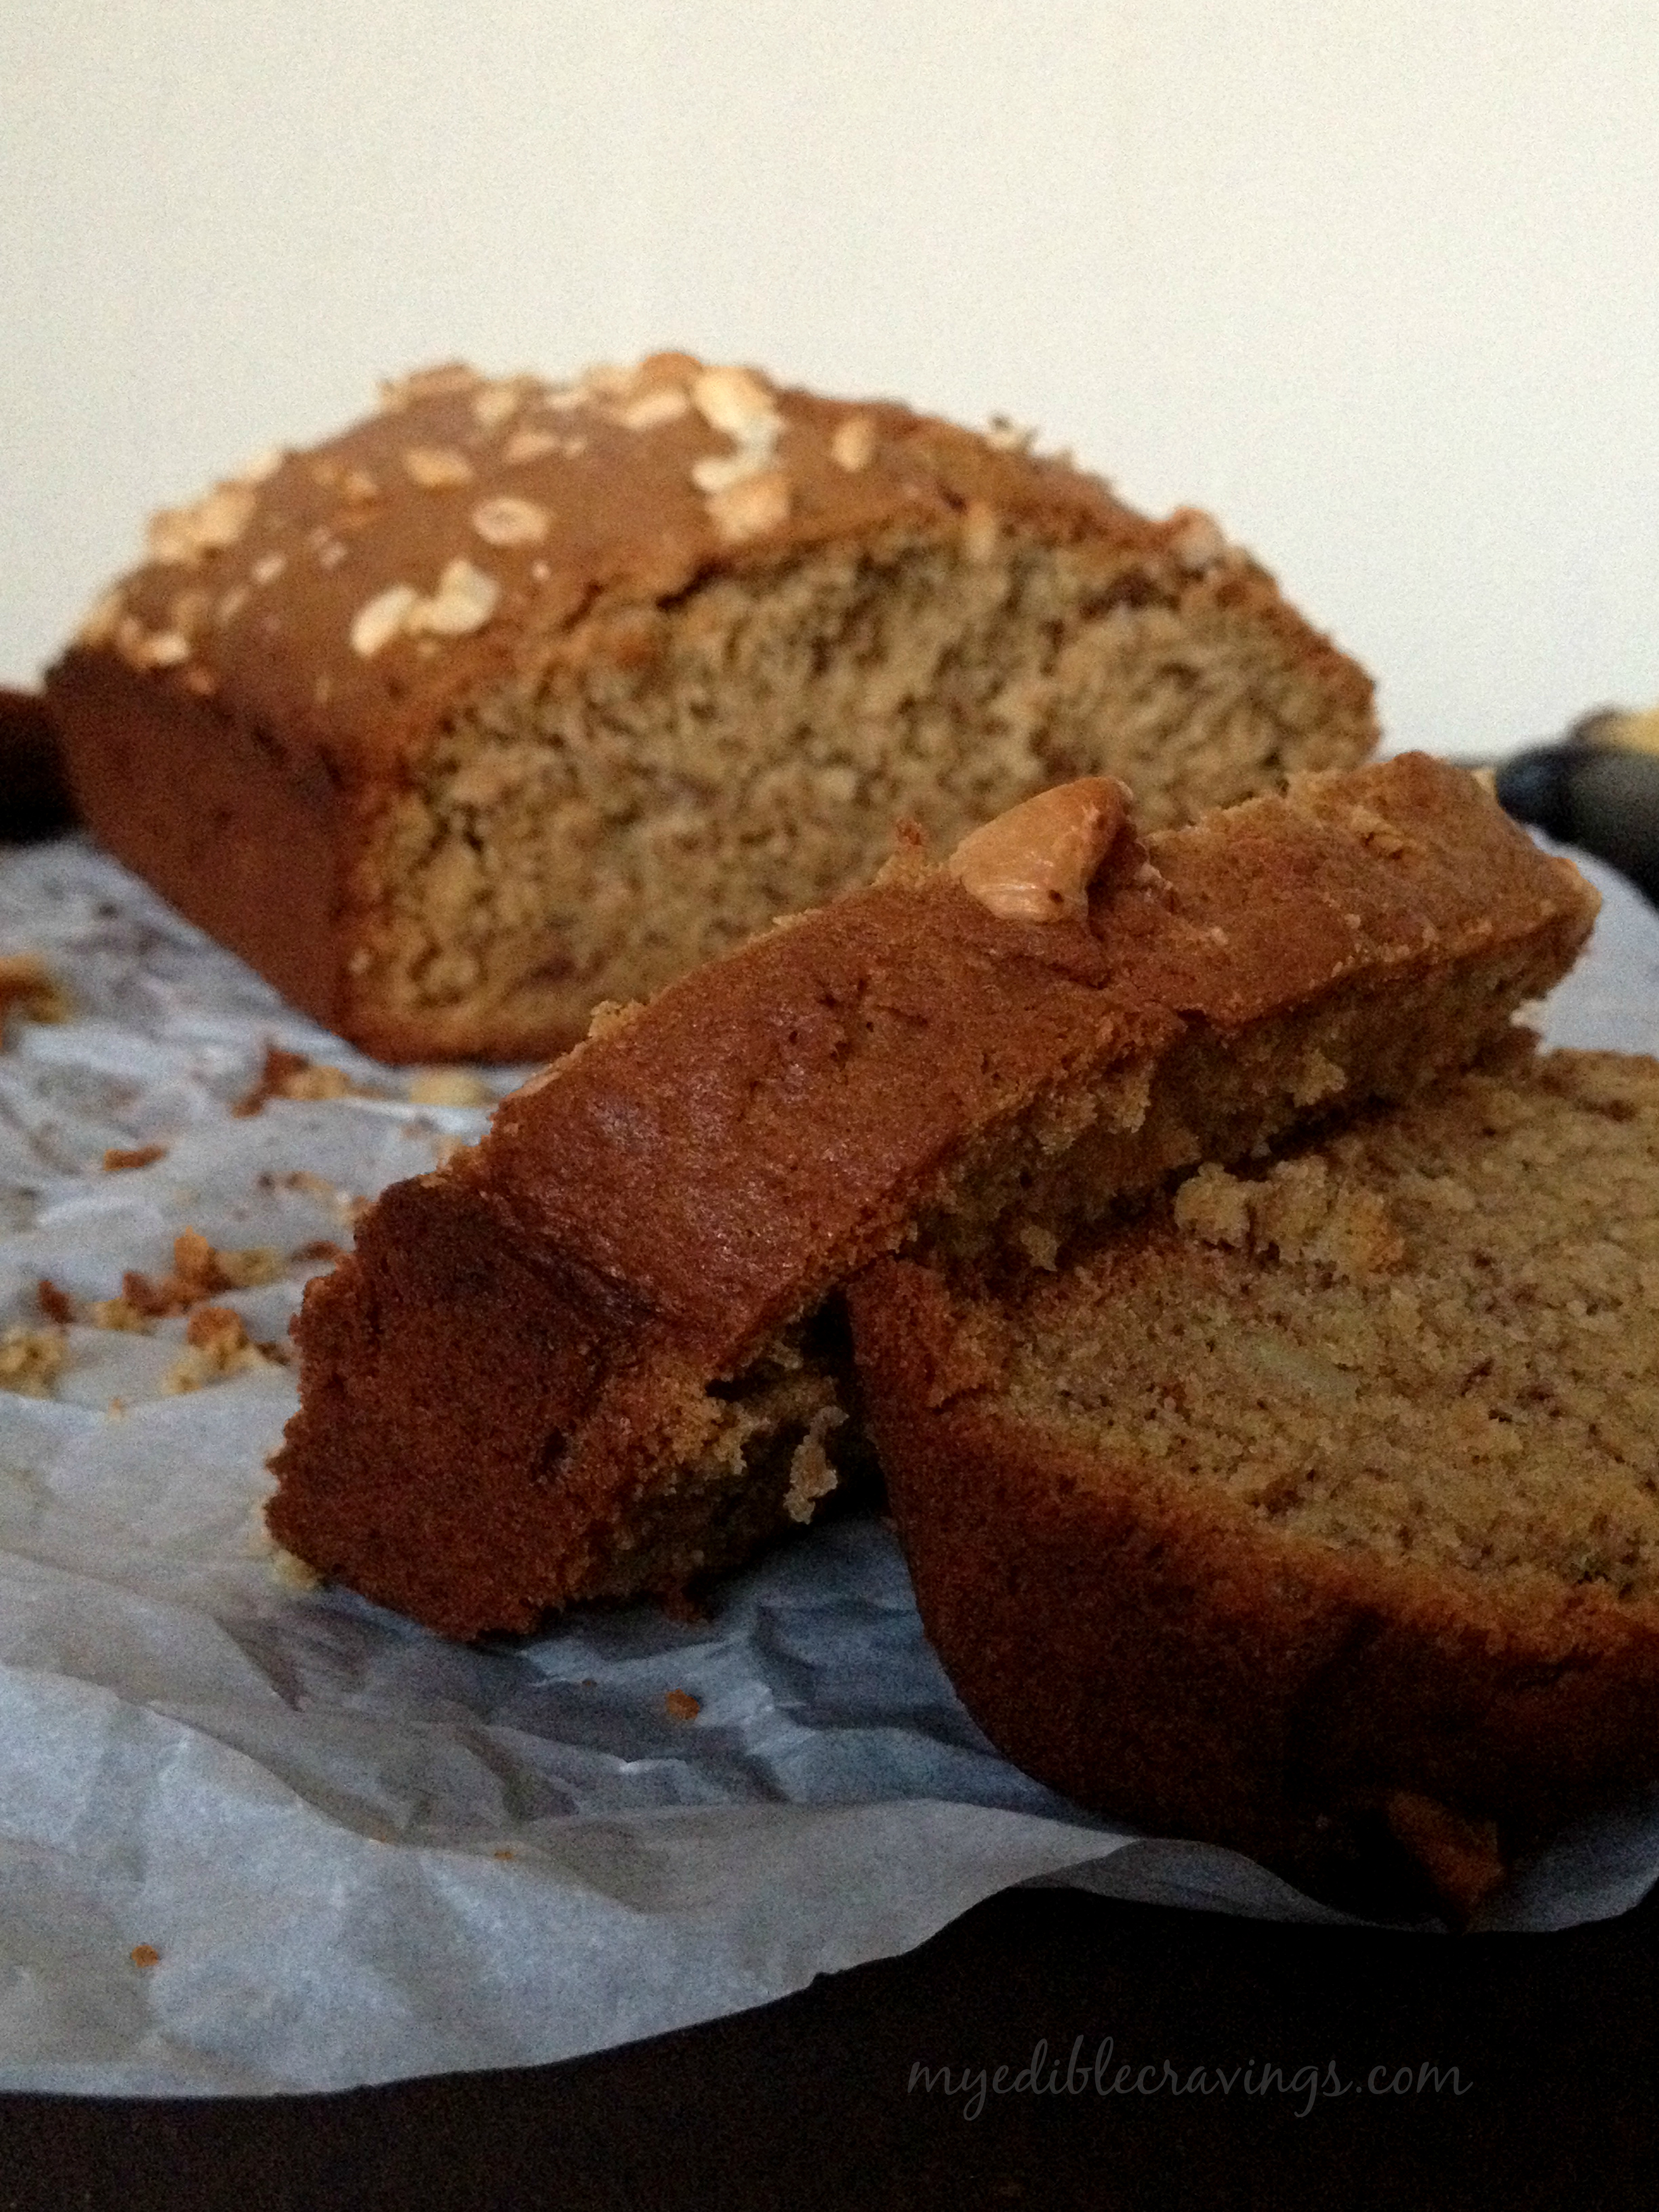
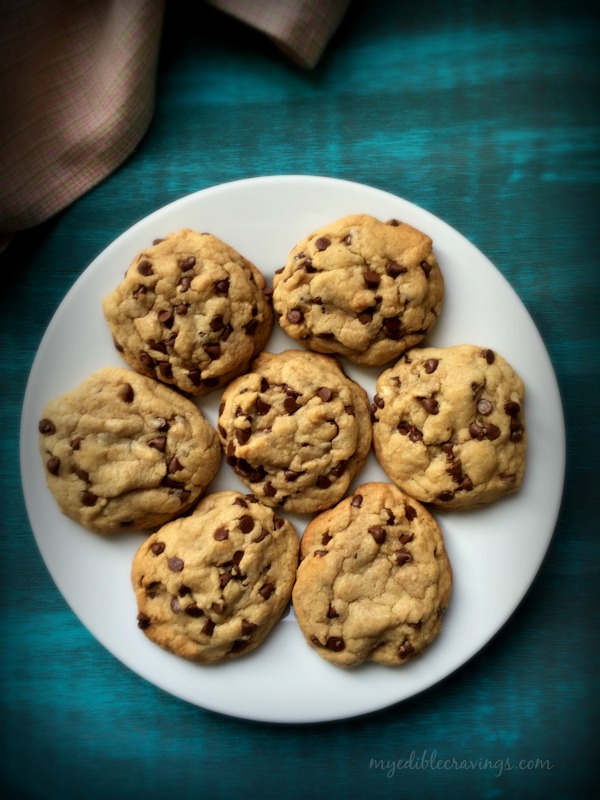
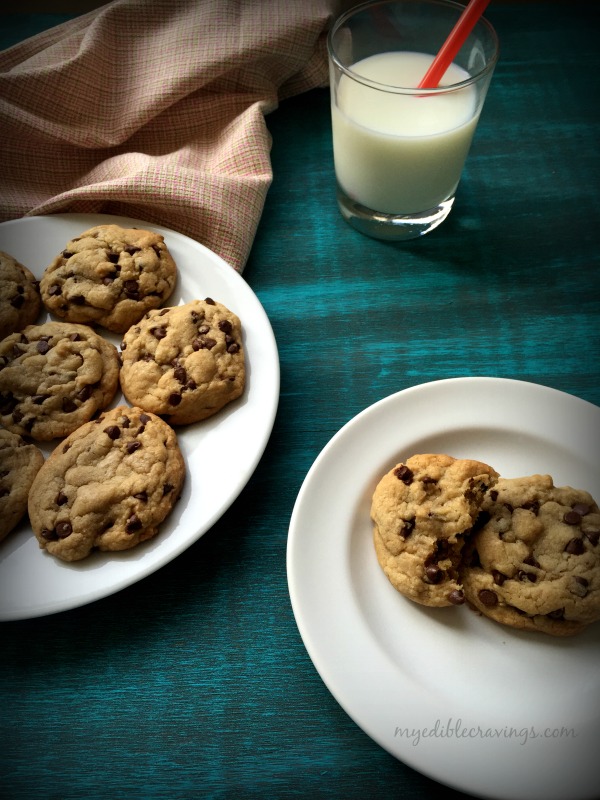
Today I am posting one of the most popular snack/dessert items in the US, the Chocolate Chip Cookie. The Chocolate Chip Cookie was first invented in the United States in Massachusetts. The original recipe consisted of dough composed of butter and both white and brown sugar. Since then there had been numerous variations of this iconic snack. I had already posted White Chocolate Cashew cookie here in my blog and this is my second cookie variety 🙂

Chocolate Chip CookieChocolate Chip CookieI had been wanting to bake Chocolate Chip Cookie for some time but did not really pursue it. But today at the gym, I came to know that it was international chocolate day, (see the irony here, chocolate in gym 🙂 ) and what better day to bake Chocolate Chip cookie than today? Also, happy chocolate day to all chocolate lovers!:)

Chocolate Chip CookieChocolate Chip Cookie
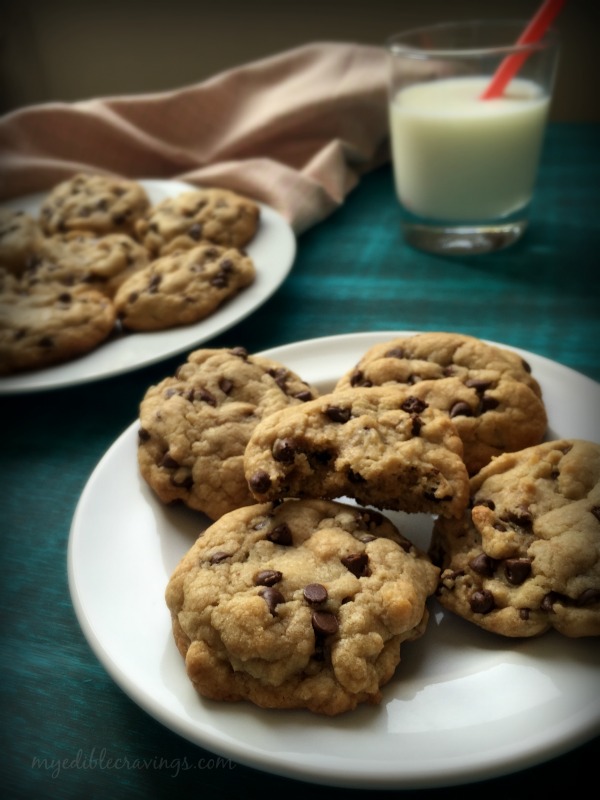
Chocolate Chip cookie is so decadent but there are certain nuances in its preparation. They are, use the right amount of flour, melt the butter completely before mixing it with the flour and do not over bake.

Chocolate Chip Cookie
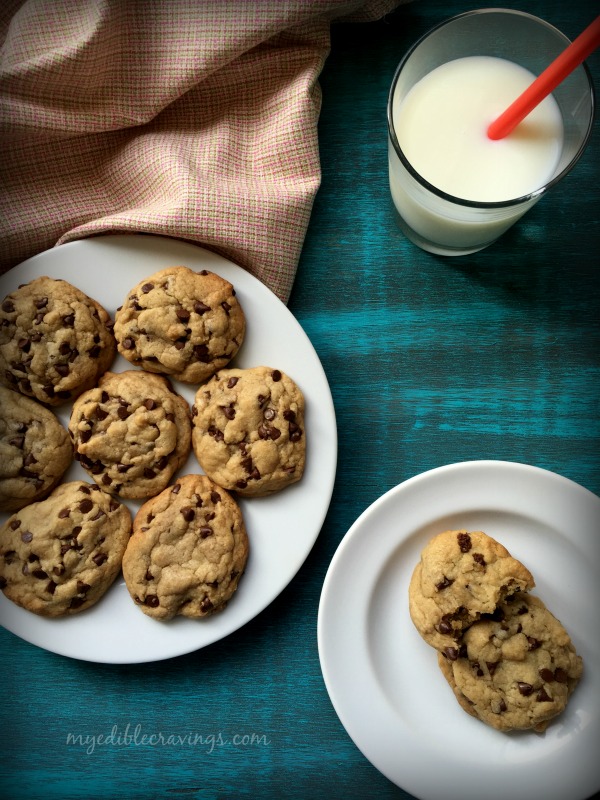
Chocolate Chip cookie has so many variants like I had mentioned above. You can customize according to your taste, like, substituting chocolate chips with macadamia nuts or M&Ms, add peanut butter to the dough etc. So, are you ready to try this amazing and delectable Chocolate Chip Cookie in your home? Do try and post your comments.


Chocolate Chip Cookie
Recipe type: Dessert
Cuisine: American
Prep time: 
Cook time: 
Total time: 
Serves: 22
 
Ingredients
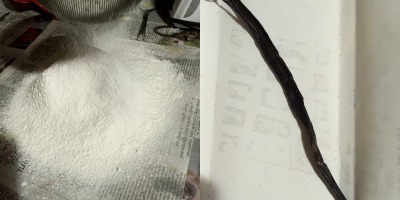
  • 1 ½ cup all purpose flour
  • ½ tsp baking soda
  • ¼ tsp salt
  • 8 tbsp unsalted butter (1 stick)
  • ½ cup granulated white sugar
  • ¼ cup packed light brown sugar
  • 1 tsp pure vanilla extract
  • 1 large egg (room temperature)
  • ¾ cup chocolate chip
Instructions
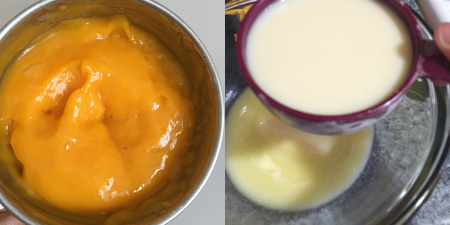
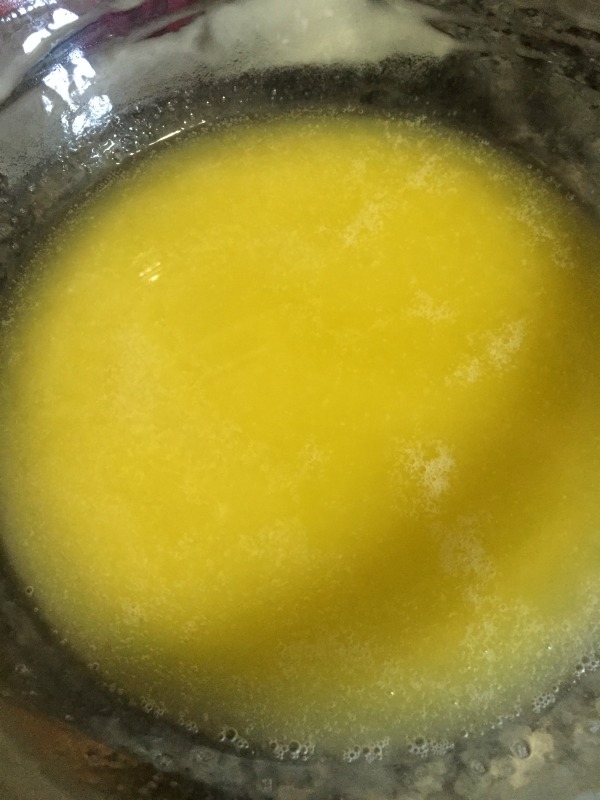
  1. Pre heat the oven to 350 degrees Fahrenheit or 180 degrees Celsius. Melt the butter in the microwave oven for 40 seconds or until it reaches liquid form and bring it to room temperature.
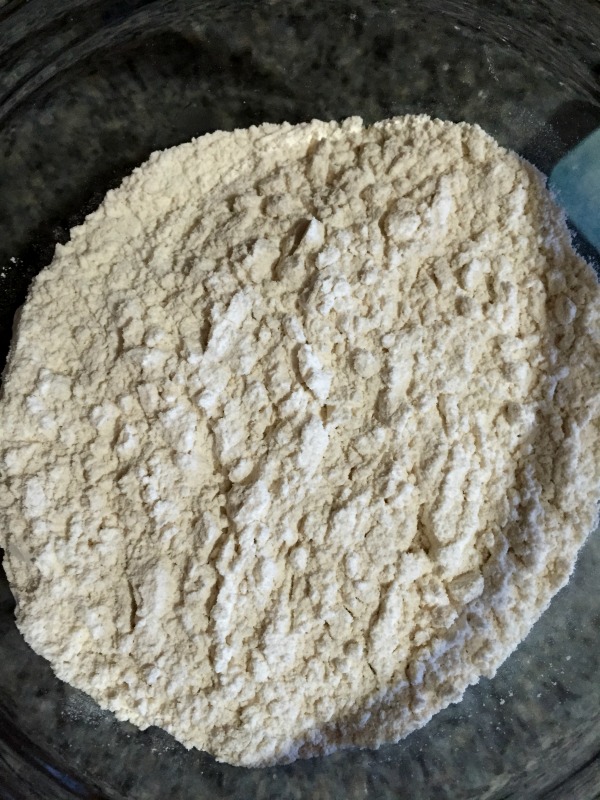
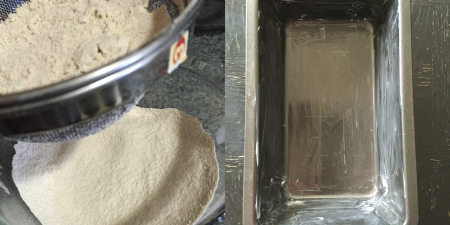
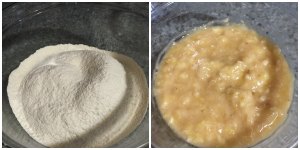
  2. Sieve flour, baking soda and salt together into a small bowl and set aside.
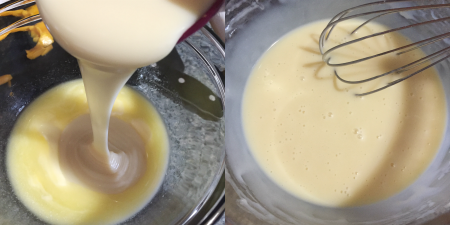
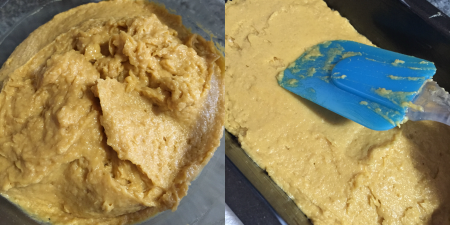
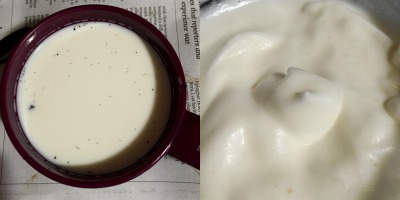
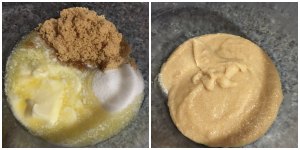
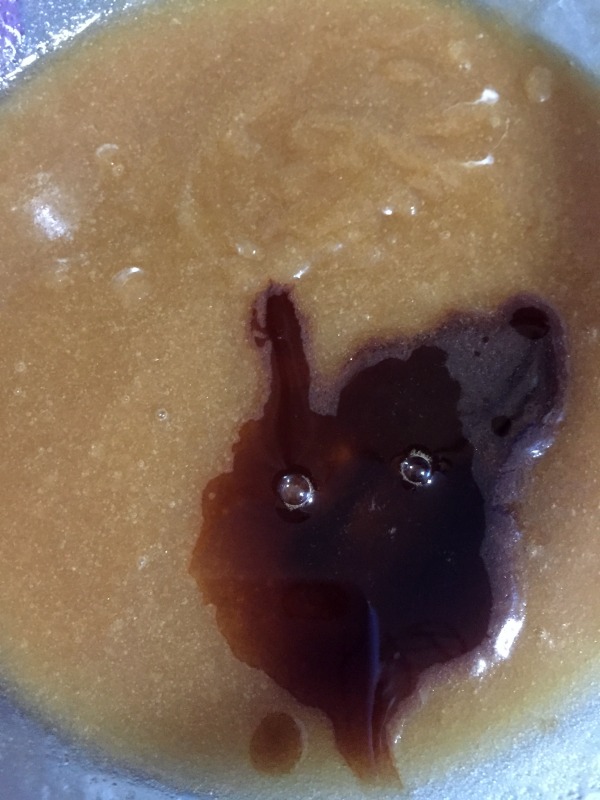
  3. Bring the melted butter to the large bowl and add white and brown sugar. Beat well until creamy.
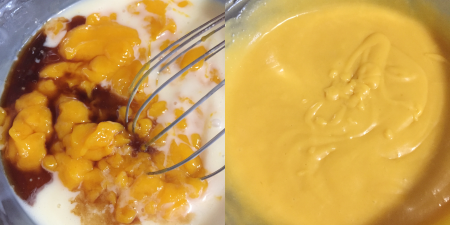
  4. Add in vanilla extract and mix well.
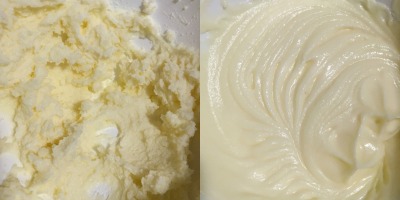
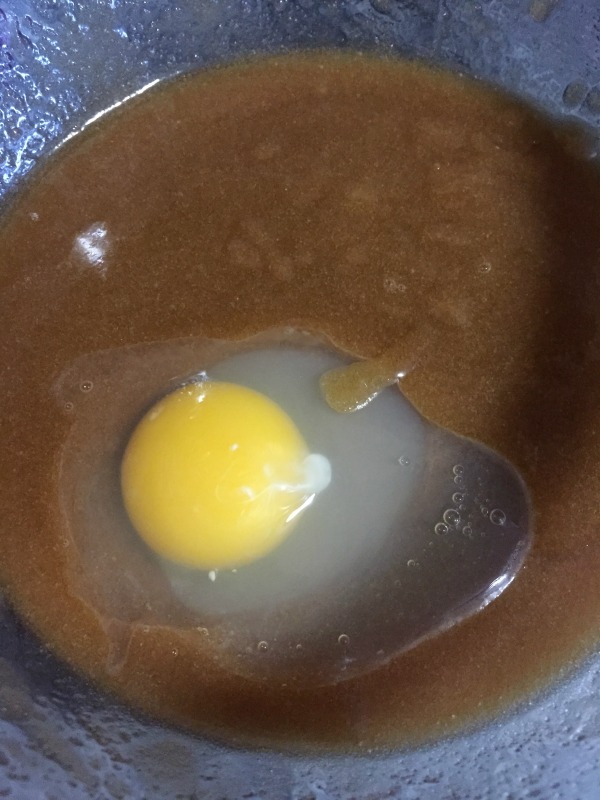
  5. Add the eggs and beat until well combined.
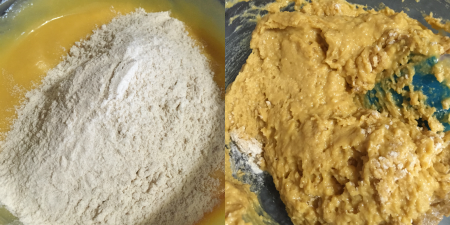
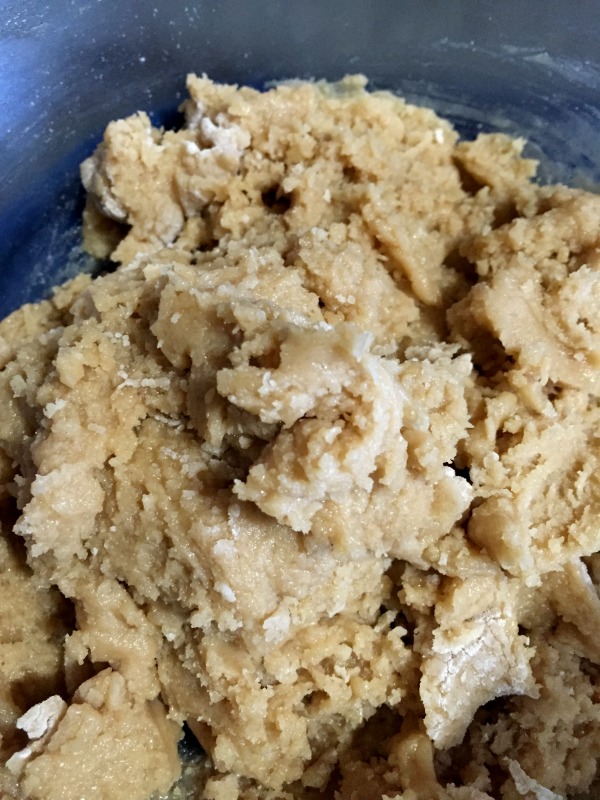
  6. Add the dry ingredients, using spatula mix well until crumbles form or to the dough consistency.
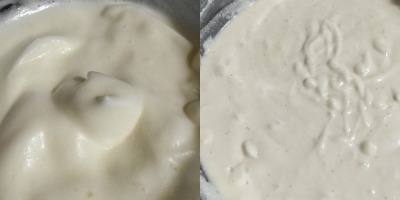
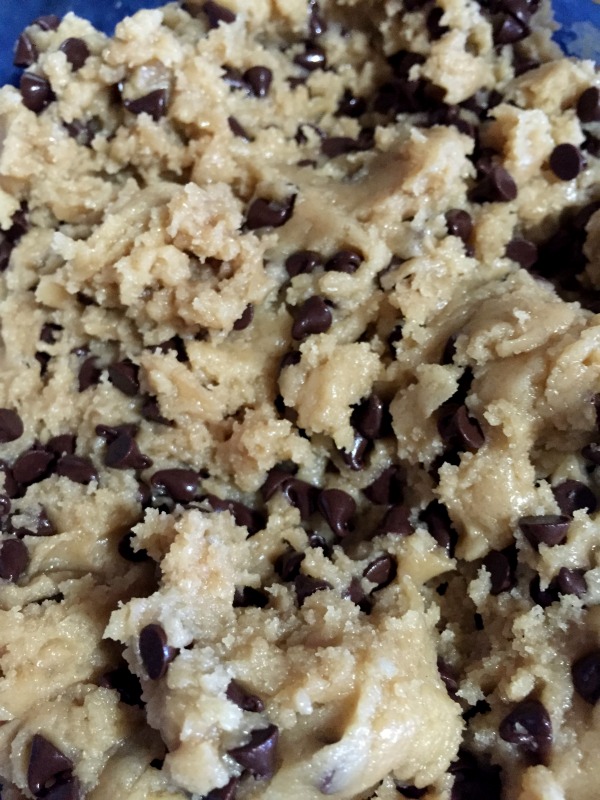
  7. Finally add the chocolate chips and carefully mix them.
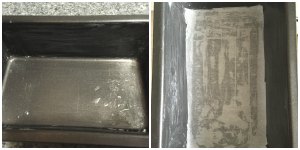
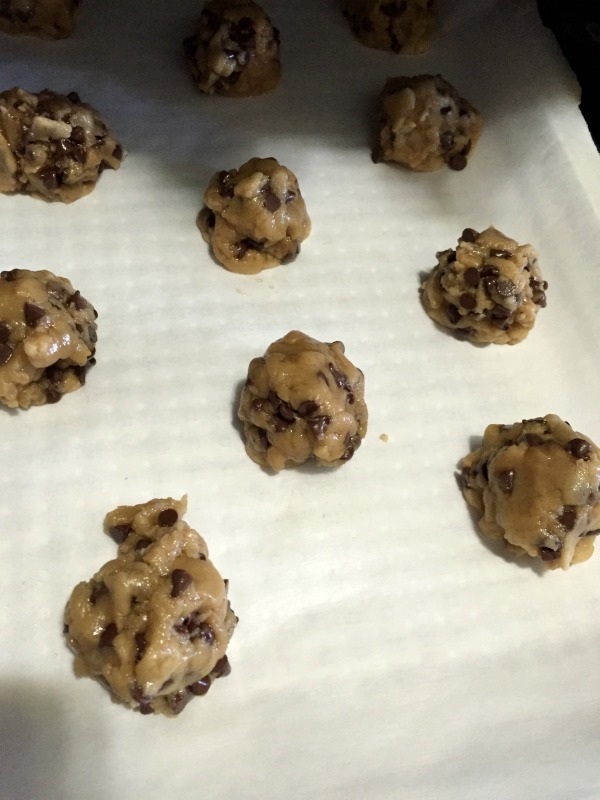
  8. Allow it to cool in the refrigerator for about 5 to 10 minutes. Bunch up the dough to 22 small balls and place the rolls on the cookie sheet.
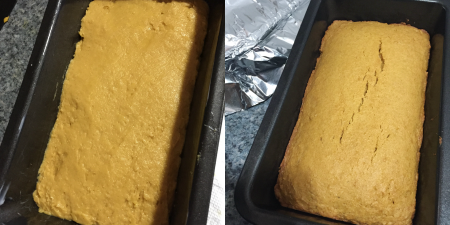
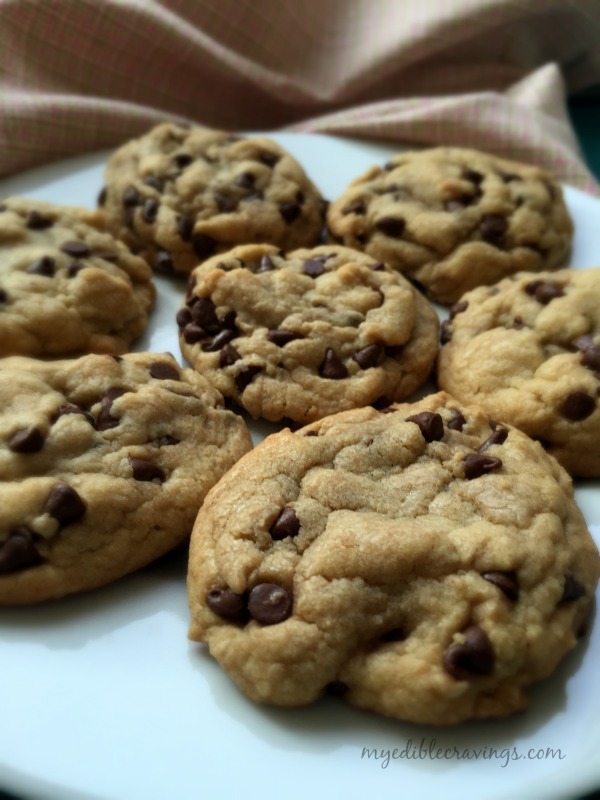
  9. Bake for about 9 to 11 minutes until the cookies are puffy and barely golden. Do not over bake the cookies.
  10. Allow them to cool on the cooling rack for 30 minutes. Enjoy! 🙂
Notes
Few tips that I have learnt to bake the best chocolate chip cookie are
1.Melt the butter completely and bring it to room temperature.
2. Add enough flour such that dough doesn't stick to your hand while making bunches.
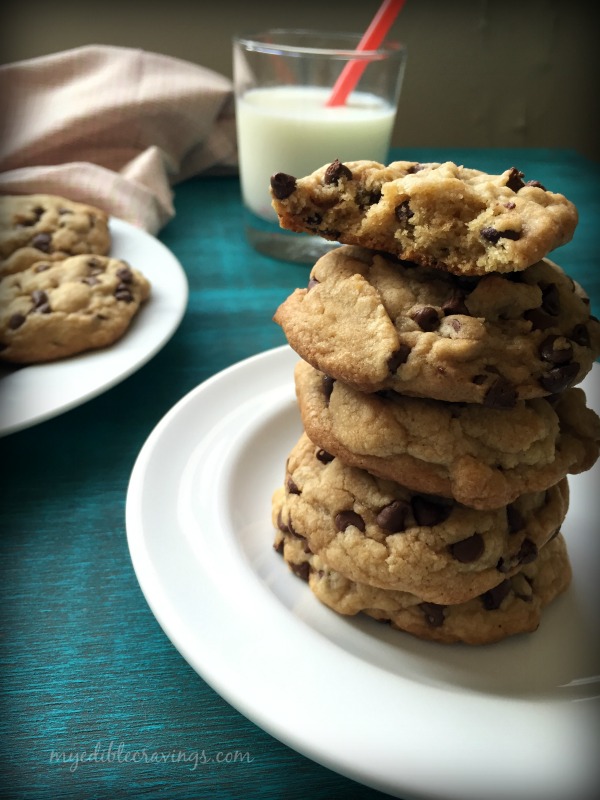
3. Use bunching up approach instead of rolling them out in the palm of your hand. This will get you a defined lumpy mounds of chocolate chips which looks more appealing.
4. Don't Over bake the cookies. Doing so you might loose the moist and soft texture of the cookies.

Chocolate Chip Cookie

Paal Payasam


Paal payasamToday is Father’s Day! A father is a hero to every daughter and Father’s day is a way to honor them for their love, unwavering support and kindness. So Happy Father’s Day to all fathers out there. On the occasion of this important day, I wanted to prepare something sweet that personifies their nature i.e.,  being sweet 🙂 I decided on Paal Payasam, a south Indian dessert item that is very tasty. I love the Paal Payasam that my MIL makes. The recipe that I have given below is my MIL’s.

Paal PayasamPaal Payasam is a classic dish that uses very few ingredients i.e., rice, sugar and milk. Paal Payasam is one of my favorite payasams (similar to pudding in general) and my sister’s too. Preparing this dish is time consuming but to allevate some of that I used whole milk because one of the steps in making Paal Payasam is to reduce the milk to half but using whole milk saves time since it is already thick.

144cPaal Payasam can either be served hot or cold but tastes excellent when served cold. Try this sweet dessert in your kitchen and I hope you too will enjoy it as much as I do 🙂

Paal Payasam
Recipe type: Dessert
Cuisine: Indian
Prep time: 
Cook time: 
Total time: 
Serves: 4 to 5 cups
 
Ingredients
  • Raw rice or basmati rice or seeraga samba rice – ½ cup
  • Ghee – 3 tbsp, divided
  • Milk – 1 liter
  • Sugar – 1 cup
  • Cashews – 1 tbsp
  • Cardamom powder – a generous pinch
Instructions
  1. Wash and soak the rice in water for half an hour. Later crush the rice using your hands and keep it aside.
  2. Heat a pan or pressure cooker and add a tbsp of ghee. Add the rice and fry until golden brown.
  3. Add a cup of milk and cook or pressure cook until the rice is well cooked. Add the remaining milk and boil until the milk is reduced to half and turns slight brown in color.
  4. Add sugar and mix well. Boil for another few minutes stirring occasionally.
  5. Heat the remaining ghee in a tempering ladle, fry the cashews until golden brown and add to the paayasam.
  6. Finish it off by adding cardamom powder. Serve cold and enjoy!
Notes
1.It takes a very long time around 45 minutes to reduce the milk. So I would suggest using whole milk to reduce your work.
2.Milk will not boil if you add clean marbles (golli gundu) to the milk.
3.Add or reduce sugar according to your own taste.
4.You could also add dates to this recipe which tastes excellent.

Paal Payasam

Mango Bread

Eggless Mango bread Today, I was in the mood for something sweet, something that describes the summer season and something healthy. Yep, it has got something to do with Mango. It is the Mango bread! The recipe for Mango bread that I have given below is truly healthy and is a light fare. It has no eggs, is made of wheat flour and has very little added sugar!
Eggless Mango bread I came across this Mango bread recipe online recently and it immediately picked my curiosity. I have heard about banana bread, zucchini bread, raisin bread etc but Mango bread? It was the first time I have heard about it. But trust me, the bread tastes awesome. Mango bread can be had for breakfast or served as a snack. If you are left with more mangoes than you could possibly eat, I would say Mango bread is the way to go.
Eggless Mango bread
Mango bread is very easy to make and as said earlier, is healthy as well. Kids would love it. Try baking this unique bread variety in your kitchen and let me know how well you liked it  🙂

Mango Bread
Recipe type: Breakfast
Cuisine: Indian
Prep time: 
Cook time: 
Total time: 
Serves: 1 (9 x 5 x 3 inches) loaf
 
Ingredients
  • 1½ cups wheat flour
  • 1 tsp baking powder
  • ½ tsp baking soda
  • 8 tbsp unsalted butter (1/2 cup or 1 stick), room temperature
  • ¾ cup sweetened condensed milk
  • 2 large mangoes or 1 cup mango puree
  • 3 to 4 tsp sugar or add as required
  • 1 tsp pure vanilla extract
Instructions
  1. Grease a loaf pan (9 x 5 x 3 inches) with butter or oil on the bottom and on all four sides and set aside.
  2. Sieve flour, baking powder and baking soda together in a medium bowl.
  3. Peel and cut the mangoes (measuring 1 cup tightly packed) and add it to the blender. Add sugar according to your taste and depending on mangoes' sweetness. Blend together in to a puree.
  4. Preheat the oven to 350 degree Fahrenheit or 180 degree Celsius.
  5. In a large oven safe mixing bowl, heat and melt the butter for 35 seconds. Allow it to cool.
  6. Add in condensed milk to the butter and whisk together in to a smooth mixture.
  7. Add in the mango puree and vanilla or mango essence and whisk together until well combined. – I would highly recommend using mango essence to get the complete flavor in the bread.
  8. Add in the flour and gently fold them together using a spatula. – The important thing is not to over mix the batter. You do not want it to be smooth. Over mixing the batter will yield tough, rubbery bread. The batter might look thinner if you are using store bought mango puree.
  9. Pour batter into prepared loaf pan. Shake the pan and even the batter on top using spatula.
  10. Bake in oven (preferably in the middle rack) for 55 minutes, until golden brown and a toothpick inserted in the center comes out clean – I covered the pan with aluminum foil after 35 minutes when it started to turn brown on top.
  11. Turn out the bread onto a wire rack and allow it to cool. Serve the yummy mango bread as hot or cold for a breakfast or brunch or as an evening snack. Enjoy! 
Notes
1.Recipe also suggests to use cardamom powder or cinnamon powder or mango essence in place of vanilla extract.
2.Use a fiber less mangoes.
3.Wheat flour could also be substituted with all purpose flour.

Eggless Mango bread

White Chocolate Cupcake with truffle filling

118cThank you, guys for your love and support. I have received 1000+ likes for MyEdibleCravings Facebook page. It has been an amazing journey so far and I hope it continues to be so in the future as well. To celebrate this special milestone I decided to prepare something special; something that is sweet (obviously :)) and something exotic in taste. And that special recipe turned out to be that of a White Chocolate Cupcake with Truffle filling. It is a soft, fluffy cupcake with a creamy frosting and a silky smooth truffle filling which is the kicker. Don’t you agree that the name itself has its own taste?
110white chocolate cupcake

Making White Chocolate Cupcake with truffle filling is a time consuming process and patience is the key. It is a sweet treat and is an excellent dessert to serve. To mix the batter and to whisk the eggs and chocolate, having an electric mixer will be handy (I used KitchenAid hand mixer). Also, as the name suggests, white chocolate is the star ingredient here and I went with Lindt-Lindor white chocolate varieties, both for the cupcakes and the truffle filling.

130white chocolate cupcake

White Chocolate Cupcake with truffle filling is something I came across recently. I have been waiting for the right occasion to make it because as mentioned above, it is a little bit time consuming and I wanted a worthwhile cause to justify my effort ;). And 1000+ likes is indeed a worthwhile event for me to celebrate. I wish that after seeing the recipe down below, you too would give it a try for one of your memorable occasions in life 🙂

White Chocolate Cupcake with truffle filling
Prep time: 
Cook time: 
Total time: 
Serves: 12 cupcakes
 
Ingredients
  • 1¾ cups cake flour
  • 2 tsps baking powder
  • ⅔ cup milk, whole milk is best
  • ½ a vanilla bean
  • 4 egg whites, room temperature
  • 6 tbsps butter
  • ½ cup granulated sugar
  • ¼ cup sour cream
  • 12 Lindt-Lindor white chocolate truffles
For the frosting
  • 6 Oz white chocolate for baking, chopped
  • 1 pkg (8 oz) cream cheese, softened
  • ¼ cup butter (1/2 stick), softened
  • ½ a vanilla bean
  • 2 cups powdered sugar
  • White chocolate shavings (optional)
Instructions
  1. Bring the eggs, butter and cream cheese to room temperature. Preheat the oven to 325°F. Place paper liners inside the wells of a muffin pan.
  2. Sieve flour and baking powder in a small mixing bowl. Slit the whole vanilla bean in the center and scrape just half a vanilla bean paste. Combine milk and vanilla bean paste in a measuring cup (1-cup).
  3. In a medium mixing bowl (2 qt.), beat egg whites on high speed of electric mixer until stiff peaks form. It took me 40 minutes to reach that stage using my hand mixer. Refer notes below.
  4. In a large mixing bowl, beat butter and granulated sugar on medium-high speed until fluffy (it would take around 3 minutes); beat in sour cream until smooth.
  5. On medium speed, add flour mixture in three additions, alternating with milk mixture in two additions, mixing until smooth.
  6. Whisk in one-third of the egg whites with whisk. Fold in remaining egg whites using whisk. Divide batter evenly among liners.
  7. Bake in the middle rack for 17-20 minutes or until wooden toothpick inserted in center comes out clean. Remove pan from oven on to a cooling rack.
  8. Immediately snip a ½-inch-deep “x” on top of each cupcake using scissors. Press one truffle into each cupcake until flush with top of cupcake.
  9. Remove the cupcakes from pan. Allow it to cool for 30 minutes or to room temperature. (Truffles will melt into cupcakes.)
  10. Meanwhile, for frosting, place white chocolate in a microwave safe bowl. Microwave, uncovered, on high for 1 to 1 ½ minutes or until chocolate is mostly melted, stirring every 30 seconds if needed. Let stand 3 minutes or until slightly cooled.
  11. In the same mixing bowl, combine cream cheese, butter and vanilla; using clean beaters, beat on medium speed until well blended. Slowly add powdered sugar; beat well.
  12. Frost cupcakes and sprinkle with white chocolate shavings.
Notes
1.If you are using a electric hand mixer like me, I would advise you to follow these steps.
• Beat sugar and butter until fluffy in a large bowl.
• In a medium mixing bowl, beat the egg whites until stiff peaks form.
• Add sour cream to the sugar and butter mixture and beat until smooth. And then proceed with step 6 above.
2.You could also use double strength vanilla essence in place of vanilla bean. Add half tsp each for the batter and frosting.
3.I would recommend cooling the frosting in the refrigerator for about 10 to 15 minutes before decorating the cake with it. That way it will get perfect frosting. I used Wilton’s jumbo 2M pipe for frosting the cupcakes.

white chocolate cupcake
125c

Banana bread

Banana BreadHi guys, Today I finally decided to make something with the ripe bananas that has been on the counter for the past two days. So zeroed in on Banana bread, a favorite of us. Banana Bread is a type of bread that is often served as an after meal snack. According to Wikipedia, Banana bread became popular in US in the 1930s after the advent of baking soda 🙂 and February 23rd is National Banana Bread Day. Generally, I am a fan of banana and like food items that has banana as one of the ingredients.
Banana breadBanana breadBanana bread is very easy to make and is very flavorful. In fact while I am writing this, Banana bread is getting baked in the oven and I could smell the divine smell of bananas and butter mixed together. Can’t wait to have a bite! If you have the ingredients sorted out, then baking the bread takes no time at all. There are different varieties to banana bread as well, like, chocolate chip banana bread, banana nut bread, banana raisin bread etc. Here I have given you the recipe for plain banana bread with cashews.
Banana breadHere comes the beep from the oven! Alright, enough of the stories. I guess its nom nom time and I am off to the kitchen. Hope you are too, to start making this wonderful, simple and flavorful dish, i.e. the Banana Bread 🙂

Banana bread
Recipe type: Dessert
Cuisine: American
Prep time: 
Cook time: 
Total time: 
Serves: 1 9x5x3 inch loaf
 
Ingredients
  • 1 ¾ cups all-purpose flour
  • 1 tsp baking soda
  • ¼ tsp salt
  • ½ cup (8 tbsp) unsalted butter, melted and cooled
  • ½ cup brown sugar
  • ½ cup granulated sugar
  • 2 eggs, beaten
  • 3 overripe large bananas, mashed
  • ⅓ cup any nuts, chopped, divided (I used cashews)
Instructions
  1. Preheat the oven to 350 degrees F (180 degrees C).
  2. Lightly grease a 9 X 5 inch loaf pan with butter on the sides and line the bottom with parchment sheet. Set aside.
  3. Mash the bananas, chop the nuts and beat the eggs.
  4. In a large bowl, sieve flour, baking soda and salt together.
  5. In a separate bowl, cream together butter and sugar.
  6. First add the sugar mixture into the flour mixture and mix well without any lumps. Then add in eggs and bananas and mix them with a wooden spoon or rubber spatula until the batter is thick and chunky (The important thing is not to over mix the batter. You do not want it smooth. Over mixing the batter will yield tough, rubbery bread).
  7. Mix half of the chopped nuts to the batter. Lightly fold the batter. Pour batter into the prepared loaf pan. Top it off with the remaining nuts.
  8. Bake in oven (preferably in the middle rack) for 60 to 65 minutes, until golden brown and a toothpick when inserted in the center comes out clean. Turn out onto a wire rack and allow them to cool.
  9. Serve warm or at room temperature. This bread can be frozen.

Banana bread

Banana Kesari

Banana kesariFirst of all, A very Happy Mother’s Day to all the lovely mothers out there 🙂 You are the best. As a tribute to moms and in a way representing their sweet nature, today I have given below a very popular south Indian sweet, Banana Kesari. Kesari is a south Indian delicacy which is often served as a dessert. It is made of sooji (semolina) and is also called as sooji halwa in north India. There are different varieties of Kesari like beet root, pineapple, banana, bread, fruit etc. Banana Kesari is a favorite of my HB (anything made from sooji for that matter :))
Banana kesari
Banana kesariBanana Kesari is very easy to prepare and involves minimal ingredients, i.e., banana, sooji, ghee, sugar and cashews. As with many sweet items, patience is the key here, especially when adding the sooji to the boiling water during the preparation. Believe it or not, I was not very good in making Kesari initially. In fact, my friends used to make fun of my Kesari but I have come a long way now such that I have started making different varieties in Kesari 🙂
Banana kesariOnce again, a very happy Mother’s day to all moms, new moms and expectant moms. As Rudyard Kipling said, “ God could not be everywhere, and therefore he made mothers”. Enjoy the sweet Banana Kesari with the sweetest person in the world, your Mother 🙂

Banana Kesari
Recipe type: Dessert
Cuisine: Indian
Prep time: 
Cook time: 
Total time: 
Serves: 4
 
Ingredients
  • Semolina – 1 cup
  • Ghee – 6 tbsp
  • Water – 2 ½ cups
  • Yellow food color – 1 tsp
  • Sugar – 1 cup
  • Banana, big, peeled, smashed – 1 no
  • Cardamom powder – 1 tsp
  • Cashews – 10 nos
Instructions
  1. Heat a nonstick tawa with a tbsp of ghee. Add in semolina and sauté until the raw smell disappears. It takes around 3 minutes. Remove and transfer to a bowl.
  2. In the same pan add a tbsp of ghee and fry the cashews until golden brown. Remove and keep aside.
  3. Add water in the same pan and bring it to boil. Add food color.
  4. When the water starts to boil, slowly add sautéed semolina little by little, stirring continuously to avoid lumps.
  5. When all the water is absorbed, add in sugar and banana. Mix well and add the remaining ghee.
  6. Finally add in the cardamom powder and fried cashews. Mix well. Add ghee if needed. Serve hot. Enjoy!!!
Notes
1.It is always best to use non stick tawa while making kesari.
2.Be very careful while adding semolina to the boiling water. make it quick and stir constantly to avoid lumps.
3.To make cardamom powder, grind together few whole green cardamoms with a tbsp of sugar.
4.You can substitute any fruits (pineapple, jackfruit, tutti frutti, plums, beetroot, etc) or even with bread and it is called bread halwa.

Banana kesari

Chocolate cake

Myediblecravings
Now, why did I bake a chocolate cake, that too with a diet conscious HB by my side? It is the ONE year anniversary of my website, guys!!! What started as a personal log of my favorite recipes is now well on its way to become a repository of recipes catering to all types of palate. Thank you all for your continuing support and well wishes! When we decided to commemorate the milestone, there was a lengthy debate on what to make. I was oscillating between a white chocolate truffle cup cake and a perfect chocolate cake and finally settled on a chocolate cake, much to my HB’s delight!
myediblecravings
Chocolate cake
Chocolate cake is one of the most recognized cakes in the world. I am pretty sure that there is not even one bakery/pastry shop around the world that does not sell a chocolate cake! Though the name is generalized, there is multitude varieties of chocolate cake. Today, I am giving here a very simple but decadent recipe of chocolate cake which is my favorite as well. It is a three layered chocolate cake with chocolate frosting. I have been wanting to bake a cake from scratch for a long time and now that I have done it, it turned out to be a job well done :). Baking a cake, in general gets a bit messy and doing it from scratch makes it even more messier, but trust me, it is all worth it.
myediblecravings
Myediblecravings
I am a very big fan of cakes in general (it would be the only thing that won’t get me angry when I am woken up from my sleep and offered ;)) And after trying this chocolate cake, I have a profound respect for cakes 🙂 Do try this decadent recipe and post your comments.

Chocolate cake
Prep time: 
Cook time: 
Total time: 
Serves: 3 layer 8"cake
 
Ingredients
For frosting:
  • 1 ¾ cups (350 gr) sugar
  • 1 ½ cups heavy cream
  • 7.5 oz (213 gr) unsweetened chocolate, roughly chopped
  • 12 tbsp unsalted butter, cut into small pieces
  • 1 ½ tsp pure vanilla extract
For cake:
  • Scant 3 cups (425 gr) All purpose flour
  • 3 cups (600 gr) sugar
  • 1 cup + 2 tbsp Dutch-processed cocoa powder
  • 1 ½ tsp salt
  • 2 ¼ tspn baking powder
  • 2 ¼ tspn baking soda
  • 3 eggs, room temperature, beaten
  • ¾ cup vegetable oil
  • 1 ½ cup whole milk
  • 1 ½ cup hot coffee decoction, filtered
Instructions
For frosting:
  1. Combine sugar and heavy cream into a sauce pan. Heat the pan and bring them to boil in a medium heat. Once they starts to boil, simmer it for another 5 to 6 minutes.
  2. Remove from heat and stir in the chopped chocolates until completely melted.
  3. Now add in the butter pieces and stir them again until completely melted.
  4. Finally stir in the vanilla extract.
  5. Let the frosting cool completely, whisking every now and then during cooling. (You can do this step in the refrigerator to speed up the process) Once completely cool at room temperature, the frosting will be spreadable.
For cake:
  1. Preheat oven to 350 degrees F or 175 degrees C. Grease the three 8" round cake pans with butter or oil (on the sides and bottom), dust the bottoms with flour and line them with parchment paper. If desired, wrap the cake pans with bake-even strips.
  2. Sieve sugar, flour, cocoa powder, salt, baking powder and baking soda into a large mixing bowl. This is done to avoid lumps and even the mixing. Meanwhile make hot coffee decoction and keep it ready.
  3. In a separate bowl, combine the beaten eggs, vegetable oil and milk. Stir to mix. Then, with the mixer on low, pour the wet ingredients into the dry ingredients. Mix on low flame until evenly distributed.
  4. Pour the hot coffee into the batter and mix on medium to low flame until smooth and creamy. .
  5. Divide the batter between the cake pans.
  6. Bake for 40-45 minutes. When a toothpick inserted into the center of the cakes comes out cleanly, the cakes are done. Remove from the oven and let cool completely.
  7. Refrigerate the cakes for at least 2 hours or place it n the freezer for one hour. Level the cakes by cutting the excess top bump.
  8. Stack the cakes, spreading a layer of frosting in between each cake layer. Frost the outside of the cake for a smoother finish.
Notes
1.I would strongly recommend to line the parchment paper as this cake is so soft and gooey. You could also use cold wet cloth to tie around the pans instead of bake-even strips.
2.The recipe I have given here is for the big batch. You can reduce the ingredients by half for a smaller batch.
3.This recipe also works for a 3-layer 9" cake, with slightly shorter layers.

Myediblecravings

Sago Payasam

sago payasamPayasam is a traditional south indian dessert. It is a very simple yet tasty dish that is always in the menu of marriage lunches and served during traditional festivals. There are different varieties of payasam based on the ingredients that you use, like lentil, sago, vermicelli etc. Here I have given the Sago-Vermicilli variety of payasam.
sago payasamsago payasam
sago payasamSago-Vermicilli Pasayam is the most popular among all payasams. As I had said earlier, it is always served in wedding lunches. One popular way of consuming it is with papad :). My dad and his siblings love to have it with sweet boondi (another south Indian snack item). I know it will be a sugar explosion but who cares when it tastes just awesome 😉
I had never tried making Sago-Vermicilli Payasam until recently. The ingredients used and the preparatory method may make it seem easier to make (and it is easy to make) but you need to be careful as well, especially for beginners. In my recipe I had included rose flavor because I like it and is commonly found in most other Indian desserts. Also I have included Saffron just to give the distinct color and enhance the flavor. Sago-Vermicilli Payasam can be served hot or chilled; it tastes awesome either way.
Try this yummy and sweet dessert in your kitchen and post me your experiences 🙂

5.0 from 1 reviews
sago payasam
Prep time: 
Cook time: 
Total time: 
Serves: 3
 
Ingredients
  • Milk – 3 ½ cups
  • Sago or javvarisi – ½ cup
  • Vermicelli or semiya – ¼ cup
  • Refined sugar – ½ cup
  • Ghee – 2 tbsp
  • Cashews – 8 to 10 nos
  • Raisins – 6 nos
  • Saffron – 2 to 3 strands.
  • Rose water or essence – 3 drops
Instructions
  1. Soak sago in water for 20 to 30 mins.
  2. Heat a small pan with ghee and roast cashews and raisins until the cashews turn golden brown. Keep it aside. In the same pan roast vermicelli for a minute or so and keep it aside.
  3. Soak saffron threads in a cup with 1 tbsp of warm milk.
  4. Boil two cups of water and add sago. Boil until the sagos turn translucent for about 15 to 20 minutes. Add vermicelli to the boiling water as well and cook for another couple of minutes until they are soft. Drain them.
  5. Heat a sauce pan and boil the milk. When the milk has boiled, simmer and reduce it to half the quantity.
  6. When the milk has reduced to half, add the cooked and drained sago and vermicelli. Mix well and allow them to set for about 5 minutes - Simmer the burner while adding sago and vermicelli.
  7. Add sugar and mix well. Finally add the saffron and fried cashews to the payasam. Switch off the flame and add few drops of rose essence. Refrigerate the payasam and serve the delicious cold Sago-Vermicilli payasam. 
Notes
1.I have read online that cooking sago and vermicelli directly to the boiling milk will curdle the milk. So I boiled them and strained the water before adding them to the milk.
2.Simmer the milk and add the cooked sago and vermicilli. Otherwise the milk will curdle as well.
3.Adding saffron and rose essence is completely optional. I added them just for the flavor.

sago payasam

Shahi Tukda

Shahi TukdaRecently, my sister in law visited us from Canada and we had a blast. During her stay at our home, I tried a north indian dessert item called the Shahi Tukda. Shahi Tukda roughly translates to ’Royal pieces’ (Shahi – royal, Tukda – pieces). I came across this recipe in my never ending search for interesting recipes. Shahi Tukda is a very sweet dish and best served when cold. There is a common misconception that Shahi Tukda and the popular Telangana dish, Double Ka Meetha are the same, but they are not.
Shahi TukdaShahi Tukda’s main ingredients are bread and raabdi. Raabdi is a syrup like substance that you would have seen in Rasamalai (yes, it is that same beige colored syrup in which the malai’ are dipped in). Shahi Tukda is easy to make and it involves fried bread dipped in thin sugar syrup and then pouring raabdi over it. Keep in mind that frying the bread in ghee tastes way better than frying it in oil. For a little bit healthier version of this dish, you can pan fry the bread (I know, what is healthy in deep frying or pan frying and with too much sugar- but hey, you do have to give in to your indulgence once in a while to enjoy life :)).
Shahi Tukda
Shahi TukdaShahi Tukda is a perfect dessert for those who love sweets a lot. It is very rich in flavor and taste. Do try this north indian ‘king’s’ dessert in your kitchen and let me know your comments and thoughts.
Shahi Tukda
Shahi Tukda

Shahi Tukda
Recipe type: Dessert
Cuisine: Indian
Cook time: 
Total time: 
Serves: 4
 
Ingredients
For sugar syrup:
  • ½ cup sugar
  • ½ cup water
For rabdi :
  • 1 litre whole milk
  • ⅓ cup sugar
  • A pinch of saffron strands
  • ¼ tsp cardamom powder
  • ½ tsp almonds, chopped
  • ½ tsp pistachios, chopped
Other ingredients:
  • Ghee to deep fry
  • 6 white bread slices
  • ½ tsp almonds, chopped for garnishing
  • ½ tsp pistachios, chopped for garnishing
  • Few saffron strands for garnishing
Instructions
  1. Mix water and sugar in a sauce pan. Heat it to make thin sugar syrup (one string consistency).
  2. While the sugar syrup is getting ready, boil the whole milk in a flat bottomed non stick pan. Once the milk is boiled, simmer it and stir occasionally until the milk reaches ⅓rd of its consistency. Add sugar, saffron and cardamom powder and mix well. Simmer for another 5 minutes and rabdi will be ready.
  3. Heat ghee in a pan and first cut the corners (brown parts) of the bread slices and then cut the bread cubes diagonally. When the ghee is hot, deep fry the bread slices until they turn golden brown. Place the deep fried breads in a plate lined with clean tissue.
  4. Pour some rabdi on a serving plate. Dip the bread slices one by one into the sugar syrup (do not soak) and place them on the same serving plate. Pour rabdi again on top of the bread pieces. Garnish with chopped nuts and few strands of saffron.
  5. Serve it warm or cold (refrigerated shahi tukda taste excellent).

Shahi Tukda

CHOCOLATE CHIP COFFEE MUFFIN

chocolatechipcoffeemuffinChocolate chip coffee muffin is a variety of muffin with coffee as the base flavor. It is one of my most recent recipes that I had tried.
chocolatechipcoffeemuffinCoffee is my HB’s favorite drink and hence this chocolate chip coffee muffin has become one of his favorite dessert as well 🙂 Chocolate chip coffee muffin is very easy to make and involves minimal ingredients. I am pretty sure that all the coffee lovers out there will enjoy this muffin. Though the muffin does not have the exact coffee taste, it has a touch of coffee flavor in it making it far tastier.
chocolatechipcoffeemuffinChocolate chip coffee muffin can be had as a breakfast muffin (serving the dual purpose of having coffee and a muffin :)) So all the coffee lovers and general food lovers, try this wonderful muffin at your home and let me know your thoughts.

CHOCOLATE CHIP COFFEE MUFFIN
Recipe type: Breakfast
Cuisine: American
Prep time: 
Cook time: 
Total time: 
Serves: 12
 
Chocolate chip coffee muffin is a variety of muffin with coffee as the base flavor. It is one of my most recent recipes that I had tried.
Ingredients
  • Butter, softened - ½ cup
  • Sugar - ¾ cup
  • Coffee extract (McCormicks) - 1 teaspoon
  • Eggs - 2
  • Flour - 2 cups
  • Baking powder - 1 Tablespoon
  • Salt - ½ teaspoon
  • Milk - ½ cup
  • Strong brewed coffee, cooled - ½ cup
  • Miniature chocolate chips, semisweet – ½ cup
  • For the Glaze
  • Powdered sugar - ¾ cup
  • Brewed coffee, cooled - 4 teaspoons
Instructions
  1. Preheat the oven to 375 F. Beat together the butter and sugar until creamy. Add the extract and eggs and beat again.
  2. Whisk together the dry ingredients (flour, baking powder, and salt).
  3. Stir together the milk and cooled coffee.
  4. Add the flour mixture and milk mixture alternately to the creamed butter until it is all combined. Do not over mix. Stir in the chocolate chips.
  5. Fill 12 muffin liners ¾ full. Bake for 20 to 25 minutes. Let cool.
  6. Meanwhile stir together the powdered sugar and coffee until dissolved. Dip the tops of the muffins in the glaze and let set. Enjoy!

chocolatechipcoffeemuffin