Stuffed chicken breast with lemon butter sauce

stuffed chicken breast
Stuffed chicken breast is not my usual cup of milk (I hate tea :)). For a long time, I had wanted to cook something different than the run-of-mill cuisines like Indian or Chinese (they are the best though). After much deliberation I decided to make stuffed chicken breast with lemon butter sauce. I was hooked right away with this recipe as soon as I saw the lemon butter sauce.
stuffed chicken breast
Stuffed chicken breast is a healthy dish. You don’t use that much oil and the little that you use is olive oil. Also, you can customize this recipe with your own stuffing – can be an Indian stuffing made of potato and green peas, or stuffing made of nuts or your own stuffing recipe.
stuffed chicken breast
Stuffed chicken breast literally gets you stuffed 🙂 It is a rich and satisfying dish good for dinners. Try this wonderful, healthy dish in your home and let me know your thoughts.

Stuffed chicken breast with lemon butter sauce
Recipe type: Main
Cuisine: American
Cook time: 
Total time: 
Serves: 2
 
Ingredients
To marinate:
  • Lemon juice – 1 tbsp
  • Salt – a pinch
  • Chicken breast, - 2 pieces
For the stuffing:
  • Butter,unsalted – 1 tbsp
  • Cumin seeds – ½ tsp (optional)
  • Onion, medium, finely chopped – 1 no
  • Ginger garlic paste – 1 tbsp
  • Salt as required
  • Coriander powder – 1 tsp
  • Biriyani masala powder – 1 tbsp (I used Sakthi brand)
  • Broccoli, blanched, finely chopped – ½ cup
  • Paneer, grated – 2 tbsp
  • Cashews, roughly chopped, roasted– 5 nos
To powder the chicken:
  • Cayenne pepper – 1 tbsp
  • Onion powder – 1 tbsp
  • Garlic powder – ½ tbsp
  • Black pepper powder – 1 tsp
Lemon butter sauce:
  • White cooking wine – ½ cup
  • Lemon juice – from 1 ½ lemon
  • Shallots, finely chopped – 1 tbsp
  • Garlic, finely chopped – 1 tbsp
  • Salt – ¼th tsp
  • Black pepper powder – 1 tsp
  • Worcestershire sauce – a dash
  • Hot pepper sauce – a dash
  • Fresh cream – ½ cup
  • Butter, unsalted – ½ stick
  • Parsley, finely chopped – 1 tbsp
For garnishing:
  • Parsley, finely chopped – ½ tbsp
  • Pistachio, finely chopped – 1 tbsp
Instructions
Step 1:
  1. Start by slicing the chicken into two thinner slices each. Wrap the plastic wrap over the chicken breast, flatten the chicken using meat hammer, one at a time. Keep it to one side.
Step 2:
  1. Marinate the chicken with the above given ingredients and refrigerate overnight.
Step 3:
  1. Heat butter in a pan and add cumin seeds. When they start to splutter, add chopped onions and sauté until they turn brown. Add ginger garlic paste and sauté until the raw smell disappears. Add salt, coriander and biriyani masala powder. Give a quick stir. Add a tbsp of water at this stage to avoid the masalas from getting burnt. Add the blanched and finely chopped broccoli to the masalas and sauté well. Cook for a minute or two. Finally add grated paneer and fried cashews and mix well.
Step 4:
  1. Repeat step 1 only if you want to flatten the chicken even more (completely optional).
  2. Pre-heat the oven to 400 degrees Fahrenheit.
  3. Dust the chicken with the above given seasonings on both sides.
  4. Spoon some of the broccoli stuff in the corner.
  5. Roll the chicken into a tight roll and secure it with some tooth picks or strings (To keep the chicken from unrolling).
Step 5:
  1. Heat an iron skillet (Or any oven proof skillet) smearing some butter. Place the rolled chicken and cook for a minute until they change to white color, flipping in between. And then pop the pan in the oven for 15 to 20 minutes – Do not overcook the chicken breast as it tends to get harder when overcooked.
Step 6:
  1. Heat a skillet until it gives smoke. Take out and add wine, lemon juice, garlic and shallots. Place it again on the burner and cook for a minute stirring or whisking continuously. Make sure to take the skillet away from the flame while adding wine since wine is combustible.
  2. Add salt, pepper, and the sauces. Stir and cook for 3 minutes until the sauce comes to a syrupy consistency.
  3. Finally add cream and butter. Stir well and cook for 2 minutes. Strain the sauce and garnish with parsley.
  4. Drizzle the sauce on top of the sliced chicken breast and garnish with pistachios and parsley.
Notes
1.Make sure your lemon butter sauce is still warm while serving.
2.Do not overcook the chicken breast as it tends to get harder when overcooked.
3.Make sure to take the skillet away from the flame while adding wine for lemon butter sauce, because wine is combustible.

stuffed chicken breast

Prawn rice with Dragon Chicken

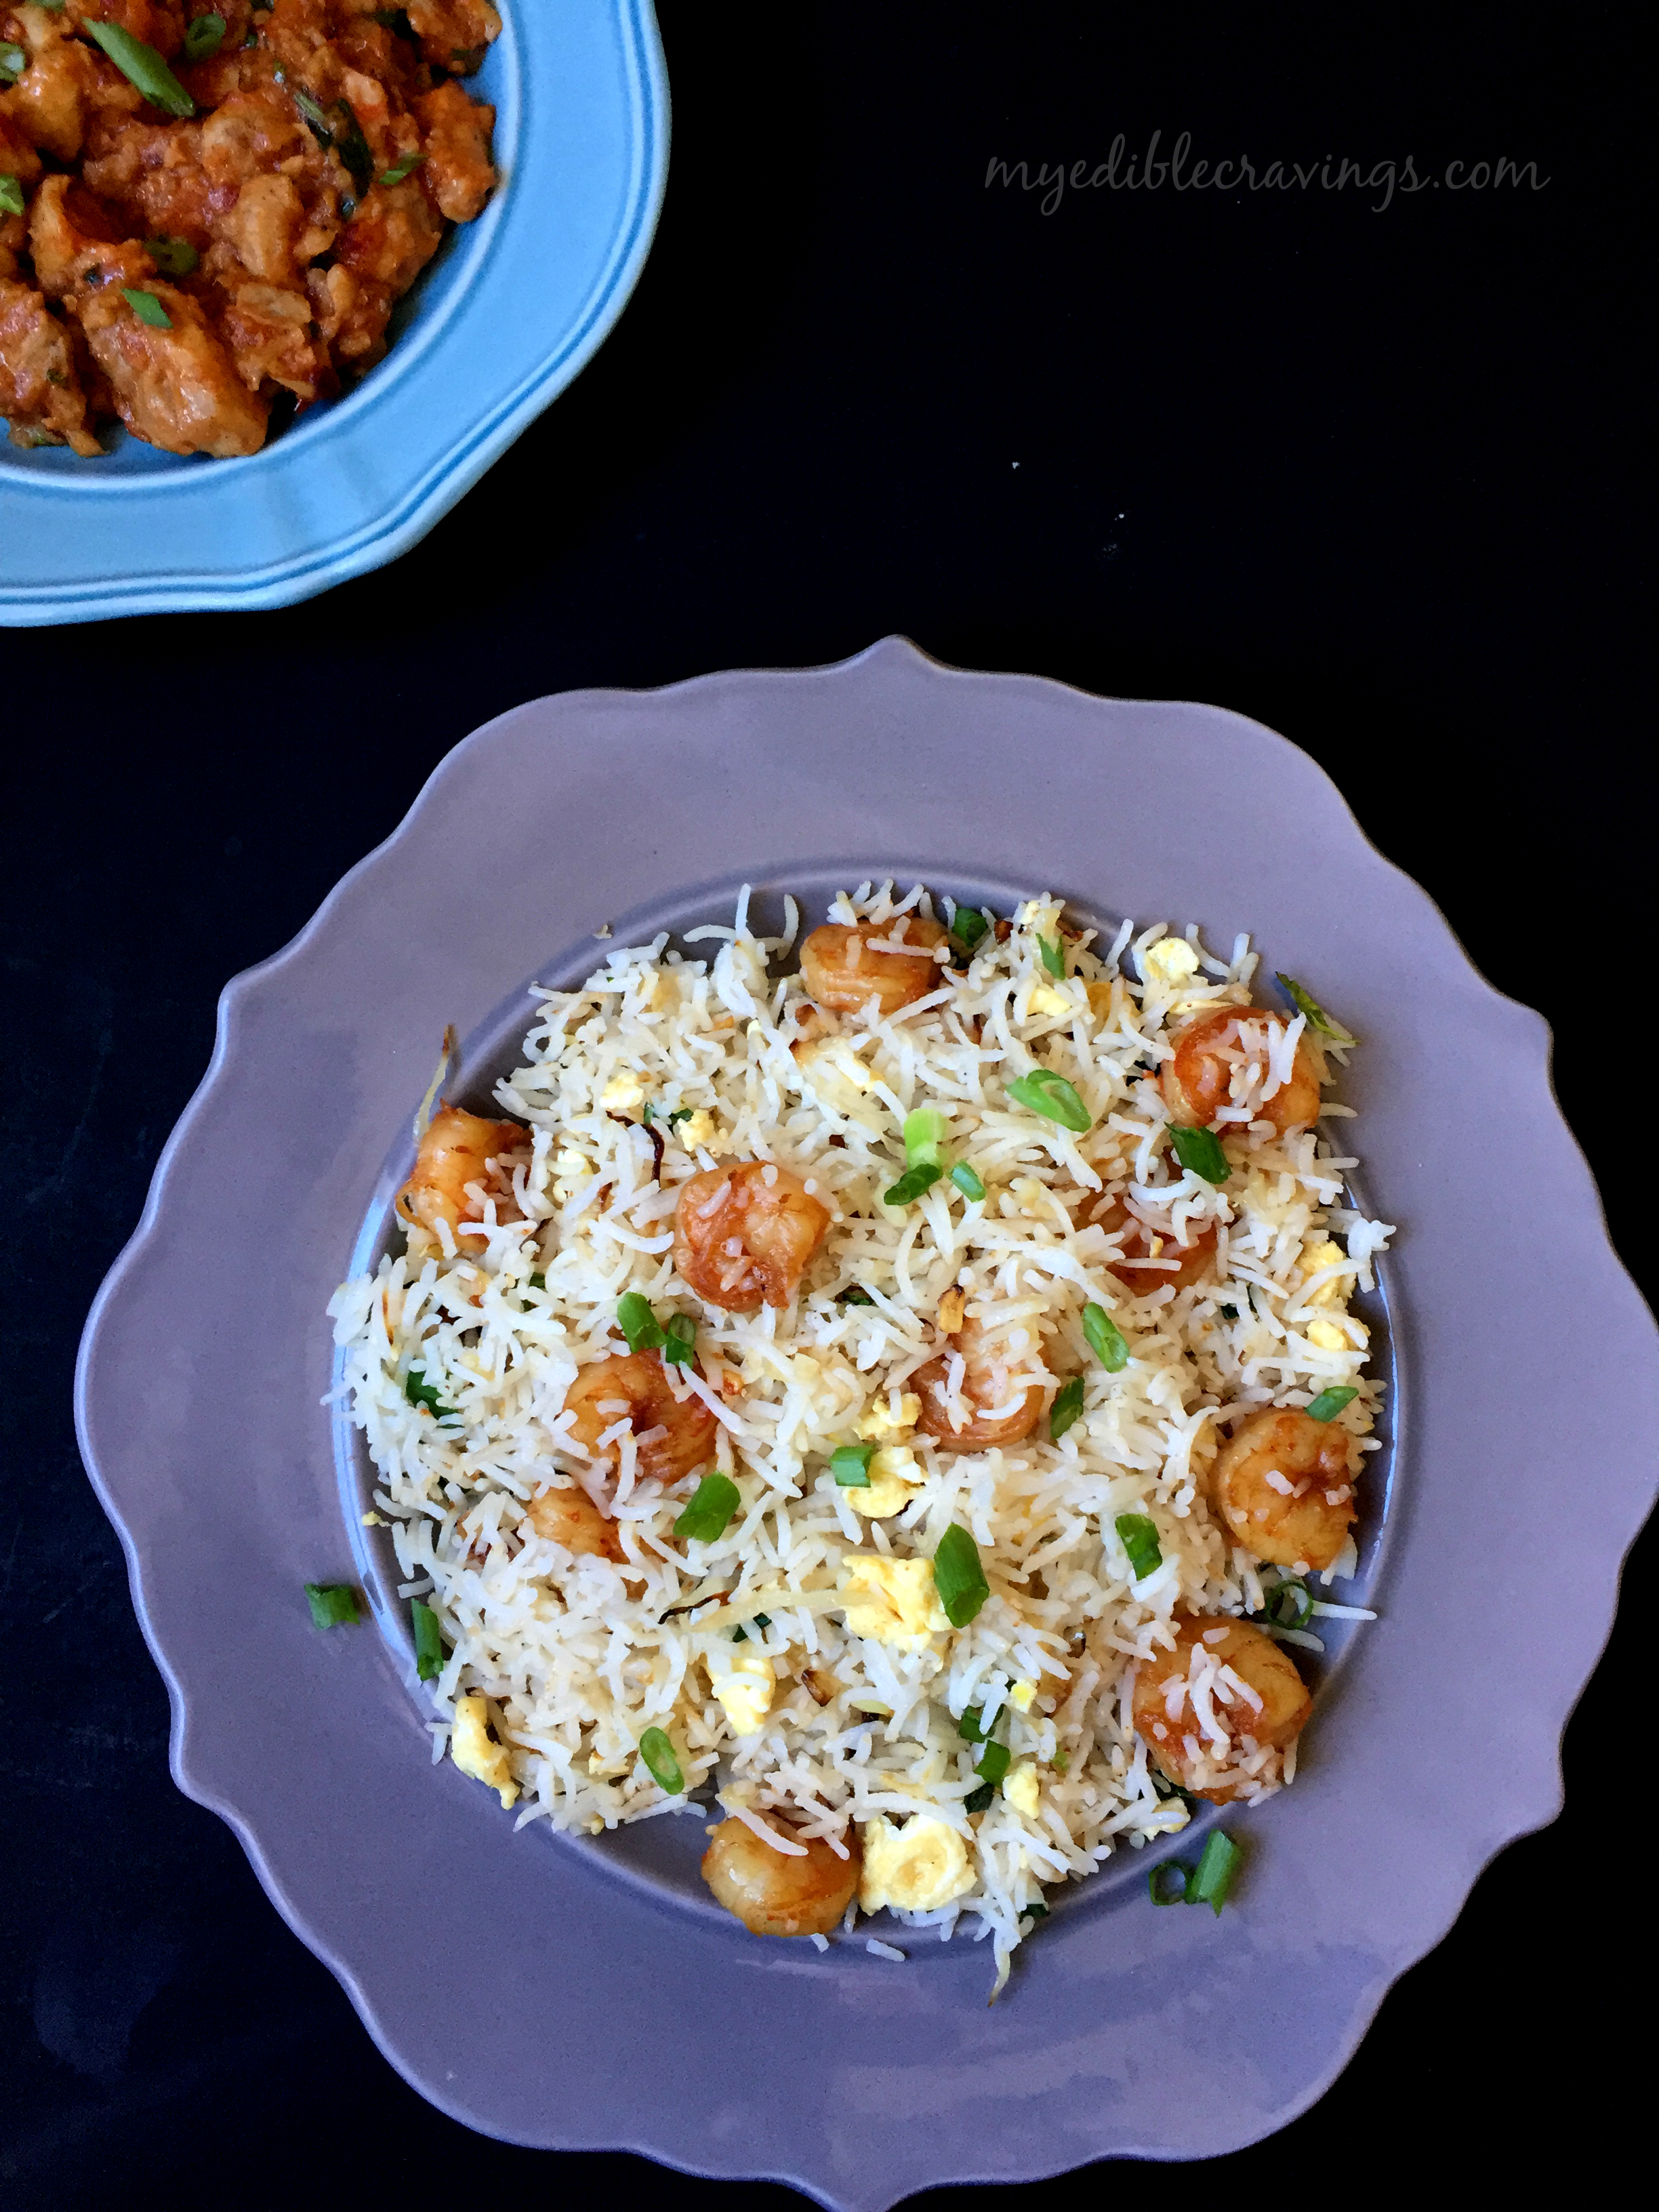
Prawn rice with dragon chicken
I wanted to post something special for the first post of this new year. So for the past few days, I have been contemplating about trying a different cuisine than the usual south Indian or the occasional north Indian varieties. So me and my HB, after much deliberation, decided on chinese cuisine. As for the actual dishes, we decided on Prawn rice and Dragon chicken.
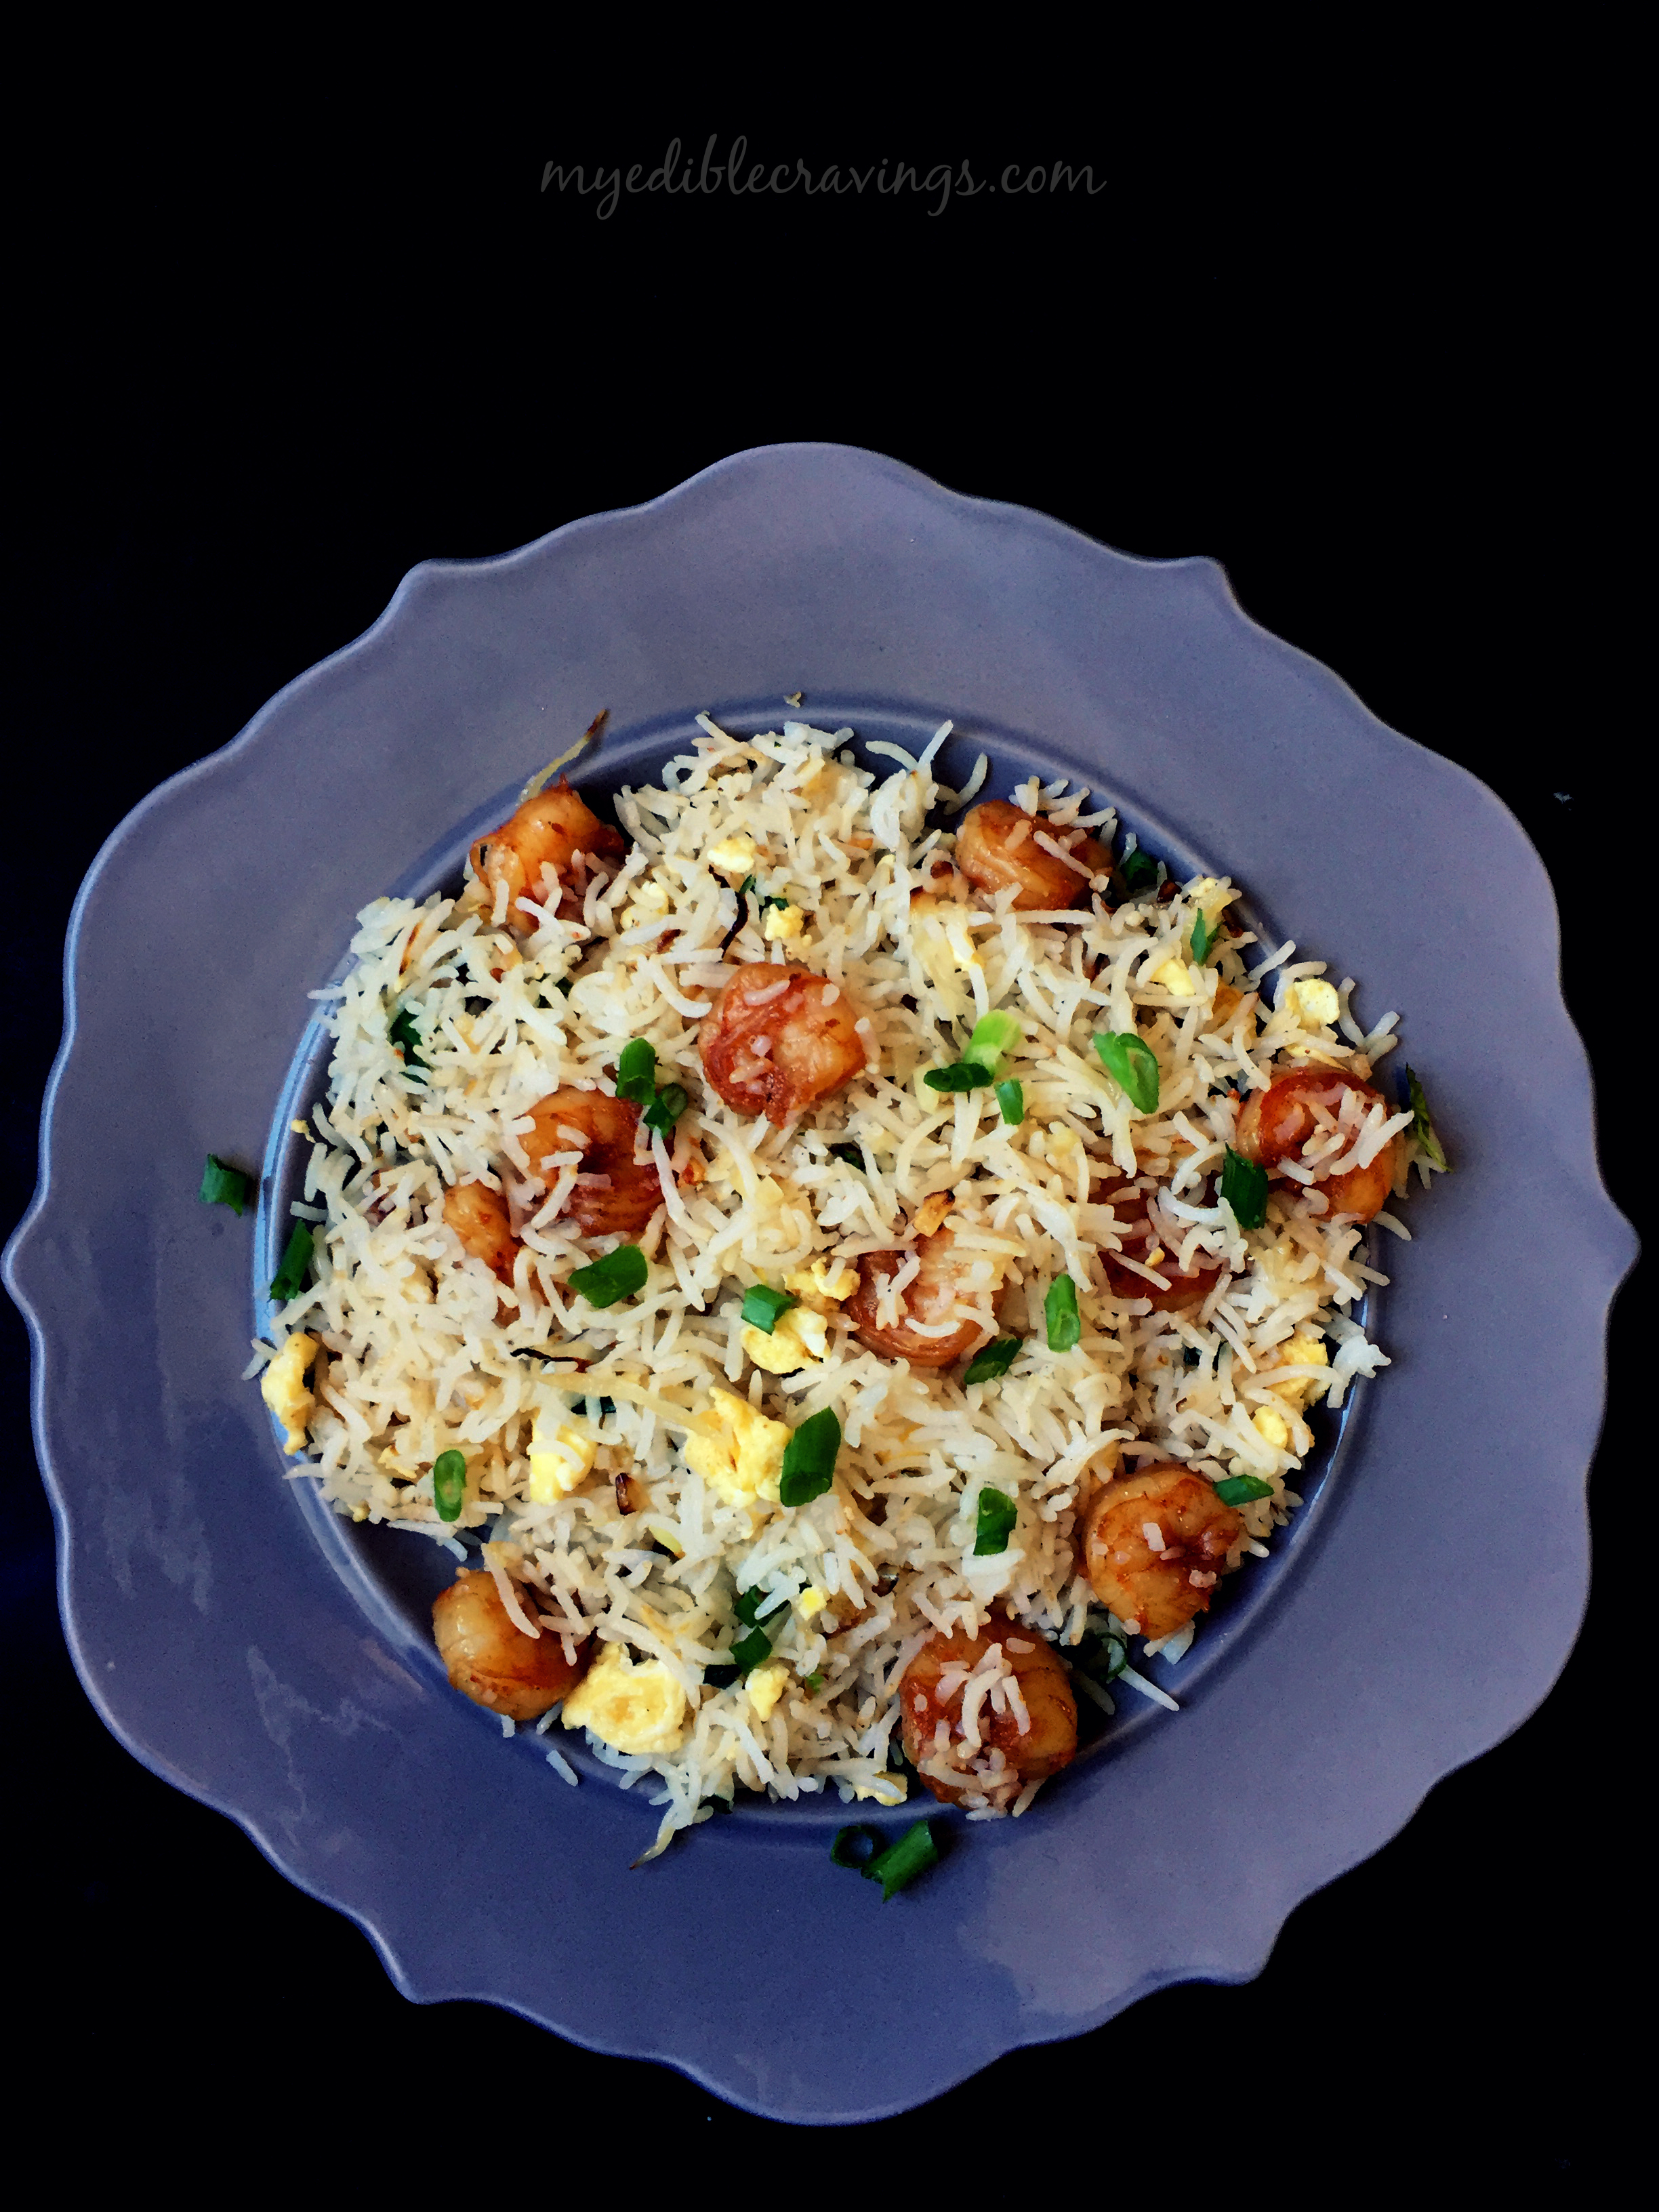
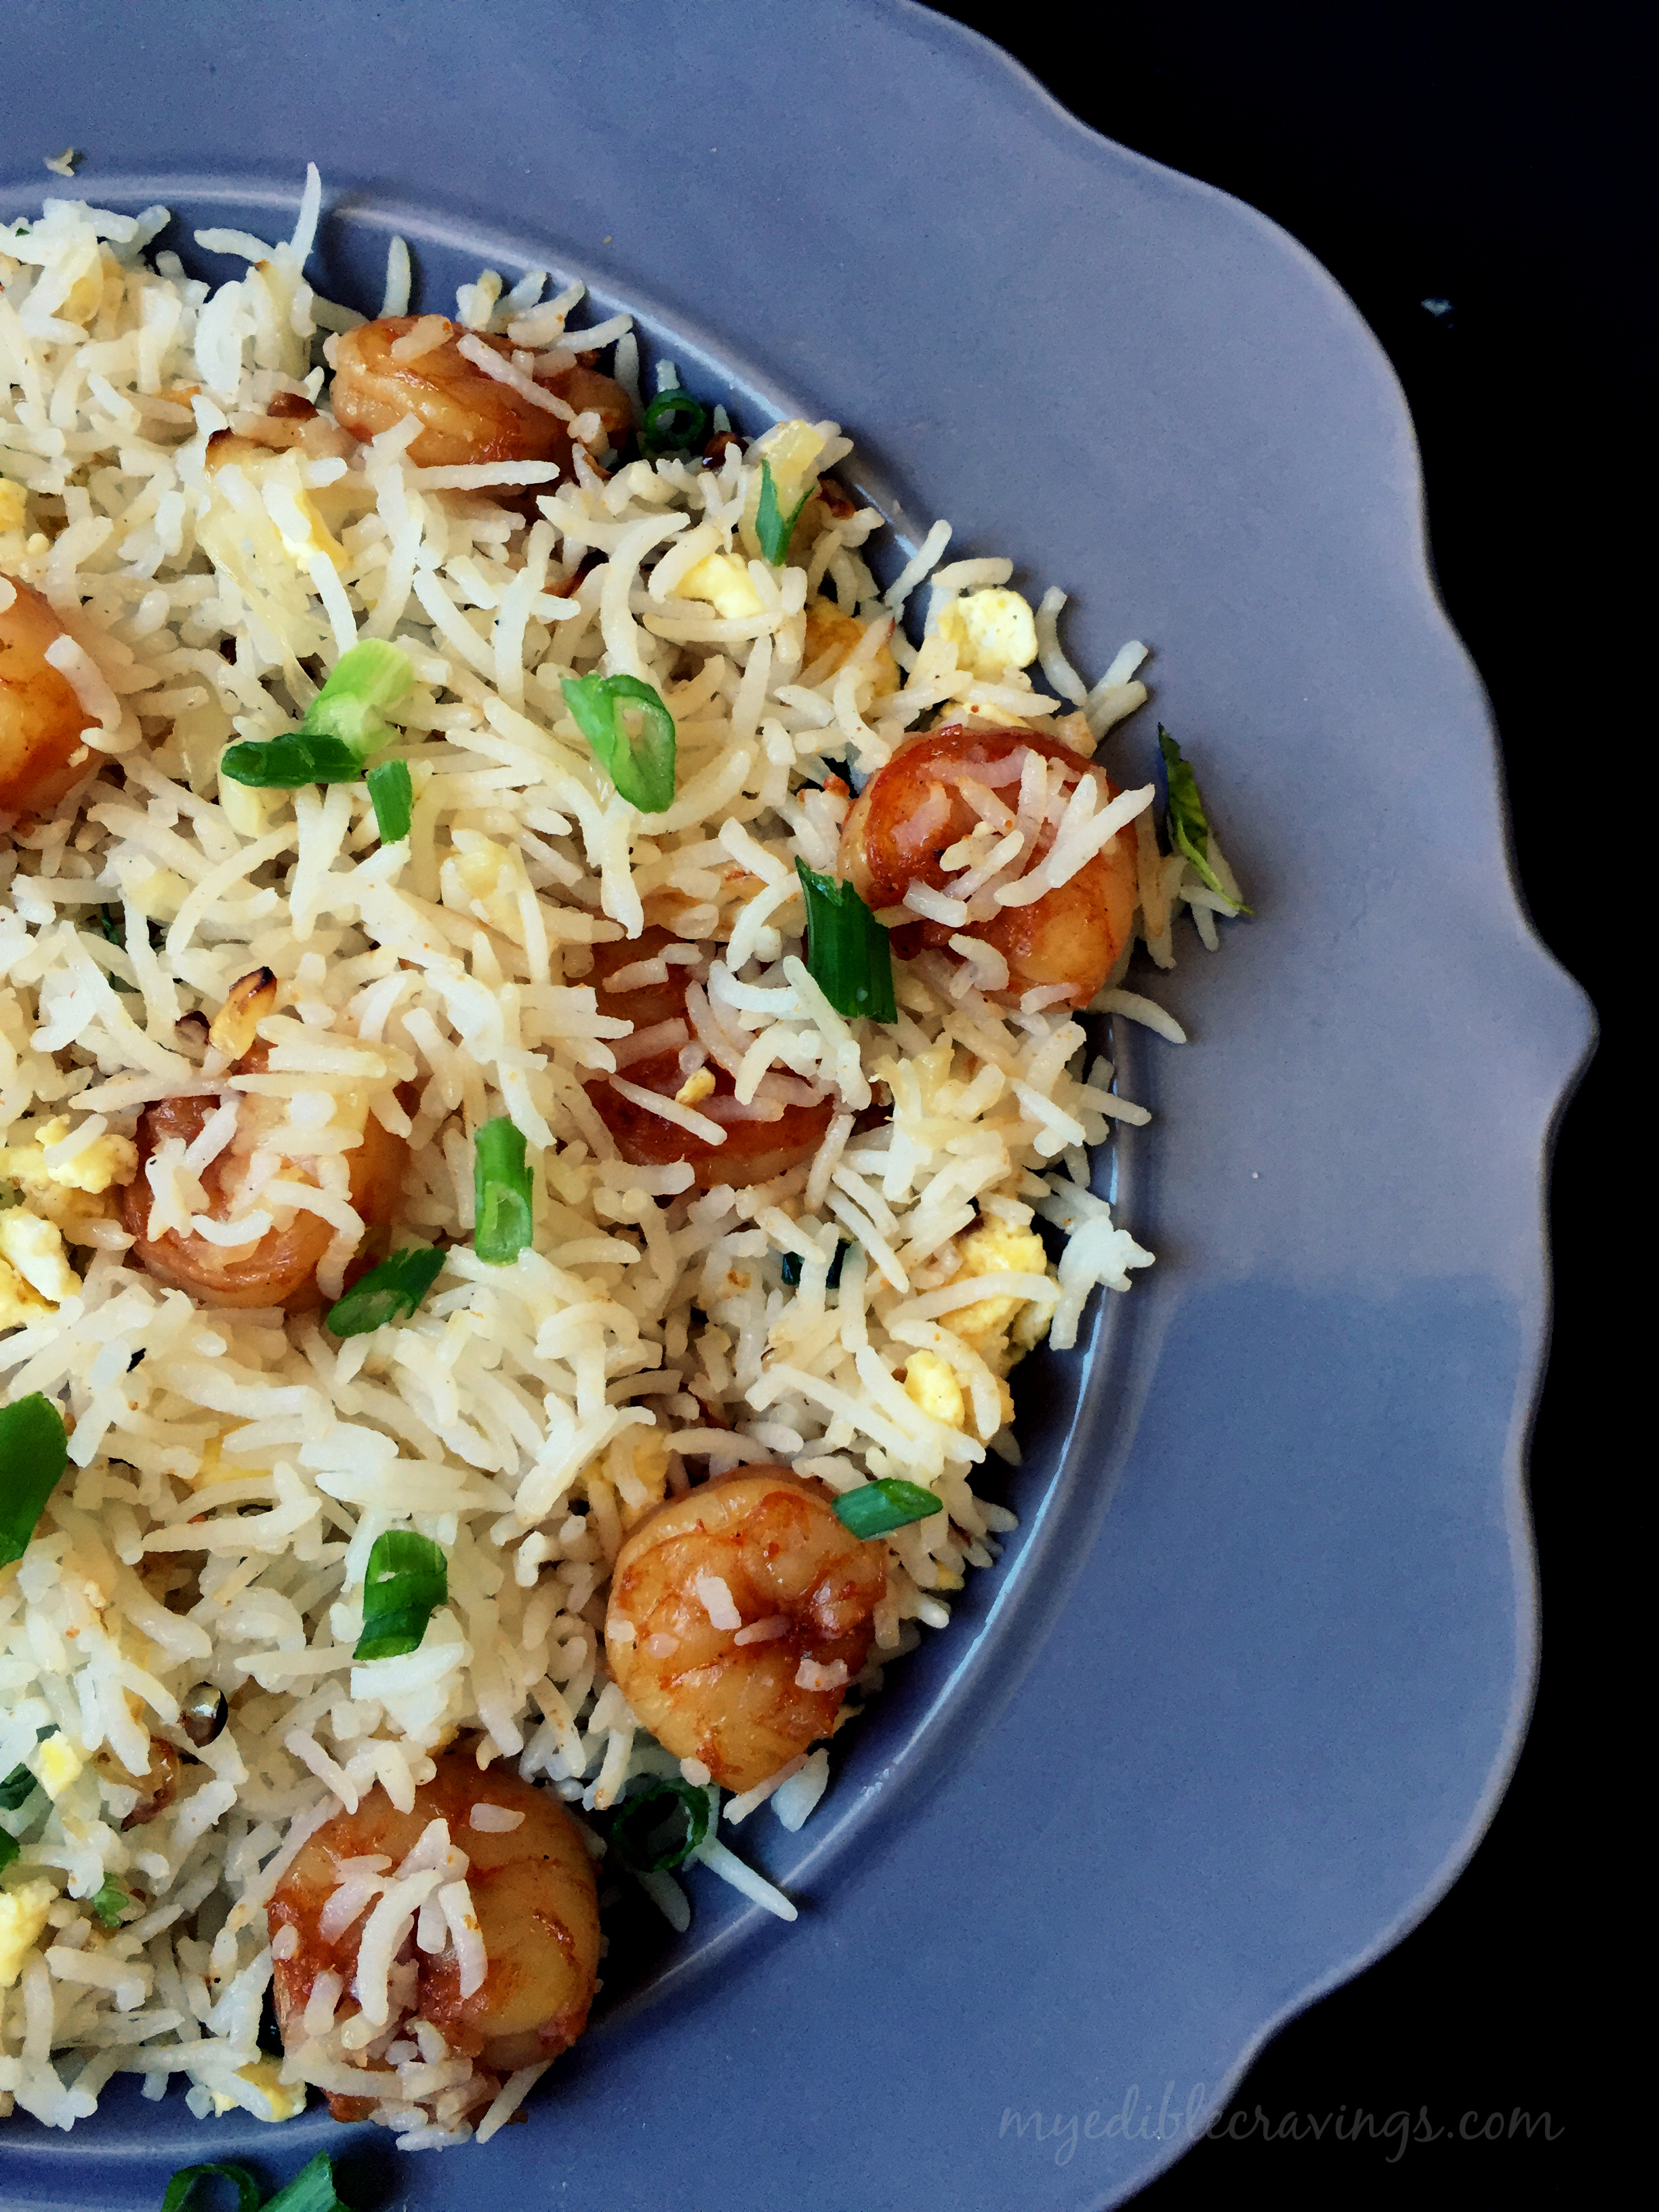
prawn rice
prawn rice
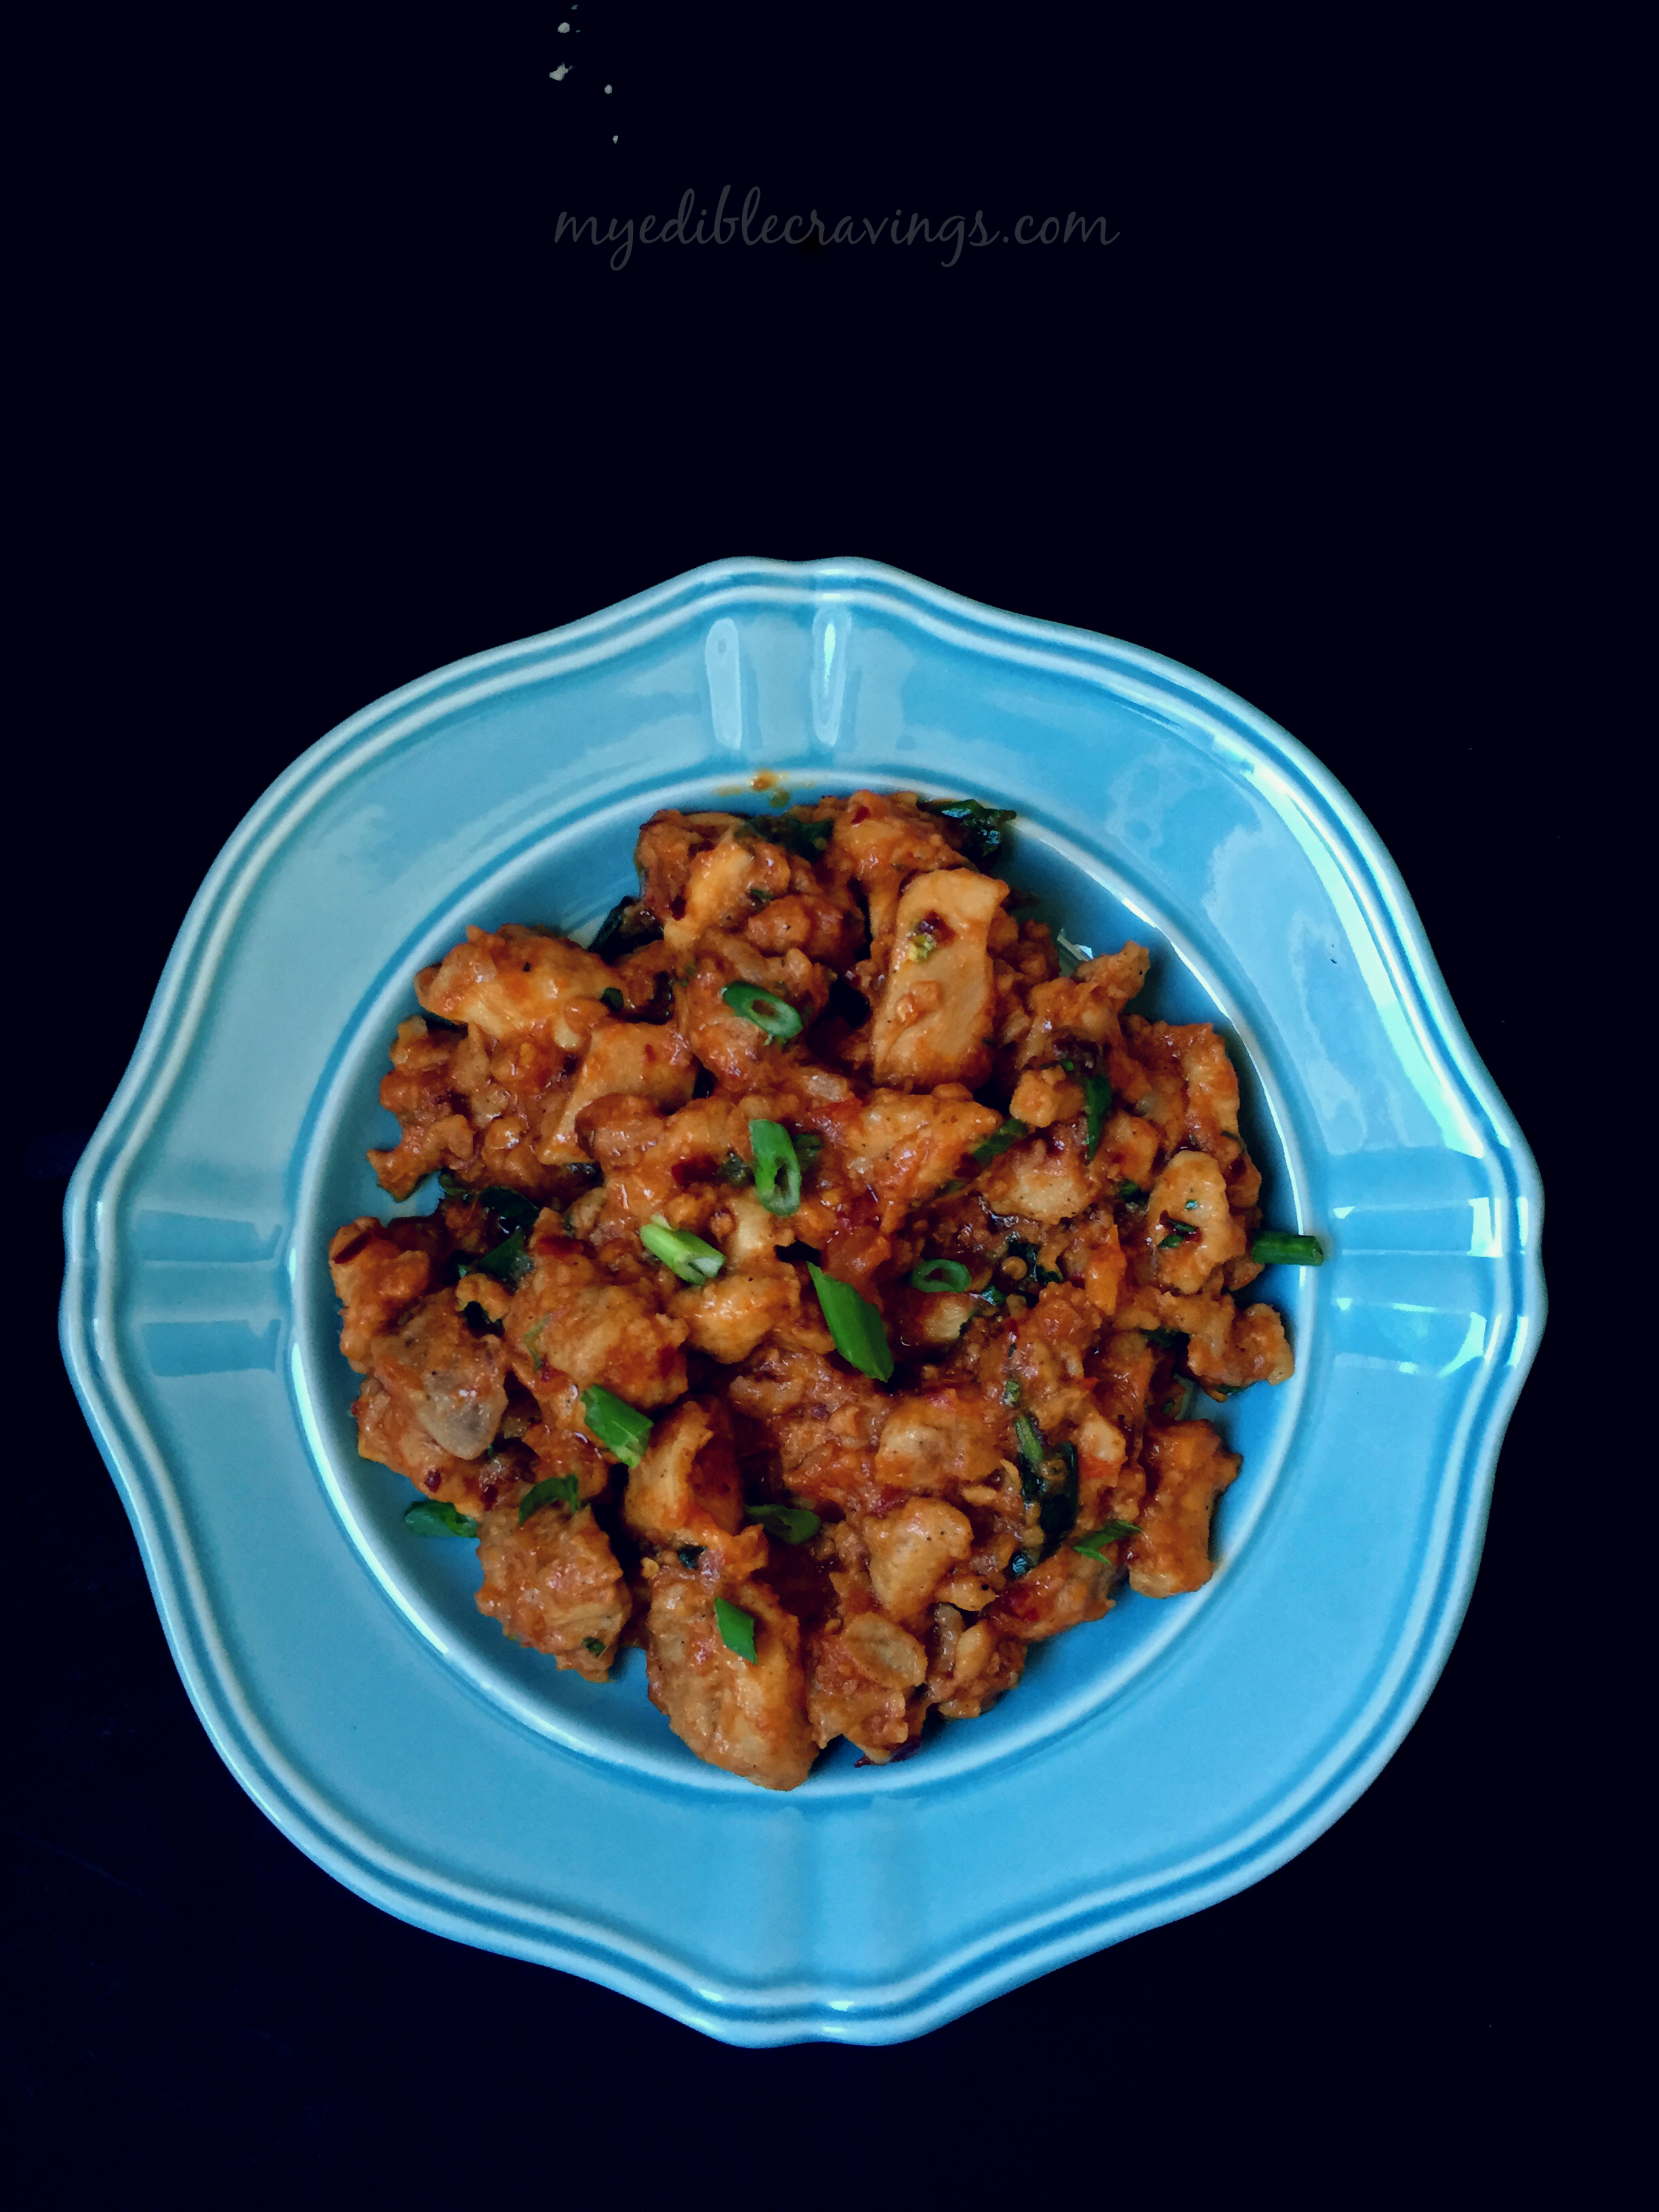
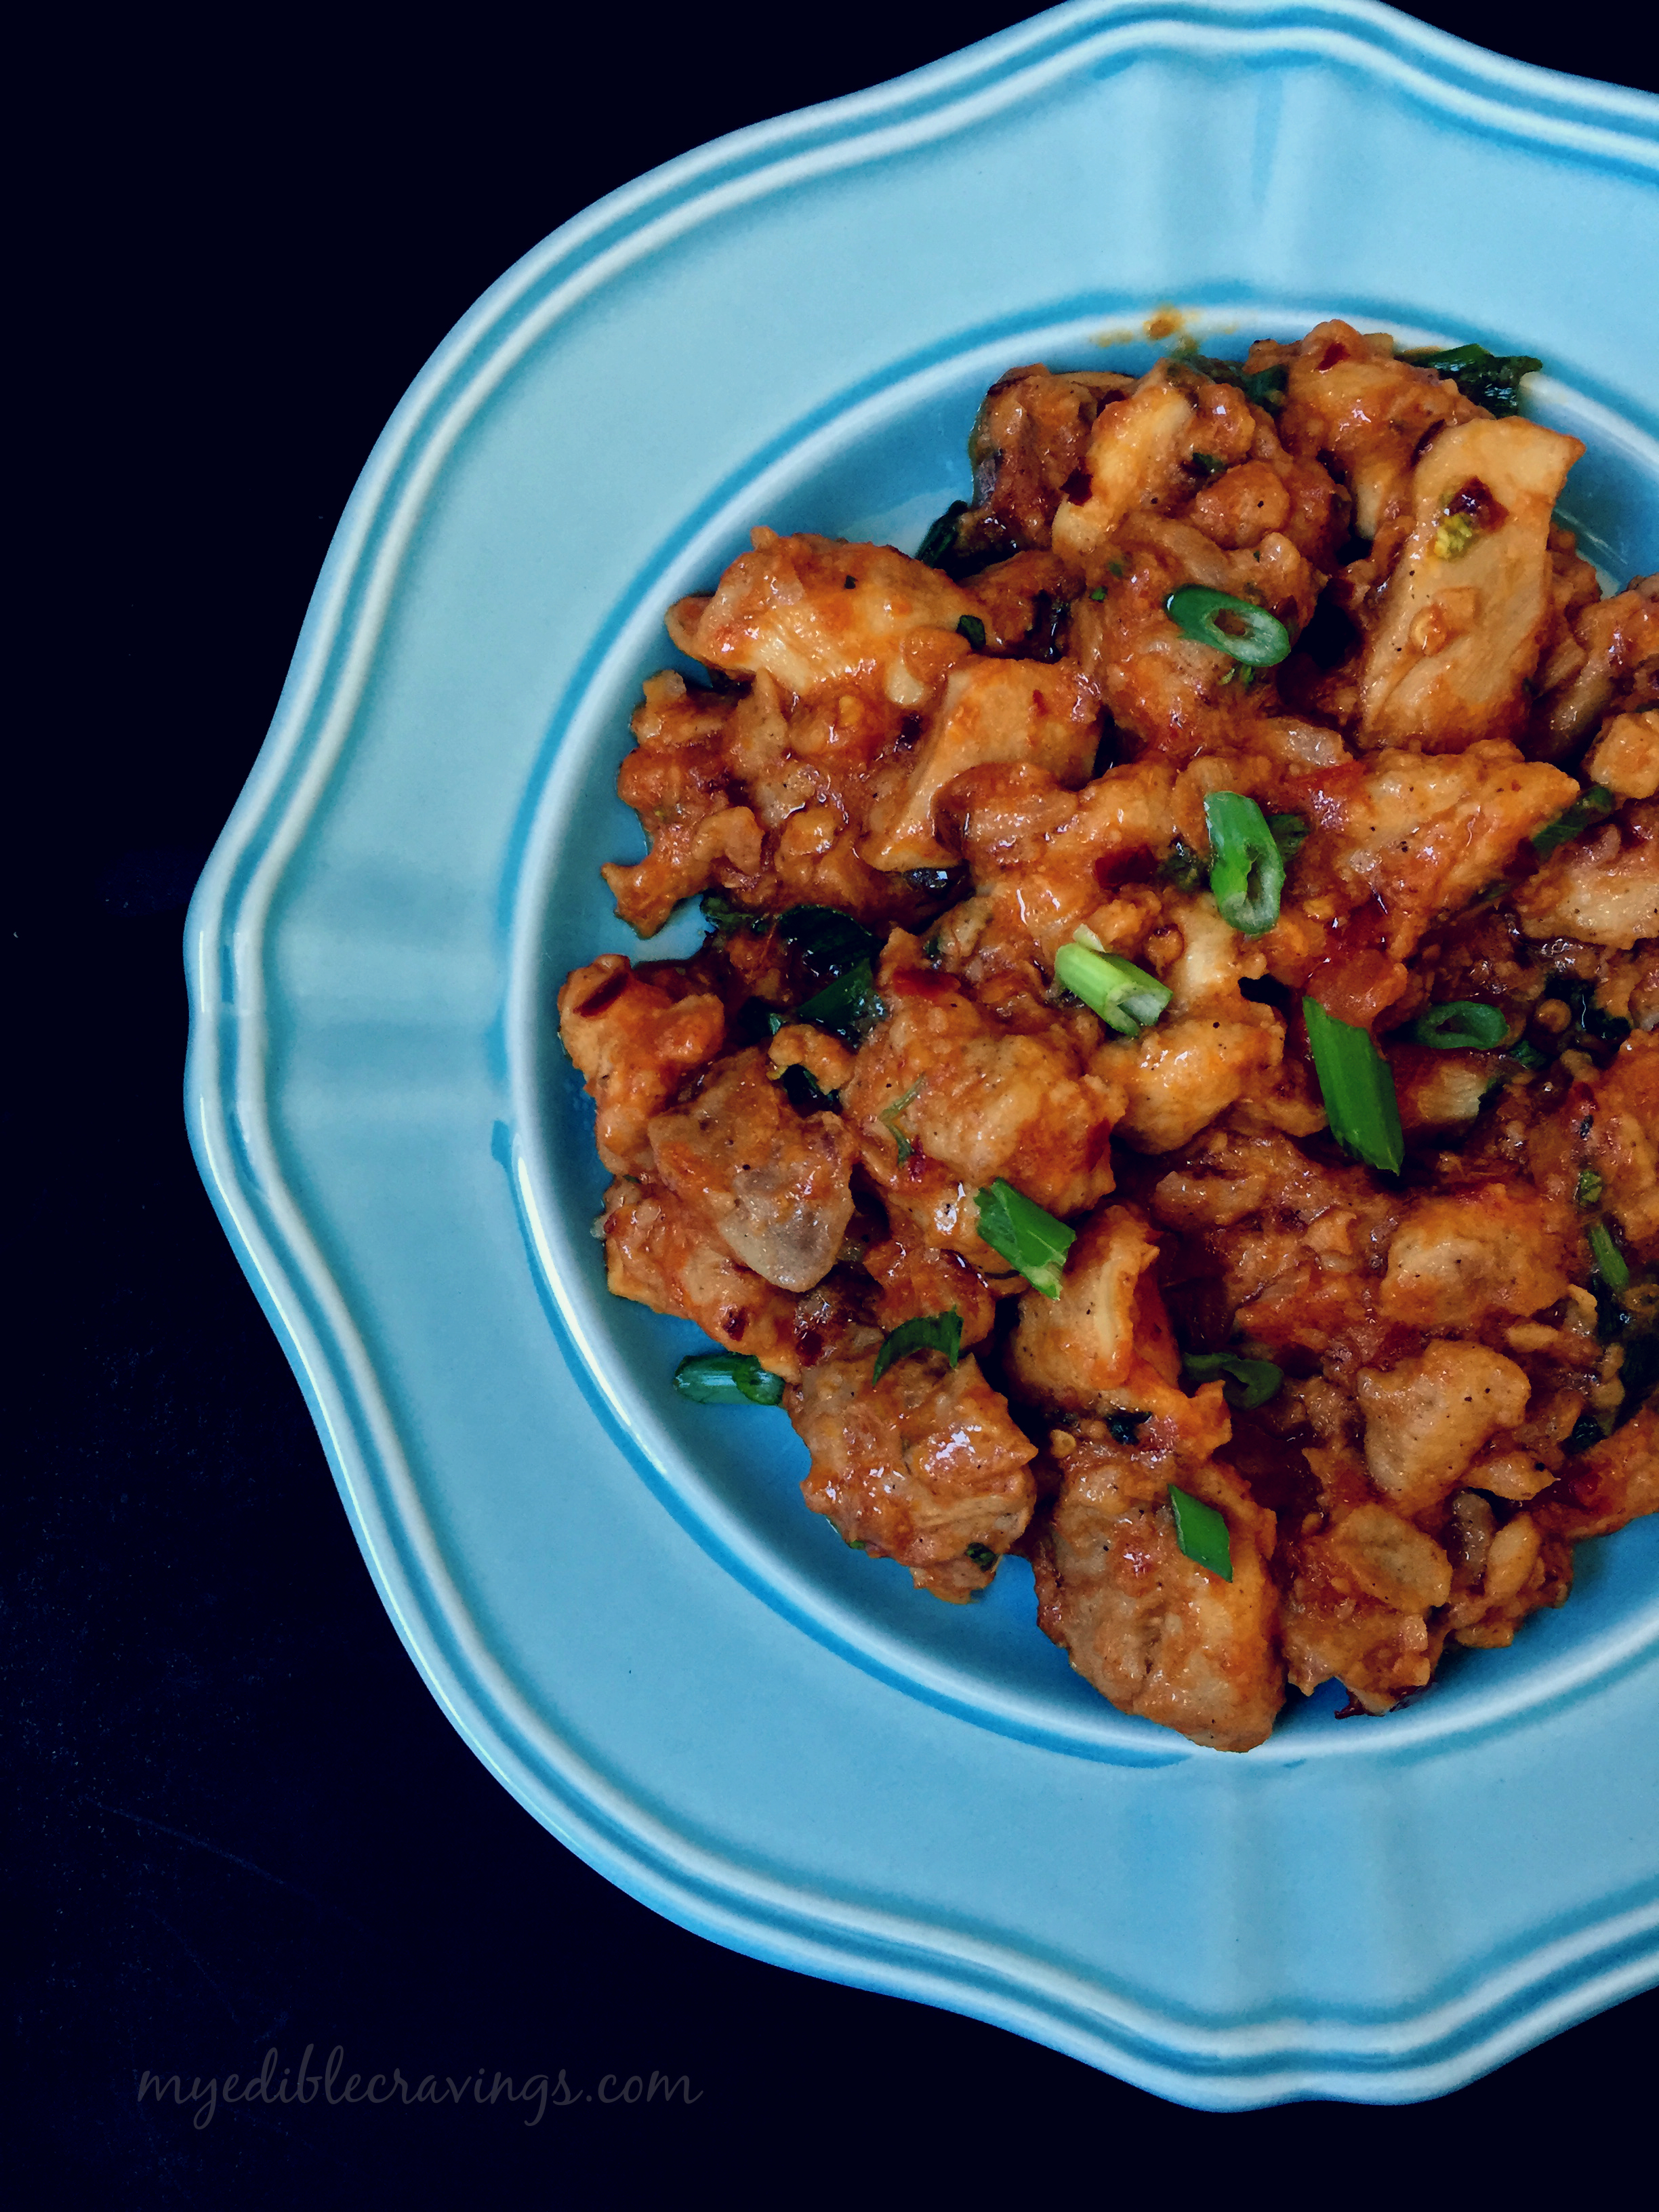
Prawn rice is similar to fried rice except that in fried rice we add soy sauce. Also in fried rice, we cook the rice separately, then add other ingredients along with the cooked rice in a wok and cook them further. In Prawn rice we cook everything separately, i.e.., rice and prawn and then mix them together. Dragon chicken is an indo-chinese dish which is very easy to make. Guess the ‘Dragon’ came from the fiery red color of the dish. It is a dry and spicy dish that goes well with rice, chappati, fried rice or rotis.
Do try these dishes in your home and let me know your experience 🙂
BTW, a very happy & prosperous 2015!!! 🙂
Dragon chicken

Prawn rice with Dragon Chicken
Recipe type: Main
Cuisine: Chinese
Prep time: 
Cook time: 
Total time: 
Serves: 2
 
Ingredients
For Prawn Rice
To marinate:
  • Prawn – 1 lb, 50 count
  • Chicken 65 masala powder – 1 ½ tbsp (I used shakthi brand)
  • Red chilli powder – 1 tsp
  • Salt – as required
  • Ajinamotto – ½ tsp (optional)
  • Corn flour – 1 tbsp
  • Water – 1 tbsp
For the rice:
  • Basmati rice – 1 cup
  • Ajinamotto – a pinch (optional)
  • Salt as required.
Other ingredients:
  • Oil – 2 tbsp
  • Scallions or spring onions – 3 tbsp, divided
  • Onion, slits, medium – 1 no
  • Green bell pepper, finely chopped – 3 tbsp
  • Salt – ½ tsp
  • Scrambled eggs – 1 cup
  • Salt if needed
  • Green chilli sauce – ½ tsp
  • Cilantro leaves – 2 tbsp
  • Garlic, minced – ½ tbsp
For Dragon Chicken
To marinate :
  • Ginger garlic paste - 1 tbsp
  • Crushed pepper - ½ tbsp
  • Egg whites - from 1 egg
  • Corn starch - ¼ cup
  • Soy sauce - ½ tbsp
  • Boneless Chicken thighs (cubed) - 500g
other ingredients:
  • Ginger - ½ tbsp, finely chopped
  • Garlic - 1 tbsp, finely chopped
  • Red chilli flakes - 1½ tbsp
  • Tomato sauce - 1½ cups
  • Soy sauce - 1 tbsp
  • Cilantro - 1 handlful, chopped
  • Spring onions - 1 stalk, chopped
  • Vegetable oil for deep frying
Instructions
  1. Clean and marinate the prawns. Leave it for at least an hour and shallow fry them.
  2. Cook rice separately. I cooked the rice using boiling method to get fluffy separate grains.
  3. Soak the rice for 20 minutes in water. Boil enough water in a medium sized sauce pan and add the rice. Cook until the rice grains starts to sputter. Always stay close while cooking the rice by boiling method. Because rice cooks really quick in this method.
  4. Heat oil in a skillet and add scallions and onions. Sauté till they turn translucent. Add bell peppers and sauté for a minute. Add them to the rice.
  5. Sauté garlic separately.
  6. Transfer the rice to a wide open mixing bowl or a wok and add the sauce, scrambled eggs, sautéed garlic and fried prawns. Mix them very carefully without breaking the rice. Garnish with spring onions and serve hot.
For Dragon Chicken:
  1. Marinate the cut chicken cubes with the marination ingredients mentioned above and set aside for like 15 minutes.
  2. Deep fry the marinated chicken until the cubes turn golden brown.
  3. Heat a non-stick pan over medium heat and pour a tbsp of oil (you can reuse the oil used for deep frying)
  4. Once the oil is hot, add the chopped garlic, garlic and saute until the raw smell goes away
  5. Add in the chill flakes and saute for a little while.
  6. Add in the tomato sauce and stir well.
  7. Then add soy sauce and leave it until the broth comes to a boil
  8. Add the fried chicken cubes to the broth and cook until everything is combined well (by now the mixture should have dried down i.e., not like a gravy anymore)
  9. Garnish with chopped cilantro and chopped spring onion
  10. Server hot with Prawn rice.
Notes
If you don’t have green chilli sauce at home, chop few green chillies finely and add them to a half cup of water. Allow them to soak for an hour and just use the water (2 tbsp) to the rice.

Dragon chicken

CAULIFLOWER CRUST BREAD

Cauliflower crust breadCauliflower Crust Bread, interestingly, this dish is not a bread as the name implies. It is more of a pizza like variety and it tastes yummy! This is one of those dishes that I came across in my eternal search for different dinner recipes.
Cauliflower crust breadCaulifower Crust Bread is an easy to make dish and is comparatively healthier than Pizza. It is a very mild dish and hence kids friendly. The first time I made Cauliflower Crust Bread, the quantity was very less since I had used just a quarter of the cauliflower (I am bit cautious when trying out new dishes ;)) and I realy felt sorry for not making enough. It is that good.
Cauliflower crust breadAnd here is the recipe for Cauliflower Crust Bread. It goes well with marinara sauce (home made or store bought, doesn’t matter). Do try this one in your home and let me know how it tastes 🙂

CAULIFLOWER CRUST BREAD
Recipe type: Dinner
Cuisine: Italian
Prep time: 
Cook time: 
Total time: 
Serves: 6
 
Caulifower Crust Bread, interestingly, this dish is not a bread as the name implies. It is more of a pizza like variety and it tastes yummy!
Ingredients
  • Cauliflower (medium) -1
  • Cooking oil / olive oil - 2 tsp
  • Garlic cloves ( grated or minced) - 6
  • Eggs – 2 (lightly beaten)
  • Mozzarella cheese (low-fat cheese is fine) - 16 oz
  • Dried Italian herb seasoning - 1 tsp (freshly grated and divided)
  • salt and pepper - 3 pinch each
  • Cooking spray
  • Marinara sauce, for serving (optional)
Instructions
  1. Preheat the oven to 350F and line two 8" x 8" square cake pan with parchment paper so that the excess paper hangs over the sides; lightly spray the parchment paper with cooking spray (I used one 8" x 8" square cake pan and 9” x 9” loaf pan , cake pan crust was thin, whereas loaf pan’s crust was little thick).
  2. Grate the cauliflower (you should have about ½ a bowl of riced cauliflower) and microwave (uncovered) until softened, about 6 to 8 minutes, stirring occasionally (don’t add water); cool slightly.
  3. While the cauliflower cooks, cook garlic in a small skillet (stir constantly) with little oil on a low flame until fragrant (about 30 seconds to 1 minute).cool slightly.
  4. To the bowl with the softened cauliflower, add the garlic, egg, ¾ of the cheese (reserving ¼ for topping later), ¼ teaspoon of the dried Italian herb seasoning (reserving ¼ teaspoon for topping later), and a pinch of salt and pepper. Stir to combine and then spread in the prepared pans.
  5. Bake until the loaf sides turn golden brown (for about 30 minutes). Line a baking sheet with a piece of parchment paper; use the parchment paper to lift the loaf out of the loaf pan and carefully flip it over onto the lined baking sheet (so the bottom is on top). Bake for another 10 minutes.
  6. Preheat the broiler. Cut the loaf cross-wise into pieces. Slightly separate the pieces and sprinkle the cheese on top along with the remaining ¼ teaspoon dried Italian herb seasoning. Broil a couple minutes until the cheese is melted and golden in spots. Take out of the oven. Let it cool for 10 minutes (so that the crust will harden a bit and makes it easier to hold like a thin-crust pizza) and enjoy!
Notes
You could also use this cauliflower crust recipe for making pizza base instead of all-purpose flour.
Nutrition Information
Serving size: 2 pieces


Cauliflower crust bread

INDO-CHINESE FRIED RICE

070Though fried rice is a Chinese delicacy, it is very popular in India as well. It is a popular street food there.  Fried rice in India is a fusion of Indian spices and Chinese method of preparation, aptly named as Indo-Chinese fried rice. Indo-Chinese fried rice has become so popular that I have seen them as a menu item in some Chinese restaurants here!080My inspiration for indo-chinese egg fried rice is my uncle. He is a very good cook and one of his specialties is egg fried rice. Whenever we visit them (Toronto, Canada), we can see it in the menu on one of the days.
068The recipe that I have given below is a tried and tested Indo-Chinese version.
Note:- Fried rice prepared in restaurants has ajinomoto as one of the ingredients but I personally don’t prefer using it and it is not healthy as well (read somewhere that it has carcinogenic properties). Also, the one time I used it, I did not notice any difference in the taste.071Delicious, right?

5.0 from 1 reviews
Egg Fried Rice (Indo – Chinese)
Recipe type: Lunch/Dinner
Cuisine: Chinese
Prep time: 
Cook time: 
Total time: 
Serves: 2
 
Indo-Chinese fried rice is a variation of regular chinese fried rice with indian spices. Check out the easy to prepare instructions and enjoy hot fried rice, Indian style!
Ingredients
  • Gingelly oil - 1 tbsp
  • Green Onion (thinly sliced, green & white separated) - ¼ cup
  • Garlic, minced - 1 tbsp
  • Ginger, minced - 1 tbsp
  • Red Bell Pepper - ¼ cup
  • Green peas - ½ cup
  • Carrots -1/4 cup
  • Cabbage - ¼ cup (optional)
  • Egg - 1
  • Cooked basmati rice (or any long grained variety) - 1 cup
  • Soy Sauce - 1 tbsp or to taste
  • White pepper – 1 tsp
  • Chilli garlic sauce – 1 tsp (I used sriracha)
Instructions
  1. Cook the rice and set aside to cool naturally or refrigerate it for at least 3 hours – Drizzle in few drops of gingely oil and mix the rice carefully until grains are easily separated. Do this once before it goes into the refrigerator.
  2. Make sure to keep all the ingredients ready before proceeding.
  3. Heat a wok or any deep frying pan (I would prefer non-stick) in high heat with gingely oil. Add in green onions(only white), ginger and garlic. Stir for 5-6 seconds or until the aroma aroma spreads.
  4. Add rest of the vegetables. Make sure nothing burns given that you are cooking in high flame. And you want the vegetables to be cooked but still crunchy (that’s the reason we chopped them into smaller and uniform pieces). Keep stirring for 40 - 50 seconds.
  5. Now it is time to add the eggs to the sides of the vegetables. Sauté the eggs until well cooked and scrambled (In restaurants they used to add the eggs once after the rice is added. But I prefer this way).
  6. Next add the cooked (refrigerated) rice. Stir until all the vegetables and eggs are combined.
  7. Next add the soy sauce, chilli sauce and white pepper. Stir for the flavors to combine. Make sure you don't stir it too much because that might make the rice mushy.
  8. Garnish with scallion greens. Serve hot with chilli chicken or butter chicken or any sides of your choice.
Notes
1. soak basmati rice in water for 20 minutes before boiling. For 1 cup of rice add 11/2 cups of water.
2. Refrigerate the cooked rice so that you can retain its texture while making fried rice.
3. Chinese foods are mostly (or as far as i know) cooked in high flame. so make sure you keep all the ingredients ready well before starting.
4. Non Vegetarian lovers could also add cooked minced meat right after the eggs are scrambled and before the rice is added. Vegetarians can skip this entire sequence.


078