Bread Halwa

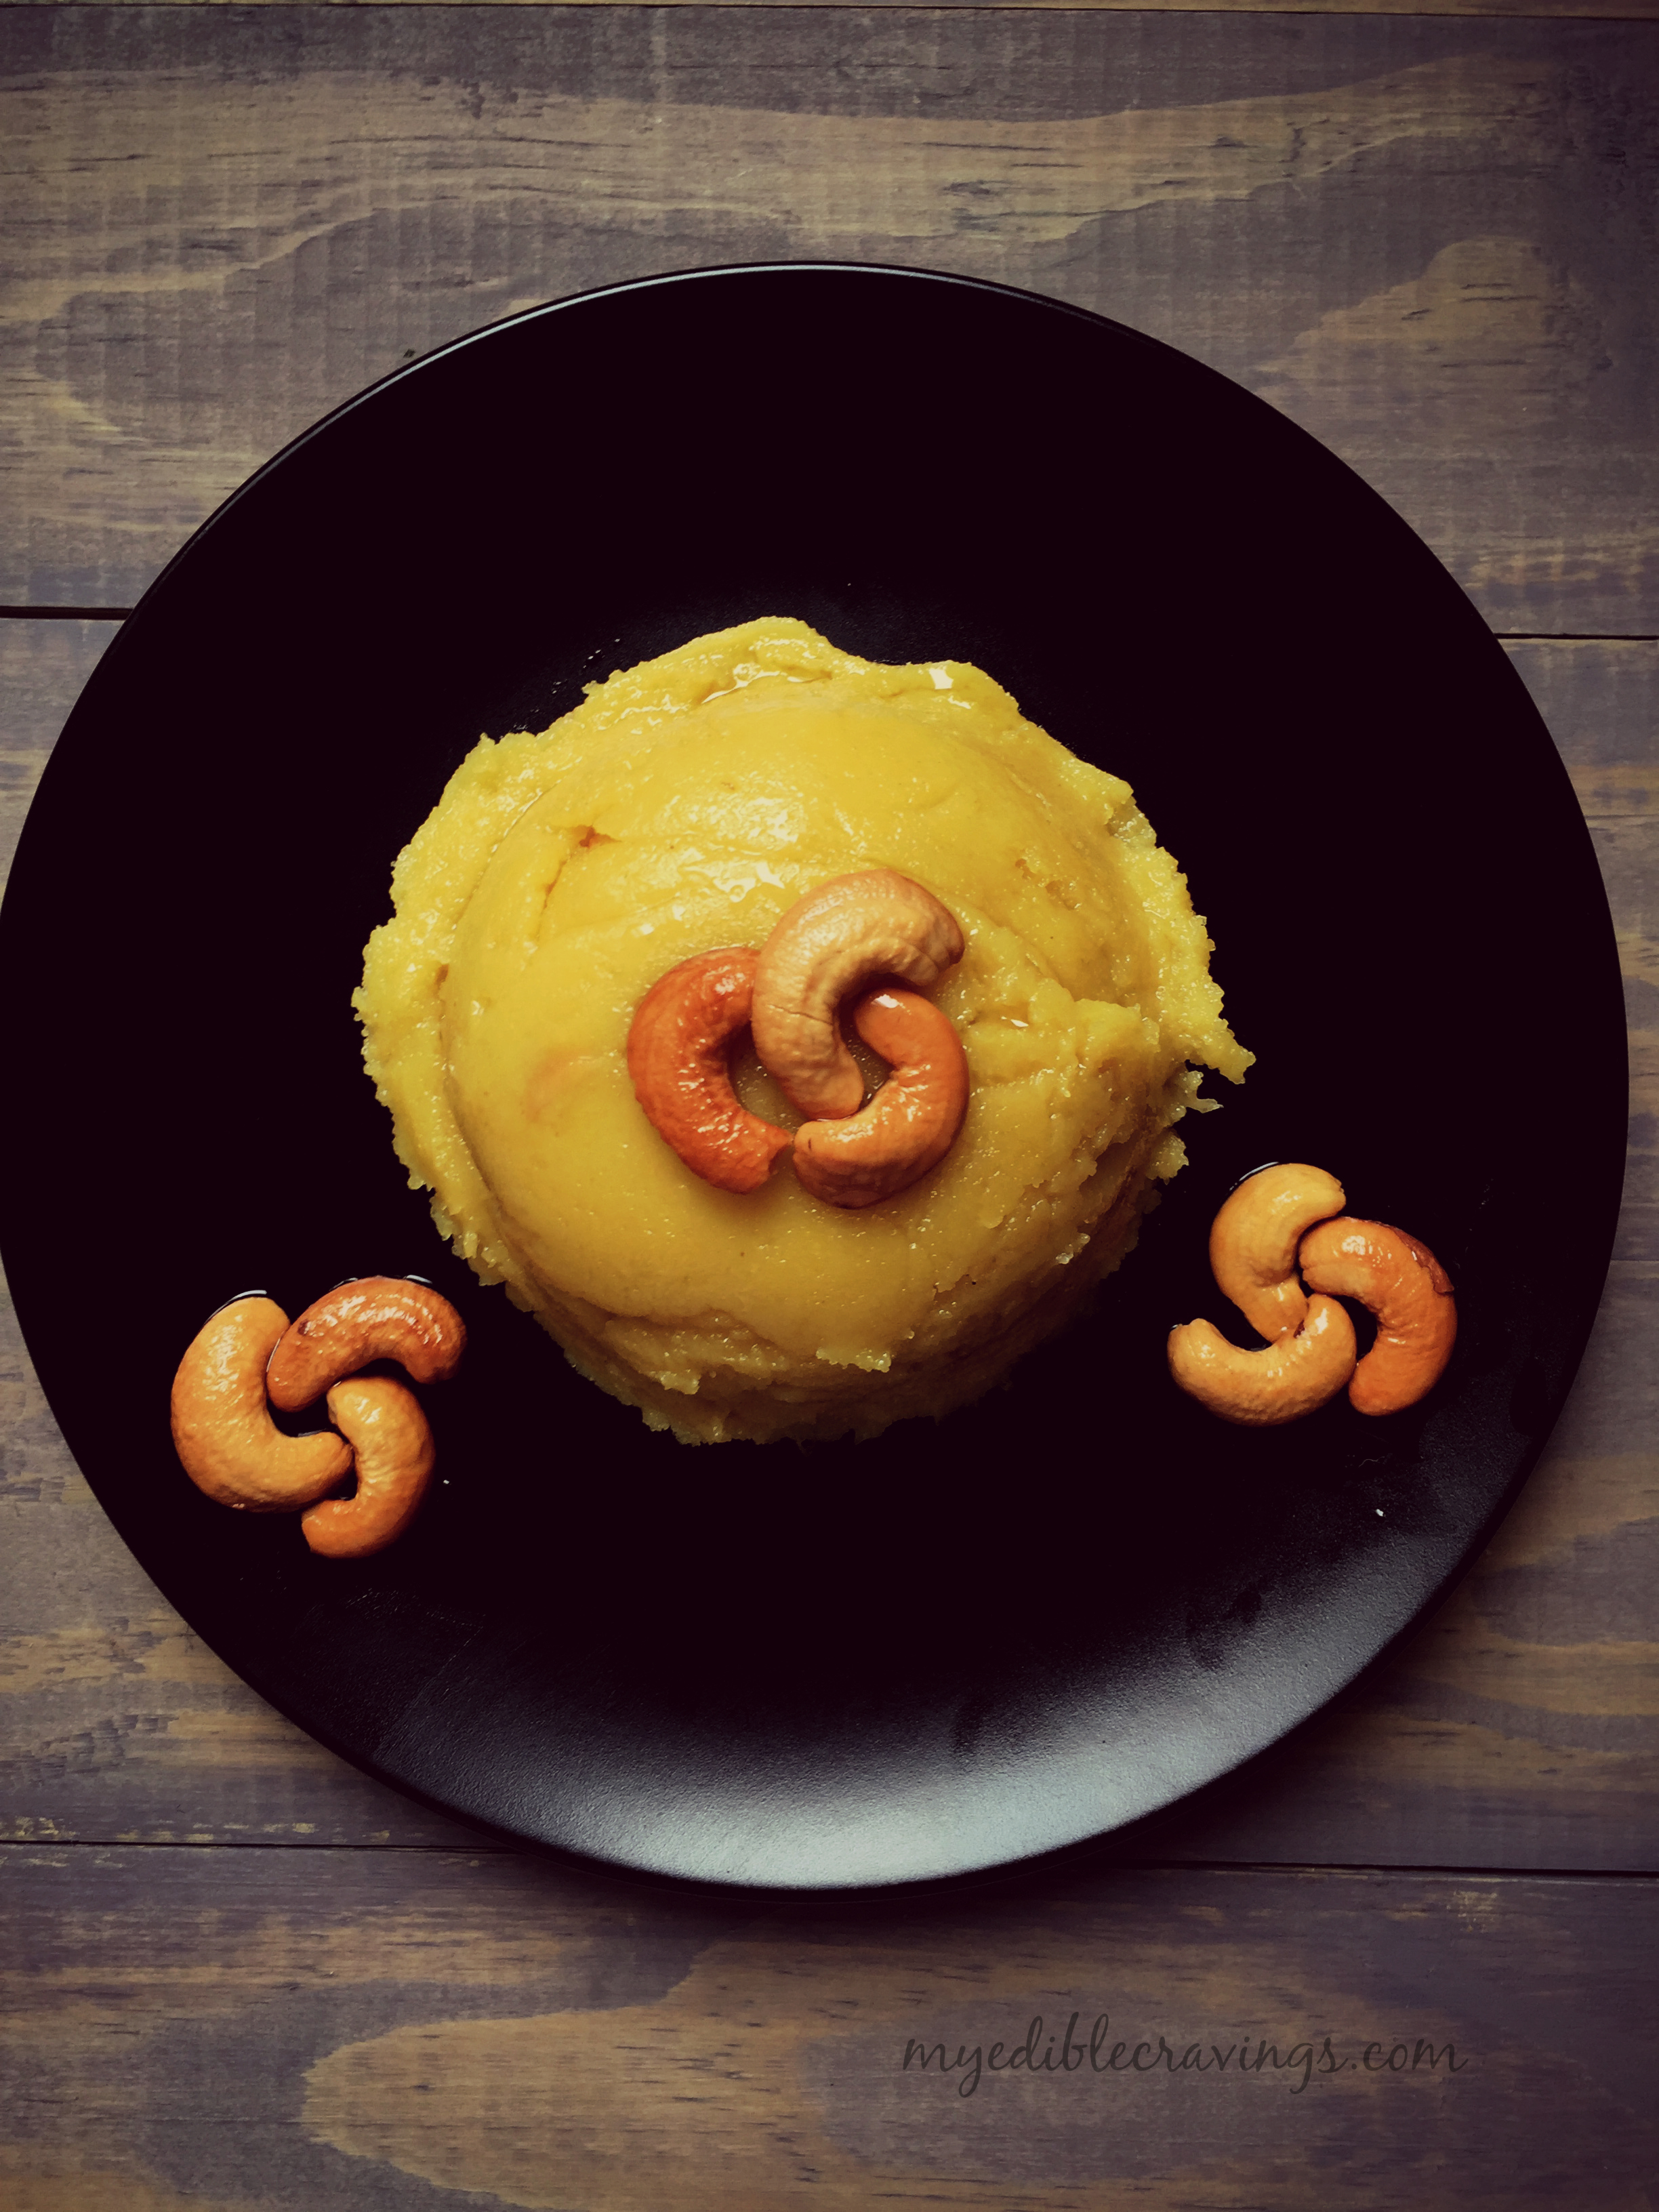
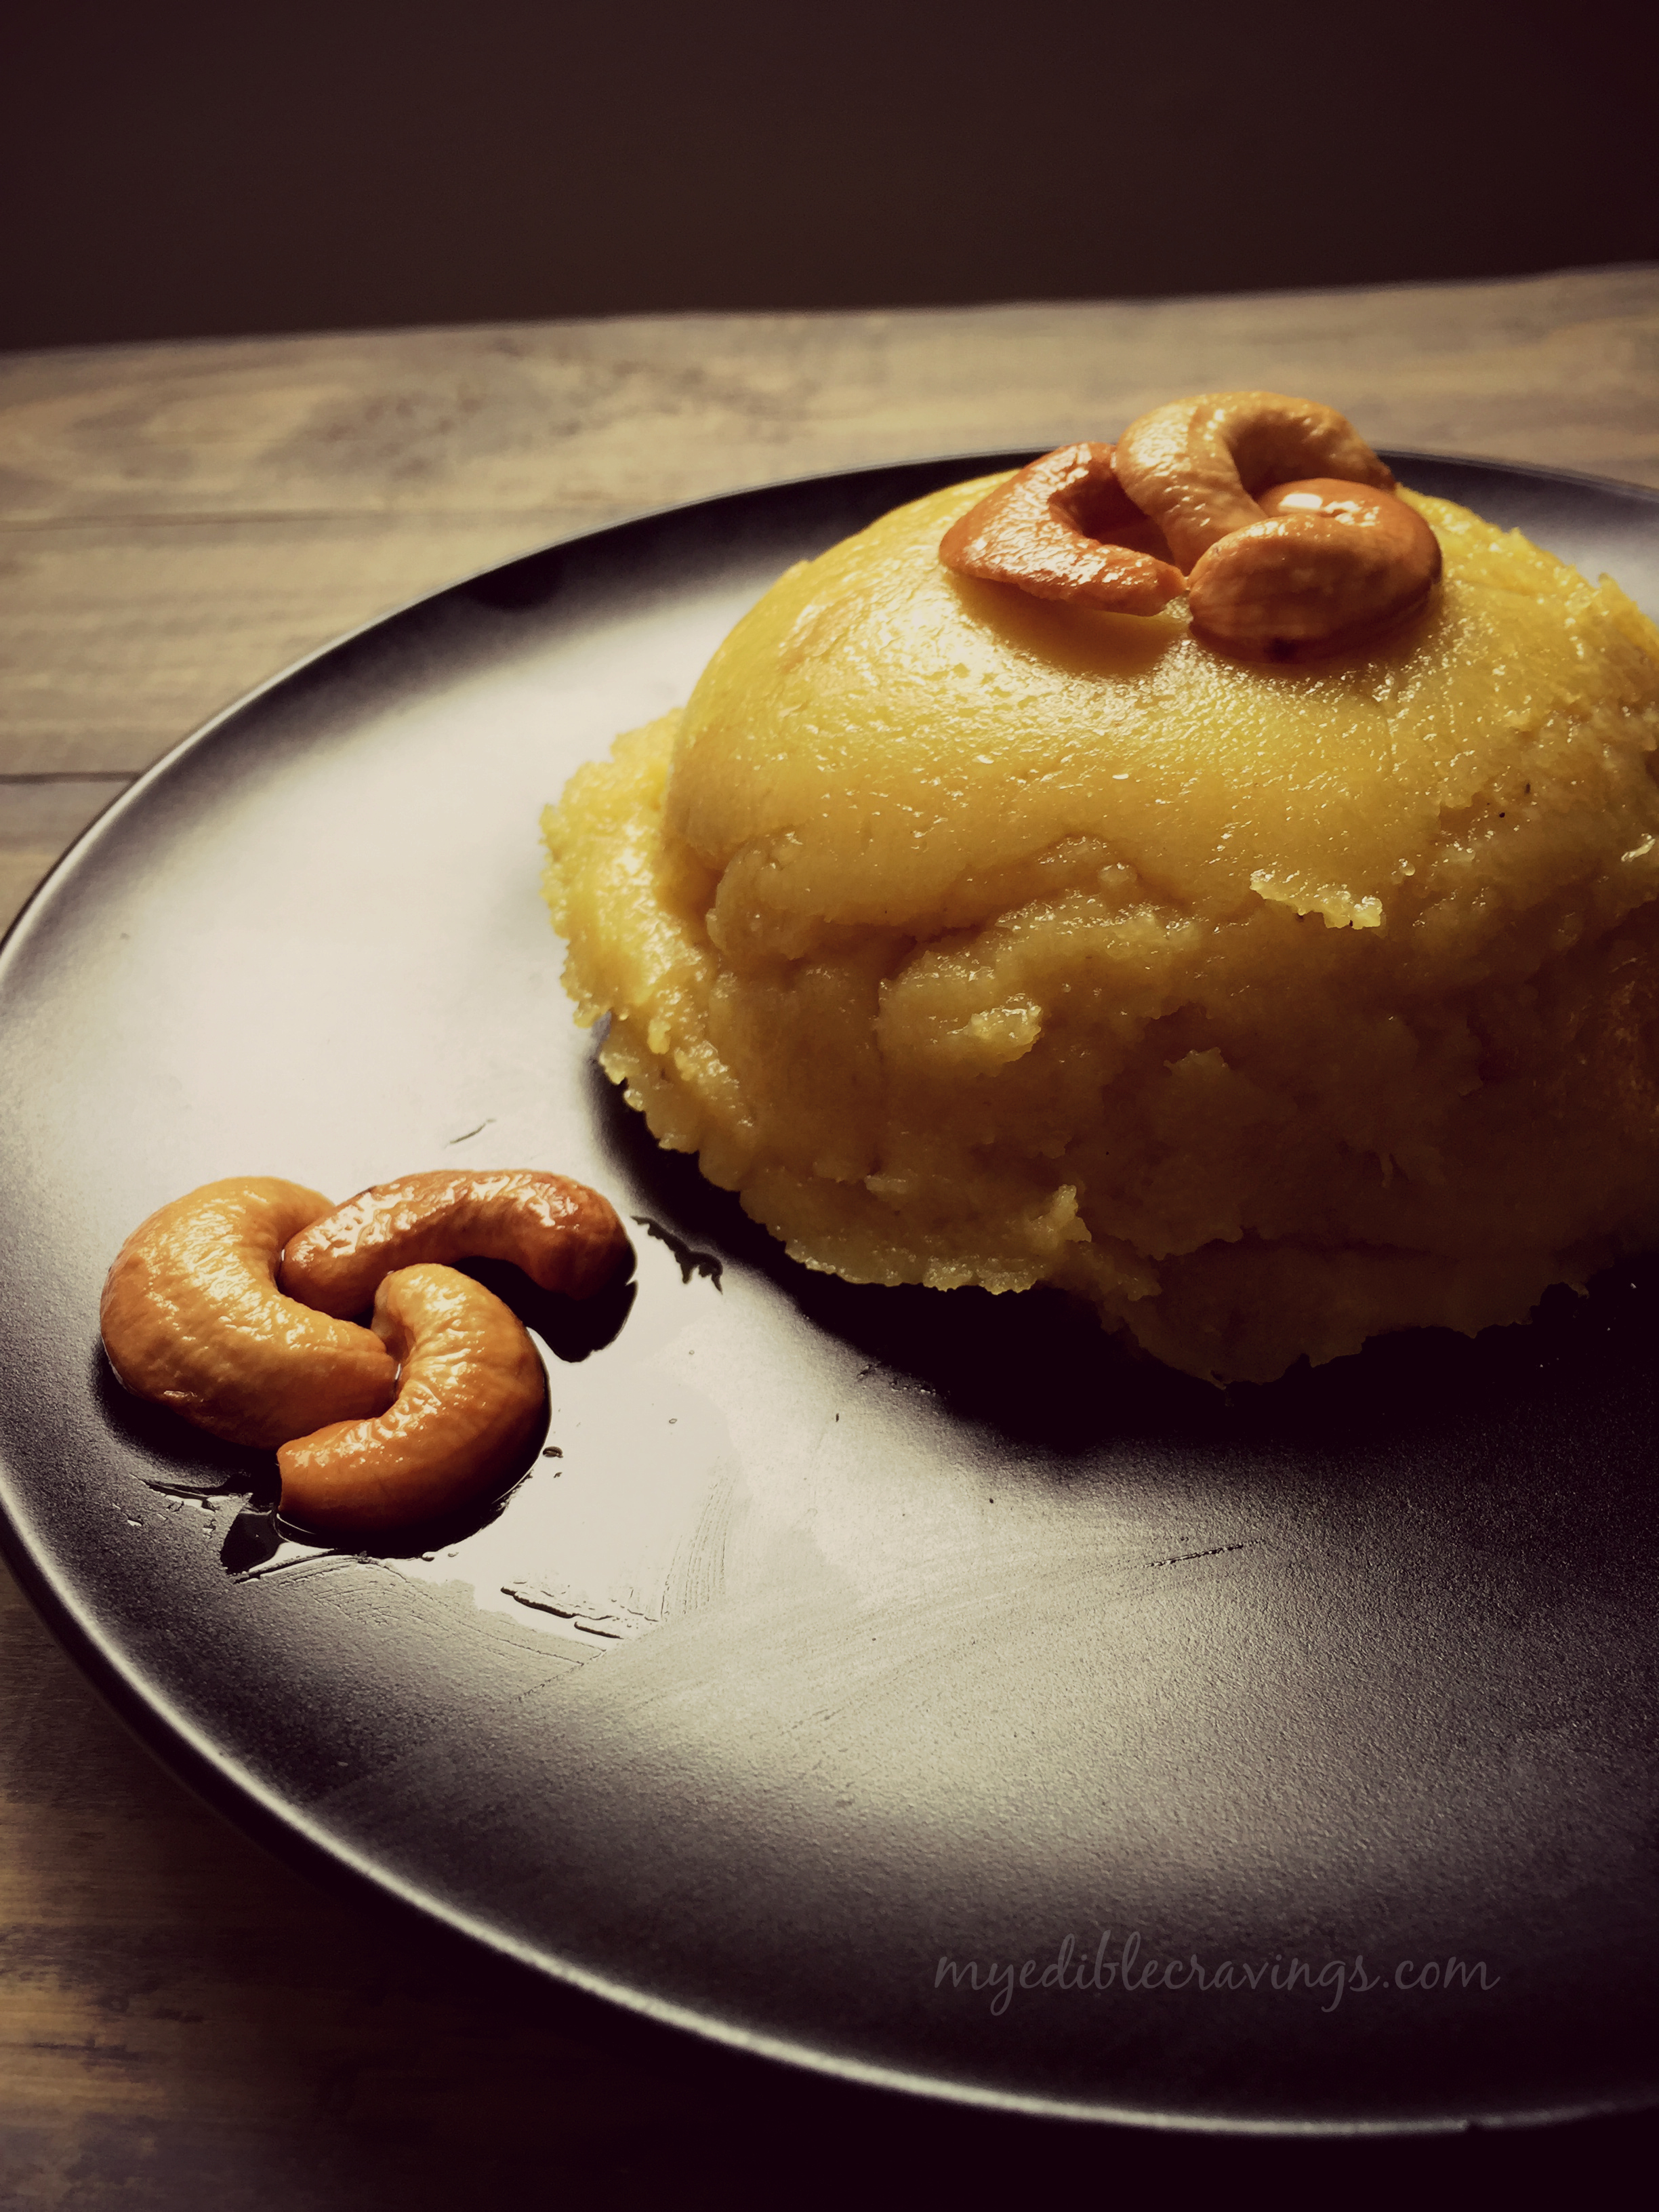
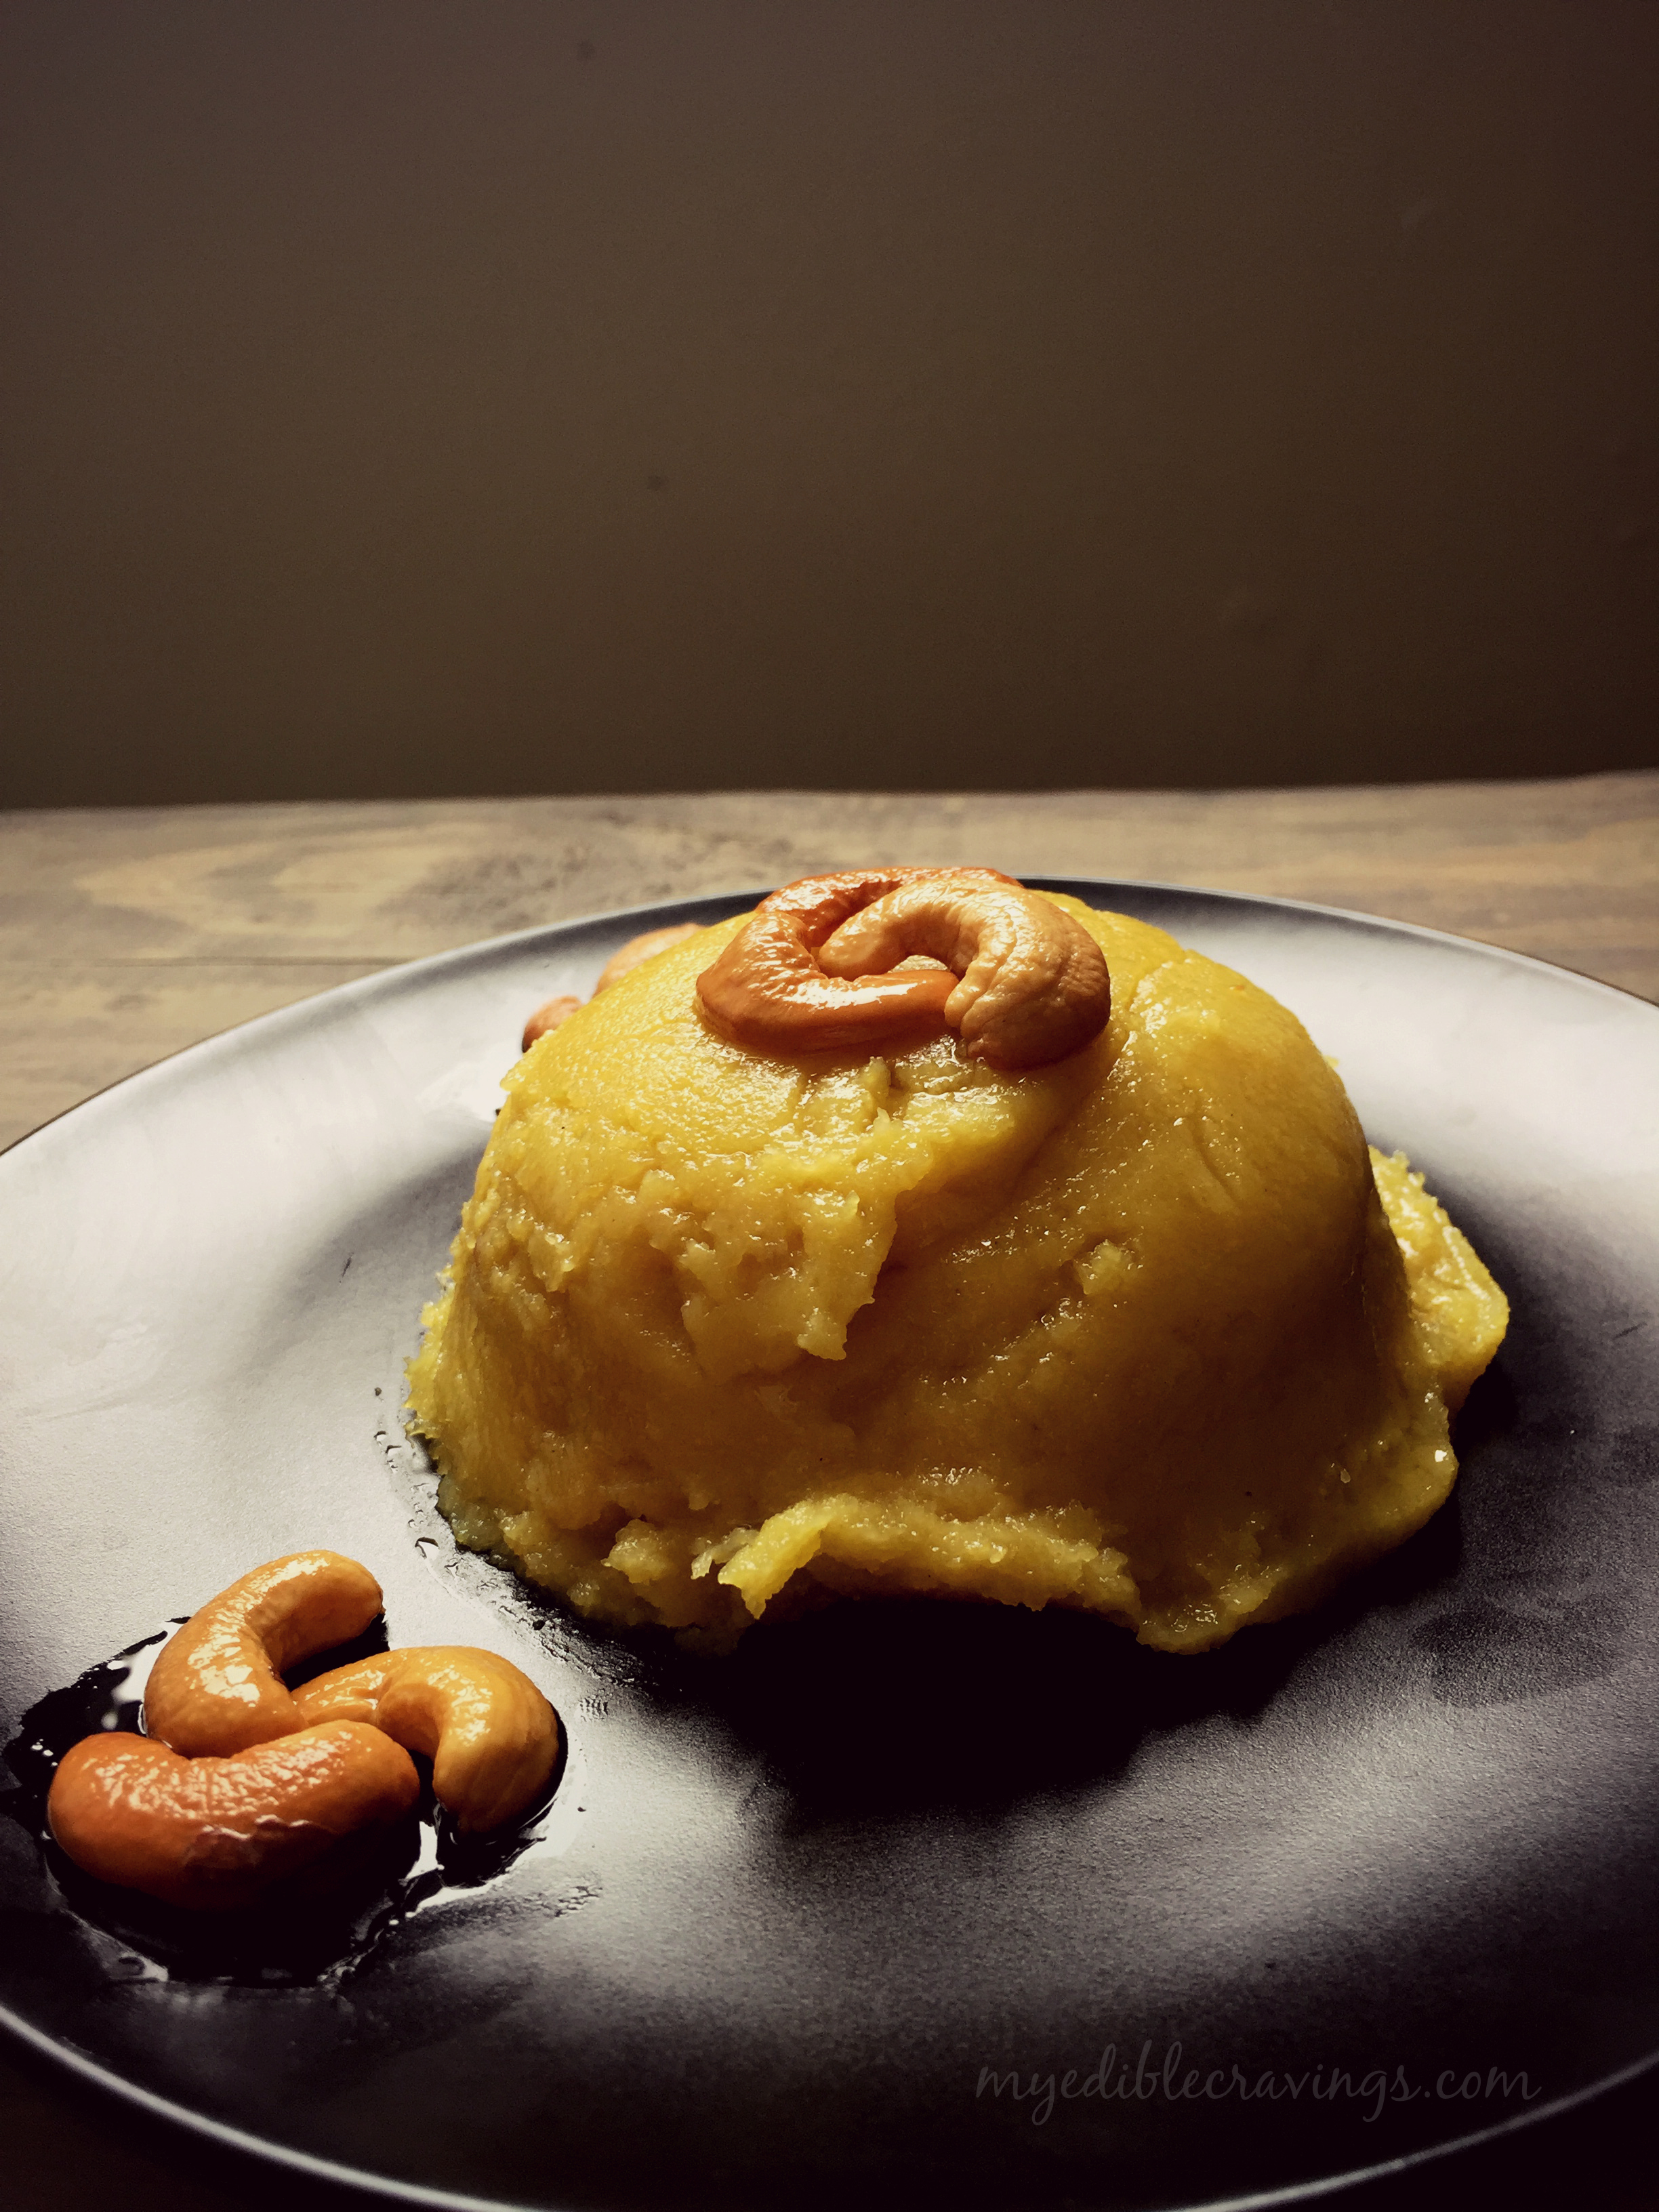
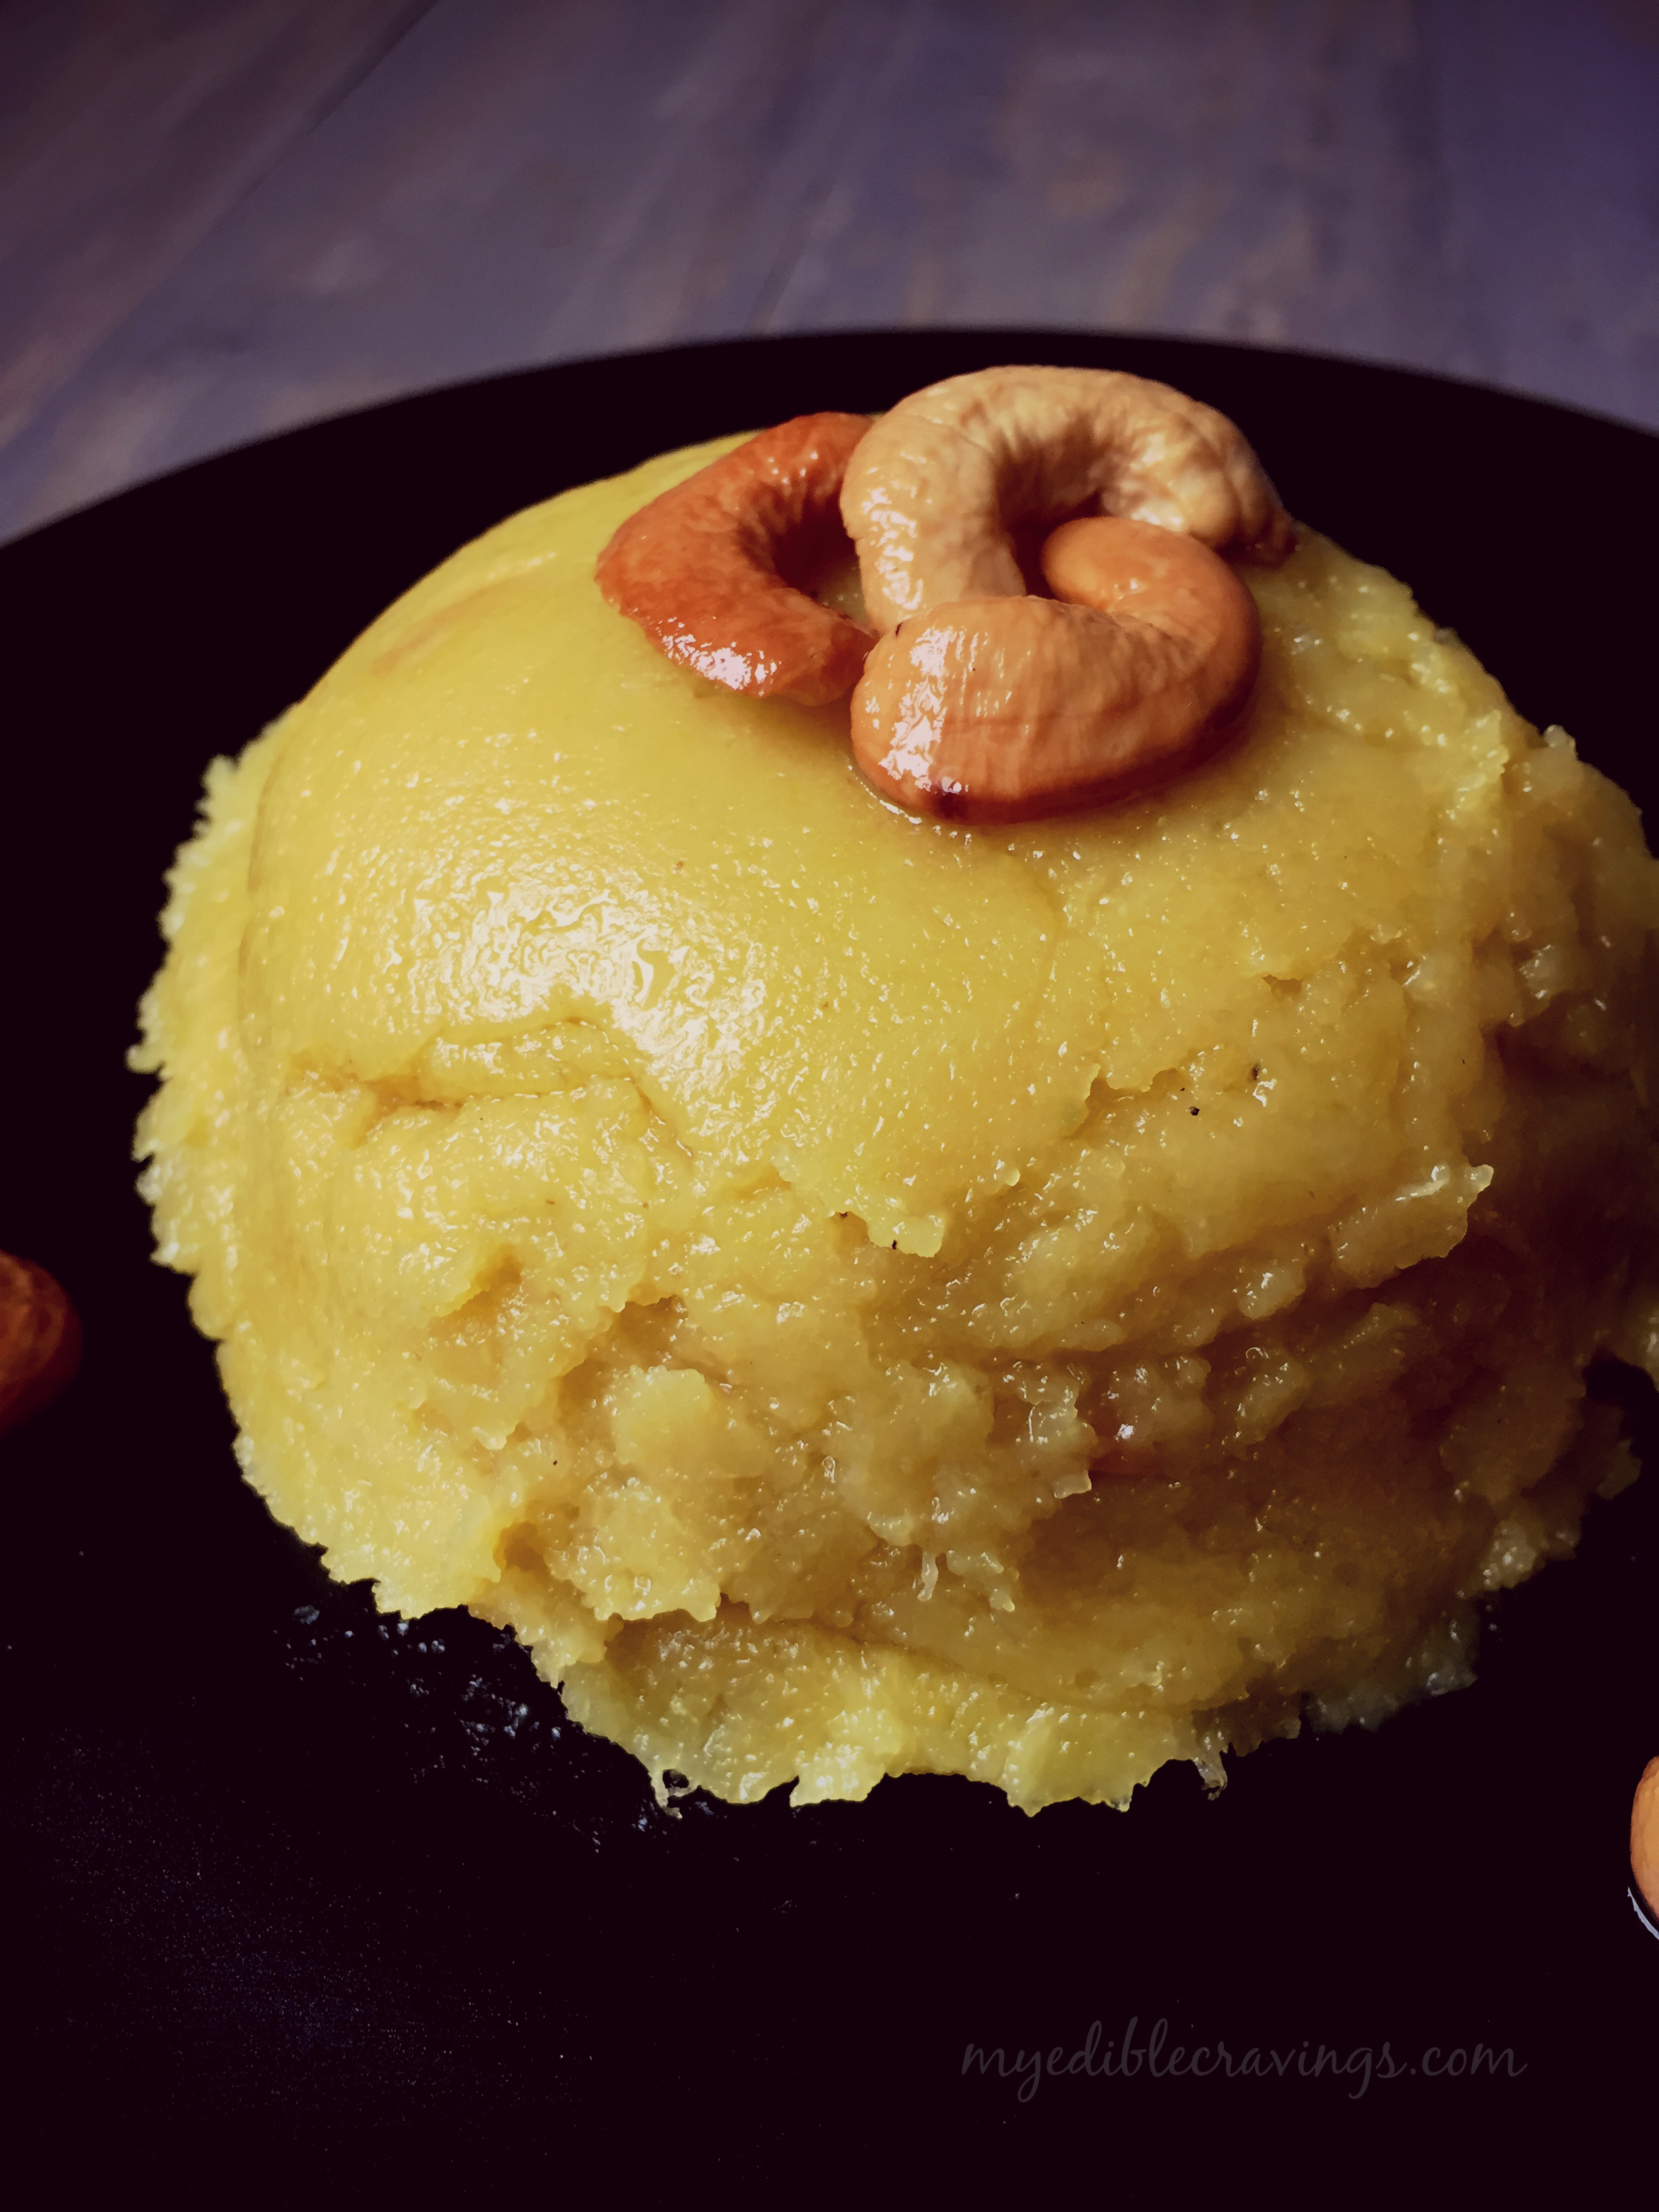
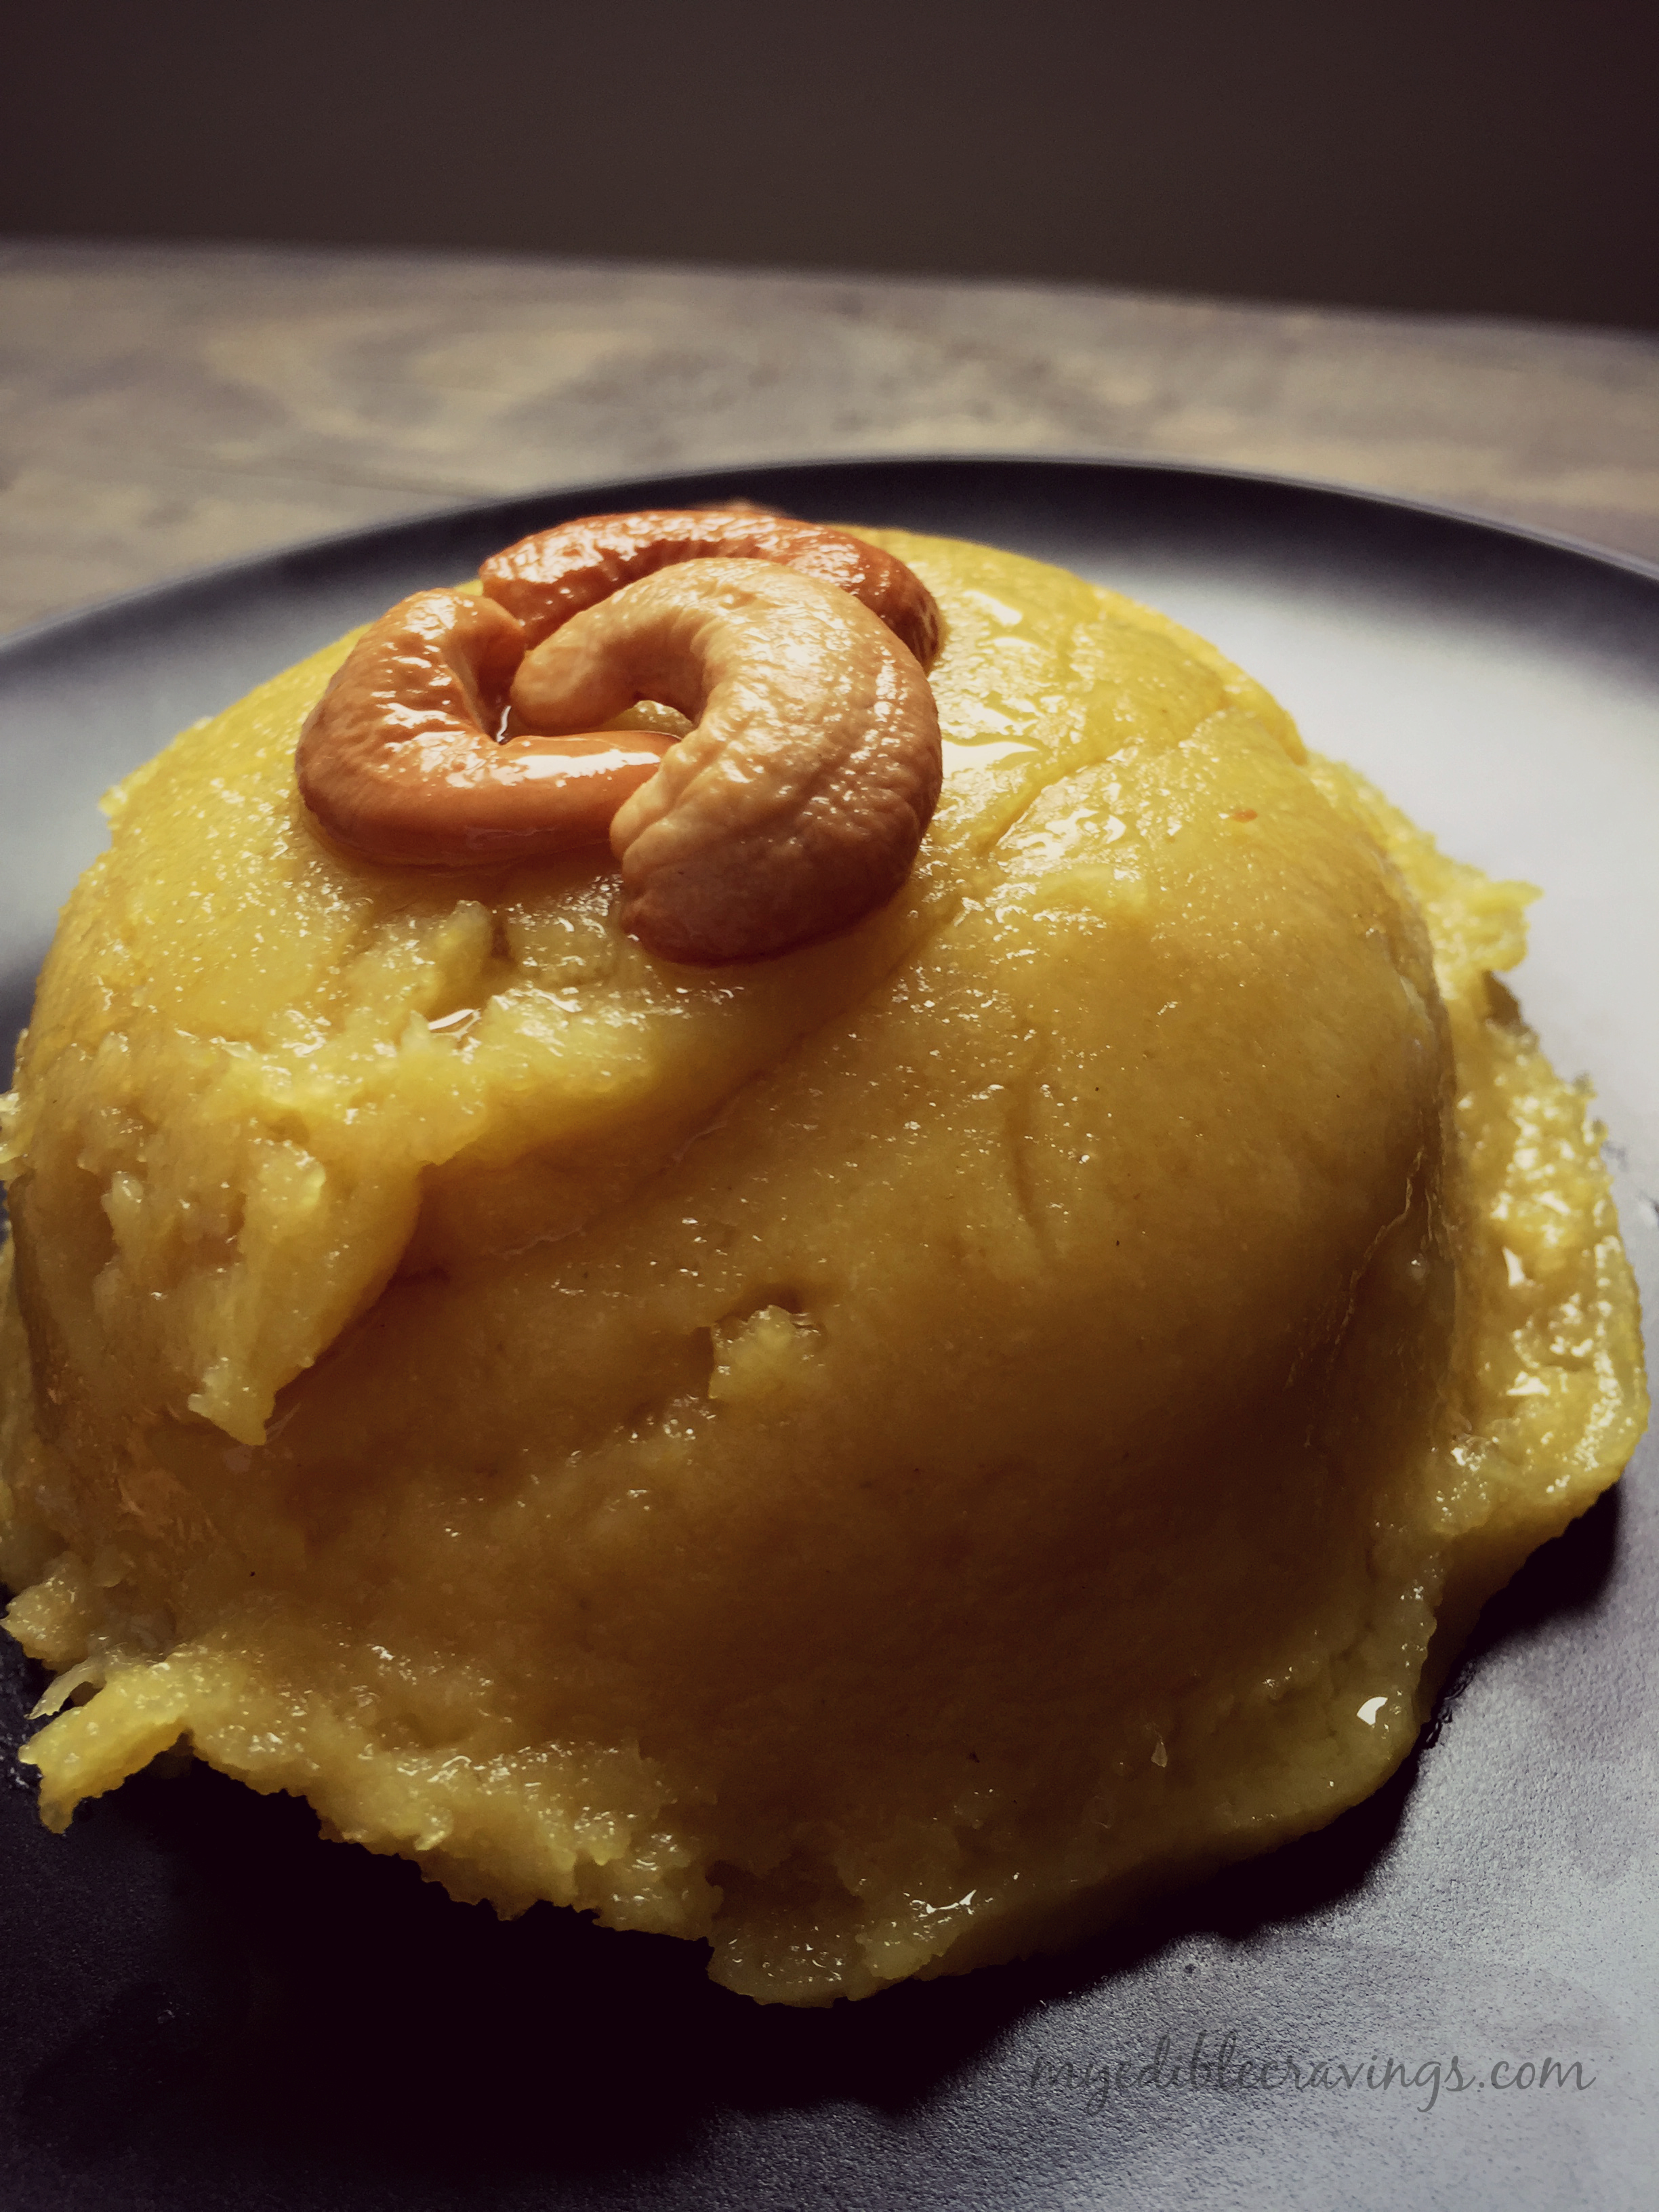
bread halwaHappy Fathers day!!! For every son and daughter out there, Dad is their hero and role model and I am no different. I love my dad. As always, like any other special days, I wanted to make something sweet that personifies my dad. I also wanted it to be something that I haven’t made so far. So after some deliberation and searching, I made Bread Halwa. I have had bread halwa before, my mom’s (yummy!) and from this restaurant (Ananda’s) near (Rajapalayam) my home town in India which is famous for its Bread halwa.

bread halwabread halwaHalwa is a popular Indian sweet which literally means sweetness. There are so many varieties of Halwa, like, Wheat halwa (the original), muscut halwa, semolina halwa, carrot halwa, bread halwa, beetroot halwa, Asoka halwa etc. Halwa is the only sweet that I love to have hot (but not the bread halwa, though :)) Back home, there is this town in my state called Tirunelveli which is famous for its halwa (especially from one particular shop called Iruttukadai). Also, there is another restaurant (Nanban Mess) in Kuttralam, a popular tourist town in Tamilnadu famous for its waterfalls, that makes one of the most delicious halwa out there. Having a bath at the waterfalls and then breakfast and halwa at that restaurant is a ritual which we never forget to follow while there. I simply love it 🙂

bread halwaGenerally, I don’t like fried food or any dish that involves frying. That was one of the main reasons why I did not try making bread halwa for a long time. All the recipes that I came across involved frying the bread. But when I came across a recipe that did not involve frying I tried it at once and the result was extremely tasty :D. The Bread Halwa recipe I have posted here is extremely easy to make and it takes no time at all, infact you can make it in less than 15 minutes tops. Care should be taken while cooking as you don’t want to overcook the halwa else it will get harder because of the bread used. Try out this Bread Halwa and you won’t be disappointed, I guarantee!

Bread Halwa
Recipe type: Dessert
Cuisine: Indian
Prep time: 
Cook time: 
Total time: 
Serves: 4
 
Ingredients
  • White Bread slices – 6 (I used pepperidge sandwich bread)
  • Ghee – ¼ cup
  • Milk – 1 cup
  • Sugar – 1 cup
  • Rose water – ¼ tsp
  • Pistachios, chopped – for garnishing
Instructions
  1. Boil milk and allow it to cool.
  2. Cut the soft crust on all four sides of the bread.
  3. Roughly chop the bread slices and soak them in milk. Mash the bread with clean hand without any lumps.
  4. Heat a thick nonstick pan and add ⅛ cup ghee and add the mashed bread.
  5. Cook in medium flame and stir constantly for few minutes until it doesn’t stick on the sides.
  6. Add sugar in low to medium flame and mix well. Add the remaining ghee at this stage. Stir constantly until the halwa consistency. It only takes a couple of minutes.
  7. Switch off the flame and serve hot or cold garnishing with pistachios. Enjoy! 🙂
Notes
1.Always make this bread halwa in low to medium flame.
2.This dish will be cooked real quick. So do not overcook otherwise you won’t get the desired consistency.
3.I used US measurements for this recipe.

bread halwa

Paal Payasam


Paal payasamToday is Father’s Day! A father is a hero to every daughter and Father’s day is a way to honor them for their love, unwavering support and kindness. So Happy Father’s Day to all fathers out there. On the occasion of this important day, I wanted to prepare something sweet that personifies their nature i.e.,  being sweet 🙂 I decided on Paal Payasam, a south Indian dessert item that is very tasty. I love the Paal Payasam that my MIL makes. The recipe that I have given below is my MIL’s.

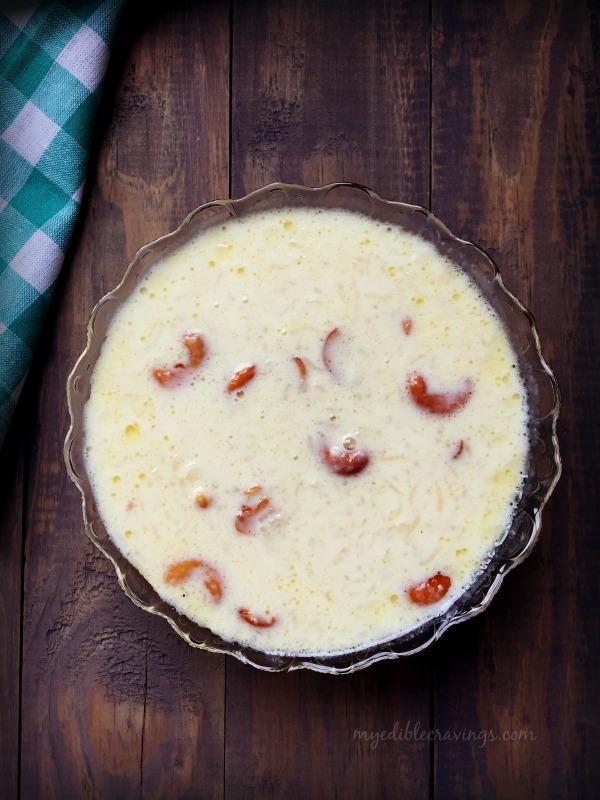
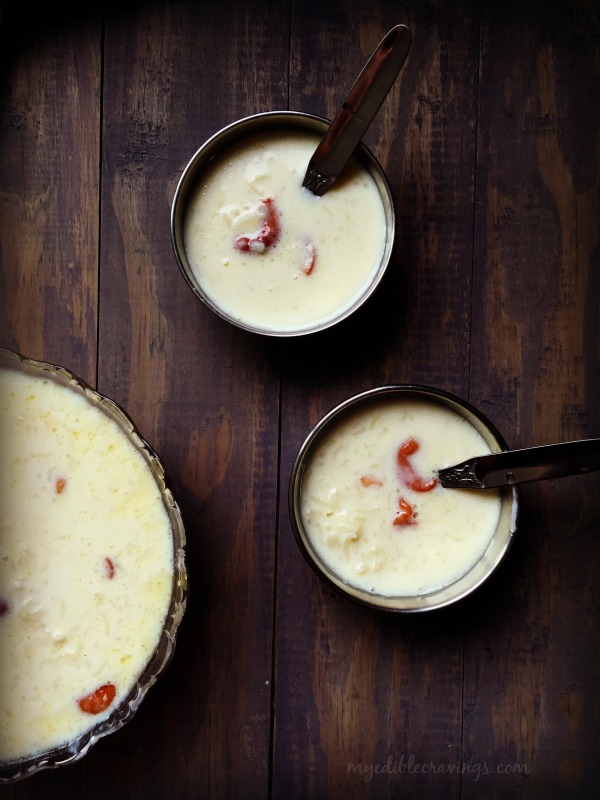
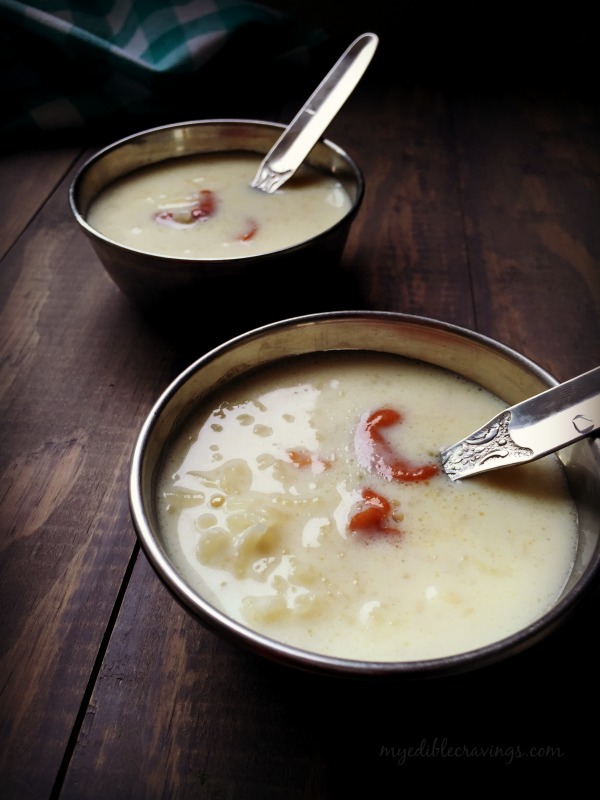
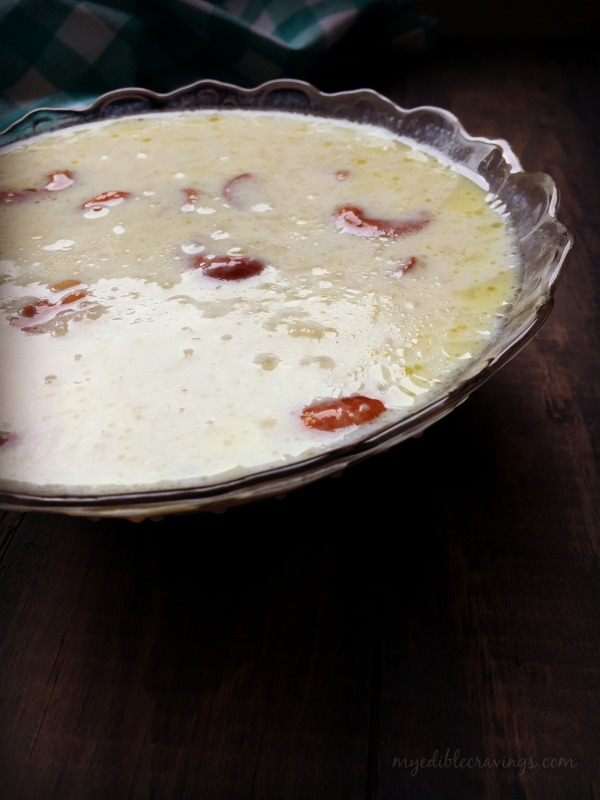
Paal PayasamPaal Payasam is a classic dish that uses very few ingredients i.e., rice, sugar and milk. Paal Payasam is one of my favorite payasams (similar to pudding in general) and my sister’s too. Preparing this dish is time consuming but to allevate some of that I used whole milk because one of the steps in making Paal Payasam is to reduce the milk to half but using whole milk saves time since it is already thick.

144cPaal Payasam can either be served hot or cold but tastes excellent when served cold. Try this sweet dessert in your kitchen and I hope you too will enjoy it as much as I do 🙂

Paal Payasam
Recipe type: Dessert
Cuisine: Indian
Prep time: 
Cook time: 
Total time: 
Serves: 4 to 5 cups
 
Ingredients
  • Raw rice or basmati rice or seeraga samba rice – ½ cup
  • Ghee – 3 tbsp, divided
  • Milk – 1 liter
  • Sugar – 1 cup
  • Cashews – 1 tbsp
  • Cardamom powder – a generous pinch
Instructions
  1. Wash and soak the rice in water for half an hour. Later crush the rice using your hands and keep it aside.
  2. Heat a pan or pressure cooker and add a tbsp of ghee. Add the rice and fry until golden brown.
  3. Add a cup of milk and cook or pressure cook until the rice is well cooked. Add the remaining milk and boil until the milk is reduced to half and turns slight brown in color.
  4. Add sugar and mix well. Boil for another few minutes stirring occasionally.
  5. Heat the remaining ghee in a tempering ladle, fry the cashews until golden brown and add to the paayasam.
  6. Finish it off by adding cardamom powder. Serve cold and enjoy!
Notes
1.It takes a very long time around 45 minutes to reduce the milk. So I would suggest using whole milk to reduce your work.
2.Milk will not boil if you add clean marbles (golli gundu) to the milk.
3.Add or reduce sugar according to your own taste.
4.You could also add dates to this recipe which tastes excellent.

Paal Payasam

Banana Kesari

Banana kesariFirst of all, A very Happy Mother’s Day to all the lovely mothers out there 🙂 You are the best. As a tribute to moms and in a way representing their sweet nature, today I have given below a very popular south Indian sweet, Banana Kesari. Kesari is a south Indian delicacy which is often served as a dessert. It is made of sooji (semolina) and is also called as sooji halwa in north India. There are different varieties of Kesari like beet root, pineapple, banana, bread, fruit etc. Banana Kesari is a favorite of my HB (anything made from sooji for that matter :))
Banana kesari
Banana kesariBanana Kesari is very easy to prepare and involves minimal ingredients, i.e., banana, sooji, ghee, sugar and cashews. As with many sweet items, patience is the key here, especially when adding the sooji to the boiling water during the preparation. Believe it or not, I was not very good in making Kesari initially. In fact, my friends used to make fun of my Kesari but I have come a long way now such that I have started making different varieties in Kesari 🙂
Banana kesariOnce again, a very happy Mother’s day to all moms, new moms and expectant moms. As Rudyard Kipling said, “ God could not be everywhere, and therefore he made mothers”. Enjoy the sweet Banana Kesari with the sweetest person in the world, your Mother 🙂

Banana Kesari
Recipe type: Dessert
Cuisine: Indian
Prep time: 
Cook time: 
Total time: 
Serves: 4
 
Ingredients
  • Semolina – 1 cup
  • Ghee – 6 tbsp
  • Water – 2 ½ cups
  • Yellow food color – 1 tsp
  • Sugar – 1 cup
  • Banana, big, peeled, smashed – 1 no
  • Cardamom powder – 1 tsp
  • Cashews – 10 nos
Instructions
  1. Heat a nonstick tawa with a tbsp of ghee. Add in semolina and sauté until the raw smell disappears. It takes around 3 minutes. Remove and transfer to a bowl.
  2. In the same pan add a tbsp of ghee and fry the cashews until golden brown. Remove and keep aside.
  3. Add water in the same pan and bring it to boil. Add food color.
  4. When the water starts to boil, slowly add sautéed semolina little by little, stirring continuously to avoid lumps.
  5. When all the water is absorbed, add in sugar and banana. Mix well and add the remaining ghee.
  6. Finally add in the cardamom powder and fried cashews. Mix well. Add ghee if needed. Serve hot. Enjoy!!!
Notes
1.It is always best to use non stick tawa while making kesari.
2.Be very careful while adding semolina to the boiling water. make it quick and stir constantly to avoid lumps.
3.To make cardamom powder, grind together few whole green cardamoms with a tbsp of sugar.
4.You can substitute any fruits (pineapple, jackfruit, tutti frutti, plums, beetroot, etc) or even with bread and it is called bread halwa.

Banana kesari

Sago Payasam

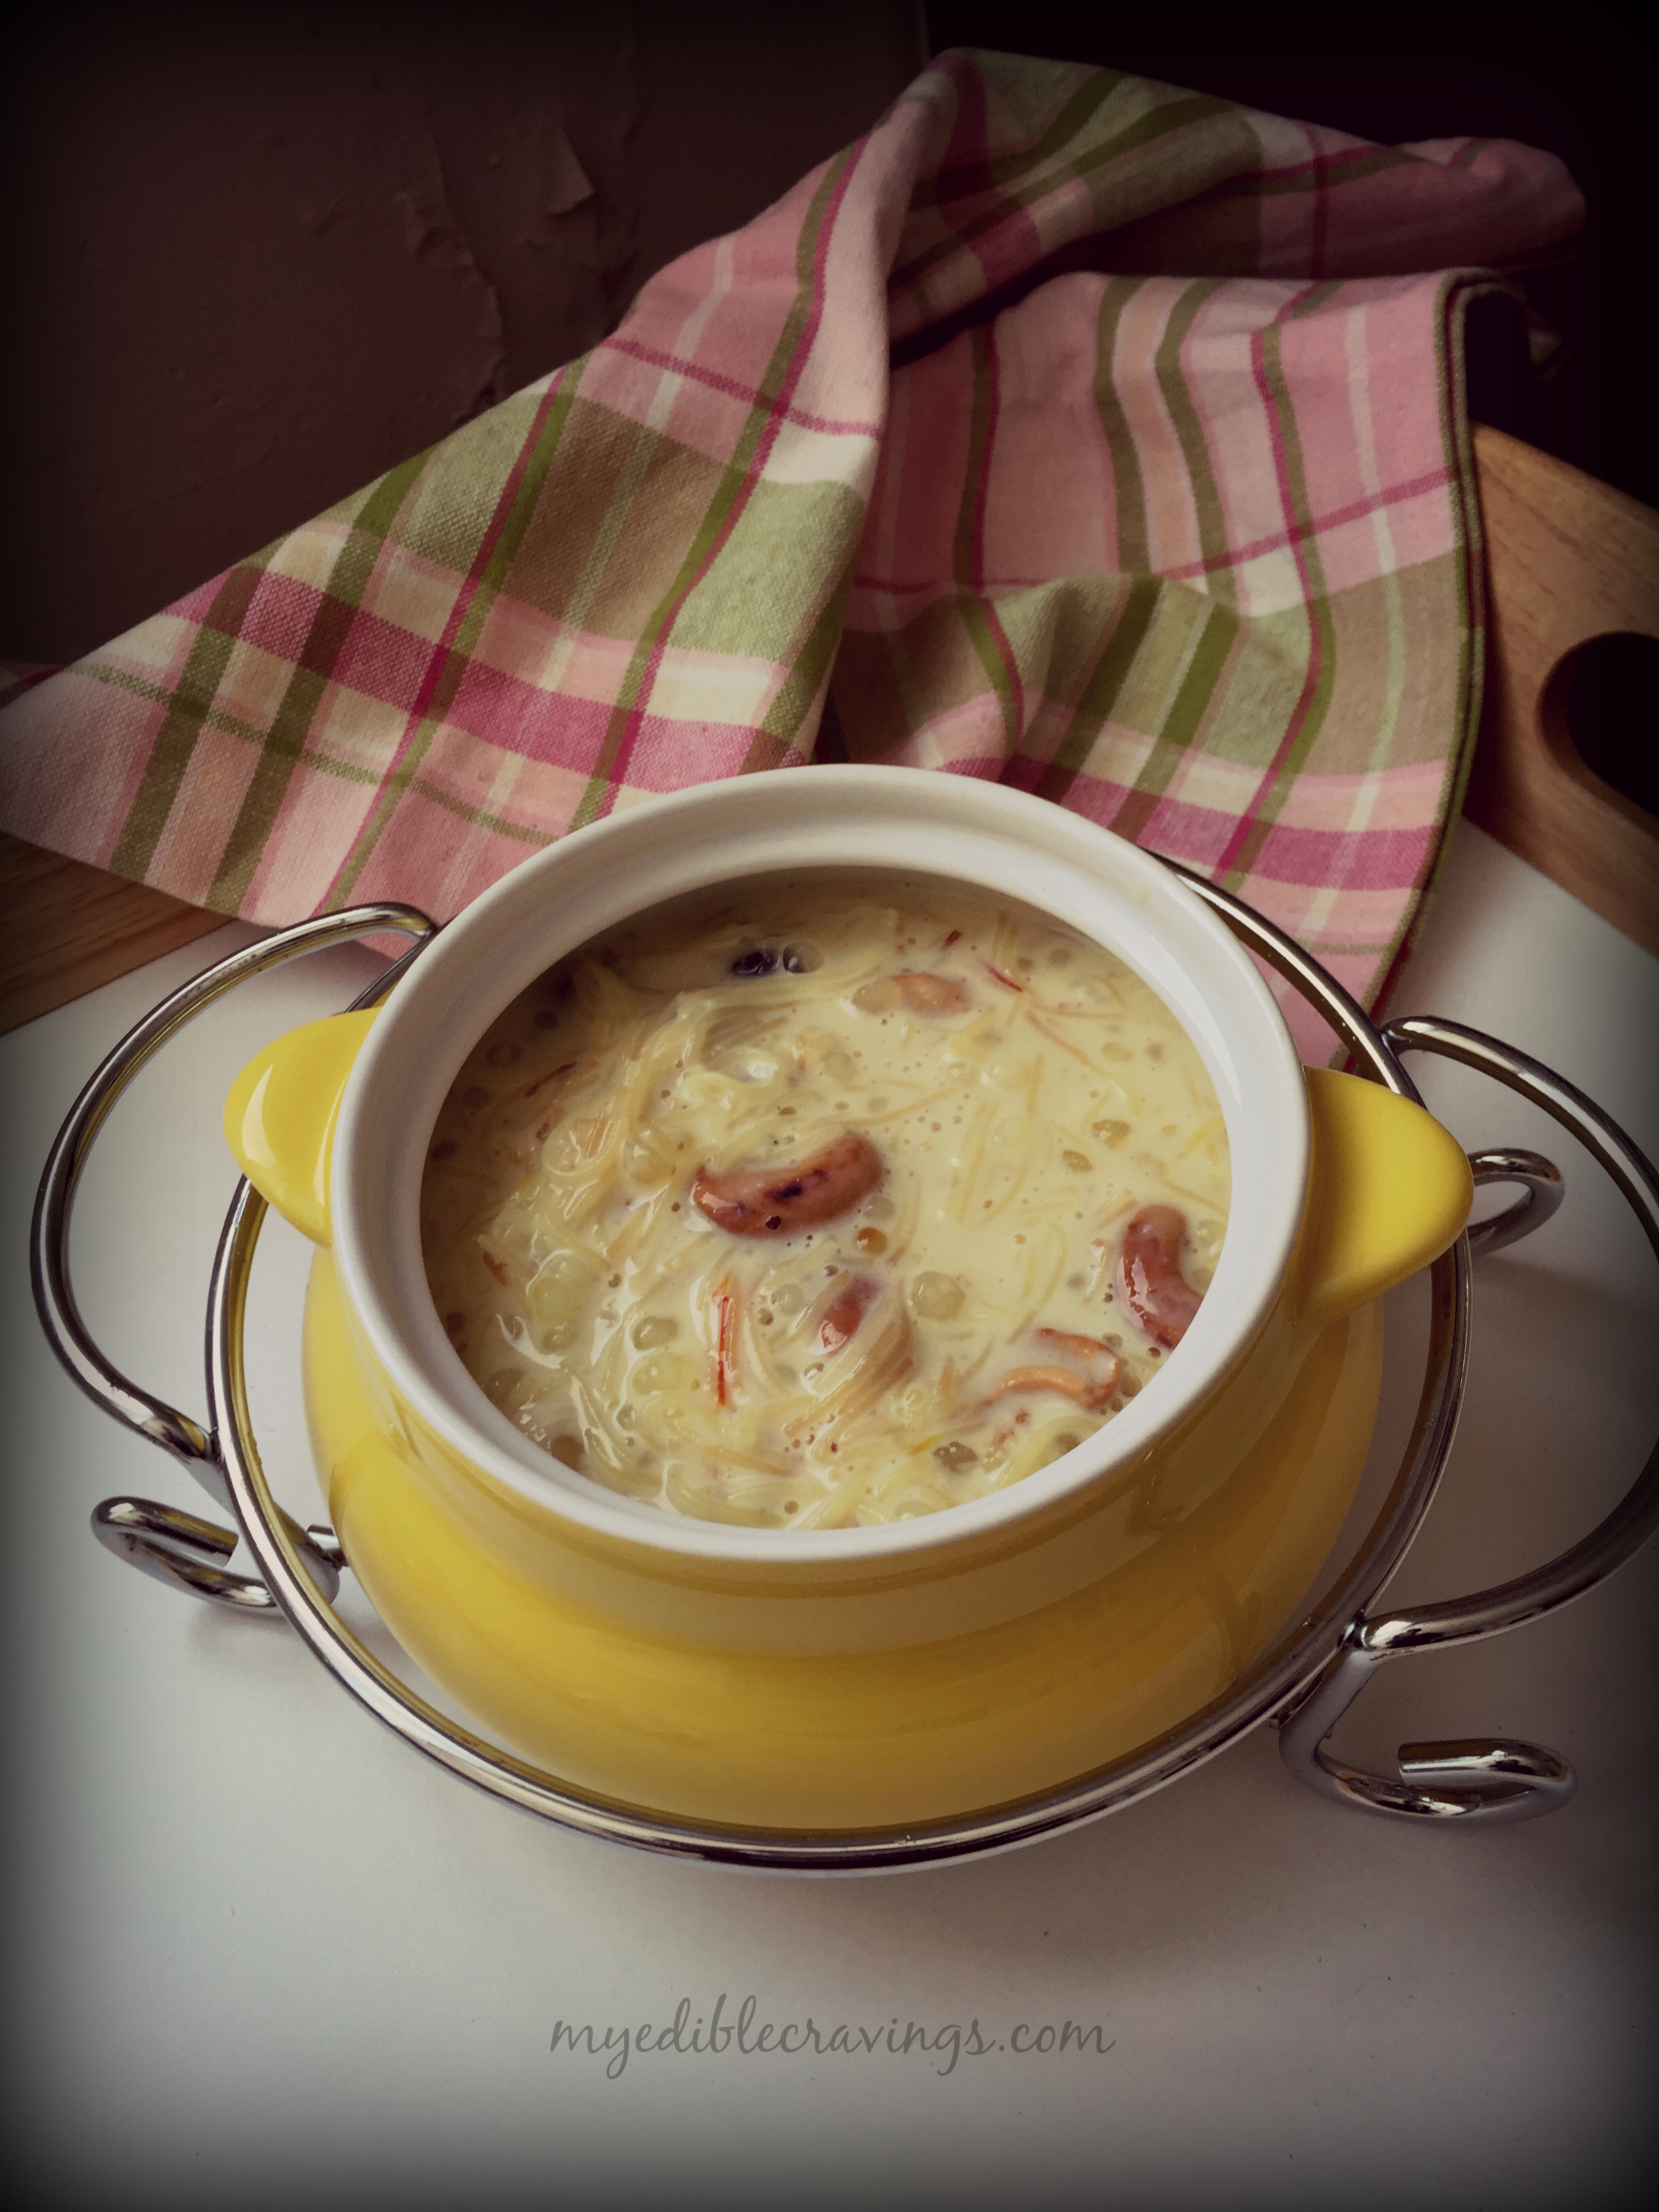
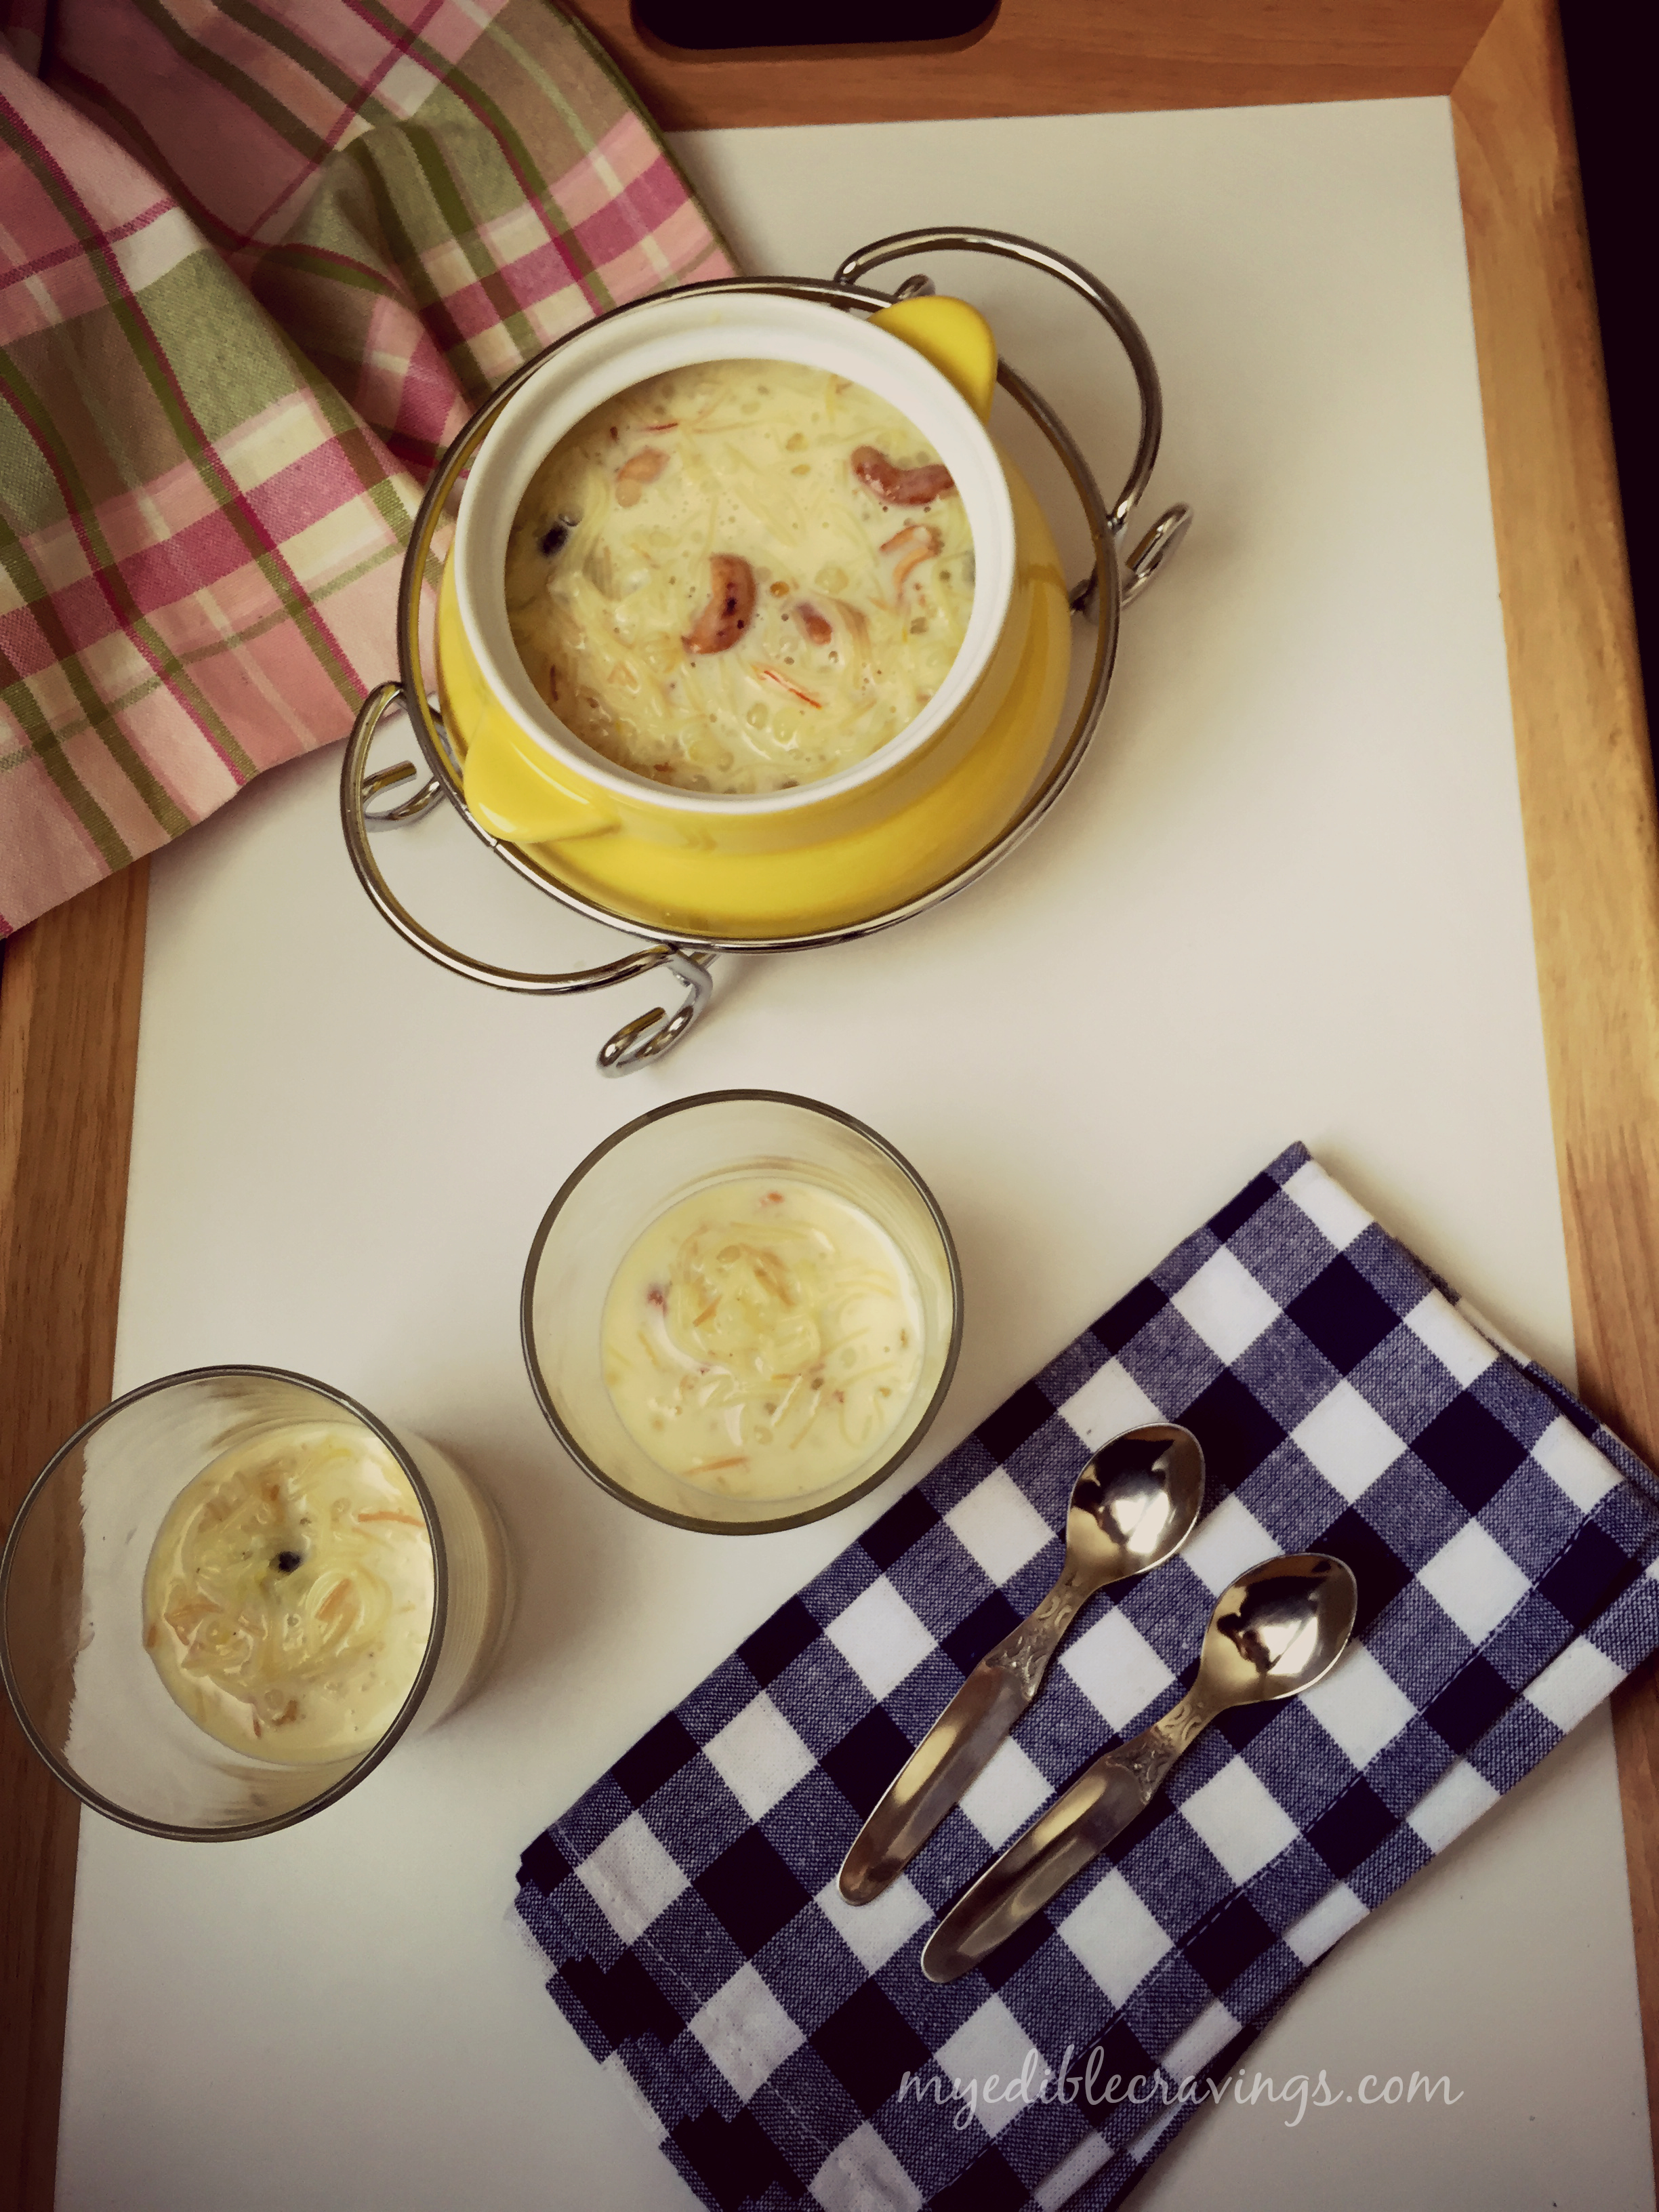
sago payasamPayasam is a traditional south indian dessert. It is a very simple yet tasty dish that is always in the menu of marriage lunches and served during traditional festivals. There are different varieties of payasam based on the ingredients that you use, like lentil, sago, vermicelli etc. Here I have given the Sago-Vermicilli variety of payasam.
sago payasamsago payasam
sago payasamSago-Vermicilli Pasayam is the most popular among all payasams. As I had said earlier, it is always served in wedding lunches. One popular way of consuming it is with papad :). My dad and his siblings love to have it with sweet boondi (another south Indian snack item). I know it will be a sugar explosion but who cares when it tastes just awesome 😉
I had never tried making Sago-Vermicilli Payasam until recently. The ingredients used and the preparatory method may make it seem easier to make (and it is easy to make) but you need to be careful as well, especially for beginners. In my recipe I had included rose flavor because I like it and is commonly found in most other Indian desserts. Also I have included Saffron just to give the distinct color and enhance the flavor. Sago-Vermicilli Payasam can be served hot or chilled; it tastes awesome either way.
Try this yummy and sweet dessert in your kitchen and post me your experiences 🙂

5.0 from 1 reviews
sago payasam
Prep time: 
Cook time: 
Total time: 
Serves: 3
 
Ingredients
  • Milk – 3 ½ cups
  • Sago or javvarisi – ½ cup
  • Vermicelli or semiya – ¼ cup
  • Refined sugar – ½ cup
  • Ghee – 2 tbsp
  • Cashews – 8 to 10 nos
  • Raisins – 6 nos
  • Saffron – 2 to 3 strands.
  • Rose water or essence – 3 drops
Instructions
  1. Soak sago in water for 20 to 30 mins.
  2. Heat a small pan with ghee and roast cashews and raisins until the cashews turn golden brown. Keep it aside. In the same pan roast vermicelli for a minute or so and keep it aside.
  3. Soak saffron threads in a cup with 1 tbsp of warm milk.
  4. Boil two cups of water and add sago. Boil until the sagos turn translucent for about 15 to 20 minutes. Add vermicelli to the boiling water as well and cook for another couple of minutes until they are soft. Drain them.
  5. Heat a sauce pan and boil the milk. When the milk has boiled, simmer and reduce it to half the quantity.
  6. When the milk has reduced to half, add the cooked and drained sago and vermicelli. Mix well and allow them to set for about 5 minutes - Simmer the burner while adding sago and vermicelli.
  7. Add sugar and mix well. Finally add the saffron and fried cashews to the payasam. Switch off the flame and add few drops of rose essence. Refrigerate the payasam and serve the delicious cold Sago-Vermicilli payasam. 
Notes
1.I have read online that cooking sago and vermicelli directly to the boiling milk will curdle the milk. So I boiled them and strained the water before adding them to the milk.
2.Simmer the milk and add the cooked sago and vermicilli. Otherwise the milk will curdle as well.
3.Adding saffron and rose essence is completely optional. I added them just for the flavor.

sago payasam

VEN PONGAL

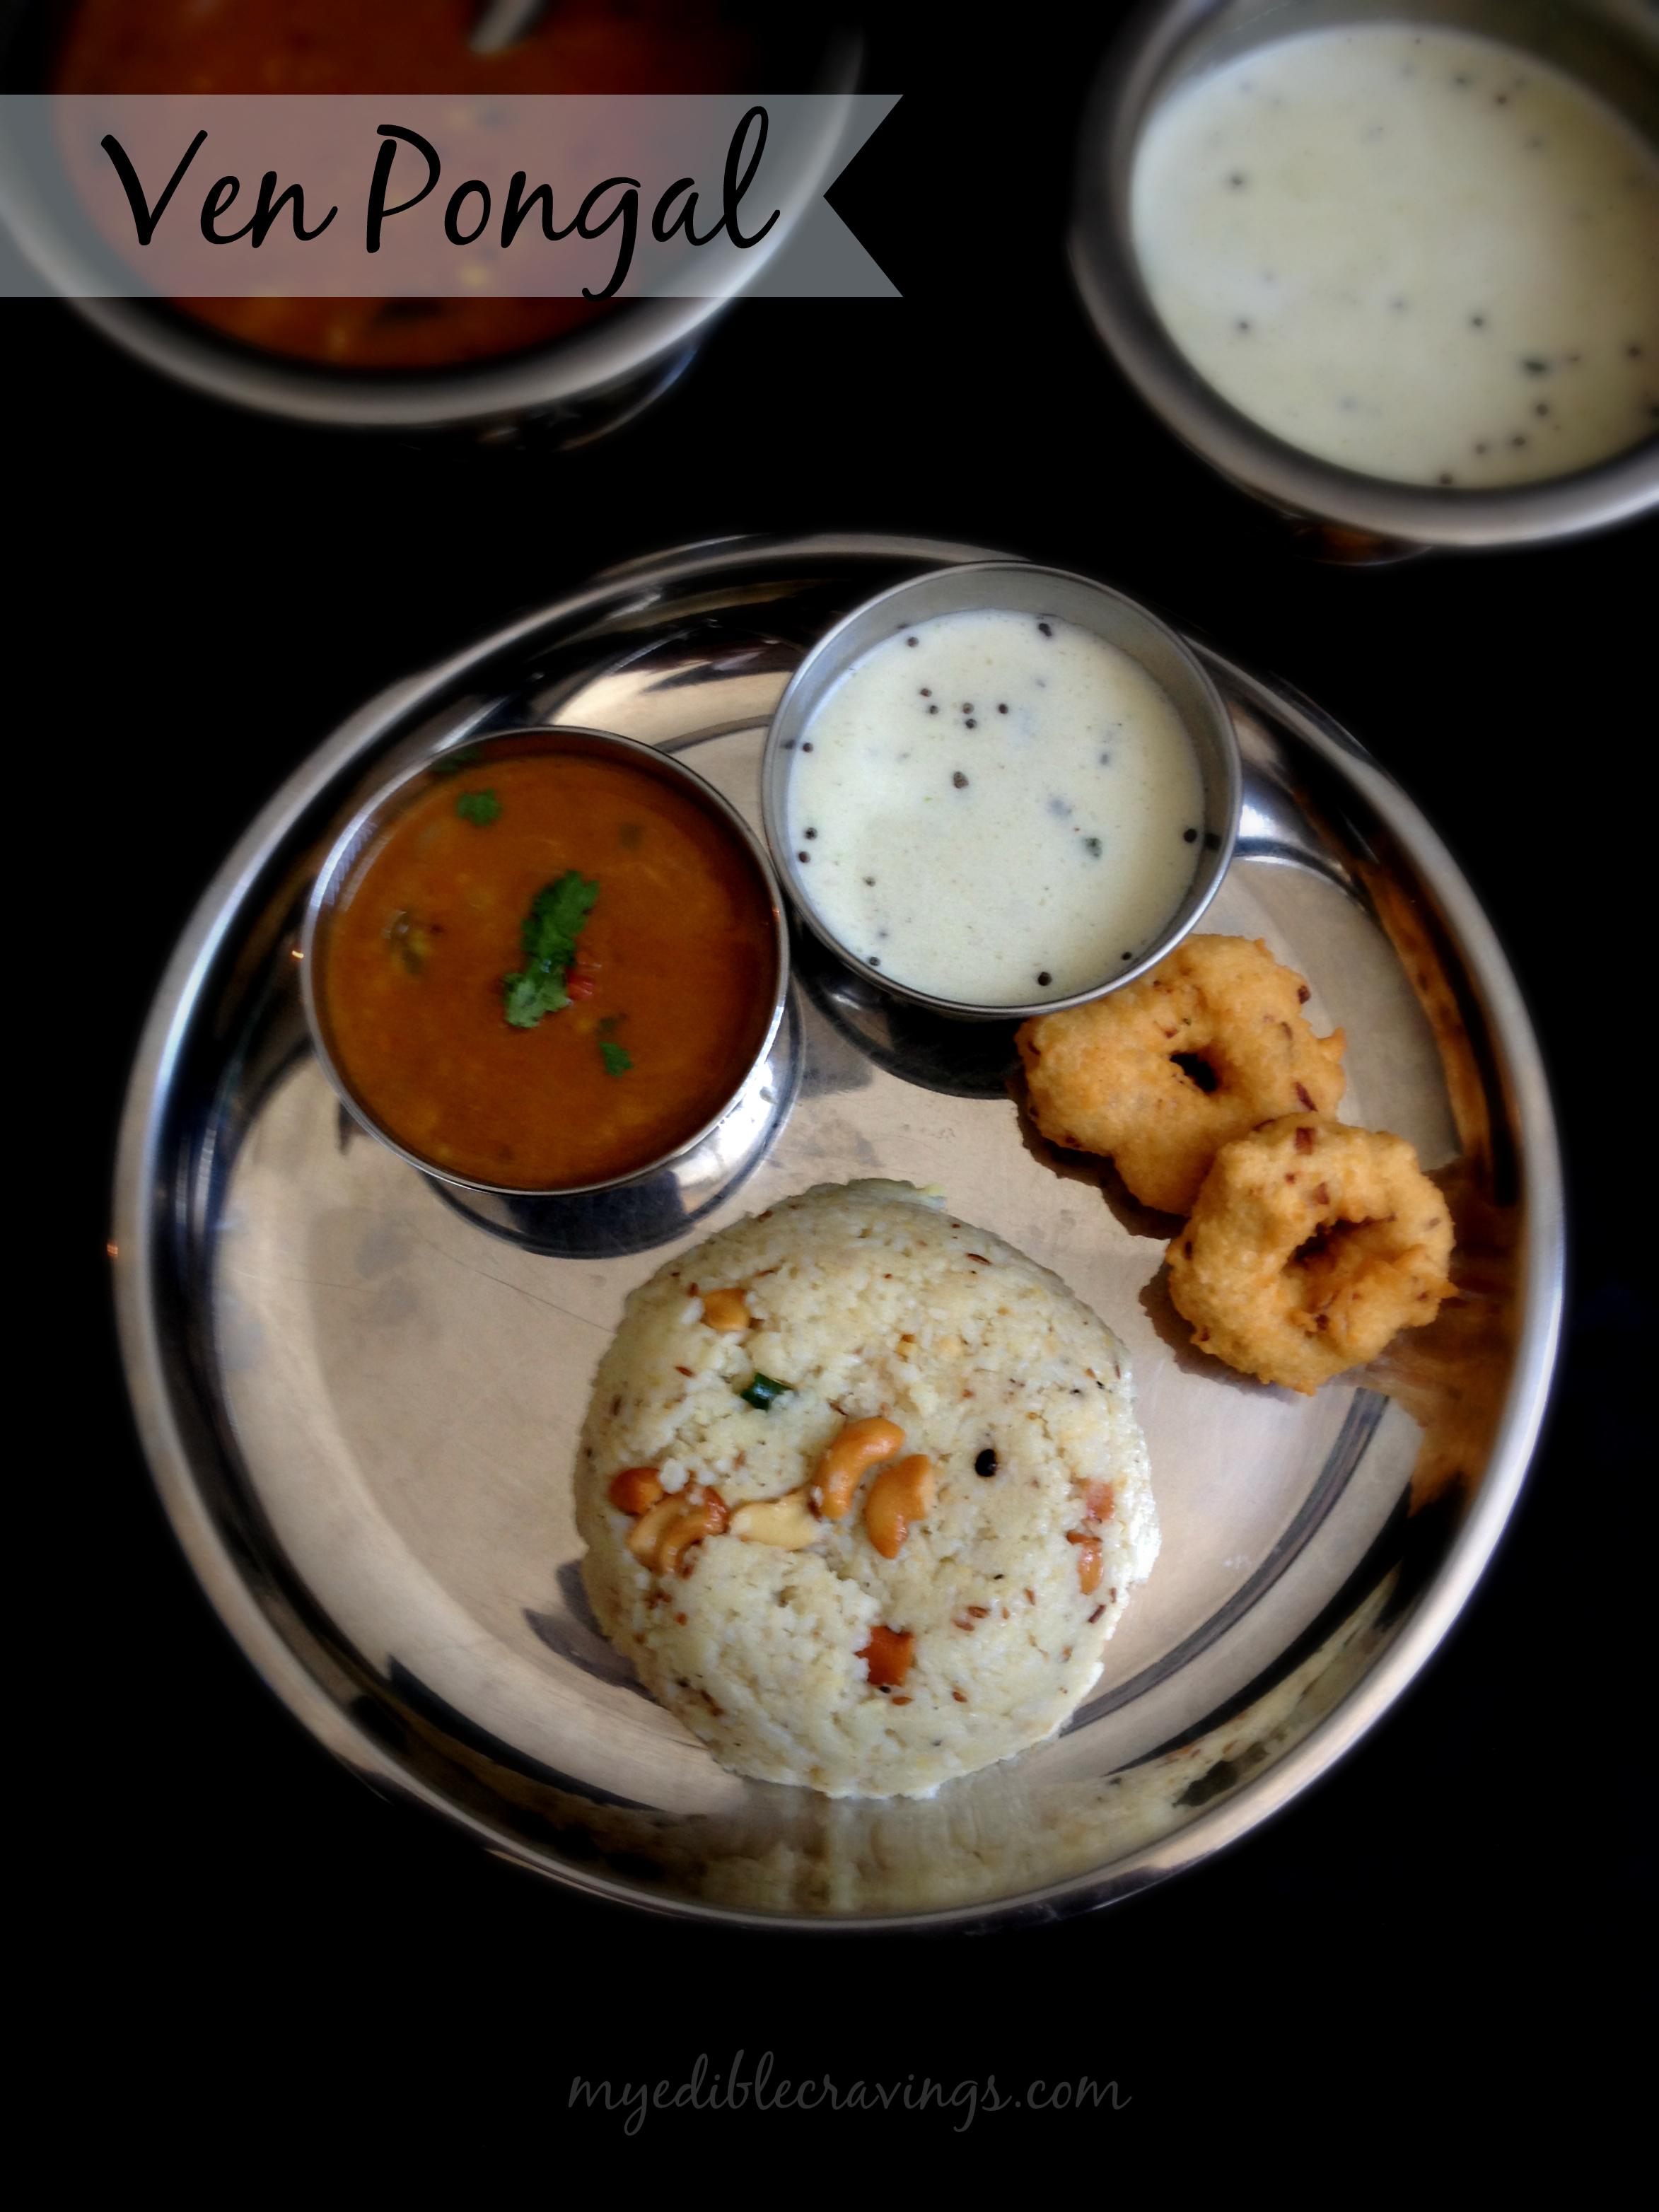
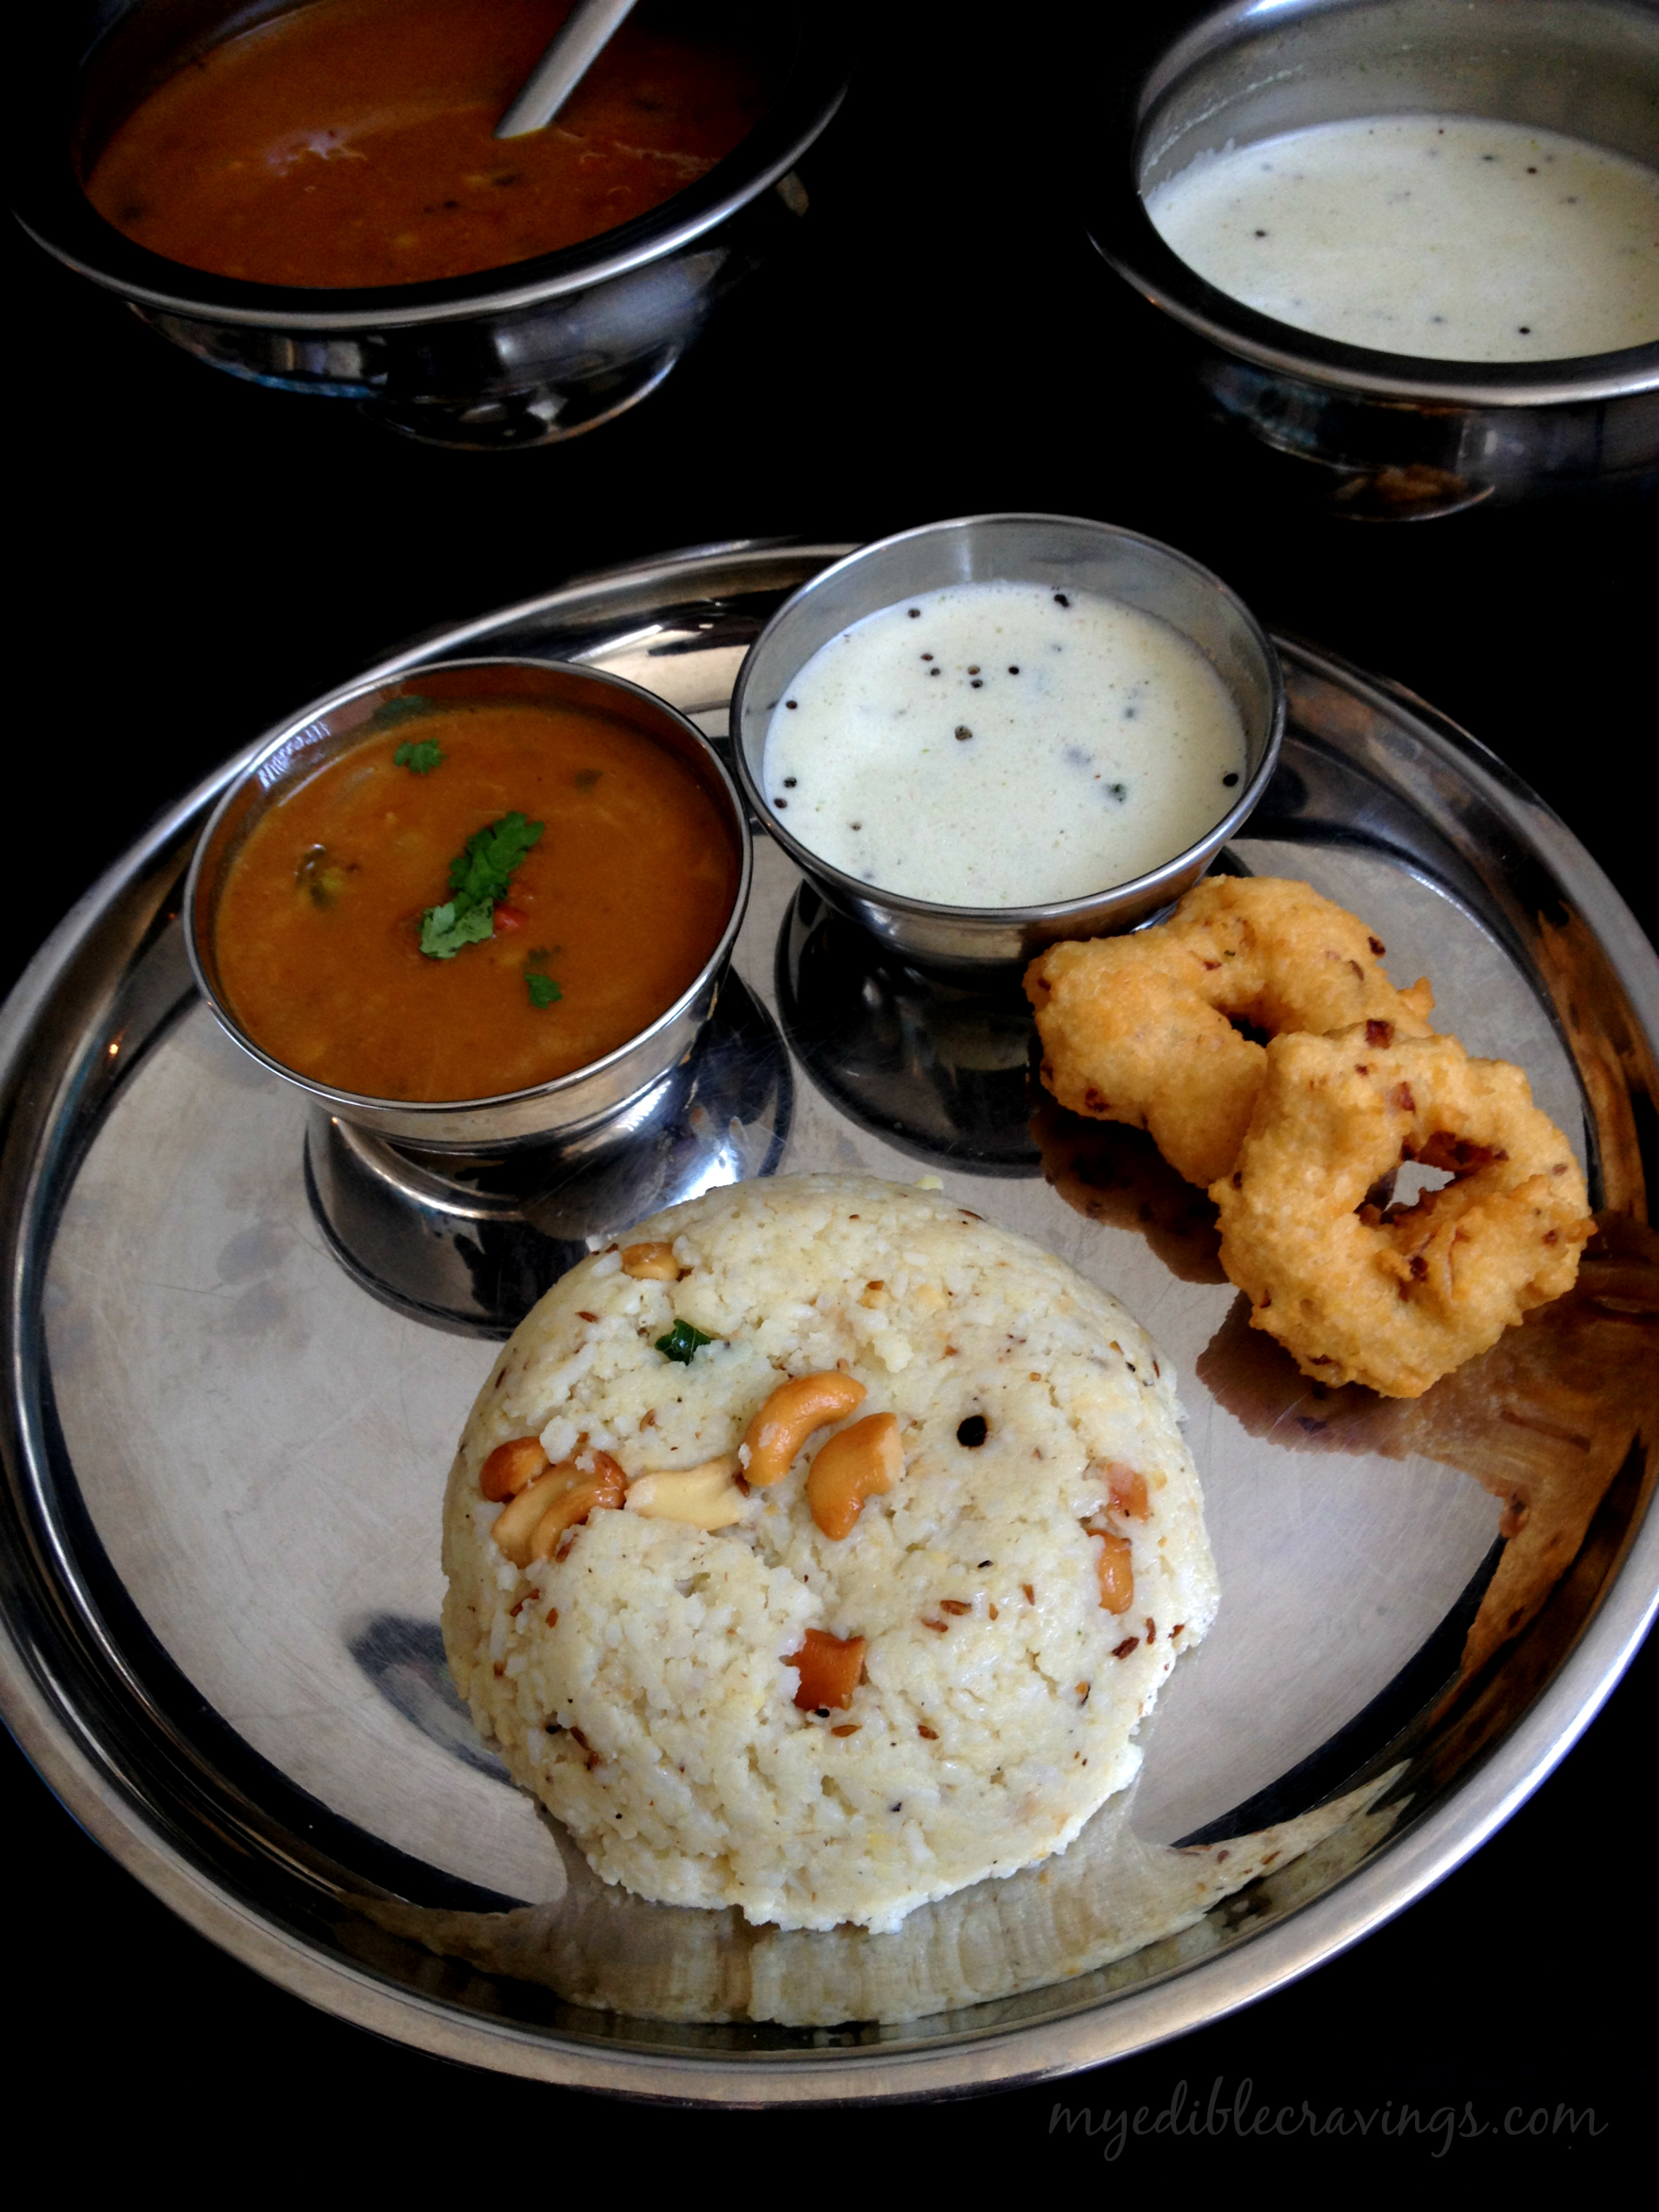
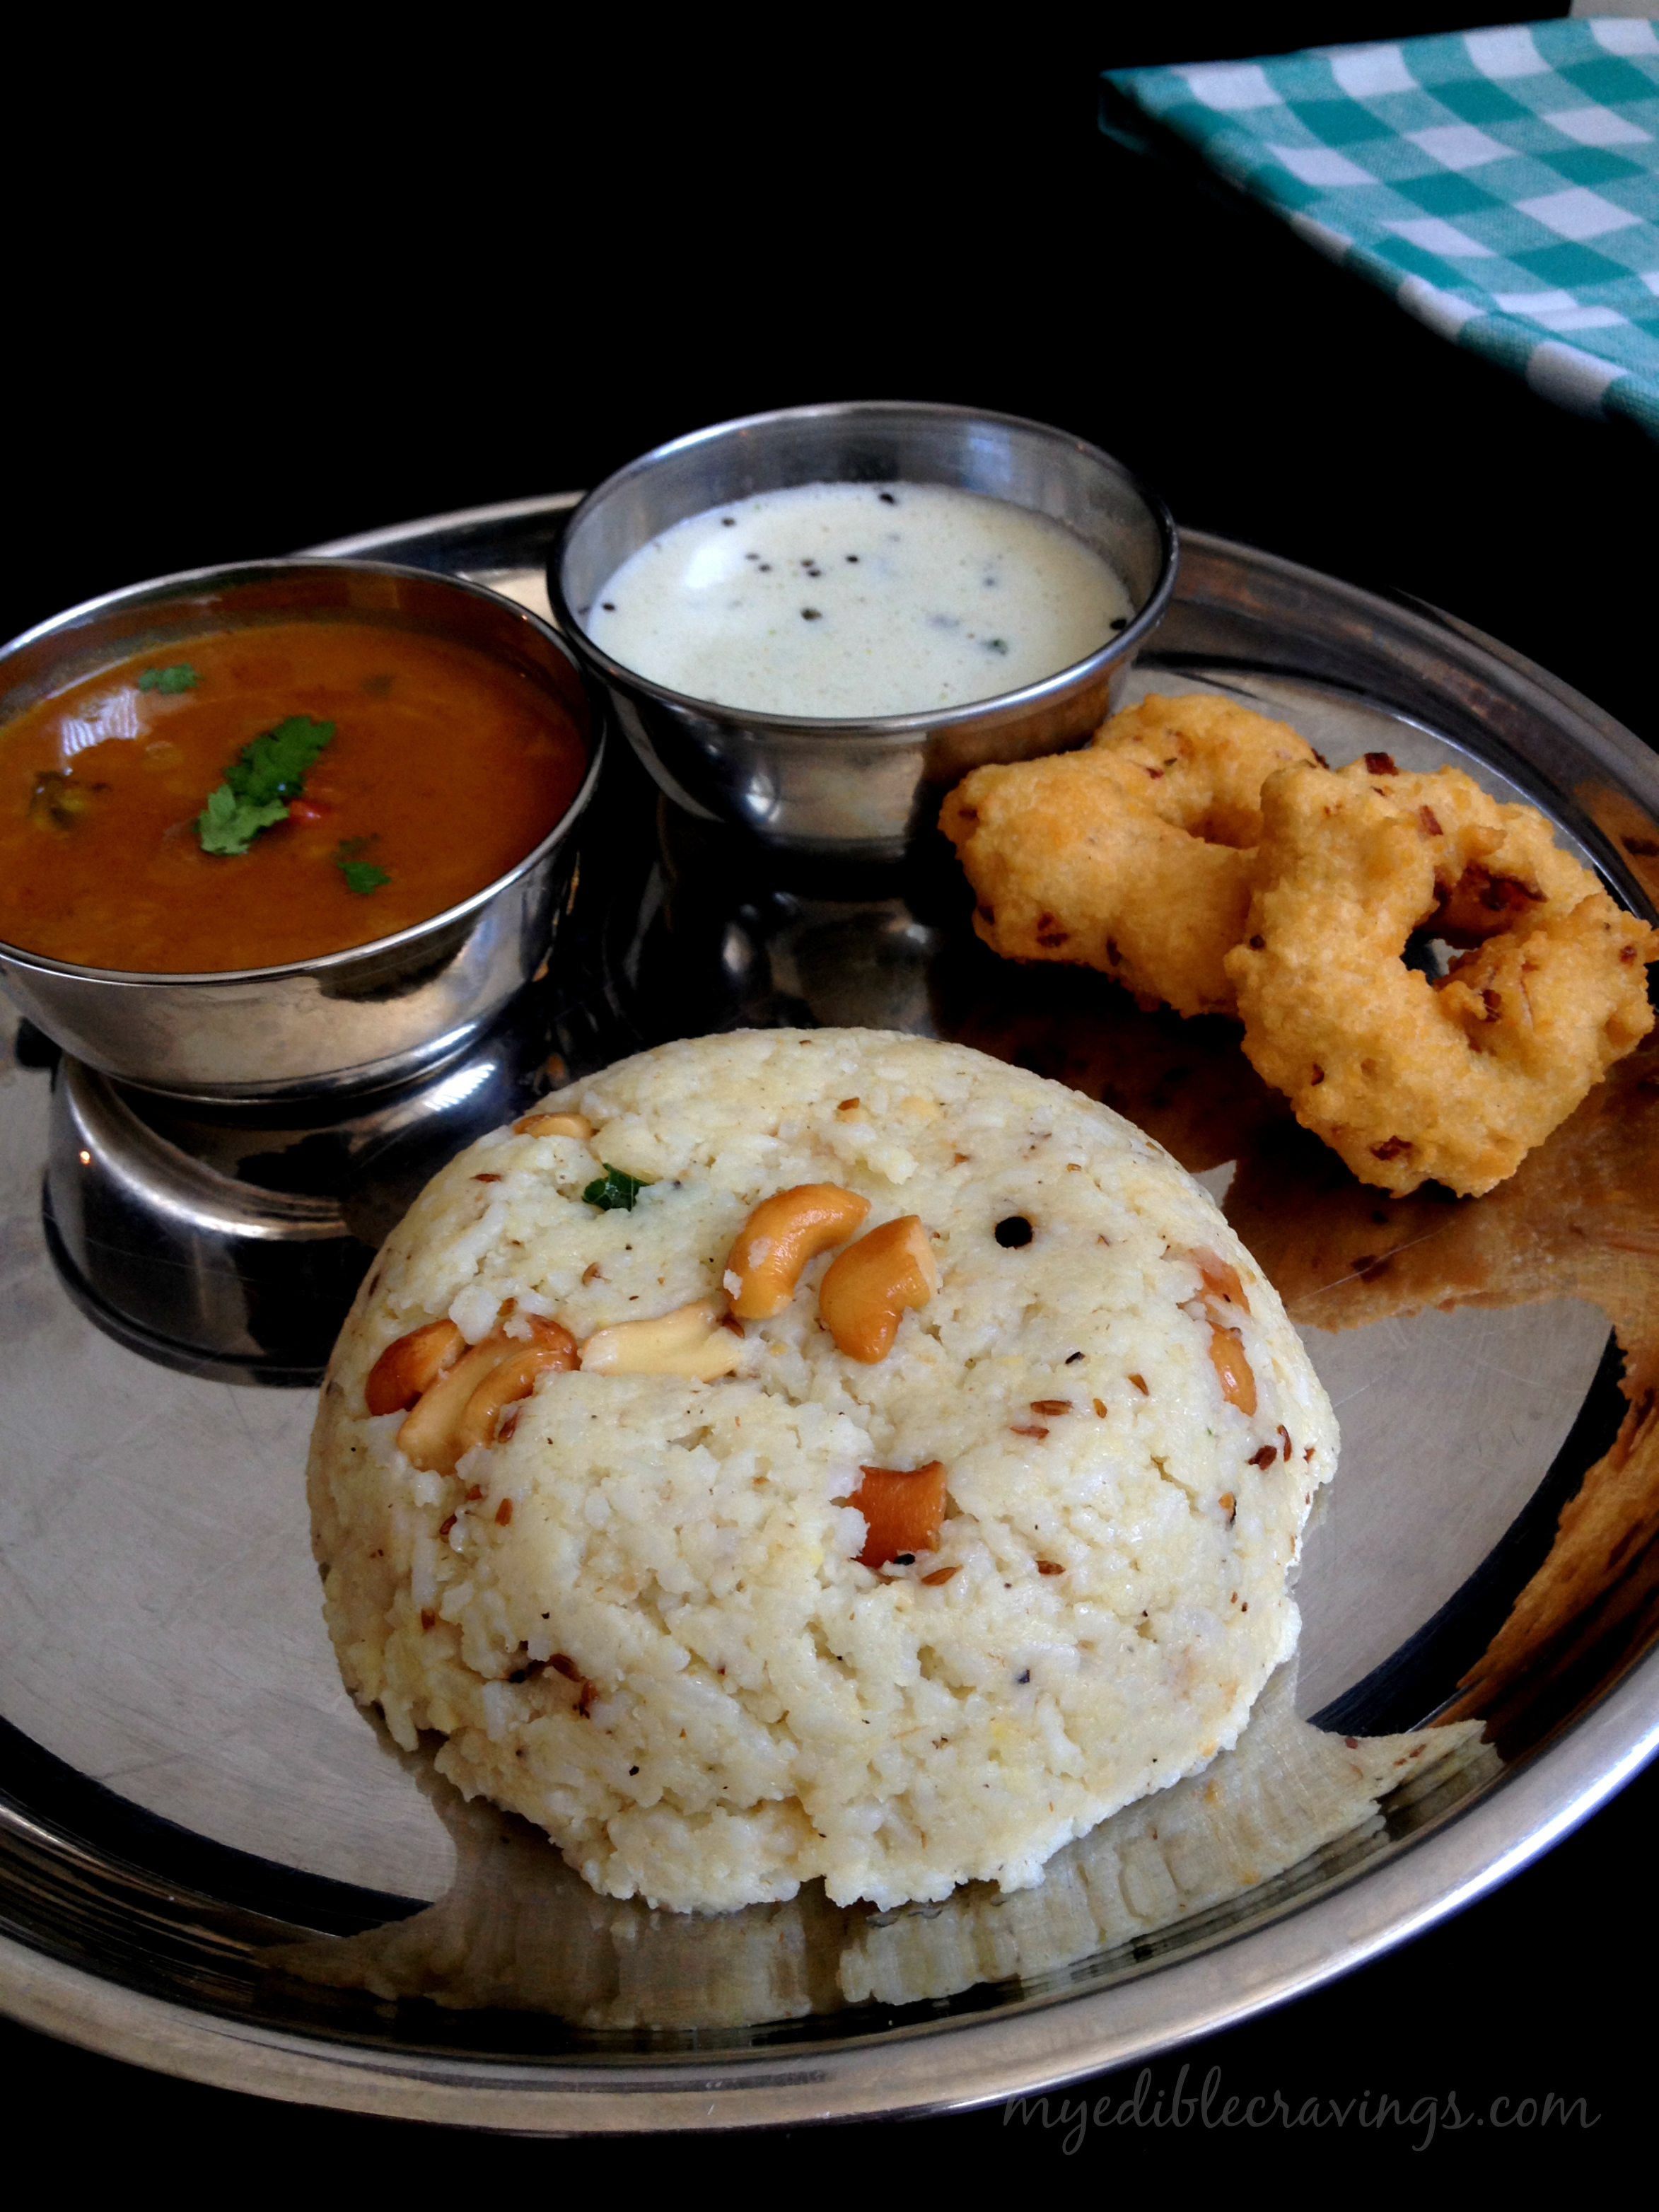
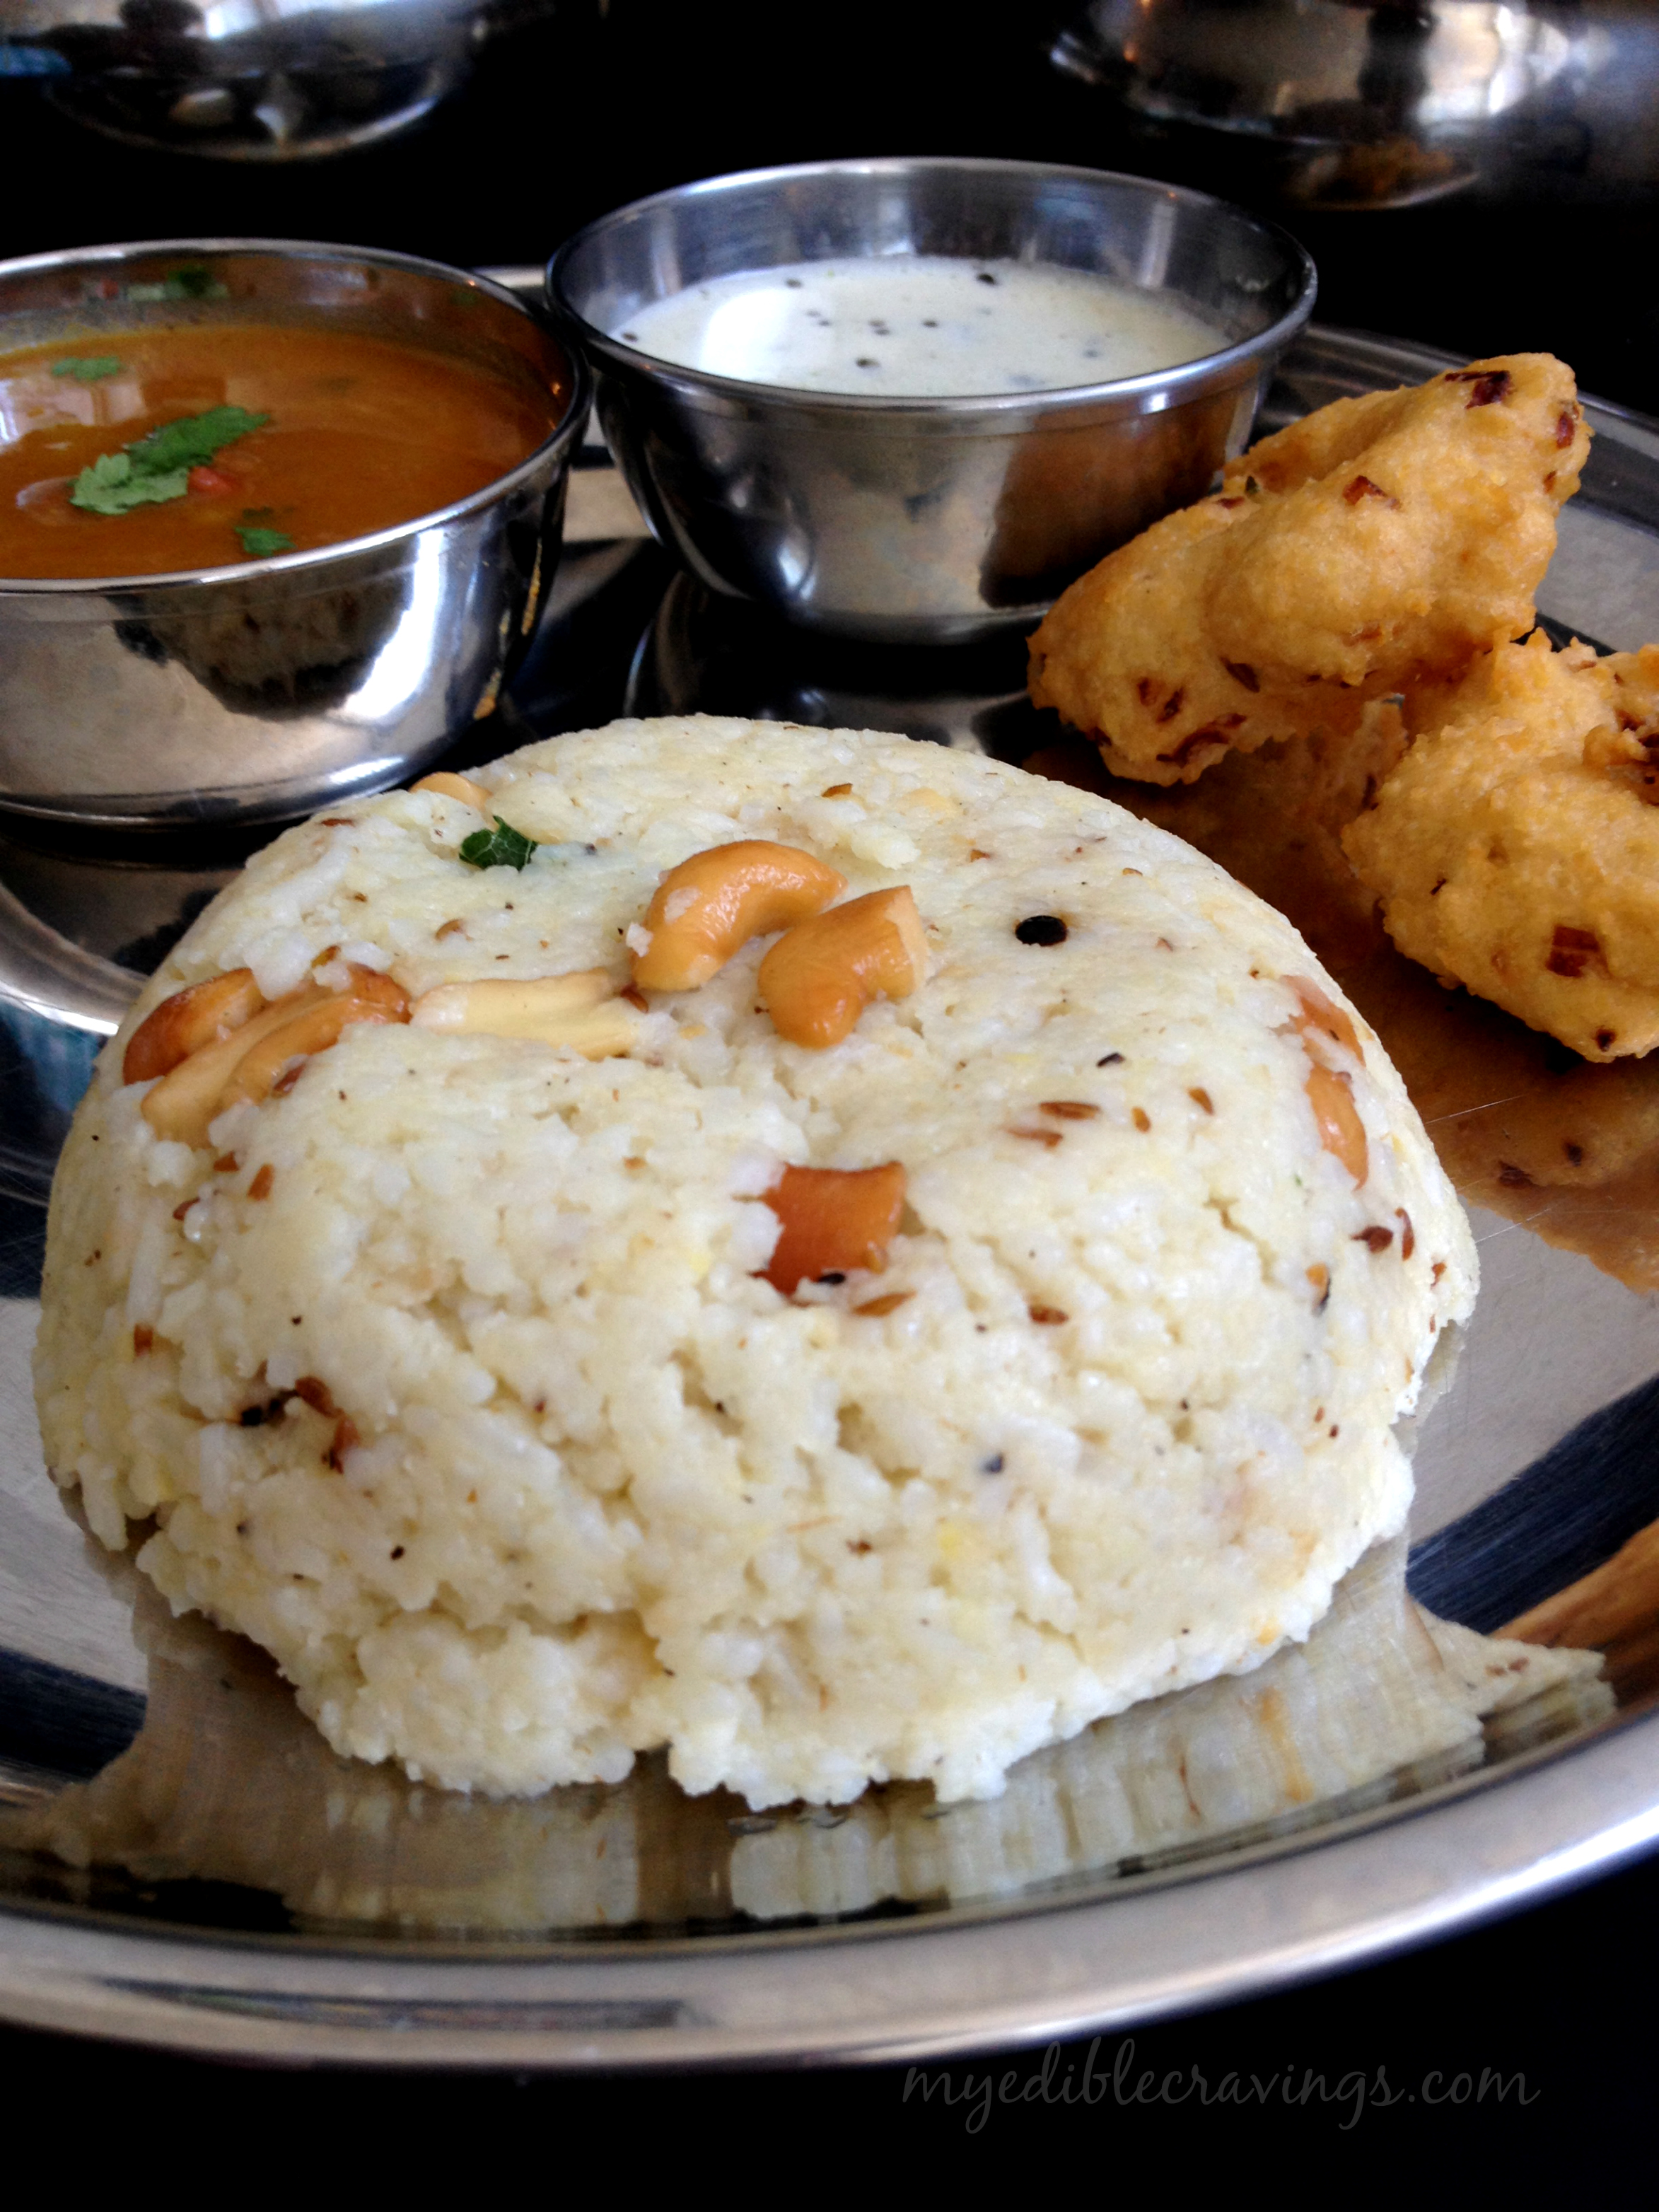
Ven Pongal literally means white Pongal (Ven – white). It is a Tamilian dish very popular in my home state in India. Ven Pongal is a rice dish that is always served as a breakfast item (and occasionally for lunch). It is the opposite to Chakara Pongal (sweet Pongal) and is common in the sense that it is served on all days unlike Chakara Pongal which is mainly served on holidays and during festivals. venpongal Ven Pongal is one of my Mom’s and HB’s favorite dishes. He really gets excited when it is prepared at our home. Ven Pongal with Sambar (another south Indian dish), coconut chutney and Medu Vadai makes an awesome combination and the taste is to die for! In our family, we also refer Ven Pongal as sleeping dose 🙂 since it fills your appetite quickly and makes you feels lazy and drowsy, in a good way. I would suggest Ven Pongal as a weekend breakfast dish. venpongal Back in my home, my Mom always makes Chakara  Pongal and Ven Pongal during Pongal festival. Pongal is a Tamil festival that is celebrated during the month on January in honor of farming and cows. I do miss those days where we celebrate this festival wearing new dress and having lip smacking servings of Pongal and sugarcane (called as Karumbu in Tamil). VenPongal Here is the recipe for Ven Pongal, a popular dish from my beloved state. Do try it in your home and experience the same pleasure that I have every time when I make this dish 🙂 ven pongal

VEN PONGAL
Recipe type: Breakfast
Cuisine: Indian
Cook time: 
Total time: 
Serves: 2
 
Ven Pongal literally means white Pongal (Ven - white). It is a Tamilian dish very popular in my home state in India. Ven Pongal is a rice dish that is always served as a breakfast item
Ingredients
  • White raw rice – ¾ cup (I used sona masoori)
  • Moong dal – ¼ cup
  • Ghee – 3 tbs
  • Asafoetida – a pinch
  • Ginger, minced – 1 “ (optional)
  • Salt as required
  • Water – 3 (for 1 cup of rice add 3 cups of water)
  • Cumin seeds – 1 tbsp
  • Crushed pepper – 1 tbsp
  • Curry leaves - a sprig
  • Cashews – 1 tbsp
Instructions
  1. Wash the rice and dal thoroughly in water and drain it completely.
  2. Heat a tbsp of ghee in a pressure cooker, add the rice and moong dal and stir for a minute until the aroma spreads. Add asafoetida, salt, ginger and water. Mix well and pressure cook for 4 to 5 whistles. When the pressure is down, mash the rice well adding a tbsp of ghee.
  3. Heat a tbsp of ghee in a small kadai and temper with cumin seeds, crushed pepper, curry leaves and cashews. Add the tempering to the mashed rice and mix well.
  4. Serve hot with sambar, coconut chutney and medu vada. Enjoy!