CAULIFLOWER CRUST BREAD

Cauliflower crust breadCauliflower Crust Bread, interestingly, this dish is not a bread as the name implies. It is more of a pizza like variety and it tastes yummy! This is one of those dishes that I came across in my eternal search for different dinner recipes.
Cauliflower crust breadCaulifower Crust Bread is an easy to make dish and is comparatively healthier than Pizza. It is a very mild dish and hence kids friendly. The first time I made Cauliflower Crust Bread, the quantity was very less since I had used just a quarter of the cauliflower (I am bit cautious when trying out new dishes ;)) and I realy felt sorry for not making enough. It is that good.
Cauliflower crust breadAnd here is the recipe for Cauliflower Crust Bread. It goes well with marinara sauce (home made or store bought, doesn’t matter). Do try this one in your home and let me know how it tastes 🙂

CAULIFLOWER CRUST BREAD
Recipe type: Dinner
Cuisine: Italian
Prep time: 
Cook time: 
Total time: 
Serves: 6
 
Caulifower Crust Bread, interestingly, this dish is not a bread as the name implies. It is more of a pizza like variety and it tastes yummy!
Ingredients
  • Cauliflower (medium) -1
  • Cooking oil / olive oil - 2 tsp
  • Garlic cloves ( grated or minced) - 6
  • Eggs – 2 (lightly beaten)
  • Mozzarella cheese (low-fat cheese is fine) - 16 oz
  • Dried Italian herb seasoning - 1 tsp (freshly grated and divided)
  • salt and pepper - 3 pinch each
  • Cooking spray
  • Marinara sauce, for serving (optional)
Instructions
  1. Preheat the oven to 350F and line two 8" x 8" square cake pan with parchment paper so that the excess paper hangs over the sides; lightly spray the parchment paper with cooking spray (I used one 8" x 8" square cake pan and 9” x 9” loaf pan , cake pan crust was thin, whereas loaf pan’s crust was little thick).
  2. Grate the cauliflower (you should have about ½ a bowl of riced cauliflower) and microwave (uncovered) until softened, about 6 to 8 minutes, stirring occasionally (don’t add water); cool slightly.
  3. While the cauliflower cooks, cook garlic in a small skillet (stir constantly) with little oil on a low flame until fragrant (about 30 seconds to 1 minute).cool slightly.
  4. To the bowl with the softened cauliflower, add the garlic, egg, ¾ of the cheese (reserving ¼ for topping later), ¼ teaspoon of the dried Italian herb seasoning (reserving ¼ teaspoon for topping later), and a pinch of salt and pepper. Stir to combine and then spread in the prepared pans.
  5. Bake until the loaf sides turn golden brown (for about 30 minutes). Line a baking sheet with a piece of parchment paper; use the parchment paper to lift the loaf out of the loaf pan and carefully flip it over onto the lined baking sheet (so the bottom is on top). Bake for another 10 minutes.
  6. Preheat the broiler. Cut the loaf cross-wise into pieces. Slightly separate the pieces and sprinkle the cheese on top along with the remaining ¼ teaspoon dried Italian herb seasoning. Broil a couple minutes until the cheese is melted and golden in spots. Take out of the oven. Let it cool for 10 minutes (so that the crust will harden a bit and makes it easier to hold like a thin-crust pizza) and enjoy!
Notes
You could also use this cauliflower crust recipe for making pizza base instead of all-purpose flour.
Nutrition Information
Serving size: 2 pieces


Cauliflower crust bread

PULIYOGARE |PULIYODHARAI |PULIKAACHAL RECIPE|TAMARIND RICE

A traditional spicy and tangy puliyogare recipe which you can easily make at home.

Puliyogare

Temples always bring back fond memories to me; beautiful sculptures, devotional songs, the divine atmosphere and the one of a kind prashadam-puliyogare! During my childhood days, I never forget to get to bring back some puliyogare (if the visit was to the Lord Vishnu temple).
PuliyogareThe puliyogare version that I love the most (after the temple prashadam, of course!) is my mom’s. I always get excited when she makes it at home 🙂 . It is also very popular among my friends and my mom always prepares some for me to take back after my visit to home during my college days.
PuliyogarePuliyougarae/puliyodharai goes well with coriander chutney, paruppu vada or chips. The base ingredient called as pulikachal, can be prepared well in advance (as far as one week earlier). Whenever you feel lazy or don’t feel like trying out anything new, just mix some pulikaachal with white rice and tasty puliyogare can be prepared in no time.
PuliyogareThough it doesn’t look like the temple prashadam, it tastes yummy!

PULIYOGARAE
Recipe type: Lunch
Cuisine: Indian
Prep time: 
Cook time: 
Total time: 
Serves: 3
 
A traditional spicy and tangy puliyogare recipe which you can easily make at home.
Ingredients
  • Coriander seeds - 2 tbs
  • Fenugreek seeds- 1 tsp
  • Hing( solid) - 1 small piece
  • Turmeric powder -1/2 tsp for color
  • Pepper -10
  • Red chilly -7
  • Curry leaves- handful
  • Tamarind - lemon size
  • Gingelly oil – 2 to 3 tbs
  • Salt as required
Instructions
Puliyogarae powder:
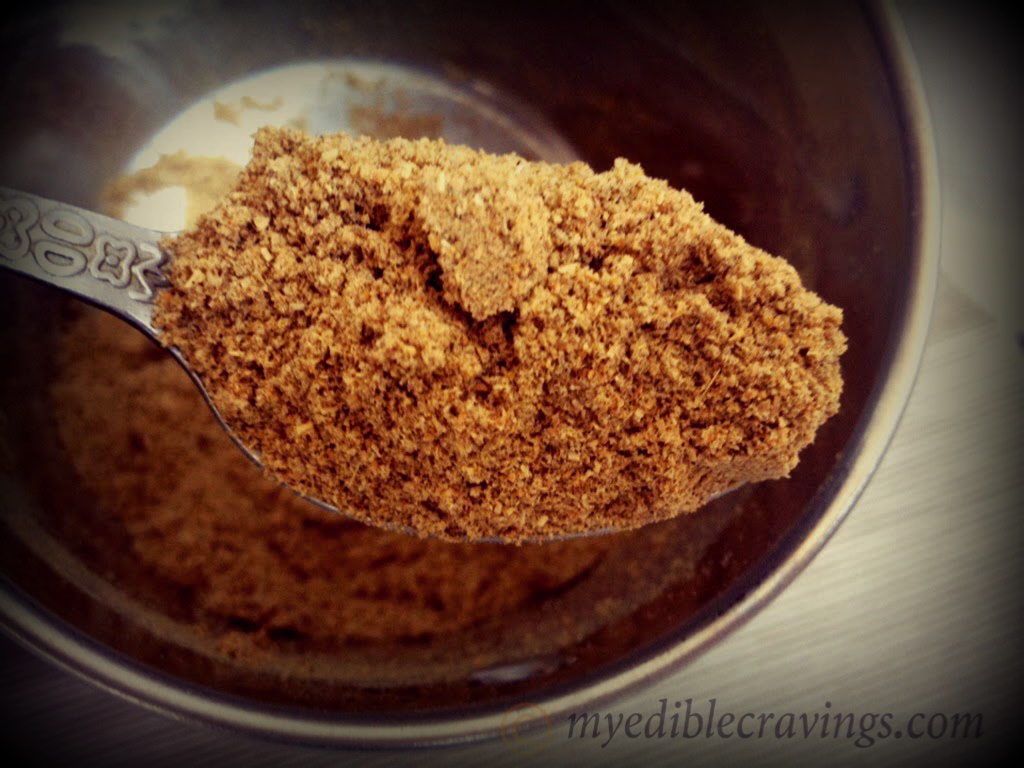
  1. Heat a pan, dry roast coriander seeds, pepper and fenugreek for few seconds until fenugreek seeds turn golden brown. (make sure not to burn the mixture). Now add hing atlast. Switch off the flame and take the pan off the stove (as the heat from the stove might burn the mixture).
  2. Wait until the mixture cools down and grind to a fine powder (shelf life for this powder is 2 months).
Tamarind paste:
  1. Soak lemon size tamarind in hot water for 10 to 15 minutes and drain the juice.
  2. Heat a tawa and add the tamarind juice with enough salt, bring it to boil. Add turmeric powder when the mixture starts to boil and wait until it gets thicken. Switch off the flame when the tamarind paste is ready.
Pulikaachal:
  1. Heat a pan and add gingelly oil (meanwhile break the red chillies into smaller pieces and keep it ready). When the oil is hot, season it with mustard seeds, urad dal, few curry leaves and red chillies(peanut and chenna dhal are optional)
  2. Add little puliyogarae powder to the seasoning and immediately add the tamarind paste.
  3. Add in the remaining puliyogarae powder to the mixture and boil it until oil separates.
Puliyogarae:
  1. You can now mix the pulikachal with steamed rice in small quantities depending upon how tangy and how spicy you want the rice to be. Your Tamarind Rice is now ready. Serve puliyogare with coriander chutney or it goes well even with potato chips.

Puliyogare

KAARA PANIYARAM | KUZHI PANIYARAM

KAARA PANIYARAM

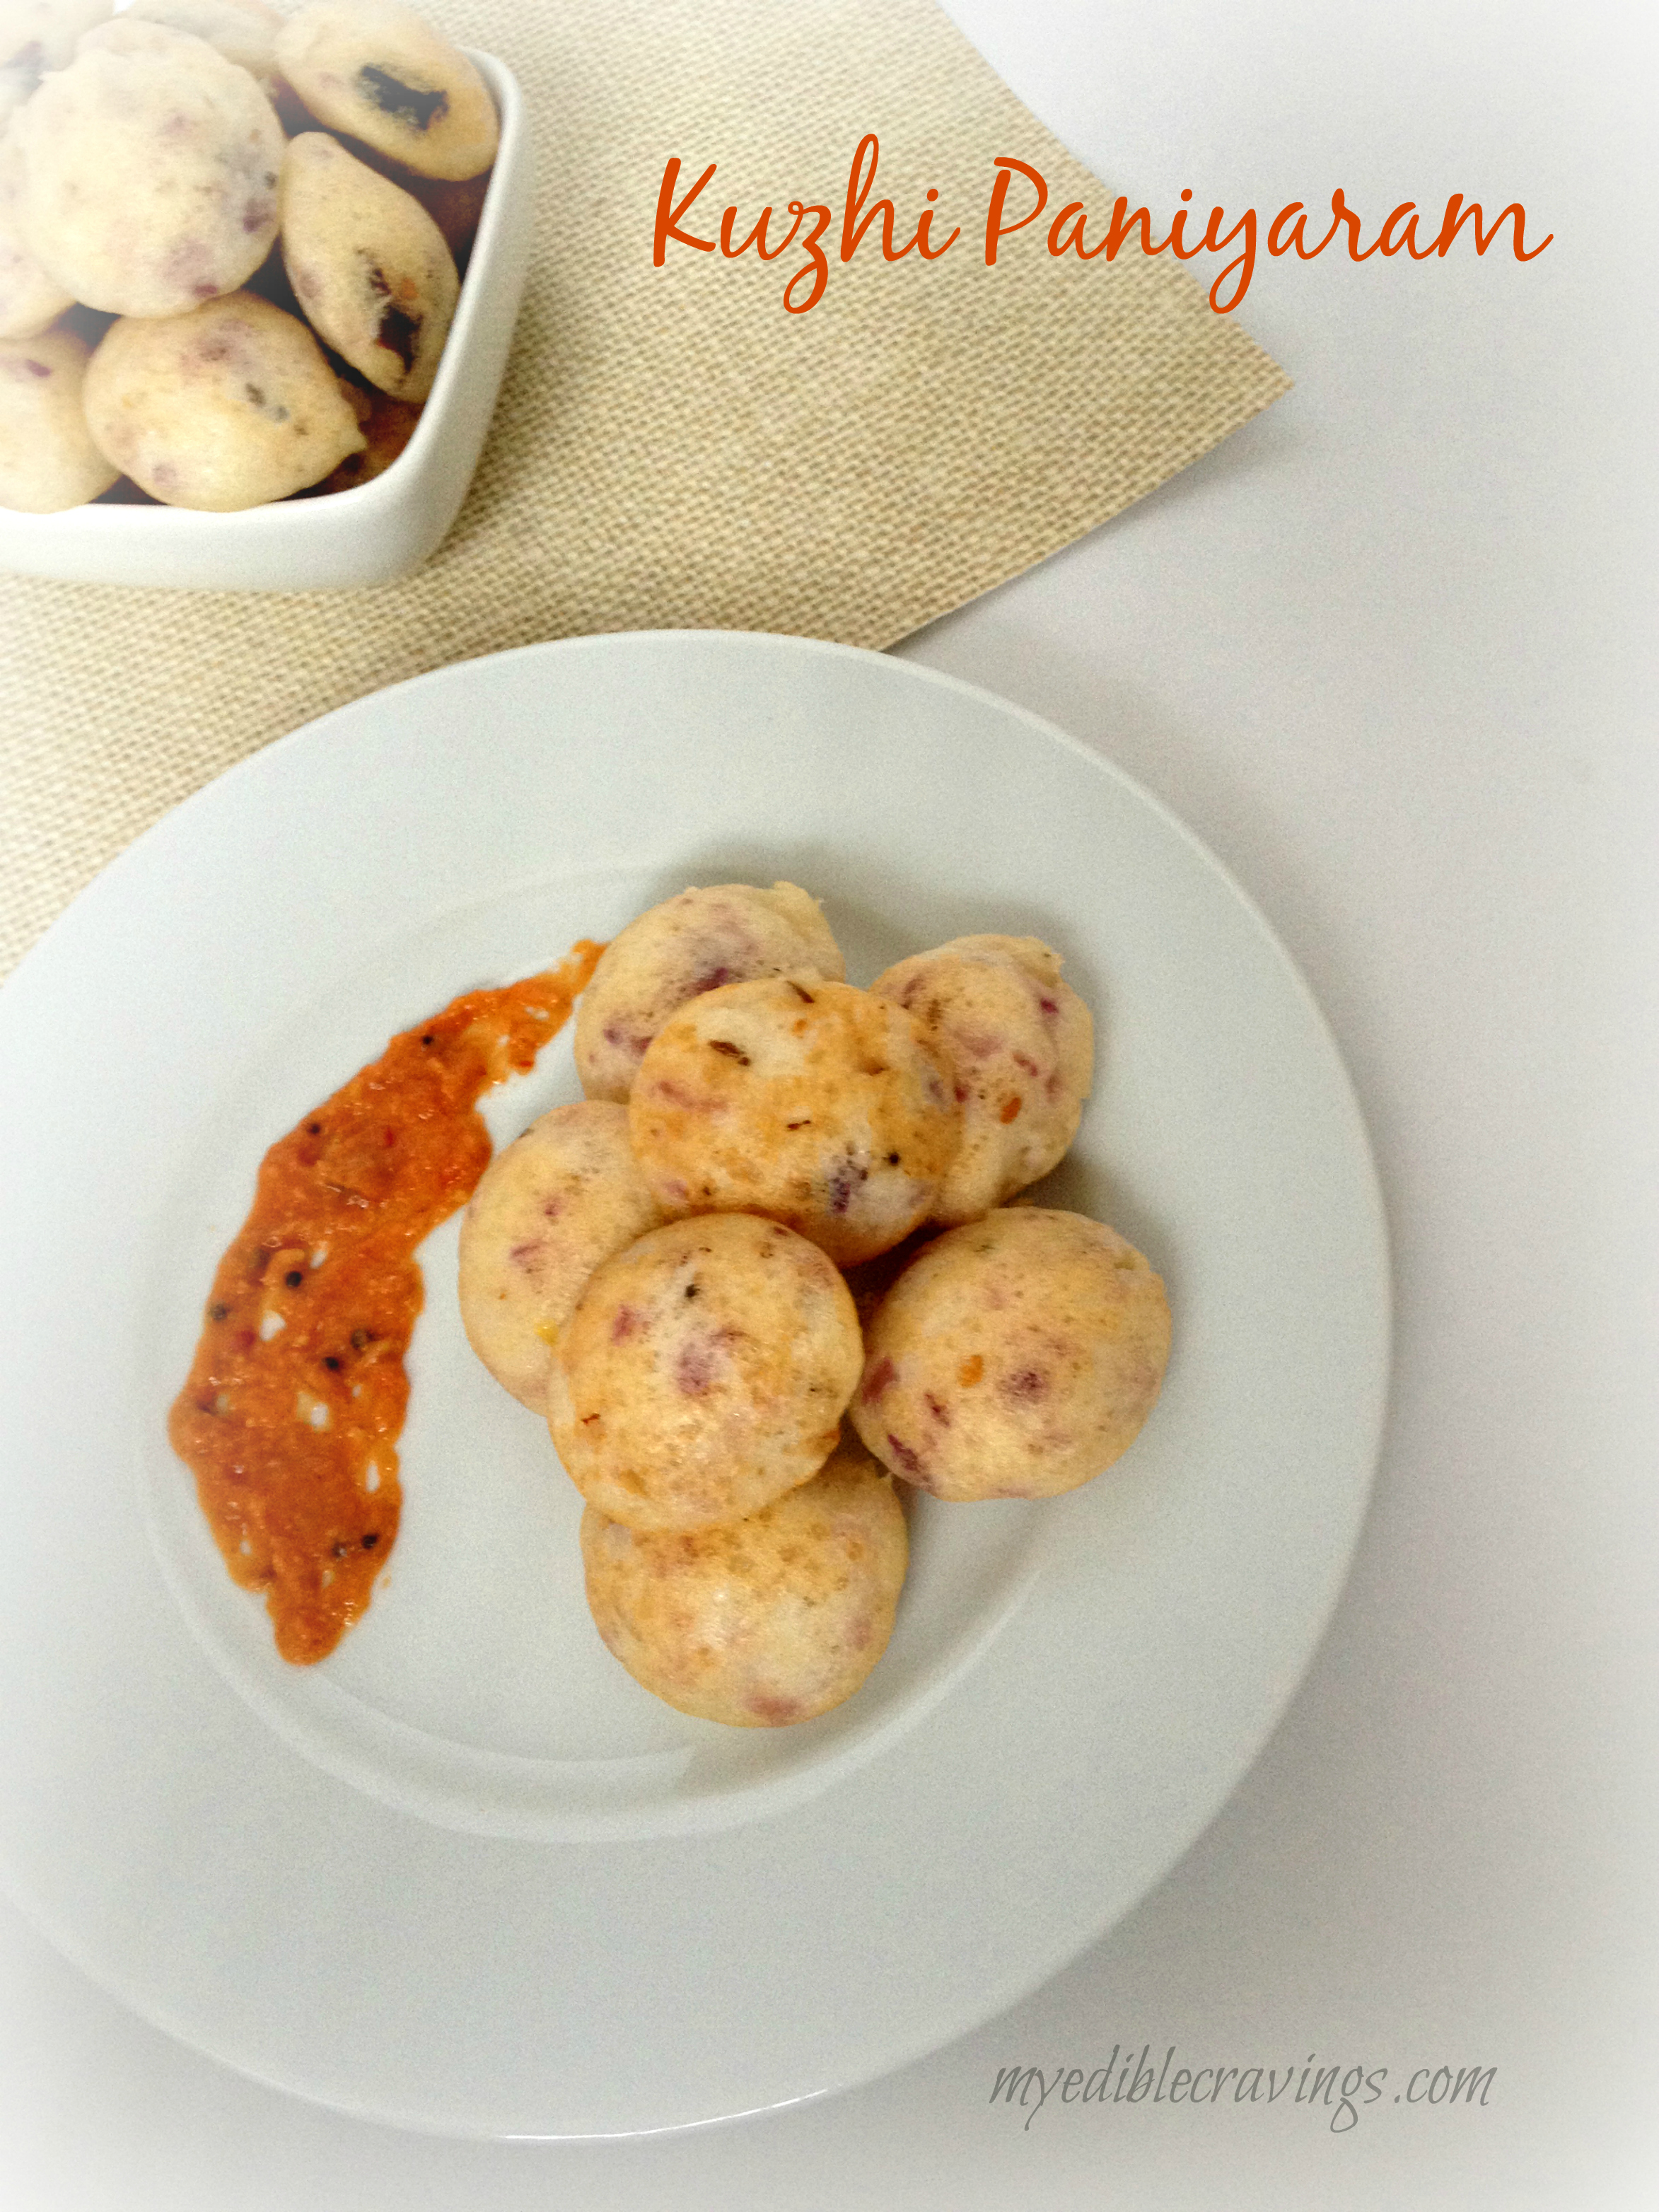
I have already given you the recipe for sweet paniyaram and here is the hot version of it. If you are bored of regular breakfast items like idli or dosa, you can make these. It is easier than making the sweet ones.

KUZHIPANIYARAM

Resembles fluffy cotton balls, right? But these can be eaten. 🙂
My HB gets excited whenever I make this dish and hope you too enjoy it with your loved ones!

HOT PANIYARAM
Recipe type: Breakfast
Cuisine: Indian
Prep time: 
Cook time: 
Total time: 
Serves: 4
 
Kuzhi paniyaram is a quick south indian breakfast recipe easily made with idli batter.
Ingredients
  • Split bengal gram (Kadalai paruppu ) - soaked for 5 to 6 hrs
  • Idli batter - 2 cups
  • Coconut pieces(optional) - 1 tbs
  • For the seasoning:
  • Mustard seeds – 1 tsp
  • Urad dal – 1 tsp
  • Shallots (chopped) - 3
  • Red chilli – 2
  • Curry leaves – 1 sprig
Instructions
  1. Add the split Bengal gram and coconut pieces into the idly batter.
  2. Season the batter with above given ingredients and mix it well.
  3. Heat the paniyaram pan and add a few drops of oil in each mould. Pour the batter with the help of a small ladle or spoon in each mould till they are ¾th full. Close the pan with a lid and let it cook for 2-3 minutes.
  4. Turn the paniyaram in each mould upside down with the help of a stick and let the other side also cook for 2-3 minutes. Add few more drops of oil if needed. No need to close the pan with the lid this time.
  5. Once cooked till a toothpick comes out clean when inserted, shake off the paniyarams onto a plate and repeat with the rest of the batter.
  6. Serve hot with onion chutney or any chutney of your choice.

You might also like

Sweet Paniyaram
 sweey paniyaram

SWEET PANIYARAM

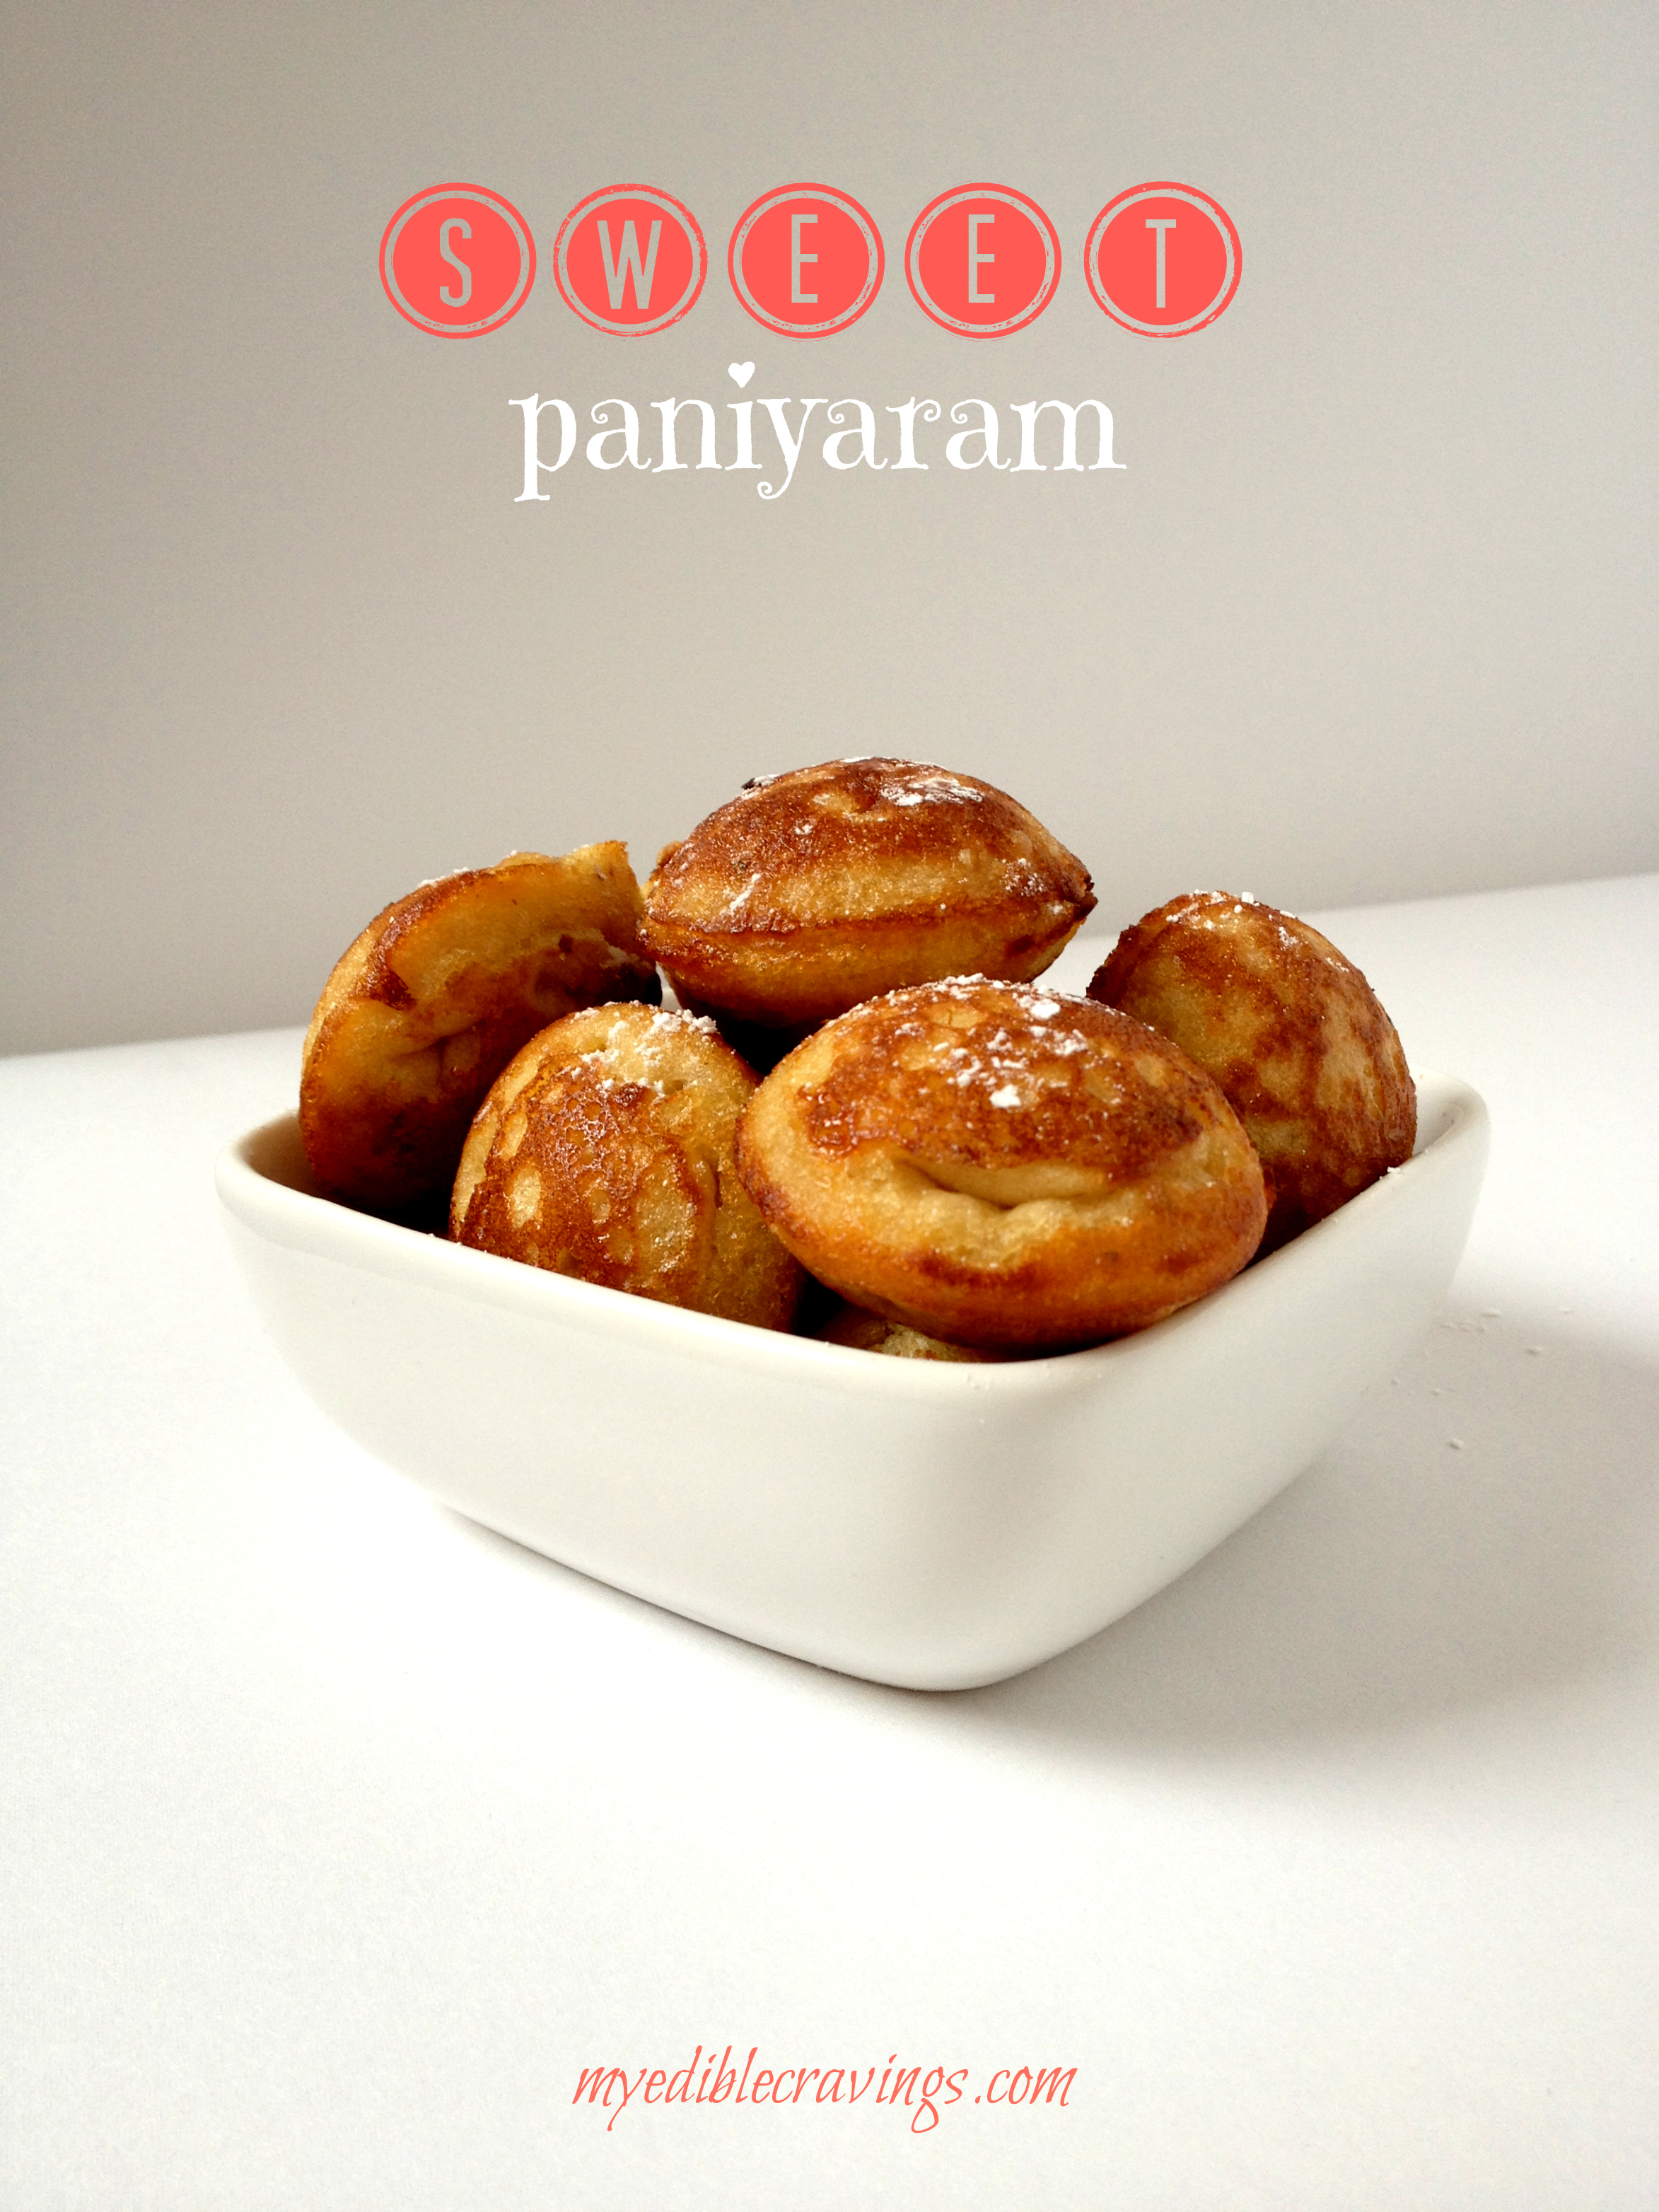
 sweey paniyaramPaniyaram is a traditional South Indian dish that can be had for breakfast or as an evening snack. It is one of my HB’s favorite dishes. After so many years (since my childhood), I had paniyaram at a restaurant in my home town, Madurai, on our way back here (boarded flight there) from a visit two years before. I loved the softness and the sweetness in the dish and got addicted. 🙂
inippu paniyaramDuring our trip last year, I was looking forward to visiting that restaurant just to have paniyaram! But it was not on the menu the day we went there! Now it happens to be that paniyaram is one of my MIL’s signature recipes! I wasn’t unlucky after all.  🙂
sweet paniyaram
Looks like munchkins, right? But these taste way better!
sweet paniyaram
The recipe given below is straight from MIL’s memory vault.

And before going to the recipe I would like to share few tips

  • Always try to use fresh ground batter for making sweet paniyarams (or save some batter before fermenting).
  • If you already have the idli batter at home, just soak and grind the whole wheat and pacharisi (white raw rice) alone to the batter.
  • The batter for sweet paniyaram should be thick and that’s why we are adding whole wheat or wheat flour.
  • Sweet paniyaram takes little longer time to cook than hot paniyaram.

SWEET PANIYARAM
Recipe type: Breakfast
Cuisine: Indian
Prep time: 
Cook time: 
Total time: 
Serves: 3
 
Ingredients
  • Idli rice - 1 cup
  • White Raw Rice (Pacharisi) - 1½ cup
  • Whole lentil (mulu ulundu) - ⅓ cup
  • Whole Wheat / wheat flour - 2 to 3 tbsp or judge yourself (to tighten the dough)
  • Fenugreek seeds - 15
  • Dry ginger (Sukku ) - an inch
  • Cardamom - 4
  • Jaggery - to your taste
  • Ghee required to smear around paniyarams.
Instructions
  1. Soak the rice, lentil, whole wheat and fennel seeds for 6 hrs and grind the batter.
  2. Crush sukku (dry ginger) & cardamom and add to the batter. Make jaggery syrup by adding very little water to the jaggery, when done add the jaggery syrup to the batter and mix it well (if you are not using whole wheat, add the wheat flour now and mix it to the batter without any lumps).
  3. Heat the paniyaram pan and add few drops of ghee in each mould. Pour the batter with the help of a small ladle or spoon in each mould till they are ¾th full. Smear few drops of ghee on the sides of each paniyarams.
  4. Turn the paniyaram in each mould upside down with the help of a stick and let the other side also cook for 2-3 minutes. Add few more drops of ghee if needed. Once cooked till a toothpick comes out clean when inserted, remove the paniyarams with a help of the stick and serve hot on a plate and repeat with the rest of the batter.

My HB gets excited whenever I make this dish and hope you too enjoy it with your loved ones!
sweet paniyaram

You might also like

Kaara Paniyaram

KUZHIPANIYARAM

CHICKEN BIRIYANI

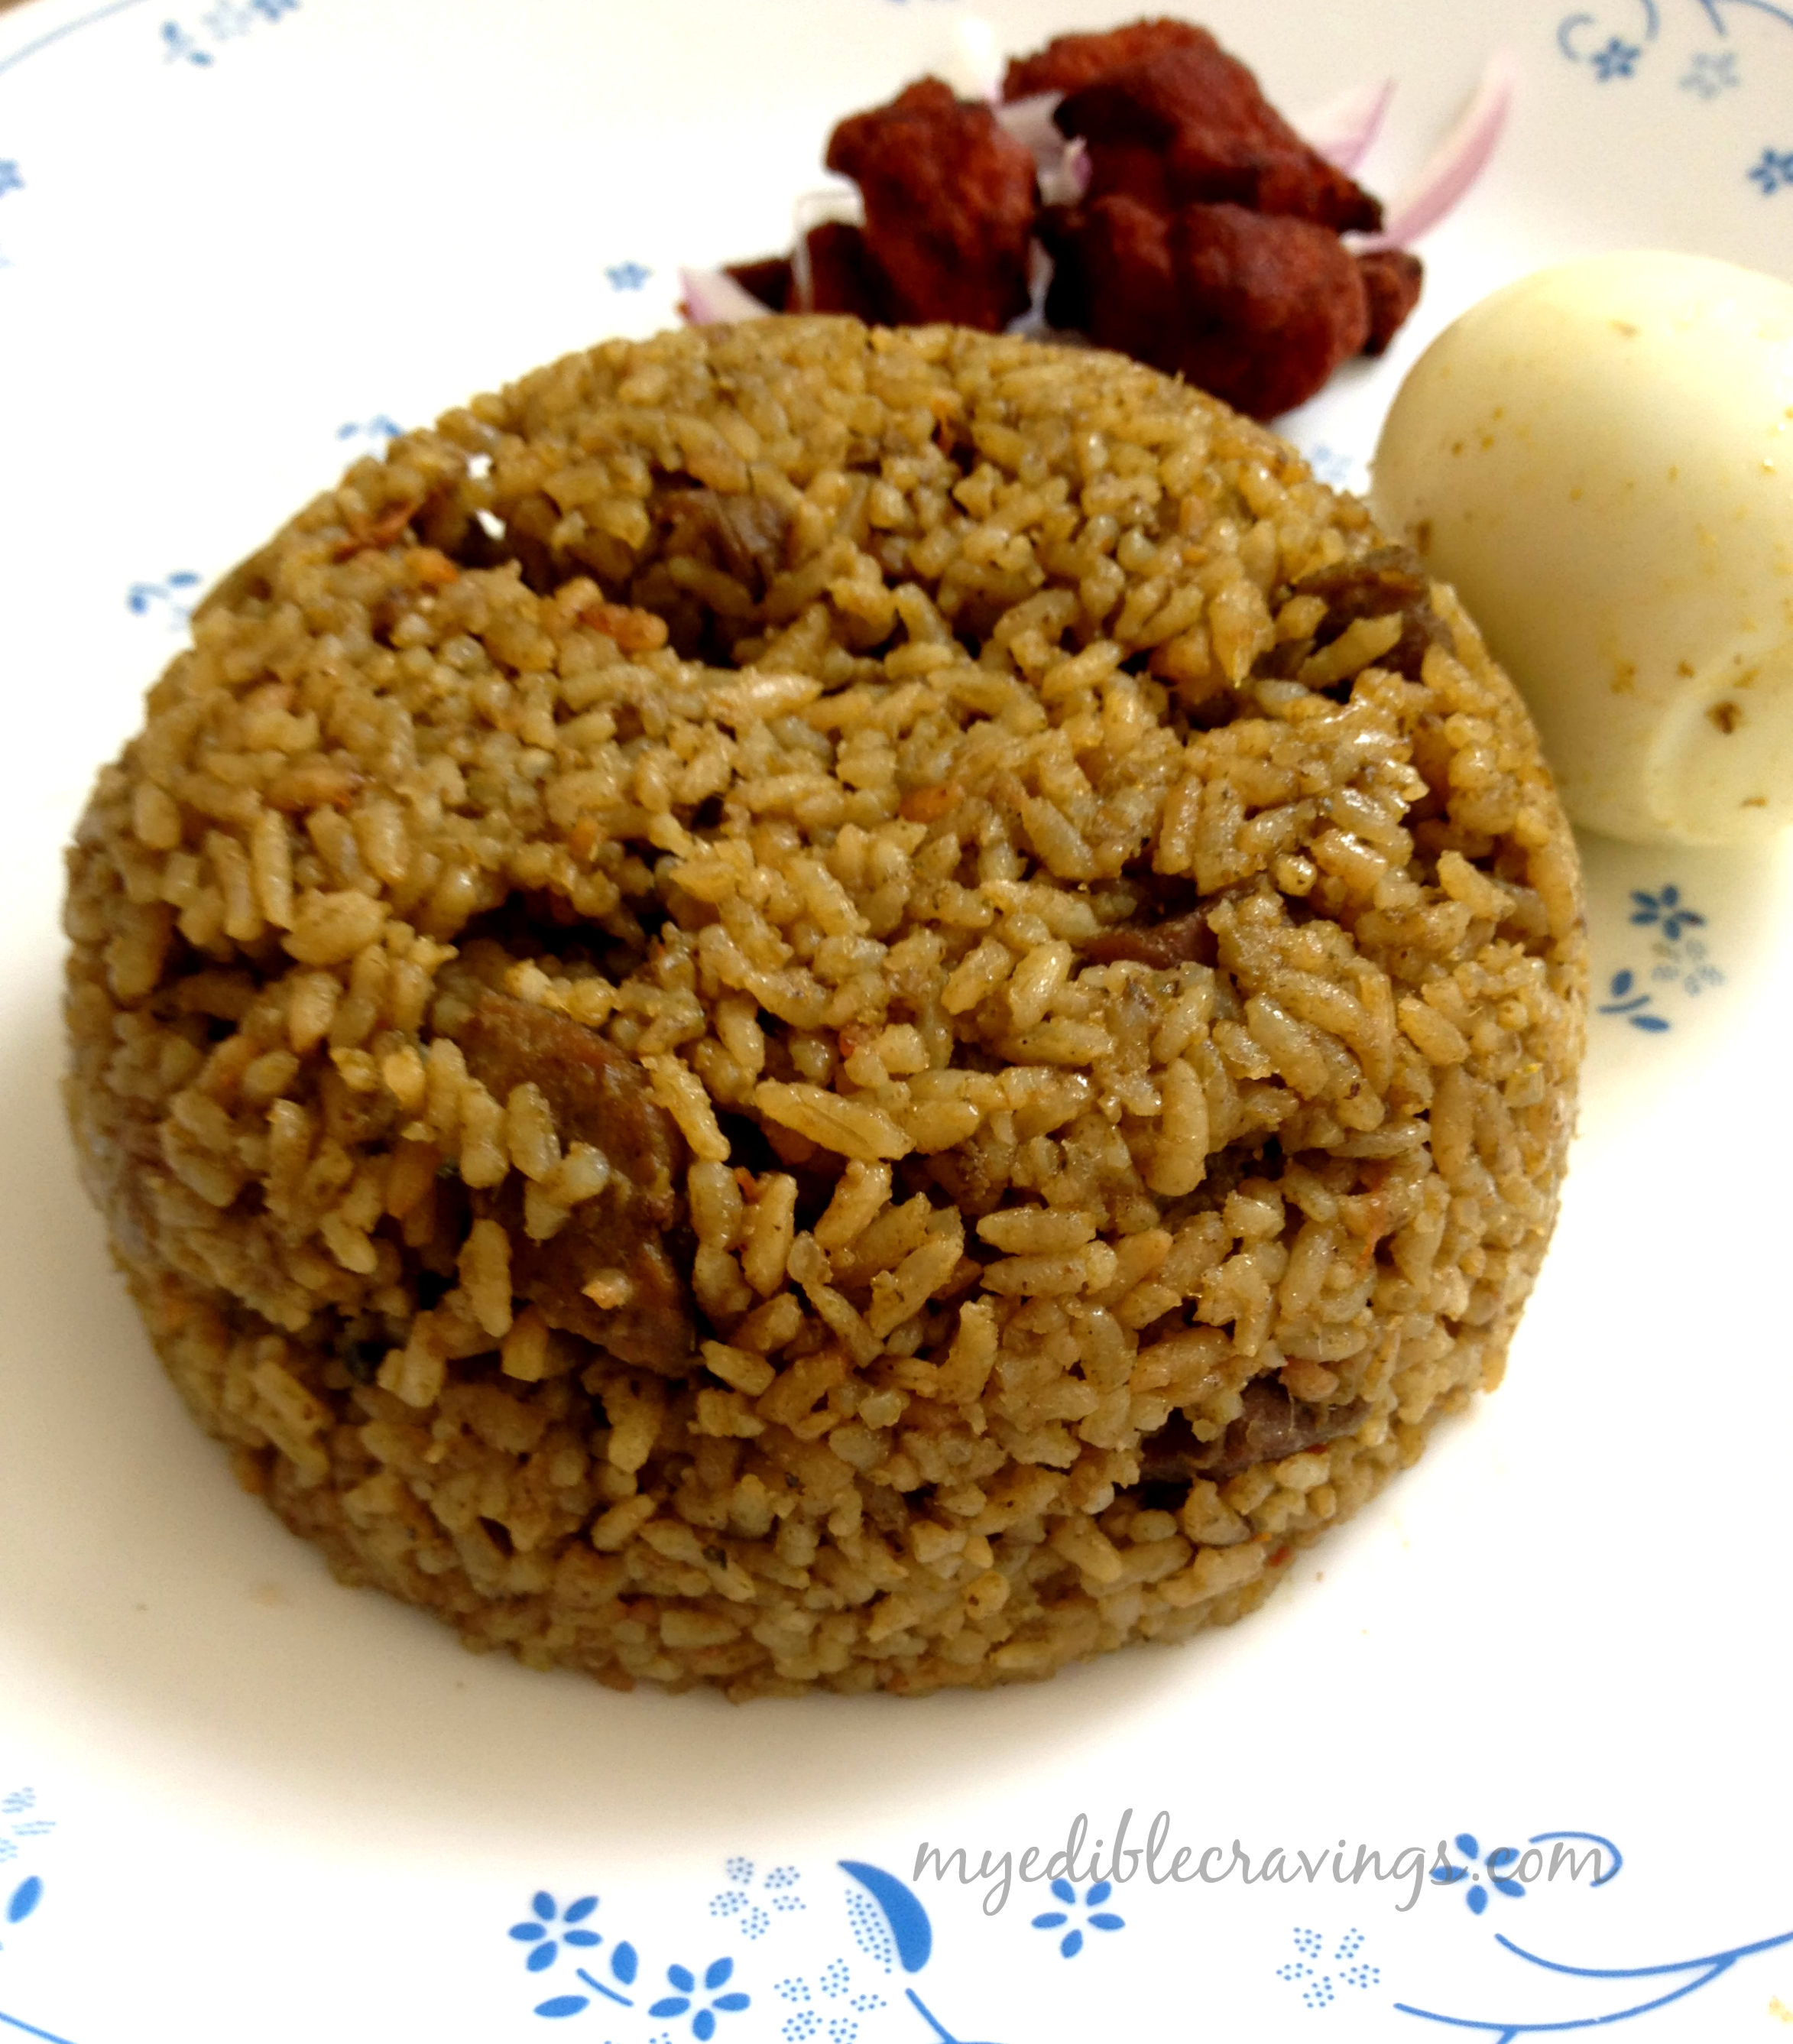
Chicken biriyani is a very popular Indian rice variety. Chicken biriyani is made with lots of spices which makes it more flavorful.037This is one of my most favorite dishes from my mom’s kitchen. Interestingly, I was not aware of its hold on me before my marriage. It all started after I moved here to U.S when I realized how much I was missing all those wonderful dishes back home and my mom’s biriyani was the one which I craved more.
042She prepares all the ingredients (from ginger-garlic paste to Biriyani powder) fresh right before making biriyani. Maybe that’s the secret of her recipe 😉 The fresh aroma of samba rice, homemade biriyani powder and ginger-garlic paste spreads through the whole house…ummmm..

  • If you are diet conscious, you can reduce the coconut milk ratio to 1 cup (i.e for 1 cup of rice, add 1 cup each of water and coconut milk) or entirely omit it and replace it with 2 cups of water. But coconut milk makes big difference in preparing this biriyani.
  • If you are using store bought coconut milk add just a couple of spoons. As they are very thick, adding more will overwhelm the taste of dish with coconut taste.
  • Do not add extra water as the chicken itself will release water.

032
And before proceeding, I’m warning you this food tempts you to make it again and again. 🙂

Mom’s Chicken Biriyani
Recipe type: Lunch
Cuisine: Indian
Prep time: 
Cook time: 
Total time: 
Serves: 2
 
Chicken biriyani is a very popular Indian rice variety. Chicken biriyani is made with lots of spices which makes it more flavorful.
Ingredients
Biriyani powder/masala:
  • Cloves – 10
  • Star anise – 2
  • Black Pepper – 15 nos
  • Green cardamom – 8
  • Cinnamon sticks – 1", 4 nos
  • Javetri – 1 flower
Other ingredients:
  • Ghee – 2 tbs
  • Coconut oil – 1 tsp
  • Biriyani powder – 1 tbs
  • Bay leaf – 1 (big)
  • Big Onion – 1 (cut into slits)
  • Ginger & Garlic paste – 1 tbs
  • Tomatoes – 1 (chopped)
  • Green chilli – 5 (slits)
  • Cilantro – handful (chopped)
  • Mint leaves – handful (chopped)
  • Coriander powder – 1 tbs
  • Red Chilli powder – 1 tsp
  • Garam masala powder – ½ tsp
  • Turmeric powder – 1 tsp
  • Salt – as required
  • Chicken – 1 lb or ½ kg (with bone)
  • Samba or Basmati rice – 1 cup
  • Coconut milk – 2 cups
Instructions
  1. Wash the chicken in running water. Marinate it with a tsp each of salt, turmeric powder and chilli powder and a tbs of ginger-garlic paste for 15 minutes.
  2. Wash the rice and keep it aside (if you are using basmati rice, wash and soak it in water for half an hour).
  3. Blend all the ingredients together given under biriyani masala and make a powder (you can store this biriyani powder in a small air tight container and use it for several days).
  4. Exract the coconut milk (if using homemade) and keep it ready.
  5. Heat the pressure cooker with a tsp of coconut oil and a tbs of ghee. Add in biriyani masala and slit onion. Sauté well.
  6. When onions turn slightly brown, add ginger & garlic paste. Stir fry till the raw aroma of ginger-garlic disappears.
  7. Add chopped tomato and sauté until mushy.
  8. Add all the greens (slit green chillies, chopped mint and cilantro) and sauté it for a minute.
  9. Now in a low flame, add in all the masala powders ( chilli powder, coriander powder and garam masala powder ) along with salt.
  10. Add in the chicken pieces and give it a stir.
  11. Add the coconut milk, mix well and bring it to a boil.
  12. Now check salt and add the washed (soaked) rice. Mix it well (make sure not to break the rice grains). Allow it to boil.
  13. When the water or coconut milk starts to boil, close the lid and cook for 3 whistles.
  14. When done open the lid, add a tbs of ghee and give it a stir (again, be careful not to break the grains while stirring) and close the lid.
  15. After ten minutes, serve hot chicken biriyani with onion raitha and any chicken / mutton gravy of your choice.
Notes
1. If you are diet conscious, you can reduce the coconut milk ratio to 1 cup (i.e for 1 cup of rice, add 1 cup each of water and coconut milk) or entirely omit it and replace it with 2 cups of water. But coconut milk makes big difference in preparing this biriyani.
2. If you are using basmati rice, then the ratio will be different i.e for 1 cup of rice 1 ½ cups of water.
3. If you are using store bought coconut milk add just a couple of spoons. As they are very thick, adding more will overwhelm the taste of dish with coconut taste.
4. Do not add extra water as the chicken itself will release water.

Chicken Biriyani

DINDIGUL THALAPAKATTI MUTTON BIRIYANI|LAMB BIRIYANI

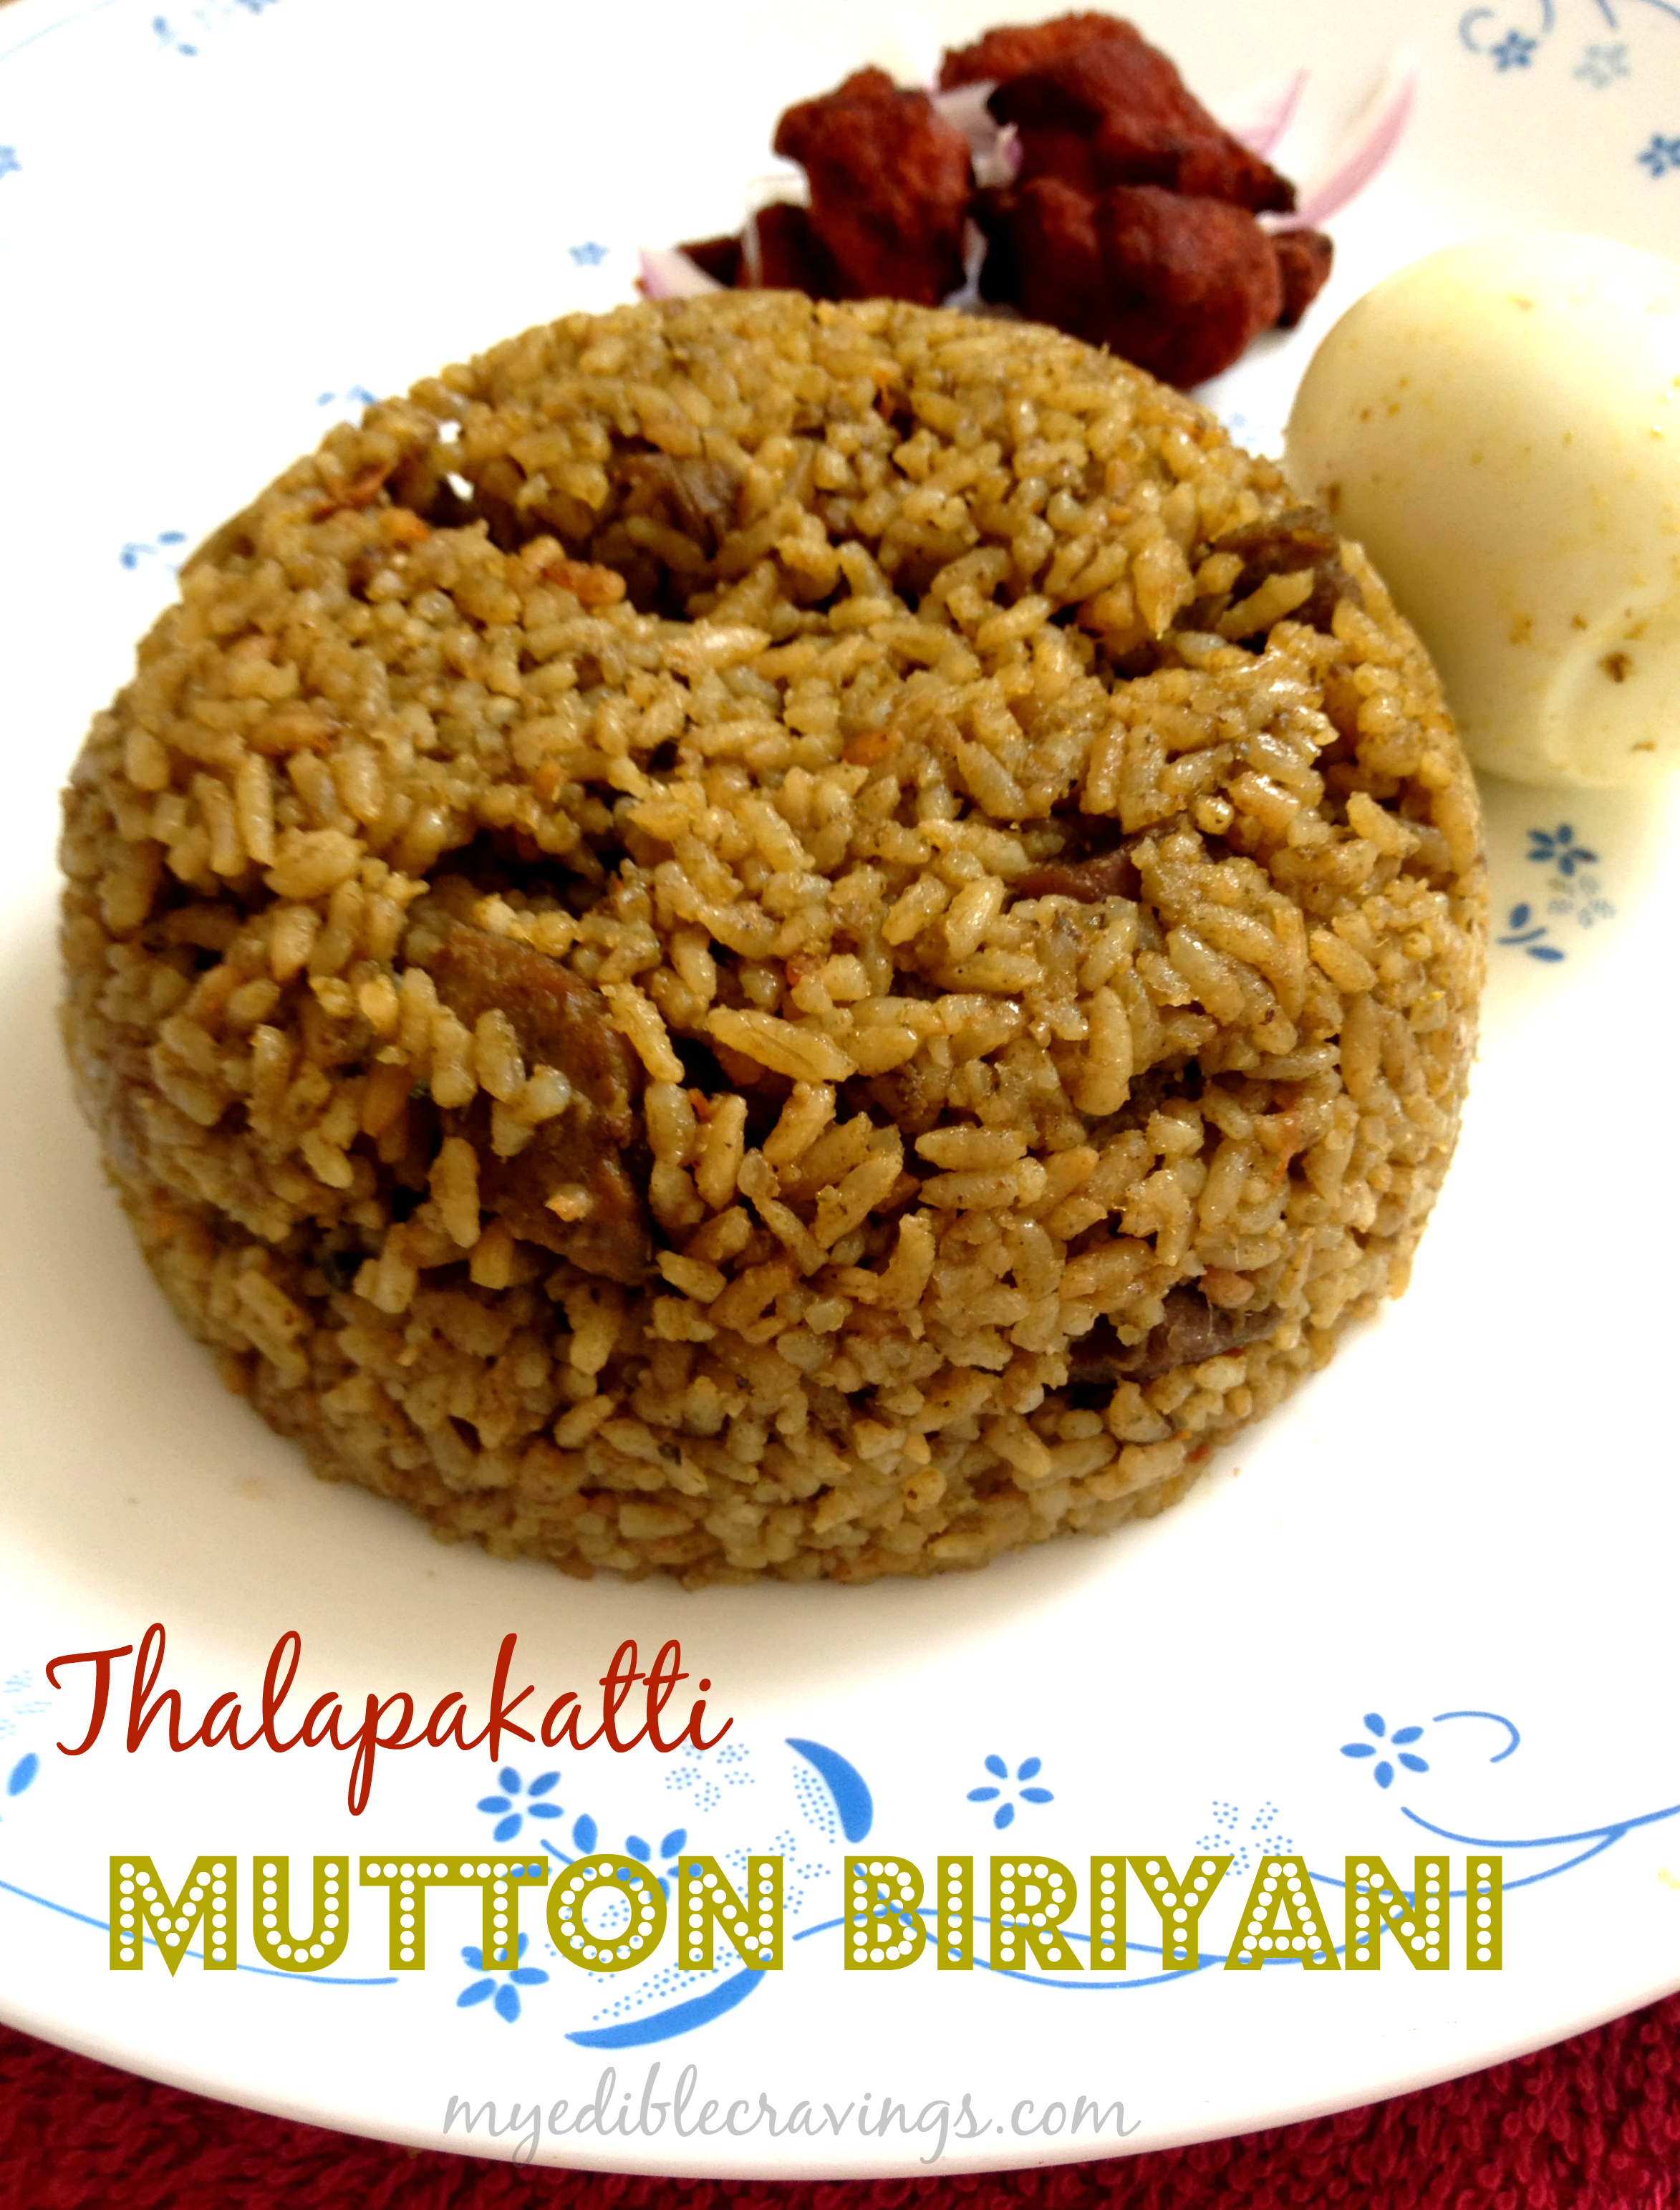
Thalapakatti mutton biriyani is a delicious and very popular biriyani in dindigul. The speciality of thalapakatti biriyani is to blend all the ingredients.IMG_2821Biriyani is a rice-based dish known for its distinct aroma and flavor. It is made with spices, rice, chicken, mutton or vegetables. There are different varieties of biriyani, in Tamilnadu, mostly differentiated based on geographical location. Spices are the key ingredients in this dish. I am positive that at least one in every 5 people in Tamilnadu would have tried this wonderful dish at least once in their life time (and the population of Tamilnadu is 7.2 million, so figure!)IMG_2811Briyani for me, always reminds my mom and I m a very big fan of her Chicken Biriyani which is very popular among my friends and relatives.  Also biriyani is my HB’s favorite dish. So I started to learn many varieties and Dindigul Thalapakatti Biriyani is one among them.IMG_2812 (1)The recipe for this biriyani is different in the sense that here we blend all the ingredients to a fine paste unlike other varieties. This gives it a unique taste and the reason for its wide popularity.  You could also try this recipe using chicken (But mutton seems more tastier. 😉  )Here are few tips

  • I used store bought coconut milk which is very thick so I just used couple of spoons. If you are using homemade coconut milk, then add 2 cups of coconut milk and 2 cups of water.
  • If you are using chicken, extend the marination time to an hour and simply add the marinated chicken directly to the masalas without      pre cooking it.
  • Avoid adding lots of mint and cilantro to this recipe, as it might make the dish green color. We don’t want our biriyani turn into mint rice. 😉

DINDIGUL THALAPAKATTI MUTTON BIRIYANI|LAMB BIRIYANI
Recipe type: Lunch
Cuisine: Indian
Prep time: 
Cook time: 
Total time: 
Serves: 4
 
Thalapakatti mutton biriyani is a delicious and very popular biriyani in dindigul. The speciality of thalapakatti biriyani is to blend all the ingredients.
Ingredients
To marinate
  • Mutton /Lamb – ¾ kg
  • Chilli powder – 1 tsp
  • Ginger garlic paste – 1 tsp
  • Salt – a pinch
For boiling mutton
  • Marinated Mutton - ¾ kg
  • Ginger – an inch (crushed)
  • Water – 4 cups
For the Masala Paste
  • Shallots – 4 (if small use 6 nos)
  • Mint Leaves – handful
  • Cilantro – handful.
  • Green chillies – 3, long
Other ingredients:
  • Cloves – 3 nos
  • Cinnamon - 2"
  • Cardamom – 2 nos
  • Bay Leaf - 1 long
  • Samba Rice – 2 cups
  • Onion – ½ medium
  • Tomato - 1 big
  • Ginger & Garlic paste - 1 tsp
  • Green Chillies - 2
  • Oil – 1 tbs
  • Ghee – 1 tbs
  • Coconut Milk, thick – 2 spoons (I use store bought which is very thick)
  • Salt – as required
  • Lemon Juice - 1 tsp
Instructions
  1. Wash the mutton pieces in running water. Marinate for 10 minutes and pressure cook it with ginger and water for three to four whistles. Once done, allow the pressure to be released. Drain the mutton / lamb pieces and save the stock (later we are going to substitute this stock for water while making biriyani).
  2. Blend cilantro, mint leaves and green chillies together and shallots separately into a fine paste.
  3. In a pressure cooker, heat oil, add all the wholes spices. When the aroma spreads, add in ground shallot and sauté until the raw smell goes. Now add the ginger-garlic paste and do the same.
  4. Then add the onion and green chillies, sauté until onion turns translucent. Add chopped tomatoes and sauté well. Once the tomatoes get soft, add the ground mint masala to it and cook well till the oil comes out.
  5. Now add the drained mutton pieces and sauté well to make sure the pieces are well coated with masala. Add coconut milk, water (mutton stock) and adjust salt.
  6. Add rice, stir well and bring it to boil. Close the lid and pressure cook for three whistles.
  7. Wait for the pressure to be released, add a tbs of ghee, stir the rice carefully without breaking the grains, cover the lid and dum for 15 mins.
  8. Serve hot with Onion raitha and any chicken / mutton gravy of your choice.

 
IMG_2812
Tempting isn’t it?!?! 😉
Hope everyone gets to try this recipe at least once and enjoy the same!!!

WHITE CHOCOLATE CHIP CASHEW NUT COOKIES

Hello everyone!!!
Wouldn’t your Mondays be infinitely better with a sweet treat? Yes, yes they would. 🙂
Here is my first baking recipe for my blog!
108I was bored one Sunday afternoon.  So I went into my kitchen, opened my pantry and found the left over white chocolate chip which I bought for making strawberry fudge (for which the recipe will be uploaded soon 🙂 ). I heard a voice in my head saying “take it and finish it off for god sake!”. But I don’t want to eat it as is. So I came up with the idea of making something. So after good few seconds of pinteresting I came up with this recipe White Chocolate Macadamia Nuts Cookies and her pictures looked delicious. I tried this substituting with cashew nuts as I had no macadamia nuts at home. And tada..  Here is my mouth watering white chocolate chip cashew nut cookies. You should definitely try it. I m sure you will not regret.
111It should be crispy on the outside and soft and chewy inside.
118I thought the original recipe would be too much for two of us. So I reduced the ingredients by half.
107Cookies anyone?

WHITE CHOCOLATE CHIP CASHEW NUT COOKIES
Prep time: 
Cook time: 
Total time: 
Serves: 11
 
The crispy outer and incredibly soft and chewy inner white chocolate chip cashew nut cookies. you won't stop having just one.
Ingredients
  • 1 cup all-purpose flour
  • a pinch baking soda
  • a pinch baking powder
  • a pinch teaspoon salt
  • ¼ cup + 2 Tbl butter, melted
  • ½ cup packed golden brown sugar
  • ½ cup granulated sugar
  • 1 egg
  • 1 Tablespoon vanilla extract
  • ½ cup roughly chopped cashew nuts plus more to press into dough
  • ½ cups white chocolate chips plus more to press into dough
Instructions
  1. Preheat the oven to 325 degrees. Combine the flour, baking soda and salt in a small bowl then set aside. Beat together the melted butter, brown sugar, white sugar, egg, egg yolk and vanilla with a mixer until creamy.
  2. Gradually add the flour mixture to the sugar mixture until just mixed. Stir in the cashew nuts and white chocolate chips by hand. Drop by the spoonful onto a greased or lined baking sheet.
  3. Bake for 12-15 minutes or until the edges look golden brown.
  4. Crisp on the edges and soft and chewy in the center.
  5. Cool on the baking sheet for at least 4-5 minutes (so cookies can set) before moving to a rack. Enjoy.

PARUPPU|MOONG DAL |PAASIPARUPPU

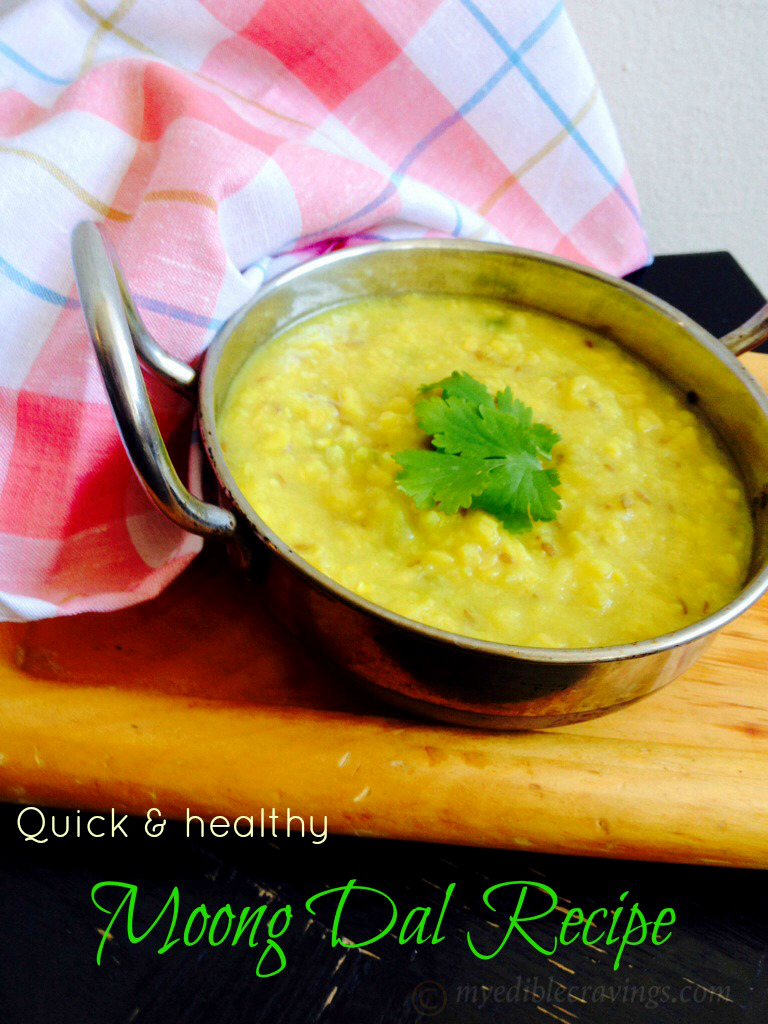
moong dalParuppu (cooked Moong dal) is a quintessential Indian dish which has numerous variations based on geographical locations (varies between different states/culture). It is a very simple dish to make. I would say, Paruppu is one of the first dishes that you learn to make when you start learning to cook. So in a way cooking Paruppu is like rite of passage to become a cook 🙂
099Paruppu is a very healthy dish in general since the main ingredient, Dal, is known for its rich protein content. It is also very easy to make, I would say, it literally takes 10 minutes to cook. So I call it as the on-the-go food. Paruppu is also a common food item that is fed to babies when they learn to start having solid food since it is easily digestible and easy to chew. Also, Paruppu forms the base ingredient for another popular south Indian dish called as the Sambar. At our home, we make Paruppu or a dish which has Paruppu as the main ingredient, at least once a week.
103The Paruppu recipe that I have given below is Tamil-style or to be more specific, our family style :). Paruppu is mainly had with rice but it also goes well with Chappati. So try it out and let me know.

PARUPPU|MOONG DAL |PAASIPARUPPU
Recipe type: Lunch
Cuisine: Indian
Prep time: 
Cook time: 
Total time: 
Serves: 2
 
Paruppu (cooked Moong dal) is a quintessential Indian dish which has numerous variations based on geographical locations (varies between different states/culture). It is a very simple dish to make. I would say, Paruppu is one of the first dishes that you learn to make when you start learning to cook. So in a way cooking Paruppu is like rite of passage to become a cook 🙂
Ingredients
  • Moong dal / pasiparuppu – ½ cup
  • Cumin seeds – 1 tsp
  • Shallot – 1 (roughly chopped)
  • Green chilli – 1 (chopped)
  • Garlic clove – 1
  • Turmeric powder – 1 tsp
  • Salt as required
  • Oil – 1 tsp
  • Mustard seeds & urad dal – 1 tsp each
  • Curry leaves – 5 to 6 nos
Instructions
  1. Wash the moong dal thoroughly in water. Add in the washed moong dal to the pressure cooker along with cumin seeds, shallots, garlic, chilli, turmeric powder,salt and a cup of water. Pressure cook for 4 to 5 whistles. Allow the pressure to fall .
  2. Heat a small skillet with a tsp of oil and season with mustard, urad dal and curry leaves.
  3. Add the seasoning to the dal.
  4. Serve hot with ghee rice. Enjoy!

088

Tirunelveli Pulikuzhambu

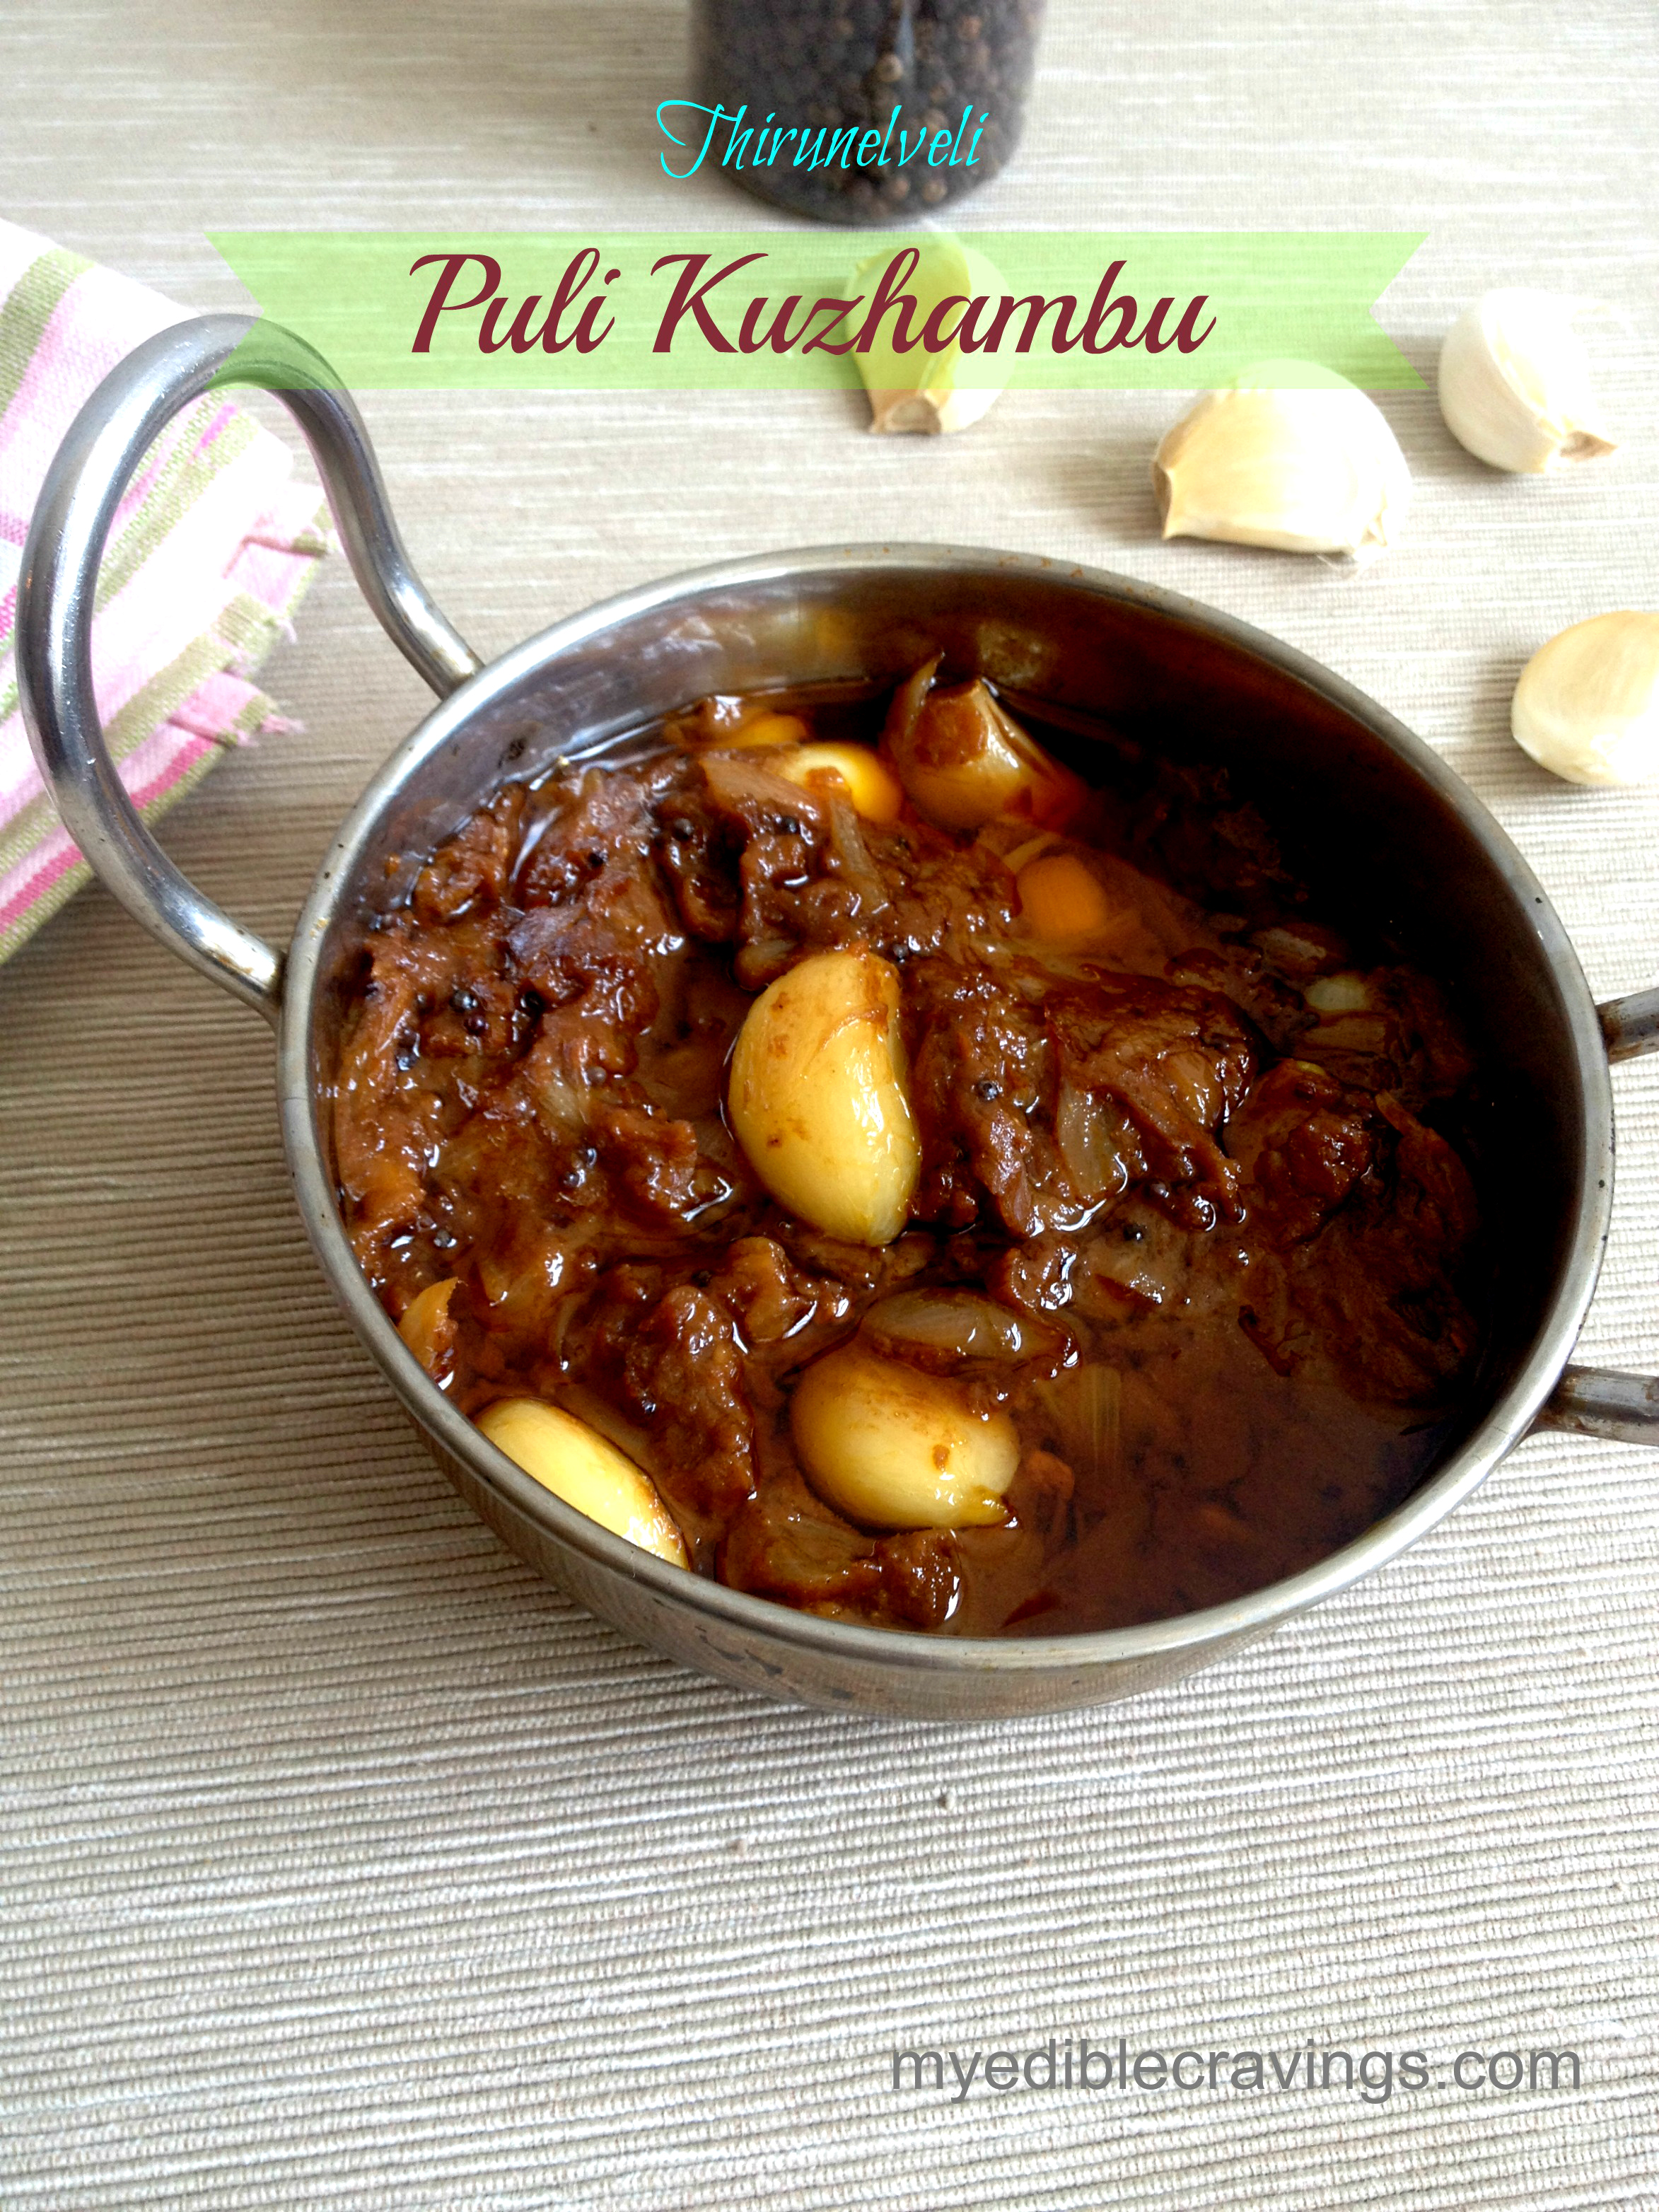
028Tirunelveli always reminds me of so many special memories. I learnt this super dish from my mom’s bestie (and her daughter is my bestie!). We go to Tirunelveli just to visit them and of course to enjoy her food. She always makes this dish whenever we visit them as it is my favorite. (I must say that this is one among many she prepares for the lunch). My mom’s friend is an avid cook. It was very kind of her to share this recipe. I also love her Sothi for which I will post the recipe very soon. Thanks to aunty and my friend, who took the time to ask her mom and e-mail me the recipe.
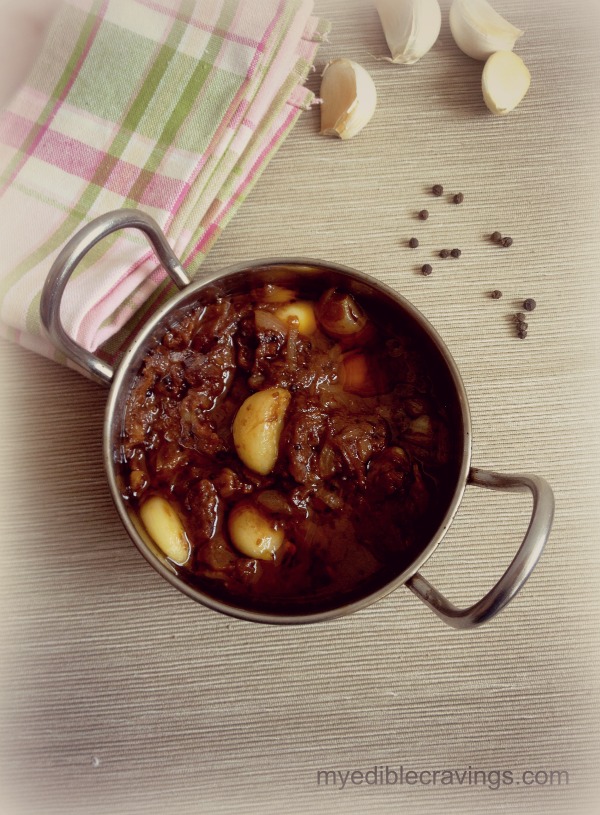
Tirunelveli pulikuzhambuPulikuzhambu is a tamarind based gravy popular in my home state of Tamilnadu, India. And Tirunelveli pulikuzhambu is one of the best. The key to this recipe is the roasting of spices to the right temper which is then ground to a paste and that forms the base for this gravy. Tirunelveli pulikuzhambu goes very well with rice, idli and dosa.
tirunelveli pulikuzhambuLooks yummy rite? Pulikuzhambu is my most favorite vegetarian gravy and this Tirunelveli variety is at the top of the pecking order. That is mainly because of the taste and the traditional method in which it is prepared. Hope you enjoy it as much as I do!

Tirunelveli Pulikuzhambu
Recipe type: Lunch
Cuisine: Indian
Prep time: 
Cook time: 
Total time: 
Serves: 4
 
Easy puli kuzhambu made in tirunelveli style for the spicy food lovers and mom to be's.
Ingredients
  • Garlic cloves – 15 nos
  • Shallots – 4 (if small – 6, cut into slits)
  • Mustard seeds – 1 tsp
  • Urad dal – 1 tsp
  • Tamarind – big gooseberry size
  • Gingelly oil – 2 tbs
  • Salt as required
To roast
  • Cumin seeds – 1 tbs
  • Whole black pepper – 12 nos
  • Red chillies – 3
  • Coriander seeds – 1 tbs
  • Split bengal gram/ kadalai paruppu - 1 tbs
  • Raw rice – 1 tsp
  • Fenugreek seeds – ½ tbs (7 to 8 nos)
Instructions
  1. Soak tamarind in a cup of water for 15 minutes and extract the juice.
  2. Heat a tsp of gingelly oil, add and roast the ingredients given above for a couple of minutes until the aroma spreads (simmer it to avoid burning). Allow it to cool and grind along with a shallot and keep it ready.
  3. Heat gingelly oil in a sauce pan and add mustard seeds and urad dal. When it starts to pop, add shallots and garlic cloves. Sauté until onion turn translucent.
  4. Now add in the ground masala and immediately the tamarind juice with enough salt. Mix well and allow it to boil. Switch off the flame when oil separates.
Notes
Add whole garlic cloves to this gravy *WITHOUT* chopping. This gives an added taste. Chopped garlic not so much.

030c

You might also like

Pulikuzhambu
 022

MUTTON GRAVY | MUTTON KUZHAMBU | LAMB CURRY

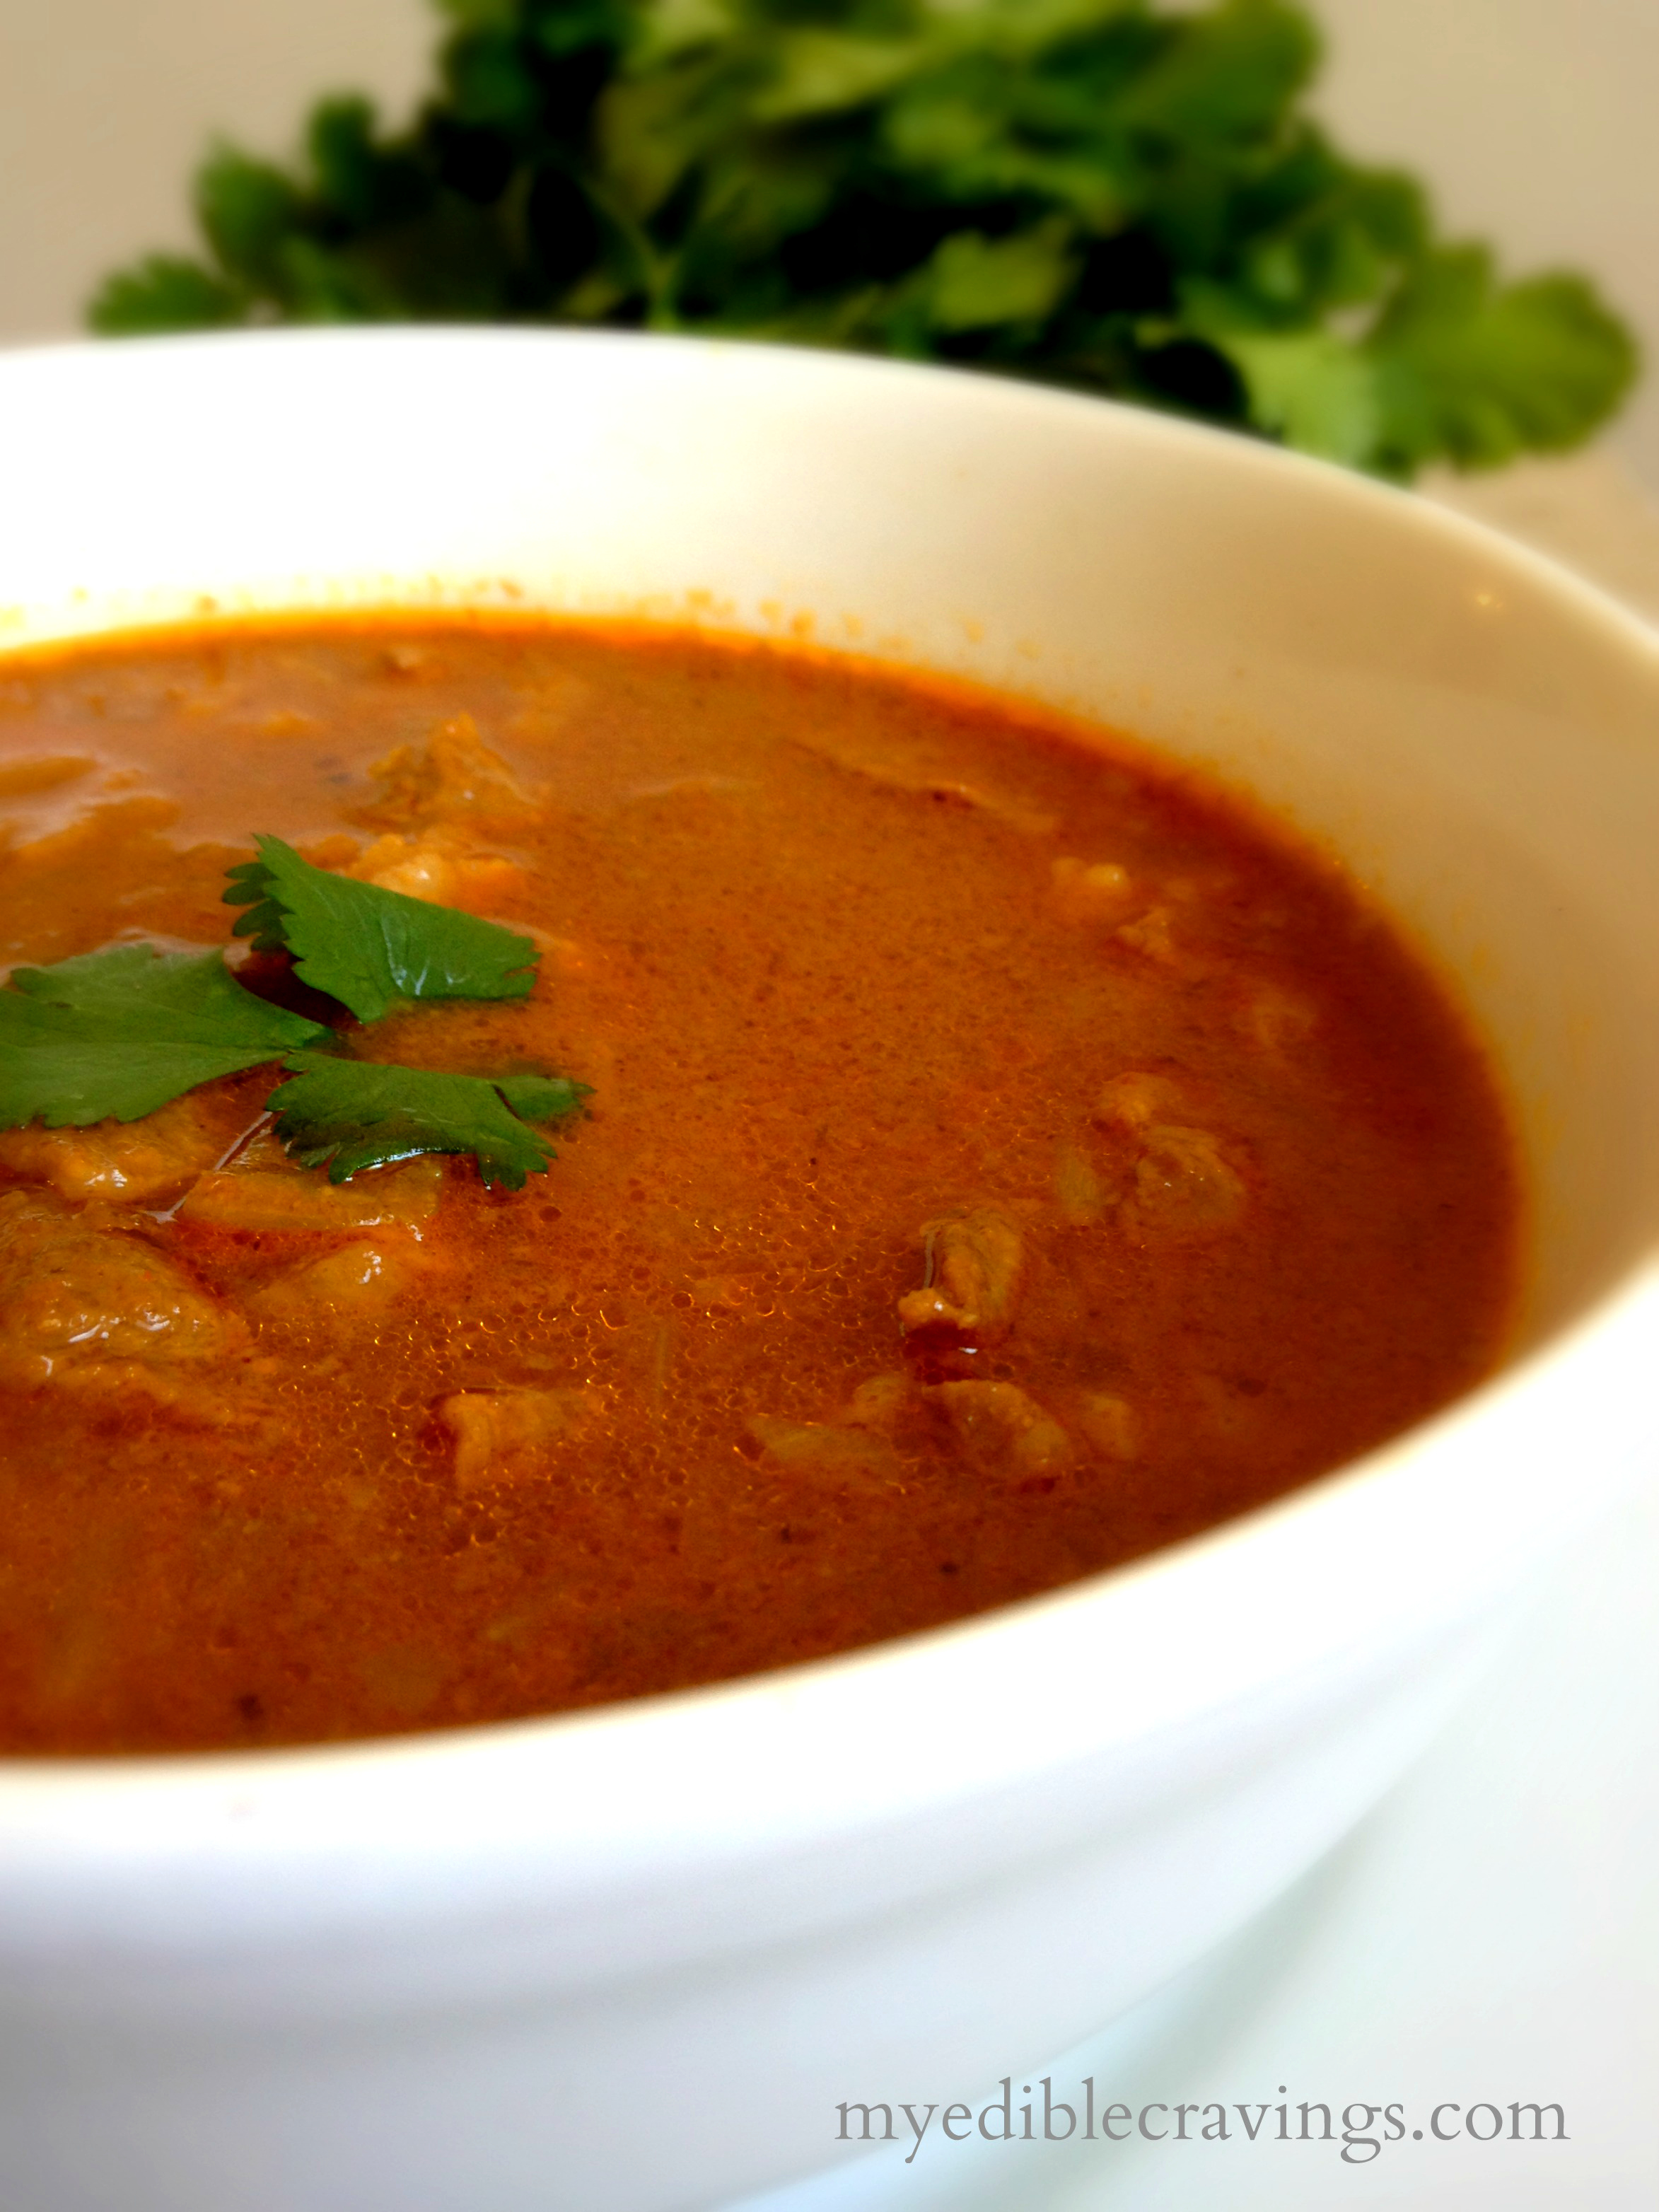
002No ginger, no garlic, no tomatoes and yet a delicious dish.
Do any of you know that we could actually make a non vegetarian dish without adding any of those above ingredients? Well here it is!!!
mutton gravyI was not a fan of mutton (besides my mom’s Mutton Chukka) until I tried this delicious mutton gravy at my MIL’s place. She has this traditional cooking style where she uses ammi kal (Flat bed manual grinding stone) to grind all the masalas. This gives an exotic taste which I love. It is a very simple recipe, in fact all you need is mustard seeds, onion and ground masala!
027Here I have used a blender to prepare the masala . My MIL had given me a small ammi kal but I didn’t bring it back with me, which I regret now. Anyways, the outcome was more or less similar to hers and I hope that you enjoy the dish as well.
025Yummy!!!

MUTTON GRAVY | MUTTON KUZHAMBU | LAMB CURRY
Recipe type: Lunch
Cuisine: Indian
Prep time: 
Cook time: 
Total time: 
Serves: 4
 
Simple traditional mutton gravy which you wouldn't have tasted anywhere. Make this lip smacking mutton kuzhambu with the simple steps and enjoy.
Ingredients
  • Mutton / Lamb – 1 kg ( 2.12 lb)
  • Gingelly oil – 1 tbs
  • Coriander seeds - 2 tbs
  • Pepper - 10
  • Cumin seeds - 1 tbs
  • Red chillies - 6
  • Grated Coconut- 1 to 2 tbs
  • Ginger – an inch
  • Shallots - 7
  • Vegetable oil - 1 tbs
  • Salt to taste
Instructions
  1. In a sauté pan, roast coriander seeds, pepper, cumin seeds and red chillies with very little oil.
  2. Wait until the mixture cools down. Then grind the mixture and make it into a paste.
  3. Grind coconut separately.
  4. In a pressure cooker, add gingelly oil and sauté the mutton until it turns white color.
  5. Then add crushed ginger along with enough water (2 cups) and pressure cook the mutton for 6 whistles (it takes 15 whistles in India)
  6. Drain the mutton and save the drained water. Add the ground mixtures (coconut & coriander) to the drained water and mix well.
  7. Finally in a sauce pan, add vegetable oil and season it with mustard and onion.
  8. Add the above drained water mixture and allow it to boil.
  9. Then add the cooked mutton along with salt and bring it to boil.


023