Banana bread

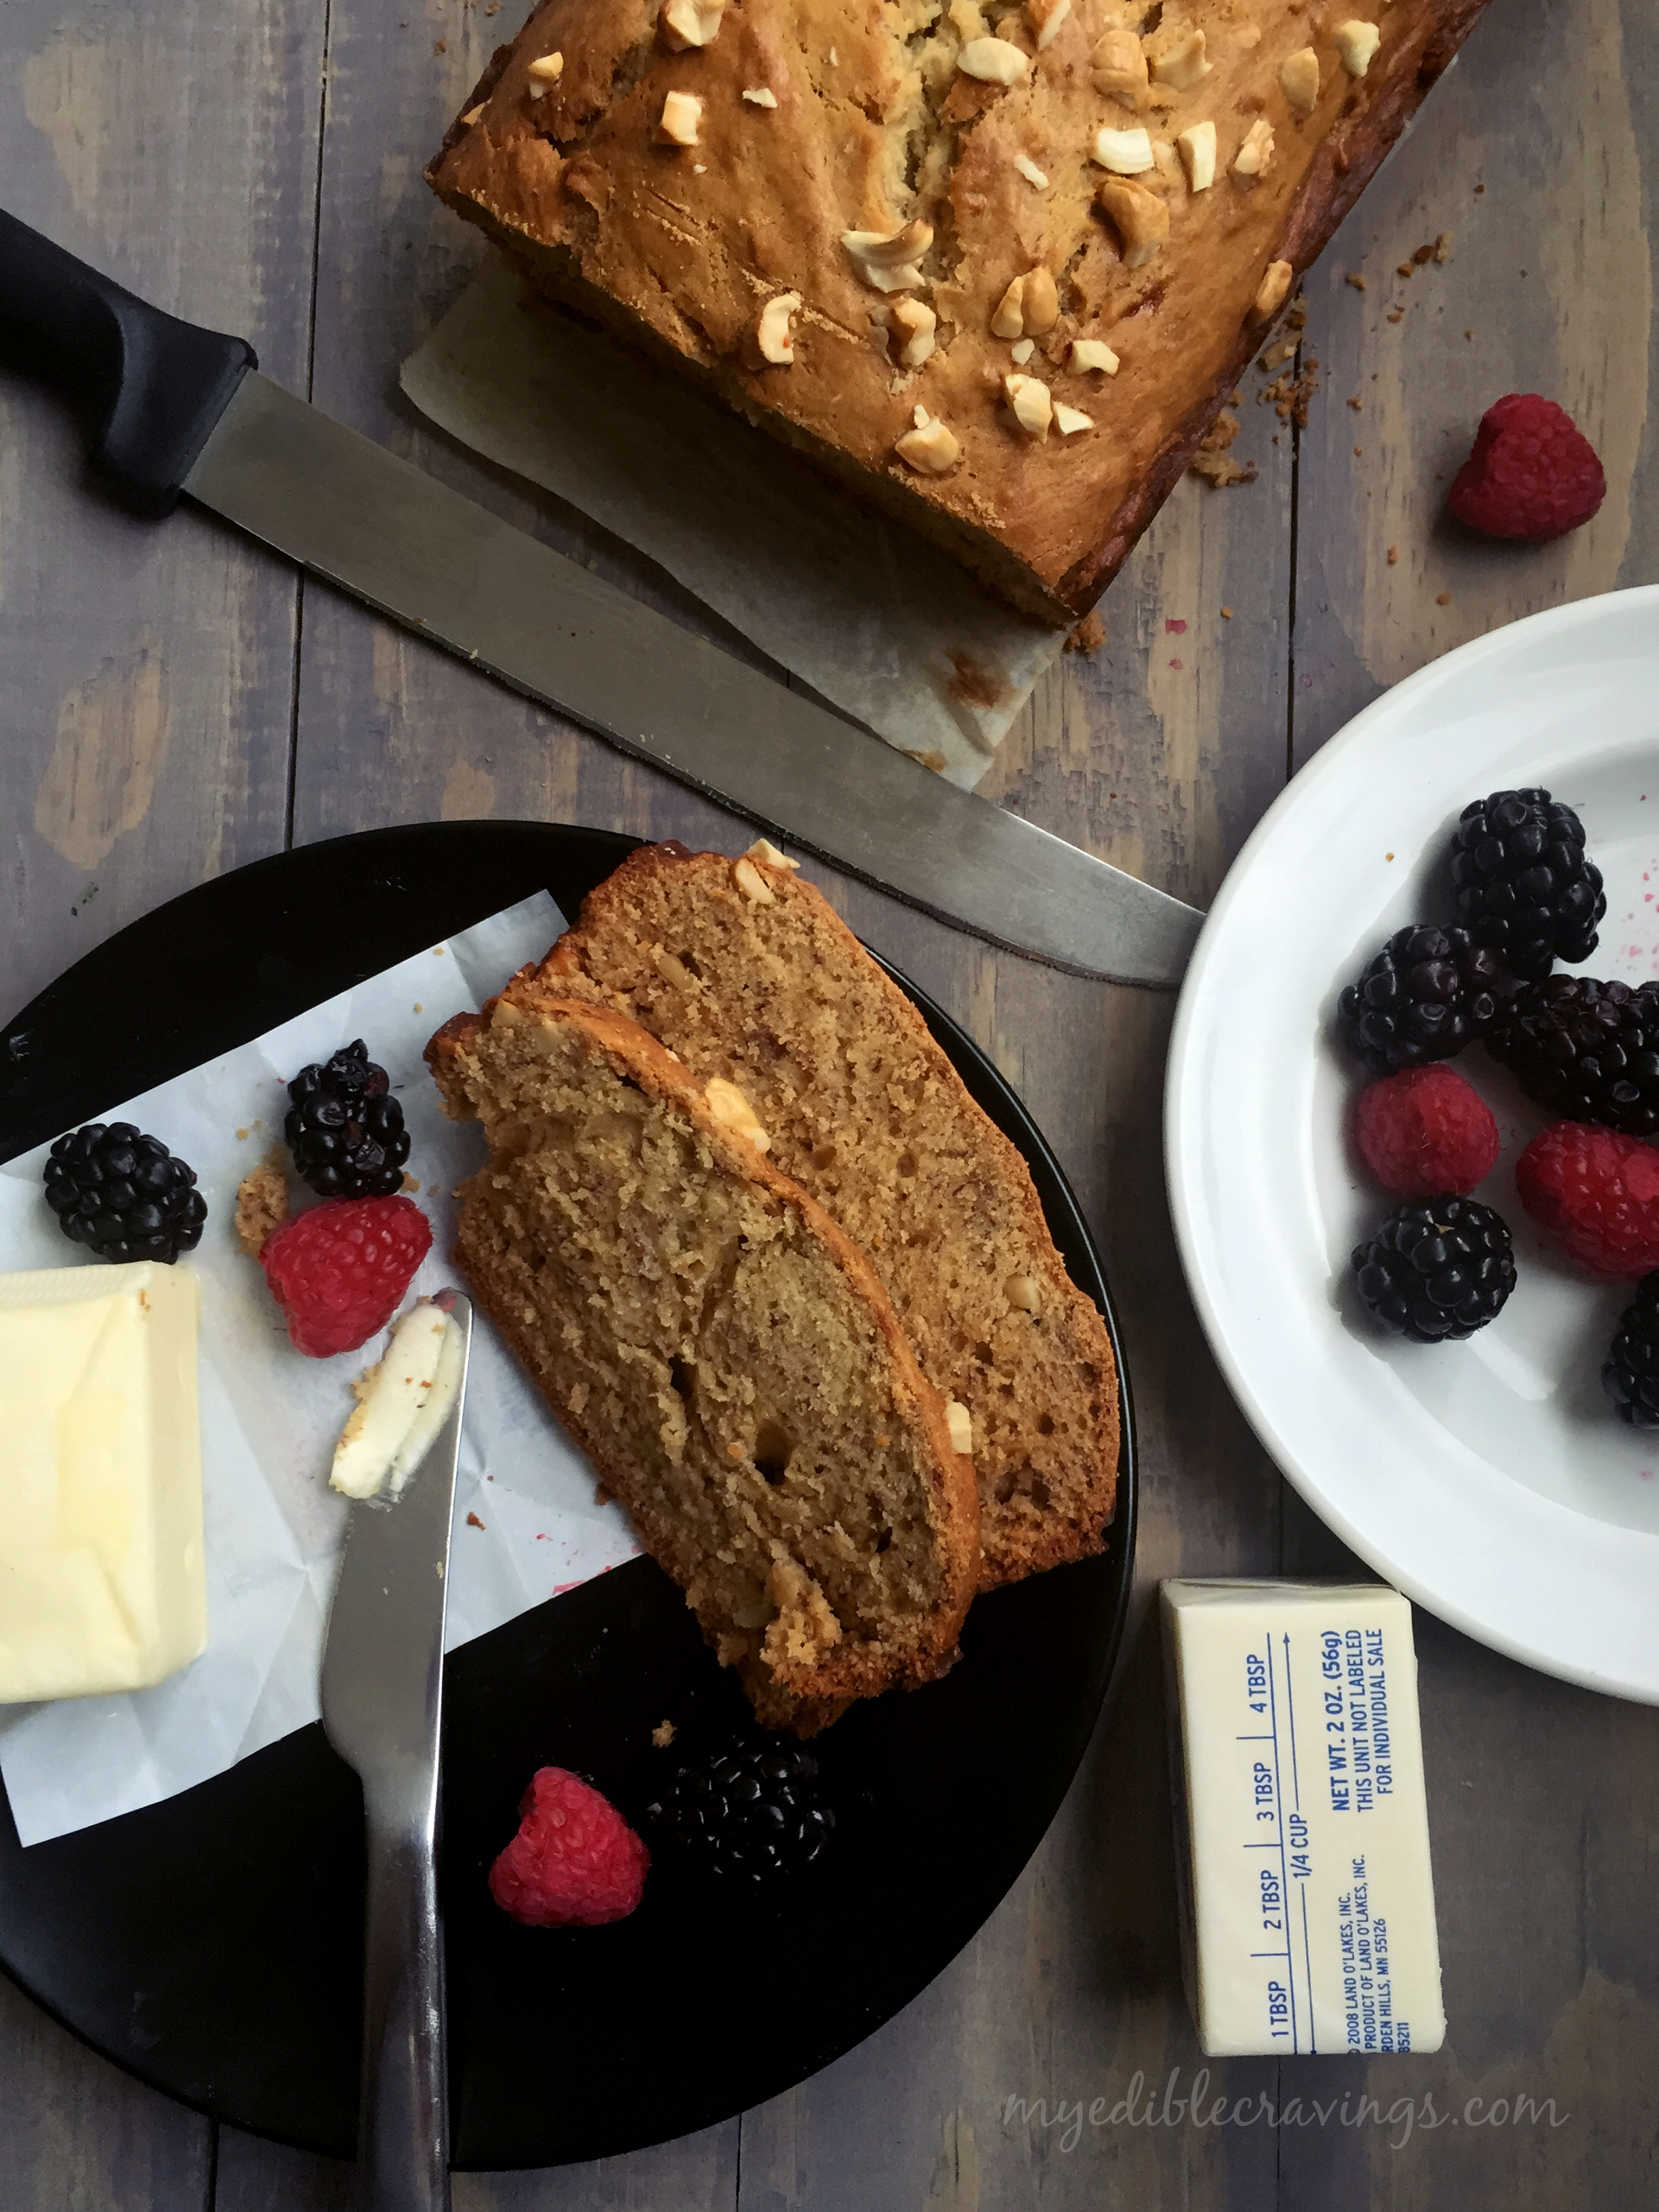
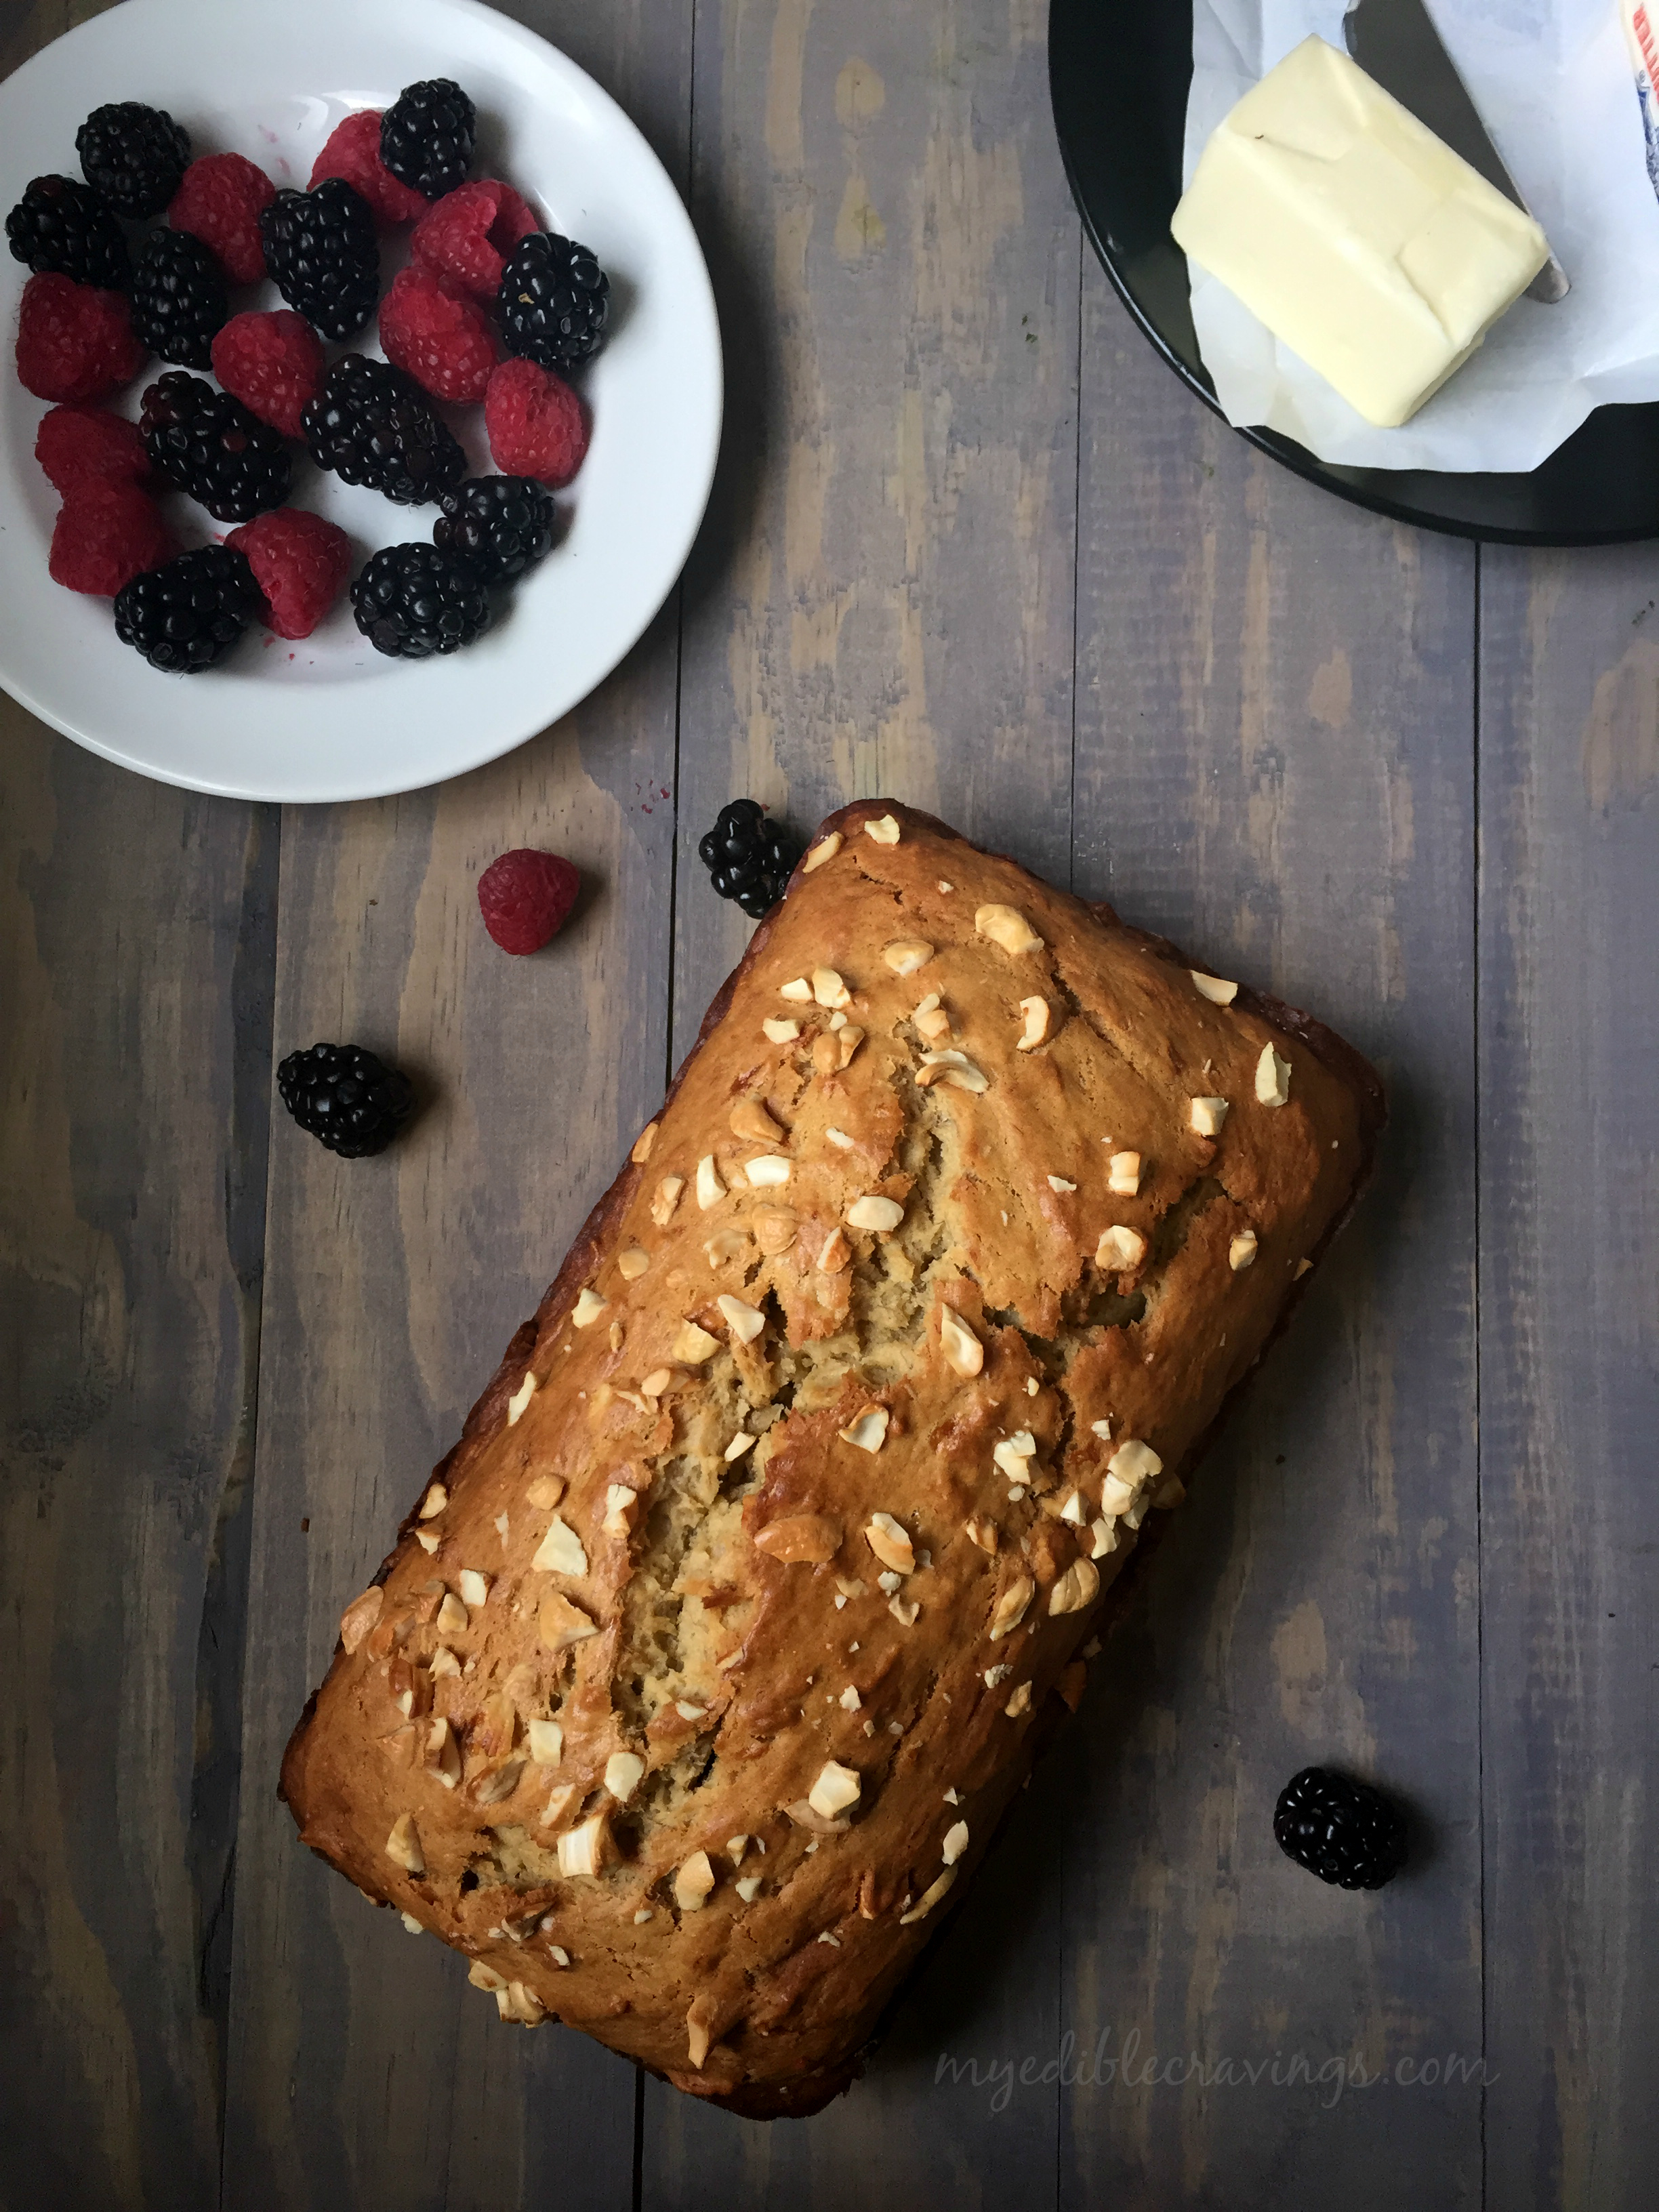
Banana BreadHi guys, Today I finally decided to make something with the ripe bananas that has been on the counter for the past two days. So zeroed in on Banana bread, a favorite of us. Banana Bread is a type of bread that is often served as an after meal snack. According to Wikipedia, Banana bread became popular in US in the 1930s after the advent of baking soda 🙂 and February 23rd is National Banana Bread Day. Generally, I am a fan of banana and like food items that has banana as one of the ingredients.
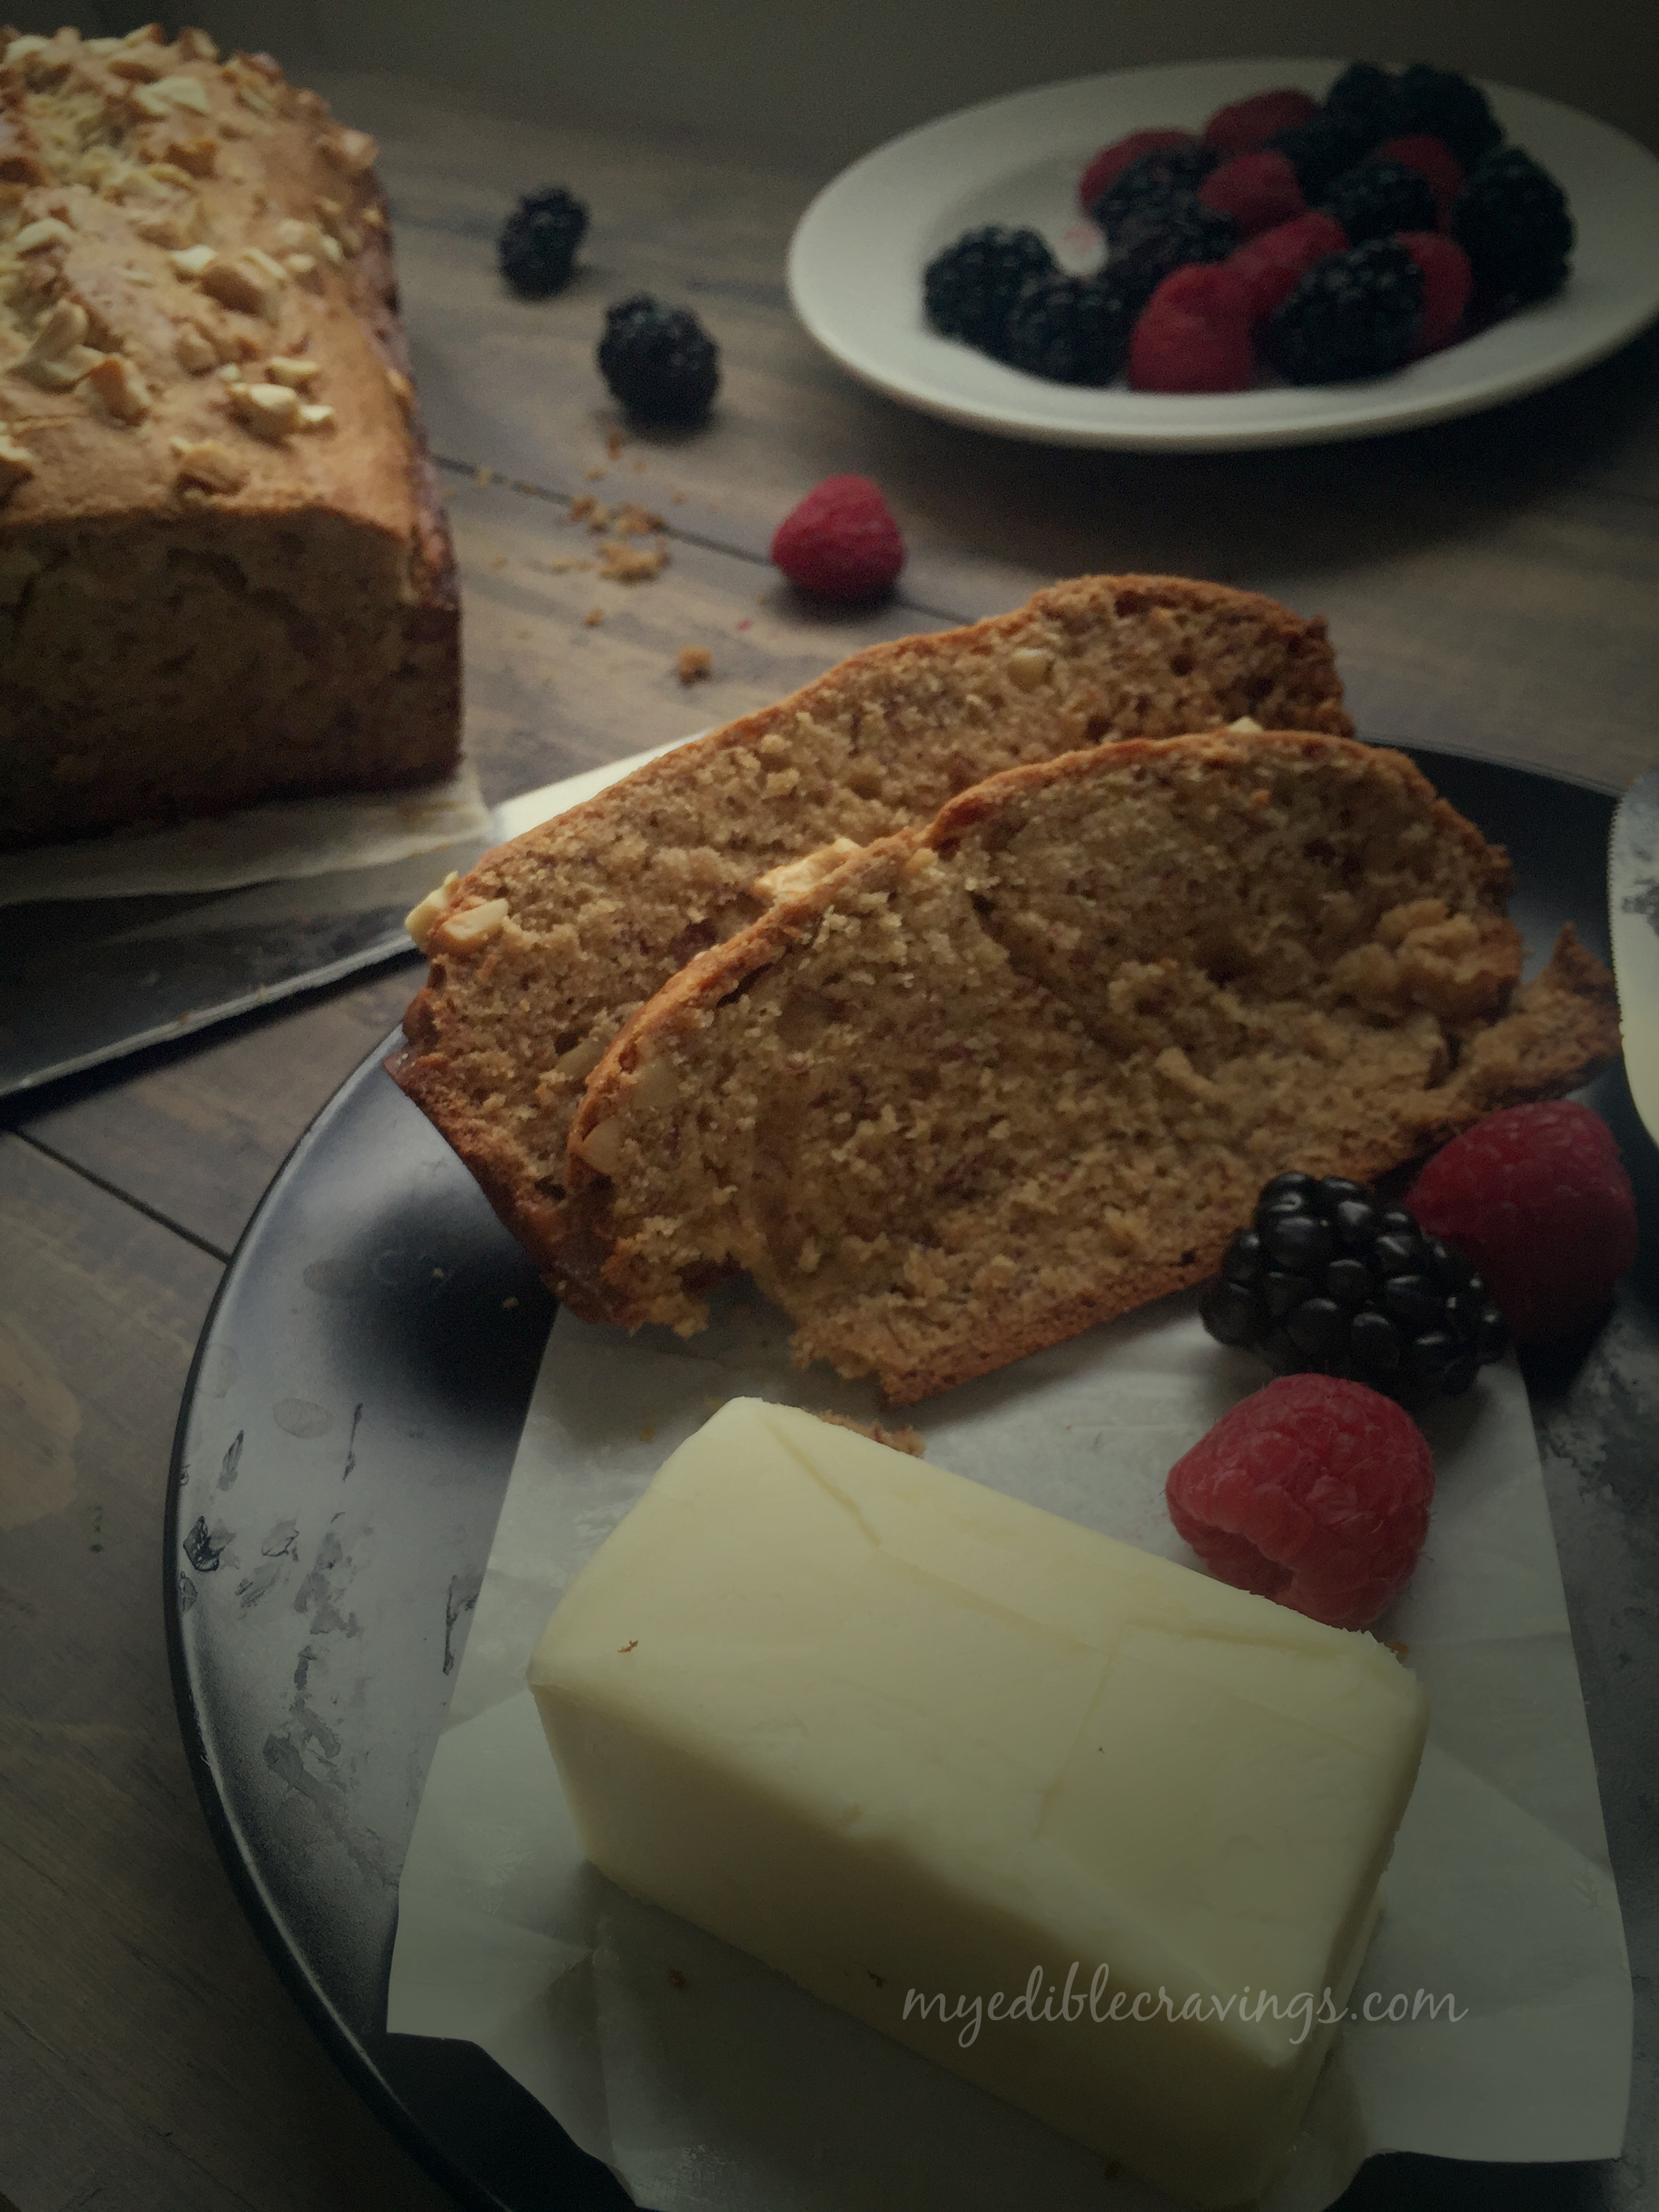
Banana breadBanana breadBanana bread is very easy to make and is very flavorful. In fact while I am writing this, Banana bread is getting baked in the oven and I could smell the divine smell of bananas and butter mixed together. Can’t wait to have a bite! If you have the ingredients sorted out, then baking the bread takes no time at all. There are different varieties to banana bread as well, like, chocolate chip banana bread, banana nut bread, banana raisin bread etc. Here I have given you the recipe for plain banana bread with cashews.
Banana breadHere comes the beep from the oven! Alright, enough of the stories. I guess its nom nom time and I am off to the kitchen. Hope you are too, to start making this wonderful, simple and flavorful dish, i.e. the Banana Bread 🙂

Banana bread
Recipe type: Dessert
Cuisine: American
Prep time: 
Cook time: 
Total time: 
Serves: 1 9x5x3 inch loaf
 
Ingredients
  • 1 ¾ cups all-purpose flour
  • 1 tsp baking soda
  • ¼ tsp salt
  • ½ cup (8 tbsp) unsalted butter, melted and cooled
  • ½ cup brown sugar
  • ½ cup granulated sugar
  • 2 eggs, beaten
  • 3 overripe large bananas, mashed
  • ⅓ cup any nuts, chopped, divided (I used cashews)
Instructions
  1. Preheat the oven to 350 degrees F (180 degrees C).
  2. Lightly grease a 9 X 5 inch loaf pan with butter on the sides and line the bottom with parchment sheet. Set aside.
  3. Mash the bananas, chop the nuts and beat the eggs.
  4. In a large bowl, sieve flour, baking soda and salt together.
  5. In a separate bowl, cream together butter and sugar.
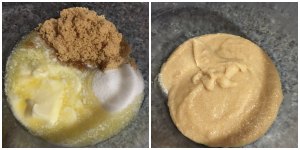
  6. First add the sugar mixture into the flour mixture and mix well without any lumps. Then add in eggs and bananas and mix them with a wooden spoon or rubber spatula until the batter is thick and chunky (The important thing is not to over mix the batter. You do not want it smooth. Over mixing the batter will yield tough, rubbery bread).
  7. Mix half of the chopped nuts to the batter. Lightly fold the batter. Pour batter into the prepared loaf pan. Top it off with the remaining nuts.
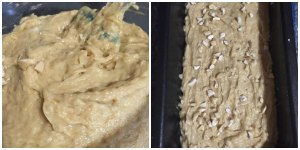
  8. Bake in oven (preferably in the middle rack) for 60 to 65 minutes, until golden brown and a toothpick when inserted in the center comes out clean. Turn out onto a wire rack and allow them to cool.
  9. Serve warm or at room temperature. This bread can be frozen.
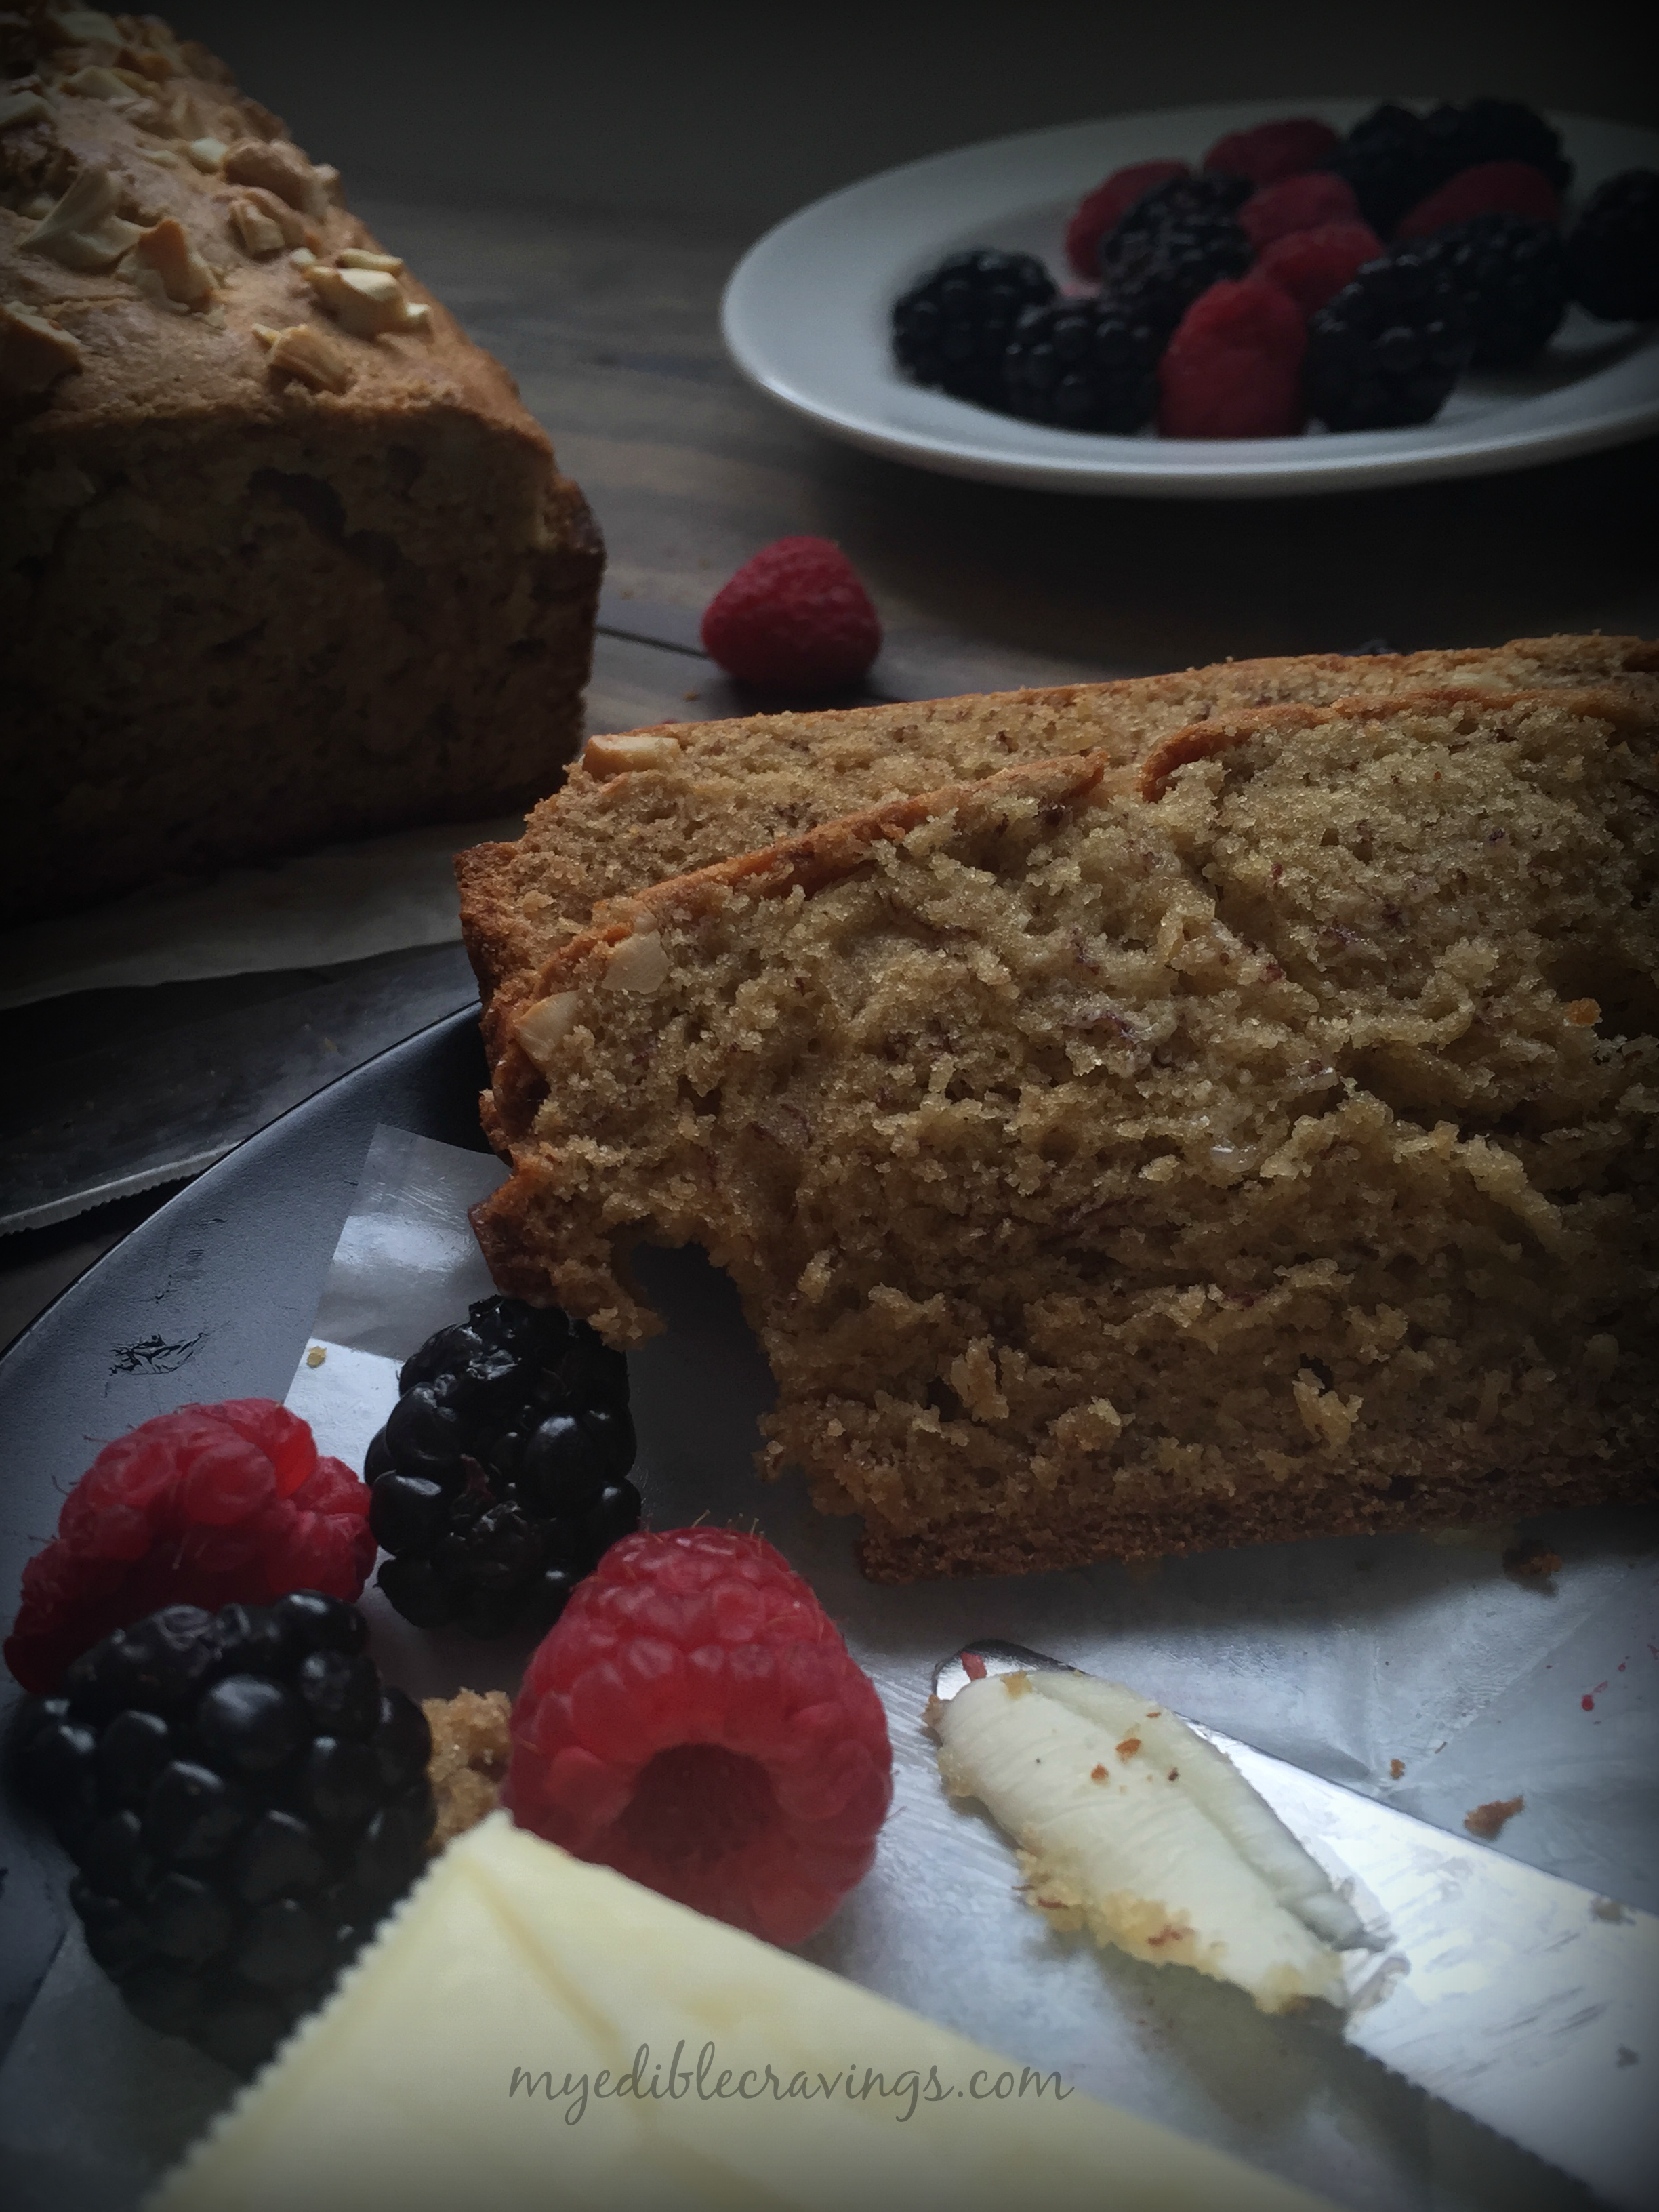
Banana bread

Banana Kesari

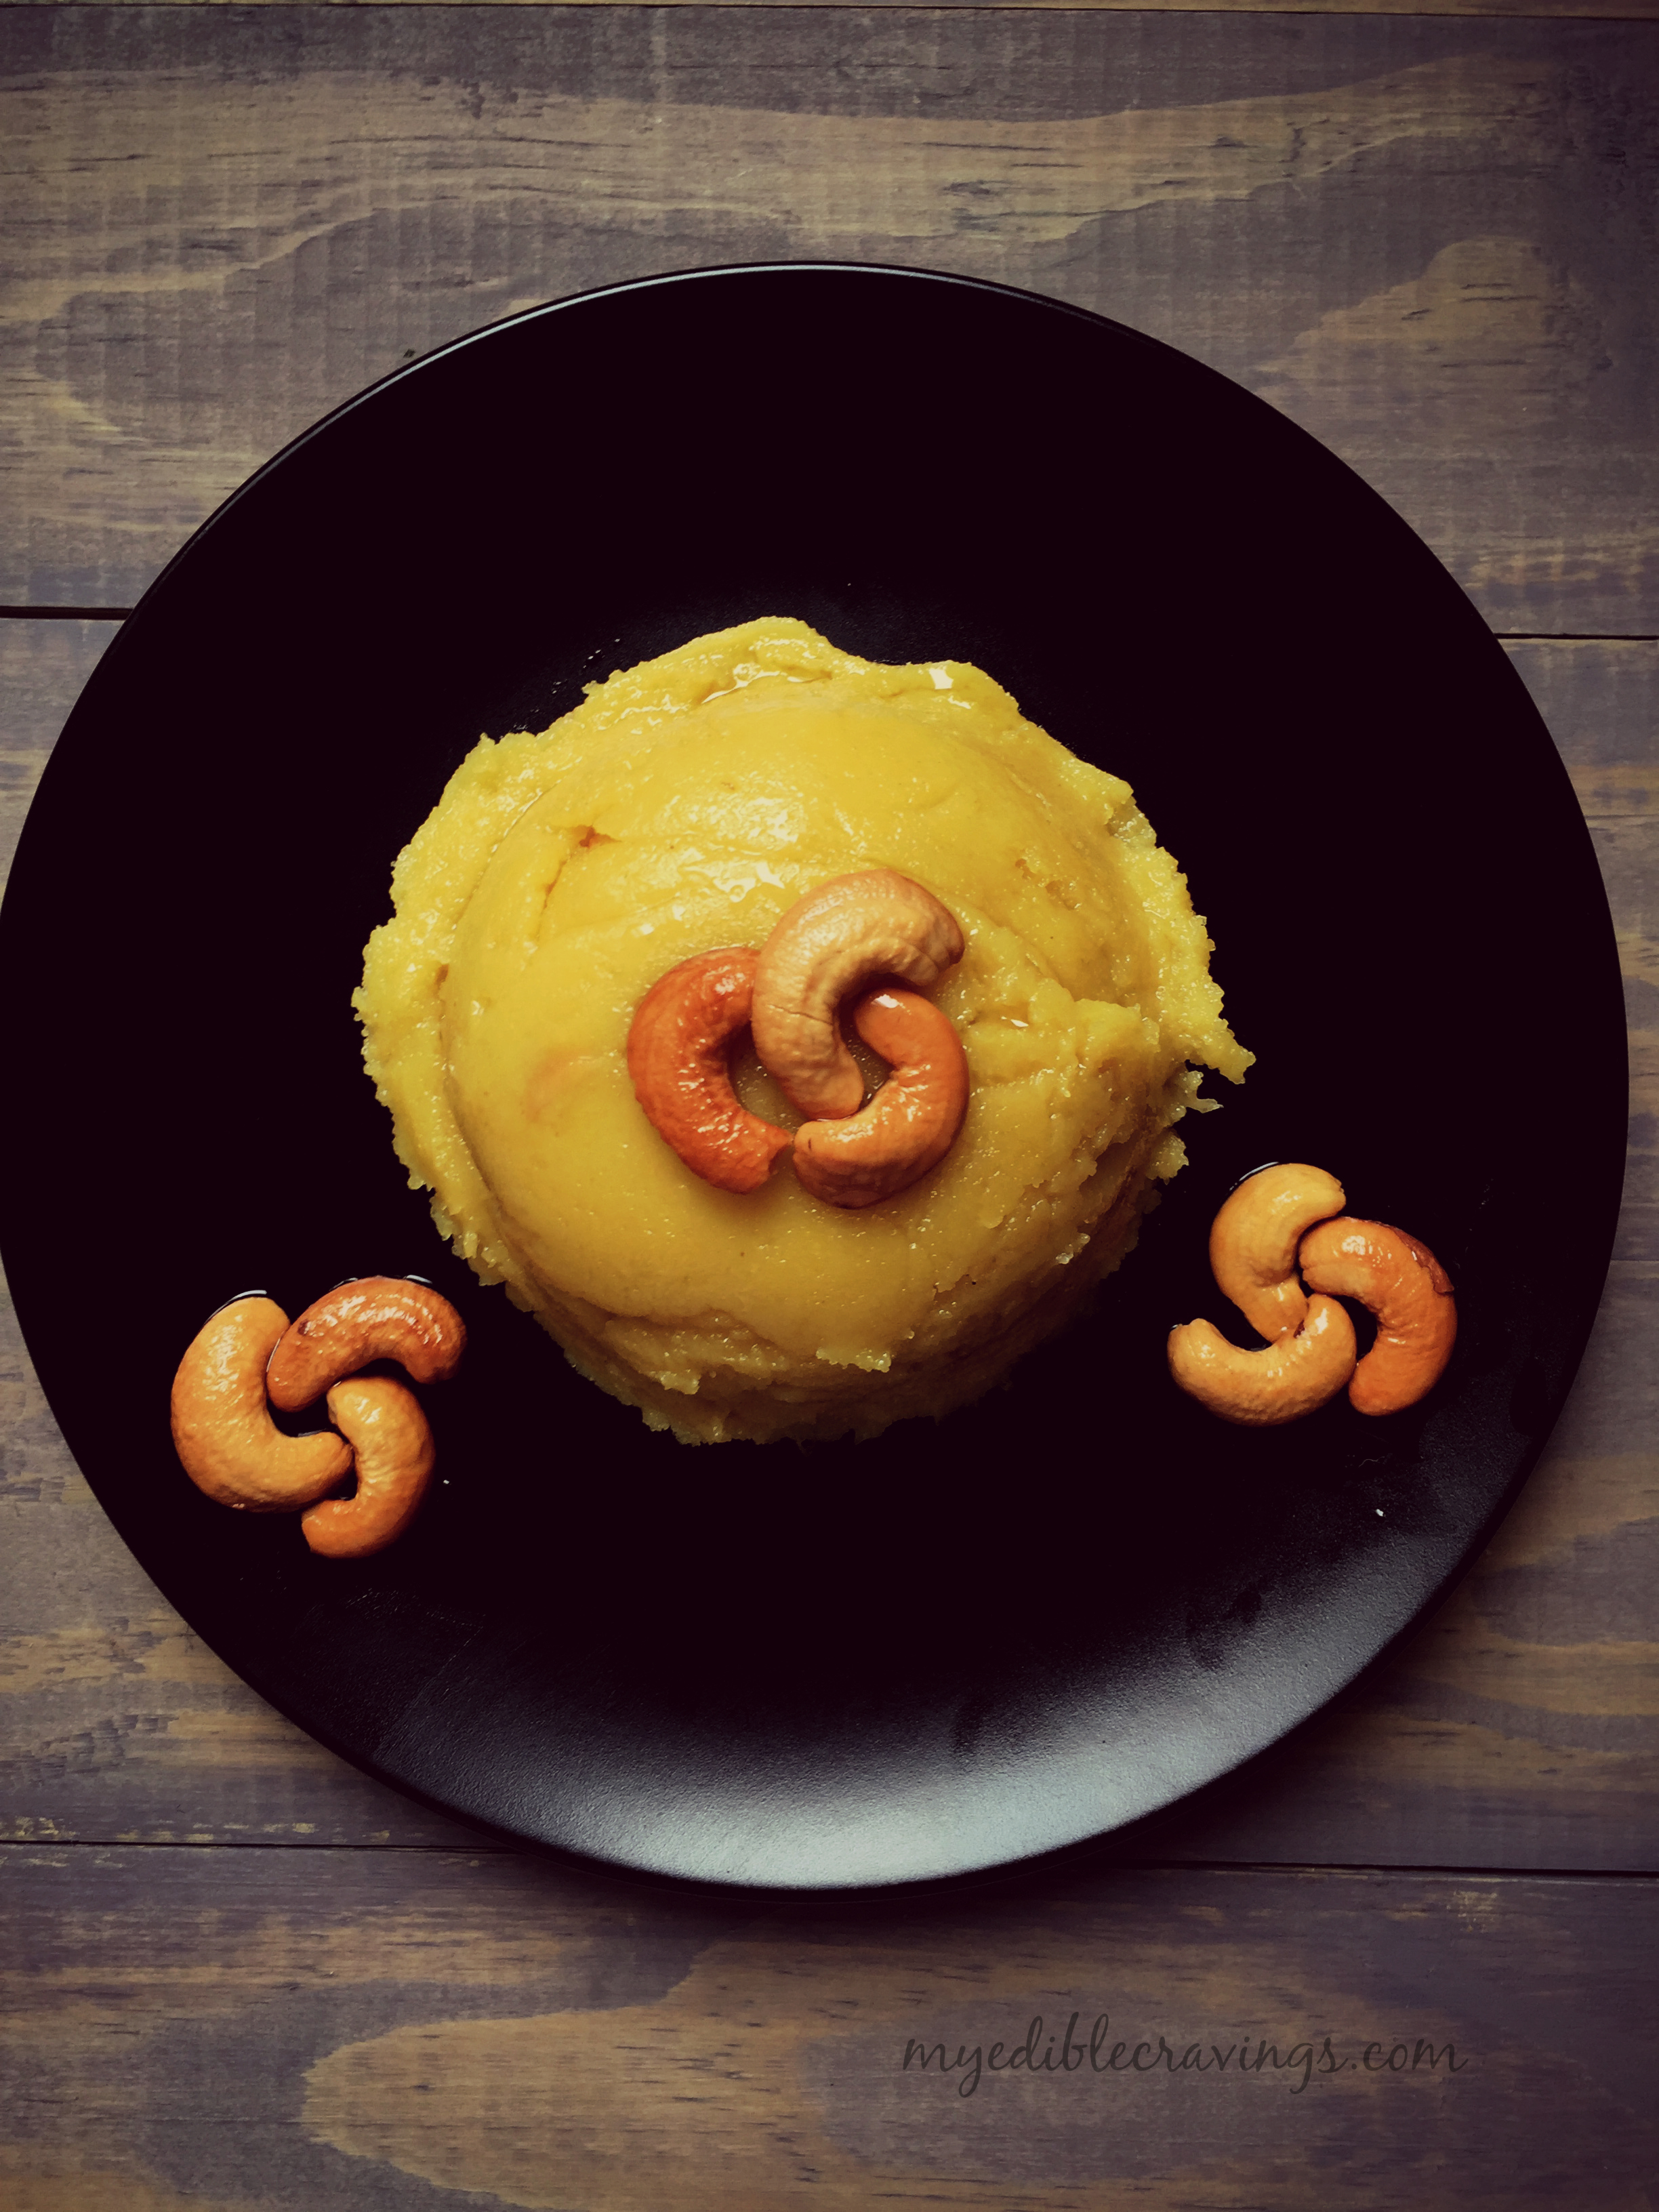
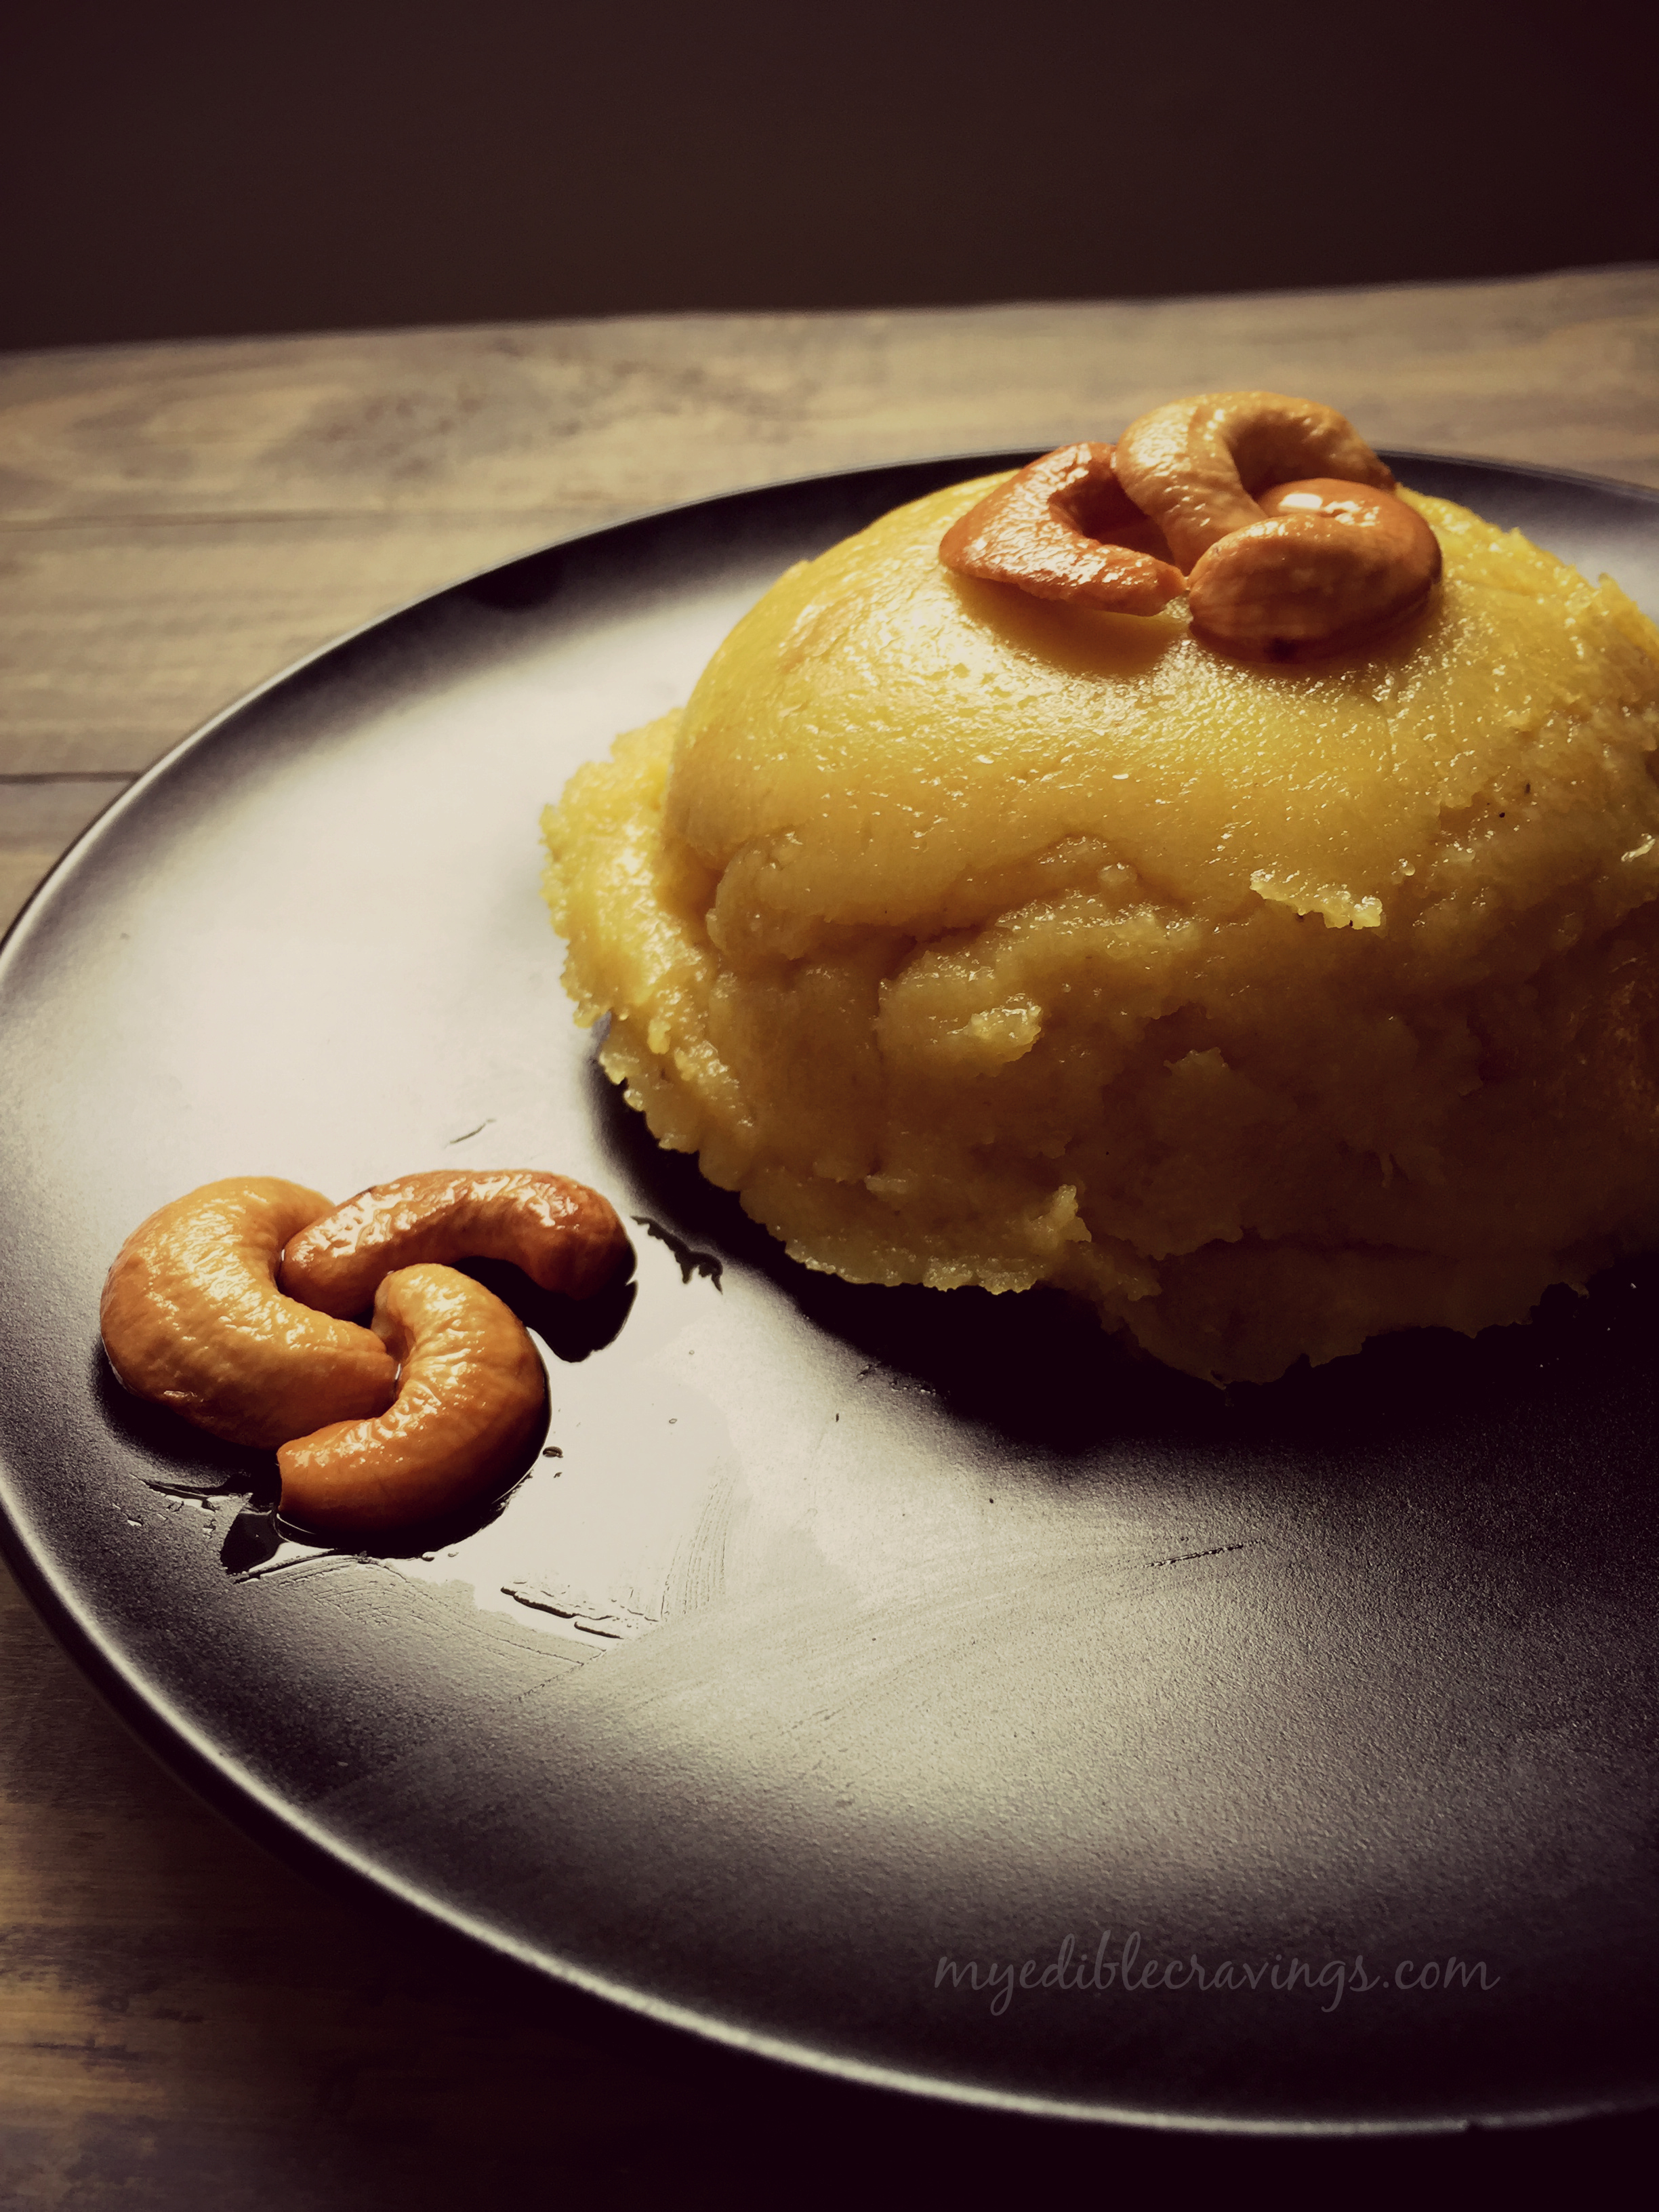
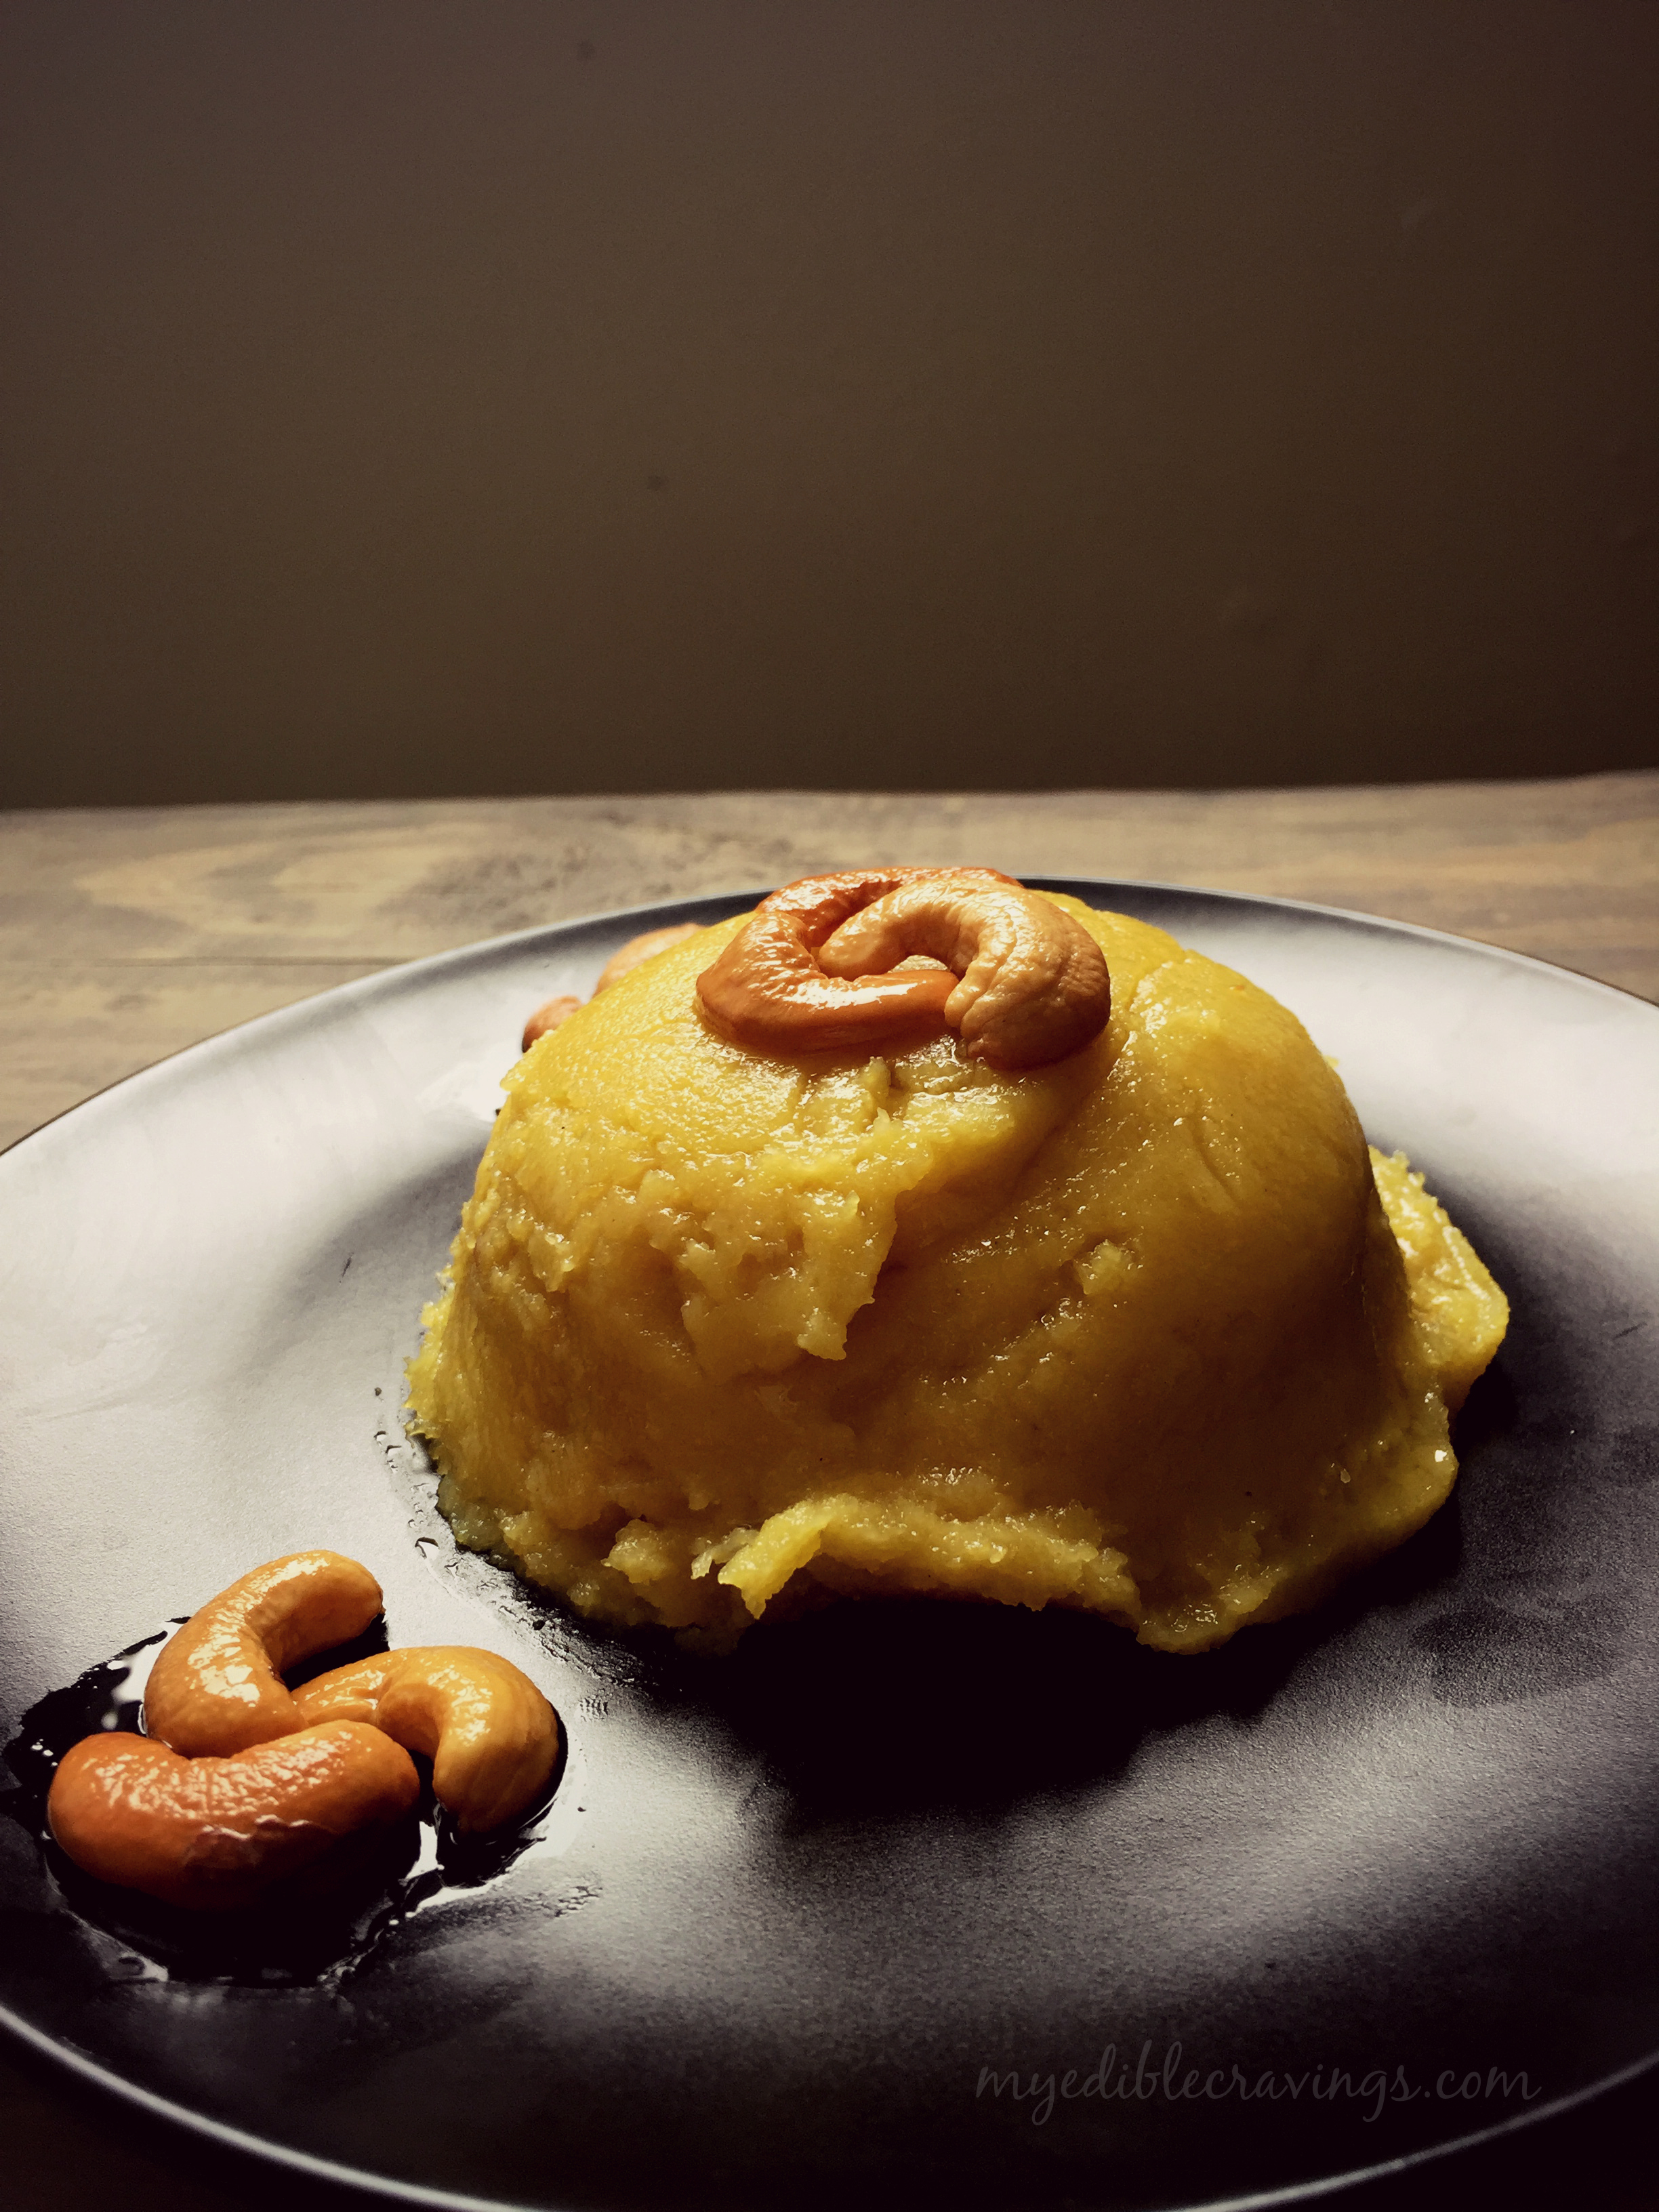
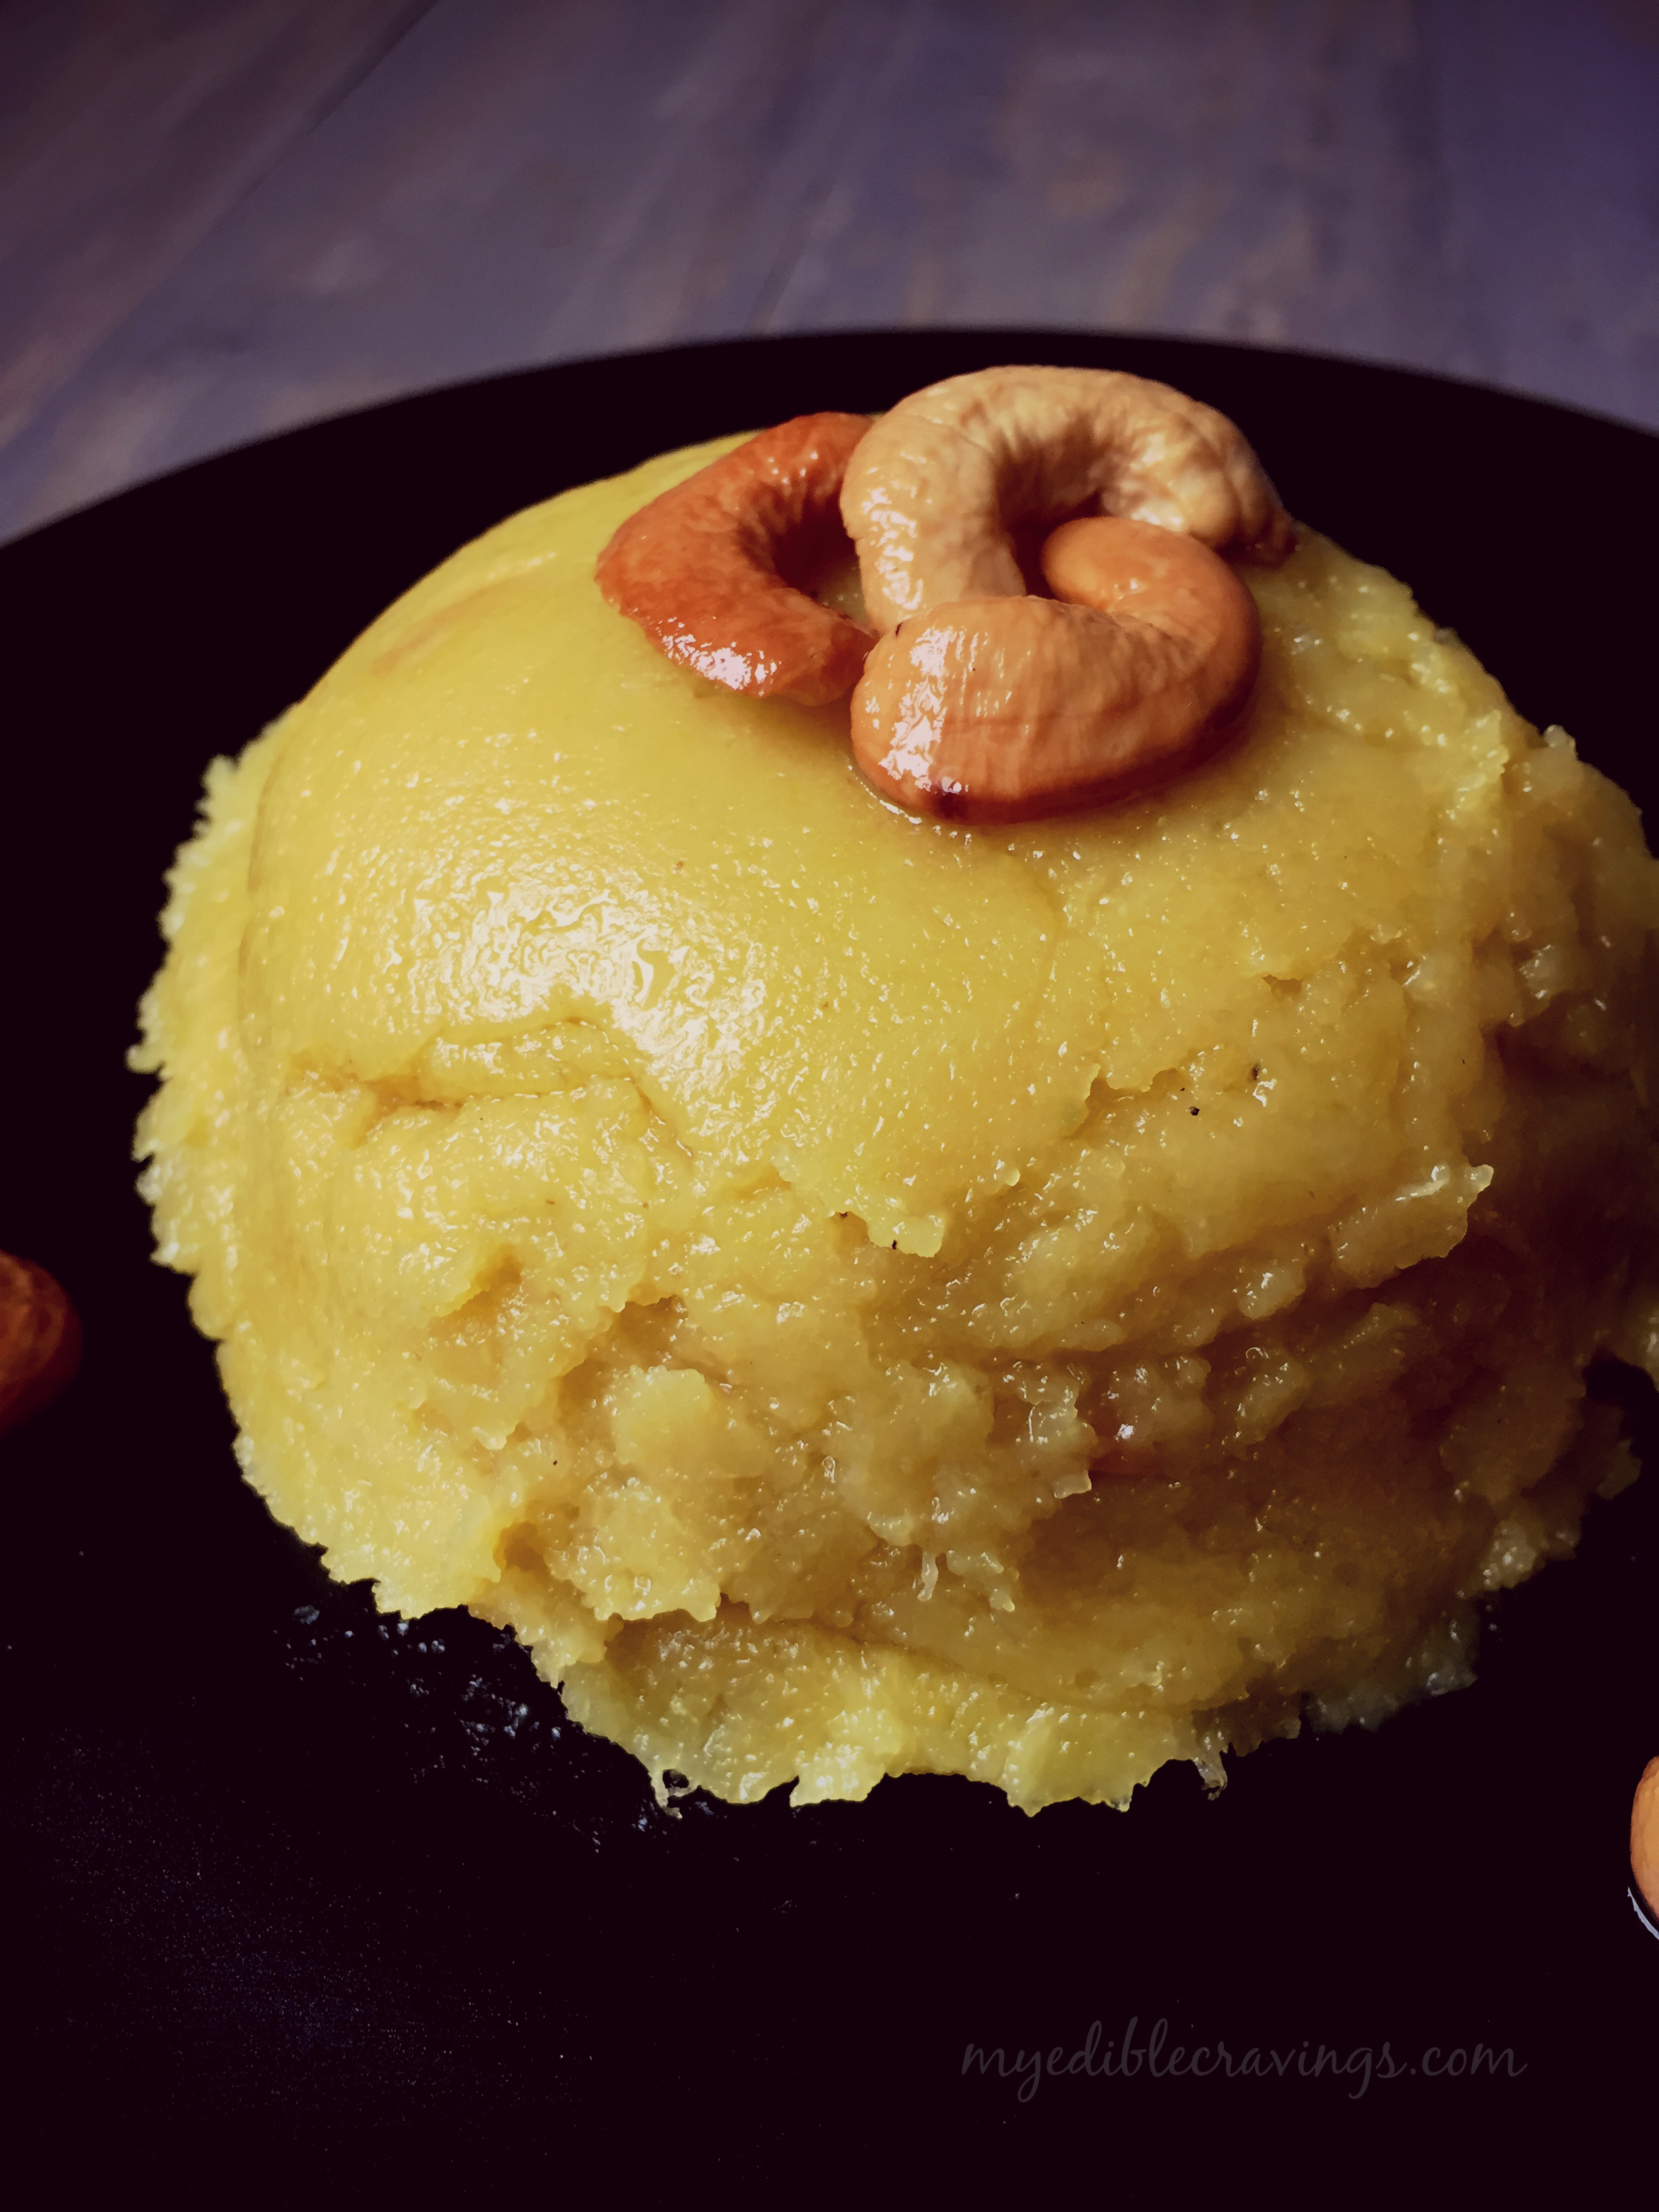
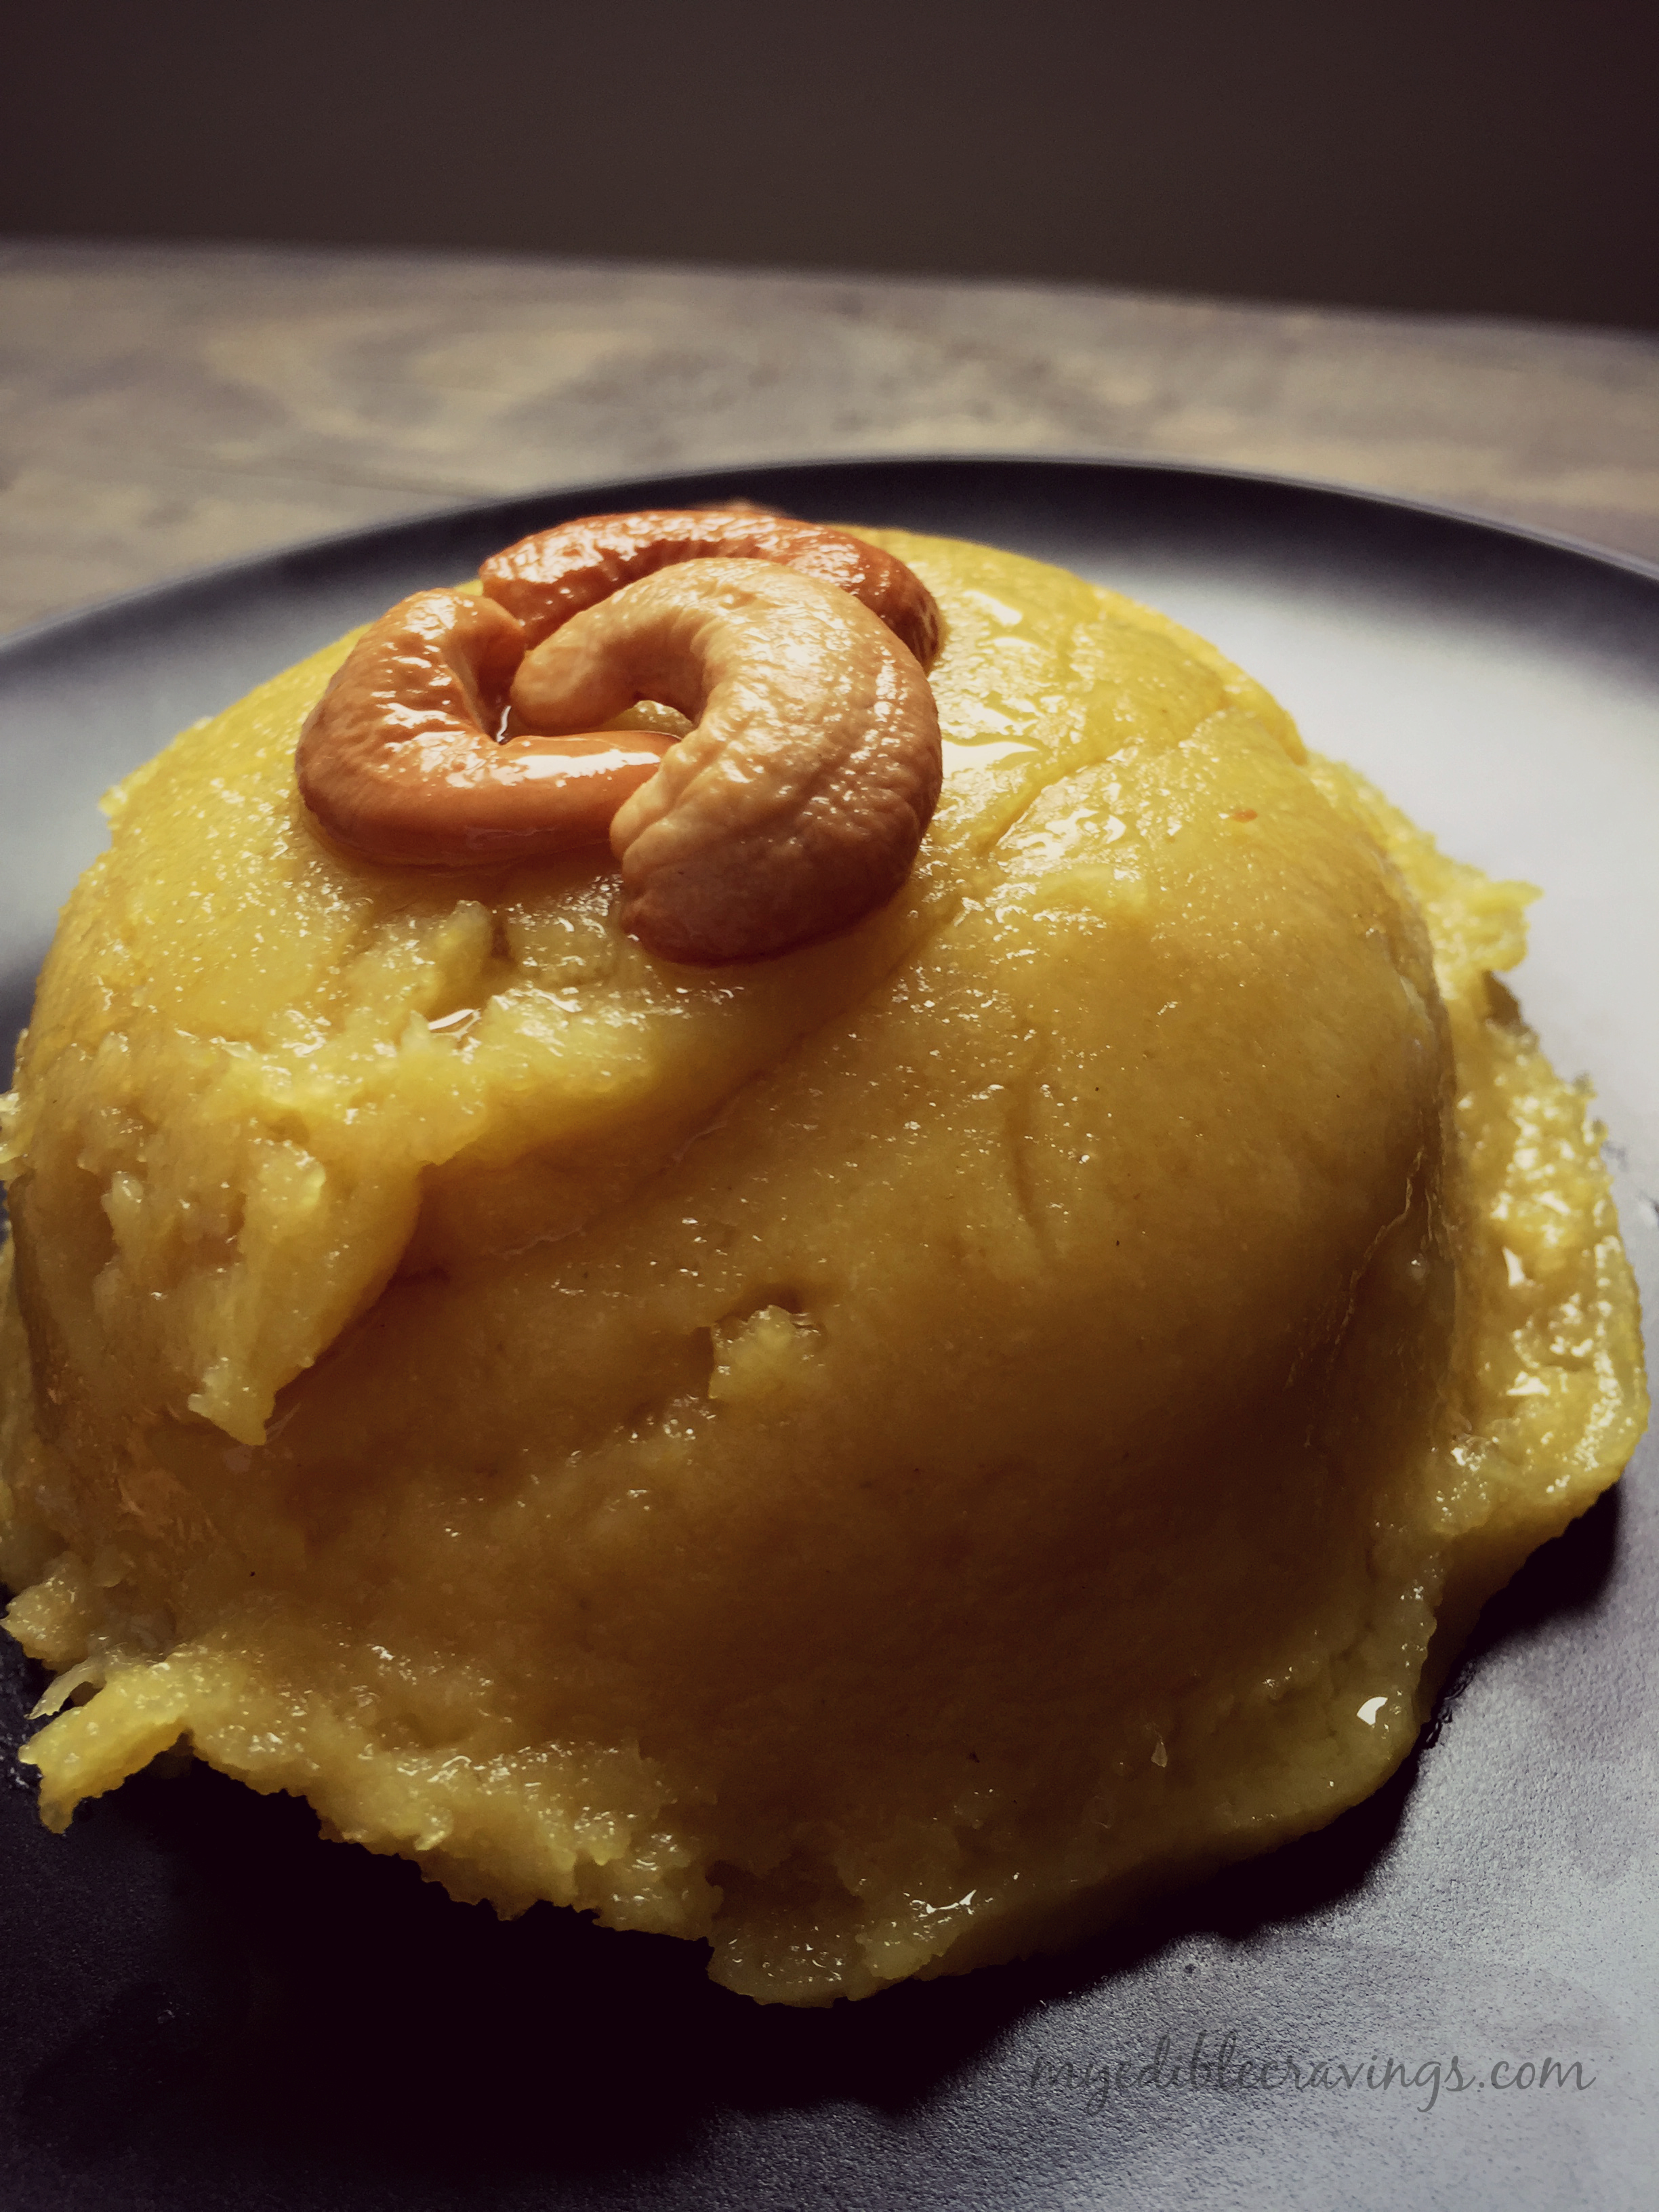
Banana kesariFirst of all, A very Happy Mother’s Day to all the lovely mothers out there 🙂 You are the best. As a tribute to moms and in a way representing their sweet nature, today I have given below a very popular south Indian sweet, Banana Kesari. Kesari is a south Indian delicacy which is often served as a dessert. It is made of sooji (semolina) and is also called as sooji halwa in north India. There are different varieties of Kesari like beet root, pineapple, banana, bread, fruit etc. Banana Kesari is a favorite of my HB (anything made from sooji for that matter :))
Banana kesari
Banana kesariBanana Kesari is very easy to prepare and involves minimal ingredients, i.e., banana, sooji, ghee, sugar and cashews. As with many sweet items, patience is the key here, especially when adding the sooji to the boiling water during the preparation. Believe it or not, I was not very good in making Kesari initially. In fact, my friends used to make fun of my Kesari but I have come a long way now such that I have started making different varieties in Kesari 🙂
Banana kesariOnce again, a very happy Mother’s day to all moms, new moms and expectant moms. As Rudyard Kipling said, “ God could not be everywhere, and therefore he made mothers”. Enjoy the sweet Banana Kesari with the sweetest person in the world, your Mother 🙂

Banana Kesari
Recipe type: Dessert
Cuisine: Indian
Prep time: 
Cook time: 
Total time: 
Serves: 4
 
Ingredients
  • Semolina – 1 cup
  • Ghee – 6 tbsp
  • Water – 2 ½ cups
  • Yellow food color – 1 tsp
  • Sugar – 1 cup
  • Banana, big, peeled, smashed – 1 no
  • Cardamom powder – 1 tsp
  • Cashews – 10 nos
Instructions
  1. Heat a nonstick tawa with a tbsp of ghee. Add in semolina and sauté until the raw smell disappears. It takes around 3 minutes. Remove and transfer to a bowl.
  2. In the same pan add a tbsp of ghee and fry the cashews until golden brown. Remove and keep aside.
  3. Add water in the same pan and bring it to boil. Add food color.
  4. When the water starts to boil, slowly add sautéed semolina little by little, stirring continuously to avoid lumps.
  5. When all the water is absorbed, add in sugar and banana. Mix well and add the remaining ghee.
  6. Finally add in the cardamom powder and fried cashews. Mix well. Add ghee if needed. Serve hot. Enjoy!!!
Notes
1.It is always best to use non stick tawa while making kesari.
2.Be very careful while adding semolina to the boiling water. make it quick and stir constantly to avoid lumps.
3.To make cardamom powder, grind together few whole green cardamoms with a tbsp of sugar.
4.You can substitute any fruits (pineapple, jackfruit, tutti frutti, plums, beetroot, etc) or even with bread and it is called bread halwa.

Banana kesari

Dal makhani

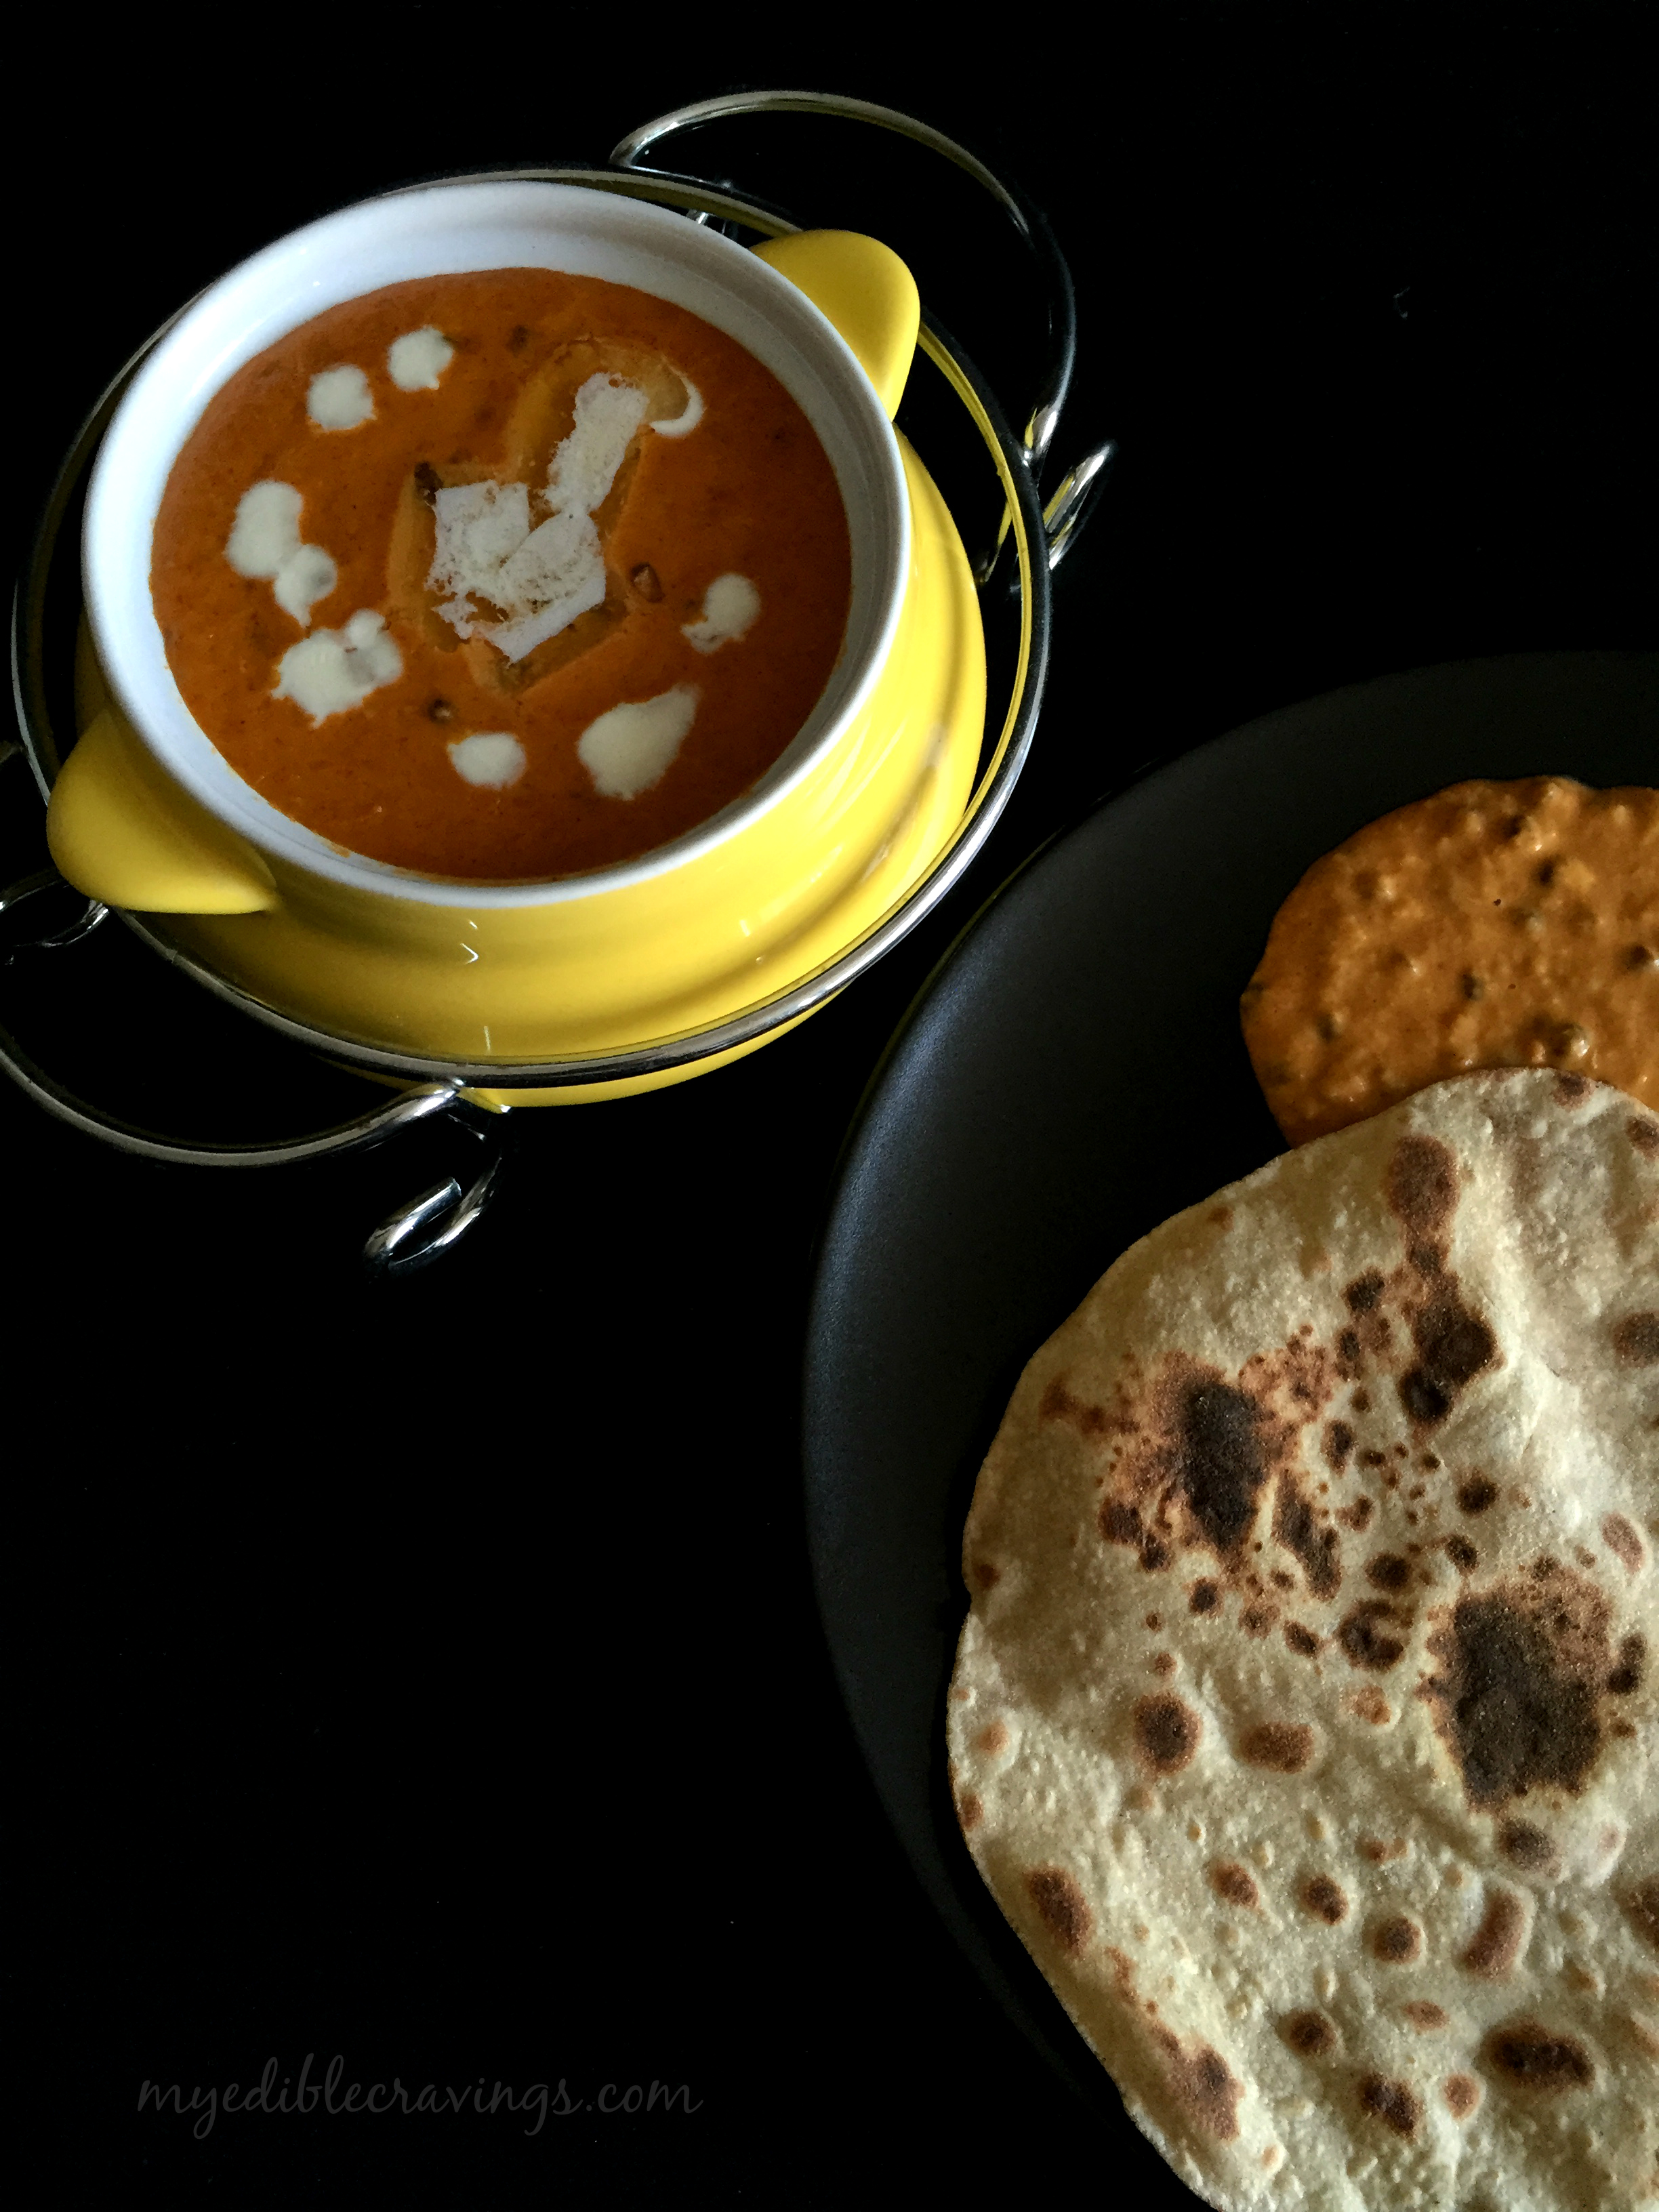
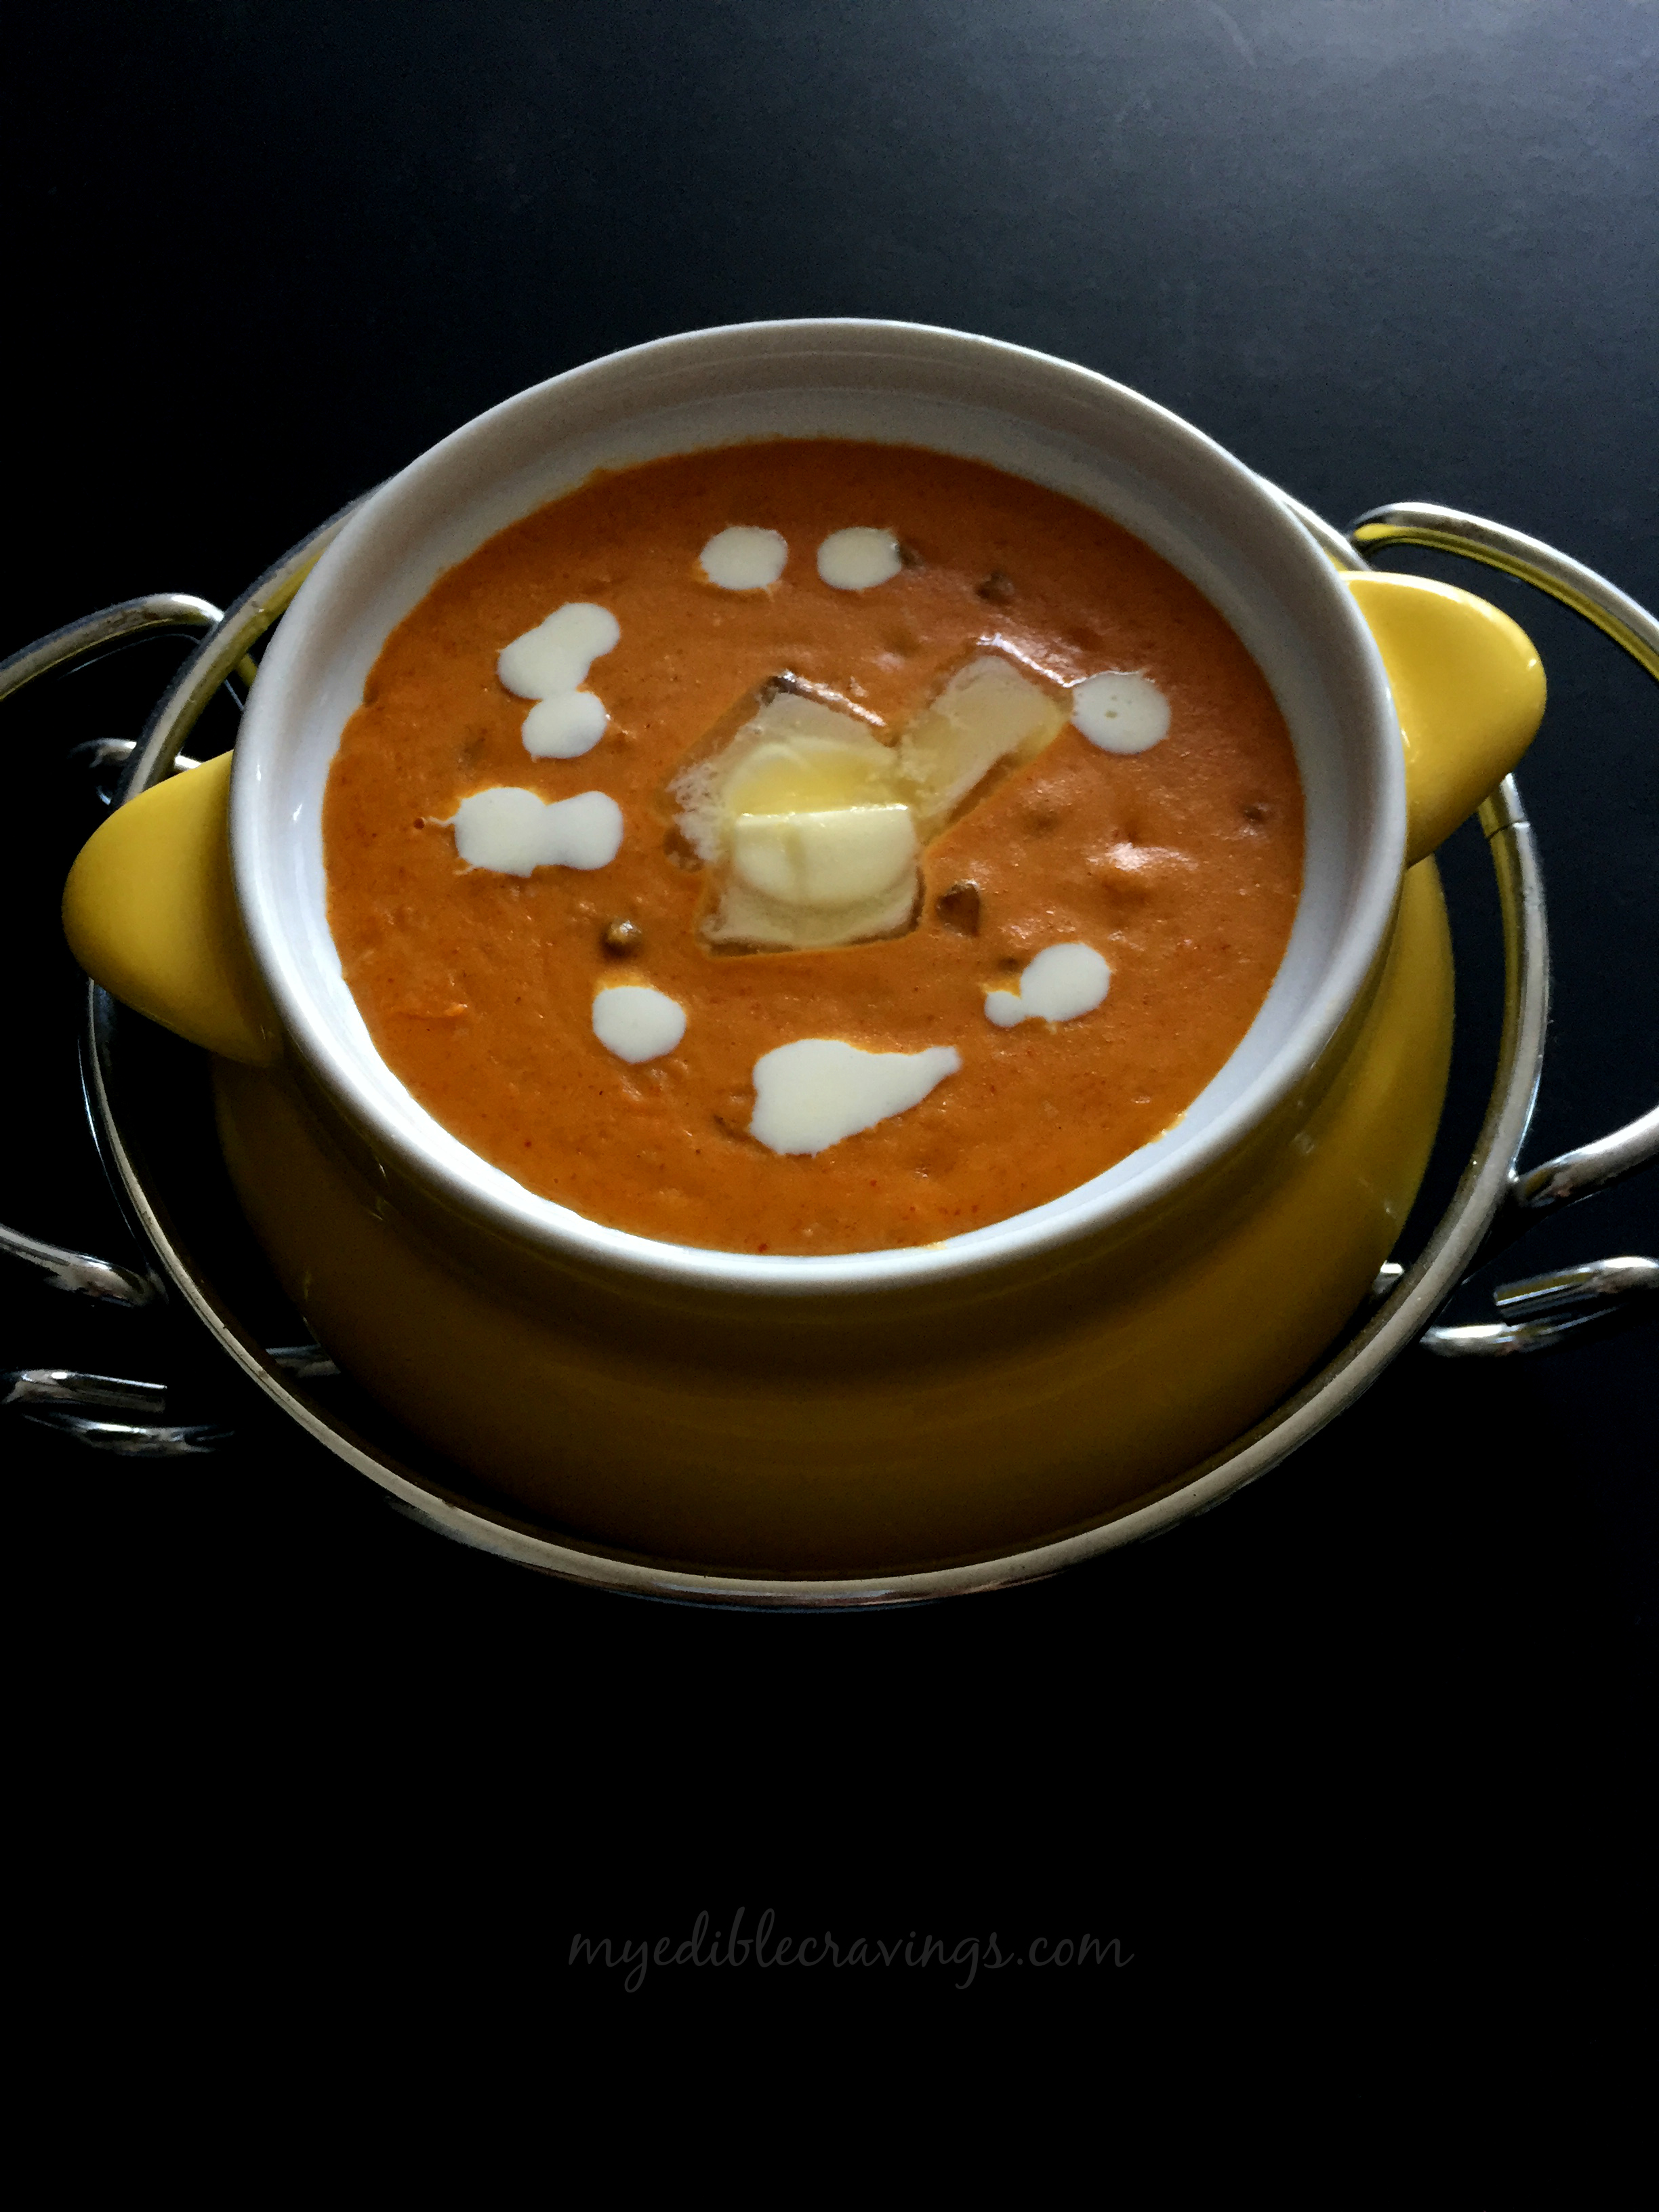
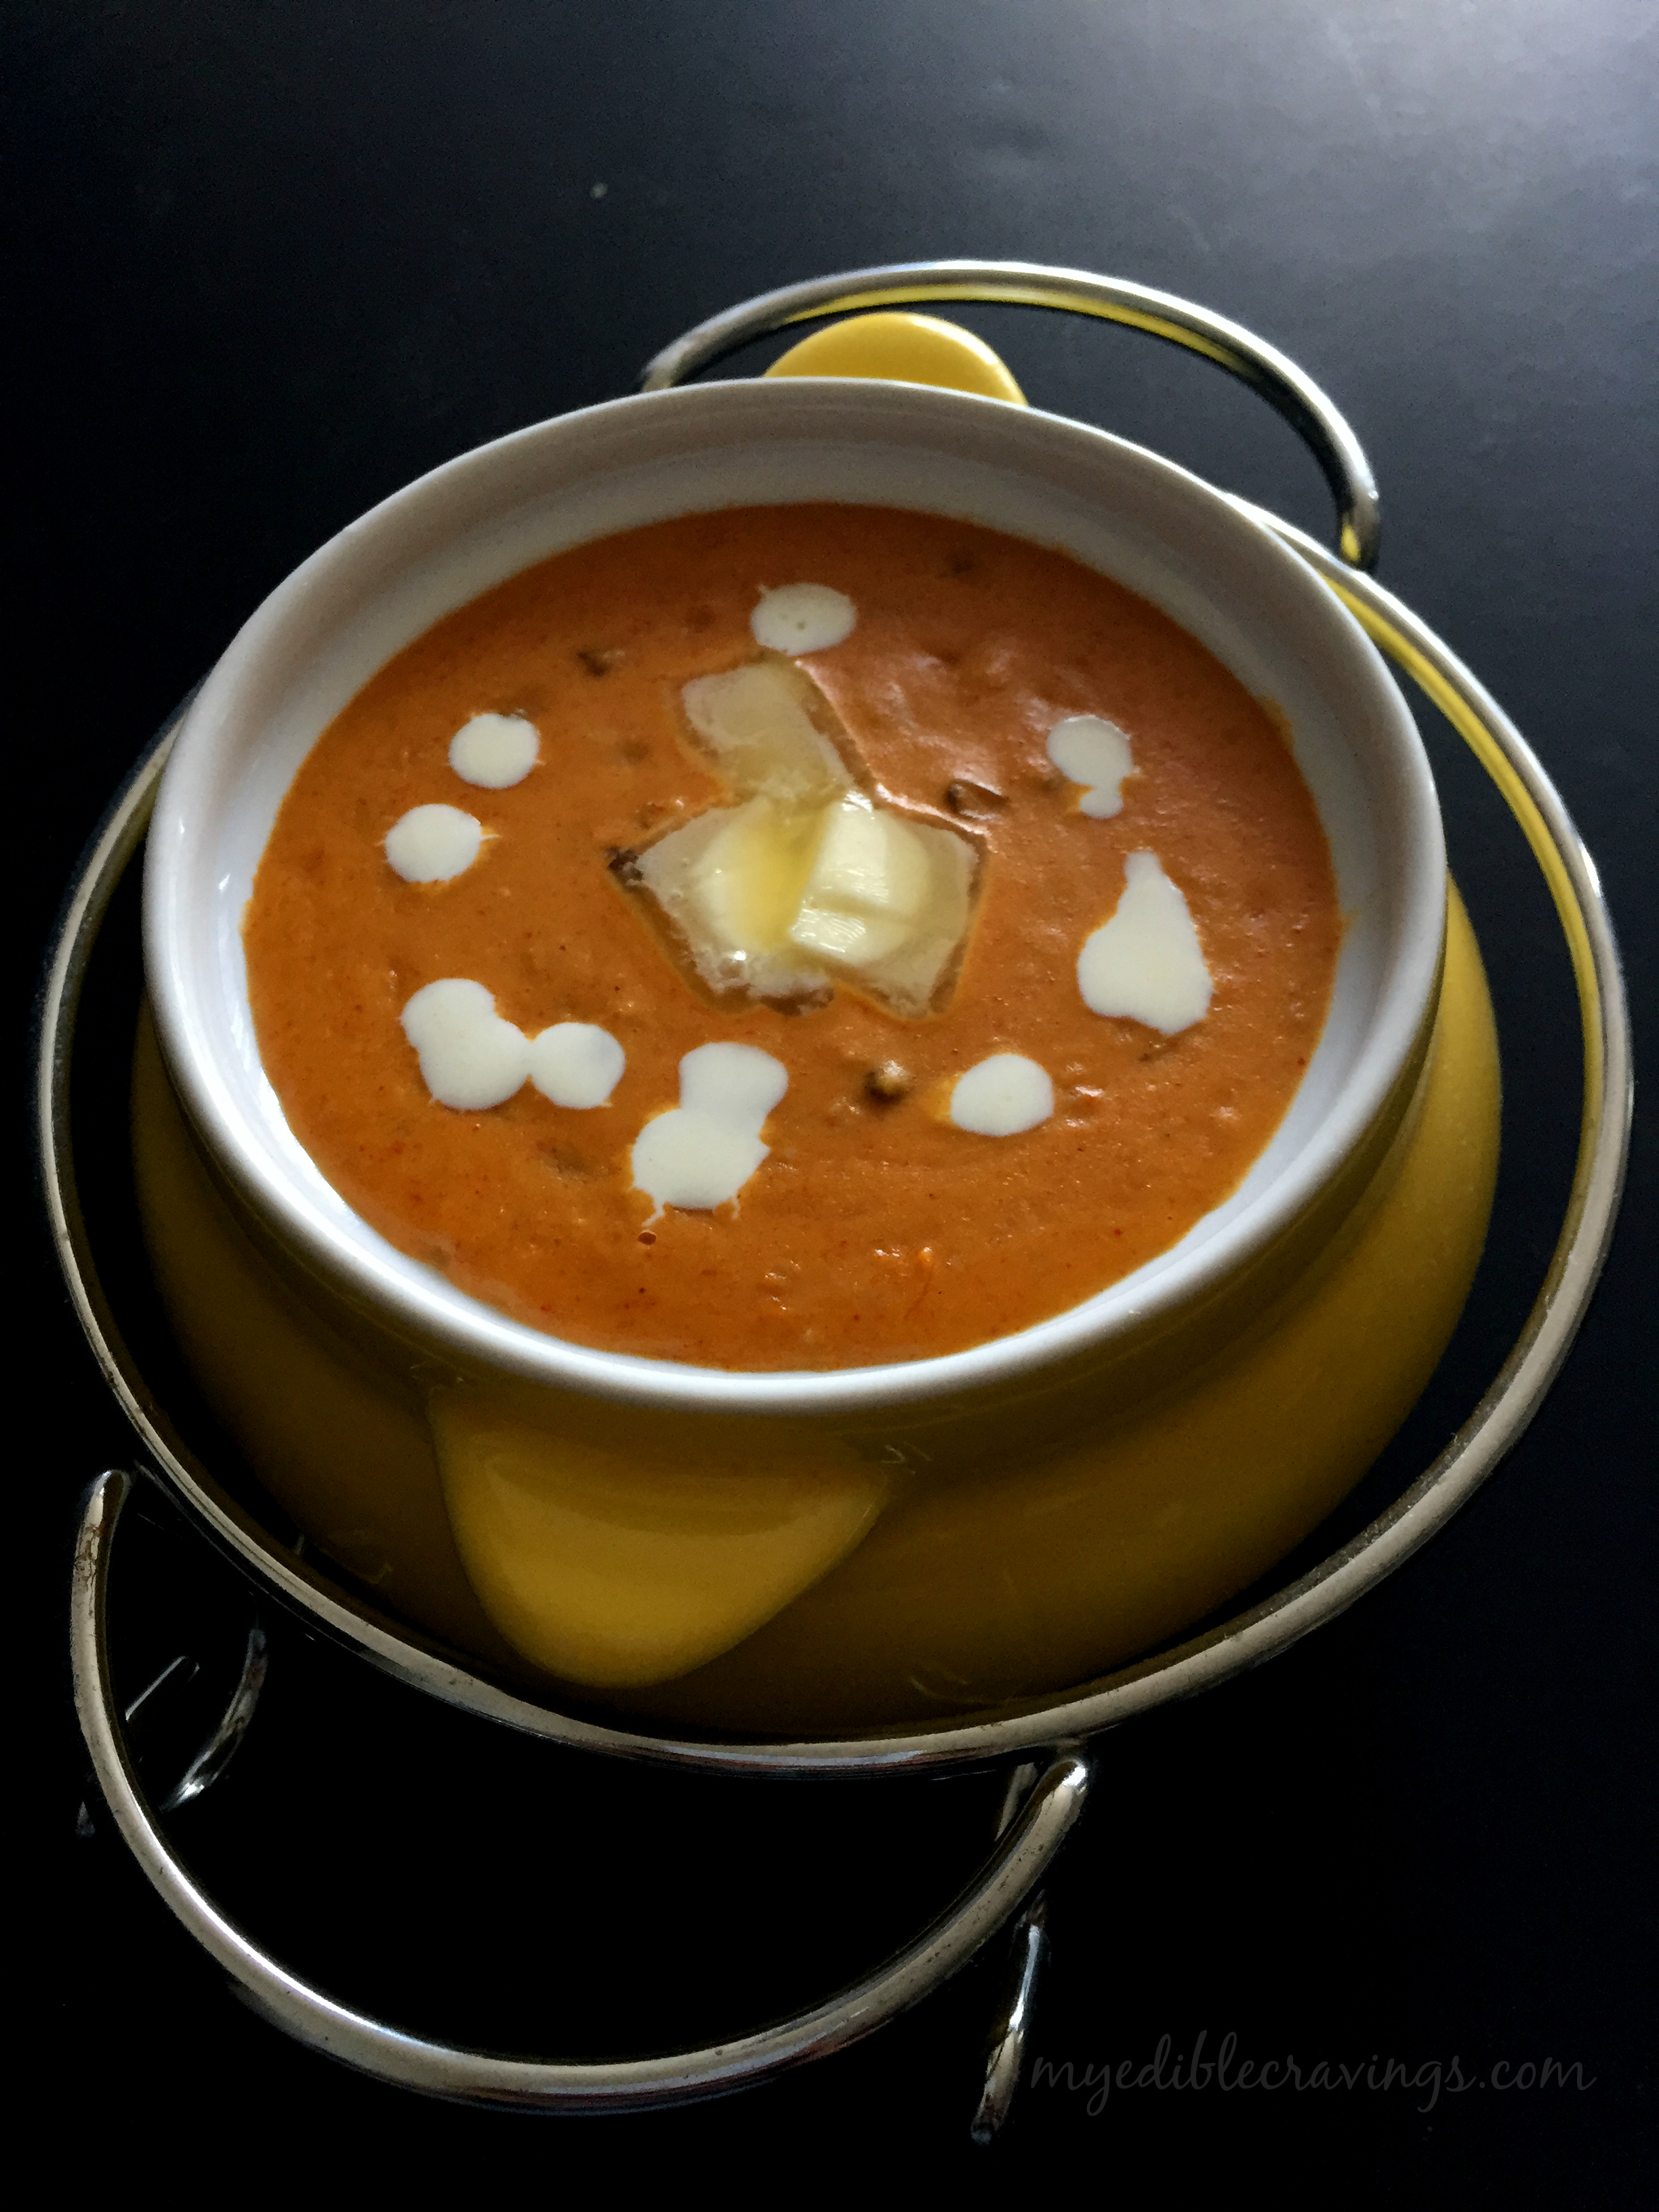
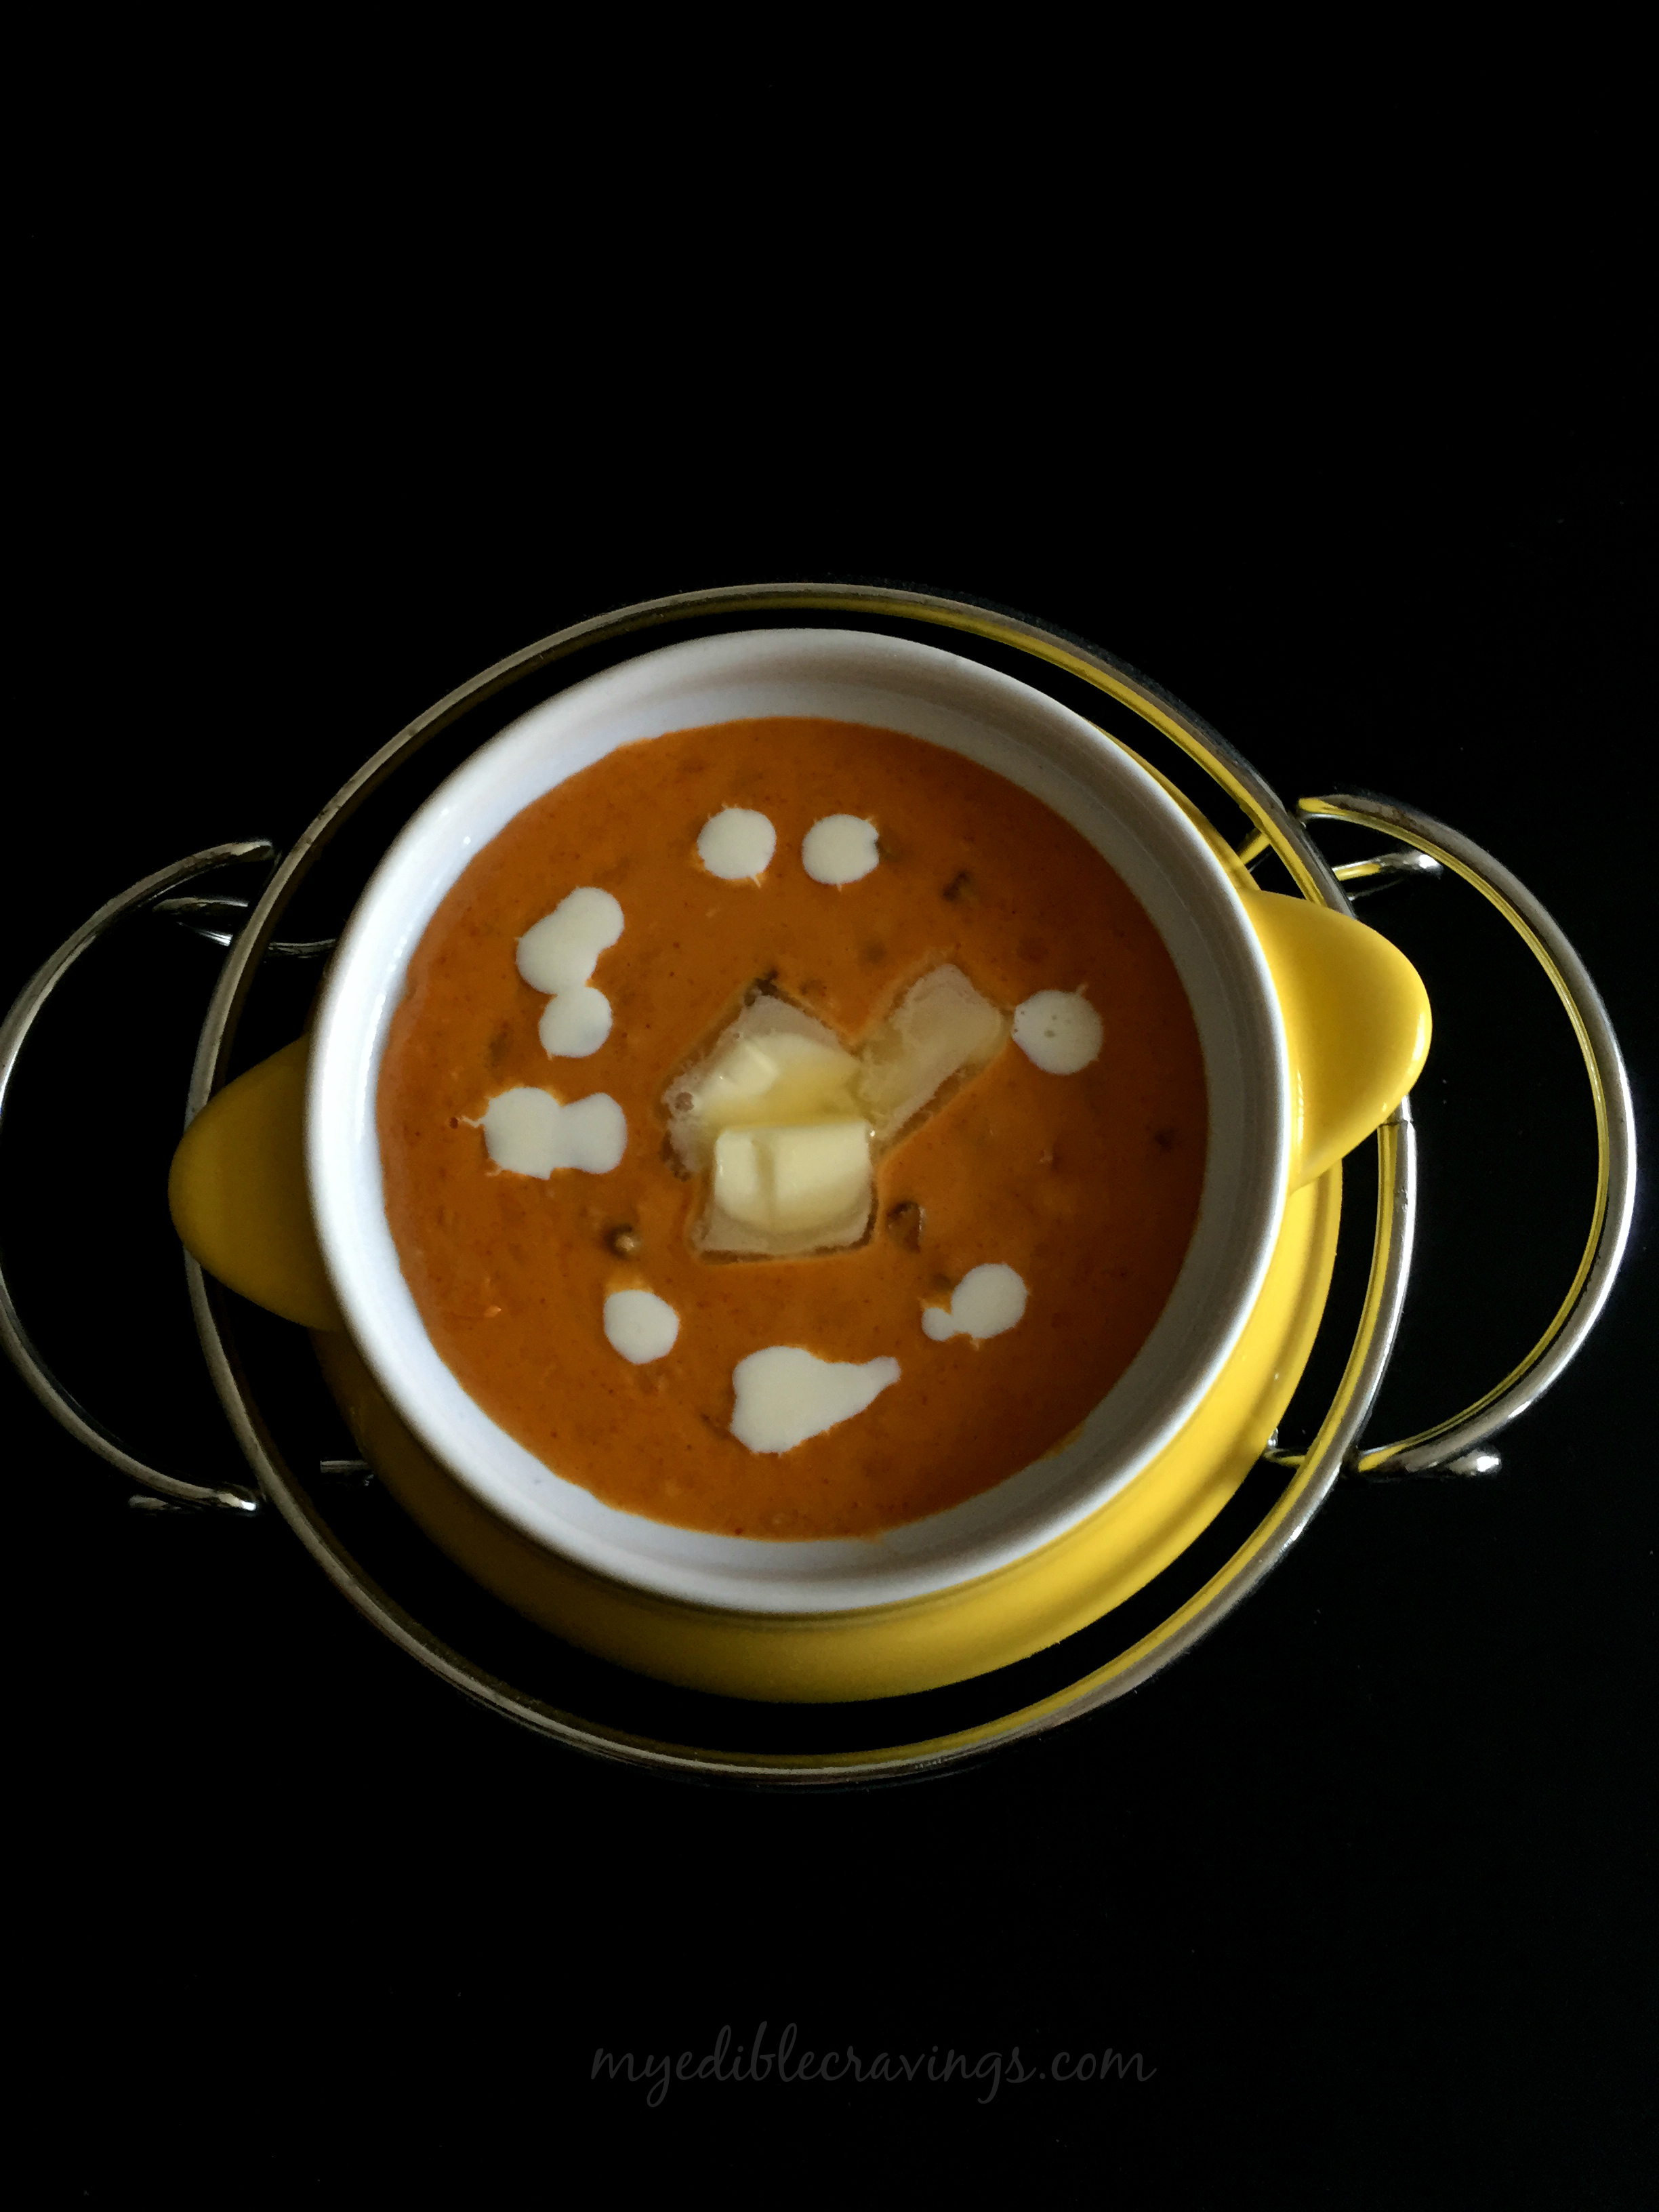
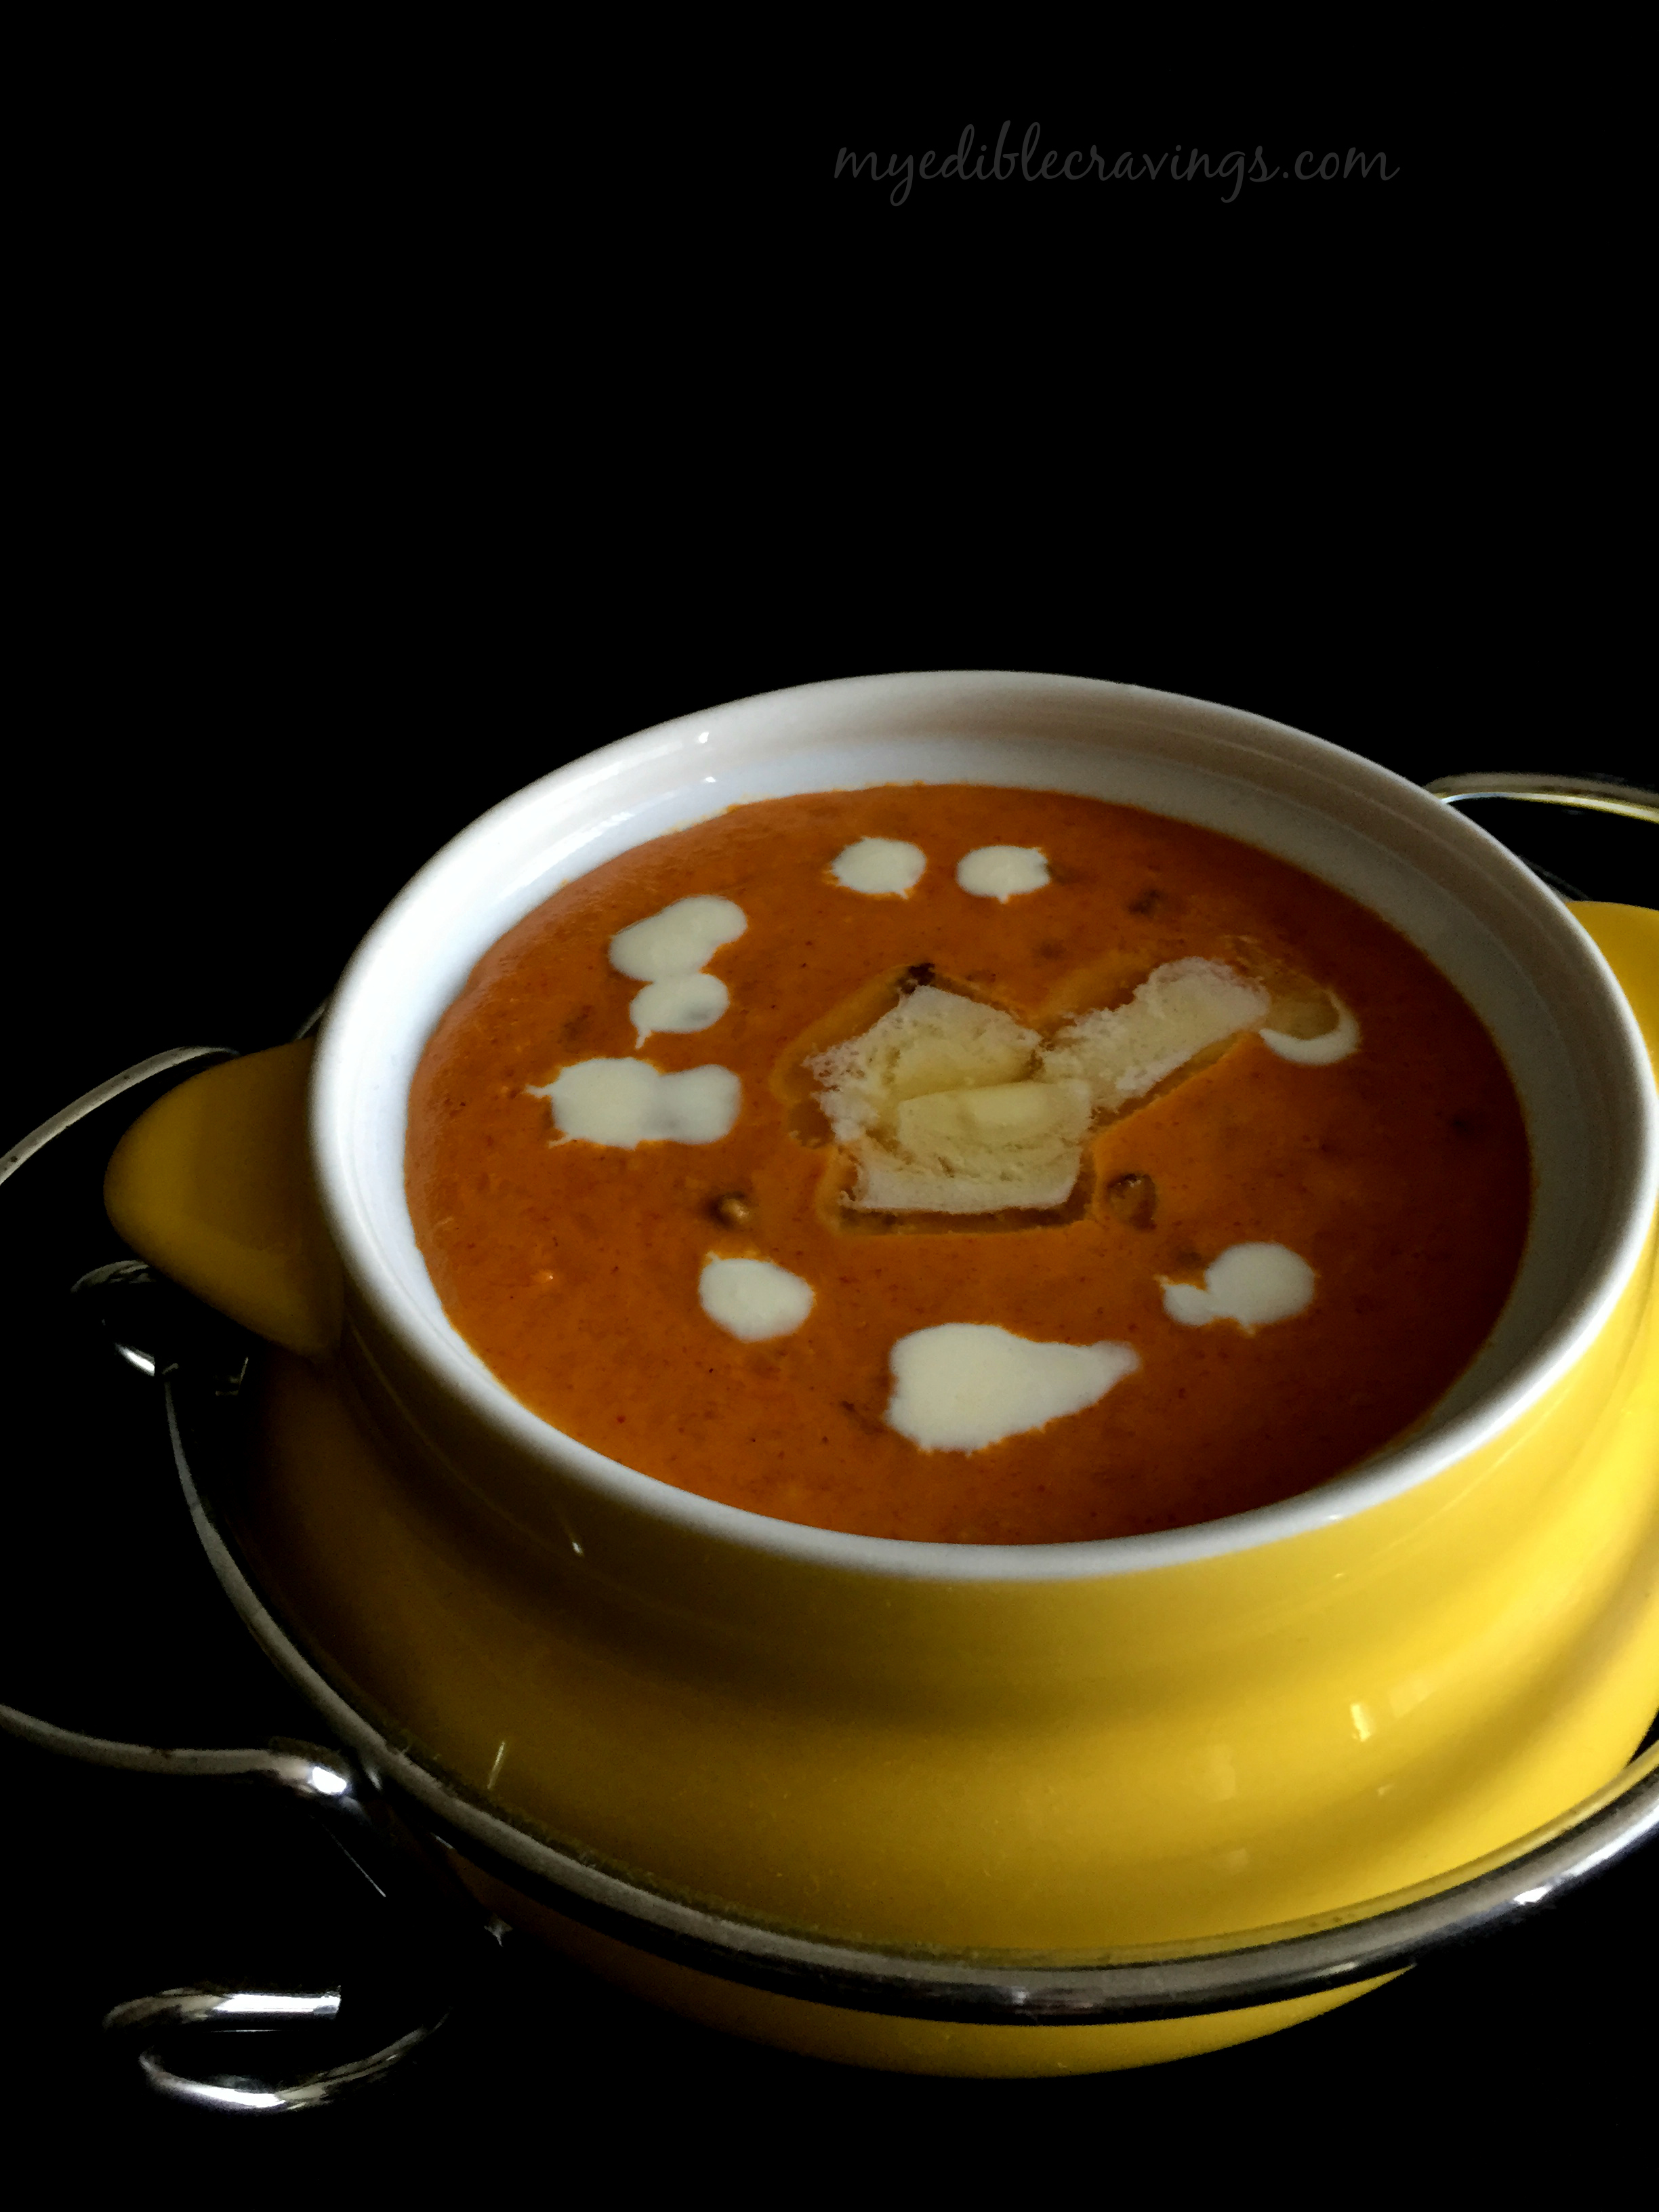
Dal makhaniDal Makhani is a popular north Indian dish that has its origin in Punjab. It literally means ‘buttery lentils’. It is supposed that the original Dal makhani recipe has only black gram lentil (urad) in it. Makhani means buttery and so it is butter and cream along with urad dal. As per Wikipedia, Dal Makhani became popular after the partition, thanks to the Punjabi diaspora. It is a typical punjabi dish that can be found in almost all Dhabas (roadside eateries, very popular in North India) and in Indian restaurants here in the US.
Dal makhani
Dal makhaniThere are so many varieties of sauces like cashew, tomato, white sauce, curry sauce, rogan josh, buna, madrasi etc and Makhani is one among them. Through out my experience with cooking different dishes, I have noticed that most often cooking a recipe can be broadly defined as first preparing a sauce/gravy and then adding the main ingredient, the one that defines the dish, to it. This method of preparation of dishes is particularly useful in restaurants where a variety of sauces are prepared first and then different recipes are cooked using those sauces. And Dal Makhani is prepared the same way as well; you first prepare the Makhani and then add lentil (urad dal here) to it.
Dal makhani
Dal makhani
Dal Makhani is a very rich and flavorful dish. This is mainly because of the lentils which gives you a fullness when eaten due to the high protein content. Hence it is a healthy dish as well. Dal Makhani goes well with almost all entree items like rice, chappati, paratha, naan etc. Also, it is very easy to make. So without further delay, go prepare this easy and tasty punjabi dish in your kitchen and let me know your comments 🙂

Dal makhani
Recipe type: Main
Cuisine: Indian
Prep time: 
Cook time: 
Total time: 
Serves: 4
 
Ingredients
  • Black gram dal – 1 cup
  • Ginger garlic paste – 1 tbsp
  • Kashmiri red chilli powder – 1 ¼ tbsp
  • Unsalted butter – 5 tbsp (120 gr)
  • Tomato, large, pureed – 2 ½ nos (pureed to 1 cup)
  • Fresh cream – 4 to 5 tbsp (250 gr)
  • Salt as required
Instructions
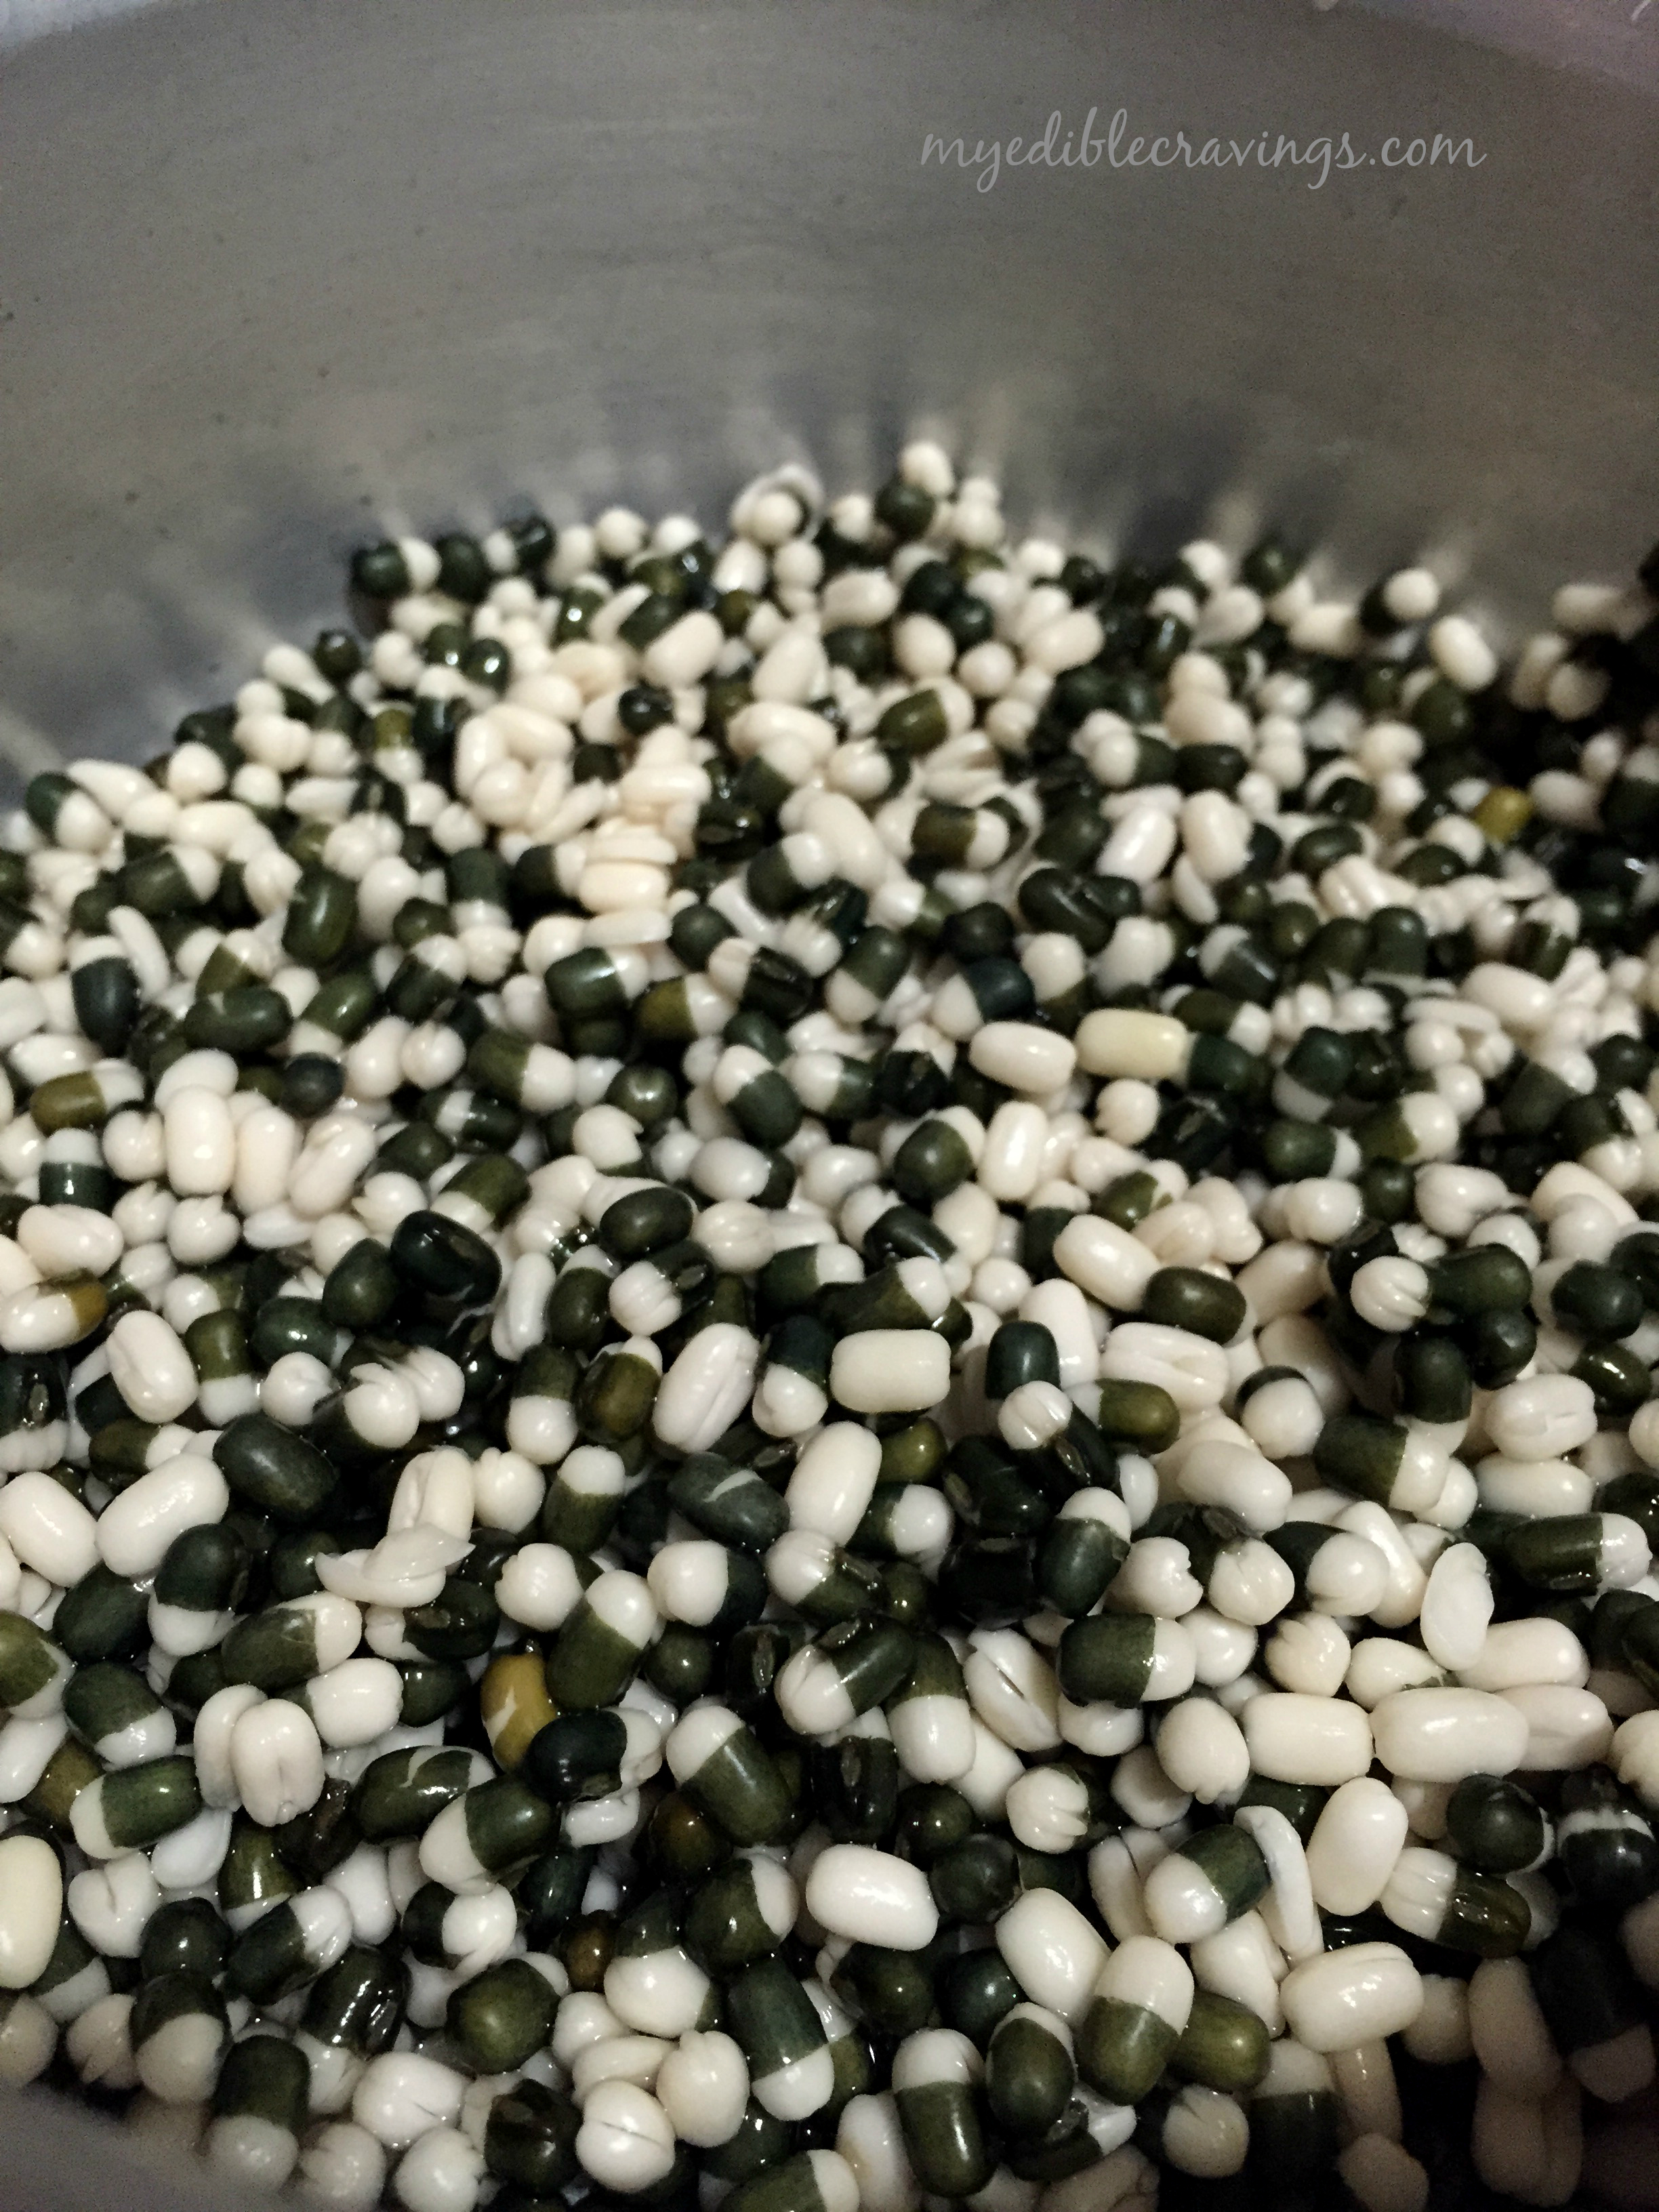
  1. Soak dal in water for 8 hours or overnight.
  2. Rub the dal using your two hands and filter the skins. Repeat this for 5 to 8 times until 70% of the skin is removed.
  3. Add 3 cups of water and ½ tsp salt and pressure cook the dal for 5 whistles.
  4. Transfer the dal into a thick bottomed non stick sauce pan and bring them to boil. Add ginger garlic paste, chilli powder and butter. Cook until the butter is melted, mixed and well blended.
  5. Add in tomato puree and fresh cream. Mix well and add enough salt.
  6. Bring the dal makhani to boil in a low to medium flame. Cook for around 20 to 25 minutes until a thin glaze is formed at the top.
  7. Serve it hot with a dollop of butter on top. It goes excellent with naan, rotis and other Indian flat bread varieties.
To make tomato puree:
  1. Heat a sauce pan with a tbsp of oil. Add in roughly chopped tomatoes and very little salt. Sauté until oil seperates.
  2. Allow it to cool and make a thick puree adding very little water.
Notes
1.Amount of dal and tomato puree should be 1:1 ratio (equal).
2.Use non stick pan to make this dal makhani dish to avoid the dal sticking at the bottom.
3.could also add rajma and other kinds of dal to this dish. i have tried both and all tasted equally good.

Dal makhani

Chocolate cake

Myediblecravings
Now, why did I bake a chocolate cake, that too with a diet conscious HB by my side? It is the ONE year anniversary of my website, guys!!! What started as a personal log of my favorite recipes is now well on its way to become a repository of recipes catering to all types of palate. Thank you all for your continuing support and well wishes! When we decided to commemorate the milestone, there was a lengthy debate on what to make. I was oscillating between a white chocolate truffle cup cake and a perfect chocolate cake and finally settled on a chocolate cake, much to my HB’s delight!
myediblecravings
Chocolate cake
Chocolate cake is one of the most recognized cakes in the world. I am pretty sure that there is not even one bakery/pastry shop around the world that does not sell a chocolate cake! Though the name is generalized, there is multitude varieties of chocolate cake. Today, I am giving here a very simple but decadent recipe of chocolate cake which is my favorite as well. It is a three layered chocolate cake with chocolate frosting. I have been wanting to bake a cake from scratch for a long time and now that I have done it, it turned out to be a job well done :). Baking a cake, in general gets a bit messy and doing it from scratch makes it even more messier, but trust me, it is all worth it.
myediblecravings
Myediblecravings
I am a very big fan of cakes in general (it would be the only thing that won’t get me angry when I am woken up from my sleep and offered ;)) And after trying this chocolate cake, I have a profound respect for cakes 🙂 Do try this decadent recipe and post your comments.

Chocolate cake
Prep time: 
Cook time: 
Total time: 
Serves: 3 layer 8"cake
 
Ingredients
For frosting:
  • 1 ¾ cups (350 gr) sugar
  • 1 ½ cups heavy cream
  • 7.5 oz (213 gr) unsweetened chocolate, roughly chopped
  • 12 tbsp unsalted butter, cut into small pieces
  • 1 ½ tsp pure vanilla extract
For cake:
  • Scant 3 cups (425 gr) All purpose flour
  • 3 cups (600 gr) sugar
  • 1 cup + 2 tbsp Dutch-processed cocoa powder
  • 1 ½ tsp salt
  • 2 ¼ tspn baking powder
  • 2 ¼ tspn baking soda
  • 3 eggs, room temperature, beaten
  • ¾ cup vegetable oil
  • 1 ½ cup whole milk
  • 1 ½ cup hot coffee decoction, filtered
Instructions
For frosting:
  1. Combine sugar and heavy cream into a sauce pan. Heat the pan and bring them to boil in a medium heat. Once they starts to boil, simmer it for another 5 to 6 minutes.
  2. Remove from heat and stir in the chopped chocolates until completely melted.
  3. Now add in the butter pieces and stir them again until completely melted.
  4. Finally stir in the vanilla extract.
  5. Let the frosting cool completely, whisking every now and then during cooling. (You can do this step in the refrigerator to speed up the process) Once completely cool at room temperature, the frosting will be spreadable.
For cake:
  1. Preheat oven to 350 degrees F or 175 degrees C. Grease the three 8" round cake pans with butter or oil (on the sides and bottom), dust the bottoms with flour and line them with parchment paper. If desired, wrap the cake pans with bake-even strips.
  2. Sieve sugar, flour, cocoa powder, salt, baking powder and baking soda into a large mixing bowl. This is done to avoid lumps and even the mixing. Meanwhile make hot coffee decoction and keep it ready.
  3. In a separate bowl, combine the beaten eggs, vegetable oil and milk. Stir to mix. Then, with the mixer on low, pour the wet ingredients into the dry ingredients. Mix on low flame until evenly distributed.
  4. Pour the hot coffee into the batter and mix on medium to low flame until smooth and creamy. .
  5. Divide the batter between the cake pans.
  6. Bake for 40-45 minutes. When a toothpick inserted into the center of the cakes comes out cleanly, the cakes are done. Remove from the oven and let cool completely.
  7. Refrigerate the cakes for at least 2 hours or place it n the freezer for one hour. Level the cakes by cutting the excess top bump.
  8. Stack the cakes, spreading a layer of frosting in between each cake layer. Frost the outside of the cake for a smoother finish.
Notes
1.I would strongly recommend to line the parchment paper as this cake is so soft and gooey. You could also use cold wet cloth to tie around the pans instead of bake-even strips.
2.The recipe I have given here is for the big batch. You can reduce the ingredients by half for a smaller batch.
3.This recipe also works for a 3-layer 9" cake, with slightly shorter layers.

Myediblecravings

Green Chilli Pickle

007Pickle is an accompaniment in Indian cuisine similar to mustard and ketchup in American or salsa in Mexican cuisines. Pickle in the US has a different meaning altogether where it is cucumber fermented in brine or vinegar. Pickle is very popular in Andhra cuisine where it is almost had with all main entrée dishes.
Back home, there are literally hundreds of variety of pickles (both sweet and spicy) and green chilli pickle is one among them. Green Chilli pickle is a recipe from my grandmother, passed on to my mother and now to me (and I will pass on to my daughter when she is ready ). Green Chilli pickle is the best complement for curd rice.
009
I love Green Chilli pickle very much and have wanted to make it for a long time. As the name suggests, green chilli is the main ingredient (and mango-ginger as well) in this recipe. I am sure all spicy food lovers will love this one. Try this wonderful pickle , have it with curd rice and let me know your thoughts.

GREEN CHILLI PICKLE/ INJI MANGA OORGAI
Recipe type: Lunch
Cuisine: Indian
Prep time: 
Cook time: 
Total time: 
Serves: 5-10 servings
 
Ingredients
  • Mustard seeds – 1 tsp
  • Chopped Shallots – 10
  • Garlic cloves – 10 (minced)
  • Chopped green chillies – 10
  • Chopped ginger and/or mango ginger – 1 ½ tbsp
  • Red chilli powder – 1 tsp
  • Tamarind – big gooseberry size
  • Coriander powder -1 tbs
  • Turmeric powder – 1 tsp
  • Gingelly oil – 2 tbs
  • Salt as required
Instructions
  1. Soak tamarind in water and make a thick paste out of it.
  2. Heat gingelly oil in a pan and temper with mustard seeds. Add onions and sauté until the color changes. Add chopped ginger, garlic and green chillies and sauté for few minutes.
  3. Add chilli powder, coriander powder, turmeric powder, salt and immediately add the tamarind extract.
  4. Give it a stir and switch off the flame when the oil separates.
Notes
1.You could also substitute ginger with mango ginger (Inji maanga) and that tastes awesome too.
2.You can refrigerate the pickle and use it for a week. If you want to store it for more days add very little jaggery while making the pickle.


008

Idiyappam Sevai

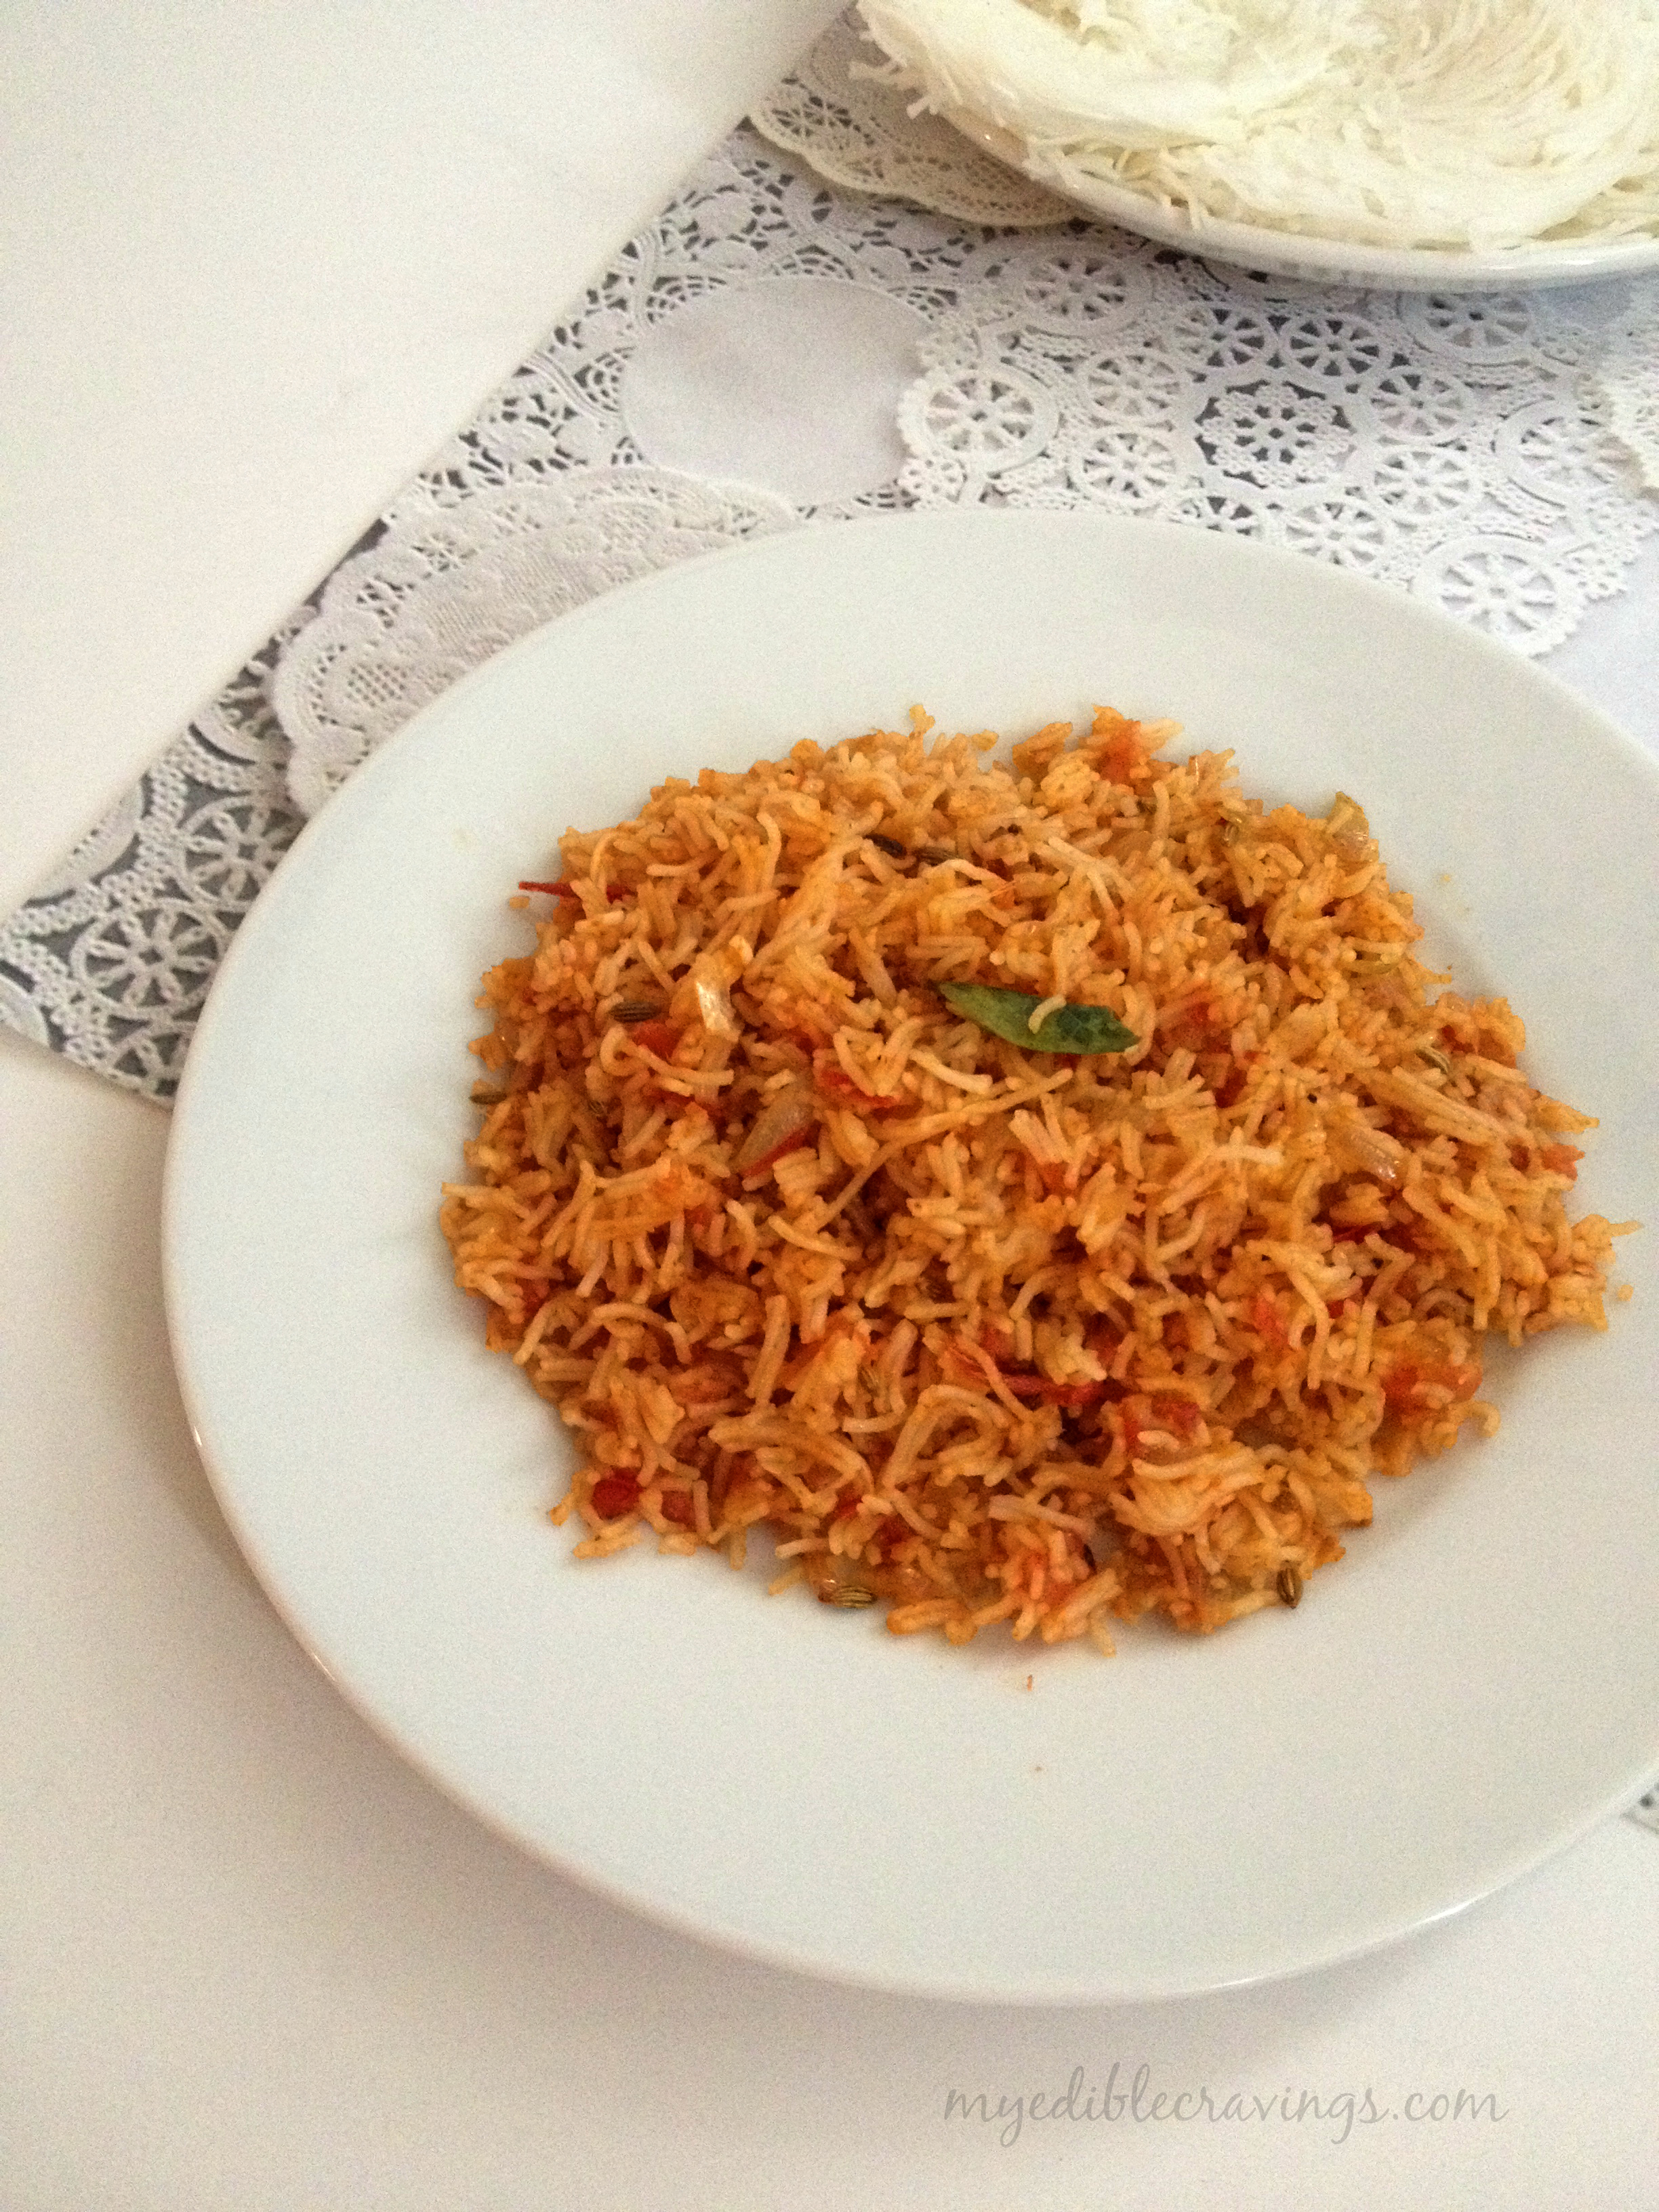
Idiyappam sevai
Idiyappam is an ancient tamil dish (also popular in South Indian cuisine) made from rice flour, salt and water. It is also called as noolputt in Malayalam, Semige in Kannada and String Hoppers in English. There is a special tool to make Idiyappam which squeezes the dough (mixture of rice, salt and water) in to strings which is then steam cooked (usually a pressure cooker is used back home). Idiyappam Sevai is a dish that is made from Idiyappam and is usually served for breakfast or as a tiffin item.
Myediblecravings
Idiyappam sevai
Normally, I am not a big fan of Idiyappam, especially the sweeter variety that is had with coconut milk. So my mom used to make Idiyappam Sevai to satisfy my highly selective appetite 🙂 Similar to the days when Upma is had in our home (I don’t like Upma as well ;)), my mom used to make Idiyappam Sevai just for me. I love Idiyappam Sevai very much and it is super easy to make. You only use 5 ingredients to prepare this dish. Idiyappam can be had as is or with some chutney variety like coconut, onion etc.
Try this ancient, wonderful and easy to prepare dish in your home and let me know your experience.

Idiyappam Sevai
Recipe type: Breakfast or Tiffin
Cuisine: Indian
Prep time: 
Cook time: 
Total time: 
Serves: 2
 
Ingredients
  • Oil – 1 tbsp
  • Fennel seeds – 1 tsp
  • Curry leaves – very few
  • Onion, medium, finely chopped – 1 no
  • Ginger garlic paste – 1 tbsp
  • Tomato, finely chopped – 1 no
  • Red chilli powder – 1 tbsp
  • Salt as required
  • Idiyappam (string hoppers), crumbled – 5 nos
Instructions
  1. Heat oil in a wide pan and season with fennel seeds and curry leaves.
  2. Add onion and sauté until they turn translucent.
  3. Add ginger garlic paste and sauté until the raw aroma disappears.
  4. Add chopped tomato and cook until oil they turn mushy.
  5. Add in red chilli powder and salt and cook until oil seperates.
  6. Finally add string hoppers, mix well and cook for a minute. Enjoy!

Idiyappam sevai
Idiyappam sevai

Chicken Tikka Masala

Chicken Tikka MasalaChicken Tikka Masala is a quintessential north Indian dish that has wide popularity here in US as well. Tikka means small pieces of meat mixed with spices. So Chicken Tikka Masala is a dish made of small pieces of chicken cooked with spices in a gravy.
Chicken Tikka MasalaTraditionally, Chicken Tikka Masala is made first by baking chicken tikka (here is the recipe for Chicken Tikka) using skewers in a tandoor (cylindrical clay or metal oven) and then using that tikka to prepare the gravy (masala). In my preparation method given below, I had used conventional oven for baking the chicken tikka. The taste of Chicken Tikka Masala is mostly dependent on the marinade that you make.
Chicken Tikka MasalaAs I had mentioned earlier, Chicken Tikka Masala is universally popular and is very easy to make. The origin of this dish is unclear, with various proponents claiming its invention. In fact there was even a motion set to be passed in the UK parliament to give geographically protected status for Chicken Tikka Masala in the UK (Glasgow, I believe). Good that it did not happen since I personally believe that Chicken Tikka Masala originated in India (ofcourse :))
Chicken Tikka MasalaI would say Chicken Tikka Masala is two dishes combined in to one, i.e., chicken tikka and the Chicken Tikka Masala. You can serve the chicken tikka as is as an appetizer and the Chicken Tikka Masala as an entree dish.Try this widely popular and very tasty Indian 🙂 dish and let me know your wonderful experiences, as always…

Chicken tikka masala
Recipe type: Main
Cuisine: Indian
Prep time: 
Cook time: 
Total time: 
Serves: 3
 
Ingredients
  • Cashews – 1 tbsp (soaked in water for half an hour)
  • Cinnamon stick – 1”
  • Cloves – 3 nos
  • Green Cardamom – 2 nos
  • Bay leaf – 1 no
  • Cumin seeds – 1 tbsp
  • Onion – 1 no (cut into cubes)
  • Ginger garlic paste – 1 tbsp
  • Tomato – 1 no (cut into cubes)
  • Green pepper – 1 no (cut into cubes)
  • Green chilli – 3 nos
  • Coriander powder – 1 tbsp
  • Cumin powder – ½ tsp
  • Kashmiri chilli powder – ½ tbsp
  • Turmeric powder – ½ tsp
  • Salt – as required
  • Cooked chicken tikka – 1 cup
  • Lemon juice – 2 tbsp
  • Fresh cream – 2 to 3 tbsp
  • Coriander leaves – for garnishing
Instructions
  1. Add soaked cashews with few pieces of onions and tomatoes in a blender, make a paste and keep it aside.
  2. Heat a wide open pan with a tbsp of oil. Add cumin seeds and whole spices. Once you get the nice aroma of cumin seeds and whole spices, add chopped onions. Sauté it and cook till the onions turns brown.
  3. Add a tbsp of ginger-garlic paste and stir fry till the raw aroma of ginger-garlic disappears
  4. Add the chopped tomatoes and green pepper. Cook the tomatoes until they are soft and pulpy.
  5. Add coriander powder, kashmiri red chilli powder, cumin powder, turmeric, salt and little water. Sauté for a minute.
  6. Add cashew paste. Cook until the oil oozes out.
  7. Now add in the cubes of cooked chicken tikka and mix well. Pour in some water if the mixture is dry.
  8. Add in cream and sprinkle some chopped coriander leaves and lime juice and mix it well.
  9. The tasty chicken tikka masala is ready to be served with hot butter naan or rumali roti.

Chicken Tikka Masala

Dum ka chicken

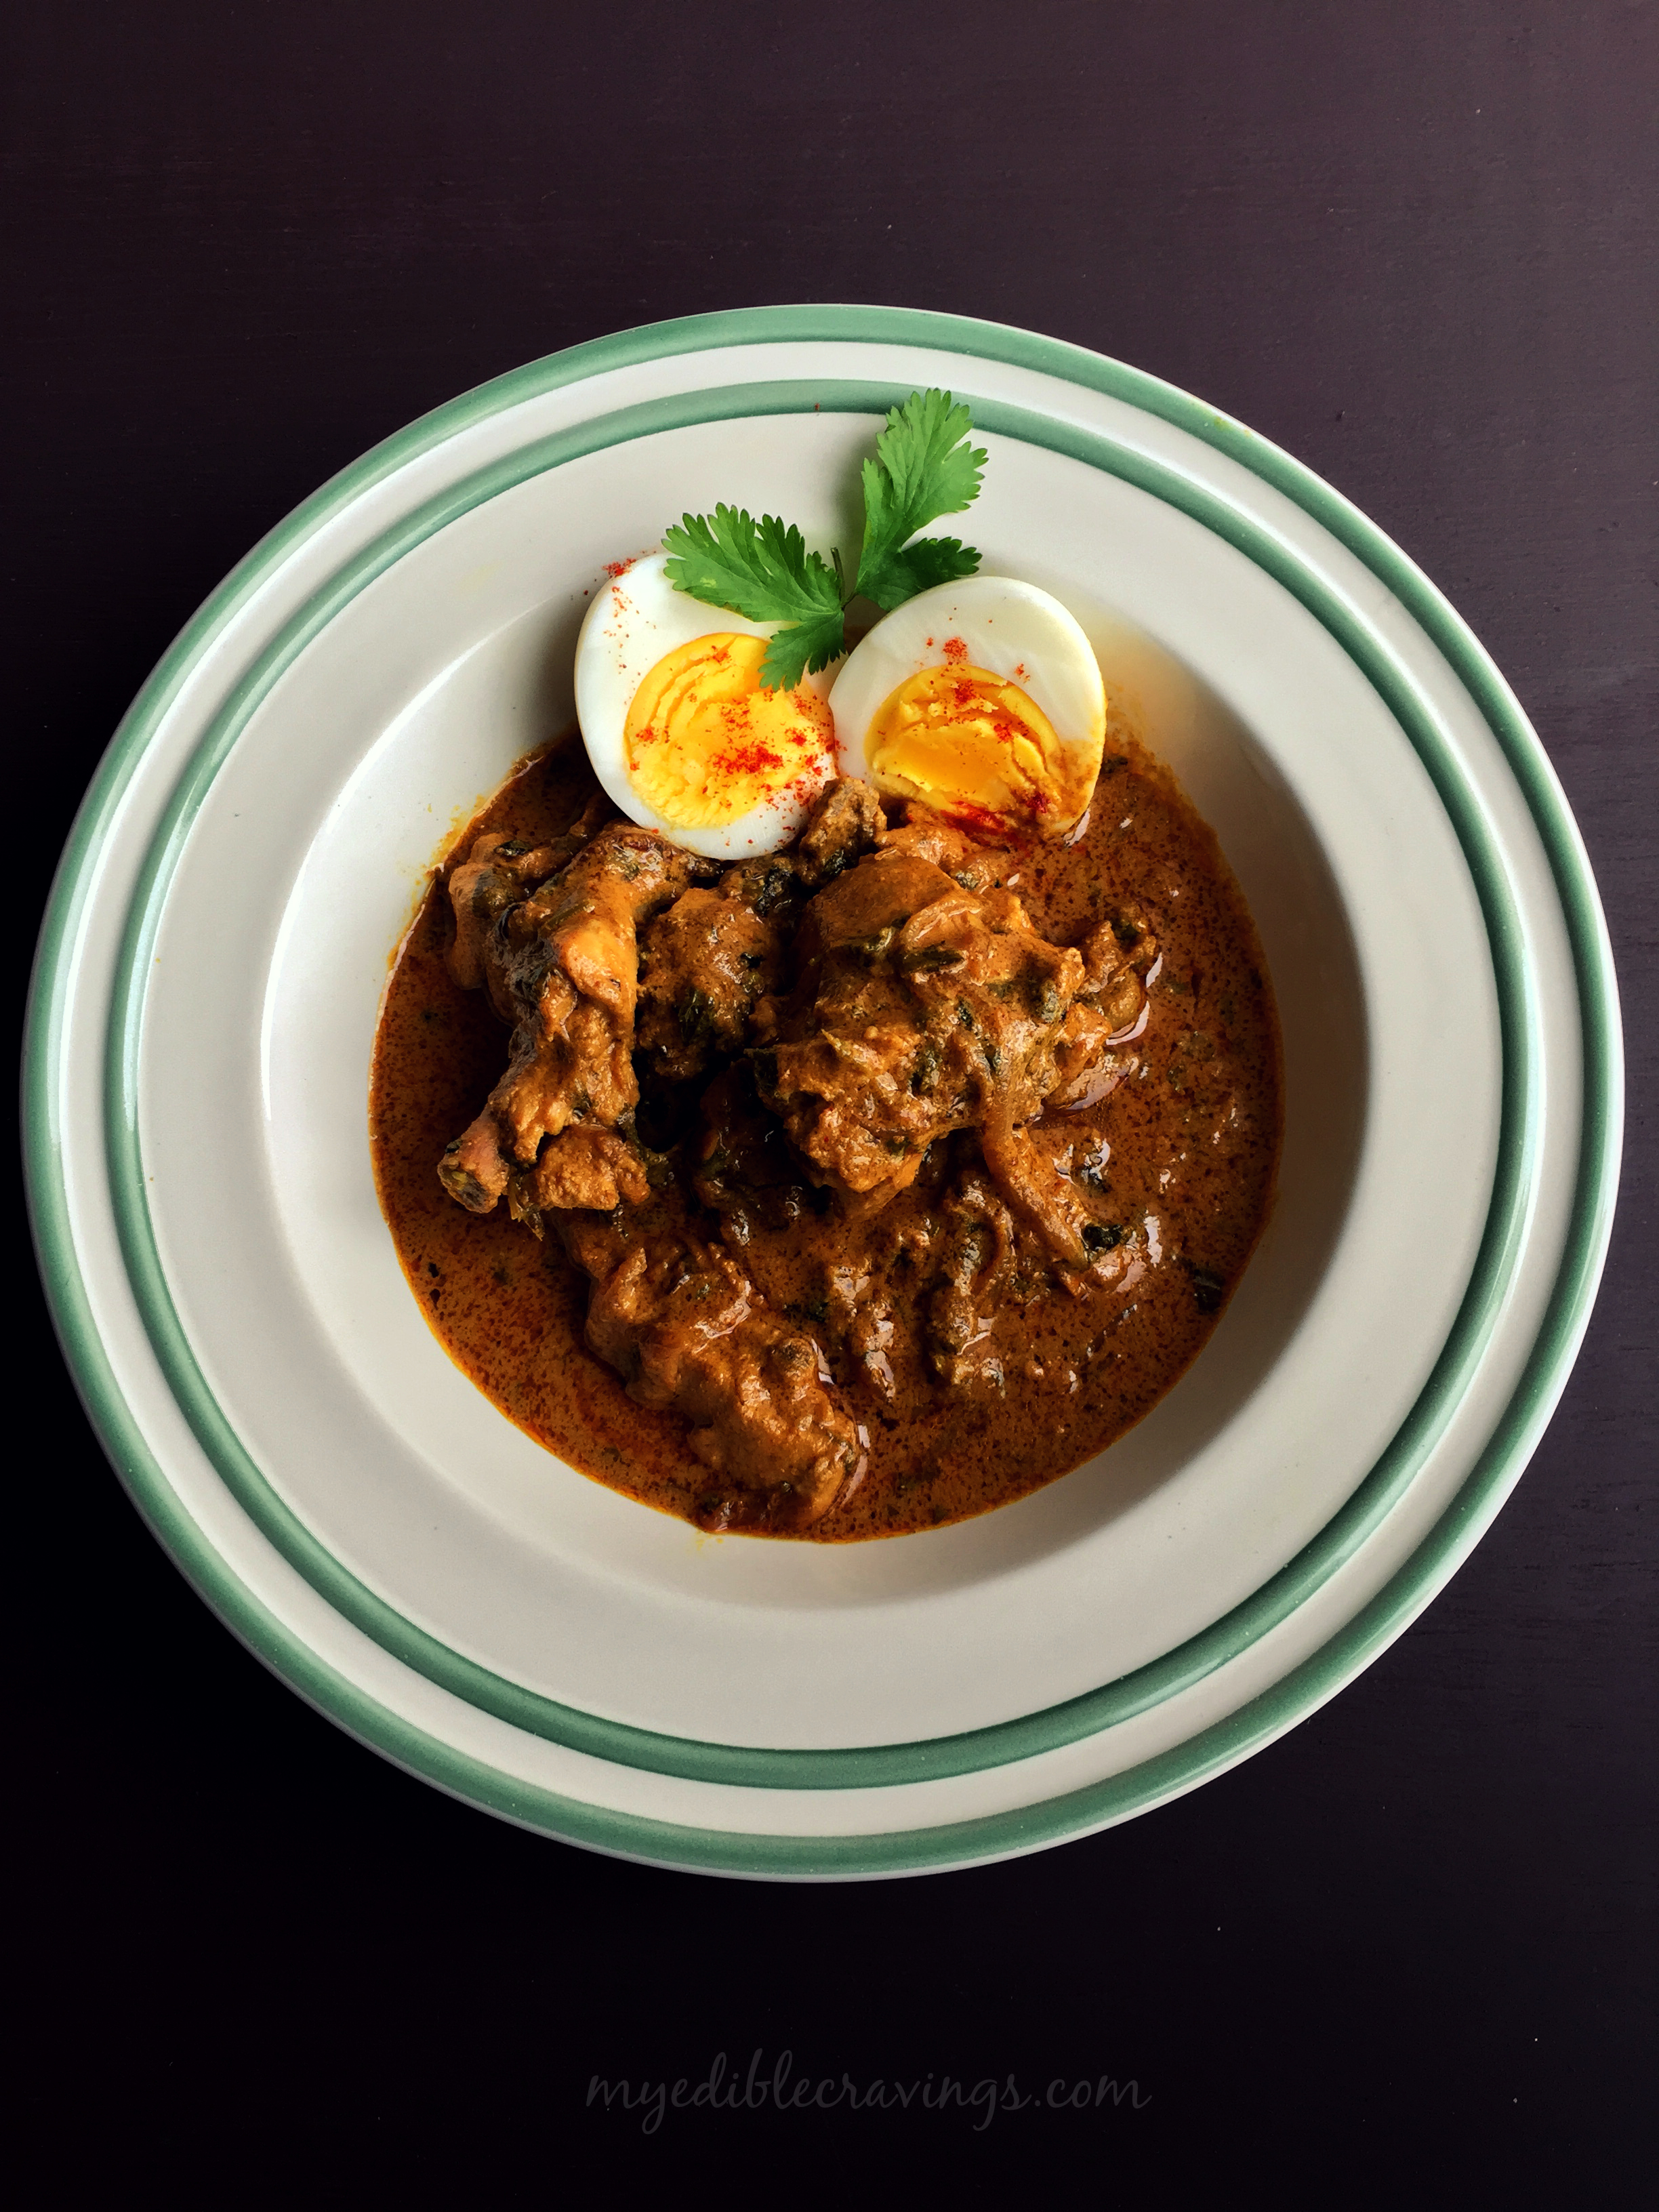
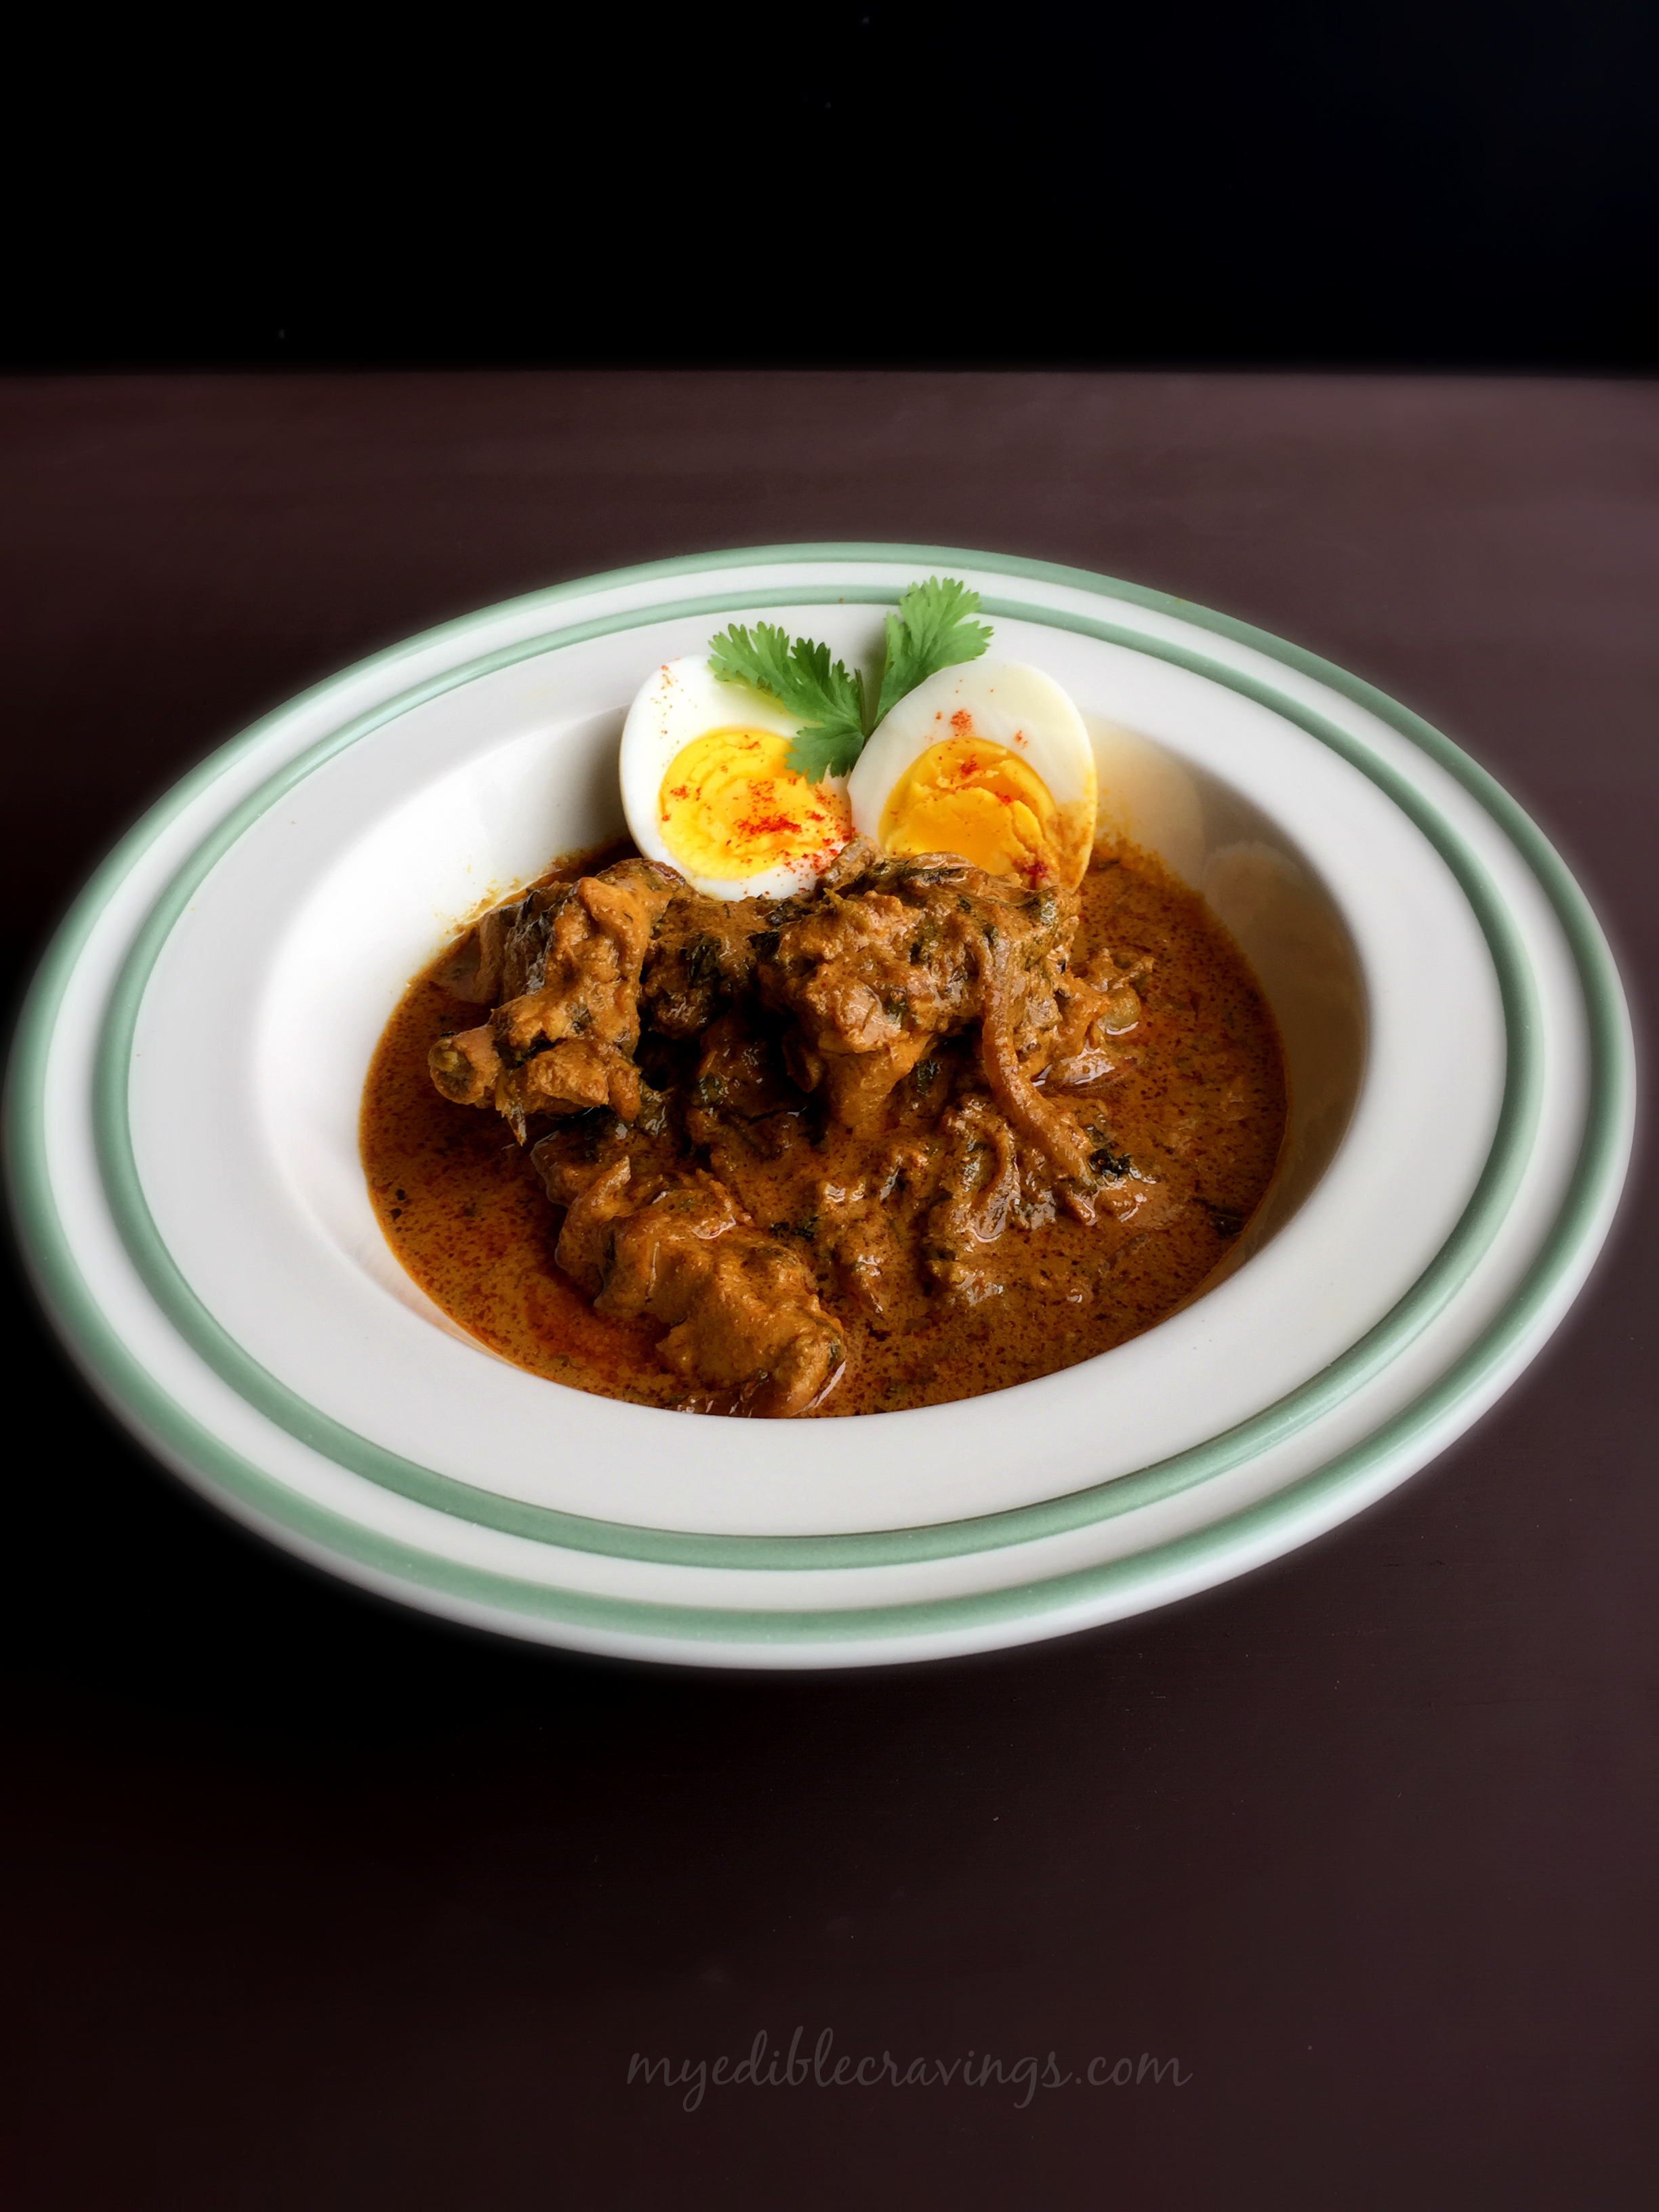
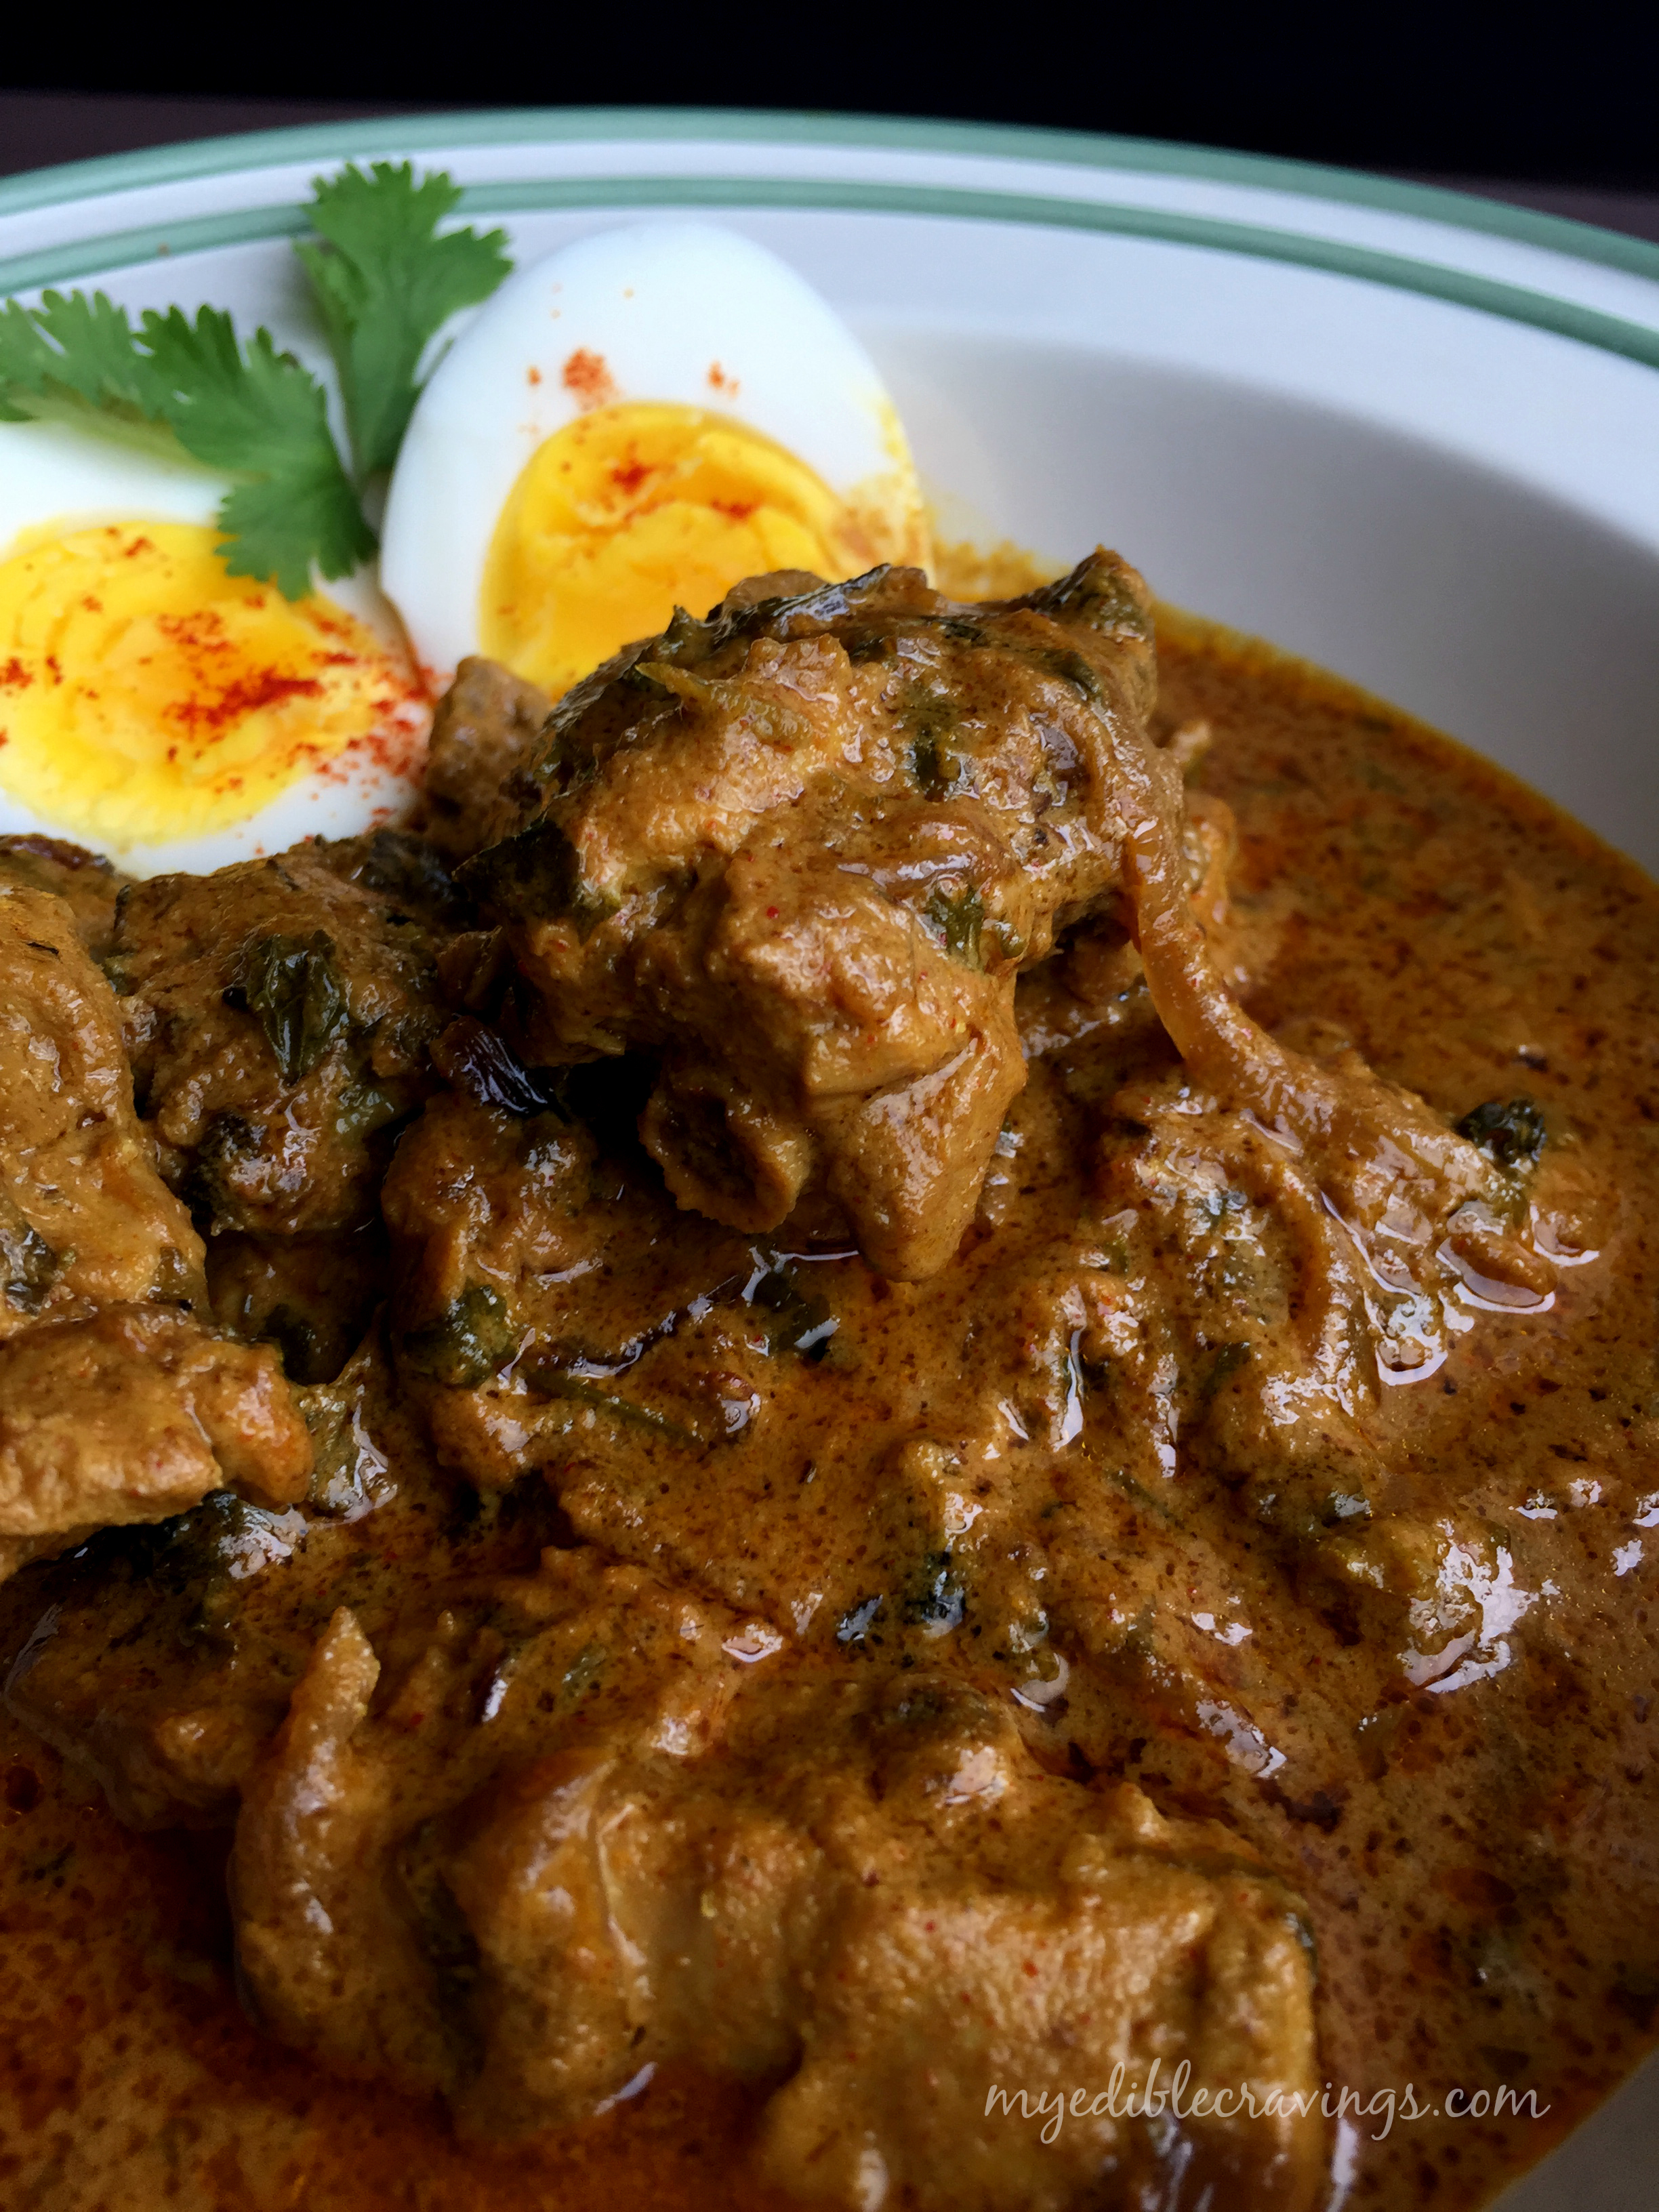
Dum ka chcikenDum Ka Chicken is the latest dish that I came across, courtesy from one of our friends. It is a very tasty and sumptuous dish made using chicken. As the name suggests, the chicken is dum cooked (cooked in a sealed pot) which I have explained in the cooking instructions below. Dum Ka Chicken is one of the easiest dishes that I have ever cooked and it is one of the many reasons for it to be my most favorite dish in recent memory.
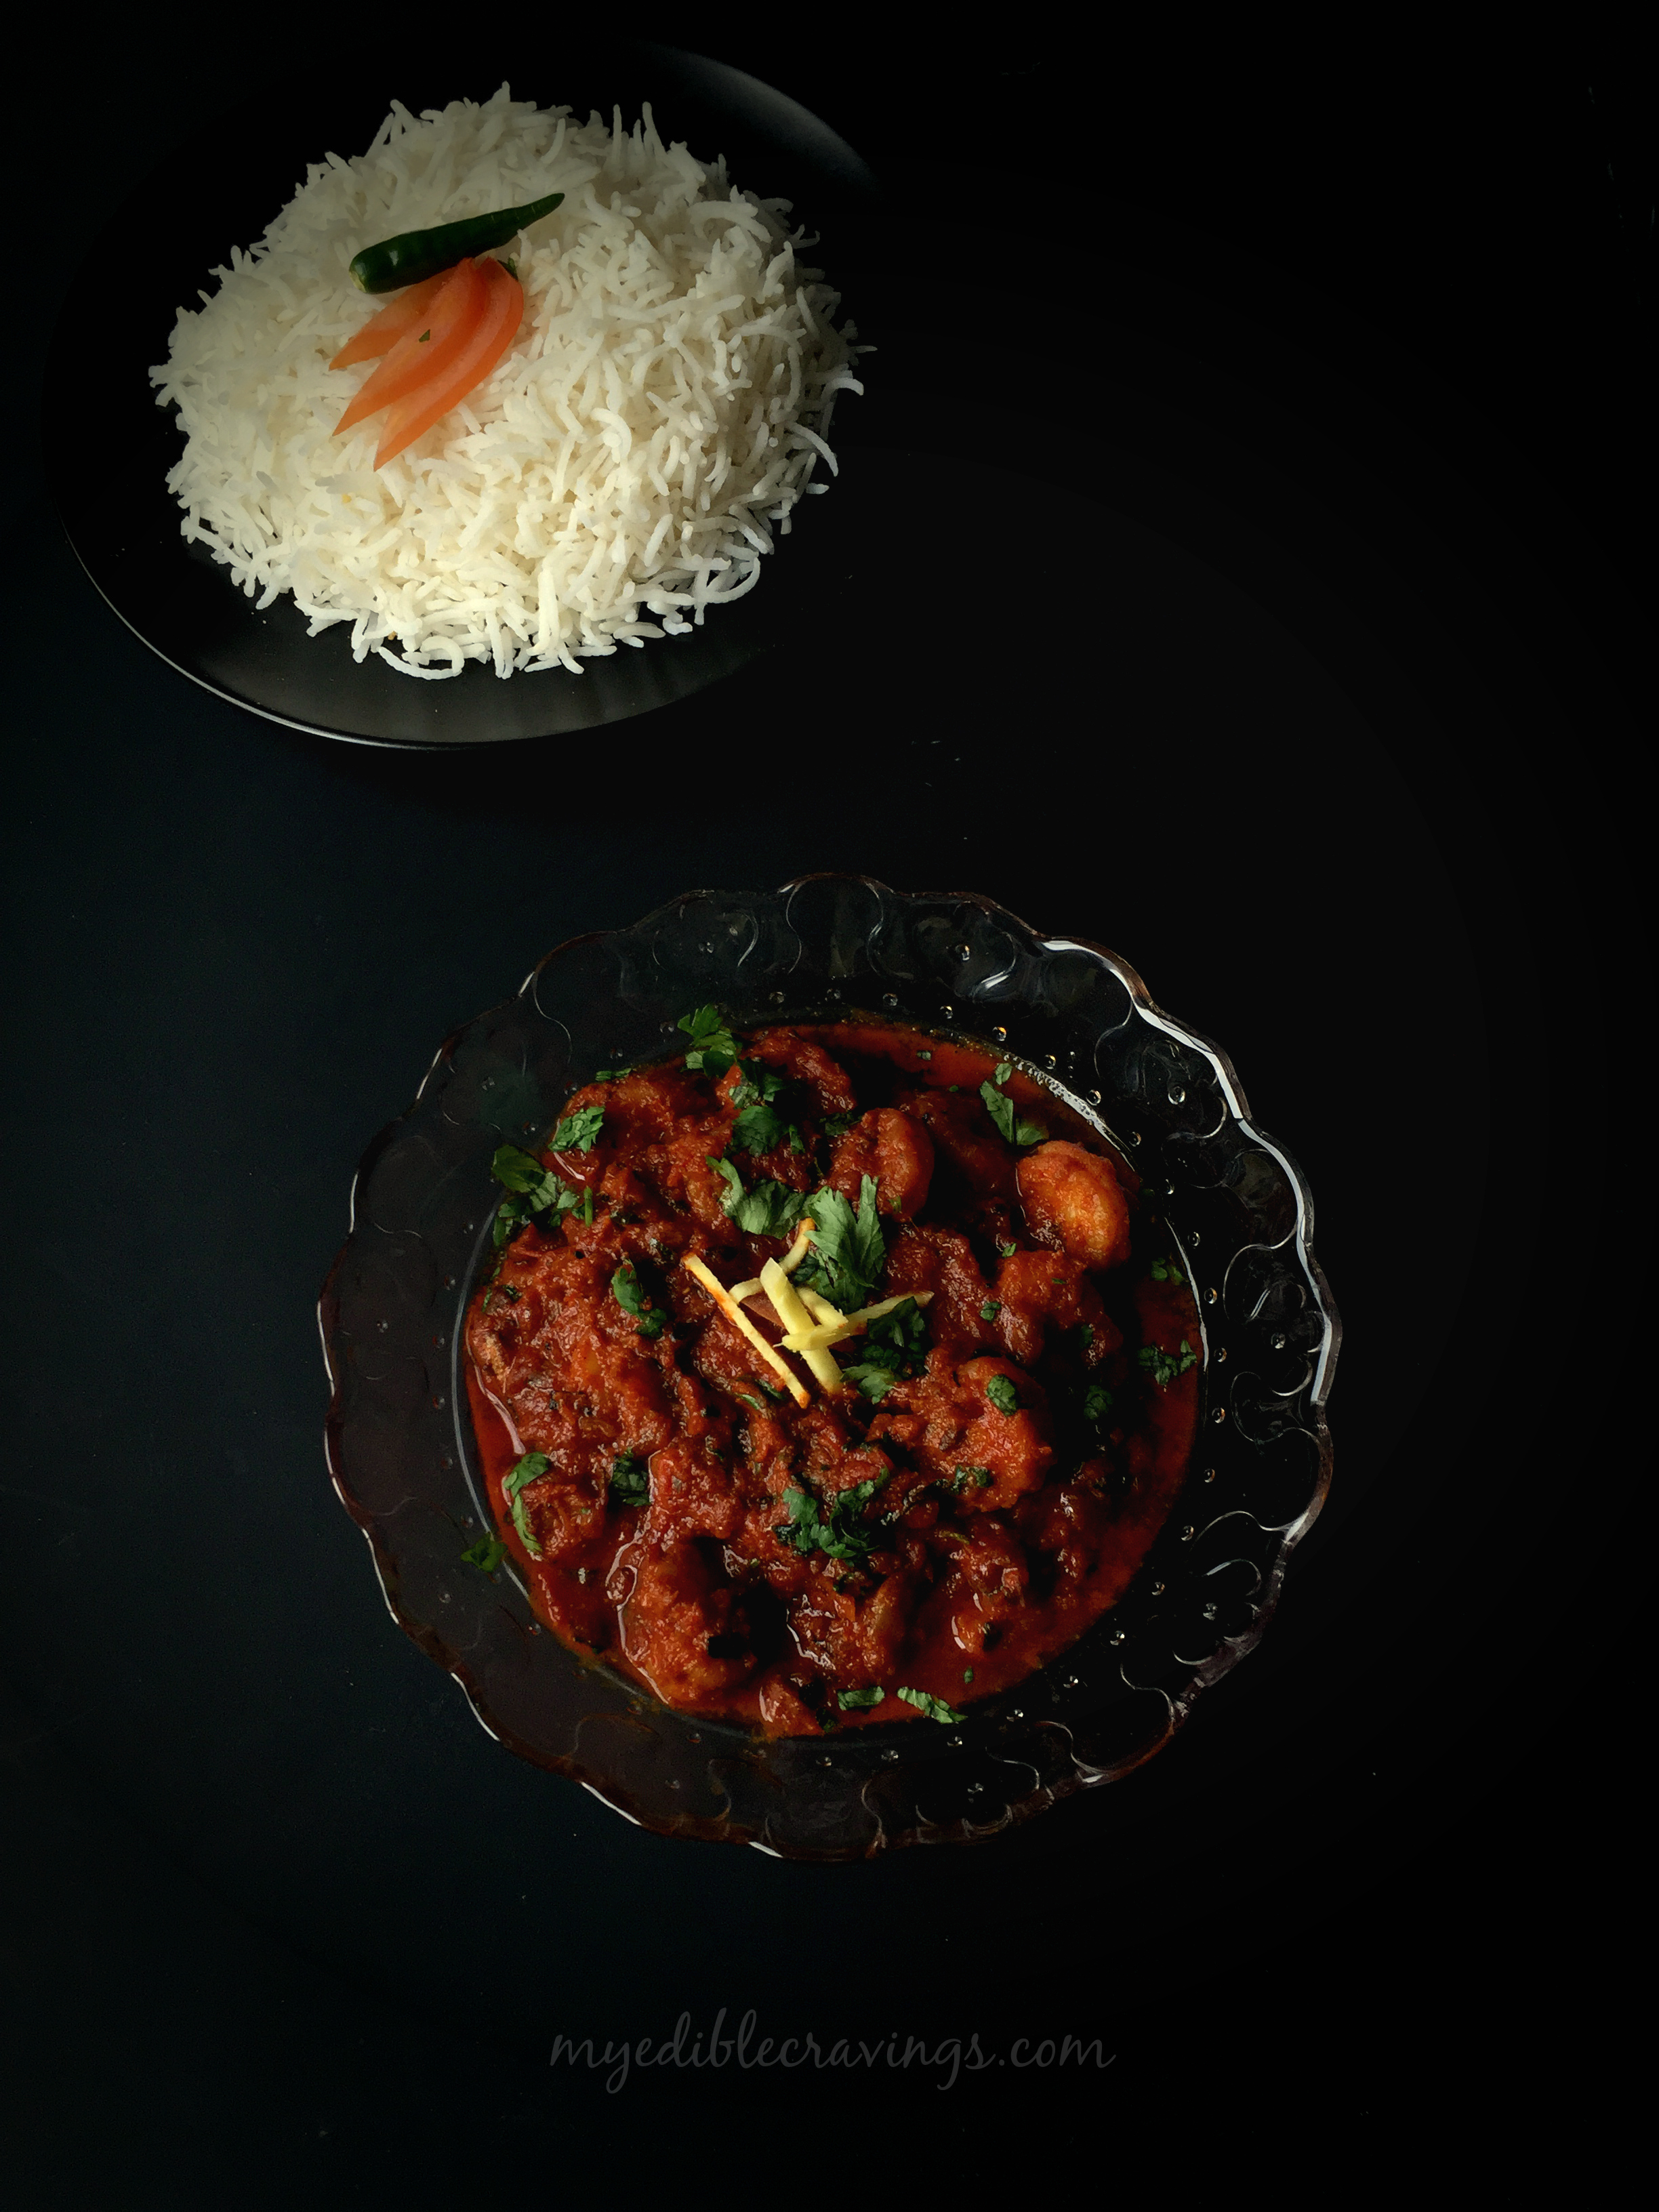
Dum ka chcikenDum Ka chicken is a Hyderabadi nawab dish meaning it’s a royal dish :). As I had mentioned above, it is very easy to make. All you need to do is marinate the chicken overnight and then cook it using dum method the next day. Also, it is, as I would like to say, an one pot dish, meaning, you just need to use one utensil during the entire preparation i.e., you use the same pot in which the chicken is marinated to cook as well. You can also prepare Dum Ka Chicken using a conventional oven.
Dum ka chcikenDum Ka Chicken is very rich in flavor and goes well with almost any entree items like rice, chapati, paratha, naan etc. Do try this royal, very tasty, simple (I am running out of adjectives :)) dish and post your wonderful comments!
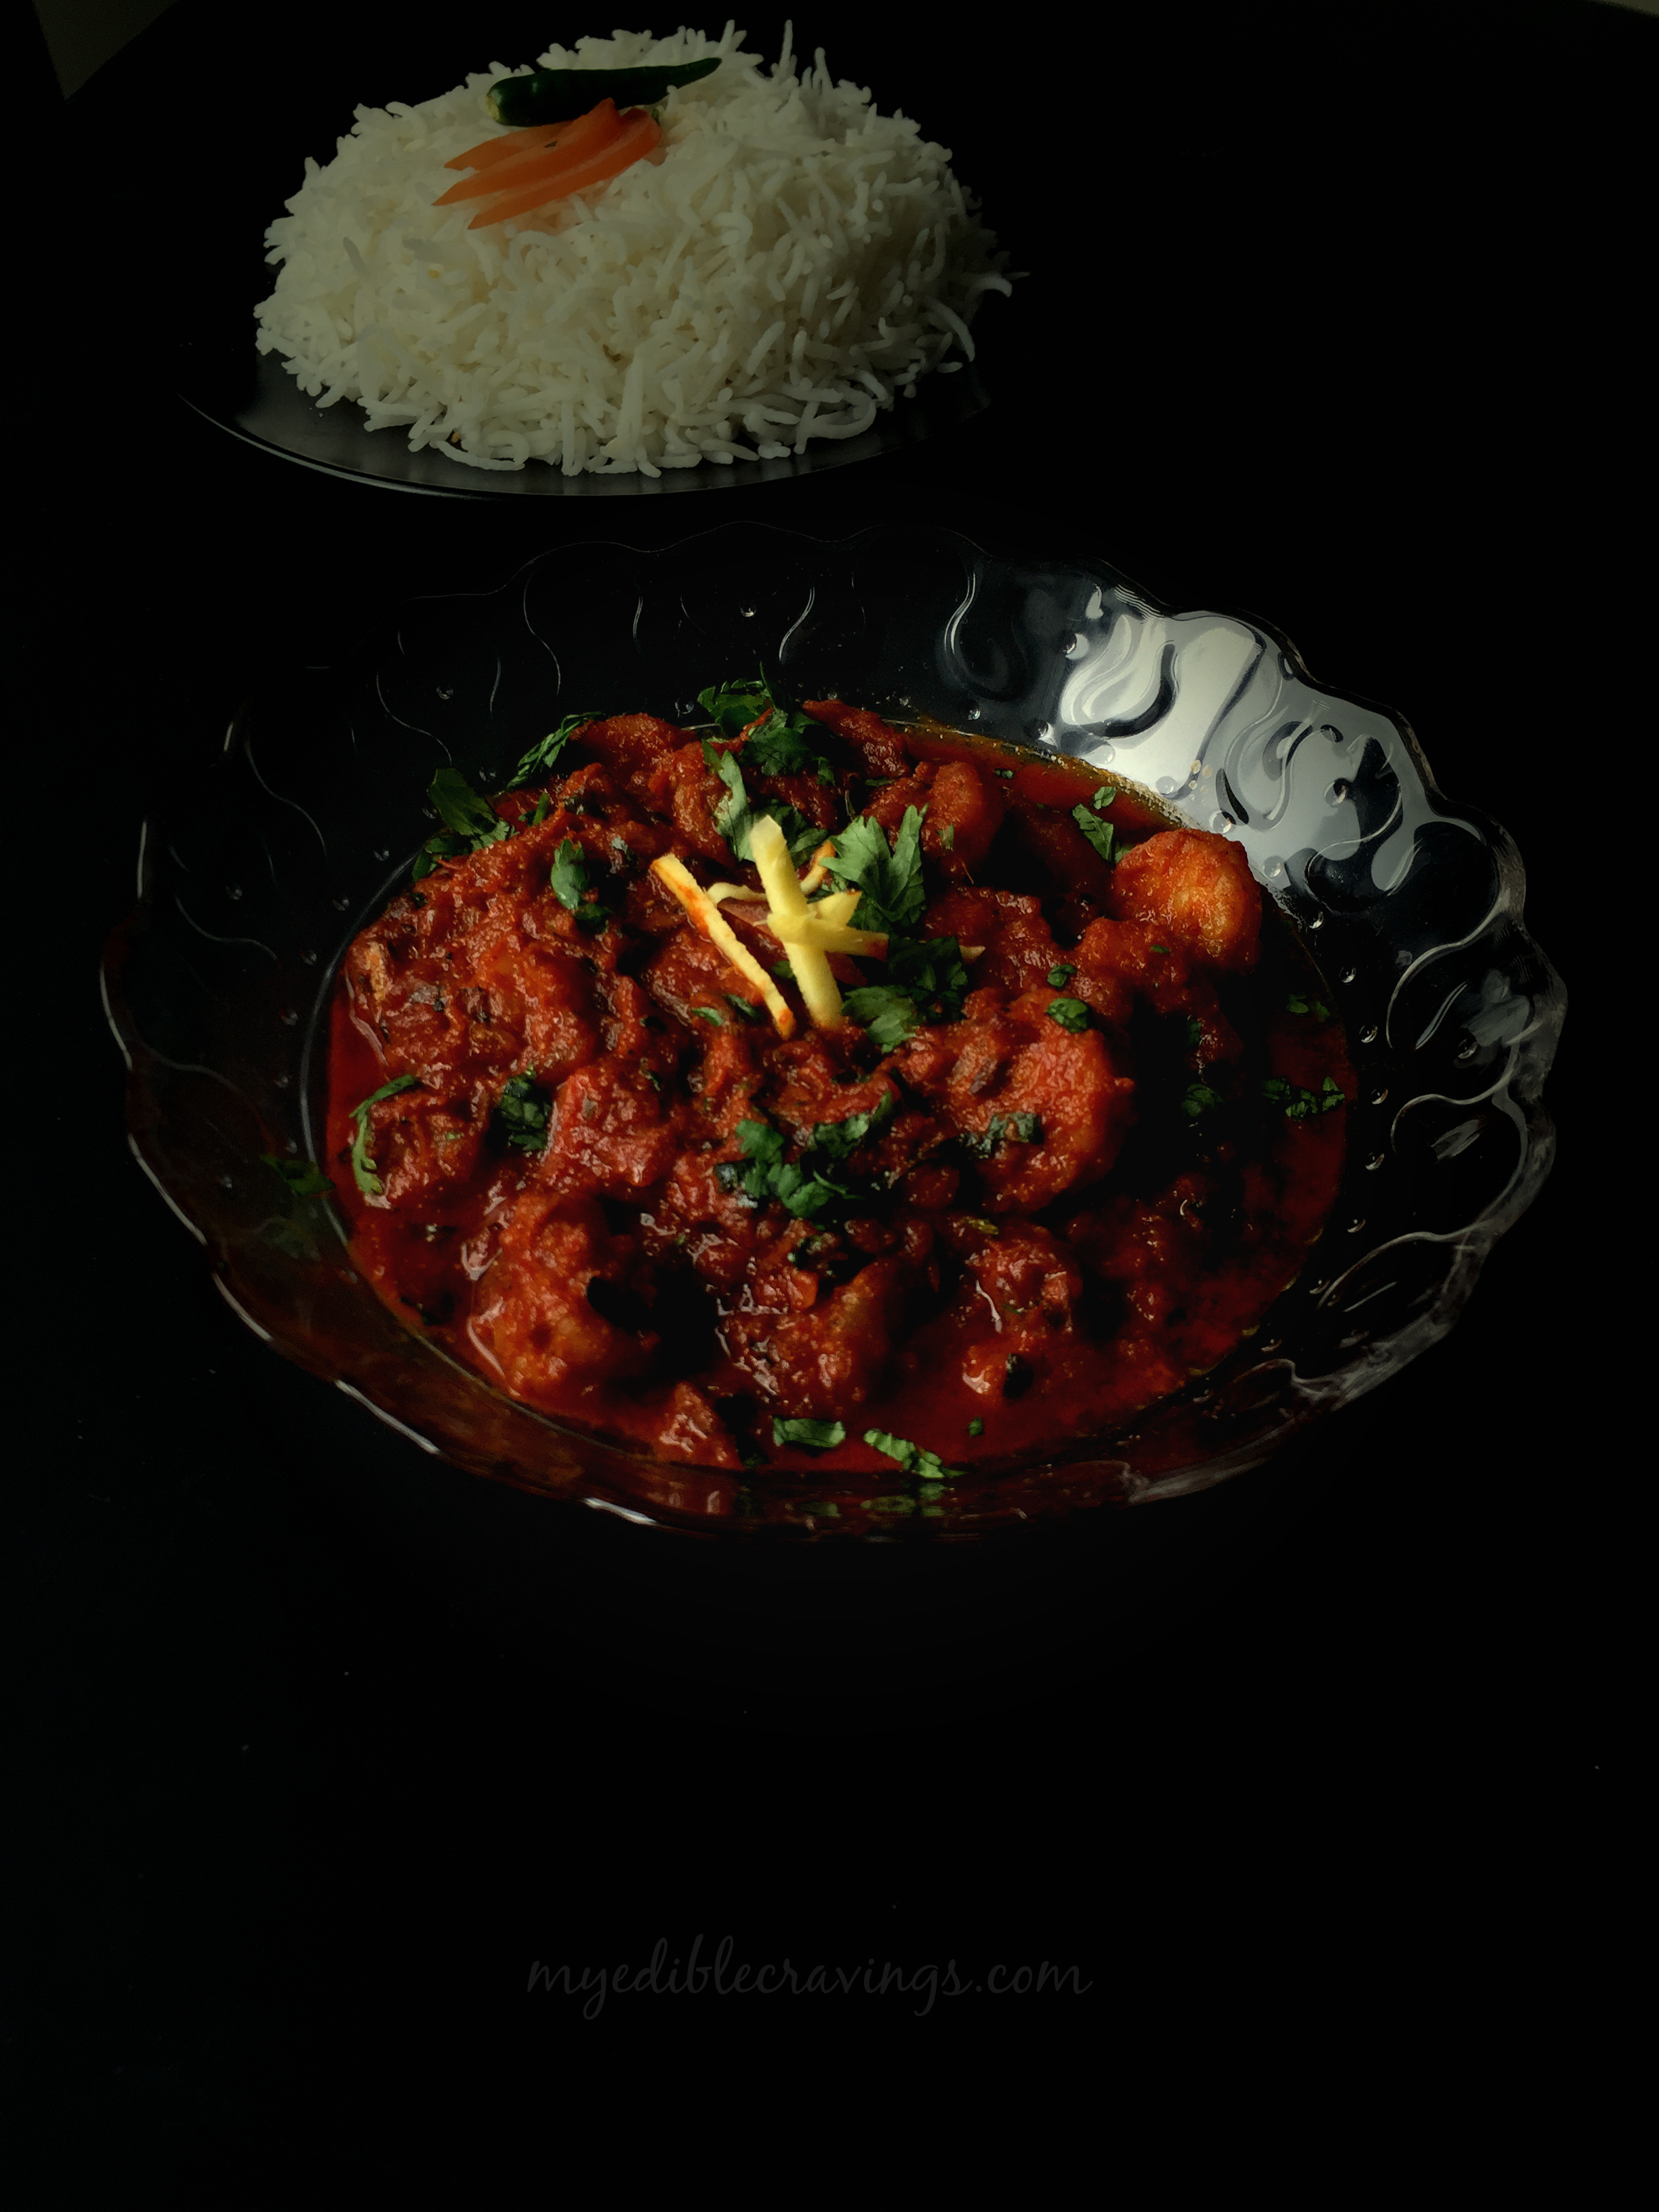
Dum ka chicken
Recipe type: Main
Cuisine: Indian
Prep time: 
Cook time: 
Total time: 
Serves: 4
 
Ingredients
To make a paste:
  • Chironji or charoli- 1 tbsp
  • Cashews– 1 tbsp
  • Green chilli – 4 nos
Other ingredients:
  • Cinnamon stick – 1”
  • Green cardamom – 3 nos
  • Cloves – 3 nos
  • Shahi jeera – ½ tsp
  • Ginger garlic paste – 1 tbsp
  • Lemon juice – from half a lemon
  • Yogurt – ½ cup (2 tbsp)
  • Turmeric powder – ½ tsp
  • Chilli powder – 1 tbsp
  • Coriander powder – 1 ½ tbsp
  • Garam masala – ½ tsp
  • Cumin powder – ½ tsp
  • Mint, finely chopped – ½ cup
  • Cilantro, finely chopped – ½ cup
  • Onion , big, sliced – 1 to 2 nos
  • Olive Oil – 2 tbsp
  • Salt
  • Chicken – 750 grams
  • Water – 1 ½ cup
Instructions
Step 1: Marination
  1. Add all the above given ingredients in a deep thick bottomed sauce pan.
  2. Make a paste of the above given ingredients and add it to the pan.
  3. Heat oil and deep fry the onions to golden brown. Add them to the marinade.
  4. Mix everything together and check for salt and spices.
  5. Add the chicken to the marinade and mix well.
  6. Finally add water and mix well. Cover the lid and refrigerate it overnight.
Step 2:
Dum cooking – Stove top method
  1. Next day seal the lid with dough or aluminium foil and tightly close the pan (This method is called dumming). Cook in medium to medium low flame for 10 minutes.
  2. Meanwhile heat a dosa pan in another burner. After ten minutes transfer the sauce pan on to the dosa pan and reduce the flame. Cook in low flame for 40 minutes.
  3. Switch off the flame and leave it for another 20 minutes.
  4. After 20 minutes open the lid and check if the chicken is well cooked. By this time chicken should be juicy and cooked well.
  5. Enjoy dum ka chicken with white rice and egg on the side! 
Dum cooking – Conventional oven method
  1. Marinate the chicken in any oven safe pan.
  2. Preheat the oven to 180 degrees F.
  3. Cover the pan with aluminum foil and then close the lid.
  4. Cook on the stove top for 20 minutes in low flame. And then place it in the oven and cook for 2 hours and 30 minutes. Enjoy! 
Notes
1.Use the same oil you used to fry the onions. It enhances the taste of the gravy.
2.And I recommend to always use freshly fried onions and not the store bought.
3.If you are calorie conscious then you can shallow fry the onions with olive oil or vegetable oil and add it to the marinade.
4.Mint and cilantro quantity is equal to one handful amount.
5.Chironji or charoli is a nut that can be found in any Indian grocery store.

Dum ka chciken

Spicy prawn masala

spicy prawn masala
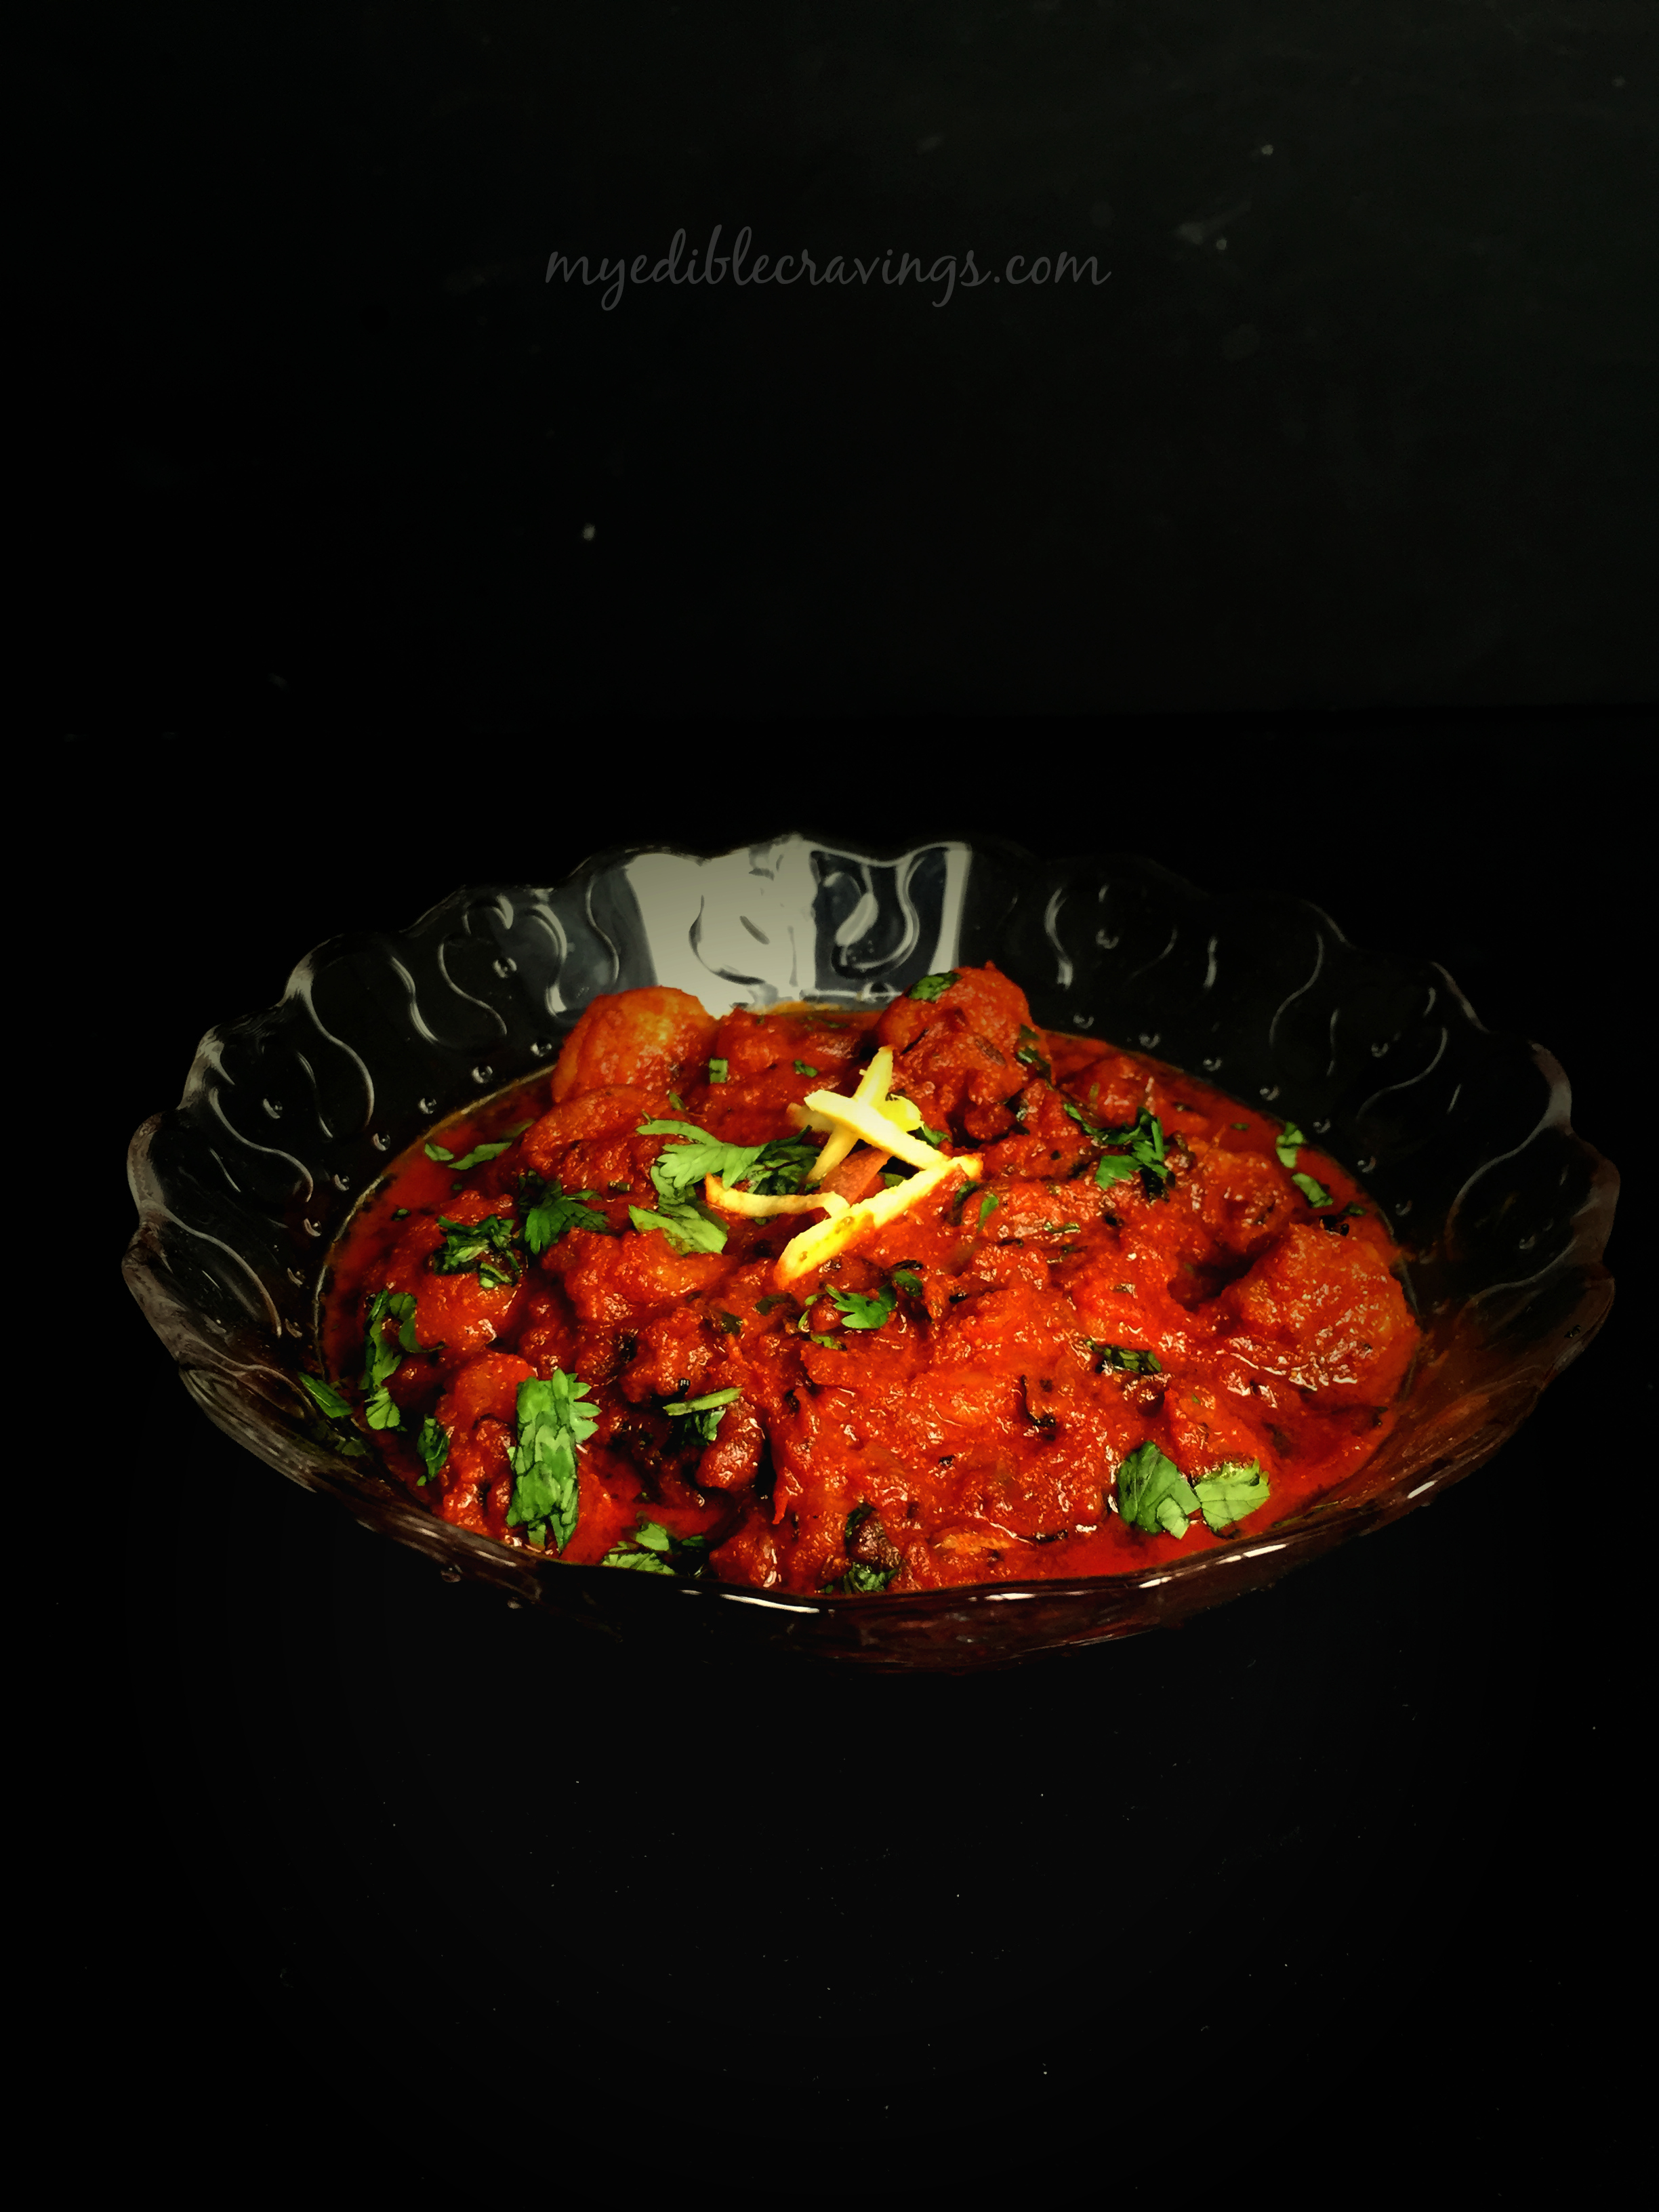
Prawn is a very tasty seafood with high calorie content. But who cares as long as you have it once in a while and work out to compensate :). For those who love spicy food, I bet this is a recipe that you will love. For a long time I was curious to know the difference between a prawn and a shrimp. But apparently there is no real difference between them except for the fact that the name shrimp is widely used in America and prawn in rest of the world! So the dish I have presented here can be called as spicy prawn masala or spicy shrimp masala, depending on how you want it to be called 🙂
spicy prawn masala
Spicy prawn/Shrimp gravy is a personal favorite of my HB. It is one of the easiest dishes to make and can be made quickly as well since prawn gets cooked very soon. But care should be taken so as to not overcook and make the prawns rubbery. Spicy prawn gravy involves two main steps – marination of the prawn and making the gravy. Once the gravy is made, all you have to do is mix the marinated prawns and cook for like 5 minutes.
Spicy prawn gravy can be had with dosa, rice, chapati etc. It tastes good with most non vegetarian main course dishes. Try this easy dish in your kitchen and let me know how it went 🙂

Spicy prawn masala
Recipe type: Main
Cuisine: Indian
Prep time: 
Cook time: 
Total time: 
Serves: 3
 
Ingredients
To marinate:
  • Prawn, deveined, tail removed - 60 count
  • Ginger garlic paste – ½ tsp
  • Red chilli powder – ½ tsp
  • Turmeric powder – a pinch
  • Coriander powder – 1 tsp
  • Salt – ¼ tsp
  • Sakthi biriyani masala – a generous pinch
Other ingredients:
  • Oil – 1 tbsp
  • Cinnamon stick – 1”
  • Clove – 1 no
  • Cardamom – 2 nos
  • Fennel seeds – 1 tsp
  • Onion, big, finely chopped – 1 no
  • Ginger garlic paste – ½ to 1 tsp
  • Tomato, medium, finely chopped – 1 ½ to 2 nos
  • Green chilli, finely chopped – 1 nos
  • Red chilli powder – 1 ½ tsp
  • Coriander powder – 1 tbsp
  • Turmeric powder – ⅓ tsp
  • Salt – as required
  • Sakthi biriyani masala – ⅓ tsp
  • Cilantro, finely chopped – 1 to 2 tbsp (for garnishing)
Instructions
  1. Wash and clean the prawns and marinate with the above given ingredients. cover and leave them for at least 30 minutes.
  2. Heat a kadai with oil and temper with cinnamon, cloves, cardamom and fennel seeds. When they start to sizzle, add in chopped onion. Sauté until the onions turn golden brown.
  3. Add ginger garlic paste and cook until the raw smell disappears.
  4. Now add in chopped green chillies and tomatoes. Cook until the tomatoes are mushy and well cooked. It takes around 3 to 4 minutes.
  5. Now reduce the flame and add in all the spice powders (coriander, turmeric, red chilli, biriyani masala) mentioned above along with required amount of salt. Stir well and cook until the raw smell disappears. (Be careful not to burn the masalas. It tastes bitter when burnt).
  6. Add half a cup of water to the masala and cook for another minute. You can skip this step if you want the gravy to be thick.
  7. Finally add in the marinated prawns to the gravy. Mix well and cook for just 5 to 8 minutes. Switch off the flame when the prawns are well cooked and the gravy is thick. Garnish with chopped cilantro. Enjoy the spicy prawn masala with biriyani, chappathi, idli or dosa! 

spicy prawn masala
spicy prawn masala

Sago Payasam

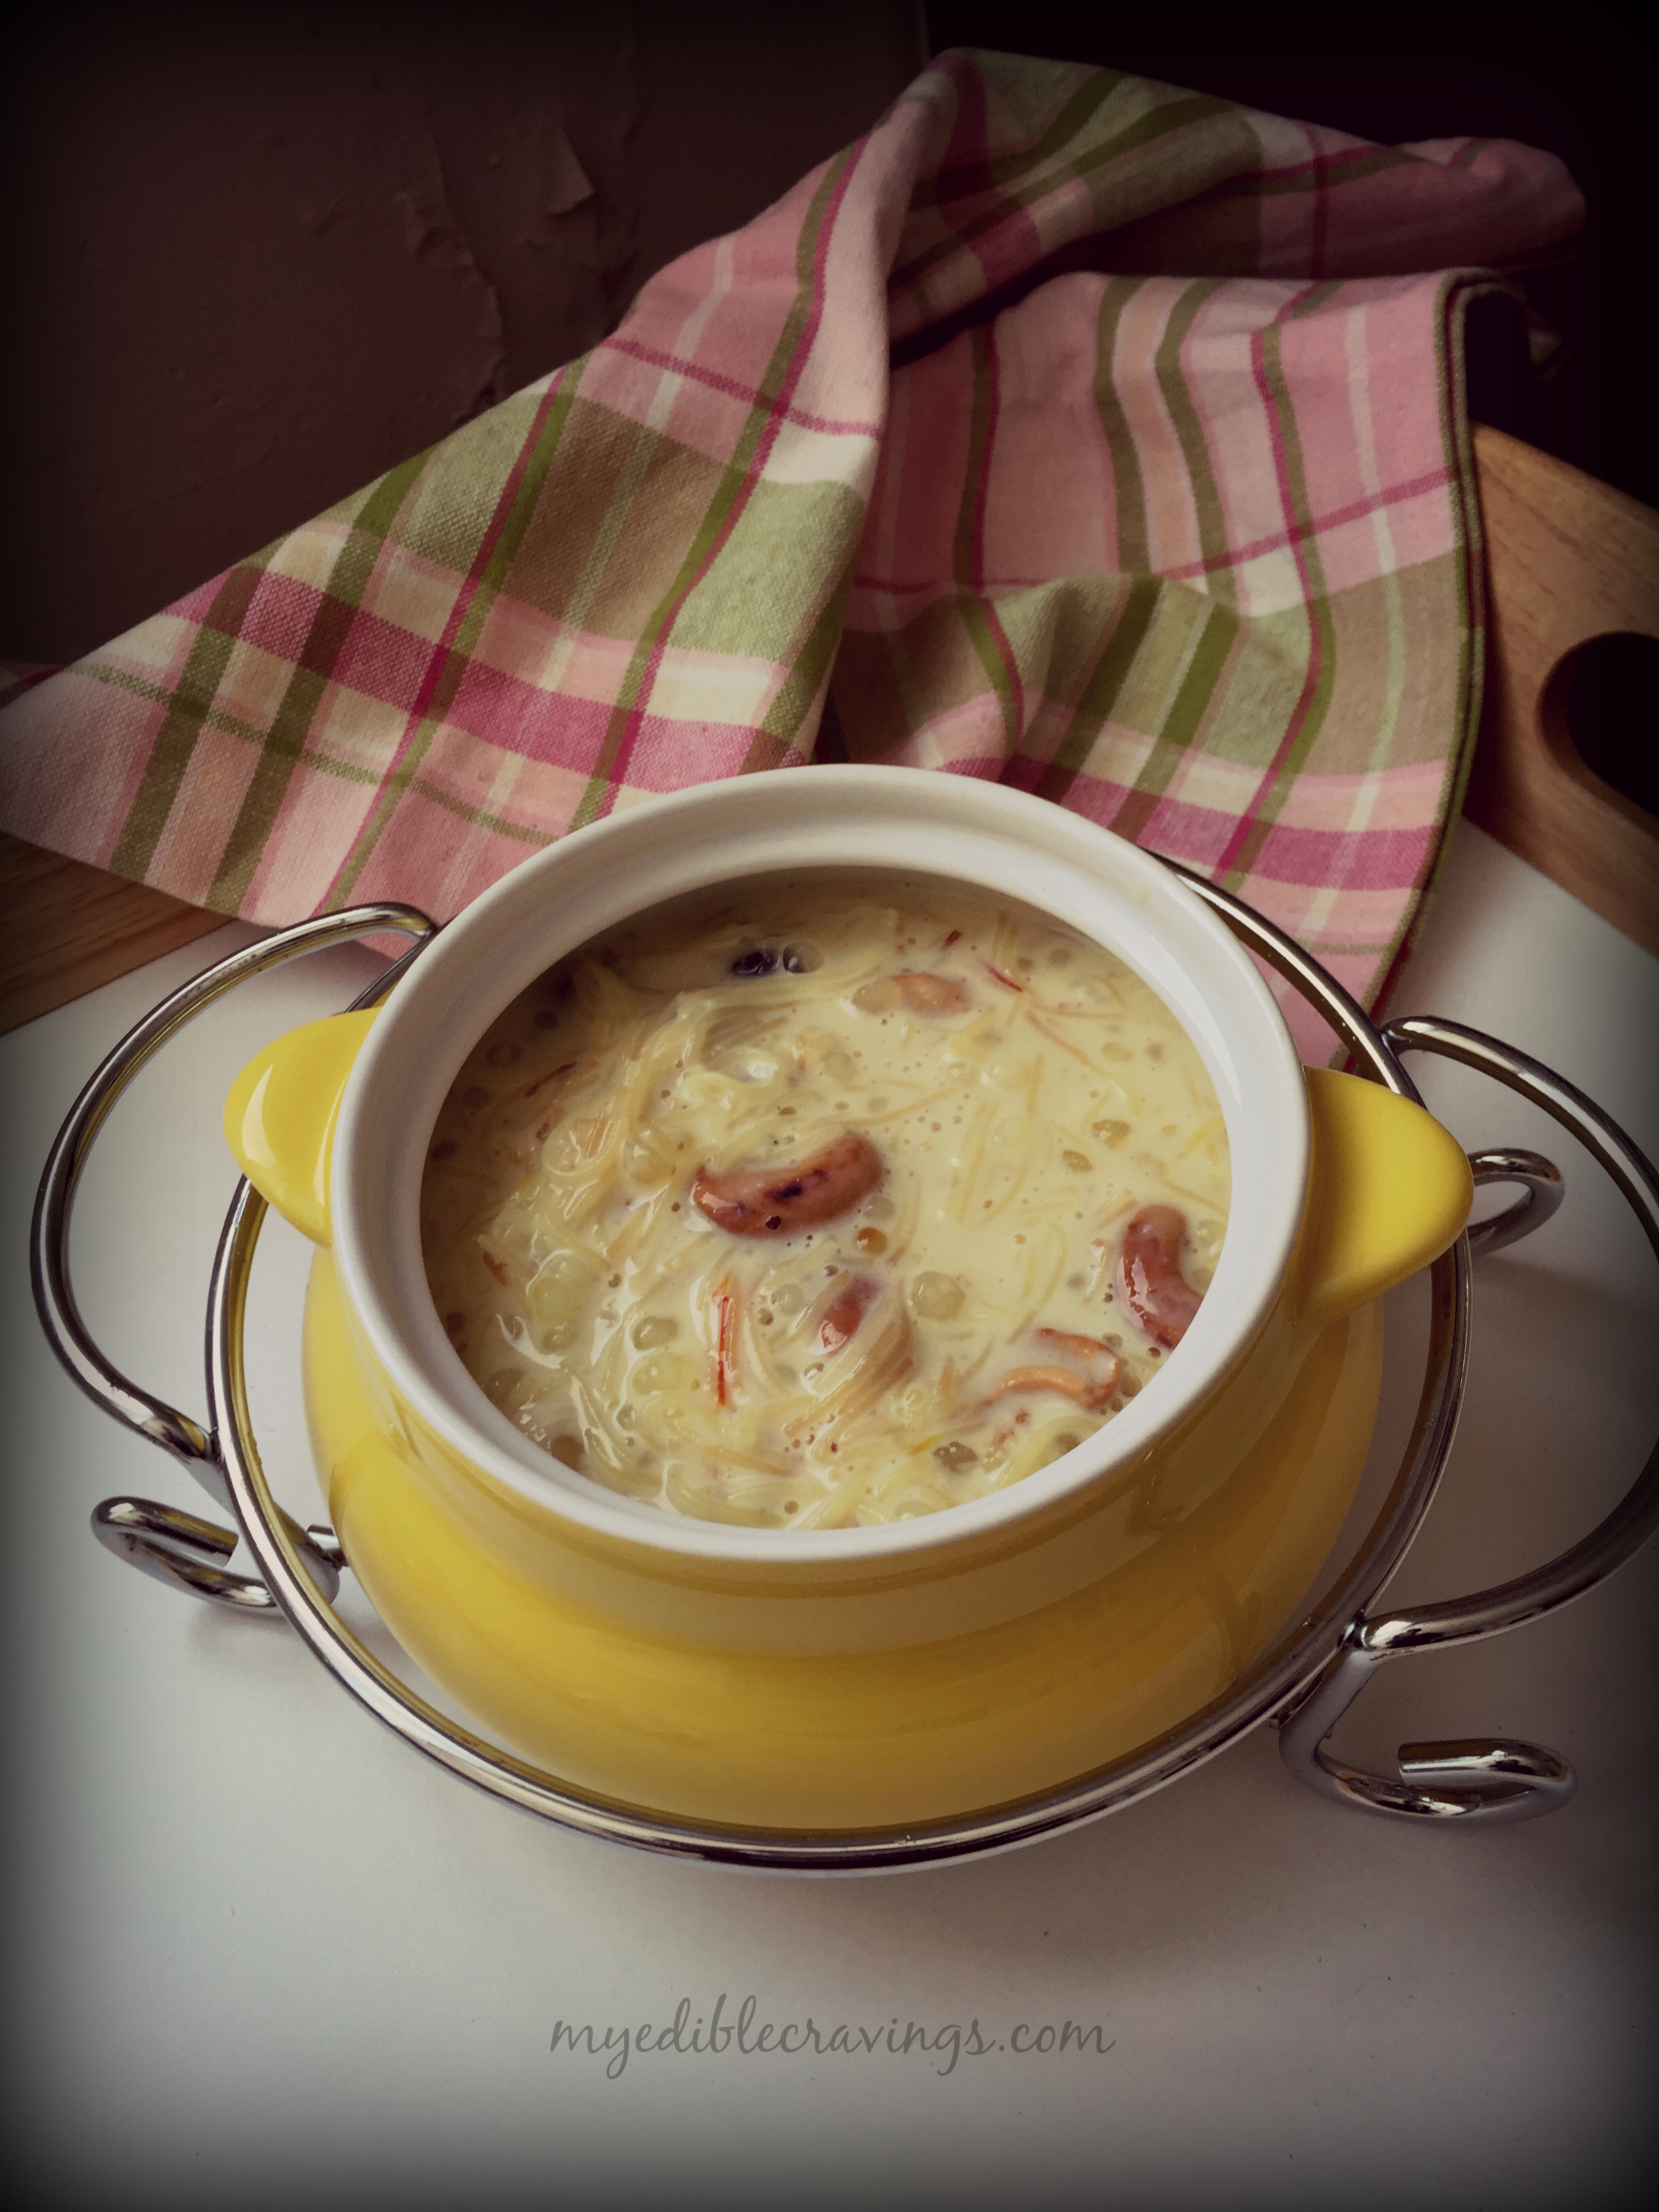
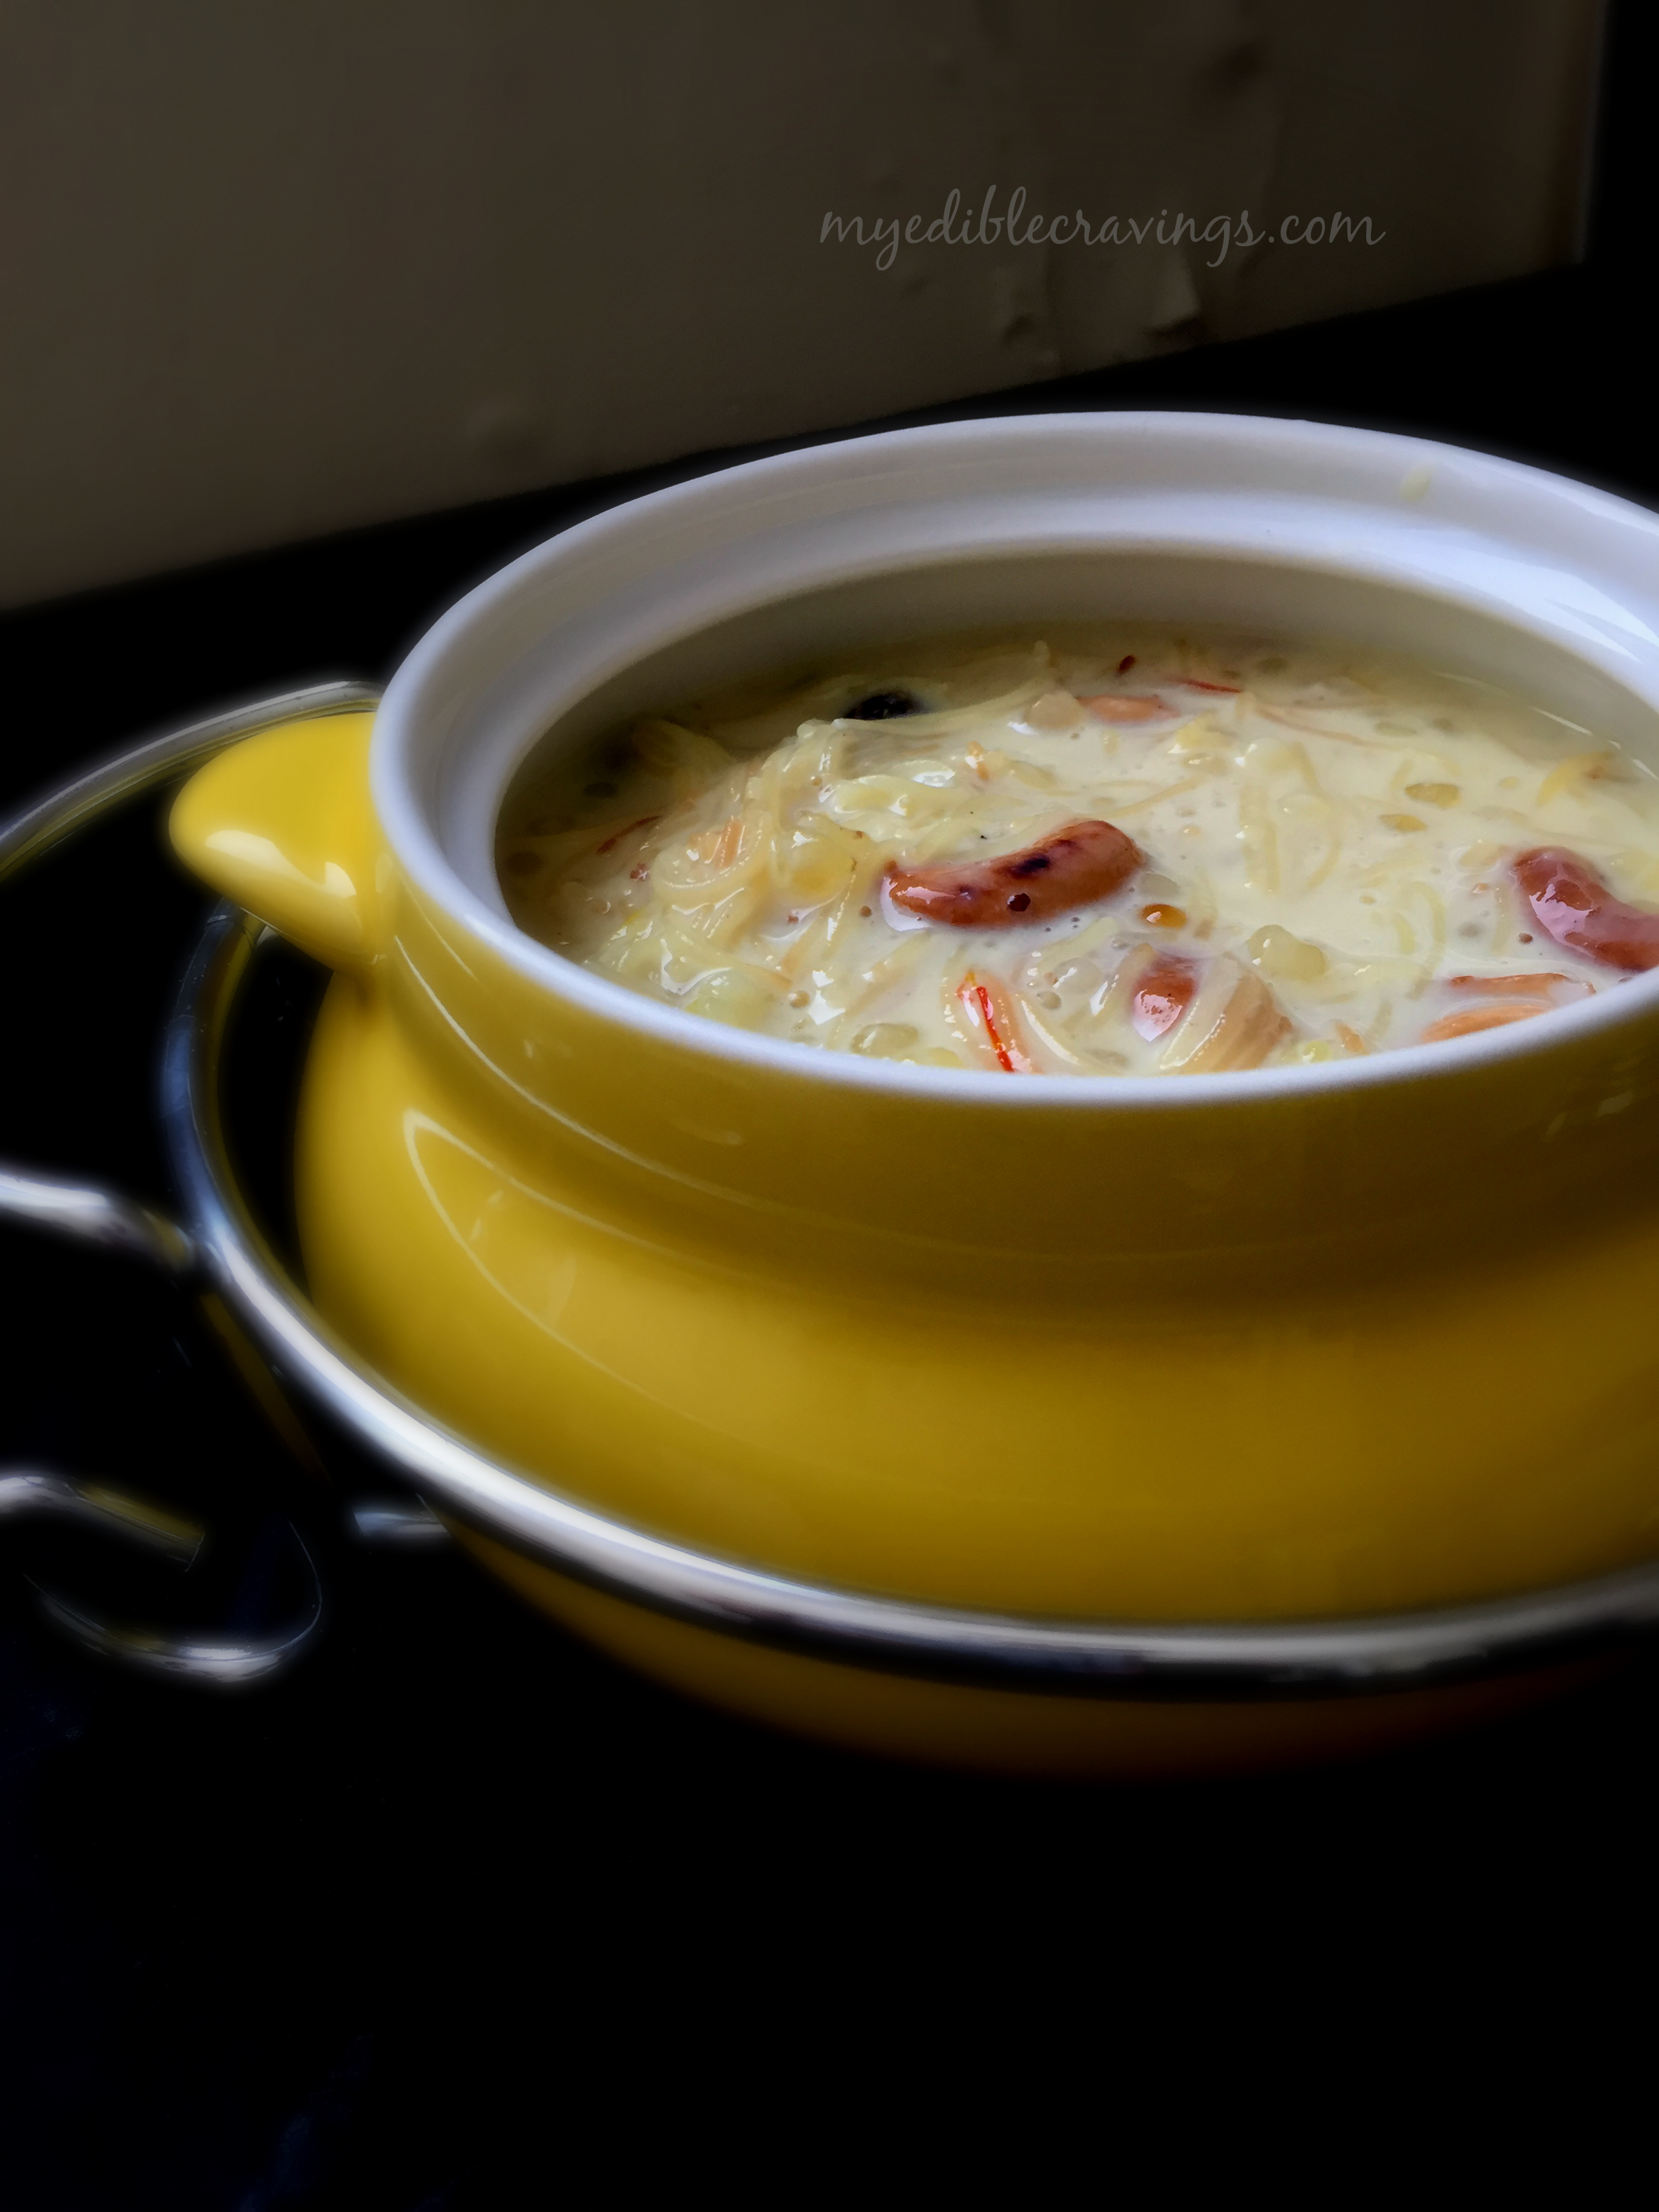
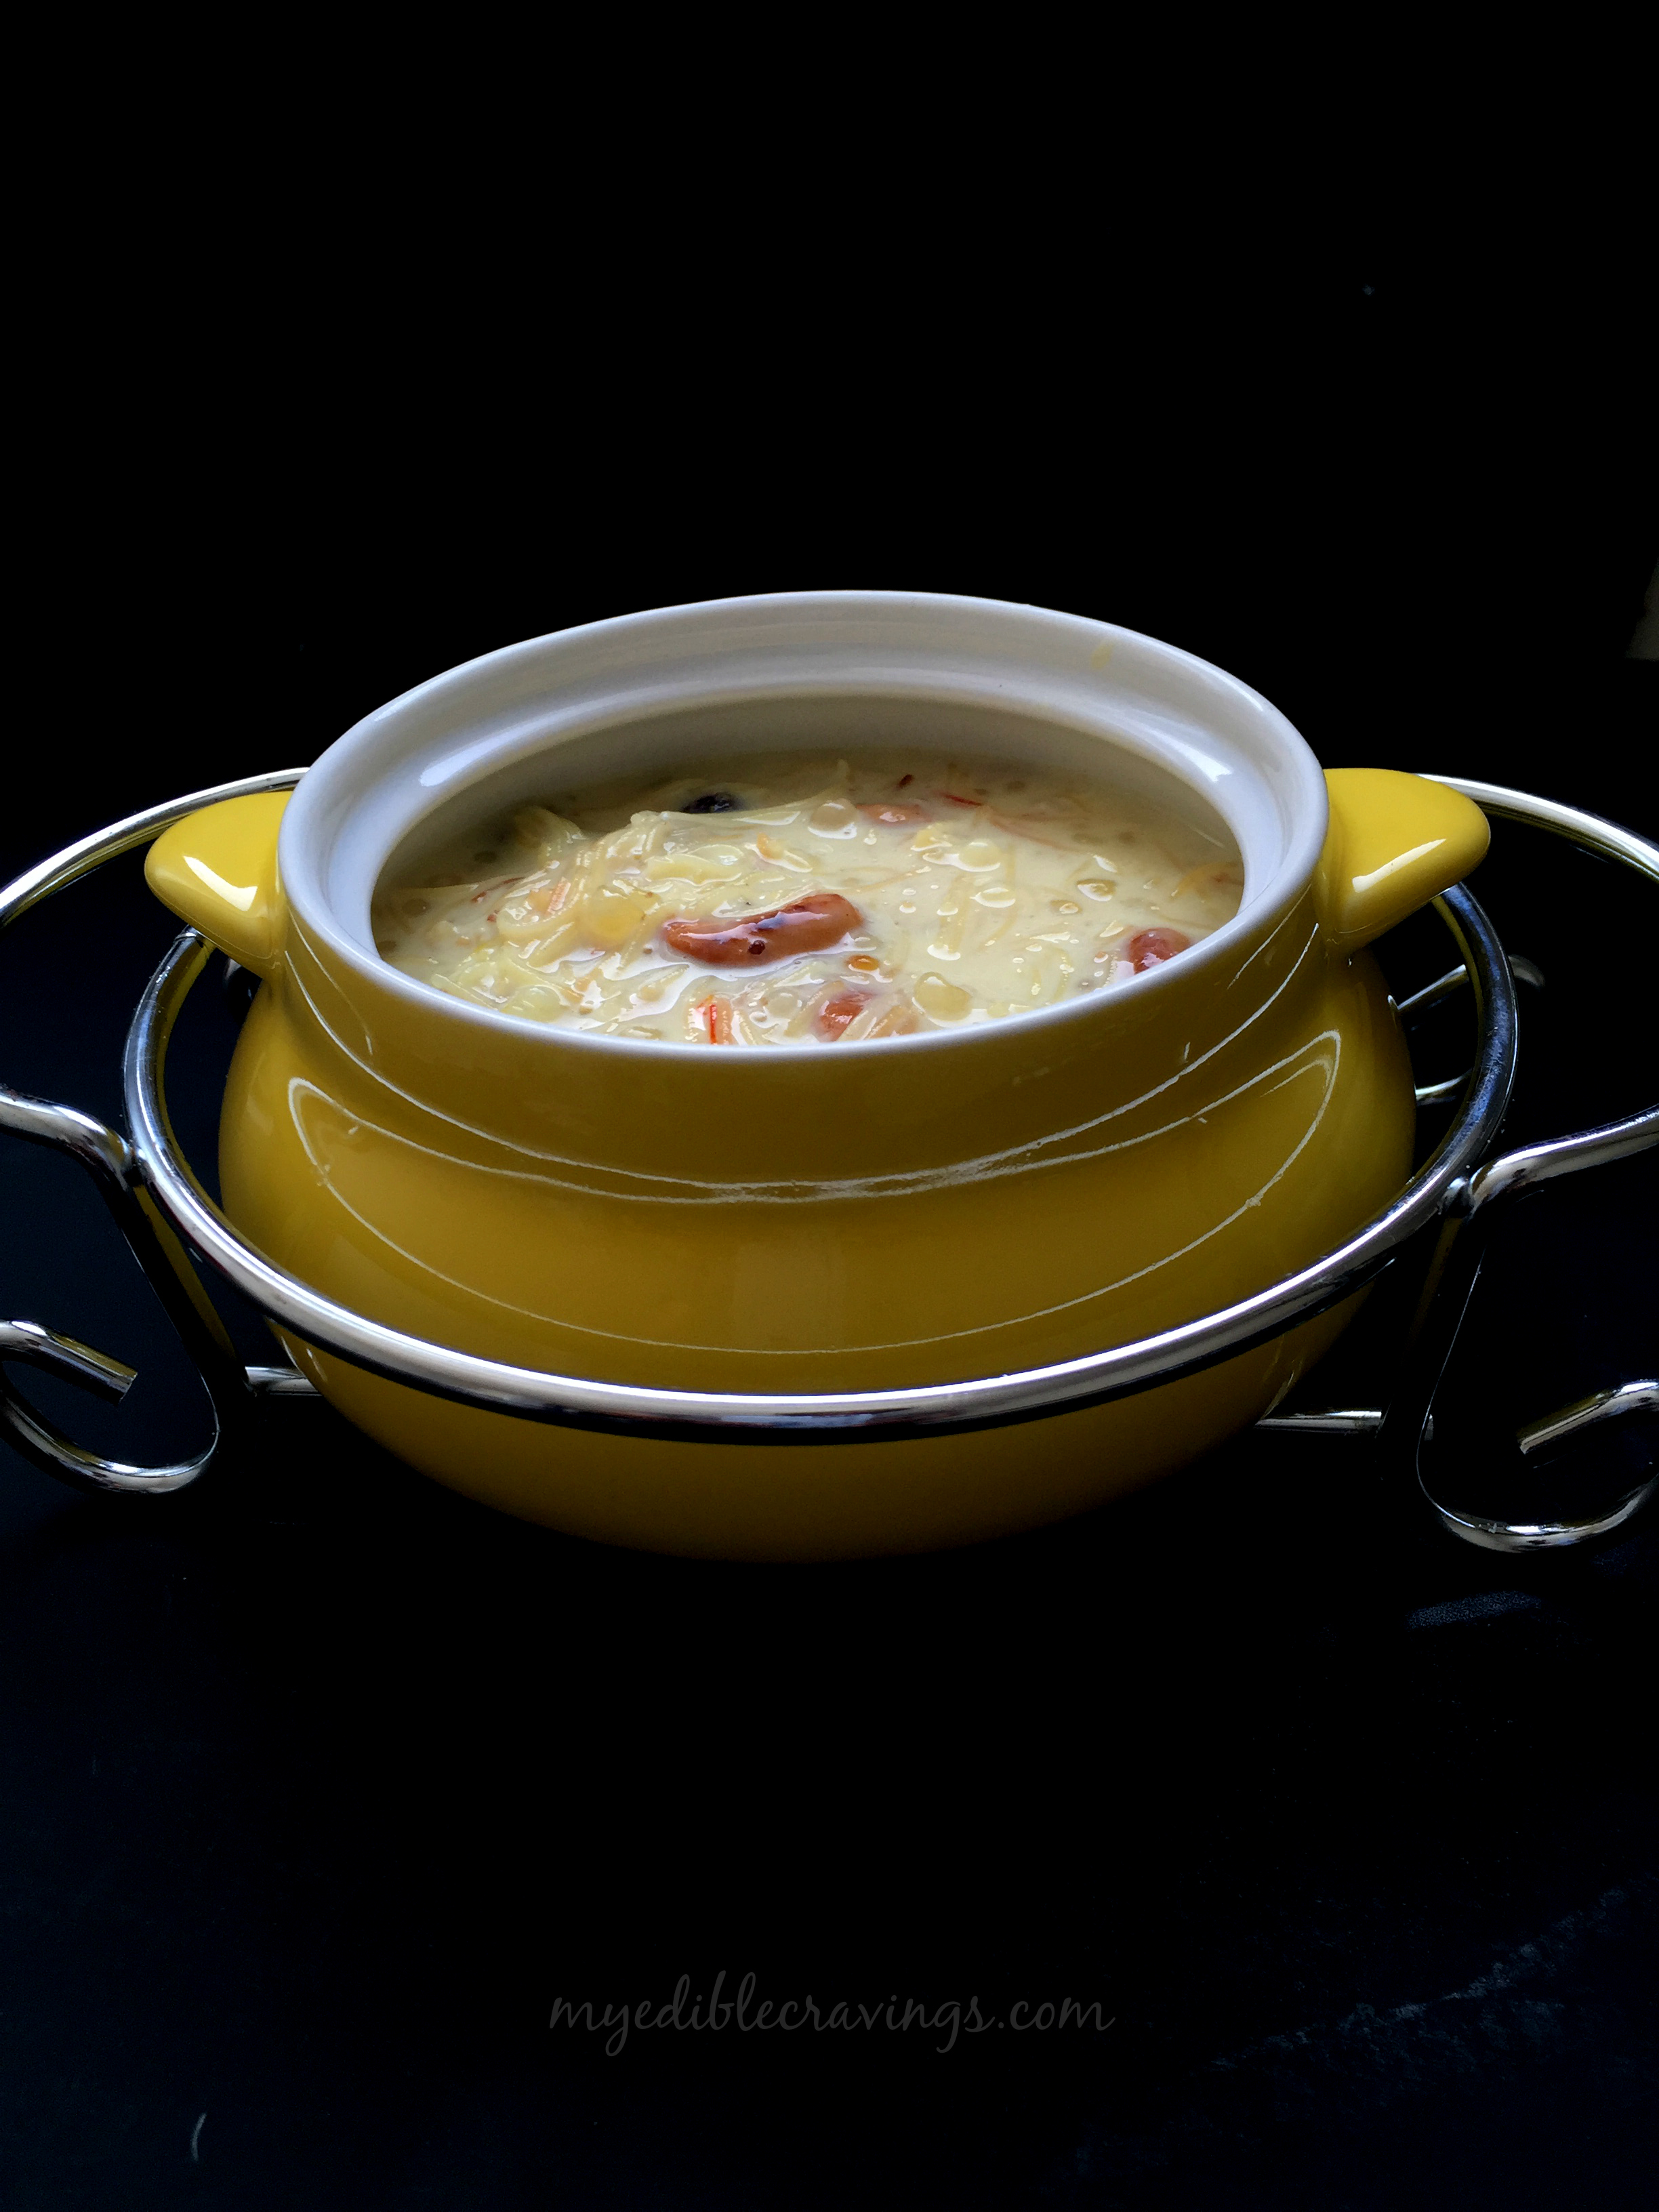
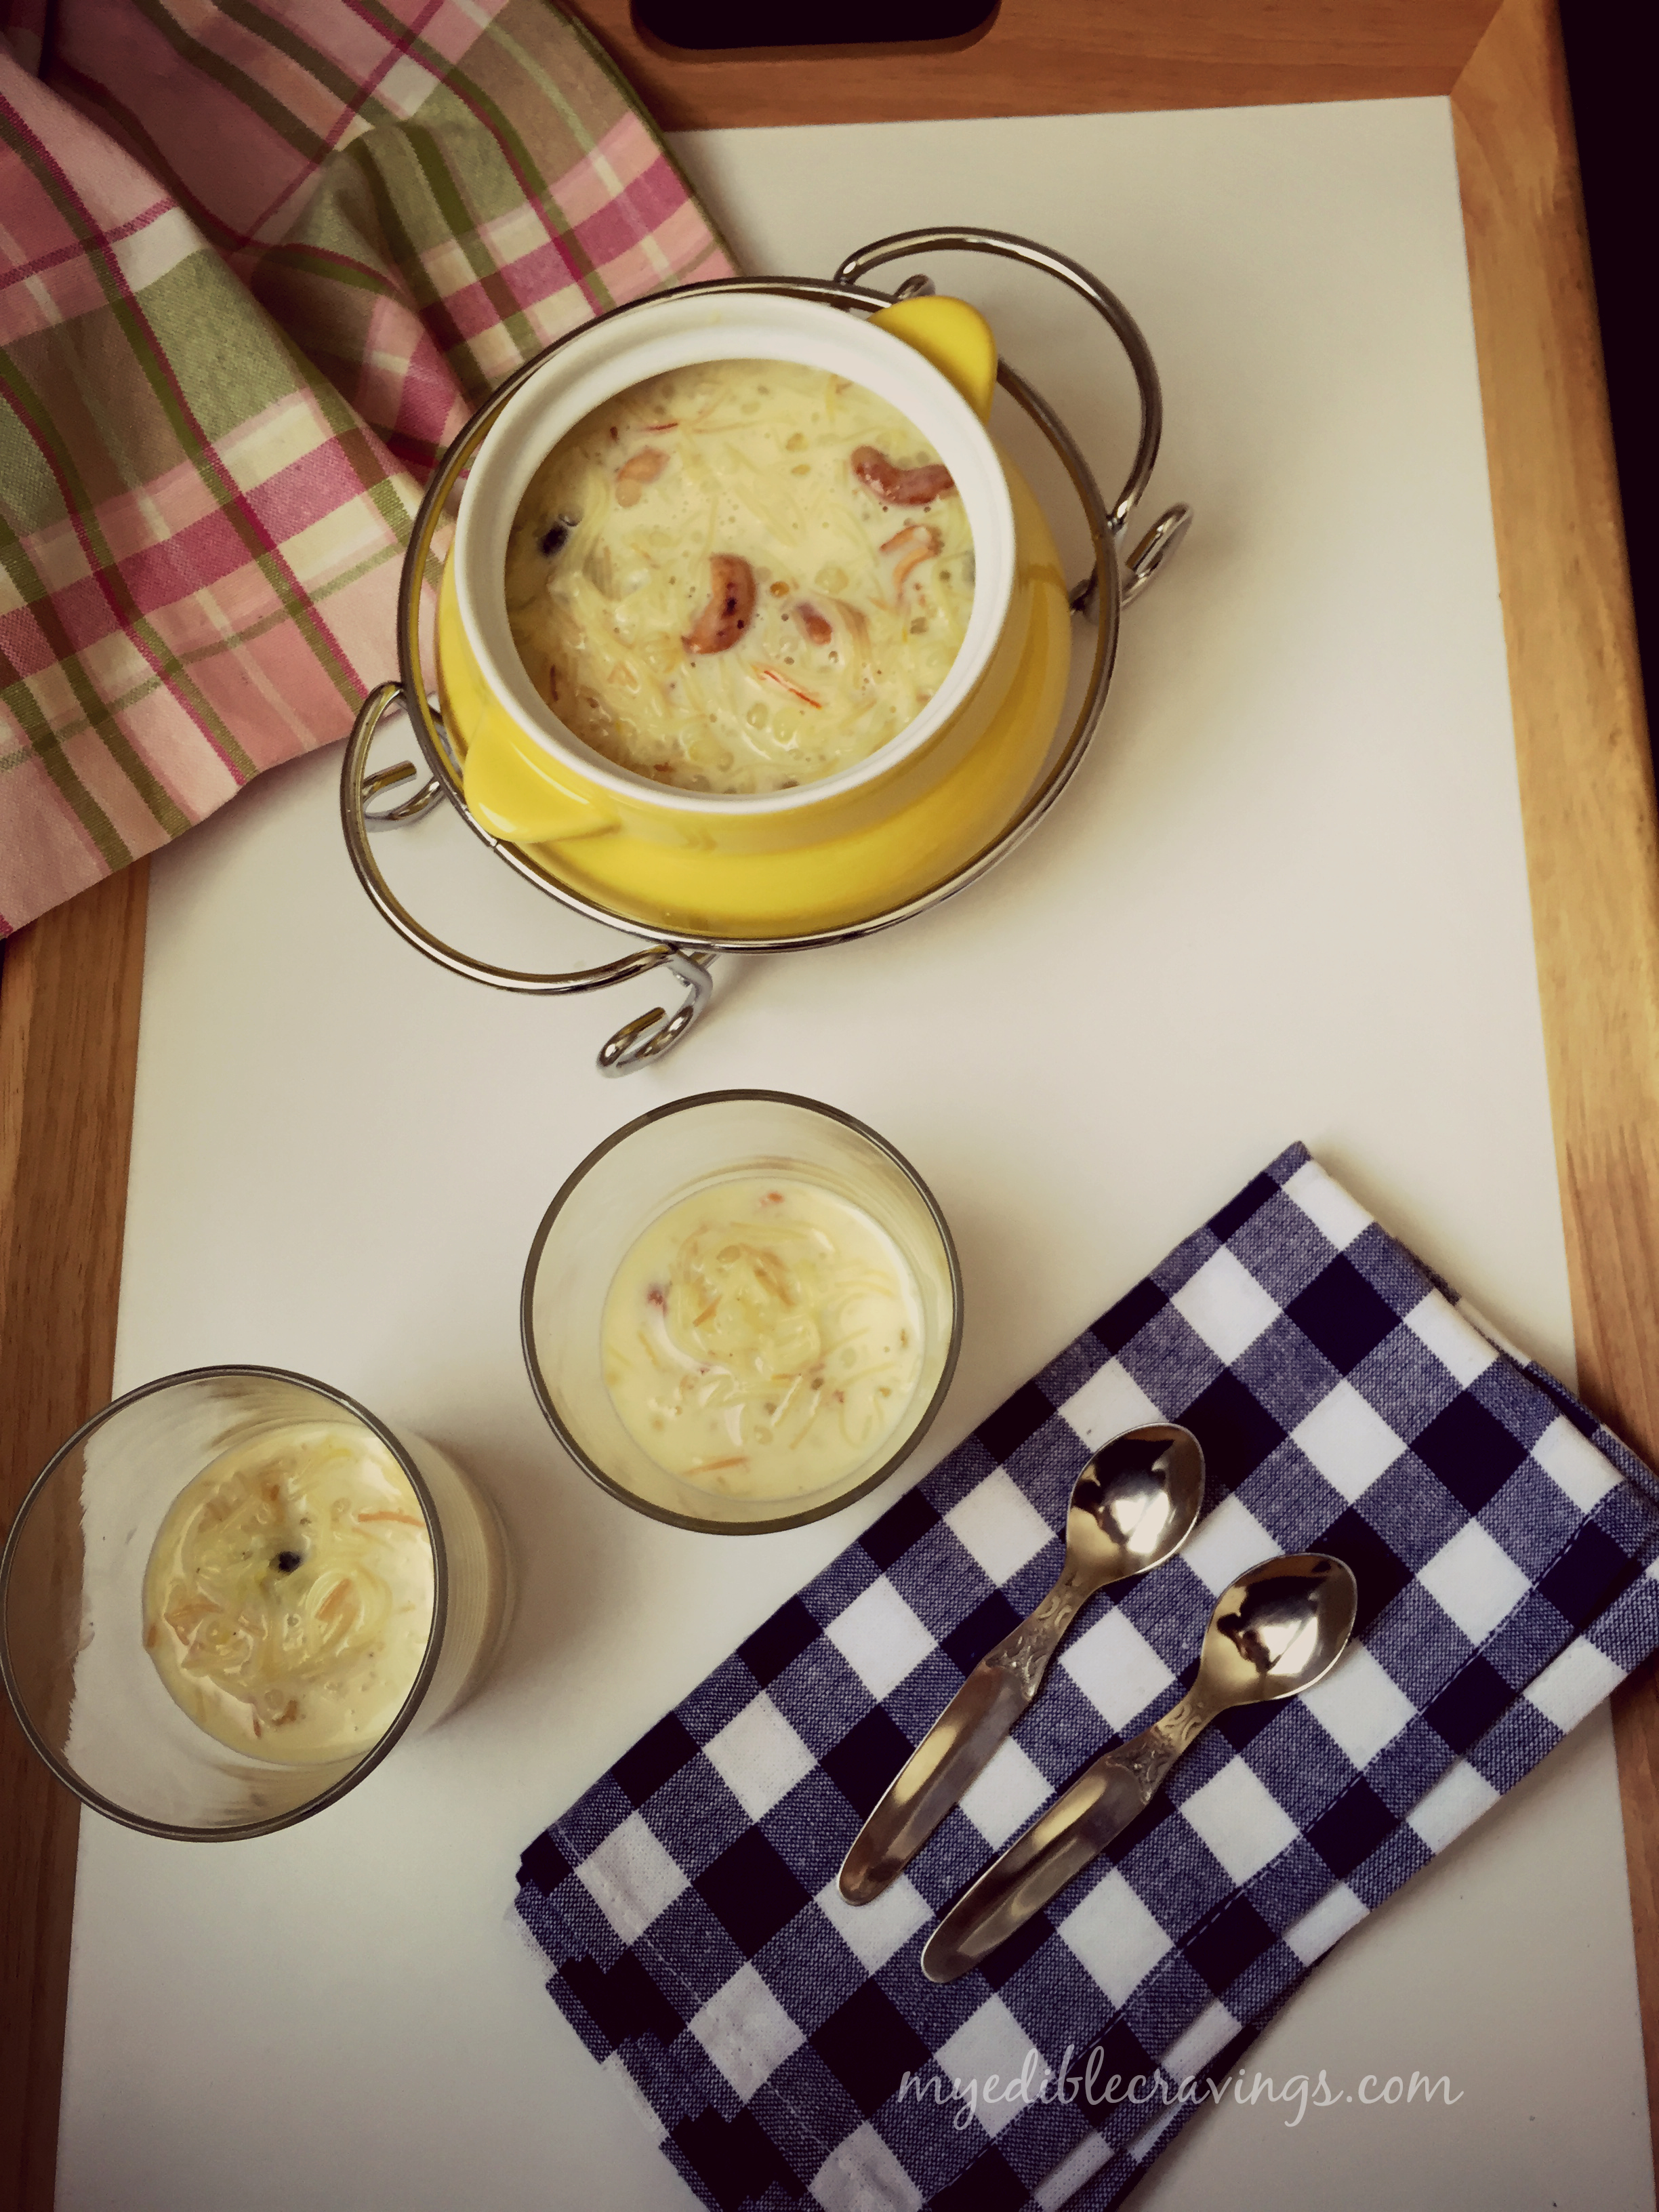
sago payasamPayasam is a traditional south indian dessert. It is a very simple yet tasty dish that is always in the menu of marriage lunches and served during traditional festivals. There are different varieties of payasam based on the ingredients that you use, like lentil, sago, vermicelli etc. Here I have given the Sago-Vermicilli variety of payasam.
sago payasamsago payasam
sago payasamSago-Vermicilli Pasayam is the most popular among all payasams. As I had said earlier, it is always served in wedding lunches. One popular way of consuming it is with papad :). My dad and his siblings love to have it with sweet boondi (another south Indian snack item). I know it will be a sugar explosion but who cares when it tastes just awesome 😉
I had never tried making Sago-Vermicilli Payasam until recently. The ingredients used and the preparatory method may make it seem easier to make (and it is easy to make) but you need to be careful as well, especially for beginners. In my recipe I had included rose flavor because I like it and is commonly found in most other Indian desserts. Also I have included Saffron just to give the distinct color and enhance the flavor. Sago-Vermicilli Payasam can be served hot or chilled; it tastes awesome either way.
Try this yummy and sweet dessert in your kitchen and post me your experiences 🙂

5.0 from 1 reviews
sago payasam
Prep time: 
Cook time: 
Total time: 
Serves: 3
 
Ingredients
  • Milk – 3 ½ cups
  • Sago or javvarisi – ½ cup
  • Vermicelli or semiya – ¼ cup
  • Refined sugar – ½ cup
  • Ghee – 2 tbsp
  • Cashews – 8 to 10 nos
  • Raisins – 6 nos
  • Saffron – 2 to 3 strands.
  • Rose water or essence – 3 drops
Instructions
  1. Soak sago in water for 20 to 30 mins.
  2. Heat a small pan with ghee and roast cashews and raisins until the cashews turn golden brown. Keep it aside. In the same pan roast vermicelli for a minute or so and keep it aside.
  3. Soak saffron threads in a cup with 1 tbsp of warm milk.
  4. Boil two cups of water and add sago. Boil until the sagos turn translucent for about 15 to 20 minutes. Add vermicelli to the boiling water as well and cook for another couple of minutes until they are soft. Drain them.
  5. Heat a sauce pan and boil the milk. When the milk has boiled, simmer and reduce it to half the quantity.
  6. When the milk has reduced to half, add the cooked and drained sago and vermicelli. Mix well and allow them to set for about 5 minutes - Simmer the burner while adding sago and vermicelli.
  7. Add sugar and mix well. Finally add the saffron and fried cashews to the payasam. Switch off the flame and add few drops of rose essence. Refrigerate the payasam and serve the delicious cold Sago-Vermicilli payasam. 
Notes
1.I have read online that cooking sago and vermicelli directly to the boiling milk will curdle the milk. So I boiled them and strained the water before adding them to the milk.
2.Simmer the milk and add the cooked sago and vermicilli. Otherwise the milk will curdle as well.
3.Adding saffron and rose essence is completely optional. I added them just for the flavor.

sago payasam