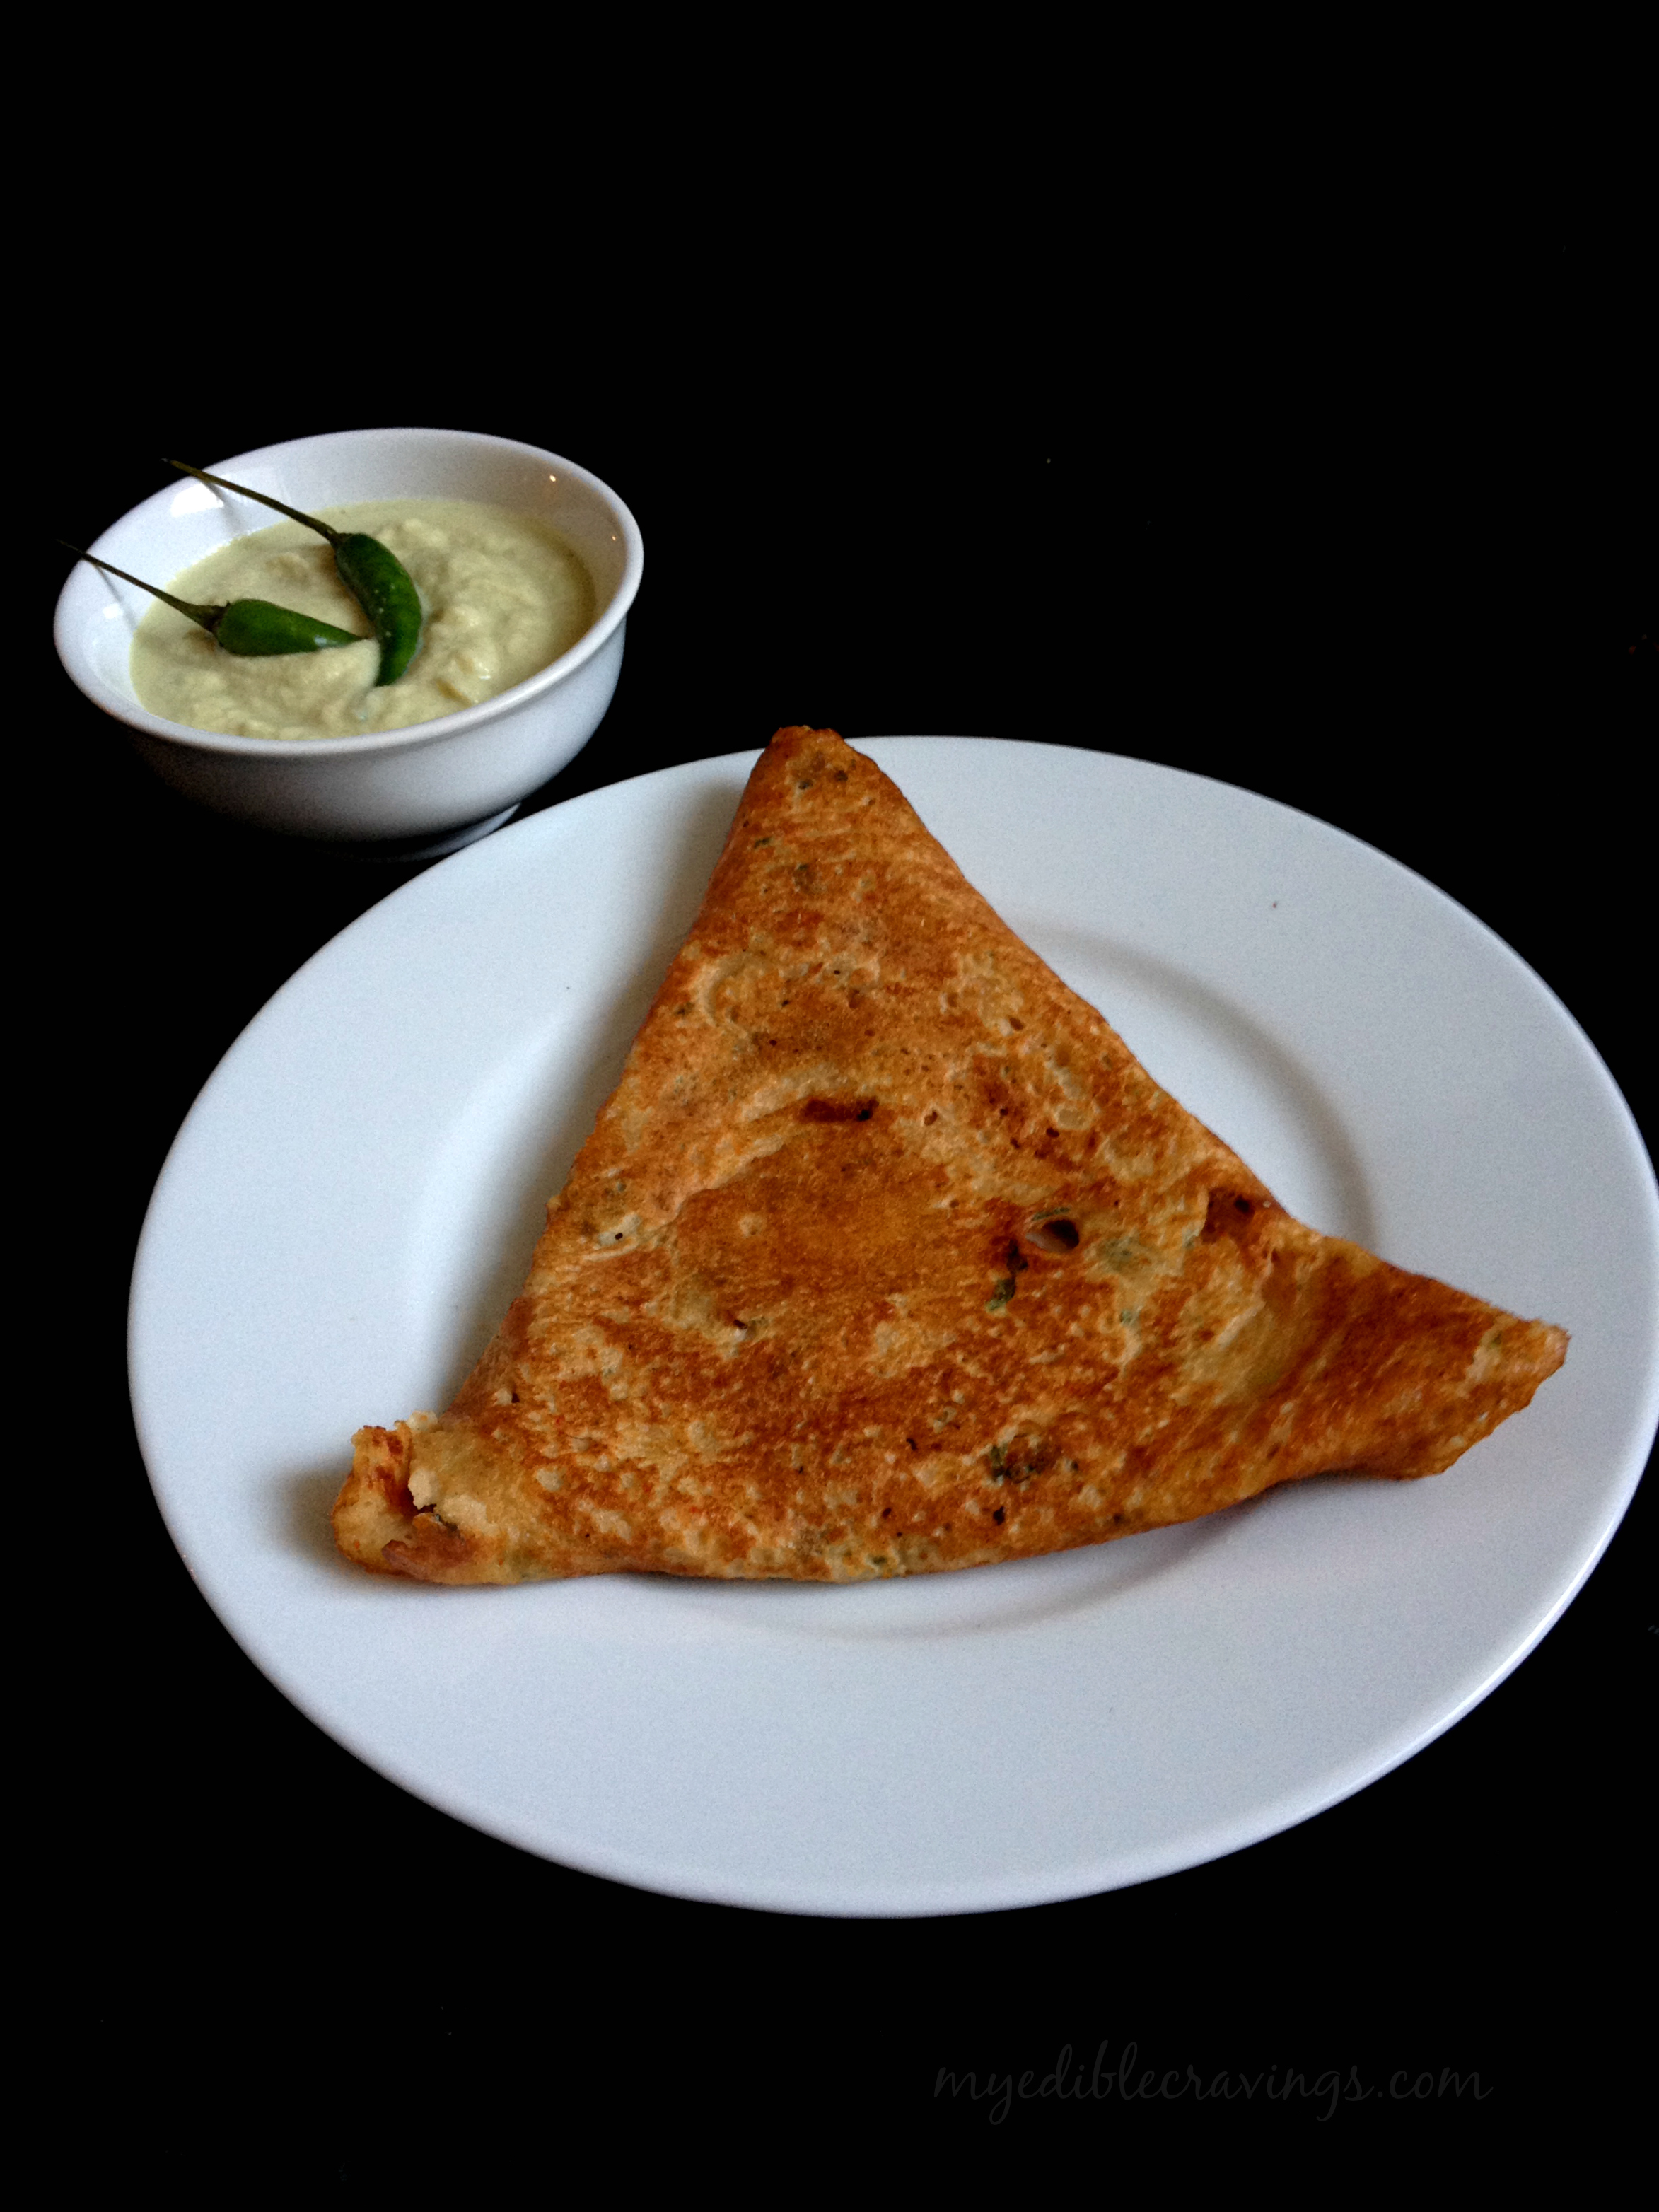
CHILLI IDLI | KAIMA IDLI

Chilli idli is a variation of the south Indian rice cakes called as Idli. Idli is ubiquitous in Tamilnadu and is one of the most common food items that you can find there (next only to rice). Chilli idli or kaima idli is basically a fried dish where you have fried idli pieces as the base ingredient.
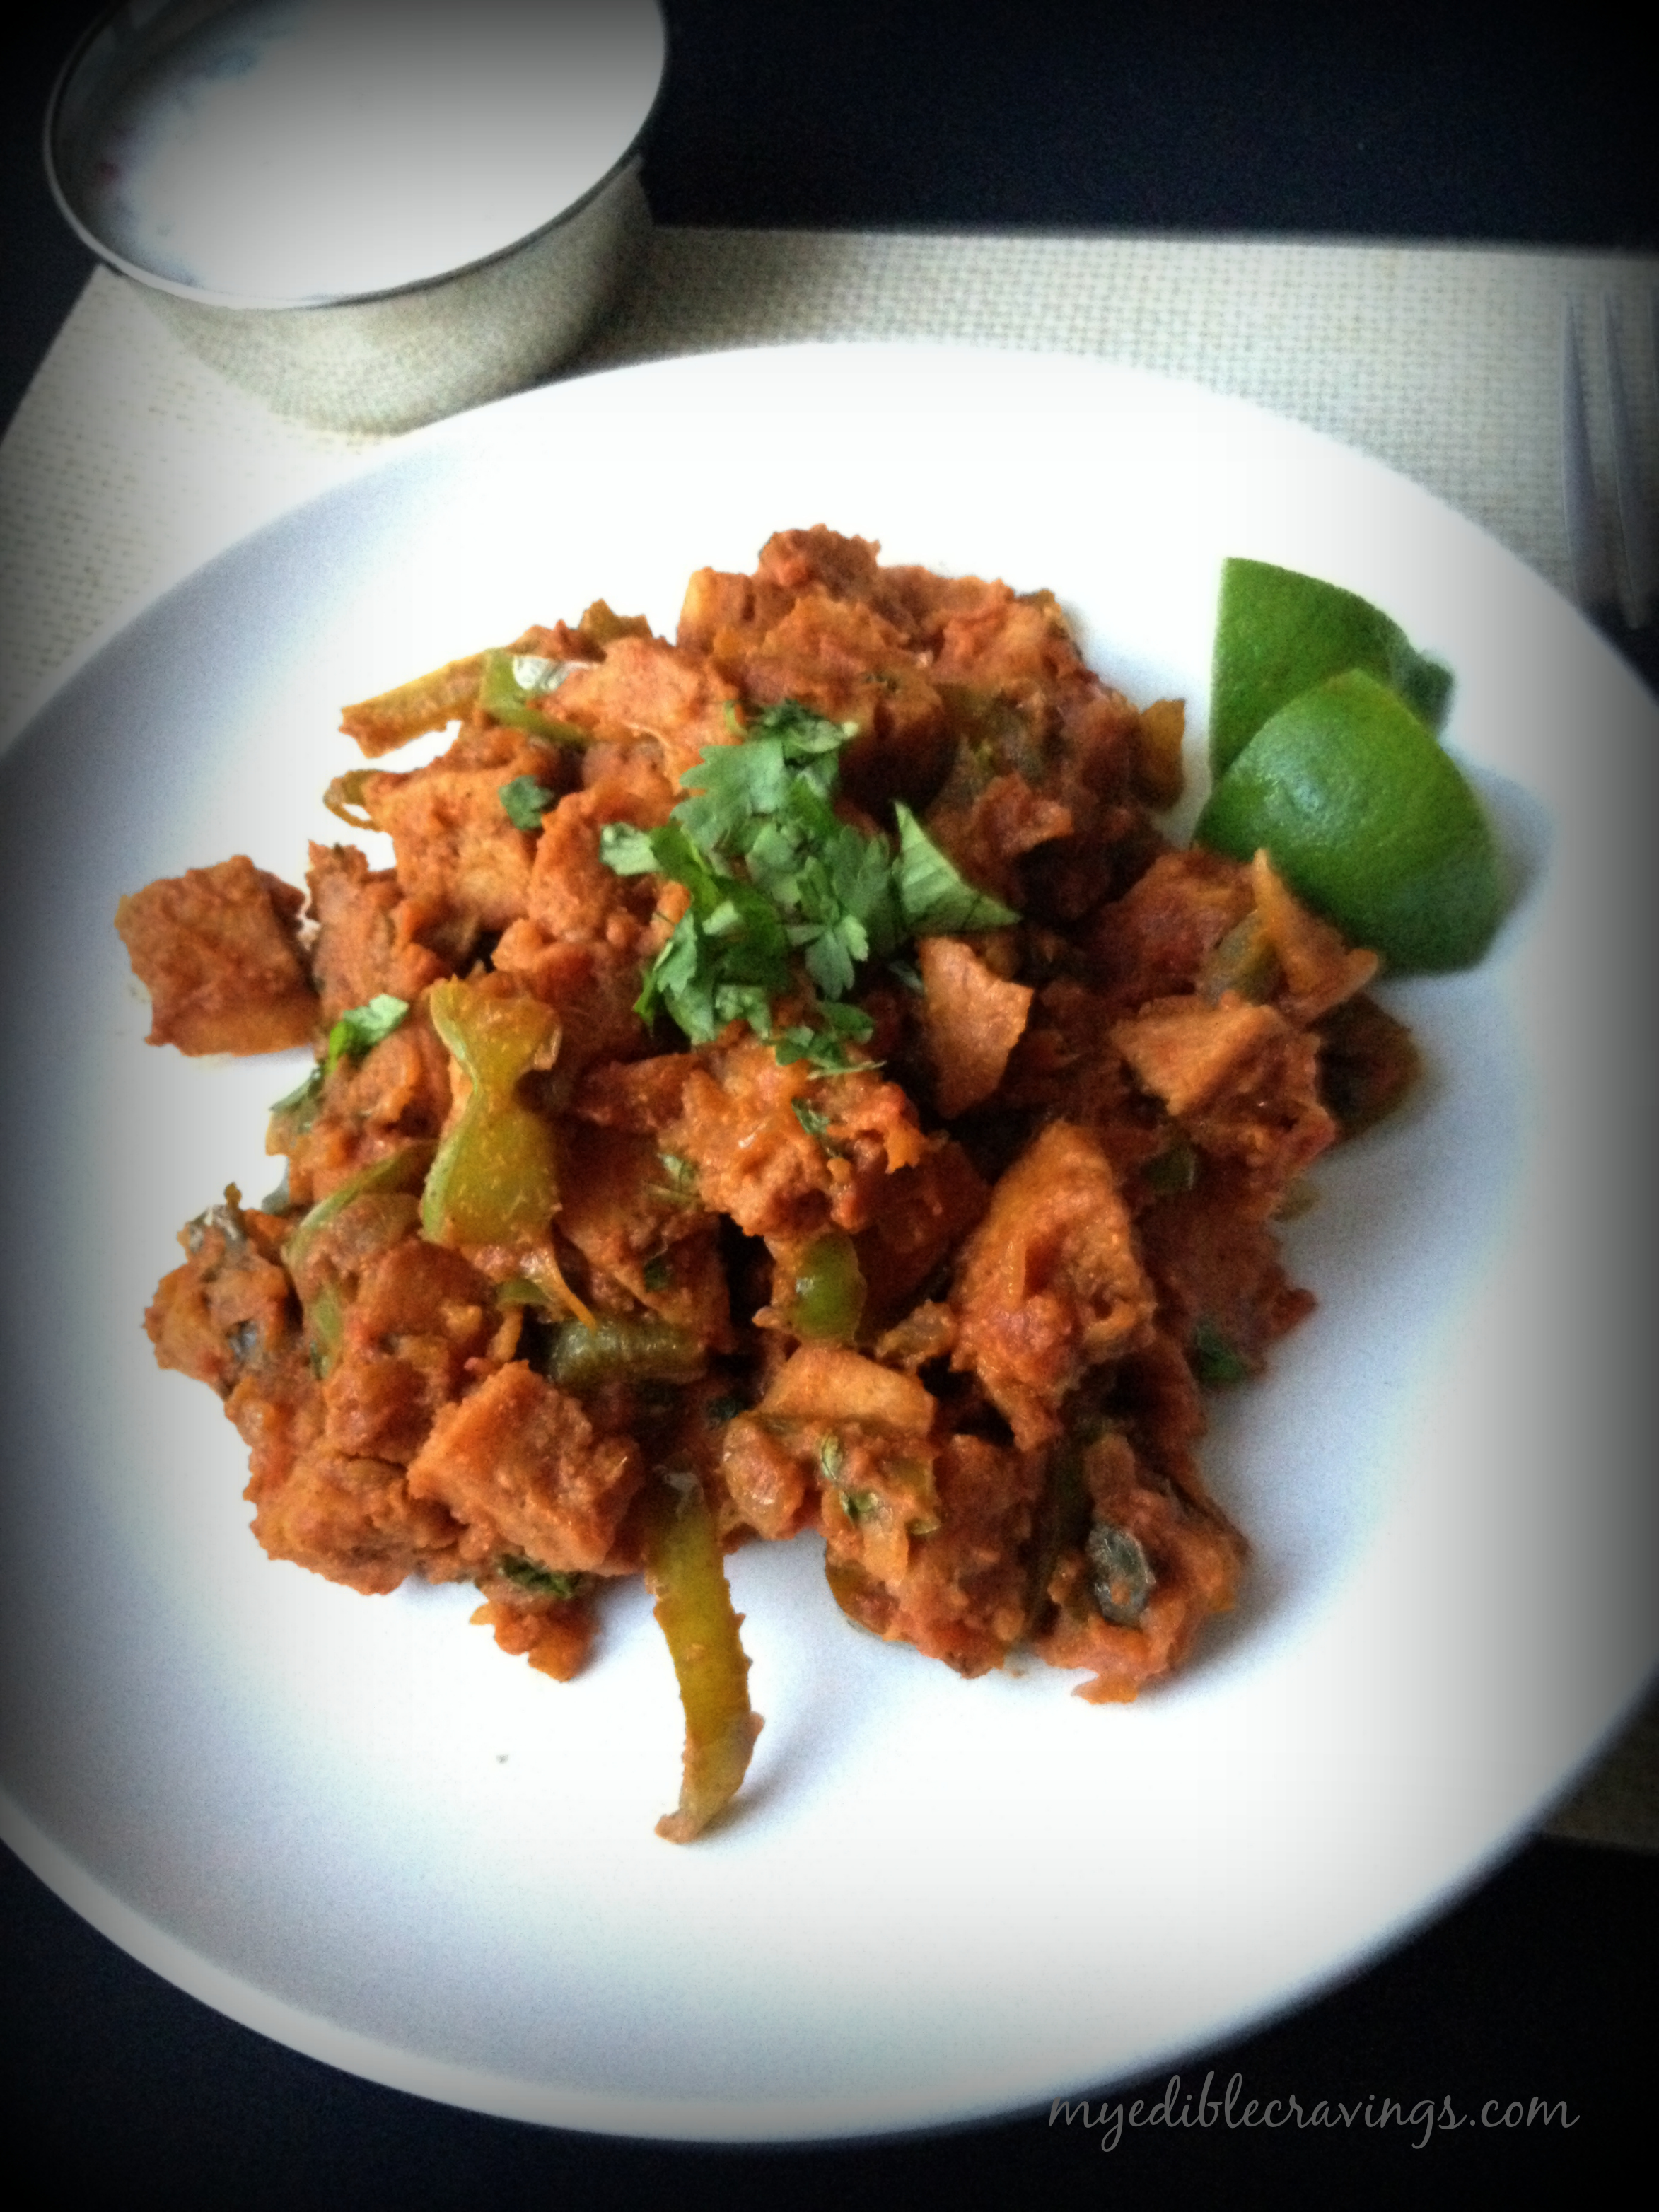
chilli idliChilli idli is one of my favorite vegetarian dishes. It is very easy to prepare and can be done quickly as well. It is also a popular snack item but mainly served as a dinner dish in restaurants back home.
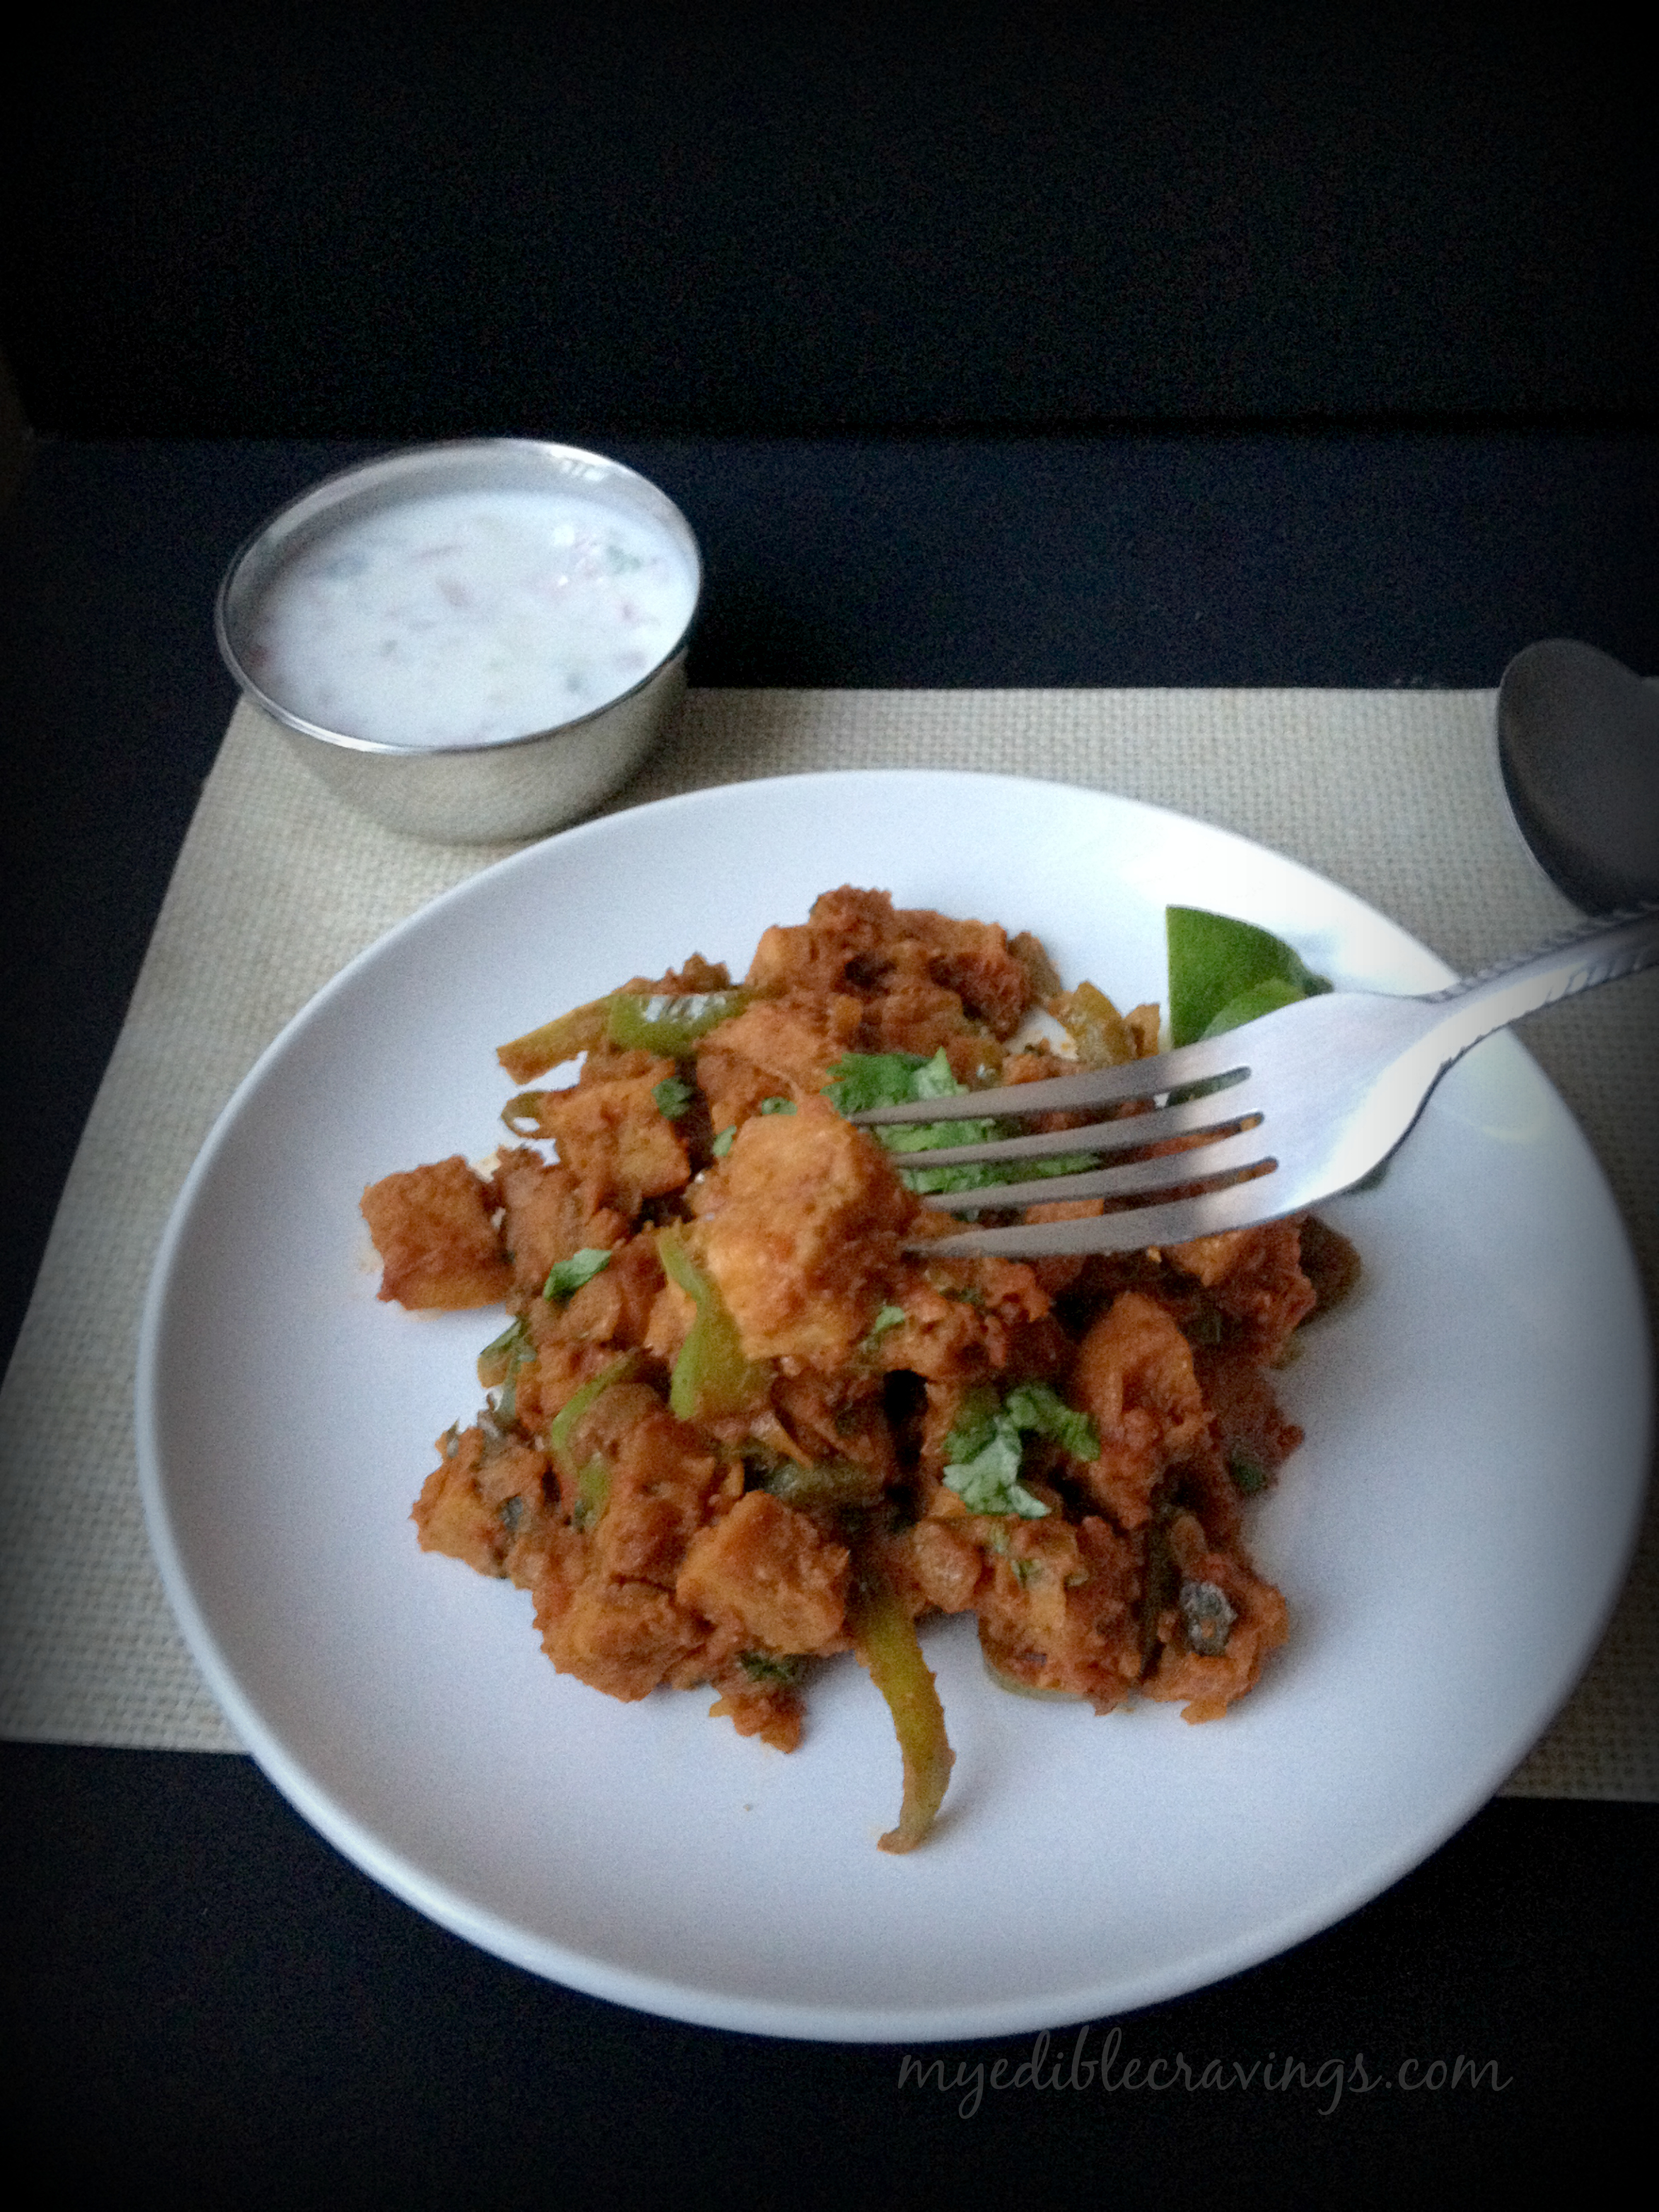
chilli idliIn you preparation, deep fry the idli pieces to give restaurant touch. Make sure to steam idlis six to eight hours ahead and store it in a refrigerator. So that the pieces will absorb less oil while frying. If you are health conscious like us, you could simply spray some cooking oil on top of the pieces and bake in the oven until the sides are crisp and change color. But I would say, once in a while you should skip all your calorie calculations and do it the tasty albeit not so healthy way ;).
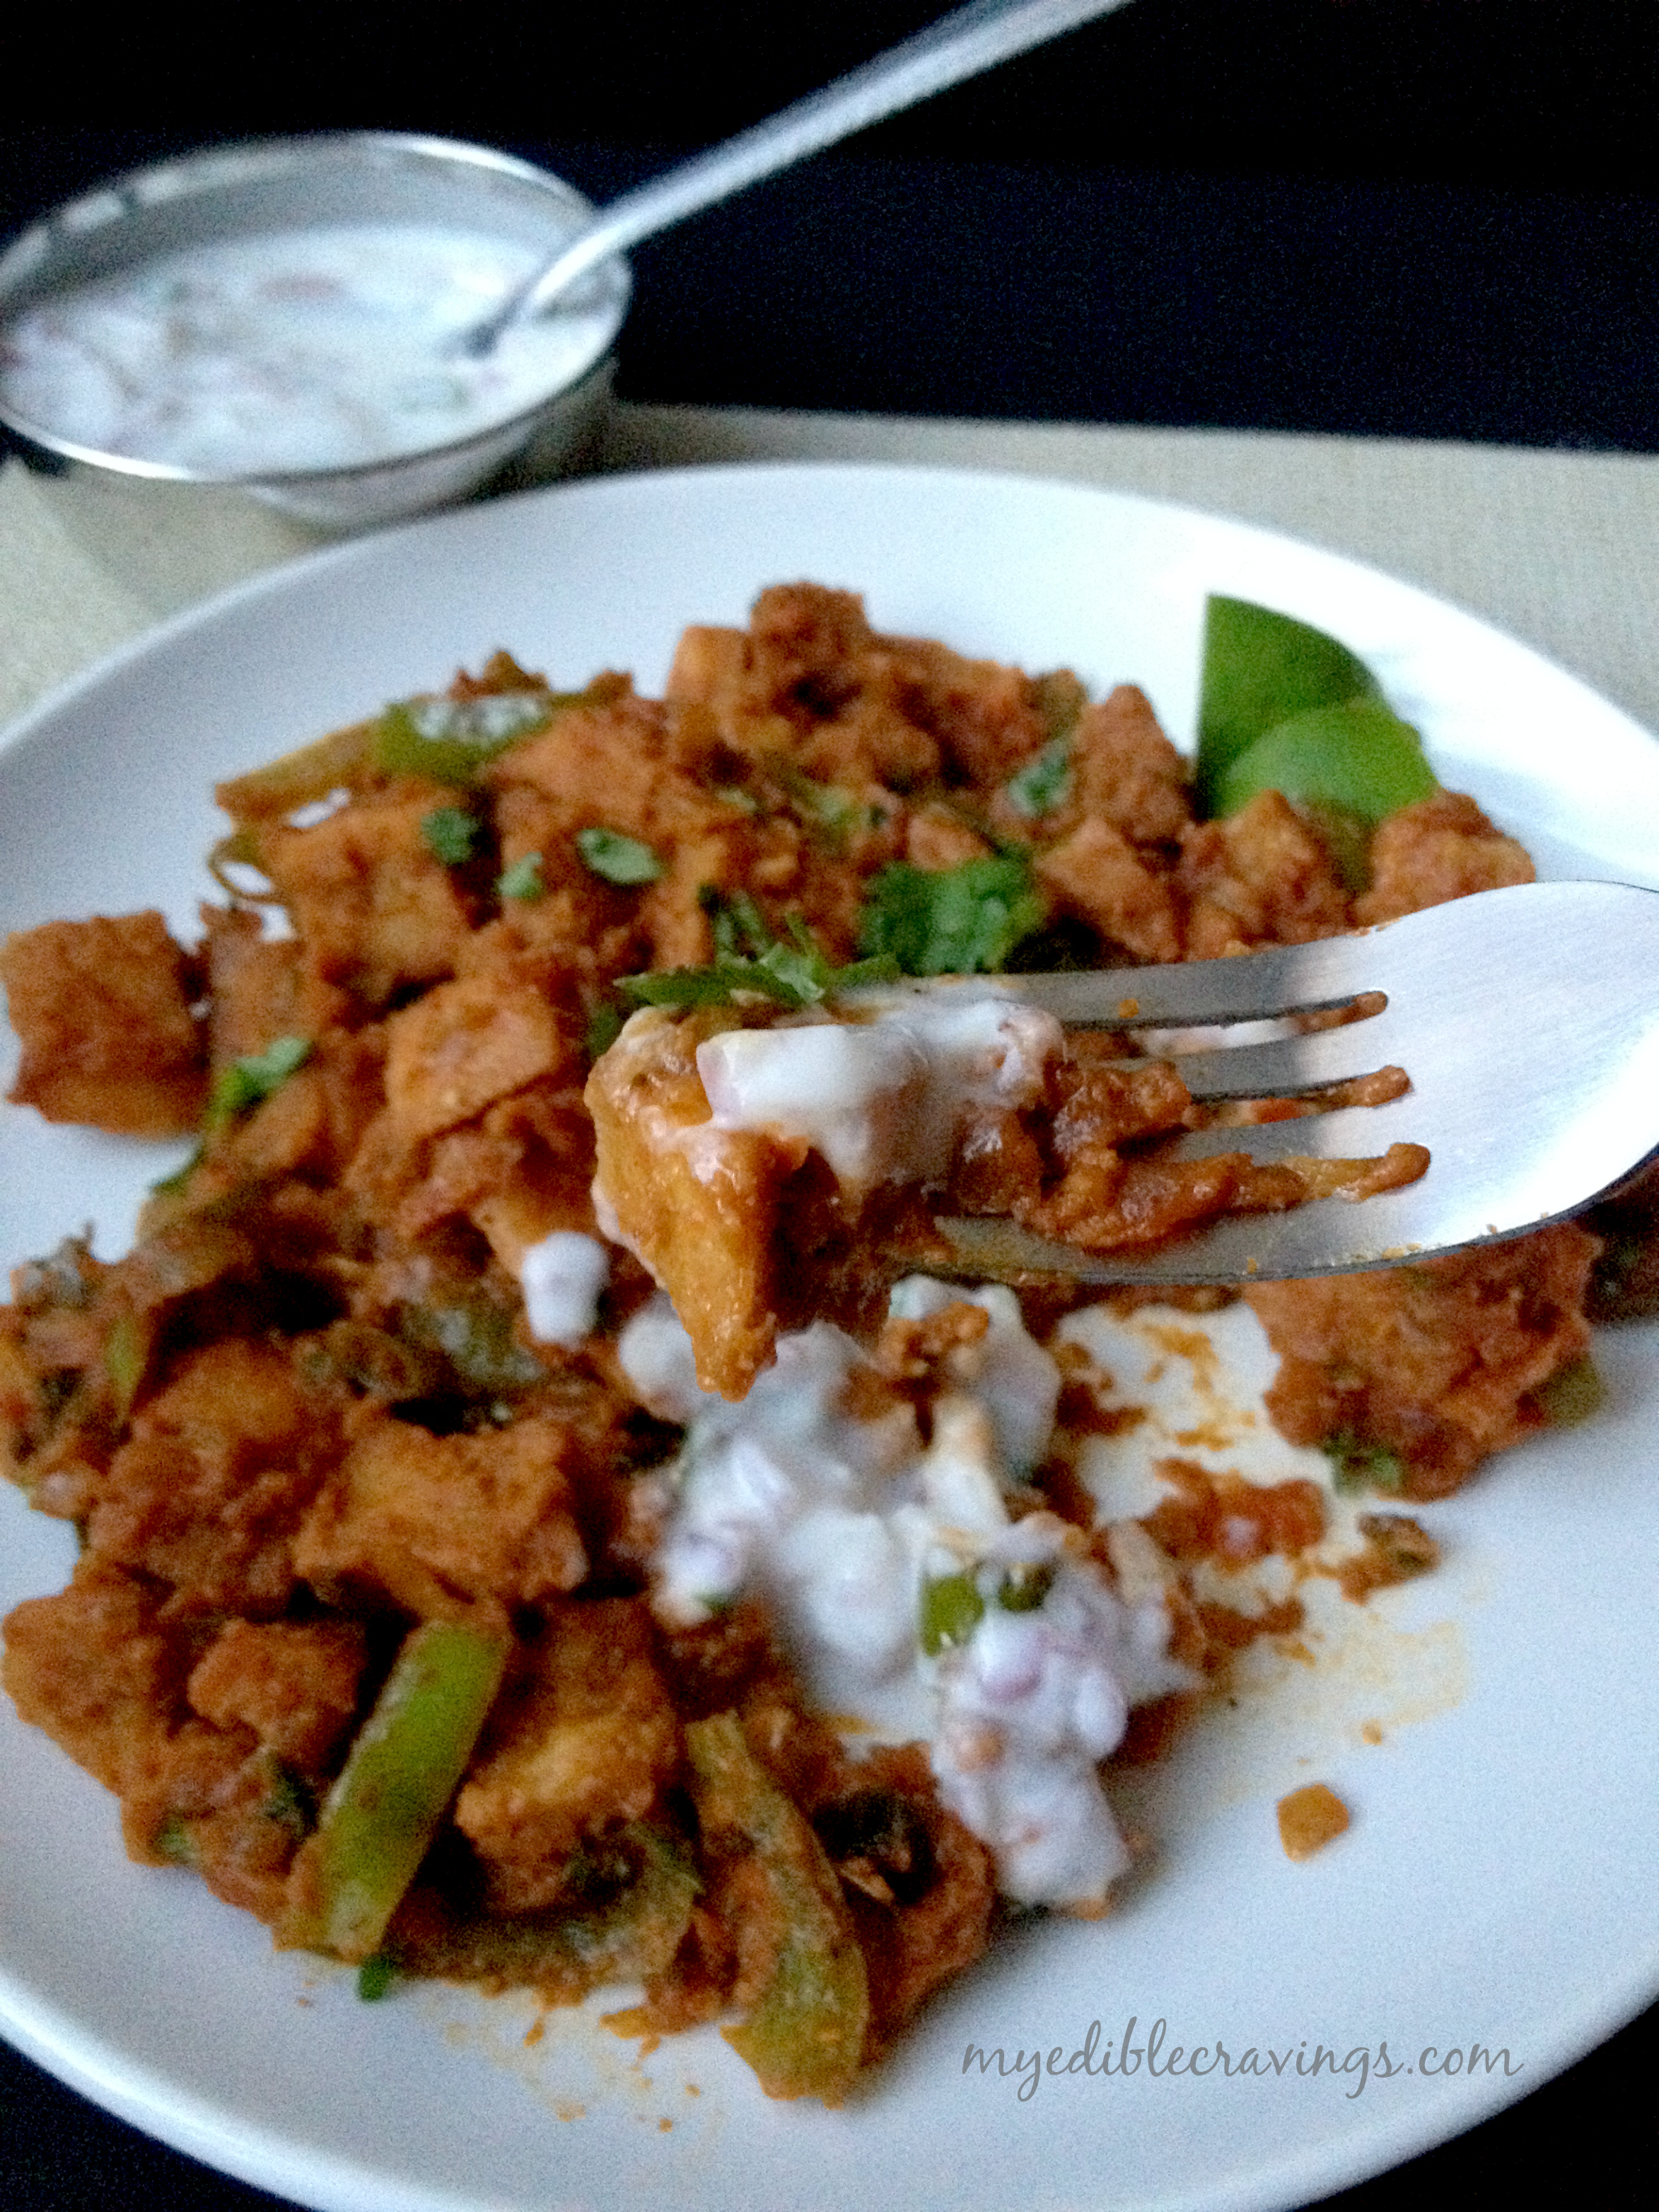
CHILLI IDLI
Here is my version of restaurant style chilli idli 🙂

CHILLI IDLI | KAIMA IDLI
Recipe type: Dinner
Cuisine: Indian
Prep time: 
Cook time: 
Total time: 
Serves: 2
 
Chilli idli is a variation of the south Indian rice cakes called as Idli. Idli is ubiquitous in Tamilnadu and is one of the most common food items that you can find there (next only to rice). Chilli idli or kaima idli is basically a fried dish where you have fried idli pieces as the base ingredient.
Ingredients
  • Vegetable oil- for deep frying
  • Idli – 7 nos
  • Fennel seeds – 1 tsp
  • Curry leaves – a sprig
  • Onion – 1
  • Ginger-garlic paste – 1 tbs
  • Tomato, large – 1
  • Green chilli – 2
  • Green Capsicum or bell pepper, cut lengthwise – ½ cup
  • Red chilli powder – 1 tsp
  • Pav bhaji masala – 1 tsp
  • Coriander powder – 1 tbsp
  • Tomato ketchup – 1 tbsp
  • Salt as required
  • Garlic powder – 1 tsp (optional)
  • Onion powder – 1 tsp (optional)
  • Cashews – 1 tbsp
  • Cilantro, chopped – 2 tbsp
  • Lemon juice – 1 tbsp
Instructions
  1. Steam the idlis and refrigerate it at least for 6 hours.
  2. Heat oil in a frying pan, and meanwhile cut the idlis to desirable bite size pieces.
  3. Fry the idli pieces until it turns brown and crispy. Drain on a plate lined with paper napkin and set aside.
  4. Heat a pan with a tbsp of oil, season with fennel seeds and curry leaves.
  5. When they start to sizzle, add in the chopped onion. Sauté until the onions turn translucent. Add in ginger-garlic paste and stir fry until the raw aroma disappears.
  6. Now add in chopped tomato followed by slit chillis. Sauté for couple of minutes until the tomatoes are mushy without any chunks.
  7. Add bell pepper and give it a stir.
  8. Now in a low flame, add chilli powder, coriander powder, pav bhaji masala, salt and ketchup. Stir well until all the masalas are well mixed.
  9. Add in the fried idli pieces to the masala and give a good stir until the masalas are blended.
  10. Now add ¼ th cup of water and bring it to boil. When the water is completely absorbed, add in garlic and onion powder. Give it a stir. Switch off the flame.
  11. Garnish with fried cashews and chopped cilantro.
  12. Drizzle few drops of lemon juice on top before serving.
  13. Enjoy hot chilli idli with onion raitha!

CHILLI IDLI
What is your version of chilli idli?

DRUMSTICK TANDOORI CHICKEN

There are certain events that happen very rarely in your life and my HB cooking is certainly one of those. And boy does he cook! The other day he tried his hand in the kitchen and the end product was a delicious tandoori chicken!
DRUMSTICK TANDOORI CHICKENTandoori chicken is a very famous chicken dish from north India. All restaurants in the US have tandoori chicken in their menu and is well known among Americans.
DRUMSTICK TANDOORI CHICKENIn fact, there are so many tandoori chicken recipes out there posted by Americans in the internet. Tandoori chicken is one of the healthiest chicken recipes since it does not involve too much oil (oil is added only at the end of preparation).
DRUMSTICK TANDOORI CHICKENMy HB’s recipe is an adaption of VareVah chef’s recipe. It is very simple and easy to make. One main advantage of this recipe is that you don’t have to marinate the chicken for hours like in other chicken recipes. Do try it in your home and let me know your experiences 🙂

DRUMSTICK TANDOORI CHICKEN
Recipe type: Lunch
Cuisine: Indian
Prep time: 
Cook time: 
Total time: 
Serves: 3
 
Ingredients
  • Drumstick chicken – 2
  • Red chilli powder – 1 to 2 tbsp
  • Salt as required
  • Lemon juice – 4 tbsp
  • Curd - 2 tbsp
  • Ginger garlic paste - tbsp
  • Pepper powder – ½ tsp
  • Garam masala powder – ½ tsp
  • Turmeric powder – ½ tsp
  • Cumin powder – ½ tsp
  • Coriander powder – 1 tbsp
  • Dry fenugreek leaves (kasthoori methi) – 1 tbsp
  • Cooking oil/ spray
Instructions
  1. Wash the drumstick chicken thoroughly in running water and dab it with tissue/towel. Make few gashes in the chicken
  2. Mix a tbsp of red chilli powder, a tsp of salt and lemon juice and make it in to a paste. Rub this paste on chicken and make sure it is well applied on the cuts that had made on the chicken.
  3. Preheat the oven to 420 °F.
  4. Mix yogurt, ginger-garlic paste, chilli powder, half a tsp each of salt, pepper powder , kasthoori methi leaves(crushed with your palms), garam masala, turmeric powder, cumin powder, a tbsp of coriander powder and 2 tbsp of lime juice and make a thick paste without any lumps. Add red color to the marination (always mix food color with little water and add to your dish).
  5. Place the marinated chicken on the tandoori pan, spray cooking oil on top of the chicken and cook for 20 minutes. Remove the pan, turn over the chicken and brush them with little oil on top. Cook for another 10 minutes.
Notes
Try to use thick yogurt for marination in order to get thick marinade.


CHOCOLATE CHIP COFFEE MUFFIN

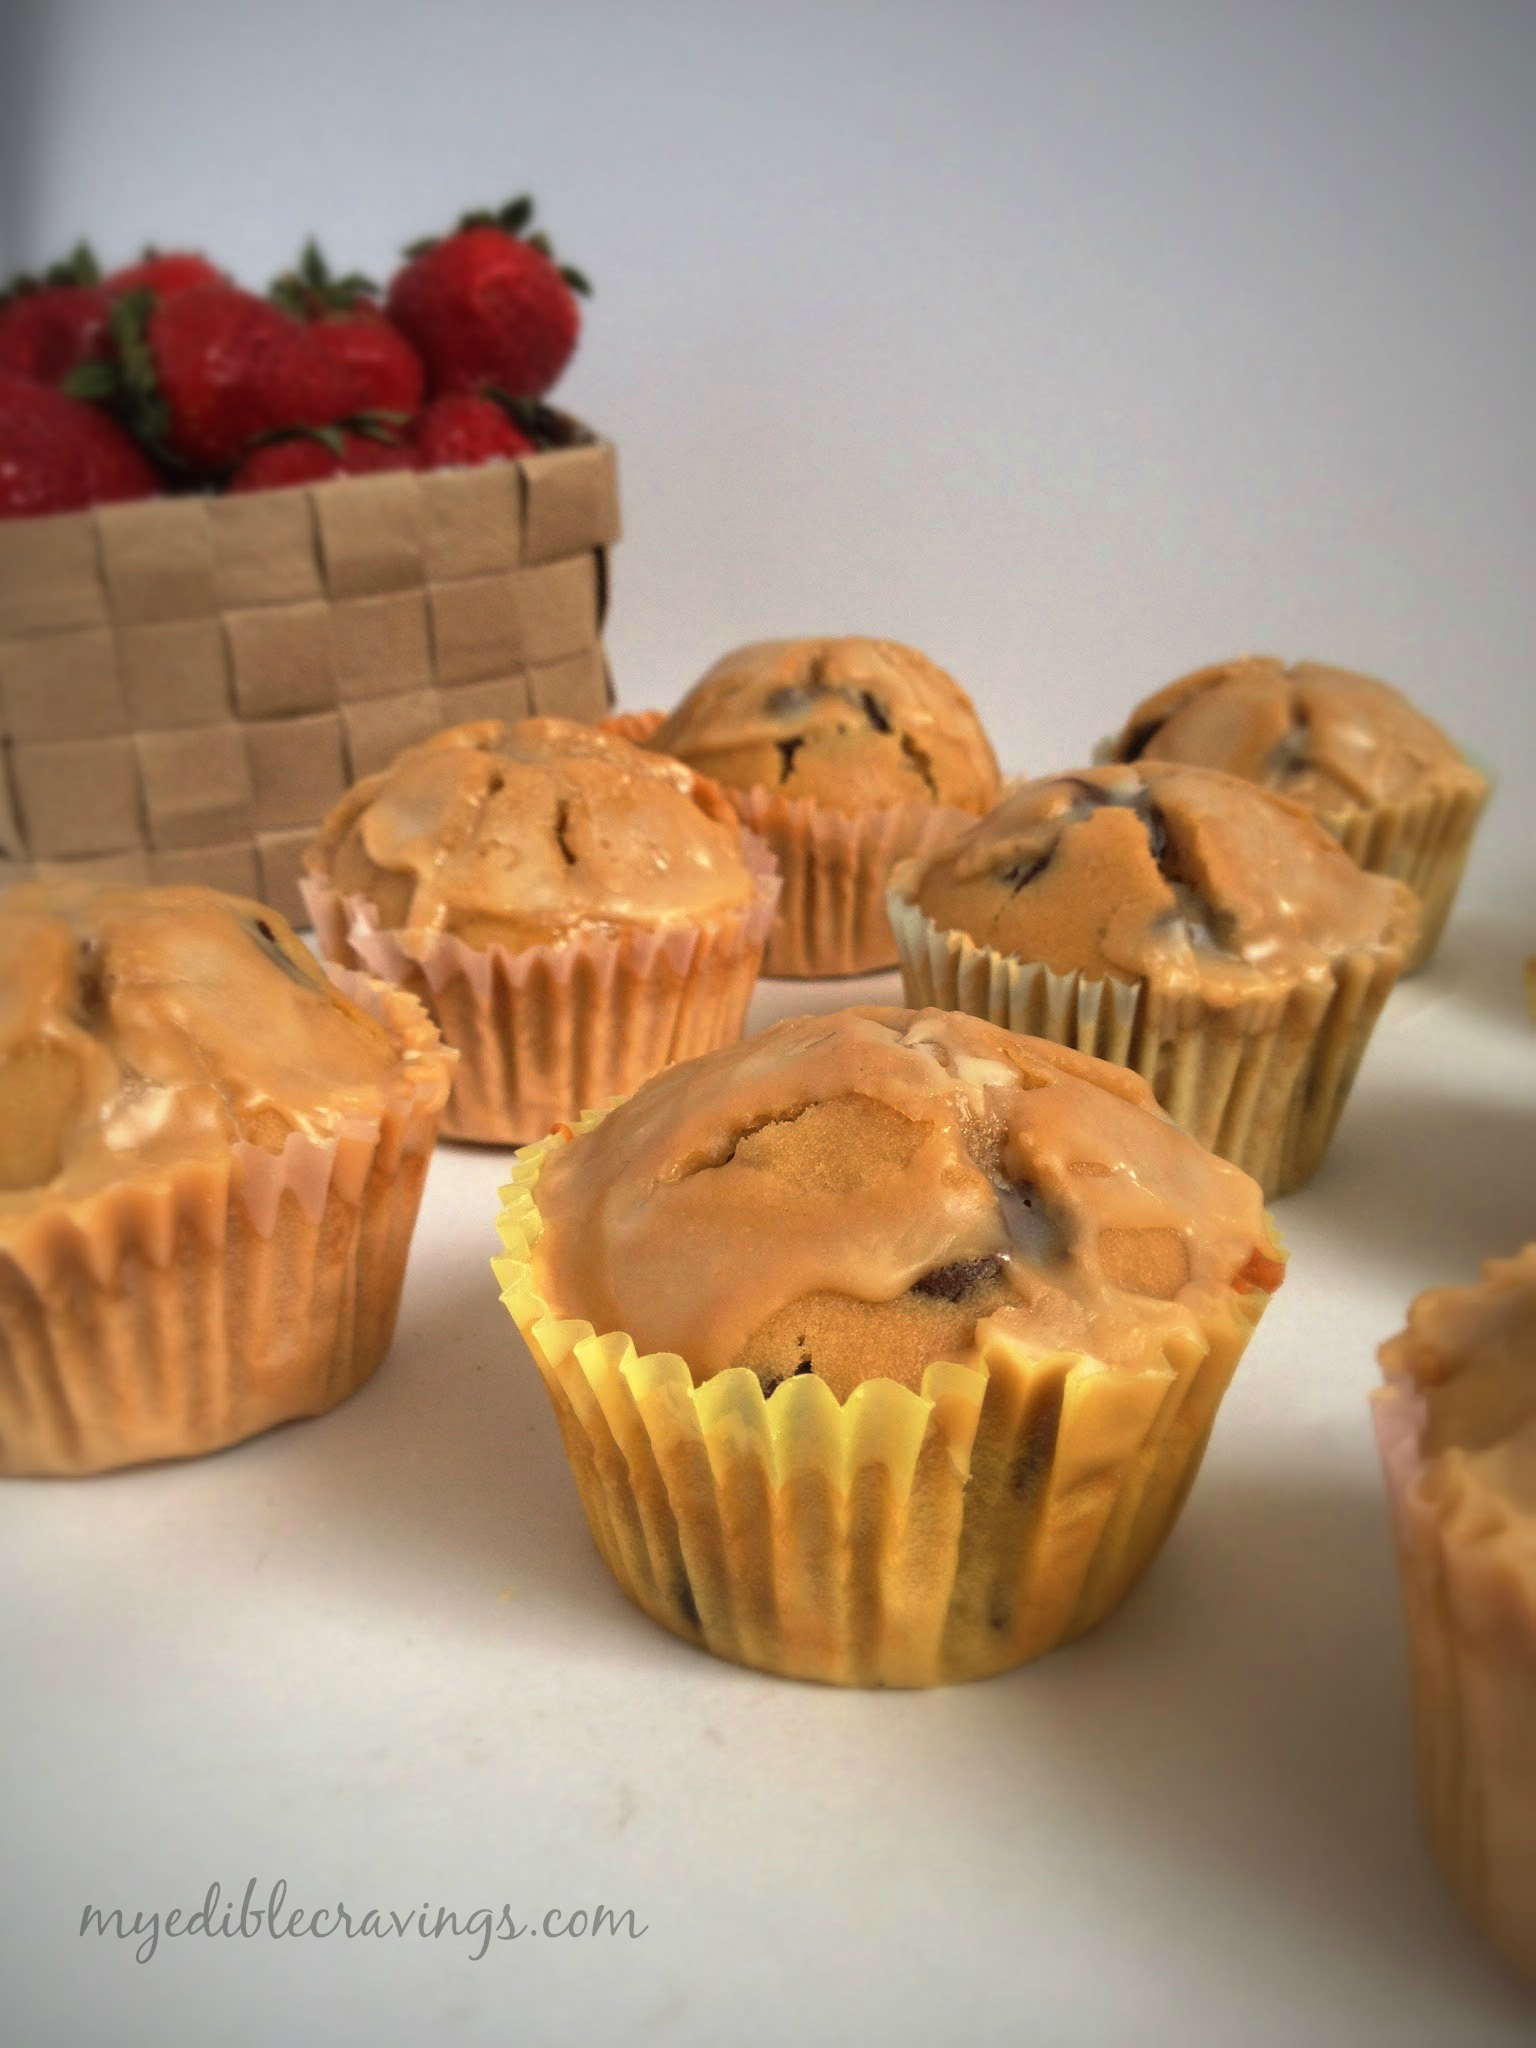
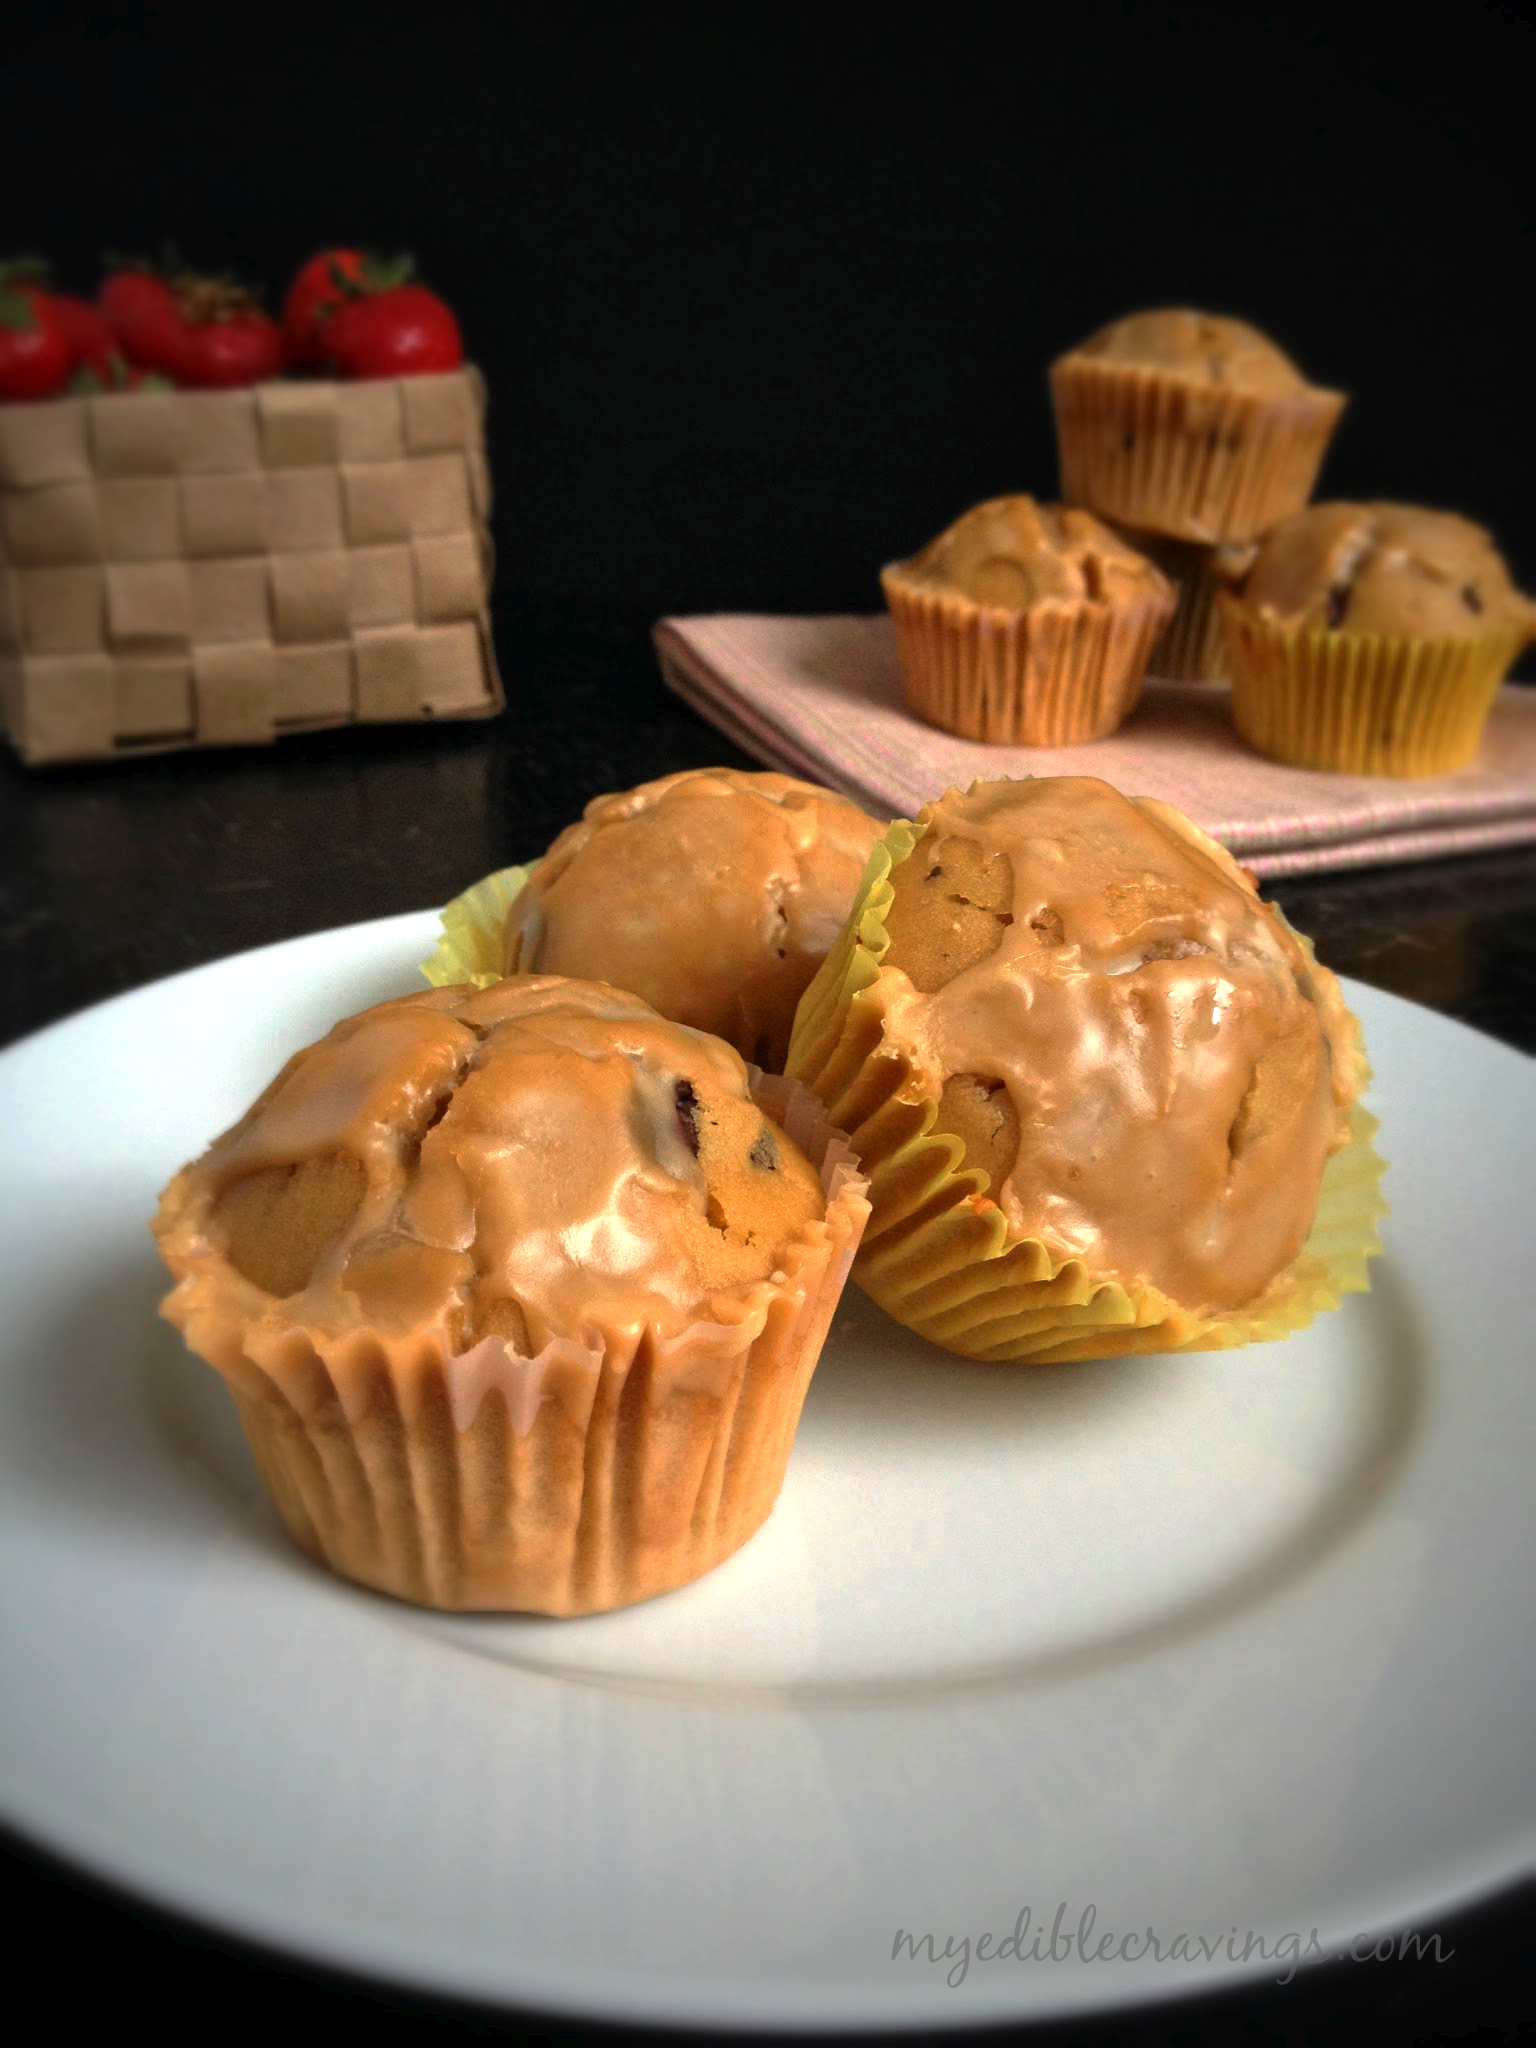
chocolatechipcoffeemuffinChocolate chip coffee muffin is a variety of muffin with coffee as the base flavor. It is one of my most recent recipes that I had tried.
chocolatechipcoffeemuffinCoffee is my HB’s favorite drink and hence this chocolate chip coffee muffin has become one of his favorite dessert as well 🙂 Chocolate chip coffee muffin is very easy to make and involves minimal ingredients. I am pretty sure that all the coffee lovers out there will enjoy this muffin. Though the muffin does not have the exact coffee taste, it has a touch of coffee flavor in it making it far tastier.
chocolatechipcoffeemuffinChocolate chip coffee muffin can be had as a breakfast muffin (serving the dual purpose of having coffee and a muffin :)) So all the coffee lovers and general food lovers, try this wonderful muffin at your home and let me know your thoughts.

CHOCOLATE CHIP COFFEE MUFFIN
Recipe type: Breakfast
Cuisine: American
Prep time: 
Cook time: 
Total time: 
Serves: 12
 
Chocolate chip coffee muffin is a variety of muffin with coffee as the base flavor. It is one of my most recent recipes that I had tried.
Ingredients
  • Butter, softened - ½ cup
  • Sugar - ¾ cup
  • Coffee extract (McCormicks) - 1 teaspoon
  • Eggs - 2
  • Flour - 2 cups
  • Baking powder - 1 Tablespoon
  • Salt - ½ teaspoon
  • Milk - ½ cup
  • Strong brewed coffee, cooled - ½ cup
  • Miniature chocolate chips, semisweet – ½ cup
  • For the Glaze
  • Powdered sugar - ¾ cup
  • Brewed coffee, cooled - 4 teaspoons
Instructions
  1. Preheat the oven to 375 F. Beat together the butter and sugar until creamy. Add the extract and eggs and beat again.
  2. Whisk together the dry ingredients (flour, baking powder, and salt).
  3. Stir together the milk and cooled coffee.
  4. Add the flour mixture and milk mixture alternately to the creamed butter until it is all combined. Do not over mix. Stir in the chocolate chips.
  5. Fill 12 muffin liners ¾ full. Bake for 20 to 25 minutes. Let cool.
  6. Meanwhile stir together the powdered sugar and coffee until dissolved. Dip the tops of the muffins in the glaze and let set. Enjoy!

chocolatechipcoffeemuffin

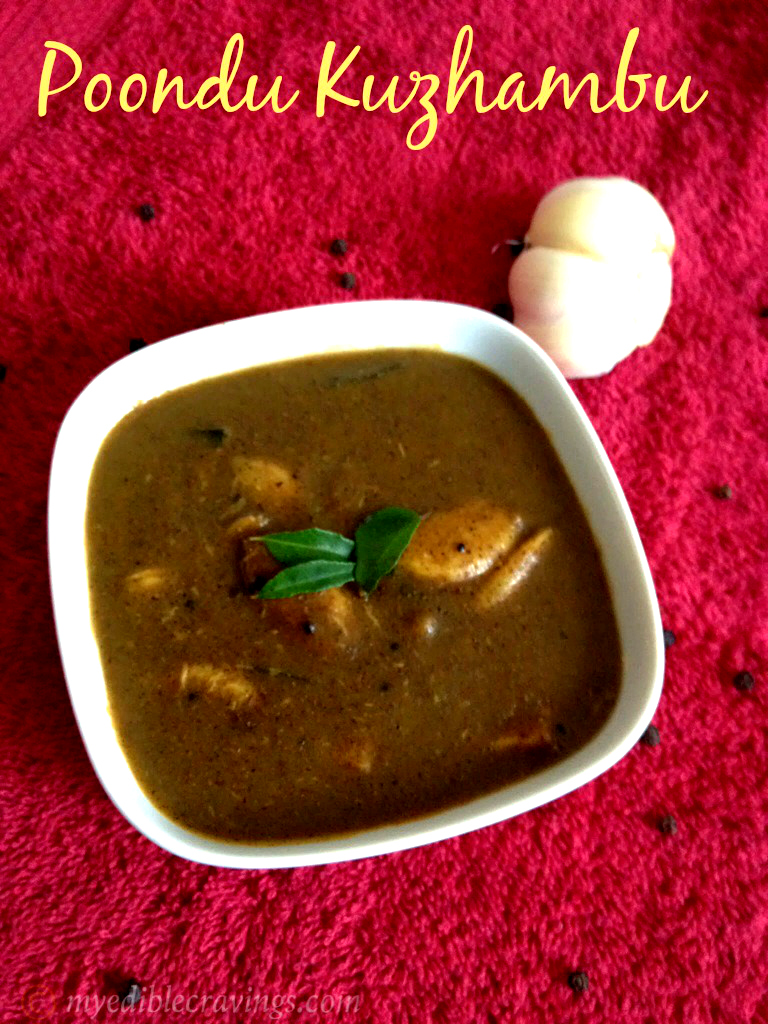
GRANDMA’S VELLAPOODU KUZHAMBU | POONDU KUZHAMBU | GARLIC GRAVY

Grandma’s Vellapoodu Kuzhambu, as the name suggests, is a dish from my late grandmother’s kitchen. It is more of like a family recipe, in the sense, passed on to my mom and then to me. Now I am sharing this with you.
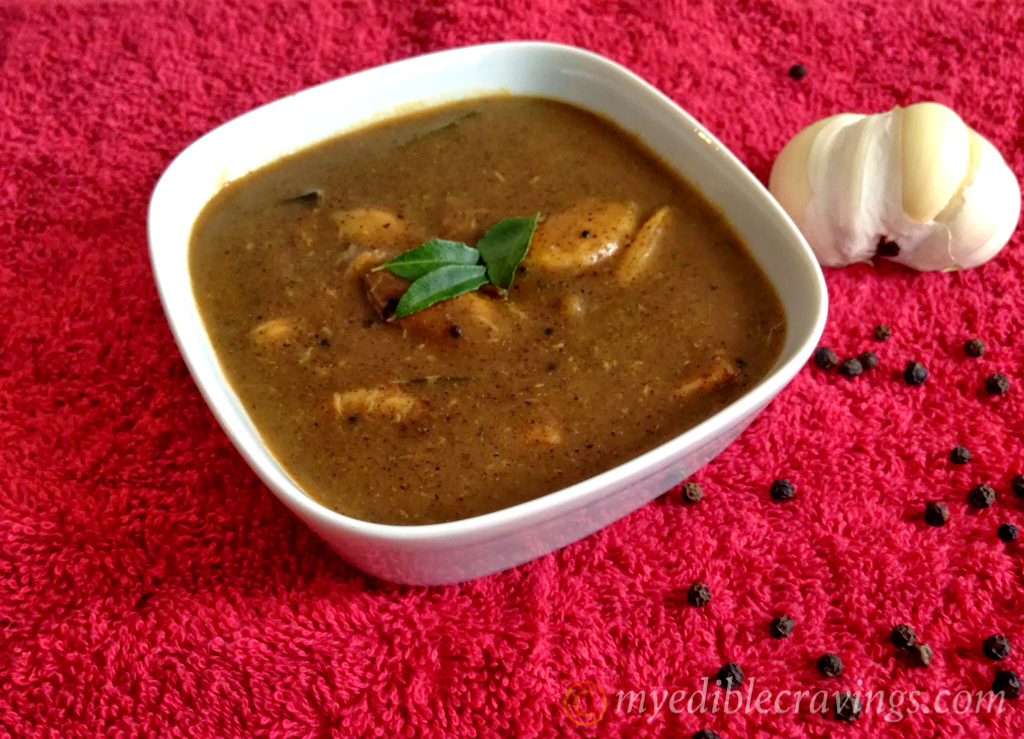
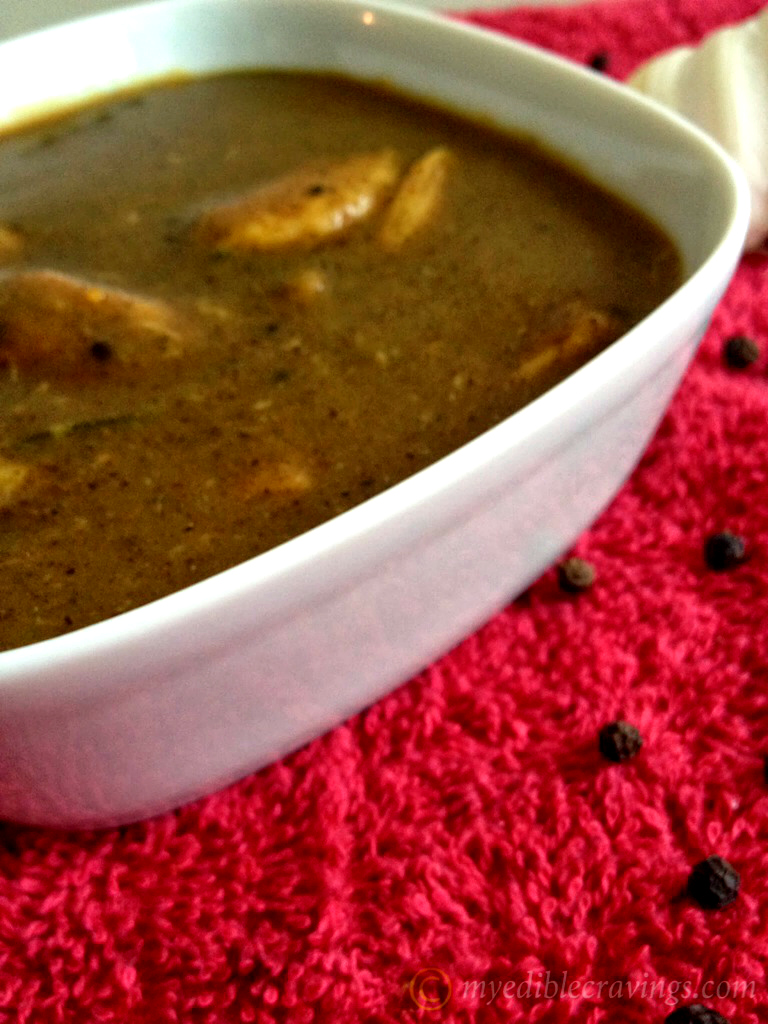
poondu kuzhambuVellapoodu kuzhambu is a popular dish in south India and is primarily made of pepper, curry leaves and lots of garlic cloves. It is one of my favorite dishes among vegetarian recipes. It has been a mainstay in my mom’s cooking since my childhood.
The first time I made my grandma’s vellapoodu kuzhambu, it did not resemble to the one made by my mom but my perseverance paid off. So, when I say the recipe has been tried and tested, it literally means that 🙂
042As I had mentioned in my puli kuzambhu recipe, the main ingredient for my grandma’s vellapoodu kuzhambu is using whole garlic cloves; not the diced ones. This gives the unique taste found in my grandma’s recipe.
041So here is the wonderful recipe of my grandma’s vellapoodu kuzhambu and let me know how well did it go in your kitchen 🙂

POONDU KUZHAMBU|GARLIC GRAVY
Recipe type: Lunch
Cuisine: Indian
Prep time: 
Cook time: 
Total time: 
Serves: 2
 
Vellapoodu kuzhambu is a popular dish in south India and is primarily made of pepper, curry leaves and lots of garlic cloves. It is one of my favorite dishes among vegetarian recipes. It has been a mainstay in my mom’s cooking since my childhood.
Ingredients
  • Gingelly oil – 1 tbsp
  • Cumin seed – 1 tbsp
  • Red chilli – 1
  • Black Pepper – 1 tsp
  • Mustard seed – 1 tsp
  • Turmeric powder – 1 tsp
  • Raw Rice – 1 tbsp (soaked in water for 1 hour)
  • Garlic cloves – 15 nos
  • Raw rice water (kalani thanni) – 1 cup
  • Curry leaves – a sprig
  • Salt – as required
Instructions
  1. Heat a pan with half a tsp of gingelly oil. Add cumin seeds, black peeper, red chilli and half a tsp of mustard seeds and stir fry till they start to splutter. Allow it to cool and grind it with a tsp of turmeric powder, soaked rice and a garlic clove with little raw rice water and make into paste.
  2. Heat the same pan with remaining oil, add mustard seeds and curry leaves. When mustard seeds start to splutter, add in the remaining garlic cloves and sauté for a minute or until the cloves changes color.
  3. Now add ground masala along with raw rice water and salt and give it a stir. Bring it to boil or wait until the gravy thickens and garlic cloves are well cooked.
  4. Serve this gravy on side with hot rice and scrambled egg.
Notes
Raw rice water is nothing but the water you get when you wash the rice for the second time.
Adding this water is mainly because it thickens the gravy.


047


CHICKEN 65

 chicken65

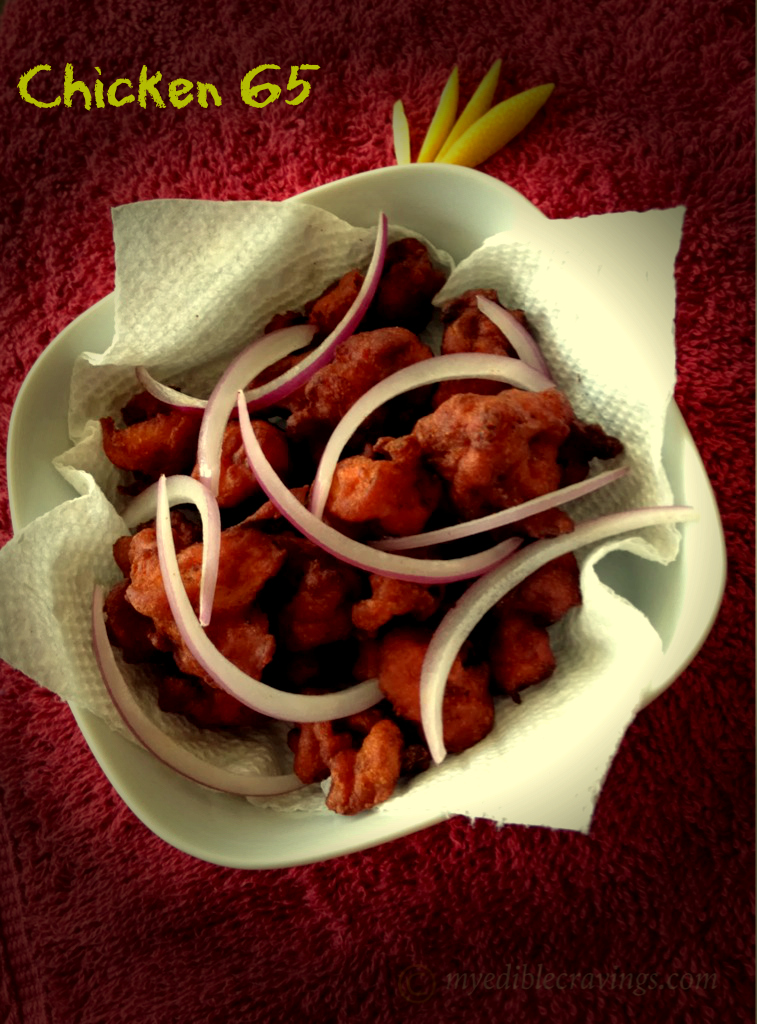
Chicken 65  is a popular chicken dish that was first invented in Tamilnadu, India. It is a popular street food, bar food and snack item.
Honestly, I don’t know the true origin of the name Chicken 65. There are so many anecdotes describing their invention. Popular among them are,

–         In 1965, the owner of the famous Buhari hotel in Chennai invented this recipe and hence the name Chicken 65.

–         In earlier days, there used to be a military canteen in Chennai whose menu item 65 was a popular chicken dish. The north Indian soldiers stationed there could not read the menu since it was in Tamil. So they always ordered as menu item 65 chicken i.e., Chicken 65.

So you guys decide which story sounds plausible (I personally choose the Buhari version 😉

chicken65

Nowadays, chicken 65 made in restaurants and street corners use various chemicals to bring out that reddish brown color and crispiness.  The recipe I have given here is home-made made from scratch straight from my mom’s kitchen.
On days when I feel lazy I use aachi chicken masala mix.
Try it out and let me know if you like it 🙂

CHICKEN 65
Recipe type: Lunch
Cuisine: Indian
Prep time: 
Cook time: 
Total time: 
Serves: 2 to 3
 
Chicken 65 is a popular chicken dish that was first invented in Tamilnadu, India. It is a popular street food, bar food and snack item.
Ingredients
  • Chicken – 250 grams / 0.5 lb
  • Corn flour – 1 tbsp
  • Rice flour – 1 tbsp
  • All purpose flour – 1 tbsp
  • Ginger- Garlic paste – 2 tbsp
  • Curry leaves – few
  • Kashmiri red chilli powder – 2 tbsp
  • Egg – 1
  • Tomato ketchup – 1 tsp
  • Soy sauce – 1 tsp
  • Salt as required
  • Oil for deep frying
Instructions
  1. Wash the chicken in running water, drain and marinate with the above given ingredients (Beat the egg before adding to the chicken) and leave it for half an hour.
  2. Heat oil in a frying pan, deep fry the marinated chicken and drain on a plate lined with paper napkin. Serve it hot or warm. Enjoy!


chicken65

CHANNA MASALA / CHANNA / CHOLE

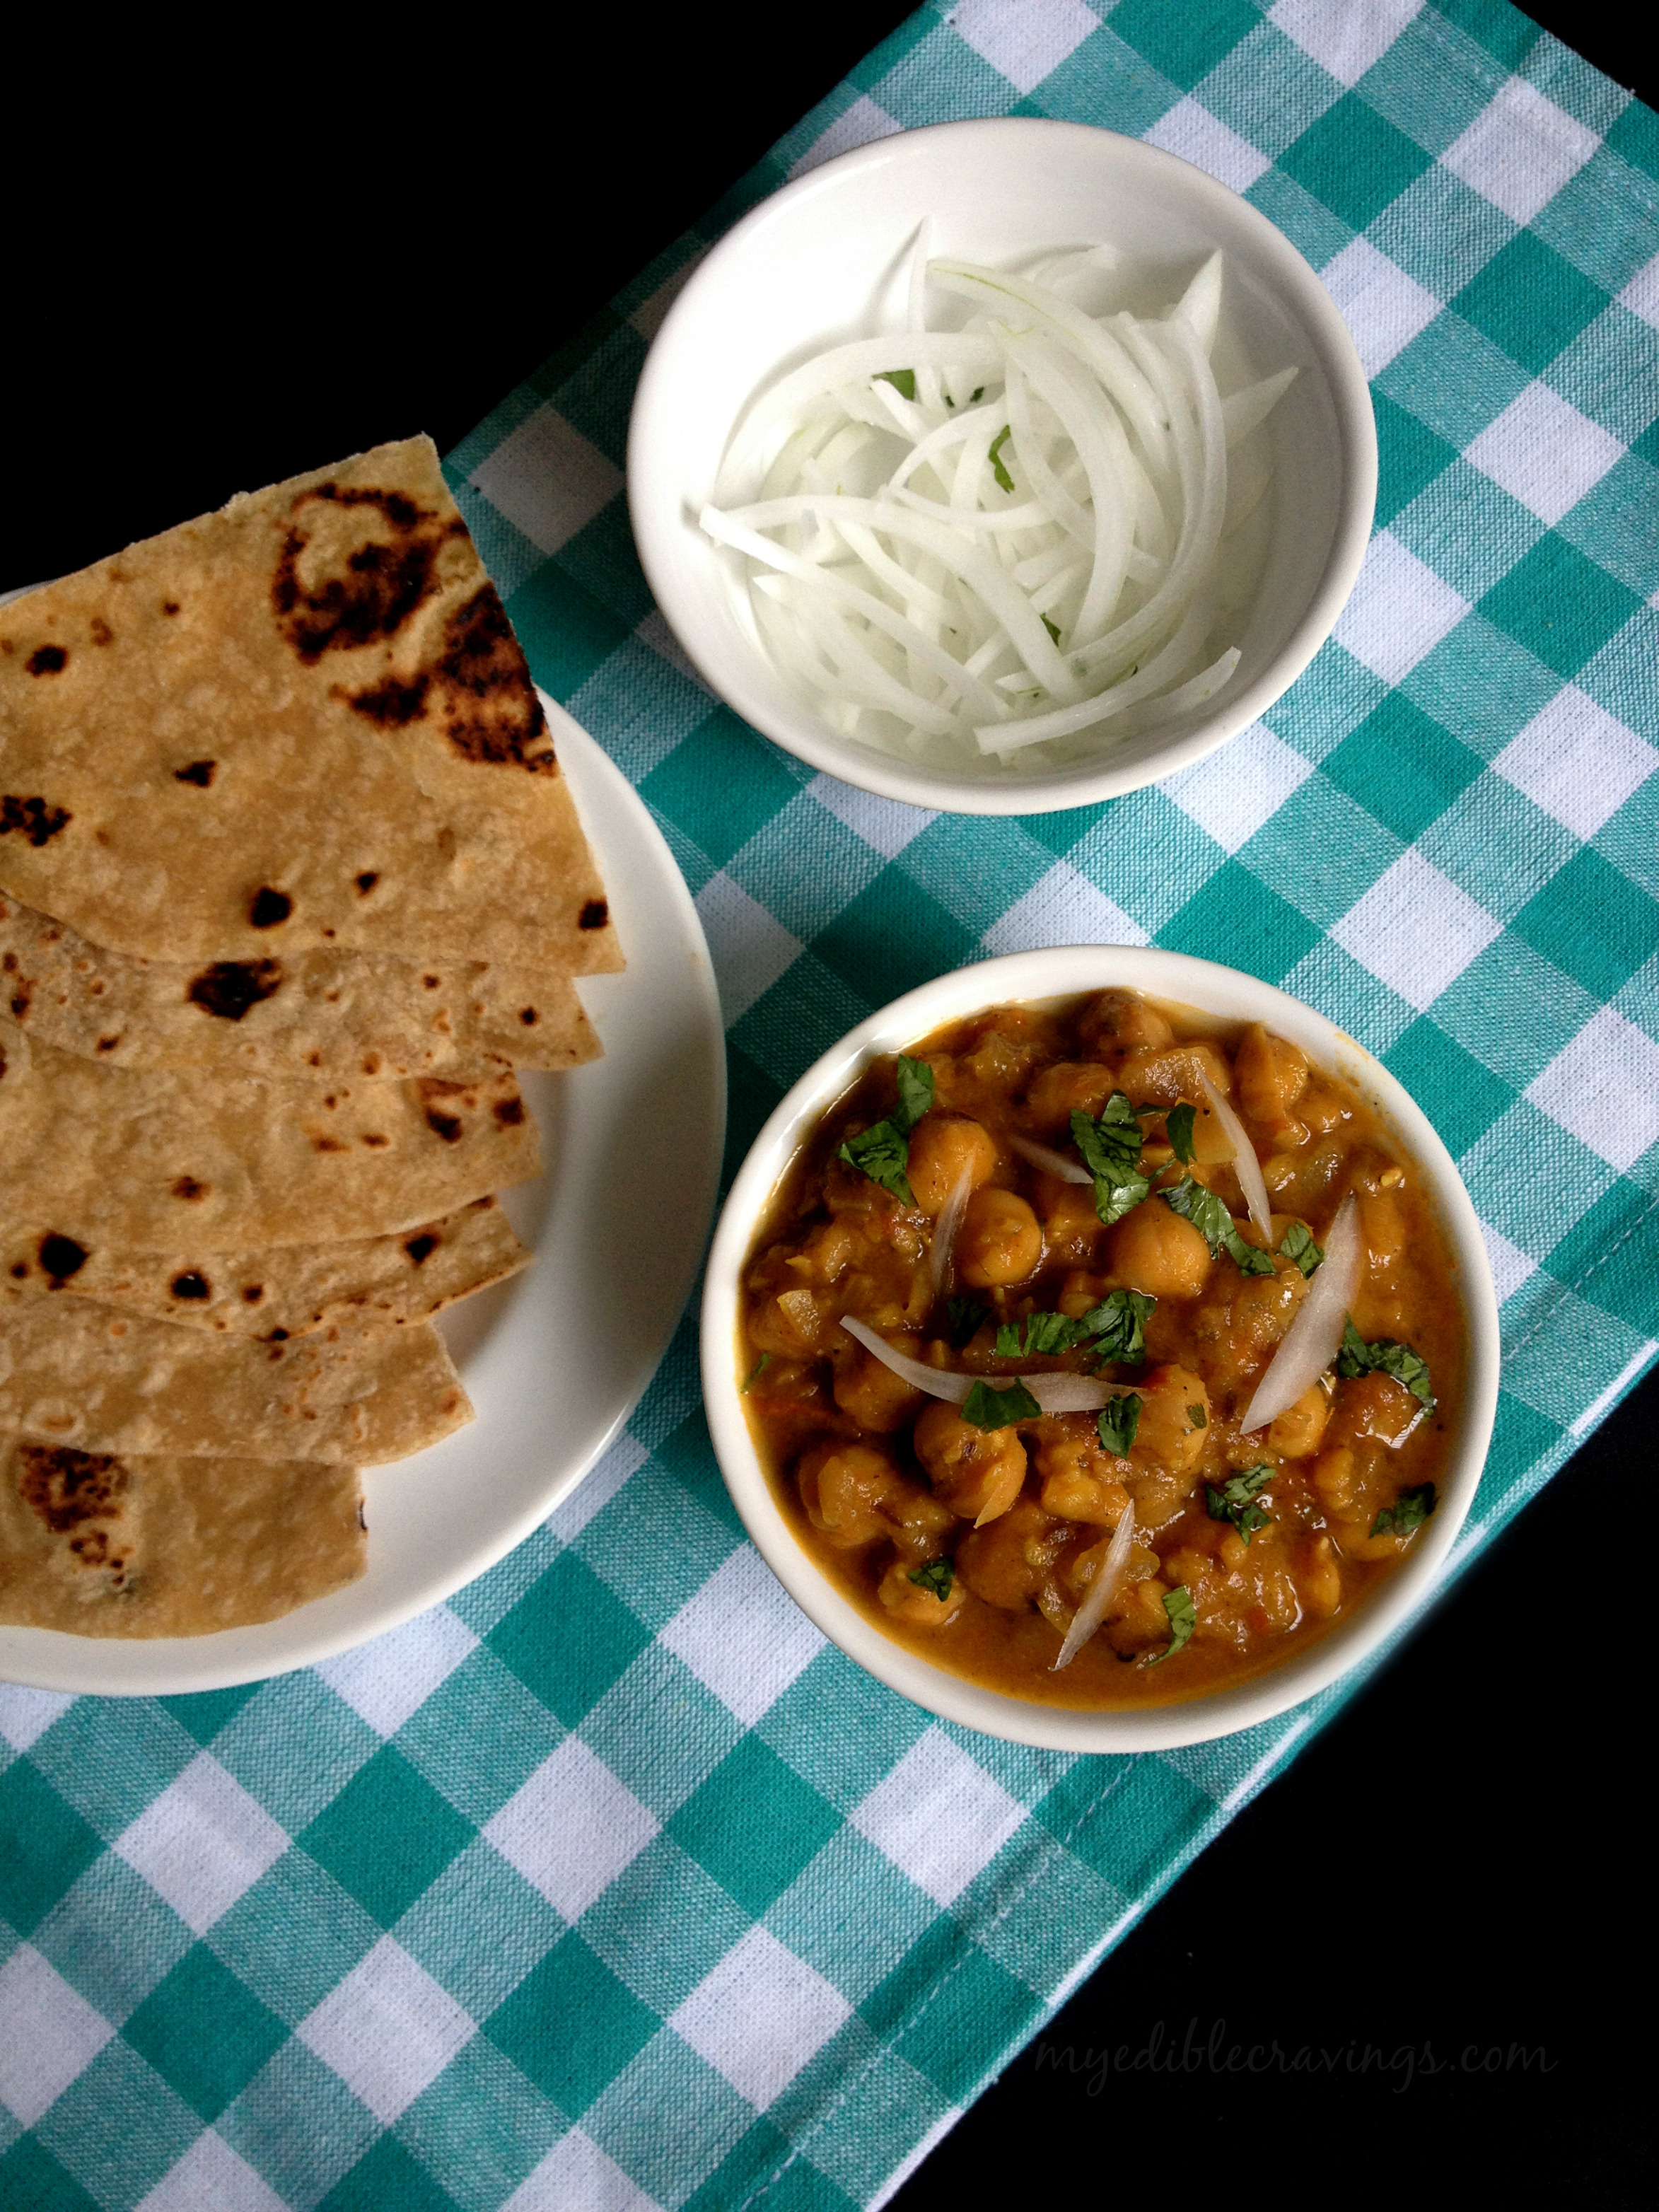
ChannaChanna or Channa Masala is a very popular north Indian dish made from chick peas. You can find Channa Masala in almost all Indian restaurants, north Indian or south Indian. Channa is a very good source of protein and when cooked as a gravy it tastes yummy. In fact, it is one of my HB’s favorite dishes. We never fail to make Channa Masala at least once every two weeks.
008The main step in preparing Channa Masala is the amount of time that you soak the chick peas in water before cooking. The more it is soaked, the faster it gets cooked. As I said above, it is a good source of protein and I heard from my HB that back in India, he and his friends used leave Channa soaked in water overnight and have a handful before hitting the gym, sort of like an energy booster. There is also a black chickpea called as Kondaikadalai in my native tongue that can be cooked similar to Channa Masala. I have given the recipe for that here . There are days when we cook Channa without any masala, i.e., not in a gravy form and have it for dinner. This type is called a Sundal in Tamil. It is a popular Prashadam dish in temples back home.
ChannaChanna Masala is a very good side dish for Chappati, Bhature (Channa Bhature is another popular north Indian dish), Poori and rice as well. And here is the recipe for Channa Masala. Try it in your home and as always comment on your experience and thoughts 🙂

CHANNA / CHOLE
Recipe type: Lunch|Dinner
Cuisine: Indian
Prep time: 
Cook time: 
Total time: 
Serves: 2
 
Ingredients
  • Cooking or vegetable oil – 1 tbs
  • Cinnamon stick – 1 (2 inch)
  • Cardamom – 3
  • Cloves – 2
  • Bay leaf – 1
  • Cumin seeds – 1 tbs
  • Onion – 1
  • Turmeric powder – 1 tsp
  • Ginger & Garlic paste – 1 tbs
  • Green chillies, finely chopped – 1 no
  • Channa masala – 1 ½ tbs
  • Channa or chickpeas – 1 cup
  • Lemon juice – 1 tbs
  • Salt as required
  • Coriander leaves – for garnishing
to make puree
  • Tomato - 1 no
  • green chilli - 1 no
Instructions
  1. Soak the channa/chickpeas overnight or for 8 hours.
  2. Pressure cook the channa with little water and a tsp of salt for 3 whistles - It should be cooked in such a way that you could smash the channa by your thumb and index fingers.
  3. Make a puree of tomato and green chilli in a blender and set aside.
  4. Heat a wide pan with a tbs of oil, add the whole spices mentioned above followed by cumin seeds.
  5. When cumin seeds start to splutter, add chopped onion and fry till they are softened and become translucent.
  6. Add turmeric powder and ginger-garlic paste. Sauté until the raw aroma of ginger-garlic disappears.
  7. Add the tomato puree and chopped green chilli. Saute for 2-3 minutes, stirring in between.
  8. Add channa masala powder and little salt . Mix well and saute until oil seperates.
  9. Add the cooked masala into boiled channa, mix well and pressure cook for another 2 whistles.
  10. Sprinkle few drops of lemon juice on top and garnish with coriander leaves.
  11. Serve hot channa masala with pooris, chapattis or steamed rice accompanied with lemon & onion slices.

013

You might also like

Kondakadalai Kurma

Kondaikadalai kurma

ADAI

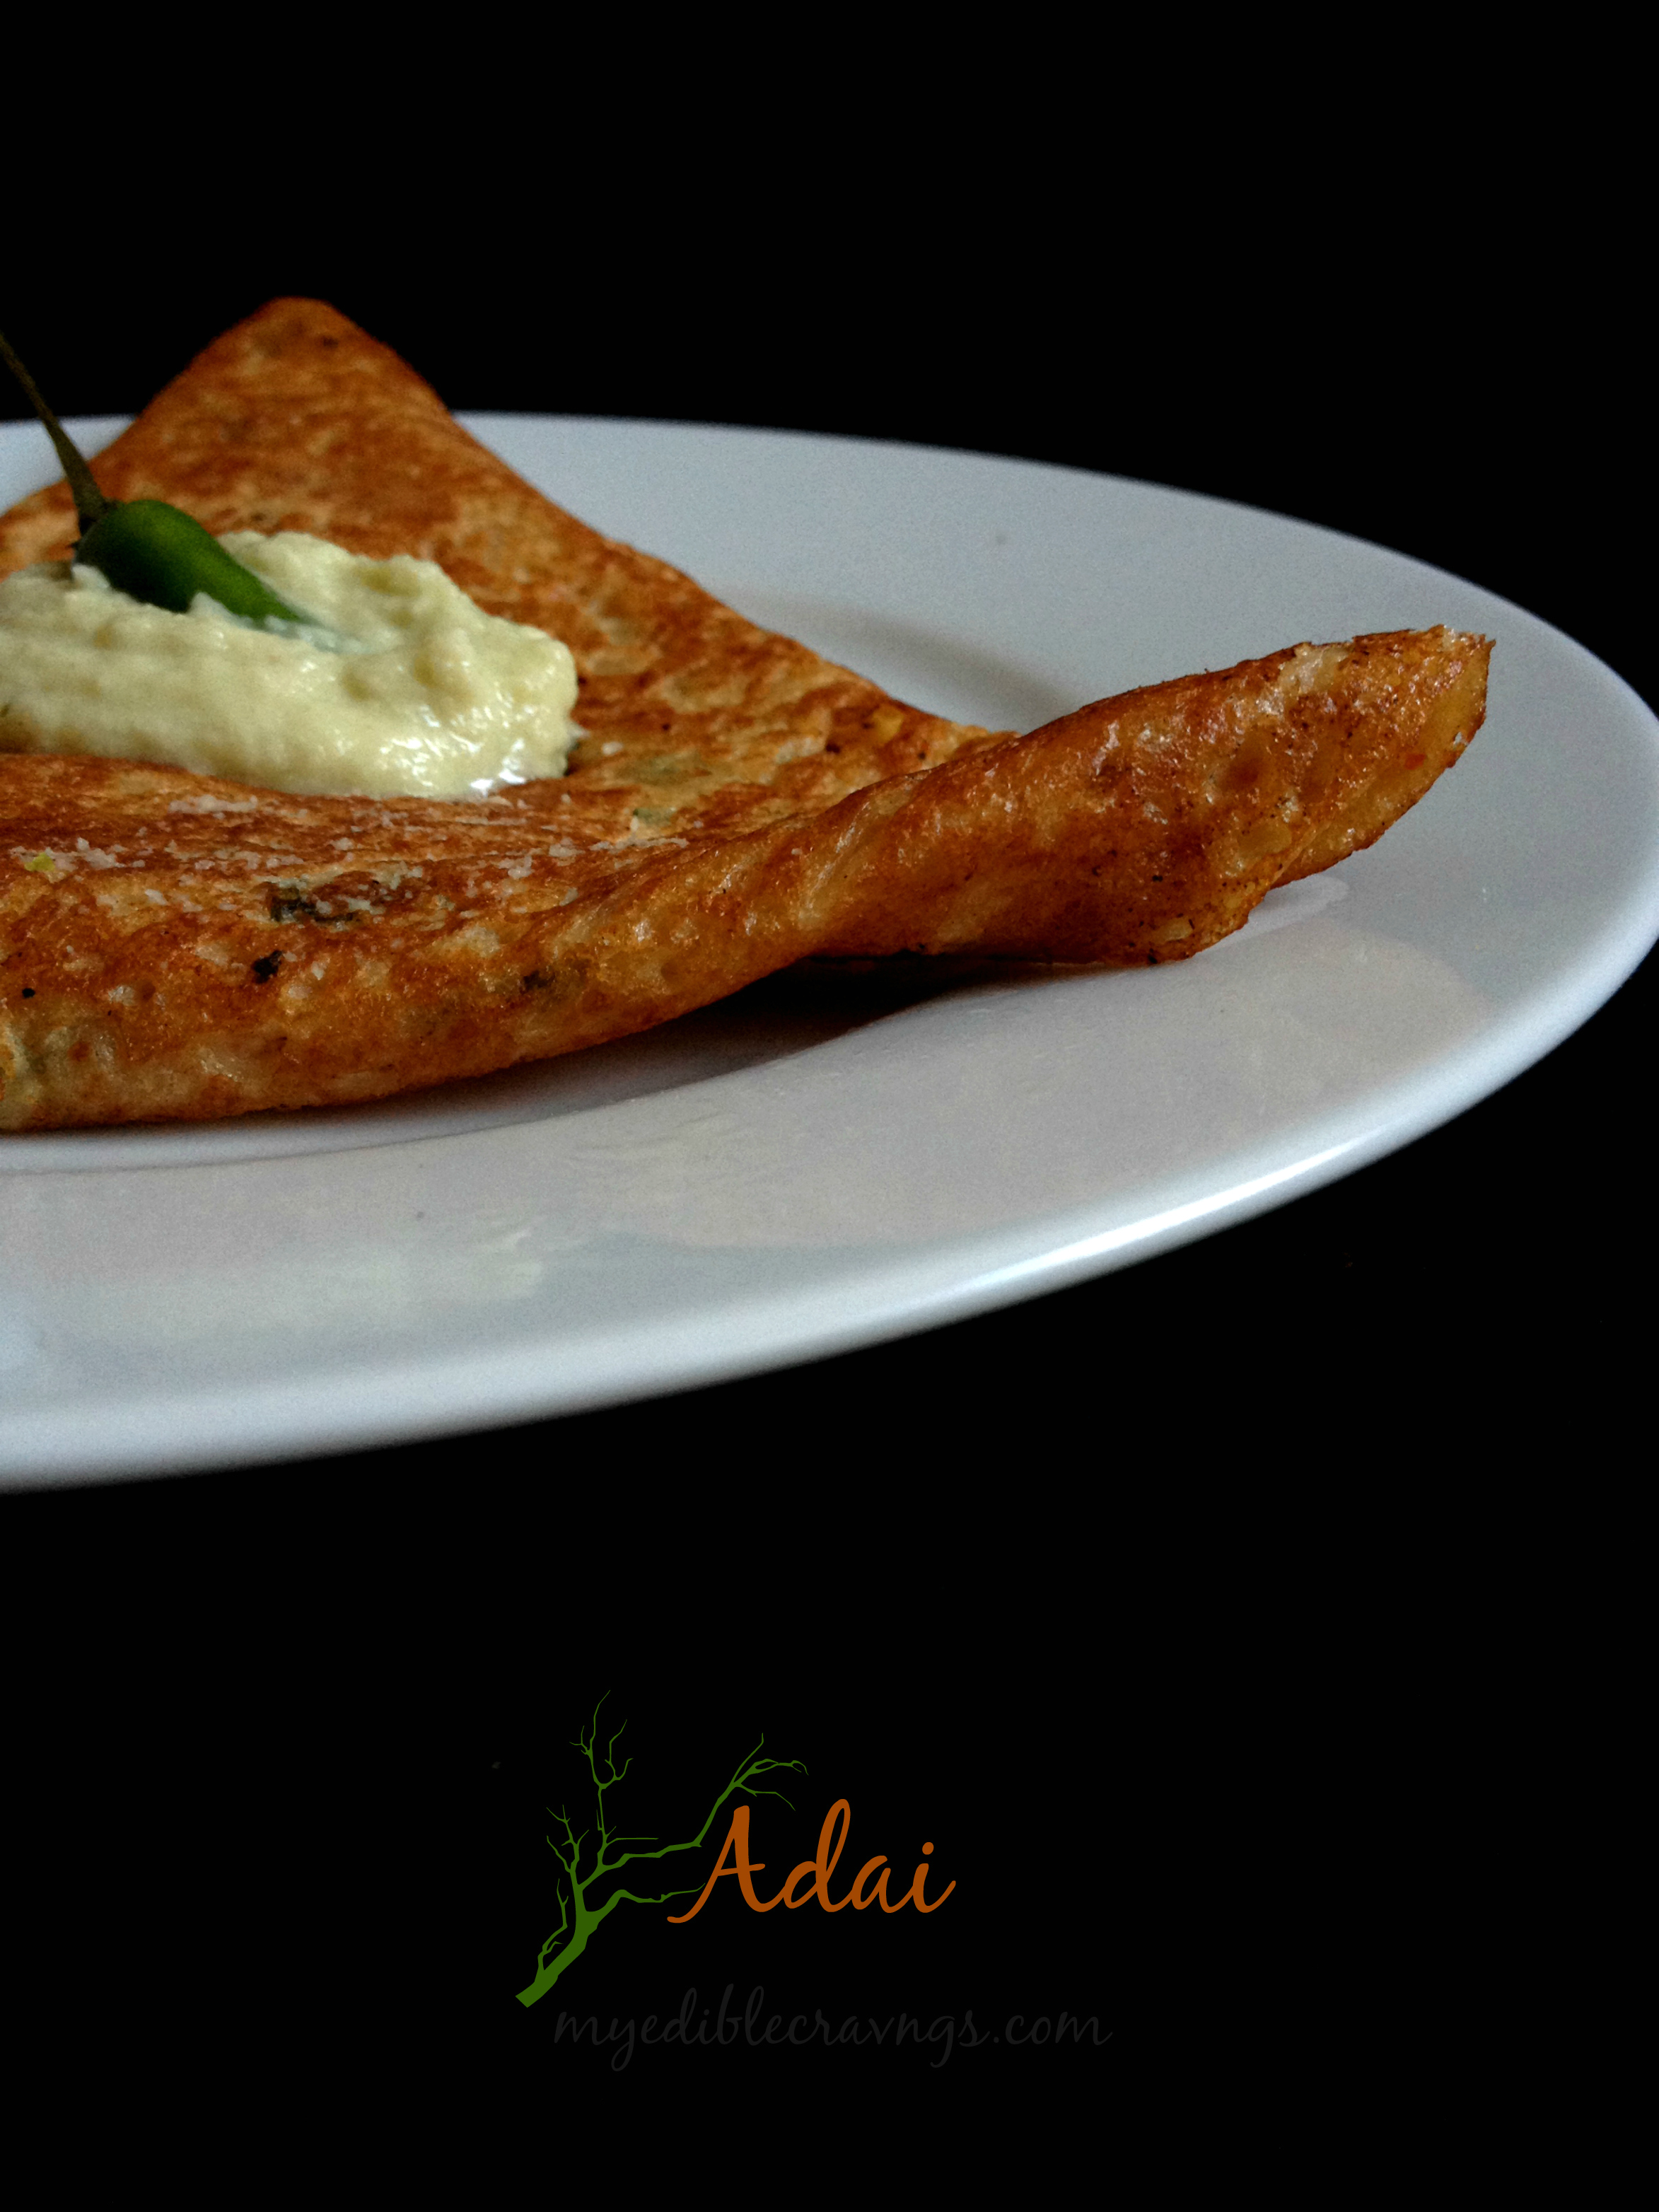
Adai dosaAdai is a dosa like dish synonymous to Tamilnadu (specifically from Chettinad cuisine, I believe) and is made using different varieties of Dal (Moong, Urad and Channa). It is a very healthy dish and usually eaten for breakfast and sometimes for dinner. I started making Adai mainly as an alternative to dosa. For dosa, as you know, the main ingredient to make the batter is rice and rice is rich in carbohydrates which in turn is one of the contributing factors in weight gain (if the intake is often, of course).
062My HB is very health conscious (and that has rubbed off on me as well, sometimes ;)) and so I started my search for a healthy and easy alternative for the usual fares that we have at our home. Then I came across this Adai from the web and found it to be the perfect alternative. Making the Adai batter does not involve fermentation. So the entire process of preparing the batter to cooking Adai is very quick. Also, you don’t need a grinder to prepare the batter. A blender will suffice.
068In our home, we normally have Adai with coconut chutney but by making the batter a little bit spicy (described in the cooking instructions below), you can have Adai without a side dish (how awesome is that!). In restaurants, Adai is often served with butter and Avial (another south Indian dish for which I will post the recipe sometime soon).
So try this very healthy and easy to make Adai in your home and let me know your comments.

ADAI
Recipe type: Breakfast/Dinner
Cuisine: Indian
Prep time: 
Cook time: 
Total time: 
Serves: 8
 
Adai is a dosa like dish synonymous to Tamilnadu (specifically from Chettinad cuisine, I believe) and is made using different varieties of Dal (Moong, Urad and Channa). It is a very healthy dish and usually eaten for breakfast and sometimes for dinner.
Ingredients
  • Toor dal - ¼cup
  • Moong dal -1/4 cup
  • Urad dal - ½ cup
  • Idli Rice or Raw Rice - ½ cup
  • Whole Red chillies - 6
  • Salt-as per taste
  • Shallots(small onions) – 2 (chopped)
  • Hing - 1 tsp
  • Cumin seeds - 1 tbs
  • Chopped Coriander leaves – ¼ cup
  • Water as required
  • Oil required to smear around adais
Instructions
  1. Wash and soak urad dal, moong dal, toor dal and rice together in water for 4 hours.
  2. Grind the soaked dals and rice, along with half a tsp cumin seeds, whole red chilli, salt and hing together until smooth. - like dosa batter.
  3. To the ground adai batter add chopped shallots, coriander leaves and little water.
  4. Mix well the batter, the consistency should be similar to dosa batter. Set aside the adai batter to rest for atleast 30 mins.
  5. Heat a dosa tawa, add a ladle full of adai batter to the center of tawa and start spreading the batter from center in circular motion like making dosa or pancakes.
  6. Smear 1 tsp oil around adai and cook on medium heat until both sides of adai are golden brown and crisp.
Nutrition Information
Serving size: 2 to 3

Adai dosa

PULIKUZHAMBU

022Pulikuzhambu is a south Indian gravy made from tamarind. Again, there are many variations to it based on geographical locations. It is specific to Tamilnadu. Pulikuzhambu is very easy to make and involves very limited ingredients. It is one of the main dishes served in a marriage feast along with Sambar. There are many variations of Pulikuzhambu but I would say almost every one of them is easy to make.
018Pulikuzhambu is one of my favorite vegetarian dishes. I love the tanginess (because of tamarind) in it. And I love the one prepared by my mom. There is this tradition in most of the homes in Tamilnadu where quite often families have dinner under moon light, sharing food with their dear ones. It is called as Nilachoru (Nila- Moon, Choru – rice) in Tamil. Pulikuzhambu is often the dish that we used to have in our nilachoru back home. So whenever I prepare Pulikuzhambu here, I feel nostalgic and start missing my home.
The drumstick Pulikuzhambu recipe that I have given here is my Mom’s so it guaranteed to come out well when you prepare it :). I love having Pulikuzhambu with rice and poriyal (for which I given the recipe here (link)) and also with curd (yoghurt). So do try this wonderful and simple recipe at your home and let me know your comments.

DRUMSTICK PULI KUZHAMBU |MURUNGAIKAI PULI KUZHAMBU
Recipe type: Lunch
Cuisine: Indian
Prep time: 
Cook time: 
Total time: 
Serves: 3
 
Pulikuzhambu is a south Indian gravy made from tamarind. Again, there are many variations to it based on geographical locations. It is specific to Tamilnadu. Pulikuzhambu is very easy to make and involves very limited ingredients.
Ingredients
  • Gingelly oil – 1 tbs
  • Mustard seeds & urad dal - 1 tsp each
  • Fennel seeds- ½ tsp
  • Curry leaves- a sprig
  • Shallots – 7 nos (cut lenghtwise)
  • Garlic cloves – 5 (cut lenghtwise)
  • Drumstick – 1 (cut into equal pieces)
  • Sambar powder – 1 to 2 tbs
  • Grated coconut – 1 tbs
  • Tamarind – big gooseberry size
  • Salt as required
Instructions
  1. Soak tamarind in a cup of water and extract the juice.
  2. Blend together a shallot, grated coconut and a tbs of sambar powder with little water to make a paste.
  3. Heat a pan with gingelly oil followed by mustard, urad dal, fennel seeds and curry leaves. When they start to sizzle, add in chopped garlic and sauté for few seconds until the aroma spreads. Add shallots and sauté for a while.
  4. When the shallots turn translucent, add sambar powder followed by drumstick. Give a quick stir and add the ground paste and the tamarind extract. Stir and bring it to boil. Close the lid and cook until the drumstick is done (drumsticks easily disintegrates when you poke it with your cooking spatula).
  5. Serve hot with any poriyal or kootu. Enjoy!


019

MULLANGI SAMBAR | RADISH SAMBAR

sambar

Sambar is one of the identities of my home state in India, Tamil Nadu, along with Kaanchipuram silks, Temples and Bharatanatyam ( Do tell me if I had missed anything in the comments section below 🙂 ). Sambar is a very common south Indian dish which can be had in your breakfast, lunch or even dinner. It is a staple dish in almost all marriage feasts where there is a vegetarian menu.

sambar

Sambar is a go to dish for most south Indian moms since it goes well with idli, dosa, ven pongal and white rice and also could be made in a jiffy.

sambar

There are so many varieties of sambar like araithuvitta sambar, sambar using tamarind juice, avasara sambar and I will try to give you the recipes of these in the near future. (updated here)
Here I have given the recipe for puli ootriya sambar which i have learned from my best friend.

MULLANGI SAMBAR | RADDISH SAMBAR
Recipe type: Lunch
Cuisine: Indian
Prep time: 
Cook time: 
Total time: 
Serves: 4
 
Sambar is one of the identities of my home state in India, Tamil Nadu, along with Kaanchipuram silks, Temples and Bharatanatyam ( Do tell me if I had missed anything in the comments section below 🙂 ). Sambar is a very common south Indian dish which can be had in your breakfast, lunch or even dinner. It is a staple dish in almost all marriage feasts where there is a vegetarian menu.
Ingredients
  • Toor dal - ¼th cup
  • Green chillies – 3
  • Shallots - 1 (Cut horizontally into thin round slices - like how you cut for onion bajjis).
  • Tomato - 1
  • Sambar powder - 1 tbs
  • Sakthi sambar powder - 2 tbs
  • Coriander leaves - for garnishing
  • Oil - 1 tbs
  • Onion vadahams ( Thaalippu vadaham)- for seasoning
  • Salt - as per taste
  • Hing - a pinch
  • Turmeric powder - ¼ tsp
  • Raddish – 1
  • Tamarind – big gooseberry size
Seasoning: (alternative for sambar vadaham)
  • Mustard seeds – 1 tsp
  • Urad dal – 1 tsp
  • Cumin seeds – 1 tsp
  • Onion – 1 tbs
  • Curry leaves – few
Instructions
  1. Soak tamarind in a glass of water for 15 minutes and extract the juice.
  2. Pressure cook the dal with pinch of turmeric powder, hing and few drops of sesame oil for 5 whistles.
  3. Heat a tbs of oil in a kadai, add onions and sauté until they turn translucent.
  4. When onions turns golden brown or transparent add tomato and sauté until tomato gets cooked well.
  5. Now add in the vegetables, sambar powders, salt, two cups of water, mix well and bring it to boil.
  6. Mash the cooked dal and add to the sambar bring it to boil and wait until the sambar gets slightly thicker.
  7. Now add the extracted tamarind juice to the sambar, bring it to boil and switch off the flame.
  8. Garnish with coriander leaves.
  9. Season onion vadaham in a tsp of oil and add to sambar. Serve it hot with white rice (don’t forget to drizzle a tsp of ghee on top before serving).


sambar

KONDAIKADALAI KURMA

Kondaikadalai kurmaChanna dal is one of the most protein rich gram varieties out there. And black channa is the best among them. It is called as kondaikadalai (kondai – bun, similar to bun hairstyle,  kadalai- dal/gram) in my native tongue, Tamil. Usually this black channa gravy (kondaikadalai kurma) is had with white rice and rasam but is also good side dish for chappati and dosa. People who are in a diet or planning to go on a diet can include this item in their menu.
Kondaikadalai kurmaOne main step in preparing this dish is to leave the kondaikadalai soaked in water overnight. So a certain degree of pre -planning is required. Once this is done, you can prepare this black channa gravy in no time. Also, I prefer this version over the white channa (white garbanzo beans) version any day. 🙂

BLACK CHANNA GRAVY |KONDAKADALAI KURMA
Recipe type: Lunch/Dinner
Cook time: 
Total time: 
Serves: 3
 
Channa dal is one of the most protein rich gram varieties out there. And black channa is the best among them. It is called as kondaikadalai (kondai – bun, similar to bun hairstyle, kadalai- dal/gram) in my native tongue, Tamil. Usually this black channa gravy (kondaikadalai kurma) is had with white rice and rasam but is also good side dish for chappati and dosa. People who are in a diet or planning to go on a diet can include this item in their menu.
Ingredients
  • Onion -1
  • Tomato – 1
  • Black channa – 1 cup
  • Oil – 1 tbs
  • Salt as required
To grind :
  • Grated coconut – 1 tbs
  • Garlic clove – 1
  • Fennel seeds – 1 /2 tbs
  • Sambar powder – 2 tbs
Instructions
  1. Soak black channa or kondakadalai in water for 8 hours or overnight and pressure cook for 5 whistles.
  2. Grind the ingredients given above to fine paste and keep it ready.
  3. Heat oil in a pan, add onion and sauté until the color changes. Add tomato and saute until soft. Add cooked channa followed by the ground mixture and bring it to boil. Switch off the flame when the gravy thickens.
  4. Serve it hot with chapathi or white rice with rasam. Enjoy!

Kondakadalai kurma

You might also like

Channa Masala

Channa